Hello again Retro Riders.
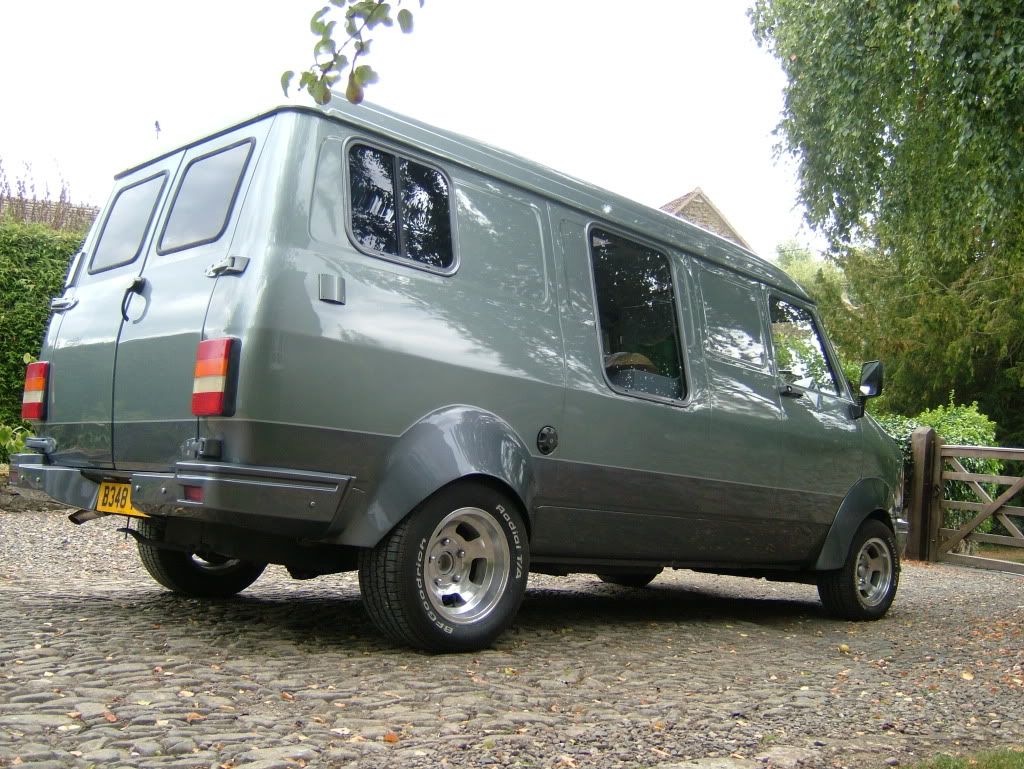
Its been a long while since my last update and quite a bit has happened to the van since then so here you go.
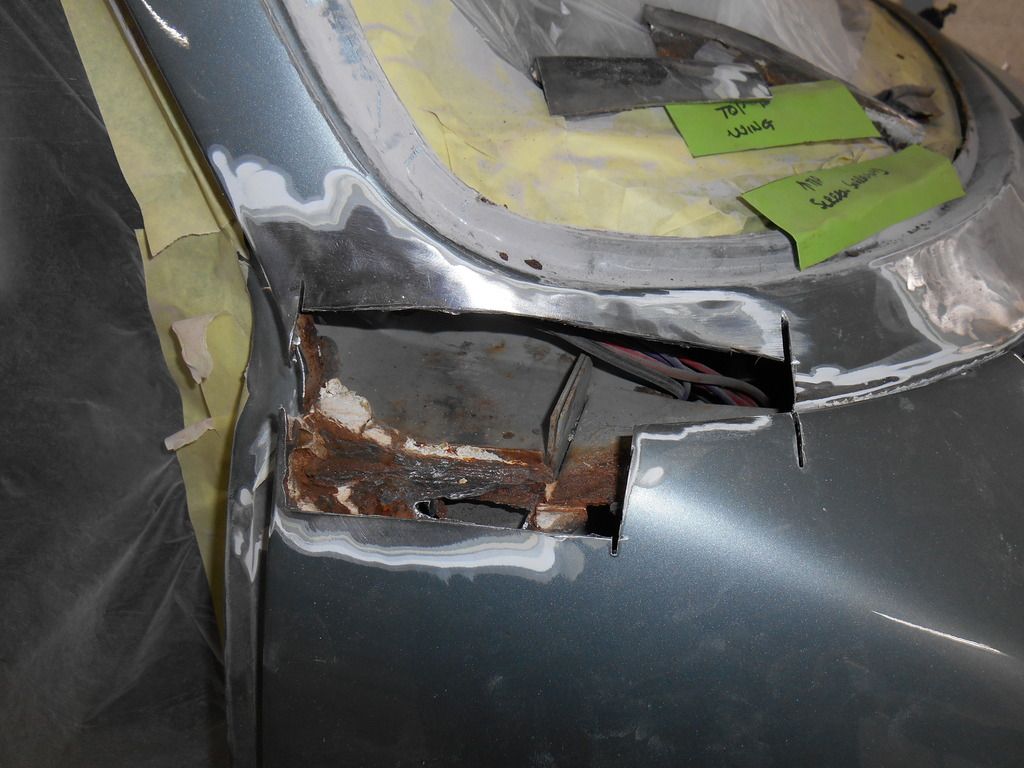
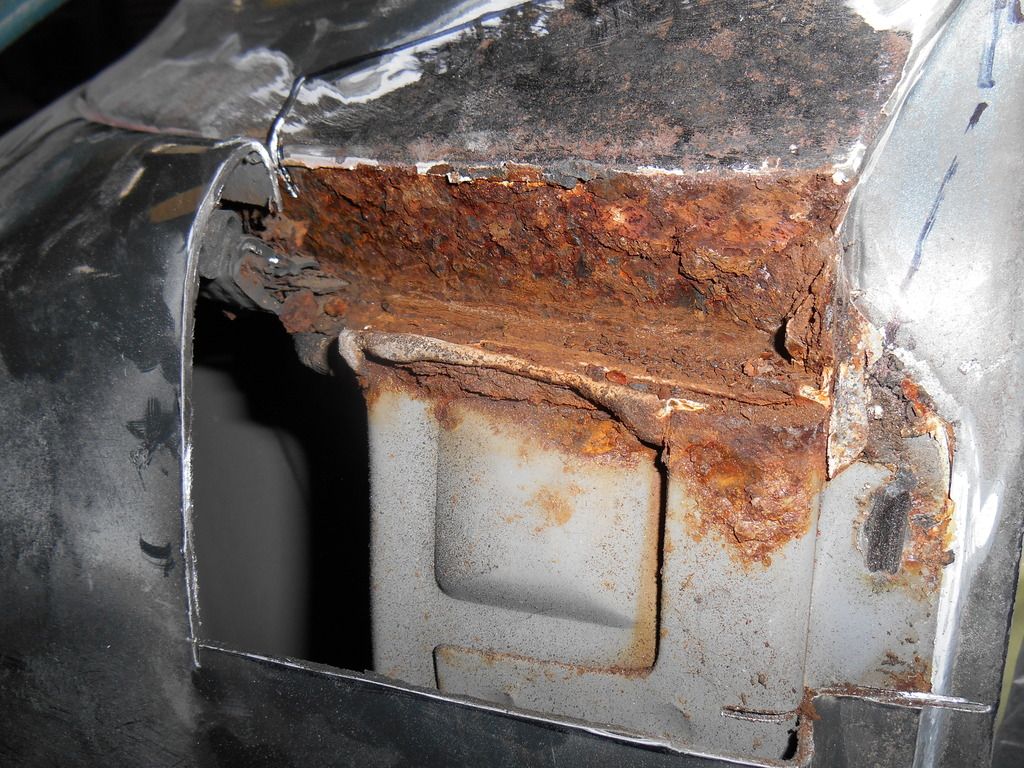
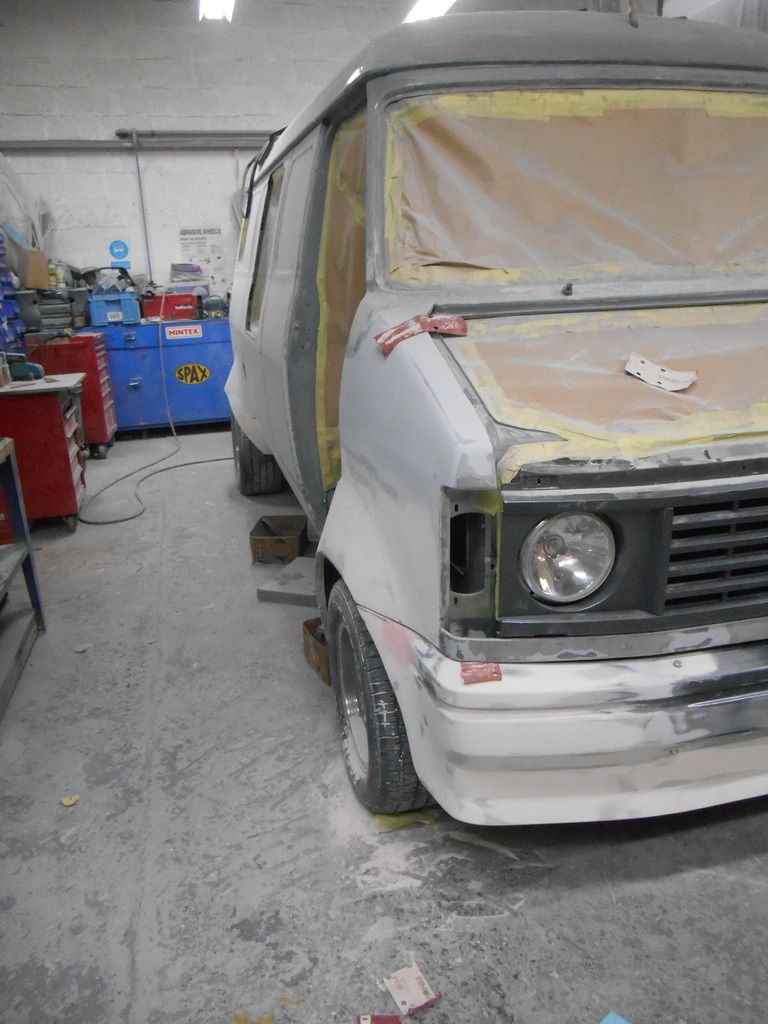
After I added the arches etc and got the van repainted in 2010 some rust eventually started to bubble up in places where it had not been before the previous effort, mostly around the bottom corners of the windscreen and along the join between the wings and the arch flares. Also the paint had taken quite a battering from grit and stones etc. So last year early 2016 I booked it into my mates body shop again with the agreement that I would undertake the metal work as far as I could and they would fill, shape, prep and paint. The original intention being tackling the windscreen bit and investigating the bulging paintwork around the join on the wings, also on the cards was a reworking of the front valance as I was never happy with it before, it just looked a bit wonky but at the time I was desperate to get the van back on the road, funds depleted, so it stayed wonky.
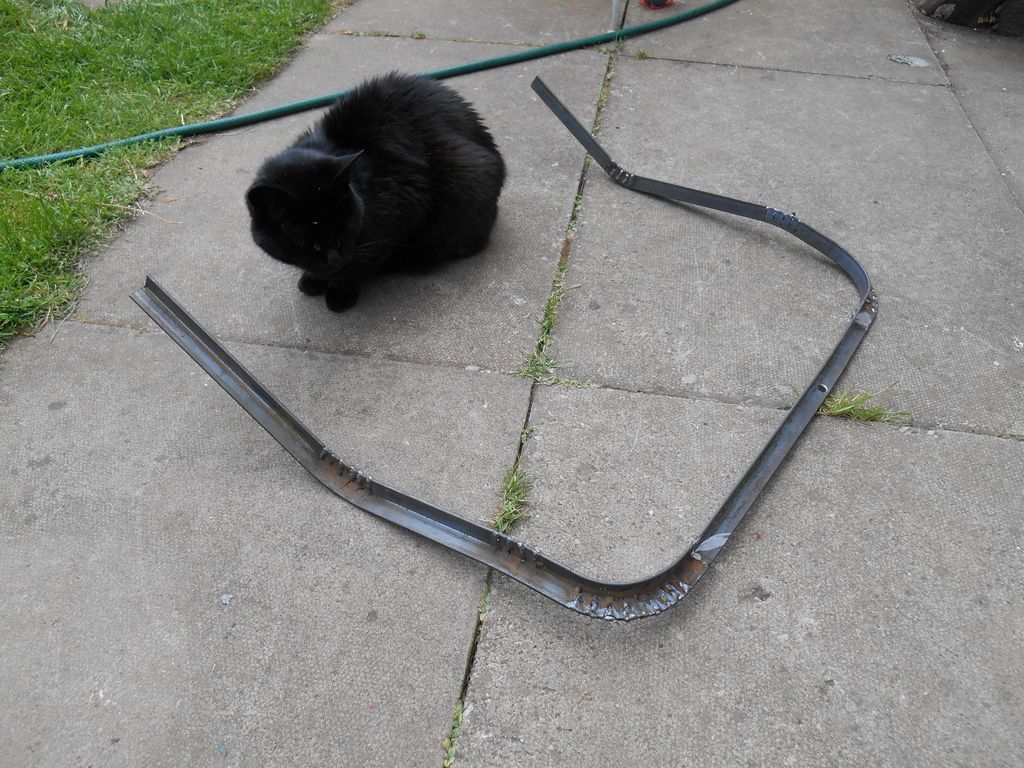
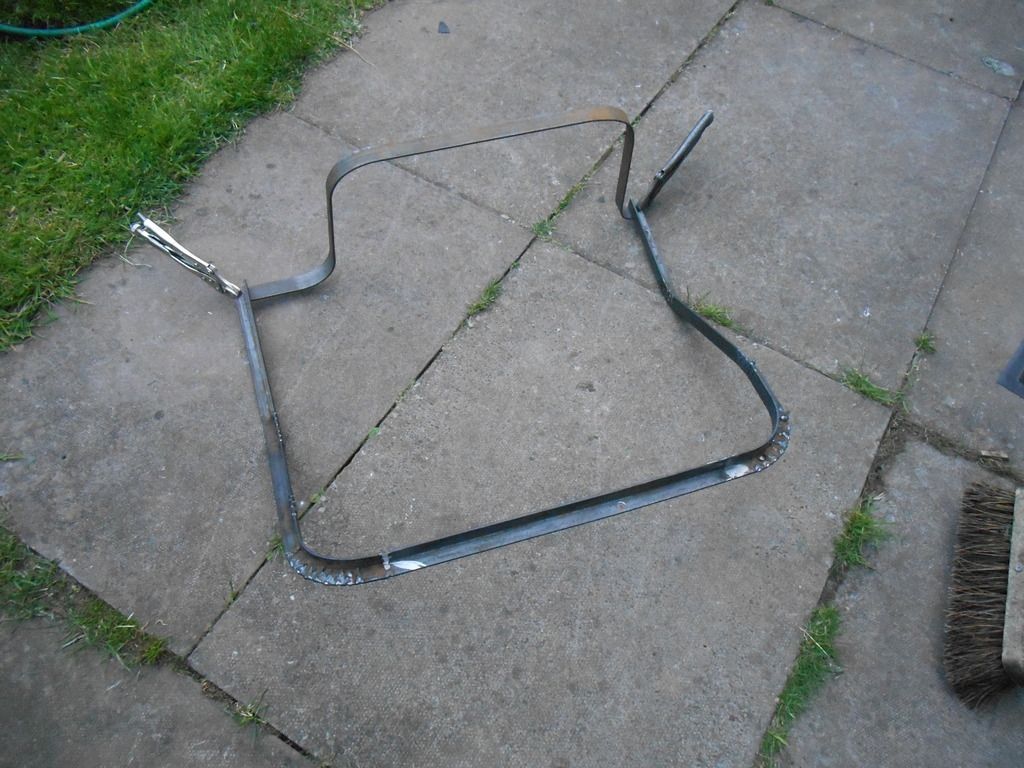
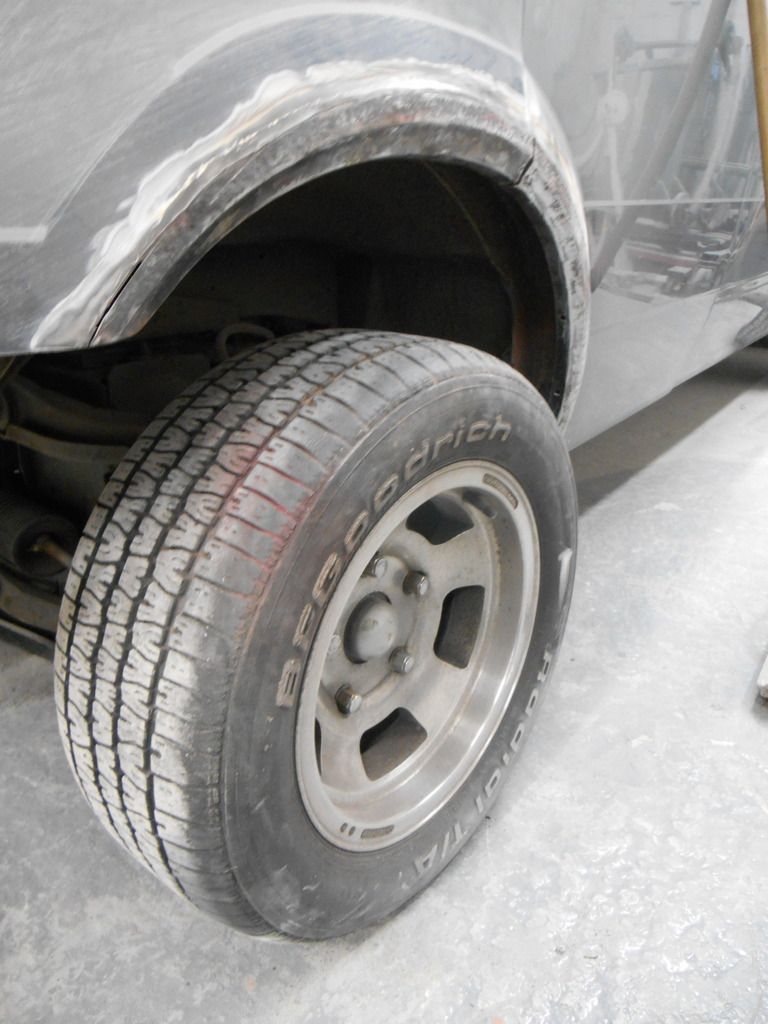
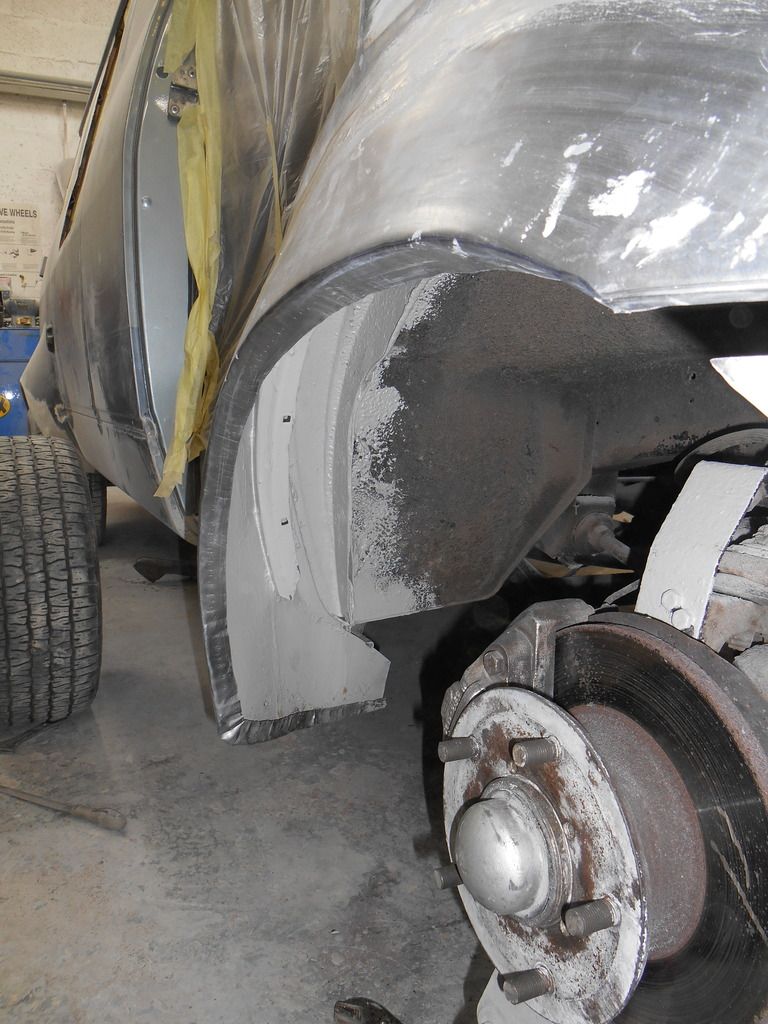
The first day in the shop I started to grind off the paint and filler around the arches where they were welded on and it quickly became apparent that the wings themselves were suffering from corrosion. There was no other option than to cut the arches off altogether, repair the wings and make new arches. This turned out ok as there was also a problem with the tyres bumping on the arches every now and then so it would give me an opportunity to make the arches flare more than before allowing greater clearance.
Using CAD (cardboard aided design) I made some templates and found a shape I was happy with, it wasn't long before the new arches were on and I got on with matching the bumper corners to them.
As is the often the case with these things the closer I looked at the van the more imperfections I saw and before long it was clear a full respray was in order.
I did the best I could with the wire wheel and jenolite sorting out the wheel arches, around the sill areas and other bits here and there where rust was starting.
The bottom corners of the windscreen on the CF is a terrible design, the water runs down into the gap between the panels and gets trapped by a rubber seal, in the end the gap was welded up to prevent any further water ingress, another thing about the windscreen is the seal, they are a bad fit, even though the seal is one I purchased on the last renovation it leaked the whole time so this time, on refitting the windscreen I used a load of gutter sealant to fill in any gaps, this seems to have worked but water still drips in from somewhere, I think it might be the wiper stalk holes. I've tried to stop it and it has improved but still comes in a little bit over time, especially if the van if parked facing downhill in a storm
Moving on, refitting the external door hinges I used a good dose of black sealant to prevent water getting between the body panels and back of the hinges.
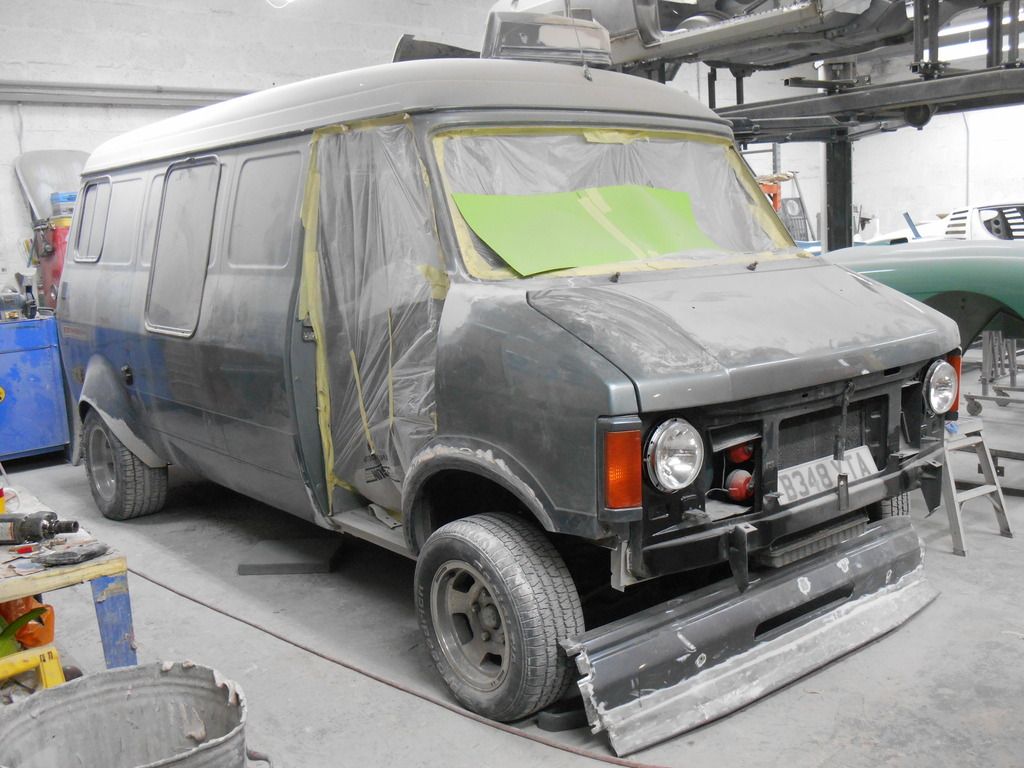
5 Months later and with a hefty bill to pay the van was back on the road.
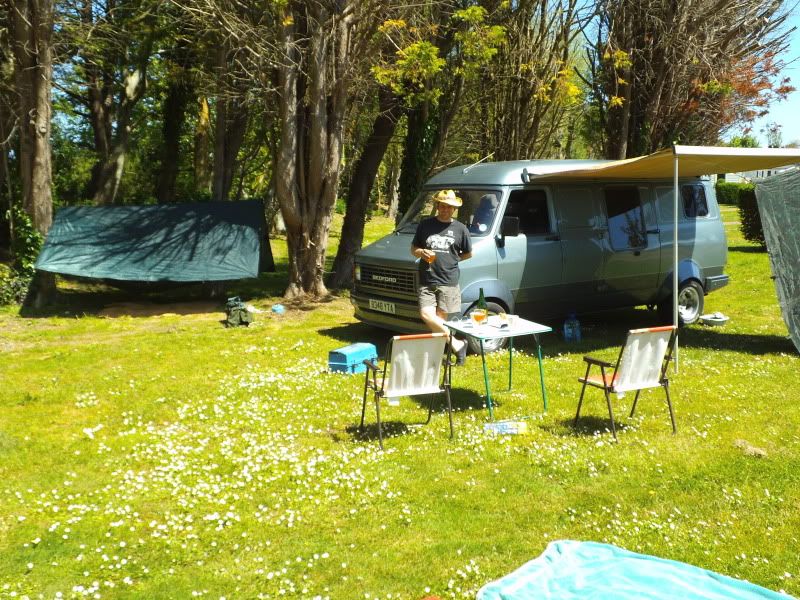
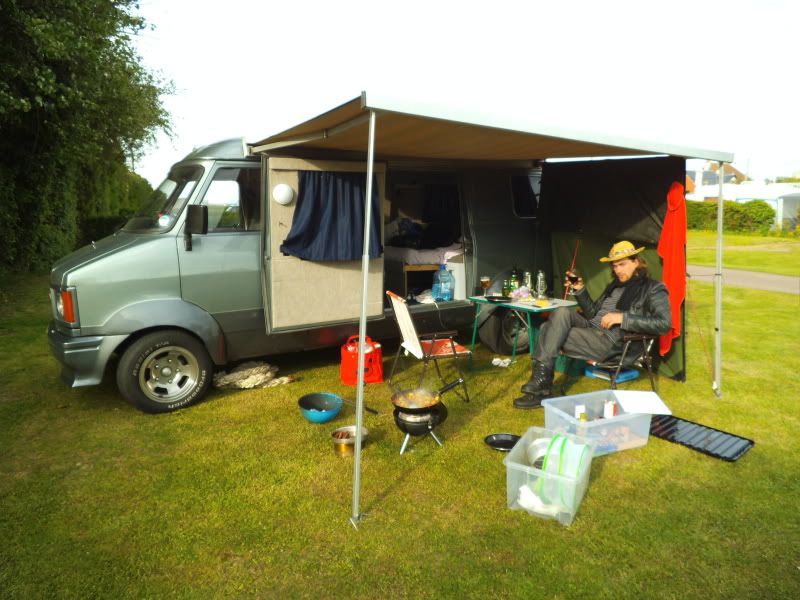
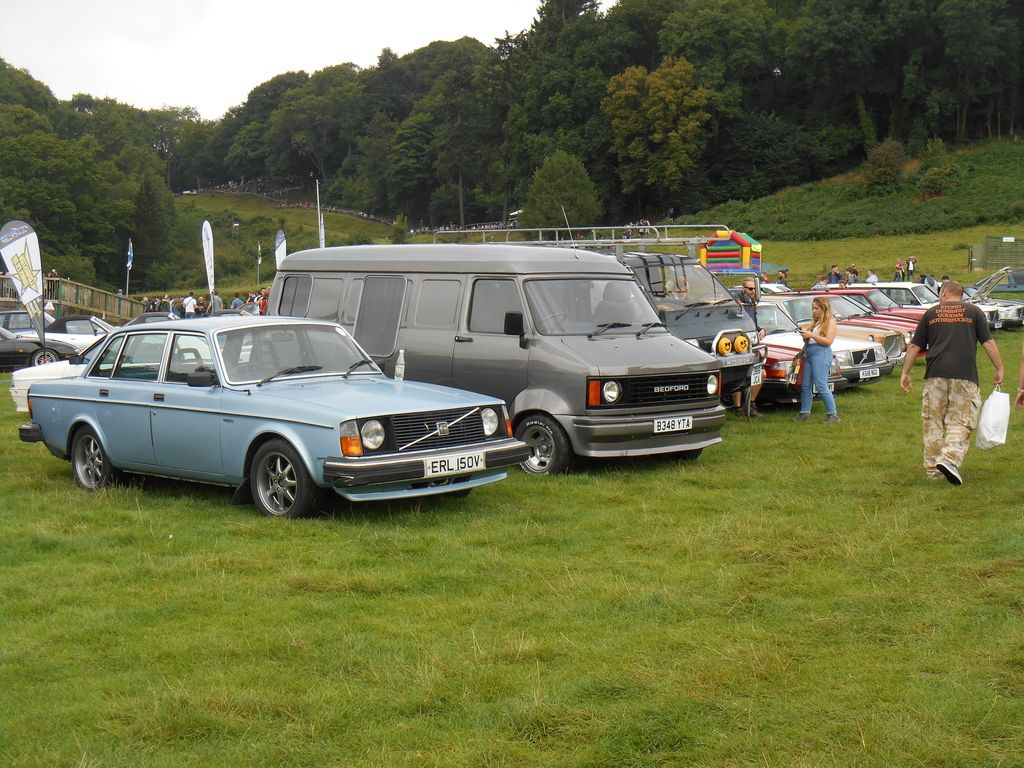
We went on some camping trips and took it to RRG last year (Great show btw!)
2017
Ever since I bought the van I was underwhelmed by its lack luster performance, it really was woefully bad. 78hp (when new) with a 3 speed automatic with a 1:1 top gear and 4.45:1 final drive meant it was happy at 50mph and would do 70mph or more but it was screaming and ran hot, and if you want to cover miles on the motorway you want to be going at least 70 imo.
I thought about my options, raise compression, bigger carb, fit an overdrive unit. nah. The problem with these engines is there is not a lot of interest in them and not much in the way of parts.
My dream was to always fit a Volvo engine and gearbox. I am a Volvo man at heart and it would tick all the boxes, enough power, reliable, fairly compact and good parts availability. A friend was breaking a 240 GLT, which had the 130 hp 8v K-jet unit I took it home for £50 rebuilt it with new seals, gaskets and water pump, got the head skimmed, lapped and lashed, repainted it all and put it back together. I got an AW71L gearbox for £100 its a 3 speed with switchable 4th gear (0.69:1 with lockup) so would give the van the legs it needed to get up to the motorway speeds I want.
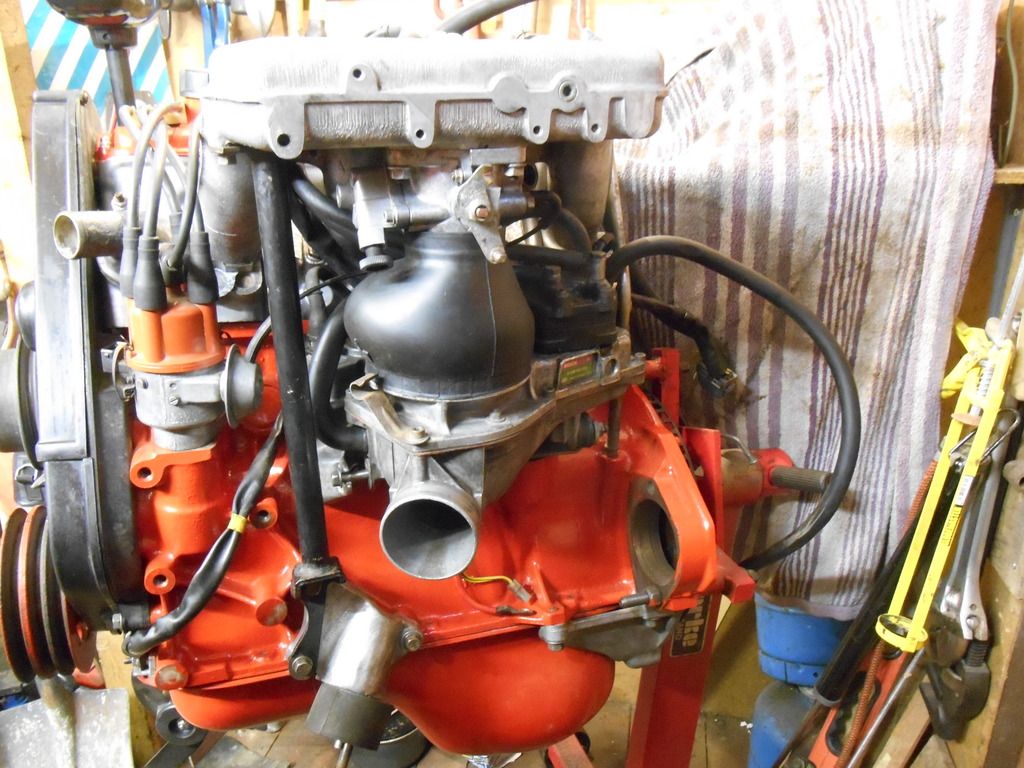
With the engine rebuilt I set about mating it to the gearbox. Its the first time I've ever mated an automatic gearbox to an engine and it seemed pretty straightforward, slide the torque converter onto the input shaft of the gearbox. offer the box up the the engine, bolt it up. Only think I didn't know about was the "wiggle clunk, wiggle clunk" thing. That is to say that the pump drive notches on the torque converter have to be engaged with the tangs on the oil pump, ok I saw the notches and did my best to line them up with the tangs and thought they were lined up but they weren't, the last few turns of the spanner to mate the two items there was a lound twang. That was the sound of the oil pump breaking. I did some research and found out about the "wiggle clunk" thing, and resigned myself to finding another gearbox. Fortunately my good friend Pete Chesher (the guy I got the engine off) was breaking a 940 automatic which had the AW71L I was after
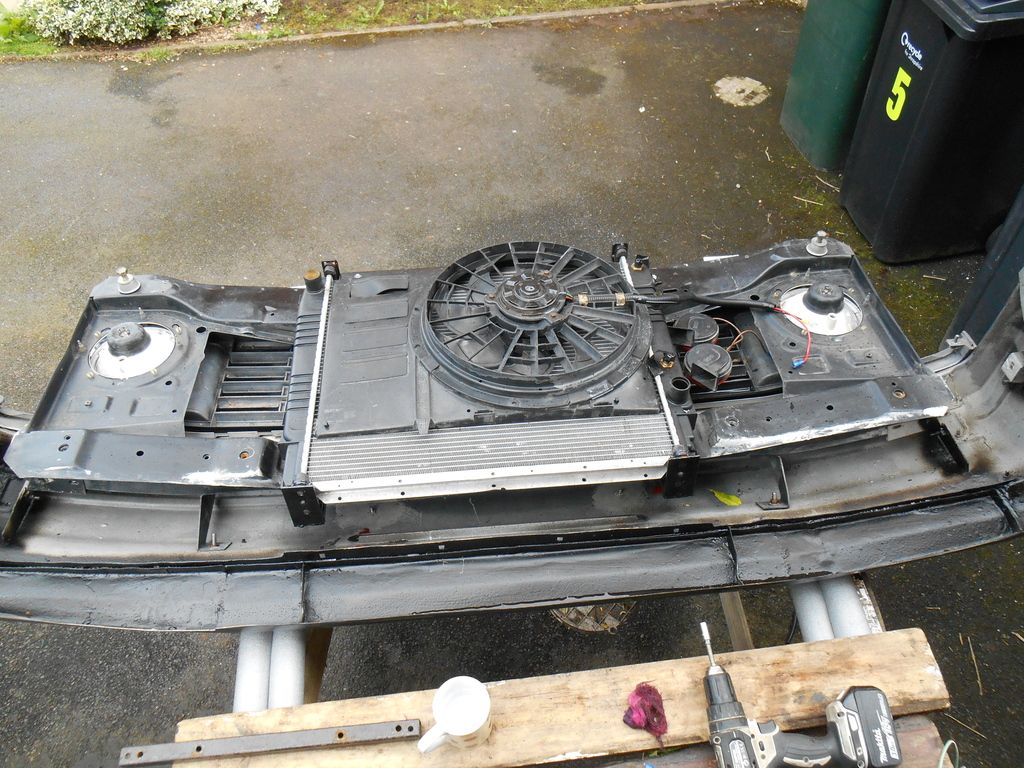
I went to get the gearbox, helped with pulling the whole lot out of the car and got a nice big rad while I was there.
I was a lot more careful fitting this gearbox.
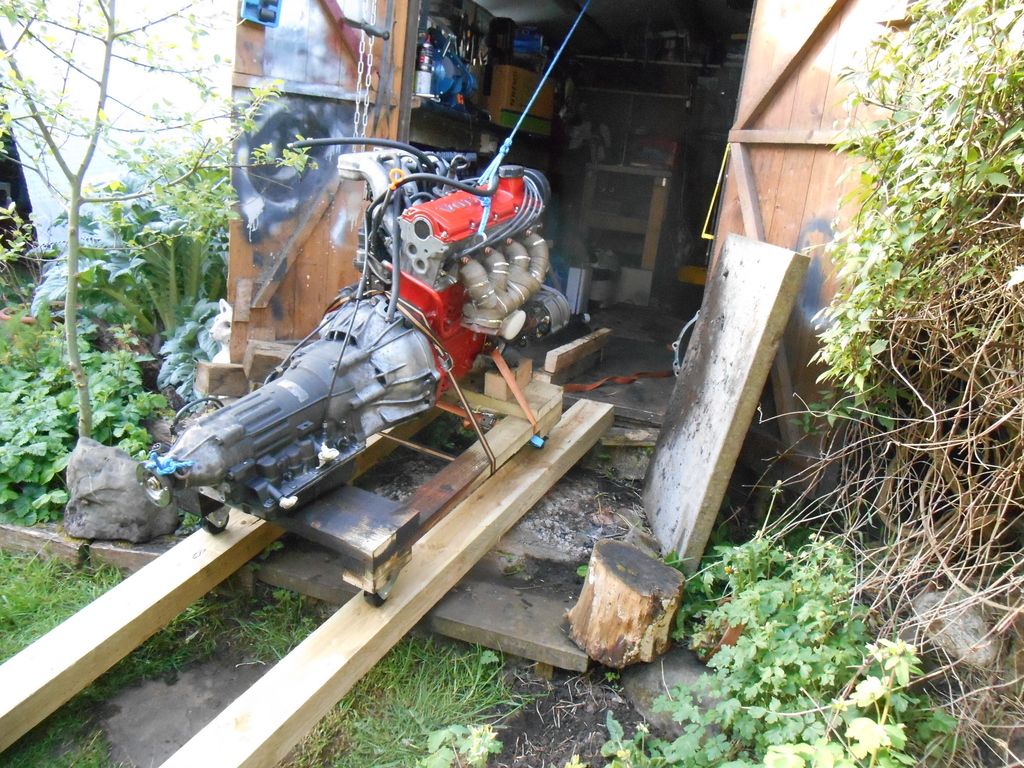
A couple of days later my mate Jeff came over to lend a hand pulling the old engine and gearbox.
A day after that I started to gently move the new unit out of my tiny shed towards the van. I had the intention of fitting the engine complete to give me a clue if it was going to fit at all and also to save the grief of assembling things with the engine in place. Jeff came over again and we shoved and heaved the new engine and gearbox into the van, I had to take the inlet manifold and K-jet unit off to get it through the hole. I also cut off the engine brackets from the crossmember as they were no longer required. I propped the engine up with blocks of wood between the sump and crossmember and the gearbox with a big chunk of oak, I set about getting the engine where I wanted it, trying to get the tailshaft in the same position as the previous one so the UJ angles would be about the same (I measured the position of the old one before removal)
The engine was sat over at a sight angle from its normal position but its not much.
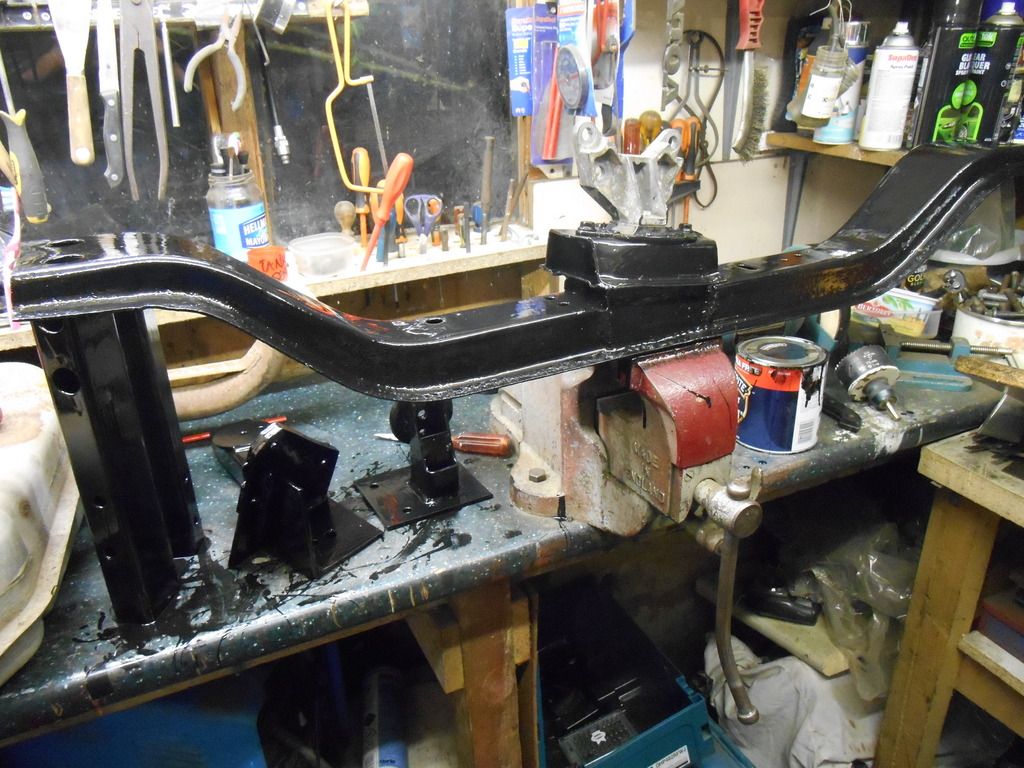
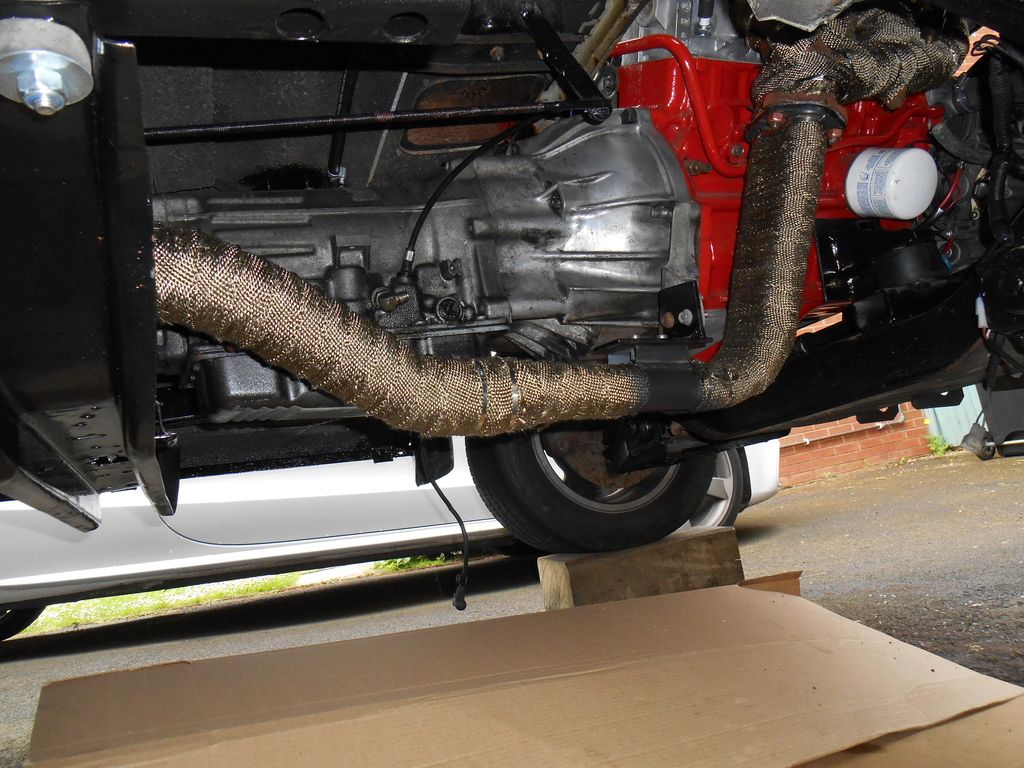
With the engine in a position I was happy with I got the Volvo gearbox crossmember and cut of the ends so I was left with just the bush carrier section, I bolted this up to the gearbox and then hung the bedford crossmember off that with cable ties to get it in place, I measured the angle using a sliding bevel and cut some plates to fill the gap, marked everything up and tacked it all in place.
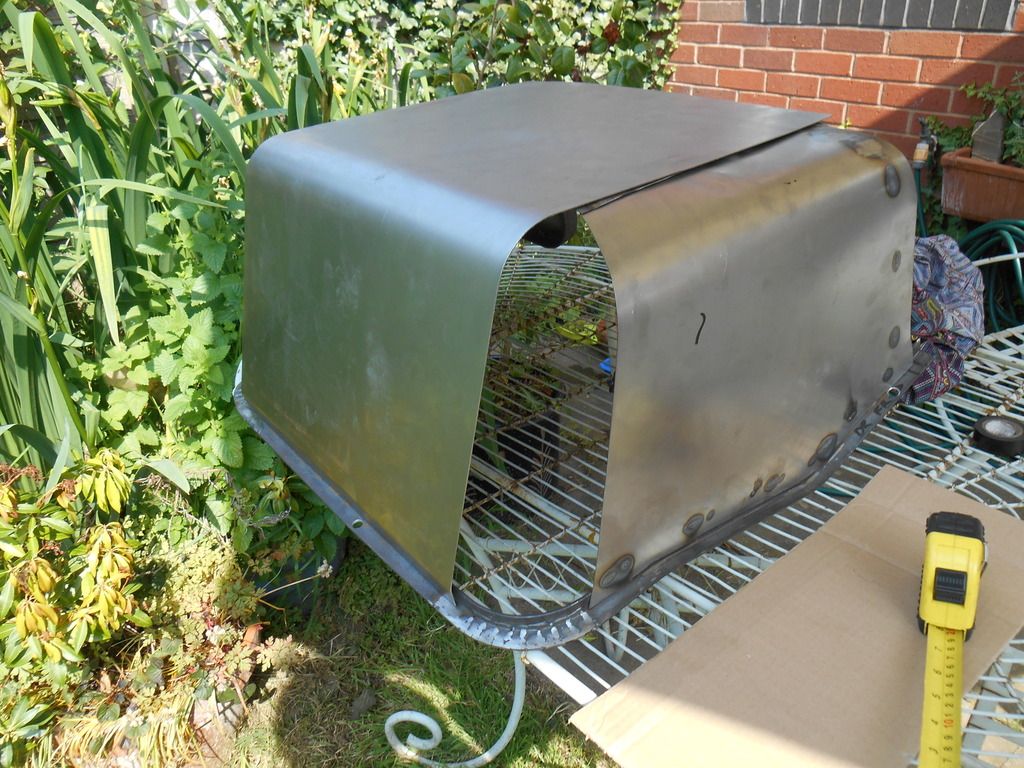
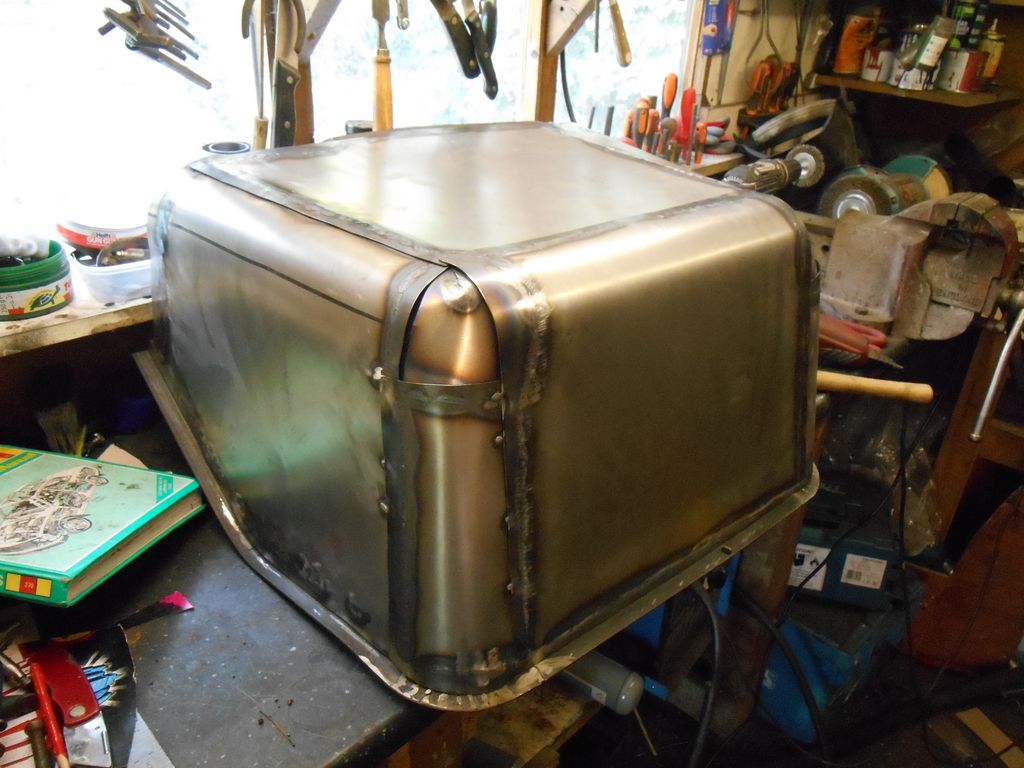
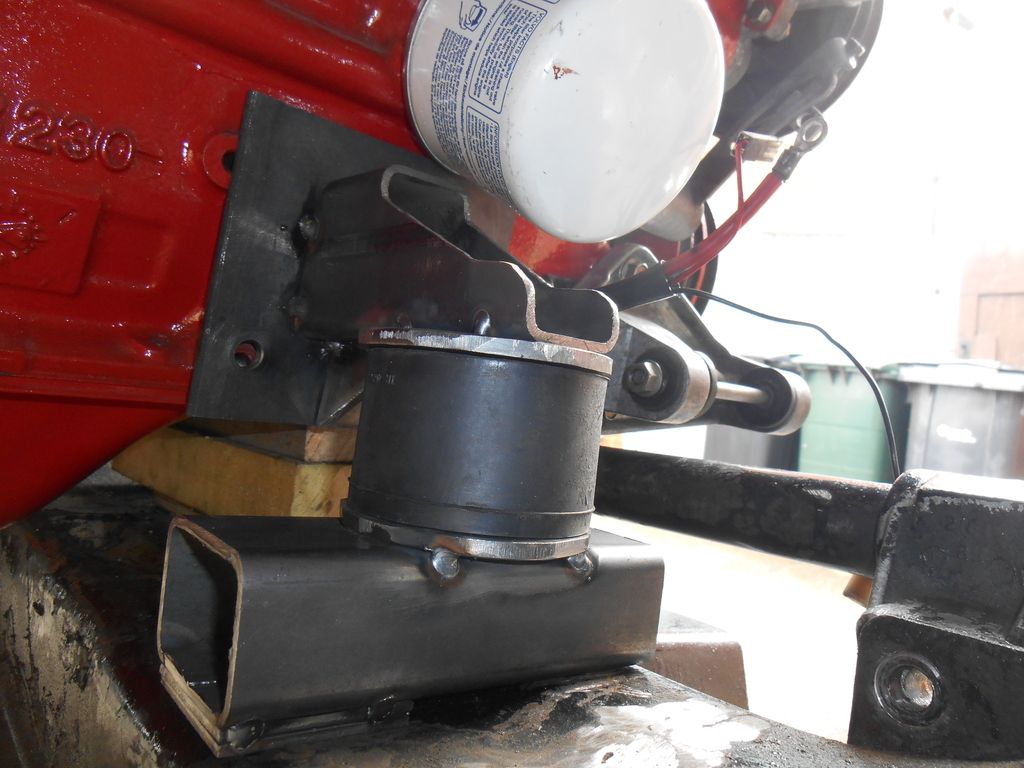
I went to a local fabricator and bought some metal to make my engine mounts. I got 1 metre 80mm x 80mm box, 1 metre 60mm x 40mm box, 1 metre 100mm x 100mm x 6mm angle and a piece of 6mm flat plate. I used the original volvo engine bushings, I cut some 6mm plates out for each side and fitted them to the engine where the original mounts went then worked from there. I tried to type out how I have made the angles but a picture speaks a thousand words so have a look. I cut the bits up to how they needed to be and tacked them together, then I took them to a local fabrication firm and asked them to weld them up properly for me.
I really didn't want to cut into the floor which is a common thing with engine swaps in CFs, but I had to in the end, there was just not enough room on the passenger side for the inlet manifold and K-jet unit. I ended up cutting around 3" out of the passenger footwell, not bad considering some swaps I've seen leave hardly any room for pedals let alone feet.
Once I'd got the mounts back from the fab shop A mate came over with his arc welder and thoroughly welded all round the bottom ends of the mounts to the crossmember.
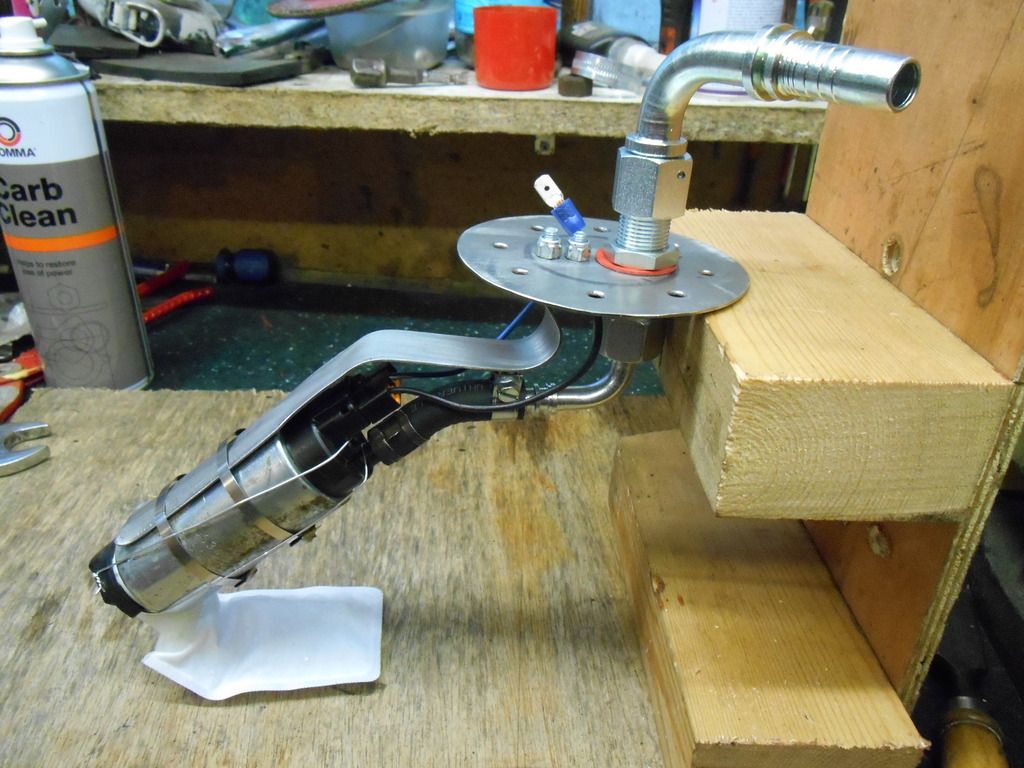
Next I started on the fuel side of things. The old set up just had a mechanical pump and the K-jet needed an intank pump and a bosch 044 to run properly, I cut a hole in the fuel tank and made an intank unit using an old walbro 255 that I had. I made a bracket to hold the volvo main fuel pump and accumulator cradle. I made a little bracket to hold the fuel filter, got some lines sorted and that was that. Sounds easy but this took about a week to figure out and assemble.
Next off was the propshaft, I was amazed by this. I took the propshaft over to Shelly Transmissions in Wolverhampton, I took the front end of the Volvo shaft too, I asked them to make one out of the two, but the guy took one look at them and said "That Volvo UJ is an S13, the same as the Bedford one so what we'll do is fit the Volvo flange to the beford UJ and shorten the whole thing down, that way we wont have to step the tube diameter up" (the Bedford shaft was a fair bit wider than the Volvo one) I was worried about how much this would cost, thinking the bill could easily be in the hundreds but the guy quoted me £50 plus Vat and later that day he called me uo to say I could collect when I was ready, the bill was as he had quoted.
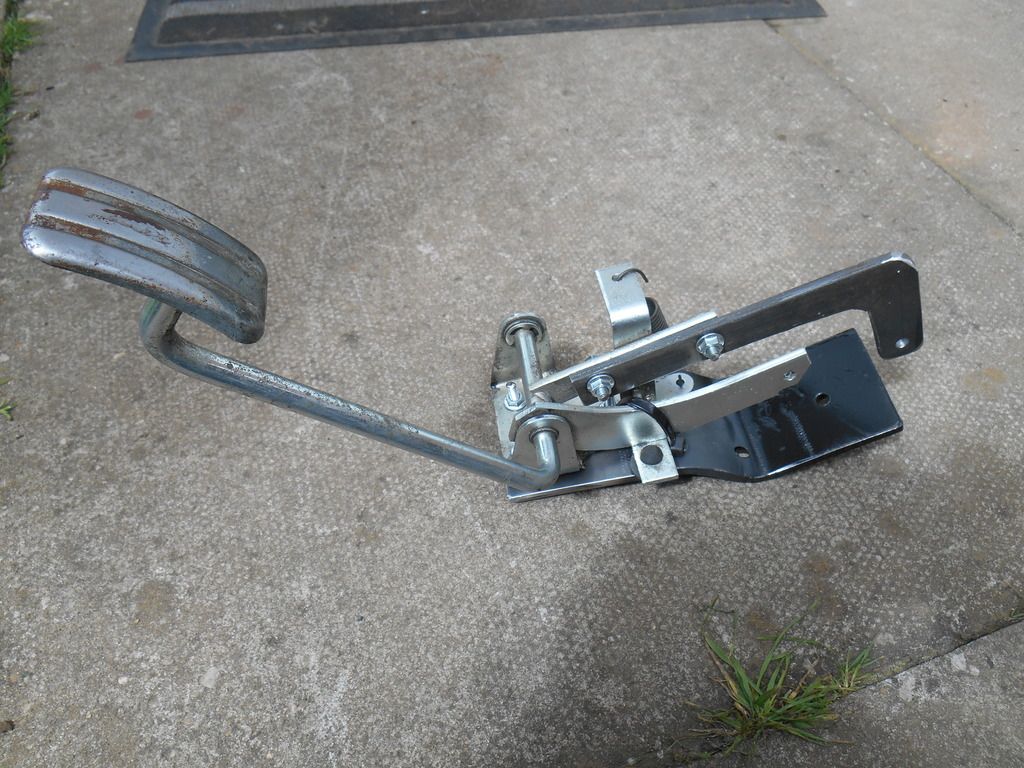
Accelerator and throttle. A happy coincidence cable on the bedford worked ok with the volvo setup apart from the Volvo throttle spool is way bigger than the weber ICT one, this means that with the Bedford pedal fully depressed I only got 1/2 or less throttle opening. The solution I came up with was to lengthen the lever that comes off the pedal and make a bracket to move the pedal hinge down so the cable is not bent up at an angle where it comes through the firewall to connect with the lever clevis pin.
Next was the shifter linkage, I wanted to use the original shifter. I thought about this for days, trying to figure out how to make it so one click on the shifter made the gearbox shift one click. The solution was easy in the end, all I had to do was to make the lever on the bottom of the shifter the same length as the one on the Volvo shifter, ditto with the other two levers that helds the rods. Again, this took me ages to figure out but when I think back it seems so simple. An afternoon of cutting and welding and the linkage was complete.
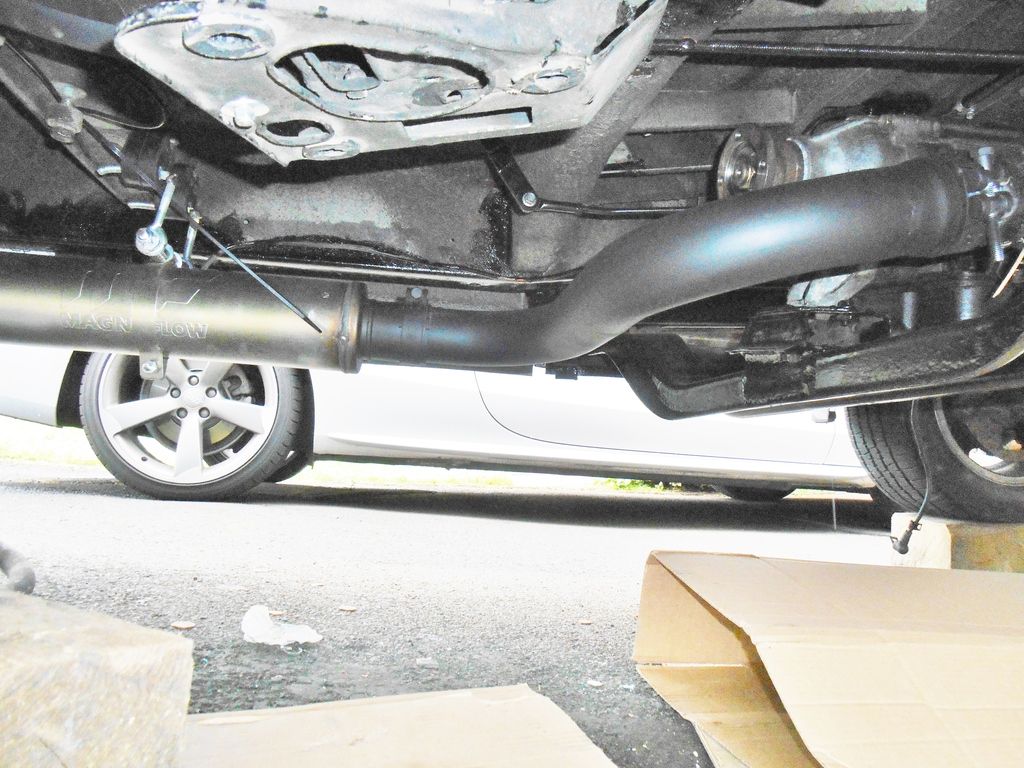
Next off was the exhaust, I adapted a standard Volvo downpipe, by cutting it off after the 2-1 collector and welding on some 2.5" pipe I had, I used pie cuts to shape the exhaust over the gearbox crossmember, this was all wrapped in exhaust tape. I carried on with the whole exhaust in 2.5" with just one 18" x 4" magnaflow muffler, it is very loud, sounding a bit like a rally car so I plan to get another 18" x 4" muffler and fit it near the tail end. (I left provision for this on the section behind the axle. I finished off the exhaust by painting it with PJ1 exhaust paint.
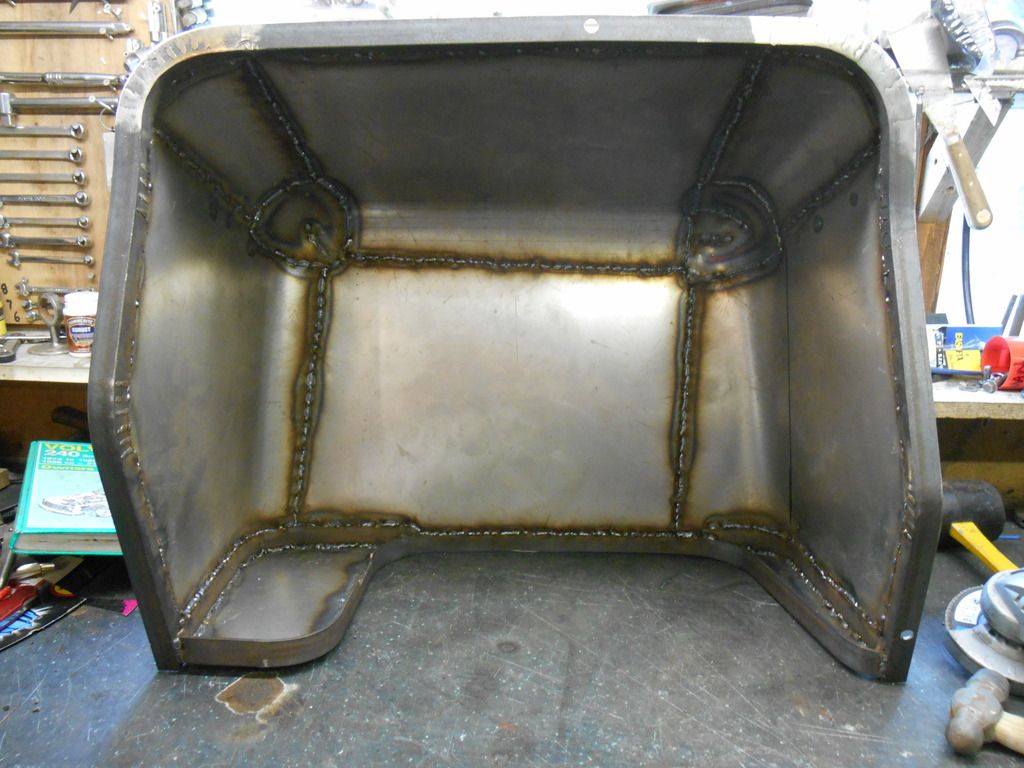
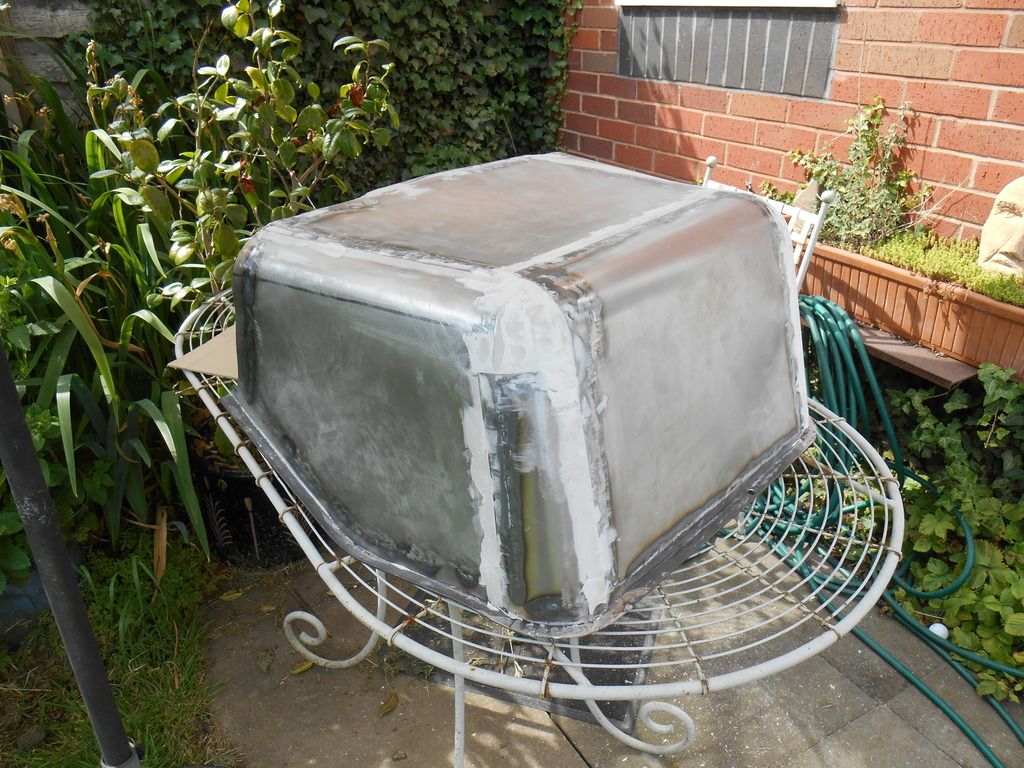
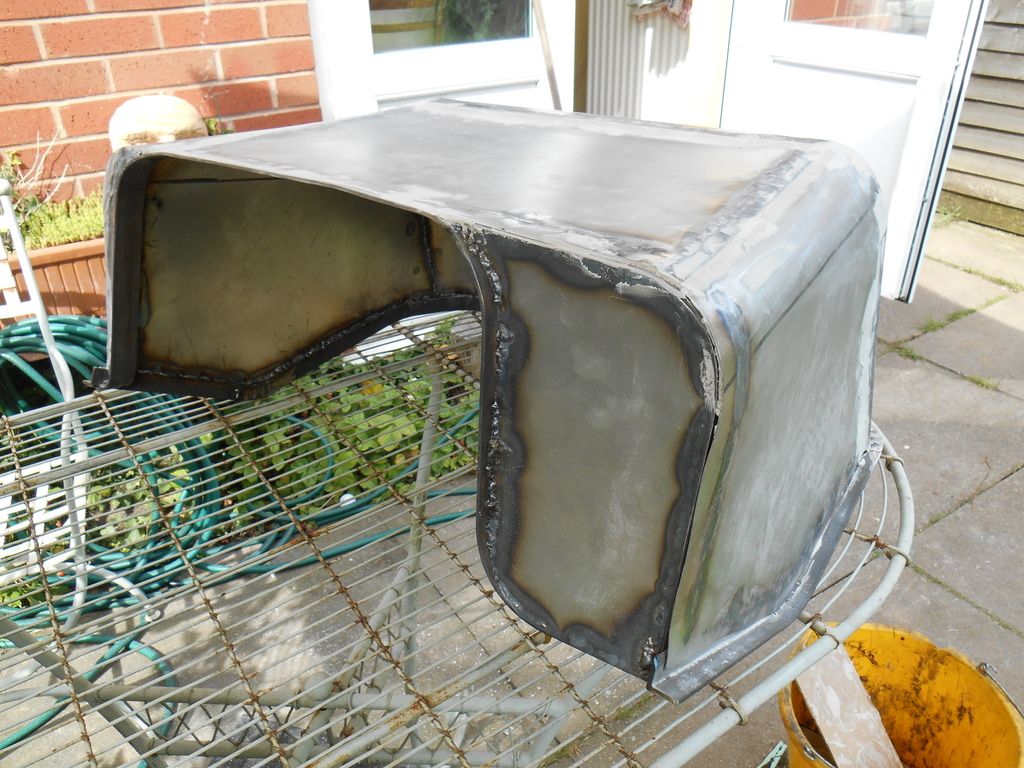
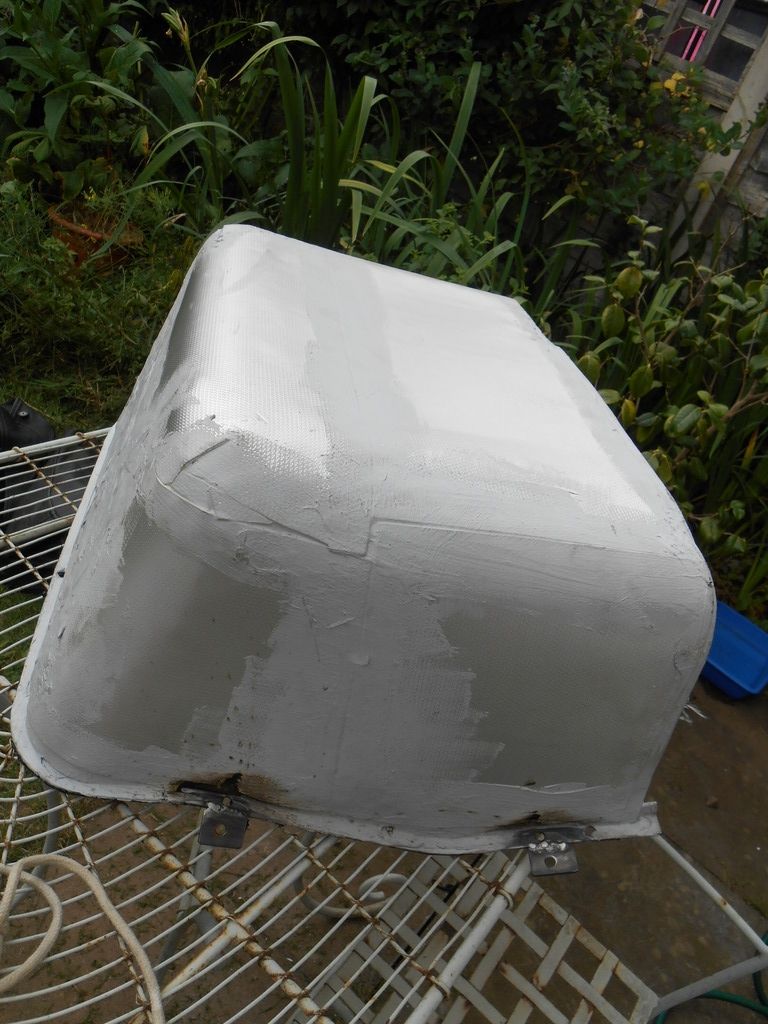
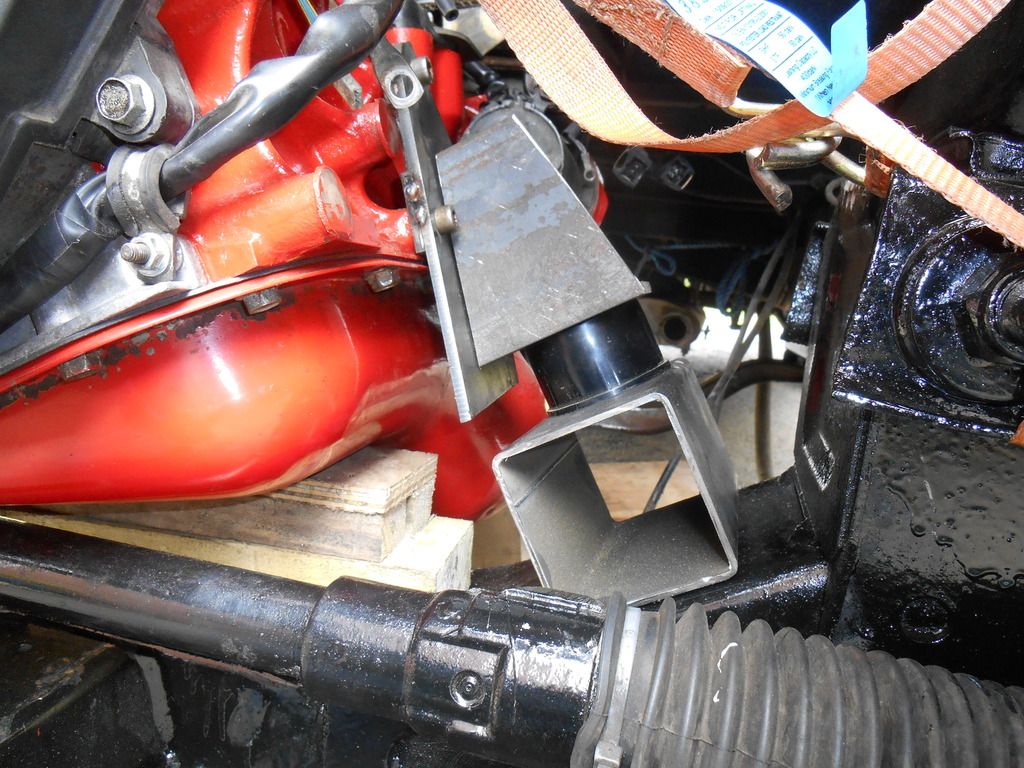
The air intake is just a simple cone filter connected via a metal wedge shaped box to the K-Jet unit, the wedge shaped box is in place of an elbow as it is a flatter profile meaning less cutting of the floor
The Radiator is a Volvo 940 turbo Auto with A/C one, its way more than adequate for this engine, I have fitted a 940 electric fan and aftermarket thermostat which only kicks in once the engine has been sat running for 5 mins plus as it takes this long to start to overheat.
Just under two months and around 200 hours of work after the old engine was pulled out I started the new one.
Excited and elated I drove the van up to my mates workshop to borrow his timing light. I've put a couple of hundred miles on it in the few days since, trying to see if there are any problems with the conversion but so far so good. It pulls strongly, shifts nicely and has more than enough in terms of top speed. Now all I need to do is make the engine cover and fit the extra muffler.
I made a little series of videos with more details of things I've done during the conversion they are only short...
www.youtube.com/channel/UCfZXhvdI7YEz703lcnAU1kQ/videos?view=0&sort=da&flow=gridI hope you like the update, if you have any questions please ask.