Lumix TZ7 compact lense swap.
Befor we start its the disclaimer and *WARNING* Do not carry out this repair unless you are really confident about opening your camera up.
Allow for the possibility of the repair not working and your camera being scrap. If you cant handle this possibility leave it alone and take it to a professional.
The reason I decided to carry out this repair was down to the effects seen in part 1 of this set.
A lot of online "experts" will argue that dust on the lense will not effect picture quality but I was finding that the dust in the lense was a problem.
I had opened the camera a few times to clean the sensor as this is a common fault but dust on the sensor in my experience causes dark patches, the patches in part 1 are light and to me very different to the effect of a dirty sensor.
I hope you find this useful but please do not hold me responsible if you try this job and fail.
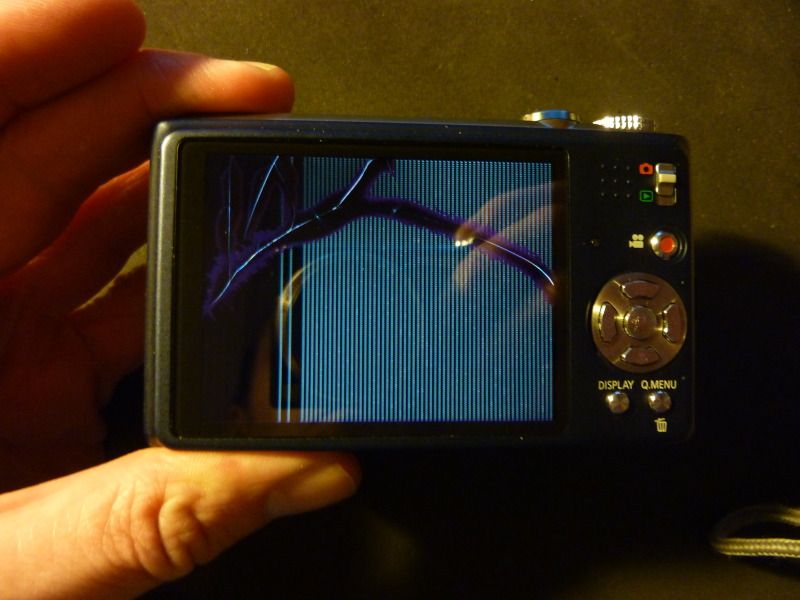
Here is an example of the problem. This picture was taken on a dry day and the outside of the lense was completely clean.
 Lumix repair Pt1
 by
route9autos.co.uk, on Flickr
I had also ruled out dirt on the sensor as I have had a few cases of dirt on the sensor and as it is directly on the sensor it tends to show up as dark patches, not the light areas seen here.
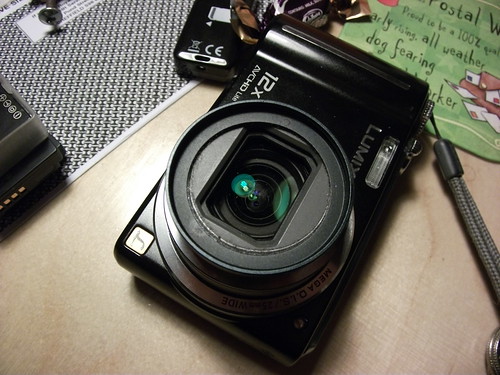
I had to use a lesser quality camera to take pictures of the process but you may be able to make out the specks of dust inside the lense.
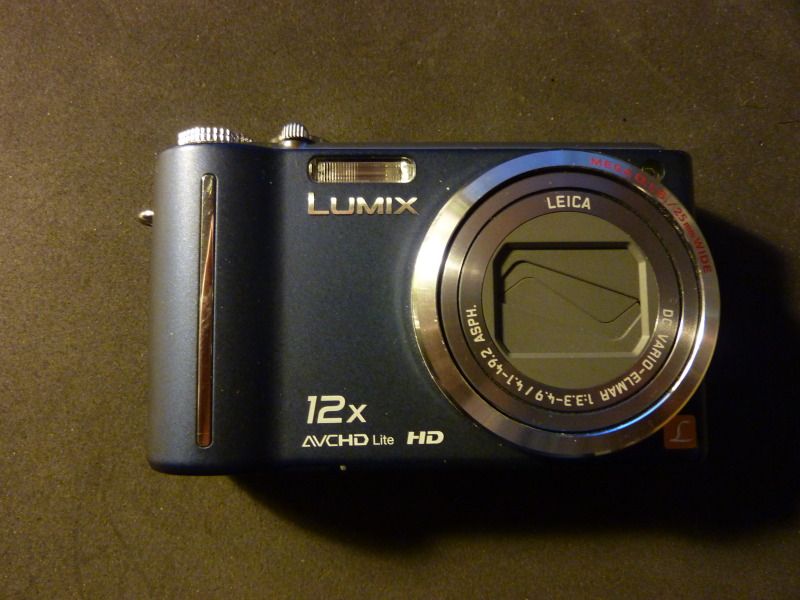
The black ring is glued to my lense and is threaded to let me use filters on my compact camera.
 Lumix repair Pt2
 by
route9autos.co.uk, on Flickr
Job 1 is getting into the camera. With a size 0 phillips screwdriver I went round the camera body and removed the screws. I removed the fixings for both the front and back covers of the camera.
 Lumix repair Pt3
 by
route9autos.co.uk, on Flickr
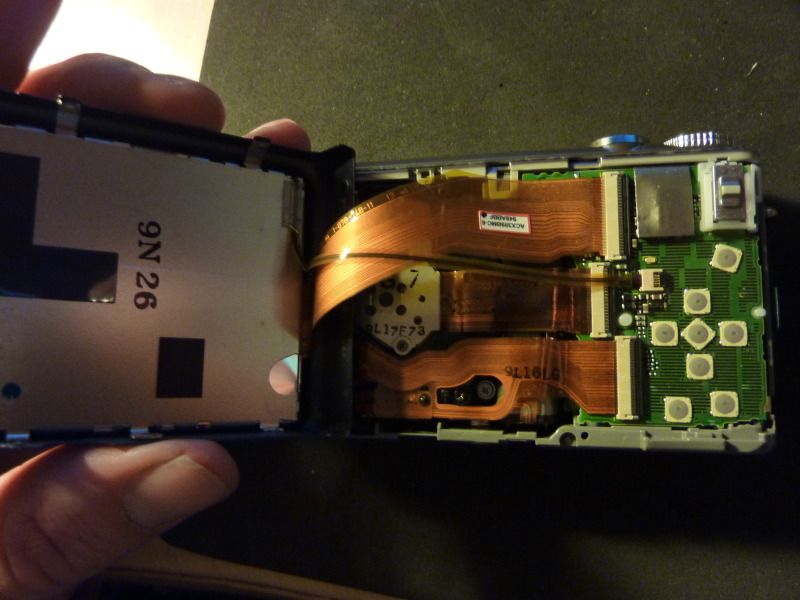
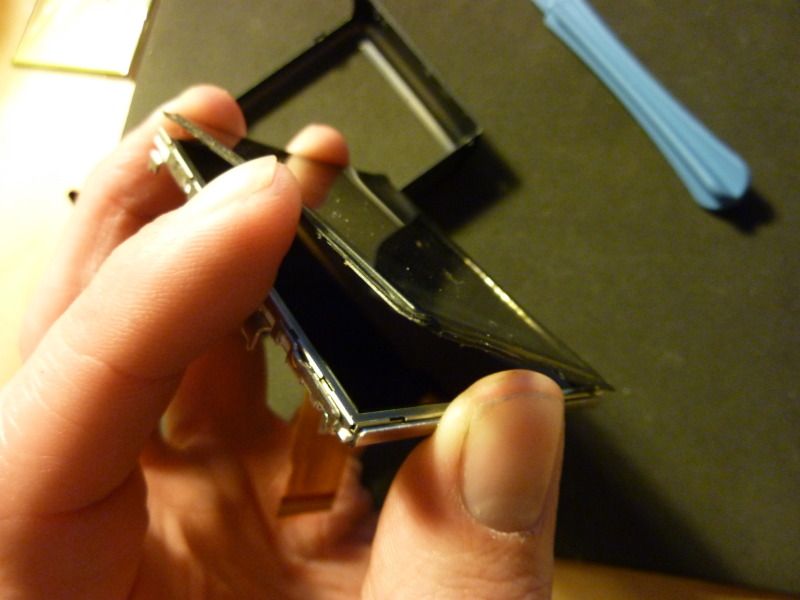
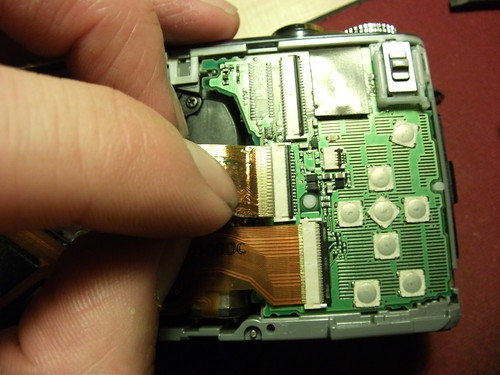
With the covers removed you need to remove the ribon cables for the screen.
See part 6 for a close up of how the connectors work.
The tripod mount also needs to come off. To remove it, slide it to the left as you look at this picture then lift it out.
 Lumix repair Pt4
 by
route9autos.co.uk, on Flickr
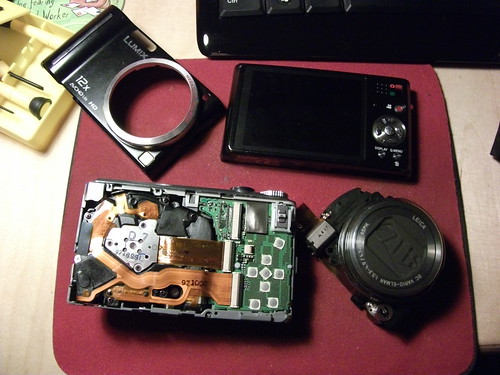
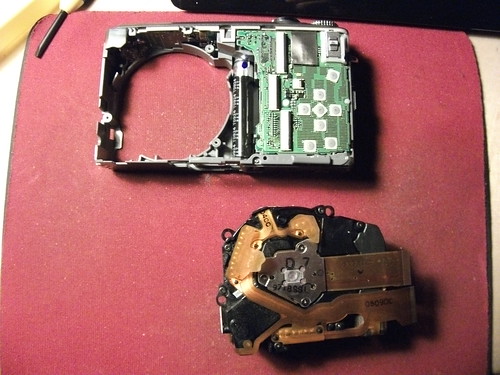
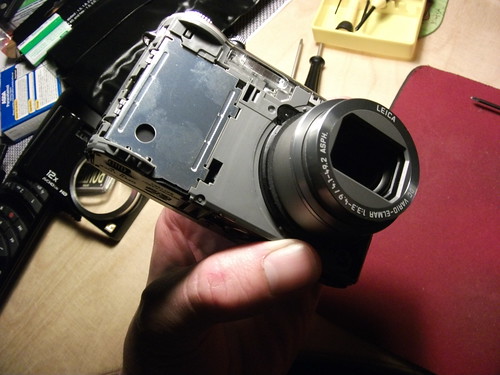
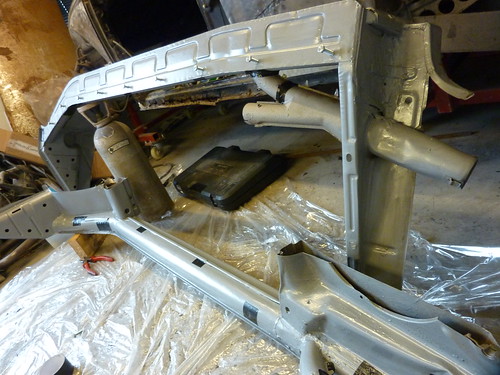
With the covers removed I have laid out the parts along with the new lense unit seen on the right.
 Lumix repair Pt5
 by
route9autos.co.uk, on Flickr
The ribon cable on the bottom operates the lense and the ribon connector above is for the sensor.
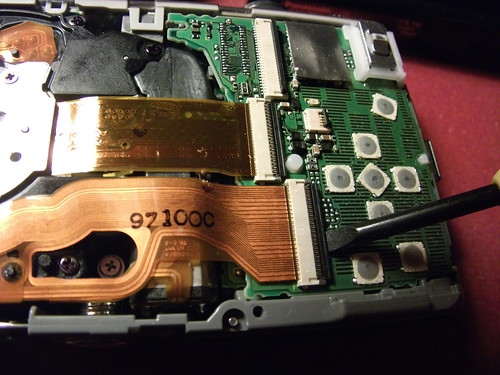 Lumix repair Pt6
 by
route9autos.co.uk, on Flickr
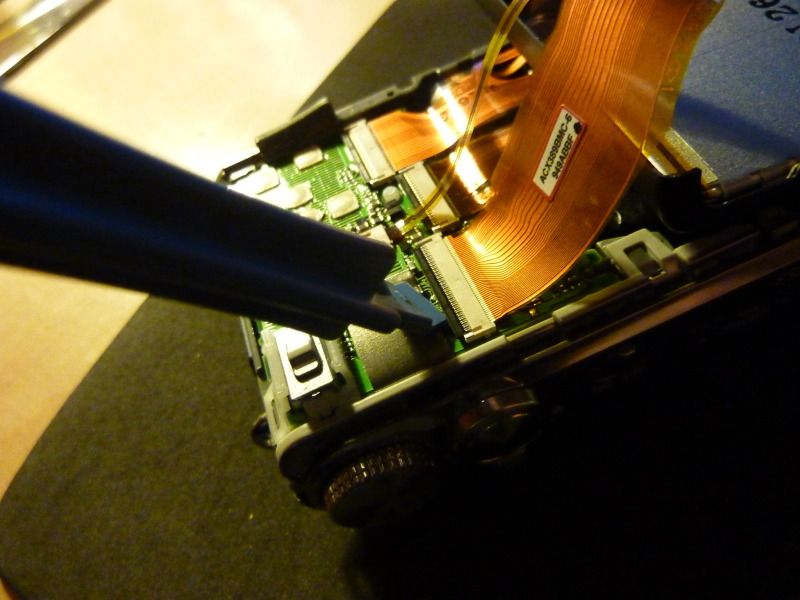
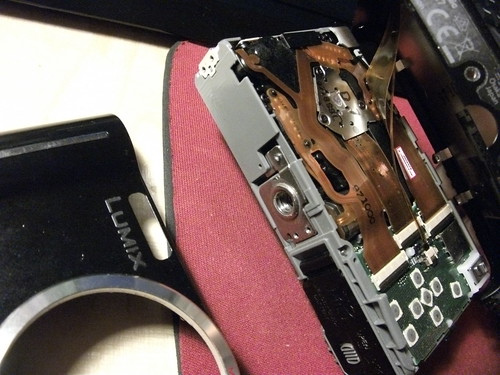
To remove the ribon cables from the connector, gently pry up the grey bar and then pull the cable from the cconnector.
Be careful with the ribons, they damage easily.
With the ribons disconnected its time to remove the 3 screws that hold on the lense unit.
 Lumix repair Pt7
 by
route9autos.co.uk, on Flickr
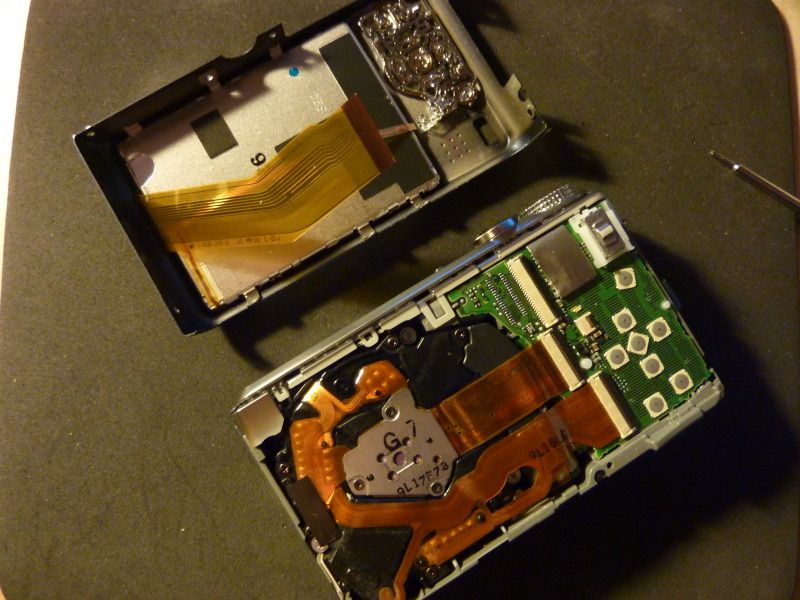
On the left is the old unit and on the right is the new one.
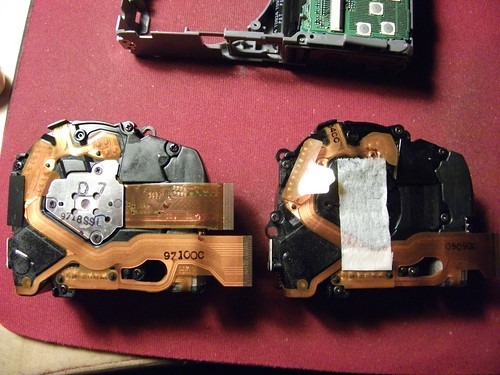 Lumix repair Pt8
 by
route9autos.co.uk, on Flickr
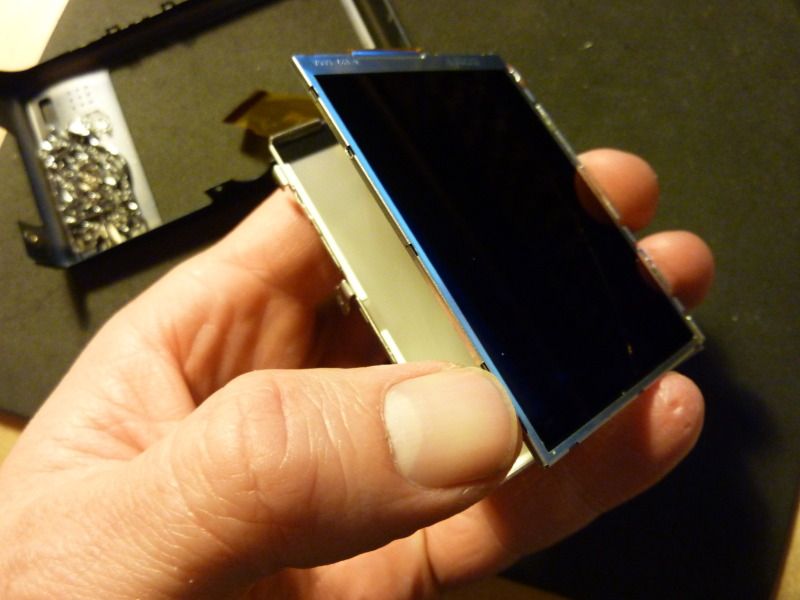
The new unit is supplied without a sensor so this needs swapped over.
The sensor unit is the silver plate in the middle of the lense and is held on with 3 screws.
If simply doing a sensor clean you can bypass part 5-7 and with the sensor screws undone lift the sensor up to clean it.
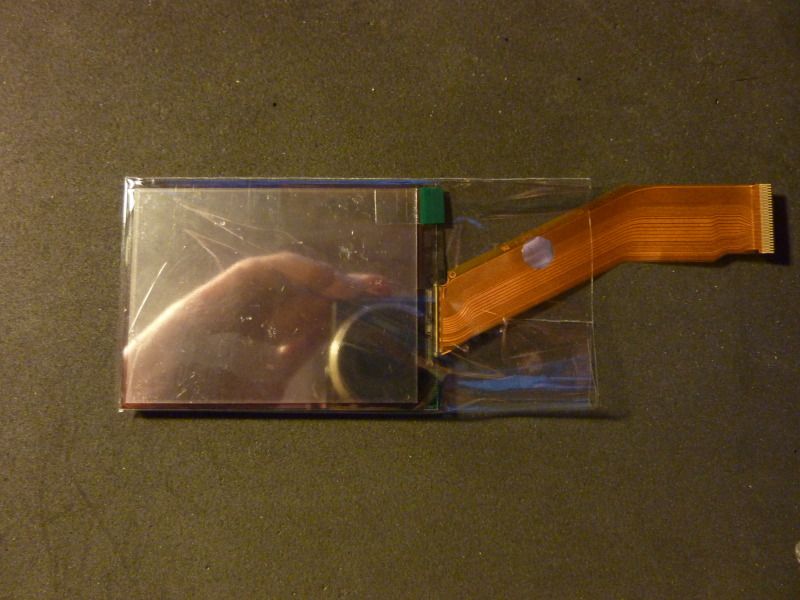
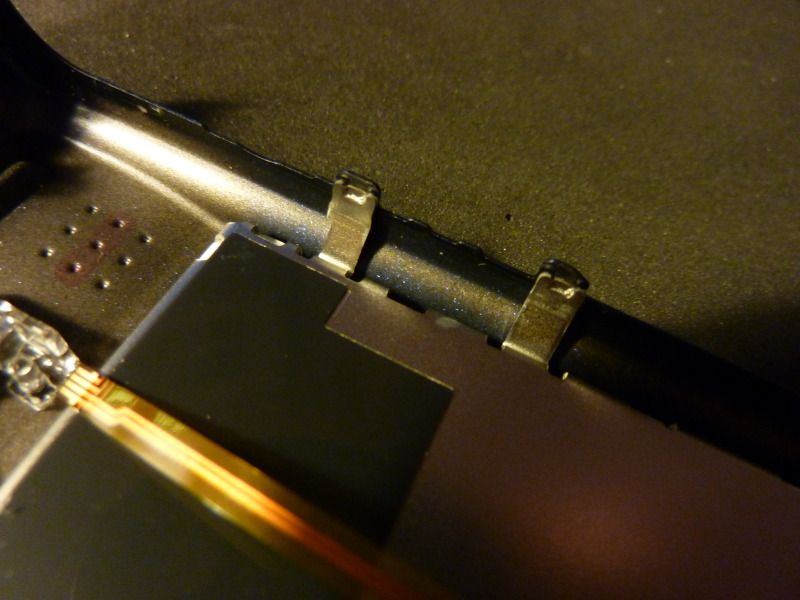
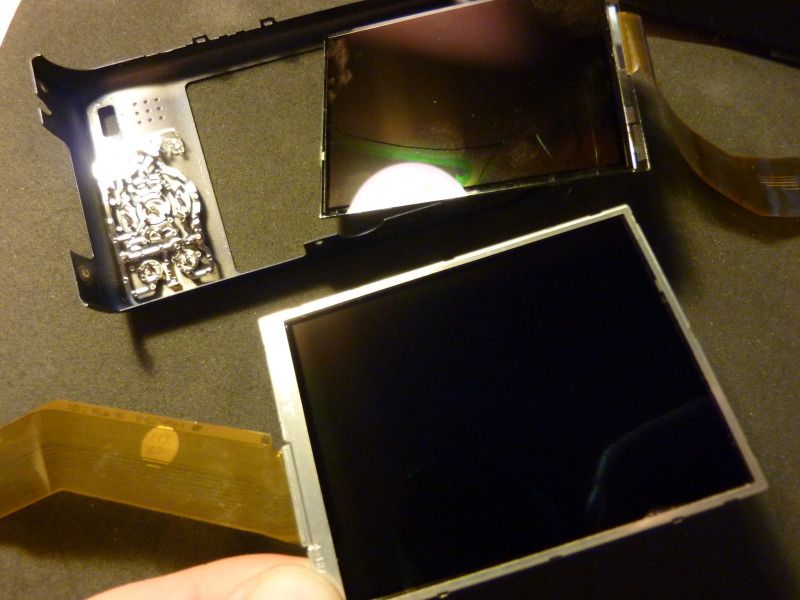
This is a view of the important side of the sensor.
 Lumix repair Pt9
 by
route9autos.co.uk, on Flickr
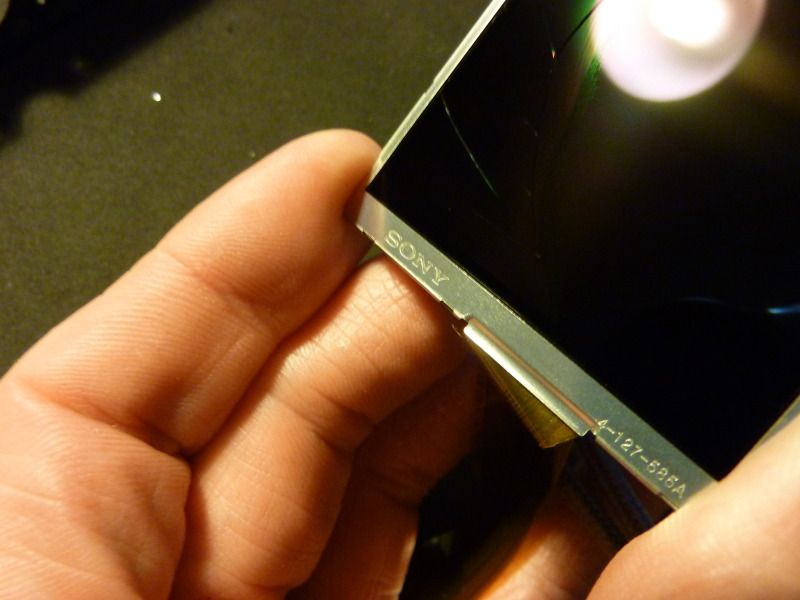
If doing this yourself, make sure the filter is attached to the front of the sensor when you remove it.
Make sure you do not touch the front of the sensor or the filter and try and keep everything as dust free as possible.
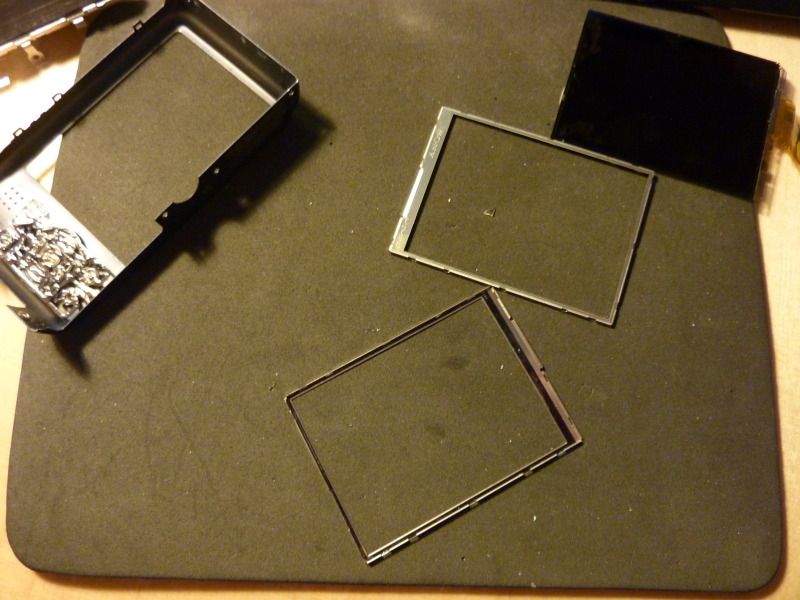
With the sensor swapped over its time for re-assembly.
 Lumix repair Pt10
 by
route9autos.co.uk, on Flickr
You will find it easier to set the screws in place on the lense before lowering into the body as they are pretty fiddly to get in once the lense is fitted.
Make sure you don't force anything, it will all sit in place without pressure.
Re-fitting the ribbon cables is straight forward enough but again be careful not to kink or crease them.
Once they are back in place you can close over the grey bars to lock them in place.
 Lumix repair Pt11
 by
route9autos.co.uk, on Flickr
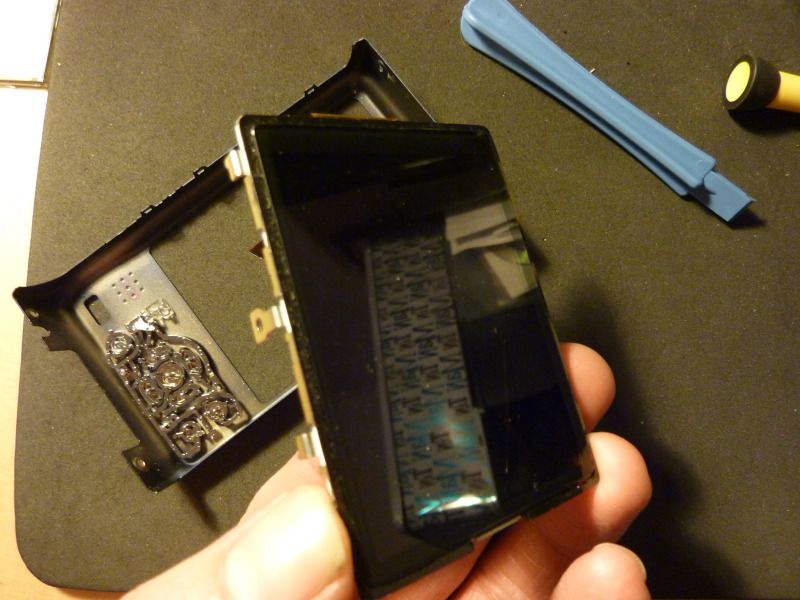
Before closing the body I put the battery back in and gave the camera a quick test, making sure my fingers were away from the flash capacitor.
 Lumix repair Pt12
 by
route9autos.co.uk, on Flickr
All seemed good so I finished off assembly and you will be able to see how successful the job was with my future pictures.
Hope you enjoyed watching me risk my camera but in my opinion, nothing ventured nothing gained.
Dave


 The lens refused to focus when above 6x zoom so a look on you tube for directions I dismantled the lens unit and cleaned out the inside.