|
|
|
|
|
Ok, so I'm planning on getting new engine bits and bobsicles to replace. List at the moment is Dizzy cap Rotor Arm HT Leads Vac pipes Spark plugs (although I think I have a set somewhere) Inlet and turbo gaskets (also have upstairs I think) Is there anything else obvious I'm missing that really could and should be replaced now  I'm wondering about the injectors but they tend to be a little pricey. Chris |
| |
|
|
|
|
|
|
|
|
|
|
The injectors I would just get ultrasonically cleaned and flowed, much cheaper than new ones and will let you know they are matched and working.
Any other rubber components that might be old and perished? How are the fuel lines looking?
|
| |
|
|
|
|
|
|
|
ran completely new fuel lines everywhere already. Interesting about the injectors.. shall look into that  |
| |
|
|
|
|
|
|
|
Yesterday I got the chance to address one of the annoyances of dropping a 2.6litre turbo engine into the engine bay of a 1976 2litre n/a car. The oil cooler was originally planned to be mounted behind the o/s front valance.  The issue then arose that I couldn't actually attach the front valance as the oil cooler was kicking the wing out of alignment. Meh! It got whipped off and popped across the other side of the engine bay behind the headlight. And there it stayed, pretty much just cable tied into place. I have an idea to cut a clearance hole in the front valance to allow a corner of it to poke through, thereby allowing more air flow, and giving a little nod to the crazy mofo's such as Mr KFW (along with a million Japs) who pop them out on the front bumper with the braided lines running out of the headlight. I love that look, but just not for this car  Well, that idea was scuppered too, as the indicator pod takes up all that space behind the front valance... grrrr Take two! 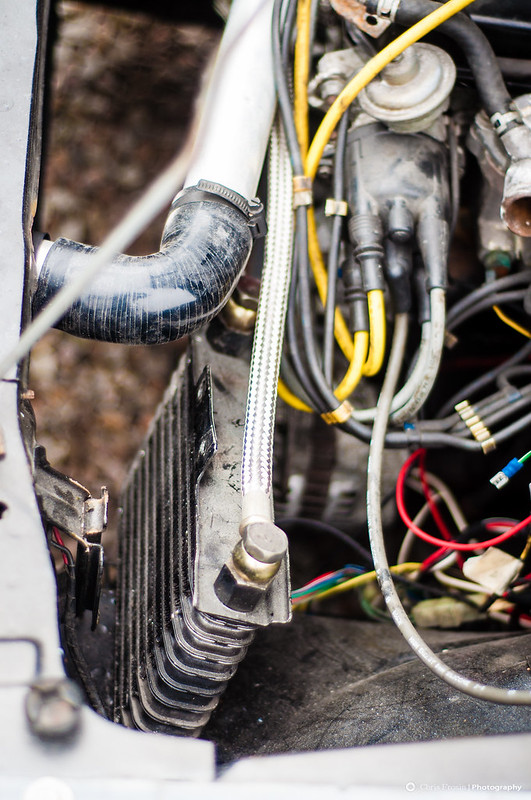 _DSC1024.jpg _DSC1024.jpg by Diabolu80, on Flickr So this is the current 'resting' position of the oil cooler. You'll notice there's an appropriately placed bracket that actually held the wiper fluid and if I could make a bracket this shape... 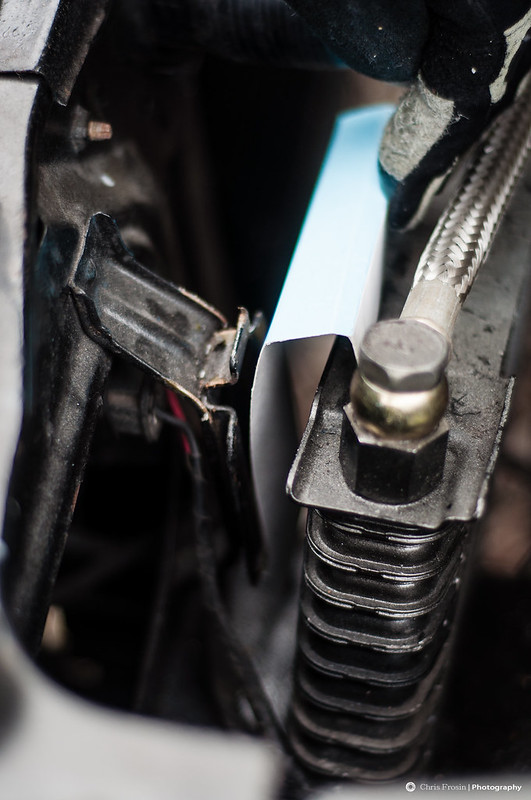 _DSC1030.jpg _DSC1030.jpg by Diabolu80, on Flickr ...then I felt I could get this mounted and out of my mind  Sainbury's rice crispie boxes certainly come beautifully into play in these moments of crisis!  _DSC1031.jpg _DSC1031.jpg by Diabolu80, on Flickr and I'd soon got the rough shape sorted  _DSC1032.jpg _DSC1032.jpg by Diabolu80, on Flickr A couple of folds in the vice (I don't have access to a folder, nor did I have the inclination to make one at the time!) 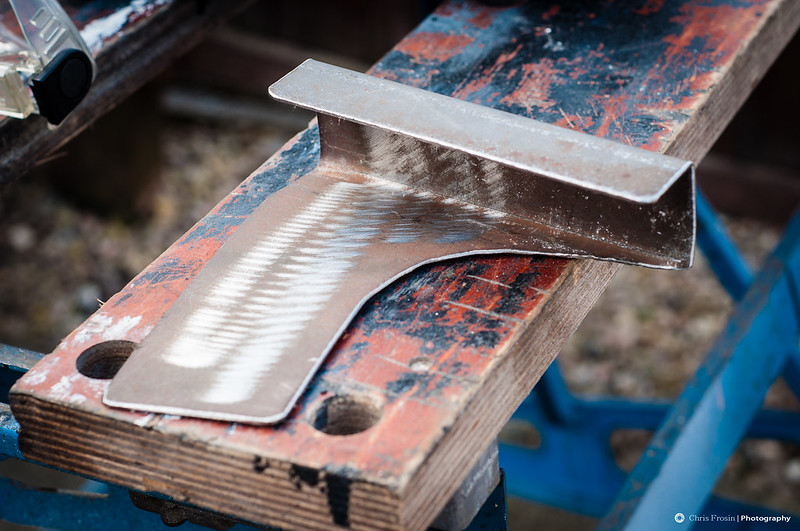 _DSC1033.jpg _DSC1033.jpg by Diabolu80, on Flickr and we were nearly there ;D 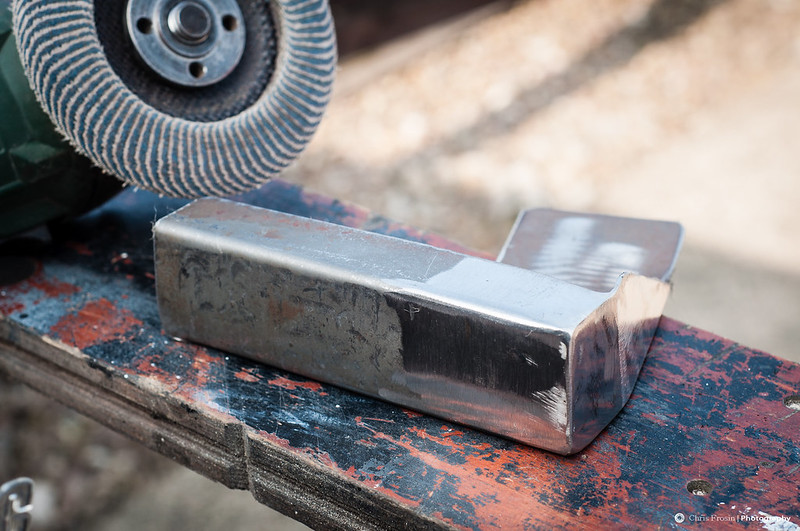 _DSC1036.jpg _DSC1036.jpg by Diabolu80, on Flickr A side cut out and welded in... Not quite up to the level of Senior Dez or BiAS but I was chuffed with it. Making this also highlighted the fact that my welder is appalling! Haha! I'm clearly far too spoilt using Mr Machine's down at Area52. Mocked up to mark the holes.  _DSC1041.jpg _DSC1041.jpg by Diabolu80, on Flickr  _DSC1049.jpg _DSC1049.jpg by Diabolu80, on Flickr And then sprayed and fitted! 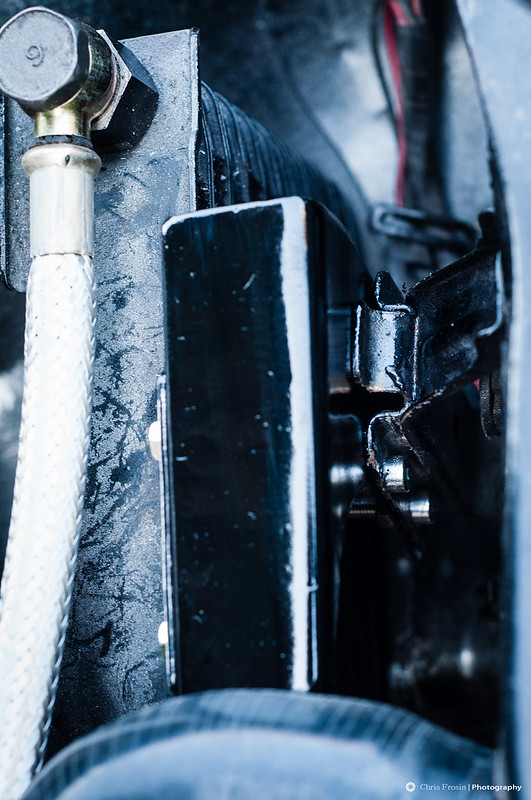 _DSC1043.jpg _DSC1043.jpg by Diabolu80, on Flickr The run of the oil cooler hoses could also be suggested as planned as they snuggly follow the intercooler pipes (after the hot turbo air has hopefully been cooled through the intercooler) across the top of the engine, nicely out of the way. Also gives the radiator and fan much MUCH needed space as it's very cramped at the front trying to fit all this pipework and cooling systems in. Today... ? Well, it's a road trip to Coolex in Nottingham to get my radiator re-cored! Very glad I got this done as there's ample space behind it for the fan, now, so as not to have to tilt the radiator forward. Win/Win  All done, will see you later  Chris |
| |
Last Edit: Mar 7, 2013 14:14:05 GMT by Diabolu
|
|
hybris
Part of things
  '75 Datsun 260shed
Posts: 28
|
|
|
|
|
Love what you have done with this car, man.
|
| |
|
|
|
|
|
|
|
|
Nice one...
Keep it going...
|
| |
|
|
|
|
|
|
|
Easy one today. 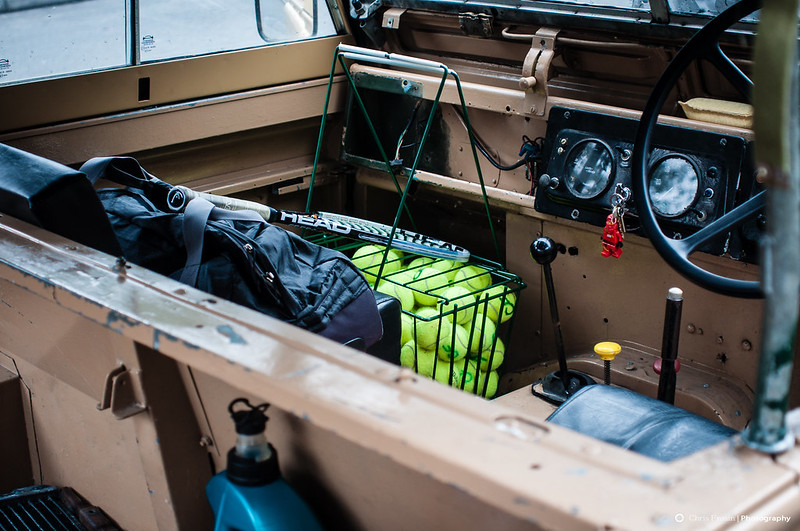 Packed ready for coaching Packed ready for coaching by Diabolu80, on Flickr Packed the Land Rover up for a trip over to Nottingham and then on to work. I had everything I needed. Change of clothes, tennis racket, basket of balls, towel for the shower afterwards... Oh... and a radiator ;D  ...and a radiator ...and a radiator by Diabolu80, on Flickr The destination? Coolex in Nottingham. Radiator manufacturers and one that my grandad used many MANY years ago to refurbish a radiator for his Frazernash replica he made.  Coolex Coolex by Diabolu80, on Flickr Met Alistair who's the company director and had a chat with him regarding what I needed from the radiator, what car it was going in  My rad for refurb My rad for refurb by Diabolu80, on Flickr and then on to custom builds for a possible custom made intercooler and oil cooler (yes, I know I've just fitted it!) but they said they can fab up a long slender oil cooler to place under the length of the front valance! Awesome! He then asked if I wanted to come through and see what they're working on at the moment! Hell yes! Unfortunately chatting and questions took over but I managed to capture a couple of images from inside their workshop where they're currently making radiators for the Navy's Battleships!!!!!  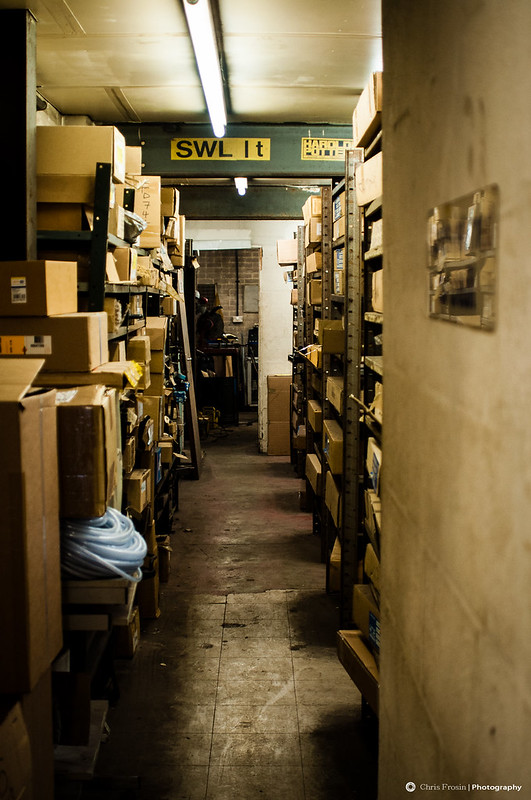 Parts! Parts! by Diabolu80, on Flickr 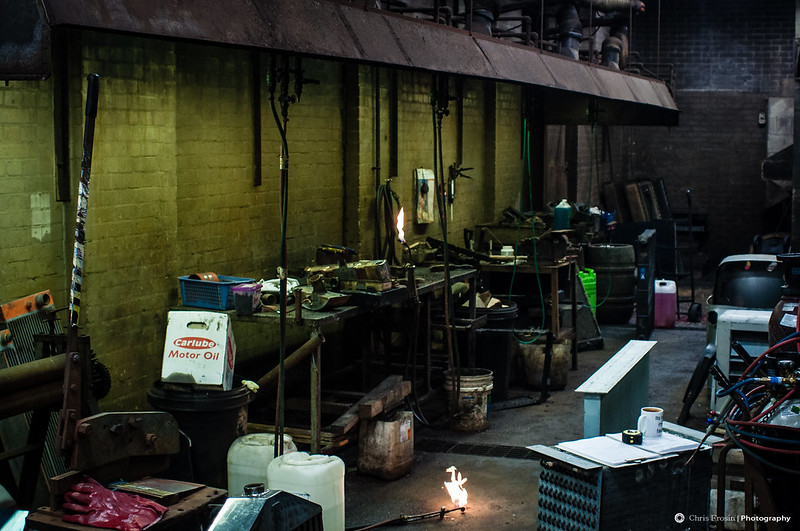 Inner Sanctum Inner Sanctum by Diabolu80, on Flickr You can just see the top of a Rolls Royce radiator in this shot and on the far left is a custom radiator for an AC Ace. Awesome place, and I'll hopefully grab a few more when I pop back to collect mine early next week  Who's coming?? |
| |
|
|
|
|
|
|
|
SUN!!!! The one good thing about summer in England, is that it doesn't half put a massive goddamn smile on your face when it comes! LOVE IT. And with a good couple of weeks of forecast sunshine and dry weather, I did my best to move my tennis lessons to evening slots so I could get plenty of time in on this! Off came the cover! Damn that's a sexy car! 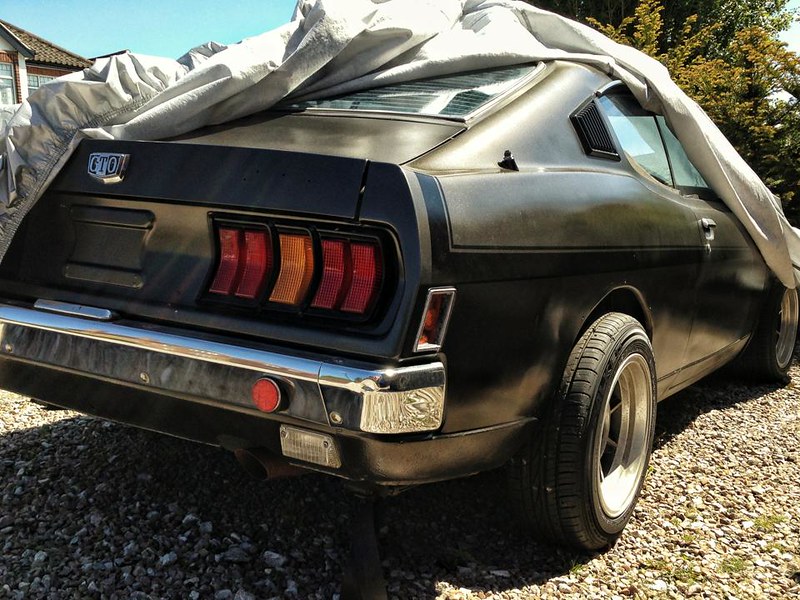 Galant ... Mmmmmm Galant ... Mmmmmm by Diabolu80, on Flickr I did, however, get the cover off, get it up on axle stands, and then have a bit of an overwhelmed moment when I totted up all the things that needed to be done on it. Not a long list by any means, but all were challenges, especially to me, who has never restored of gotten this grubby, dirty and involved with a car before. First I picked up the radiator and fitted that. Coolex were amazing with it. Recored with a super duper amazing mega thick core that would keep Jean Claude Van Dam chilled, stripped, filled all the holes and repainted it. Looked awesome and it slotted in nicely! I made a couple of spacers to space it away from the intercooler as the new wide core fouled it a little. 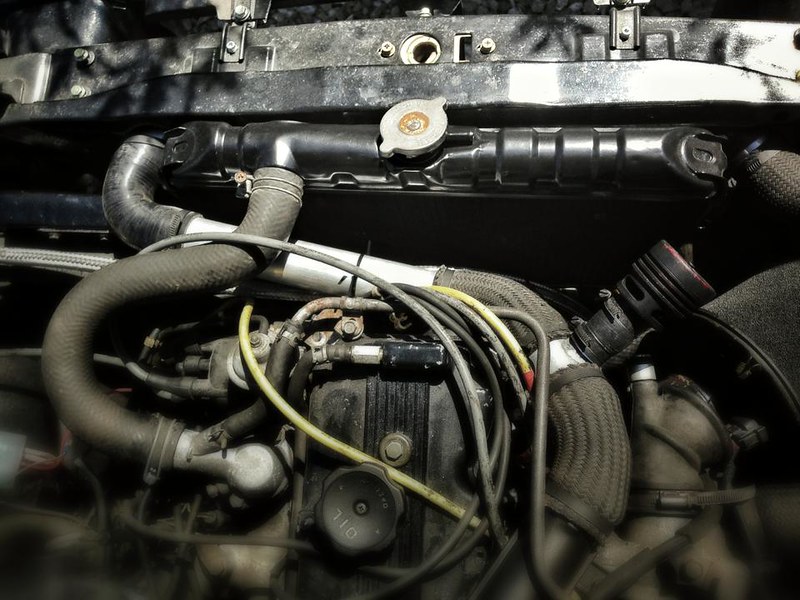 New recored radiator New recored radiator by Diabolu80, on Flickr Then turned my attention to the nearside brake line that needed redoing. Tick... done! 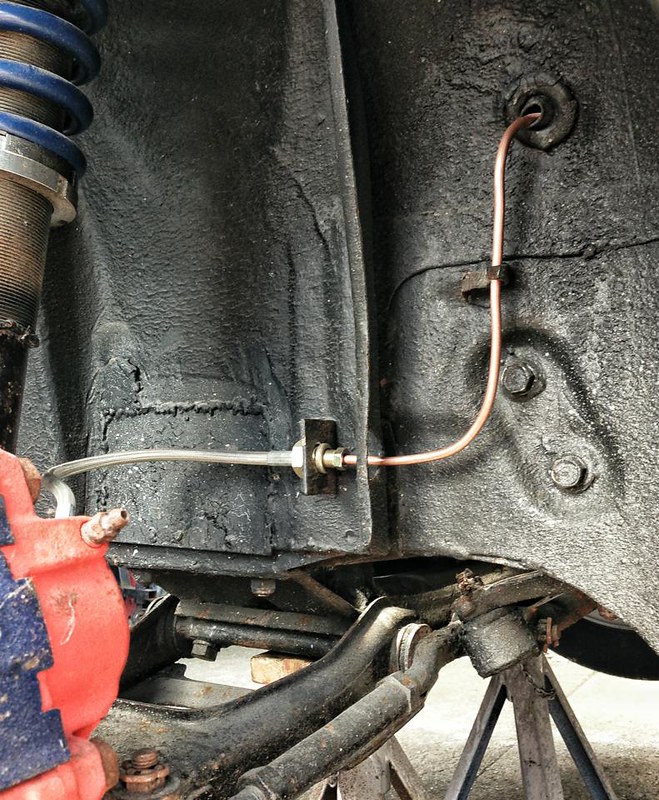 N/S Front Brake Line N/S Front Brake Line by Diabolu80, on Flickr And today? Well, those of you who have been following my progress on Facebook will have been inundated by photos today as I tackled the throttle cable sleeve. I have to say I'm quite proud of how it came out. 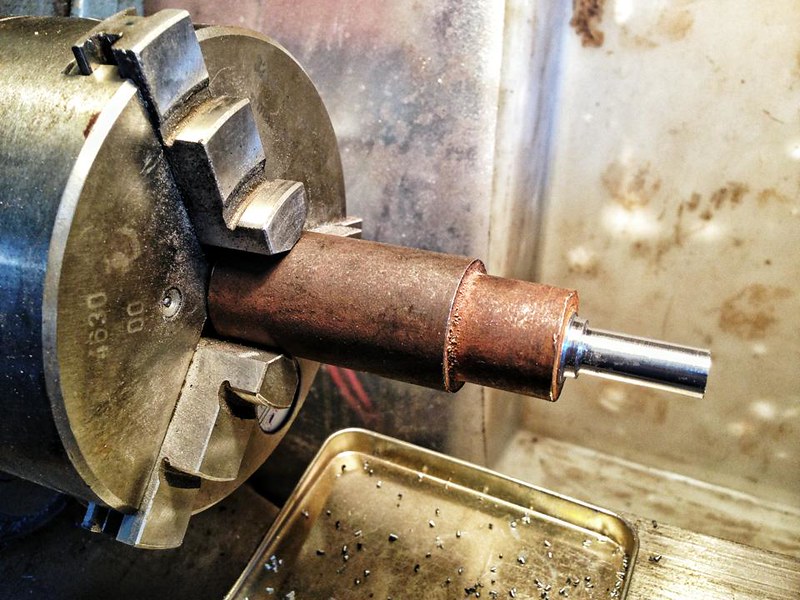 Throttle sleeve being turned Throttle sleeve being turned by Diabolu80, on Flickr This is where we started. Chunks of spare metal and mild steel are few and far between here in the garage so we have to make do with what we can find and make use of... hence how far this got turned down. 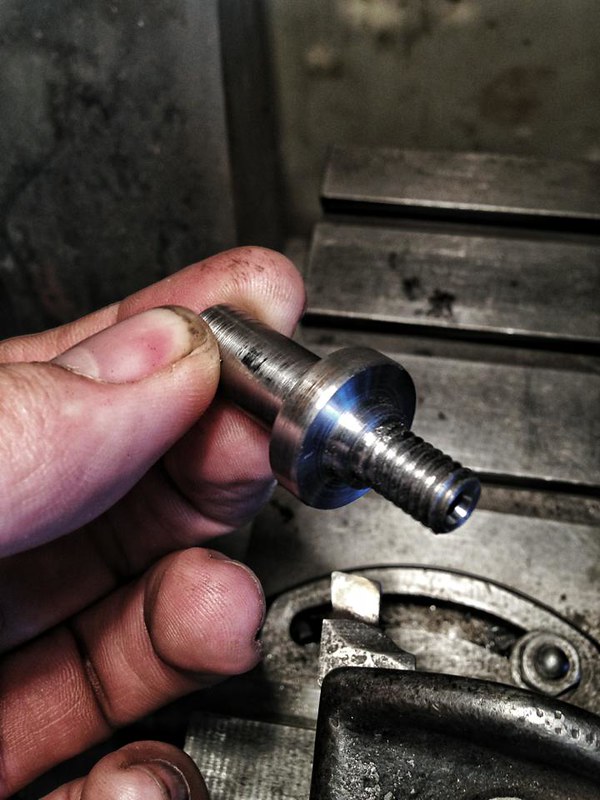 Galant Throttle Cable Galant Throttle Cable by Diabolu80, on Flickr Here it is turned down and threaded. Again, no metric taps and dies so this is 5/16th Witworth. Hey, if I can make the nut as well, who cares what size the thread is haha  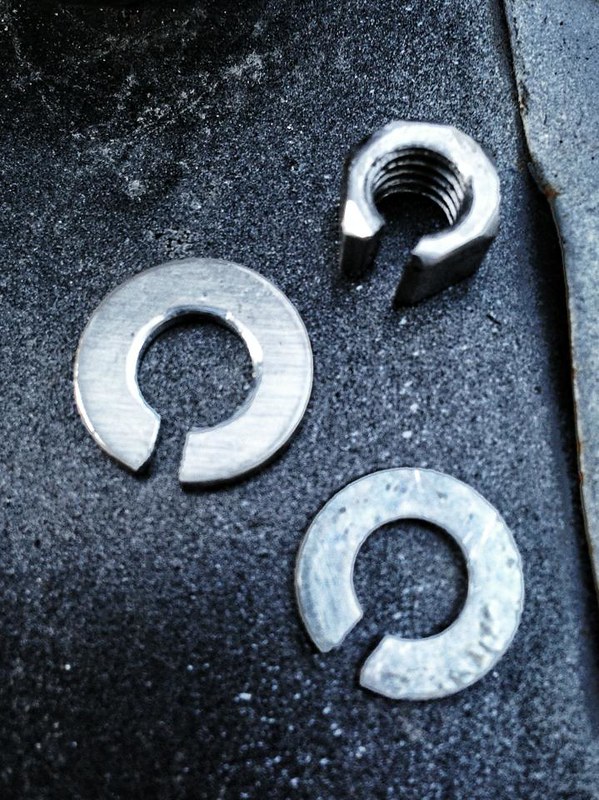 Galant Throttle Cable Galant Throttle Cable by Diabolu80, on Flickr Made a nut and a couple of washers. Dad (and my Poppa come to think of it) said you can never really have too many washers. 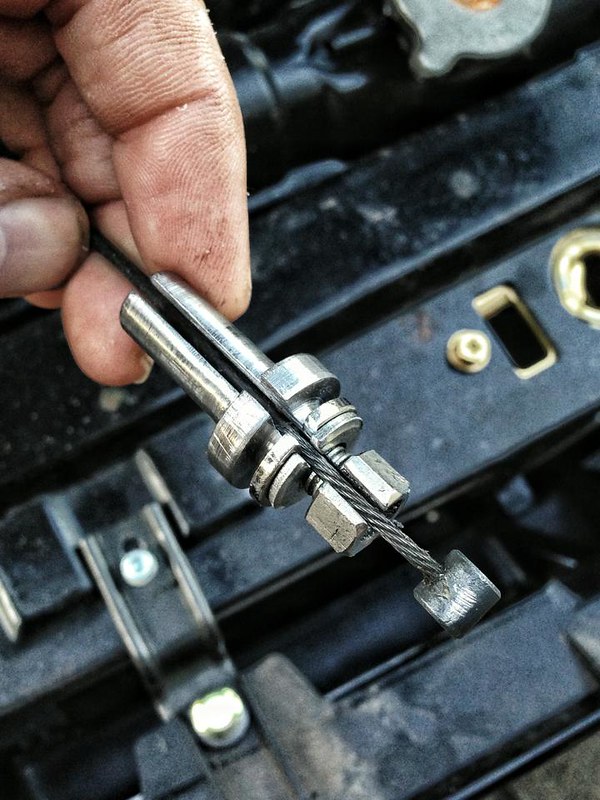 Galant Throttle Cable Galant Throttle Cable by Diabolu80, on Flickr 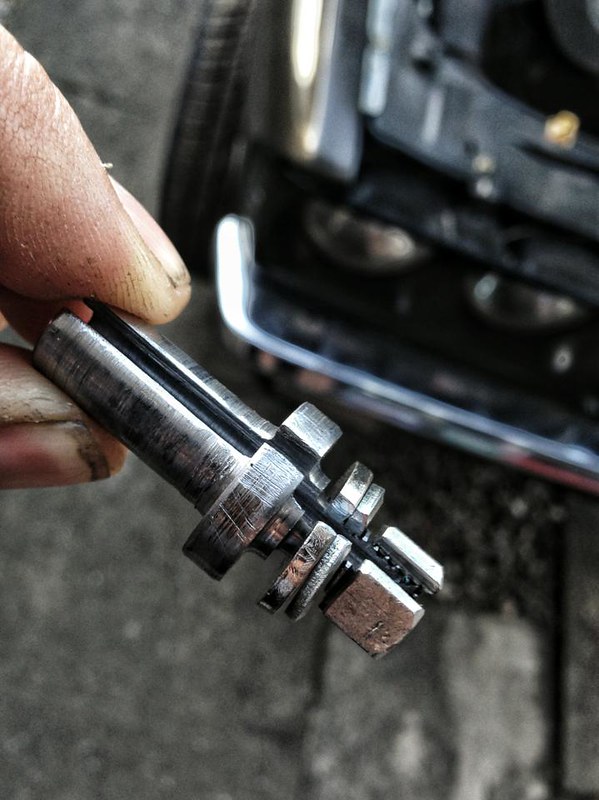 Galant Throttle Cable Galant Throttle Cable by Diabolu80, on Flickr And there you go.. throttle sleeve done. That was, until James piped up and suggested I should paint it. The nut and washers are stainless (a pig to tap out that thread) but the actual sleeve could use some paint. I needed no more incentive, as I LOVE the colour of this car. Body colour coordinated paint job then... attention to detail lol 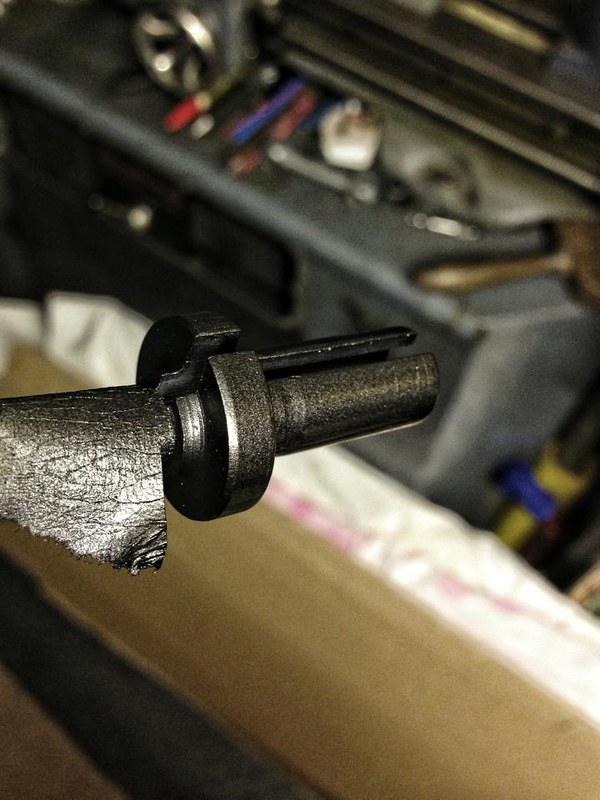 Galant Throttle Cable Galant Throttle Cable by Diabolu80, on Flickr While that dried, I popped a slight opening in the bracket so the sleeve wouldn't slide up and out by accident (not that it would, but hey...) 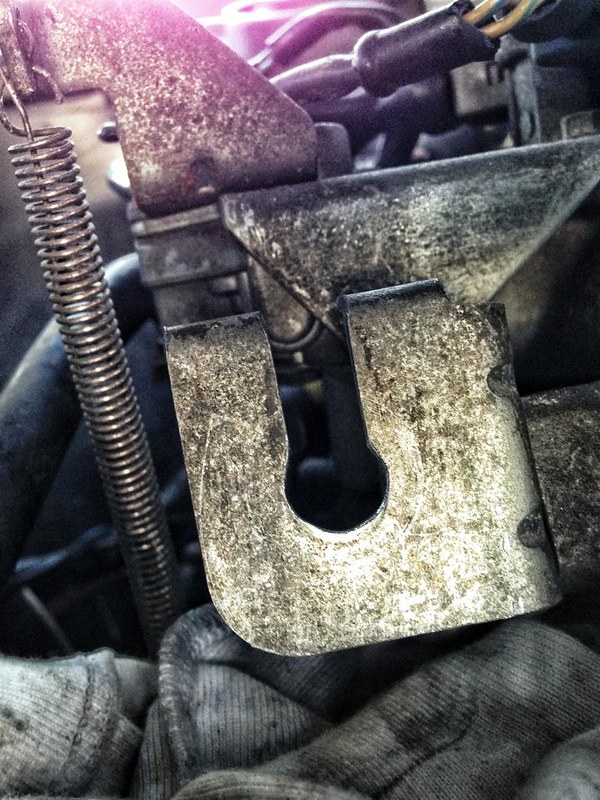 Galant Throttle Cable Galant Throttle Cable by Diabolu80, on Flickr And also shortened it by an inch or so to accomodate the new direction that the cable would be coming from. 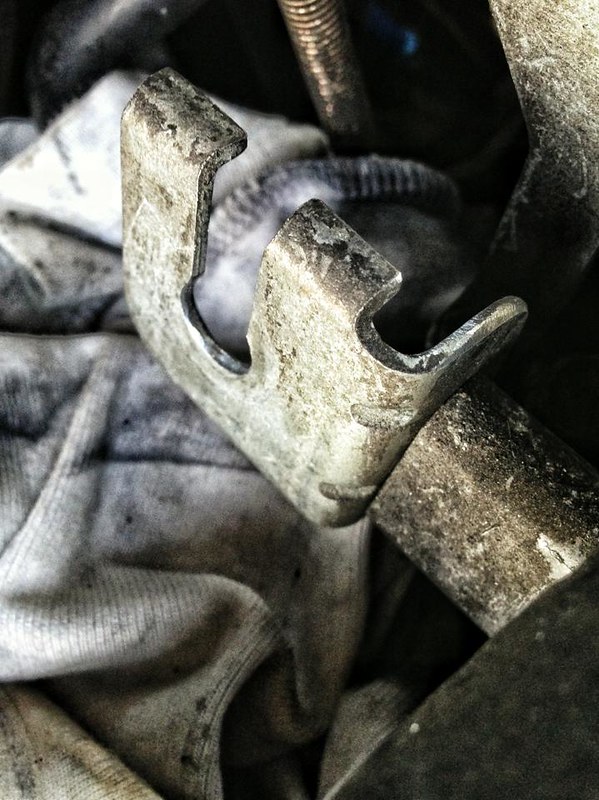 Galant Throttle Cable Galant Throttle Cable by Diabolu80, on Flickr And here we go. Although this is actually the first time I popped it on before James highlighted the painting issue  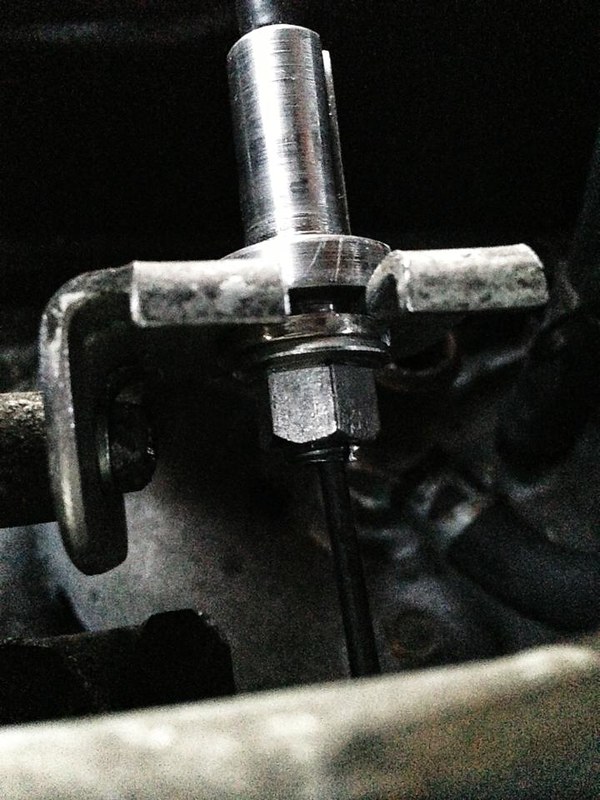 Galant Throttle Cable Galant Throttle Cable by Diabolu80, on Flickr 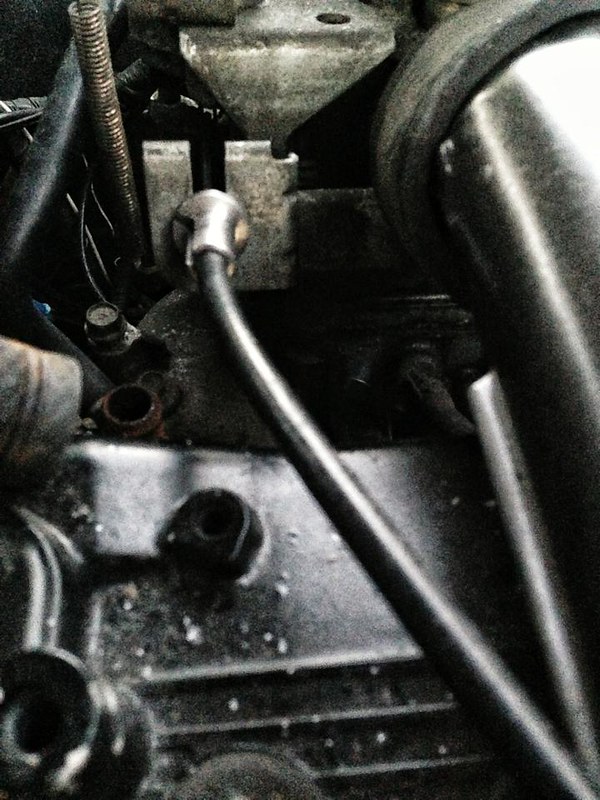 Galant Throttle Cable Galant Throttle Cable by Diabolu80, on Flickr I also dug the wiper motor out today to pop back in. I broke the plastic cup that clips onto the wiper arm from the motor ball joint (well, it actually fell apart in my hands when I took it off originally) so it looks like it'll be a scrappy visit for me unless anyone has one lying around under the sofa at home. The motor needed a clean though. I wasn't putting this thing back in the engine bay covered in gunk!   Wiper Motor Wiper Motor by Diabolu80, on Flickr 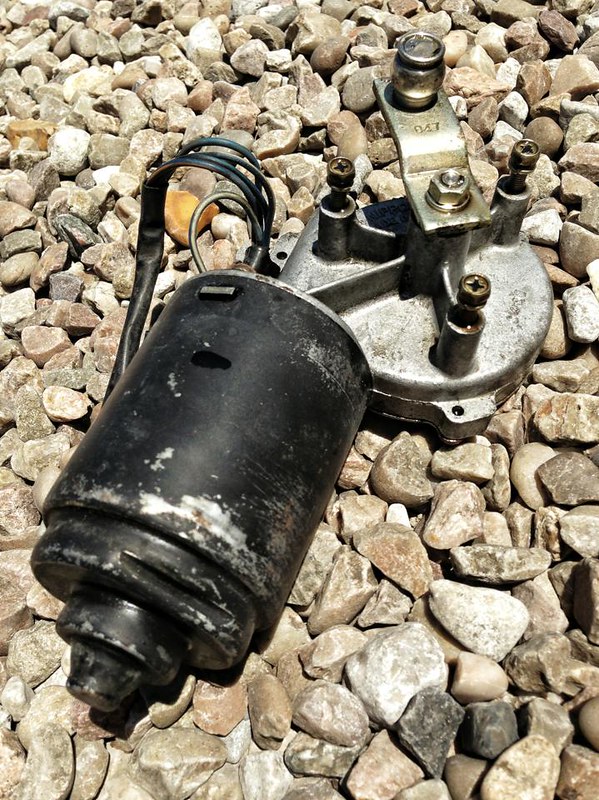 Clean wiper motor Clean wiper motor by Diabolu80, on Flickr All cleaned up. Ran beautifully smoothly too once it was plugged back in. I've only loosely bolted it back in though, as I need to grab one of those cups first. Plan for tomorrow? Well I'm coaching at 1, so I'm going to tackle the gearstick tomorrow. Pop a thread on the shaft coming out of the gearbox and then try to turn a gear knob on the lathe that has a short sleeve on it for a tiny bit of extra height. I also made a couple of switch panels today to cover a hole where the radio used to sit in the centre console and also a gastly hole where the ciggy tray was. I used a sheet of alu that I've had for years. I'll probably give it a brushed finish, although machine turned finish ala the dash's of Bugatti's Type 35's etc would be amazing! If anyone knows HOW to do machine turned finish, please let me know! I've tried all sorts. Tonnes of fun today. Mojo back, and the overwhelming feeling of dread has also gone!  Until tomorrow (probably) take it easy. I hope you enjoyed the update. Cuppa? |
| |
Last Edit: Jun 6, 2013 22:21:38 GMT by Diabolu
|
|
|
|
|
|
|
Jun 12, 2013 18:39:37 GMT
|
A little distraction from the confusion of the failure and unwilling-ness of the Galant to start, I popped up a switch panel. Not at all interesting but there's 4 LED toggle switches for a few things, a couple for security purposes etc. 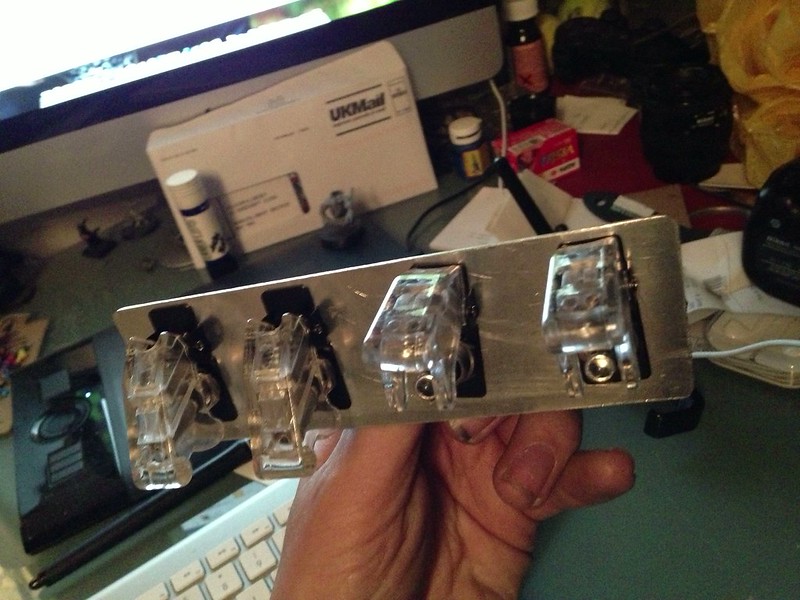 Galant GTO Galant GTO by Diabolu80, on Flickr The frustrating thing I find about anything electrical on cars (or anything for that matter) is that at school I was an absolute whiz with the stuff. I'd design and make circuit boards for alarm system, sketch out circuits for traffic lights etc but it's all gone to pot now. Even more frustrating is that I think of it as soooo simple I should be able to easily understand it. 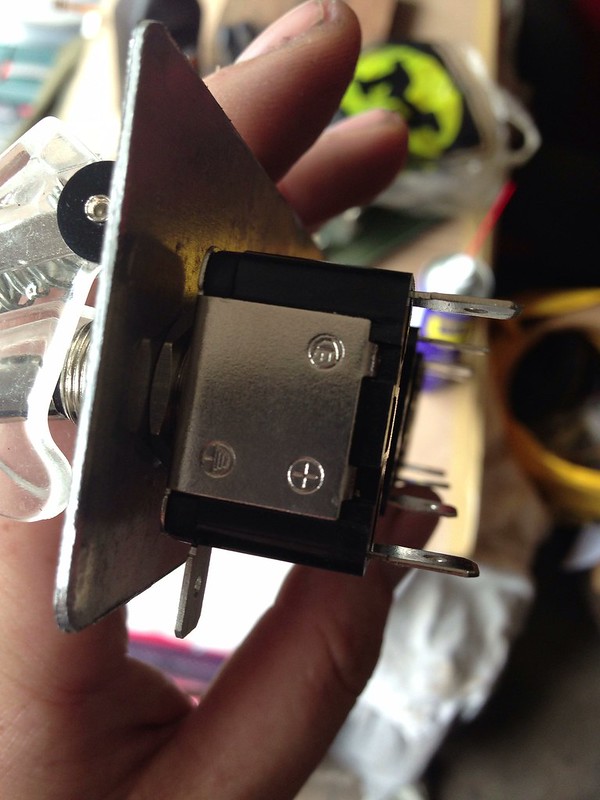 Galant GTO Galant GTO by Diabolu80, on Flickr fortunately, in times like this when I can't even get my head round which of these connections to wire up where, there is Mr Vilerug who regularly and thanklessly pops up to save the day. So with the wiring to that sorted I could happily turn my newly generated mojo back onto the engine. This is where I start to get a little embarrassed haha! Originally when we had all the engine in and it wouldn't run there was an issue with the brand new fuel pump, which I've talked about before, just failing. Glencoe were amazing though, and replaced it no questions asked as it was an electrical failure on the pump. In diagnosing this issue I popped all the spark plugs out, checked they were sparking ok, and popped them back on. Now this new starting problem I completely discounted the spark plugs as I'd already 'confirmed' months ago that they were sparking. Thankfully I decided oddly to take them all out and check their condition anyway. A little on the sooty side but nothing a good clean up couldn't solve. 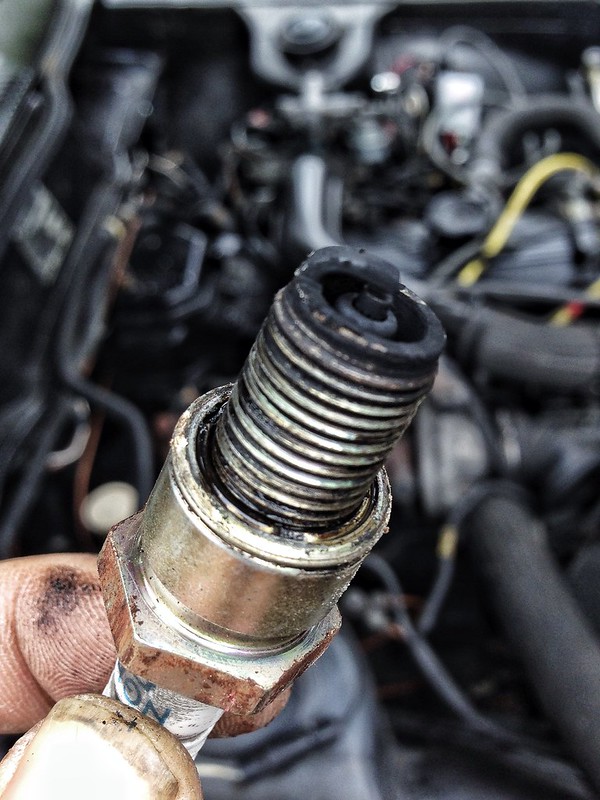 Galant GTO Galant GTO by Diabolu80, on Flickr I get to cyllinder 3 and, well...  Galant GTO Galant GTO by Diabolu80, on Flickr Someone left a spark plug socket rubber on the spark plug  Grrrrrr The good thing about finding this out??      Air filter is one of the next challenges. At present it's part of this mahoooosive charcoal can. 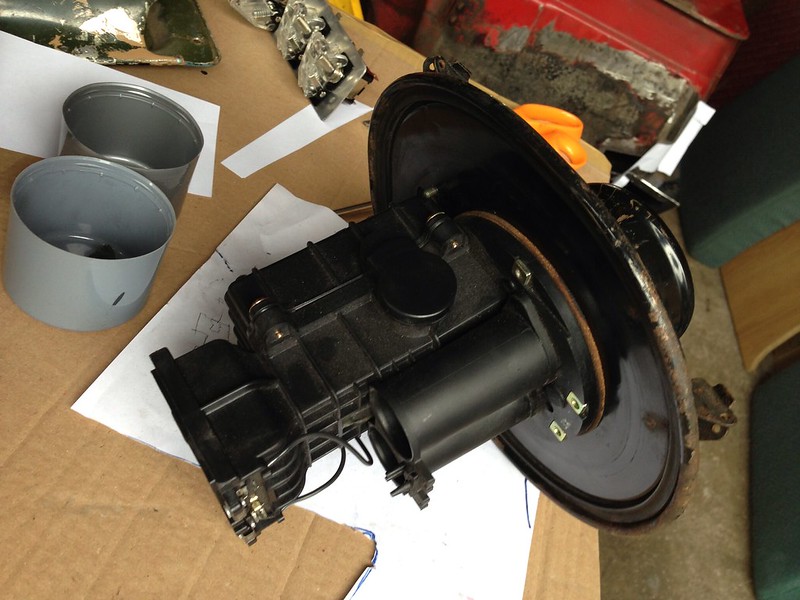 Galant GTO Galant GTO by Diabolu80, on Flickr 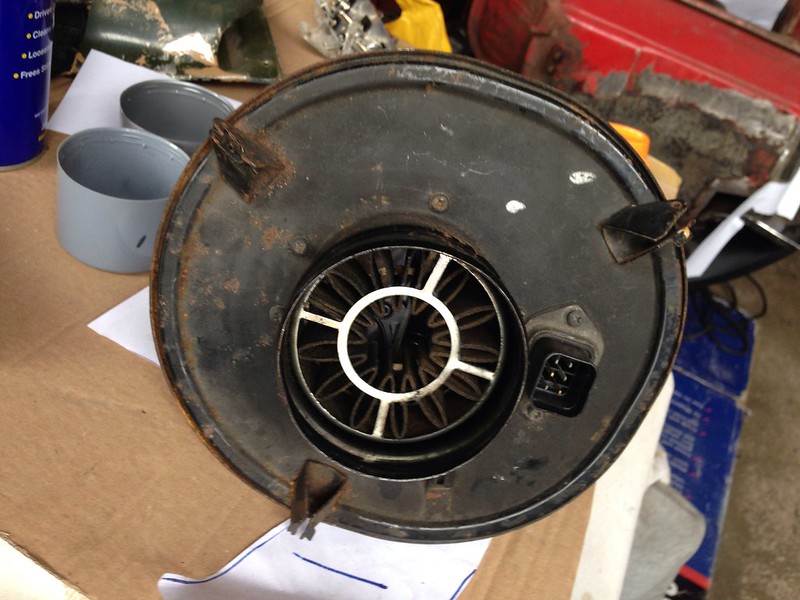 Galant GTO Galant GTO by Diabolu80, on Flickr When it's all disassembled it looks much simpler. I just hope putting a tight air filter round the sensors will allow enough air flow and air pressure to feed the turbo and the sensor. 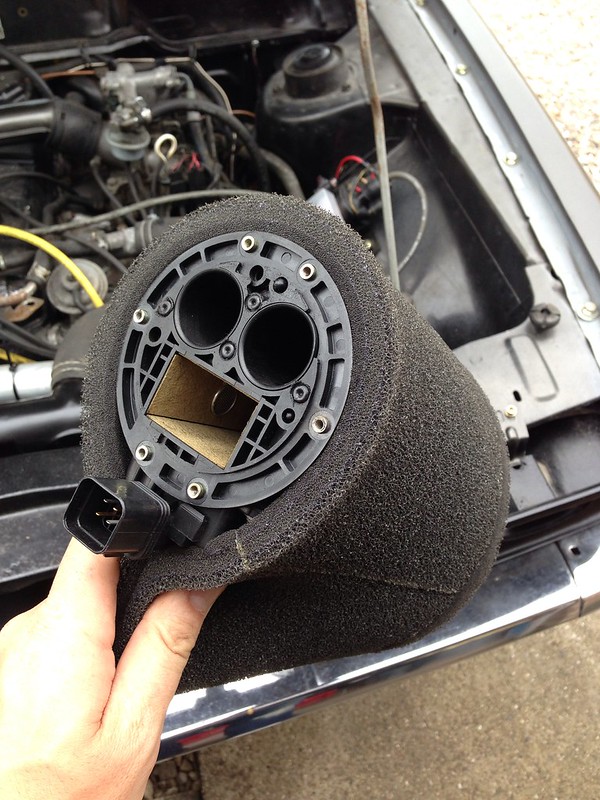 Galant GTO Galant GTO by Diabolu80, on Flickr Now waiting for some new HT Leads to arrive (bought some Magnecor ones after massive recommendation from Vilerug) and need to source some new spark plugs as I don't even have four the same in the engine at present. All in all!! Big Mojo boosts!  Love it! Love it love it love it! Currently also watching a few things on eBay in the Turbo Heat Shield Area  Thanks Mr F1, Blownimp, for that nudge! They should look awesome keeping the clutch resevoir and ht leads etc cool. See you at RRG!  |
| |
Last Edit: Jun 12, 2013 18:43:19 GMT by Diabolu
|
|
|
|
|
|
|
Jun 12, 2013 18:48:15 GMT
|
Well done buddy, it will be worth all the hard work you are putting in. Ace car, ace engine, ace owner  P.S. You are a tart for leaving that location rubber in there! |
| |
|
|
cianha
Part of things
  aka VDubbin
Posts: 923
|
|
Jun 12, 2013 19:31:54 GMT
|
|
Brilliant! If I had a photo of Hannibal Smith, I would post it here!
|
| |
|
|
|
|
|
Jun 12, 2013 19:53:50 GMT
|
Well done buddy, it will be worth all the hard work you are putting in. Ace car, ace engine, ace owner  P.S. You are a tart for leaving that location rubber in there! Thank you, thank you, thank you and... errrrm.. thank you haha  I don't mind making that kinda mistake. I'm just learning and hopefully I'll continue. This is my reading matter at the moment! |
| |
|
|
The Doctor
Club Retro Rides Member
Posts: 3,449
Club RR Member Number: 48
|
|
Jun 12, 2013 20:48:25 GMT
|
Nice work! I need to start bolting mine back together if we are going to put the cars next to eachother again this year!  |
| |
|
|
|
|
|
Jun 12, 2013 21:01:06 GMT
|
Nice work! I need to start bolting mine back together if we are going to put the cars next to eachother again this year!  This has to happen please  hehe Yup, get bolting sir  |
| |
|
|
|
|
|
Jun 23, 2013 10:46:17 GMT
|
Easy update today as I've done a few bits and pieces on the interior; blanking plates, switch panels etc but photos of those to come when they're done. I have given the side repeaters a new look, though, as I was never really a fan of ALL THAT CHROME on the car. Bumpers, yes, glass surrounds, yes, anything else... hmmmmm. 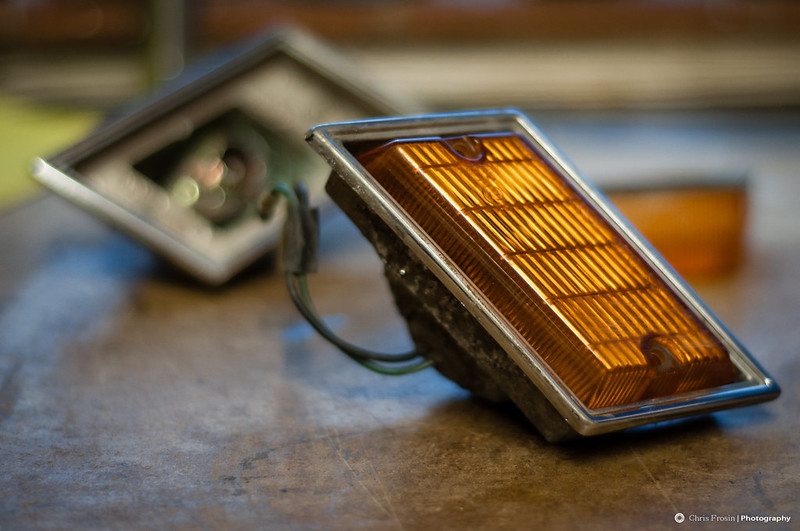 _DSC5033.jpg _DSC5033.jpg by Diabolu80, on Flickr 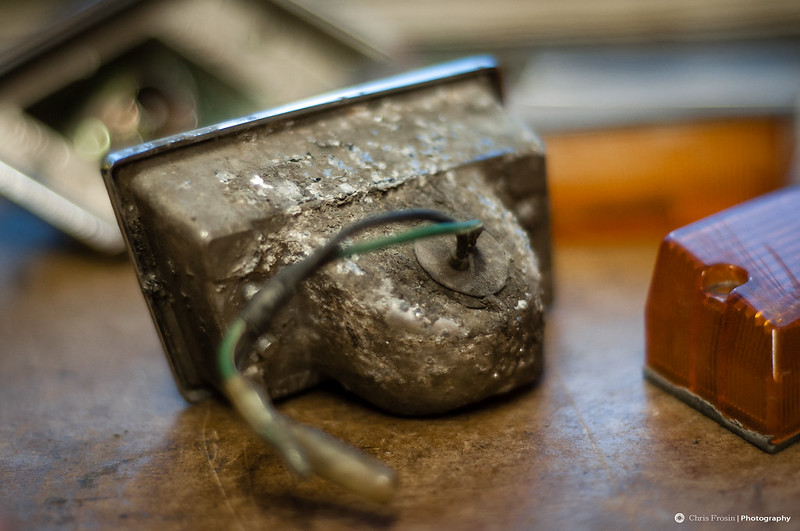 _DSC5037.jpg _DSC5037.jpg by Diabolu80, on Flickr 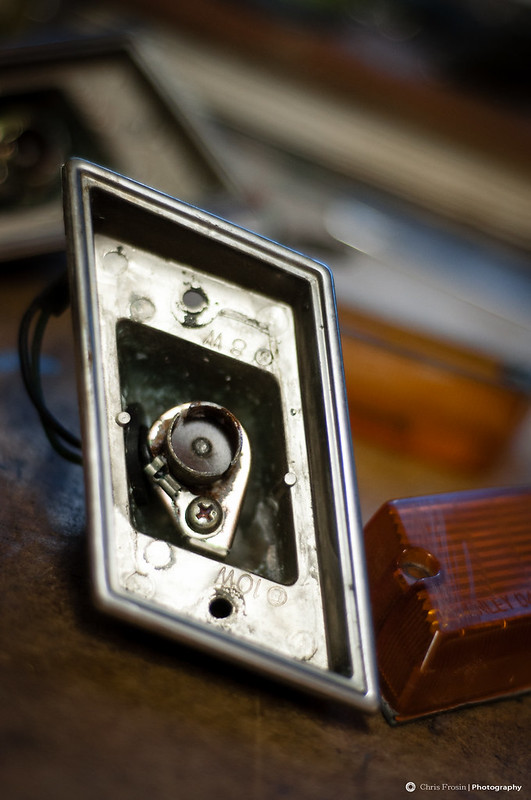 _DSC5035.jpg _DSC5035.jpg by Diabolu80, on Flickr 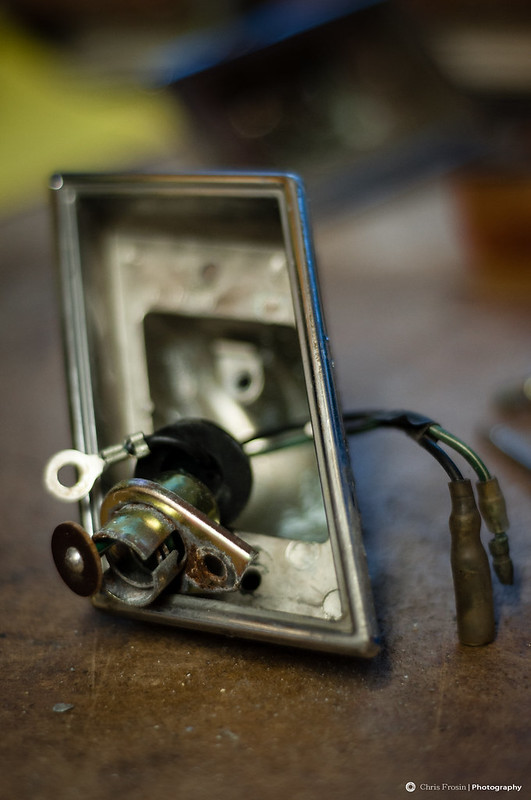 _DSC5039.jpg _DSC5039.jpg by Diabolu80, on Flickr Bought some really tough wire brushes recently so thought I'd see how they got on with getting rid of the corrosion... 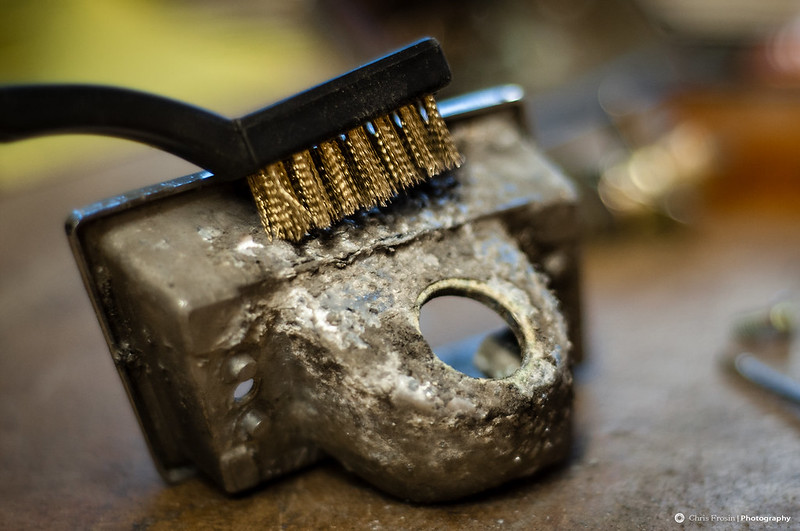 _DSC5040.jpg _DSC5040.jpg by Diabolu80, on Flickr Did ok. I grabbed some emery though to get the chrome down to baremetal. Took a while but I was sat watching tennis while working on them so there was a nice distraction. A couple of coats (one dust, one finish) of etch primer to really eat into the metal and provide a good key for the basecoat.  _DSC5041.jpg _DSC5041.jpg by Diabolu80, on Flickr and they go....? Black! Please note I did not carefully hang these so as to frame the backdrop with my naked tennis player calendar! haha 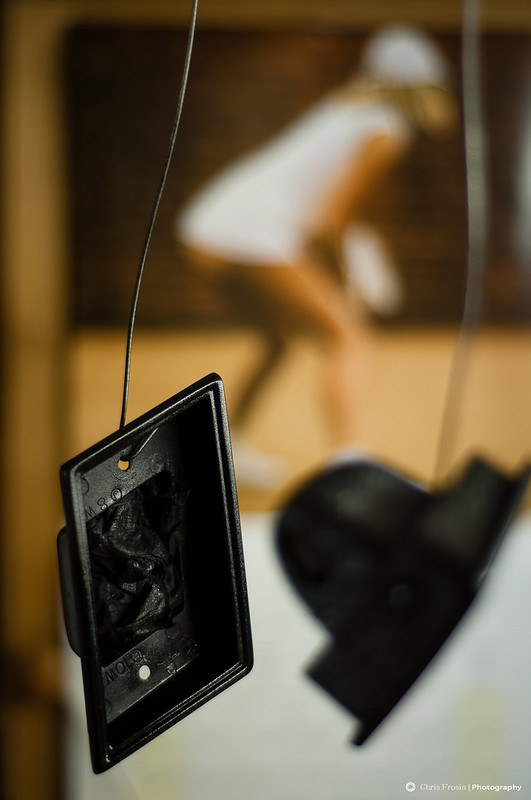 _DSC5138.jpg _DSC5138.jpg by Diabolu80, on Flickr All done! I do have to decide whether to pop LED's or bulbs in these. I seem to remember LED's not liking the flashing portion of indicators so will have to check before I do grab orange LED's. I'm VERY Aware that the car is rather dark and so definitely want to make sure all the lights are bright. Not sure, but would there even be a possibility of having these as marker lights and then flashing as indicators?? 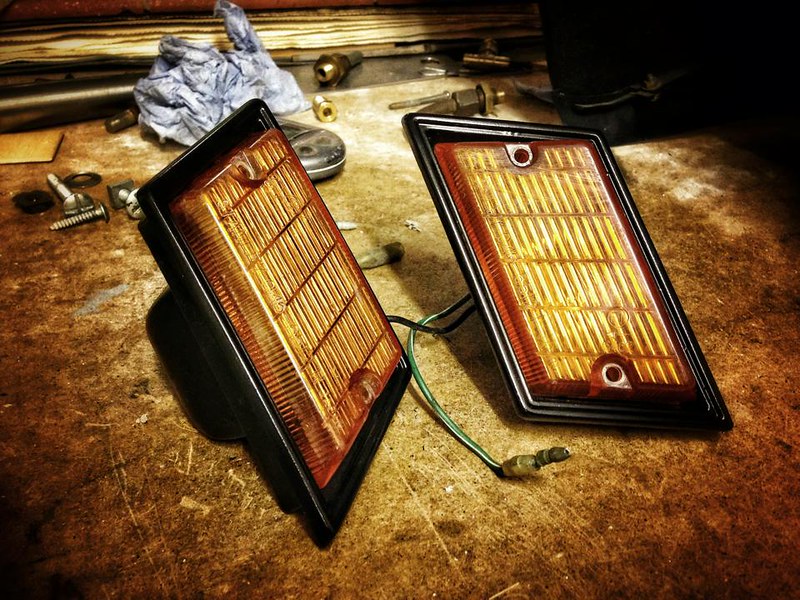 Side Repeaters Side Repeaters by Diabolu80, on Flickr Also got an awesome delivery reminding me that ebay sometimes is very very useful and not something that takes 2 weeks for delivery and then idiots sending the wrong parts or just being down right awkward. Thanks to Sowen for the Landie hub (replacing mine which had two wheel studs stripped. And a 12" slim line radiator fan! 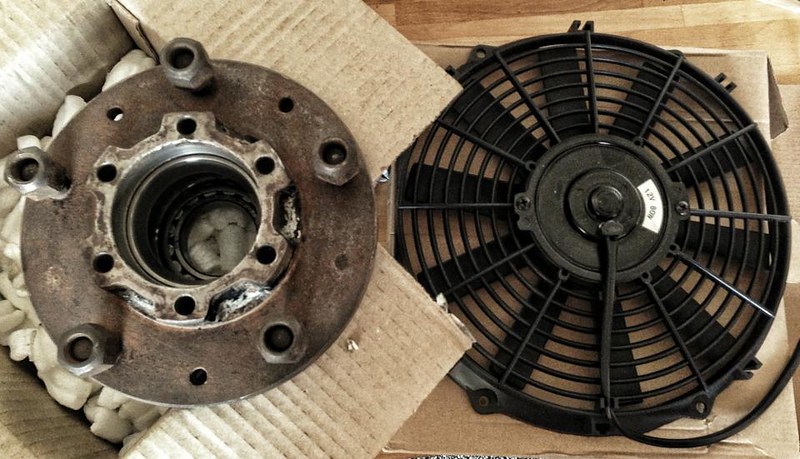 delivery delivery by Diabolu80, on Flickr Fan fitted in neatly. Pulled the tags as tight as I could and also put foam pad on both contact sides to 'save' the radiator's new core from being damaged. Confident this should be perfect. Runs at a right rate of knots too! 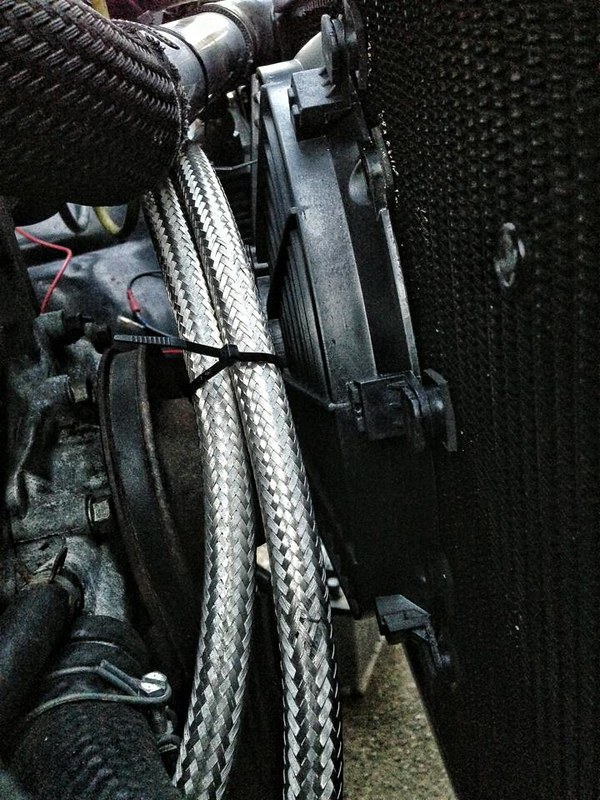 Rad Fan Rad Fan by Diabolu80, on Flickr Next up? Well, it's lots of wiring and interior now and brake and clutch fluid. With good weather it might even be driving by next weekend! Chris  |
| |
|
|
bazzateer
Posted a lot
   Imping along sans Vogue
Posts: 3,653
|
|
Jun 23, 2013 10:57:54 GMT
|
What an amazing car. It's a shame there are so many Japanese cars, that never made their over here. These Galants did though, one of the best Japanese cars in my opinion. Used to walk past a silver GTO on my way to school in the late 70s, my Mum had a 1.6 Galant 4 door around the early 80's. |
| |
Last Edit: Jun 23, 2013 11:15:58 GMT by bazzateer
1968 Singer Chamois Sport
1972 Sunbeam Imp Sport
1976 Datsun 260Z 2+2
1998 Peugeot Boxer Pilote motorhome
2003 Rover 75 1.8 Club SE (daily)
2006 MG ZT 190+ (another daily)
2007 BMW 530d Touring M Sport (tow car)
|
|
|
|
|
Jun 23, 2013 11:06:24 GMT
|
What an amazing car. It's a shame there are so many Japanese cars, that never made their over here. These Galants did though, one of the best J cars in my opinion. They did make it over, but were twice the price of a Ford Capri at the time... so barely sold. Agreed though! And for that General post about awesome cars!?? Hand up here  |
| |
|
|
|
|
|
Jun 23, 2013 15:07:11 GMT
|
|
Doesn't the paint need some lacquer?
|
| |
|
|
|
|
|
Jun 23, 2013 16:07:23 GMT
|
|
A really bad ass GTO! Mate, make it slowly)))
|
| |
|
|
|
|


 [*]
[*] [*]
[*]


