|
|
|
Jun 10, 2011 21:51:27 GMT
|
Just this morning off today, so tried to get some important bits done to hopefully setup a nice busy week next week!! Got all the wiring plugged in. Allocated every connector apart from one next to the knock sensor. Can't seem to find it on the wiring diagram either. Sooooo busy in there though! I'll tidy it up bit at a time once I know it's running! Without...  With...  You can see from the pic above I've just managed to pull the grommet a foot or so further down the loom meaning I shouldn't have to cut and chop the loom much. If I can move it another foot past the knock sensor then I shouldn't need to cut it at all and mount the knock sensor in the passenger footwell along with the ECU  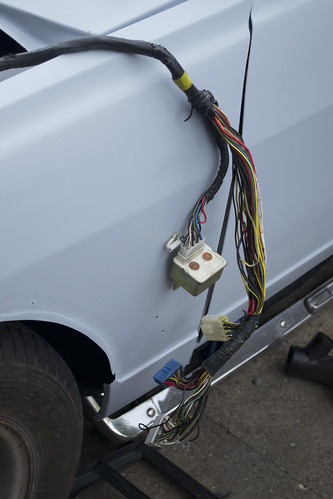 Cut a section out of the wing so I could mount the oil cooler nice and neatly (and secretly) behind the front grill/bumper. I think I'll shape it back to match the contour of the front of the wing, rather than the oil cooler. Should look a fraction neater.  Hard lines that come out of the top WON'T fit now tho, so it'll have to be some smart braided hoses with a banjo connection at each end! Merlin Motorsports here I come haha!  All mounted up.  Plumbed in a little more of the intercooler too. I had ordered some hard lines to connect silicon hoses, but I'd ordered 51mm rather than 45mm so WAY too large. I'll re-order!  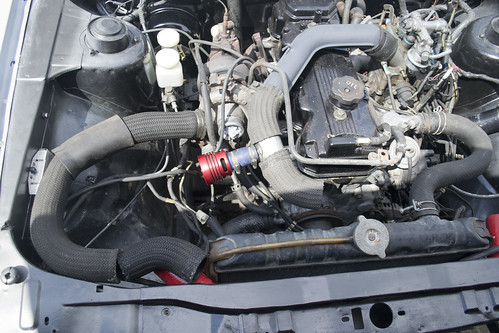 Least I know the routes work now! 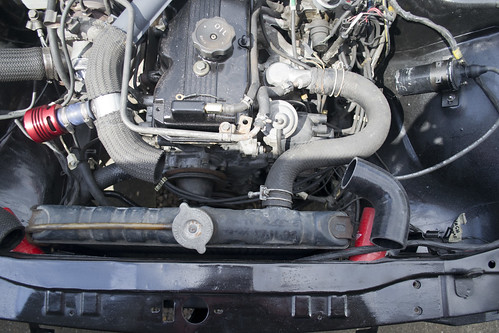 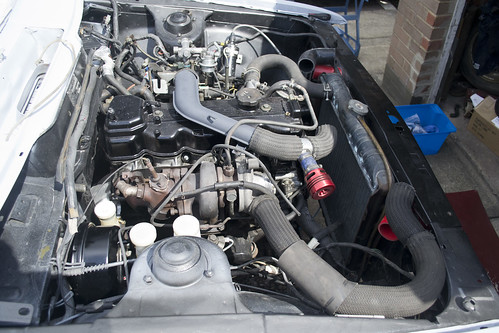 Grommet for the loom SHOULD fit in above the brake balance 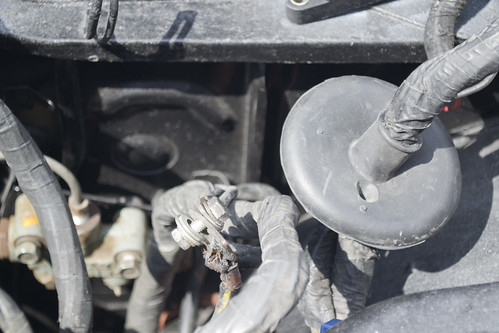 Another big mojo boost today! I'm a happy bunny! Roll on tomorrow!  |
| |
|
|
|
|
|
|
|
Jun 29, 2011 19:57:30 GMT
|
|
Love the rims what are they? Any pics of them fitted with spacers?
|
| |
Got a garage now but still no car. Plenty of ideas tho!
|
|
|
|
|
Jun 29, 2011 20:21:32 GMT
|
very nice project. keep up the great work. it,ll be stunning finished  |
| |
Last Edit: Jun 29, 2011 20:23:13 GMT by nathan76
1984 Toyota Tercel GL
1991 Toyota Aristo TT
1997 Lexus GS300 SE
|
|
Rich
Club Retro Rides Member
Posts: 6,338  Club RR Member Number: 160
|
|
Jun 29, 2011 20:22:38 GMT
|
Did I just read you were mouting the knock sensor in the footwell? that won't.. er.. work Chris! It needs to be bolted to the block to sense knock!  Good work so far though dude!  |
| |
|
|
Lopez
East Midlands
Posts: 867
|
|
|
|
|
Cars look awesome in primer don't they? I've never commented on this thread but I've read all 16 pages, you're doing a really neat methodical job on this, keep it up.
|
| |
|
|
|
|
|
Jul 18, 2011 13:51:36 GMT
|
Last photo and update before the Gathering, and unfortunately for you guys... it's just a teaser  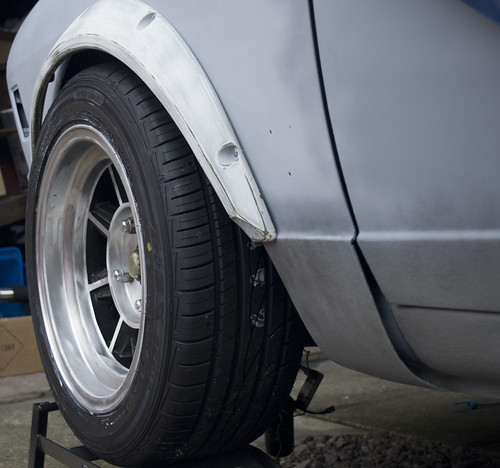 Hayashiiiiii! Hayashiiiiii! by Diabolu80, on Flickr See you on 19th August!!! |
| |
|
|
Speedle
Posted a lot
   Need a Country Rock band in the Hampshire Area? https://www.facebook.com/DirtRoadDiaryUK
Posts: 2,221
|
|
Jul 18, 2011 14:52:38 GMT
|
awesome progress dude, not been on RR for a while so great to see this build finally coming together, amazing to look at it in primer compared to how you got it! Seriously chuffed for you!  |
| |
|
|
The Doctor
Club Retro Rides Member
Posts: 3,449
Club RR Member Number: 48
|
|
Jul 18, 2011 15:48:35 GMT
|
|
WOAH!
|
| |
|
|
|
|
|
Jul 18, 2011 21:36:50 GMT
|
Haha! That'll do  Thanks bro! See u soon! awesome progress dude, not been on RR for a while so great to see this build finally coming together, amazing to look at it in primer compared to how you got it! Seriously chuffed for you!  It was a massive boost seeing it all in primer yes. Thank you  |
| |
|
|
|
|
|
Aug 23, 2011 16:21:41 GMT
|
A little catch up for everyone. Unfortunately I didn't get anything like as many photos as I would have liked over the last few weeks but here we go! If you have some which can accompany the story, please feel free to throw them up  So we left the thread having prepped and primered the whole car. Mostly it was at a standard I thought would be perfect for basecoat, but a few areas need some attention. Scuttle, rear arch on the offside and a little bit on the wing. I addressed all those and started putting down a dust coat of the basecoat. I was very lucky that it was a dry, warm and wind free day. Unfortunately I didn't have a choice but to spray outdoors but I think it worked out well, and I can flat back soon too  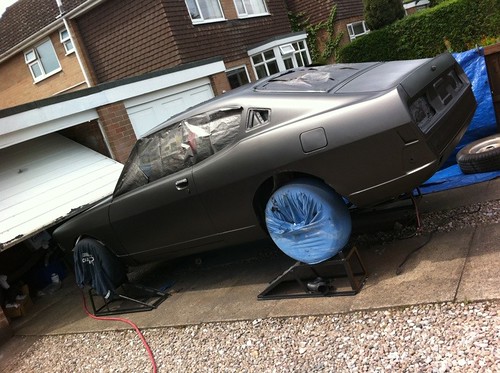 Untitled Untitled by Diabolu80, on Flickr Most definitely all one colour now! 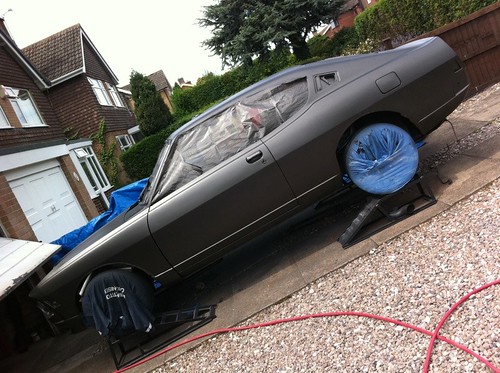 Untitled Untitled by Diabolu80, on Flickr 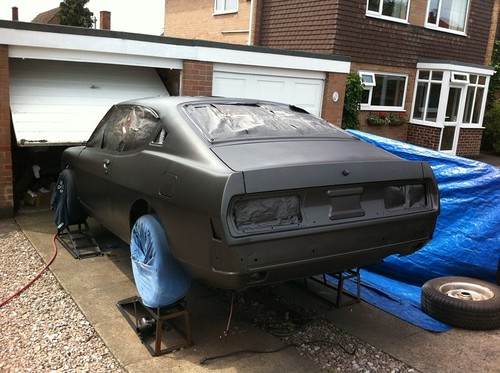 Untitled Untitled by Diabolu80, on Flickr Second coat went on well, then I let that coat flash well before masking and taping up the line that was to run the length of the car. 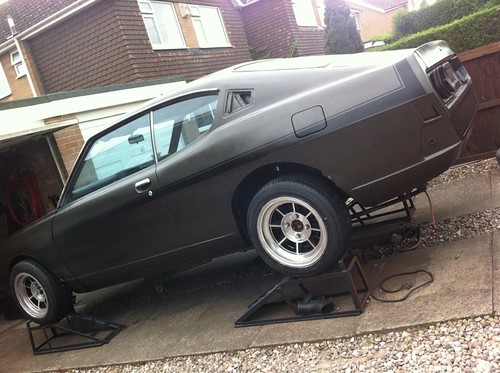 Untitled Untitled by Diabolu80, on Flickr Then a good few layers of lacquer 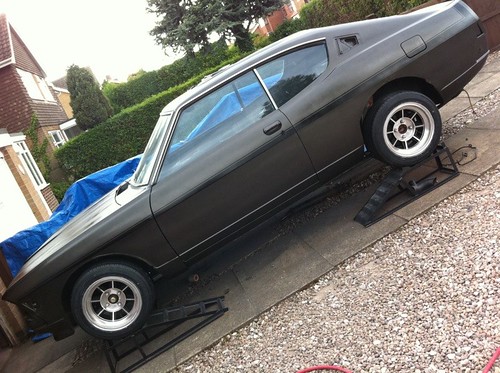 Untitled Untitled by Diabolu80, on Flickr I wanted to put this on as thick as I could so I had room to flat it back and hopefully take out any imperfections that might show up because I was spraying outside. I learnt that I could put it on wetter than I was too, so the last couple of coats went on very well!  Untitled Untitled by Diabolu80, on Flickr 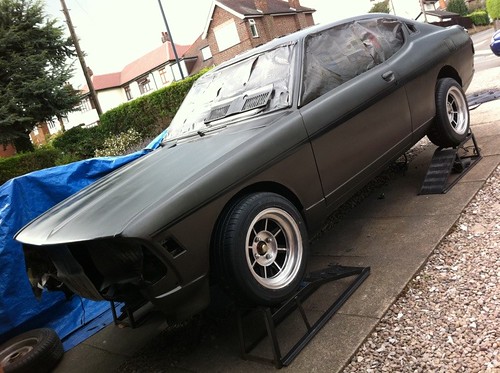 Untitled Untitled by Diabolu80, on Flickr After it had all dried, it was later in the day so I didn't get to see the sun hitting the colour. I had to wait until the next day for this!!  Well worth the wait though I thought. Take this comparison  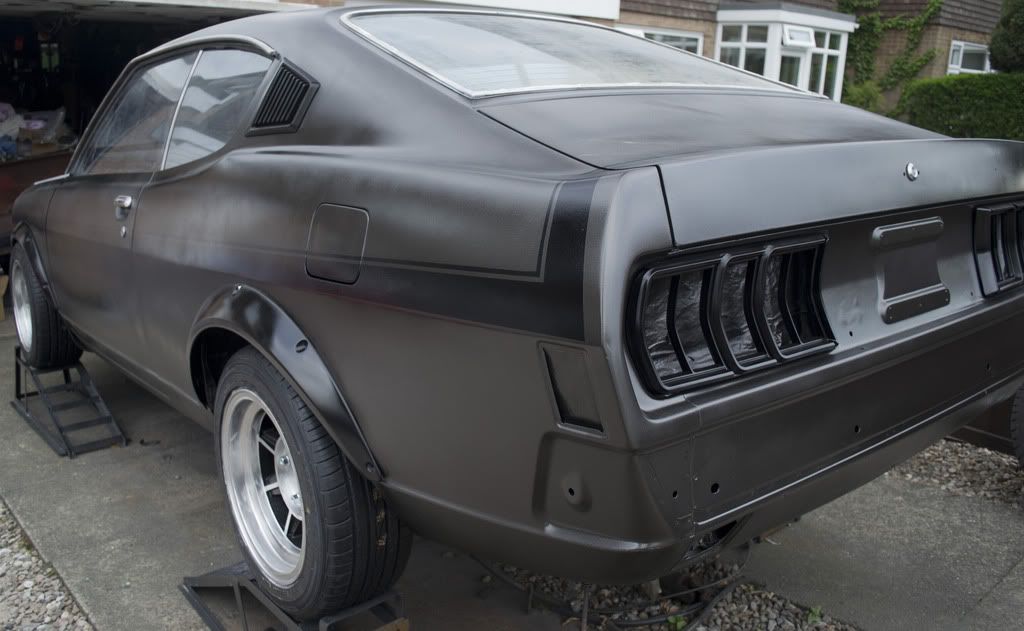 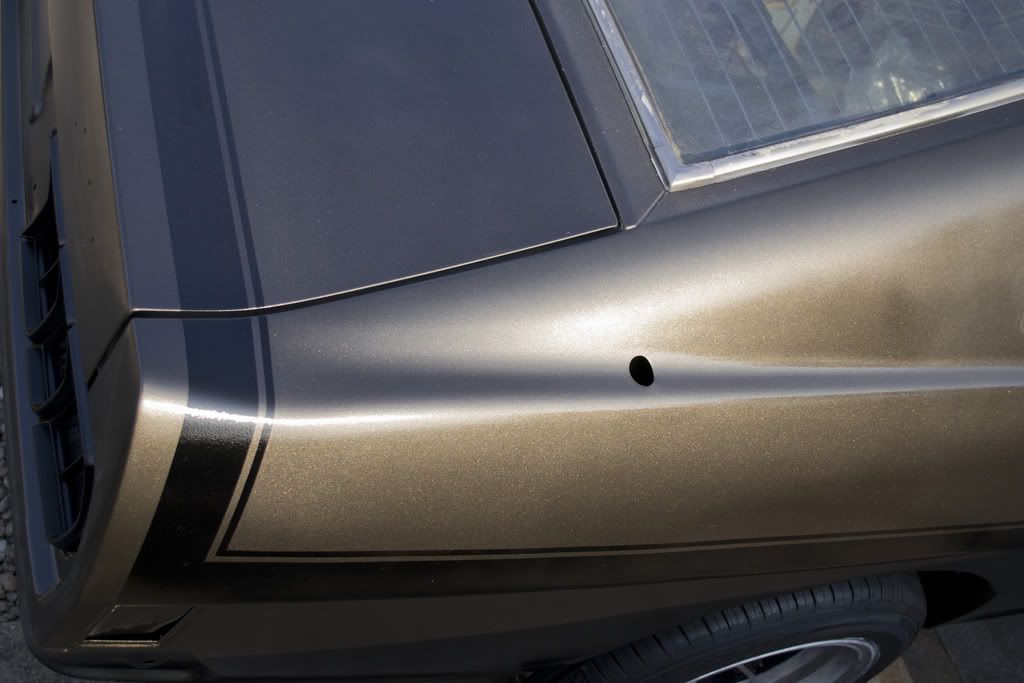 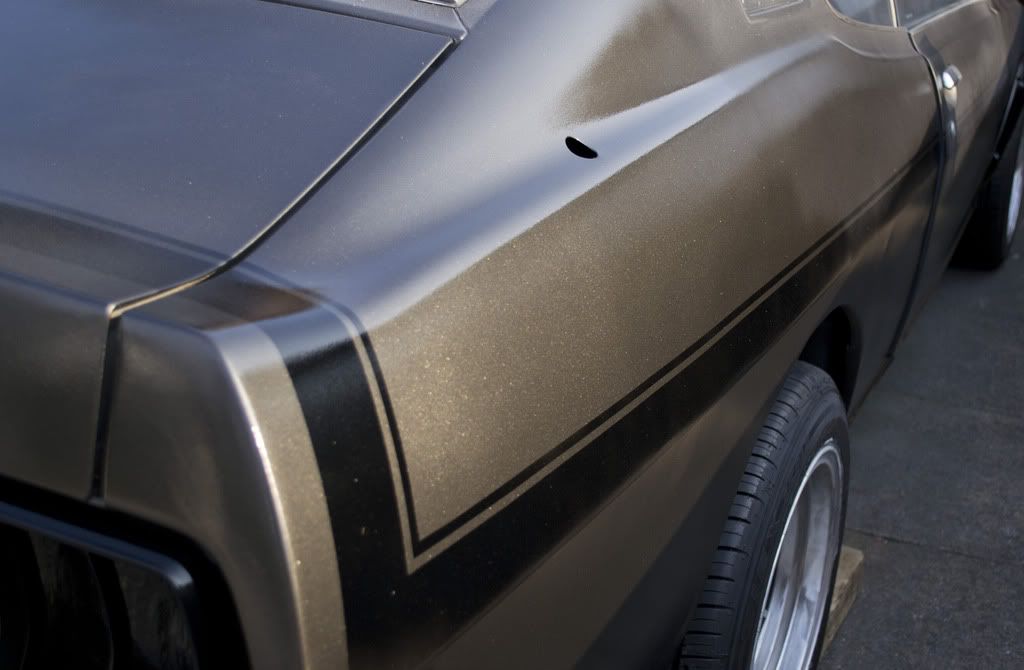 That's exactly why I chose the colour  Really looking forward to flatting and polishing the finish back now! As soon as this was finished I was down in London for two weeks running an international tennis camp with a couple of friends so the next I would see it would be on transport down to Bristol where Bruce had very kindly let me use the facilities of Area 52 for the week before the gathering! 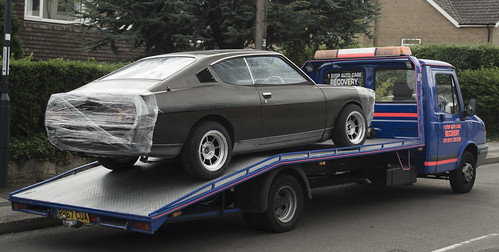 The Galant on it's way to Bristol The Galant on it's way to Bristol by Diabolu80, on Flickr I hardly got any photos during the week as I was concentrating hard on knocking off the list of To Do's but JRevillug was a legend working out exactly which wires were needed and eventually splicing two very spaghetti-fied looms together... at the speed of light  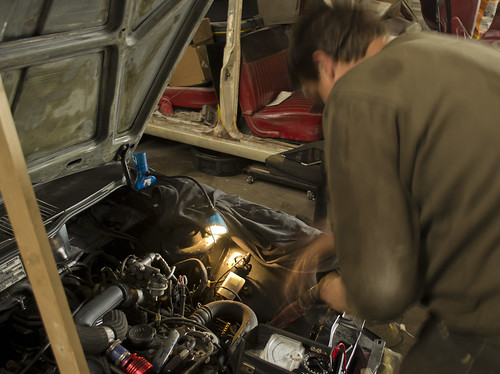 Revilug working at light speed Revilug working at light speed by Diabolu80, on Flickr A few issues were hit and most overcome during the week, the sore point being the prop shaft which didn't get sorted in the end, proving too difficult to source parts to join the different sized UJ's from the gearbox spline to the actual prop together. That meant waiting a few weeks before it could actually run under it's own steam but Friday came and it was taken up to the gathering! Thanks to the infamous KFW Tat Haulage company  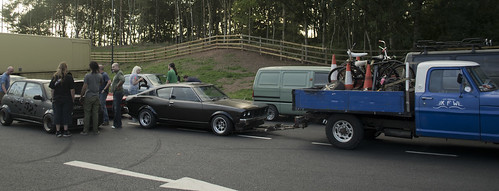 Convoy to the Gathering Convoy to the Gathering by Diabolu80, on Flickr Thanks for this photo, I think it was Grunty who took it...? 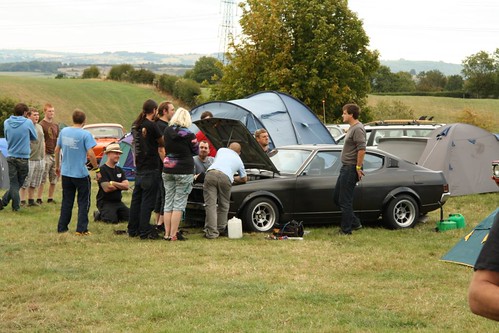 Galant GTO Galant GTO by Diabolu80, on Flickr I'm very proud and extremely emotional to have the car at this stage and also for it to make the Gathering and the only other photograph I took of it was it sitting proudly next to one of the best Toyota's on Retro Rides. 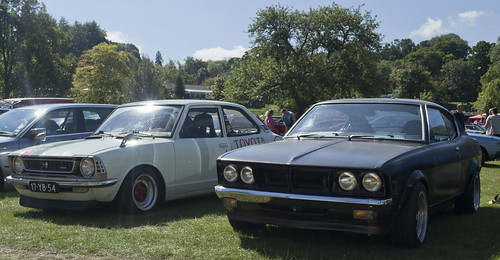 Galant GTO and Corolla Galant GTO and Corolla by Diabolu80, on Flickr Big thanks to everyone who helped get it to this stage. If you have photos of the car from the weekend, I'd love to see them in this thread, and I know a few of you did take some pics of it at Area52 also  Until next time, I'll leave you with this!! Rich's genius work. RIP Si BaldwinChris! |
| |
Last Edit: Aug 23, 2011 17:03:00 GMT by Diabolu
|
|
|
|
Sinky
Posted a lot
   Run Baby Run......Please!
Posts: 1,395
|
|
Aug 23, 2011 17:05:18 GMT
|
|
Your car is looking Fantastic! Nice job, well done.
|
| |
2001 Volvo XC70 wagon
2003 Piaggio X9 Evo
|
|
|
|
|
Aug 23, 2011 23:29:58 GMT
|
|
Good work. Feels good getting a car to RRG. I remember just getting my Rx3 ready in time for RRG 08 I was so happy. And you should still have plenty of summer to enjoy it eh!
|
| |
|
|
|
|
|
|
|
|
I'm SOOOOOOOOOOOOOOOOOOO jealous of you mate, and very happy for you, the car looks extremely awesome !
|
| |
|
|
|
|
|
|
|
I Love this, ive read through the whole thing and have to say its easily one of my favourite builds on here. Love the paint, and the wheels, and all the little bits of attention to detail, its so perfect. Absoloutely awesome, you've no idea how jealous i am  |
| |
|
|
|
|
|
Aug 24, 2011 11:41:01 GMT
|
OMG that is soooooo beautifull!!!   Verry well done!  |
| |
|
|
nofrills
Posted a lot
   my wings are made of Steeeeeeeel!!!
Posts: 1,243
|
|
Aug 24, 2011 11:54:03 GMT
|
|
Man you must be so proud, this has come out absolutely amazing and i am very jealous i do not have the skills to pull something like this off, its truly epic and one that you will cherish! mucho respect bud!
|
| |
|
|
|
|
|
Aug 28, 2011 23:27:00 GMT
|
Chris, pleasure to meet you down at Area 52 the other week. I haven't caught up on this thread in a while, and I'm glad I did  . I'm blown away, real attention to detail. It's a credit to you. I hope to see it for real one of these days. |
| |
1989 Peugeot 205. You know, the one that was parked in a ditch on the campsite at RRG'17... the glass is always full. but the ratio of air to water may vary. |
|
|
|
|
|
|
Sorry this is late, but up until about May/June I was following your progress then lost it. Reading through the tonybmw metal fabrication thread I saw a post by you and remembered this car so had to check where you'd got to. Wow! What a result and a credit to you. Looks absolutely amazing and I hope I get to see it in the flesh. RRG12 I guess. Need some in car and drive by videos though please  |
| |
Project Diary1975 Viva / 1988 T25 Camper / 1989 Mini / 1991 MX5 / 1992 Mini / 1994 Saab 9000 / 1997 Saab 9000 / 2008 Saab 9-5
|
|
Torquesport
Part of things
  Astras all the way!
Posts: 453
|
|
|
|
Did I just read you were mouting the knock sensor in the footwell? that won't.. er.. work Chris! It needs to be bolted to the block to sense knock! I wondered about that myself at the time. |
| |
|
|
|
|
|
|
|
|
Just caught up with this again too, great work and nice to see it this far on
|
| |
|
|
|
|


