|
|
|
May 23, 2011 16:22:53 GMT
|
|
Amazing!
I would love to own such a stunning car! And especially one that has had the amazing work that you have put into it. If you ever sell this, I Want It!!
|
| |
|
|
|
|
ChrisT
Club Retro Rides Member
Posts: 1,670
Club RR Member Number: 225
|
|
May 23, 2011 18:18:24 GMT
|
|
Good to see it really starting to take shape
when do you anticipate getting it fired up?
|
| |
|
|
|
|
|
May 23, 2011 20:18:37 GMT
|
Awesome work Chris, I admire the level of detail you're putting into everything  This:  makes it look so very evil  Good luck with the wiring work  Hold on to your hat as it's going to stay that menacing   Amazing! I would love to own such a stunning car! And especially one that has had the amazing work that you have put into it. If you ever sell this, I Want It!! I very much doubt this car will ever be sold, and if it was, it'd be to fund a New Zealand import with which I would do the same 'improvements' to  Thank you for the comment though, that is much appreciated... errr... appreciation  Good to see it really starting to take shape when do you anticipate getting it fired up? Thanks Chris! I'm back in to thoroughly enjoying learning the ropes again. If I can run the fuel swirl pot over the next couple of weeks (Rich and co are down in a weekends time to help body prep) then I can really tackle the wiring. End of June, mid July I really want to have it running. Will be interesting to see if that's realistic. |
| |
|
|
|
|
|
May 24, 2011 14:24:43 GMT
|
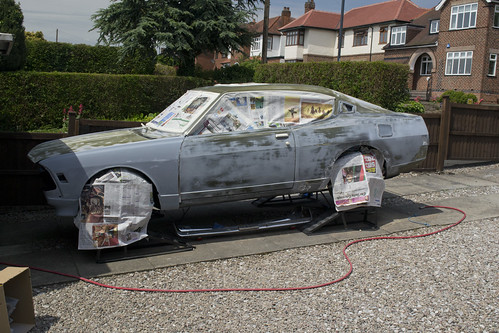
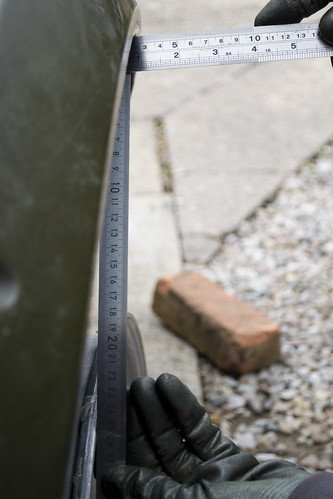
Windy day today... perfect for some sanding. The repair on the offside wing was solid enough, but lacked a little of the contours. Careful application of some filler was needed. I'm not afraid to say the repair needed some work haha.  Whipped the air rotary out to see what I could get. This swage line was going to be the tough one to get.  Certainly looking a little better. Need to smooth out a thin layer of filler again and apply to enable me to take it to a finish. 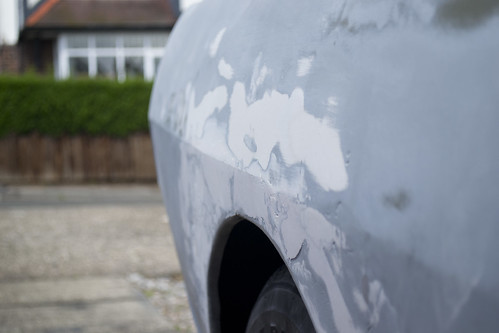 Took the last few minutes I had to have a look at the wheels now I was sure the paint had cured!    Suffice to say I love em!!!  |
| |
Last Edit: May 24, 2011 14:25:26 GMT by Diabolu
|
|
sowen
Club Retro Rides Member
Posts: 2,245
Club RR Member Number: 24
|
|
May 24, 2011 20:57:36 GMT
|
This is really taking shape now, keep it up  |
| |
|
|
|
|
|
May 25, 2011 23:02:51 GMT
|
Please join me in praying that the weather forecast tomorrow is NOT accurate. I don't want it raining on my day off  I have presents to fit   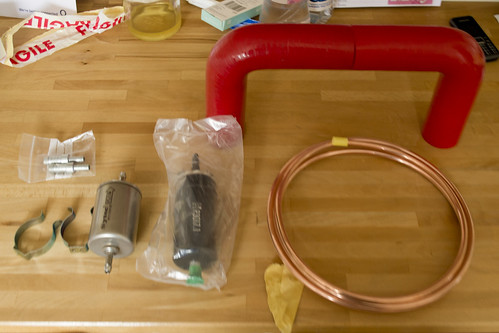 Yes, they're BLACK silicon 90º hoses... not red. Why would I order red ones for my car  lol Anyway, fingers crossed   |
| |
Last Edit: May 25, 2011 23:03:37 GMT by Diabolu
|
|
75nut
Part of things
 
Posts: 512
|
|
May 26, 2011 12:22:01 GMT
|
|
Gutted , its raining down here, hope this means we don't get more pics of progress from you today!
|
| |
90 Alfa 75 3.0 V6 Cloverleaf
79 MGB Roadster
88 Saab 900i Convertible
94 MK1 MX5 1.6
05 Volvo V70
|
|
|
|
|
May 26, 2011 12:27:41 GMT
|
It's JUST cleared, sun is out and there are a few clouds around.... covers off the car then  Whereabouts are you?  Under cover Under cover by Diabolu80, on Flickr |
| |
Last Edit: May 26, 2011 12:27:59 GMT by Diabolu
|
|
|
|
|
May 26, 2011 13:35:09 GMT
|
|
I absolutely love this car... Well done and keep up the good work...
|
| |
|
|
75nut
Part of things
 
Posts: 512
|
|
May 26, 2011 16:59:50 GMT
|
It's JUST cleared, sun is out and there are a few clouds around.... covers off the car then  Whereabouts are you?  Under cover Under cover by Diabolu80, on Flickr North Devon mate, so what did you get done  |
| |
90 Alfa 75 3.0 V6 Cloverleaf
79 MGB Roadster
88 Saab 900i Convertible
94 MK1 MX5 1.6
05 Volvo V70
|
|
|
|
|
|
|
May 26, 2011 17:07:58 GMT
|
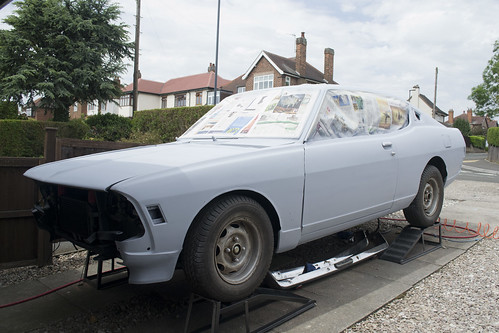
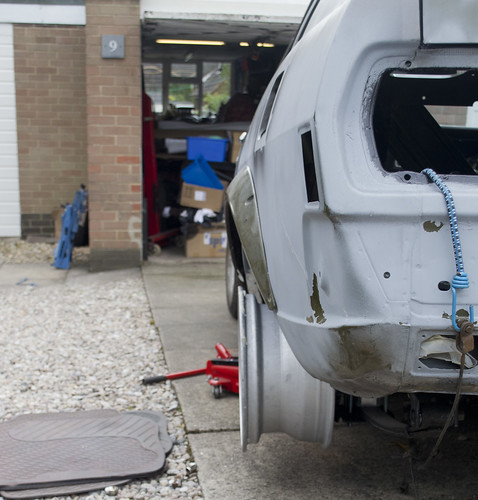
I absolutely love this car... Well done and keep up the good work... Thank you! Much appreciated. I absolutely adore the car too, you just cannot begin to believe how much of a smile the lines and stance put on my face... even now in it's half primered state. I simply cannot wait to a) get some consistent colour paint on it and b) hear that engine ticking over!   Unfortunately the weather is not helping at all today. It's 15mins of glorious sunshine followed by 2mins of hard rain. Scuppering any work at the moment. The clear time we did have this morning was spent turning my dads Spitfire 4 Mk2 project round in the garage so he can weld up the other side. It did give me chance to get some pics tho. Check the sky though. I was very thankful of the hot sun to really make sure the body was dry between showers so I could just throw the covers back on. Anyway, lets see if the pics put a smile on anyone elses face?! Week off next week, so please keep the rain away! Haha. Tempted to just pick up a gazeebo as it isn't cold or windy. 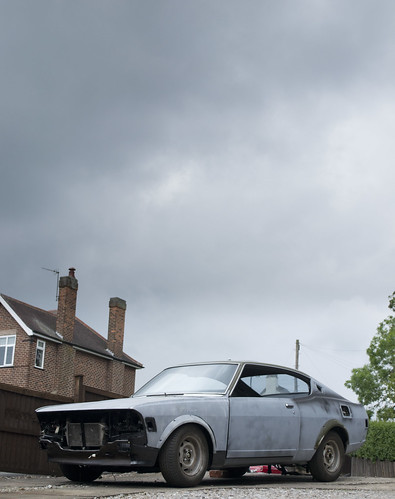 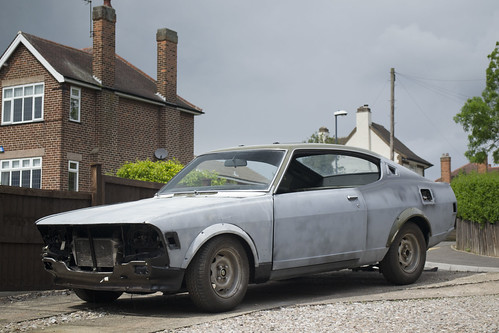 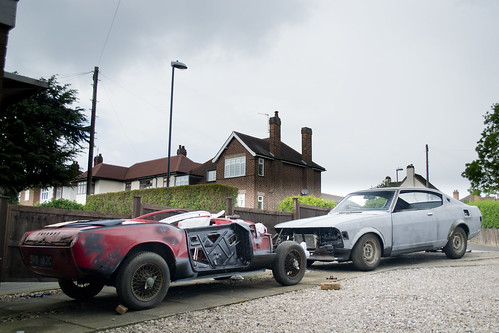 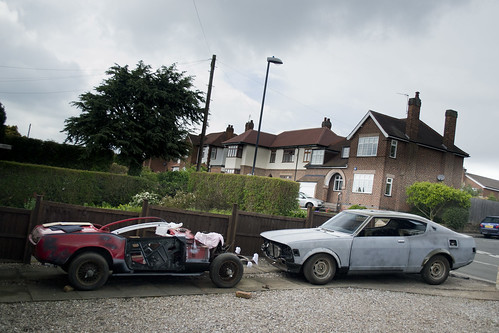 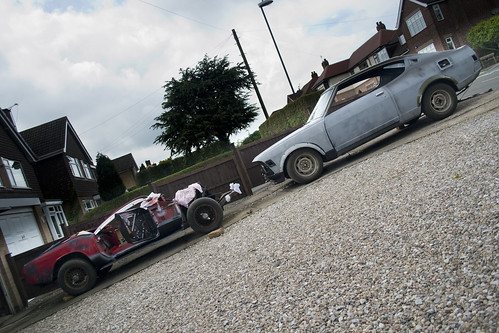 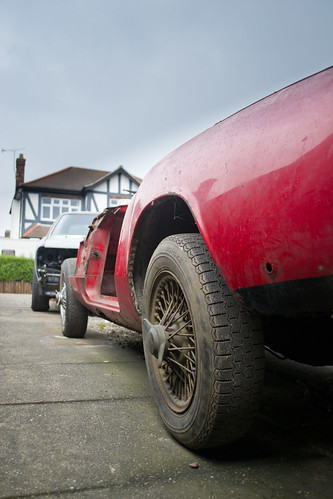  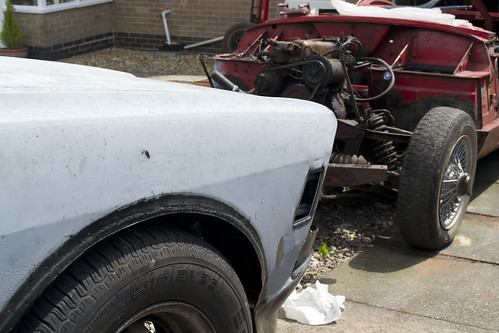 ....and then it rained... gah! Lol  Fingers crossed for tomorrow. I'm not coaching until later in the evening. Chris |
| |
|
|
|
|
|
May 26, 2011 17:14:41 GMT
|
|
|
| |
Last Edit: May 26, 2011 17:46:47 GMT by Diabolu
|
|
|
|
|
|
|
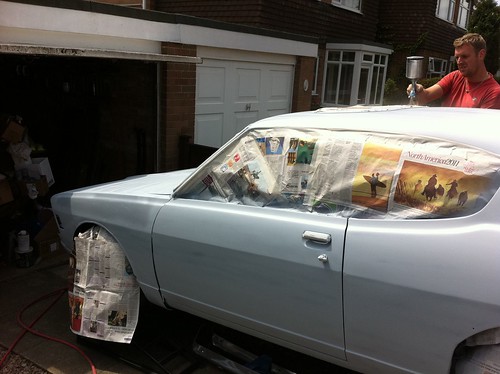
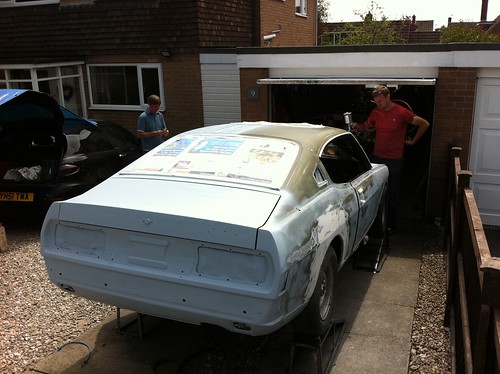
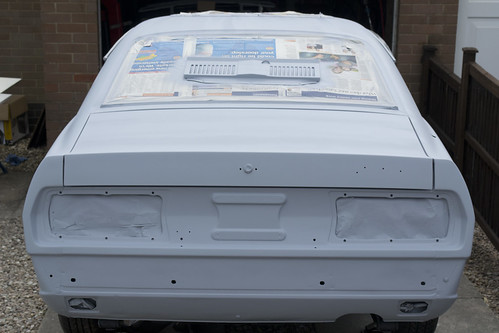
WELL!!! WHAT a weekend! A number of friends have been itching to help out on the Galant and now the weather is a little more under control I bought plenty of food from my local farm shop (including some black pudding sausages, apple and cider burgers and some curious 'mystery' chicken) and invited them for a BBQ weekend. Guy came up early on Thursday and we spent the day running the fuel line under the car and trying to source a banjo for the hydraulic clutch hose... turned out to be a nightmare! Cheered ourselves up by stonechipping the inside of the wings, front valance and slam panel. 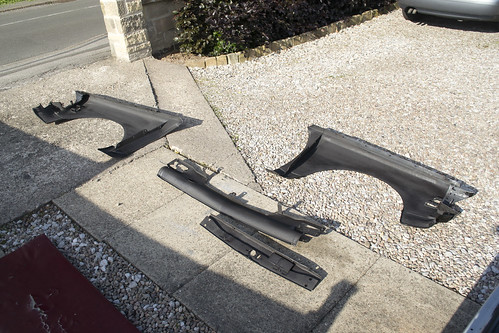   Plan was to stonechip the lower few inches of the wings and all across the front valance and then basecoat over the top, just to provide a little more stonechipping resistance  After mentioning that a new intercooler would be sourced and I was planning on having it annodised black before I fitted it, Guy quietly grabbed some cans and within a few minutes we had an idea of how that would look! 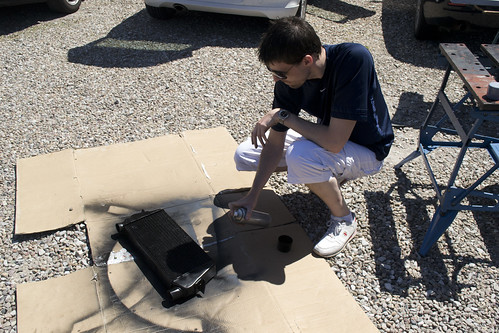 I'd started to rub down the front wings. These were going to need a lot of prep so I was keen to get a headstart on them before the weekend started. 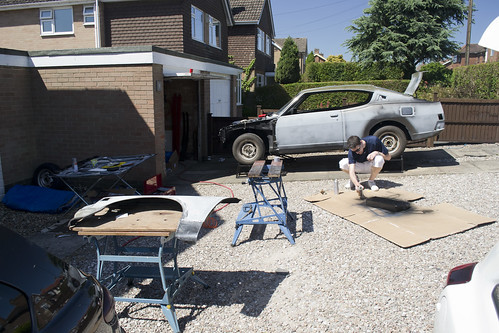 Removing the POR15 I put on last autumn to protect over the winter. Almost wished I hadn't... it was a pain in the proverbial to remove haha!  Both wings on the go!  Takes a lot... there was also a layer of almost emulsion-esque white paint that the last owner had started to gloop on. Had to get some 40grit paper out, as it was clogging up every other grade we had!  Little filler to smooth out some mysterious ripples.  ...and also on the extensive repair on the lower wing. Just smoothing out the contours a little on that, as the repair patch had made it a little angular. 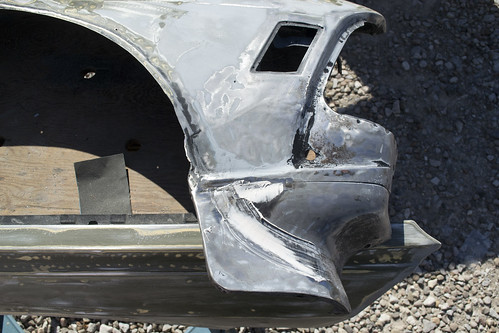 Front valance is getting a complete coat of stonechip but still ran some filler over the small stone chips that were there.  Some panel wipe and we could see where the work had got us... 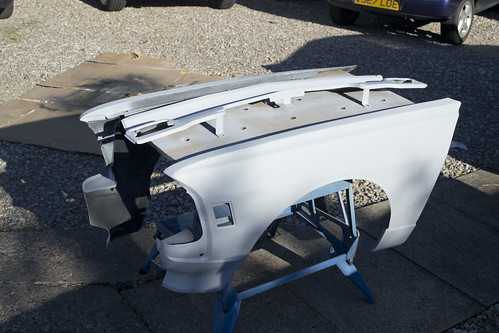    Very big tingle over my body spraying these up. Was a very nice satisfying feeling seeing the colour (all be it primer) going on so well. We left these out in the sun to cure a little and headed out for an indian buffet to cool down. Such a glorious day we were both feeling the sun a little. Couple of other friends came that evening, and one familiar face to most of you I'm sure... Butterz made a very welcome appearance and helped prep the rear panel. Also in the pics are Rich (RichHughes) and H. 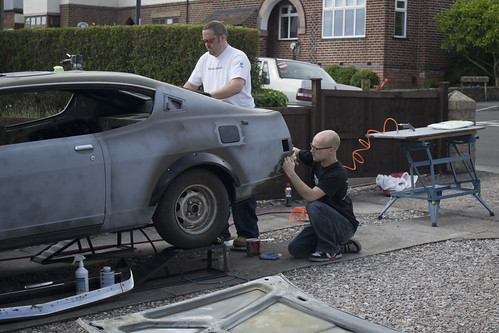 H was busy working tirelessly on the front wings! Absolutely refusing to give in to any imperfections... it was like being in the infamous Aston Martin paint shop!  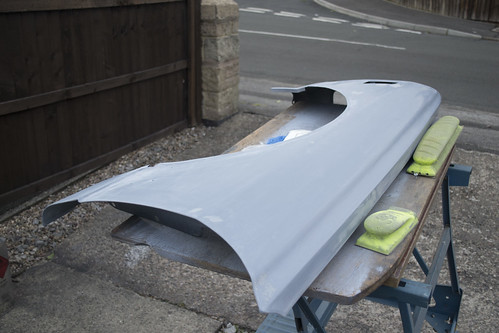 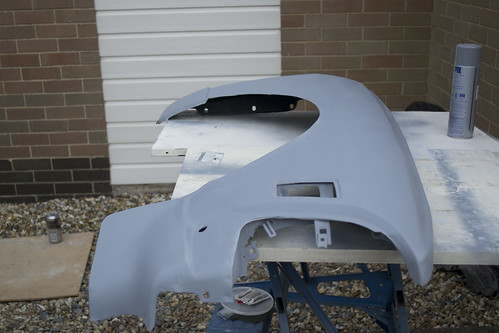 The wing, heavy with repair work was getting a good going over by everyone on the day!   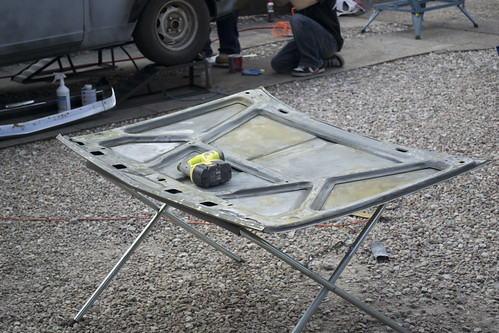 I had to take a quick break from the bonnet, the POR15 causing a right headache trying to remove it all ready for some primer. We called BBQ time at 6ish and headed round the back (also I think some of the guys had just realised England were playing haha!) This is where the car sat at the end of Saturday... 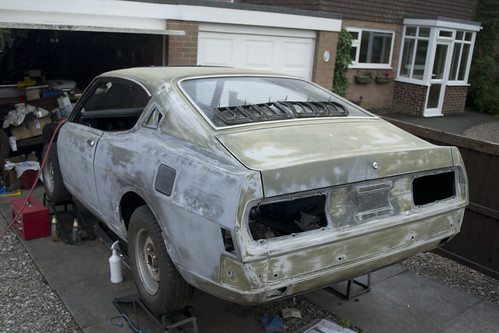 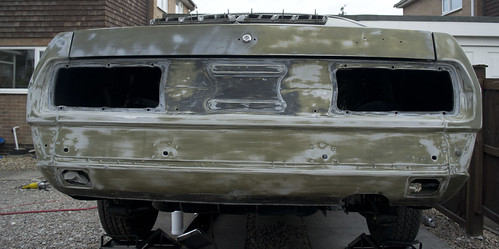  Really wish I had taken more photos but it was such a busy day, with high energy from all we literally just lost track of time getting things done! Further update to come....  .... |
| |
|
|
stealthstylz
Club Retro Rides Member
Posts: 14,960
Club RR Member Number: 174
|
|
|
|
|
Can't wait to see it with the paint and wheels on, gonna look superb
|
| |
|
|
|
|
|
|
|
|
|
|
|
| |
Last Edit: Jun 5, 2011 21:40:22 GMT by Diabolu
|
|
s123
Part of things
 
Posts: 45
|
|
|
|
|
This is such a cool project. Great skills and a lot of mojo make this one of my favorite threads.
|
| |
_______________________________________
Life's more painless for the brainless.
|
|
|
|
|
|
|
|
car i really coming along mate, I'm very jealous !
|
| |
|
|
|
|
|
|
|
car I really coming along mate, I'm very jealous ! Haha, thanks Ross  I'm loving the journey still. Loom this week. Trying to allocate every cable and then wire up the battery. I think I have a fuse box/junction box for battery cables somewhere from my FTO. I'll use that when I relacate the battery in the boot and wire all that up. This is such a cool project. Great skills and a lot of mojo make this one of my favorite threads. Thanks, it's a lot of learning as I go to be honest, glad to be up high on ur list of favourites  |
| |
|
|
|
|
|
|
|
Few little bits done today.  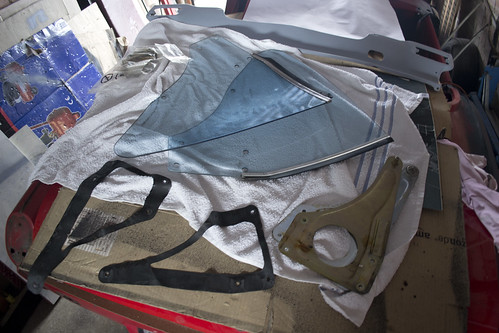 Got the windows out, cleaned and slid them back in. Went in a LOT easier than I feared  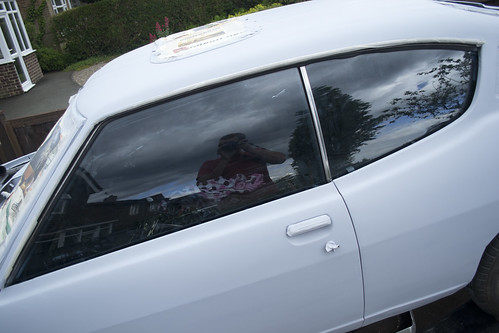 Wanted to get my head around the wiring loom that I had to splice in for the Starion engine. It's all just ECU connections to the Injection assembly and then a few extra sensors for the radiator etc. Problem is...  ...because I'm planning to put the loom through the bulkhead on the injector side of the engine bay there's only 30cm or so from the bulkhead to the injector assembly...  ...but easily 4' of loom between the bulkhead grommet and the injector assembly connectors! Thinking of taking wires out of the ECU connector plugs, shorten the actual wiring then plumb back into the plug. That sound the best way of doing it??  Raining now, so cover back on, and some more wiring/engine research on StarQuest forum  See u all at 52 play weekend next week!!!!!!  |
| |
Last Edit: Jun 9, 2011 20:32:07 GMT by Diabolu
|
|
|
|







 ....
....


