|
|
|
Mar 26, 2018 19:53:45 GMT
|
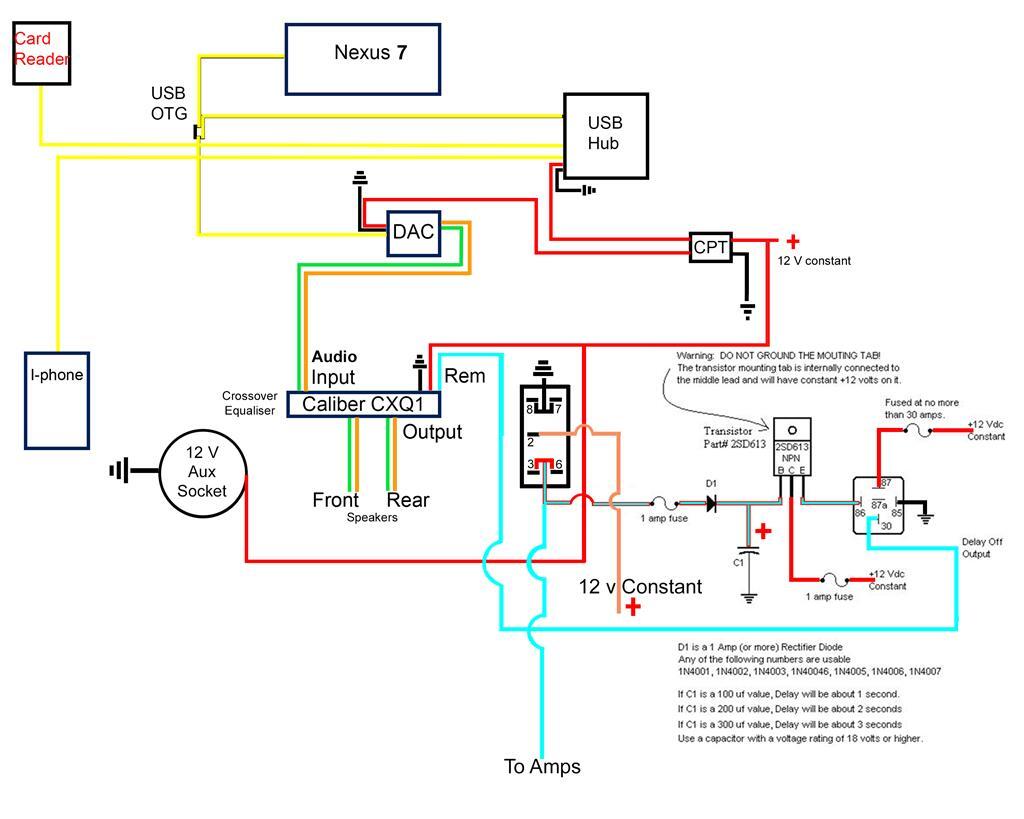 Here's the wiring diagram for the alternative head unit. I was getting an audible pop from the Calibre unit so I've had to install a timed delay of one second which has helped, but there is still a little click I can hear I think its the solenoid to activate the L.E.D.s, I shall have to track it down when I install the new Duratec split charge system. While I'm on electrics here's the Kenlow layout I've installed. 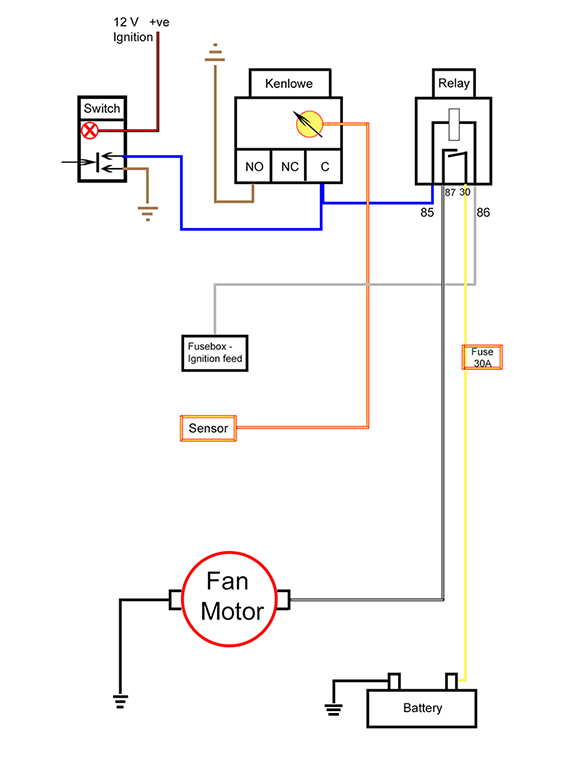 |
| |
Bib
|
|
|
|
|
|
|
|
|
With the colour sanding done I've moved on to the decal, I was in two minds whether or not to add these. The originals were black but I opted for red which I think was a better move. 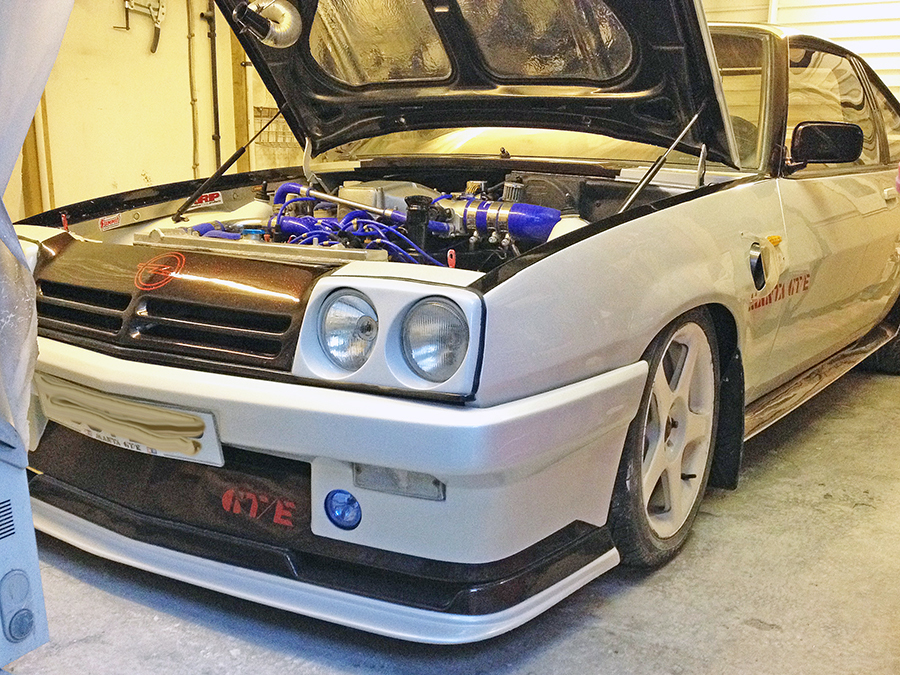 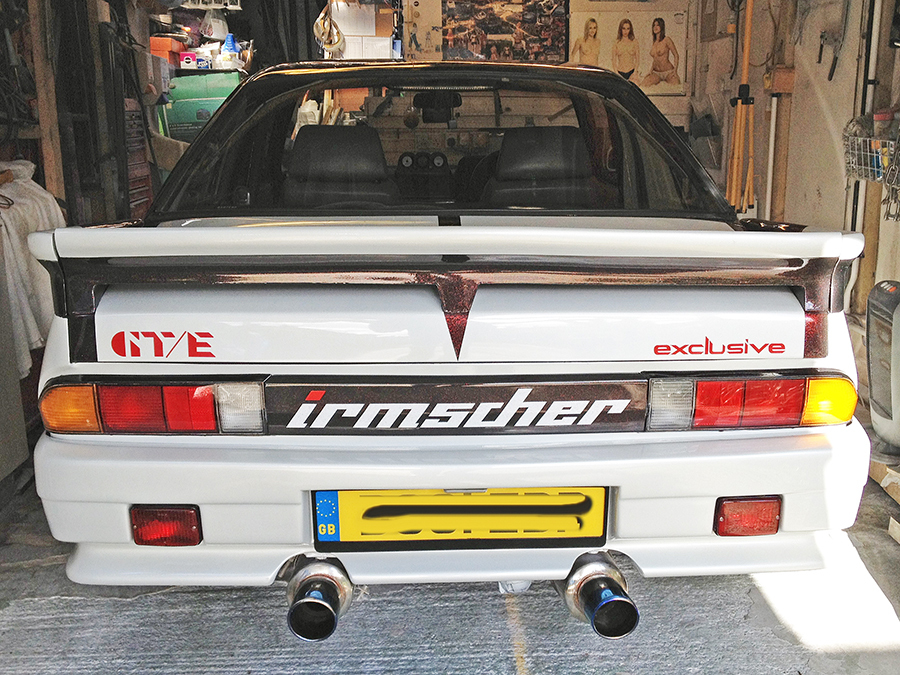 |
| |
Bib
|
|
|
|
|
|
|
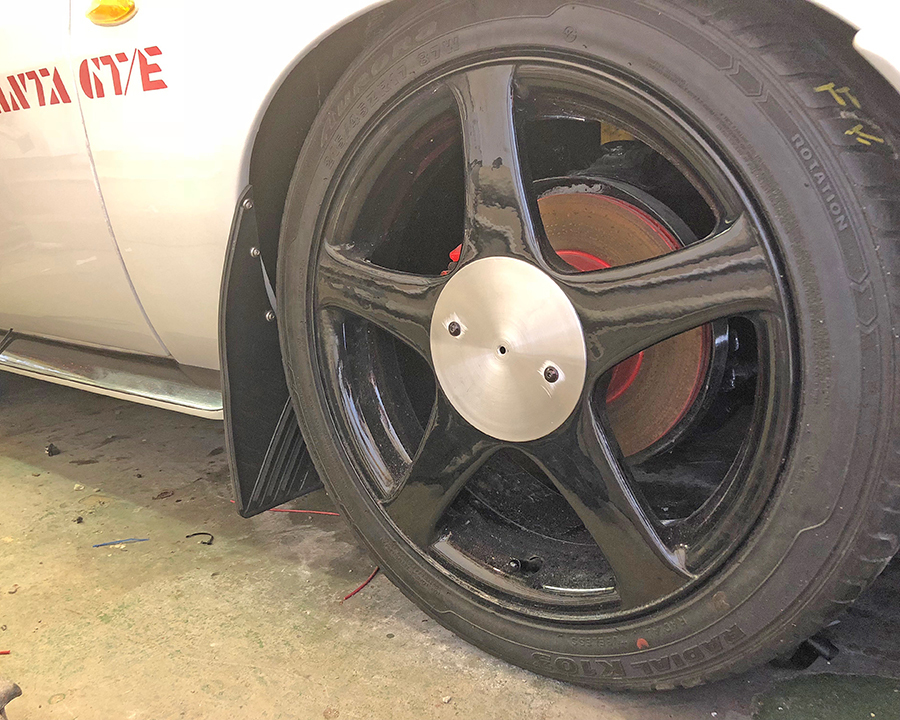
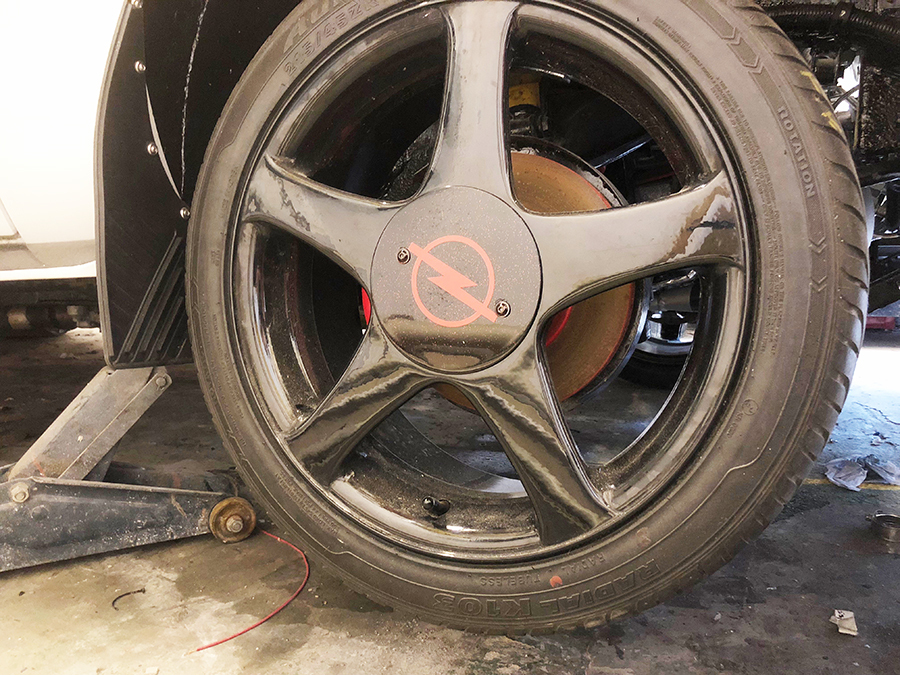
Next thing to do is the wheels, I bought them second hand and there is a bit of curb damage on all of them and the paint has lifted on part of the wheels where the aluminium has started to corrode so they definitely needed refurbishing. 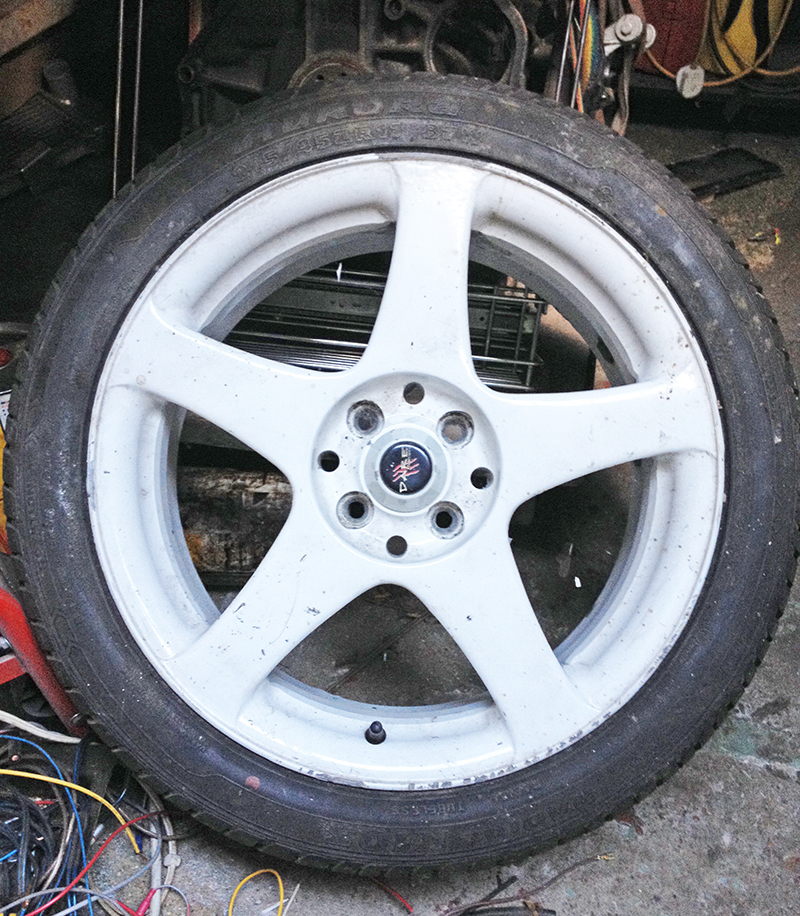 I've been in touch with Dare Motorsport who manufactured them apparently back in the 90's as I'm after new centre caps as out of the four caps one is missing, two are broken, leaving one intact. But unfortunately Dare Motorsport have nothing that would fit. So this leaves me with making something that would fit and look original. 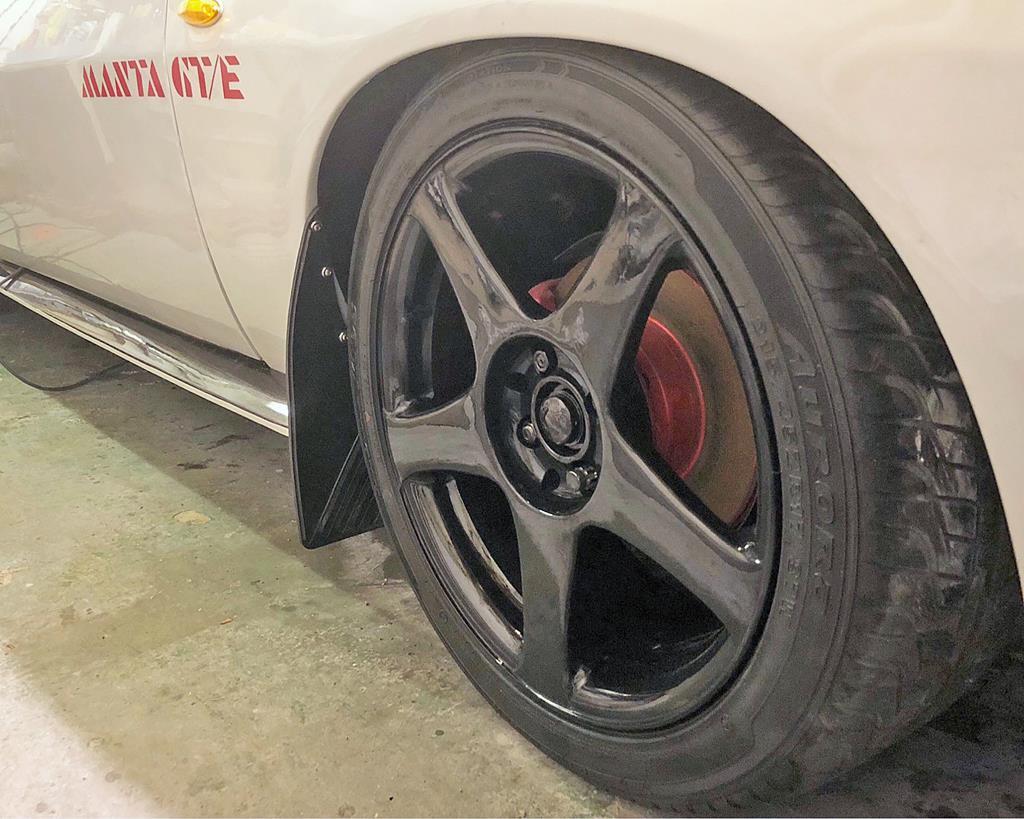 |
| |
Bib
|
|
|
|
|
Apr 16, 2018 23:56:51 GMT
|
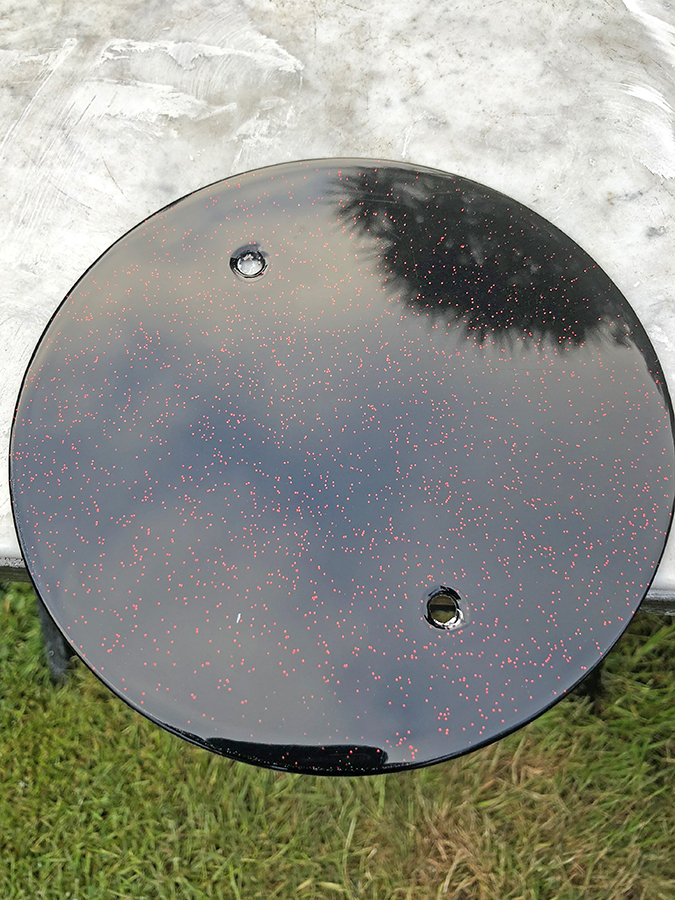
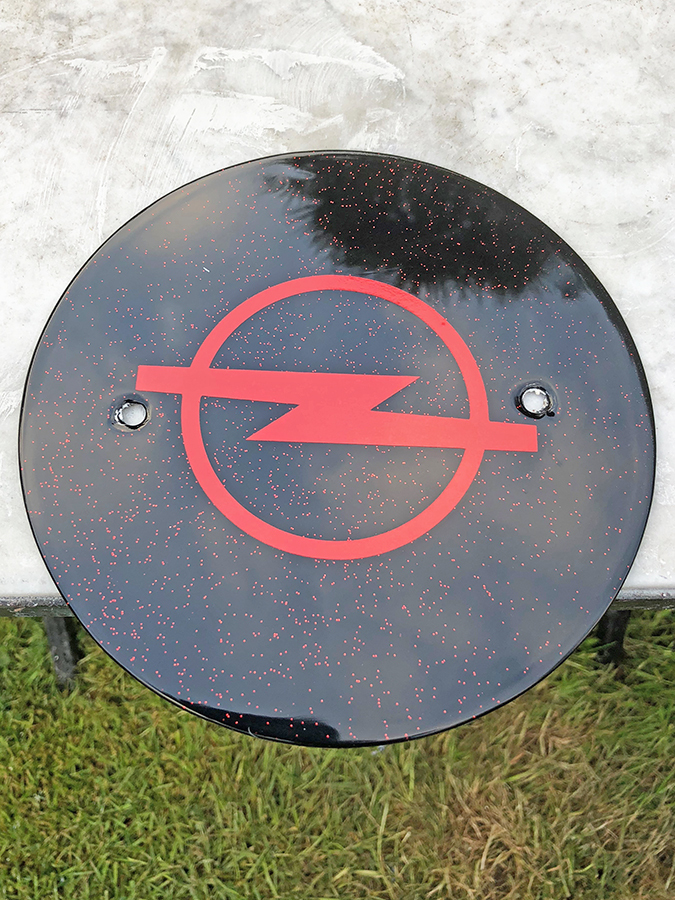
Well I've come up with an idea on the center caps, I've gotten hold of gloss black 150mm acrylic discs 3mm thick in which I've drilled an M6 hole center so I could chamfer the edge. Next I've welded a plate in the rear hub and drilled and tapped an M6 thread to secure the rear cover plate/disc. 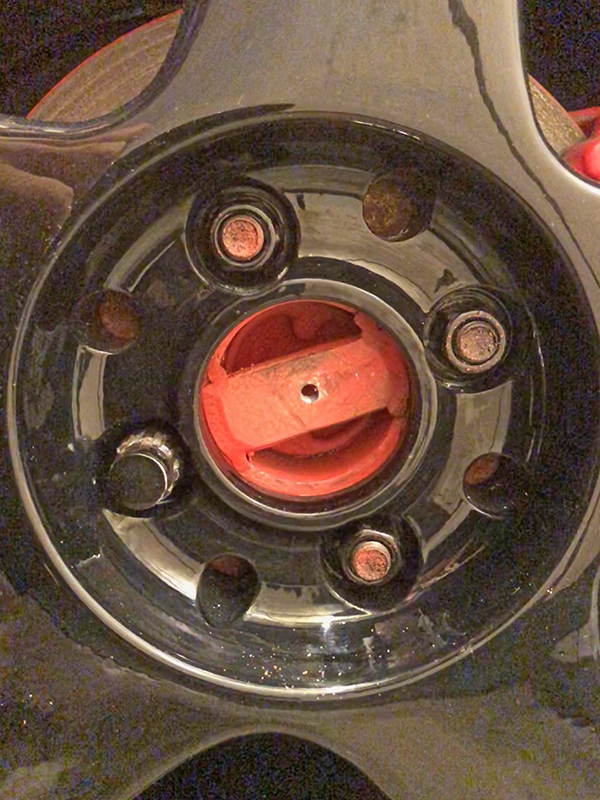 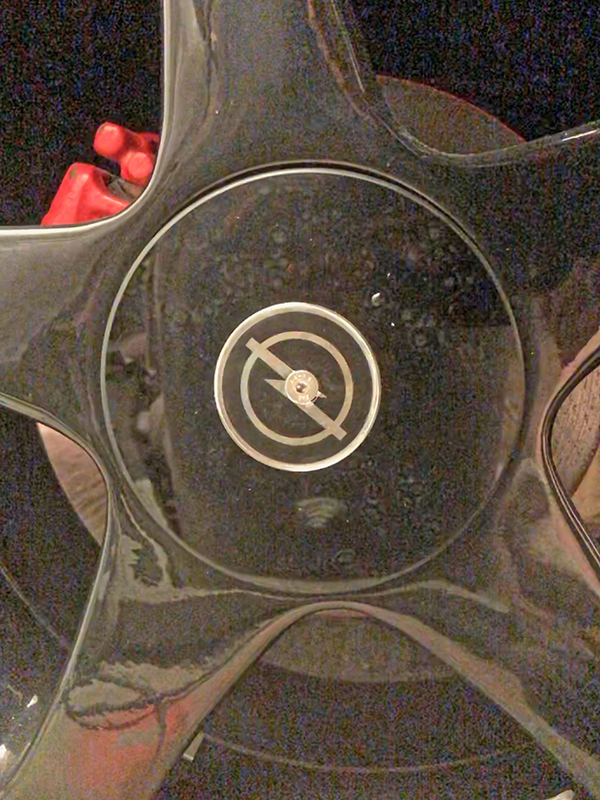 I've tried to cover the central fixing with an Opel sticker. Unfortunately the only way round in securing the front covers was to drill into the wheel itself. 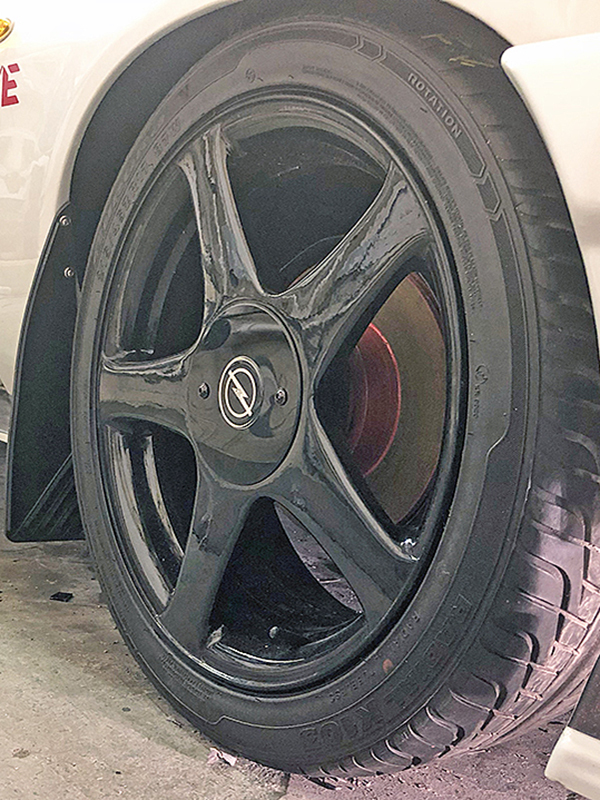 As a first attempt it's not a bad idea but it still needs refining, the discs need to be 10mm bigger as when I tighten the rear covers they tend to slide into the center due to being only 5mm larger than the wheel centers. They are also to flexible one has already cracked from over tightening and the Opel logo needs to be bigger. So version 2, I've now purched 3mm aluminium discs unfortunately these are 175mm dia so will need to be machined down to 160mm and as my local engineering workshop has closed down I've had to send them away today to get done, and I calculate this is going to take two weeks. Time to start looking for new logos. 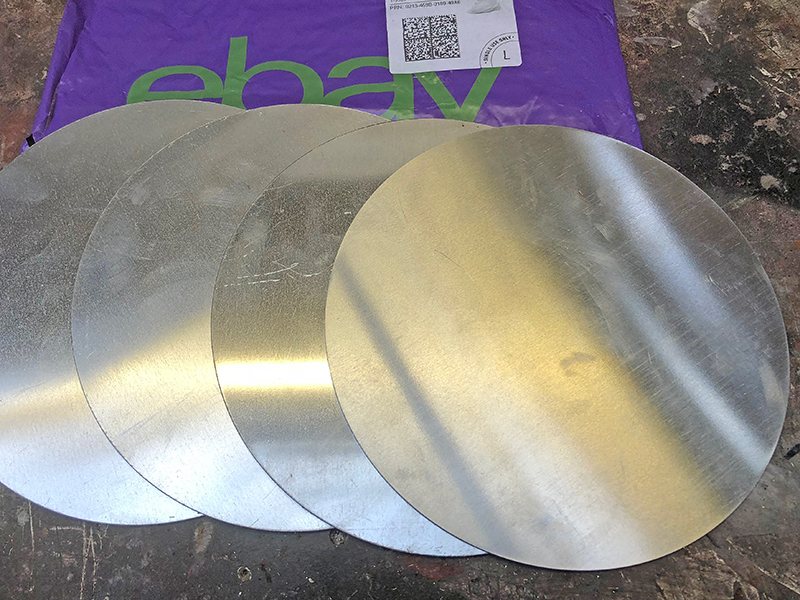 |
| |
Bib
|
|
|
|
|
Apr 25, 2018 19:32:02 GMT
|
Last week the alternator packed up changed the bushes a bit better but nowhere near good enough. So I've decided to upgrade from a 90 Amp to 200 Amps the best deal I could find was from the states and with a delivery time within two weeks. In two days it had left the USA by four days it had entered the UK and thats where its been sitting for the last four days in customs! So while I've been waiting I've made up cover plates for the rear of the headlights. 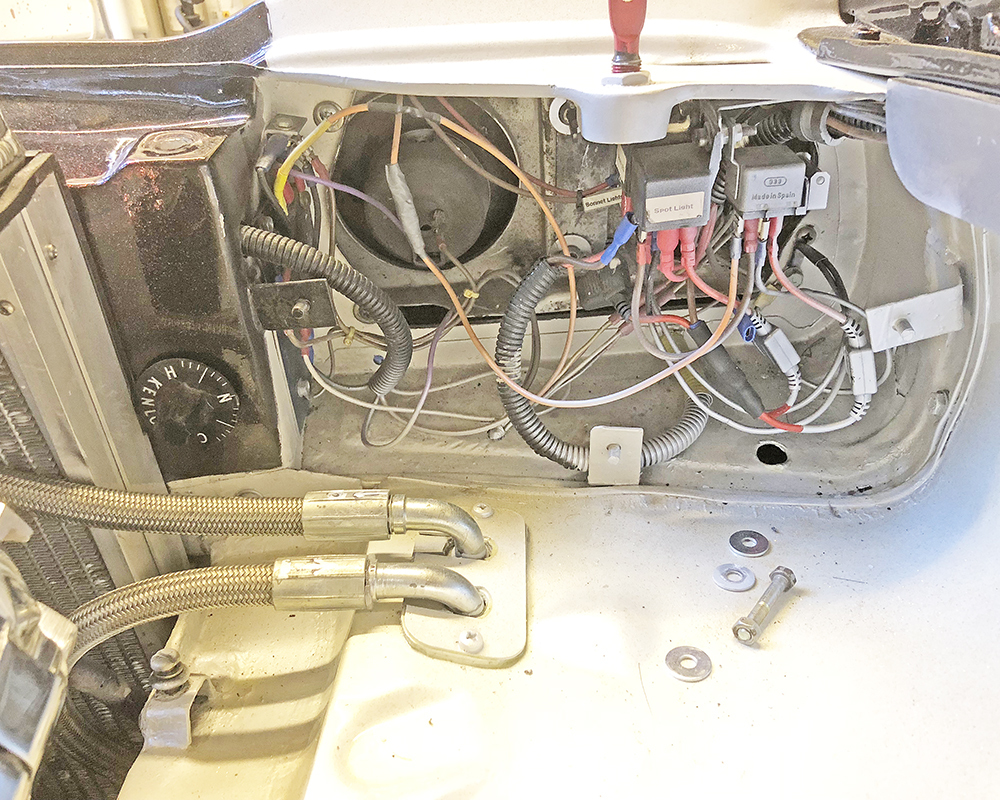 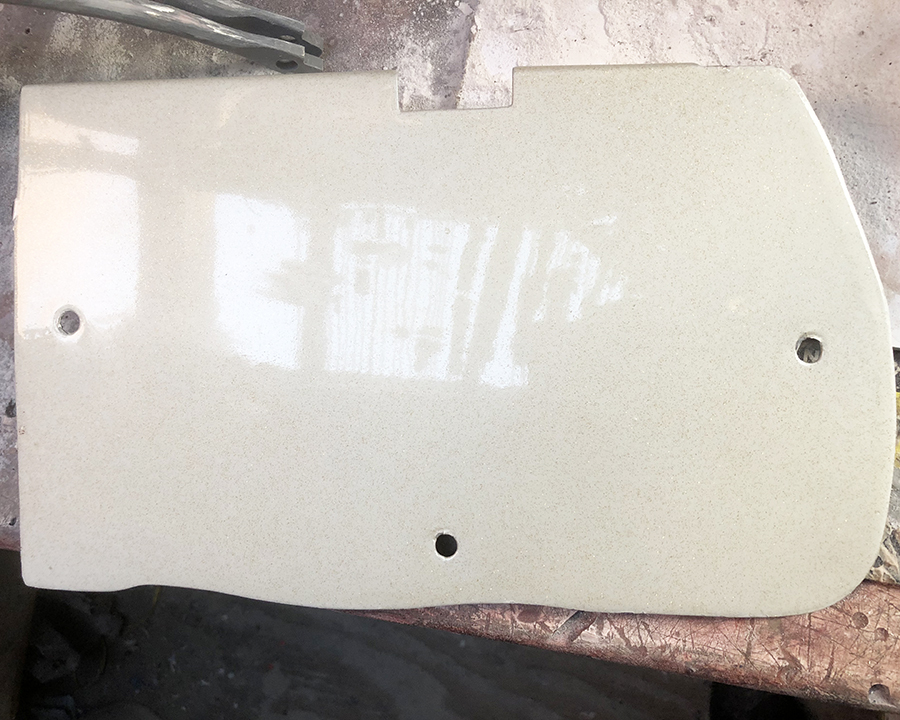 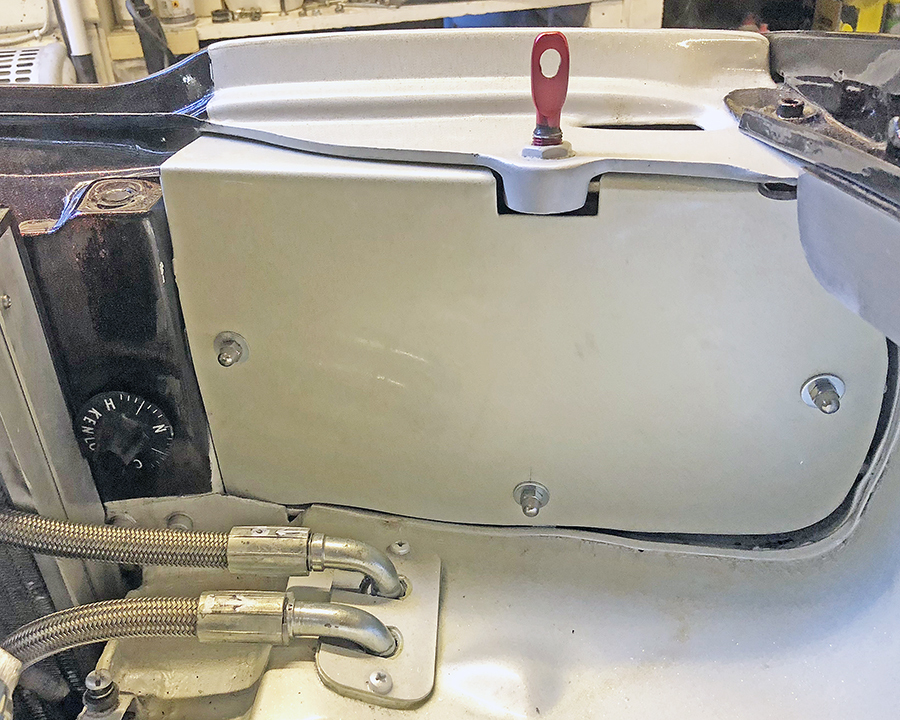 Not the best fitting, I've should of done this before the engine went in! |
| |
Bib
|
|
|
|
|
Apr 30, 2018 19:09:44 GMT
|
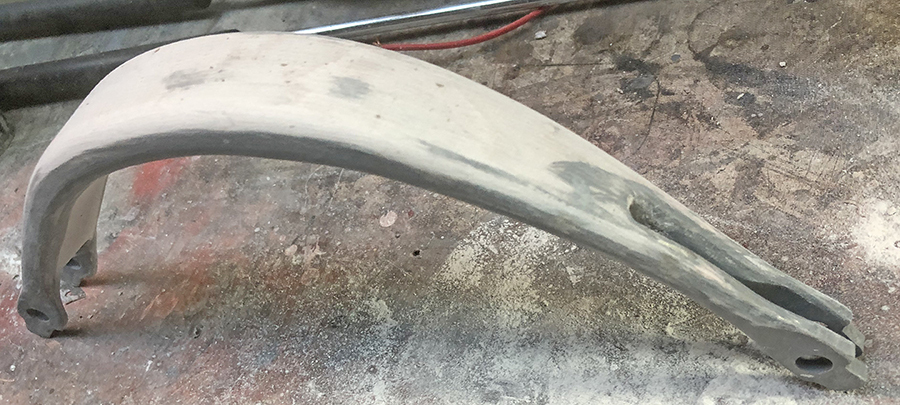
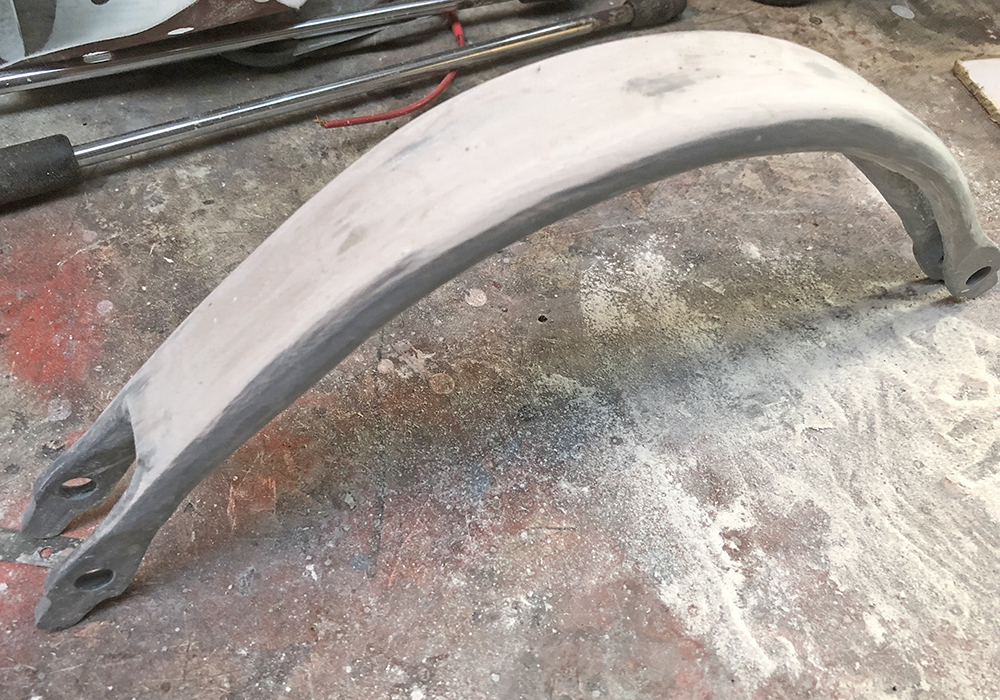
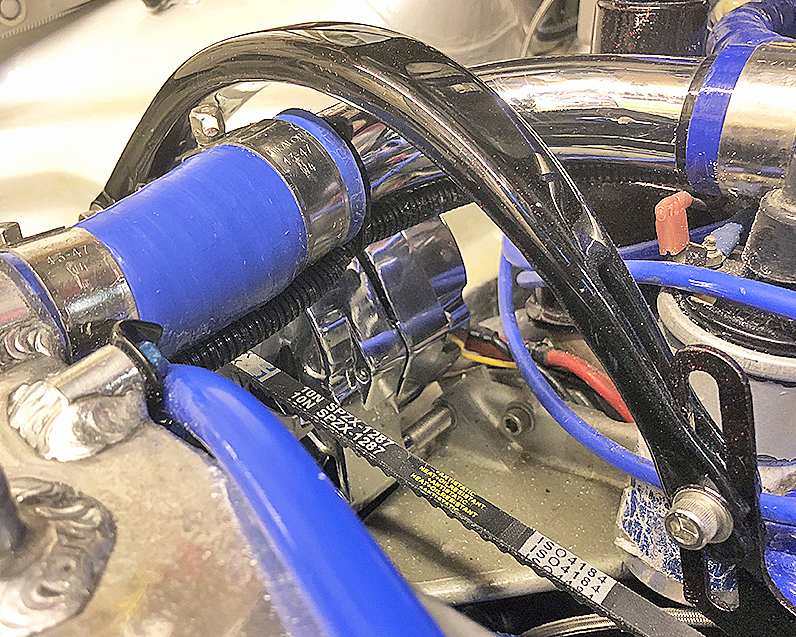
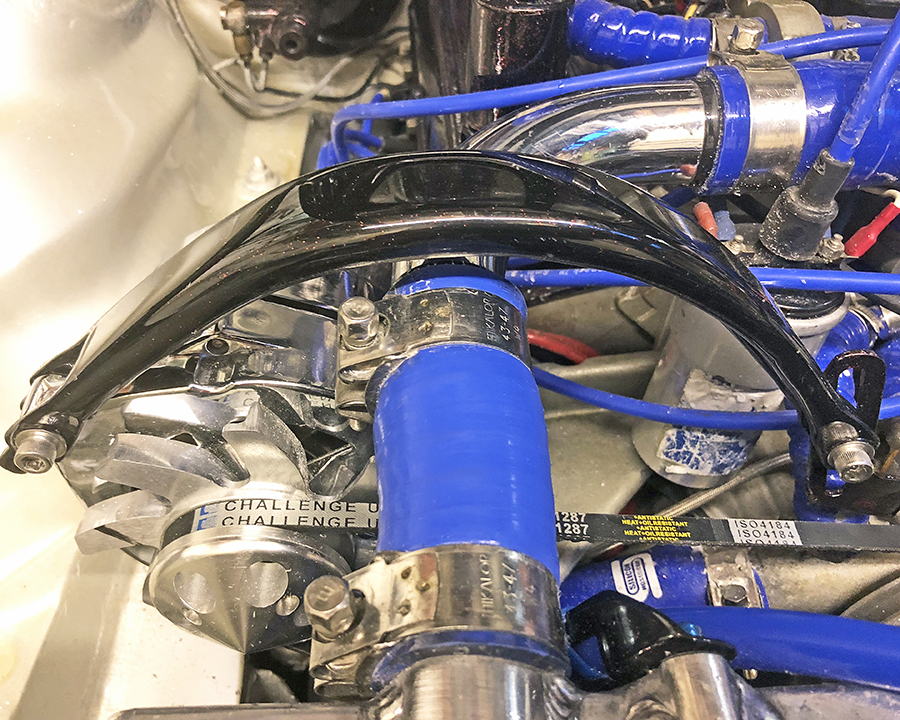
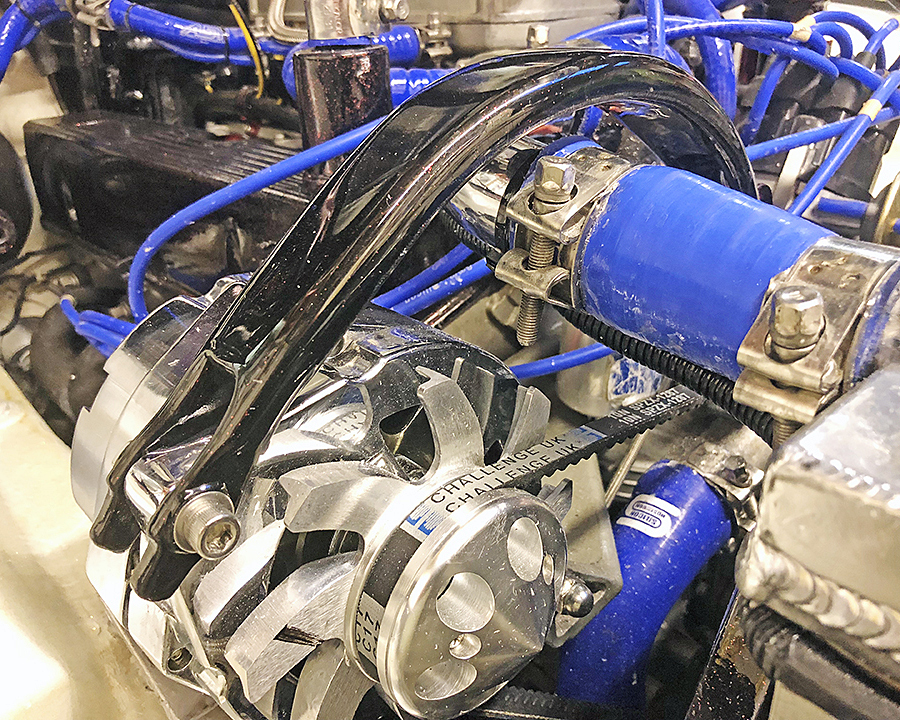
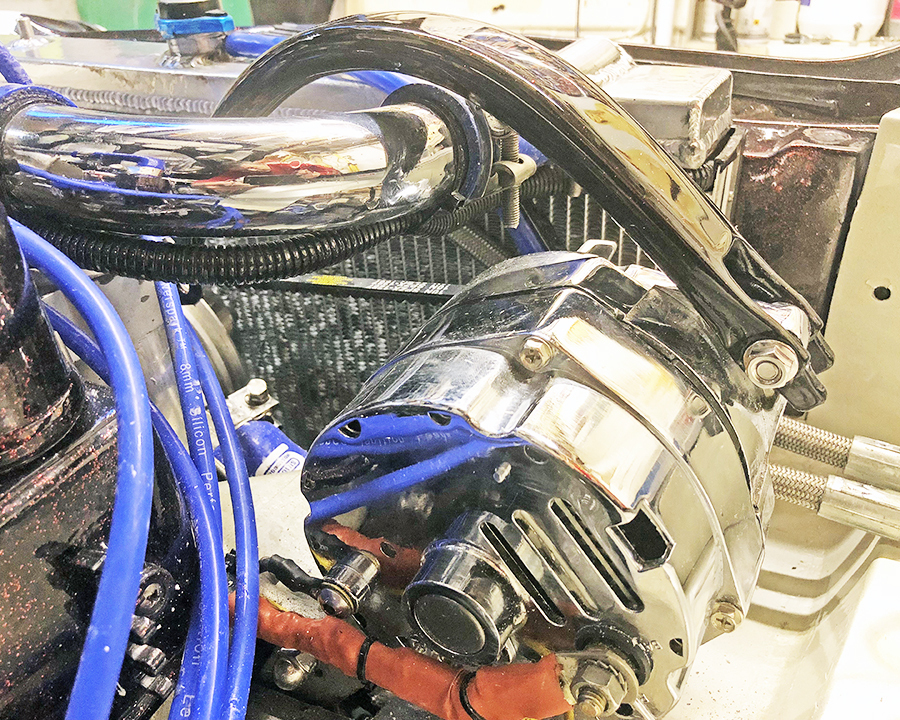
Finally the alternator has turned up... and it doesn't fit! As you can see the old unit was tensioned by a bar going under the top radiator hose. 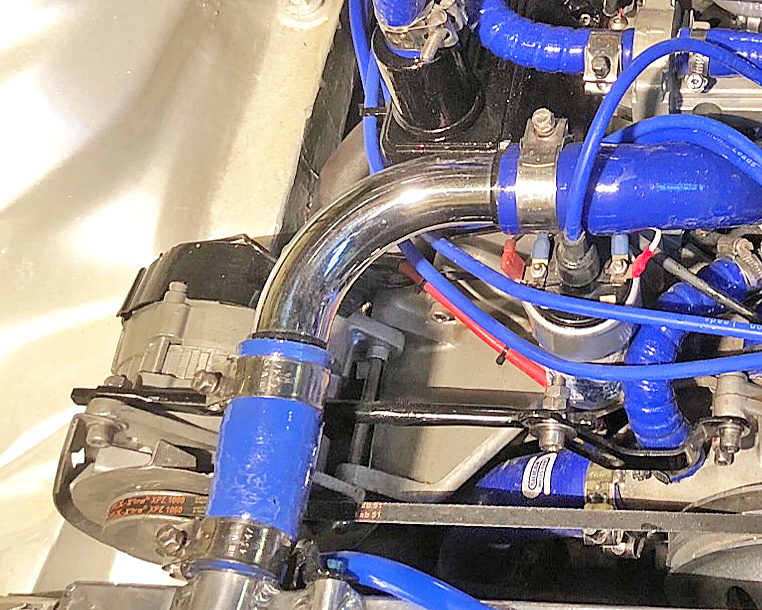 The new unit is slightly bigger and the mounting holes are further round to the left. 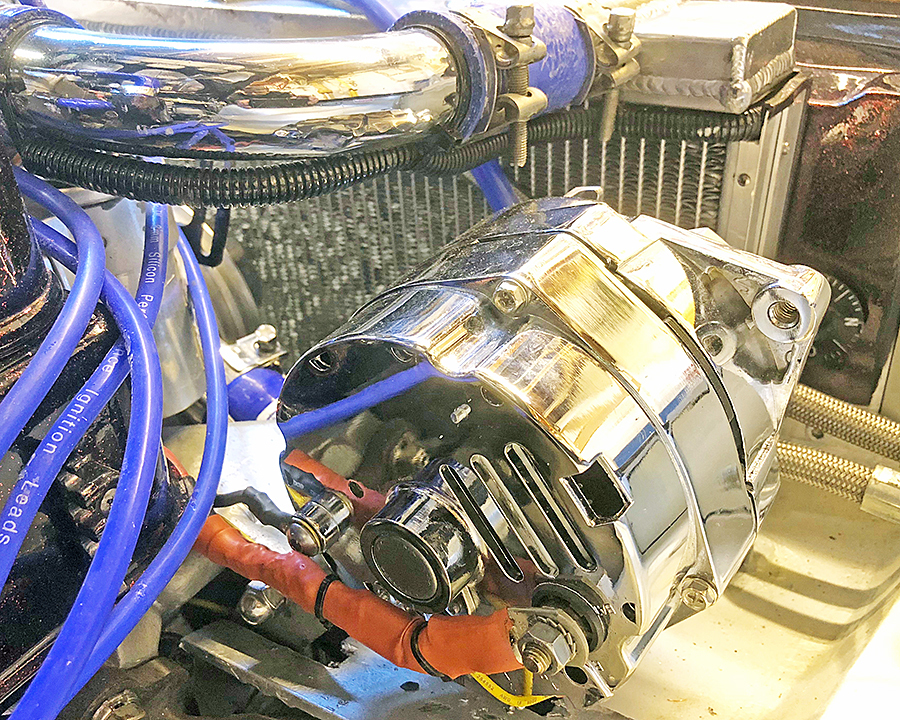 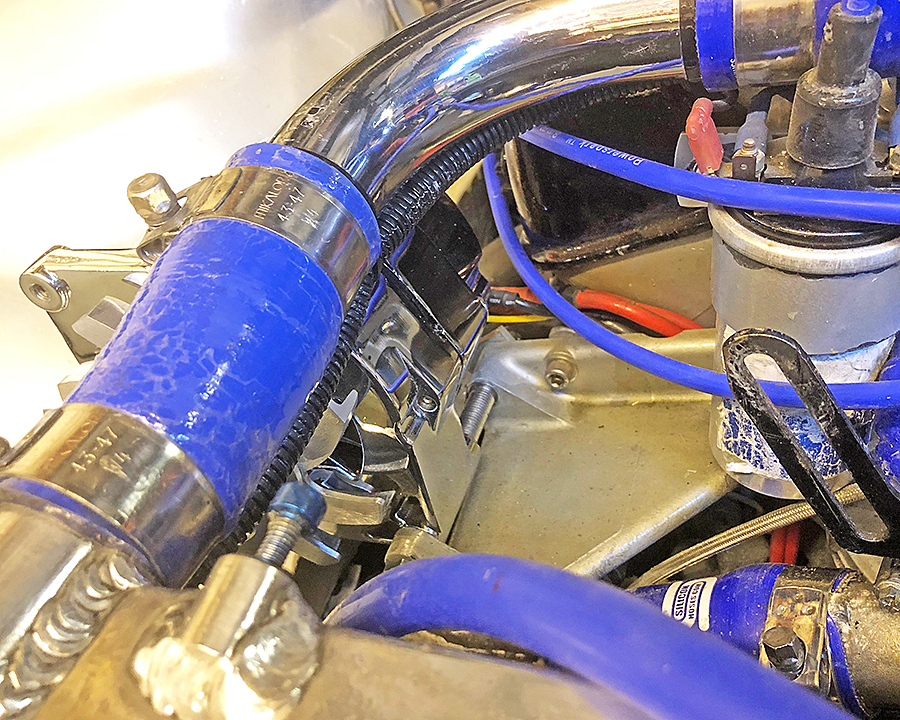 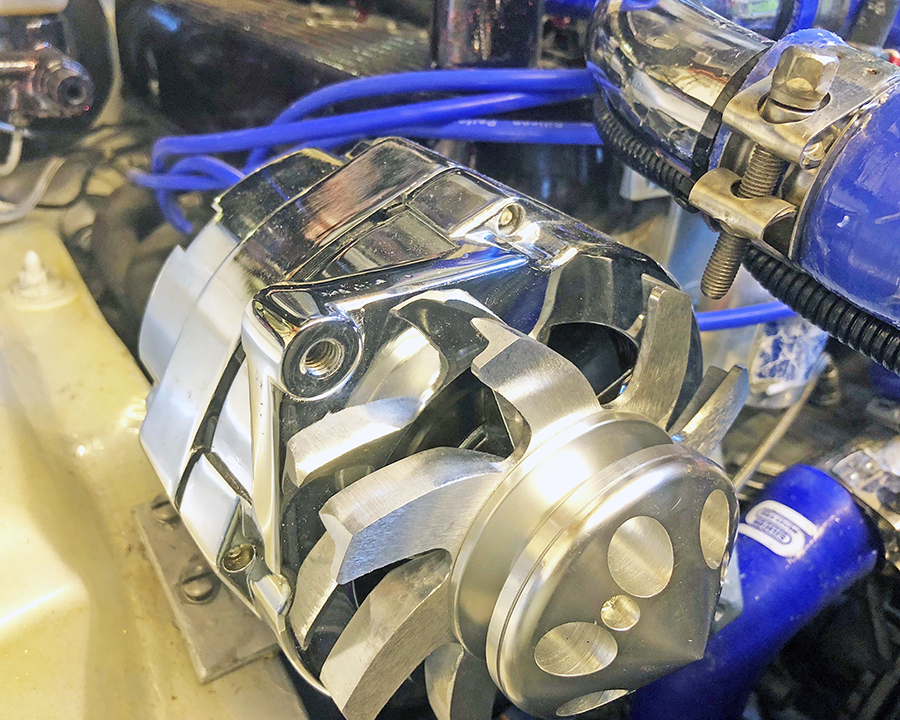 I've got a couple of ideas in my head on how to get round this problem, I'll have to knock up some templates to find the best method. |
| |
Bib
|
|
jpsmit
Posted a lot
  
Posts: 1,274
|
|
Apr 30, 2018 19:36:08 GMT
|
|
Before you go to far check and see if you can clock the face - google it - many delco alternators can rotate the face to suit the car
|
| |
|
|
|
|
|
|
|
|
|
|
The aluminium discs have just arrived back, so much sturdier than the acrylic discs.
|
| |
Bib
|
|
|
|
|
|
|
|
|
May 14, 2018 17:08:29 GMT
|
|
|
| |
Bib
|
|
|
|
|
May 22, 2018 20:12:25 GMT
|
|
|
| |
Bib
|
|
keyring
Part of things
 
Posts: 913
Club RR Member Number: 47
|
1986 Opel Manta Coupe V8keyring
@keyring
Club Retro Rides Member 47
|
|
|
|
Really awesome build! Love all the small touches and how clean it is!
|
| |
|
|
|
|
|
May 23, 2018 12:37:23 GMT
|
|
Love the alternator bracket!....great work all around on this!
JP
|
| |
I know its spelled Norman Luxury Yacht, but its pronounced Throat Wobbler Mangrove!
|
|
|
|
|
May 29, 2018 22:38:02 GMT
|
Thanks guys for your comments. A major step back last week, the engine was popping at high revs with a strong smell of petrol at the exhaust, I bought a Digital Infrared Handheld Temperature Gun to check the temperature at the exhaust ports on the cylinder head the results were: cylinder 1 = 436 degrees, cylinder 2 = 422 degrees, cylinder 3 = 350 degrees, cylinder 4 = 436 degrees, cylinder 5 = 415 degrees, cylinder 6 = 396 degrees, cylinder 7 = 108 degrees, cylinder 8 = 360 degrees. So a strip down was called for. 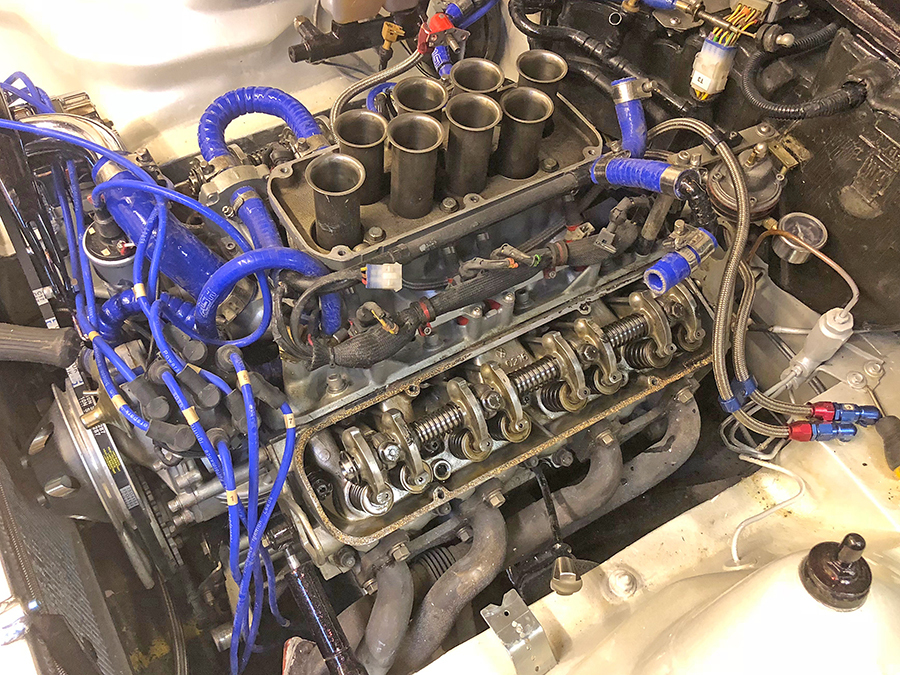 The only way to access the injectors was to strip down the whole intake! On inspection I found that when I painted the fuel rail I inadvertently painted to much of the rail as when the rubber hoses were pushed onto the rail the petrol has started to melt the paint! I rigged up a 12v battery with a push button to activate the injector whilst simultaneously activating the fuel pump. So a the whole lot was pulled apart and each injector was reversed flushed 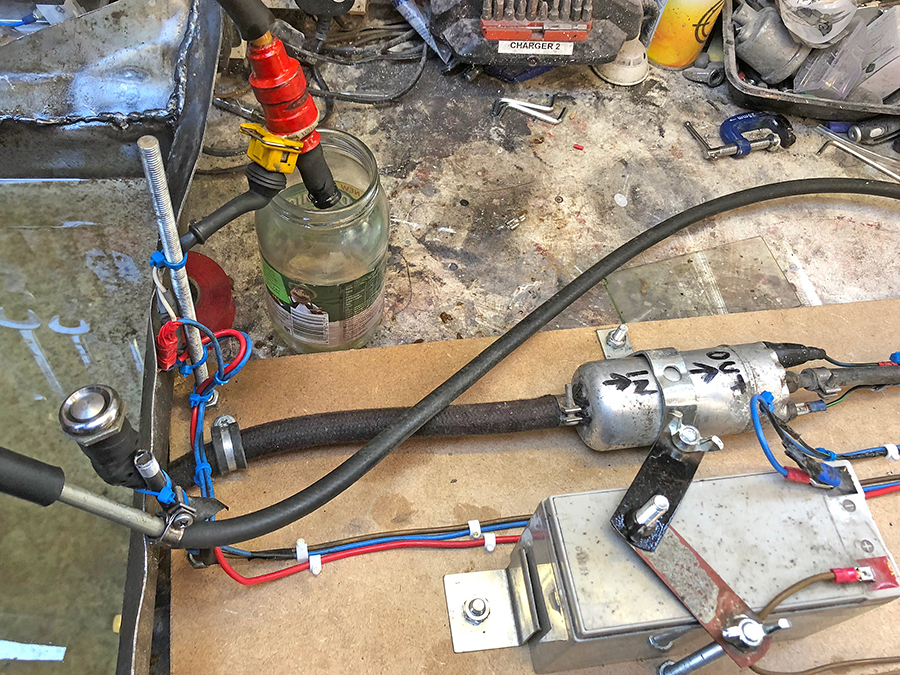 and then forward flushed until cleared, it's really surprising how much fuel these injectors pump out. 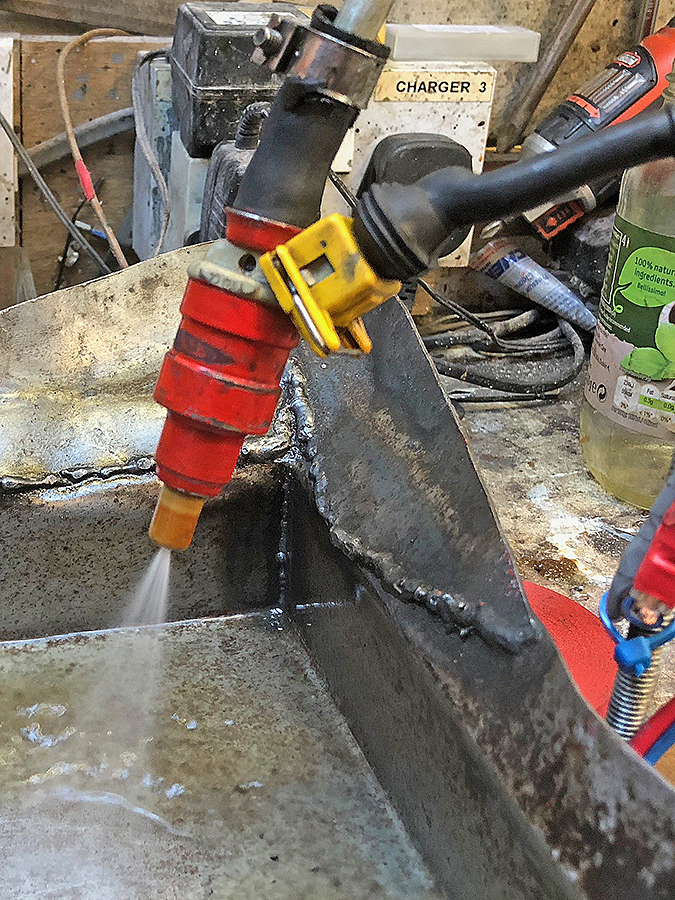 |
| |
Bib
|
|
|
|
|
|
|
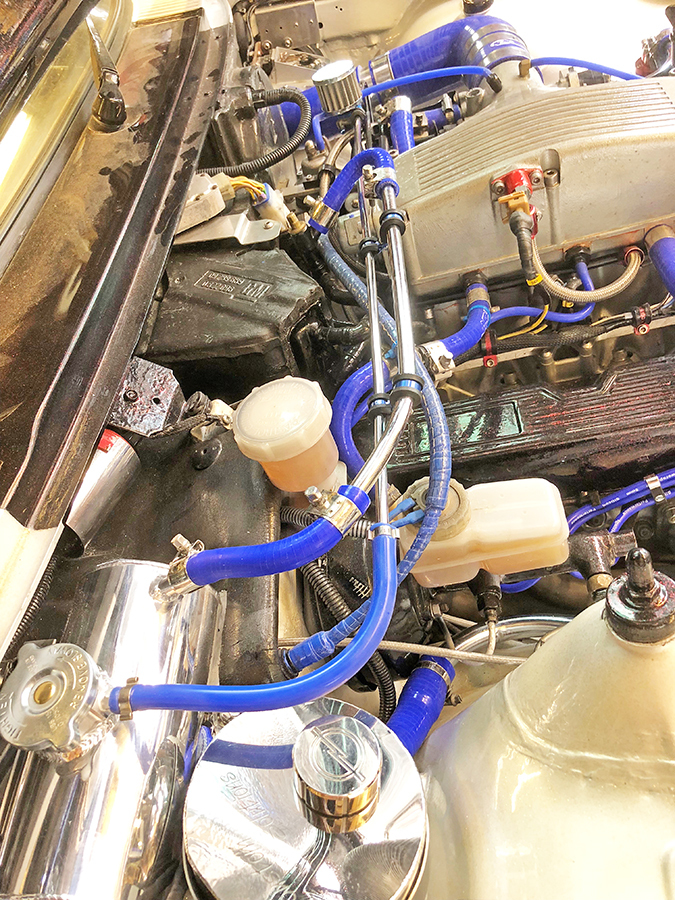
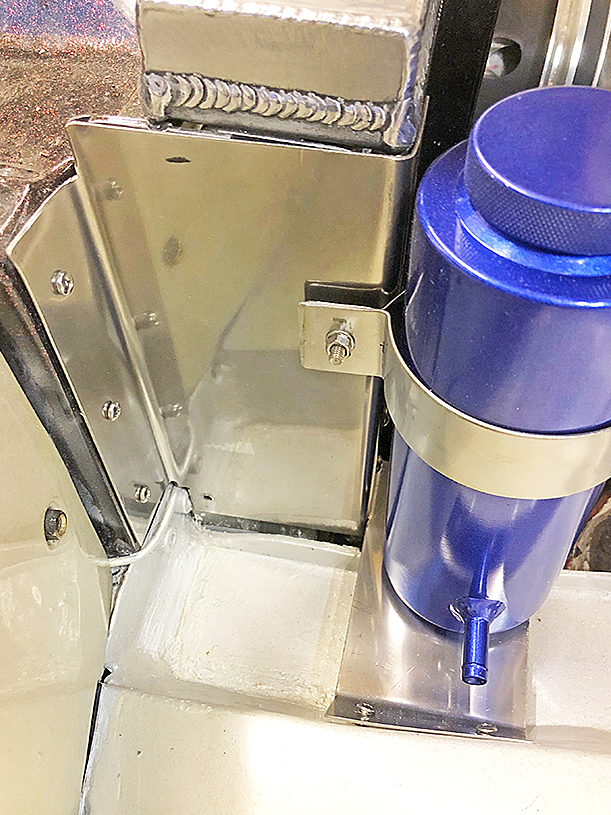
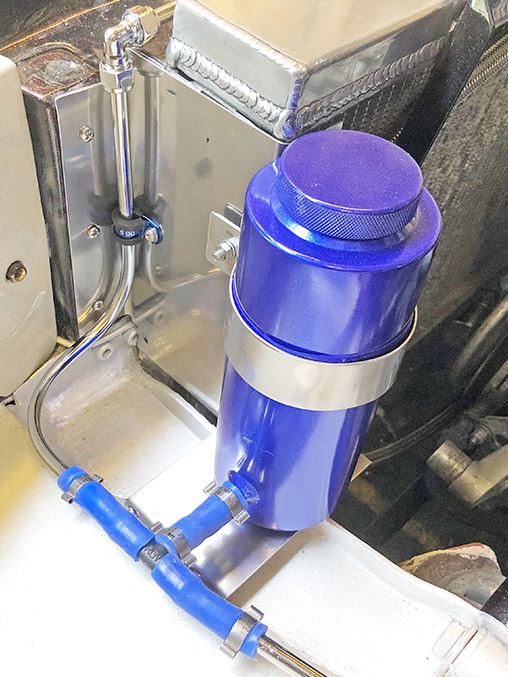
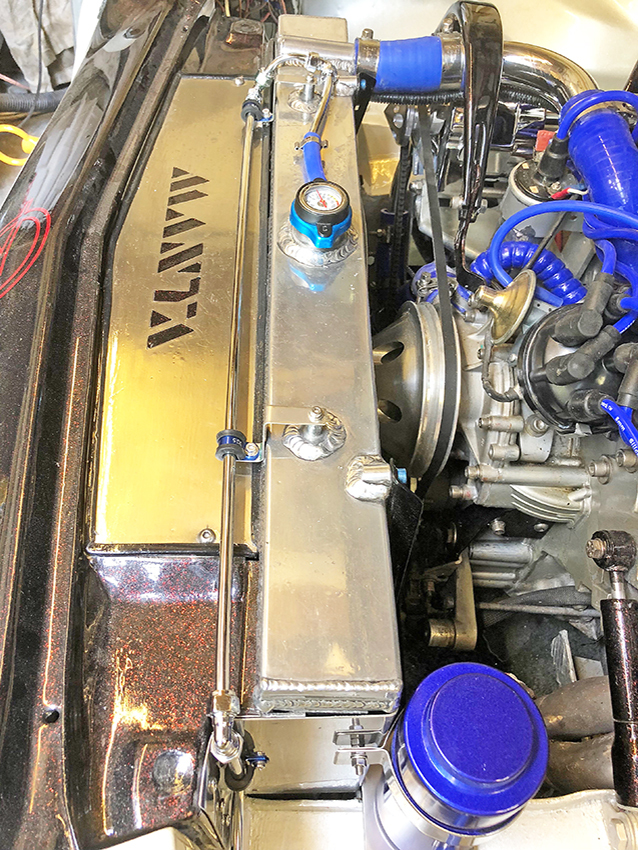
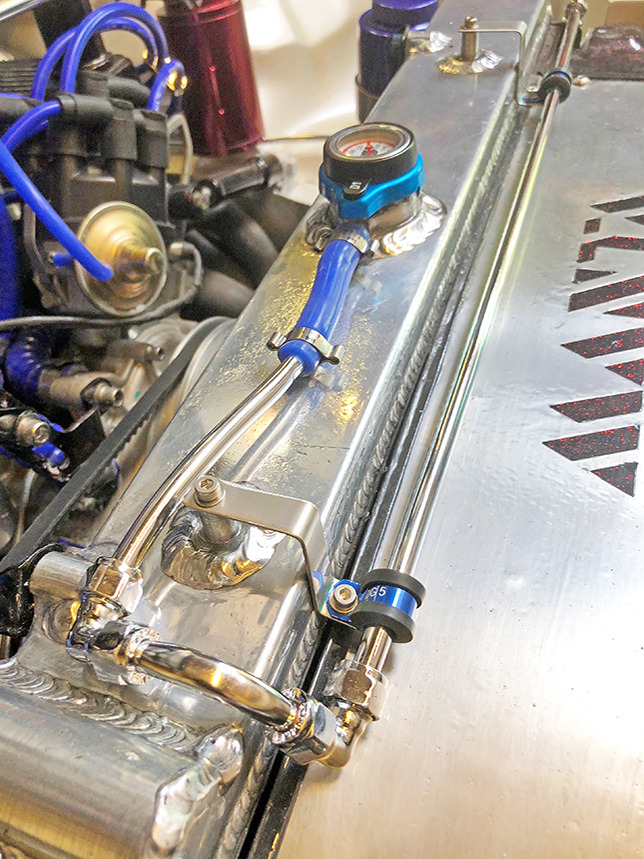
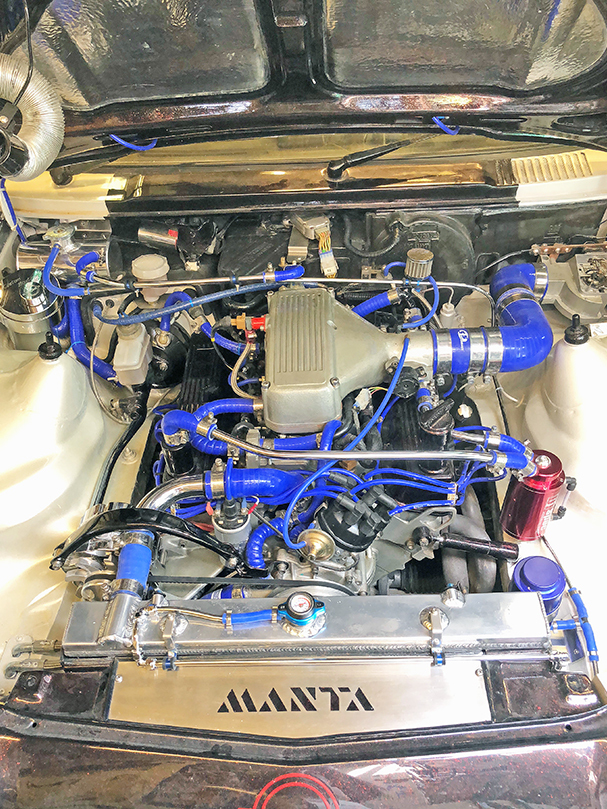
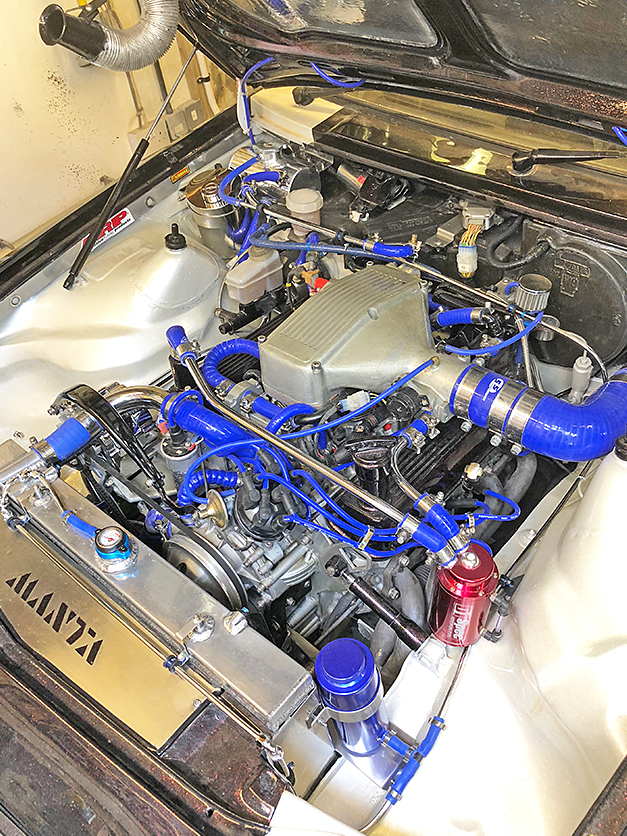
Finally got it all back together, but another problem has arisen! I've built the radiator system on the same principle as the Opel Manta, unfortunately the Rover engine doesn't like it and it has to have a header tank built in. This diagram is what I'm working to. 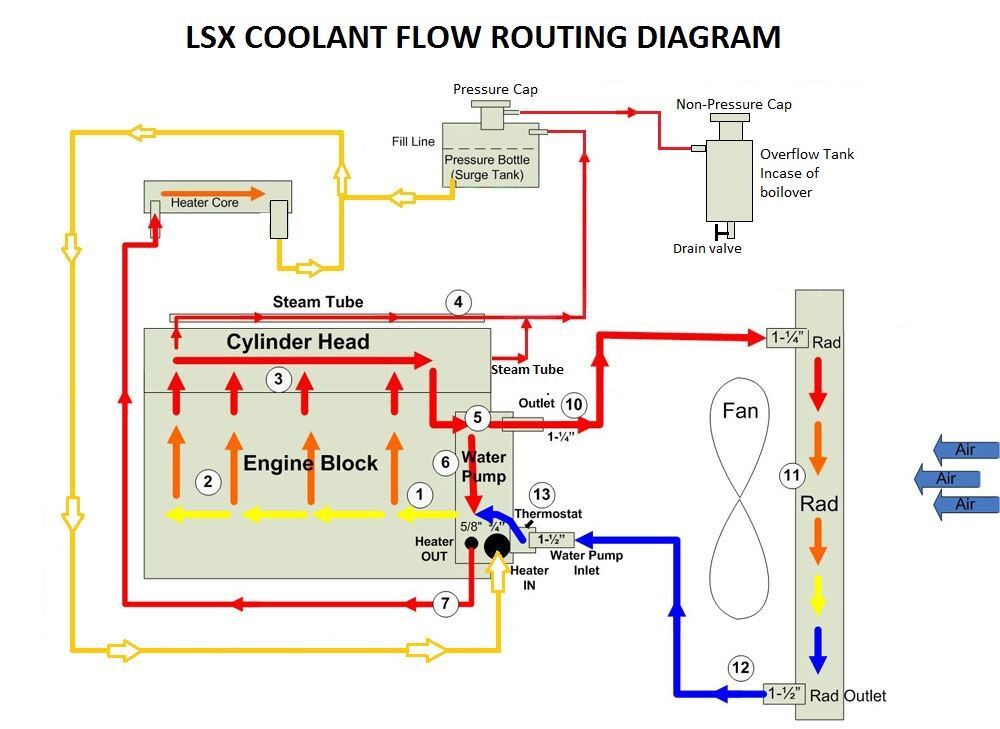 The only place I could put it was on top of the pedal box had to cut out the insulation and with a piece of timber and a lump hammer knock the pedal box down to give me the clearance for the header tank cap. 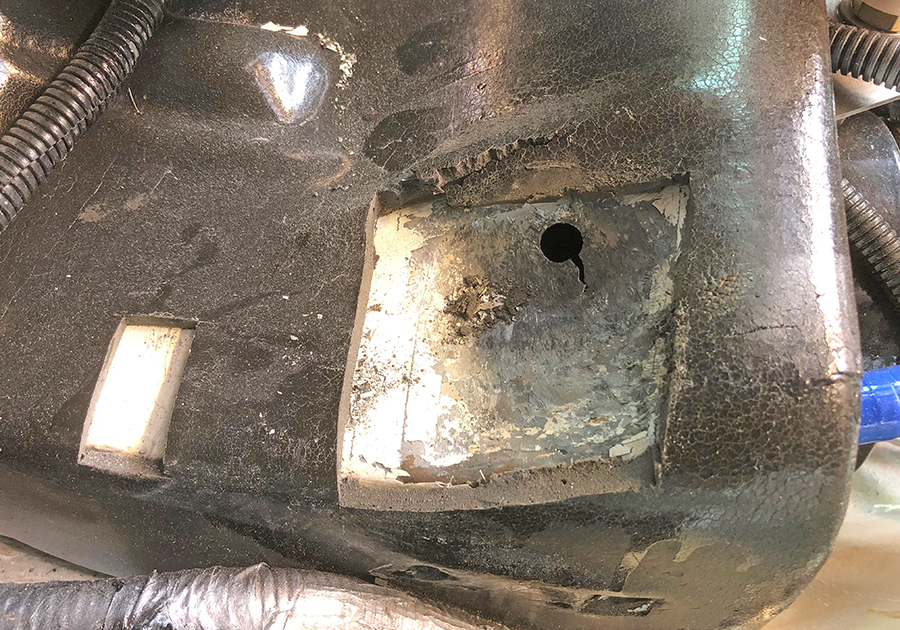 A piece of stainless steel plate has been bent to allow securing the tank. 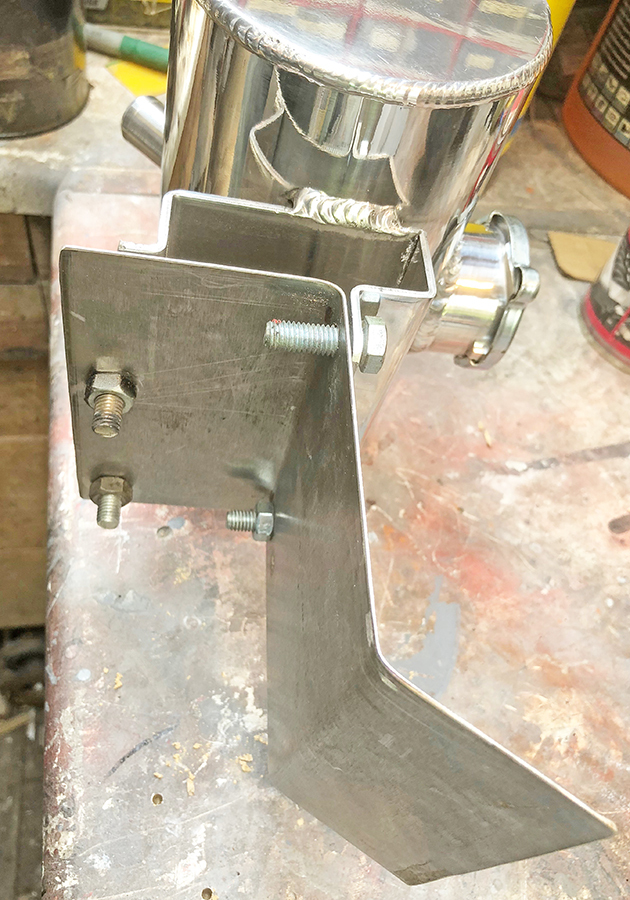 22mm chrome copper tubing runs from the bottom of the cold inlet via a T piece, to the underside of the header tank. 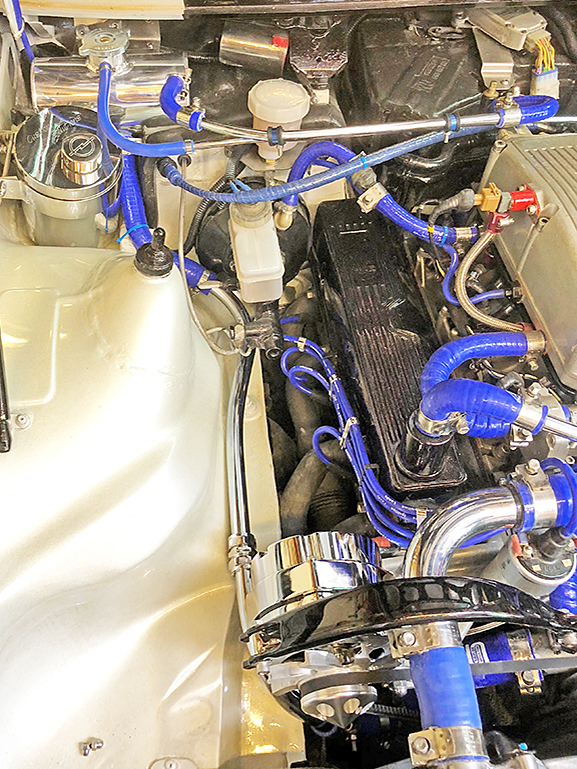 Thankfully the cabin heater was modified earlier with a bleed valve I'm using this as the highest point as the inlet for the header tank. |
| |
Bib
|
|
|
|
|
|
|
|
|
|
|
You maybe wondering what that hose is at the top of the last image. I've utilised the both air vents on the bonnet to channel the air through one exit hole. 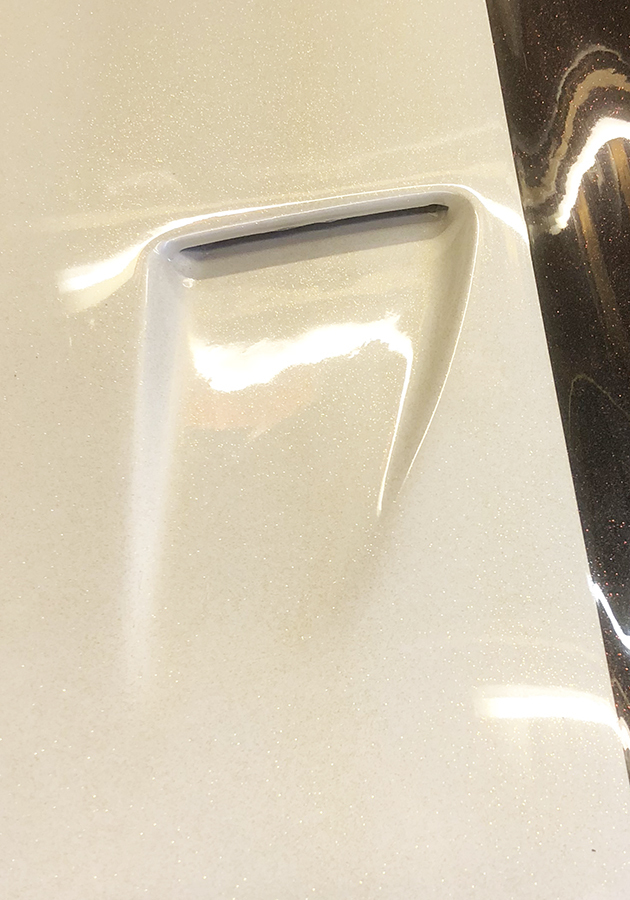 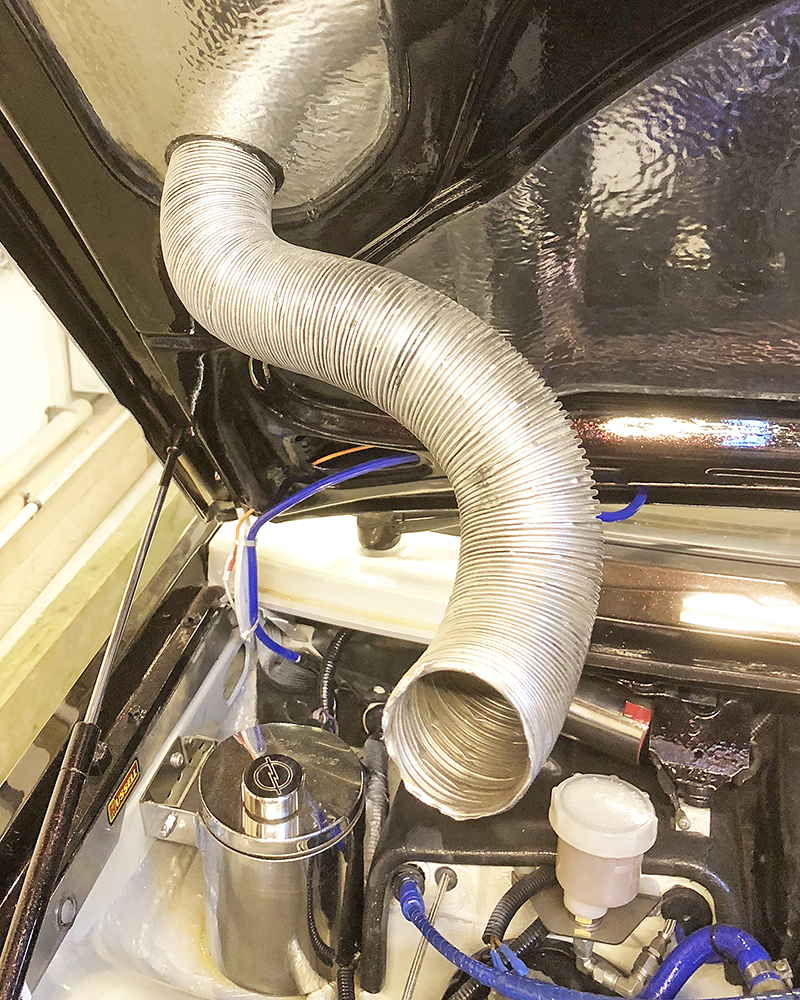 The reason for this is, because of the exhaust manifolds running forward it very close to the alternator, I've positioned a piece of aluminium as as a shield for the heat but I thought it wise to have cool air blowing in to the rear of the alternator. 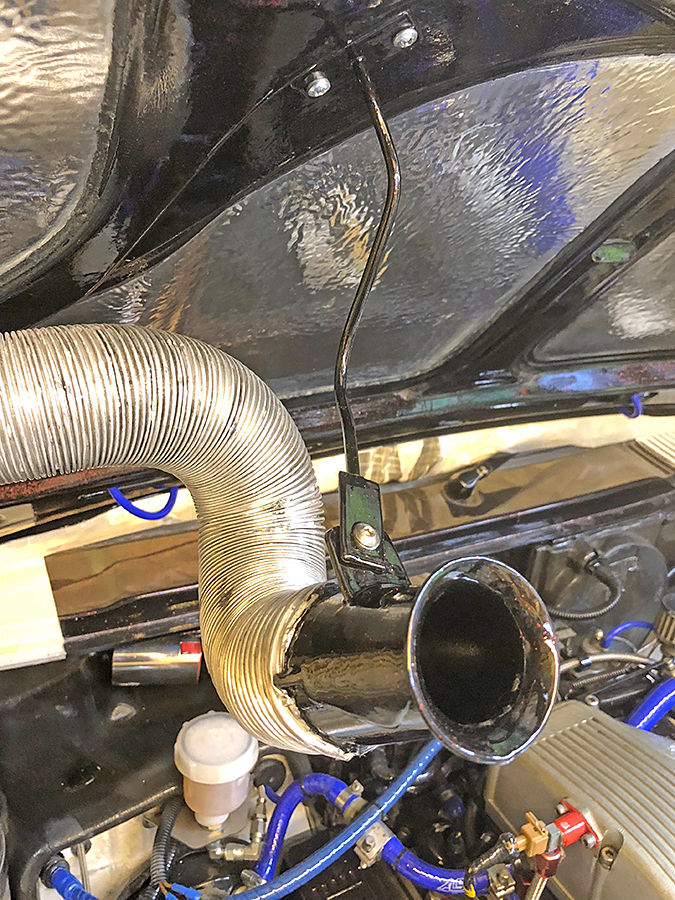 The securing bar holds the hose 1" away from the rear as the alternator sucks air from the rear to the front. 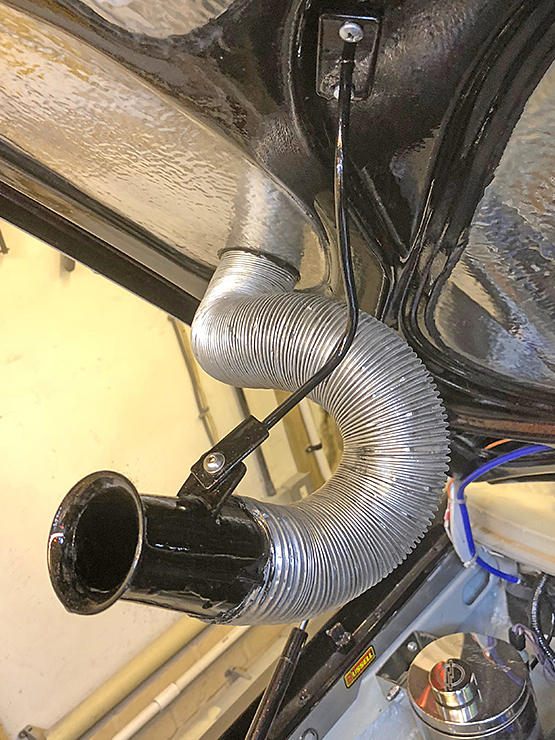 |
| |
Bib
|
|
|
|
|
Jun 18, 2018 19:19:17 GMT
|
Not been a good couple of weeks, couldn't get the engine to start. Had a weak spark from the king lead. Bought new leads, cap & rotor still no go, bought a new coil still no go. Thought the problem was the distributor itself so stripped it down. 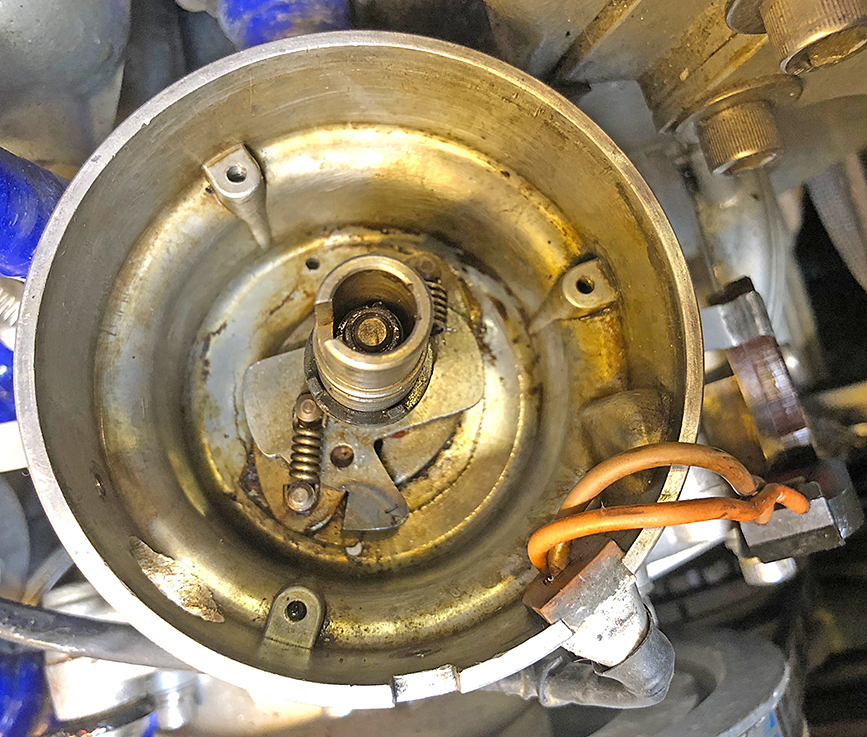 The whole thing was pretty mucky inside, took a while scraping the gunk out! 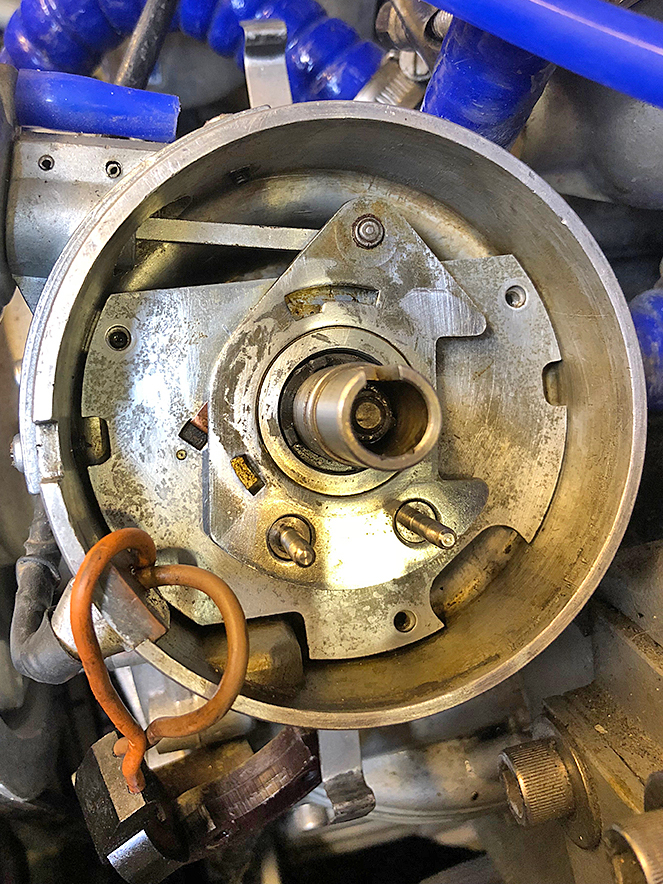 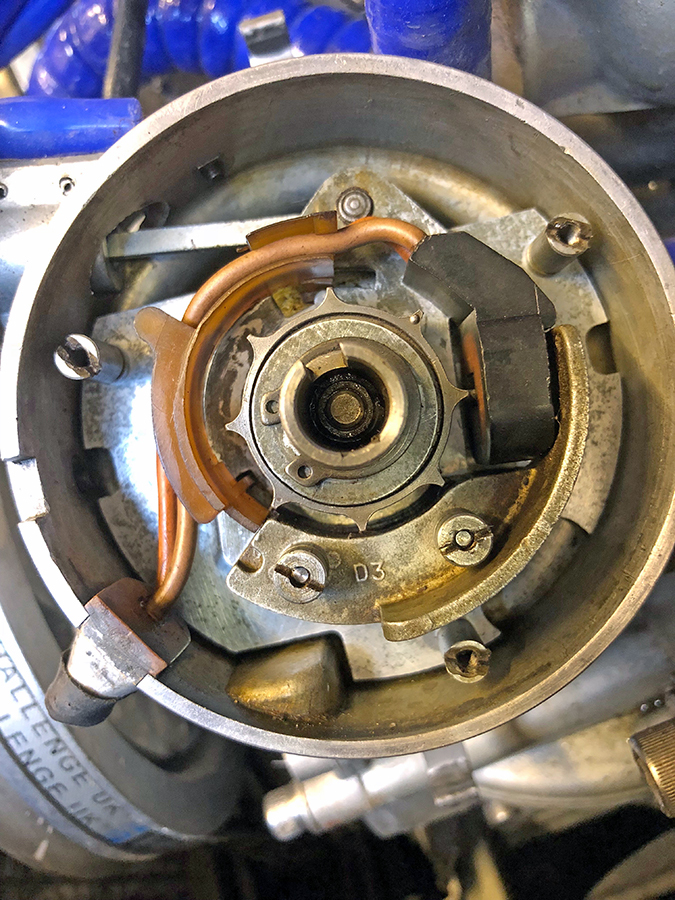 Checked the air gap of the pick up and reset it to .010 clearance. |
| |
Bib
|
|
|
|


