keyring
Part of things
 
Posts: 913
Club RR Member Number: 47
|
|
Mar 18, 2019 19:43:37 GMT
|
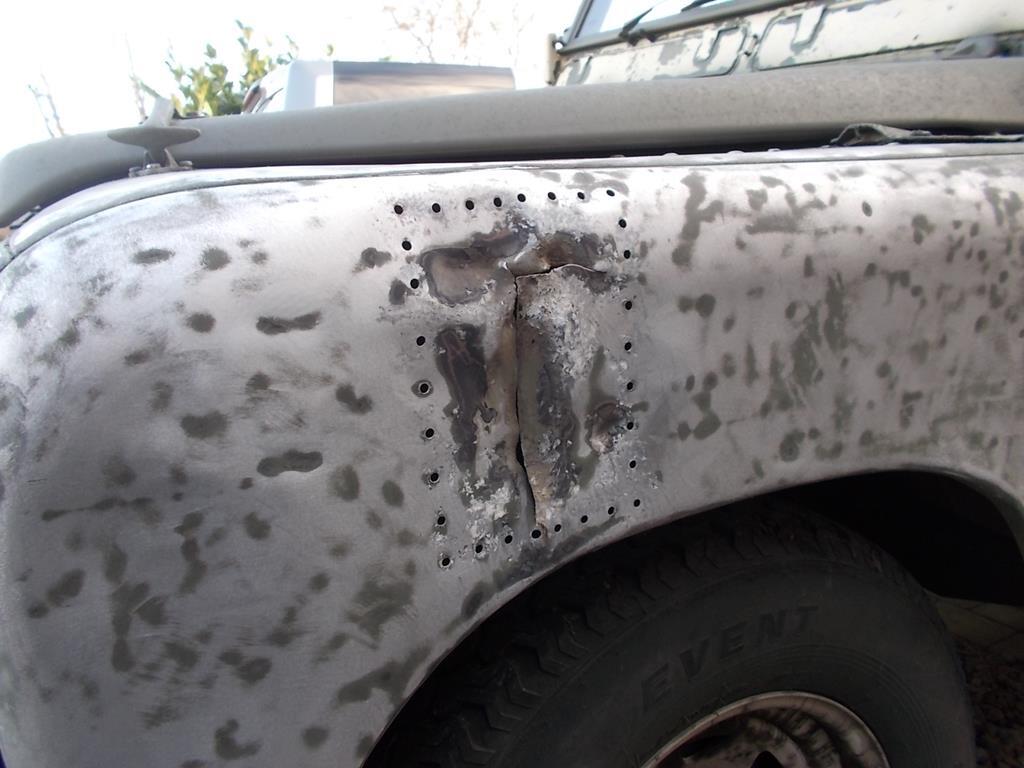
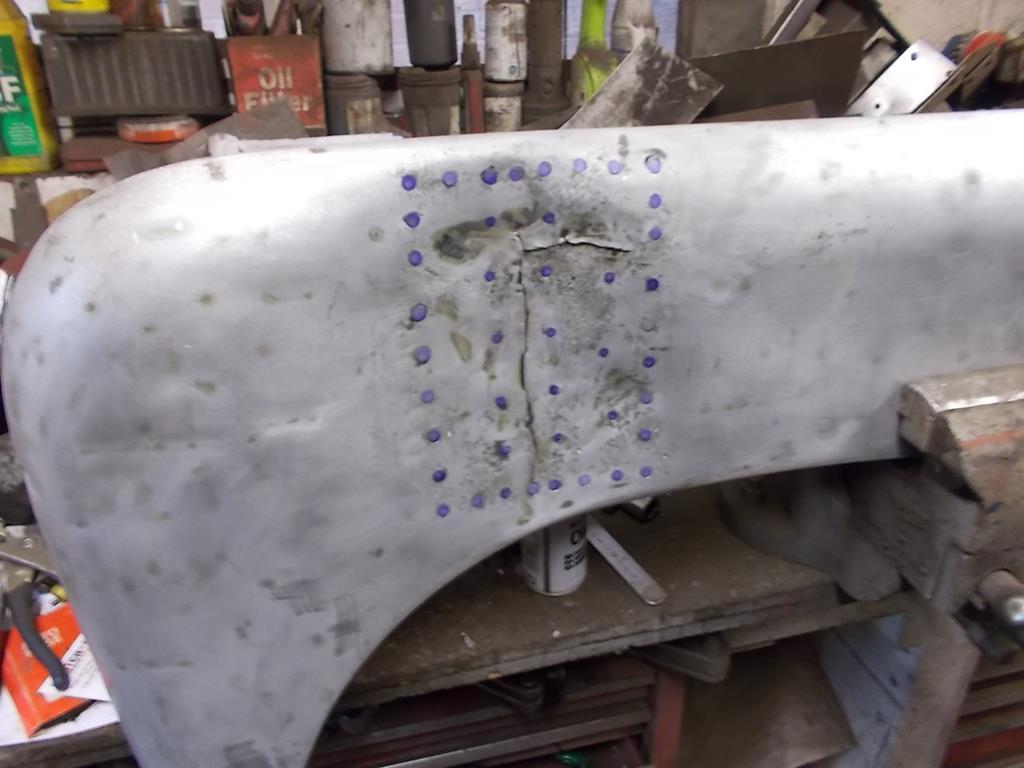
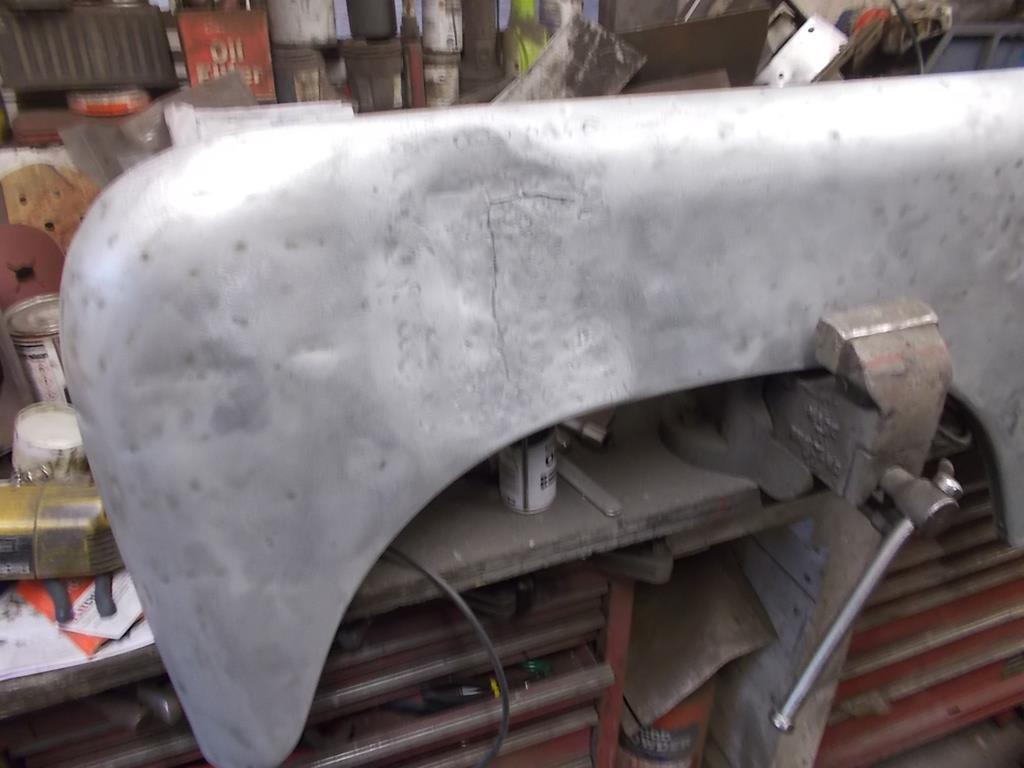
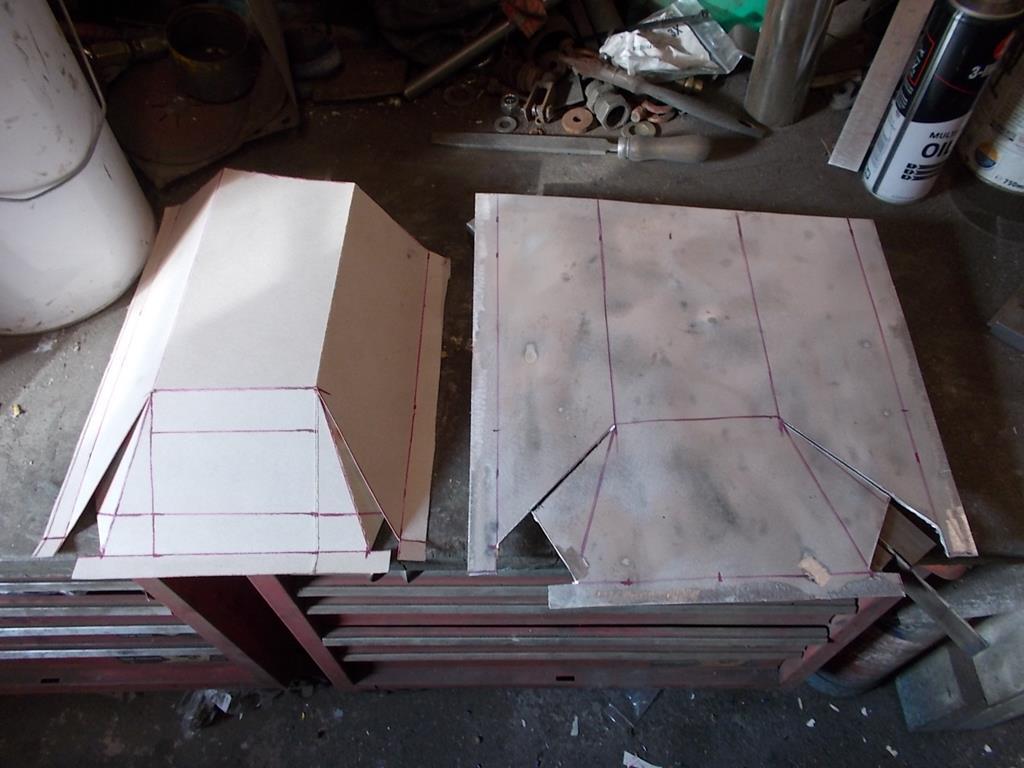
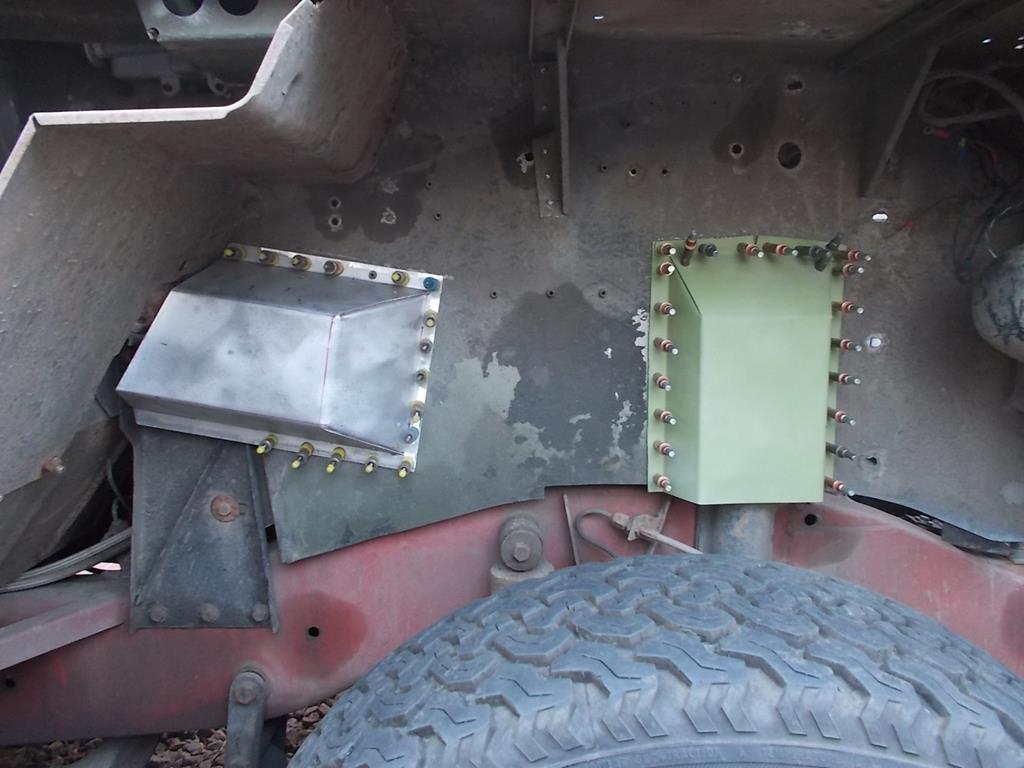
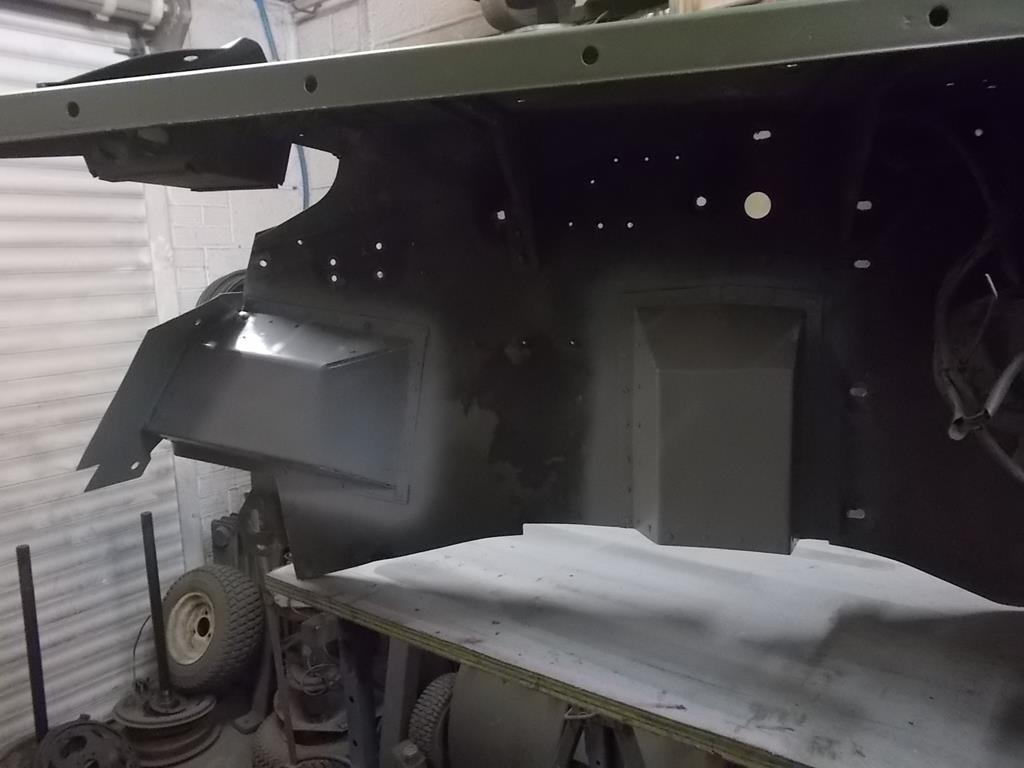
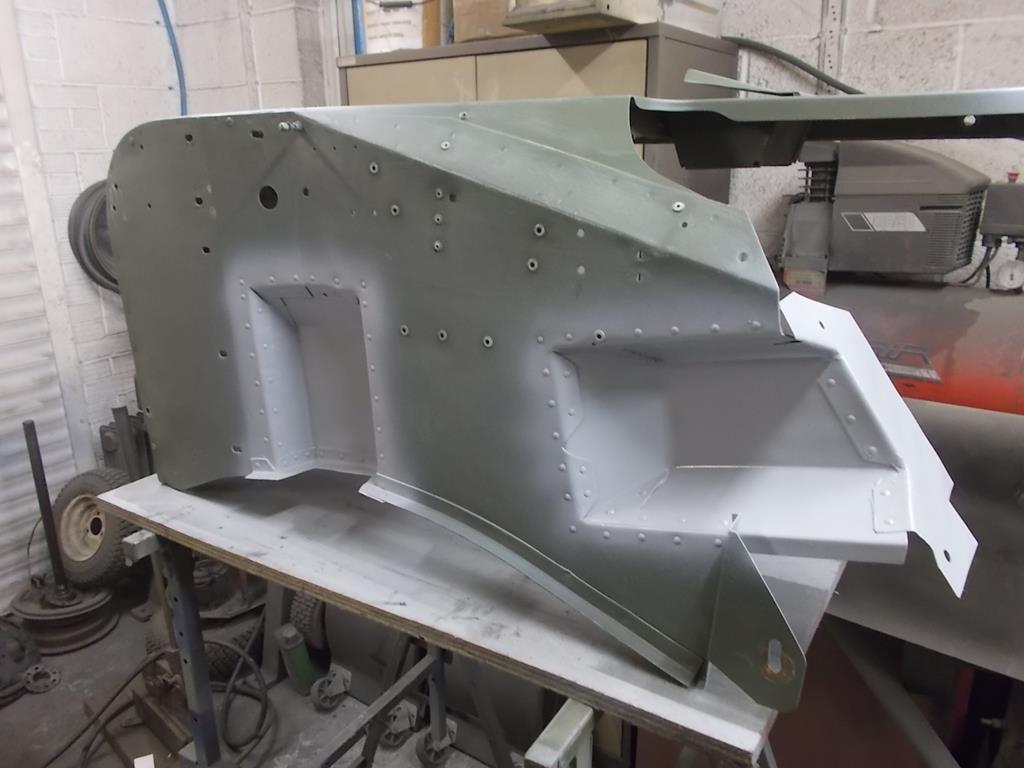
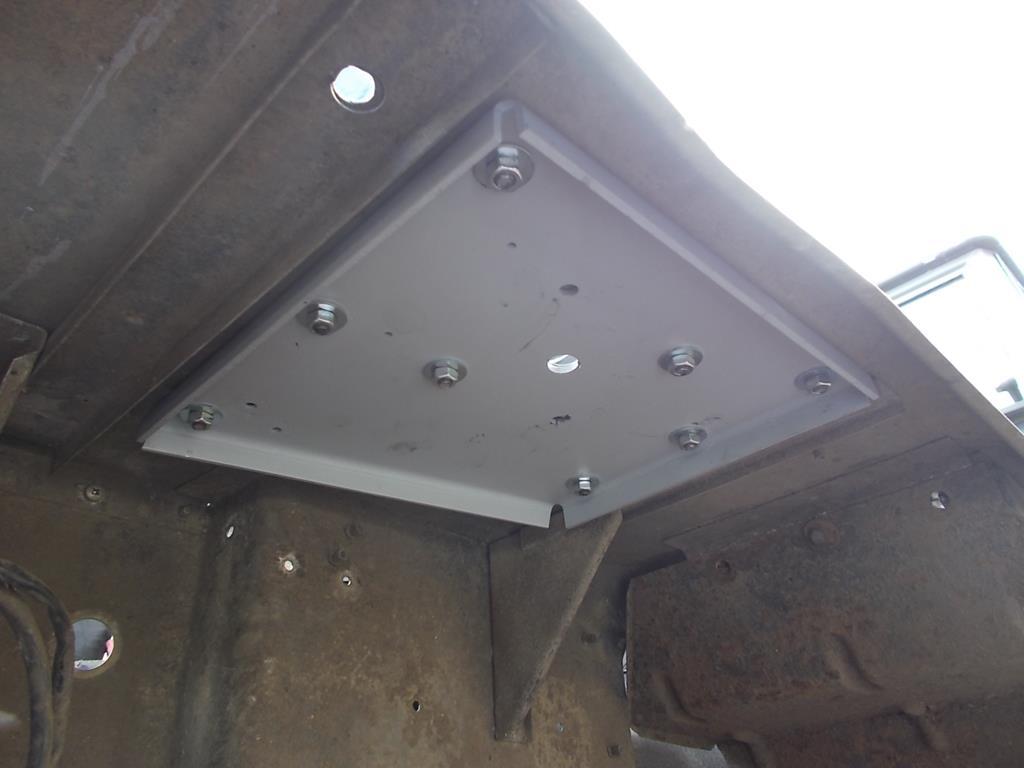
Yeah the SJs do really well, as you say, they don't have any weight in them! I'm enjoying the patrol, it's much more suited to doing a longer journey too, which I would like to take advantage off and go offroading further-afield. I have an update for the Patrol thread regarding that, but yeah, they certainly know how to rust  I've got some work to do that was hoping wouldn't require attention until the summer.... Oh well haha! I assume a new axle would be on the cards before more power then? The start of the fuel tank looks great! What sort of range will that give you? I wouldn't mind an old Patrol or Land Cruiser as a daily commuter, but the fuel costs would be too prohibitive! Front axle just needs some uprated internals, 24 spline 4 pin diff and CV joints should be more than man enough for what I could throw at it, with some form of anti-tramp to keep it in check. The new tank I think calculates to approx 65ltr capacity, similar to the rear tank, maybe more if I add some wings to the top to extend above the chassis rails? Should give at least 700 miles range if I was to run both down to almost empty. With the single underseat fuel tank I get only 4 days of commuting before I need to refuel, around 230 miles. Would be nice to not have to make specific detours just for fuel, and just fill up when convenient. I can back up that comment right there! I'm getting between 16-18mpg  Ahh excellent, not too much work then! That'll be a nice increase! Especially if it means you can go a week without refilling! |
| |
|
|
|
|
sowen
Club Retro Rides Member
Posts: 2,245
Club RR Member Number: 24
|
|
Mar 26, 2019 21:35:40 GMT
|
|
|
| |
|
|
|
|
|
Mar 27, 2019 12:29:16 GMT
|
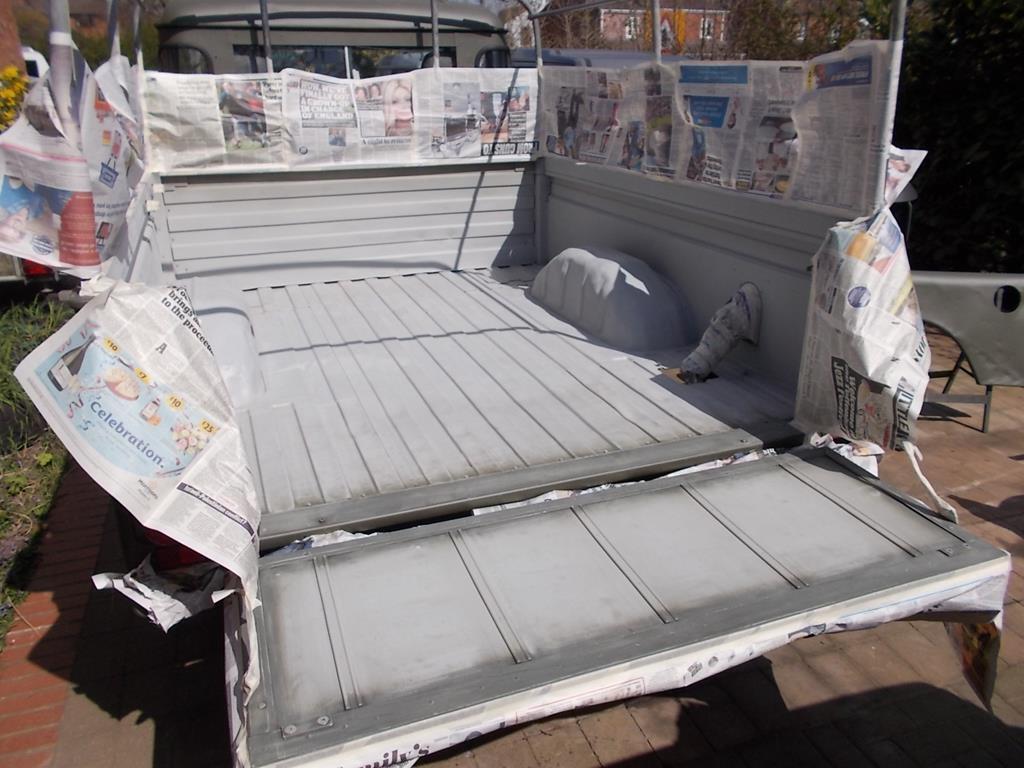
Just knew it was going to wind up one colour!  |
| |
|
|
keyring
Part of things
 
Posts: 913
Club RR Member Number: 47
|
|
Mar 27, 2019 20:52:19 GMT
|
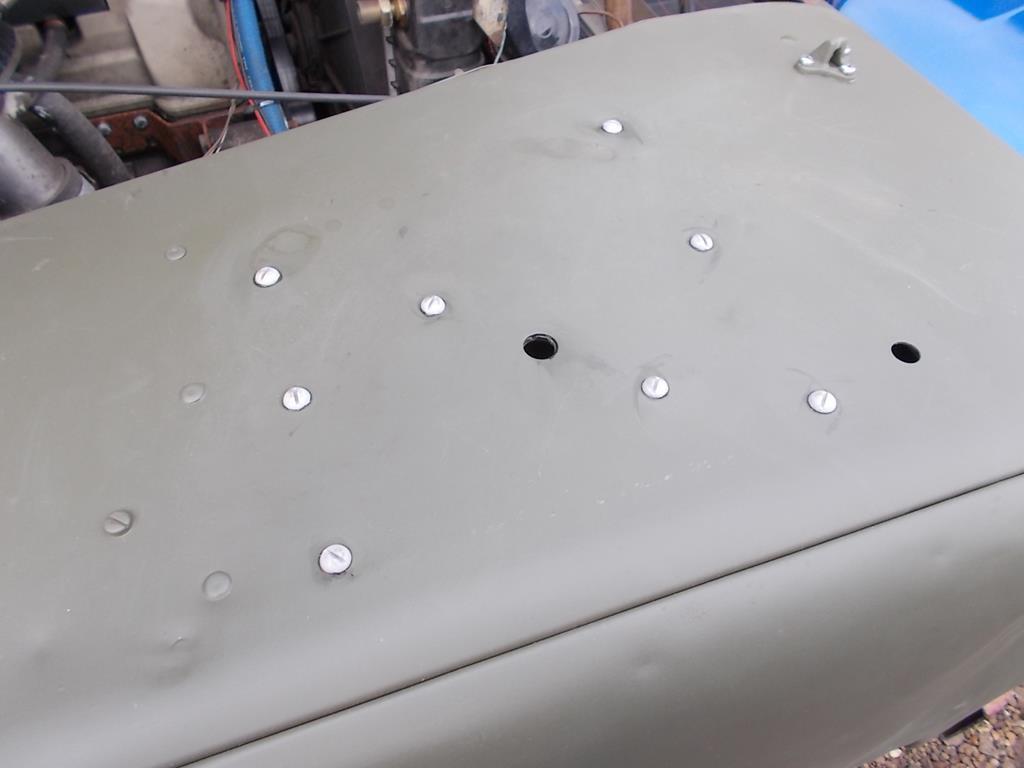
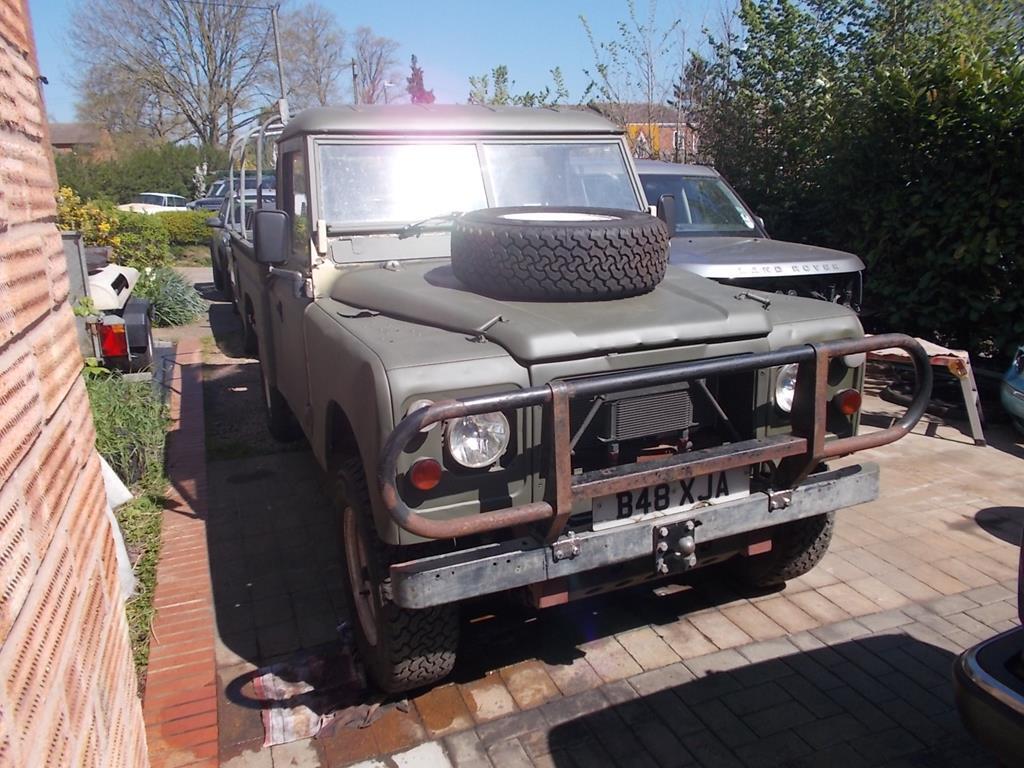
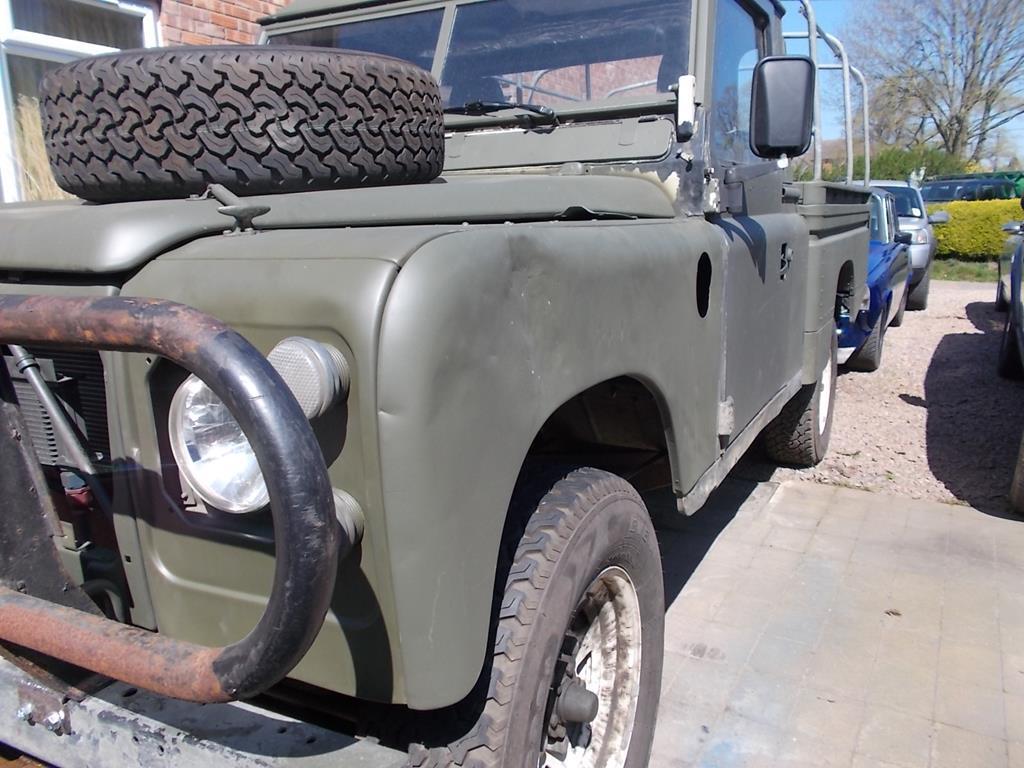
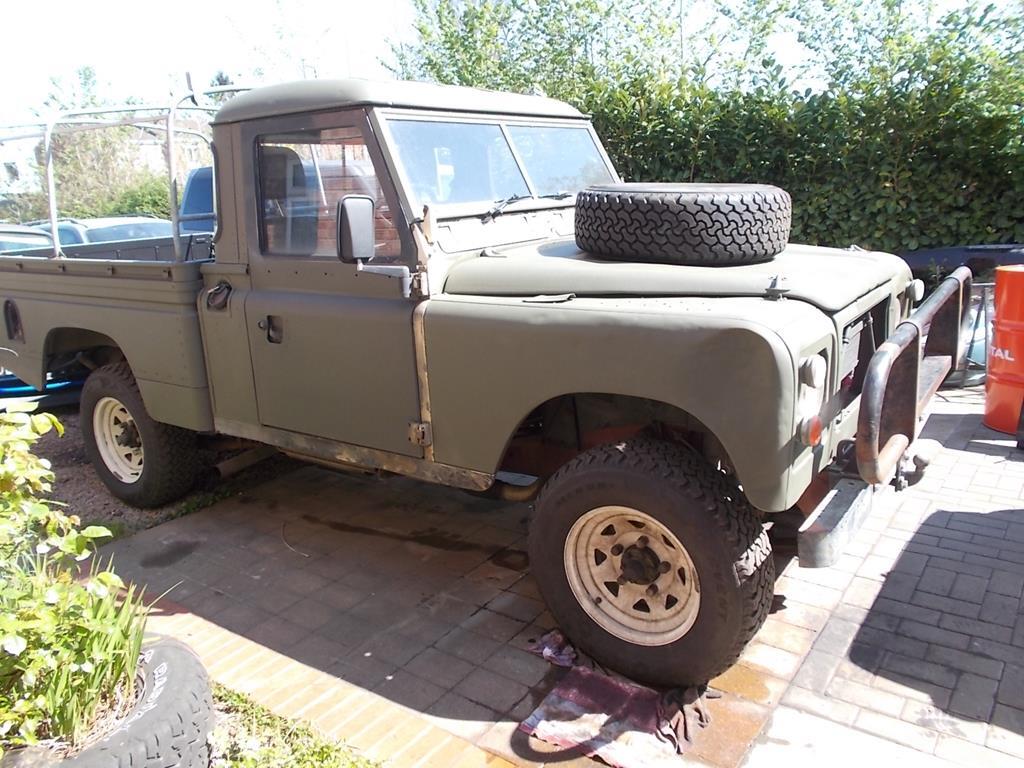
The perfect colour for a landrover  Love the fact you’ve kept the ‘battle scar’ too! |
| |
|
|
sowen
Club Retro Rides Member
Posts: 2,245
Club RR Member Number: 24
|
|
Mar 27, 2019 21:51:54 GMT
|
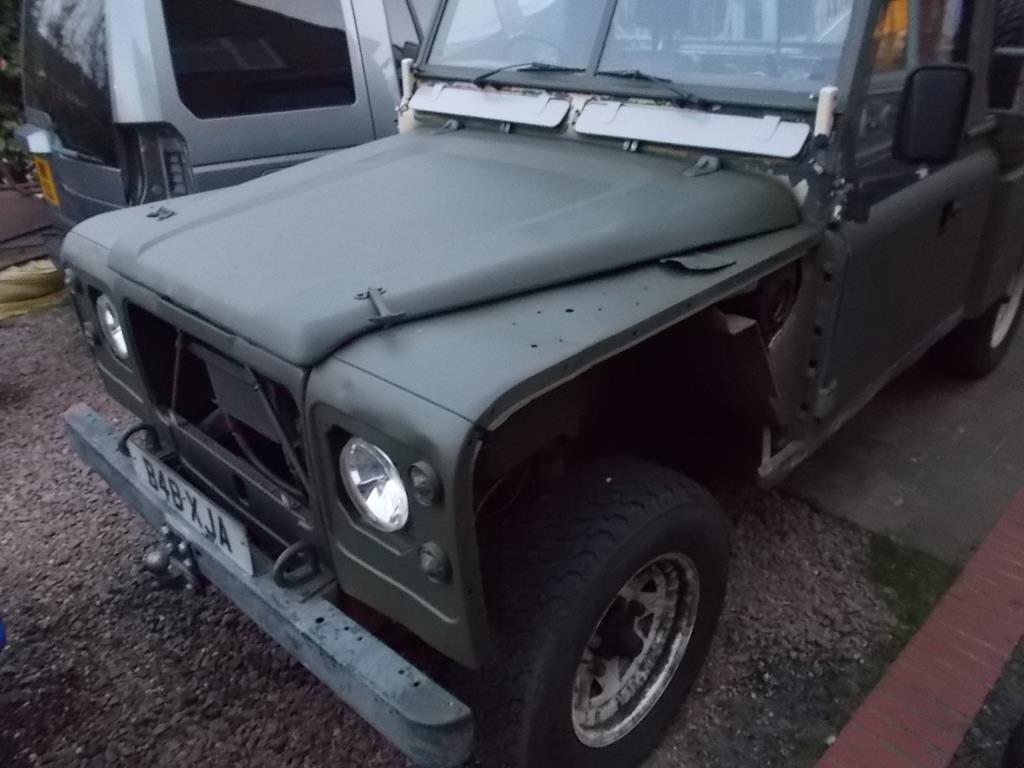
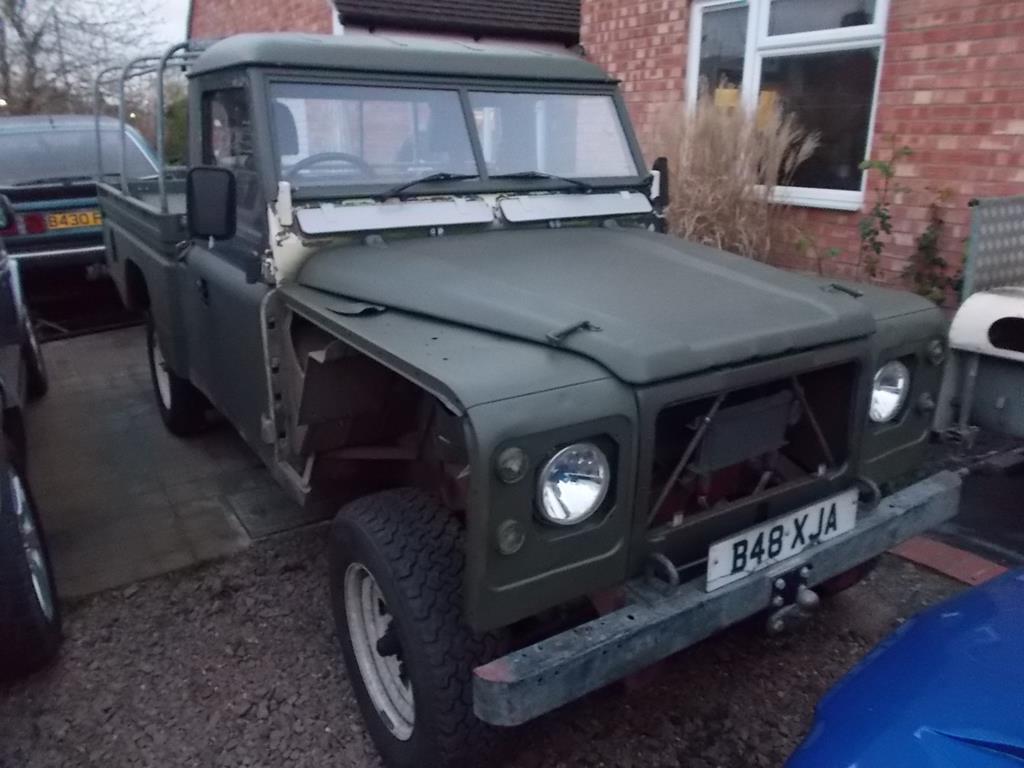
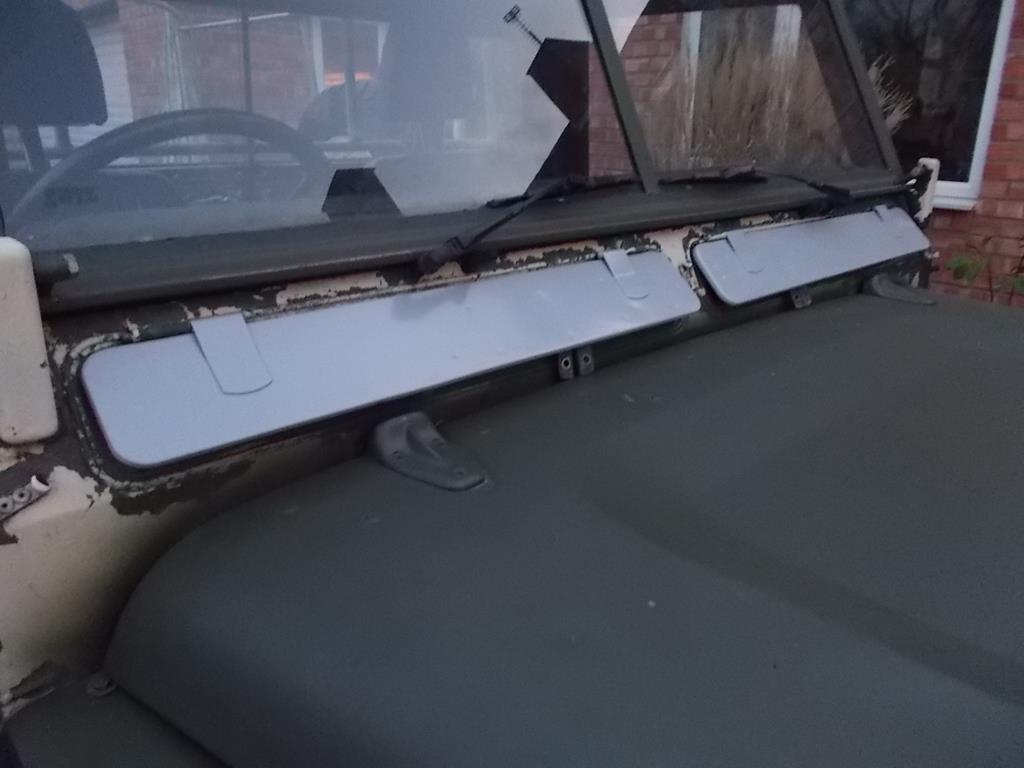
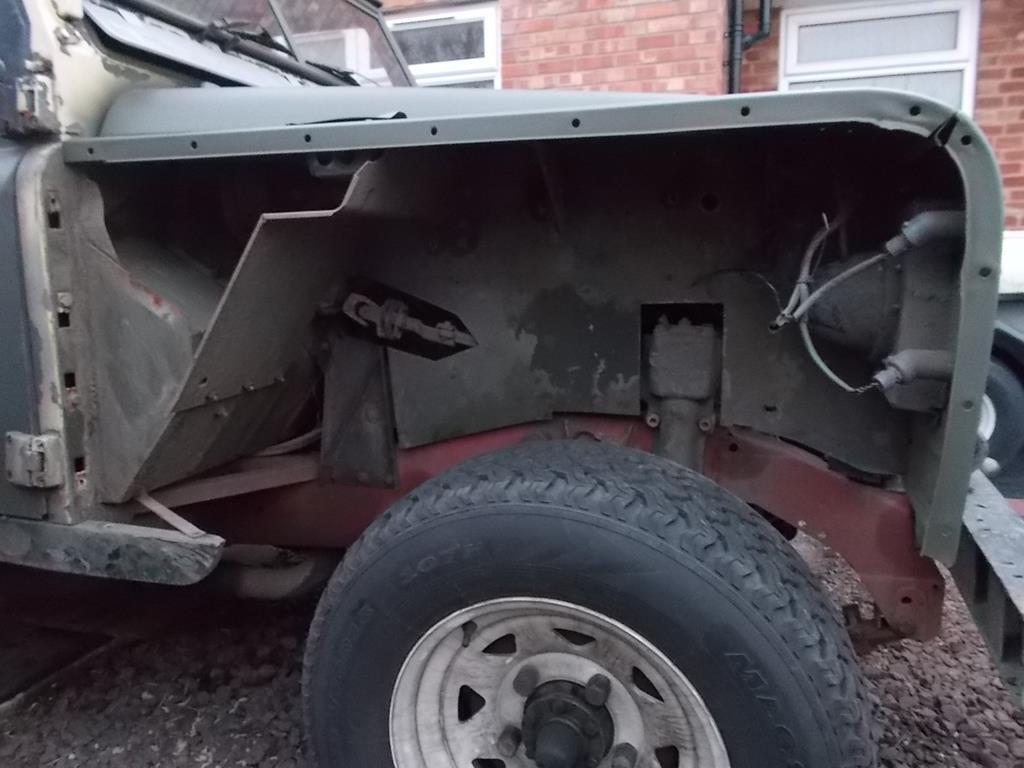
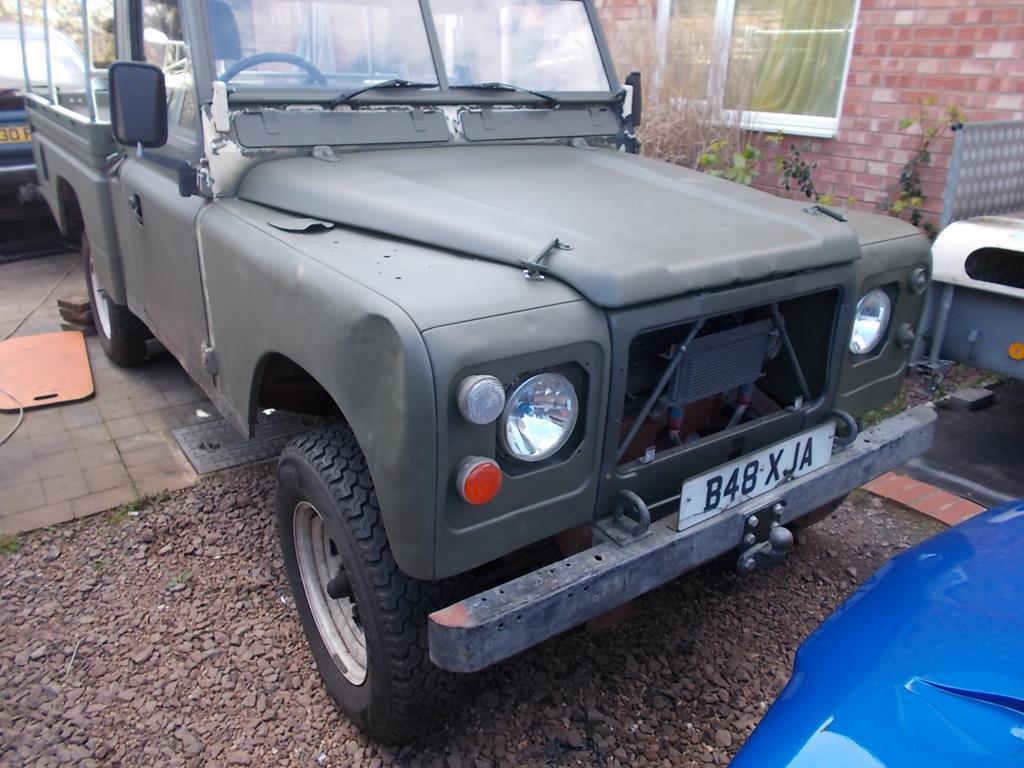
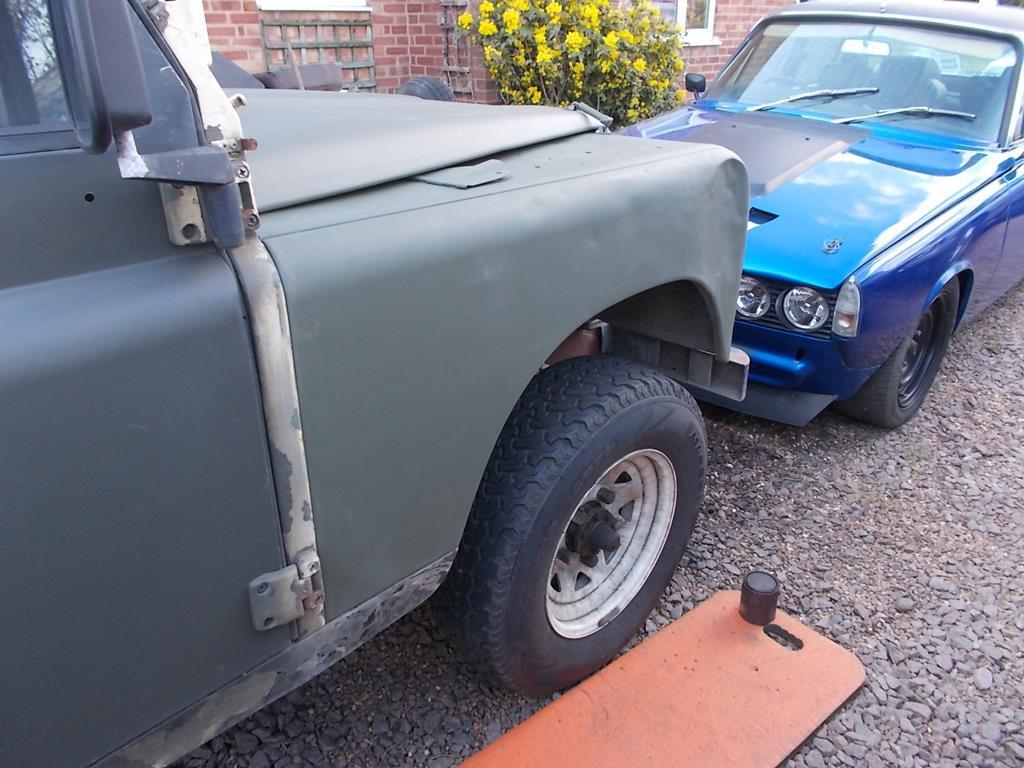
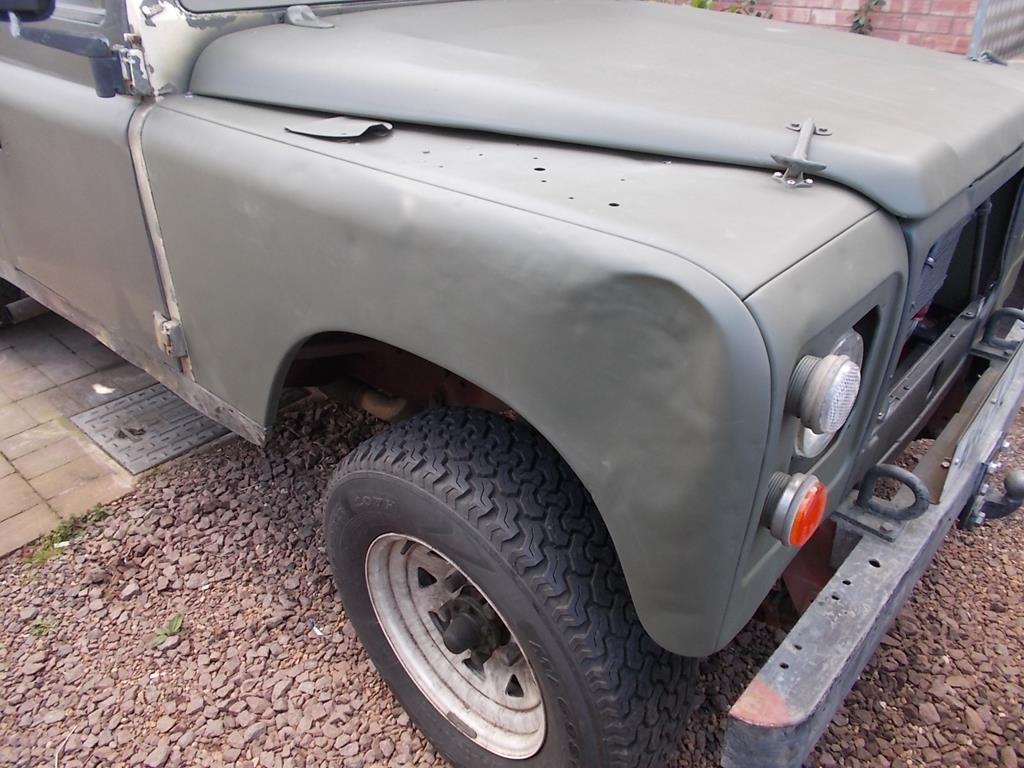
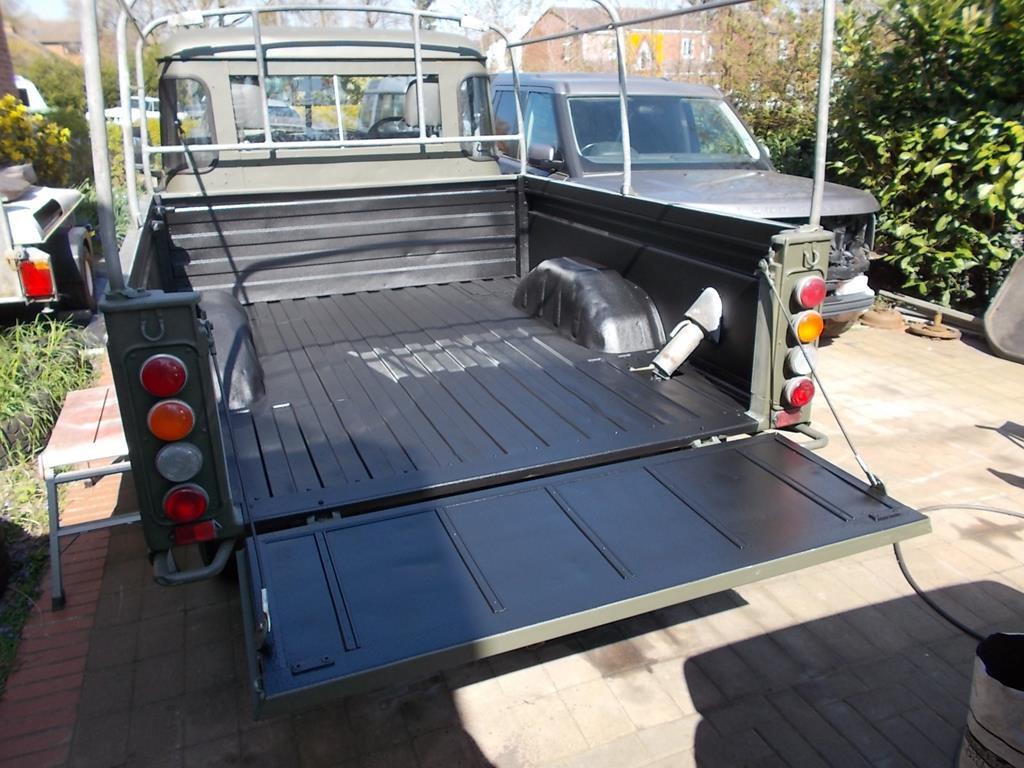
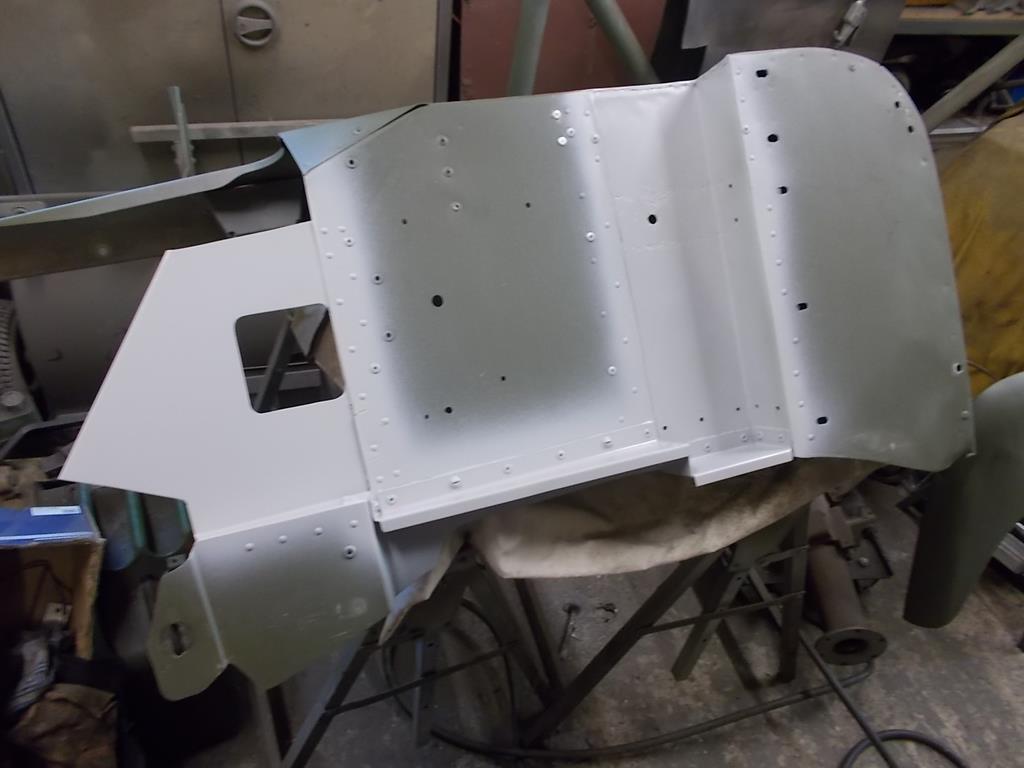
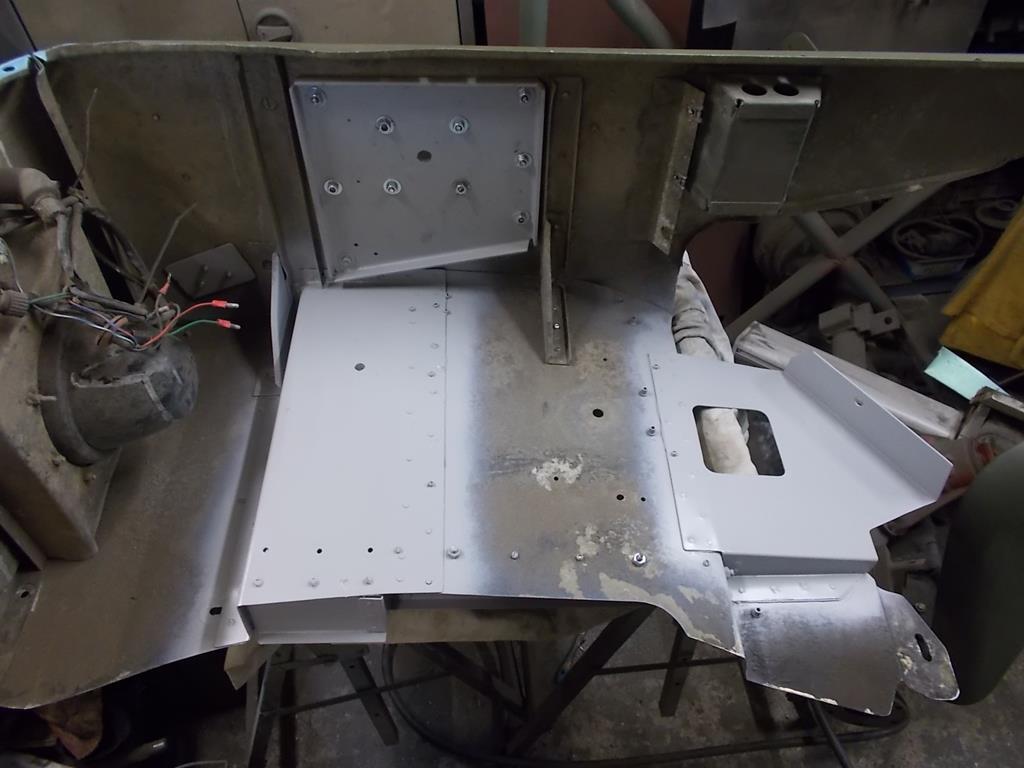
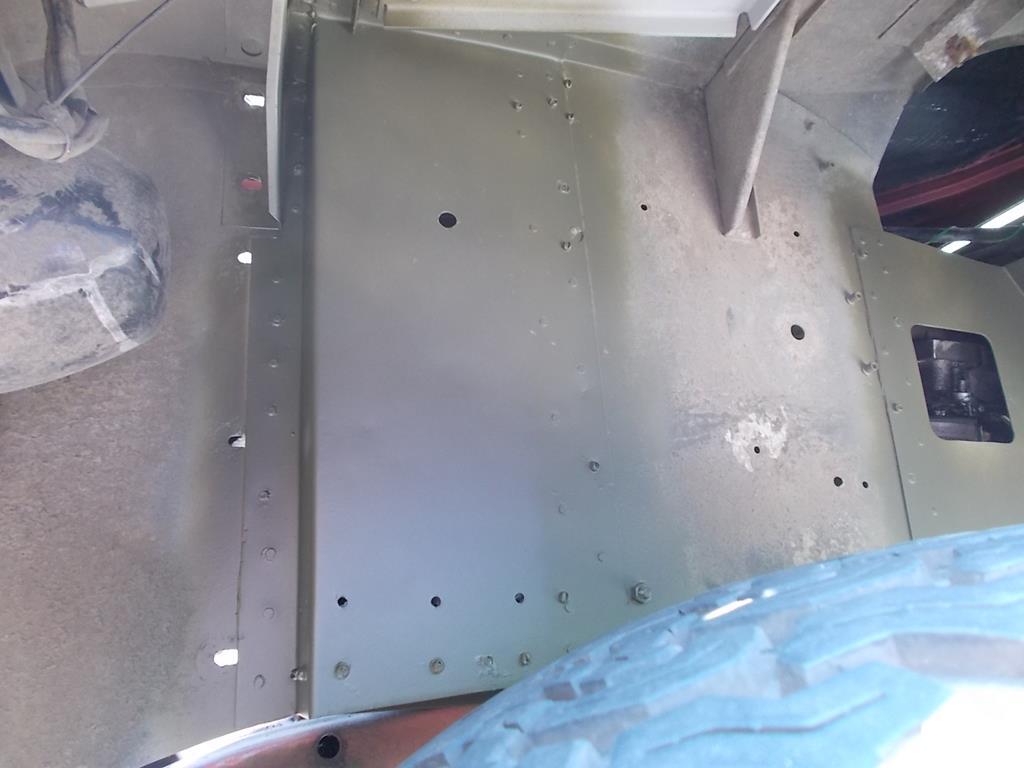
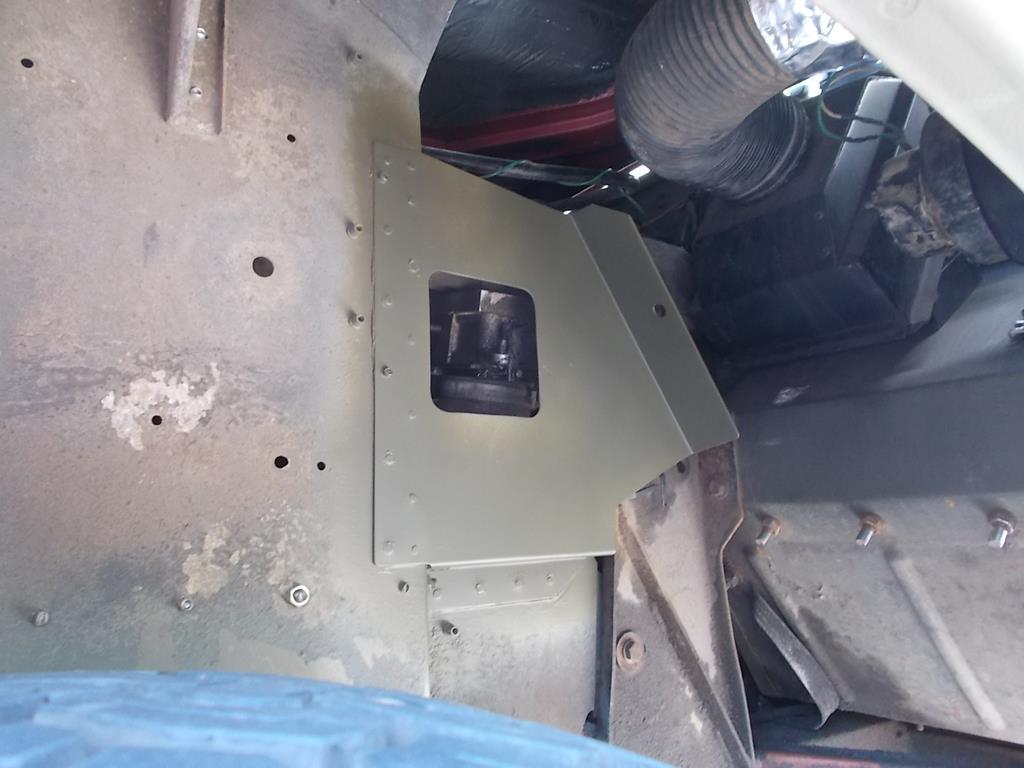
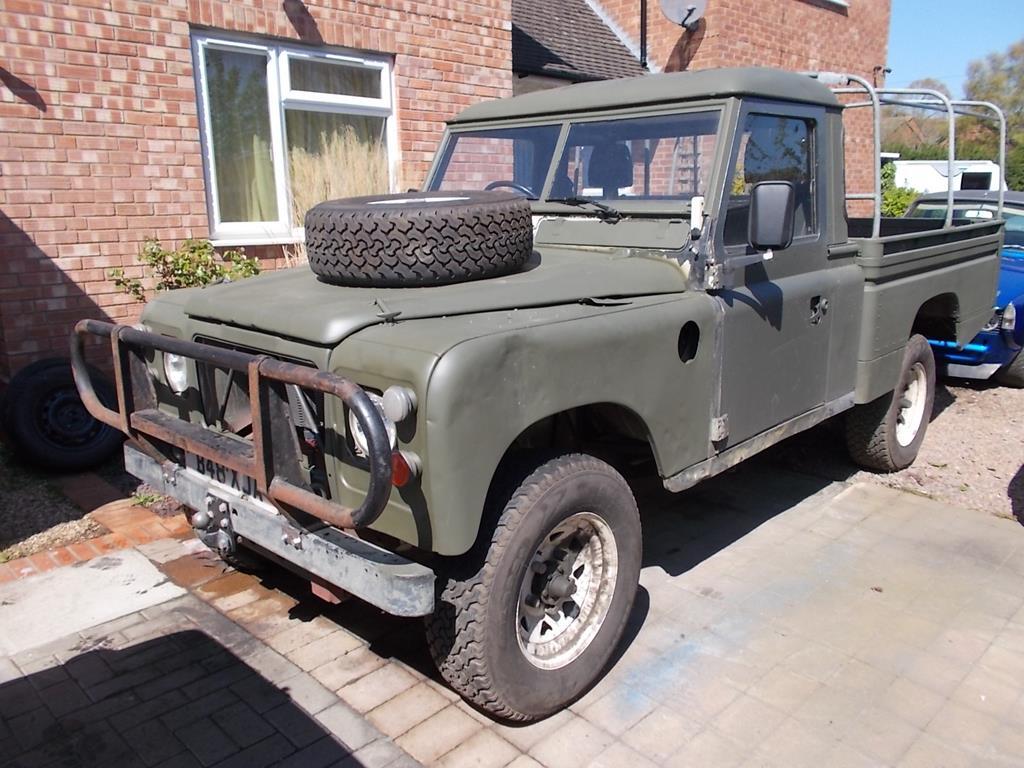
Just knew it was going to wind up one colour!  Eventually, last part to be painted will be the bulkhead which needs some small repairs in the top corners and bottoms of the footwells. Still can't decide if I should put the black stripes back on? The perfect colour for a landrover  Love the fact you’ve kept the ‘battle scar’ too! Flat green always looks good on a utility Land Rover. All battle scars add to it's character and history, and that axe wound is particularly impressive  |
| |
|
|
sowen
Club Retro Rides Member
Posts: 2,245
Club RR Member Number: 24
|
|
|
|
|
|
| |
|
|
Frankenhealey
Club Retro Rides Member
And I looked, and behold, a pale horse! And its rider's name was Death
Posts: 3,885
Club RR Member Number: 15
|
|
|
|
Top work  |
| |
Tales of the Volcano Lair hereFrankenBug - Vulcan Power hereThe Frankenhealey here |
|
|
|
|
Apr 12, 2019 10:18:08 GMT
|
|
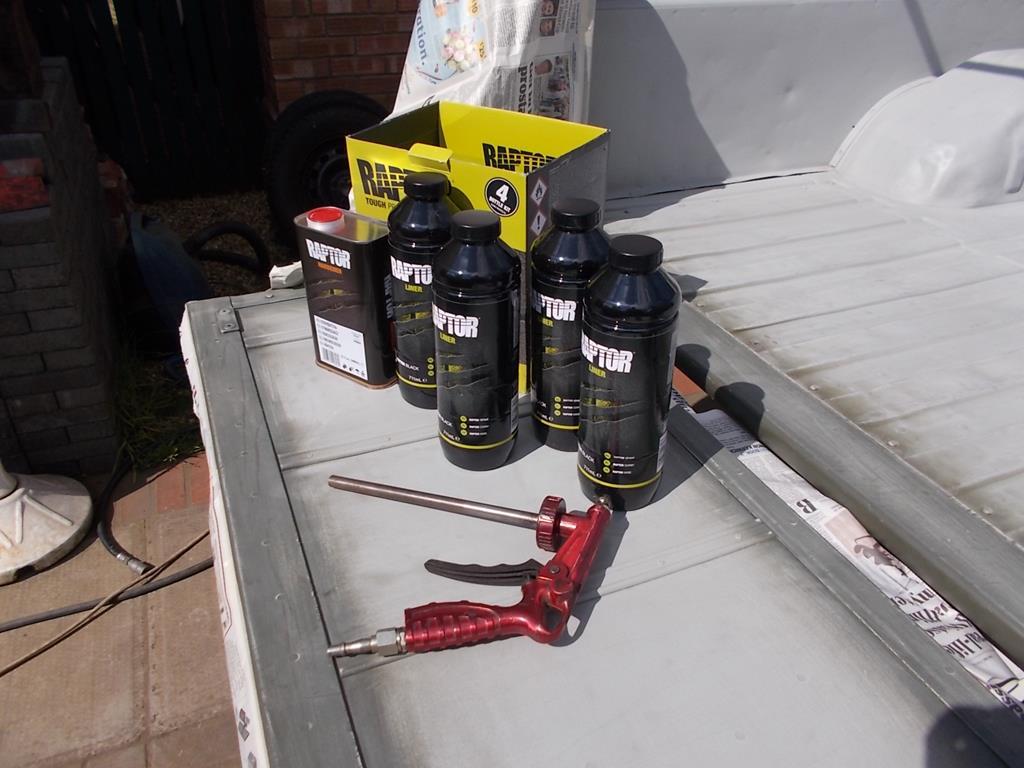
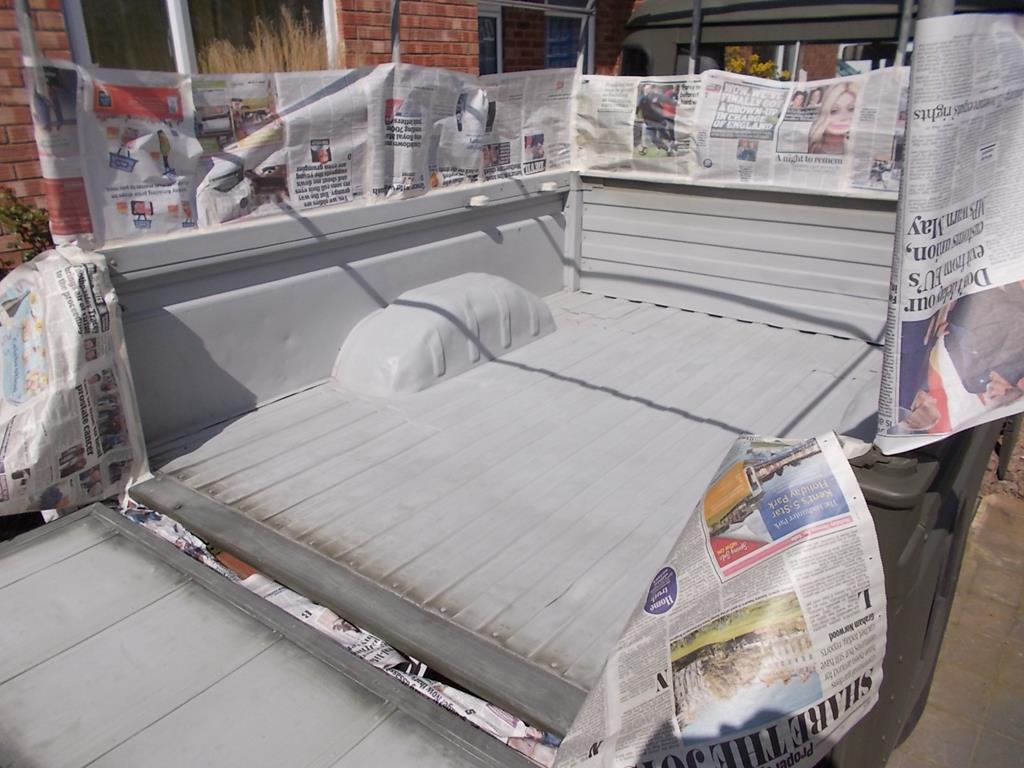
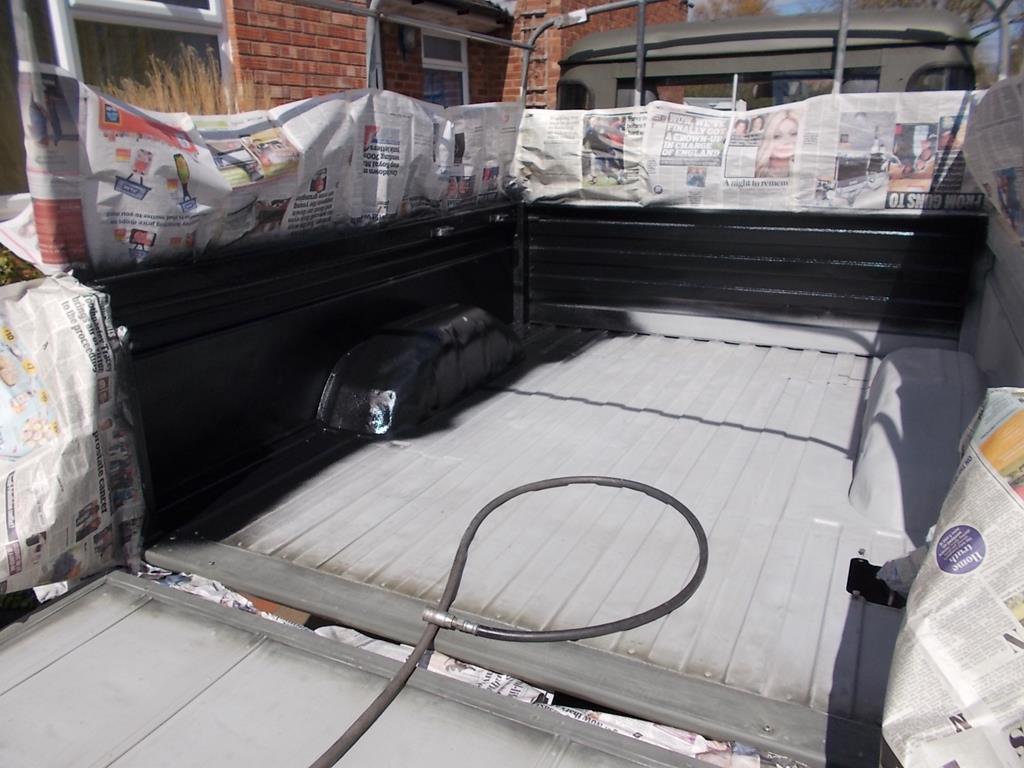
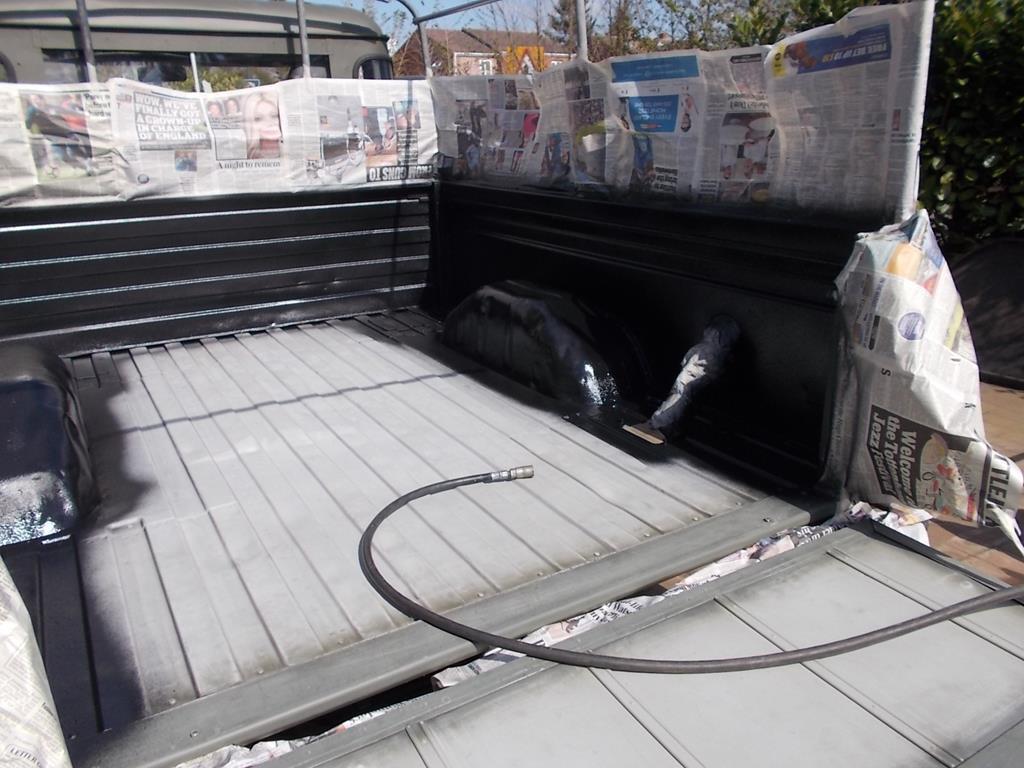
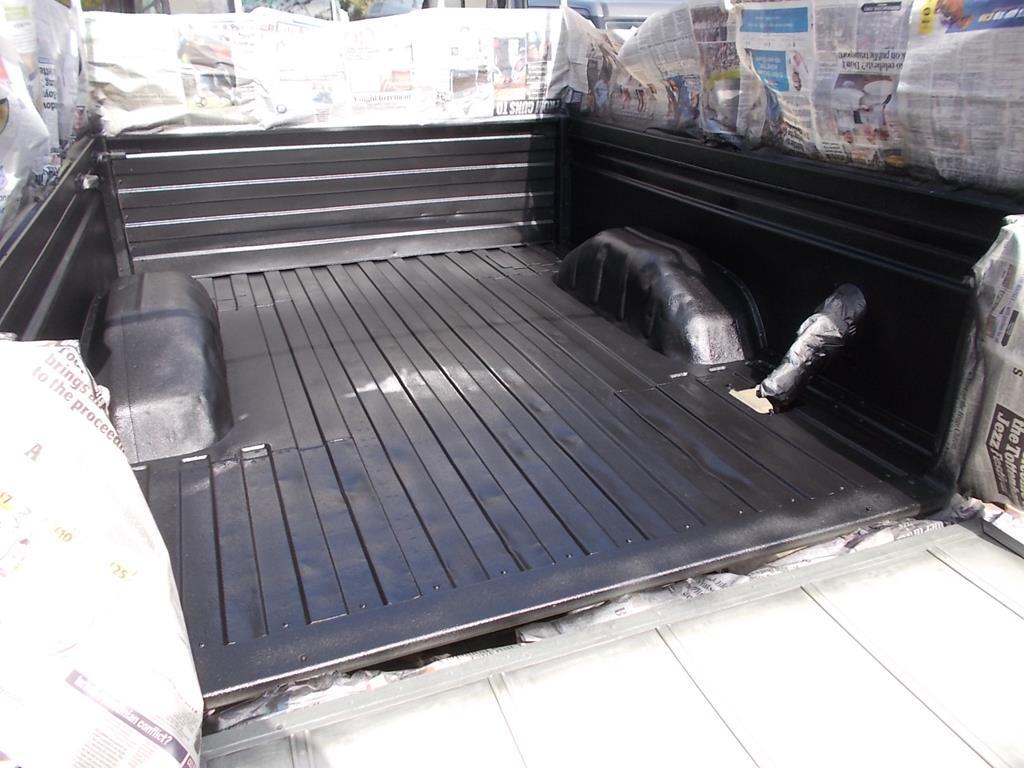
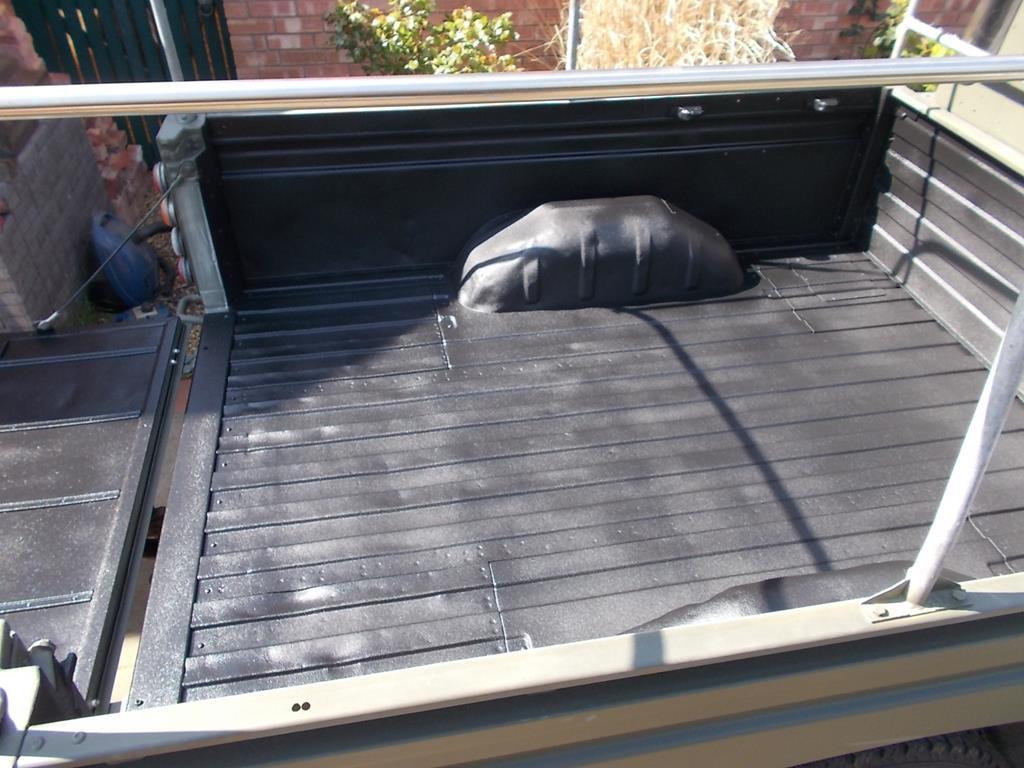
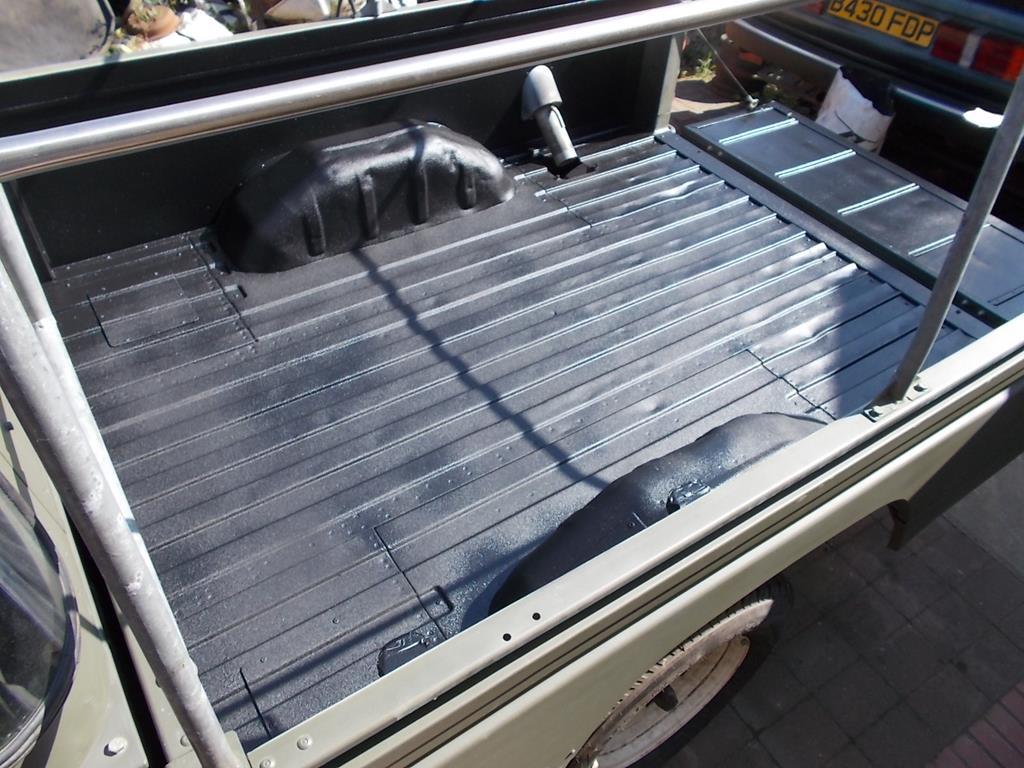
Bedliner makes a great paint job. My mate did his patrol and he doesn't have to worry about scratches when 4wding now.
|
| |
|
|
glenanderson
Club Retro Rides Member
Posts: 4,357
Club RR Member Number: 64
|
|
Apr 12, 2019 10:52:10 GMT
|
|
Bedliner looks very smart. I am seriously contemplating doing the back of my Land-Rover as part of next year’s planned “smarten up”. Probably go for the pale grey.
|
| |
My worst worry about dying is my wife selling my stuff for what I told her it cost...
|
|
|
|
|
Apr 12, 2019 11:17:03 GMT
|
All getting a bit posh now but damn, it looks smart!  |
| |
|
|
|
|
sowen
Club Retro Rides Member
Posts: 2,245
Club RR Member Number: 24
|
|
Apr 12, 2019 21:35:44 GMT
|
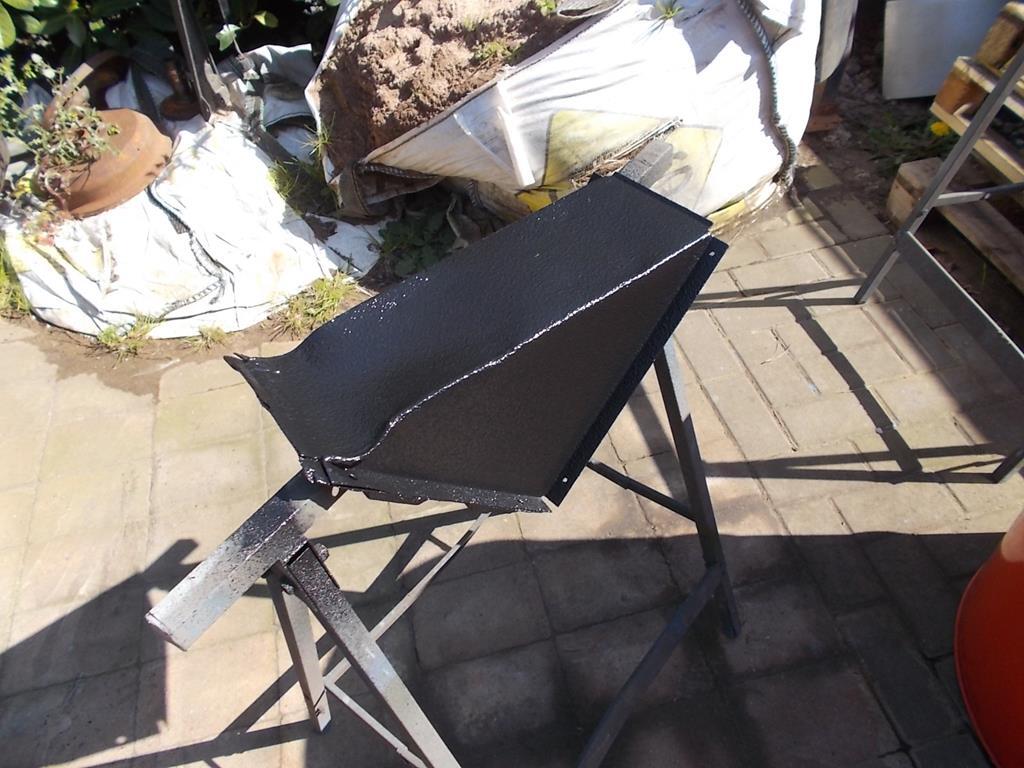
Bedliner makes a great paint job. My mate did his patrol and he doesn't have to worry about scratches when 4wding now. Yep I've seen a few done in it now. Not sure if I'll possibly get some tintable stuff and do the tops of the wings and bonnet too yet? Bedliner looks very smart. I am seriously contemplating doing the back of my Land-Rover as part of next year’s planned “smarten up”. Probably go for the pale grey. It's functional, so suits old Landy's a treat! Time will tell how it copes with the stuff I presently cart about and possible future hauling jobs.... All getting a bit posh now but damn, it looks smart!  The pics don't show the scuffs and scratches already appearing in the paint! I have no intentions of ever washing the exterior paint on this, flat green everything and let nature take it's course  |
| |
|
|
sowen
Club Retro Rides Member
Posts: 2,245
Club RR Member Number: 24
|
|
Apr 21, 2019 21:29:10 GMT
|
|
|
| |
|
|
|
|
|
Apr 21, 2019 22:34:36 GMT
|
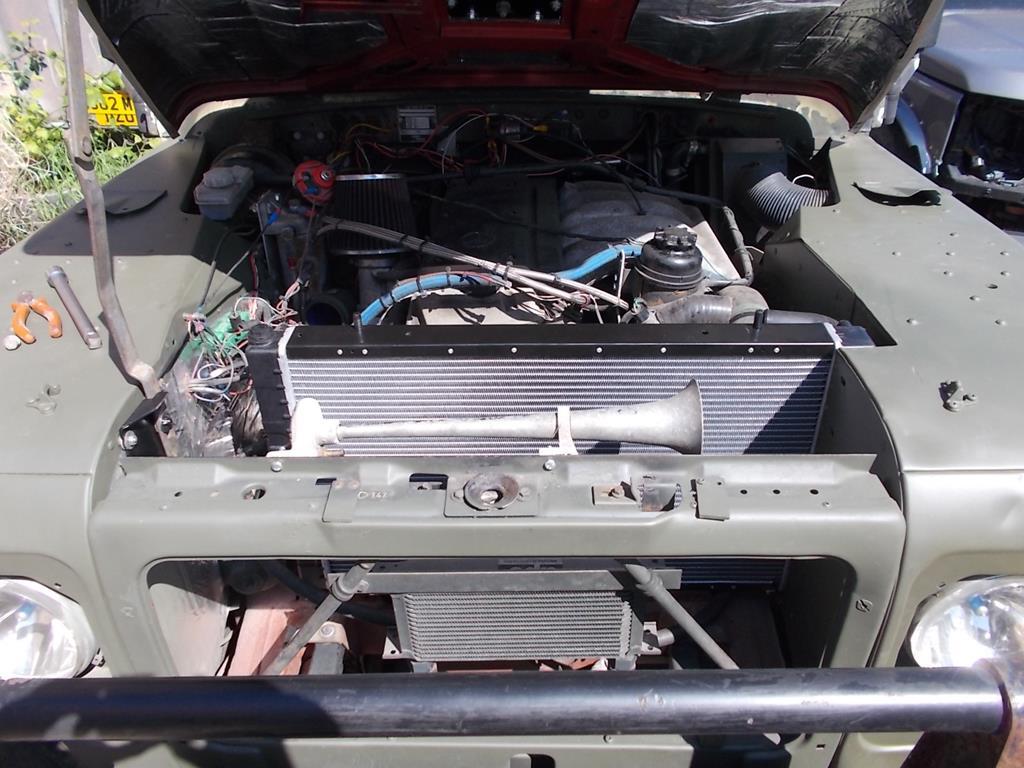
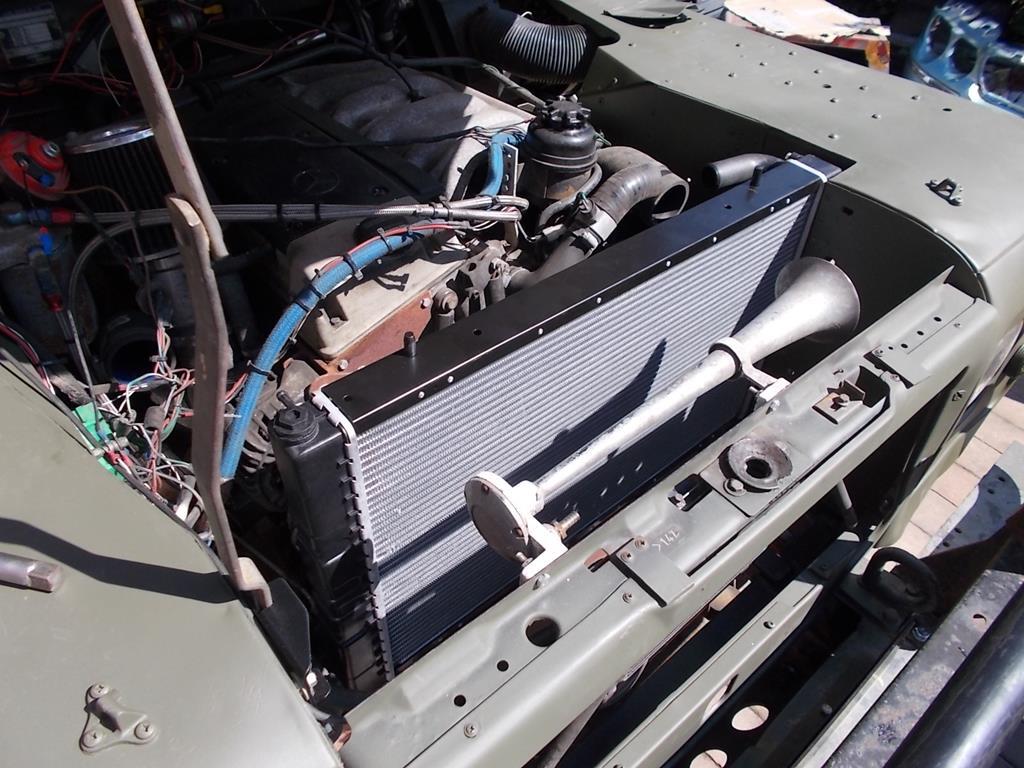
Will a quick blast on the air horn be enough to give a help to the cooling under harsh conditions?  |
| |
1968 Mini MkII, 1968 VW T1, 1967 VW T1, 1974 VW T1, 1974 VW T1 1303, 1975 Mini 1000 auto, 1979 Chevette, 1981 Cortina, 1978 Mini 1000 1981 Mini City, 1981 Mini van, 1974 Mini Clubman, 1982 Metro City, 1987 Escort, 1989 Lancia Y10, 1989 Cavalier, 1990 Sierra, 1990 Renault 19, 1993 Nova, 1990 Citroen BX, 1994 Ford Scorpio, 1990 Renault Clio, 2004 Citroen C3, 2006 Citroen C2, 2004 Citroen C4, 2013 Citroen DS5. 2017 DS3 130 Plenty of other scrappers!
|
|
sowen
Club Retro Rides Member
Posts: 2,245
Club RR Member Number: 24
|
|
|
|
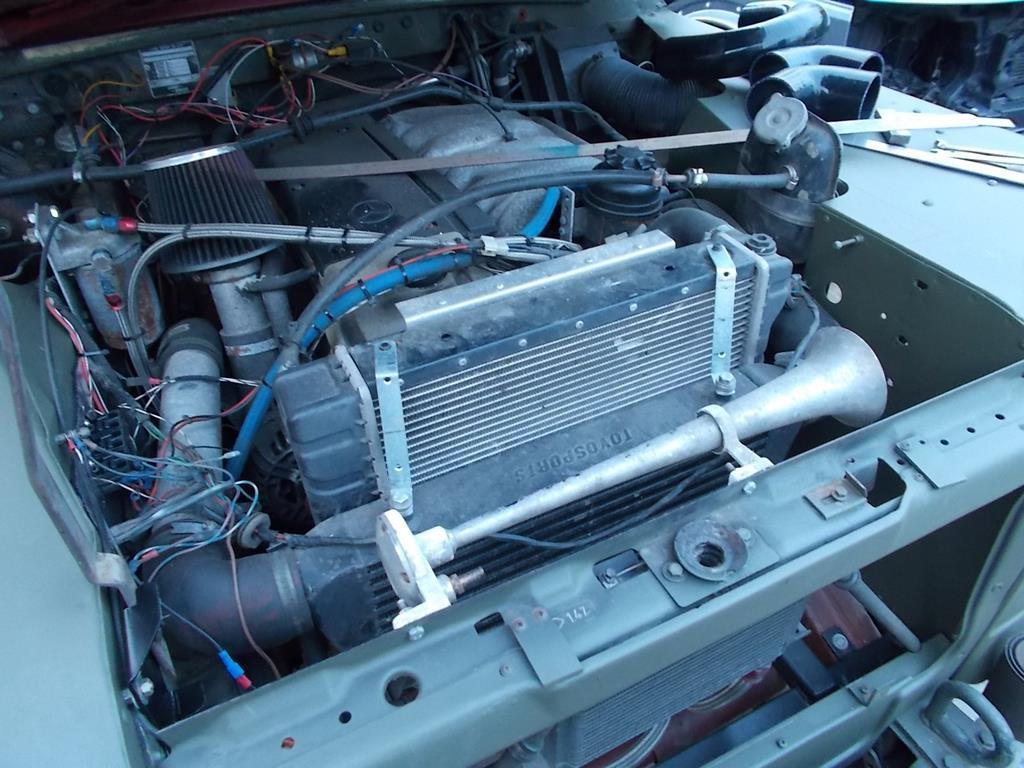
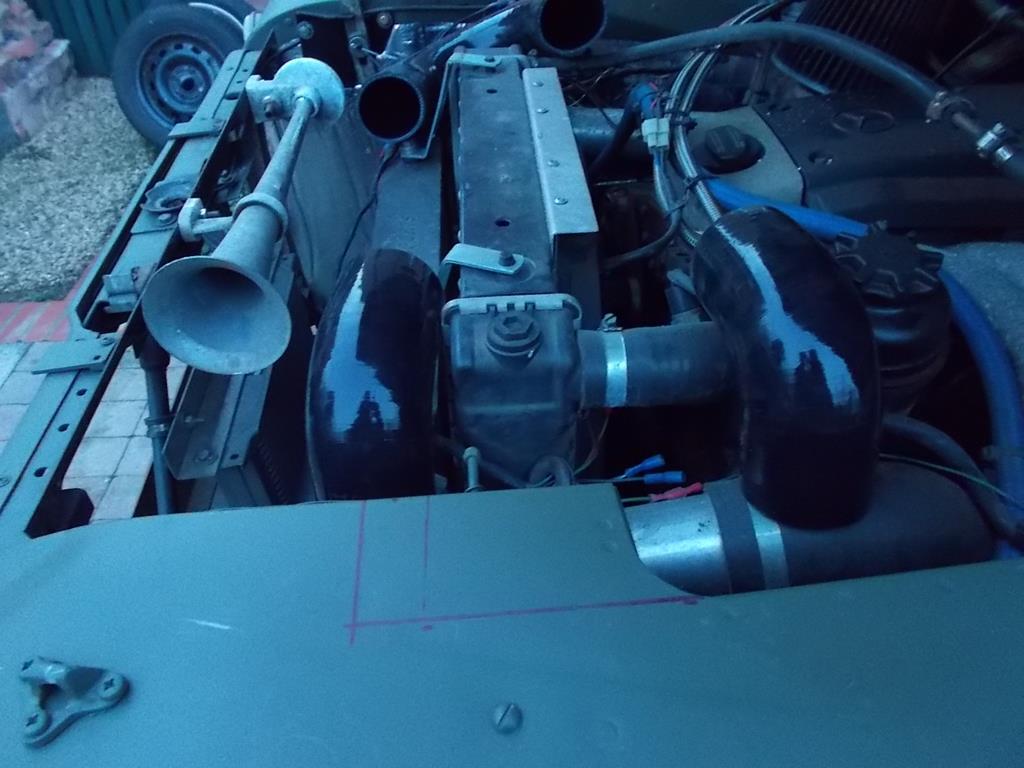
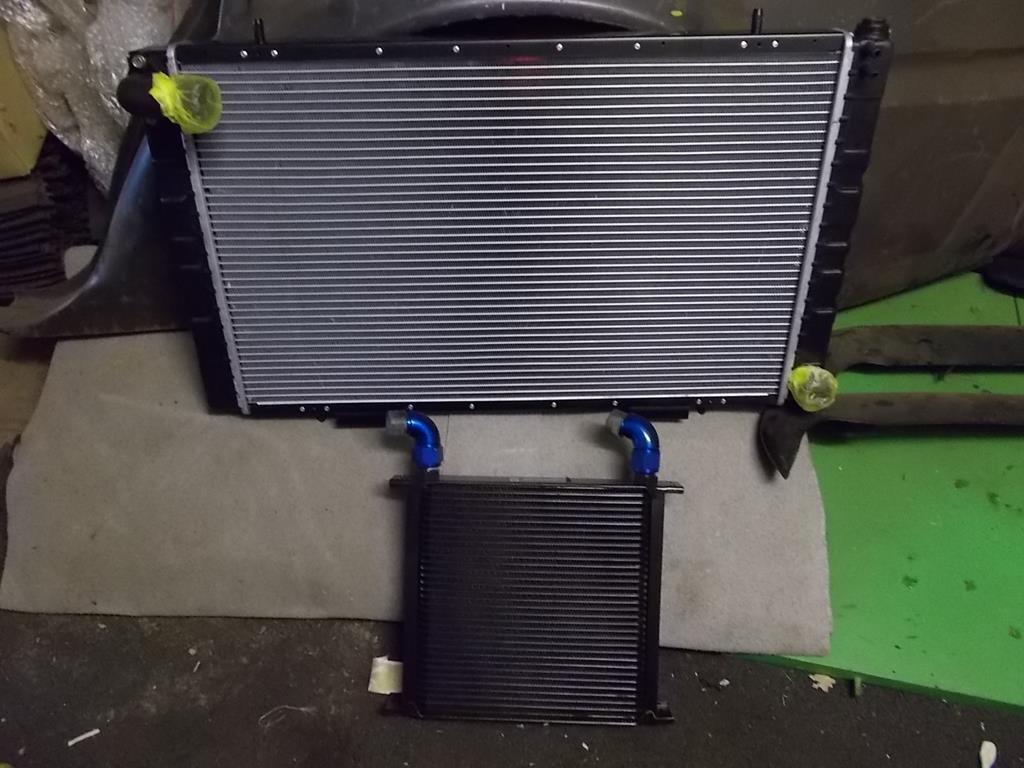
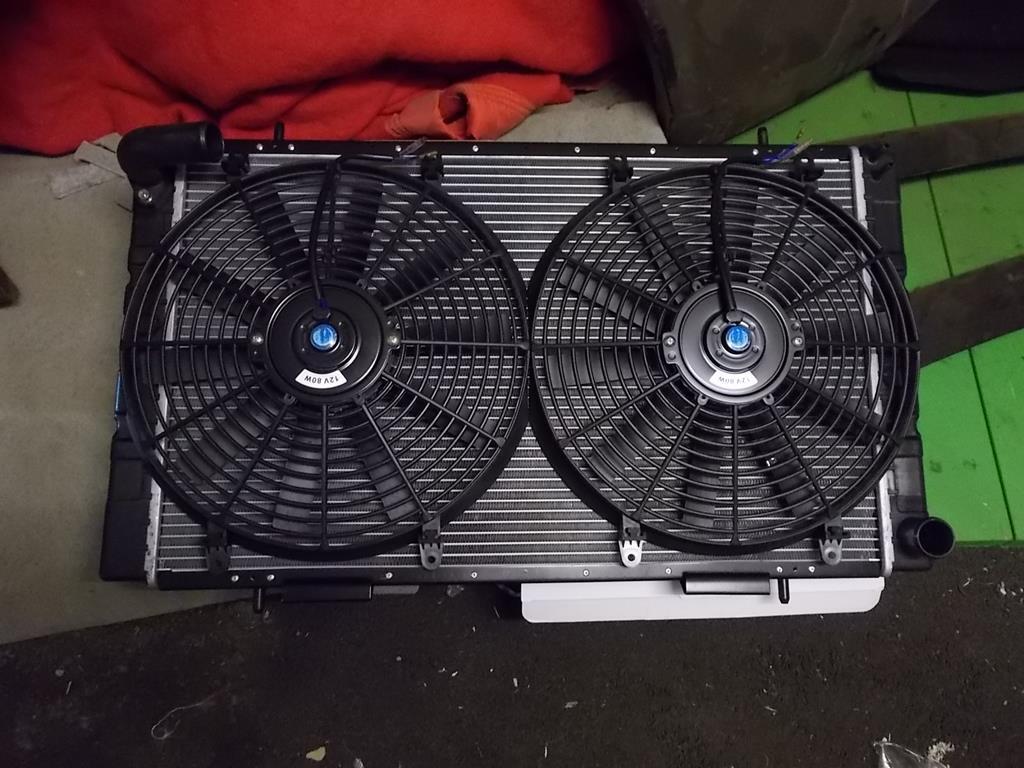
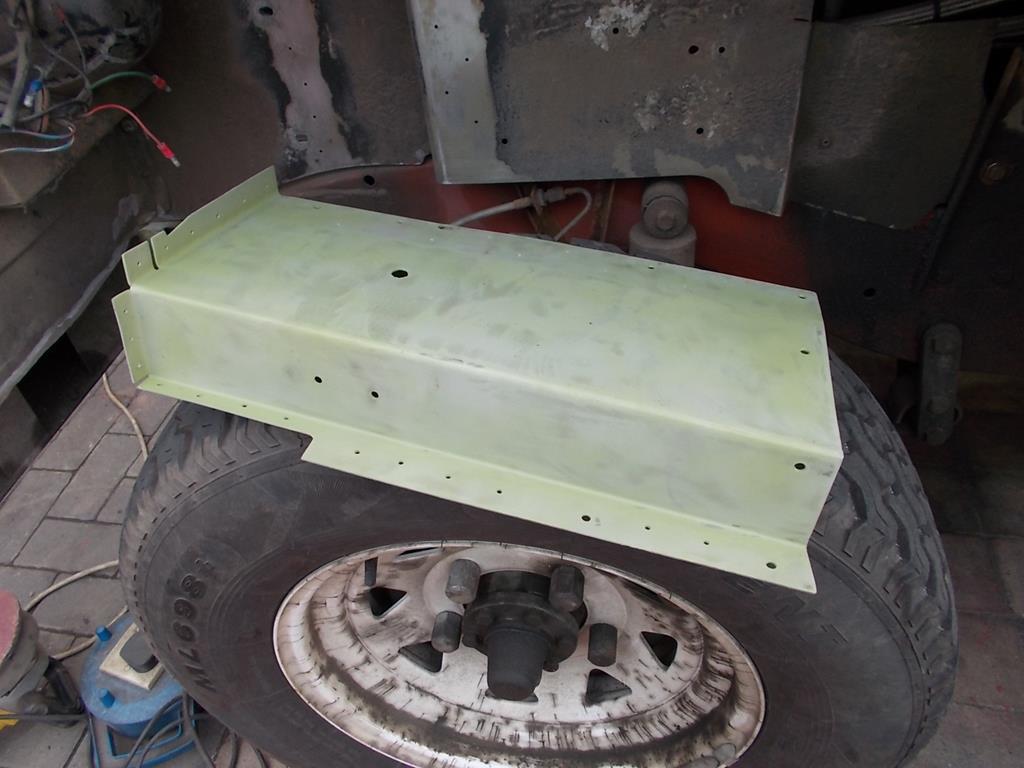
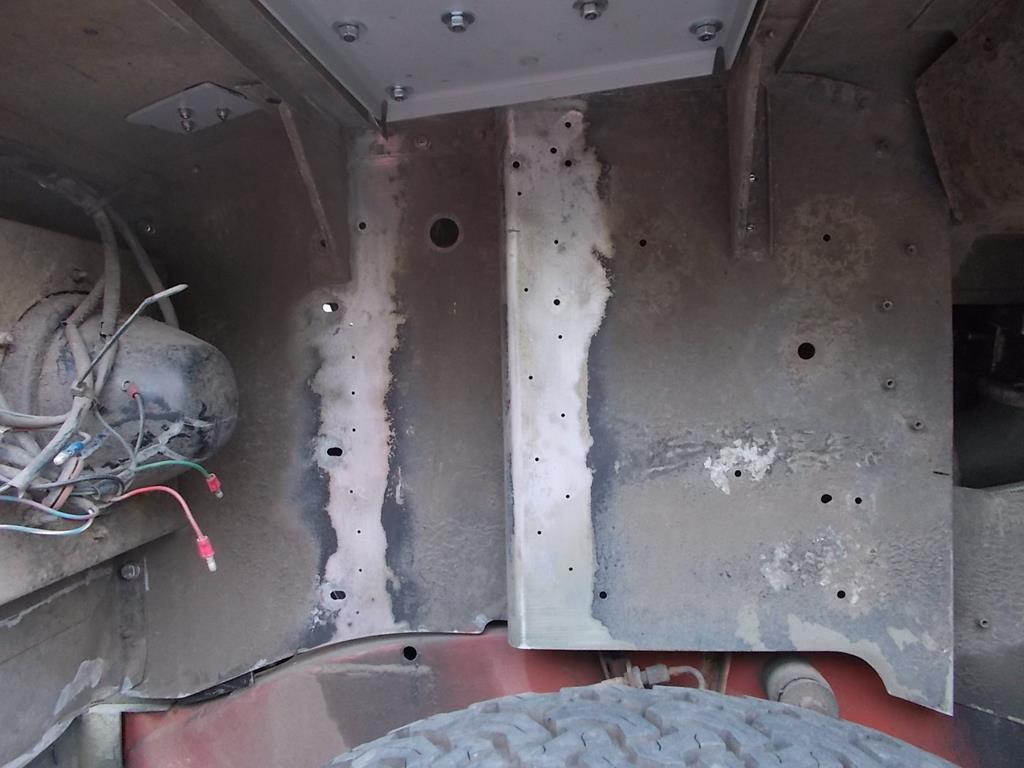
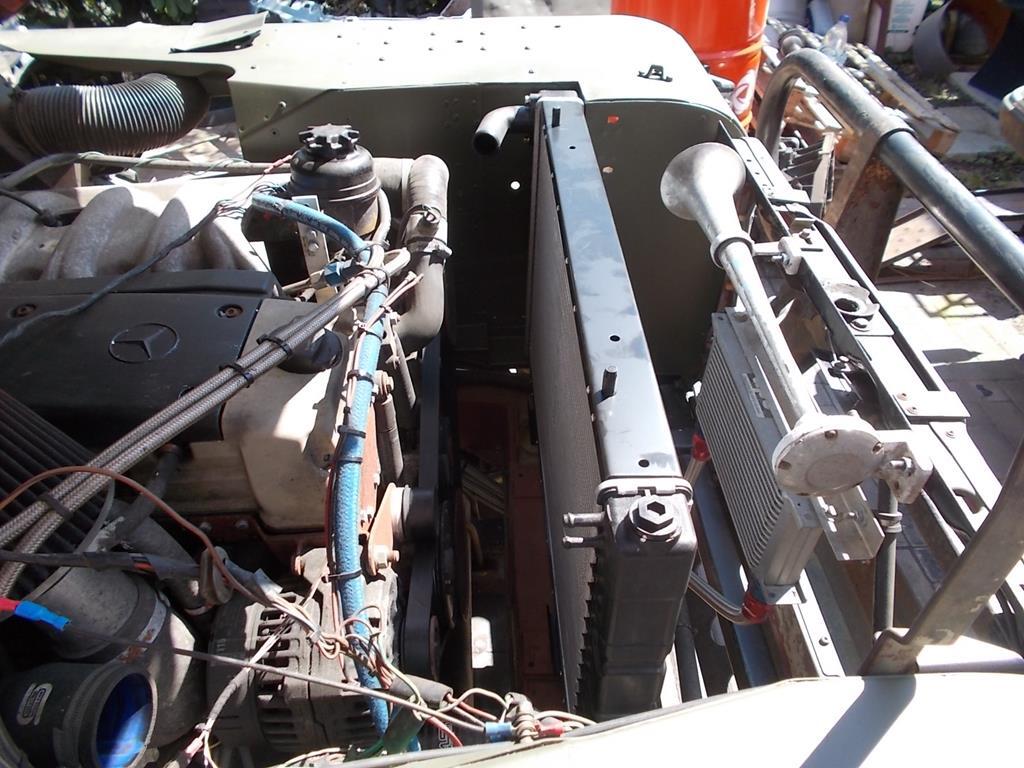
Will a quick blast on the air horn be enough to give a help to the cooling under harsh conditions?  Can't say I thought of that, could be worth a try  So onto the next stage, making the electric fan mount/shroud for the radiator. I couldn't decide on whether to make a simple frame to mount both fans to the radiator, or a full shroud, so had a rummage in the metal stash and found a large sheet of ally. Shroud it is! A little measuring and thinking and I had a design roughed out in my head, then began to transfer it into metal 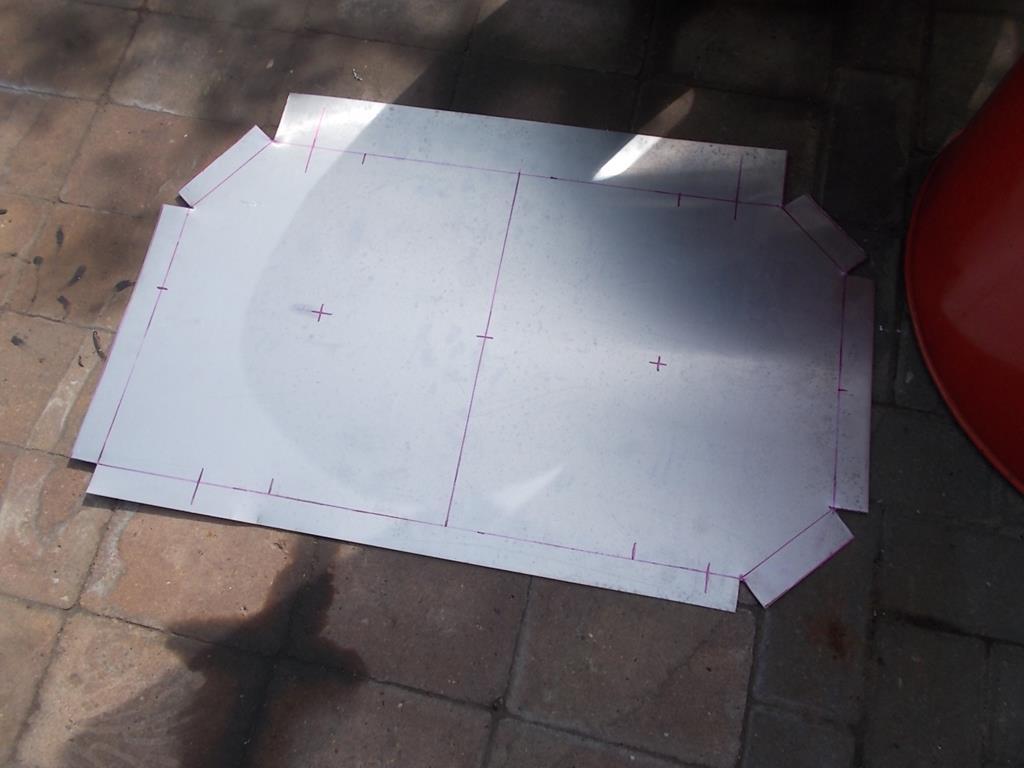 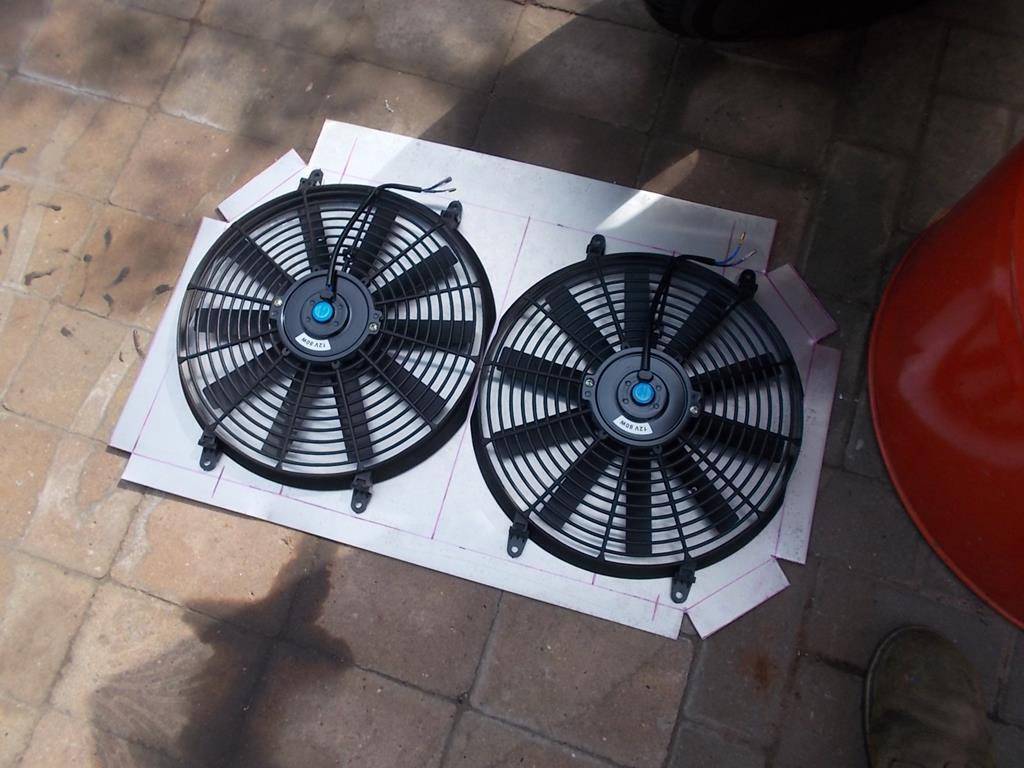 The sides were then folded up and the holes marked out and cut out 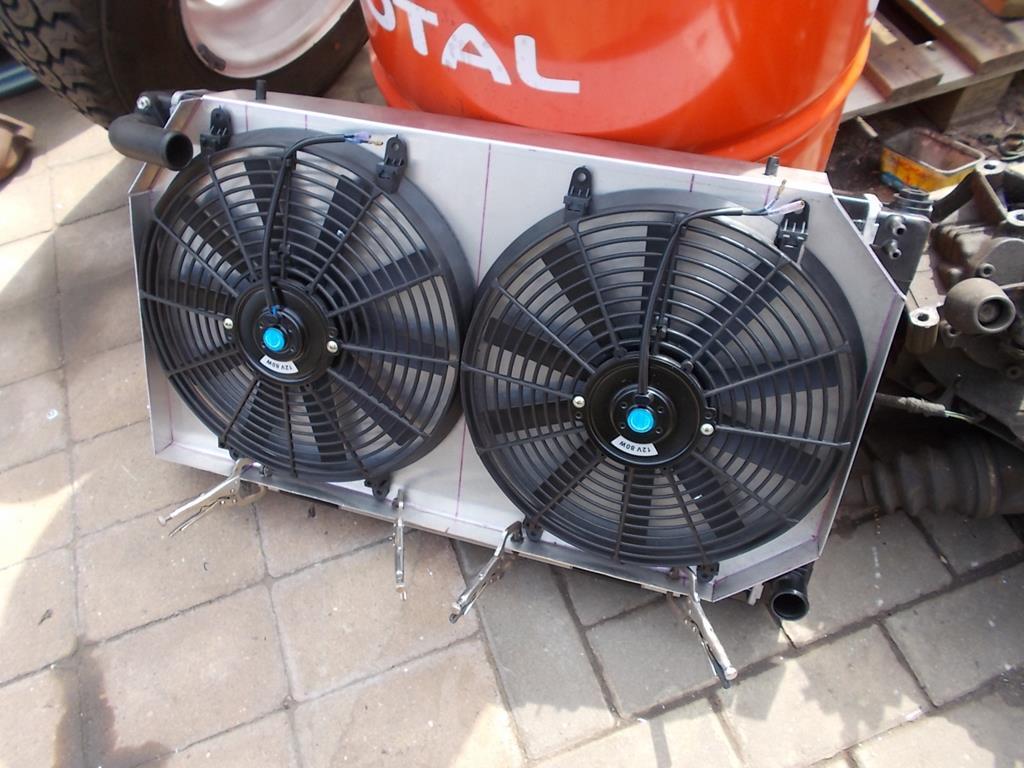 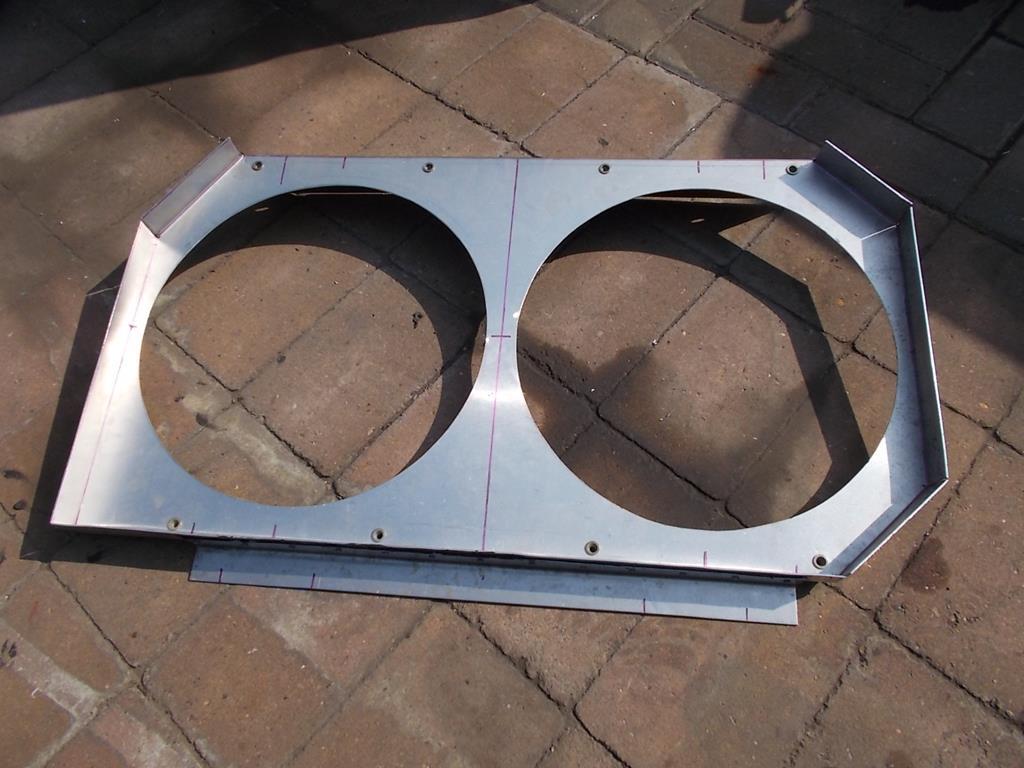 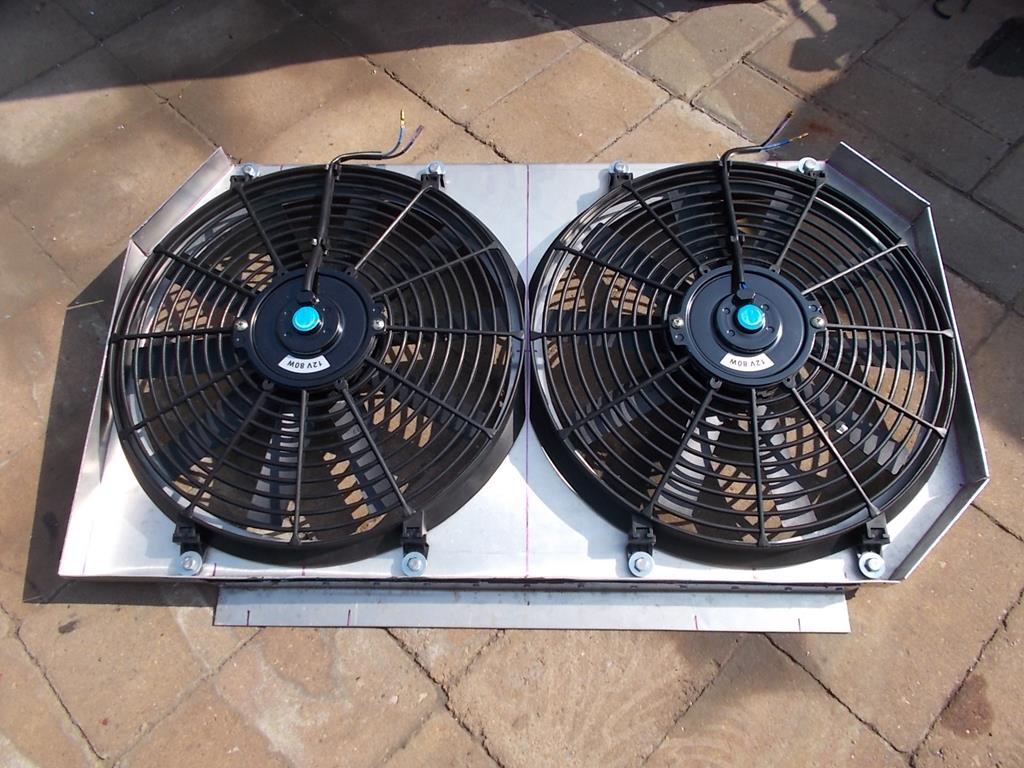 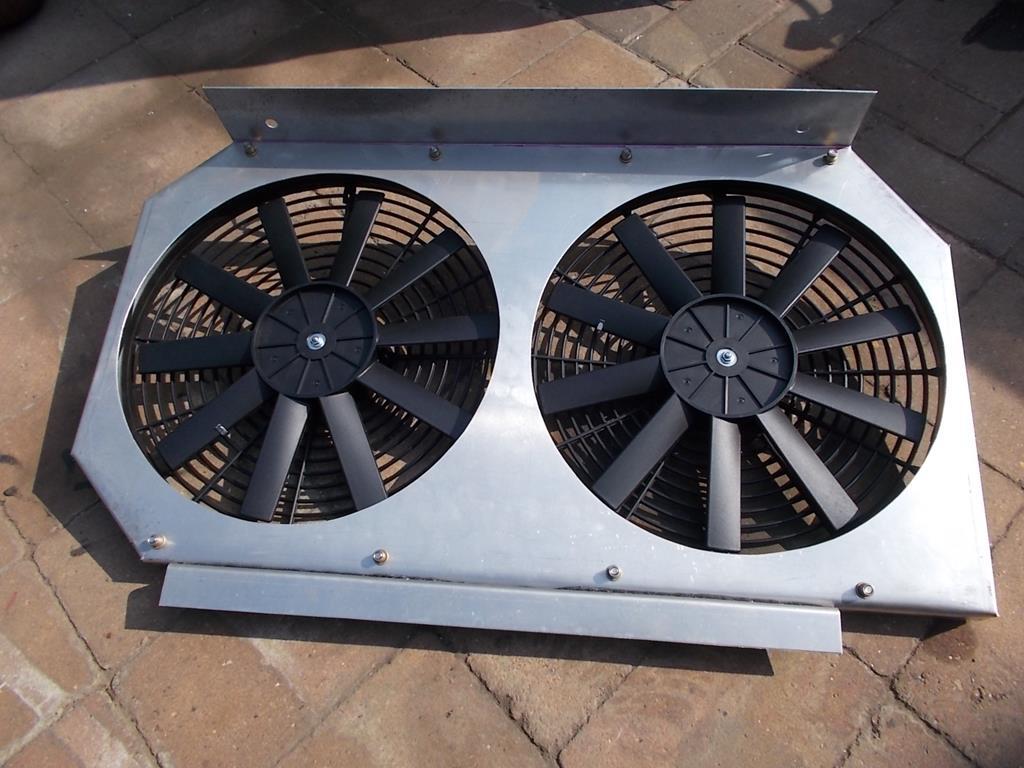 And in it went with plenty of space 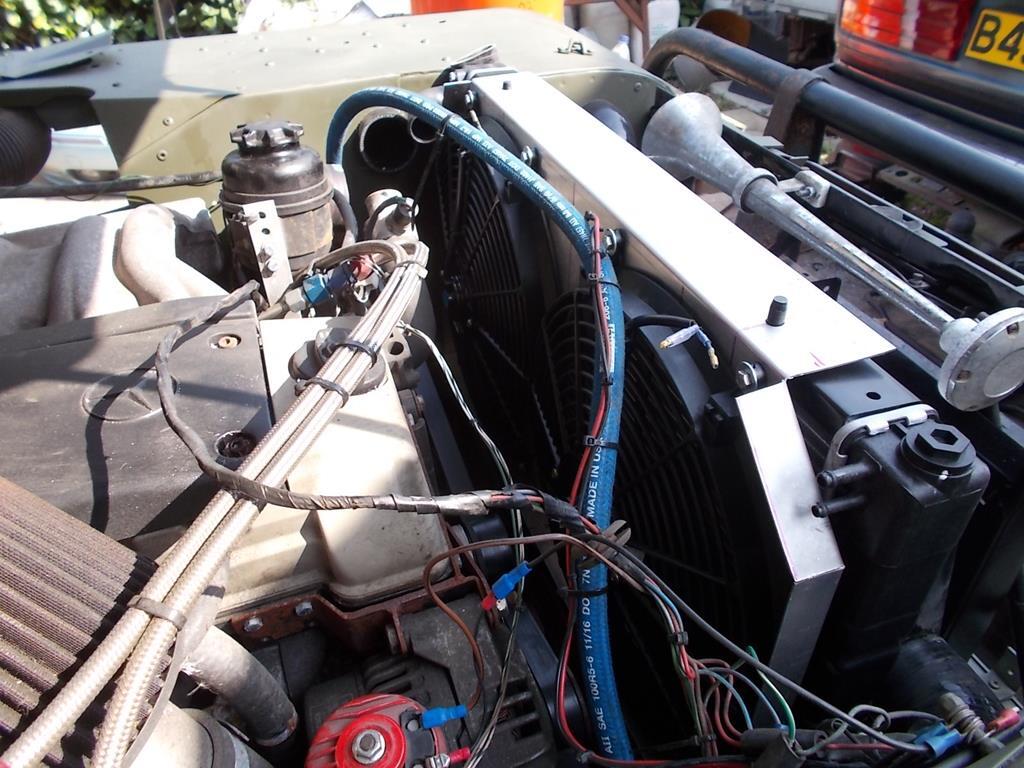 I added a few extra braces inside the fan shroud, primed it and painted it black 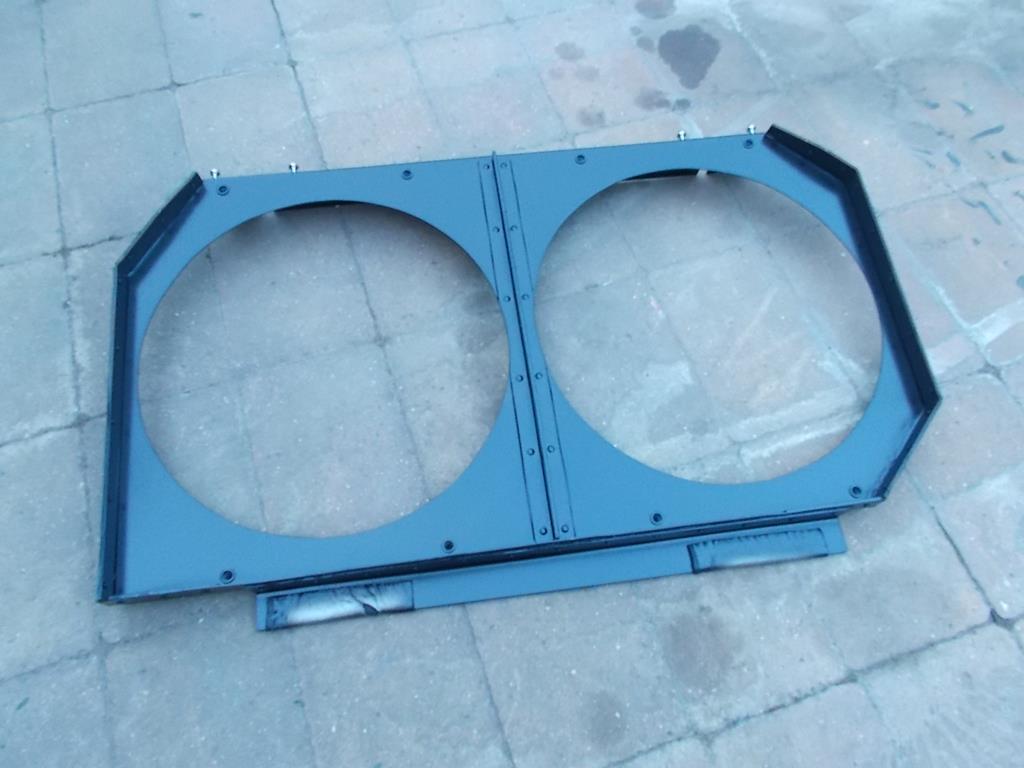 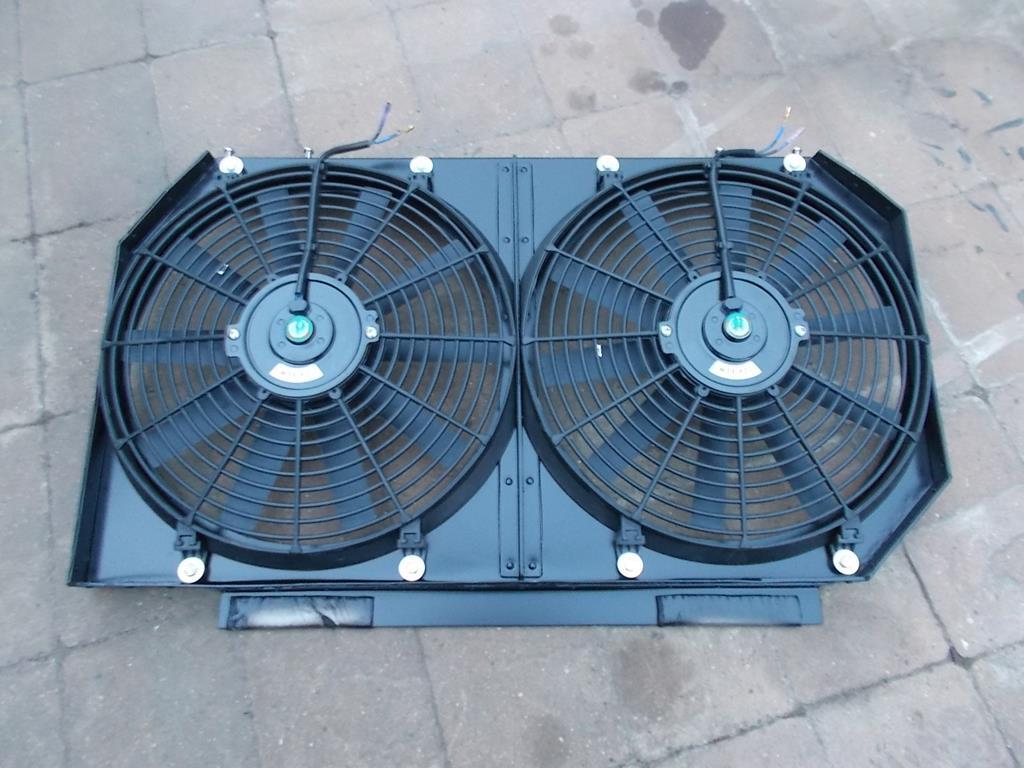 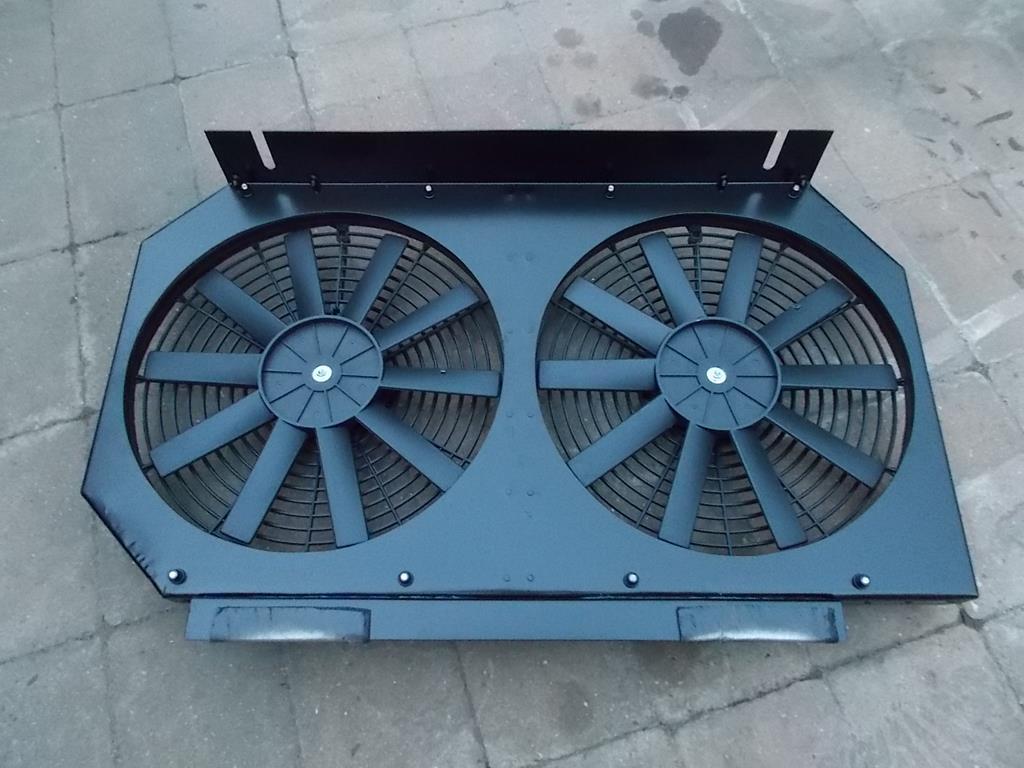 Having another rummage about I found some thicker aluminium which would do for the top radiator stays. A little cardboard aided design and I had a pair of aluminium brackets between the slam panel and radiator primed and painted black 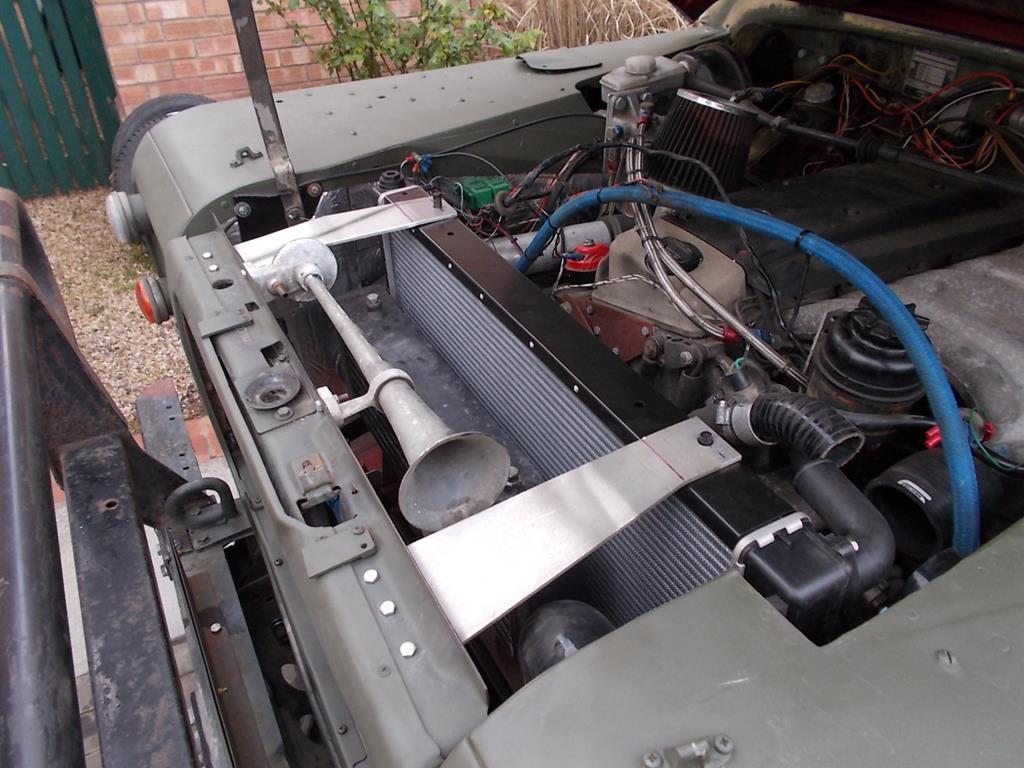 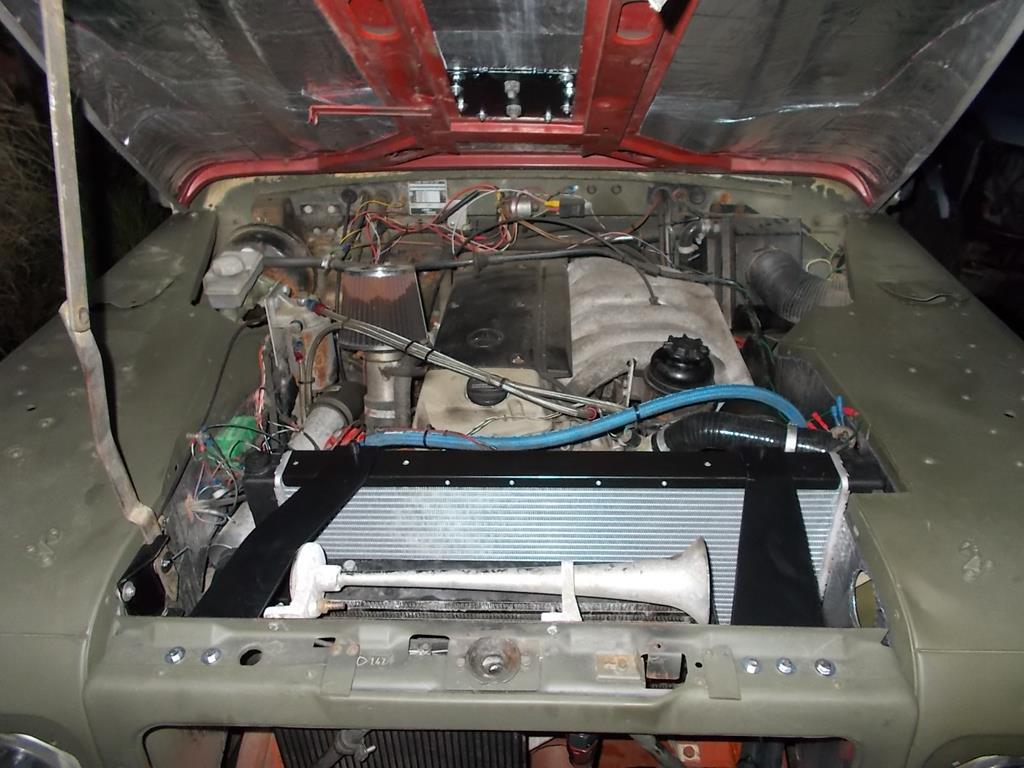 Then I made a stainless intake pipe to run out of the inner wing into the wheelarch ahead of the radiator and back into the engine bay after the radiator. Welded together from 2.5" stainless tube, with some tabs at either end to bolt onto the wings and a little sleeve welded over each end to act as a bead to help prevent the hoses popping off 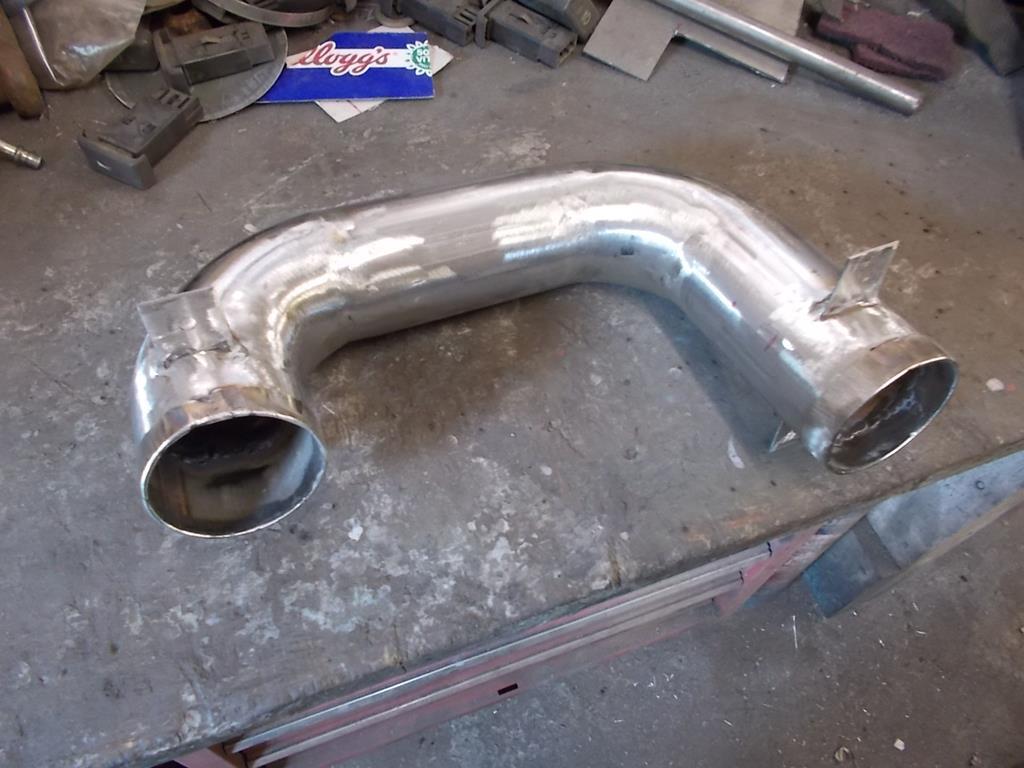 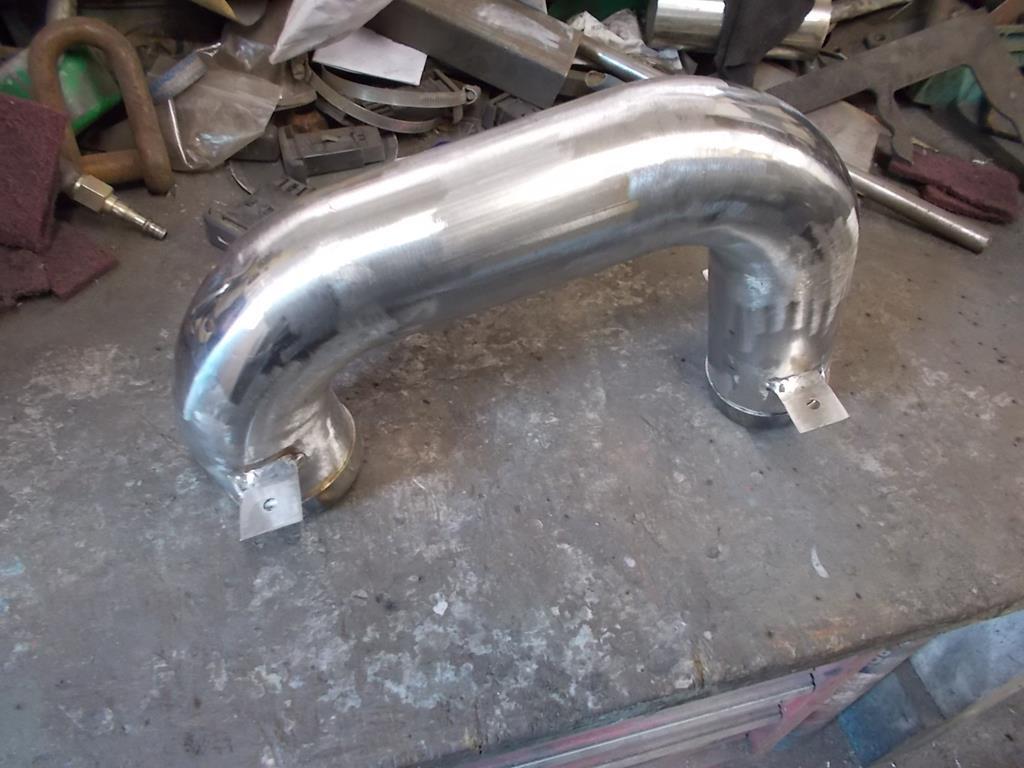 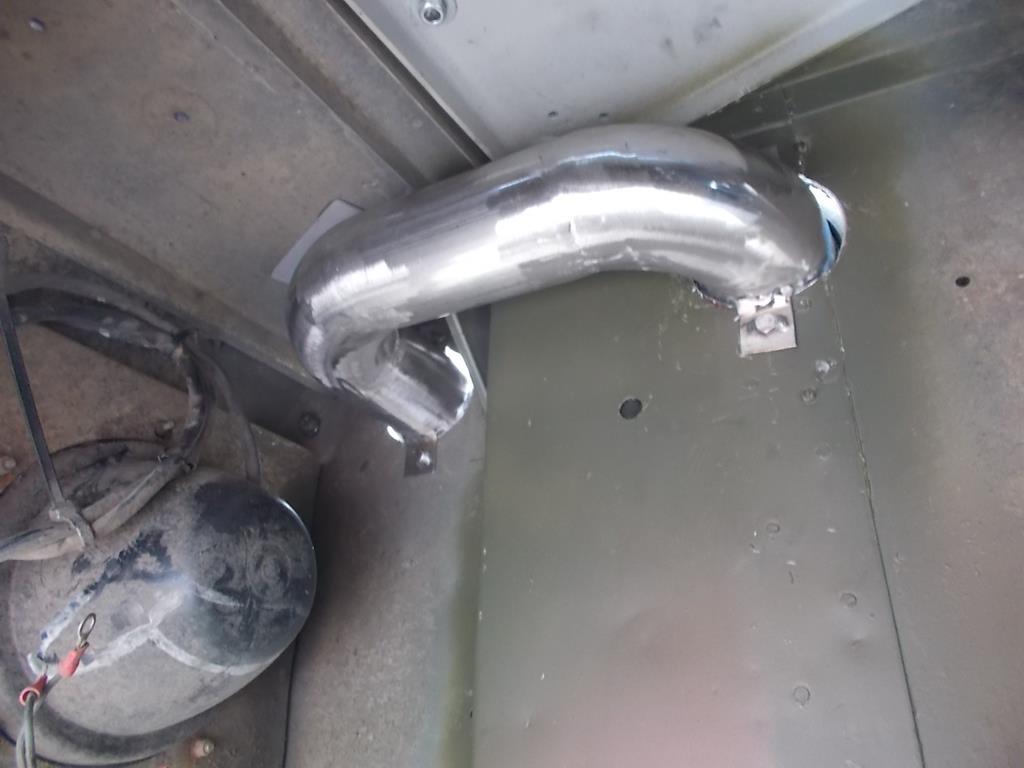 A few silicone elbows were trimmed to fit and the outlet from the intercooler made to join the hole in the inner wing at the top, and some more elbows fitted behind the radiator to meet with the old setup at the inlet manifold 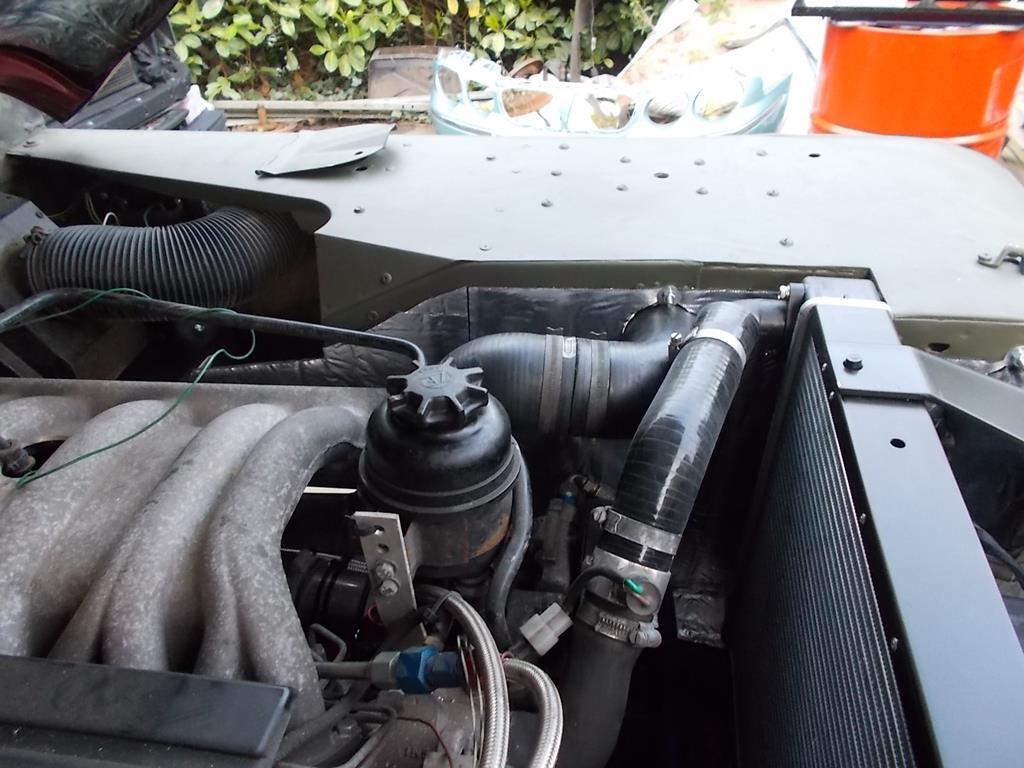 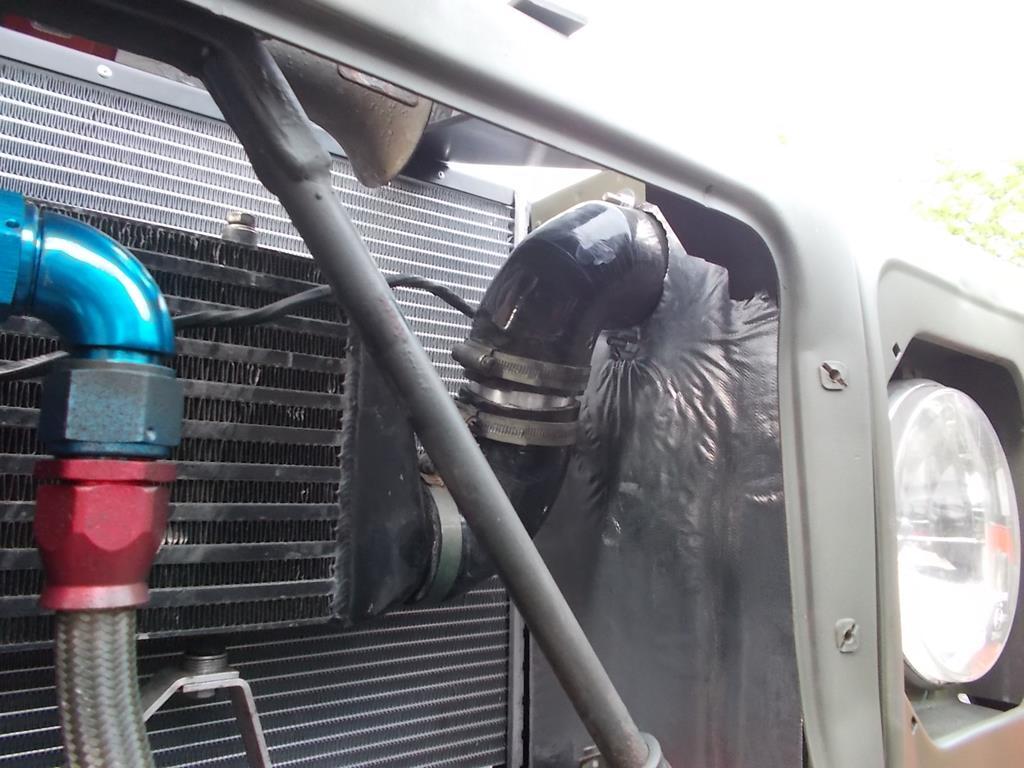 And made a stainless pipe to fit between the turbo and intercooler with the same sleeves welded over the ends, and fitted with some adhesive insulation wrapped around it 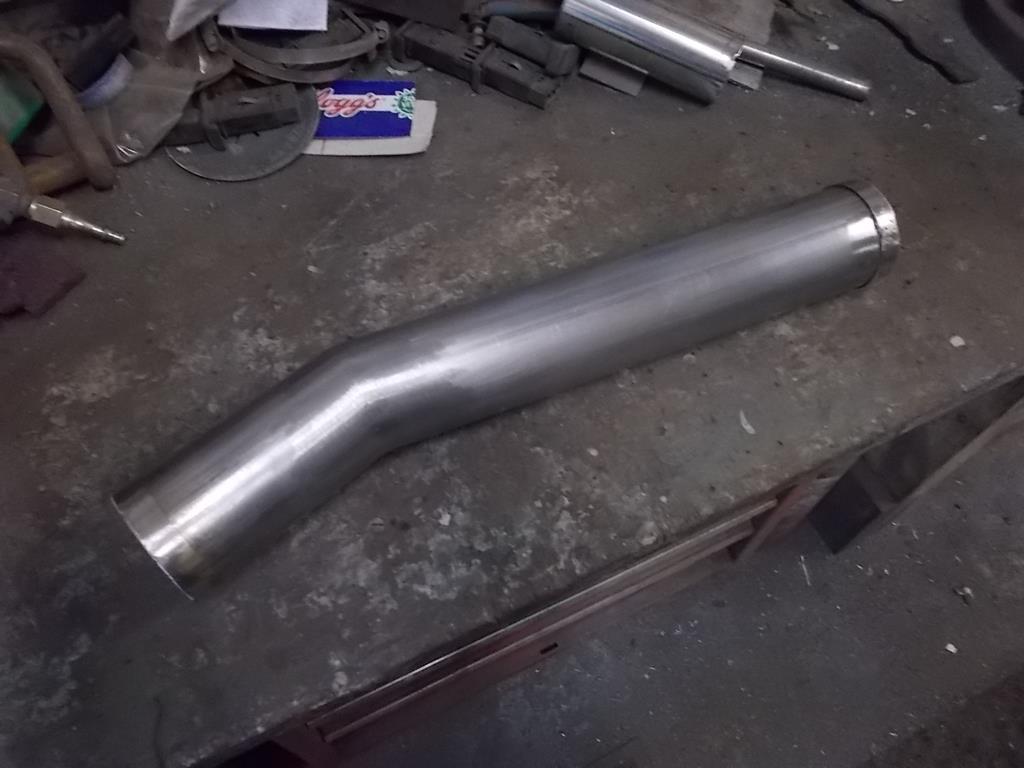 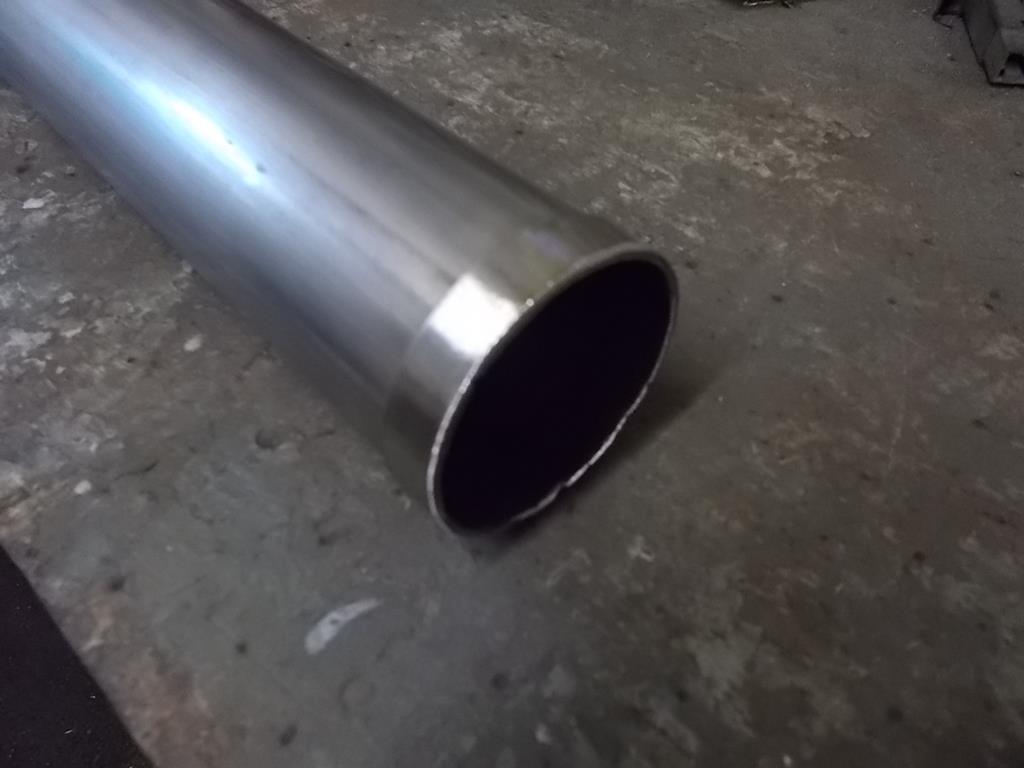 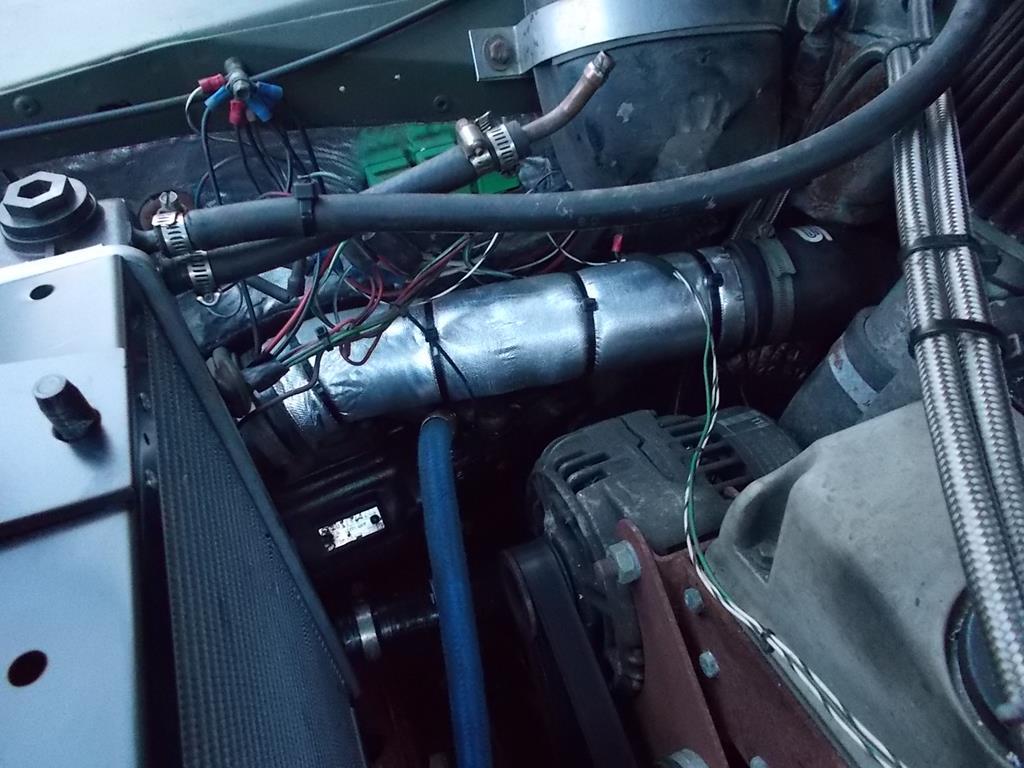 Another part of the plan to sort out the underbonnet mess is to make a sealed airbox. I took some rough measurements of the remaining free space in the engine bay and found some steel that would do to make a box. Once settled on a design I folded and welded up a steel box with an inlet on the side at the back and a flange on the front to take a bolt on plate which the air filter is clamped to and feeds directly onto the turbo 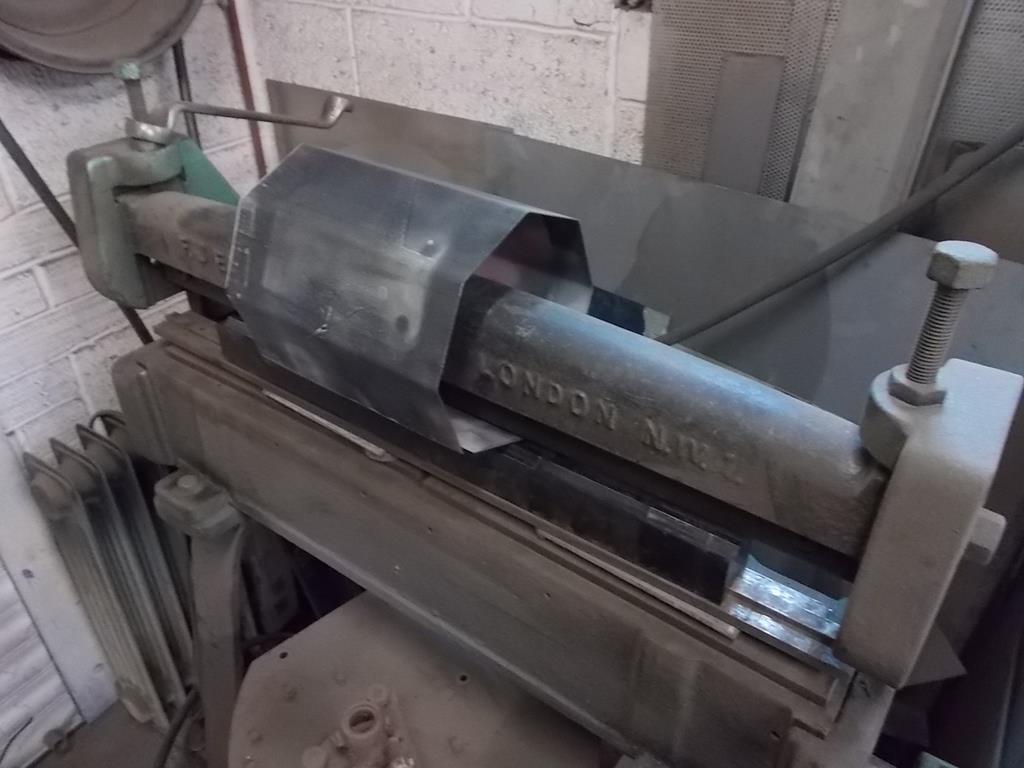 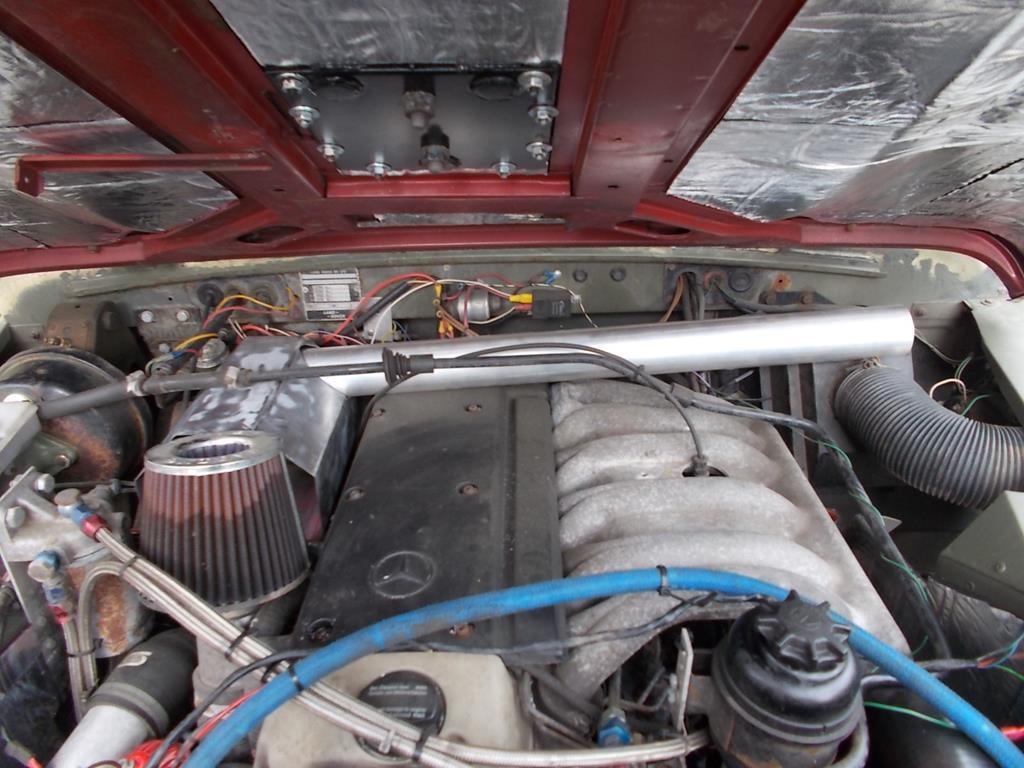 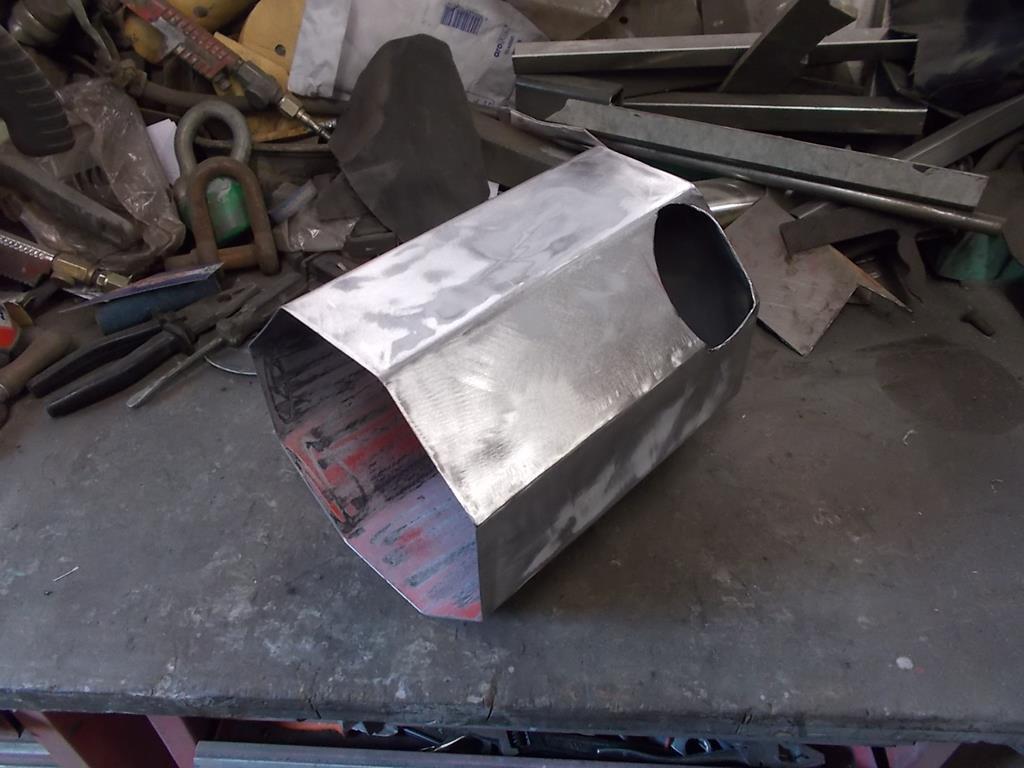 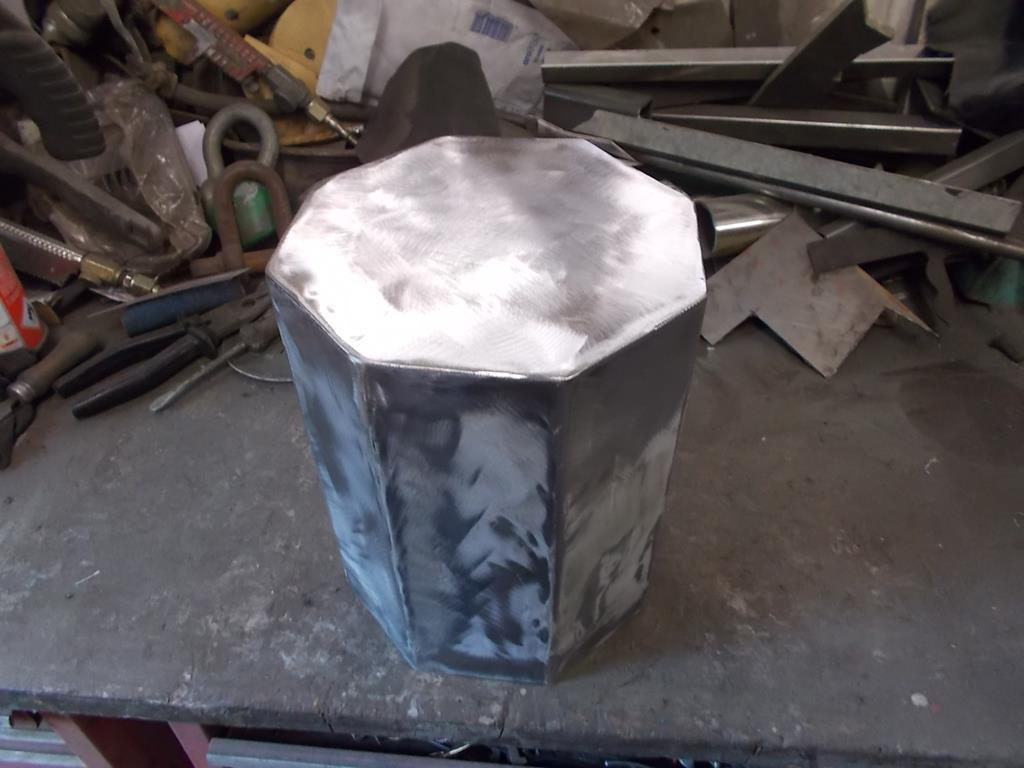 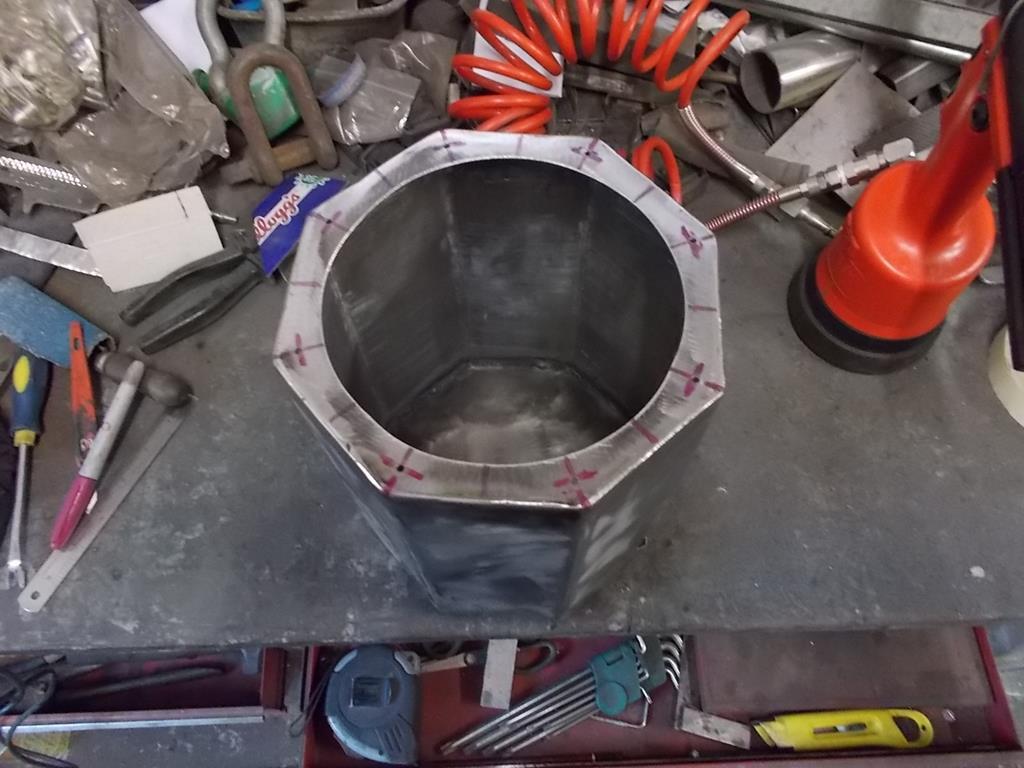 And the end cap 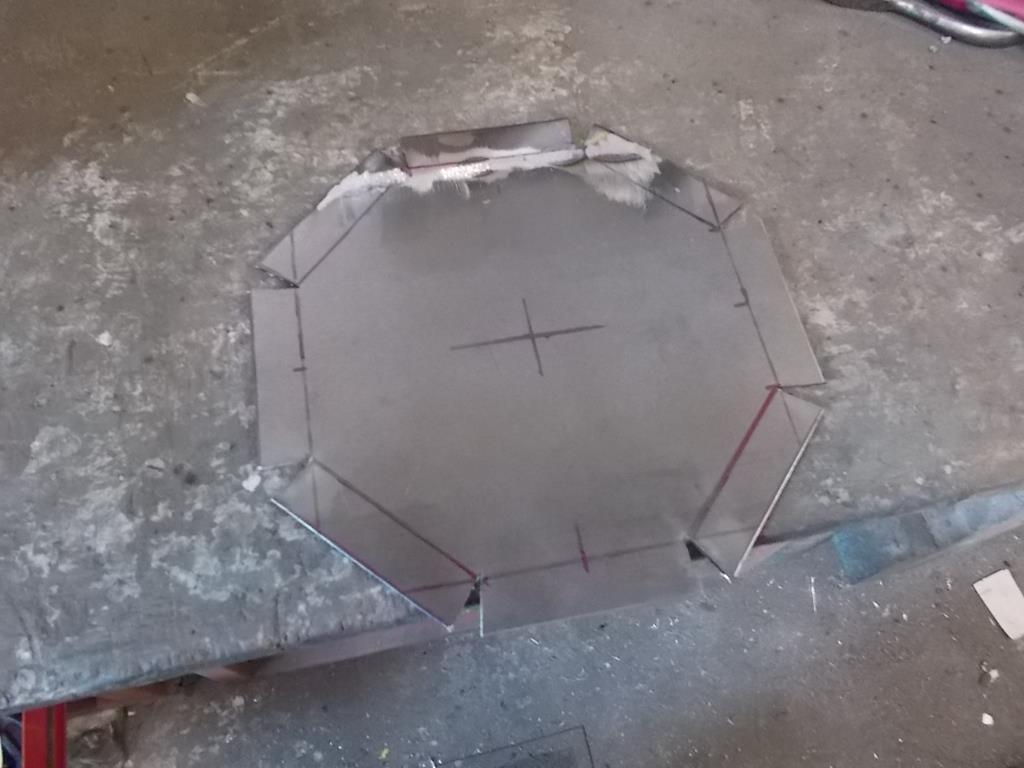 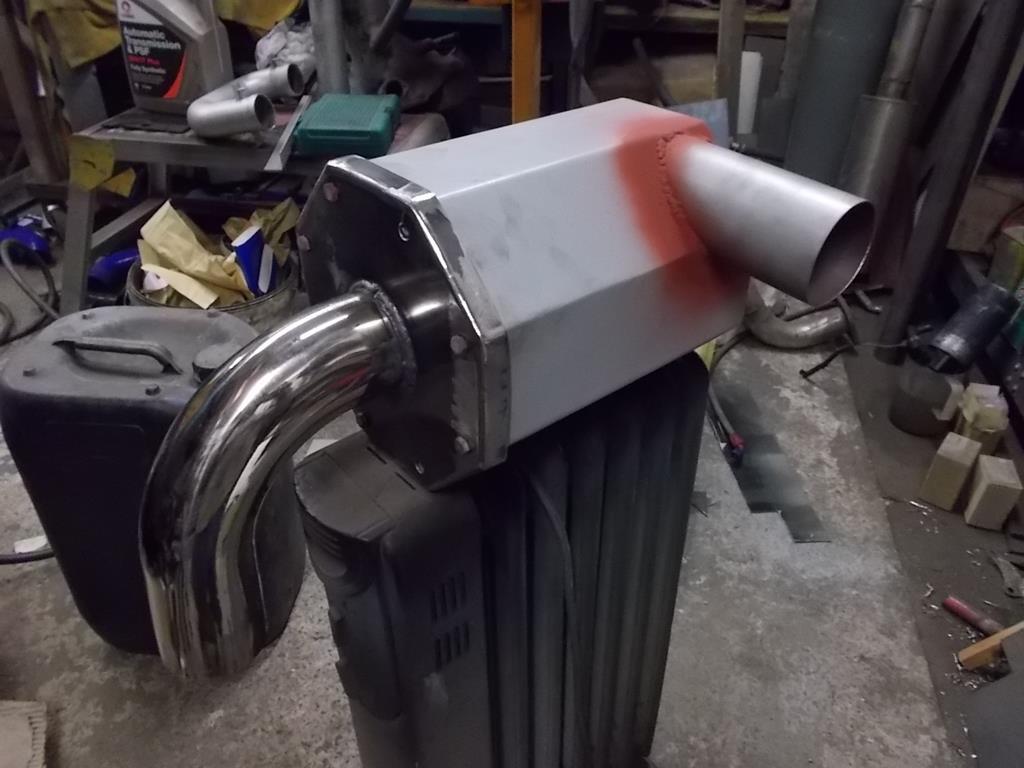 The air box parts and inner wing intake pipe have now been epoxy primed and painted black 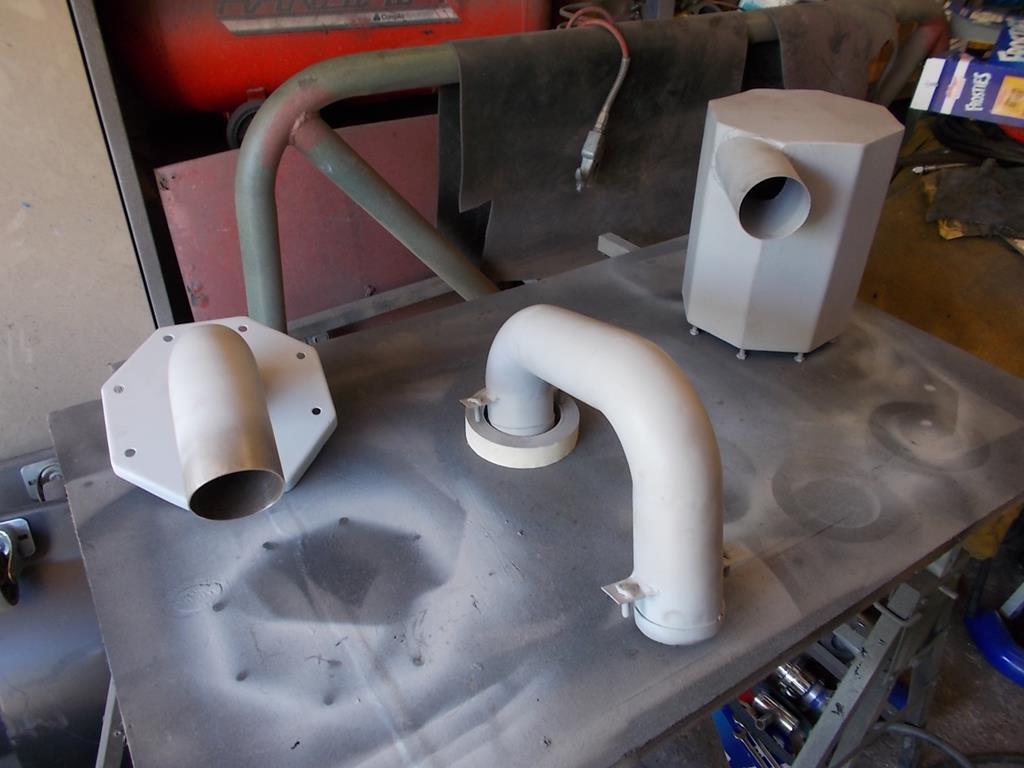 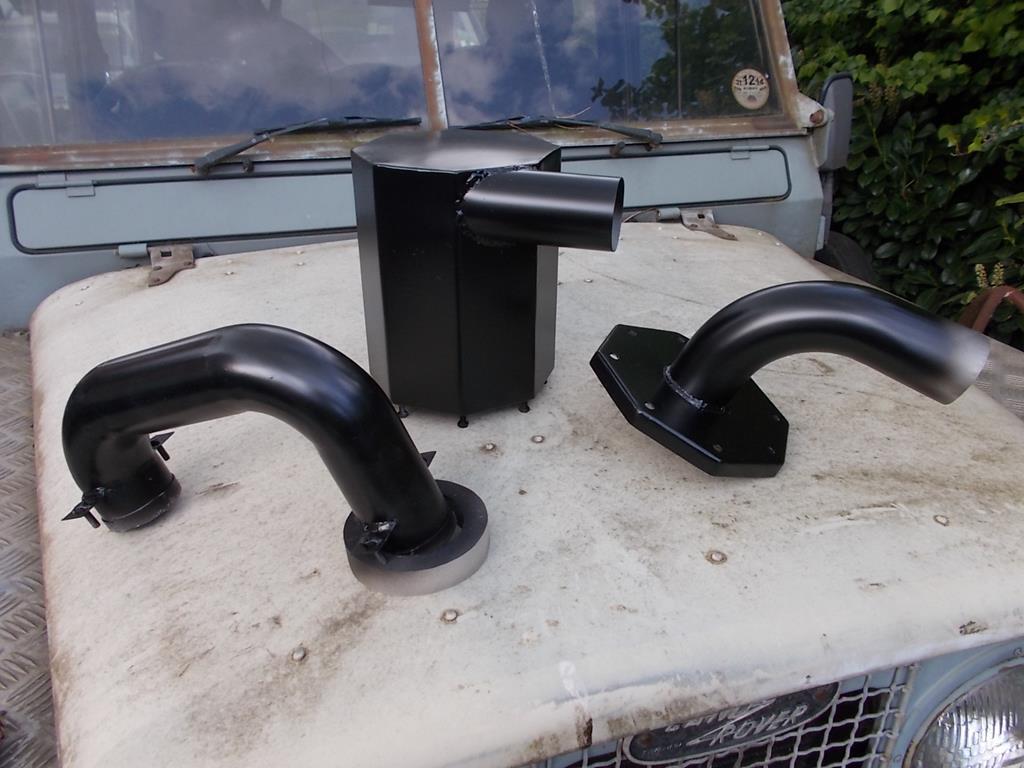 I'm thinking the best way of feeding fresh air to the airbox is a raised air intake on the passenger side, so I'll probably remove the one from my V8 Landy (to also make way for the cage), and mod it to fit the 109. I feel like I've made a lot of progress tidying up the engine bay. It leaves the fuel lines which will get re-routed when I eventually get round to finishing the rear fuel tank setup and a total re-wire..... |
| |
|
|
|
|
|
|
|
|
Fan shroud looks factory 👍🏼
|
| |
14 Audi A3 Sportback - Easy driver
05 Audi TT MK1 3.2 DSG - Damn quick
73 Triumph 2000 - Needs work
03 Range Rover 4.4 V8 petrol. Had to get it out of my system.
|
|
|
|
|
|
|
|
Great Fabrication work all round very nice.
Is that press break at home or work, nice piece of kit to have access to?
|
| |
|
|
sowen
Club Retro Rides Member
Posts: 2,245
Club RR Member Number: 24
|
|
Jun 11, 2019 21:33:07 GMT
|
Great Fabrication work all round very nice. Is that press break at home or work, nice piece of kit to have access to? It's all home tools. Apart from the mess my home workshop is better kitted out than my works workshop, except for the blast cabinet.... Got round to adapting and fitting the steering guard. I've never worked out how they're meant to fit with the original holes and not sit stupidly low down, so modded the mounts and tucked it up as I've done before 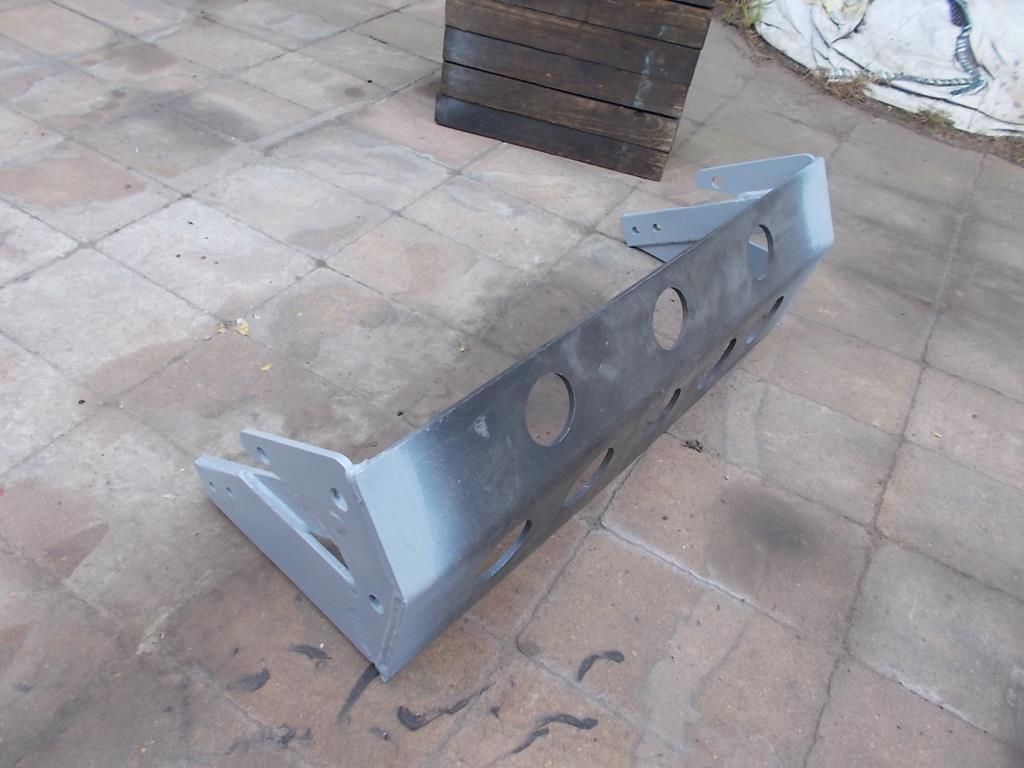 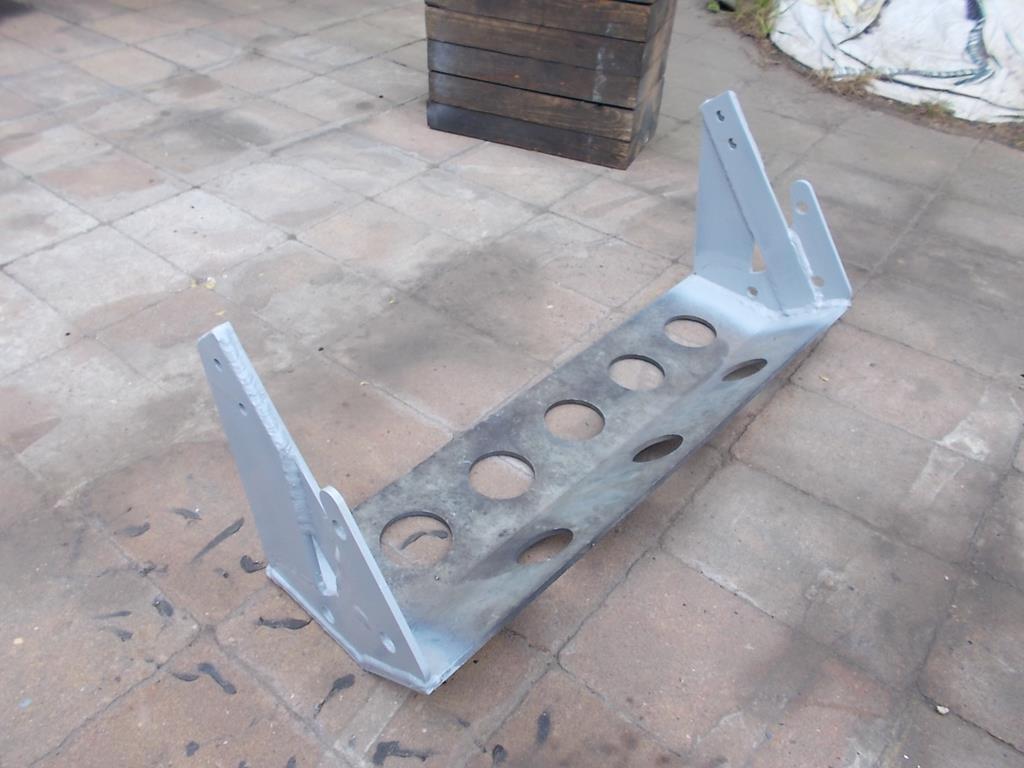 The bullbar mounts have been chopped about to mount it further forward to clear the flat front. Still got to finish the mounts and add some extra braces, but those can wait for now 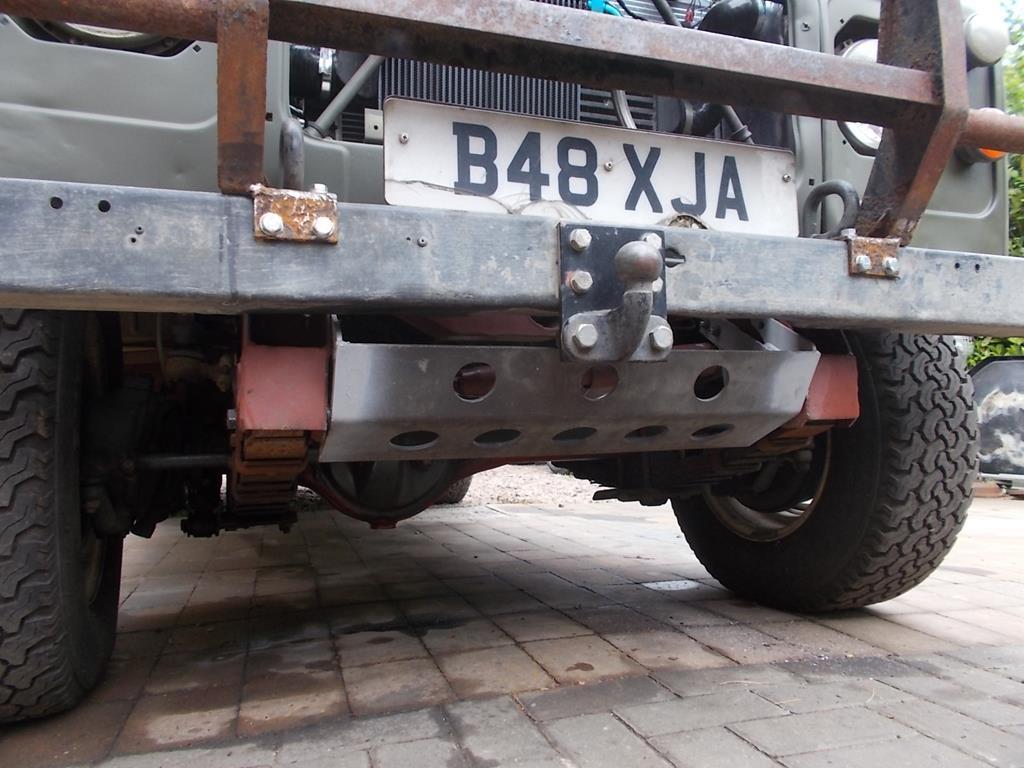 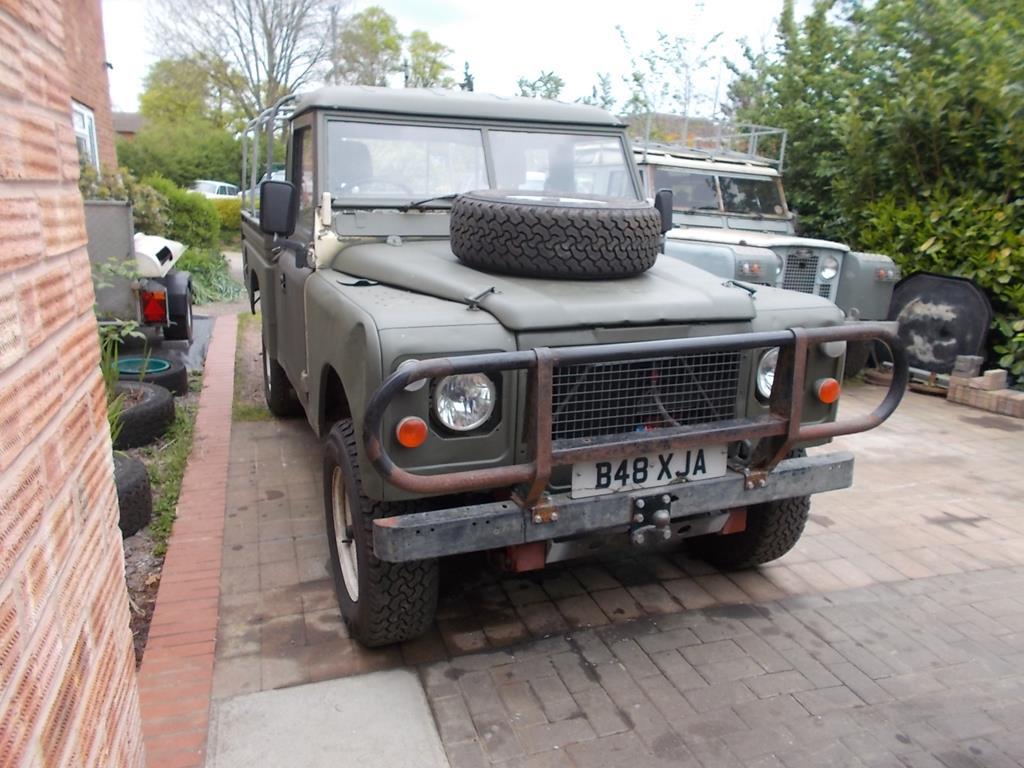 So with it all back together it's had some local trips to check the cooling which has so far been successful with a noticeable drop in running temps and rise in oil pressure. But, it's magically developed a heavy vibration, seemingly from the rear. First suspect was the rear propshaft so I've blown a wadge of cash on a new custom rear propshaft so there's no 2" propshaft spacer on the back anymore. Should be more than upto whatever I could throw at it  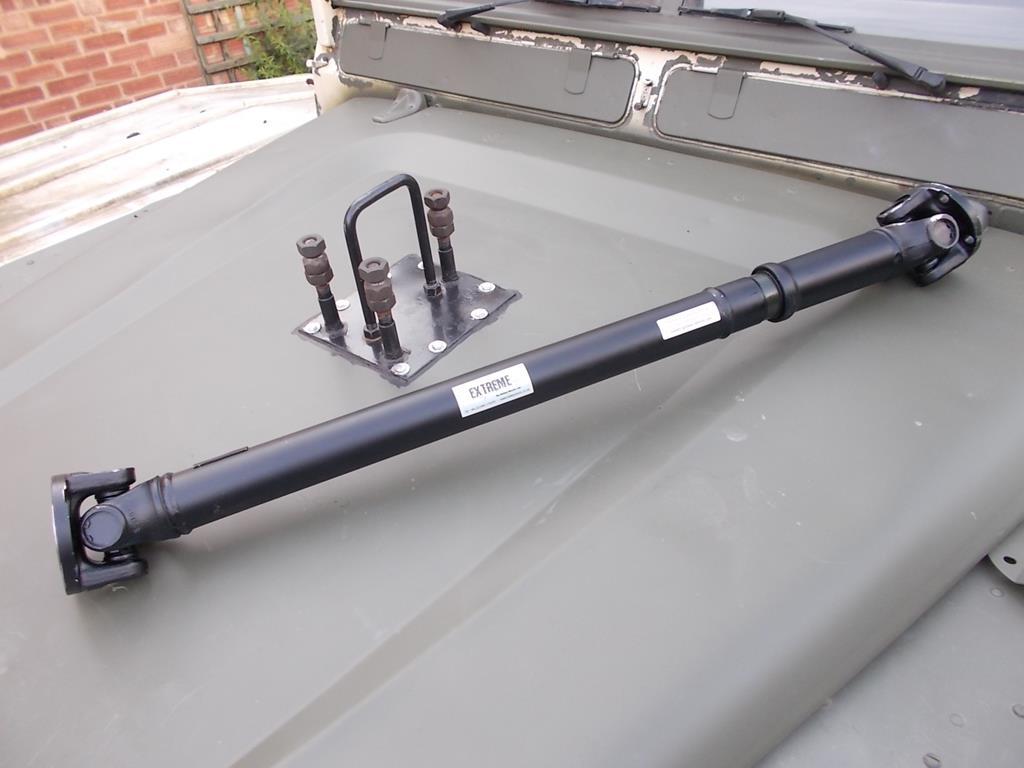 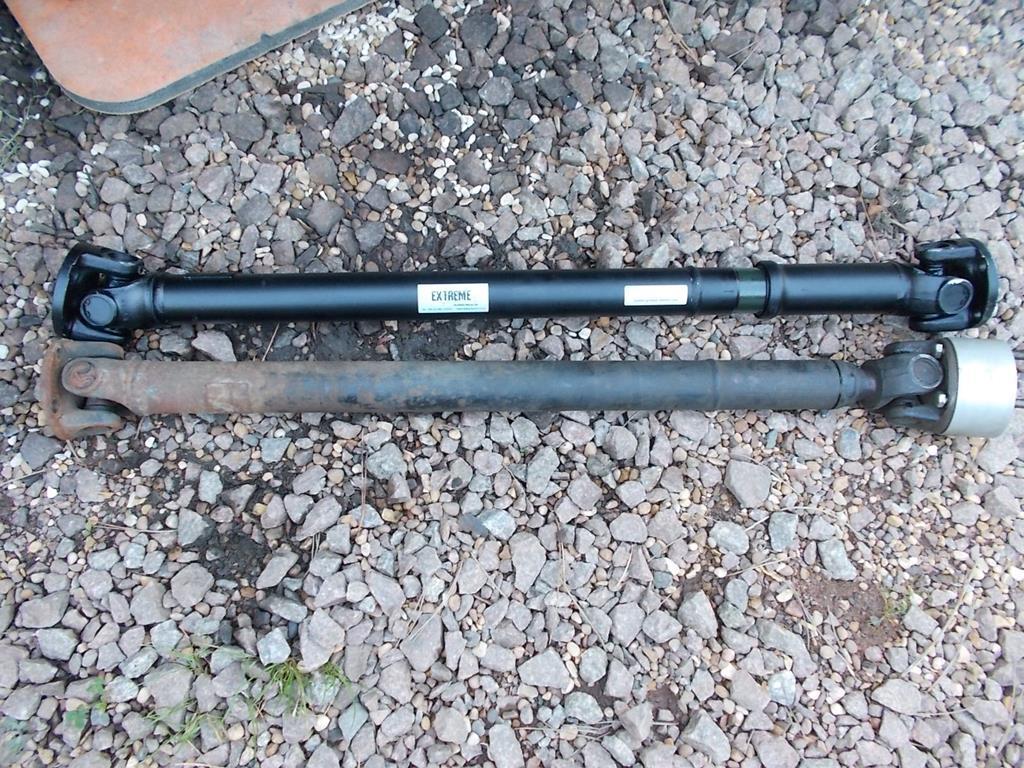 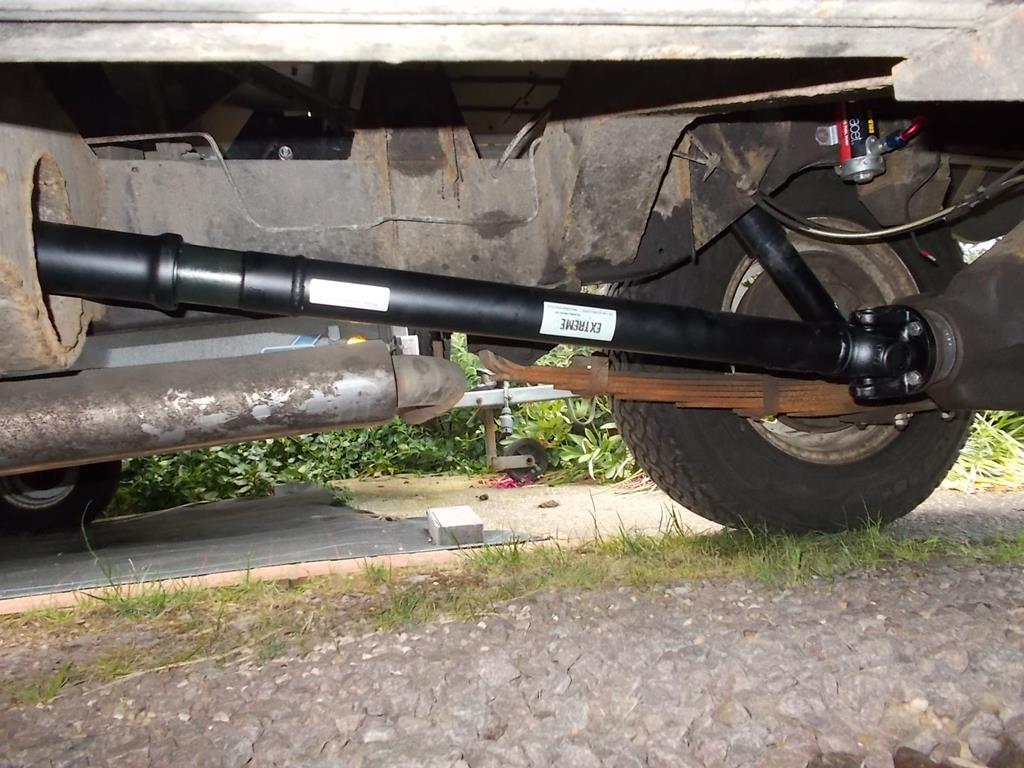 Fitted spot on but still a vibration. On fitting the rear propshaft it was evident how out of line the axle was to the transmission, so I ordered a set of 3 degree castor wedges and set about removing and stripping the rear springs. The spring packs were pulled apart, and it was decided to bolt the castor wedges into the spring packs so new caphead bolts were ordered to replace the old peg bolts. 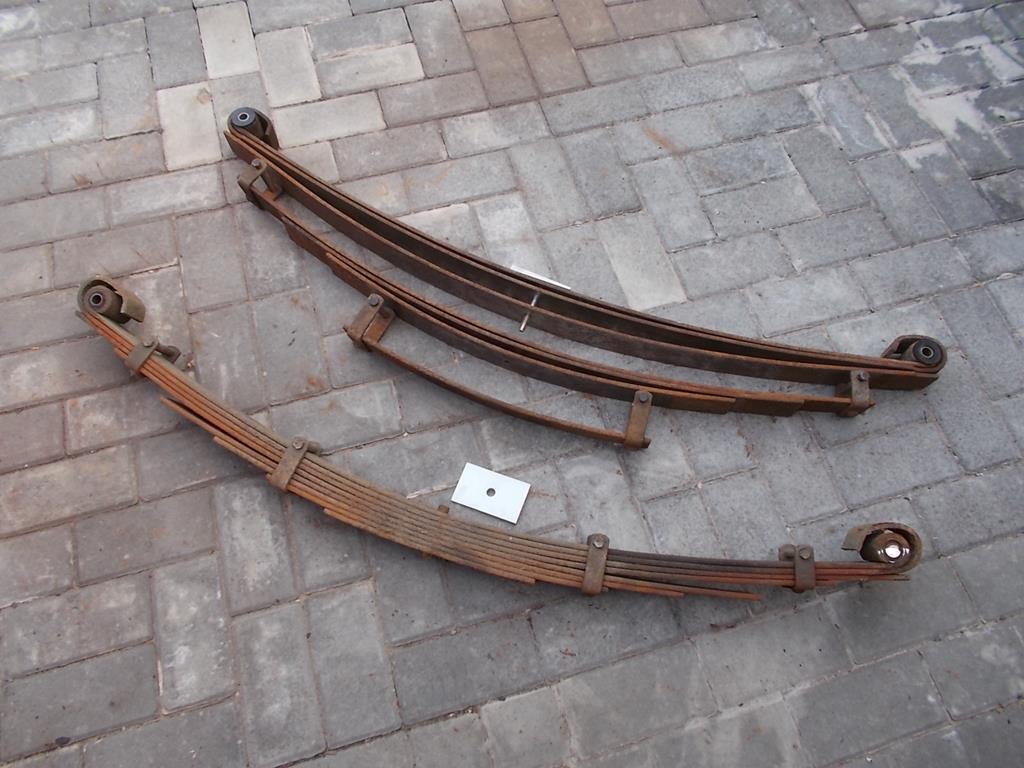 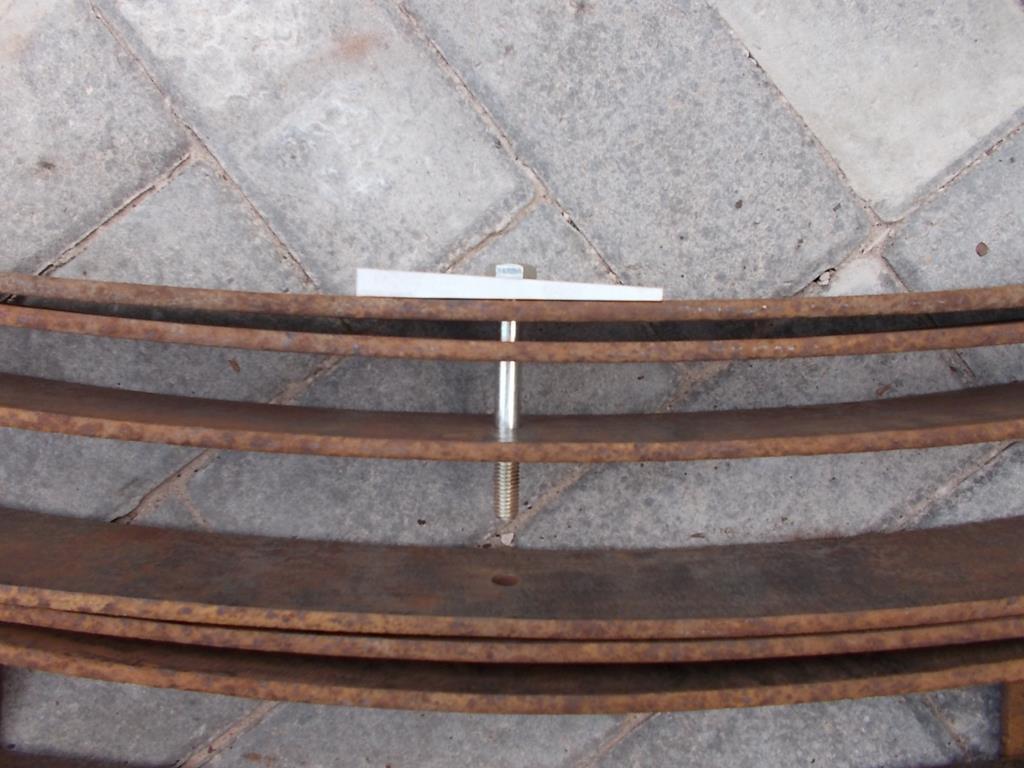 Springs de-rusted, greased, assembled and being fitted with polybushes 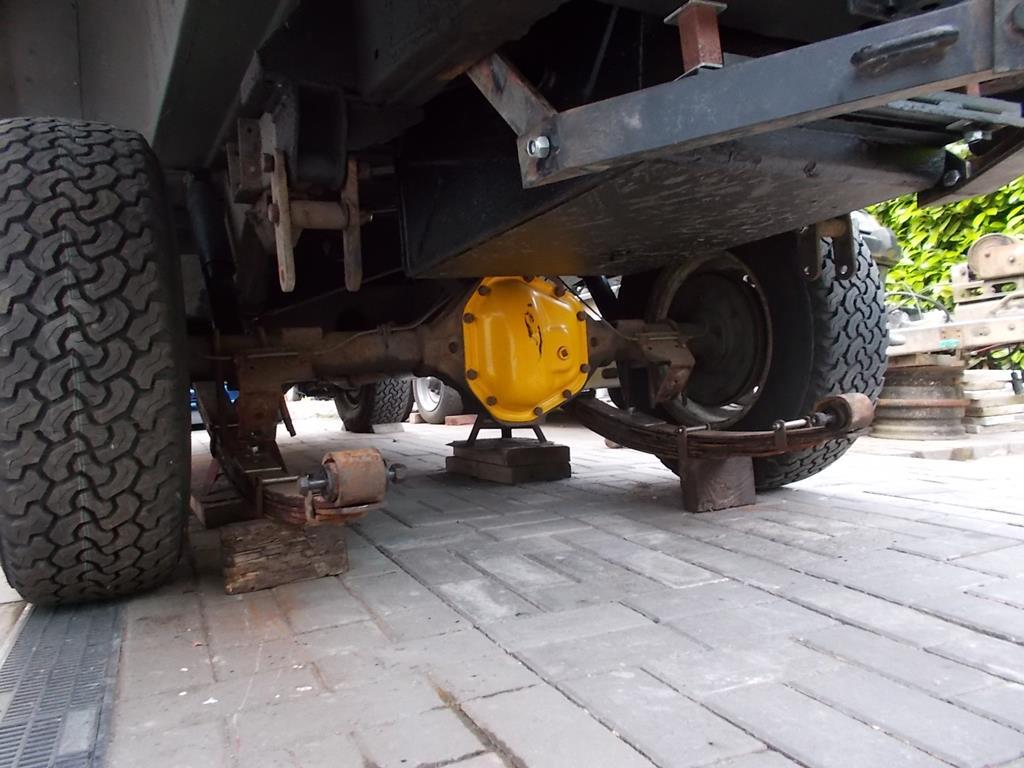 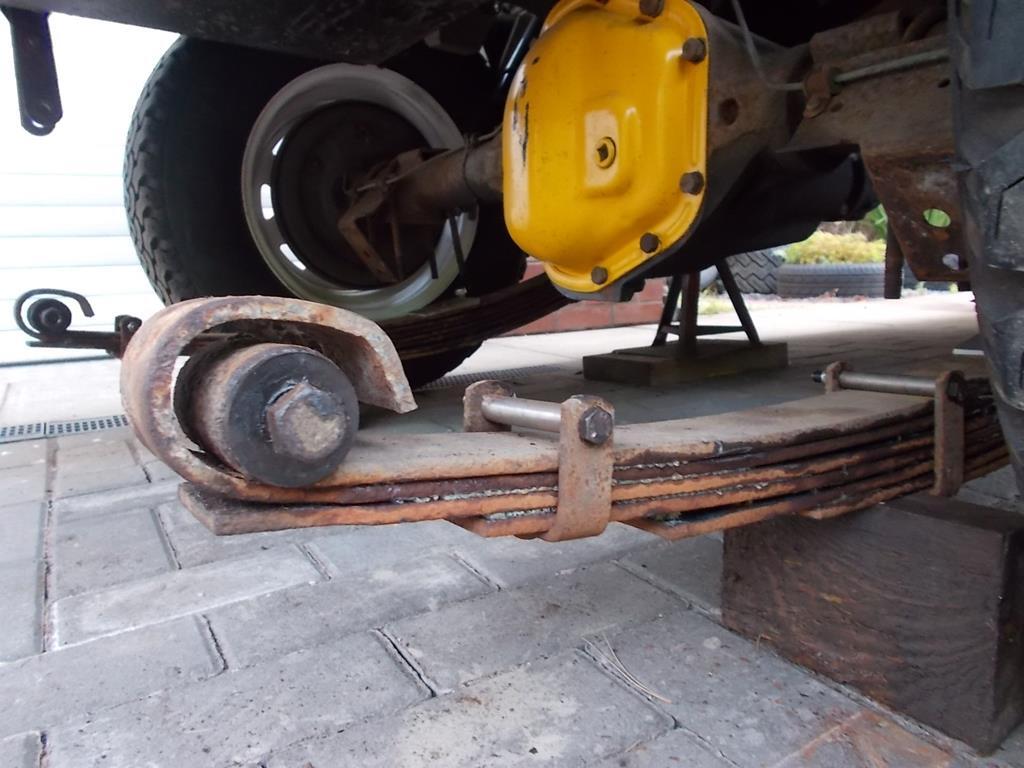 Now the rear propshaft sits at a gentle angle, and the angles measured giving the axle and transmission drive flanges to be within 0.2 degrees of eachother! 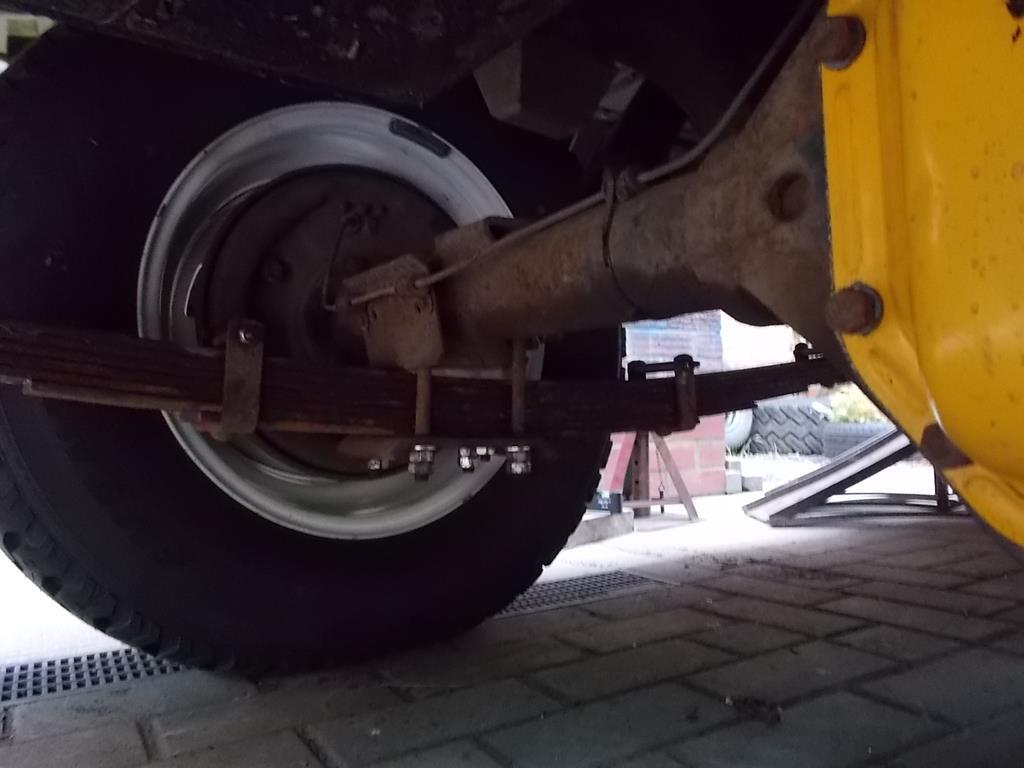 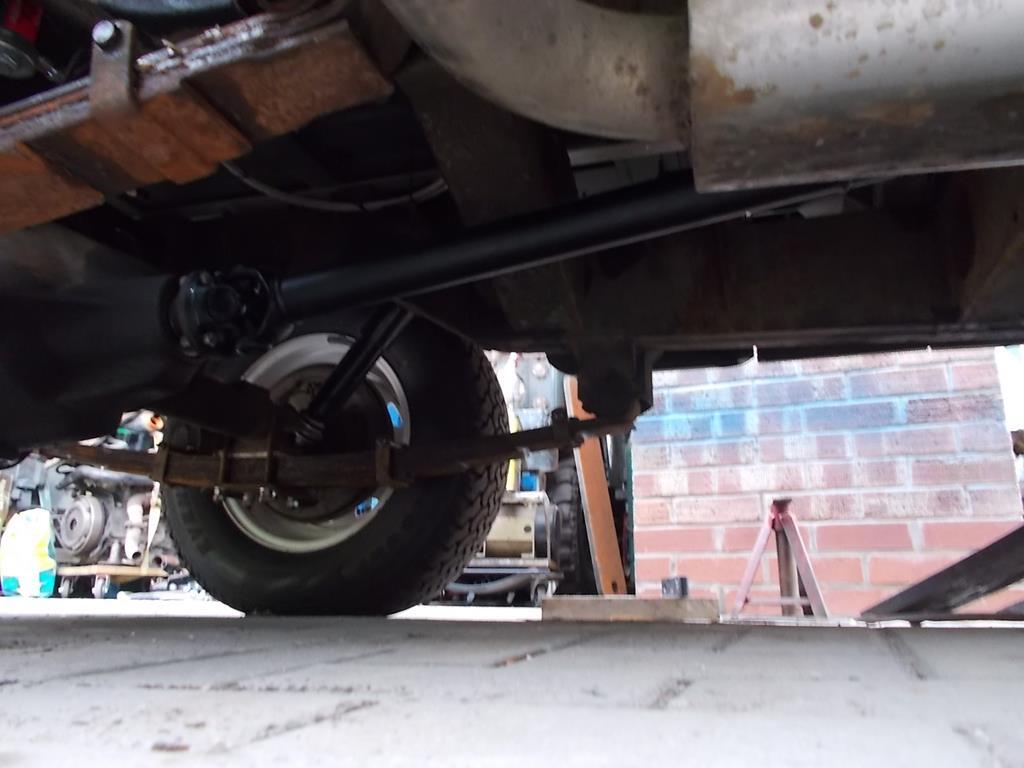 Test drive, and still a vibration, though all of the transmission grumbling on light throttle and overrun has all gone. It no longer sounds like the transmission is imminently about to grenade itself! Soon followed was a test drive with the front propshaft removed, no change, then I swapped all of the wheels for a spare set. Vibration gone! Went to a local show on the weekend, and it was a nice drive finally with just the engine beating away and some transmission and tyre whine. Oil pressure remained good at hot idle and water temps remained steady. 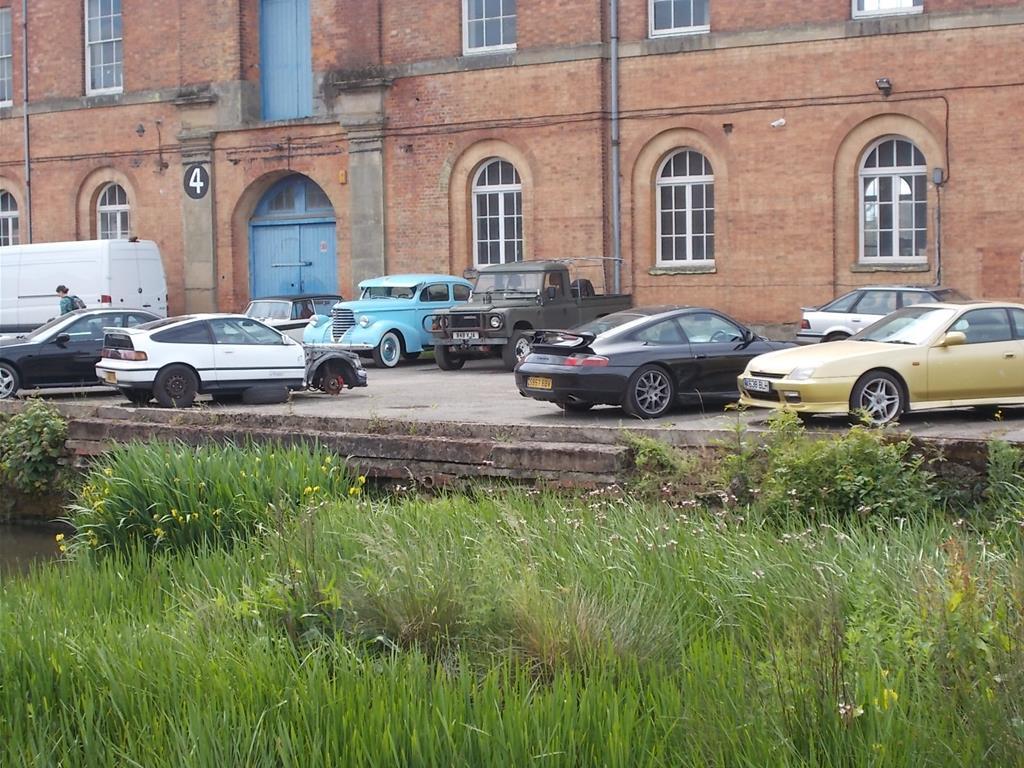 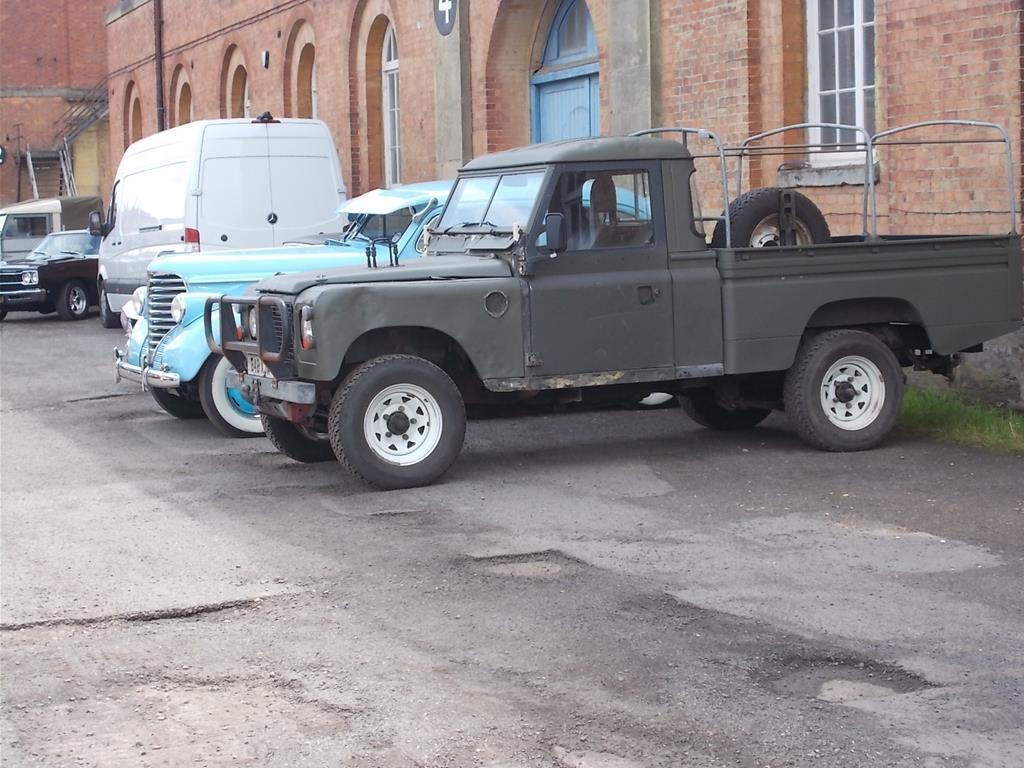 Got home and noticed a little drip under the front axle. Went for a closer look and found it was visibly dripping EP90. curse word. So the 109 is sat up on ramps waiting for the diff to be removed for a new axle gasket, and a new drive flange and seal has arrived to replace the pitted and worn old drive flange. Now if it would only stop raining..... |
| |
|
|
|
|
|
|
|
|
My neighbour told me that Land Rovers are less of a motoring experience and more of a hobby.
|
| |
|
|
|
|
|
|
|
|
Very true; and You either love them or hate them.
Interesting conversion and great skills on display here!
Daan
|
| |
|
|
jamesd1972
Club Retro Rides Member
Posts: 2,921  Club RR Member Number: 40
|
|
|
|
|
That CRX looks like its getting some major car-meet attention !
Quick question if I may - what bolts did you use to re-build the springs ? Ours are bad but have a spare set of rears we could strip and re-build which might make a massive difference to things. Also you get to go through all the bushes which in these happy MOT free days is never a bad thing.
Nice to see some happy trundling about, didn't you have a spare 1 tonne axle you could shove in at the front and do the diff seals etc at the same time?
James
|
| |
|
|
|
|
 I've got some work to do that was hoping wouldn't require attention until the summer.... Oh well haha!


