|
|
|
|
|
Kieranv, Thank you it has been a long hill to get this far and still loads to do yet. In saying that I hauled out the engine and diff tonight as it was basically placed in the car upto now so I had more space in the garage. Well time to remove it so i can finish welding up the frame proper. After thats done i will sort out the driveshafts. The frame will be in with only the diff in place which will give me more space to work with hopefully. Anyway this is how it looks out and with the framework by itself in the car . 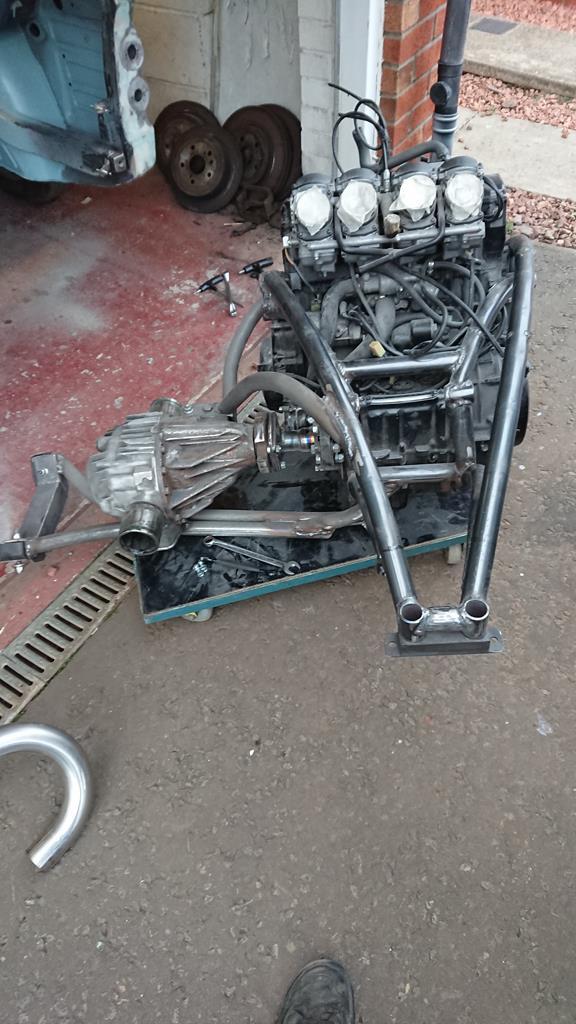 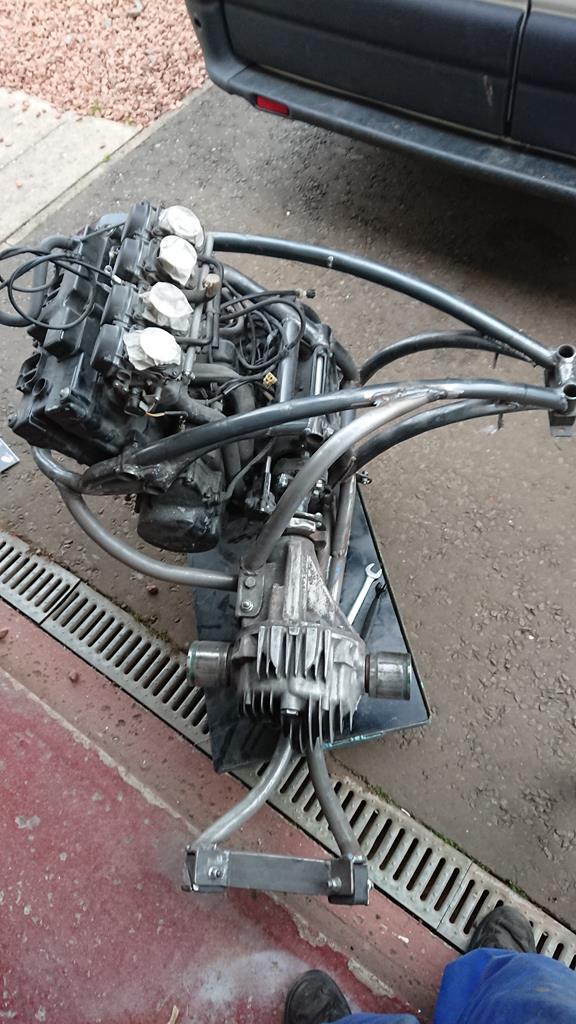 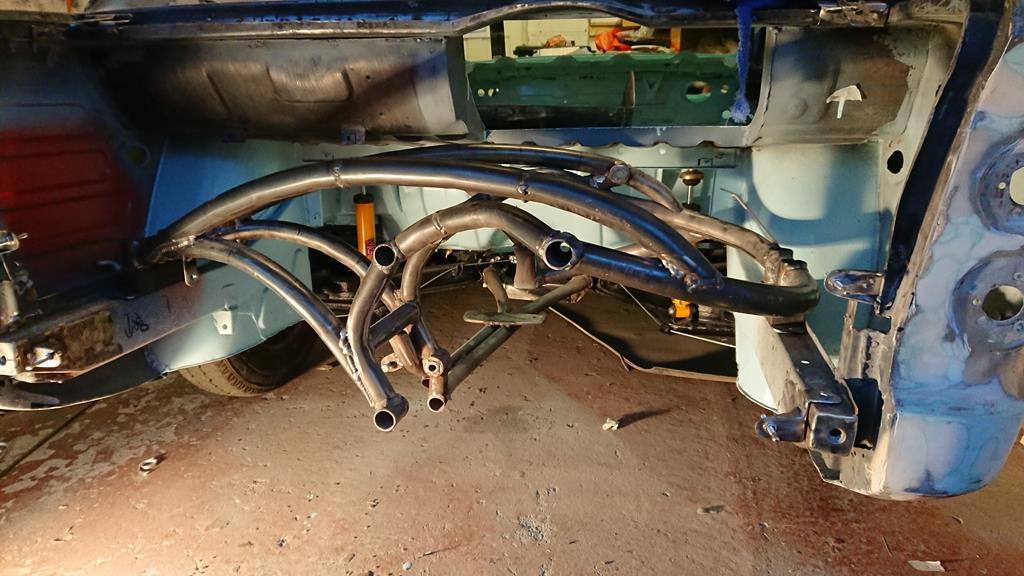 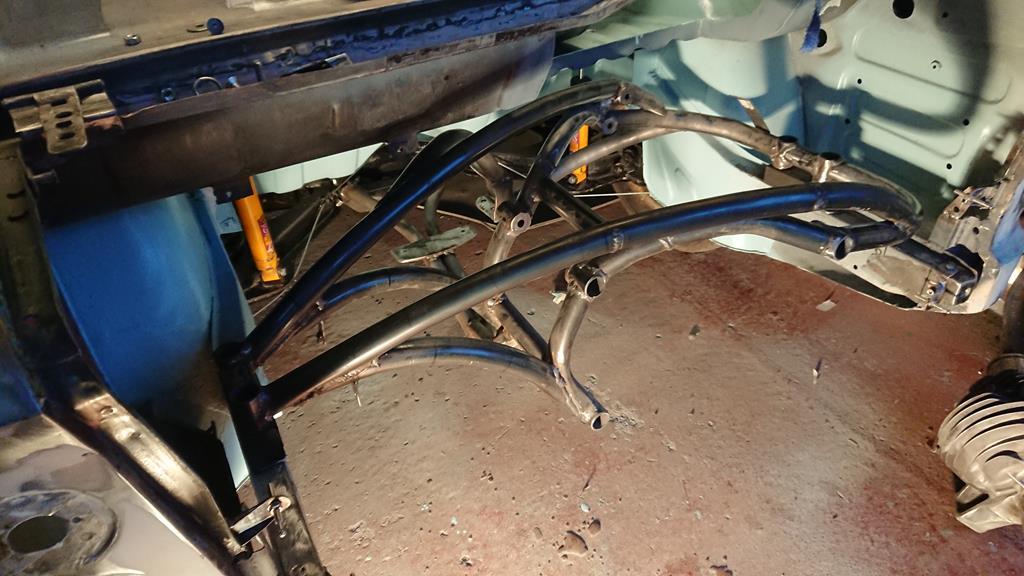 Cheers Col |
| |
Last Edit: Aug 5, 2018 20:24:55 GMT by colimp66
|
|
|
|
|
|
|
|
|
No photo  EDIT Never-mind. Must have been my connection. The pipe bender really makes a nicer frame than the square tube. |
| |
Last Edit: Aug 5, 2018 20:26:50 GMT by Deleted
|
|
|
|
|
|
|
|
Oops,there is now.
Cheers
Col
|
| |
|
|
|
|
|
Aug 11, 2018 21:10:31 GMT
|
This week i managed to weld up the engine framework fully then refit it with just the diff so u can check out the driveshafts. The plan is to fit the ujs onto the shafts after checking the arc of the suspension then weld the end up. Here is the position of the driveshafts so far. 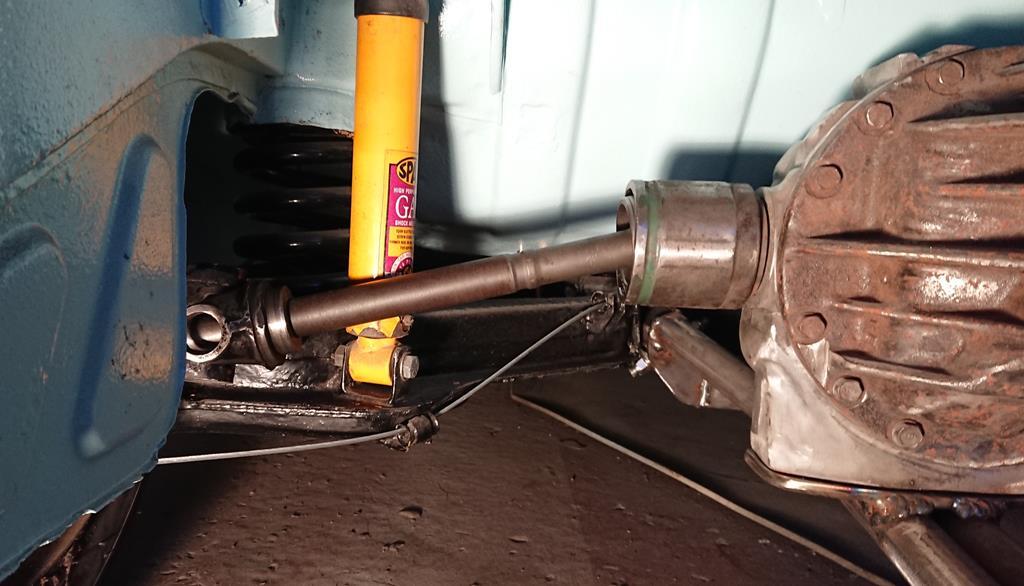 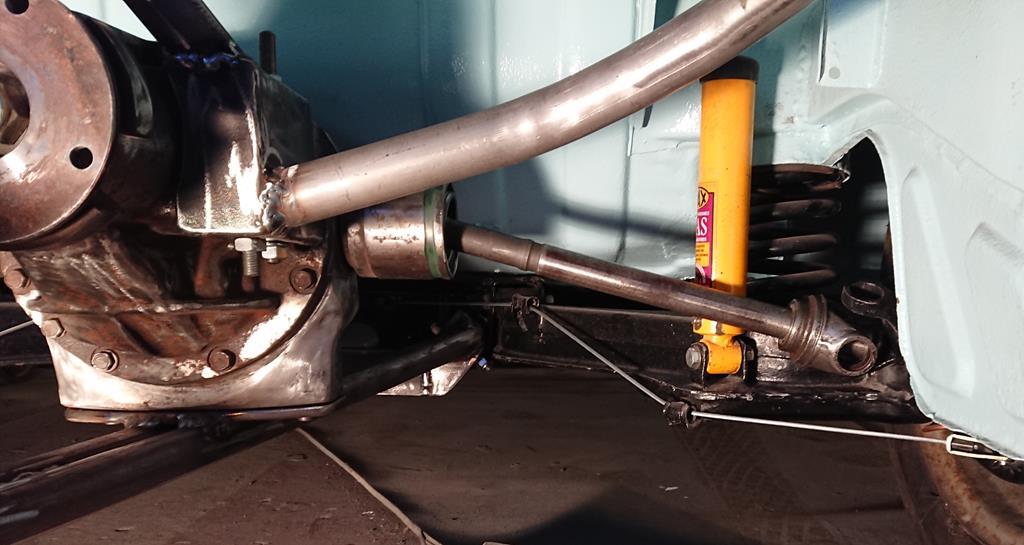 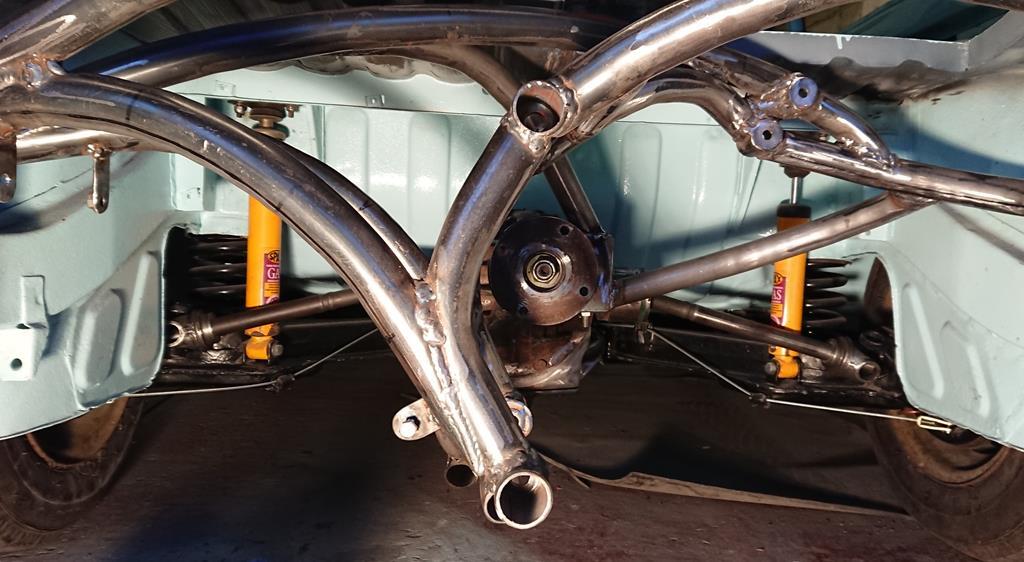 Cheers Col |
| |
|
|
|
|
|
Feb 21, 2019 13:25:54 GMT
|
So not had an update for ages as been messing around with the Blackbird engine which has become a bit of a disappointment and a pain which I am now over. The first of me really having a good look at it since I got it was before Christmas and a shocker is an understatement when I removed the head. Long and short of it is it is knackered so new pistons, crank assembly and casings were purchased to sort it out. The previous owner obviously never kept it in a dry shed or garage and water had gotten in through the carbs and open valves destroying the bores of number 3/4 cylinders seizing the rings into the pistons as well. There was me trusting the PO of the engine that it would be fine. Lesson learning there. Nasty.. 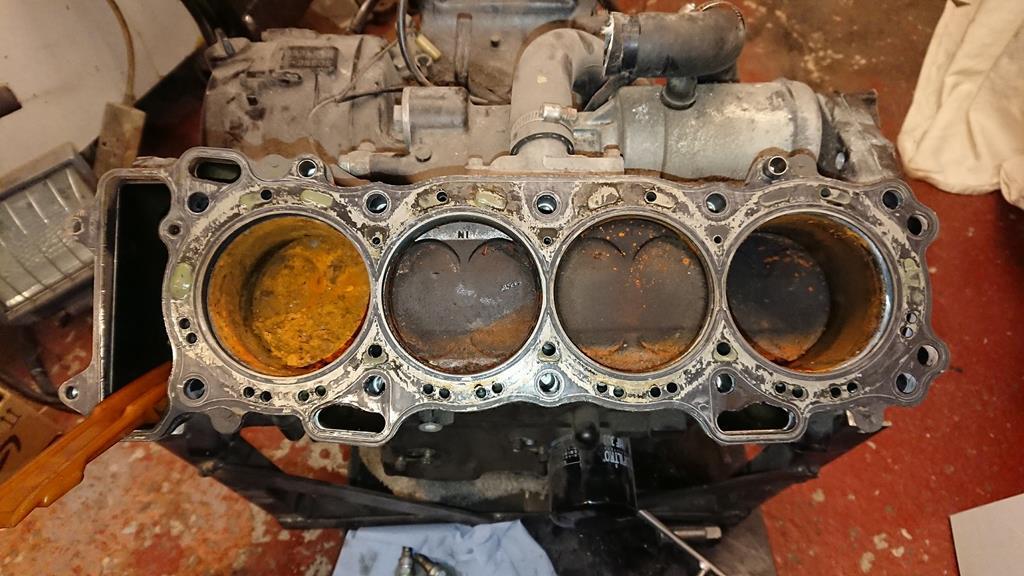 Seized rings in piston, all 4 more or less the same so scrap. 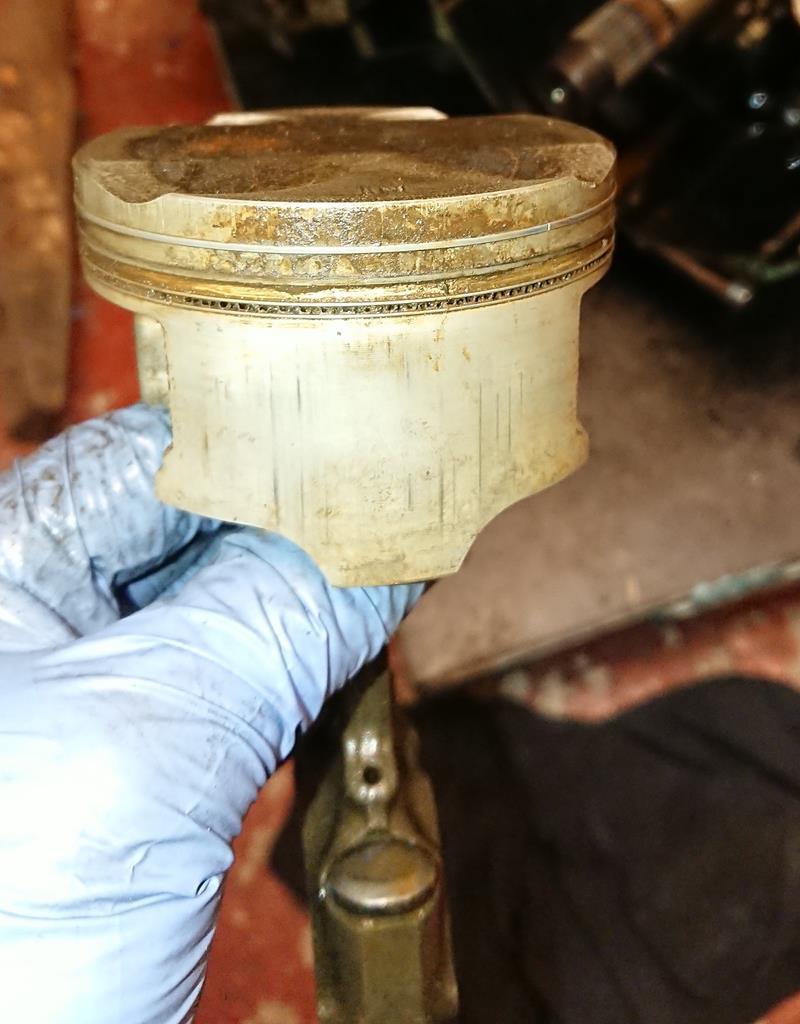 Parts were duly sourced then bought and now need putting back together. Whilst I await for gaskets and get some time to rebuild the motor I modified the crankcases so I can run it without the balancer shafts, seemingly a common mod for Blackbird engines in a car. 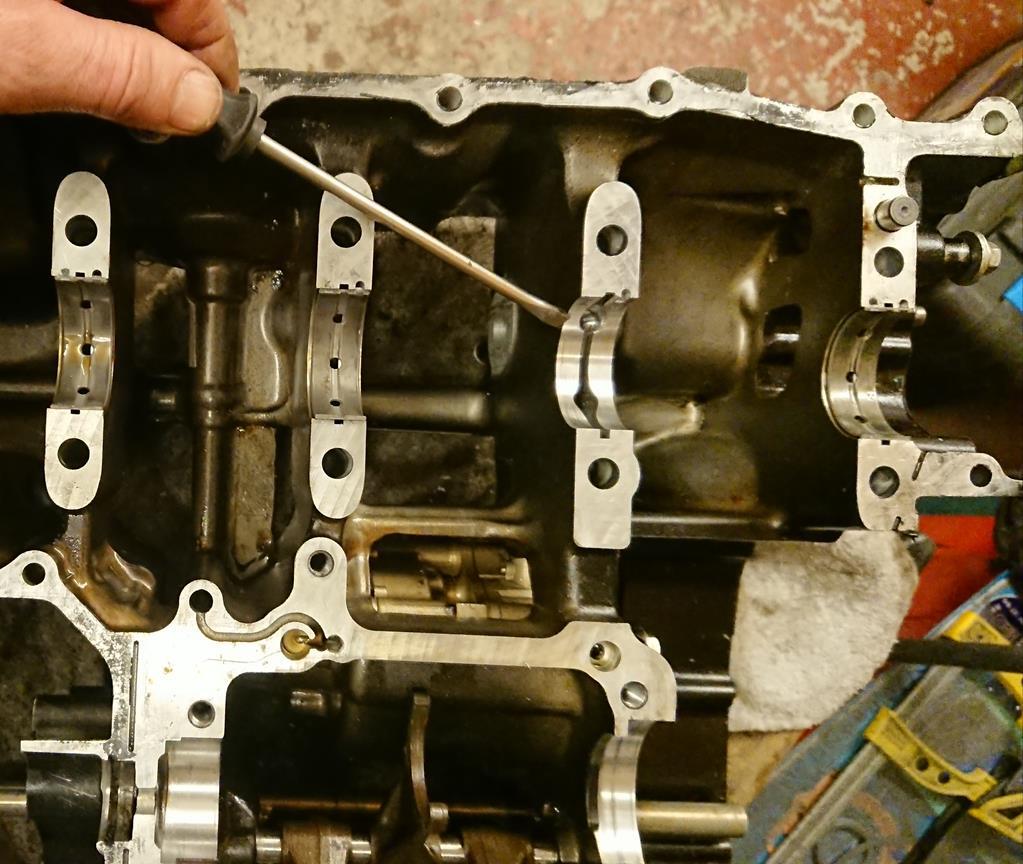 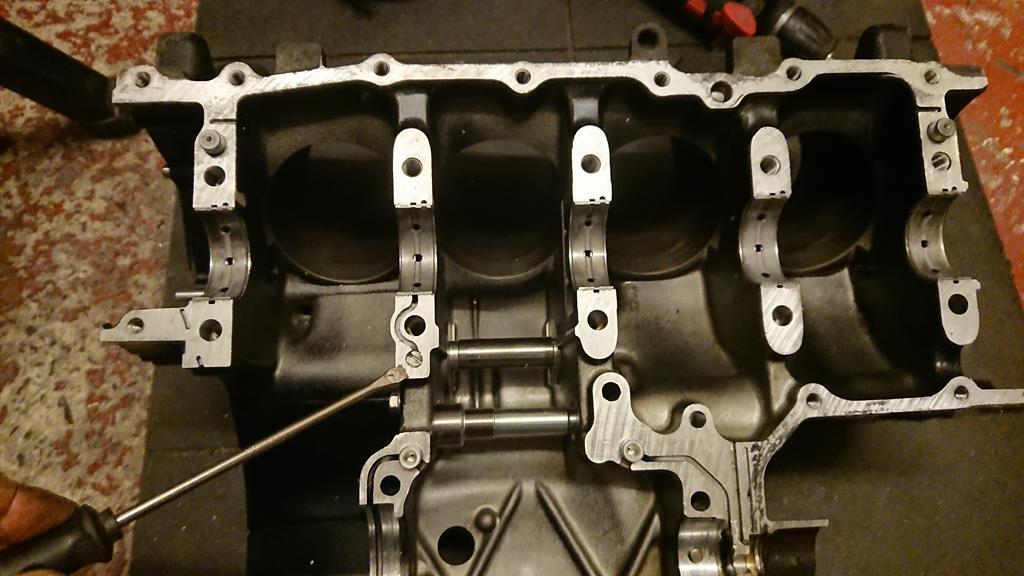 The cylinder head has been cleaned up, valves reground and new valve stem oil seals fitted so happy with that. This helped me sort out the design of an airbox to sit on the carbs and under the rear bulkhead/window area. Initially out of thick card then sheet alloy for a mate to weld up for me. In cardboard 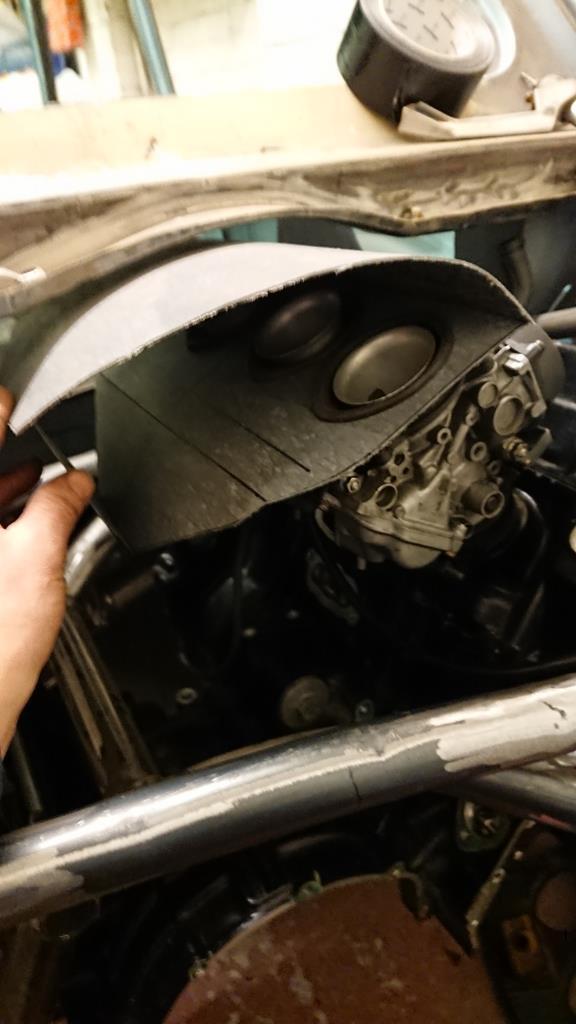 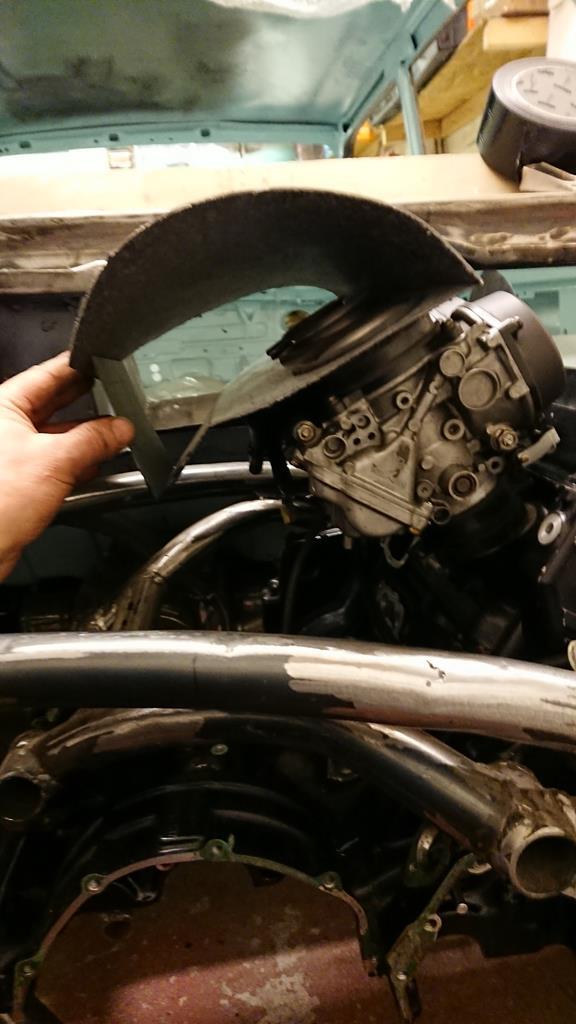 In alloy all tacked up. 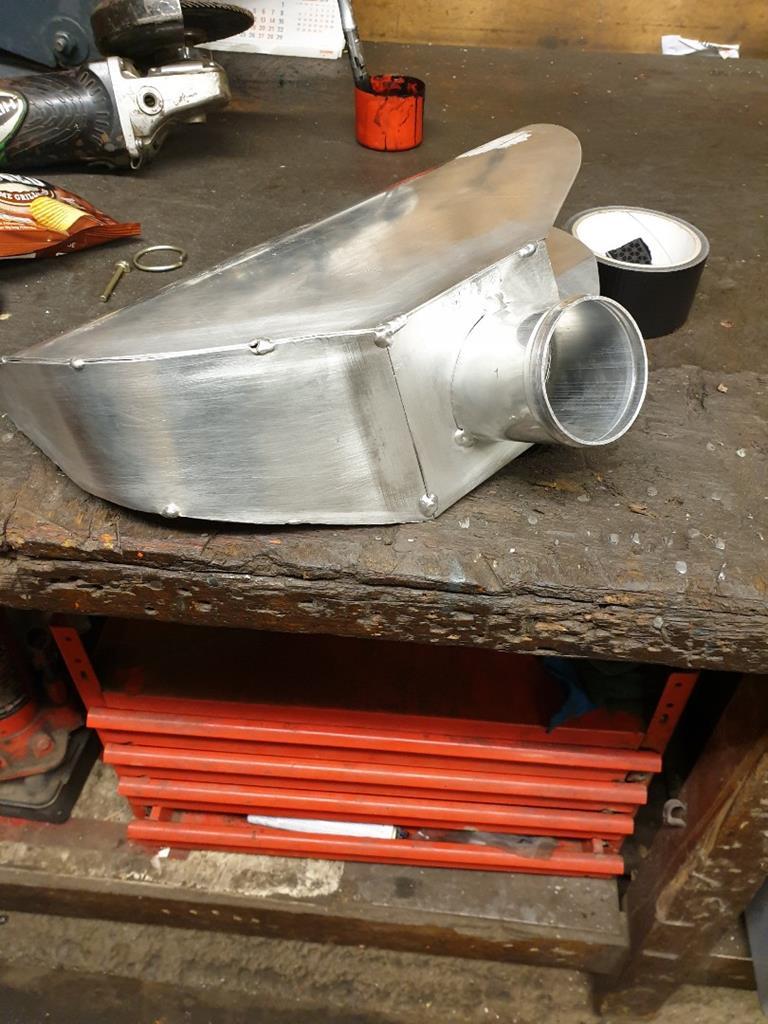 A battery tray was also needed as I had bought a Blackbird battery ages ago. 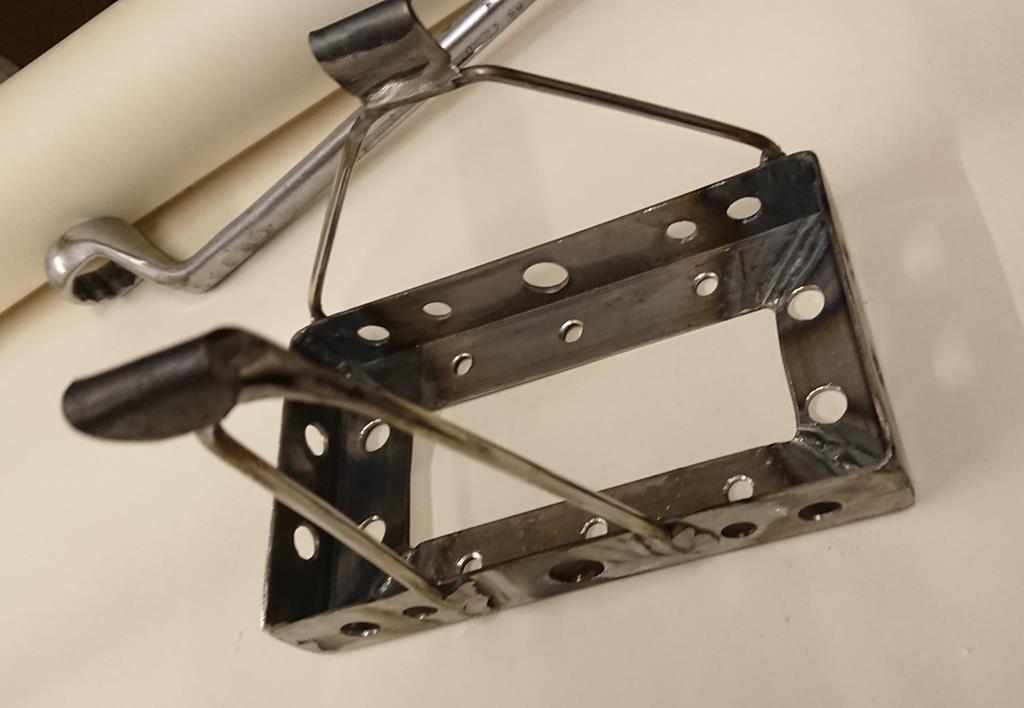 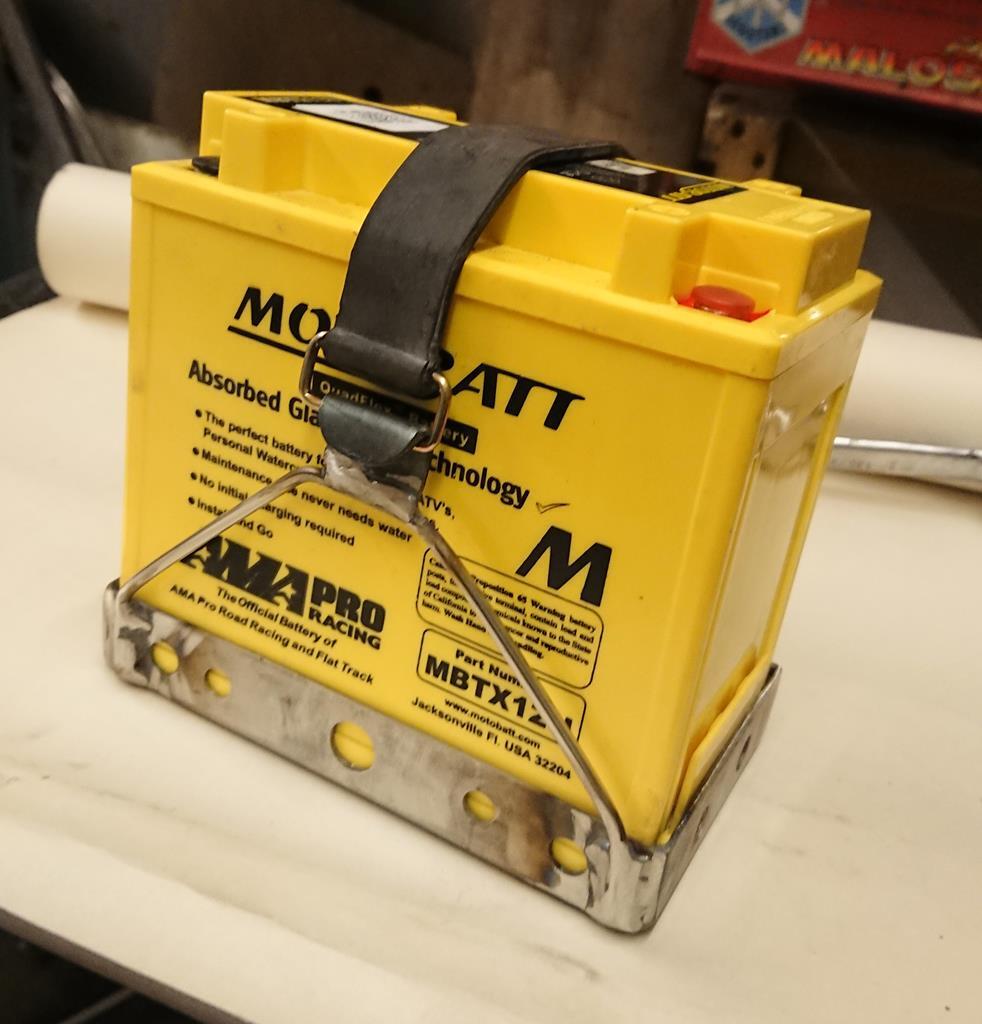 At the moment I am rubbing down filler on the bodywork to get ready for a bit of paint. Cheers Col. |
| |
|
|
|
|
|
Feb 21, 2019 15:13:25 GMT
|
|
Excellent. Bummer about the motor though.
Why do people remove the balance shafts?
|
| |
|
|
|
|
|
Feb 21, 2019 15:30:54 GMT
|
|
The balancer shafts are removed as they share an oilway with number three main bearing and when there's an oil surge it goes to the balancer and runs the main dry, seizing it. It doesn't affect the engine when it is in the bike due to the engine leaning with the bike in the corners which keep the oil where it is meant to be due to the centrifugal forces.
When the engine is in the car, baffle plates, Accusumps or dry sumps are often used to help prevent this from happening. I have a baffle plate going in when I rebuild the motor.
More often happens in track cars than road cars so I am led to believe.A bit more oil added to the engine also helps.
Cheers
Col.
|
| |
|
|
|
|
|
Feb 21, 2019 17:00:38 GMT
|
|
GREAT to see this ack.
One of my favorite builds.
Godawful way to steal a wad of hard earned off a man with that engine.
I know its late but would a replacement engine have cost much more than the rebuild?
|
| |
|
|
keyring
Part of things
 
Posts: 913
Club RR Member Number: 47
|
|
Feb 21, 2019 22:21:19 GMT
|
Glad to see another update mate! Heart breaking about the engine, it still amazes me that people can do it to someone and sleep at night, I bought a vitara blind while I was away for work for an engine donor last year on the promise it ran great and it was just the body rotten. Got it, drained the oil and it looked like a vanilla milk shake, pulled the head off and someone had already been at it, bolts weren’t torqued correctly, and the head was covered in scores from sandpaper  But anyway, look forward to seeing more progress! Do you have an expected time frame you want to have it out on the road by? |
| |
|
|
|
|
|
|
|
|
Quickrack1,
Sorry for taking a whilst to update this but it has been slow progress as other things take priority as I am self employed. The thought of buying another motor did cross my mind but I would still strip it to check it out so a full gasket set still has to be bought and I wanted to removed the balancer shafts anyway so that was always going to happen to the motor regardless of it's condition.
Now I know exactly what I have got and if it goes pear shaped it's my fault lol.
No final date for completion Keiran but I do intend to get it painted this year and if I finish it that's a bonus.
Cheers
Col.
|
| |
|
|
|
|
|
|
|
Aug 31, 2019 11:48:02 GMT
|
So been a whilst since an update, life and work getting in the way as it seems to always do. A little bit of fettling when I can and secured an area in a friends barn so I can put up a portable "spray booth" lets call it so I can get the Imp painted before winter sets in. The airbox has been fully welded and trial fitted with the air filter, the engine is going back together slowly after stripping and rebuilding the head lapping in valves, cleaning up the ports and fitting new valve stem oil seals. 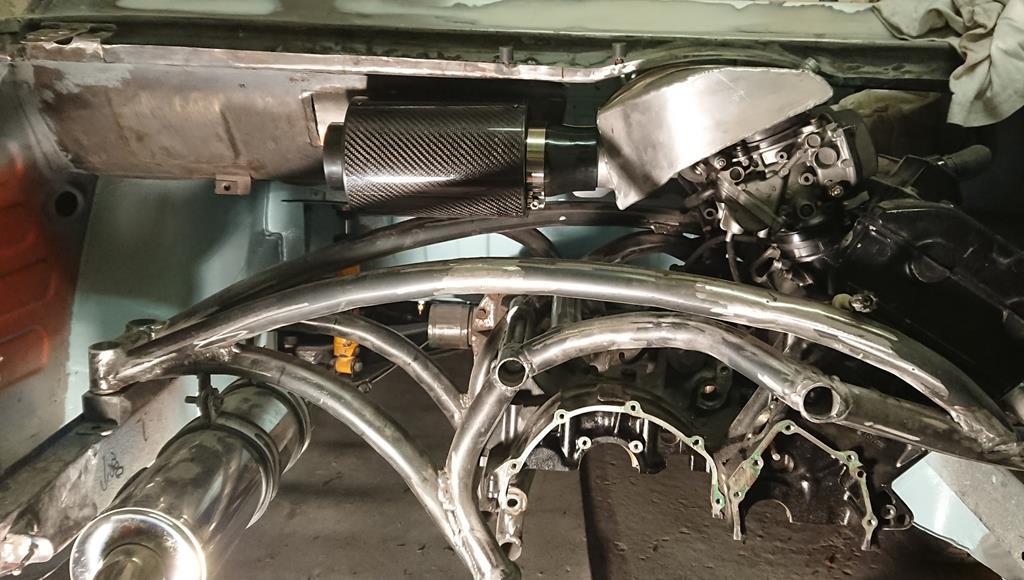 The framework for my makeshift spray booth , work in progress for this that I hope to make this weekend. 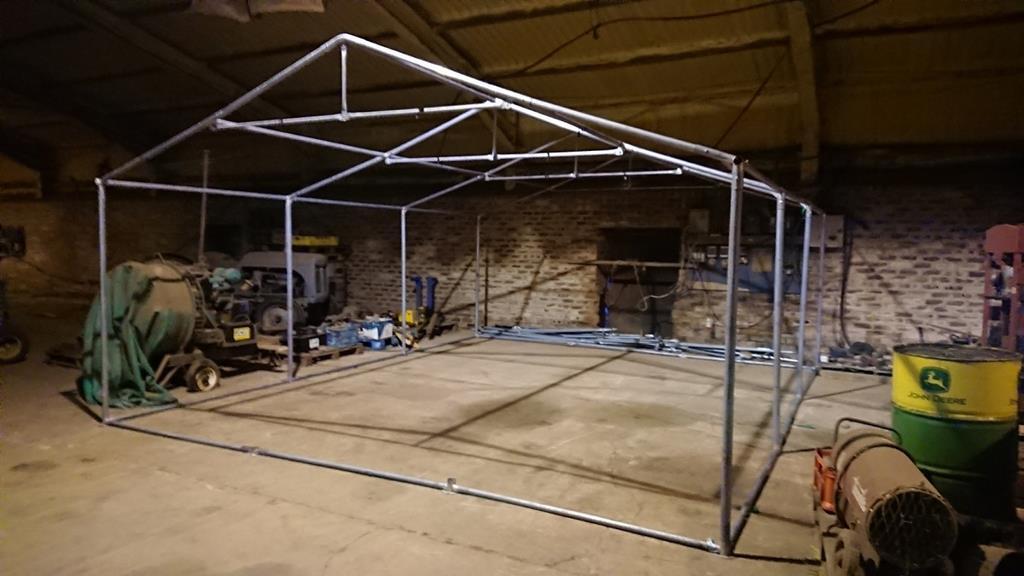 Cheers Col |
| |
|
|
|
|
|
Sept 4, 2019 11:39:00 GMT
|
My pop up spray booth wrapped and the floor painted white to help reflect the light and easy to sweep the floor. Filters on their way along with an extraction fan. 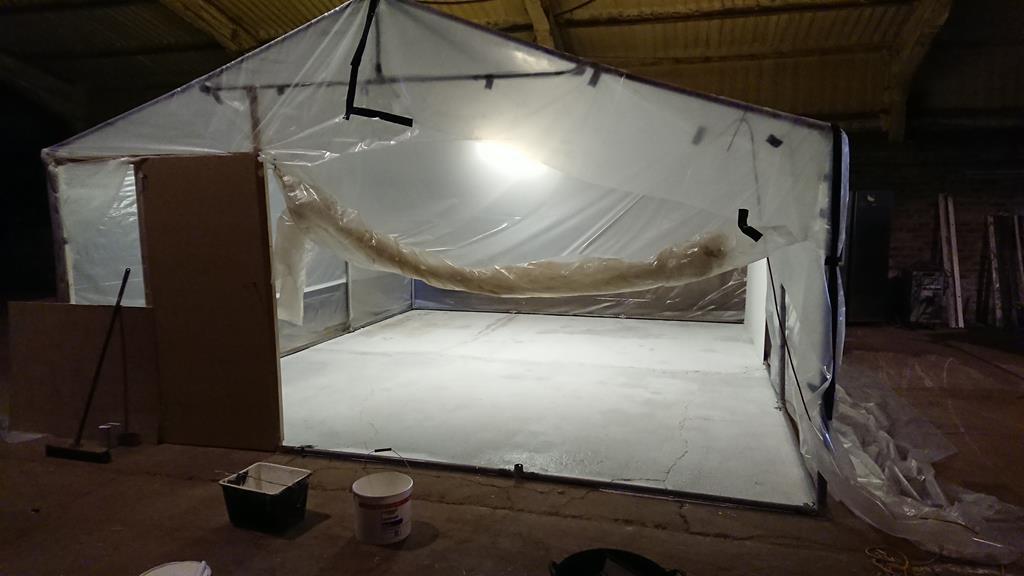 Oil cooler in position now and got a contact for extending the hoses once the full engine is back in. 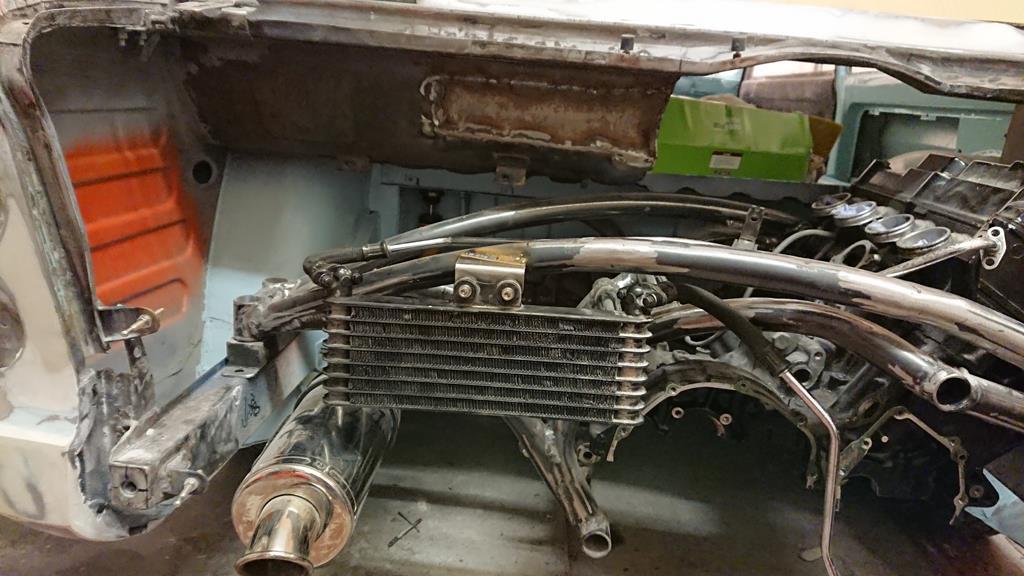 Yeh, I know it a bit close to the silencer but it will have fresh cool air flowing through it as there is very little behind it and of course I can always duct air that way if there is a problem. Cheers Col. |
| |
Last Edit: Sept 4, 2019 11:46:56 GMT by colimp66
|
|
|
|
|
Sept 4, 2019 12:40:16 GMT
|
|
What an incredible build! Engine cradle looks amazing...
what is the L/R weight balance like with the engine canted over to one side like that, is it similar to the car as standard? Are you compensating in any way? I love Imps but don't have a clue about tuning them.
Maybe some ducting or heat shielding around that oil cooler would be a clever move?
|
| |
|
|
|
|
|
Sept 4, 2019 13:31:50 GMT
|
|
Cheers Shalmaneser,
The engine is in a very similar position to the original and weighs pretty much the same so shouldn't upset the handling if at all I am hoping.
A heat shield with ducting would be a simple solution for the oil cooler.
Cheers
Col.
|
| |
Last Edit: Sept 4, 2019 13:32:07 GMT by colimp66
|
|
|
|
|
Sept 10, 2019 22:05:26 GMT
|
A bit more done on my pop up spray booth yesterday with fitting the filters and the extraction fan. Managed to take most of the day surprisingly but happy enough with the end result. These are where extraction of the excess paint fumes will exit. 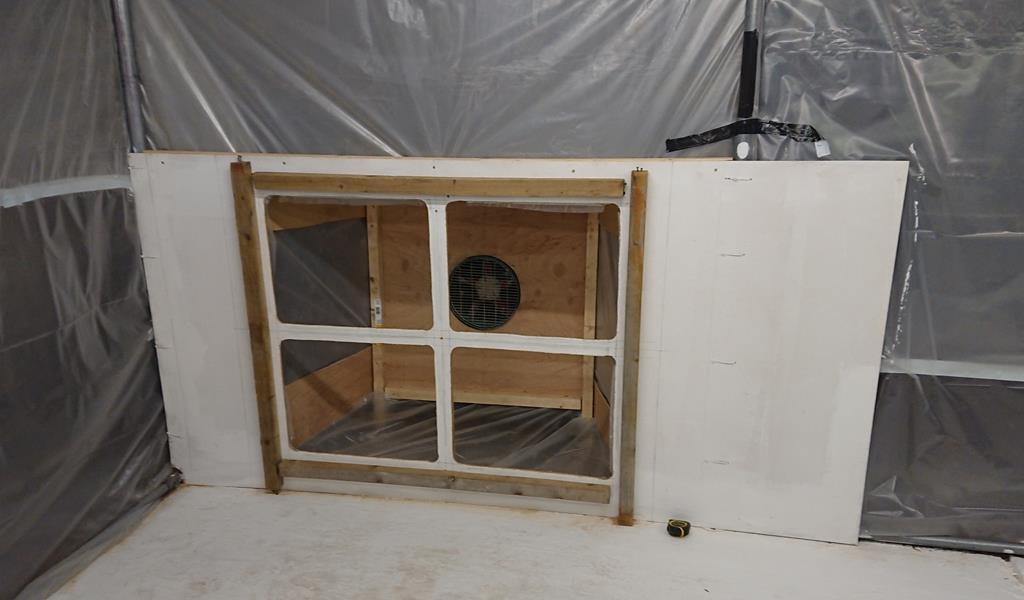 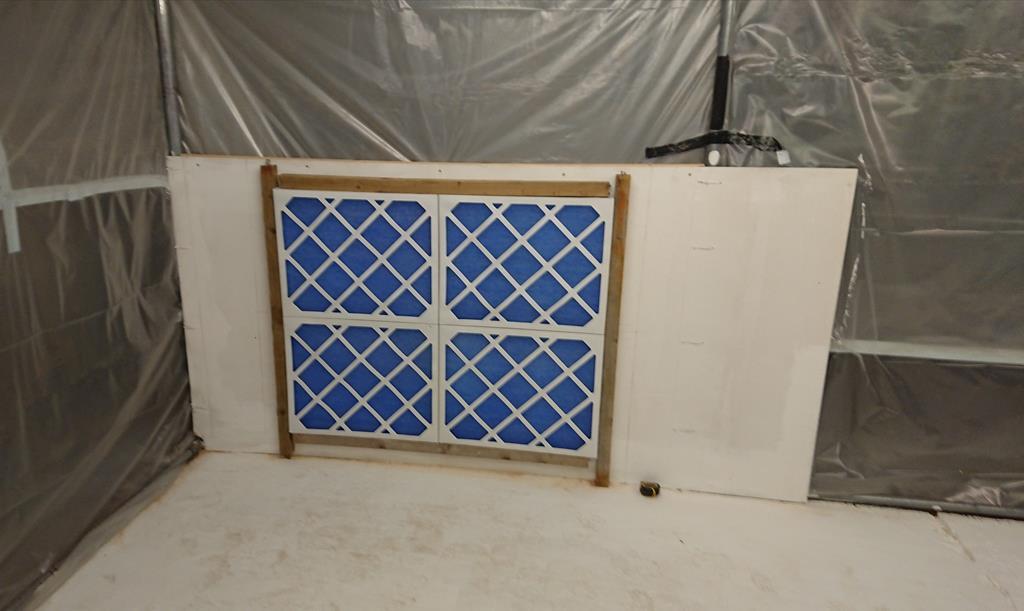 I take of fresh air is from here. 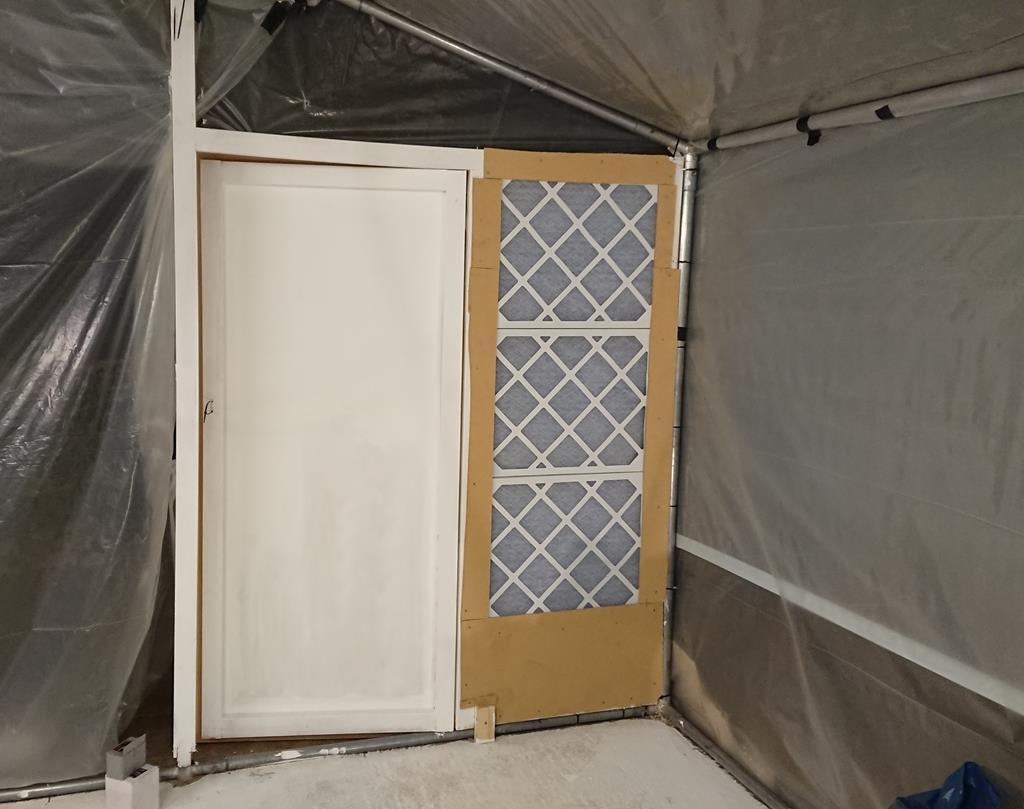 Just by the doorway. So glad it's an Imp I am doing rather than a Morgan as my joinery skills are shocking. Cheers Col |
| |
|
|
|
|
|
|
|
The Pest was on the move this weekend to its new home for a month or two to return looking all shiny with a fresh paint job. The pop spray booth is more or less ready for the job too so my Imp is now there awaiting final fettling before paint is added. On the trailer and being towed by the same friend that picked it up for me over ten years ago. 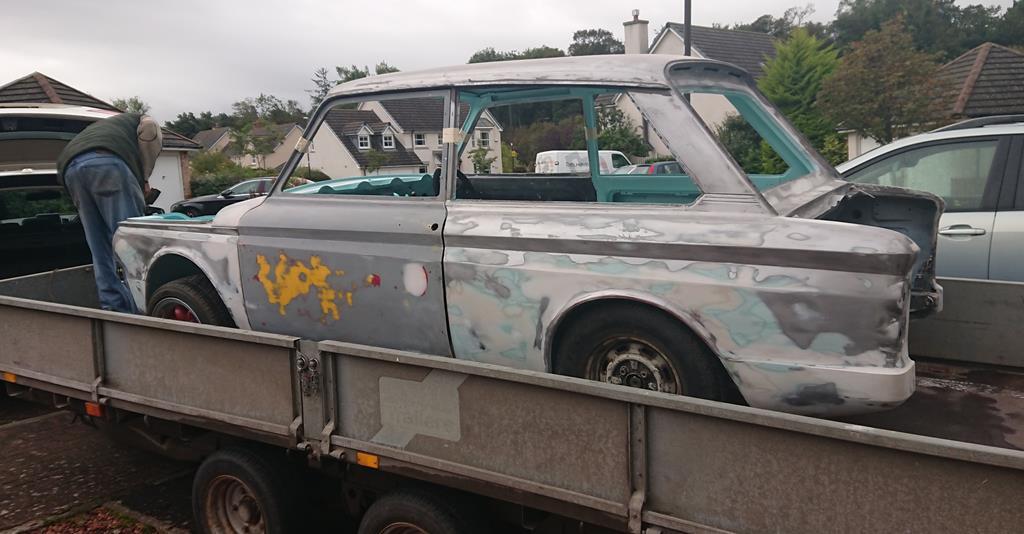 In its new home. 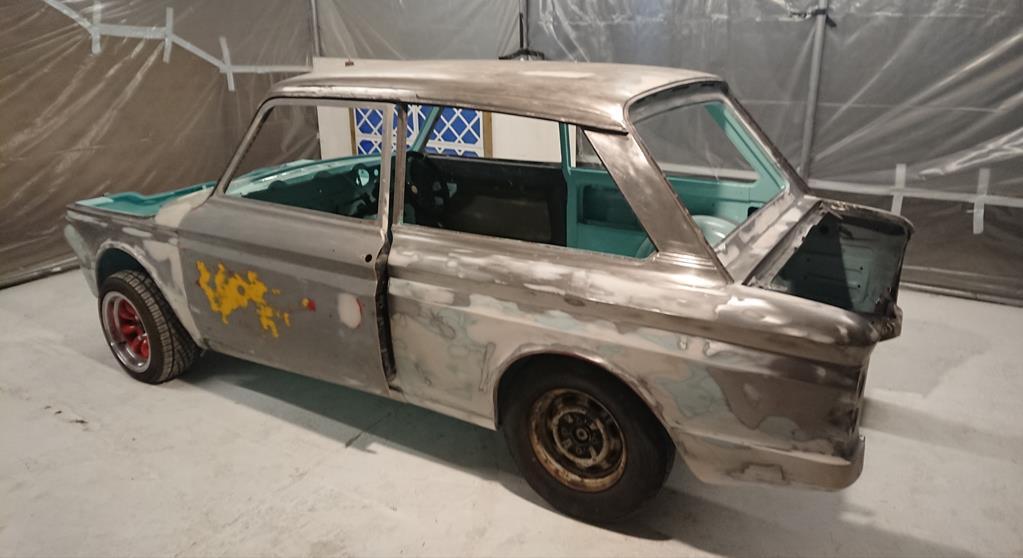 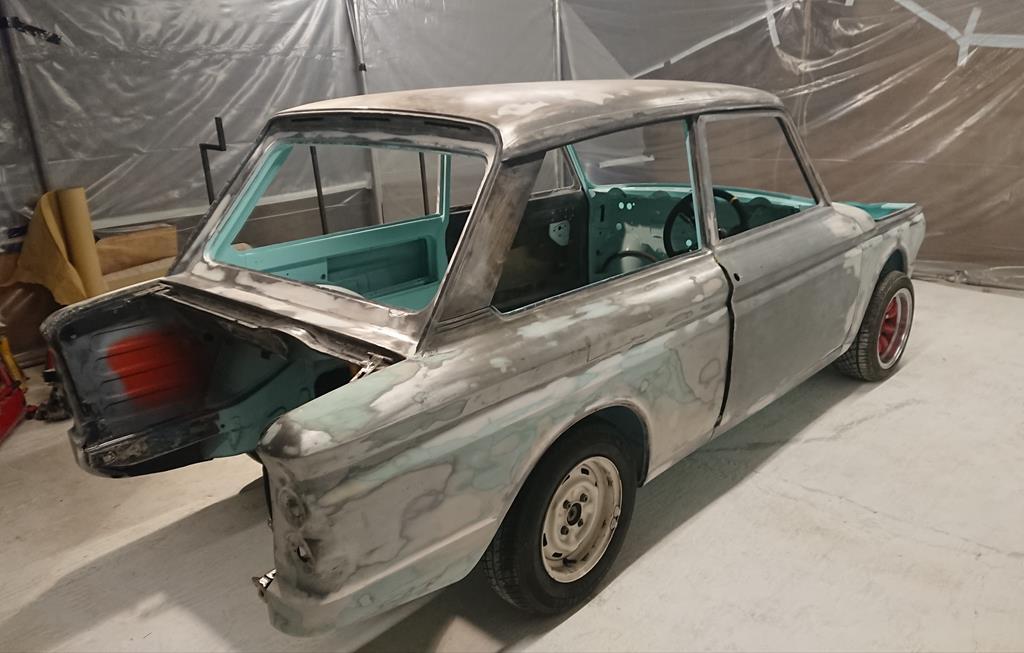 Cheers Col |
| |
|
|
|
|
|
|
|
Looking forward to this.  |
| |
|
|
|
|
|
|
|
|
It seams everyone is going pale blue I think Grumpy has started something with my Corsair?
|
| |
|
|
|
|
|
|
|
|
|
Me too  been a long time coming getting it to this stage for me. Cheers Col. |
| |
|
|
|
|


 been a long time coming getting it to this stage for me.