|
|
Feb 11, 2013 19:48:46 GMT |
Okay shortly after posting my last post the seller of the LPG kit emailed me the tracking number for the parcel.
Timestamp............. Description 07/02/2013 13:47:00.. Collection Requested 08/02/2013 04:13:00.. Collection Scheduled 08/02/2013 13:34:00.. Collected 09/02/2013 13:09:00.. In Transit
So it should be here sometime this week.
|
|
|
|
|
|
|
Feb 12, 2013 13:49:49 GMT |
According to the courier the parcel containing the LPG kit should be here from the 13th to 15th . So I wasn't feeling well and meds weren't working, so I thought it would be okay to sleep in a little. Boy was I wrong!! The parcel was half sticking out of one of the re-cycle bins, so if anyone looked around the corner they could have seen this and possibly stolen the parcel!! If some delivery drivers had a brain cell it would surely die of loneliness!!  A bit of packing cardboard   Here is the vaporiser for the kit!! I swear that the Zavoli kit which I have taken off the neon which was for the 4 cylinder engine was at least twice the size of this thing!  And some of the details of the LPG management unit. I have emailed the manufacturer with all the details to ask for a copy of the correct installation manual saying "it is original to the car I just purchased and it looks like someone has had a go at it and I wish to reinstate it to full use!"Yes I know it's not totally true but the kit was originally fitted to a BMW. 
|
|
|
|
|
|
Feb 13, 2013 13:30:26 GMT |
I had to stop doing any desoldering and removal of the circuit board from the ecu socket. This was down to my desoldering pump getting damaged. The post this morning yielded the new one which I purchased off ebay on Monday.
The post of a different sort(electronic mail)also yielded another bit of equally good bit equipment the a pdf manual for the installation and repair with part numbers for the Atiker LPG kit.
So that is my evening organized :wink:
|
|
|
|
|
|
|
Well it wasn't the right type of day to be messing around outside sorting out the bits on the lpg system to get it organised for wiring or seeing what might need replacing.   Here is the socket after the remains of the circuit board has been removed. No pins broken, but I got one which came a bit out of the socket, and it is the exact same one which happened on the previous one(didn't break this time)   I'm out shopping tomorrow so I can pick up some new wire to make the adapter. After looking through the lpg manual, it appears that this system connects to the obd on the car. And as the wires for the injectors need to be cut into I can work this and other connections into the adapter later saving m a lot of time and hassle.
|
|
|
|
|
|
Feb 14, 2013 18:45:31 GMT |
These words of a song couldn't ring so true! "What a difference a day makes, 24 little hours...."The snow was gone the sun shining, so after shopping I pulled out the lpg kit to see what was what using the bench next to the caravan. This lpg front end kit has been hacked to bits by the previous installer! Here is where someone has removed the factory lpg map sensor and connected a bosch map sensor for a car.   Here is what manual shows the map sensor should look like and I have one exactly like this picture on my old 4 cylinder lpg kit.  I have no idea what this plug is for but the wires have been stripped and twisted together and ust left.  is this the chang over switch and fuel level display?  I think that these are supposed to be the connections into the wiring harness for the petrol injectors.  After tracing the wiring groups back from one end to the ecu plug coiling them up individually and tying them so the remain separate I hung the harness up in the shed to air off to get rid of any remaining lpg smell!  I knew it was too good to last the clouds came over heavy gray and the temperature dropped.
|
|
|
|
|
|
Feb 18, 2013 21:26:26 GMT |
Okay it was a little cold, so I did the tidying up ready for tomorrow. The tube of stainless steel was flattened and put in the car as a tube it was taking up too much space.  I might need a bigger sheet!  After a previous accident in the tool shed :blush: , I had to do a little sorting out to even see the floor :shock: even if it is only in one spot. 
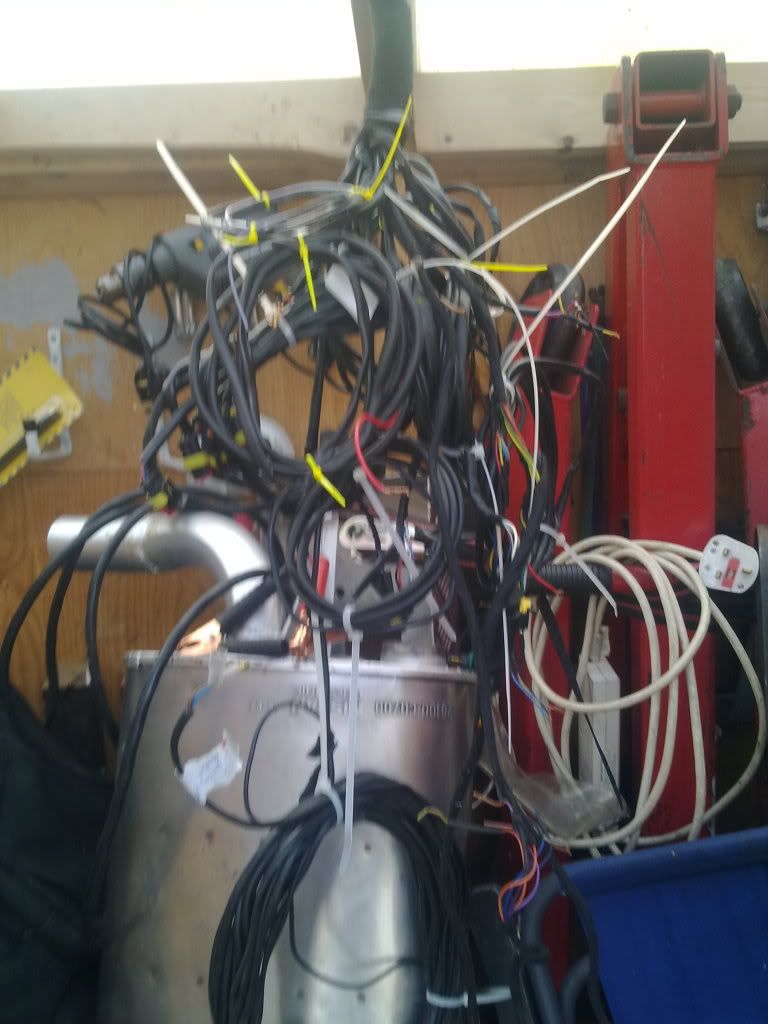
This ment I could remove the winch from the tool shed to sort it out prior to using it again, after chewing the rope/cable dragging the car around previously. I removed the wire rope/cable from the winch only to find the one I bought to replace it, is a little too thick to fit in the fixing hole on the drum. The joy of buying something without checking the correct size. The trailer was something else that needed attention, one of the wheels had seized solid with being stood on the garden for a long time. I was hoping to use the winch to drag the trailer onto the drive to fix it! The trailer has been stood on the garden for a shorter time period than 
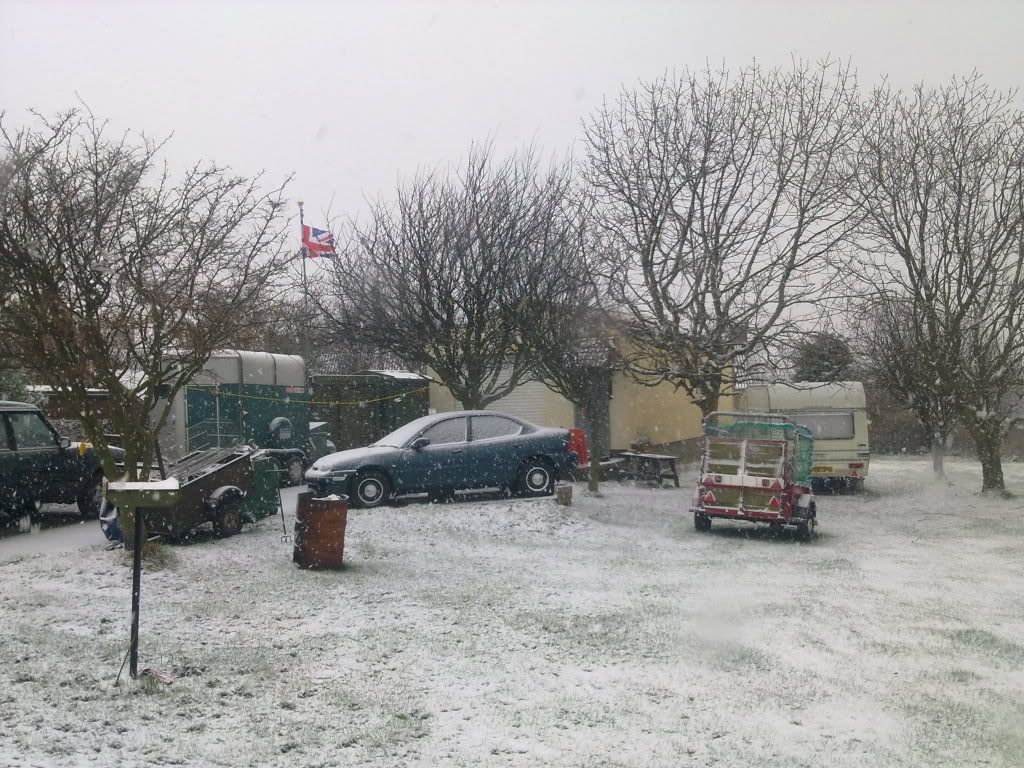
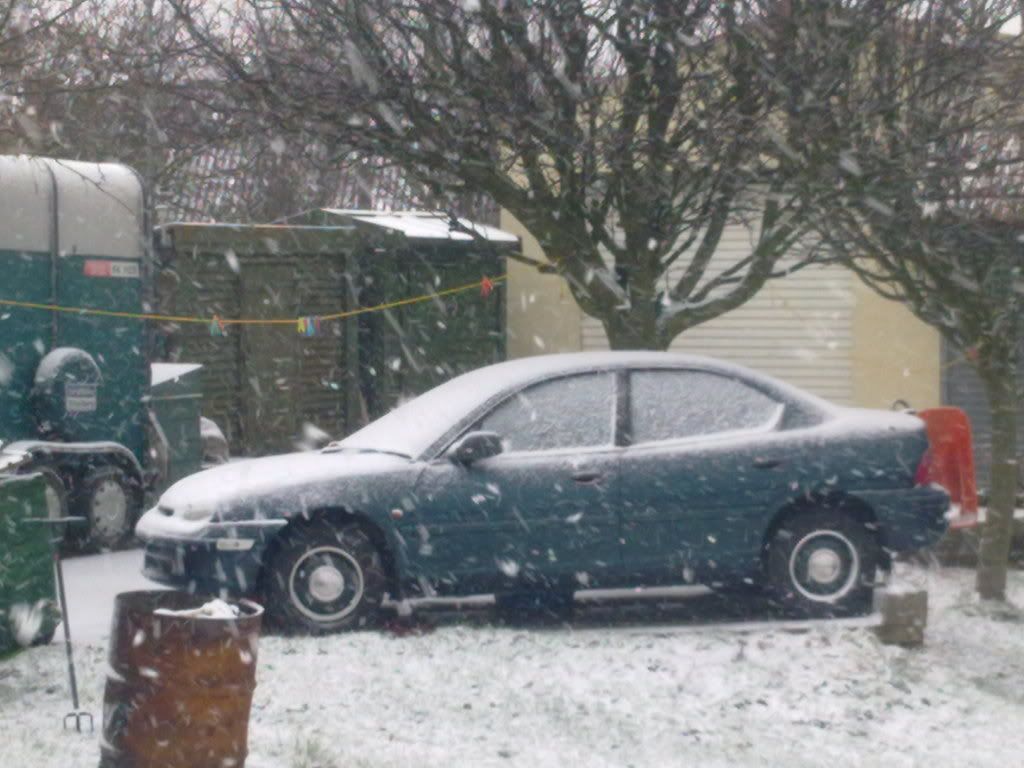
the neon has been stood in it's current spot. So it stands to reason the neon will need to have it's wheels un-seized! As I tried moving the neon and yes it seized solid so much for leaving the hand brake off and not in gear. Dad's Landrover Discovery ended up dragging the trailer around towards the the drive. Using such a heavy peddled vehicle wrecked my legs. So there is no way I use it on the public roads, so I'm not insured on it. I have put the Discovery in front of the garage and the trailer behind it, the Volvo managed to drag it there and will be used to take the trailers wheels to garage as the tyres that are on there are well and truly shoot! So as I have to pop down into town tomorrow with the wheels off the trailer, #i will also pop to a place I've been told that deals with winches to see what the correct size winch rope/cable is! Just so you know how shoot the trailer tyres are, there is no way ou can read the size or writing on the tyre walls as the rubber is cracked and falling off the wall! Sad is bring his boat back from the marina this weekend, and the family needs the trailer to go to and from the skips to get rid of some of the stuff we have sorted through from that relatives house clearance! I can see the welder now, I just need to clear a bit more stuff before Dad can get to it then weld my exhaust! :lol:
|
|
|
|
|
|
Feb 20, 2013 20:52:11 GMT |
Work in progress wit one eye and no depth perception!! The heat shrink shrouding is best done before the next row of connections to be soldered so they shrink properly over the connections.     There are 40 connections per plug and 2 sockets per ecu, so that is 23 done, and 57 to solder without accidentally soldering connections together! (so I have had to redo a few already) I will be doing more tonight but I have a an appointment with the eye specialist first thing tomorrow morning to see if the lazer treatment has worked or if my eyesight has deteriorated further! The Volvo is screwed the cylinder head gasket is going quickly, it might have one trip left and I've persuaded mother to save that trip for the Volvo specialist on Monday. Rather a lot of mayonnaise in the dipstick and when the coolant tank was filled with water it was mayonnaise and oil in there too, and I'm not touching it! So I'm house bound for the foreseeable future unless someone is willing to drive me about! On the LPG front for the car, the manufacturer has informed me that the model I have was never exported outside Turkey the manufacturers home country. I will Asay that they have a good after sales care and excellent customer service.
|
|
|
|
|
|
Feb 21, 2013 20:14:36 GMT |
Nice work on the Neon  Just a thought on the Volvo, before stripping the engine down, it may not be the head gasket, the Volvo might have an oil cooler mounted inside the radiator, these are well know for cracking, then oil mixes with the water. Does it overheat? The T5 versions do have this oil cooler
|
|
 1987 24v powered XR4x4 on LPG 1995 Volvo 850 BTCC replica also on LPG, life's a gas!
|
|
|
|
|
Good morning, Just wanted to say I am enjoying your build thread, using ingenuity and time rather than throwing money at it. It should a a great useable retro once up and running on LPG, ideal  What is the pedal weight like in the Neon? Can you adjust pivot points to make them lighter if needed? Or increase the assistance of the servo on the brakes? Keep up the good work 
|
|
|
|
|
|
Feb 22, 2013 14:32:01 GMT |
Thanks for the comments guys. Okay the volvo has had a new rad, water pump and header tank. It has been throwing out steam not smoke from the exhaust for a while, and as my little Christine is a work in progress, I use the volvo once a week for my shopping and errands.
It had a hole in the rad for a while before it was replaced, and mother had let it get too low and more than likely cooked the engine!
As for the Neon The pivot point on the accelerator pedal has been adjusted and can be done so again by altering the bracket which the throttle cable pulls against at the throttle body.
The brakes are standard mk1 neon all round with abs, all I have done is replace the whole pipework system and hoses when I replaced the fuel lines as they were all shot to hell!.
As I am unemployed and disabled, and dropped out of university do to ill health, putting this car back together has helped but myself back together and keep those little gray cells exercised.
To quote a scene from CSI. An abled bodied person will adapt to the world around them! A disabled bodied person will adapt the world around them to them and their needs!
|
|
Last Edit: Feb 22, 2013 15:24:20 GMT by mitsuru
|
|
|
|
|
Feb 22, 2013 21:19:23 GMT |
To quote a scene from CSI. An abled bodied person will adapt to the world around them! A disabled bodied person will adapt the world around them to them and their needs! Very true comment that, I'm disabled myself, and often find ways of doing stuff
|
|
 1987 24v powered XR4x4 on LPG 1995 Volvo 850 BTCC replica also on LPG, life's a gas!
|
|
|
|
Feb 24, 2013 22:20:16 GMT |
Right first picture was last night the second was tonight as I ran out of cable too! So that is 51 done 29 to go. I'll get some more cable in the morning,. Heaven help me if I have created a short somewhere!  
|
|
|
|
|
|
|
I picked up an electronics box from maolins electronics and spent some time carving out a hole the base of the box for the socket to fit snugly through it. I have yet to decide how best for the cables to exit the box or what to fill the box with, as so resins might react to the plastic of the box. But I will not be doing that till after I have finished soldering all the connections and double checked that there are no shorts etc.       What do you guys and girls think?
|
|
|
|
|
|
|
Potting compound will be fine in that ABS enclosure. 
|
|
|
|
|
|
|
It has been a clear but cold day above 5 degrees C, I was planning on staying in the warm house and out of the cold winds till one of the family dogs spotted a field mouse which it then ran to my car for refuge from the dog!
The mouse went into the wheel arch and was trying to hide behind the rear mud flap. So after the mud flap had been freed of the dog and mouse. I decided to remove the mud flaps to make sure no hidden mouse holes or nests present.
I had to use a chisel to remove the rock solid compacted mud which had collected behind the mud flaps on the rear of the car(that's right after doing one side I did the other) There must have been a good lb of mud on each side.
So When it's warmer a spin with the wire brush attachment on the drill and more hammerite paint. Just as well I caught it know before it had rotted through to the inside of the boot! I might look into some home made plastic inner wheel arches to stop this happening again.
Then I washed the old girl down as she was staring to look like she was a refuge from a scrap yard, as the film of grease was that thick!
Ryhope Sunday morning for the car show.
|
|
|
|
|
|
|
Slightly off topic, but you will understand when I say this is where I take the cars to for a good test of the suspension, engine and gearbox among other things. Mothers Volvo after it had it's cylinder head gasket done without that garage flushing the cooling system or oil when they did it a month or so ago. I have flushed the cooling system a few times and and engine has had an oil change so this was it's first real work out 1in1 gradient plus in plces :tongue: Bonnet up just checking her vitals and to help cooling as only water in her cooling system. I can't wait to do this in the neon :wink: Destination Lord of Stones Cafe Cleveland hills/North York Moors www.lordstones.co.uk/The road, Alum House Lane/Raisdale Road Carlton-in-Cleveland to Chop Gate maps.google.co.uk/maps?hl=en&q=Carlton-in-Cleveland&ie=UTF-8&hq=&hnear=0x487ec0282c979197:0x8366ad432d64e628,Carlton-in-Cleveland,+North+Yorkshire&gl=uk&ei=RfGHUcL_O-WR0AWk0IDADw&ved=0CIkBELYD         Okay back to the car!! The rear wheel came off to give better access to the exhaust pipe. And I will be tacking the brakes apart one by one to un=seize them so I can move the car and then I will resurface the discs which have never been used on the road :sad:  Dad has welded the ring for screwing the lambda sensor into the exhaust pipe just after the cat. Exhaust pipe made to connect it to the pipe from the front, it was a pain as I was in no fit state after going to and from the Yorks Yanks club meet via where the lord of stones cafe used to be the previous day.  A little trimming and smoothing with the grinder and a coat of Very High Temperature silver spray paint read to go on tomorrow. (the paint may burn off if it dos it will still have servd it's purpose by protecting the exhaust while it is not being used) 
|
|
|
|
|
|
|
May 17, 2013 16:18:53 GMT |
The dremmel cutting disks arrived so I thought it best to get cracking on the old girl and at least get something finished off before the weather changes again. So the Nissan 350Z exhaust back with modified inlet and out let pipes is finally fitted on the car!       Hopefully the only thing left to fit on the exhaust is the lambda sensor after the cat on the down pipe. I have pushed myself getting the back box on, so tomorrow I will not do anything on the car. Especially as there is a Hot rod and custom car show and cruise on locally. www.nsra.org.uk/newforum/showthread.php?58468-Hartlepool-Hot-Rod-Weekend-5www.northeaststreetrodclub.co.uk/So you will be getting those photos posted in a perpetrate thread tomorrow night hopefully.
|
|
|
|
mk2cossie
Club Retro Rides Member
Posts: 2,214
|
|
May 17, 2013 21:34:37 GMT |
Nice bit of progress here  When you say just the lambda sensor to fit after the cat, I take it there's already the sensors fitted in front of it for each bank? Should be quite a best with the Voyager v6 though 
|
|
|
|
|
|
May 17, 2013 22:17:59 GMT |
The pre cat lambda sensor has already been fitted the threaded hole for the post cat sensor has been welded so it just needs screwing in, then can be wired in later.
And there isn't a need for a lambda sensor for each bank of cylinders.
Oh and I found the other pits for the coilover kit so that is next week planned!
|
|
|
|