|
|
|
May 30, 2014 22:14:46 GMT
|
Option one is a no go as the plastic curves out over which didn't go well with the restrictions of there it would fit! So option two it is! Cut away the rest of the gauge cover surround and make it flat to be glues inside a mk1 cluster lens! As it would be too much and fiddly to use a hack saw blade, out came the dremel with various attachments. the end result! 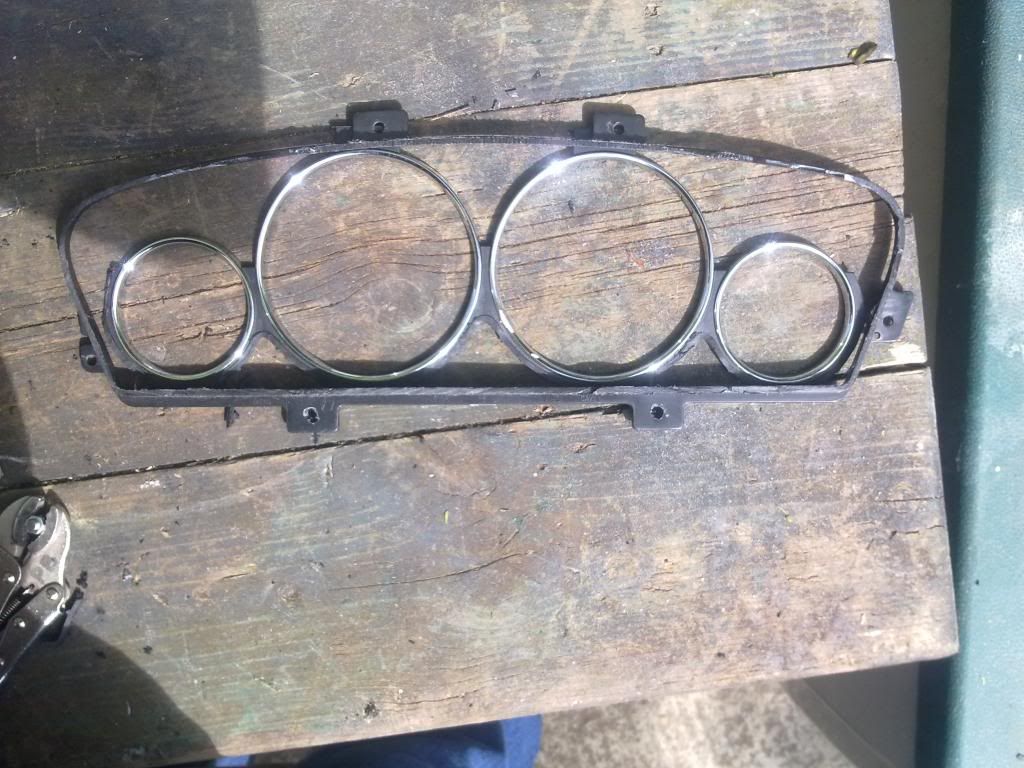 Next job is to make a board which the thin flexible mk1 lens template can be bolted to so it won't be flexible. Why well I am thinking of using the black bumper filler to fill in the gap between the gauge chrome rings and the mk1 lens template. The difference in the shades of black plastic might mean that once the surface was uniform the plastic might need to be sprayed with plasti-coat so it's satin black the same as the lpg fuel gauge in the vent pod. I had to solve a problem with the runners and track on the volvo seat. I had fitted the shortest smallest bolts I had to stop the ball bearings from coming out. However they were still a few mm too long and were hitting the bar through the runner which did the other part of preventing the bearings escaping! So as the bolts were too small to be messing with a full size grinder, out came the tiny grinding discs for the dremel! Then once they had been checked to no hit things they shouldn't they were secured in place along with some poor mans locke tight (nail varnish) 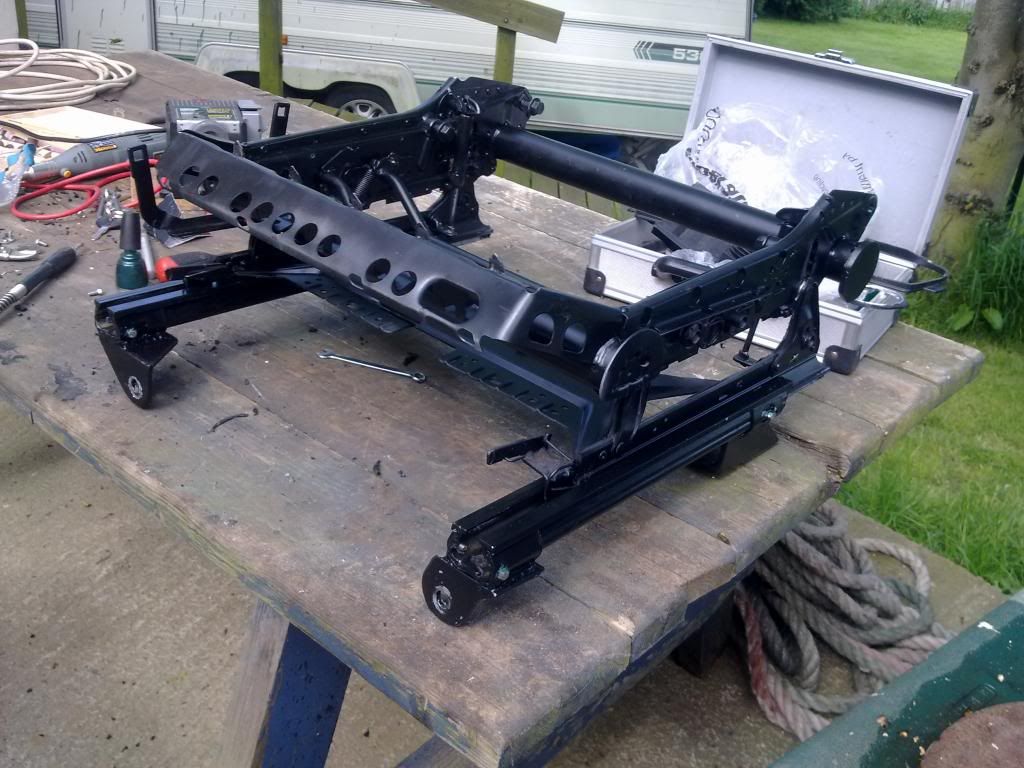 Fully back, I think it goes further back than the neon's original seat. (more leg room for a longer leg driver) 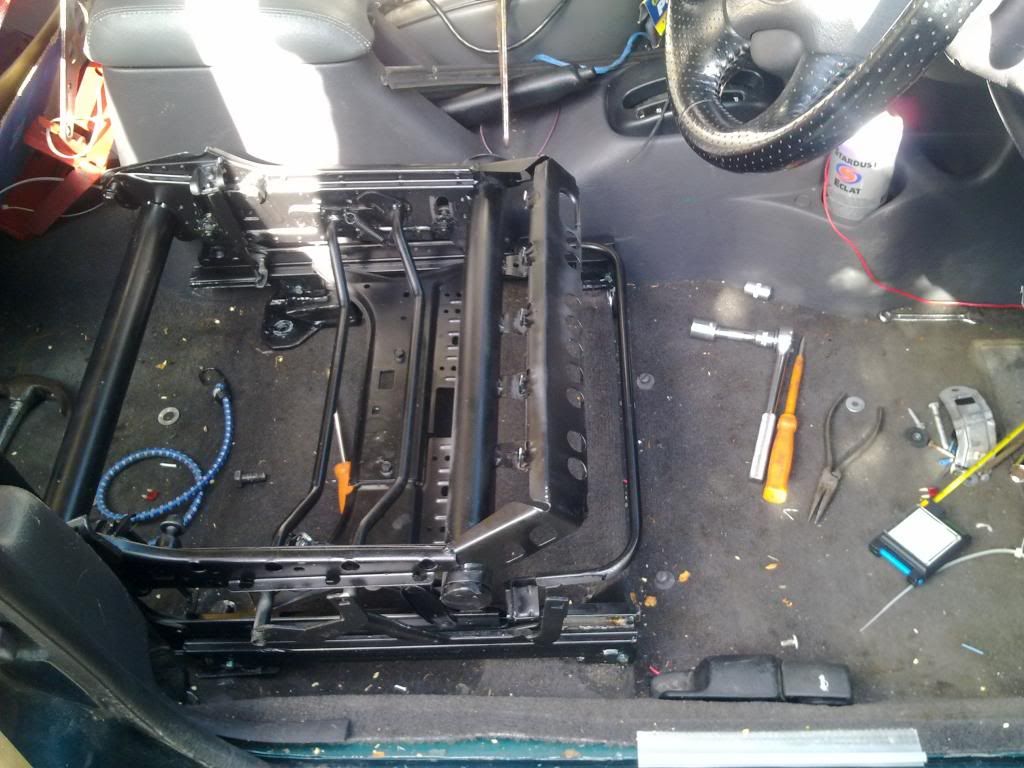 Fully forward  I asked mother if she could remember if she had to either sit onto of a cushion or with one behind her when she had previously used the neon. She said behind her back, I then showed her how much more adjustment there was and that she wouldn't need a booster cushion :grin: Please note that if you are thinking of attempting fitting a different seat into a car that it never came in. Remember what parts mover and adjust the seat! Why? because I forgot this and was wondering why the seat base was warped, and it didn't sit flat to the floor! As I had be lifting it I had moved the hand and only one side had move without realising it! It took me 30 min before it dawned on me what I had done :? |
| |
|
|
|
|
|
|
|
May 31, 2014 19:54:50 GMT
|
After I got the final bits off making sure it was within the cluster lens template 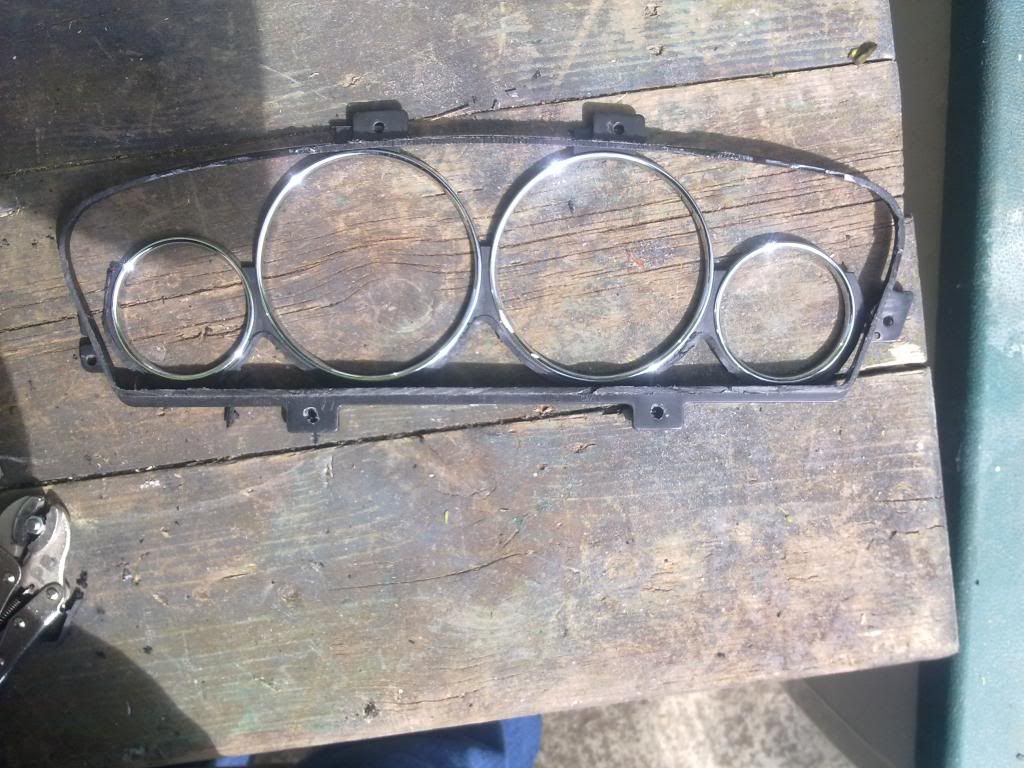 I then split open a document wallet and fitted it between the lens cluster template and the mk1 instrument cluster. Why? well the plastic sheetingis so that the bumper filler would stick to it rather than the old mk1 cluster. The old cluster is being used as a jig to hold things in place and stop them from warping.  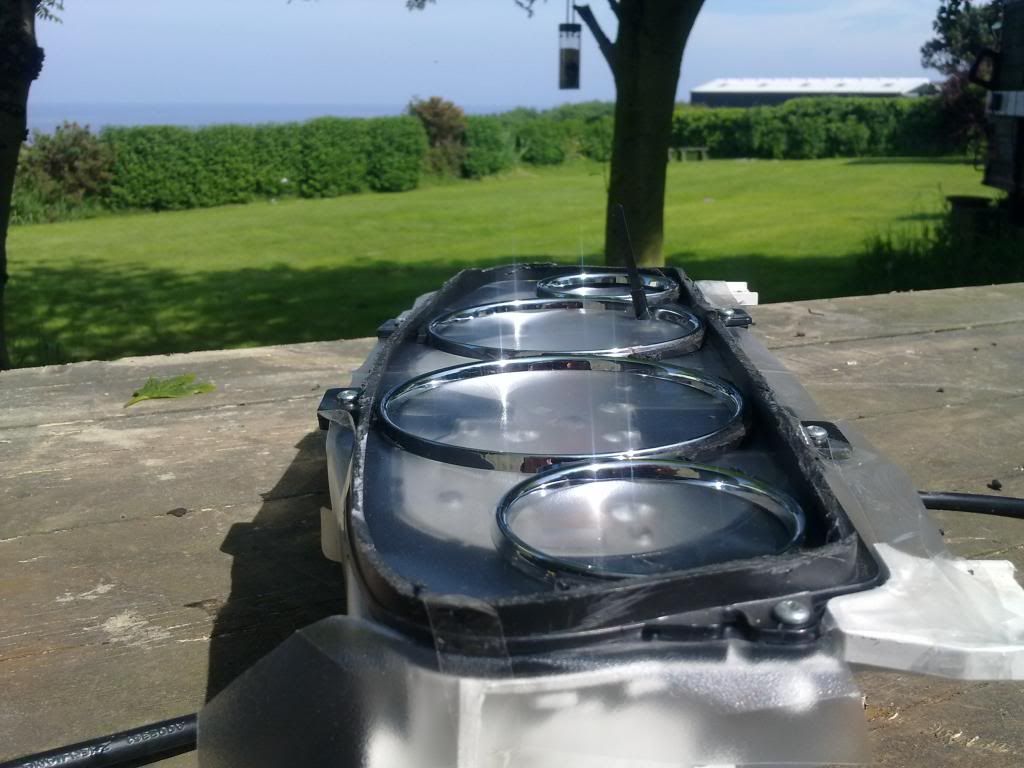 A little bumper filler later  This set will be left till tomorrow so it has had a goo while to cure and set. I should be able to peal the plastic sheet from the back of the gauge suround which should be bonded to the lens template. The lens template and gauge surround will then be sanded flat and will be sandwiched between a new cluster lens and the cluster. |
| |
|
|
|
|
|
|
|
As my body was in a bit of pain hunched over over the engine bay was not an option, Instrument cluster mod work! I took the old mk1 neon instrument cluster body/structure and gutted it (sorry for it being sooo rough!)  The came the back of the mk2 gauge plate so it could fit the mk1 cluster body. 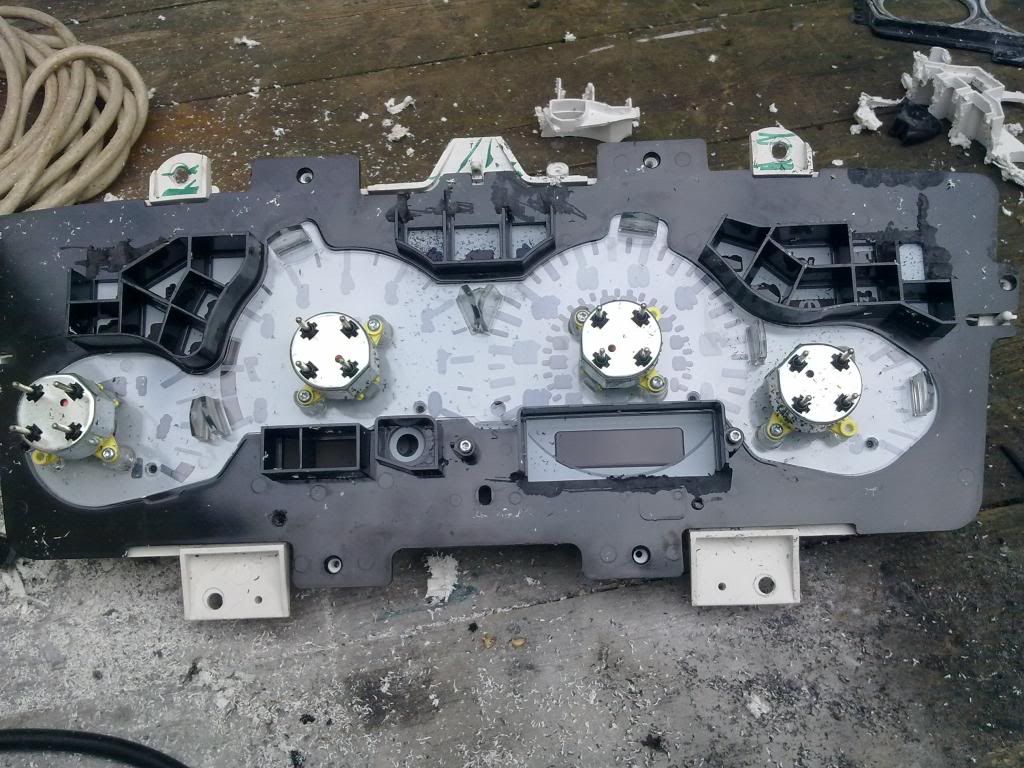 As there are certain warning lights that aren't going to be used along with some blanks these could have there dividers trimmed. Also with the face plate bing but up to the insides of the mk1 body. The warning lights will still have their integrity and no light from one warning light illuminating another(hopefully!) 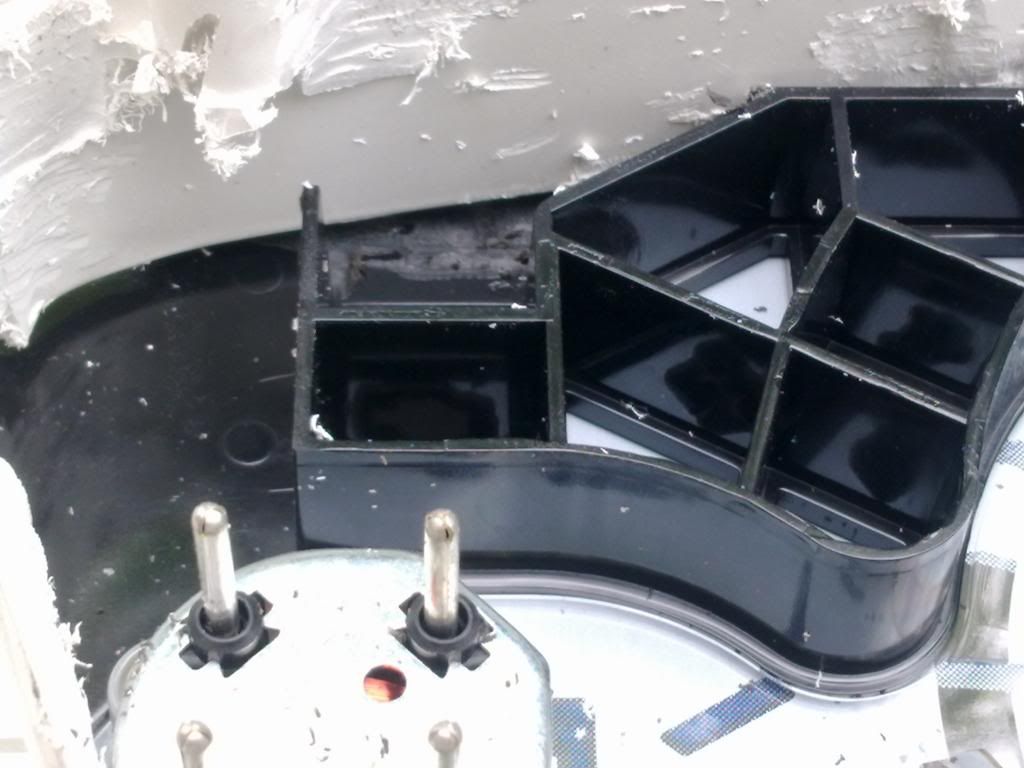  A long way to go yet and it doesn't fit together properly yet!   The gauge surround/chrome ring section seperated it's self from the lens template. SO I will flatten and file the gauge surround and insert it into the lens seperatley. |
| |
|
|
|
|
|
Jun 10, 2014 21:49:46 GMT
|
An envelope from china arrived int eh post, it contained the tapping set for taping holes for sensors or heater plugs. I decided to try them out on on an alloy screw in plug. They are the right type so I will need to get a few things including an old screen wash bottle to try this out on. 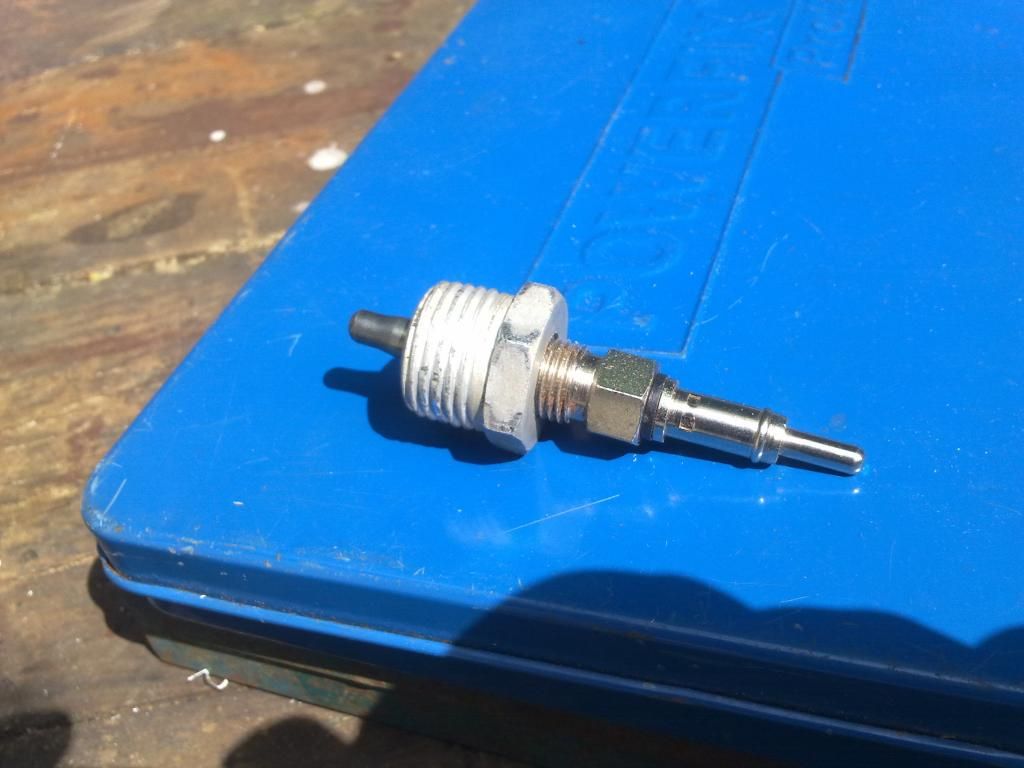 I thought I had better see what parts were missing from the bushing packet as it looks the worse for wear and the packet looked as tough it had lost something from inside of it! 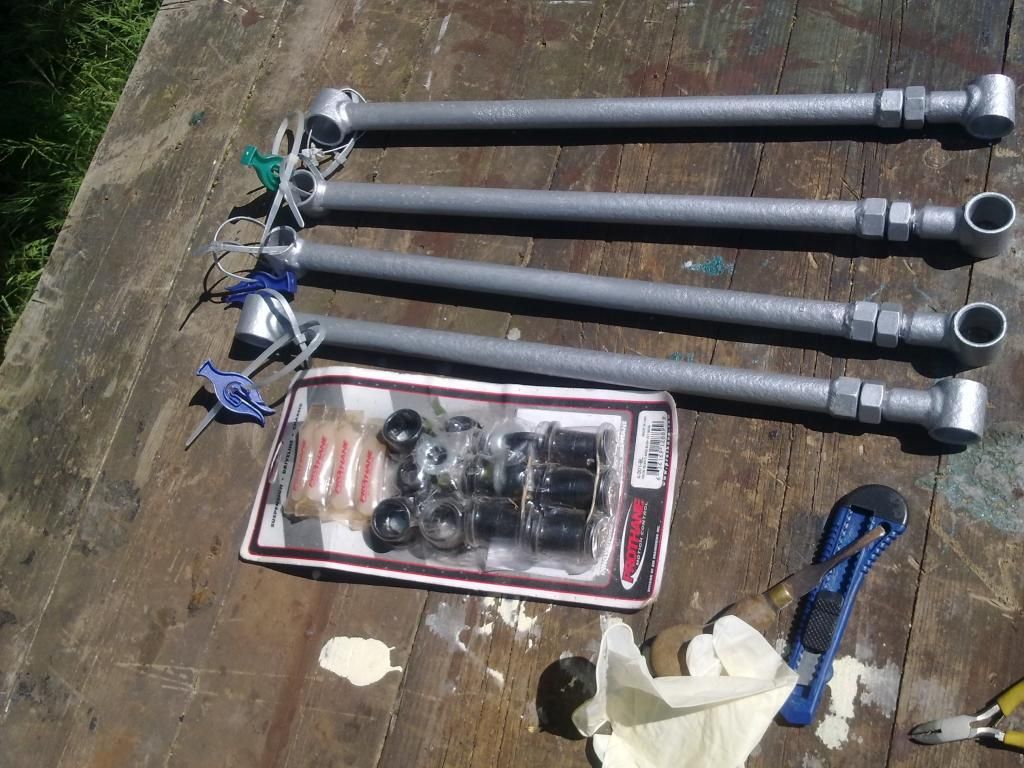 I had no problem pushing the bushings and the inserts into the control arms without the need for the grease. The instructions stopped me thinking that something had fallen out of the packet. It does mean that the larger diameter insert that I had thrown away due to them being damaged will need to be replaced as no replacements were included in the set. A zip tie was used on each end to keep the bit for each end together so they don't get lost and so I know what bits to get. (inserts and washers)  The reason I have not been tackling the wiring for a while is due to health issues! I have been suffering a lot of server migraines recently.I would normally get a migraine as the it gets close and the atmospheric pressure get high before heavy rain, but these have be amplified with an ear infection, and the doctor says if they don't subside over the next two weeks then it will be antibiotics. One HEAVILY Blacked out room please! |
| |
|
|
|
|
|
Jun 22, 2014 17:49:50 GMT
|
Okay I apologises for the lack of any updates on the car, but as I have had been ill with infections and stomach bug less said the better! As the car has been stood for some time and not been cleaned and waxed in about a year I thought it was about time to do so as she was looking really minging! Washing her was okay then left her to dry an hour or too under the hot sun. Then started the waxing and doing a panel ata a time. the mains powered buffer was but and kept shoring out due to an electrical fault. I started stripping down the buffer/polisher to get the large pad off with it's disc when the a couriorarrived with this little gem a MSD pn 8913 Tach Driver (2nd hand but in good order) bought off the bay of E for princley sum of £6.50 plus £10.50 postage from the USA. I hadn't mentioned it earlier as I didn't want to jinx myself in aquiring one so cheaply. My tacho problem solution for running the instrument cluster and a supply for the lpg kit.  The poor courier was using his own car for some reason and the bi mass flywheel had gone on his mk3 mondeo and boy could you tell! After he had gone and the dogs settled back down I finished removing the buffing pad and fixed it to something with a bit more grunt!  The idea was to get a high shine (yeah right I hand thought this through just did it!!) The first couple of pad covers came fly off far faster then it had taken me to put them on, and with some speed and punch! (I got hit every time!!) I ended up using cord to tie it on. And the result the bloody grinder was spewing smoke before I even did a square foot! The grinder with homemade buffer attachment now is in the bin and I have had to the car by hand. The car is in need of a respray but waxing the car will give it a bit more protection before it gets resprayed(when ever that maybe!) Also the car panel with the only rust on is the bonnet and it is bubbling in places!! Hayfever with high pollen levels is bad and add chance of colourblindness from the sugar levels no electrics touched again. curse word!!!!! |
| |
|
|
|
|
|
Jul 13, 2014 15:46:40 GMT
|
|
|
| |
|
|
|
|
|
|
|
I have not forgotten this! I have been unwell wit different health problems, only to be well enough when my dad has decided to sort out the heavy duty single axle trailer! Welding, woodwork, hubs and painting with red lead! (He is a boat person and worked in the off shore oil rig building in a previous life!!) If your wondering, it's the same trailer with roll cage and drop leaf ramp I used to haul the V6 engine and transmission etc back from the scrapyard at the beginning of the build. He is planning on selling it later, if anyone in the was think of buying it? Back on topic Okay I went and collected the Volvo seat covers from the upholster I think the colours work together well, but 'i haven't tried it next to the car yet!   I noticed a difference in the cenral panel it should have been separated into four long strips top to bottom not five and I think that a bar on the back has been missed out which is also a fixing into the foam! For comparison the old drivers seat  |
| |
|
|
|
|
|
Jul 26, 2014 19:51:43 GMT
|
A little pain endurance resulted in the MSD 8913 tach signal generator being fitted. I decided to mount it on the plate the ignition coil pack was mounted to. This ment a bit of a chew getting the fixing bolts for that plate off. Drilled and taped.  In place with wires soldered together.  One more thing to tick off the list, and painkillers tonight! |
| |
|
|
|
|
|
|
|
Well!! as the android tablet I bought for £30 was acting up last night due to touch screen calibrating constantly, I took it apart! And it was a loose connection, so now it is fully operational with touch screen. I had ordered a screen mount for it so it could be used with the torque apk. the mount arrived today from the states for a grand total of £4.95. Here is the ebay page www.ebay.co.uk/itm/351092176397?_trksid=p2059210.m2749.l2649&ssPageName=STRK%3AMEBIDX%3AITA few photos of it wit the tablet and in car, but the suction cup mounting disc already on the dash is a touch to small so a new one off ebay. So no cutting up the dash for extra gauges, and no squinting at a tiny screen on my mobile phone for the sat nav!  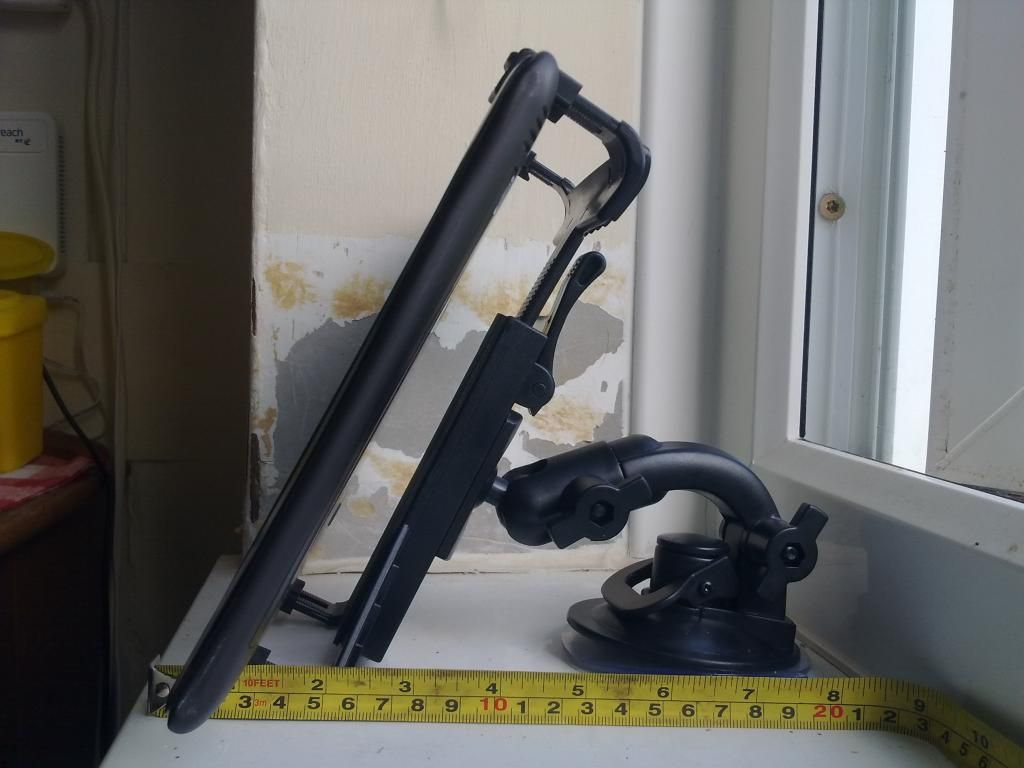 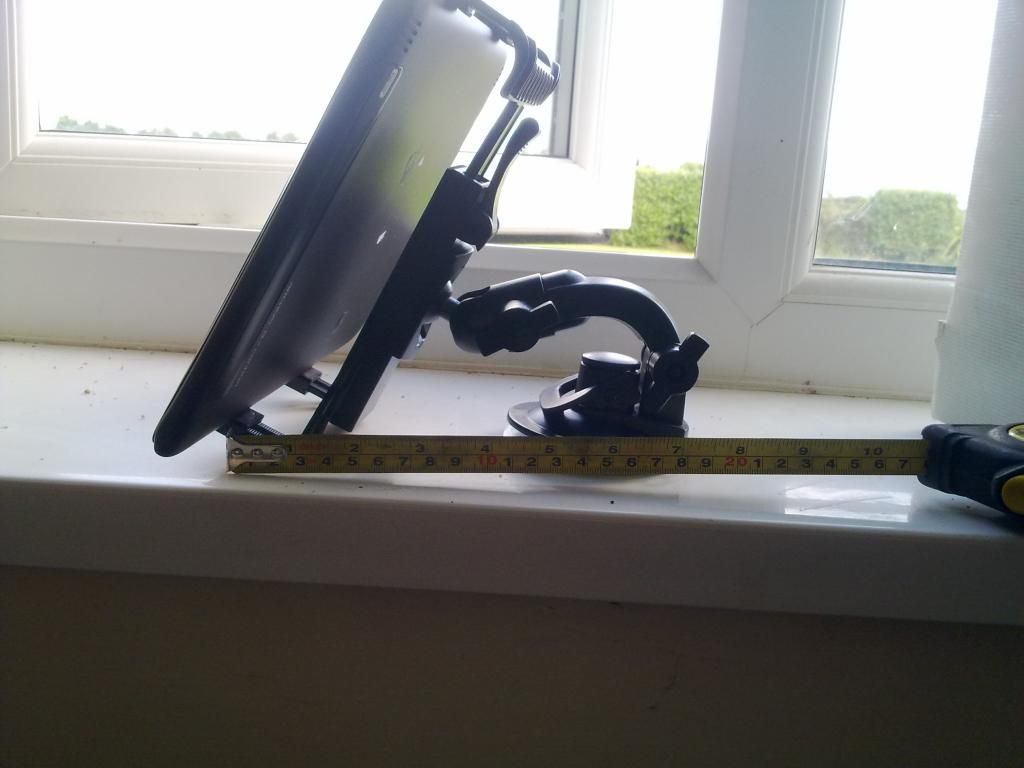 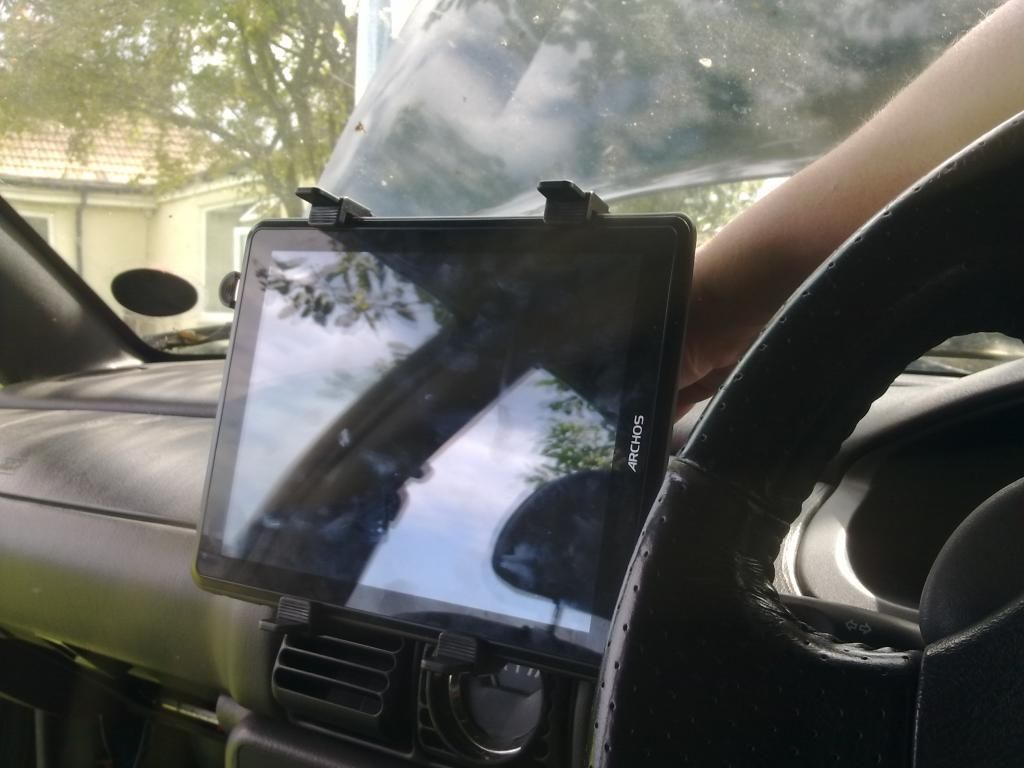 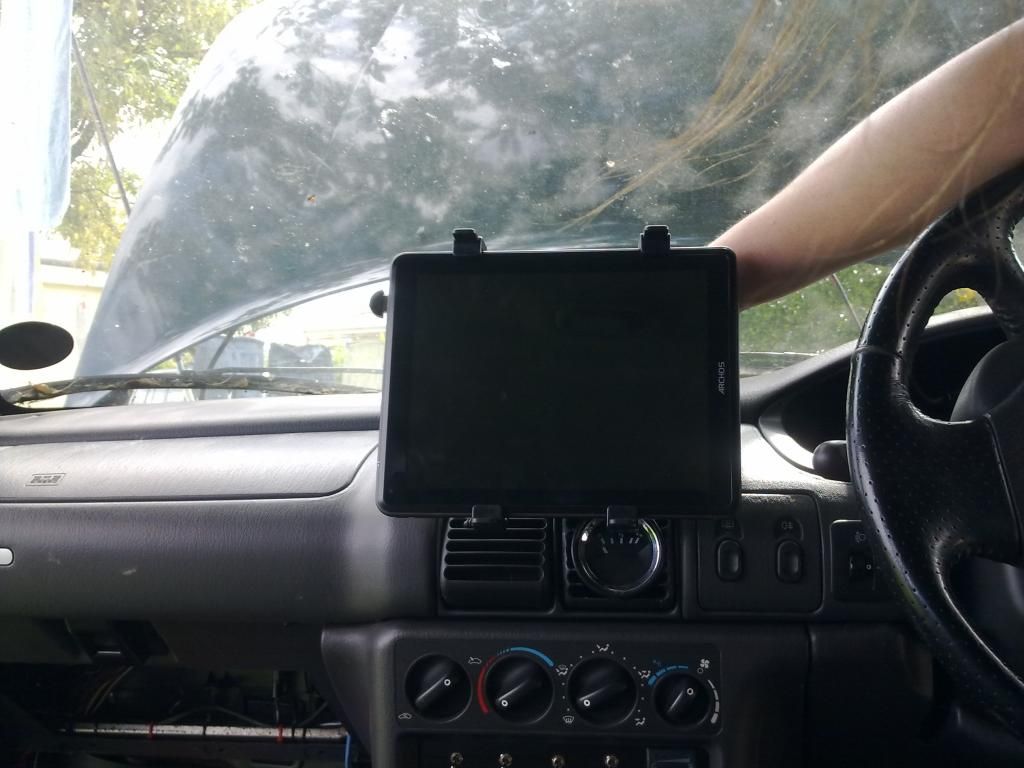  I just need to get the software to so I can use a bluetooth dongle with the android tablet as it doesn't have an onboard one! The blue tooth dongle a quid from the pound shop. Dad off on the sick, so I have been keeping out of his way so he has a chance to unwind and heal without me getting underfoot! So only a bit of wiring done again. |
| |
|
|
|
|
|
|
|
Well when I said a little wiring!!! I had had enough of not being able to find the correct wires and as there was wires not connected to stuff getting mixed up and in the way. I made the desicion to start stripping back the wiring wrapping and removing the unwanted wiring. Starting with the section that goes from near the fuseboard round down in front of the radiators and up to right wing indicator. 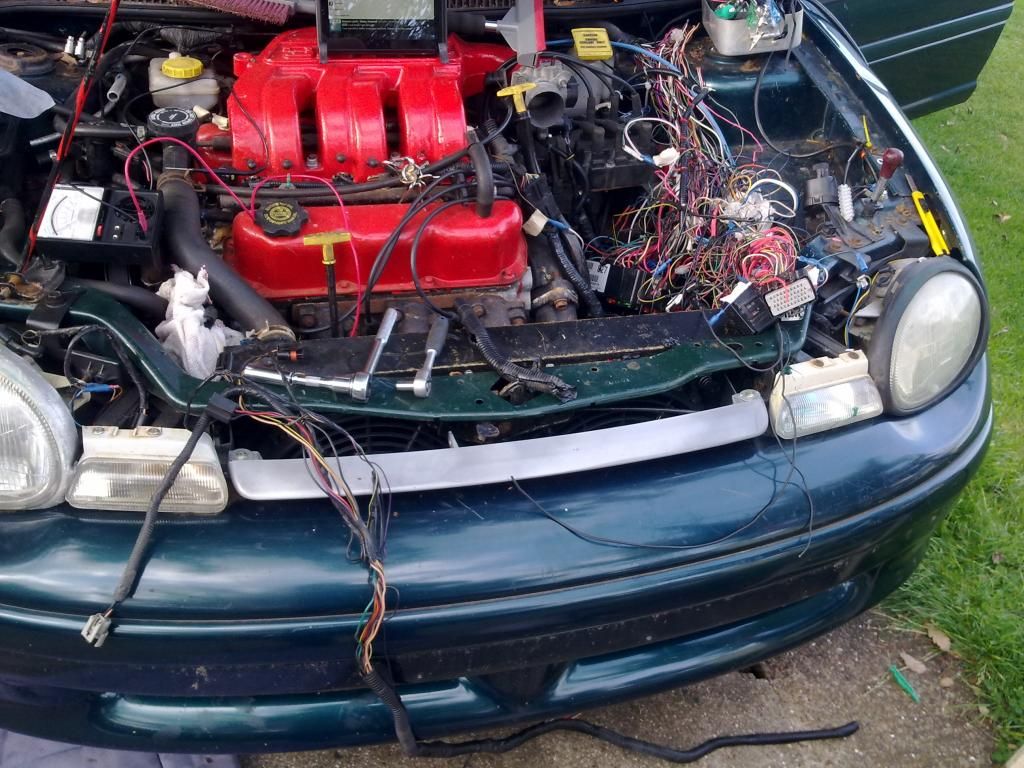 Neon A/C wiring - removed (no a/c so not needed), Neon evap purge solenoid wiring - removed(voyager wiring in place so not needed) Neon radiator cooling fan wiring and relay - removed (new wiring a relays for each fan as the intrepid ecu controls them separately that wiring is to be organized and installed after engine is running) |
| |
|
|
|
|
|
|
|
|
|
A bit more done! It looked like the fog light cables had begun to deteriorate I kept cutting back and cutting back till I found a good section to solder some new wiring. Only to end up inside the engine bay, so I will need to get more new/fresh cable on monday. So I then decided to fit new negitive/earthingwires for the right lights as well as a wire direct to the negative bolting terminal near to the battery(which has the battery negative feed to it) as I already have the thick cable for those cable runs. 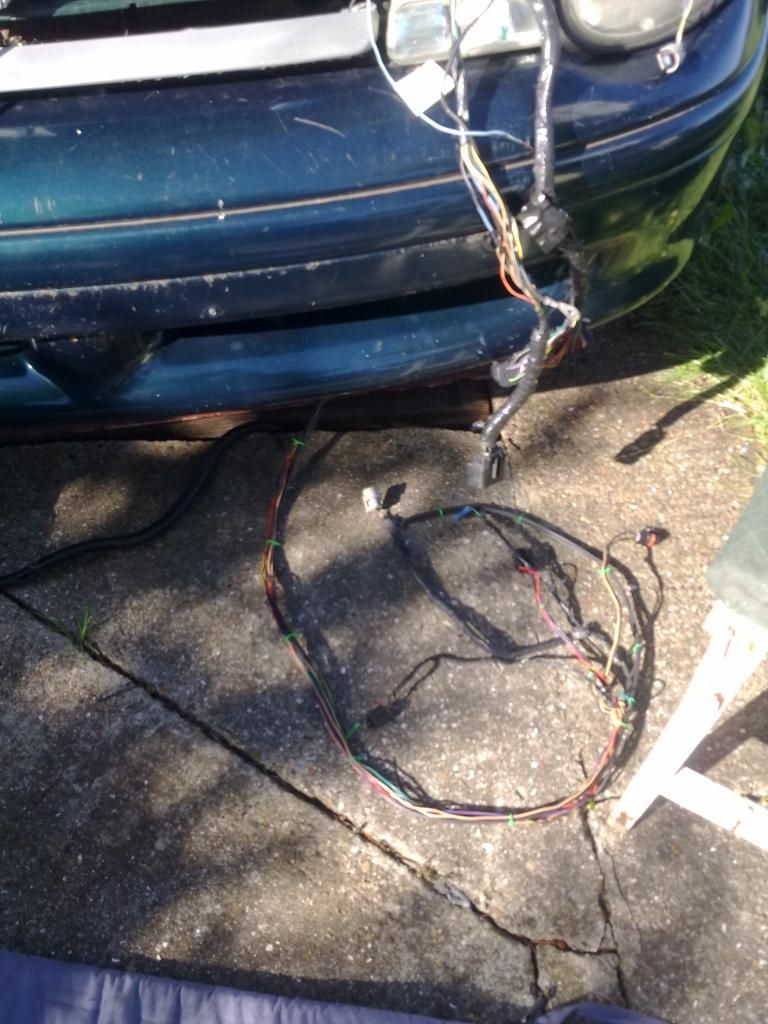 It looks like a couple of wires had worked there way out of their connectors inside the engine bay. So those had to be sorted and soldered. I spent a bit of time checking the resistance with certain wiring after finding another bad section in the indicators. I then found a bad senor ground on the throttle position sensor and bare wires earthing on the start run wires. I had to cut a couple of negative earths to try and untangle the mess(like that was going to happen) |
| |
|
|
|
|
|
Aug 16, 2014 23:36:57 GMT
|
|
No photos of work done! On friday.
I have finished running the new cable along the front of the car for the fog lights, radiator
fans and the extra negative earthing. For the first time in many years I had ran out of crimp
connectors! So apart from a couple of spade connectors on the fog lights thats the wiring
put back into cable tidy and tie wrapped back in place.
All the wiring coming back into the engine bay isn't sorted out yet, as I still have a few circuits
to go through. Plus I turned and fell, putting my hand out to try and prevent the fall ment
working with a sprained wrist, back and knee pain was no fun. I think I broke part of the self
levelling on the right headlight in the process! (and I don't know if I have a spare for that one!)
Saturday apart from painkillers knocking me out was spent getting some supplies, cable crimps
and the cable tidy stuff used to wrap and protect the wiring. So you know what could be doing
on Sunday weather permitting. I will also be putting the old neon drivers seat back in for the
moment so I can save up some money for either someone else to do it or me and mother to have
a crack at it!
|
| |
|
|
|
|
|
Aug 18, 2014 11:42:27 GMT
|
Well when it rains I was messing around with the tablet holder for the car and realised it has the same assembly on the arm as that used to hold the mobile phone on the tripod for a stable video platform! So a quick switch over of the holders resulted in 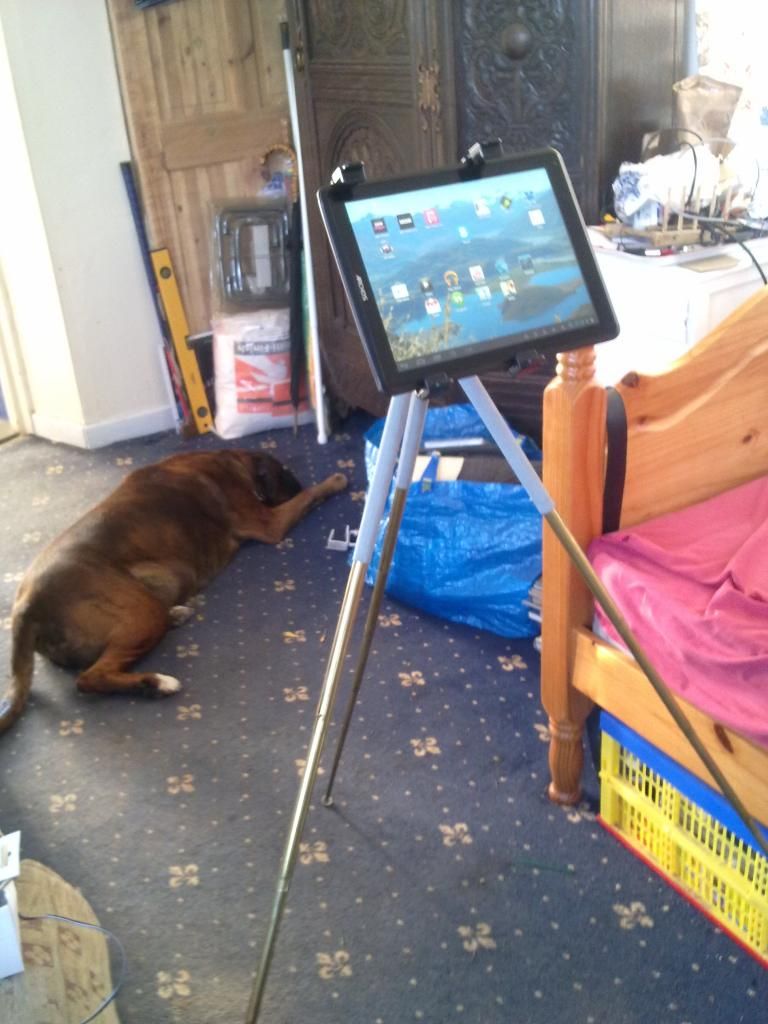 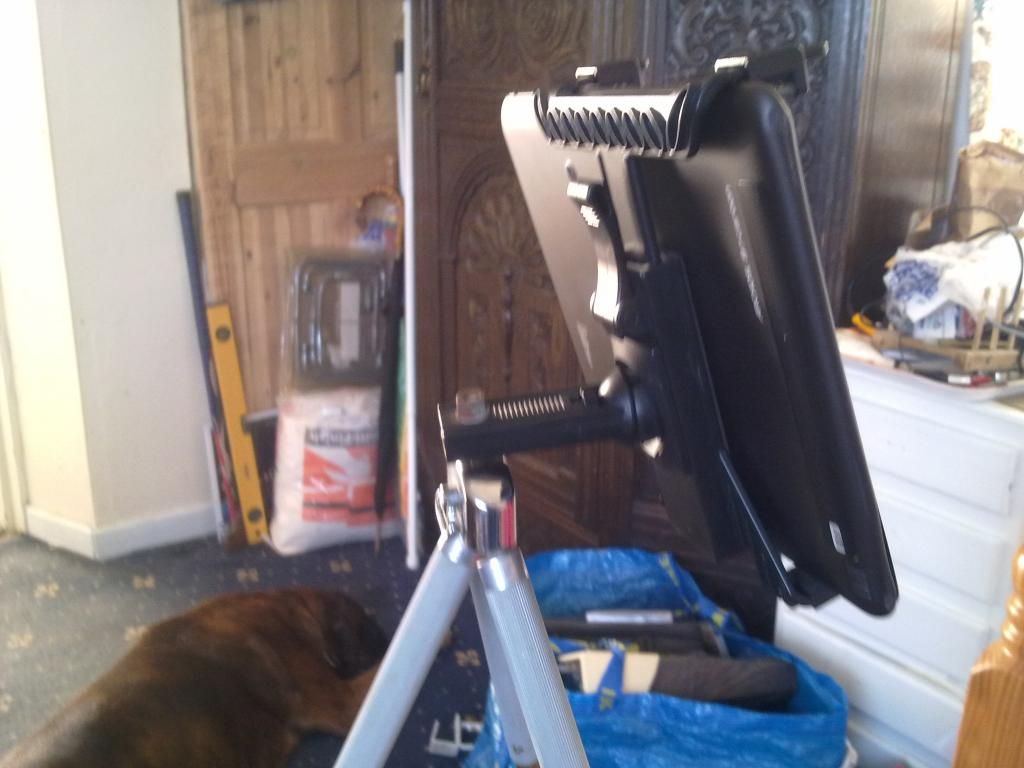 The only reason I would not be using it like this is the fact that We have had strong winds and I don't want to wreck a perfectly good 10" android tablet! Here are the photos of the car's wiring that has been done. I went to put the spade connectors on the fog lights wiring before plugging them in only for the wires to be that thin and flimsy I ended up removing the foglights to replace the negative wires on both! 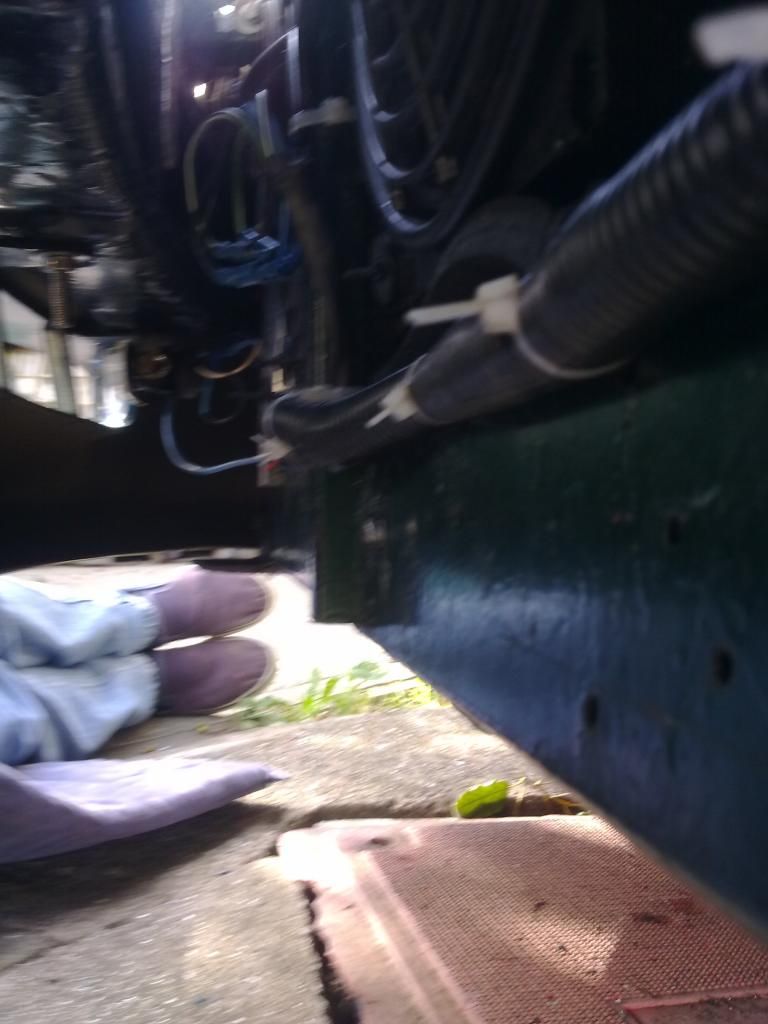 A loop with a little extra wire length in case I need to change something. 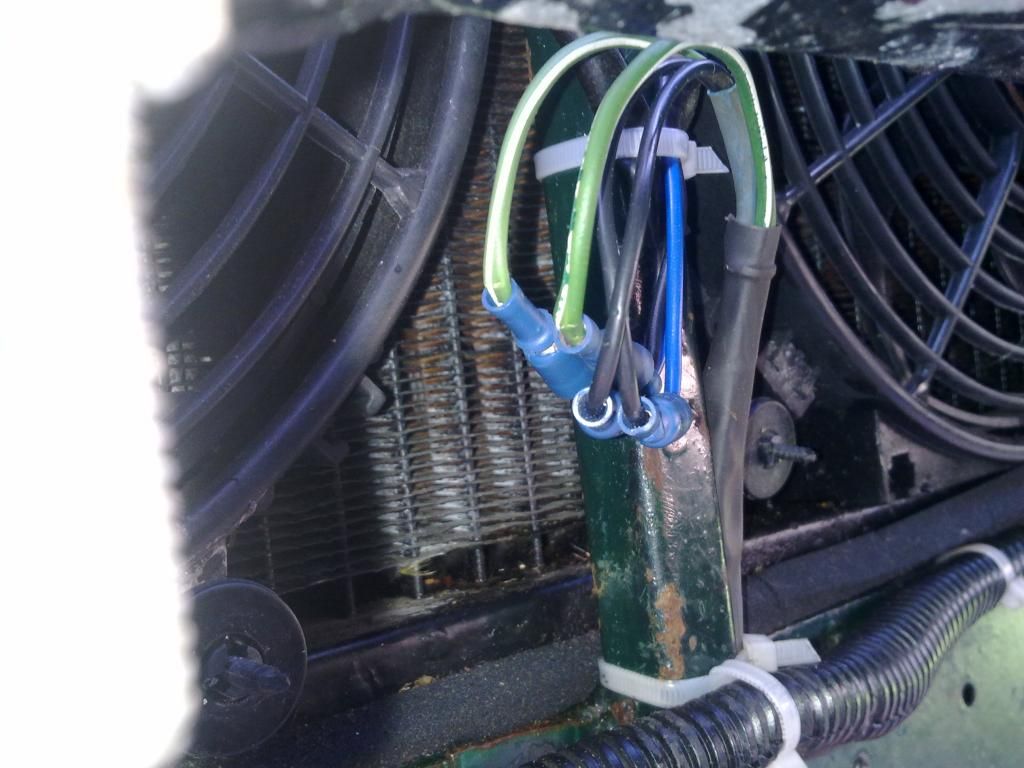 The problem of running short with the cable tidy! 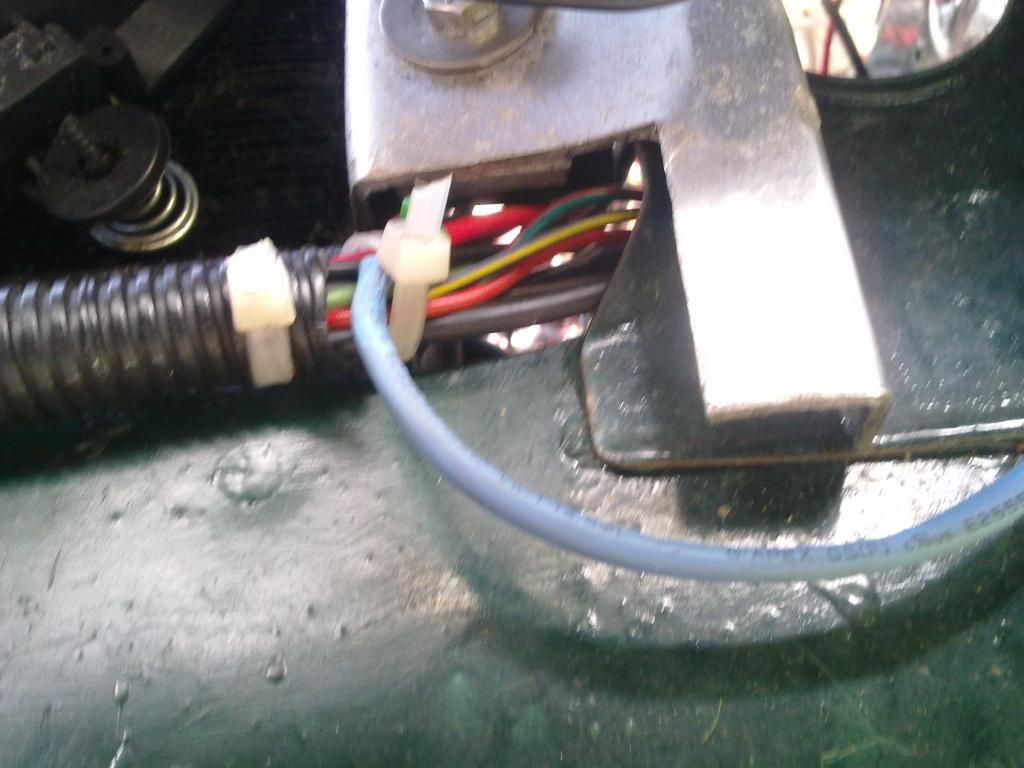 Back to the engine bay today so I will post updates later |
| |
|
|
|
|
|
|
|
After 2 days of hell from a bug that is going around I managed to get uo to RS components in Gateshead. My Computer tower is bust so all data on it is out of reach (Motherboard or memory!) so no part details to help when I got up there! No go with what they had on paper or what they typed into their terminal. Oh and looking in scrapyards yielded no mopar what so ever!!! So I couldn't even look for something from the same family but from different years to try in that field. So I even tried GM/Vauxhall and ford and nothing similar. After getting home and a few hours trying different ideas I think I have found a delphi part number 54001312 delphi.com/connectors/product/view/54001312?ref=0,164439,164484,744499,744506&categoryID=744569&tab=results&start=0 All the details look right but no way of ordering the yet from over here that I can find so far! And these I need to be right so they go into the blank spaces in the fuse board to use those empty relay spaces. |
| |
|
|
|
|
|
|
|
|
Wow you've been battling on with this for 2 years!!!! Impressive dedication man. Also you seem to be pretty capable on the electrics front so RESTECP. Carry on!!!!
|
| |
1974 Lancia Beta Saloon
1975 Mazda 929 Coupé
1986 Mazda 929 Wagon
1979 Mazda 929 Hardtop
1982 Fiat Argenta 2.0 iniezione elettronica
1977 Toyota Carina TA14
1989 Subaru 1800 Wagon
1982 Hyundai Pony 1200TL 2-dr
1985 Hyundai Pony 1200 GL
1986 Maserati 425 Biturbo
1992 Rover 214 SEi 5-dr
2000 Rover 45 V6 Club
1994 Peugeot 205 'Junior' Diesel
1988 Volvo 760 Turbodiesel Saloon
1992 Talbot Express Autosleeper Rambler
2003 Renault Laguna SPEARS OR REAPERS
|
|
|
|
|
Aug 23, 2014 15:33:51 GMT
|
Errrr!!! it's not 2 years I started properly on the build/swap Feb 2011. But I knew the engine and box were on their way out long before that and had managed to hold them together long enough till I got the right replacement engine and box. And I had the idea then the build running on a few forums before I started on here. www.lxforums.com/board/showthread.php/235305-Replacing-4pot-with-V6-in-a-Neon |
| |
|
|
|
|
|
Aug 23, 2014 17:32:26 GMT
|
|
Update on the driving license
Good news 2 letters from the dvla, one to say they have made a decision on my license and that my new
one will be sent out soon! the second was the driving license with the new expiry 20th August 2017.
So how long do you think it will take next time if it was 7+ months to sort the bloody thing out?
|
| |
|
|
|
|
|
|
|
Remember when I was thinking of using old smiths gauges as a back up plan for the instrument cluster on the neon? I was thinking that the 4 gauge smiths unit would be the same size as the 3 gauge unit in the below picture with the speedo both the 3 gauge unit and speedo are 10cm diameter but the rev counter is 8cm so too small for the retro style idea. And if I got a 4 gauge unit in the cluster space then space of lpg gauges and autobox gauge needs. 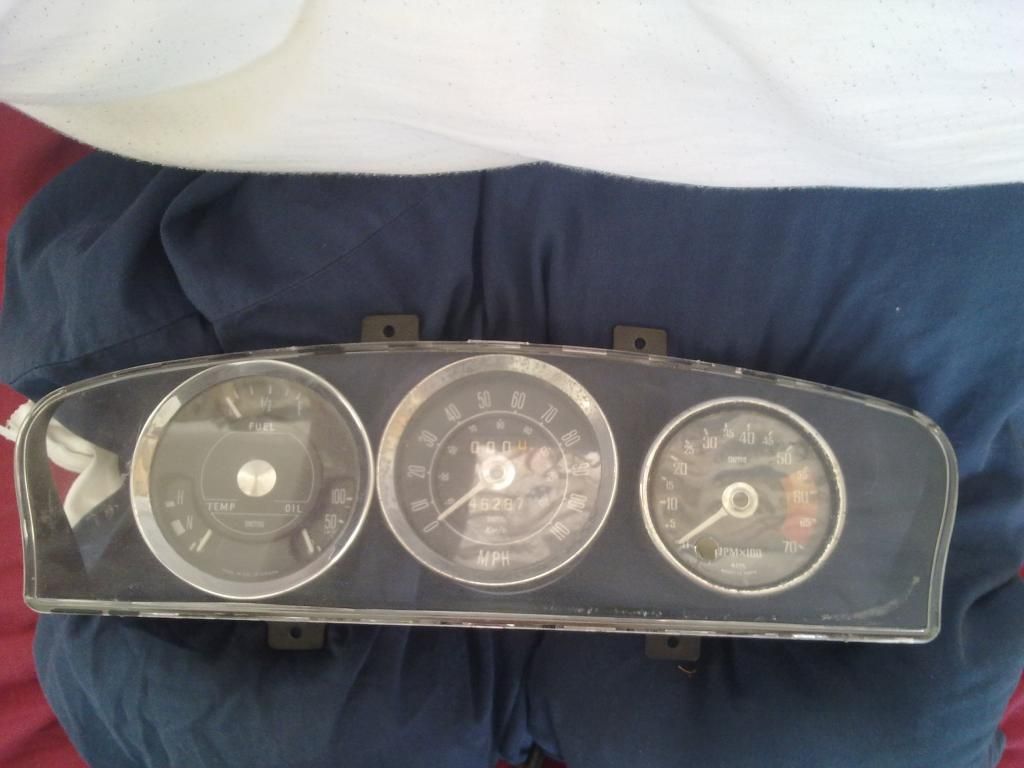 Well I finally found one on ebay The 4 gauge smiths unit arrived today, and was bloody hard to get one in good condition. And it looks like I made a boob! The 4 gauge unit is 5.25"(133mm) to the 3 gauge units 4"(100mm)  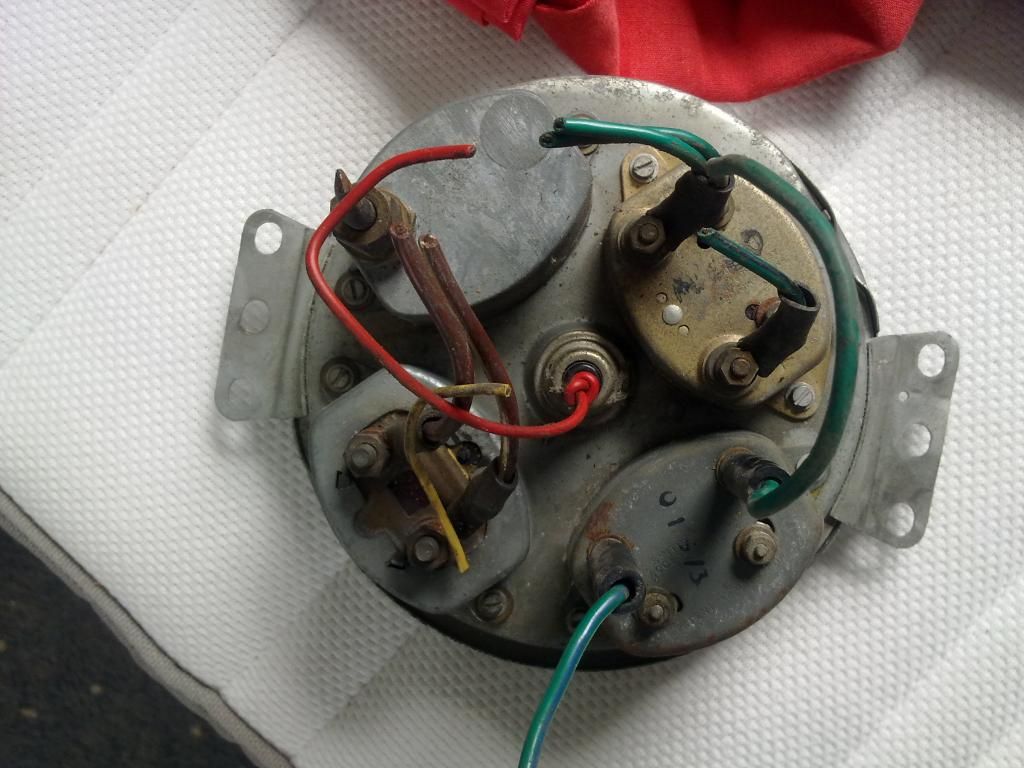 The 4 gauge unit I think is a bit too big to be used in a custom made pod/hole either in the dash or lower centre console. I hate the things they sell as gauge pods/mounts, and I wouldn't want to be using the 10" android tablet all the time as it is a little intrusive and would attract the wrong kind of attention. And I do like to know what the car is doing before the ecu tells a warning lamp on the dash to light up! So on top of the stadard Speedo, Tacho, Fuel Level, Water Coolant Temp I would Have liked some of the following LPG fuel level (Currently in a converted air vent) Engine Oil Pressure Gearbox Oil temperature Gearbox Oil Pressure? Manifold Vacuum pressure Air/fuel Ratio Battery Condition Suggestion/ideas on the 4 gauge smiths unit, and what you would do for the extra gauges? The modern car instrument cluster tells you very little until things go wrong |
| |
|
|
|
|
|
Aug 30, 2014 21:35:19 GMT
|
Matt has commented on my statement about possible gauges So his comments are in italics Air Fuel Ratio:wouldn't bother unless you have a way of data logging (analogue input on an
SCT tuner for example) the output and plan on having a company remote tune the car for
you. If you do fit one you want one of the proper full on wide band AFR gauge kits. The
narrow band ones that plug into the stock oxygen sensors are a waste of money because
when you are driving around the ECU will manage the air fuel ratio so that it remains at or
around stoic and that is what you will see on the gauge. When the car goes what the ECU
reverts to the base tables and ignores its own narrow band oxygen sensors and the reading
on a non wideband gauge will simply peg out and tell you nothing. Okay scratch that one Oil Temperature and pressure: certainly, I can't understand why these are not at least
accessible through the infotainment displays on modern cars as they are important imho
(that being said the ECU on my mustang doesn't monitor the oil pressure, it simply has a
switch that grounds a connection above 6psi. It doesn't monitor oil temp either.That is the first 2 gauges Trans temp: can be useful to tell you if you have problems.That makes number 3 Trans Pressure: wouldn't bother, you can tell if that's good or not just by the way its shifting.But what if it has pressure but not shifting? (android tablet and obd fault finding) Manifold Vaccum: wouldn't waste your money.okay scratch that idea but I think I have one in the shed! The other gauges you mentioned would be useful additions. Lpg fuel level, battery condition so that takes it to 5 not including a transmission oil pressure Any suggestions on something I might need that I haven't thought of above and matt hasn't yet mentioned? While I was putting parts of the dash back together a fwe photos using the 3 and 4 gauge units. As it is 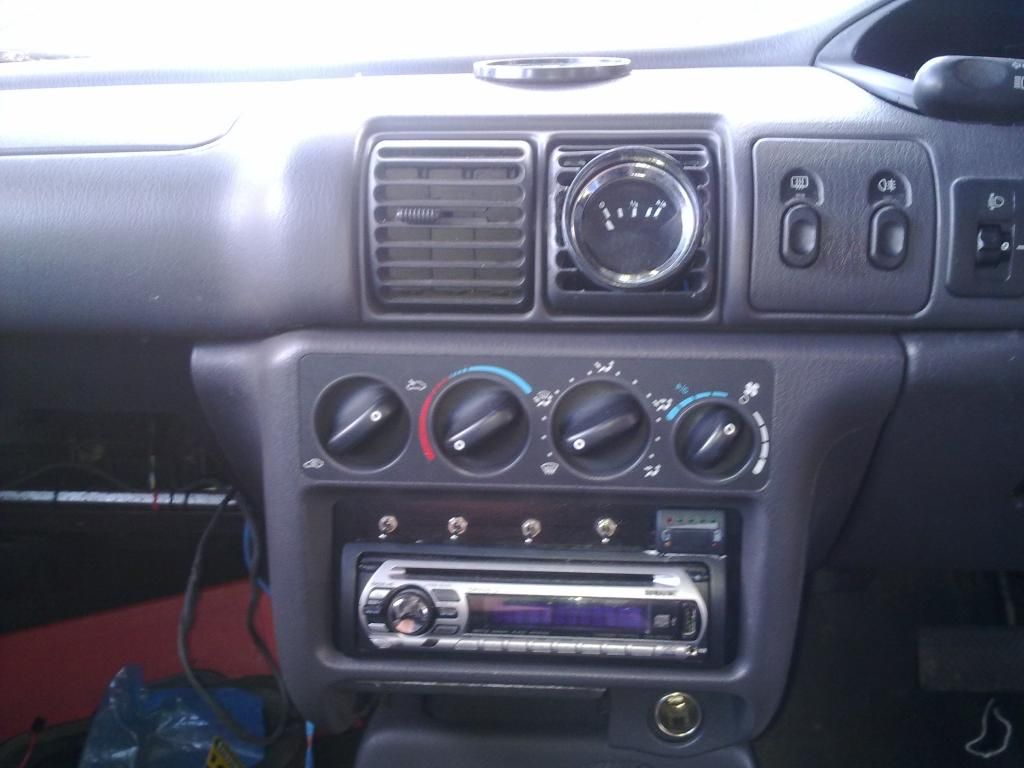 3 gauge unit, with the front further away from the dash because of the depth of the unit it makes it look like it is bigger than it actually is 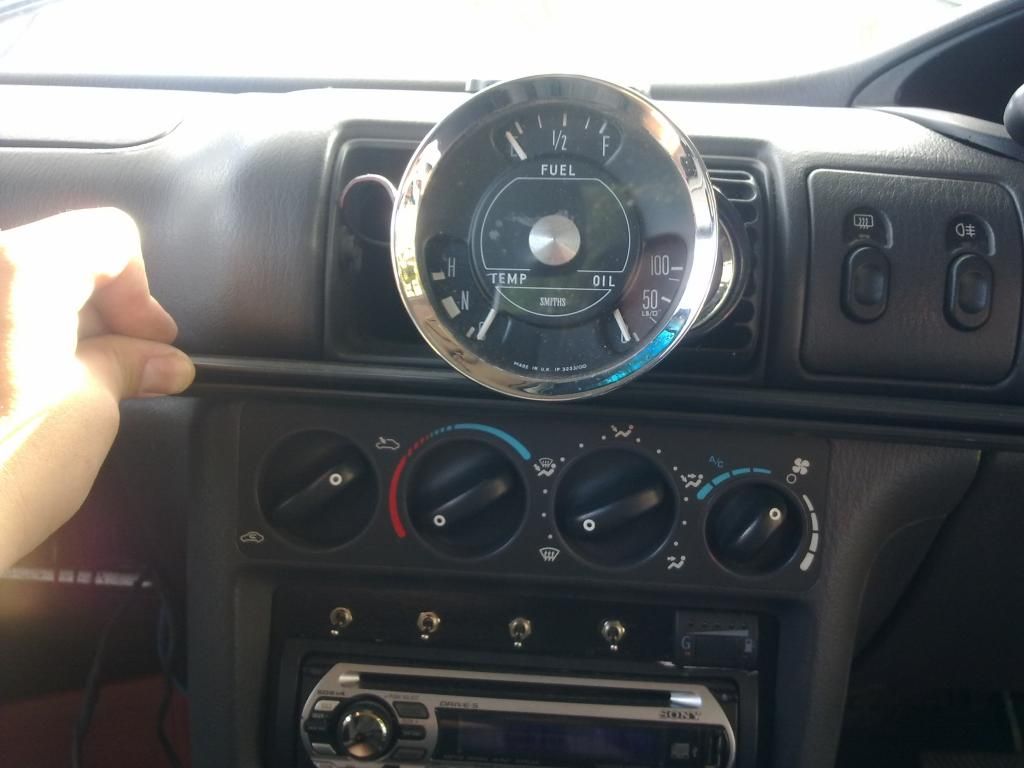 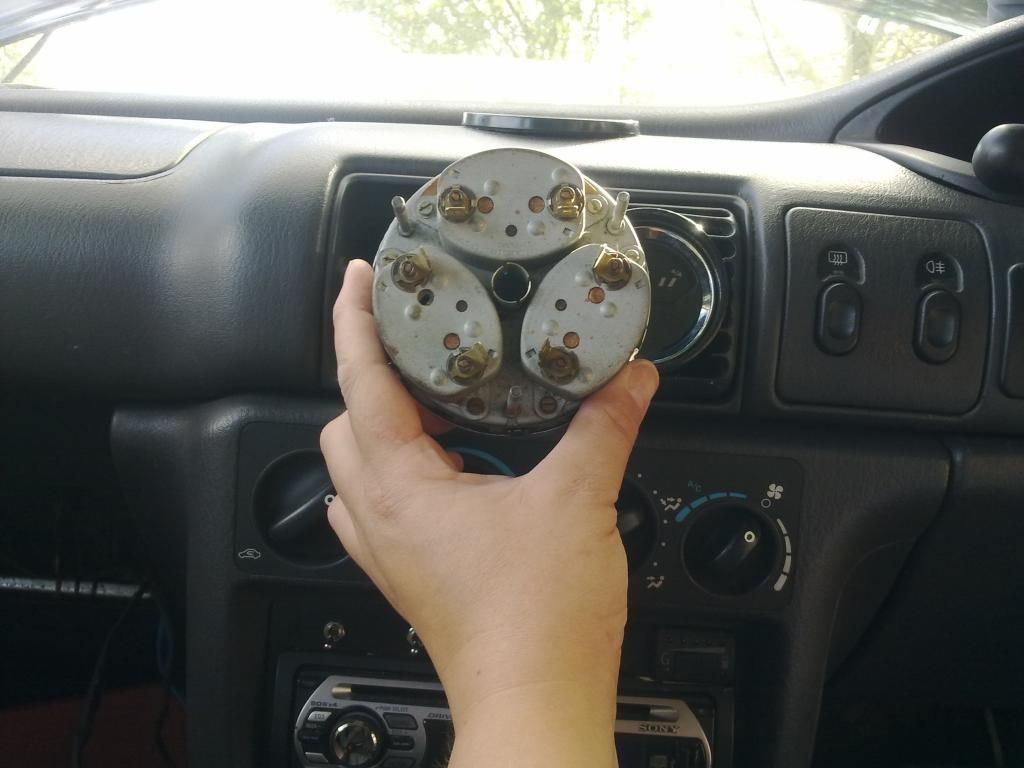 With bezzle off so I can show a better mock up! And a possible dual triple gauge idea in there too. 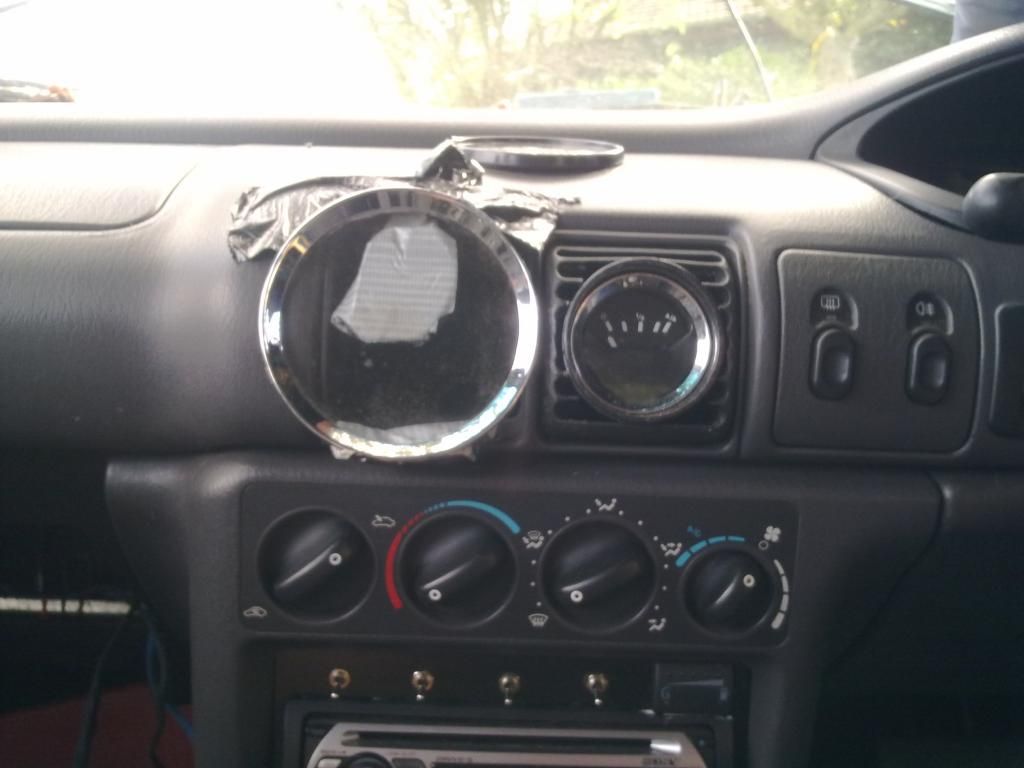 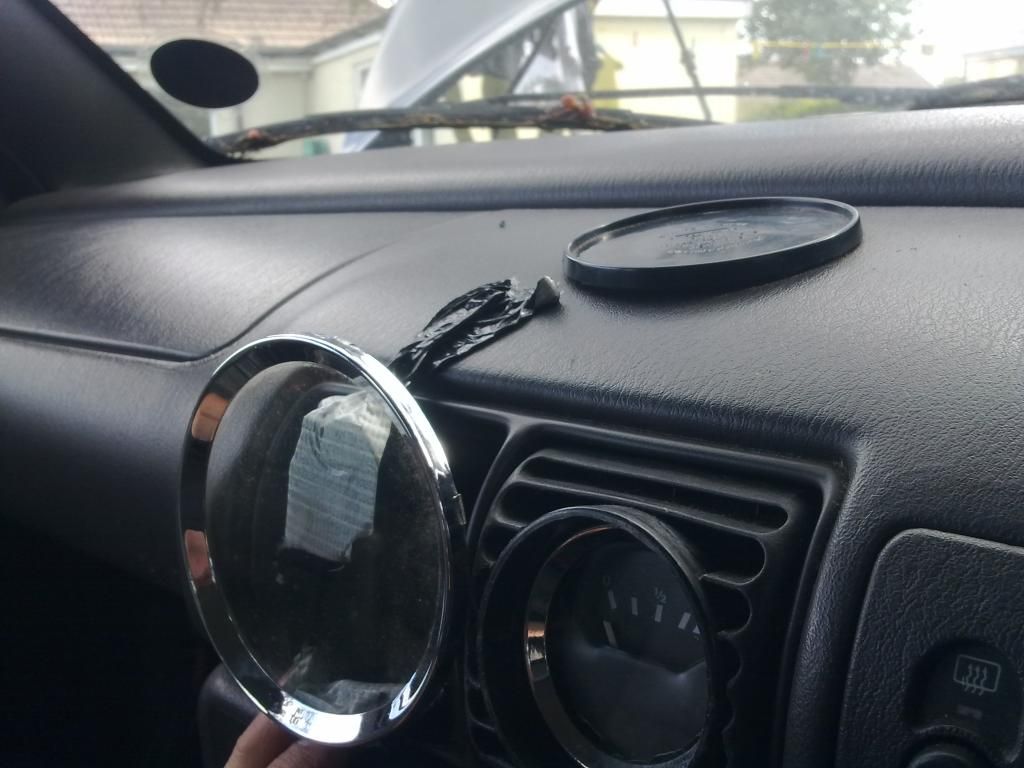 Slight problem with the dual triple gauge unit idea, the foglight and rear demist buttons would be in the way unless the headlight leveling swith was moved to a different part of the dash and the fog light and demist buttons could be moved over 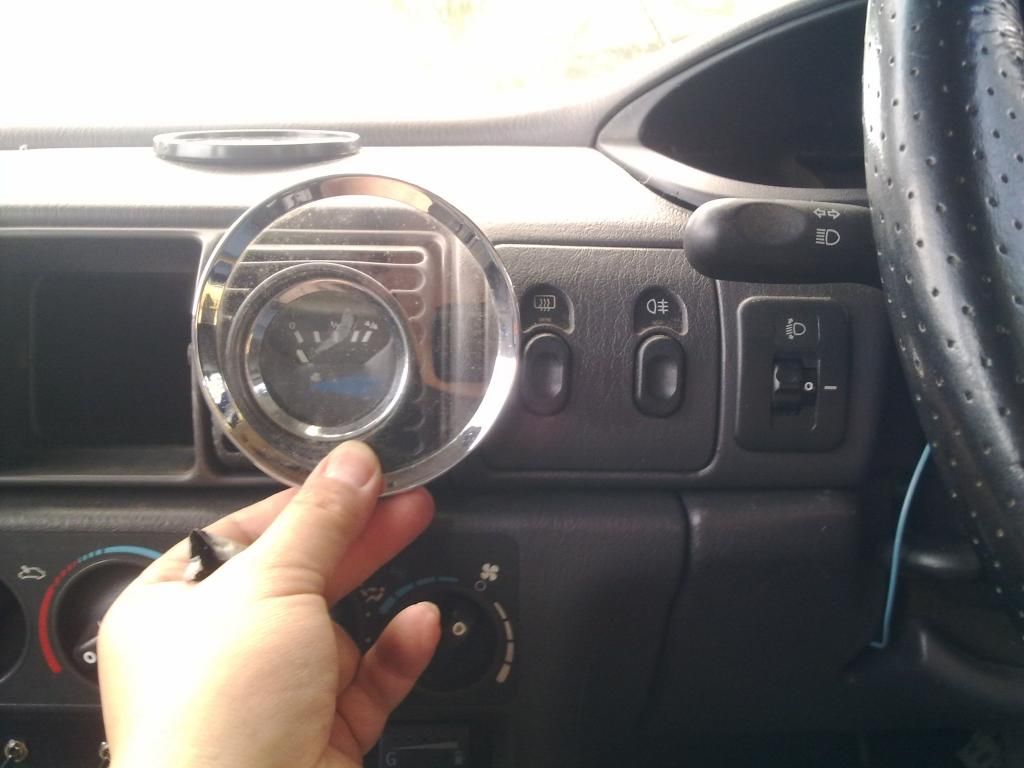 4 gauge unit 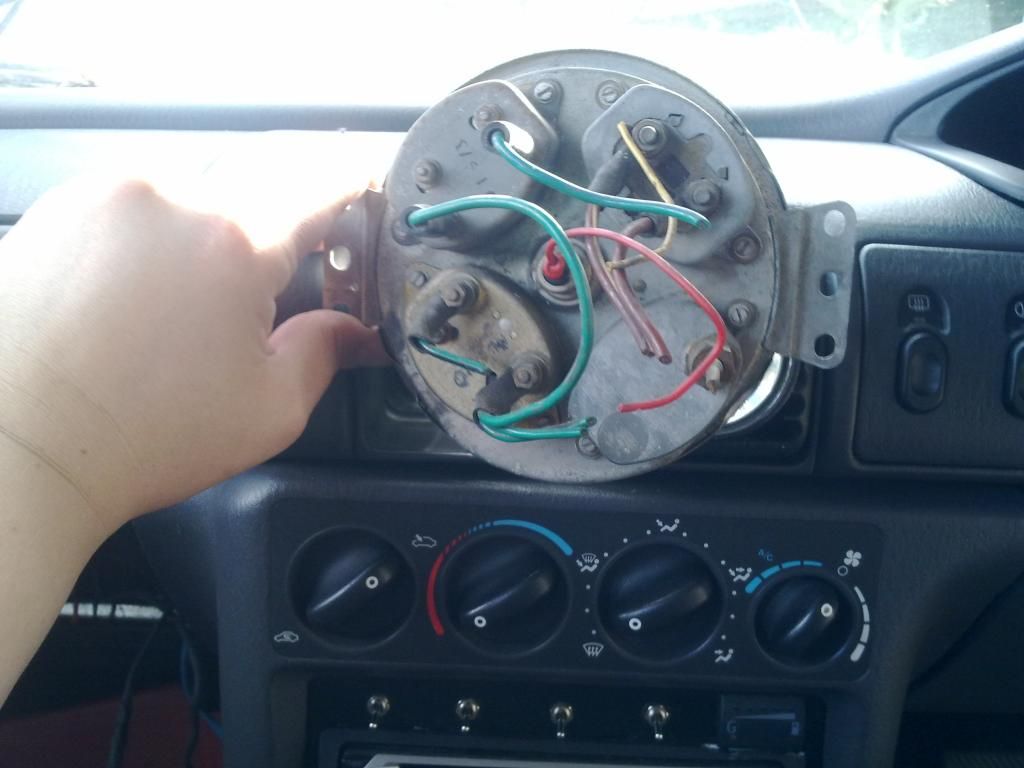 For a better idea, the front of the unit had to be taken off anyway to clean it out so this ment a better idea with not having to deal with the wieght! 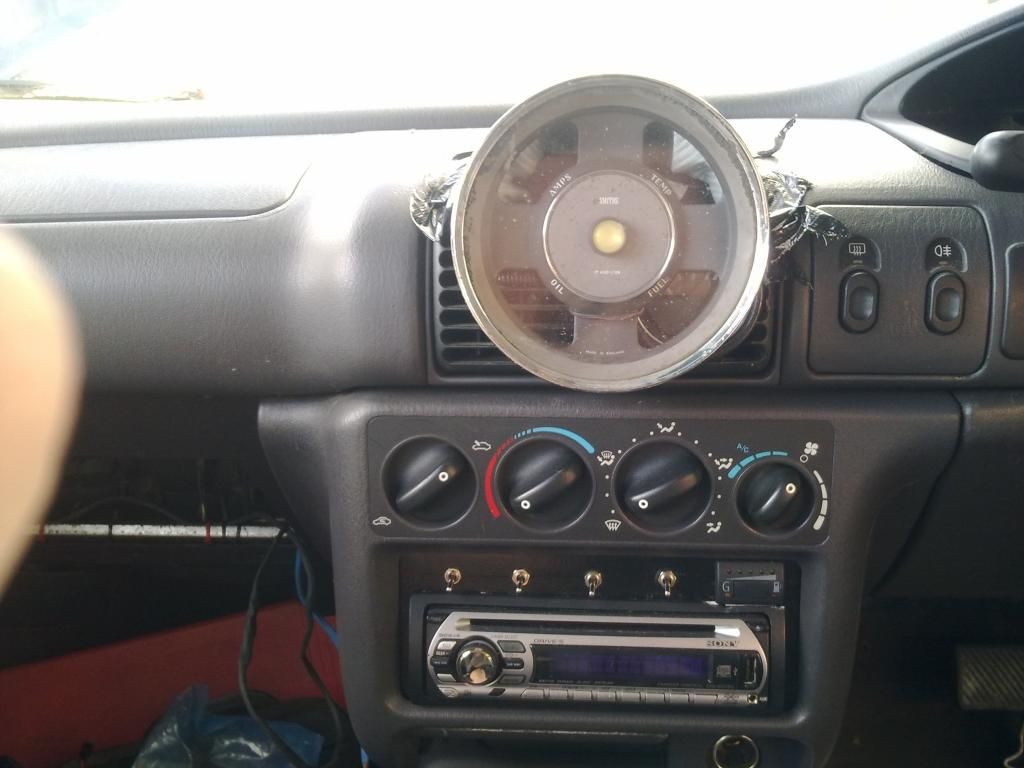   Oh and a bit of time stuck under the bonnet tracing wires and fault finding again. |
| |
Last Edit: Aug 30, 2014 21:38:41 GMT by mitsuru
|
|
|
|
|
|
|
If you consider that even if I had gone with the modified instrument cluster using old gauges it would have been speedo, tacho water coolant temp fuel level plus one other gauge! As it is late saturday night, I'm bored, and in pain. So a quick exercise of the mouse in ms paint using the triple gauge unit, doubled up so it would give 6 gauges in total.(sorry for the crudeness) I do have a spare foglight and rear demist switch unit which I could make thinner, which would mean not needing to reroute wiring and move the headlight leveling switch. 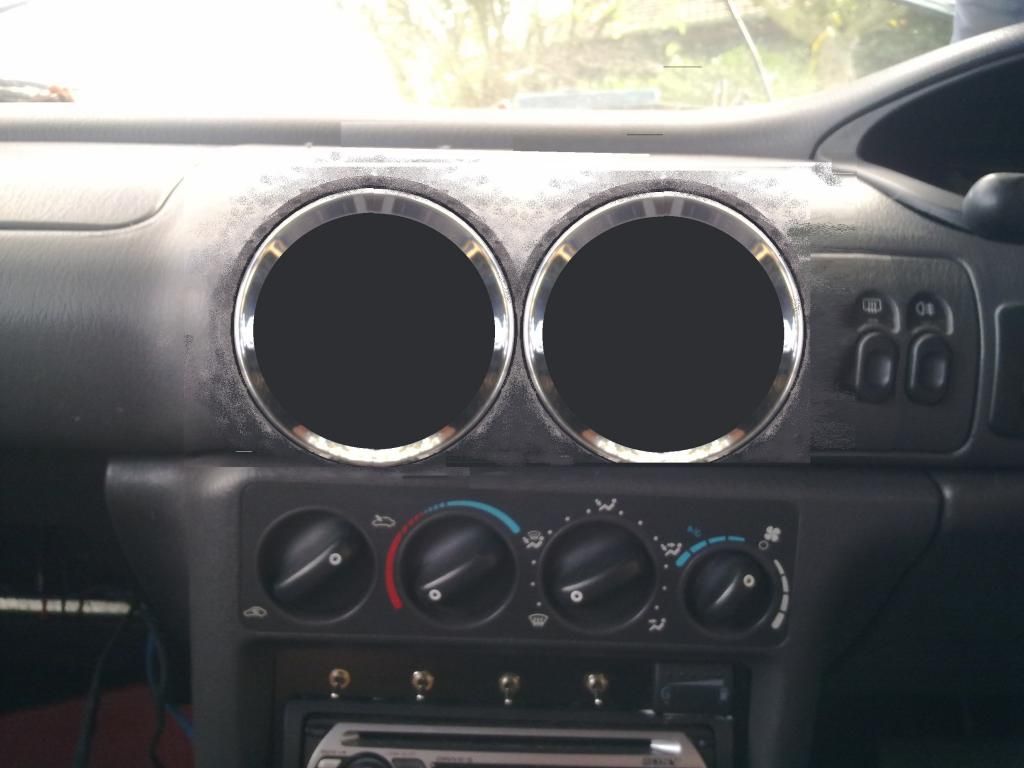 I would need to get another one of that particular dash panel rather than mess with this one if I did decide to go down this route! |
| |
|
|
|
|


