|
|
|
|
|
I popped down to motorcool to collect the rear control arms, then went around the corner and dropped them off at Flavells to be modified. I took one photo when I put them on the passenger foot well.  It's either raining or thick fog it can't make it's mind up here so noth else done on the car's wiring loom! A parcel arrived today, it was a mk2 neon instrument cluster I managed to get on ebay for about a tenner inc p&p. I know the mk2 neon instrument cluster can't be used in it's entirety due to it's memory being programmed with the skim (Security immobilizer code) and if it were plugged into the cars wiring loom it would put the skim into the ecu and everything on the data bus and the car would be in lockout mode! I was reading through some interesting threads on the Dodge Intrepid forums, when I came across a comment which set me thinking. The poster said "if you want the look of the later instrument cluster, but don't need the skim as the older car doesn't have it swap out the guts of the older cluster into the newer one" From the standard look which I hate. 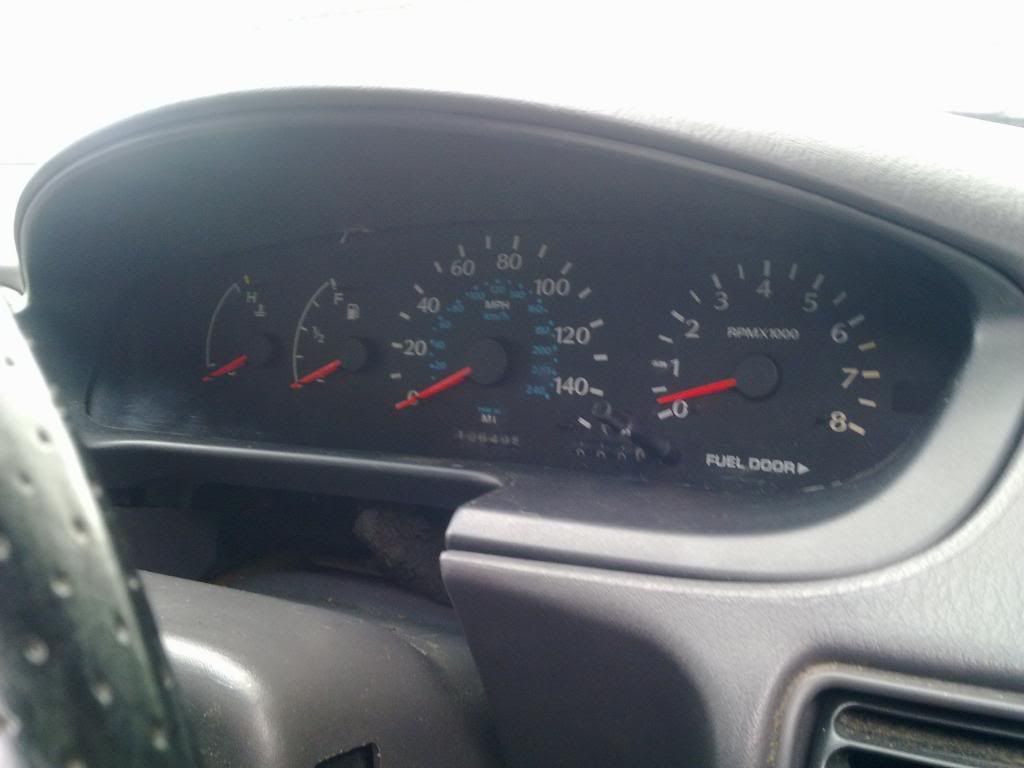 To this(not in the dash properly due to cluster having more excess plastic than needed) I have to admit it looks a dam sight better and has a classic look to it 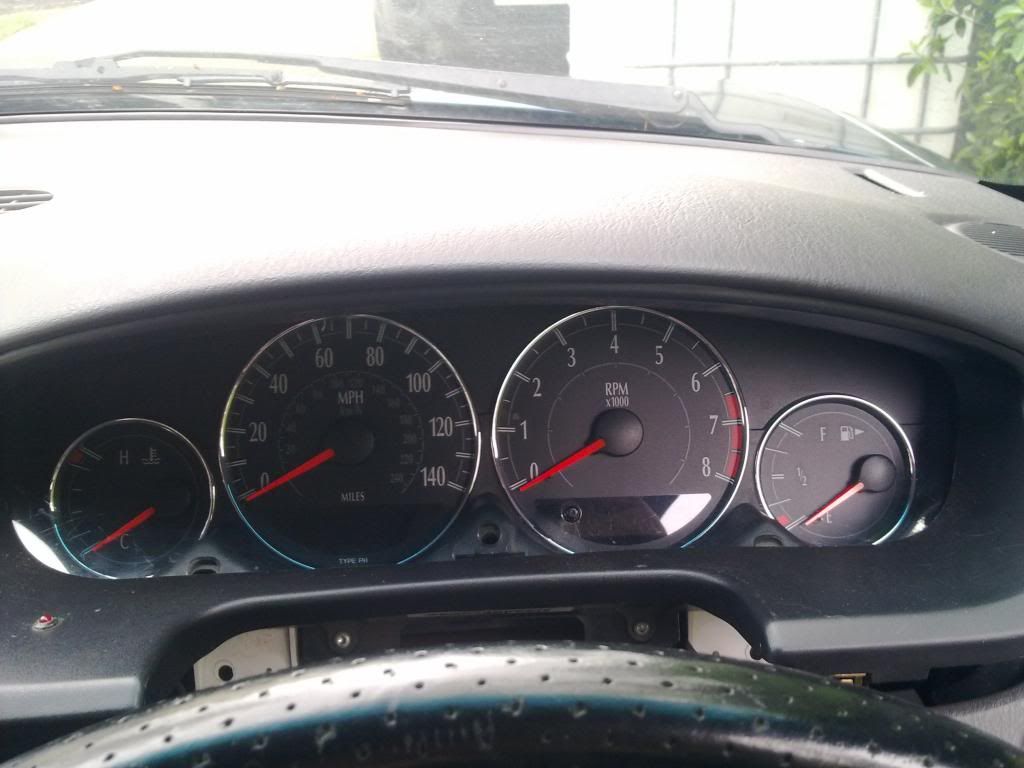 What do you guys think of it as an alternative to making a full instrument cluster from scratch as all the dials are in good places, and the illuminations/warning lamps would be in the uncovered area. |
| |
|
|
|
|
|
|
|
|
|
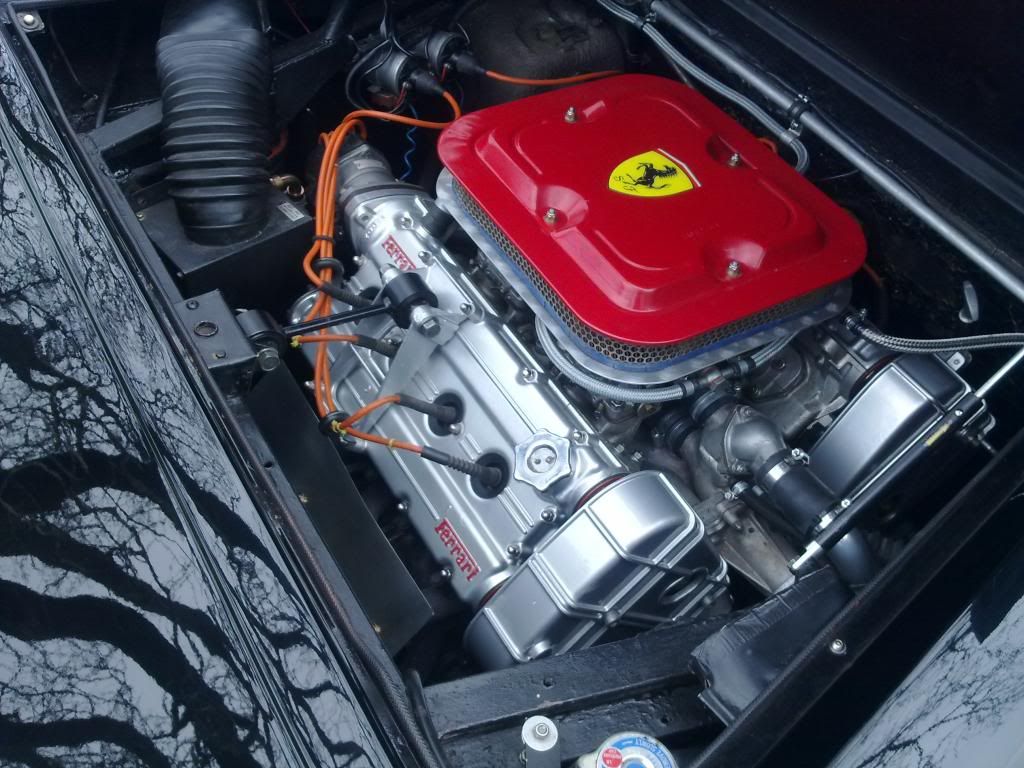
That engine has already been used in a FWD car, Google Lancia Thema 8.32  That new dash looks heaps better than the old one. Must say i greatly admire your conviction and enthusiasm for this project  |
| |
72 Pontiac Firebird Formula 400. 95 BMW E34 525i Manual. 80 Lotus Elite, sold  86 Mk4 Escort RWD V8, sold  |
|
|
|
|
|
|
If a picture paints a thosund words, too much coffee and I got to see the sun rise 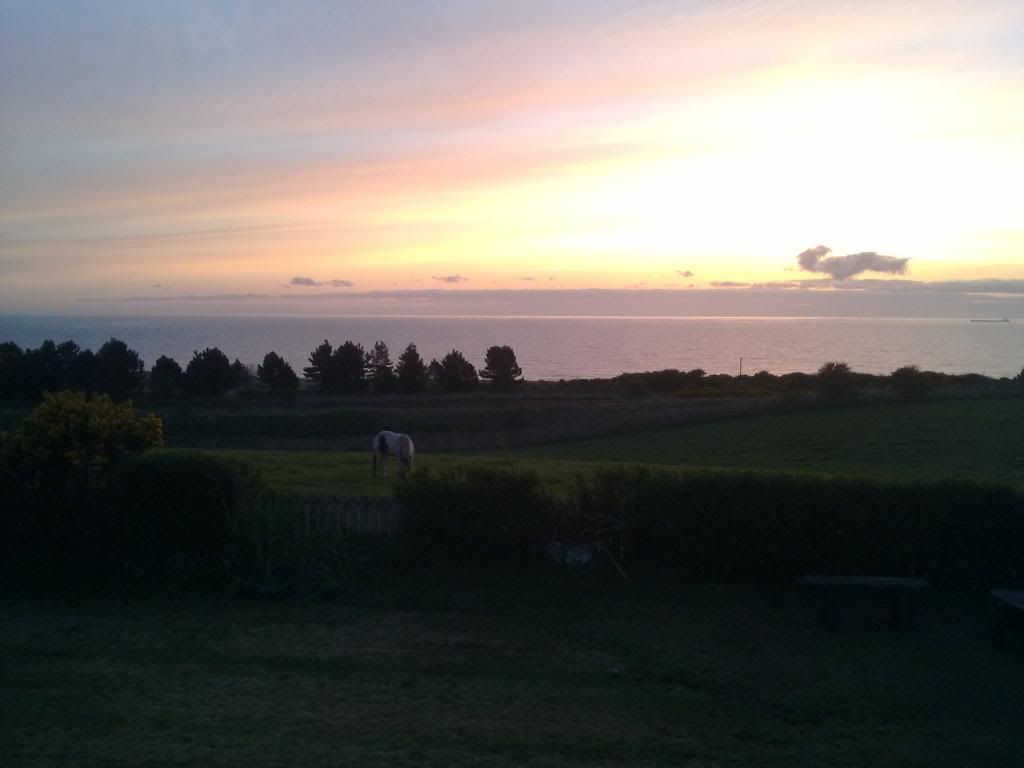  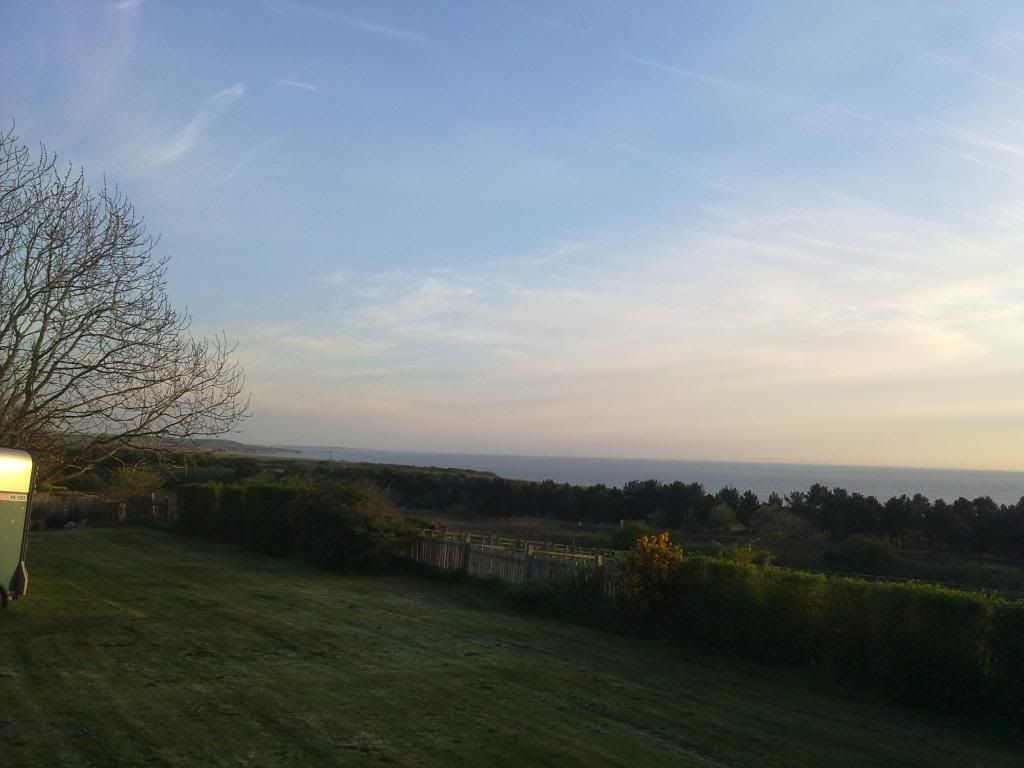 Apart from the angle of the wheels, the old girl looks good in the rising suns rays! 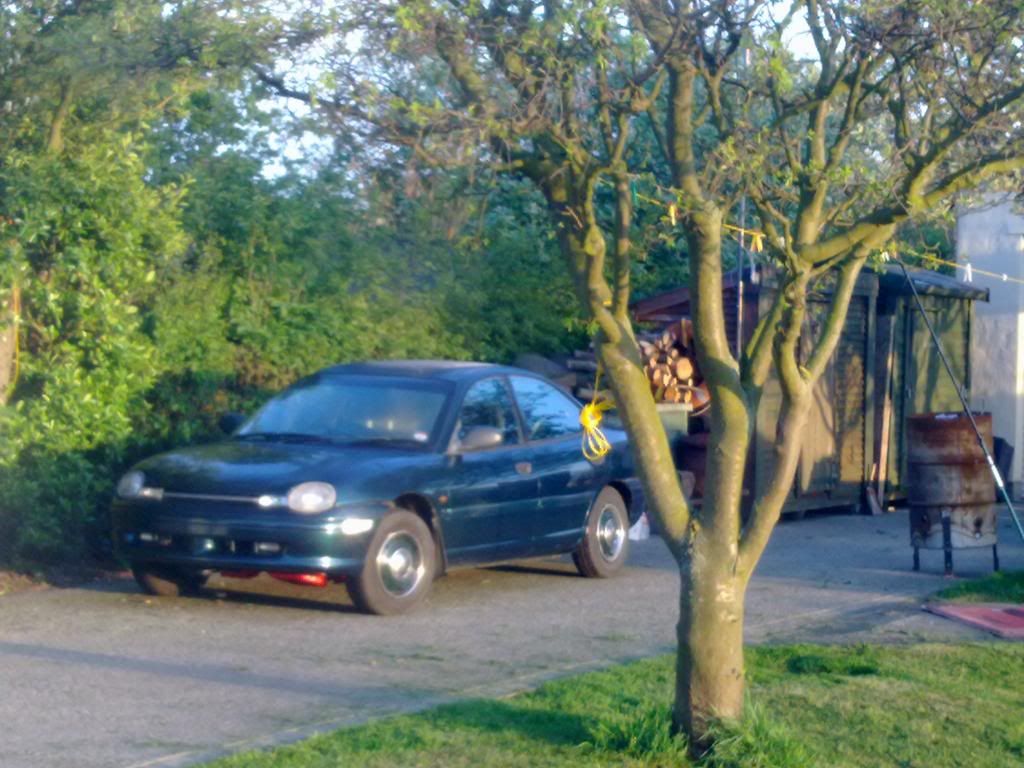 Shame the car was fighting me at every turn when I was trying to trace wiring from one end of the car to the other. And as I tried to put the plug back into the gearbox's solonoid pack I realised that something wasn't right there either! the fixing nut which the bolt on the plug screws into had come out with the plug! 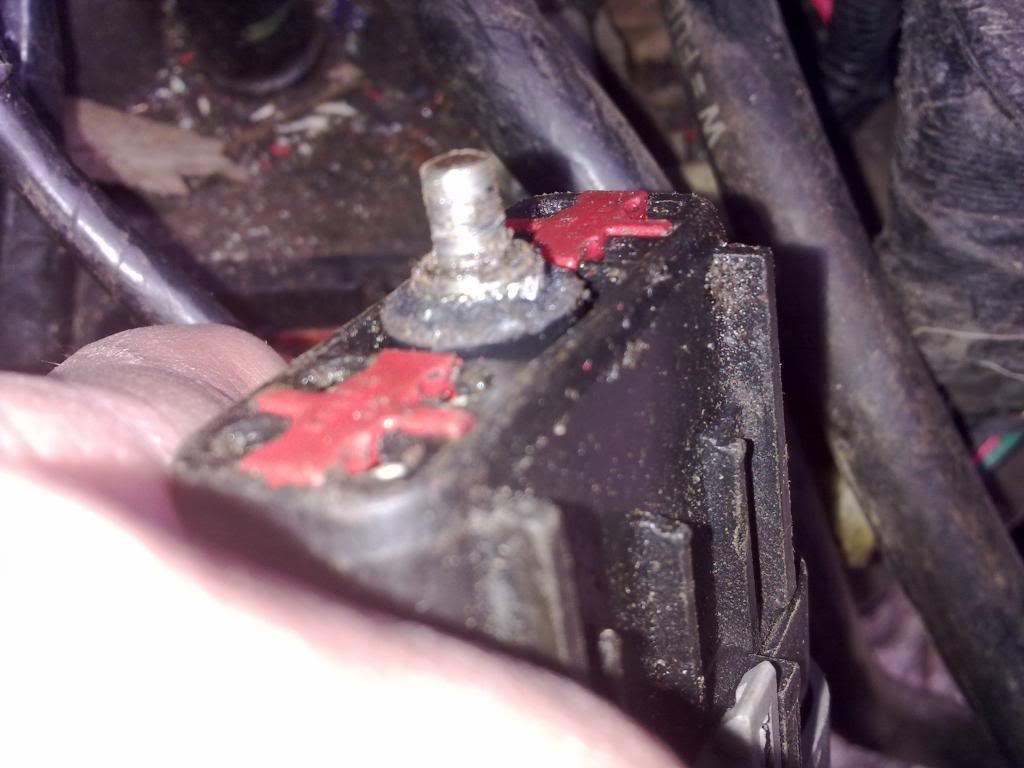 Do you think it is time for a new solonoid pack fo for the automatic gearbox? |
| |
|
|
|
|
|
|
|
I went to do some work on the old girl, and as I opened the door my feet were soaked! I pealled back the weather proof plastic on the door(as the door card had already been removed) and the door was full of water. After taking out a rubber bung and draining out the water, 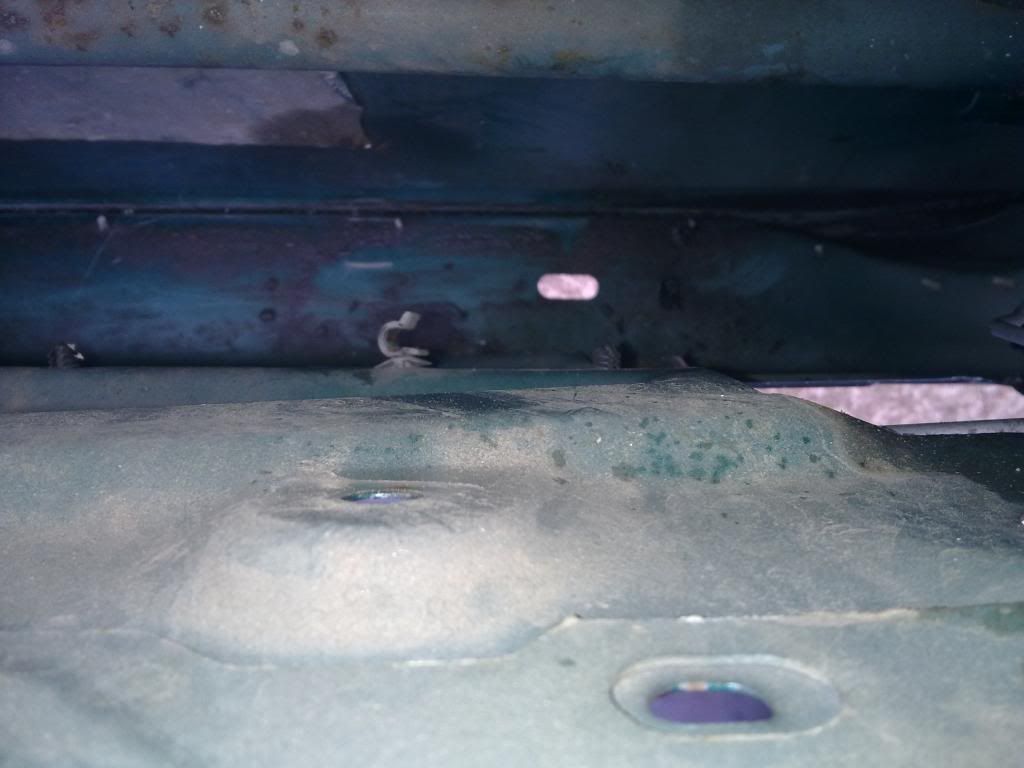 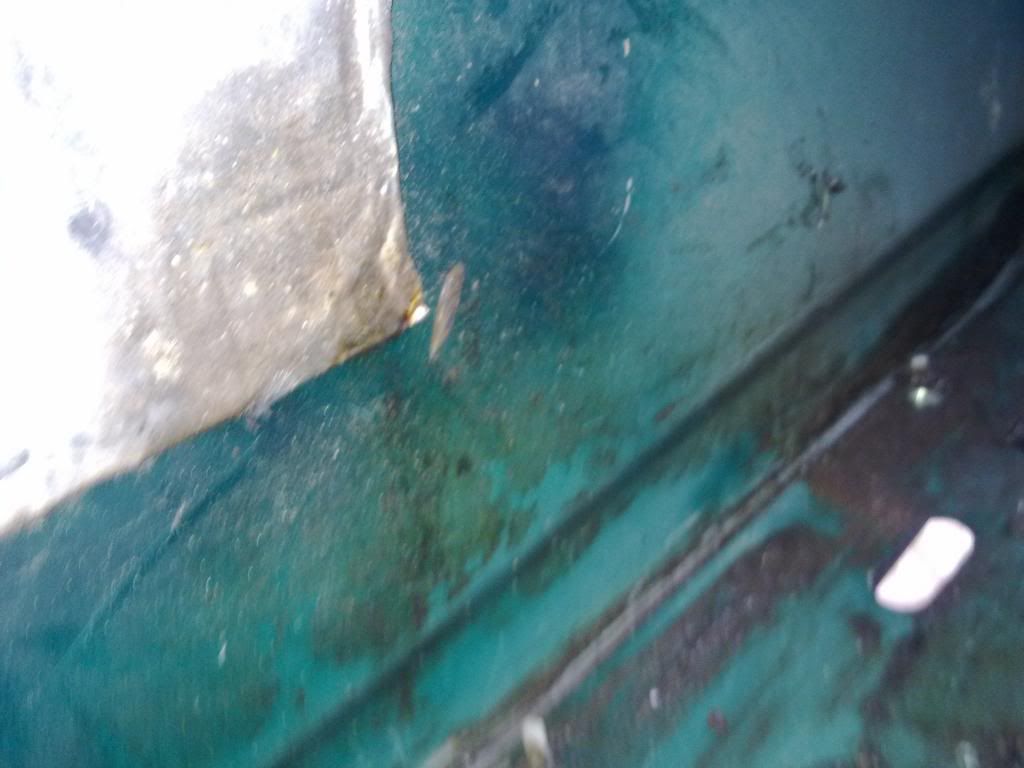 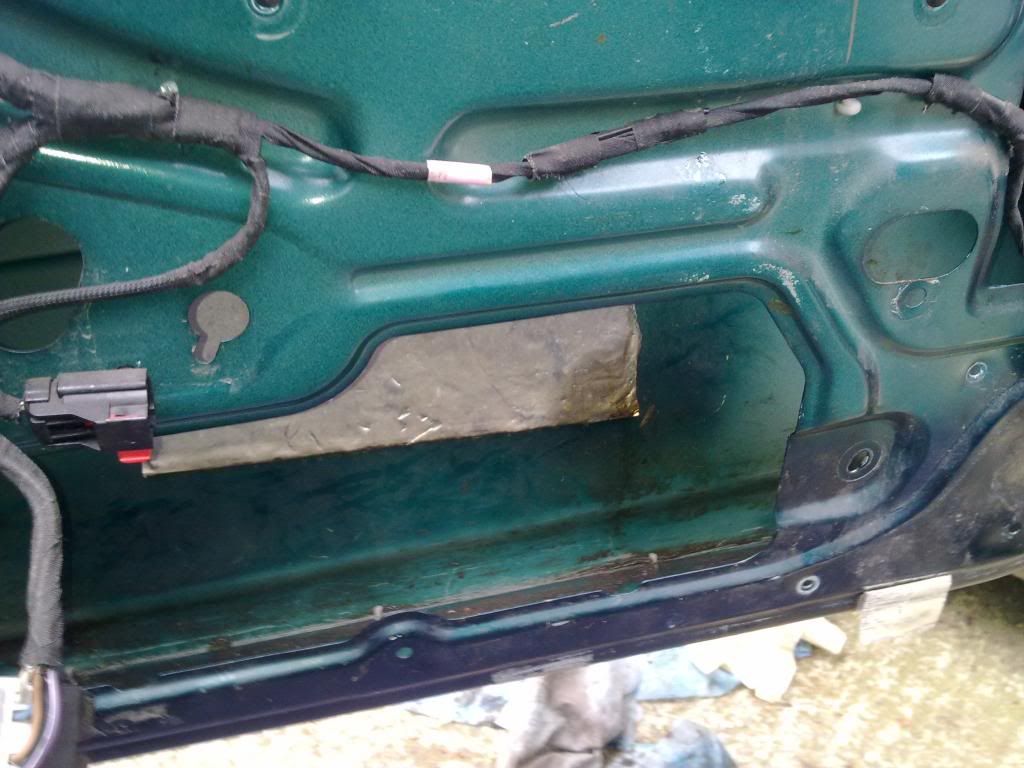 In order to clear out the full length of the door the winder runners and drop glass had to be removed to get the plastic reinforcement out to have full access. 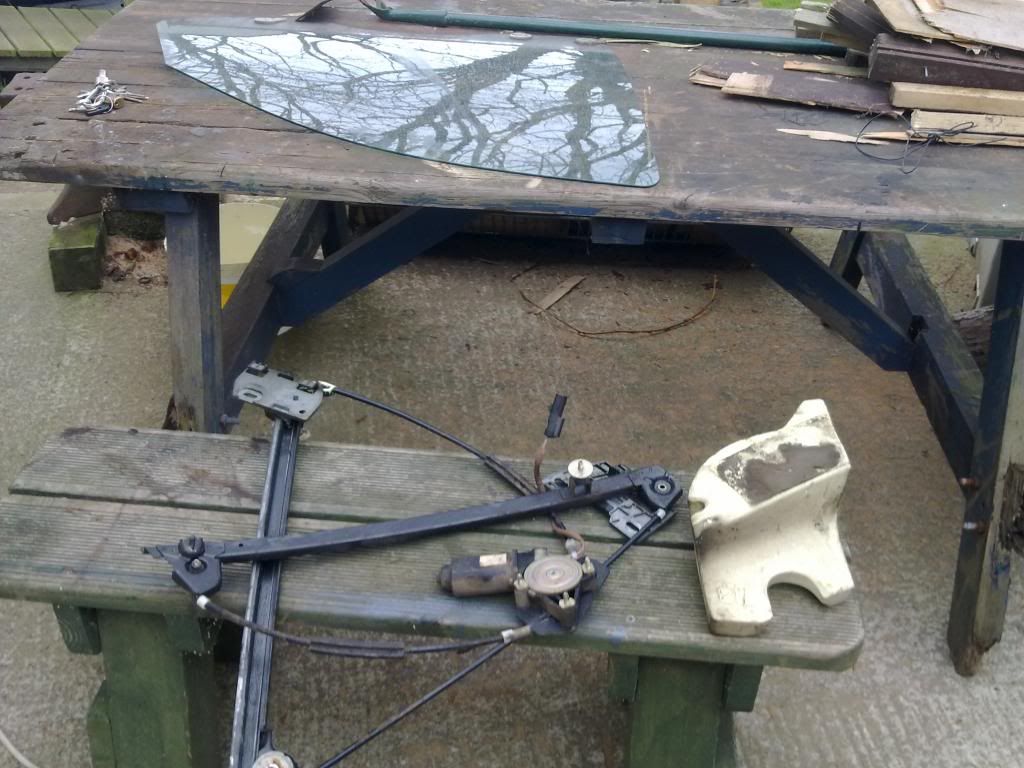 And the reason for the guttering and drainage holes being clogged BROKEN GLASS!!!! 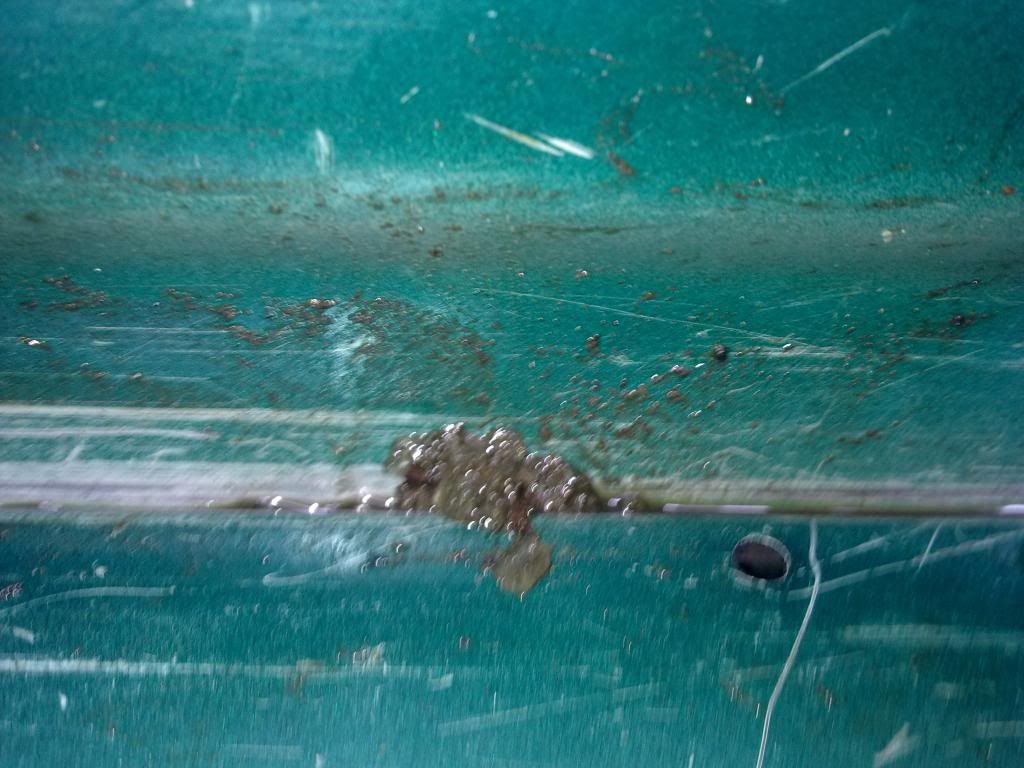 With wite spirits a tooth brush and rags< I cleaned out the door 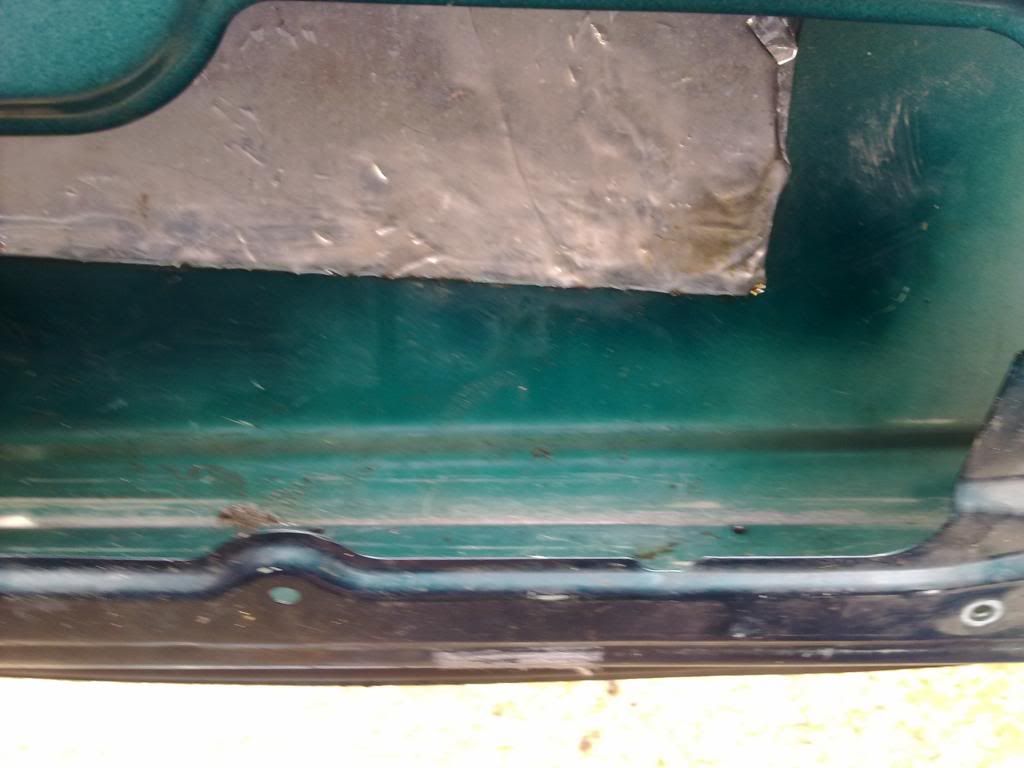 I then used some under coat spray to water proof due to all the scratching when removing the glass fragments. There was one big problem the drain hole at the end of the door would keep getting blocked so i decided to drill another hole closer to the frame of the door for better drainage, BIG MISTAKE ~I went all the way through!! 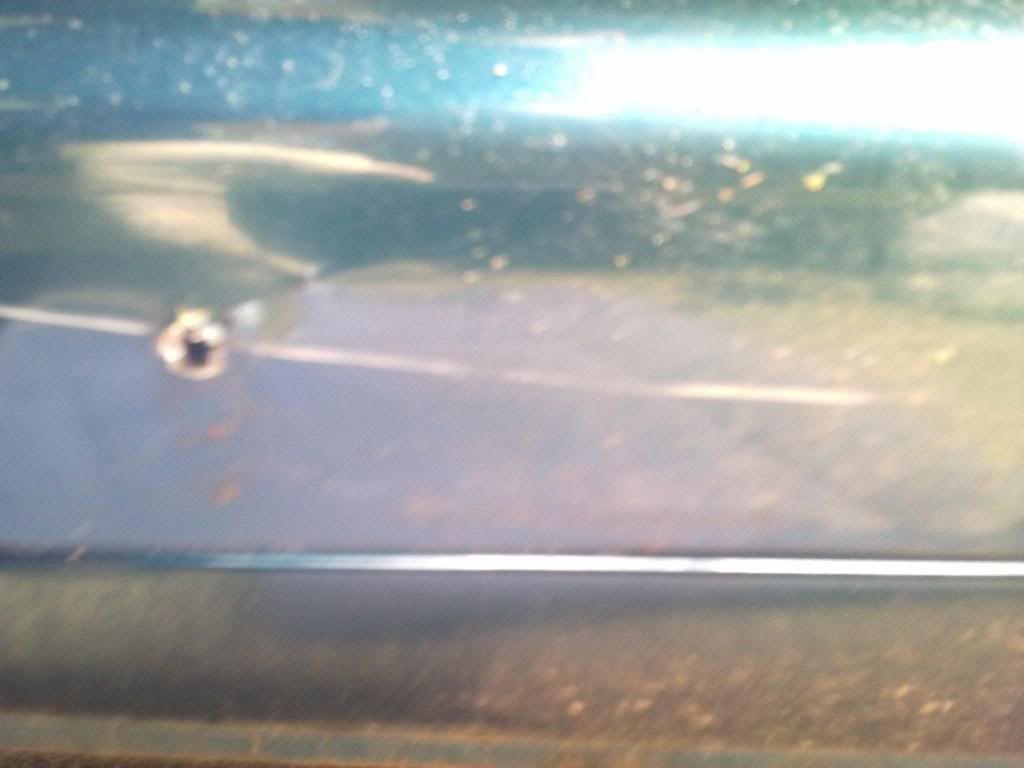 So that will need to be fixed and respayed(along with the rest of the car!!!! ::s:) Then I turned my attentions to the window winder runners and cables. I stripped the winder cog off the motor. A kinked gable jamming the cog in the housing and damaged the electric motor. 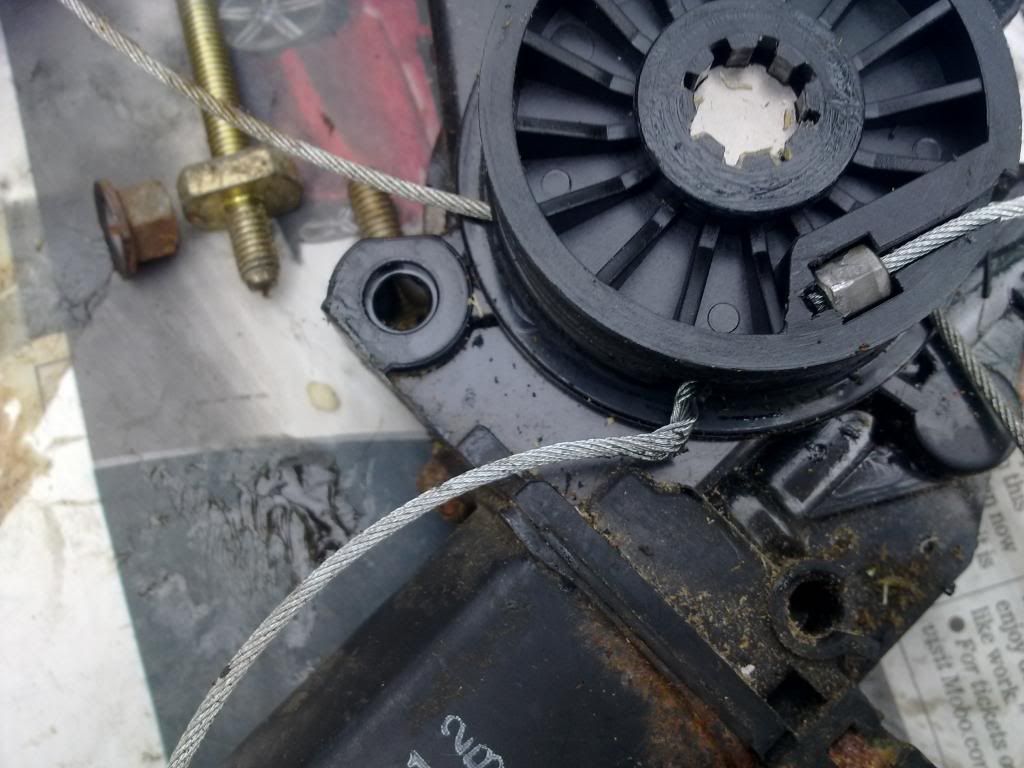 After I had refitted the runners with a spare cable and as well as a spare electric motor the full lot had to be refitted. There was something that dawned on me as I was getting the glass level there was a rubber missing and there had been bare metal scratching the outside of the drop glass! 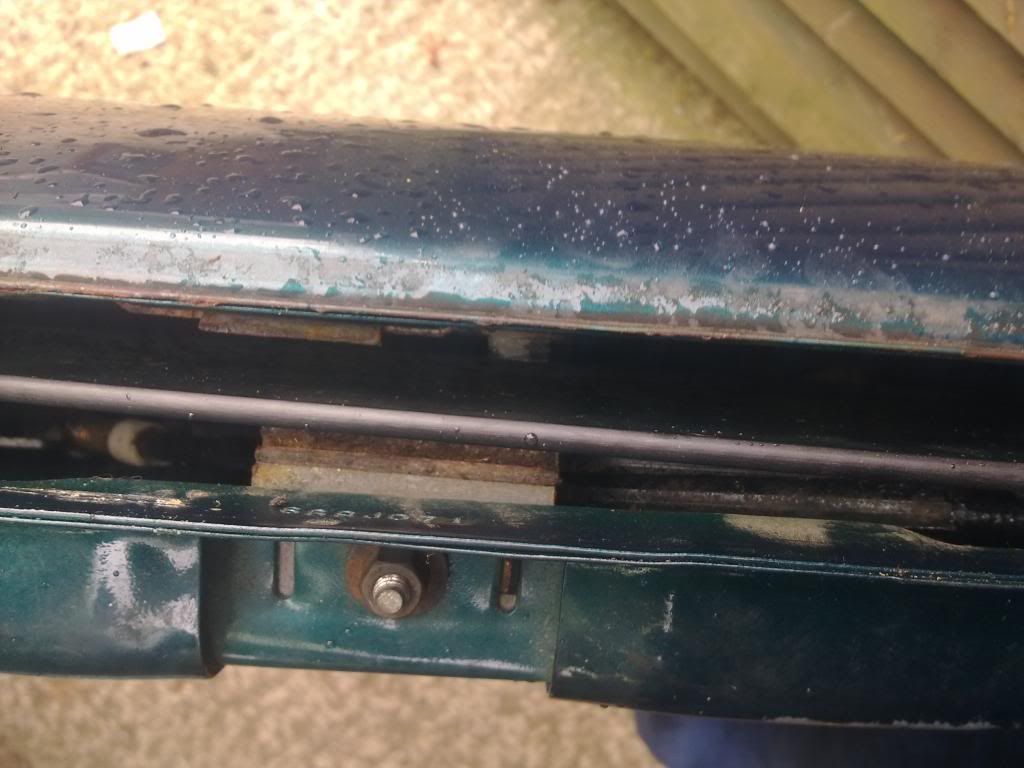 I will need to get replacements also new seals for along the top of the doors. I can't properly adjust the drop glass until then, but at least the window doesn't jam part way now and all the cable that the widrop glass is pulled on has been greased to protect it and keep eas of movement. I managed to get the windo in just before rain stopped play! |
| |
|
|
|
|
|
|
|
|
I called the local Fiat dealership to find out what it would cost for replacement door glass stabilizers!
for something that is a small 2 inch strip of metal with a bit of rubber riveted to it they wanted £10($17)
per outer drop glass stabilizer I didn't bother asking the cost of the inner stabilizer.
So I thought I would pop to the local scrapyard to see what I can scavenge from other vehicles!
First off no mopar stuff at all local scrapyard, so I had to search for bits. One of the things I was looking
for apart from possible suitable drop glass stabilizers also replacement weather strips for along the top
of the doors as they are also starting to look as though they are due for replacement.
As the local car parts stores don't sell the rubber weather strips any more and they are a dealer part!
As I went around I took one of the rear door weather strips with me to get the right length. There were
2 cars that looked promising for the weather strips a Vauxhall Astra convertable and a ford puma.
While wandering around the yard a blue volvo caught my eye, since the scrapyards remove the number
plates from parts cars before they are put in the yard you may think I wouldn't have realised it wasn't
mother's old v70 estate. Wrong as the bonnet was up I could tell from a good 30+ feet that it WAS
mother's old car as the emergency DIY fix for a heater hose at a car show was still in place and blatantly
obvious :lol:
So at a cost of £25 for both front seats of the old estate and £5 for the guys at the scrapyard to remove
them and haul them over the top of the cars around it and to the other end of the scrapyard to the gate
I will be pick them up Tuesday and it saves me a whole load of pain for the cost of a fiver :lol:
When I got home I offered up the astra and puma weather srips to the car. Yes they were long enough
but they didn't even touch the door glass I will be going back to that scrapyard on tuesday to get some
more off different models!
You may ask WHY I have bough the Volvo seats? Well the mk2 neon interior has been in mother's horse
box for a while and the front seat have been attacked by vermin!!! The rear seats survived somehow!
And as the Volvo front seats were the only ones that didn't set body off in one form or another, I will see
if they will fit into the neon. I will get both the mk2 rear seats and the volvo front seats recovered so they
match, even if I have to do it myself! Yes I own a sewing machine and have repaired or adapted seat
covers on a ford before! She is going to be a comfy cruiser.
|
| |
|
|
|
|
|
May 10, 2014 15:14:20 GMT
|
|
I managed to get a bit more wiring done then the rain just torrented down. My mobile phone is drying out
on the house radiator, the sheets of paper with connector pin-outs the ink has ran(paper mashe anyone?)
I came across one of many faults. But the fact that the sensor ground on the ecu wasn't connected to the
car and engine wiring looms might be a good reason why the car wouldn't start or run!!!
The car battery is flat so I am waiting for it recharge before I give the old girl another go a firing up!
While I was looking at wiring diagrams and connector pin-outs, more or less did a double take looking at the
plug for the transmission control module, and the voyager ecu. The tcu gives out the Vehicle Speed Sensor
signal, so I didn't need to fit the mk1 neon speed sensor housing and all the extra stuff, I could have just
tapped into that single wire!
|
| |
|
|
|
|
|
|
|
On monday I called to see if by chance that my rear control arms modifications had been completed they hadn't so I popped upto the scrapyard. They had only taken the seats out of the volvo that morning. So those seats were put in the back mother's astra before I went on the hunt for weather strips again. The comparison between the neon's original weather strip  And every other car tends end in the same result there is a whooping gap between the window and the weather strip taken from other vehicles!!!  As I needed to keep out of the way so the rest of the family could do stuff when they got home from work, I made a start on the Volvo drivers seat. The adjusters might need replacing as I bust one of the handles removing it. The base seat cushion was what I was aiming for first, get it off the cushion without damaging either one. There were oil marks along with the dirt of heavy use on the seat cover.  After removing vertually all the metal stays from the cover it went in a 60 min wash at 30 degrees C with washing powder and the equivalent of vanish (equal amounts) all the stains gone but all the materials showing their age and abuse!  After the rainfall tonight, I don't know what it would be like for working on the car! I want to get back to the wiring, but if it is raining I will continue to strip the Volvo seats back down carefully along with the reminents of the mk2 neon front seats(one reason for having the caravan). If it is dry then I will be working my way through the ecu plug wires one at a time tracing them from one end to the other throughout the car :cry: I went to the car meet at the OK diner which was a very good turnout but I forgot my camera phone (DOH!) a lot more cars than usual including a pink 1959 Cadillac 4 door with white wall tyre and white roof. Some B******d had hit the front left wing and taken it back to bare metal!! One of the reasons I made a serious effort to get to the car meet was that there was usually a guy there who reupholsters car interiors, and I was hoping for his advise on what decisions that I would need to make before calling to his business to get a price on him doing the seats. Unfortunately he wasn't there but one of his friends was, so I did managed to get his number. Depending on the brakedown of costs would depend on the options I will choose from. There is one idea which has crossed my mind along the lines of the 2 tone beige and brown interiors that were one of the options from the factory but my version is the factory door cards and dash upper stays the same but the lower is a deep burgundy red similar to that of an old mk2 Jag(pie in the sky, money no object!) Or a more realistic budget option is for the old design and colours of grey with black piping. |
| |
|
|
|
|
|
May 14, 2014 20:22:21 GMT
|
Mother had the hose pipe out on the horse box so no work on the wiring. So work on the seats. I removed the base frame off the mk2 neon drivers seat, then I removed the roller rpart from the frame. Luckily it is a frame and not two indipendant bars to bolt to the floor!  The base of the Volvo seat minus the bottom cushion, and before any work.   The rear of the runner bars had the various tabs and sticky out bit cut off then the welding ground flat.  As you can see the neon bolting frame is thinner than the Volvo's. However the runners are the same length.(yes I missed a little metal tab so they don't fit right)  The tab removed the bar is placed there so the rear of the frames line up.  The front is a little different from looking at it what would be on the floor however the Volvo's sticks out further as it bolts to a flat floor. The Neon has a box section which it bolts to the side of, so a bit of angle iron for the front and a little adjustment in position?    I will be continuing to remove the upper cushion cover on the volvo seat to remove the side air bag. The old drivers seat will be removed and these two frames placed in the car for measurement. Although the runners are further apart on the volvo seat the overall width of the base of the seats is about the same. The tube on the volvo seat which is the widest part for side impact protection is the only foreseeable problem, but that could be shortened. |
| |
|
|
|
|
|
May 16, 2014 23:23:11 GMT
|
Lets carry on with the Vovlo seat adaptations and fitment. After removing the mk1 drivers seat, I bolted the front part of the mk2 seat frame down. This is the reference point for the Volvo seat fitting. 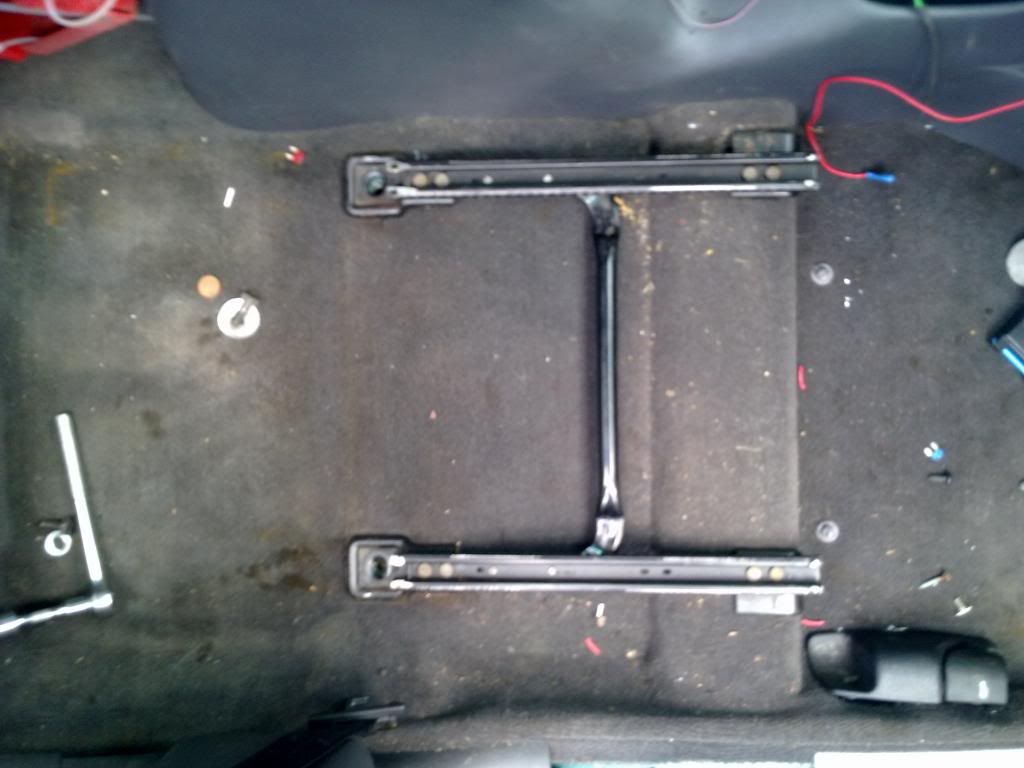 With the back of the volvo seat still attached, it was placed on top of the neon base frame. As you can see the tube which is part of the Volvo seat base which is for side impact is in need of a bit of a trim. An inch or so either side ought to do the trick! 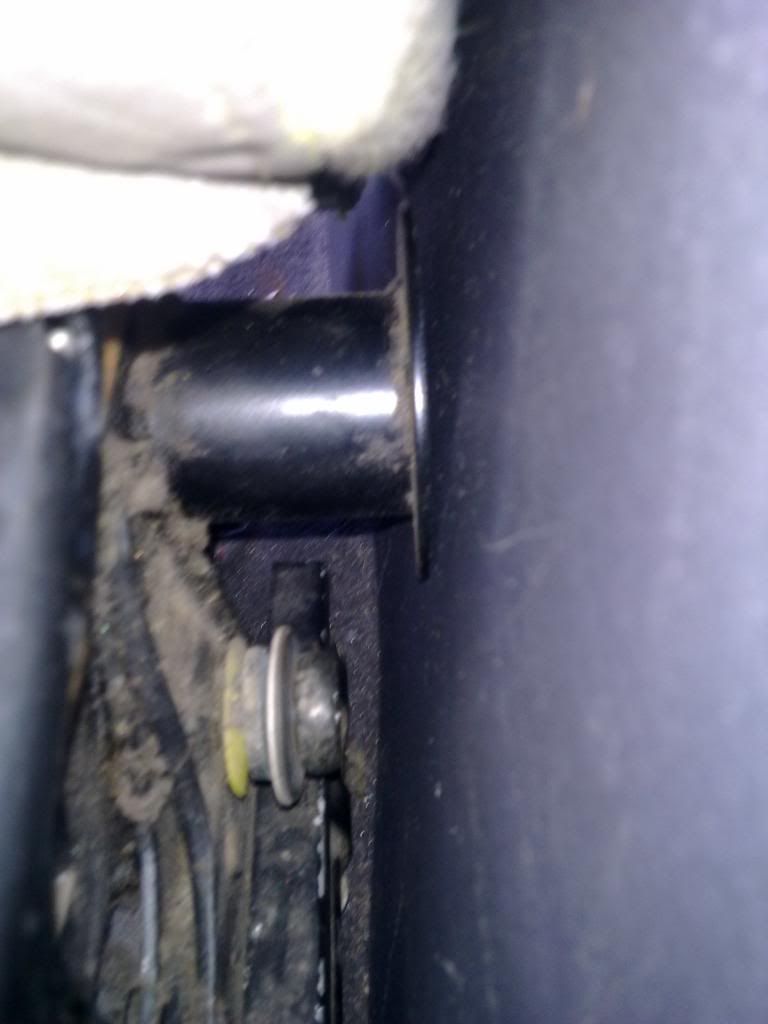  Because the left side of the seat is further over the right side of the seat is touching the pillar plastic covers. (plus the side airbag is still in the seat!) 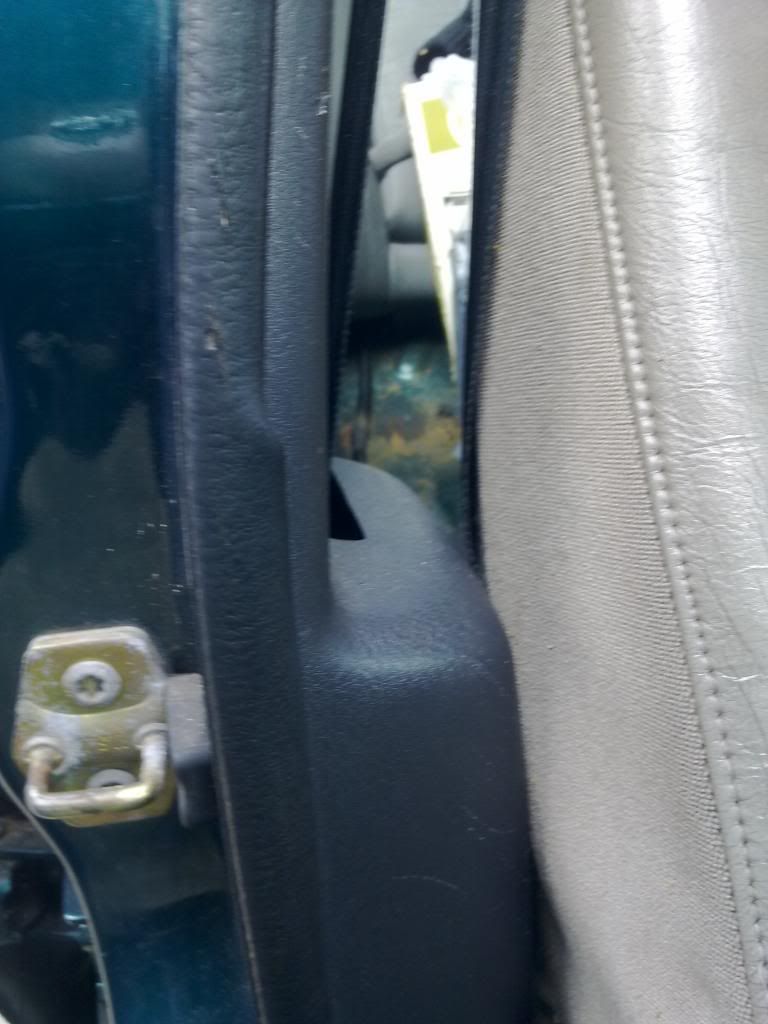 Some of the springs and cover retainers from the inside have been removed. But I still have to get that bloody head rest of to pull the cover and foam which have even more clips inside! That cover looks horrid but the seat was bloomin cumfy!  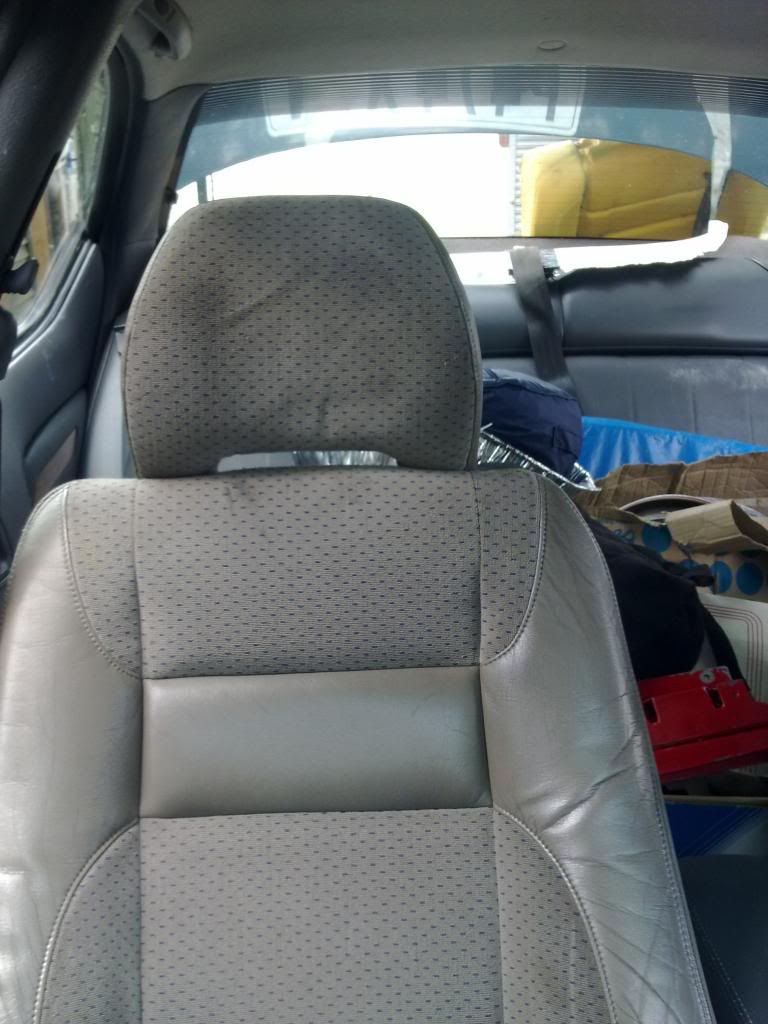  with the back of the seat removed it was easier to cut the tube down to a more suitable length. A new plate will be welded over each end to keep it's strength.  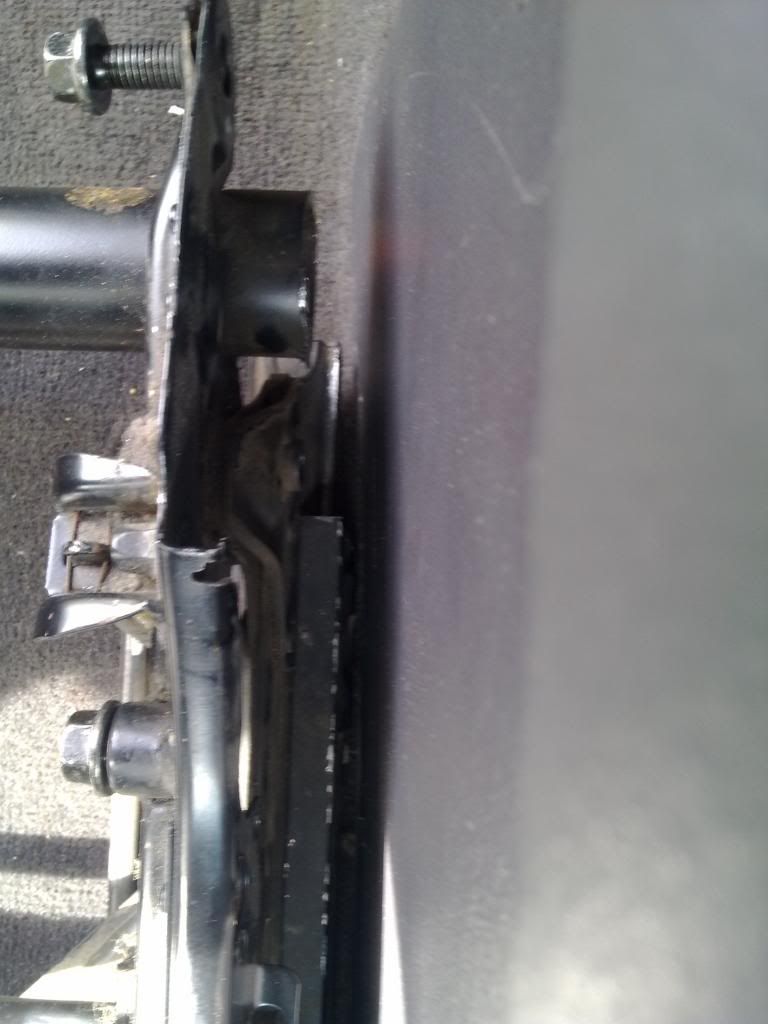 With the tube cut the seat base could be placed better for calculating the next bit to made for bolting it to the cars floor. The Volvo seat base needed to be on top of part of the left runner, yet the right needed to be further over!  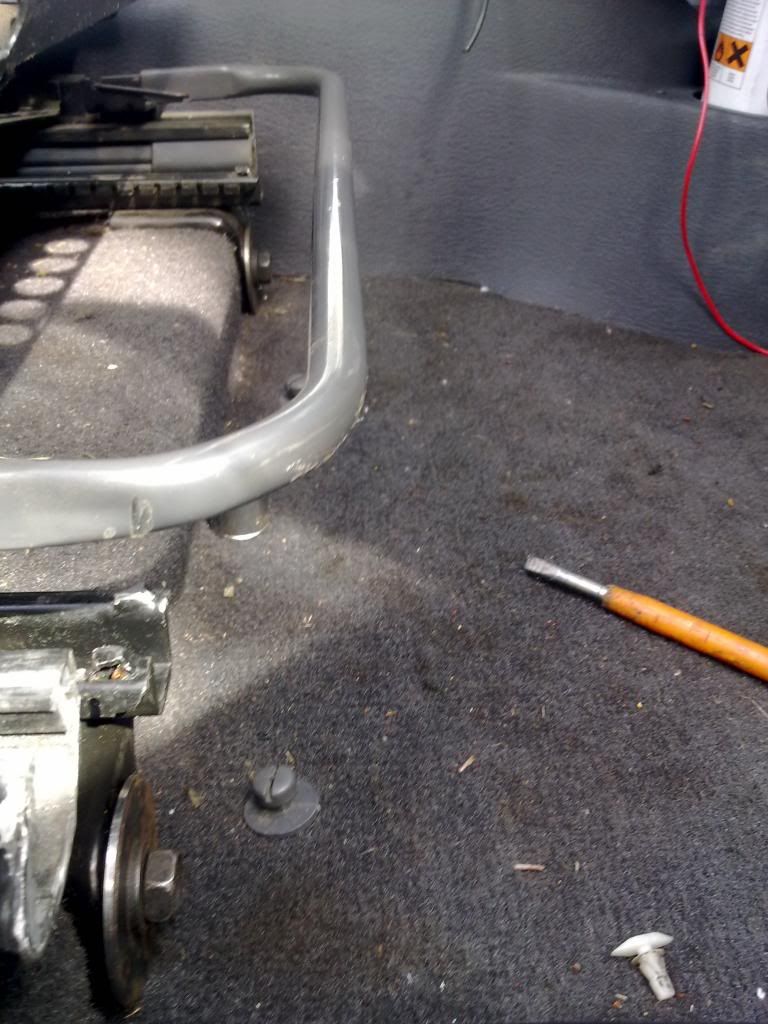  With the runners paralleled up but not in the correct position, as seat base wasn't able to be mover forward or back on the runners without losing a couple of the bearings again! I squared up then tried it with the seat foam. 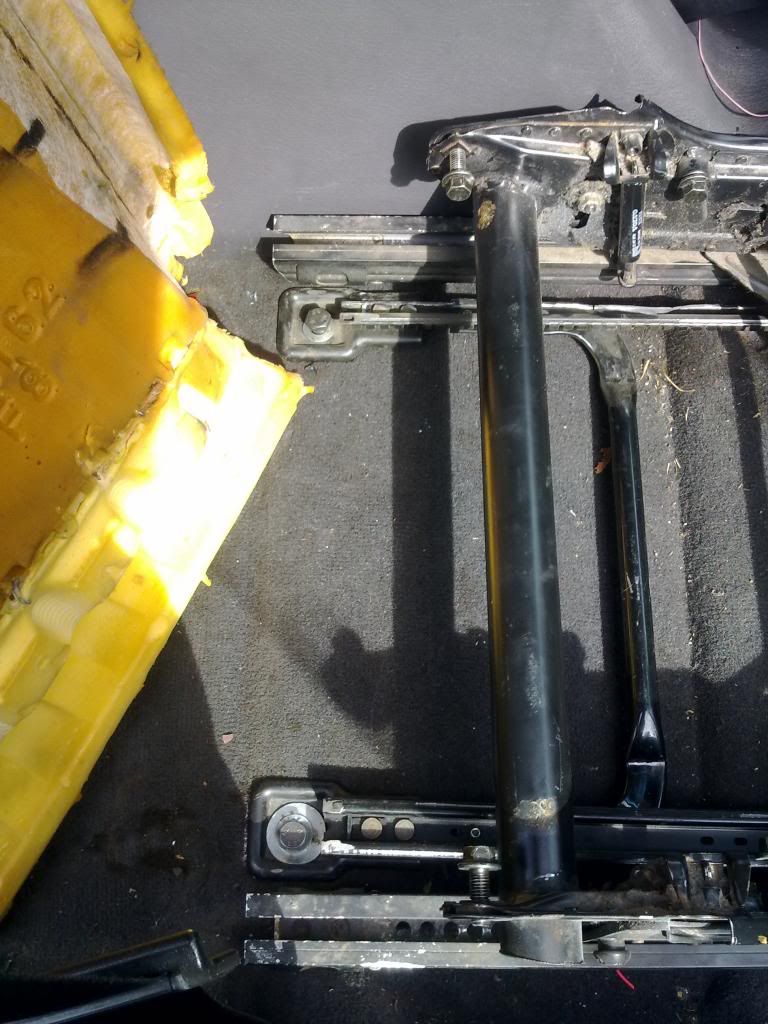  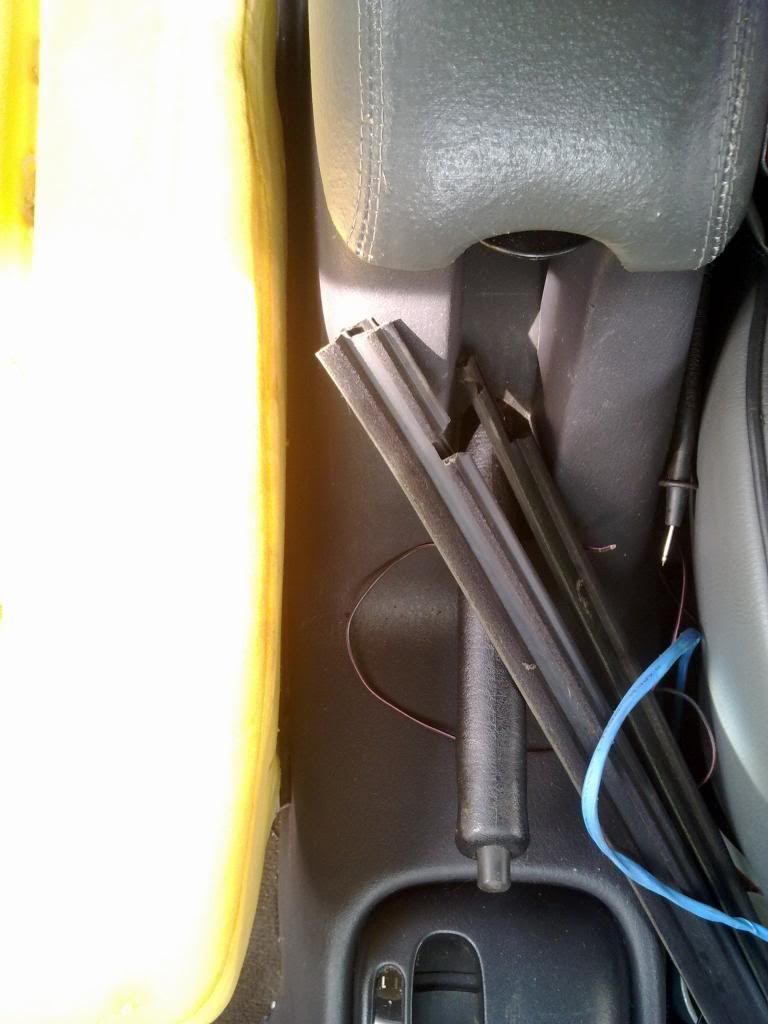 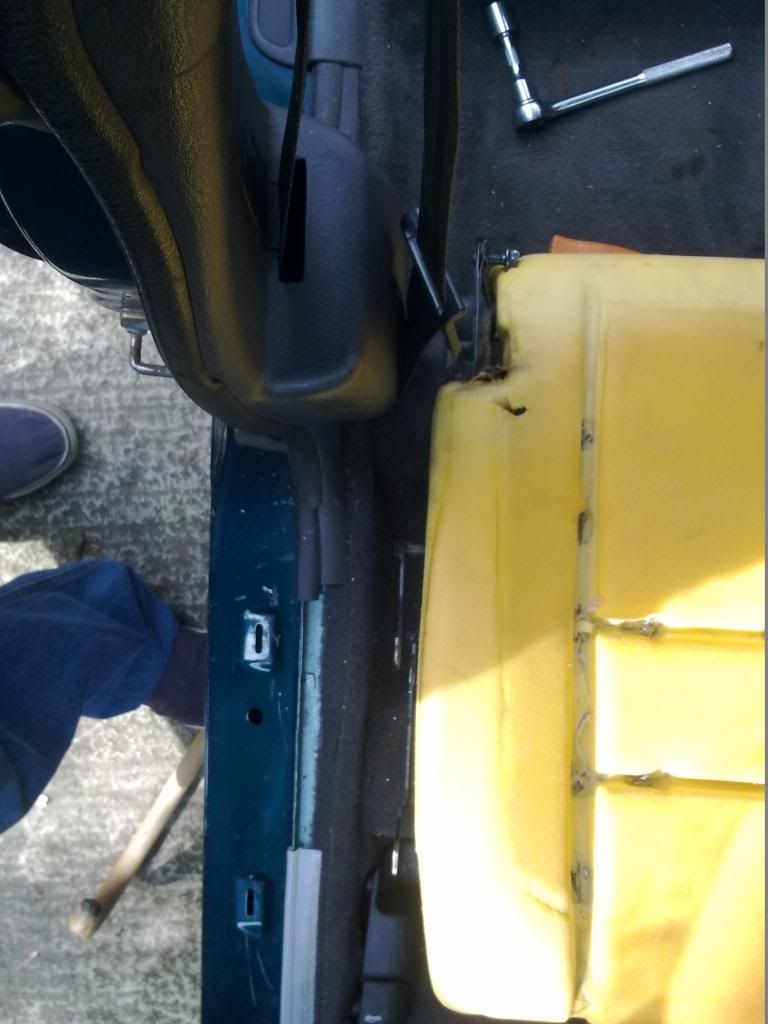 Please note that the volvo seat sat upon small box sections in the floor of the V70 so the tracks were flat and more or less parallel to the floor. So the rear had to have a way to raise them off the floor of the neon, so they could run as they were! The left rear fixing tab placed on the car (then the bench on how it will go on the car) This was the worst one to figure out due to the runner track being over the hole, or in such a way that the bolt could never be tightened! 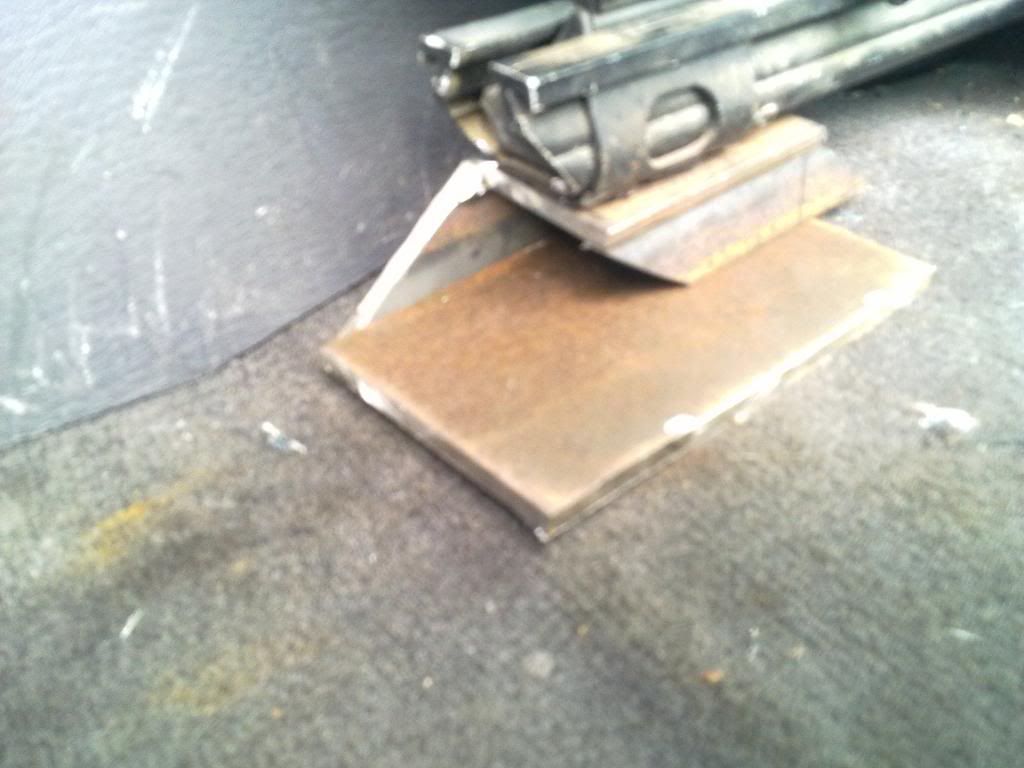 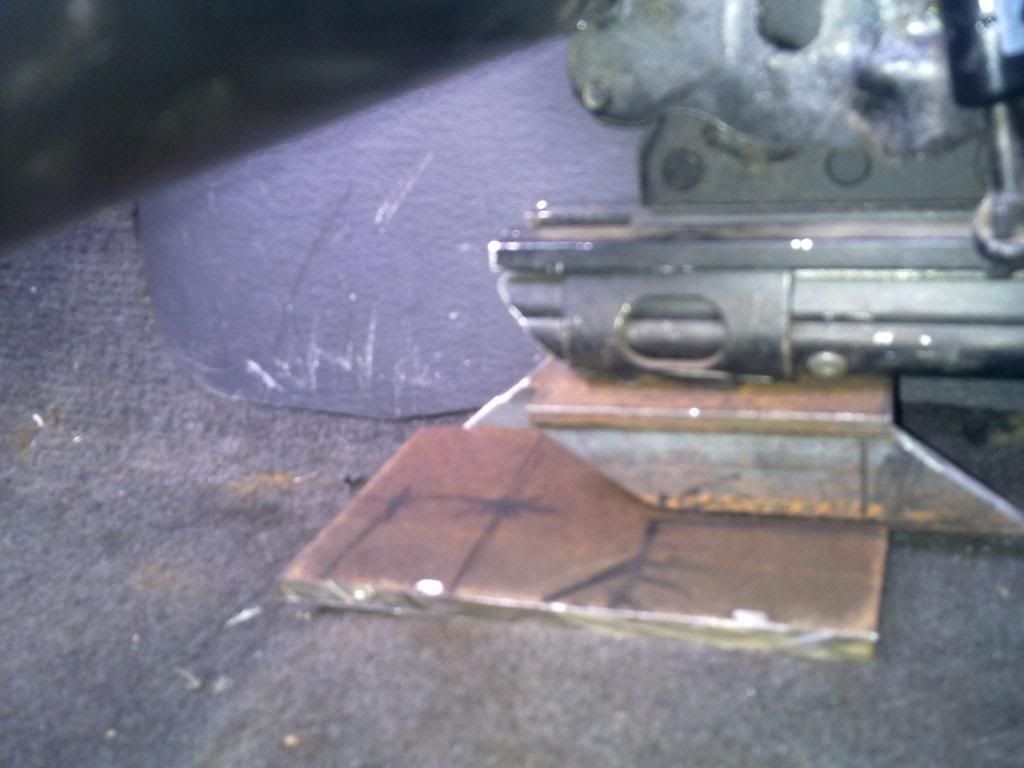 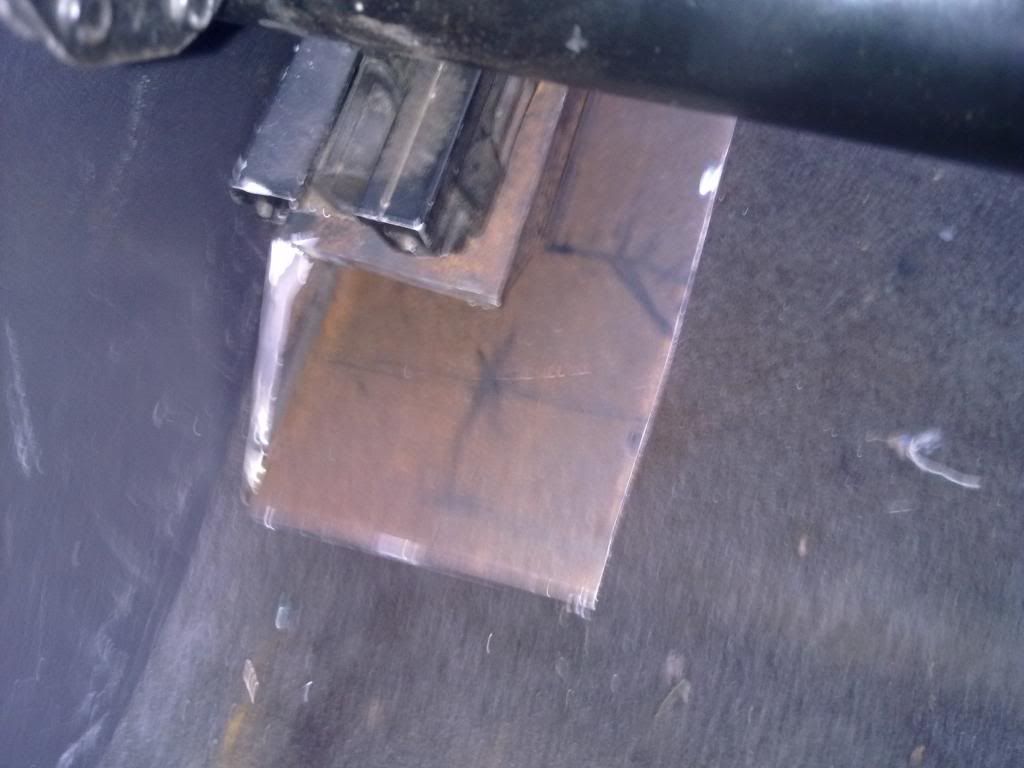   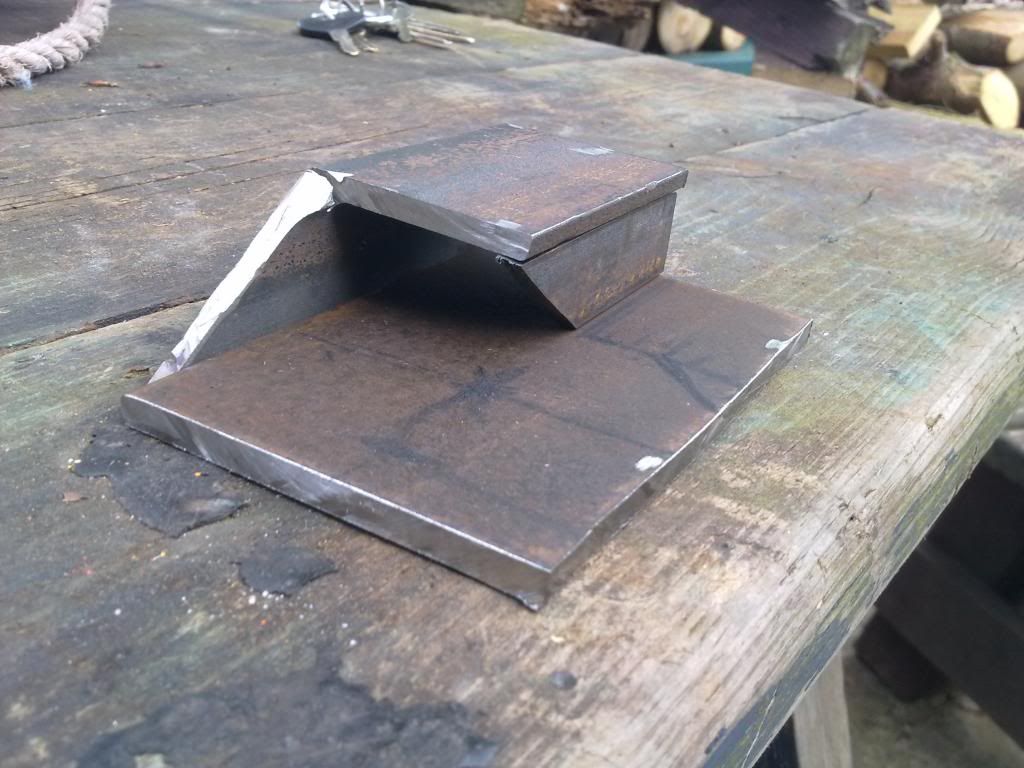 The right rear fixing tab placed on the car (then the bench on how it will go on the car) 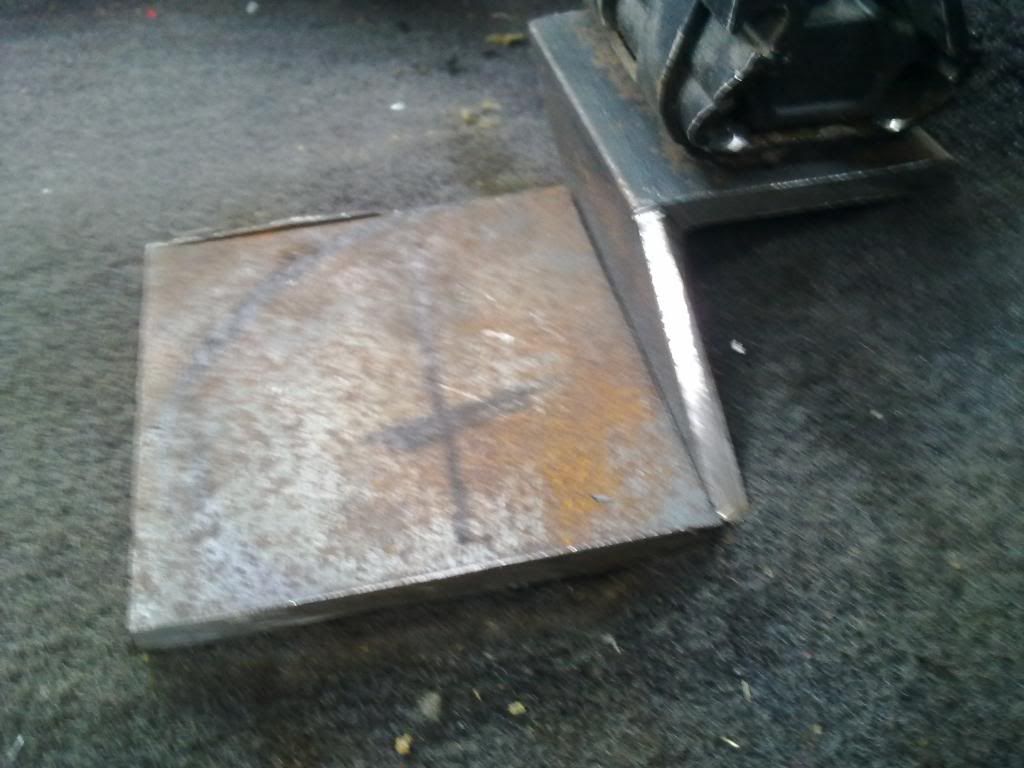 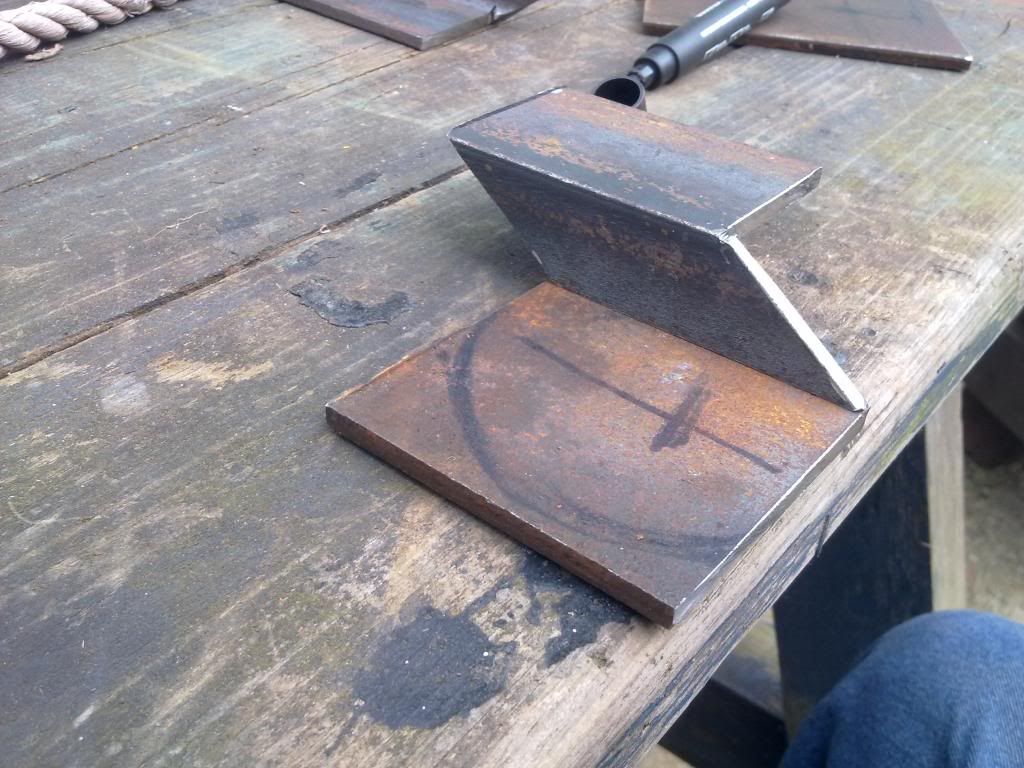 The angle iron for the front fixing tabs have already been cut. Tomorrow I will drill the bolt holes prior to the back assembly's being welded together on the bench. They will then be bolted into place and the runner track then tack welded to them. Before the proper welding done off the car. I will then grind and sculpt them to a more sthetic shape! |
| |
|
|
|
|
|
May 17, 2014 20:19:34 GMT
|
The holes were marked and drilled for the bolt holes in the angle iron. Then the front bits bolted in securely ready for welding tomorrow. I thought it best to separate the runners from the tracks before stripping the paint off the metal that will be welded. The runners and tracks are alloy but the tracks have steel clamped over the ends of the alloy tracks. 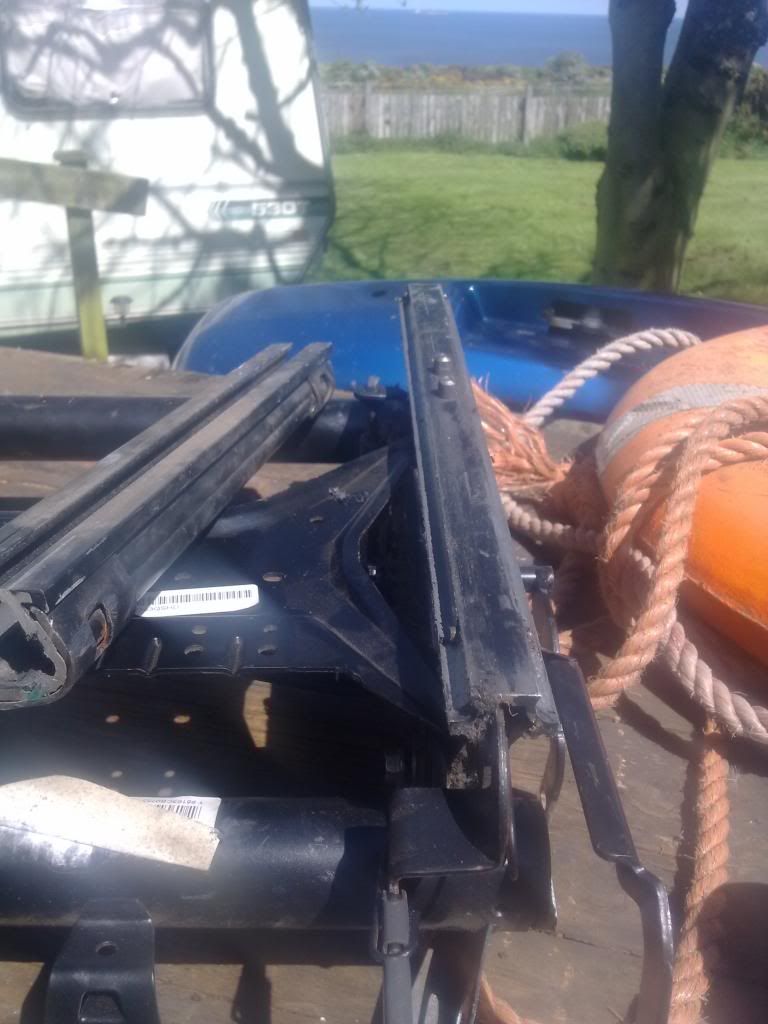 One of the bearing had escaped previously and there was a lot of grit and dirt so another reason for the strip down was to clean out the curse word which was jamming the runners. this is after the first cleaning. I lost only one of the bearings!! 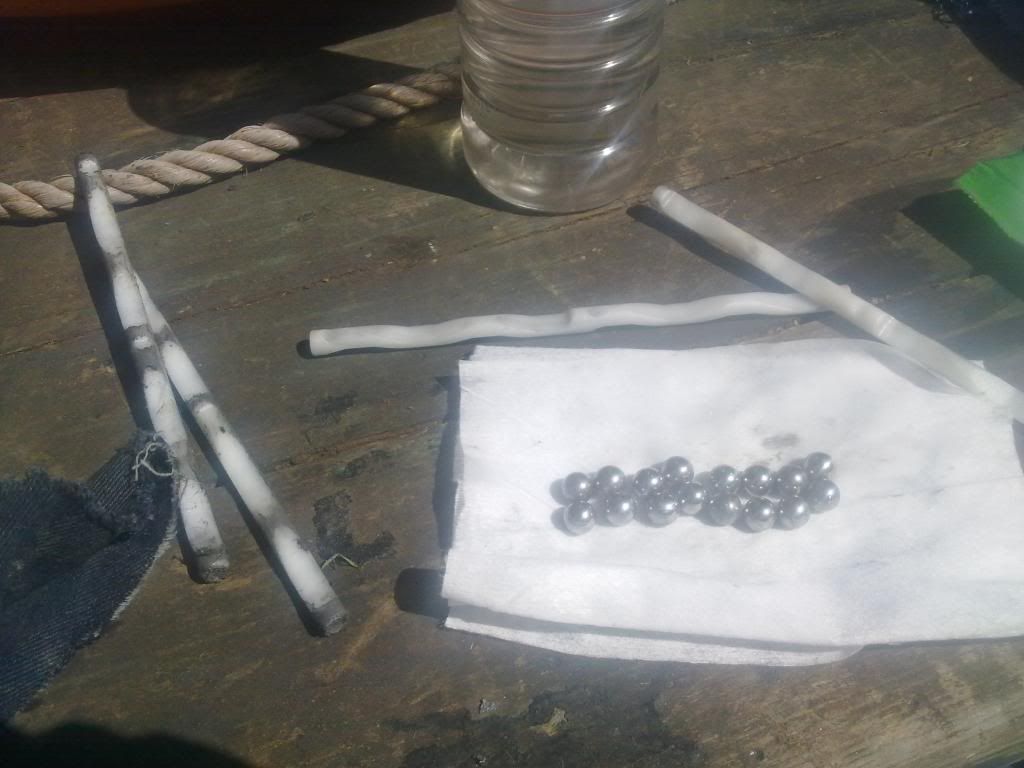 And after the wire brush attachment on the drill had removed the paint from the relevant [arts the runners and tracks reassembled temporally. once the tracks had been temparally tack welded I will separated from the runners so the spacers don't melt. or cathfire. 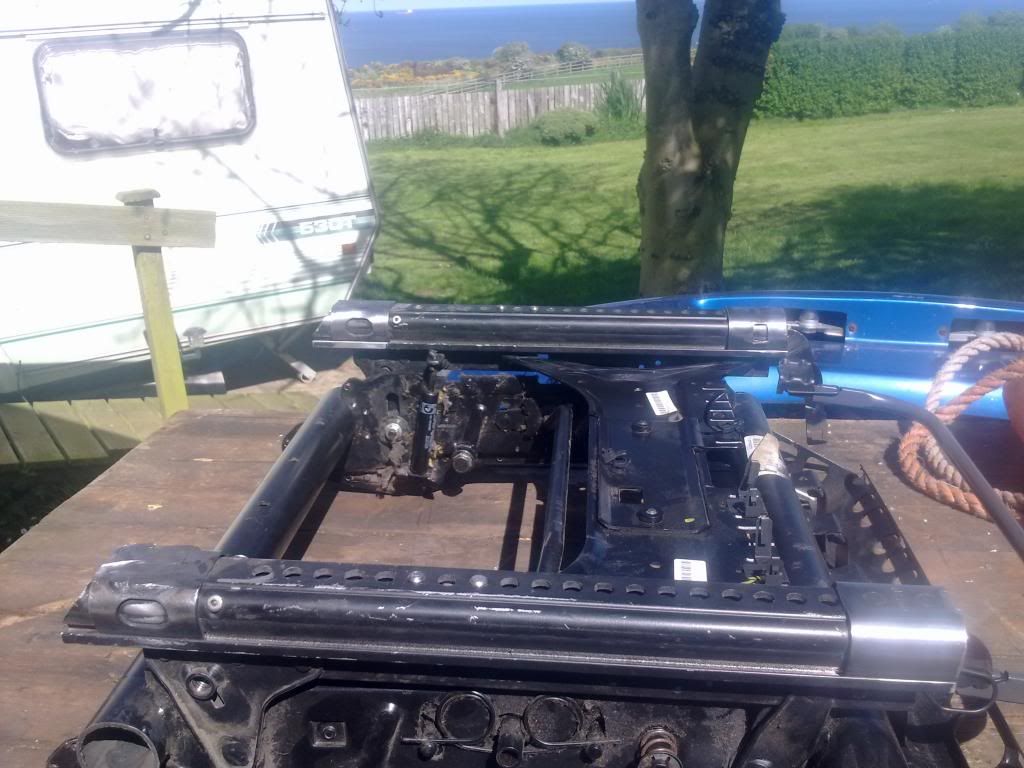 A question came up when I was stripping down the Volvo seat! There are no wires from the cars wiring loom to the seat air bag. Only what appears to be a sensor which was connected to the side of the seat base! Battery powered? 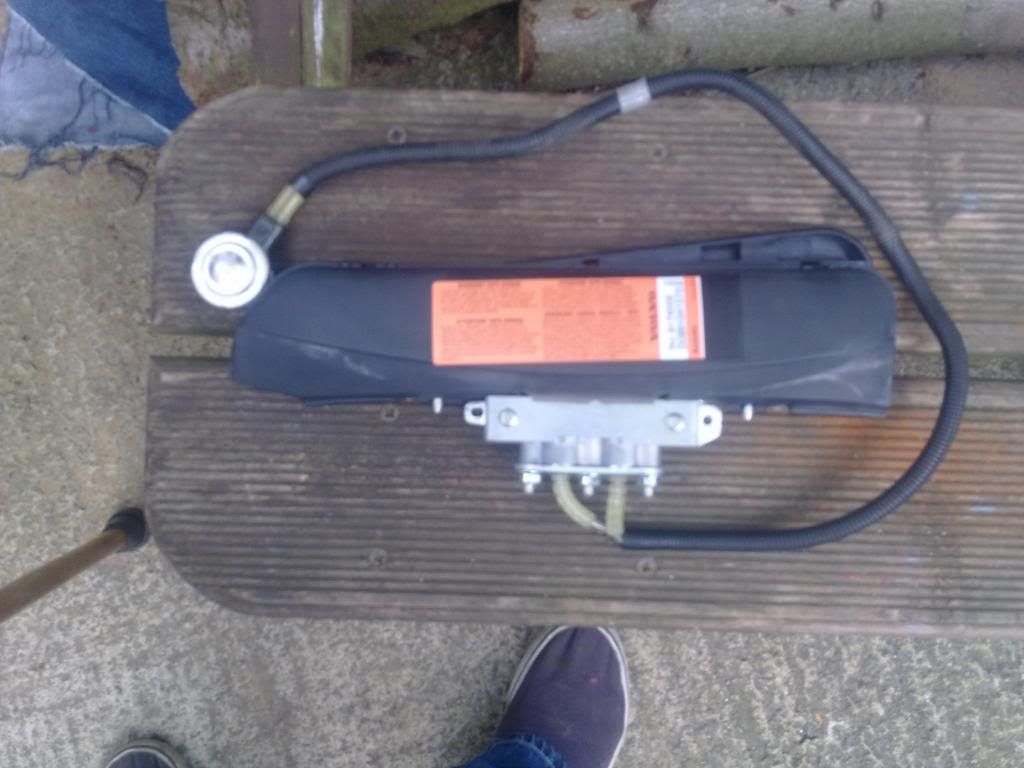 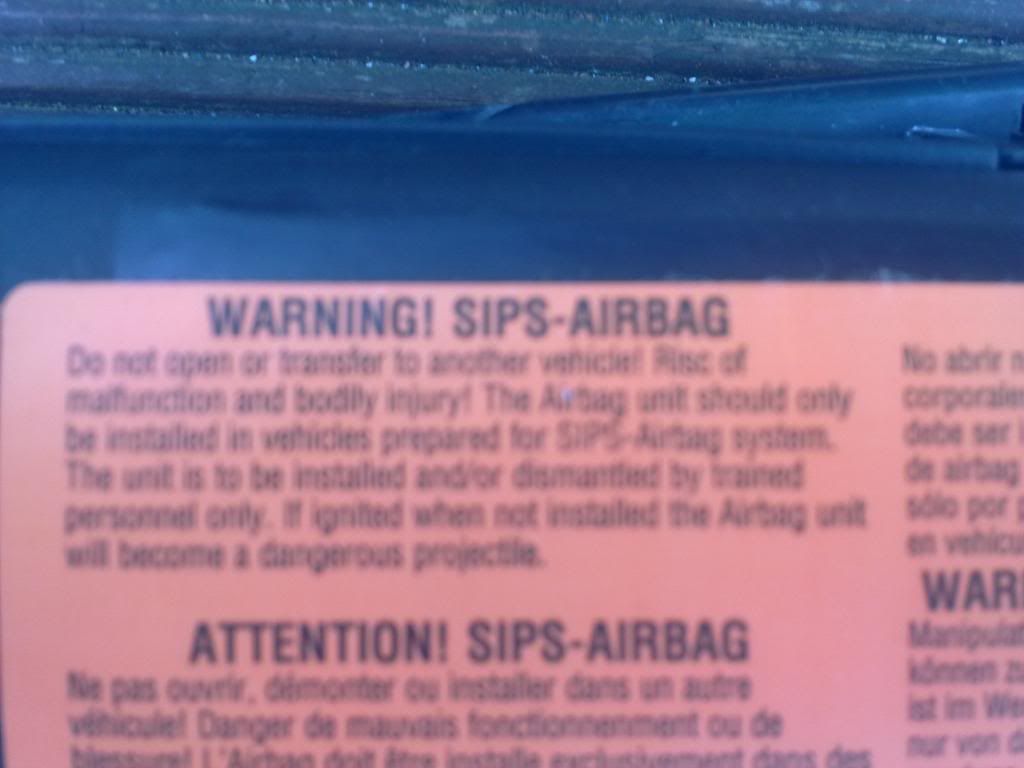 I figuired out how to remove the head rest which on the volvo seat was not adjustable. I got my hand right up the top and lifted thes tabs which locked ito groves on the bars. 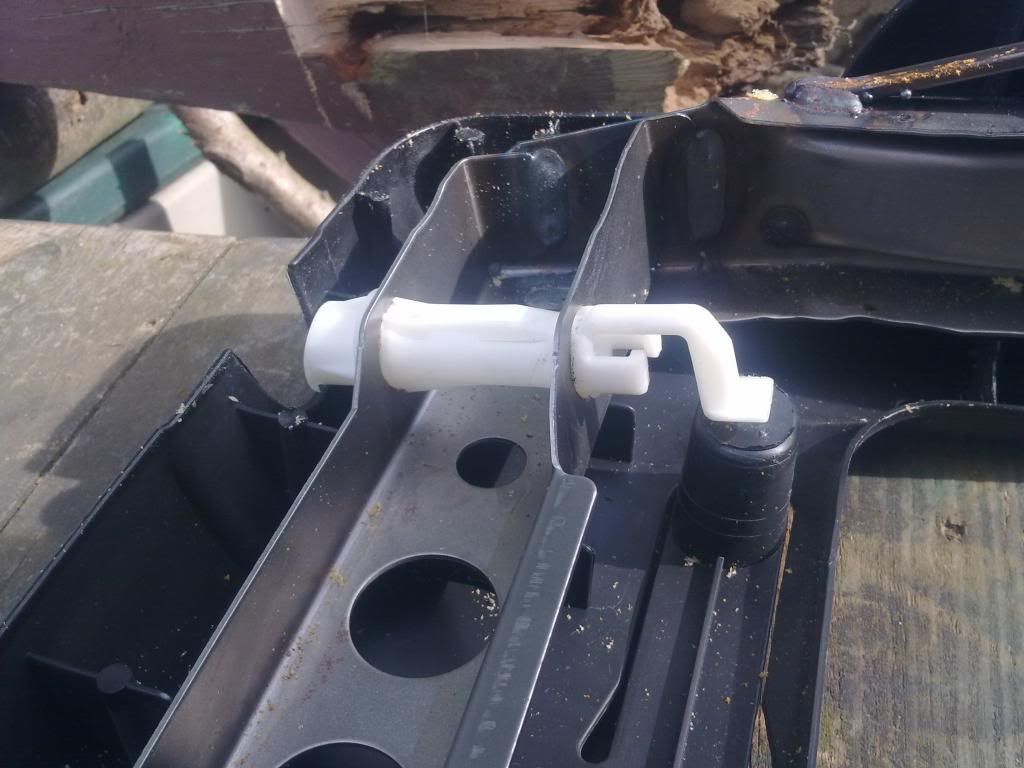 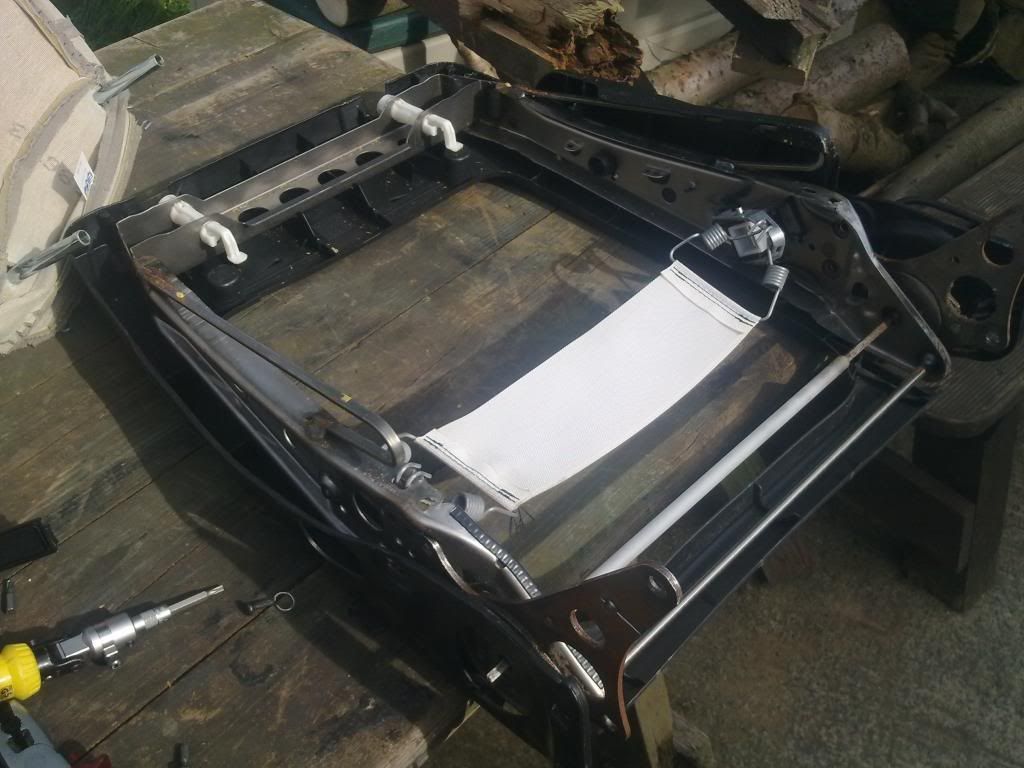 I decided to strip the mk2 neon drivers seat for 2 reasons 1 with the seats of a similar style to see if the cover off the neon's would fit the volvo. And 2 the foam off the neon seat could be used to fill were the side airbag was if not refitted. 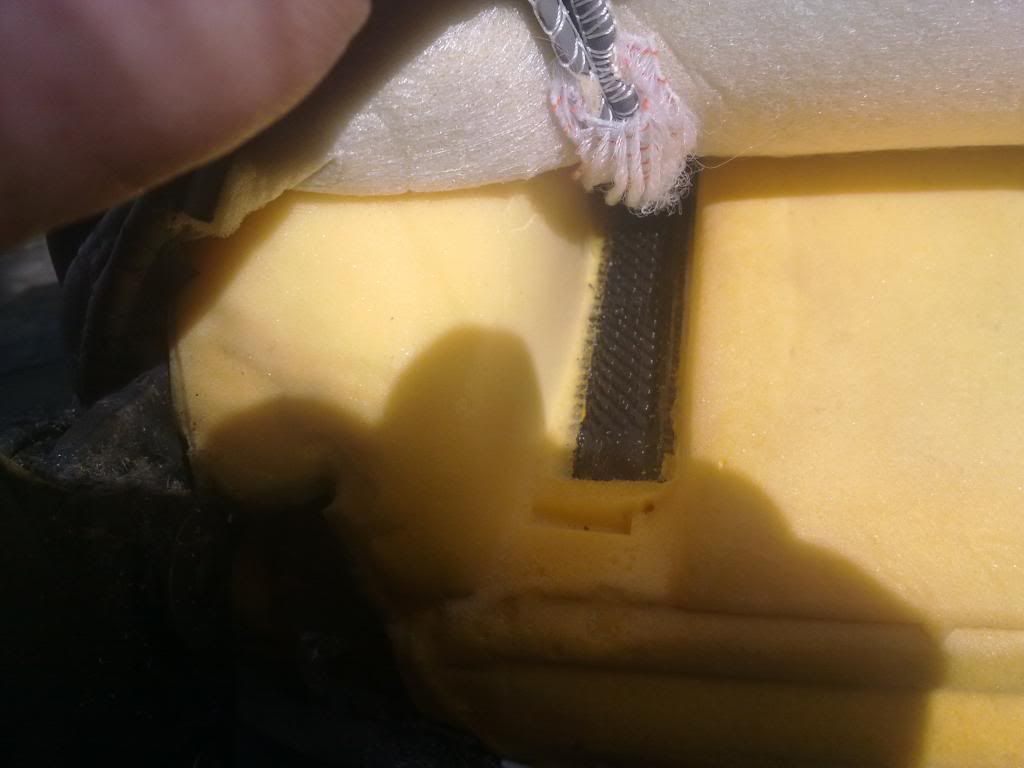 Far a comparison the back cushions, Volvo left and mk2 neon right. Where the volvo used metal clips all over with bars inside the foam the neon used velcro! The foam in the volvo was far softer than that in the mk2 neon. 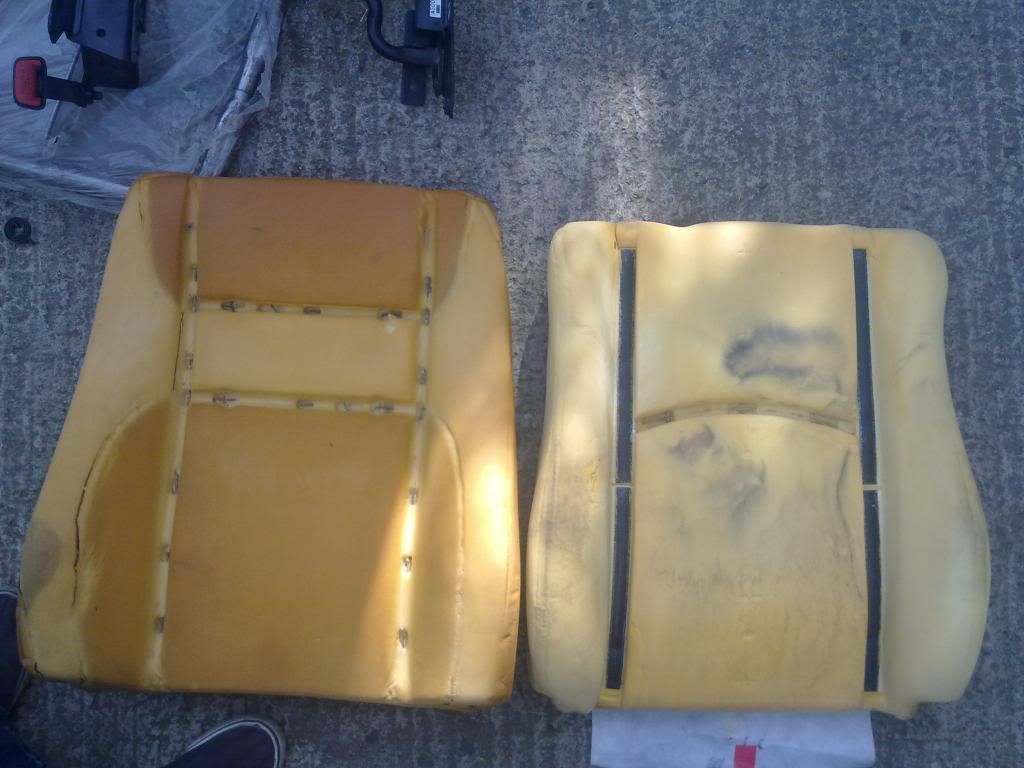 I had a little accident after tidying up yesterday and my body made me feel it today, along with either it's tooth ach or an ear ache which is traveling! Welding tomorrow rather than today as my parents went out on dad's boat and had to wait till the tide started to come back in, so they could get nack into the marina. |
| |
|
|
|
|
|
|
|
May 18, 2014 22:37:00 GMT
|
Dad did the welding on the rear brackets, but couldn't do the welding of the tracks. It took about an hour for these to cool down before they could be worked on, and his back was playing up. So the rest of the welding done in a day or two.  And a bit of sculpting with the grinder. Edges smoothed off so somebody getting in the back doesn't cut themself retching for something they have dropped on the floor!  Bolted in postion ready for the next time my dad can weld.  I didn't want to make the pads/feet too small as they are spreading theweight better than the old ones.  As the rear right foot rests on the curved part of the floor I didn't see the point of making it a box section as it is also spreading the weight. That and the metal is thick enought for the bracket not to need too!  I found that as the seam in the door frames run perfectly paralle down both sides of the car, it was possible to use this as a point to use in setting the seat base coreectly read for the tack welding. From the side of the runner to the seam is a perfect 10cm.  With the seat rear being higher off the floor than the neon's anybody would be able to put their feet under more easily and have a less cramped seating position I will be putting out a few enquirers about costs in have someone else make the seat covers. |
| |
|
|
|
|
|
May 20, 2014 19:11:34 GMT
|
|
I have not been too well for doing work on the car. However I did manage to drop
the Volvo driver's seat cushion covers off at a professional upholsters along with the
cover for the mk1 neon headrest to colour match. It is the same guy who I met at the
local OK diner car meet every other month. They are also doing a 60's fastback mustang.
And they are doing the mustang interior in the same colours as the neon!
Grey with black piping
He will be calling me in the next 2 days with a price for making the covers for the front
seats, a very rough ball park figure for doing one is £80 to £100. I will be dreading the
quote for the rear seat!! but that one can wait as it isn't as important as the front ones.
And I think with it being a lot more to handle I might end up taking the full rear seat to
them.
|
| |
|
|
|
|
|
|
|
After a telling off by the podiatrist at the hospital on Wednesday afternoon, Who has told me to stay off my feet as much as possible. I thought it best to have a start on converting the mk2 neon instrument cluster to fit into the mk1. I can do this in the house, even more so as it is forcast heavy rain for the next week! As a point of referance here is another mk2 neon instrument cluster(white dial version) And as you can see there is a lot more plastic which makes fitting it in under the dash imposible in it's current form.  I took the clear plastic lense off the cluster then carefully cut above the chrome dials leaving as much of the plastic tabs so that they are something that could be glued to later. Usin the damaged lense off an old mk1 instrument cluster as a guide of how much to cut off the cluster cover. 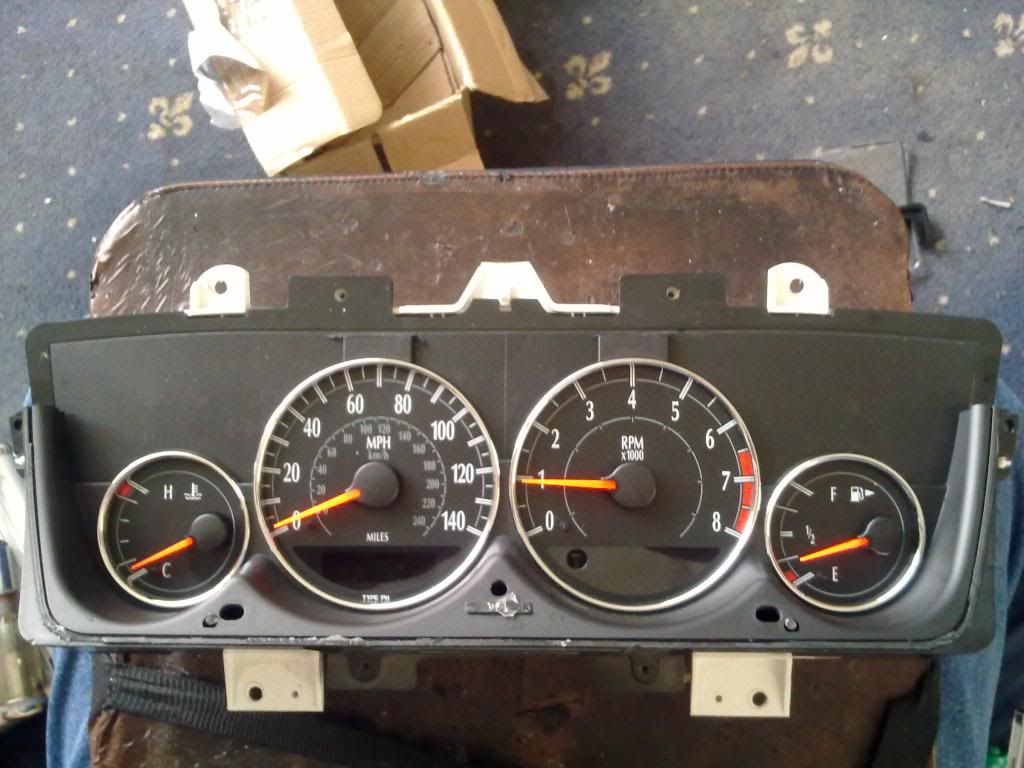 I didn't want to take off too much in one go and have left a bit to work with on the curve. mk1 cluster lense as guide making doubly sure all the warning lamps will be in the cluster. 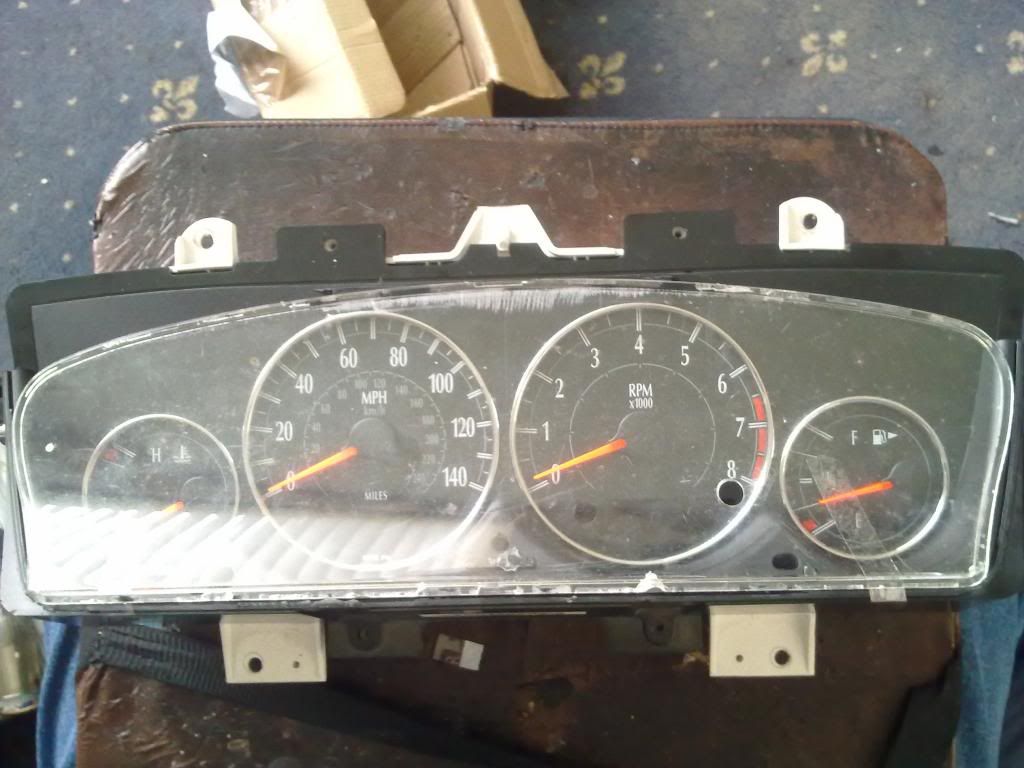  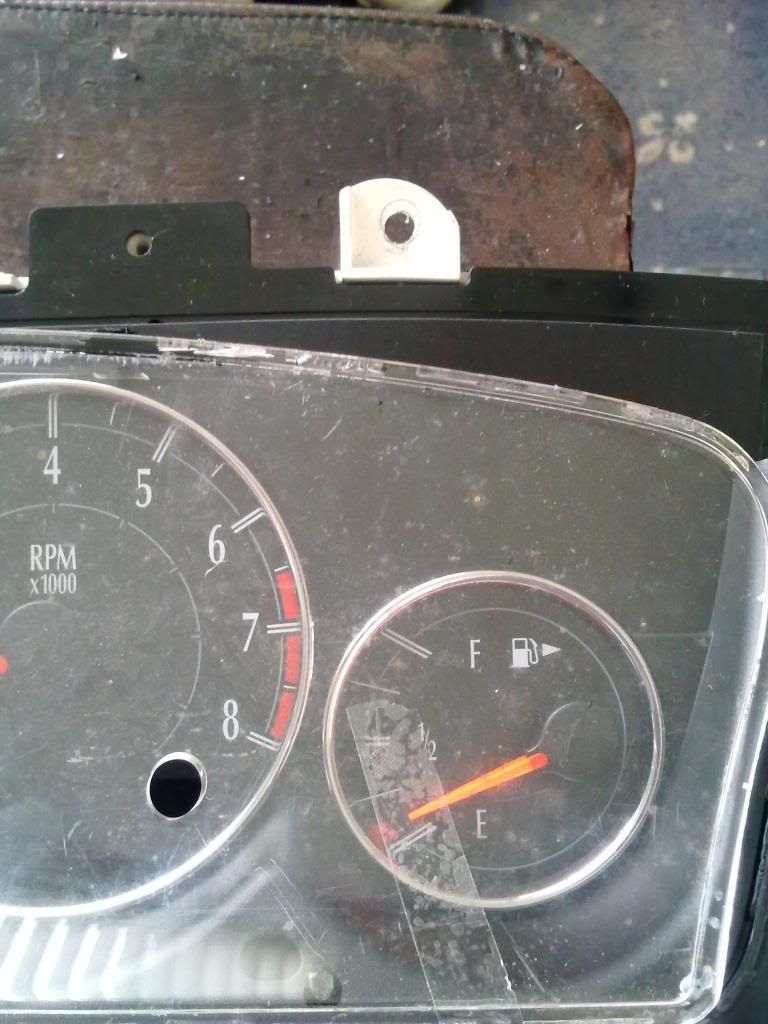 The mk1 front cover without lense shows how much of the display/gauge plate that will need to be removed for a good fit under the mk1 dash. 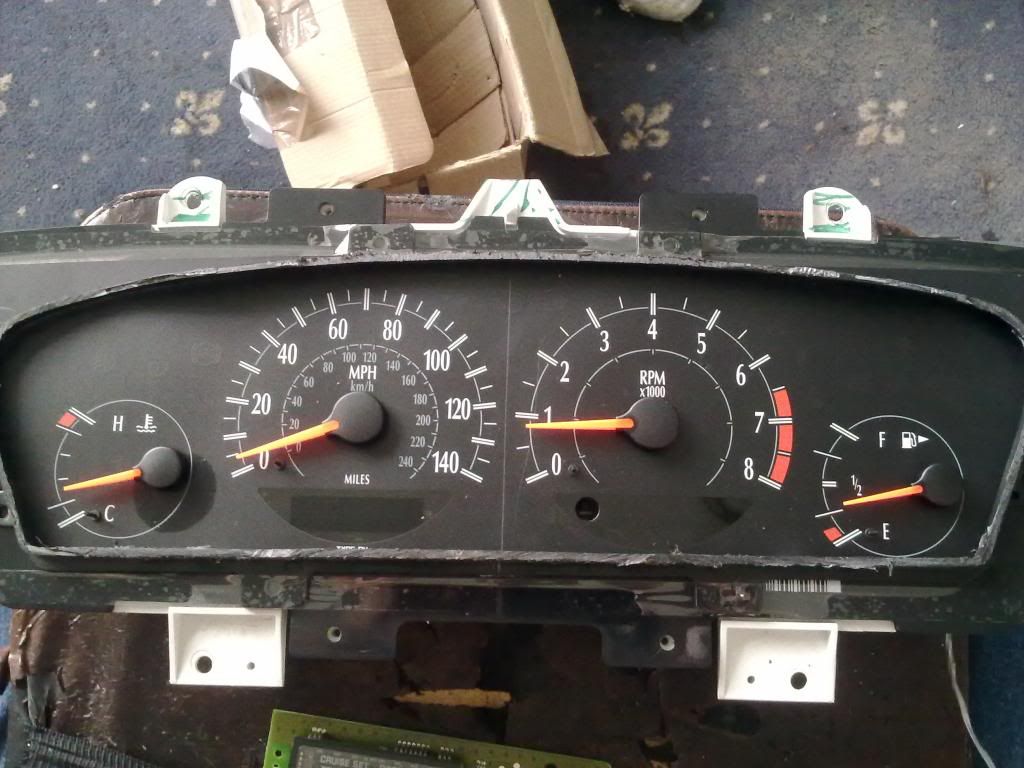 he same mk1 front cover as above with the main structure of the mk2 cluster, and everything above ther black curve has to go! 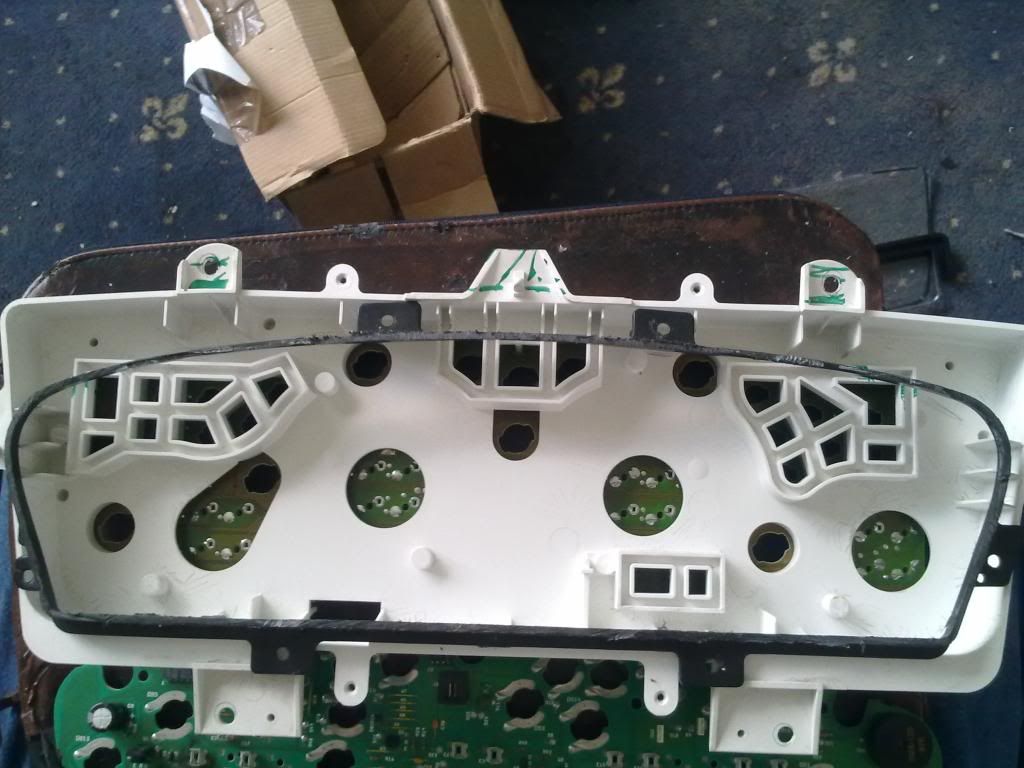 Here are the mile counters. Okay the counters and the reset butons are in the same place, but as the digitail one has the resetable counter built in there was no need for a seperate counter. Also the circut board on the mk1 must have been for a manual transmission as there is no gear selected display. I am thinking that the tinted plastic film could be cut out for both displays and a clear lense to replace them both so the old rotating drum number counter once modified and made longer so it could take it's place but right across to cover both dials. 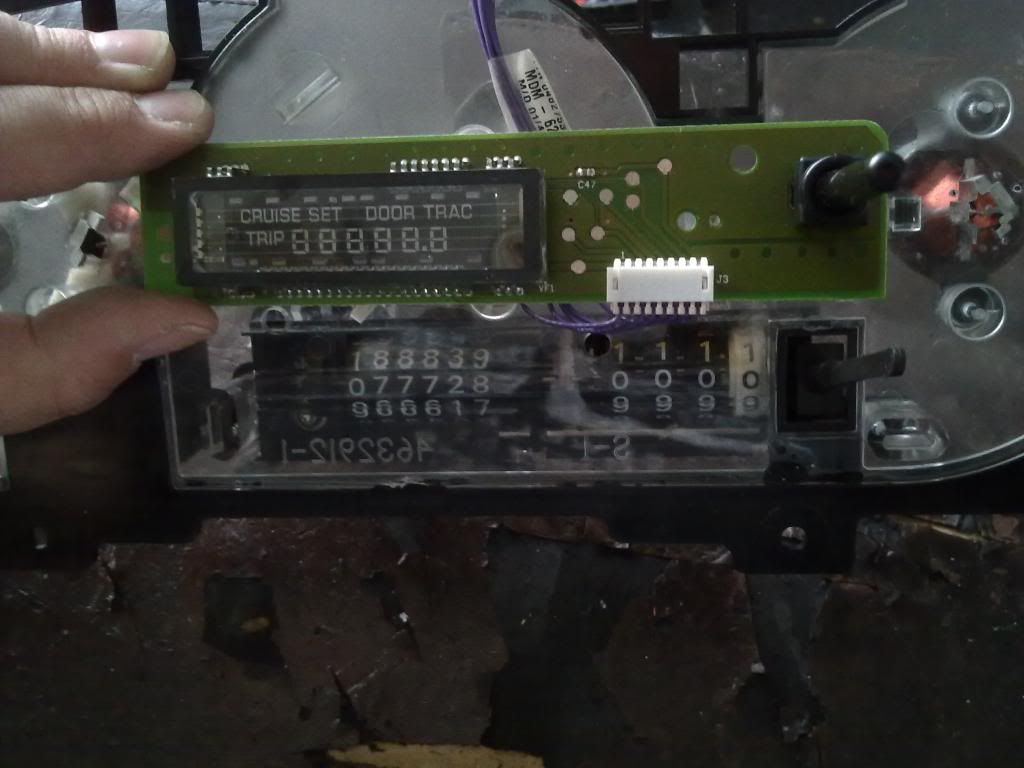 |
| |
|
|
|
|
|
|
|
This the template which the structure the new gauge setup will need to fit in so I made a start removing the outer srtucture of the mk2 cluster as the lower inner structure is roughly the same size  Finally all the outer structure has been removed and here is what is left, and more easier to work with! 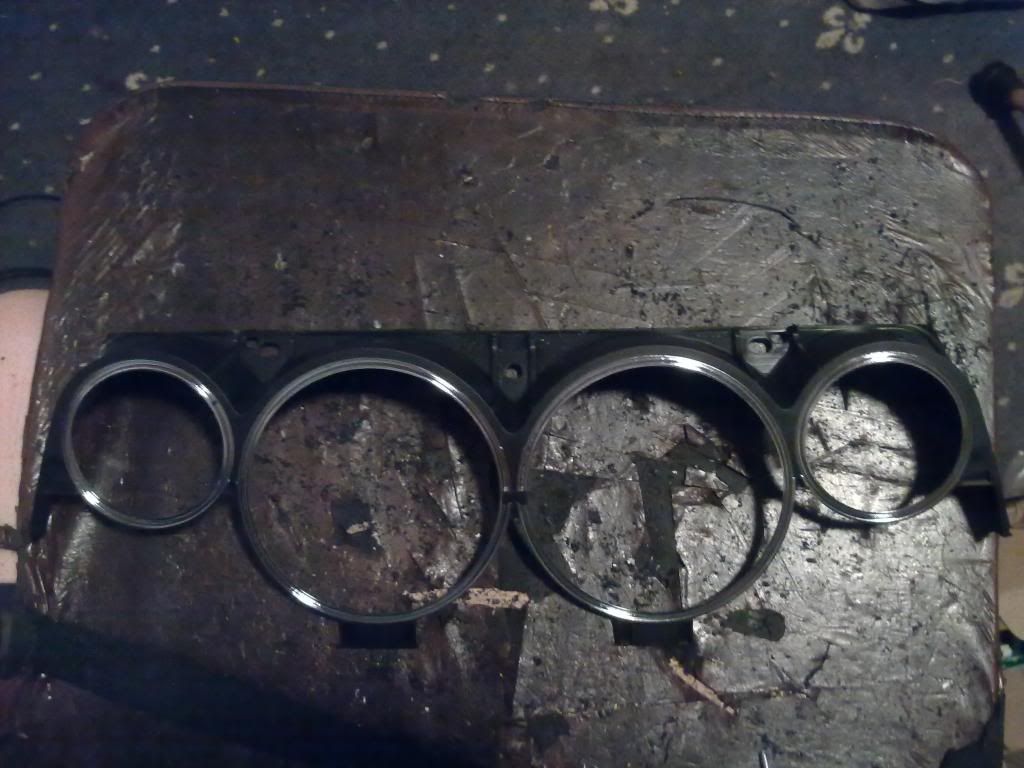 A bit of a look at how it is against the mk1 template on the mk2 plate 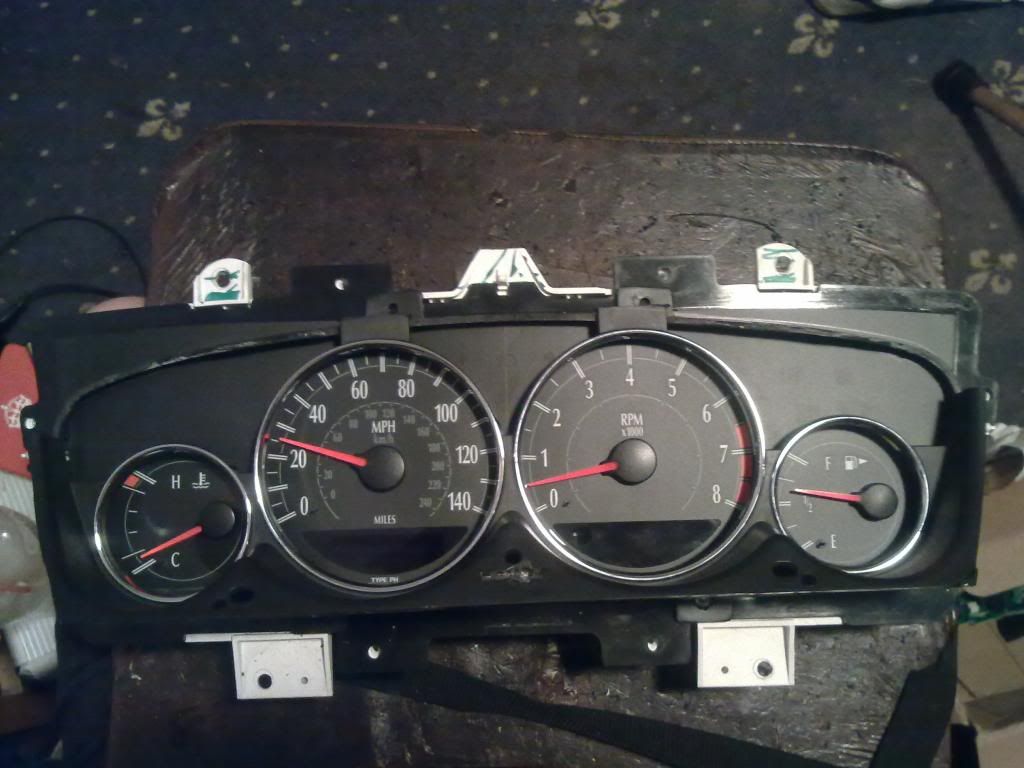 A test fitting of the damaged mk1 lens to see what next to do! 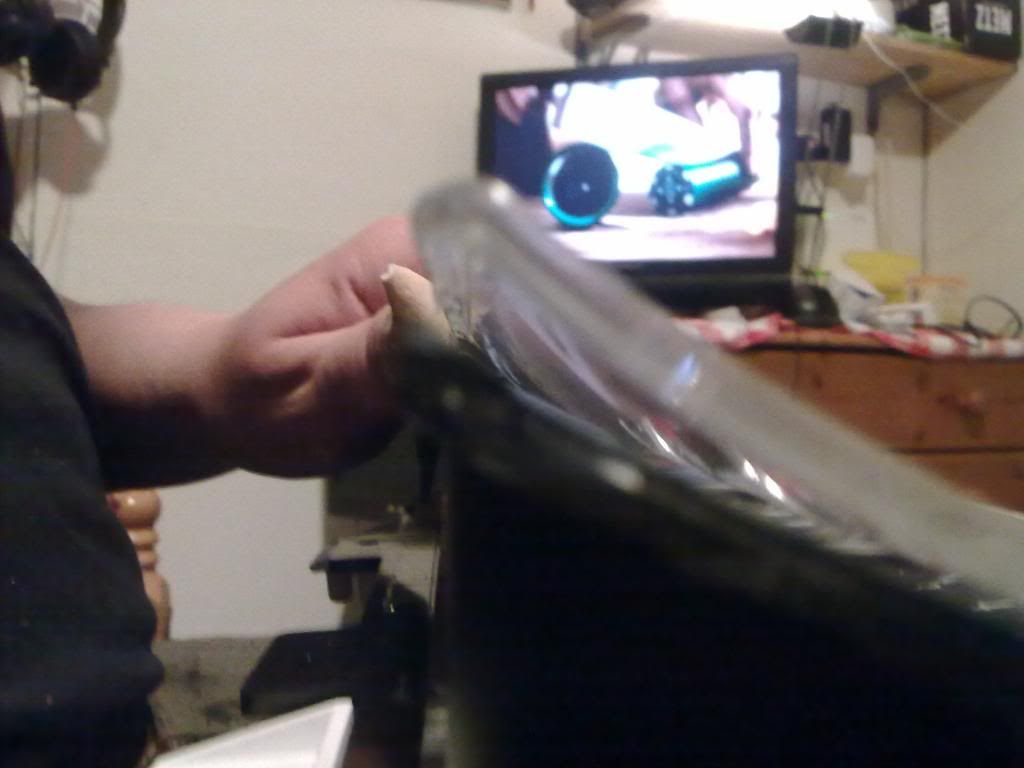 I think that this is going to be a problem the curve is not enough to match that of the standard mk1 cluster 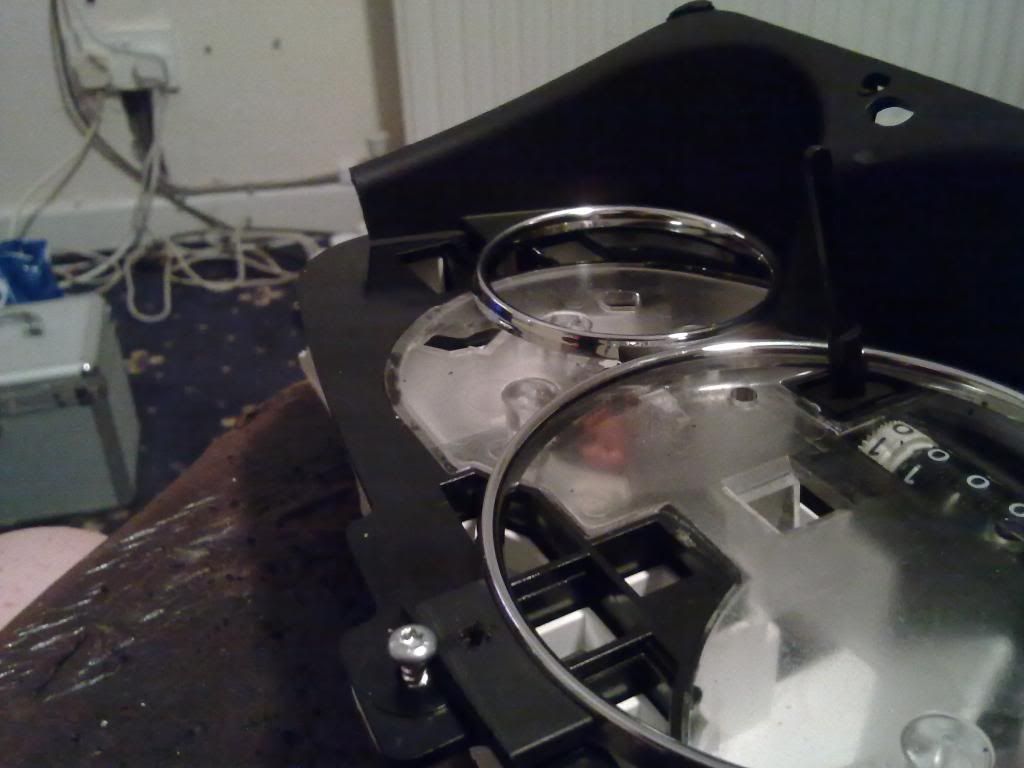 There are 2 ways this can be sorted, option 1. I could trim the sides to the correct curve, which means the front which is sculpted to the bottom of the gauges which could look ugly as it that would appear rough to look at! Option2. I could repeat what I did to the top part of the mk2 gauge surround and remover anything that is not virtually flat and isn't within the mk1 cluster lens cover. And then glue/fix it to the mk1 lens cover! Next problem the mile counters and reset button. Here is the back of the mk2 cluster face plate looking at the push button side of the mile counter, which in this case is not transparent as it is the manual option cluster.  I then put the mk2 gauge surround to the mk1 face place structure to get an idea on where the mile counter rest button would come out of the tacho dial. So I can decide wither or not to it will be best to keep the mk1 cluster lens or get/make a replacement. 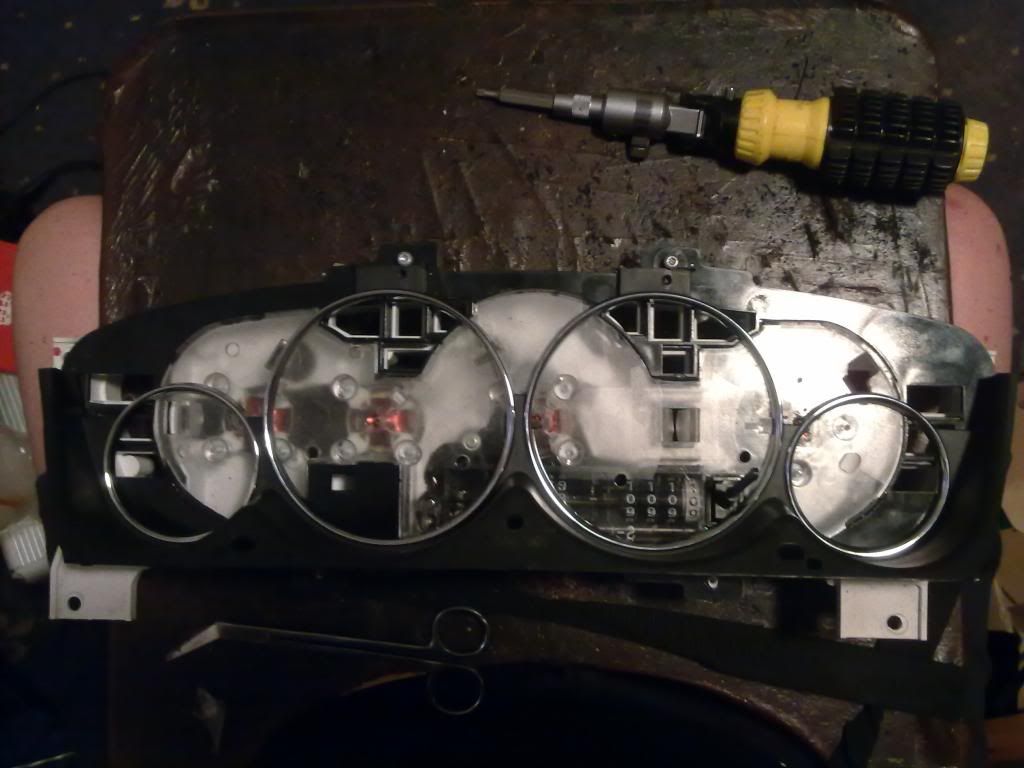 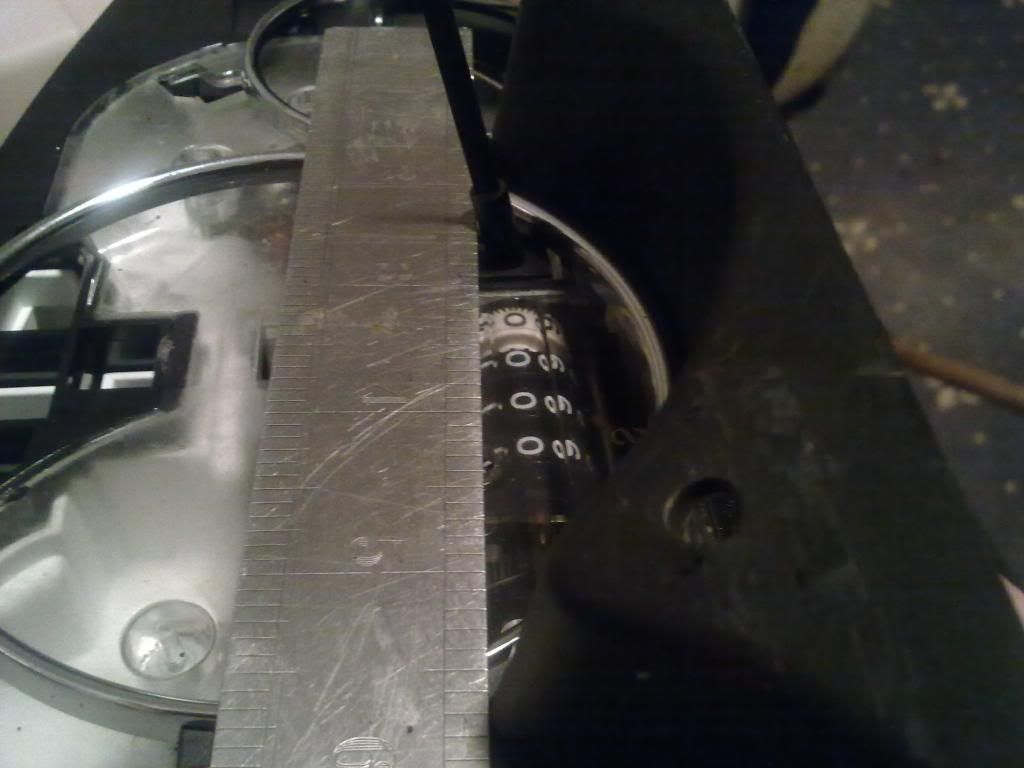 I cut my thumb open with the craft knife earlier trimming the outer structure of the gauge surround. So I wasn't going to make a template of the mk1 face plate and cut out the mile counters to mark up with the mk2 gauge surround due to the plasters getting in the way, give it a day or so and I will be back on it! |
| |
|
|
|
|
|
May 26, 2014 20:26:26 GMT
|
As dad was able to do a bit of welding, the seat tracks were tack welded to the new feet. The seat base was then unbolted and then moved to the bench where the tracks were removed. If the tracks hadn't been removed then there would have been a high chance that the nylon bearing spacers would have either melted or caught fire! The feet were then properly welded to the tracks, and the tube on the seat base frame which had been cut shorter re-sealed with some fresh metal discs. 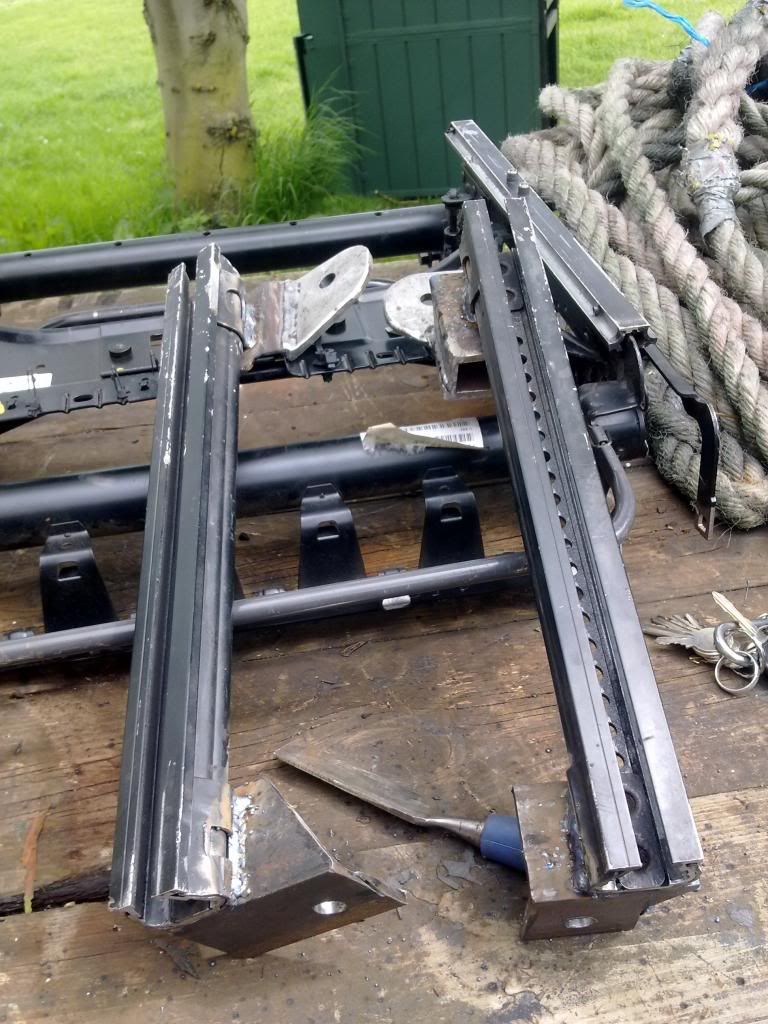 After a bit of trimming and a bit of sculpting with the grinder they look less Heath Robinson! 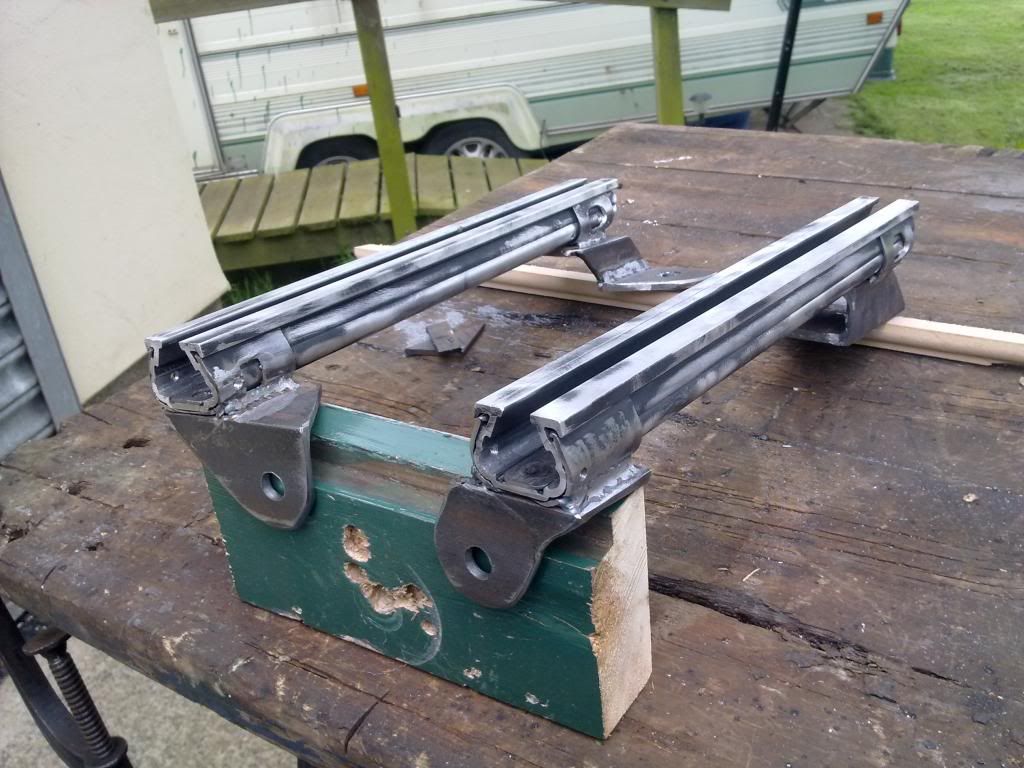 I hung them on the line before giving a couple of coats of primer(I should never have used hammerite as the satin black top coat didn't like it) 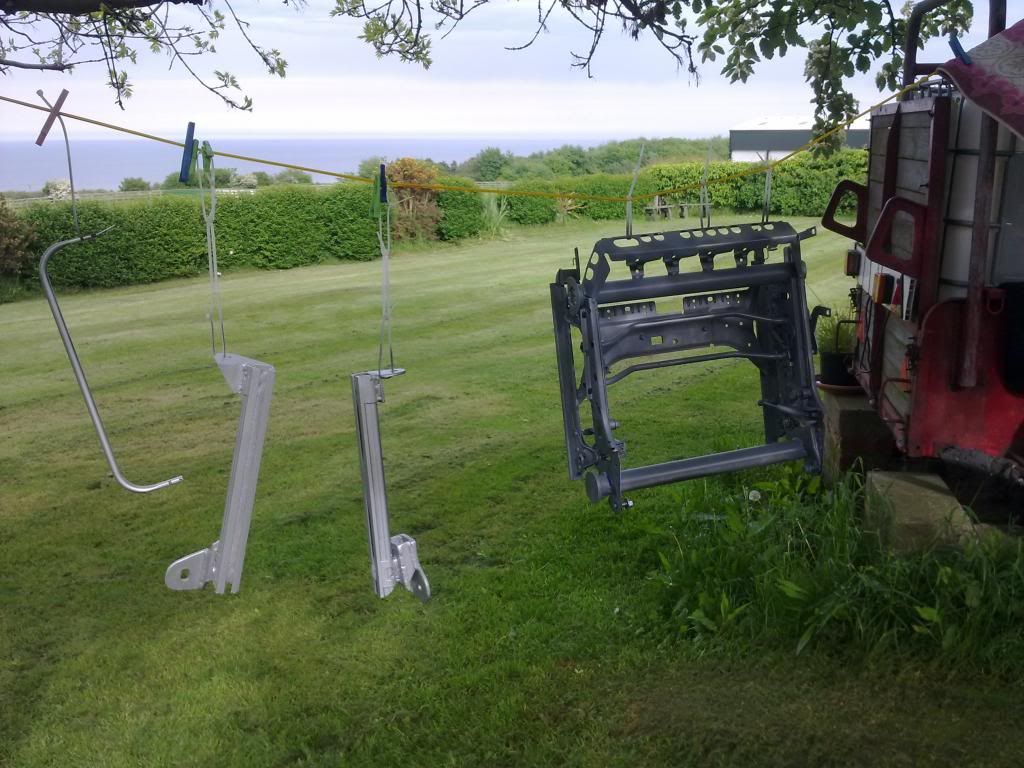 Hung up in the shed to dry as a few drops of rain fell and I wasn;t taking the chance leaving the pieces out overnight if it was going to pour it down. 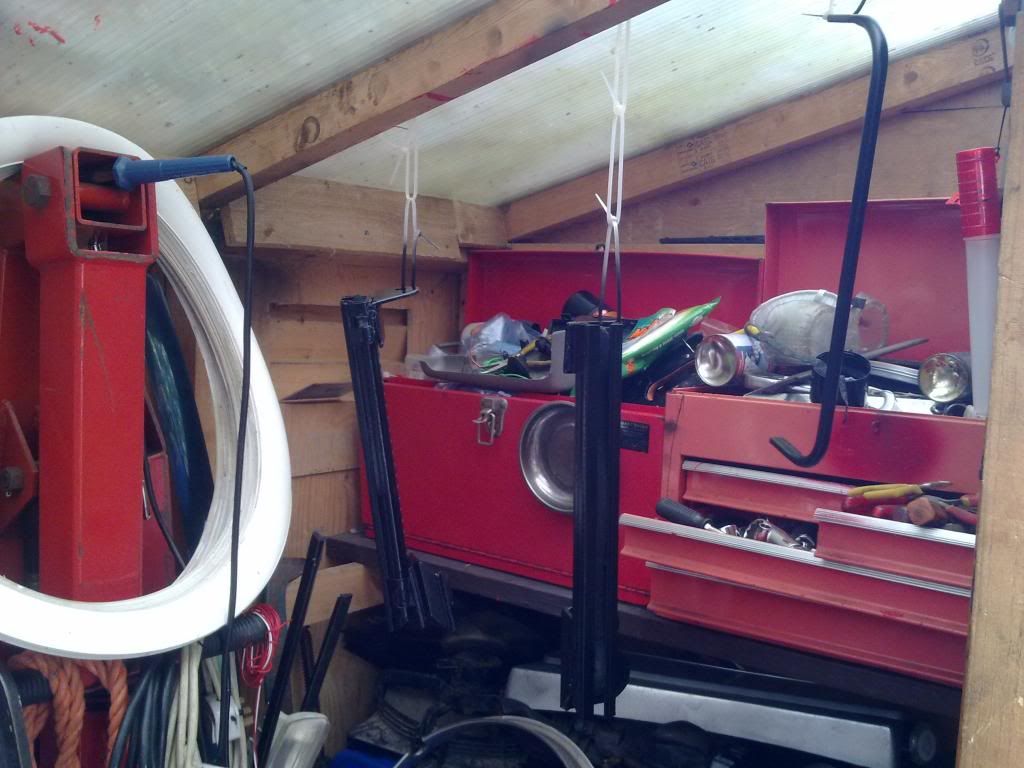 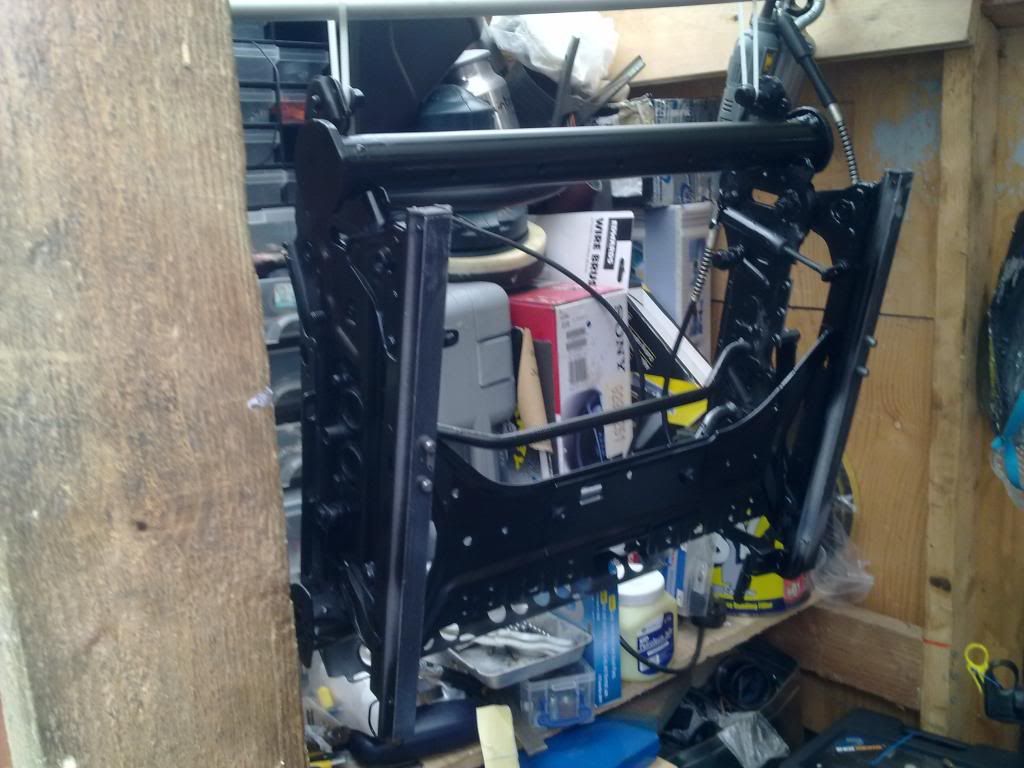 |
| |
|
|
|
|
|
May 26, 2014 20:56:10 GMT
|
Cracking fabrication work on those seat runners  |
| |
72 Pontiac Firebird Formula 400. 95 BMW E34 525i Manual. 80 Lotus Elite, sold  86 Mk4 Escort RWD V8, sold  |
|
Rob M
Posted a lot
  
Posts: 1,915
Club RR Member Number: 41
|
|
May 26, 2014 21:16:18 GMT
|
|
I'm bound to say that what you are doing is pretty amazing.
You first go and choose a car that is the motoring equivalent of syphilis, you break your whatsits fitting an engine that was never ever meant to go in the engine bay, sort through the mess of wiring that would have most of us torching the car down a country lane and you have had to fabricate like mad to get stuff to fit.
There are some superb builds on here being created by some very clever people but you have perseverance beyond human extremes.
Great work.
|
| |
|
|
|
|
|
May 26, 2014 21:57:41 GMT
|
|
|
| |
|
|
|
|
|
May 27, 2014 17:23:00 GMT
|
This morning I called into Elite Foam I will have one seat re-uphostered in the next few weeks. So I have had to buy a couple of things Off ebay Galvanised Steel Hog rings (1 pack of 250 ring) = £4.13 Pistol Grip Hog Ring Clipper = £7.45 9.5mm Steel Ball Bearings (pack of 25) = £1.49 Segal Motor Trimmings 2m of Saville Grey (Jag03) 2 x £22, + £10(courior)= £54 The piping is goung to be in a dark green(not too dark) which Elite Foam who will be making up the covers for me will be getting, as they have an acoount with them and have to order other stuff too. £22 per meter of vynil for seat reupholstery is expensive according to the company that will make the seat covers up for me, but even they had to agree it was hard to get a hold of grey vynil at the moment The 9.5mm Ball Bearings are to replace the old ones which Iam missing a few now as the tray containing them wentr over in the shed! This afternoon I called down to Flavell's for the modifyied neon rear control arms, and this was parked out fron of the workshops.  I got the control arms home. 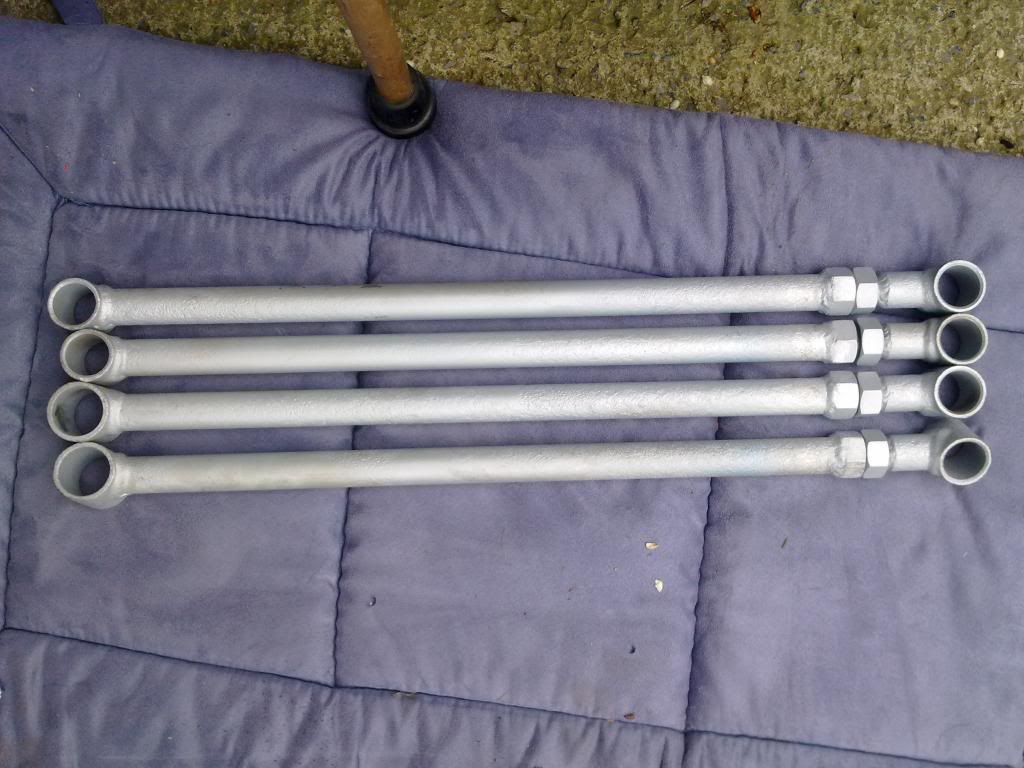 I placed one of them up to the car placing one end over the bolt in the box section so it would be a true show of the fully compressed/wound in length of the newly modified parts compared to the old original length ones still on the car. i 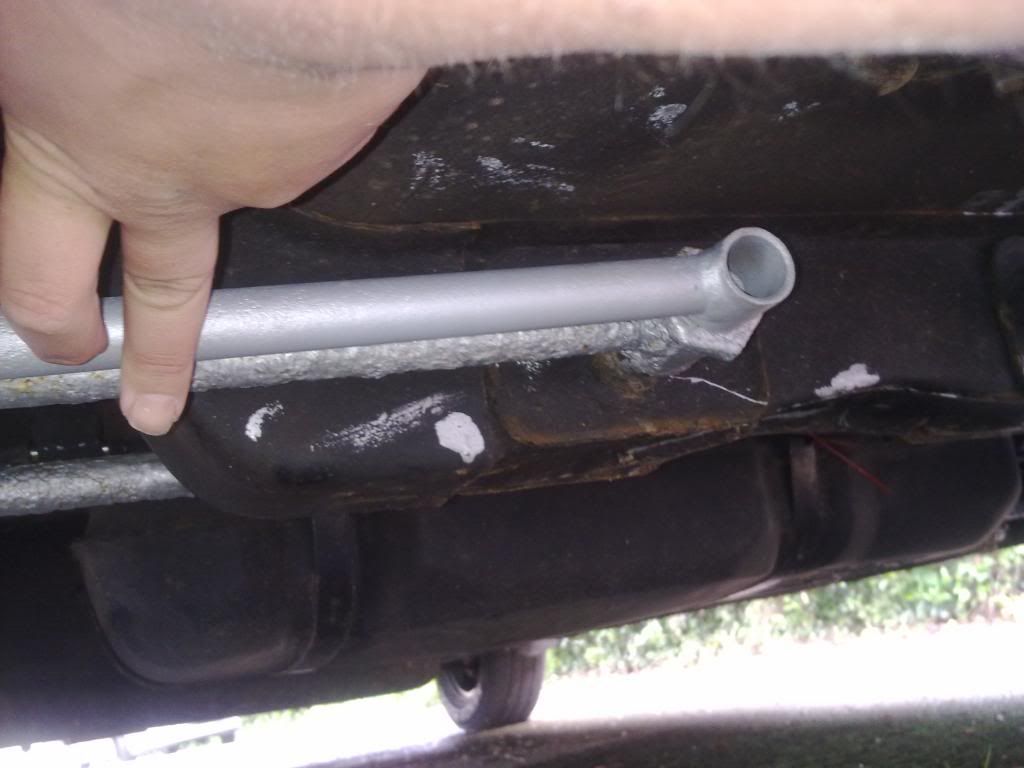 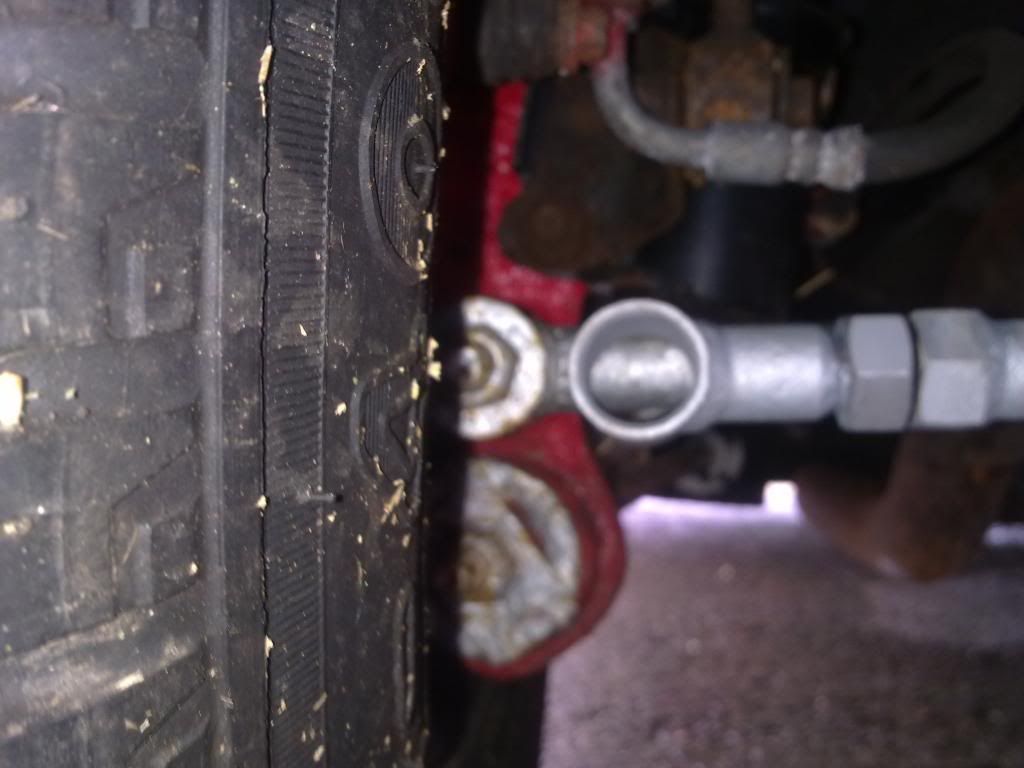 The control arms have been hung on the wall inside of the shed out of the road for the moment so they don't get damaged. I will need to give the a few coats of paint before I fit the bushing kit. Should I be looking at a pair of dog leg trailing arms/torsion bars to go with these control arms? Oh curse word! I'm out of paint, oil, wiring,etc again! and no money to buy them! |
| |
|
|
|
|
|
May 29, 2014 17:28:39 GMT
|
I spent a bit of time refitting the runners in the track on the drivers seat and making sure that they had plenty of grease. I only wish it had been the right type of grease as I used axle grease instead! I also spent some time freeing up the seat base's mechanisms as they were previously been jammed by dirt and grime. The base has been fitted into the car and due to a minor error in welding the feet to the tracks there will need to be a little work on the feet to make sure the tracks are correct as well as run true. 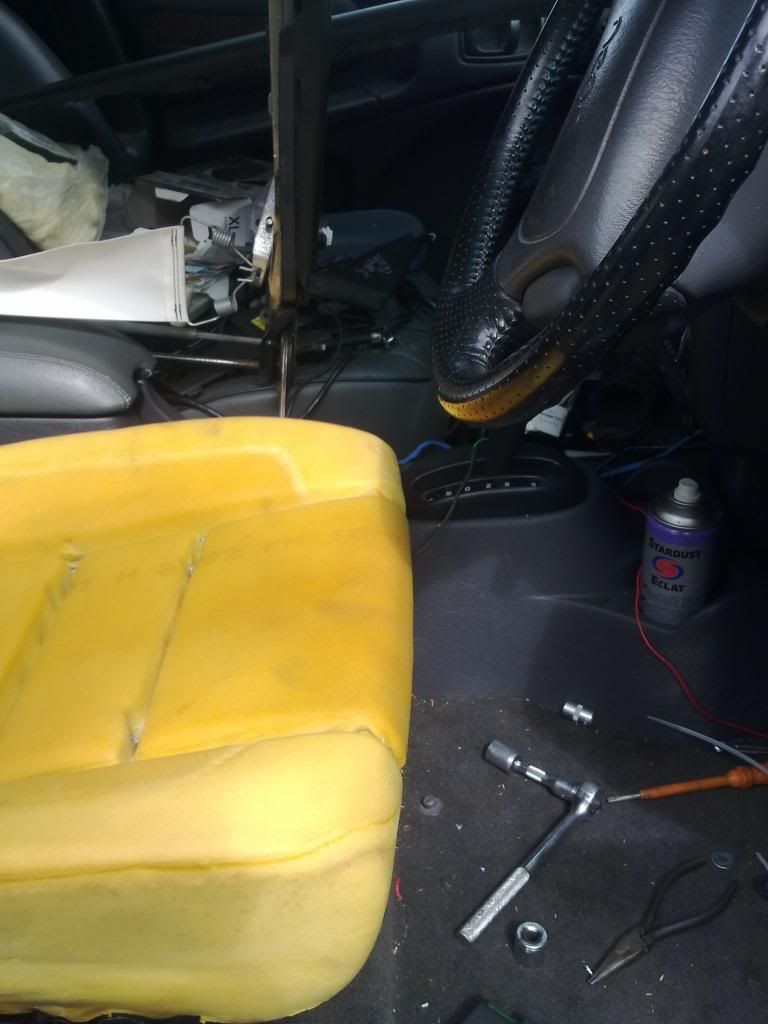 The seat base set at its max hight(I don't think mam will need a booster cushion :lol:) 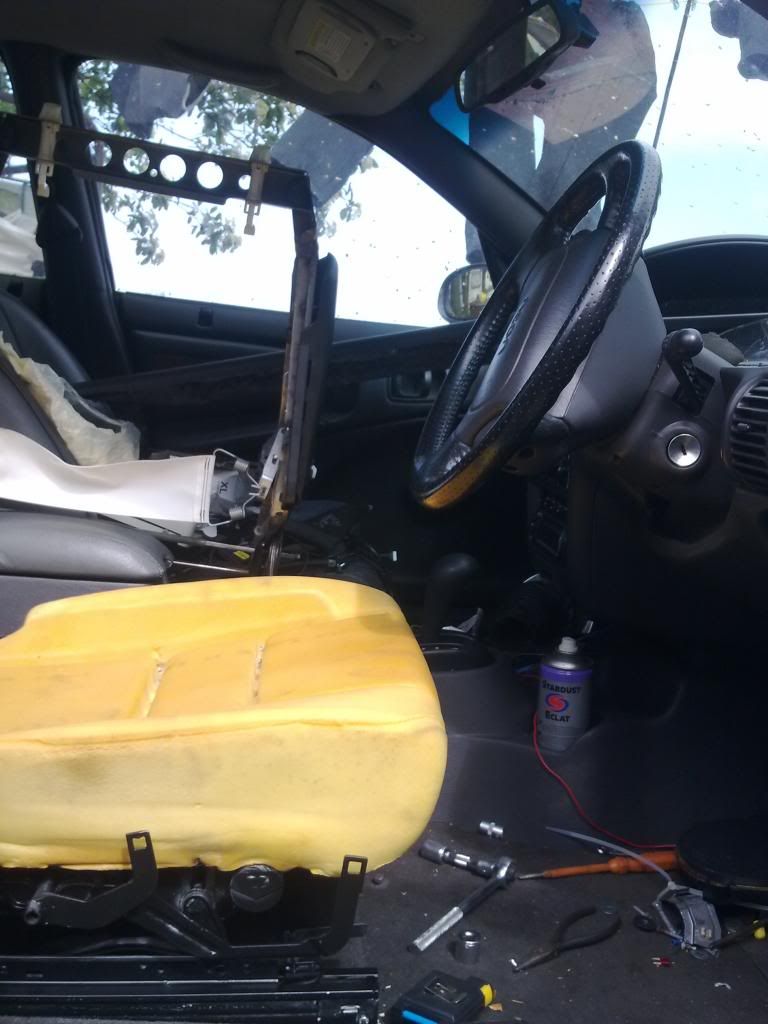 Well the fabric arrived for recovering the drivers seat. 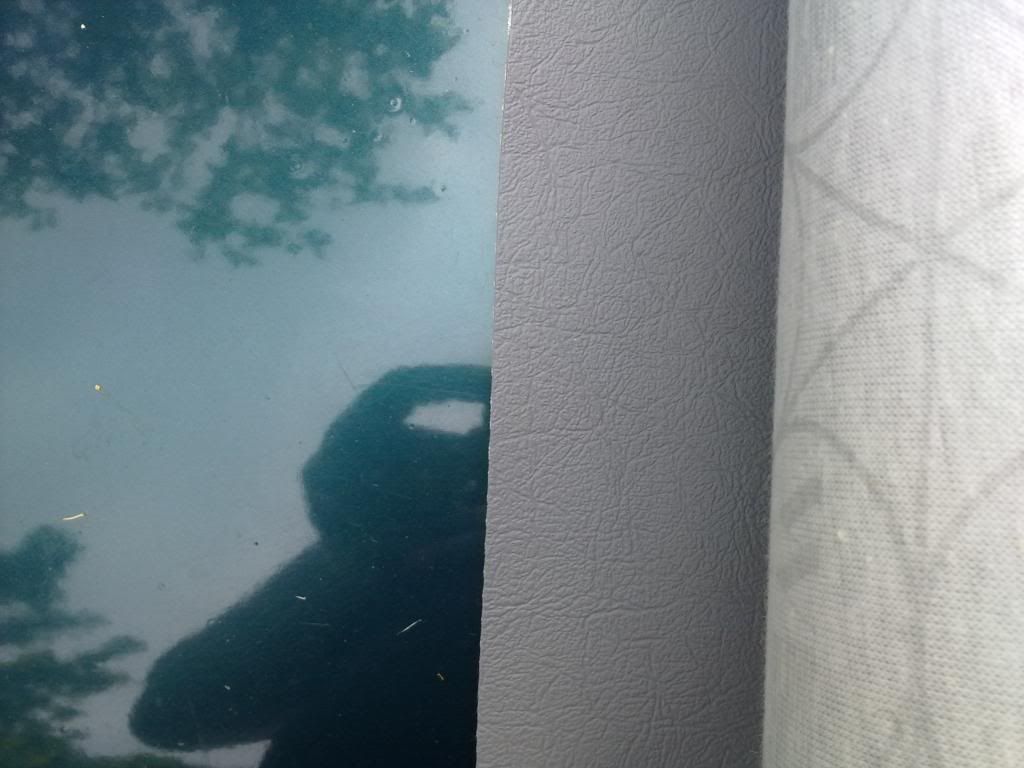 I don't know if it's me or is that fabric a touch lighter than what the swatch was? I was after a slightly lighter colour gray for the interior. Here is the comparison between the old rear seat grey and the roll  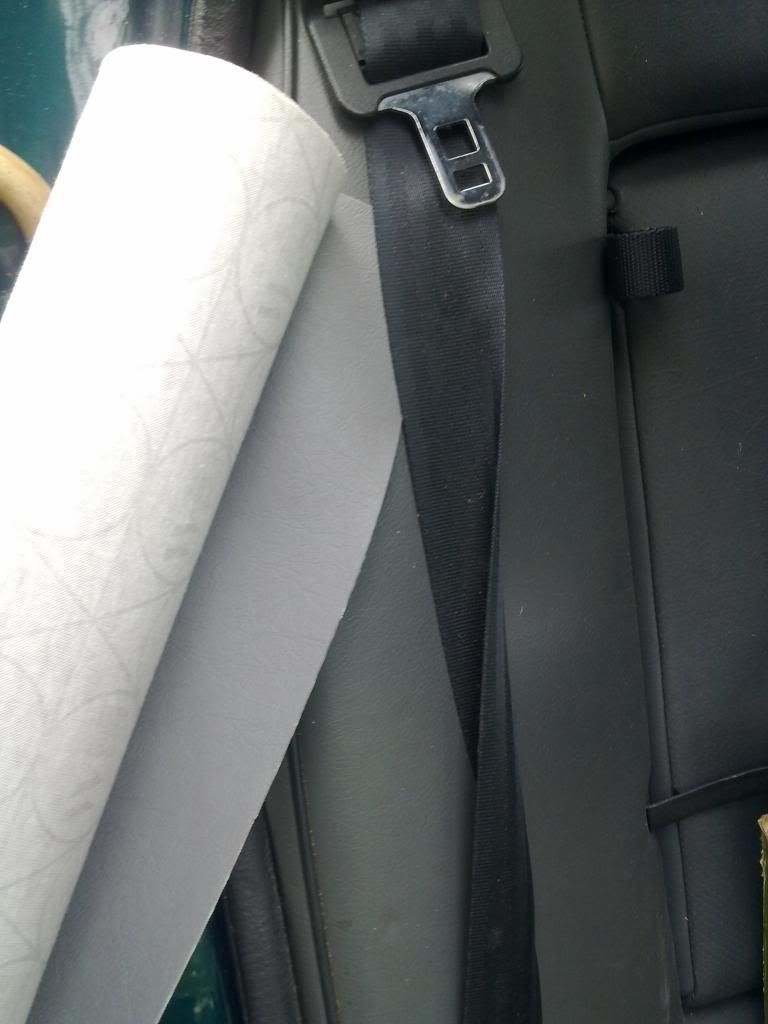 I left the swatches at Elite Foam earlier in the week so I can't really check till I get back down into Hartlepool! |
| |
|
|
|
|


