|
|
|
|
|
The top is the new parking rod sprag bought from Alexanders of Thornaby which is a Fiat dealership. They say that they cannot get the relivant replacement part without the VIN Number of the Voyager from which the gearbox is from! As that vehicle has long since been crushed there is no chance of getting the Vin! So I must make do and addapt to what I have. 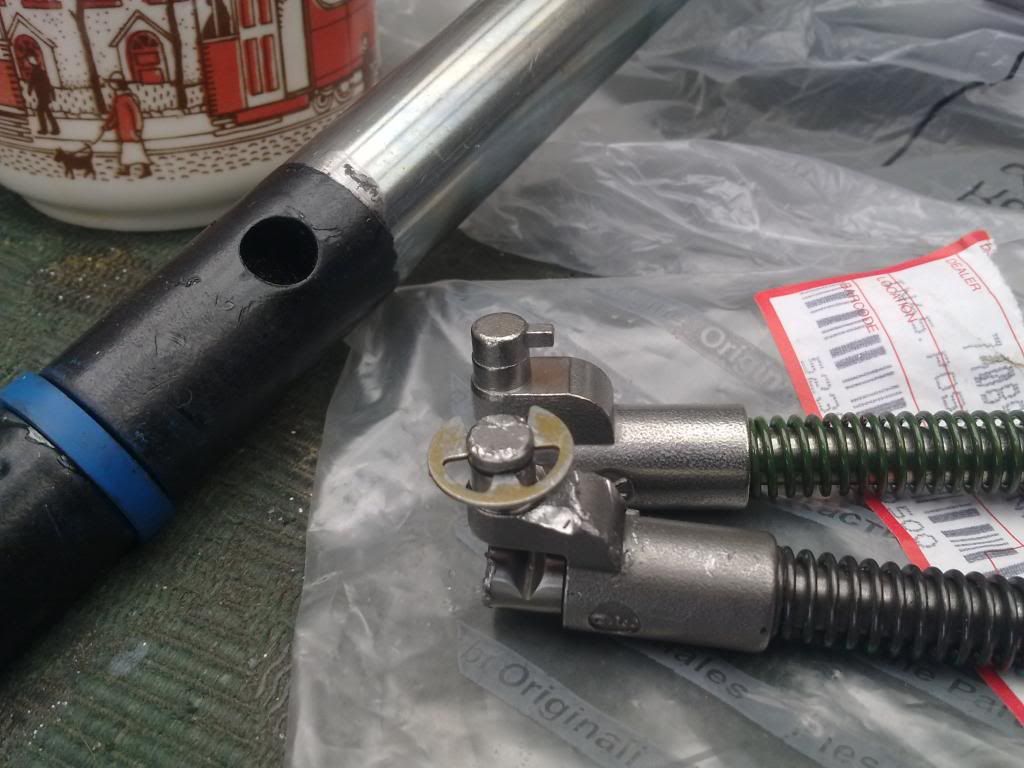 This needed to altered in order to acceot the parking rod sprag which I had bought! 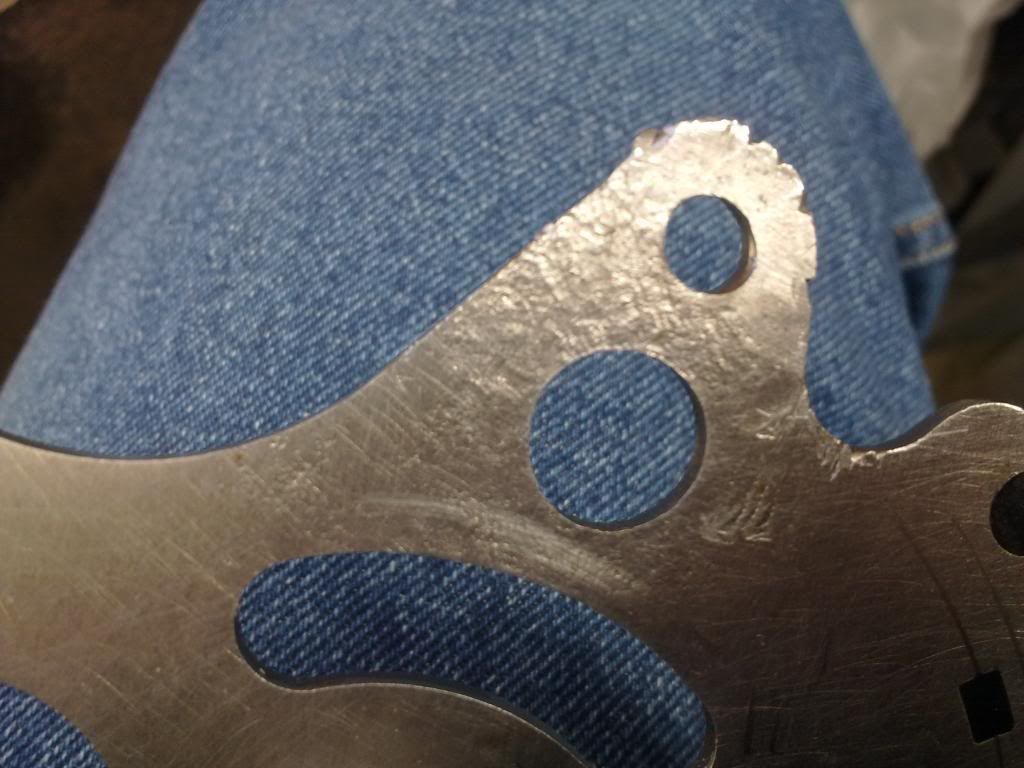 The slot cut into the gaer selector disc with a good thin file. The edge of the selector disc near the hole had been damaged when the disc was hammere flat, so it was filed to reduce the chance of any damage being caused! 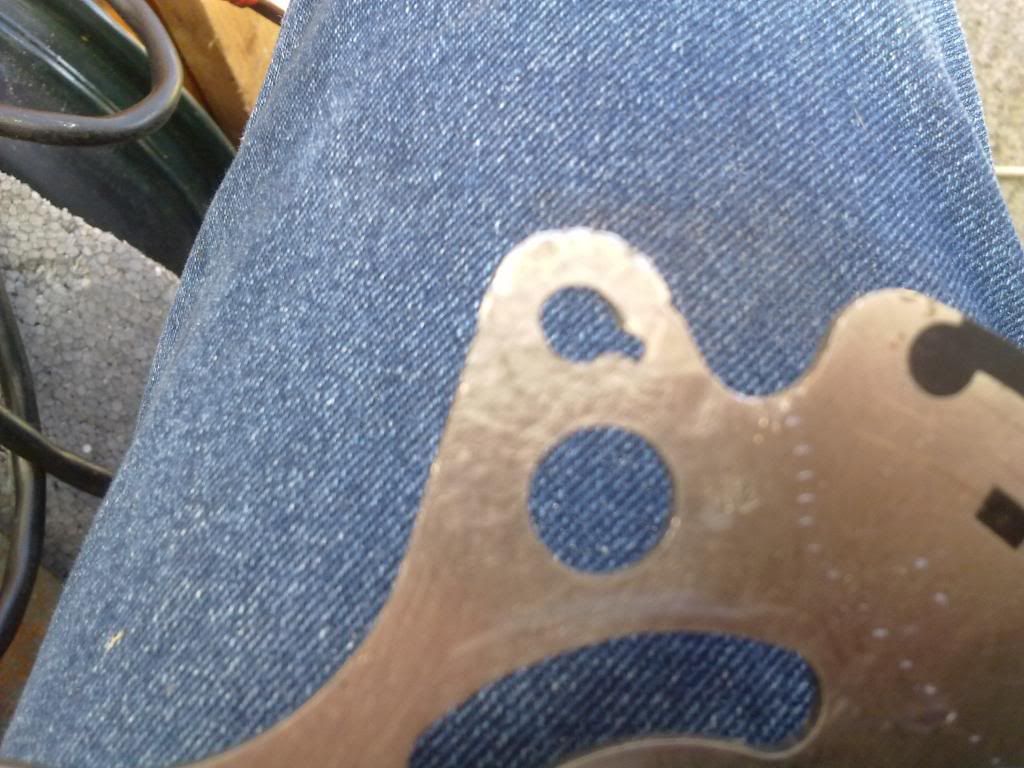 The parking rod fitted hasn't thewide movement the old on had. 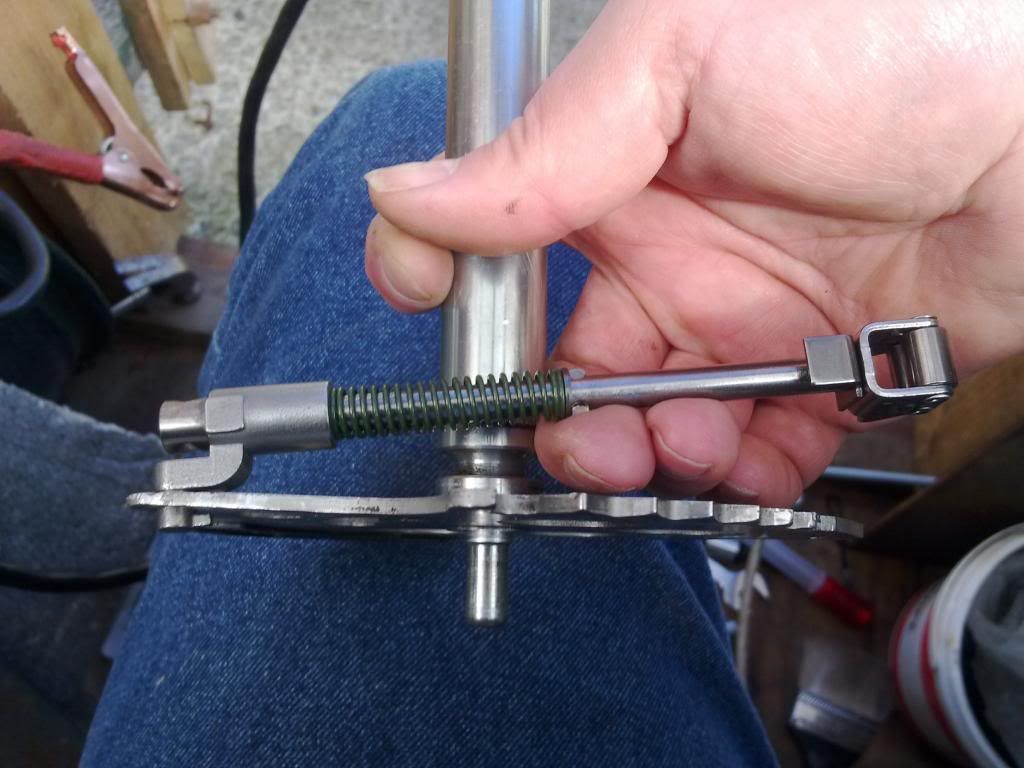 I couldn't find the original magnet from the oil pan! So I destroyed 3 fridge magnets to get 3 weaker but functional magnets. Hopefully it will be enough. 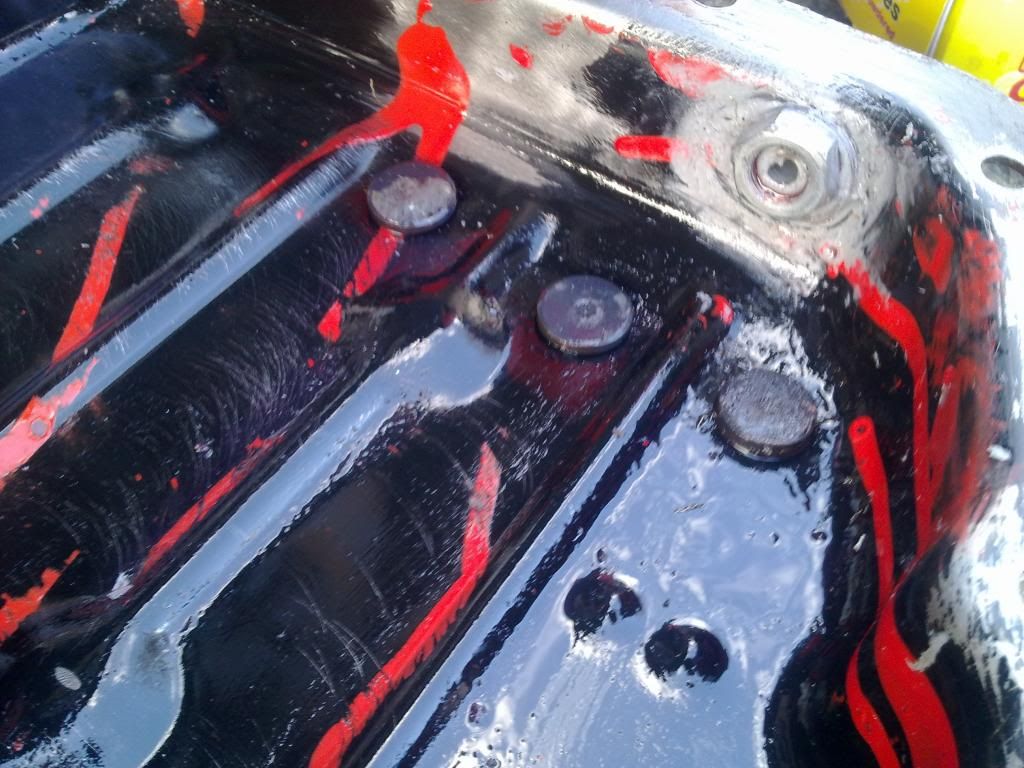 The Valve body bolted back in place. Vasaline used as assembly paste to hold the OD & UD accumulator pistons in place, Then a metal ruler to hold the springs & spacers in place while the Valve bogy was moved into position, the ruler removed before bolts put in. The new seals & expander rings had been fitted to the UD, OD, and L/R accumulator pistons before installing them with the shifter kits spacers. 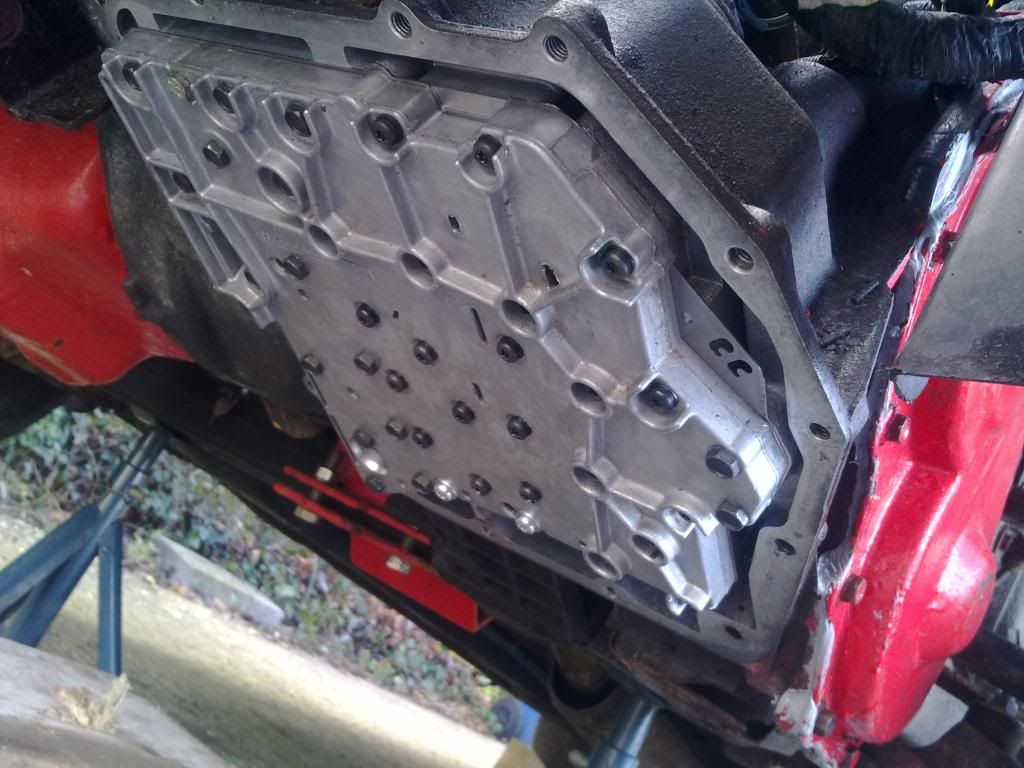 All bolts in and gasket paste rather than the old rubber gasket which leaked.  I have tried the Gear selector rod and the parking sprag rod is not giving any problems. The wheel nuts on the left wheel were removed and some spare fitted in their place and the wheel nuts from the left were fitted to the right wheel. The original right wheel nuts were damaged and the stud threads weren't. The old girl in now sitting back on all four wheels. I will pick up the transmission fluid tomorrow after my hospital appointment. |
| |
|
|
|
|
|
|
|
Apr 10, 2014 22:47:56 GMT
|
I managed to get down to Sewell's Auto spares and collect the transmission fluid. So the first thing I did when I got back was fill the gearbox. After doing that, I could then get the battery out and try starting the car and finding the gremlins that is in the wiring. One gremlin found turned out to be in the drivers door! Yes the switch for the central locking next to the handle connects to the immobilizer and I had forgotten this when I removed the door card which it is screwed to due to the door card falling off and jamming the door closed! I attempted to start the old girl up, and she would not fire, air/fuel mix was not right there was a problem at the throttle body.  Firstly I worked out that when I fitted the throttle body I used WAY too much gasket paste and it had restricted or clogged some channels. So out came the dremel and spare packs of attachments. I went through a few brass wire brush attachments. Andhere is the end result.   One thing I did find was that the idle air control valve had jammed and when I pulled it from the throttle body it came apart! It had gone past the hole rather than block it! This could be the other cause of the old girl not running right. 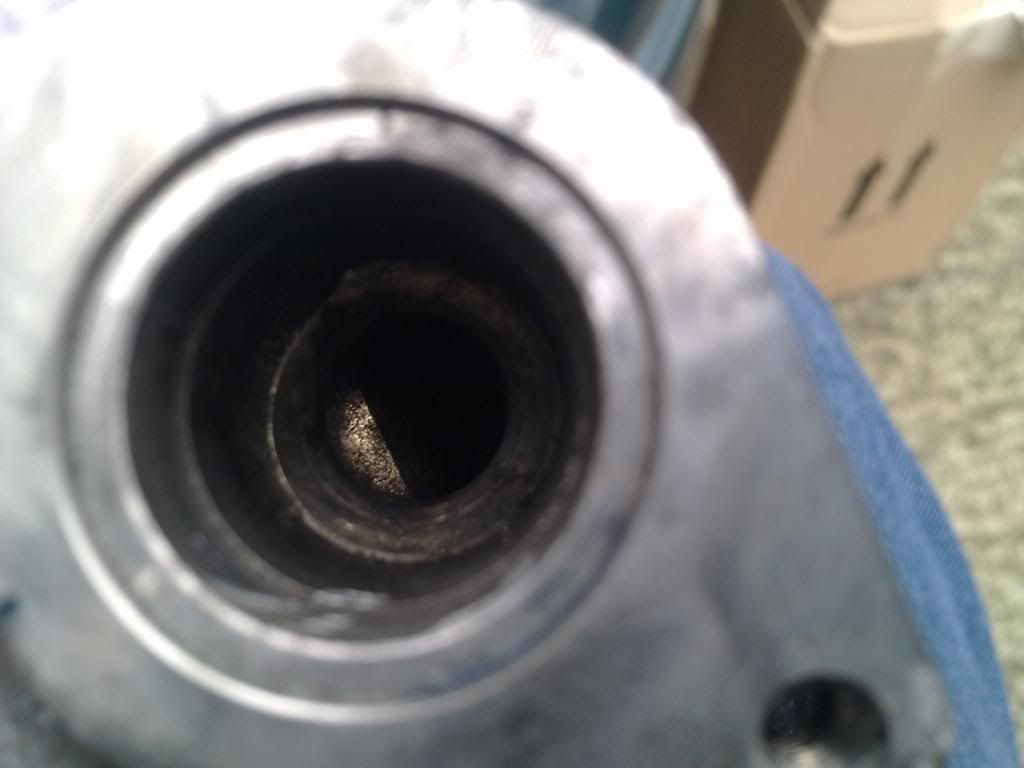 I finished by cleaning up the intake manifold removing the rest of the gasket paste. 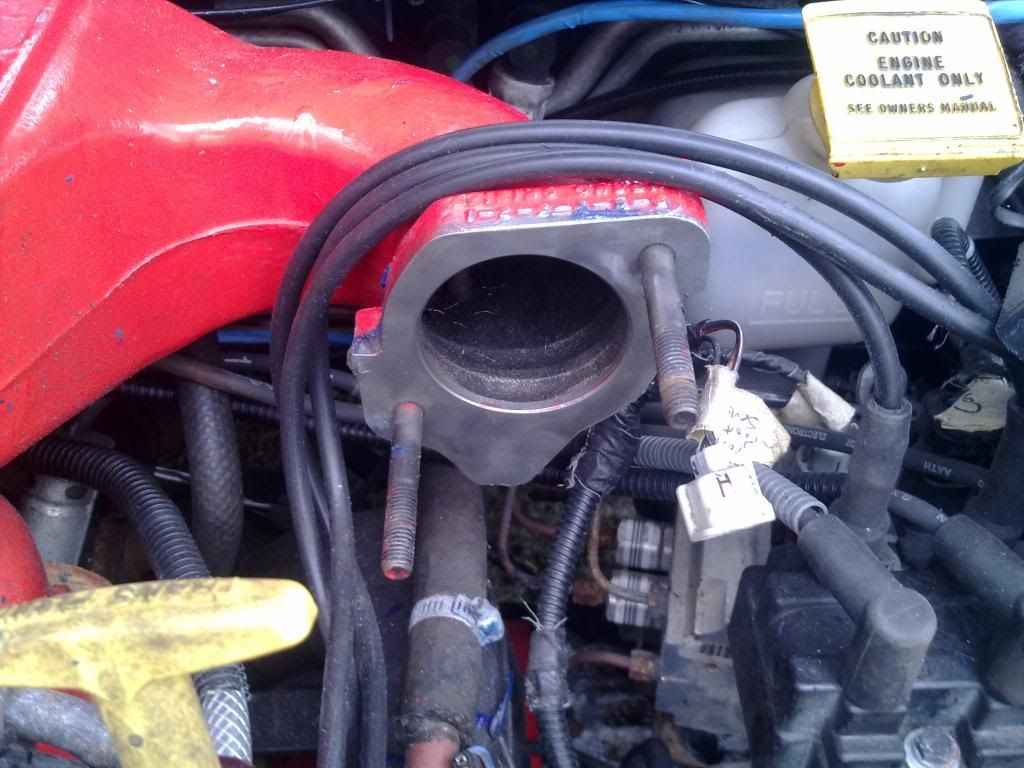 Two things stopped play, it started to rain and I didn't want to be electrocuted. And my body started to give up very quickley(still recovering off over doing it on Tuesday) |
| |
|
|
|
|
|
Apr 11, 2014 17:57:55 GMT
|
I was removing leafs blown onto the engine and noticed that some of the vacum caps had perished so they were the first to be removed and replaced. 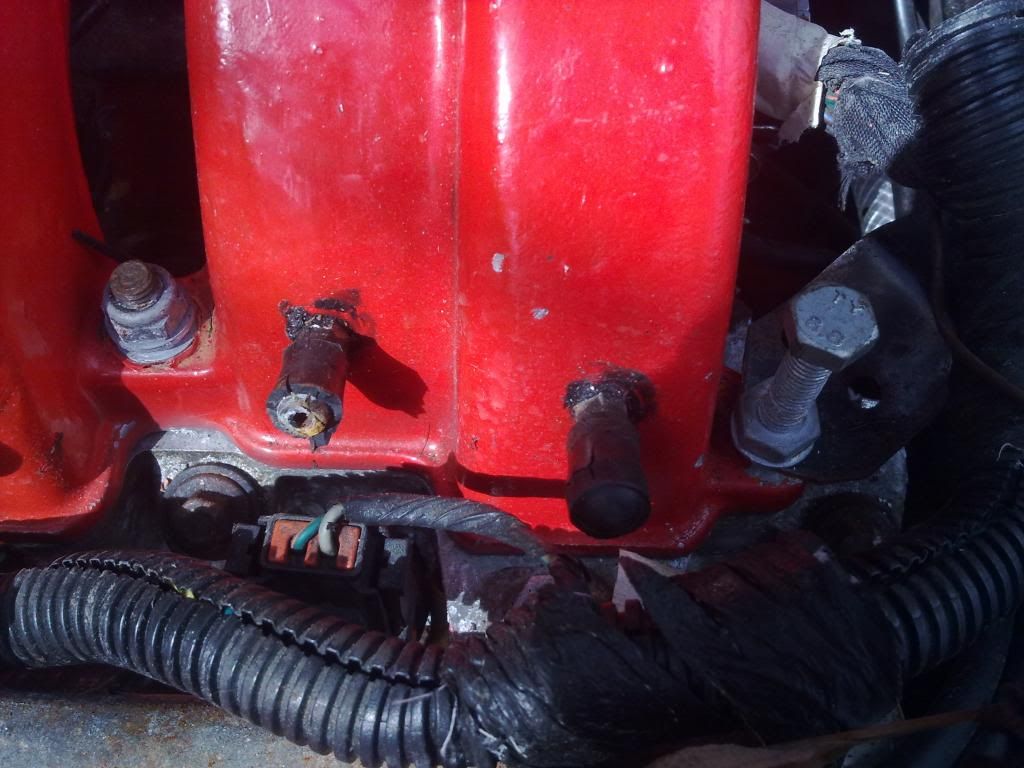 The shim for the gear selector arm made and fitted, so much trouble to gey a small bit of metal right! 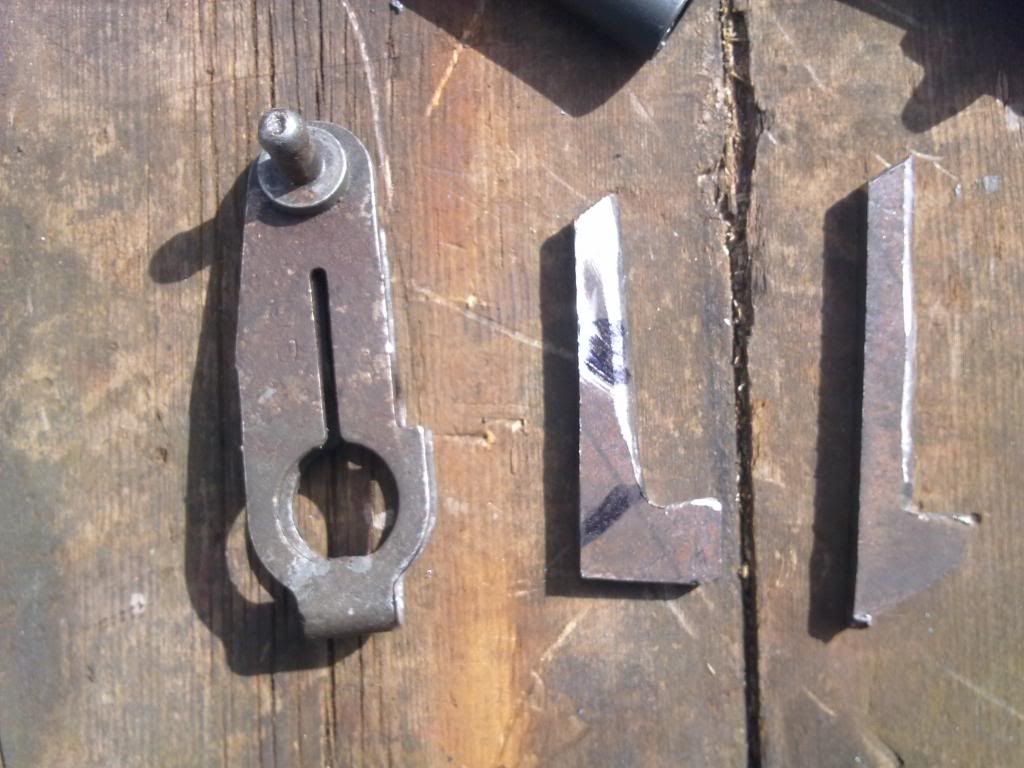 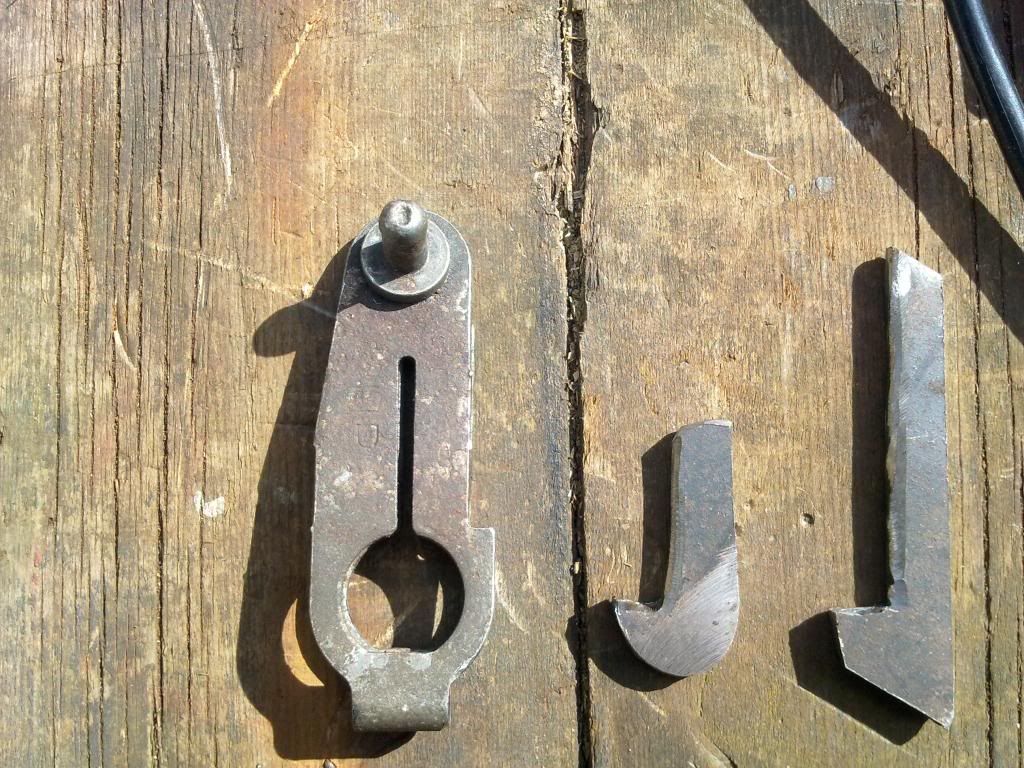 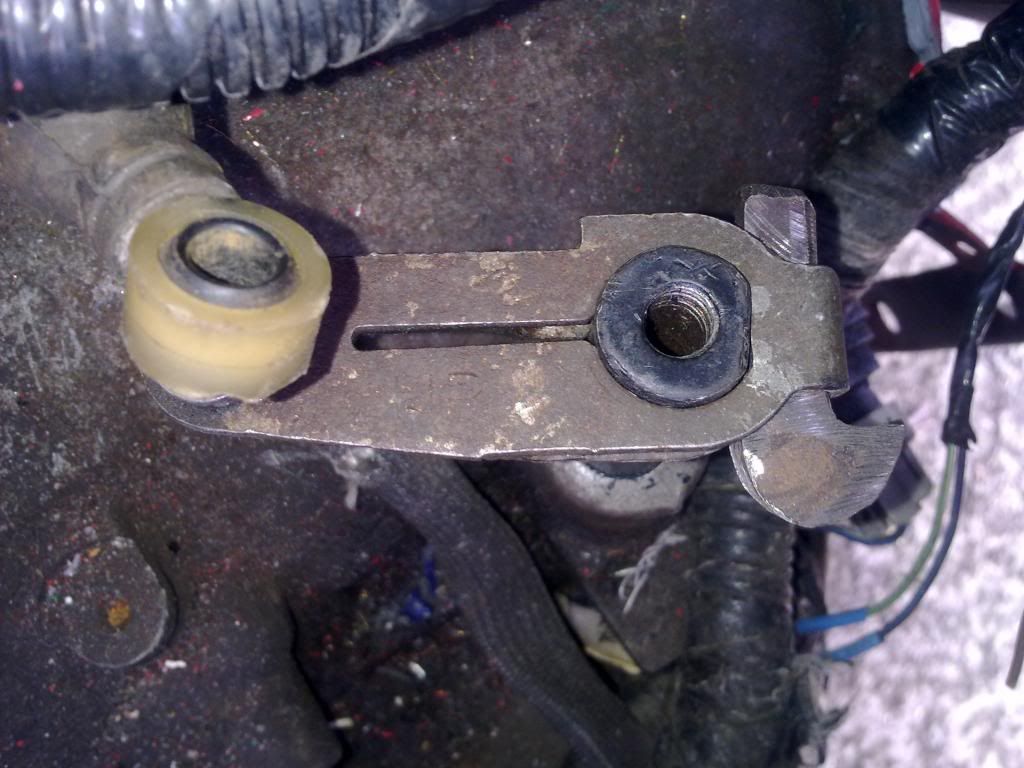 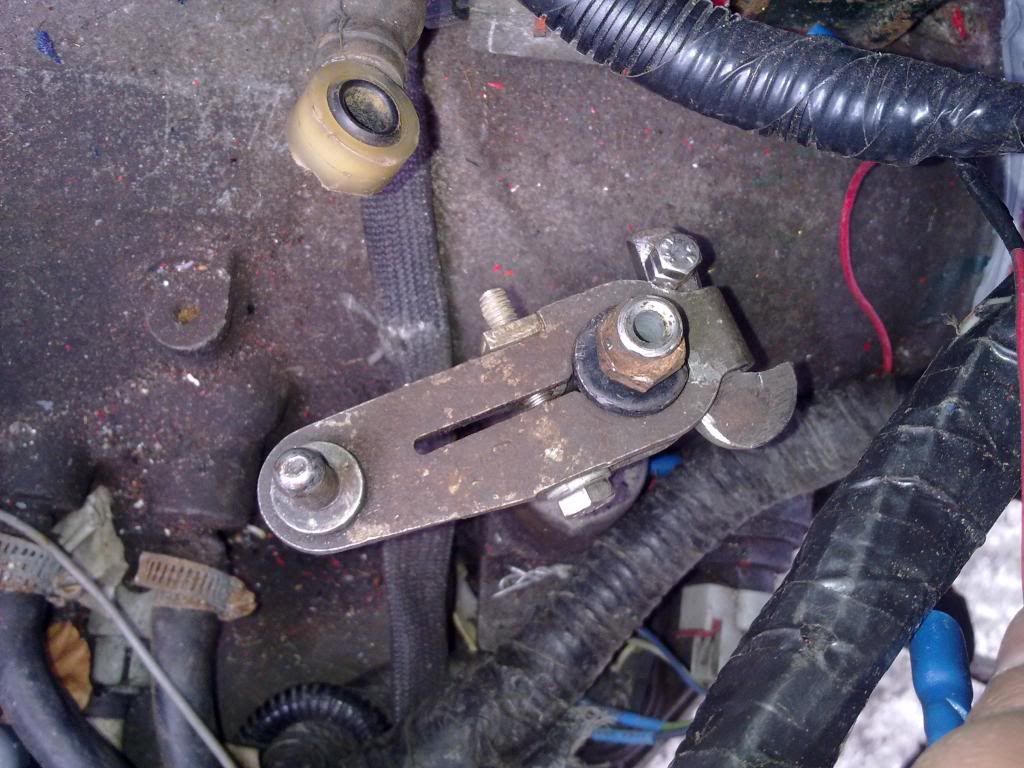 That ain't going anywhere!!! All done and connected up at the gearbox end tomorrow I will make a start inside the car and put the shifter back together and reconnect the handbrake.  idle air control valve idea,, err no! the gasket paste removed the idea is good the substance to be used is wrong! The idle air calve works after I reassembled it, so I thing some chemical metal might be be an idea and a drill to use as a lathe with files to get it right(well that's what I hope to do!) 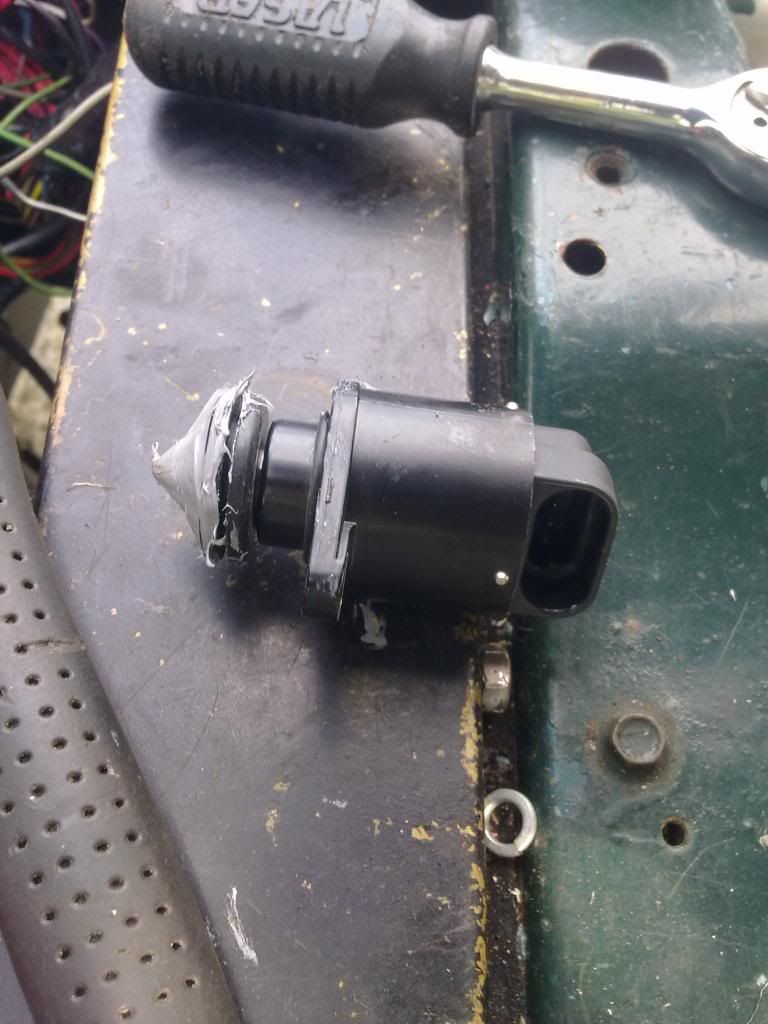 Mother's astra has a damaged bearing in the gearbox, so the garage are looking for a replacement gearbox! |
| |
|
|
|
|
|
Apr 12, 2014 16:52:52 GMT
|
After reconnecting the gear selector cable I noticed that although at the transmision the leaver was in park, the gear shifter was in reverse. The car has been jacked back up ready to adjust the cable bracket. Rain stopped work. 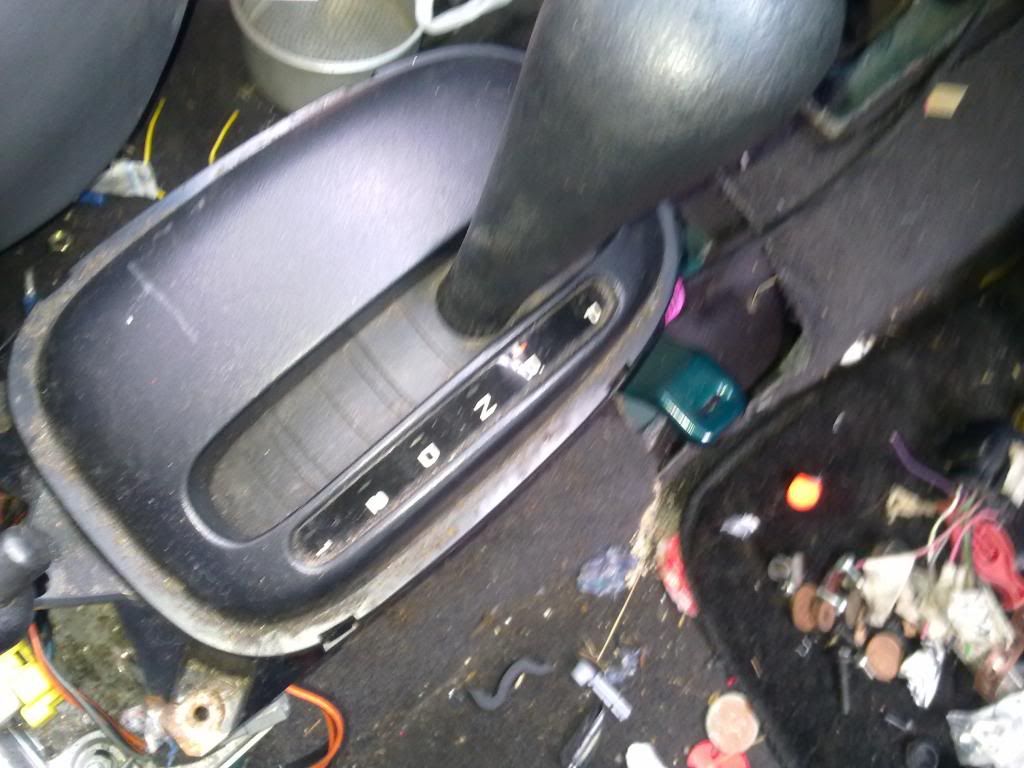 Onto the Idle Air Control Valve modification  A washer was used to make the backing wider than it had been previous. The chemical metal was used first to glue the washer in place, the to build up the end. After being left to dry for about half an hour, the plunger was then put in the end of the dremel and worked against a few files.  I little reassembling to show the end result, before being dismantled and the plunger tested and any necessary work done. 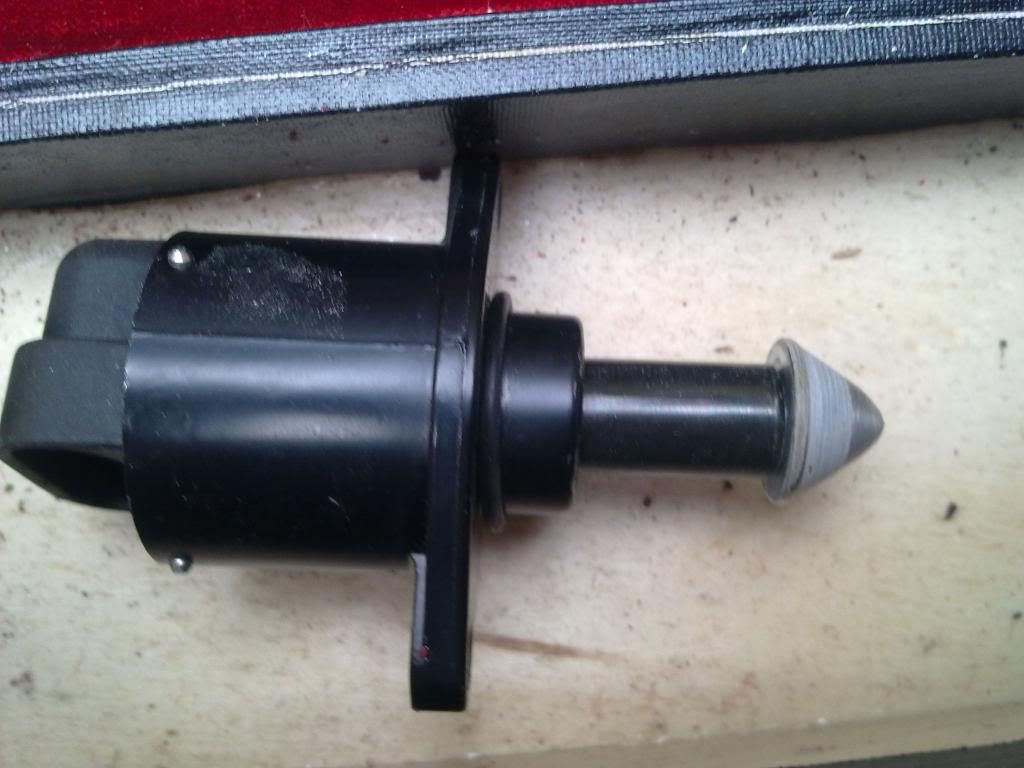 The plunger test fitted in the throttle body.  I dropped the black tube which protects the spring. It is behind the starter motor! I need to get it before I do anything else. |
| |
|
|
|
|
|
Apr 15, 2014 19:39:23 GMT
|
I was only well enough to do some minor work on the car, but these little jobs needed doing. The number plate light bulb holders were changed, and the connections are soldered. Then tested to make sure no other faults on that circuit.  As I moved back to the engine bay to disconnect the battery the left front side light wasn't working, as I pulled the holder out of the headlight the bulb disintegrated into the headlight. Another job for tomorrow! There was a spare bulb harness for the gear selector surround, so /i have swapped out the bulbs with leds as well testing them before fitting. |
| |
|
|
|
|
|
|
|
As the gear selector cable had no way of adjustment on it, I had to move the bracket which holds the cable at the gearbox end. This ment the use of a chisel and a heavy hammer!!!!  As well as busting the end of the gear selector cable the position the bracket was in even though bit was about half an inch out still, means the bracket had the cable draping on top of the left drive shaft! I have an idea of how I might replace the broken parts at the gear shifter end of the cable, AND make that end adjustable. A trip into town in the morning a ships chandlers and the hardware store for the parts. |
| |
|
|
|
|
|
Apr 18, 2014 17:53:06 GMT
|
Out with the dremel and mini grinding discs, first job of the day to cut the rest of what had been compressed onto the end of the gear cable. Which reveled a nice notch towards the end which I had decided to use. 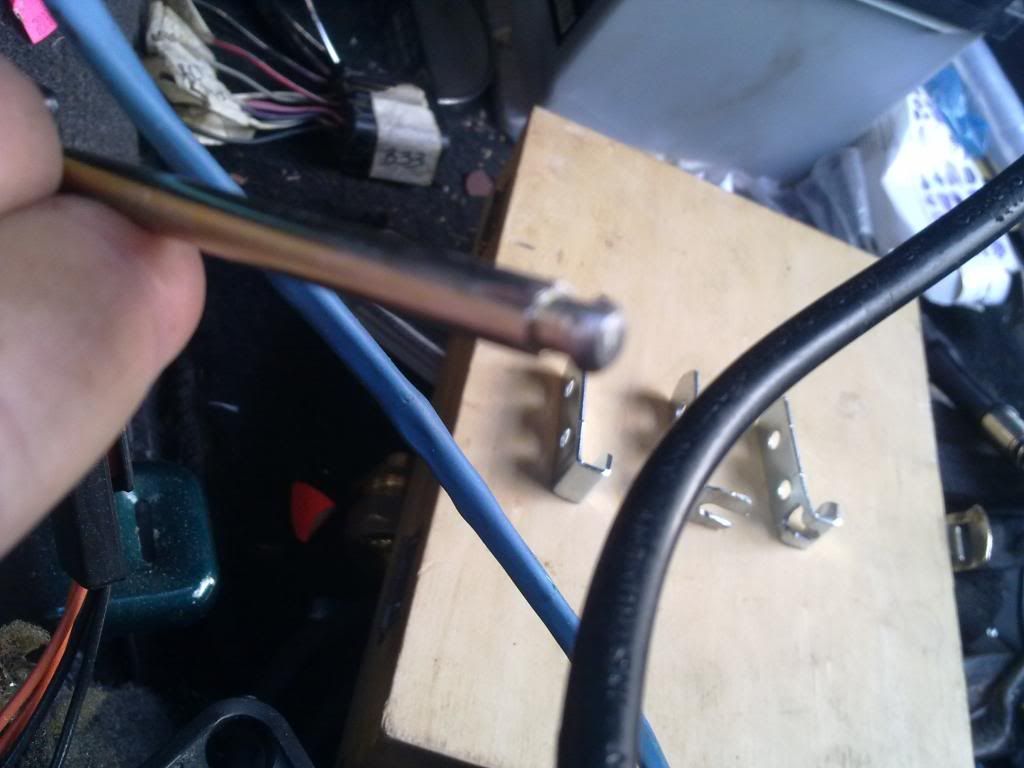 These are clips used for mounting a mirror, two modified and the left one as they came.  Very fiddly trying to get them to fit just right on the end of the shfter cable. It isn't too tight a fit as I wanted, but I know it can be done again in the future.  I will start on the other part tomorrow using the other two clips to hold the rod that will clip onto the shifter lever |
| |
|
|
|
|
|
Apr 19, 2014 18:32:21 GMT
|
This is the only part for shifter cable end link that was bought from a ships chandler. As they are the only ones who sold anything like this that I could find suitable.  A grommet from a pack I bought previously inserted into the hole before making sure it was able to be pushed onto the gear selector lever. nice tight fit so it shouldn't come off!  Off the car the fully assembled shifter cable adjustable end link. She may not look pretty but she will do the job and at a cost of a couple of quid with time and patients.   Attached to shifter cable but in need final adjustment.  All fitted and tightened up. The other end was checked also so ready just to tighten those bolts and reinstall the battery tray and tcu assembly in the next few days. (Both ends in the park position)  I have be wanting to get these broken fixing holes sorted for a while now.  I waited till the home made link was finished and installed in case I broke any more plastic. Then a simple mater of some plastic sheeting down under the damaged area and some bumper filler on the area. I will drill the fixing holes tomorrow if I am not at a car show.  Hopefully Ryhope Steam museum for a car show(might need another photo bucket account as on past monthy limit ans the other close to limit!) |
| |
|
|
|
|
|
|
|
After spending the best part of the day at Ryhope show I had taken some painkillers to get round the show and they were still doing their job after I got home. So I managed to finish off the gear selector cover, then bolt up the selector cable bracket and motor mount before getting the old girl down off the axle stands and back on all four wheels. My body will regret it tomorrow!  I will clean up the inside and put back the centre consul, hopefully I will be able to reconnect the handbrake as well. Then back to the wiring! |
| |
|
|
|
|
|
Apr 21, 2014 23:47:58 GMT
|
|
|
| |
|
|
|
|
|
|
|
Apr 22, 2014 17:02:38 GMT
|
The neon was hoovered out and the center console has been washed ready for refitting. The film of dirt on the outside of the car was doing my head in so she got a wash yesterday only for it to be heavy rain and thick fog today so I haven't been able to wax the old girl! (I had left the console outside to dry overnight whoops!) I found an old wheel trim ring without clips so I spent a little time fitting some new clips to it and putting it on the car. She now has all four chrome trim rings and hub caps fitted. Rather than mess around removing bulbs from holders to replace them with LED's, I bought some new holders and wide angle LED bulbs(need a few more) all for the instrument cluster.  Ordered and paid for over the phone a set of 4 rear lateral control arms off a scraped neon at a scrapyard down south (£50 including postage) these will either be modified or used as templates to make a set of adjustable ones, that way I don't touch the ones on the car till I need to! I will contact some machine shops I have used previously about the costs. |
| |
|
|
|
|
|
Apr 22, 2014 20:06:47 GMT
|
|
Need to upgrade your photo account methinks..
|
| |
|
|
|
|
|
Apr 22, 2014 20:48:45 GMT
|
|
I have 3 photobucket accounts, 2 have passed their bandwidth limits the 3rd is new but
has the ryhope steam museum car shop photos so I expect that to last a far bit, but I
think another 2 accounts might help.
|
| |
|
|
|
|
|
Apr 23, 2014 18:26:31 GMT
|
Center console and arm rest reinstalled, handbrake reconnected (All the stuff in the passenger foot well was on the passenger seat but the fixing screws were mixed in with it!)  I managed to do a bit of wiring, extending the in places loom to move the central locking and immobilizer unit among other things! I need to get some foam or felt automotive underlay for sound proofing and stop a few things from rattling. Since I have been able to get a bit of wiring done inside the car, weather permitting I can start back on the engine bay mess of wires. |
| |
|
|
TS
Part of things
 
Posts: 558
|
|
Apr 23, 2014 20:13:57 GMT
|
I have 3 photobucket accounts, 2 have passed their bandwidth limits the 3rd is new but has the ryhope steam museum car shop photos so I expect that to last a far bit, but I think another 2 accounts might help. I dunno why you all still use Photobucket. There are way better free image hosting websites out there nowadays. Imgur or Bayimg for example. |
| |
|
|
|
|
|
|
|
I ordered a set of rear lateral/camber control arms for £50 inc Postage form a scrapyard in the south of England. They arrived this morning. 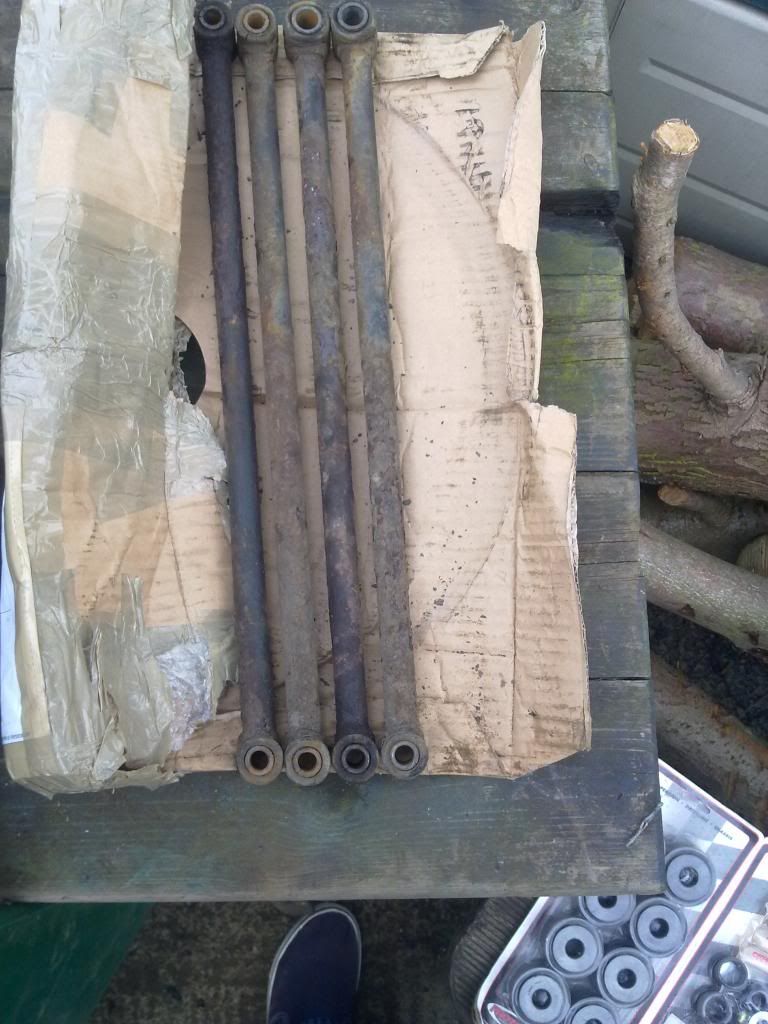 I then popped into my little tool shed as I remembered where I had put the bushing kits that I got off Adam (Username "Bad to be Blown" on the Yorks Yanks car club forum) which means one less thing to buy once the rear lateral/camber control arms have been either over hauled or to fit to the replacement arms that have been made by using the scrapyard set as a template to make them! 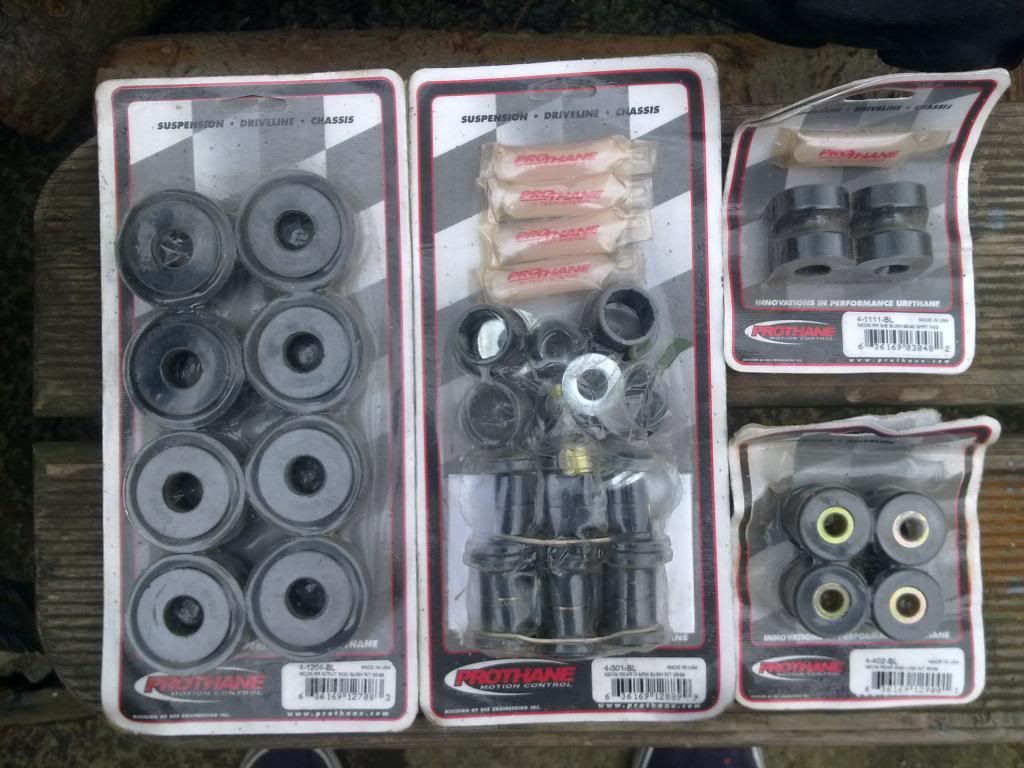 A few tedious hours later, and busting the vice twice, all the metal inserts are out and most of the rubber. I will get the last bits out tomorrow when I get the drill and the sanding belt on them!  Oh I will be trying to get to two car shows tomorrow during mid day so hopefully photos posted tomorrow night. |
| |
|
|
|
|
|
Apr 27, 2014 23:38:29 GMT
|
|
|
| |
|
|
MaxN
Part of things
 
Posts: 482
|
|
Apr 28, 2014 10:04:09 GMT
|
|
I think that this is fascinating.
I had a Neon as a rental car several times and even managed to turn a good few laps on one once. The engine transplant will certainly let is move along nicely....
|
| |
|
|
|
|
|
Apr 30, 2014 19:47:16 GMT
|
|
After pushing it at the weekend, I thought I had better pop to the machine shops with the
control arms. One said that the control arms had some surface rust but were okay but they
don't do customization of car parts so would do it,
The Second one I went to Flavels said yes they could modify the control arms at a cost of
£100. But they would not touch them in their current state. The control arms would need to
be stripped of all paint and rust first.
So popped around the corner to Motorcool(another company I have had work done by ) with
control arms and left them with them. At a cost of £20 get them properly stripped and cleaned,
and the state I've been in it is easier to get them to do it! I wasn't going to work outside in
the wet with a grinder or a drill when they can sand blast them for that price!
The wide angle leds I bought are not suitable for the instrument cluster, and were dimmer than
the standard bulb. So I refitted the standard bulbs.
|
| |
|
|
mk2cossie
Club Retro Rides Member
Posts: 3,062  Club RR Member Number: 77
|
|
Apr 30, 2014 23:46:20 GMT
|
those LED bulbs can be a bit hit and miss I've found in the past  Good to see the progress on this conversion now though  Is it going to be the 1st in Great Britain to be running the v6 lump as well?  |
| |
|
|
|
|


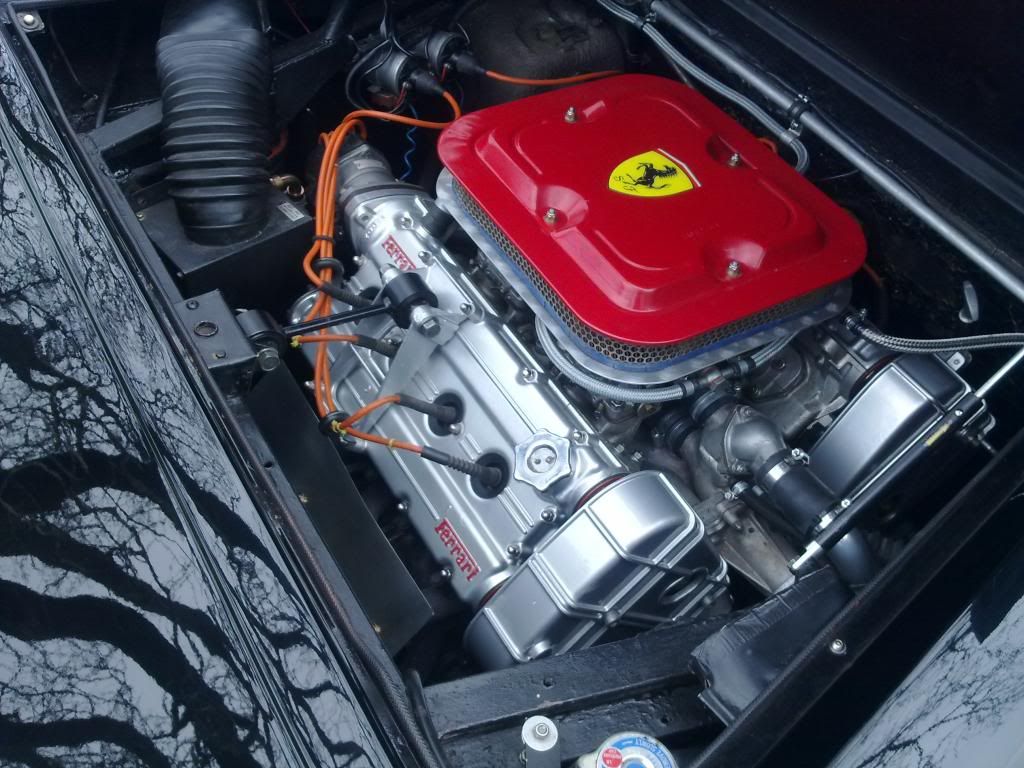


 Is it going to be the 1st in Great Britain to be running the v6 lump as well?