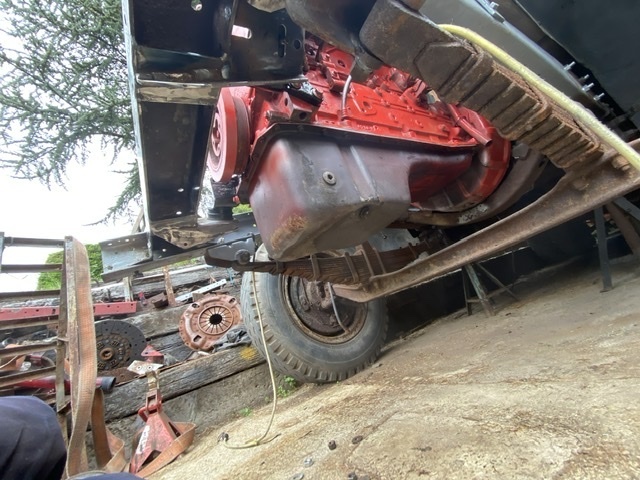
Right. Where were we?
Ah yes, front engine mounts and crossmembers…
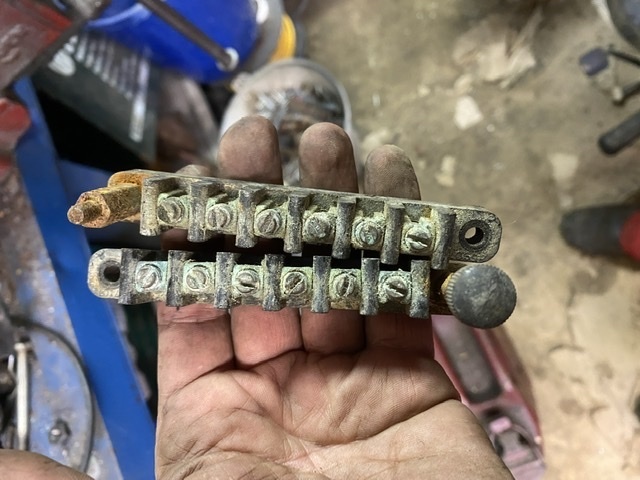
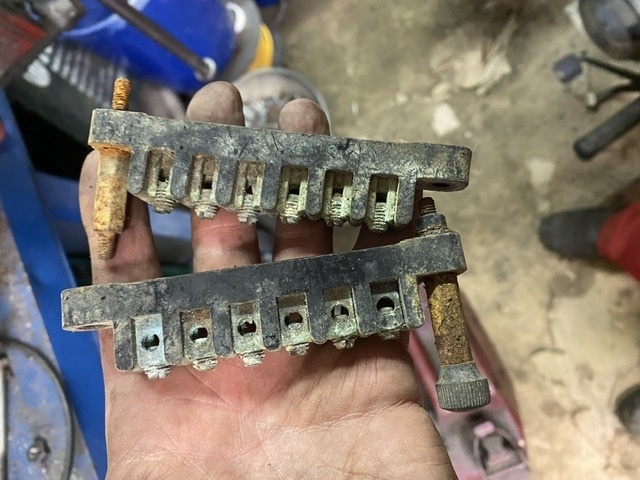
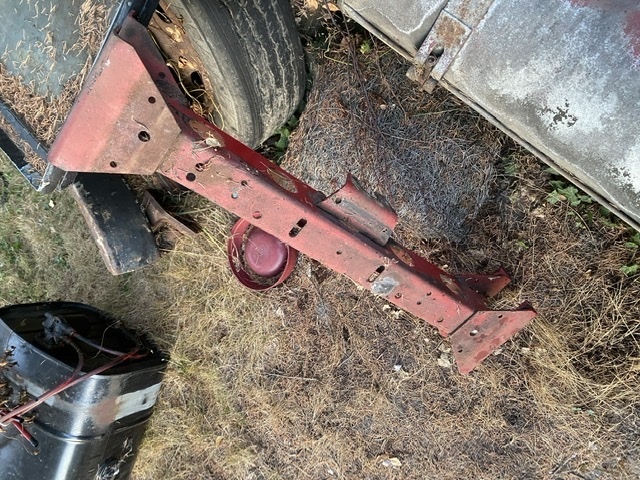
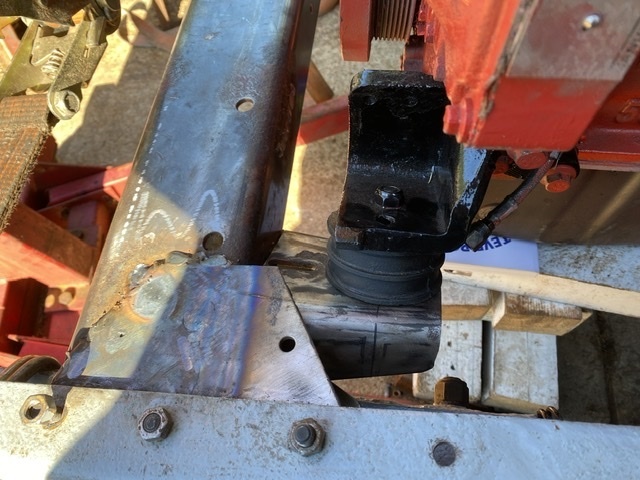
The DAF mounts look like this:
As per the rear ones, they’re both eye-wateringly expensive and unobtainable. 🙄
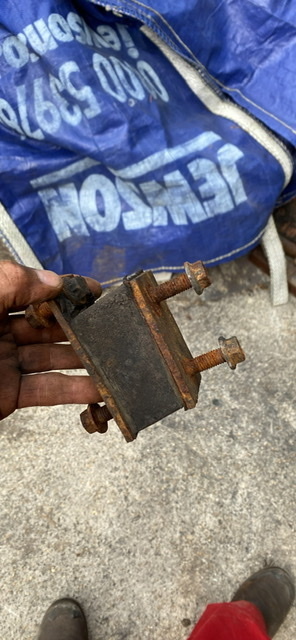
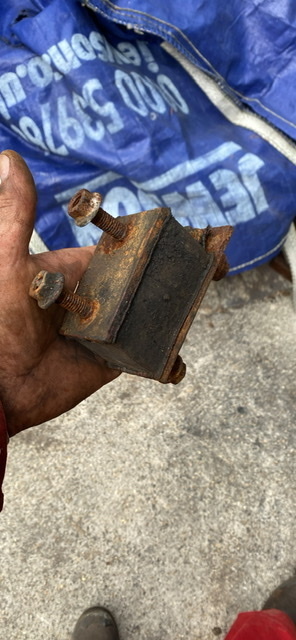
However; Austin ones on the left in my hand here, and Land-Rover ones on the right:
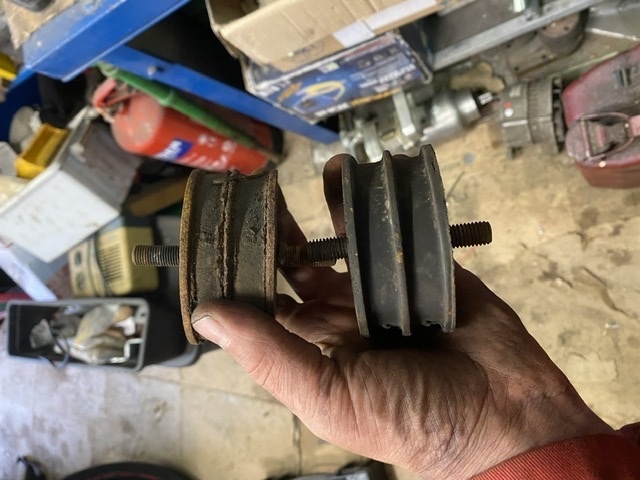
They're also freely available for under a fiver each… I’ll let you guess what I’m using… 🤣
I felt it was pointless to not use the DAF engine brackets and, although they’re a good deal thicker than either the Austin or Land-Rover ones, that gave me plenty of meat to drill and tap them appropriately to take the single mounting
bolt.
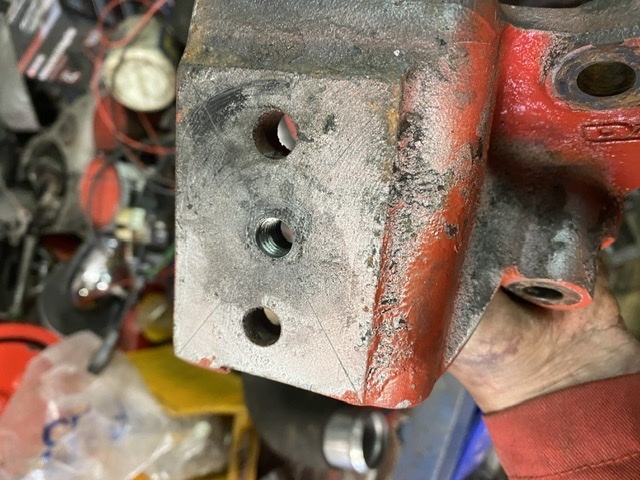
You’ll have to use your imagination a bit, because I neglected to take many/any pictures of salvaging from the DAF crossmembers. I cut the pressed plates off of one of these:
Cleaned them up, and stripped back the heavy U-channel that used to be the rear shock mount:
Then I dissected a bit of JOY’s old chassis leg to give me a template for drilling the holes in the top and bottom flanges of the passenger side chassis rail where the new metal was needing them.
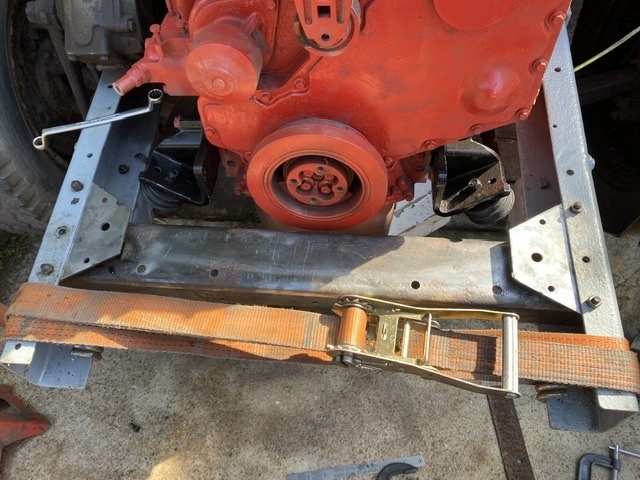
This allowed me to offer up the original crossmember, and revealed that the legs had sprung apart a little bit and needed pulling in slightly to get all the mounting holes lined up. Easily done with a strap.
This then allowed me to offer up the new bits and spend an inordinate amount of time juggling back and forth trying to work out the best position to tie in with the original mounting holes, but still giving adequate clearances for the front pulley and everything else. Eventually I tacked it all into place, then took it out to weld it up properly.
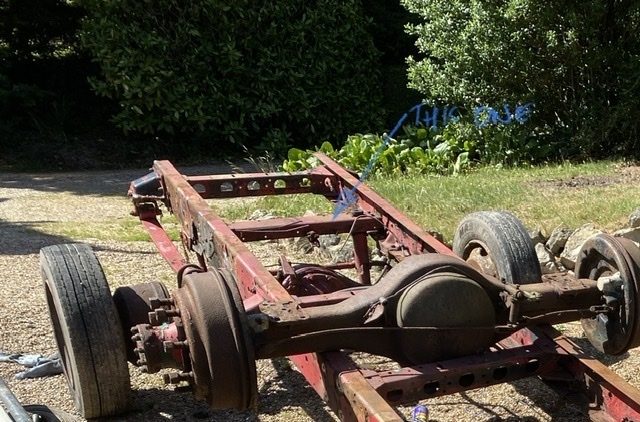
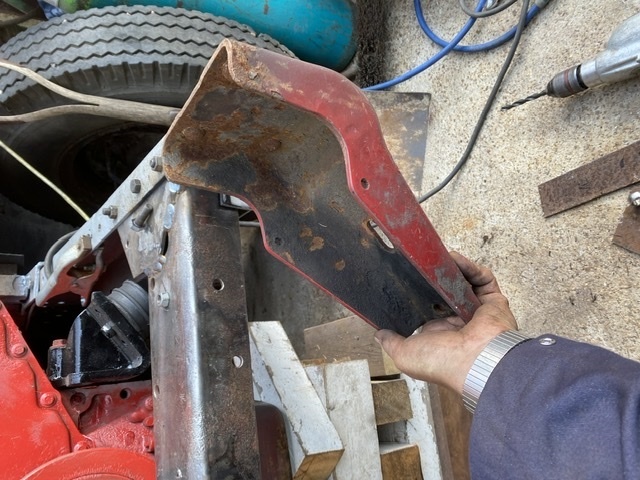
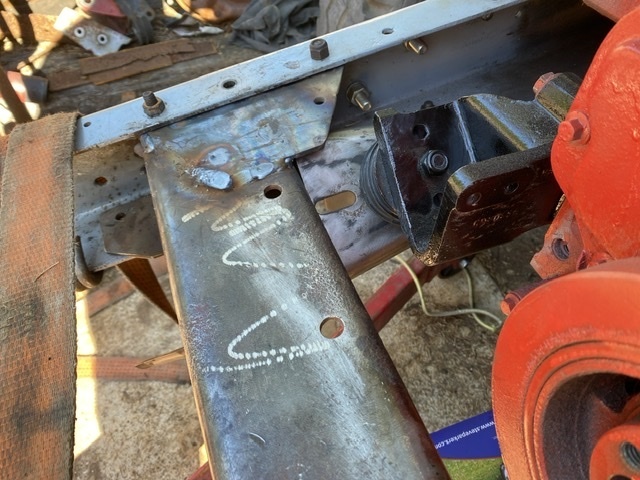
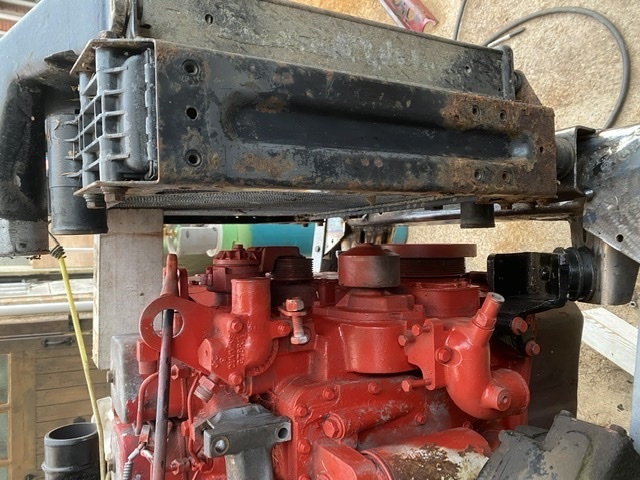
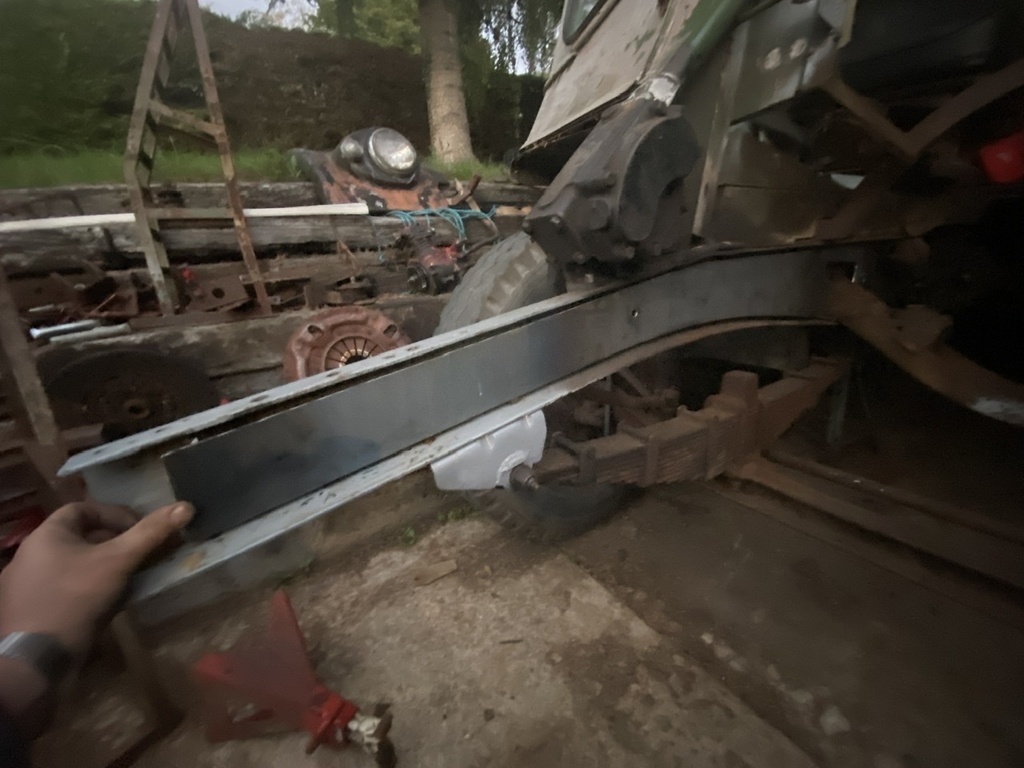
Then I had to think about something for the mounts to sit on. In the DAF, the engine sat much lower in the chassis, and the chassis mounts look like this.
I couldn’t use those in their original orientation, but I could see that they would do the job with some lateral thinking…
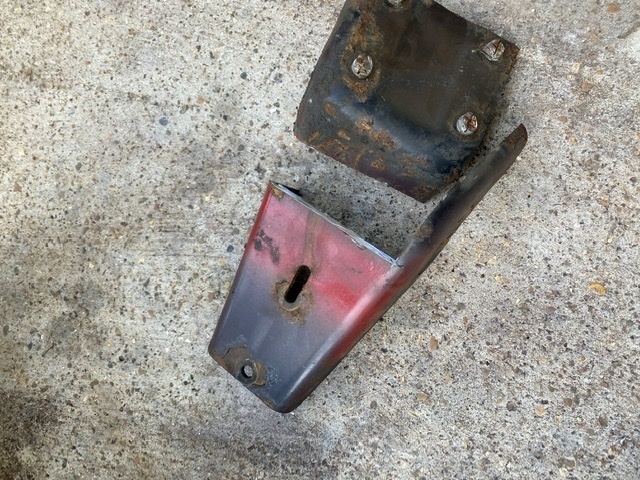
So, I dissected them a bit:
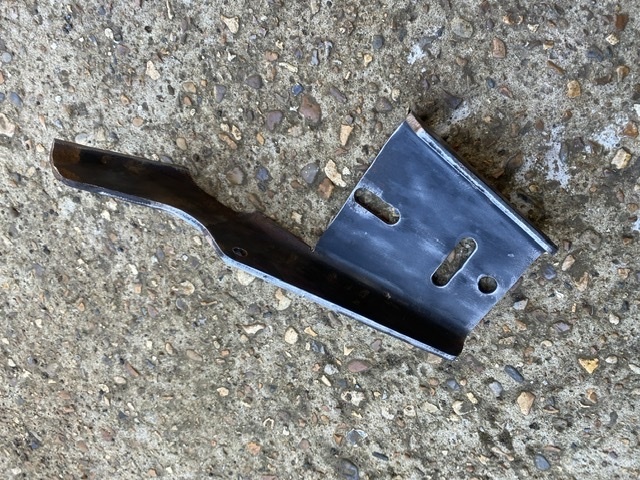
And de gunged, cleaned it up and cut a new slot.
Repeated a mirror copy for the other side, offered them up, tacked in place.
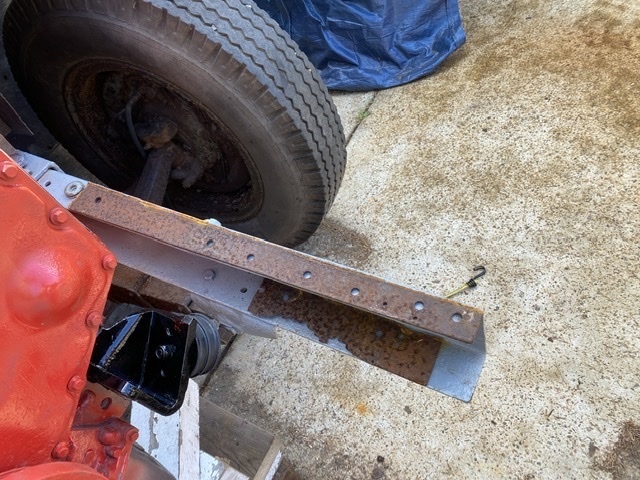
Then wombled a bit more out of the original mounts:

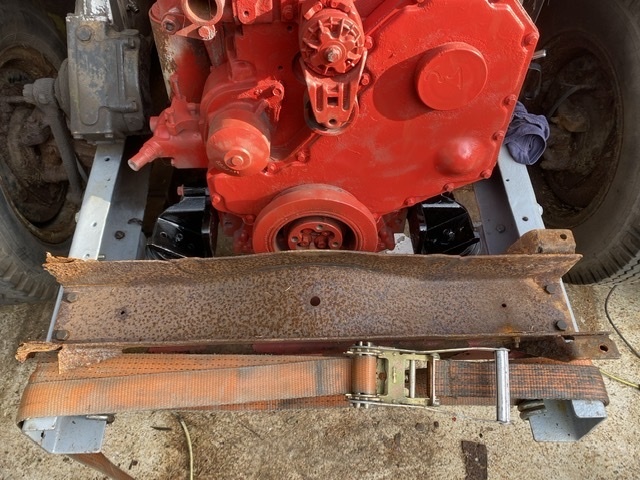
Pulled the crossmember back out again to weld everything up properly, and fitted those two plates underneath the crossmember to reinforce where the mount comes forward. Easiest to let the pictures explain.
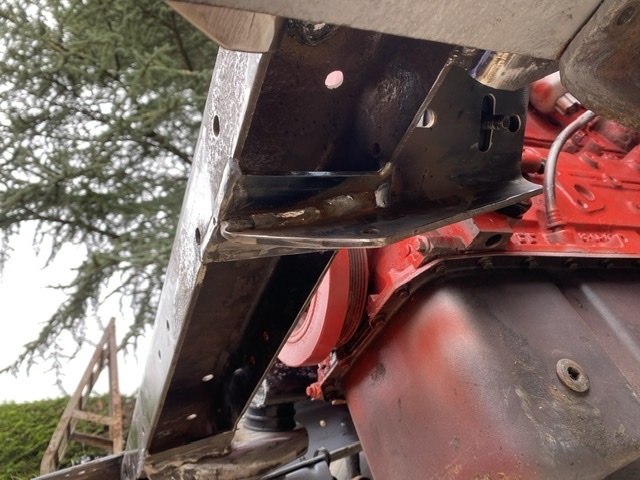
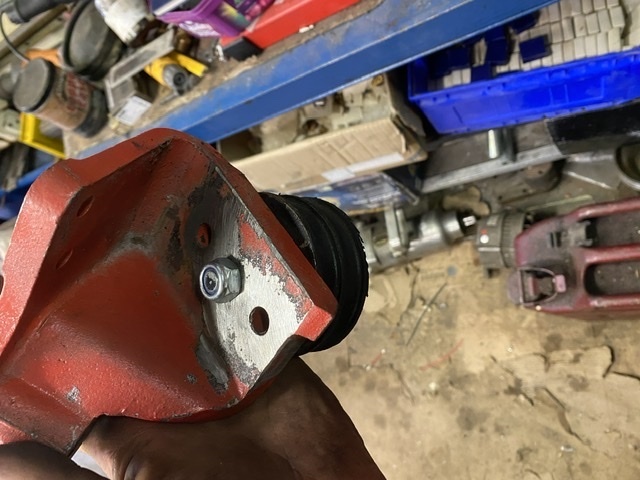
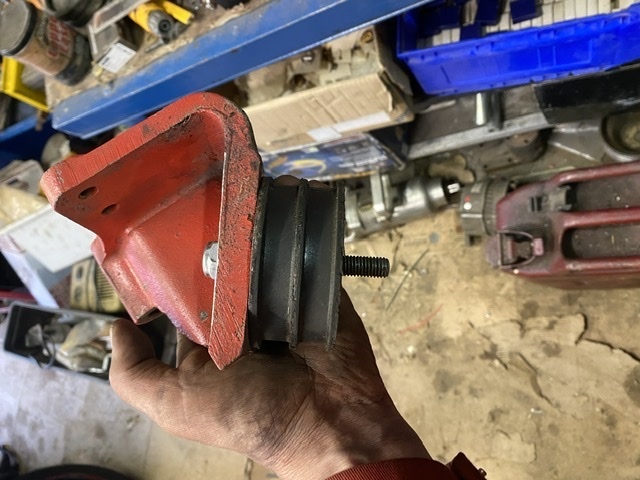
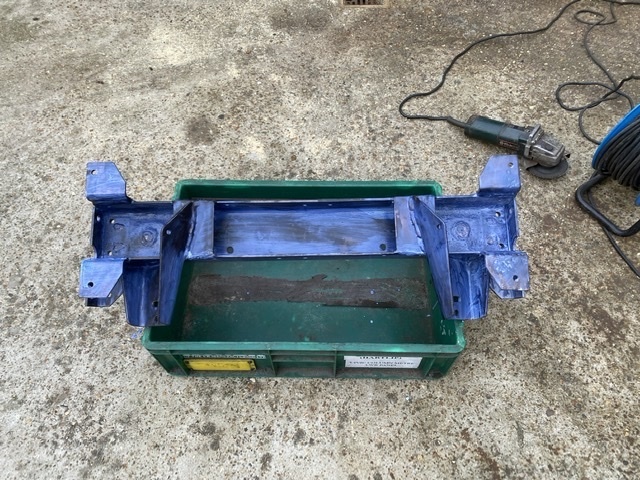
Next, I repurposed the engine mountings from the original Austin crossmember to be rad mounts on the new one.
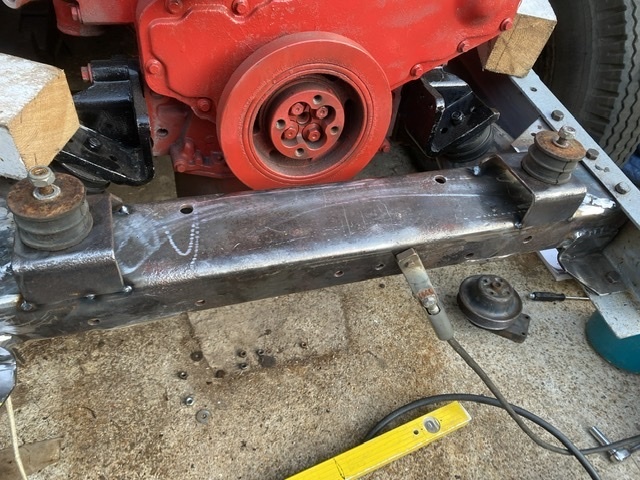
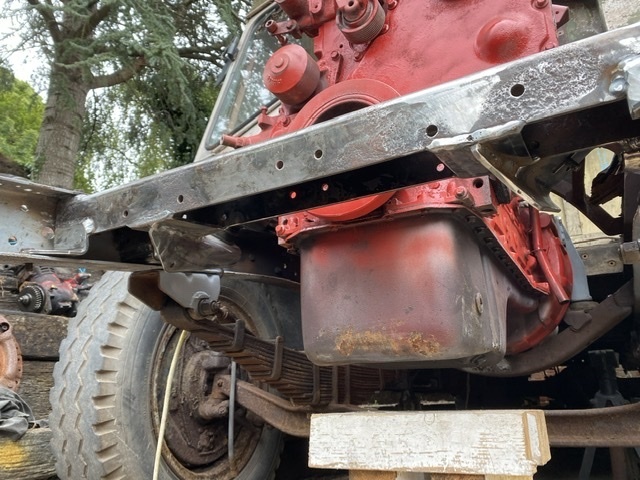
Only tacked here, but I’ve fully welded them now. With the engine now firmly sat on its proper mounts, I could offer up the rad and intercooler, stick the bonnet on, and see how much room there was to play with.
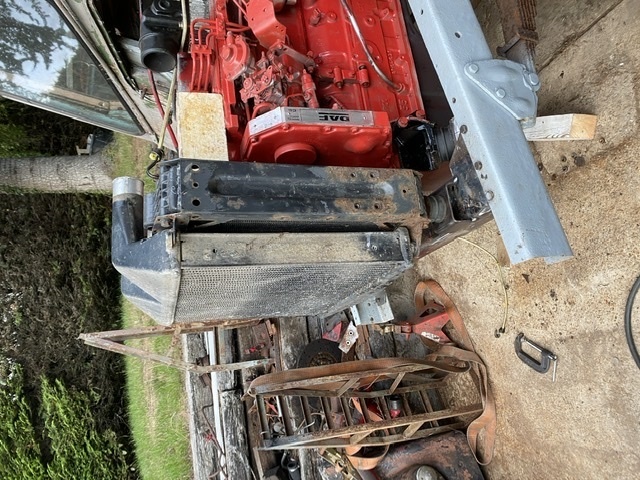

“Enough” is the answer. Not loads, but I should be ok. I could get more if I needed to with an alternative rad and intercooler, as these are massive, but using the stock ones makes sense to me.
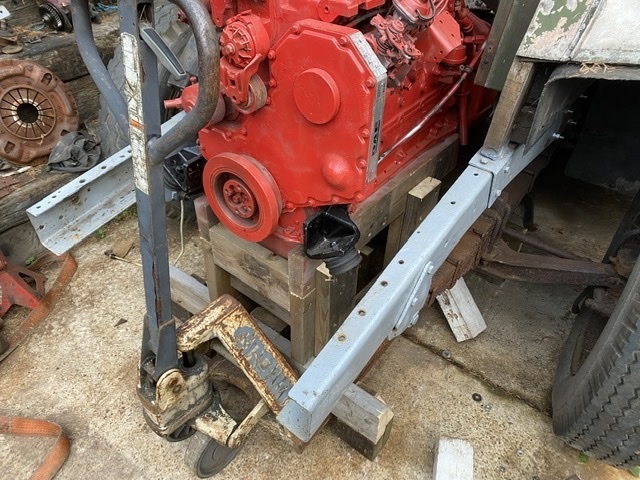
Then I spent some time re-engineering the stand/cradle I’d made for the engine. It’s dimensions had been largely guesswork initially, and now I knew the height of the engine in the chassis, and it’s position relative to the rest of the truck, I could make it into a proper stand that would work with my pallet truck and make engine removal/replacement straightforward. With the engine thus supported I could remove the front crossmember yet again, finish off the welding and give it a coat of Hydrate80. I’ve not used it before, but it seems to be the best reviewed on here for this kind of thing, so thought I’d give it a try.
Engine and ‘box back out and I can look at finishing the chassis work. I had intended to use two plates cut from JOY’s old chassis rails on the inside of the chassis, from in front of the crossmember back to behind the rear mounts of the front springs , and two more on the outside at the rear bracing the notch over the gearbox crossmember. I even got as far as roughing them out. However, the material was heavily pitted, there were holes needing welding up that the rust made awkward, and they were about 5.5mm thick in places. I decided that they were too knackered to use as is, too much work to make good, and too hefty for the job anyway. The last thing I need is to strengthen the front and have stresses appear elsewhere.
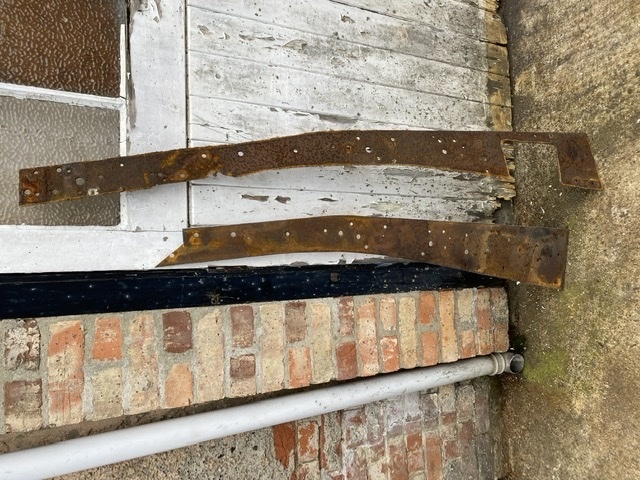
I was discussing my conundrum with a friend, and coming round to the idea that I’d actually have to buy a bit of new steel, when he said he’d got “a nice offcut of 4mm” that I could have. He even dropped it round. So I spent today transferring the rough dimensions of the scabby ones to the nice new bit of plate, and ended up with these:
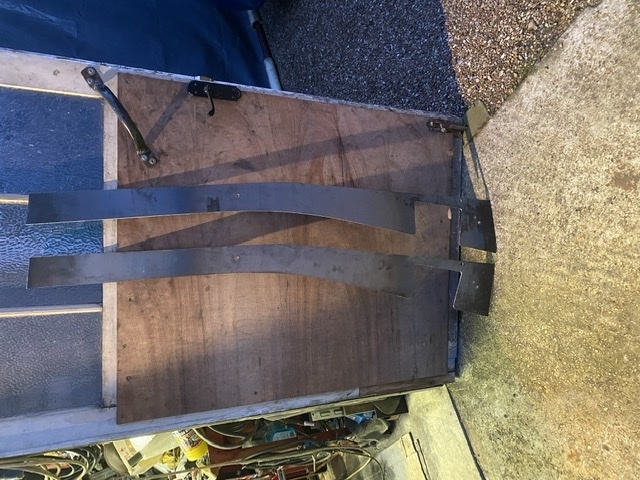
Not a great picture as the light was going, but they will fit up like this:
I’ll secure them using the existing spring mounting bolts, plus those that fix all the other hardware to the chassis, and maybe one or two strategically placed additional ones.
So. That’s you lot up to date so far. Next step is to remove the front axle and springs as an assembly, and wheel them out of the way to get access for mounting up these plates, drilling the necessary holes, cleaning and painting everything (including the axle and springs), so it can go back together permanently.
More once it’s happened. 😀👍
Ah yes, front engine mounts and crossmembers…
The DAF mounts look like this:
As per the rear ones, they’re both eye-wateringly expensive and unobtainable. 🙄
However; Austin ones on the left in my hand here, and Land-Rover ones on the right:
They're also freely available for under a fiver each… I’ll let you guess what I’m using… 🤣
I felt it was pointless to not use the DAF engine brackets and, although they’re a good deal thicker than either the Austin or Land-Rover ones, that gave me plenty of meat to drill and tap them appropriately to take the single mounting
bolt.
You’ll have to use your imagination a bit, because I neglected to take many/any pictures of salvaging from the DAF crossmembers. I cut the pressed plates off of one of these:
Cleaned them up, and stripped back the heavy U-channel that used to be the rear shock mount:
Then I dissected a bit of JOY’s old chassis leg to give me a template for drilling the holes in the top and bottom flanges of the passenger side chassis rail where the new metal was needing them.
This allowed me to offer up the original crossmember, and revealed that the legs had sprung apart a little bit and needed pulling in slightly to get all the mounting holes lined up. Easily done with a strap.
This then allowed me to offer up the new bits and spend an inordinate amount of time juggling back and forth trying to work out the best position to tie in with the original mounting holes, but still giving adequate clearances for the front pulley and everything else. Eventually I tacked it all into place, then took it out to weld it up properly.
Then I had to think about something for the mounts to sit on. In the DAF, the engine sat much lower in the chassis, and the chassis mounts look like this.
I couldn’t use those in their original orientation, but I could see that they would do the job with some lateral thinking…
So, I dissected them a bit:
And de gunged, cleaned it up and cut a new slot.
Repeated a mirror copy for the other side, offered them up, tacked in place.
Then wombled a bit more out of the original mounts:
Pulled the crossmember back out again to weld everything up properly, and fitted those two plates underneath the crossmember to reinforce where the mount comes forward. Easiest to let the pictures explain.
Next, I repurposed the engine mountings from the original Austin crossmember to be rad mounts on the new one.
Only tacked here, but I’ve fully welded them now. With the engine now firmly sat on its proper mounts, I could offer up the rad and intercooler, stick the bonnet on, and see how much room there was to play with.
“Enough” is the answer. Not loads, but I should be ok. I could get more if I needed to with an alternative rad and intercooler, as these are massive, but using the stock ones makes sense to me.
Then I spent some time re-engineering the stand/cradle I’d made for the engine. It’s dimensions had been largely guesswork initially, and now I knew the height of the engine in the chassis, and it’s position relative to the rest of the truck, I could make it into a proper stand that would work with my pallet truck and make engine removal/replacement straightforward. With the engine thus supported I could remove the front crossmember yet again, finish off the welding and give it a coat of Hydrate80. I’ve not used it before, but it seems to be the best reviewed on here for this kind of thing, so thought I’d give it a try.
Engine and ‘box back out and I can look at finishing the chassis work. I had intended to use two plates cut from JOY’s old chassis rails on the inside of the chassis, from in front of the crossmember back to behind the rear mounts of the front springs , and two more on the outside at the rear bracing the notch over the gearbox crossmember. I even got as far as roughing them out. However, the material was heavily pitted, there were holes needing welding up that the rust made awkward, and they were about 5.5mm thick in places. I decided that they were too knackered to use as is, too much work to make good, and too hefty for the job anyway. The last thing I need is to strengthen the front and have stresses appear elsewhere.
I was discussing my conundrum with a friend, and coming round to the idea that I’d actually have to buy a bit of new steel, when he said he’d got “a nice offcut of 4mm” that I could have. He even dropped it round. So I spent today transferring the rough dimensions of the scabby ones to the nice new bit of plate, and ended up with these:
Not a great picture as the light was going, but they will fit up like this:
I’ll secure them using the existing spring mounting bolts, plus those that fix all the other hardware to the chassis, and maybe one or two strategically placed additional ones.
So. That’s you lot up to date so far. Next step is to remove the front axle and springs as an assembly, and wheel them out of the way to get access for mounting up these plates, drilling the necessary holes, cleaning and painting everything (including the axle and springs), so it can go back together permanently.
More once it’s happened. 😀👍