Well, that was one heck of a busy weekend and a catch up is required.
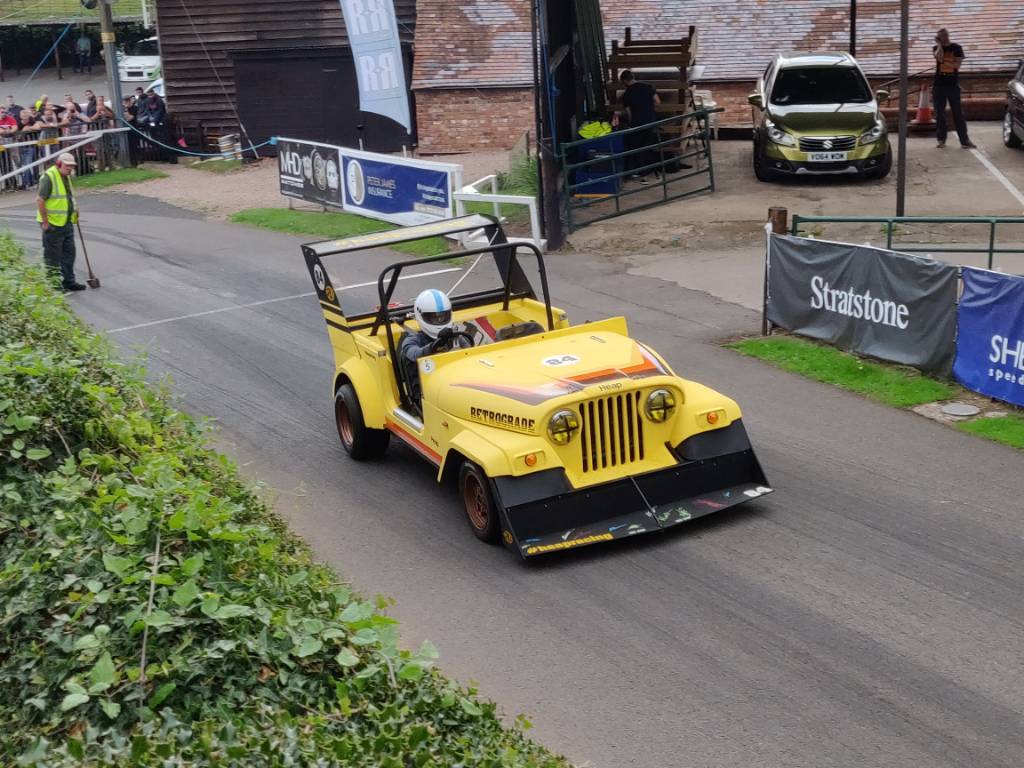
Maybe we start at the end - we actually made it. If you we're around RRG on Sunday you may well have seen a bunch of daft sods wandering around in matching t-shirts and flat caps, generally being far too proud of the thing we made. Yes it's a complete joke, but well we all ended up being rather taken with it since it somehow how out way better than it had any right to (well in our skewed opinions anyway!).
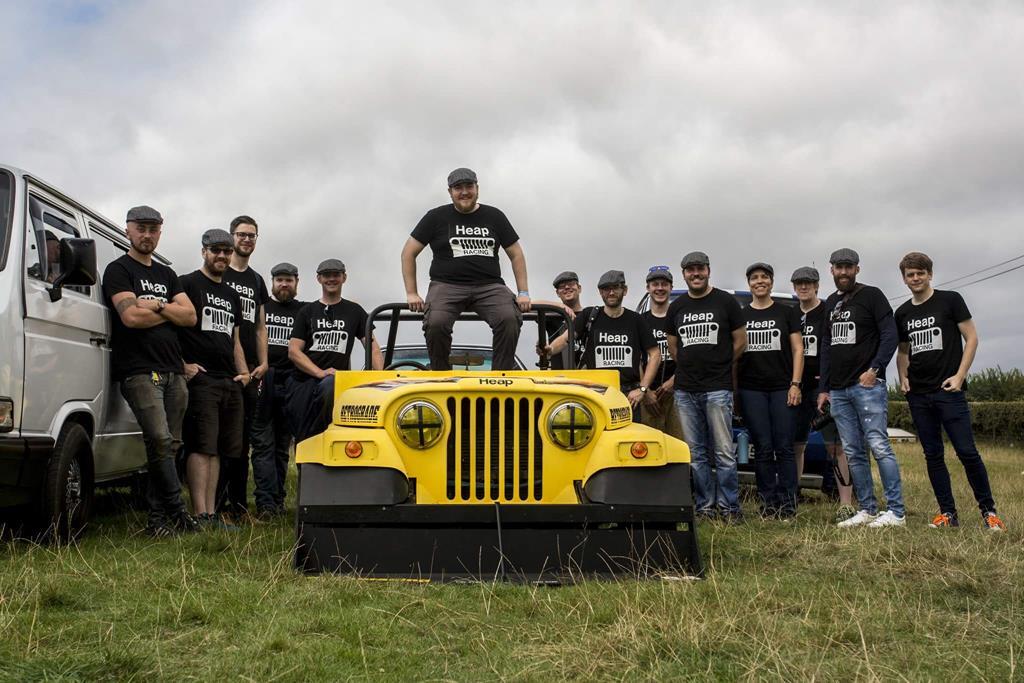
So first a team photo - Congratulations Alex, here's to the driest, busiest, most productive and perfectly petrolhead stag do I've ever known!
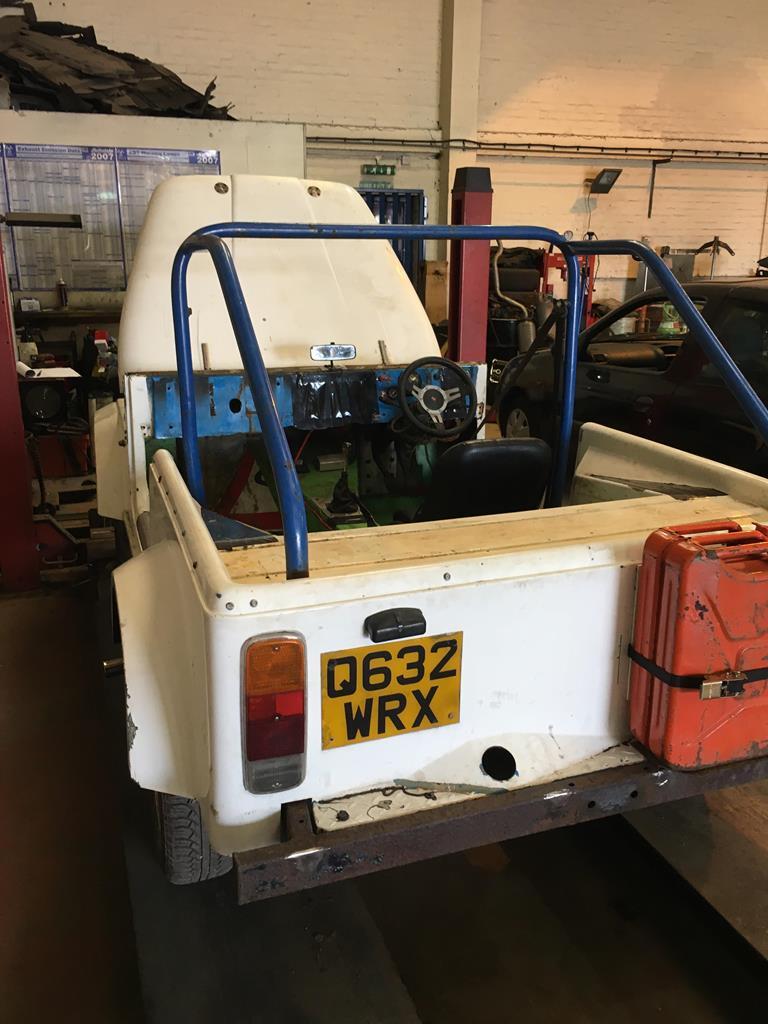
Last post we'd managed to get an MOT, but the rear axle bushes were worse than we thought, so before anything else those got sorted on the Friday afternoon.
Camp was set up next door to the workshop (nothing like living on site to make sure you can focus on a job!) At this point thanks must go to Alex's (The Stag) family, Helen, Jen and Ben for making sure we were housed, watered and fed - we literally couldn't have managed it without you keeping us all going!
We'd amassed a few key parts - wheels and tyres, a big wing, some tube stock, paint, vinyl, plywood and above all, a theme - 70's CAN AM racer. The only thing we were missing was a clue!
We were ready, we had a crack team of engineer types, a workshop, the Stag do, and the 36hrs of modification, started in anger on Friday evening, step 1 = paint.
The plan had been to use some cheap matt yellow floor paint (no point wasting money on proper paint!), sadly this had the consistency of water. At this point it was 19:30 on a Friday night and to stand a chance of getting the thing done, we needed new paint. Options? Well we liked matt yellow idea so there was only one option - linemarking paint! Yep that's right, the HEAP is painted with yellow line paint
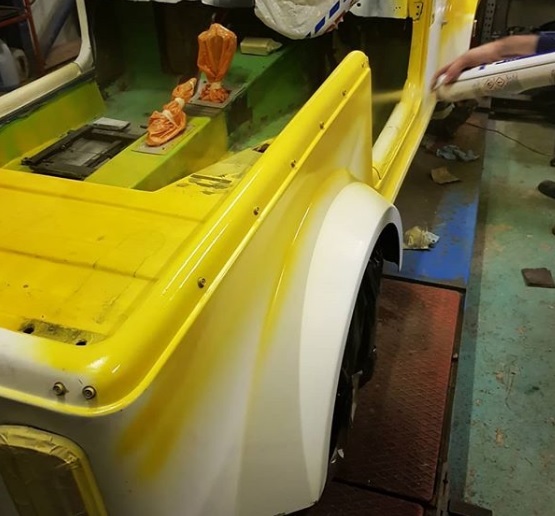
This was the start of things going far better than expected - it should have been terrible, it actually gave a good enough finish to photograph ok! Got to love Matt paint.
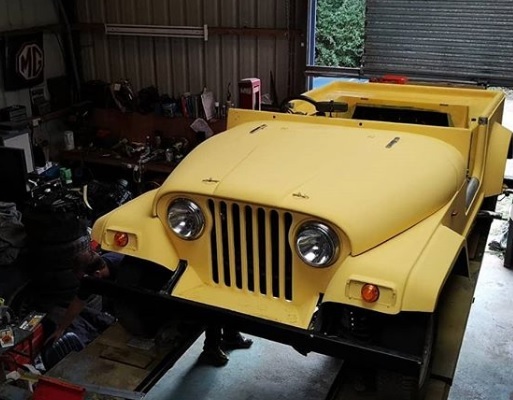
With paint done, the BBQ was fired up and the drinks started flowing - this may have slightly delayed the start of Saturday's proceedings!
Saturday - the main build day, all we had to do was -
- Hit it with the lowering stick, well lowering tree
- Make some sort of cage that wouldn't fold instantly if things went wrong, and give us somewhere to mount the harnesses
- Aero, using the best DIY store materials
- Wheels
- Graphics - as retro as possible
Simple eh!
We split up into teams and cracked on -
Team Wing knocked up some end plates and got on with the biggest rear wing we thought we could get away with
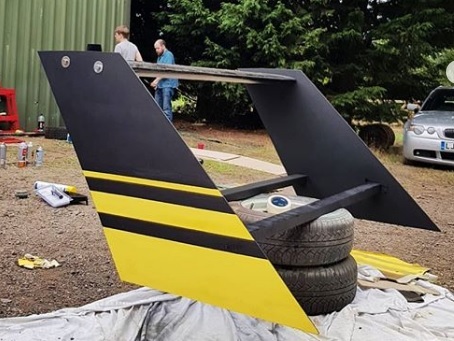
After that a ton more plywood and black board paint came together to make the front splitter - removable so we could actually get it on the trailer!
For the lows we'd picked up some cheap Spax coilovers from an old Sylvia Leader kitcar, but fitting needed a little lateral thinking... At this point I could do with photos, but we kind of forgot whilst being too busy!
At the back we dropped the old springs and dampers off and dropped it as far as we could - basically 5mm off the frame. Ideally we'd have made a whole new rear end, chopped the frame and allowed ourselves to drop it to the floor. But we didn't have the time, and who doesn't like a bit of rake anyway! In the end we bolted some 2.25 inch spring tops onto the frame that I had lying around, and slotted some short springs into the existing space, then we modified the damper mounts and bolted up the short Spax dampers - rear done! Wheels on, and damn me if it didn't all work together.
Up front we basically replaced the stock dampers with coilovers and junked the old springs. Needed a few adaptors but it was actually was pretty simple, and we got it so low we had to raise it back up. The front frame was on the floor, looked cool as heck but not so good for a track car, so we gave it a few inches clearance - see it's a sensible car!
Cage wise we did try to make our own, but bending went badly
So in the end we took the original main hoop, lowered it, lent it back to give a good rollover axis and put a pair of legs back the the frame properly along with a harness bar. Simples
Finally an old sign was cut up to cover some the the holes we'd had to cut, some more blackboard paint was slapped about and Chris got busy cutting graphics in our new graphics studio (read the toilet block with a vinyl cutter in it!)
Sounds simple, but as we all know this stuff takes way longer than you'd expect - I think the suspension took me and Ed 5-6 hours during which time I didn't really notice much else of what was going on, so it was quite the shock to stand back and see this
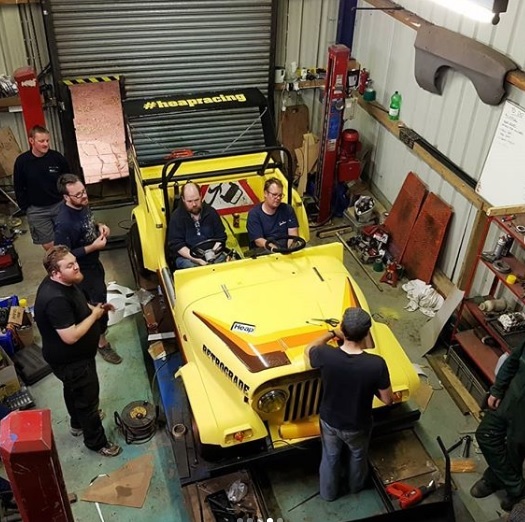
At this point, we all realised something odd was happening, and that we hadn't drunk anywhere near enough to be feeling what we were feeling. We actually liked it, somehow our hours of bodging a rough kit car had made something that, well kinda cool.... (it had been a long day, I think this photo was taken at like 1am!)
Have a quick GIF of the transformation
After some food, refreshments and sleep it was time to head to RRG - at this point not wearing aero, just incase it came off on the trip on my bouncy trailer!
[img src="http://img.retro-rides.org/i/v/phoenixescort/69ea12b10
65c.jpg" style="max-width:100%;"]
At this point it's worth mentioning that we hadn't driven it more than 100yrds... We knew it didn't over heat, and seemed ok, but RRG was to be it's maiden voyage - we started bricking it. Here we were, dressed in matching outfits, with something that had never turned a wheel in real anger - curse word what if people thought we were being serious?! Thankfully there was no risk of that, and I'd got to say the reception we got was awesome - thank you everyone who came and had a chat, you really helped to take our enjoyment of the whole day.
Enough talk, time for some photos
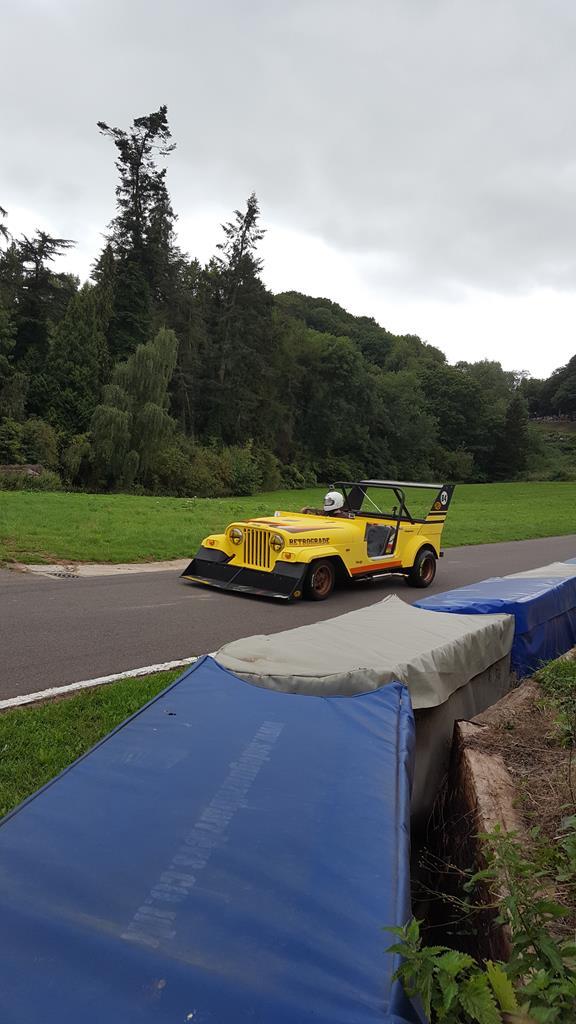
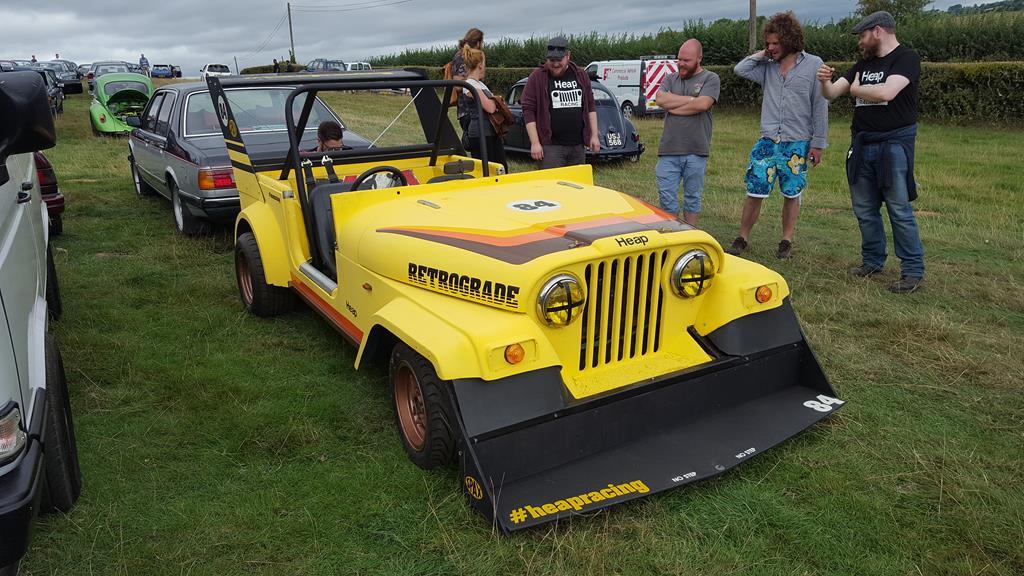
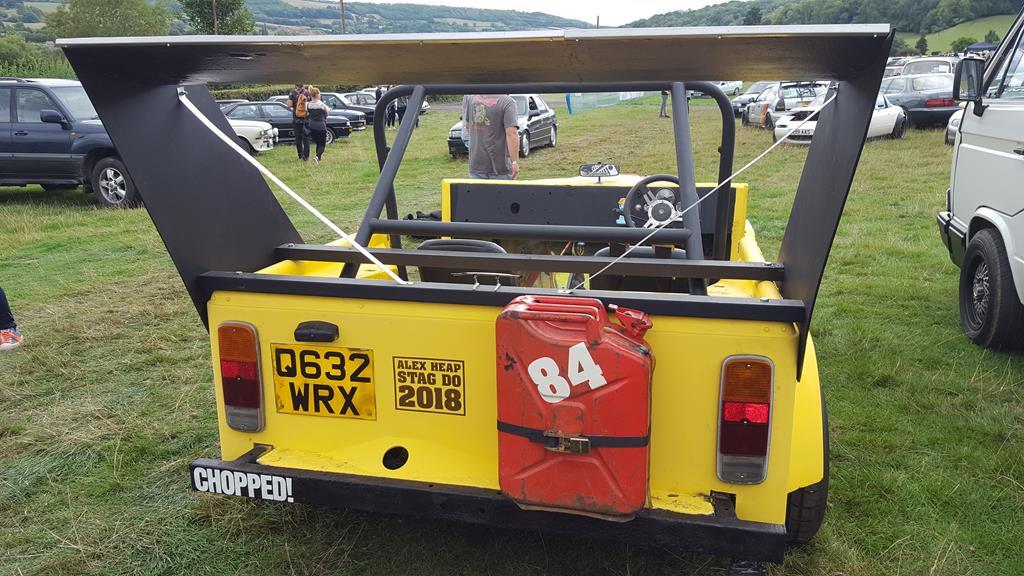
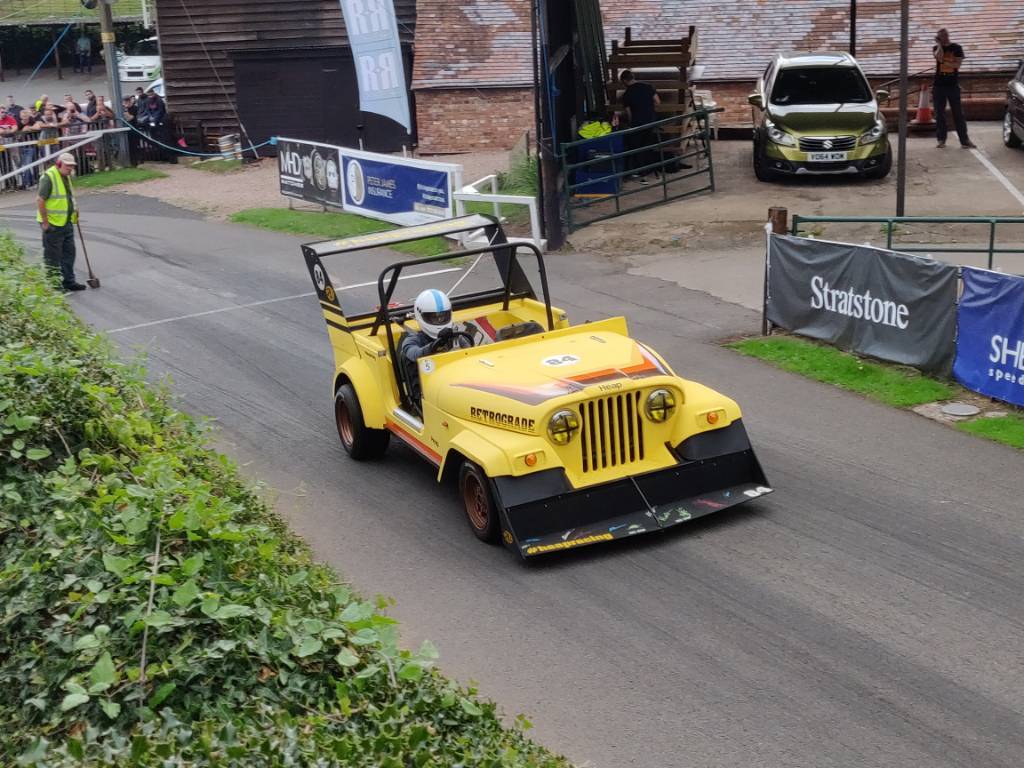
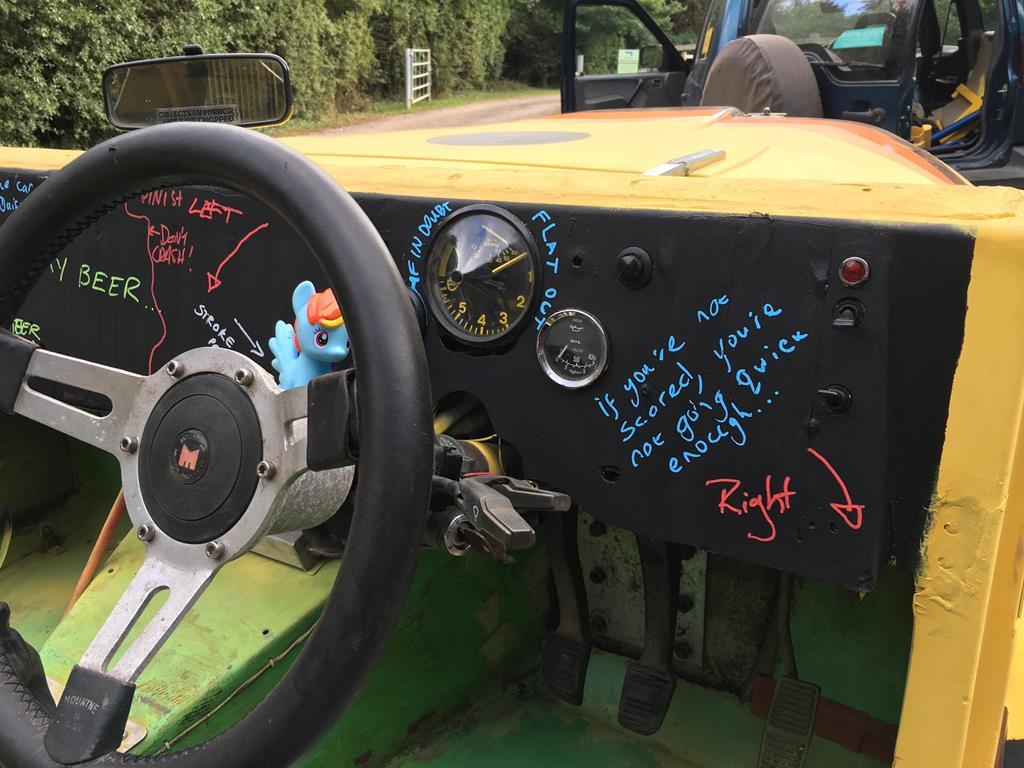
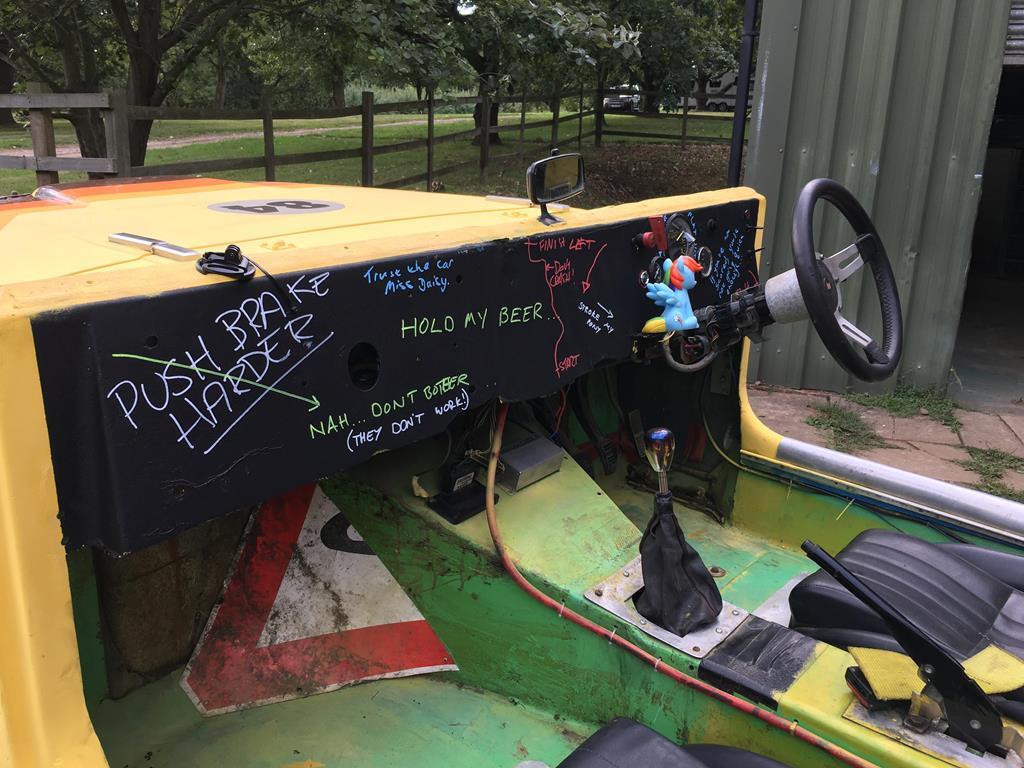
The only thing left to figure out is will we be able to break it, or has it got under our skin too much!
Hope you guys enjoyed it even a fraction as much as we did

Don't think we're going to forget this project for a while.


