|
|
|
|
|
|
I had a 940cc GLS version in late 80's. Great car until I skidded on black ice into a bus and bent it banana shaped. I'd added Volvo 340 seats, 6 gauge dash, white spokes with 205 tyres and had a 1600 engine to fit before I found myself needing to do 174 miles a day to and from work so left the 940 lump in for economy (45mpg). To be honest the little engine did everything I wanted and never felt underpowered as long as you kept it buzzing (I previously had an Imp with modifided engine)
At the time we'd got a new Metro that wife used most of the time as main familly car and a Lancia HPE in the garage but the little Sunbeam was the one I had the most fun driving.
Paul H
|
| |
|
|
|
|
|
|
|
Apr 29, 2010 11:48:19 GMT
|
|
Nice work, looking forward to seeing more :-)
|
| |
|
|
hairymel
Club Retro Rides Member
avatar by volksangyl
Posts: 1,081
Club RR Member Number: 207
|
|
Apr 29, 2010 18:29:18 GMT
|
... you can have whatever spares I got left over, I will be in touch....keep up the good work fella............... Thanks thats very kind of you, i have been surprised by the number of offers of parts i have had. makes me feel warm and fuzzy inside  You guys can't get reciprocating saws (sometimes called a sawsall) in England? When I lived there I don't think I ever saw one. -Steve hi Steve they do seem to be more popular in the us, but they have become more widely available (and cheaper) over here in recent years(often called demolition saws) i have one of these:  a black and decker scorpion saw. I used it to cut the reinforcing bar from the front valence and for some of the cuts on the doors. not as industrial as some of the larger saws but a great bit of kit, highly recommended by me! blades for these or the other types of saw seem to be expensive(£10 ish per blade) although i have bought a pack of three blades off the web for the price of one on the high street. i didn't want to waste a blade on the 6mm plate and the speed saw takes hacksaw blades cut in half which are almost free  I had a 940cc GLS version in late 80's. Great car until I skidded on black ice into a bus and bent it banana shaped. ..... To be honest the little engine did everything I wanted and never felt underpowered as long as you kept it buzzing (I previously had an Imp with modified engine) .... but the little Sunbeam was the one I had the most fun driving. Paul H hi Paul my best mate had a 1.0 sunbeam as his first car. he used to rag it around everywhere. i always badgered him to sell it to me until he pushed it a bit too far one day and put it on its roof ;D |
| |
whats that burning smell?
oh curse word :-(
|
|
|
|
|
May 10, 2010 15:11:23 GMT
|
|
Hi Mel any updates on the garage,rolling frame or sunbeam??
|
| |
|
|
hairymel
Club Retro Rides Member
avatar by volksangyl
Posts: 1,081
Club RR Member Number: 207
|
|
May 11, 2010 15:36:40 GMT
|
Hi Mel any updates on the garage,rolling frame or sunbeam?? Hi M8 thanks for the continued interest  unfortunately i have been a bit 'otherwise involved' for the last fortnight  i have also lost the lead for my phone/camera and my pc is fubared  i'm still throwing stuff away to clear the racking(still loads more to throw away!). i have fabricated and welded a bolt in frame in the engine bay for the front of the rollover jig and also welded the bracketry already shown. so all in all not too much progress really! i also see that my photobucket account has exceeded its bandwidth i guess i will need to do something about that. total time spent (watching my scheduled finish date slip further away and generally feeling sorry for myself ;D ) 24 hours total spend £650 (not including bin bags) |
| |
whats that burning smell?
oh curse word :-(
|
|
hairymel
Club Retro Rides Member
avatar by volksangyl
Posts: 1,081
Club RR Member Number: 207
|
|
May 19, 2010 23:18:13 GMT
|
finally figured out how to bluetooth pics from my phone to my laptop so time for a bit of an update  I have welded the bracketry and supports together for the car part of the rollover jig. i then cut a hole through the front and rear supports with a holesaw, and then welded in a tube for the car to rotate around 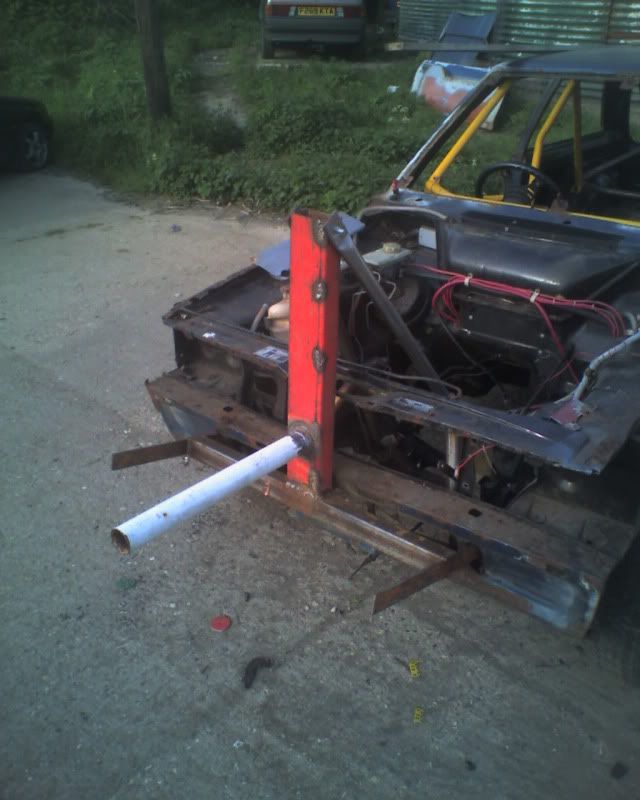 bolt in brace between the bumper mounts on the inner wing and the crossmember, makes it a lot less flexy  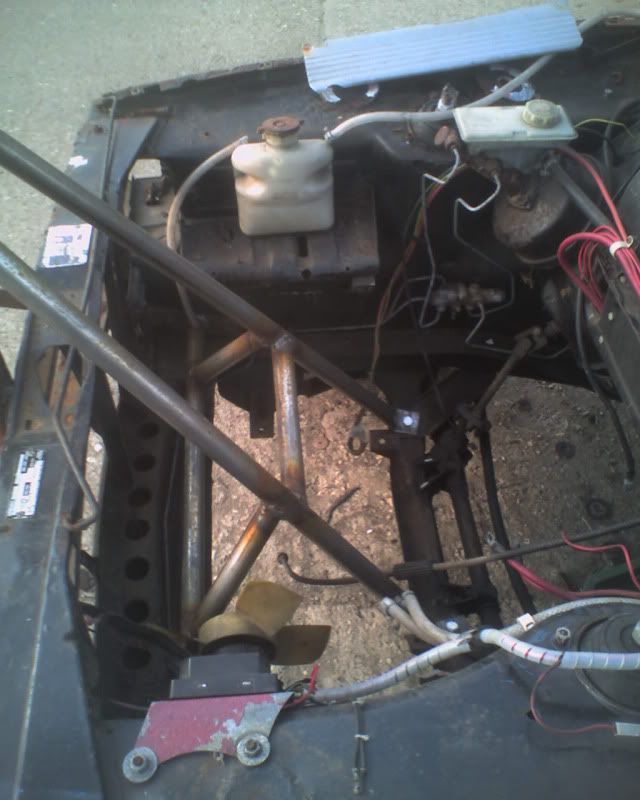 brace from the top of the rear upright to the rear cage fixing points. the rear bumper mounts are fitted to the rear chassis box section so shouldn't flex too much (hopefully!) 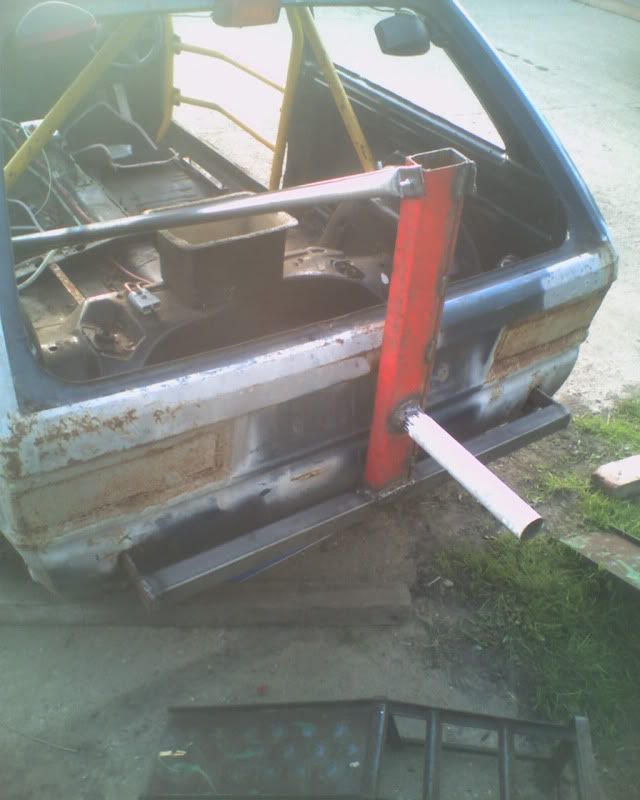 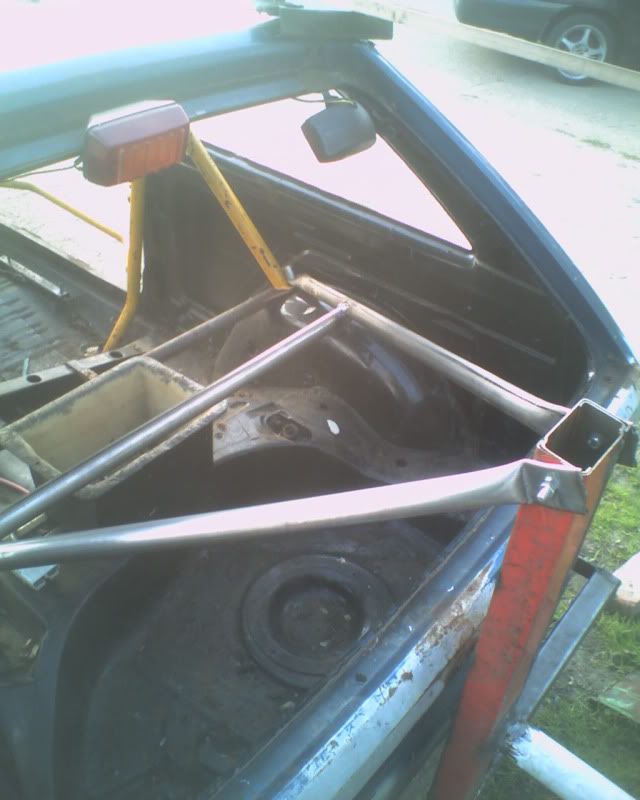 doors and windscreen mesh also removed  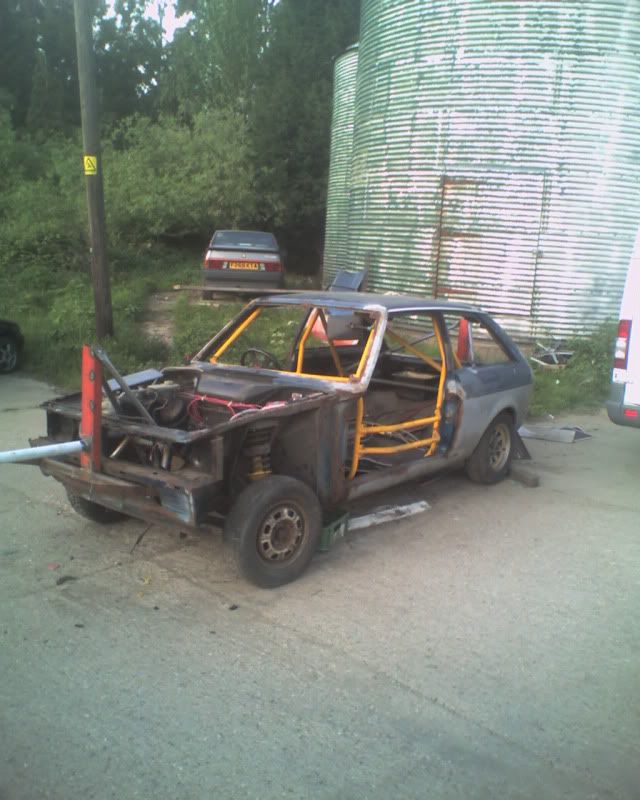 I tried to get into the car for the first time when i removed the doors and i have found that i am too old/fat to clamber over the top bar of the roll cage  i guess i need to do some yoga or change the door bars  |
| |
whats that burning smell?
oh curse word :-(
|
|
hairymel
Club Retro Rides Member
avatar by volksangyl
Posts: 1,081
Club RR Member Number: 207
|
|
May 19, 2010 23:29:14 GMT
|
take one leg of pallet rack 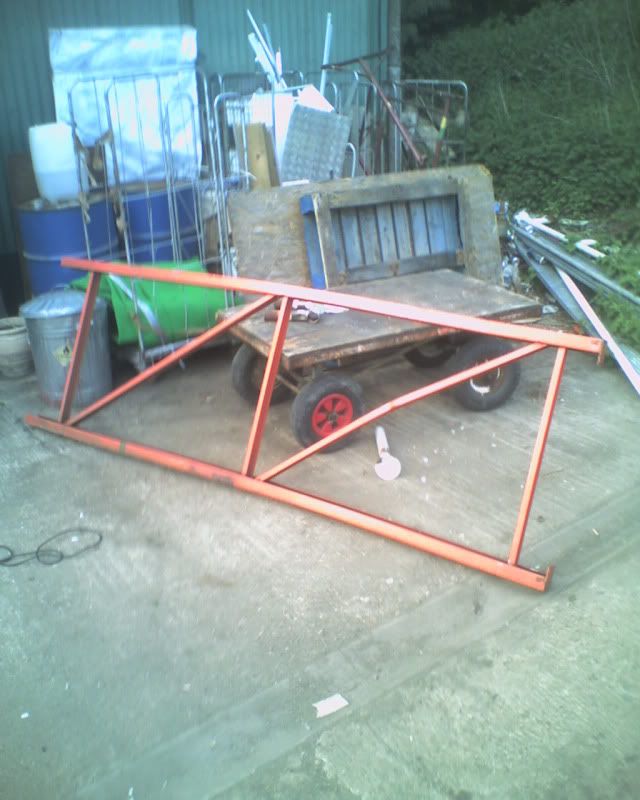 score the surface liberally 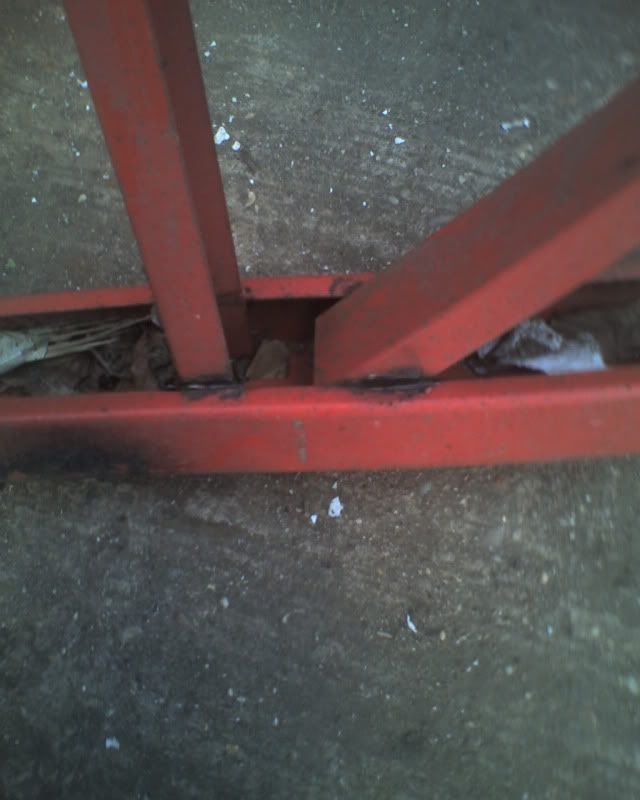 cut into easy to manage portions and add one roller cage 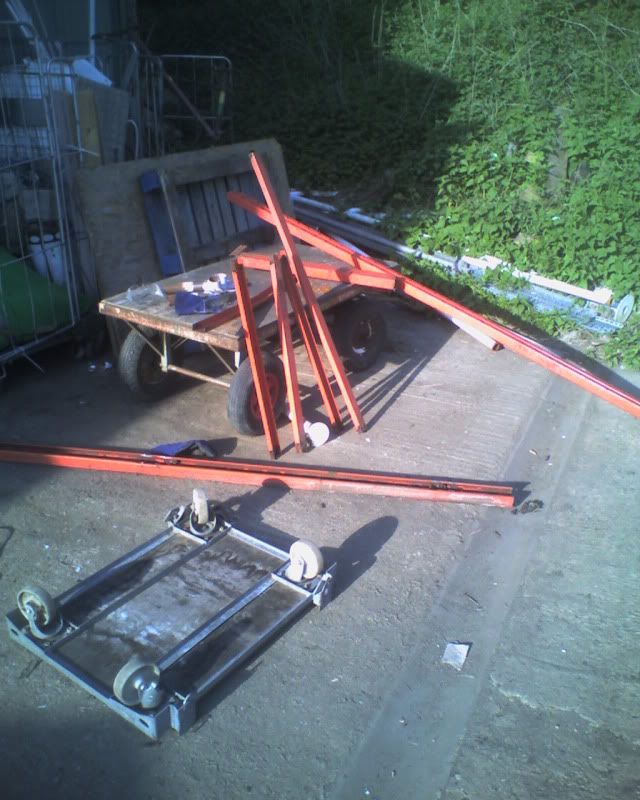 add a handfull of nuts 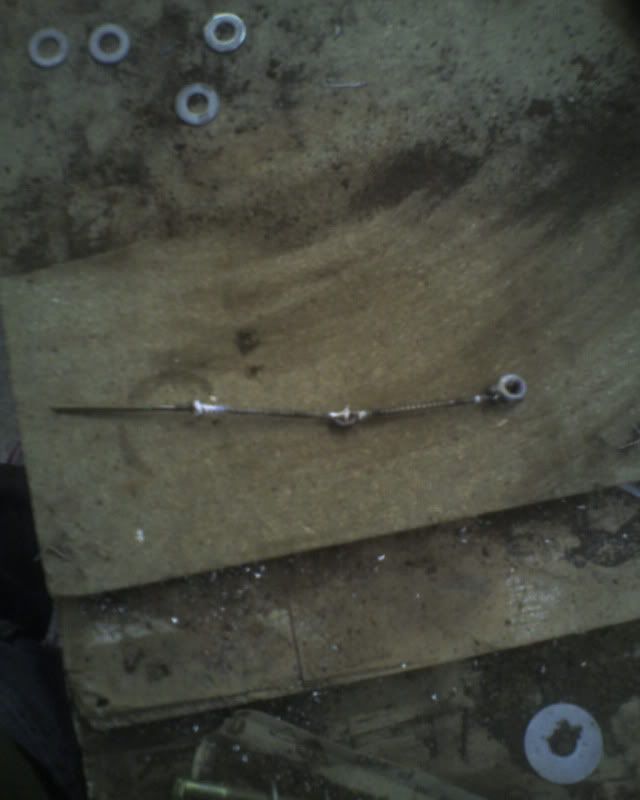 warm through 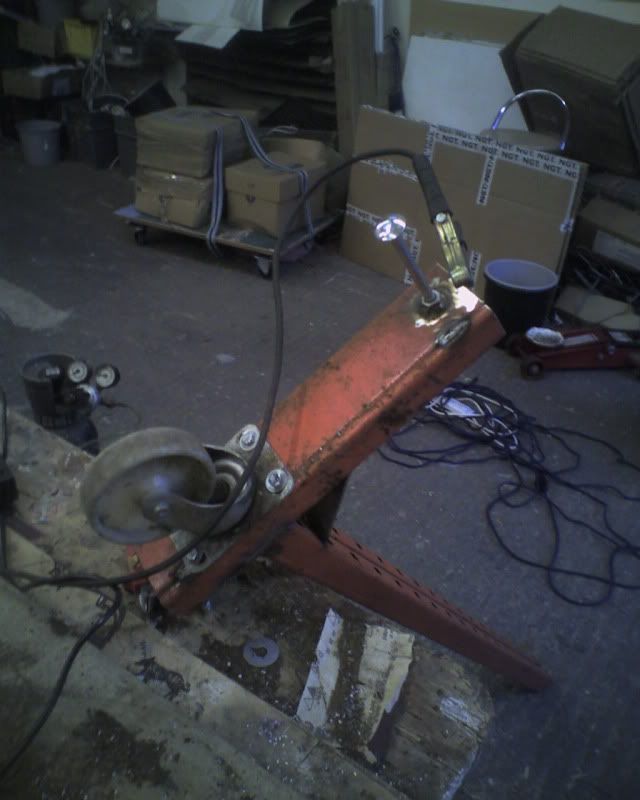 check seasoning 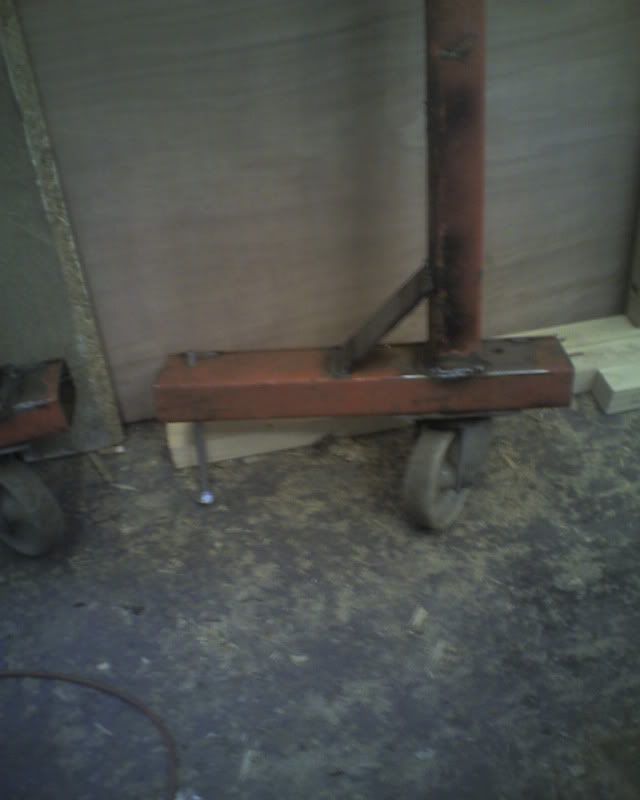 a starter for 2  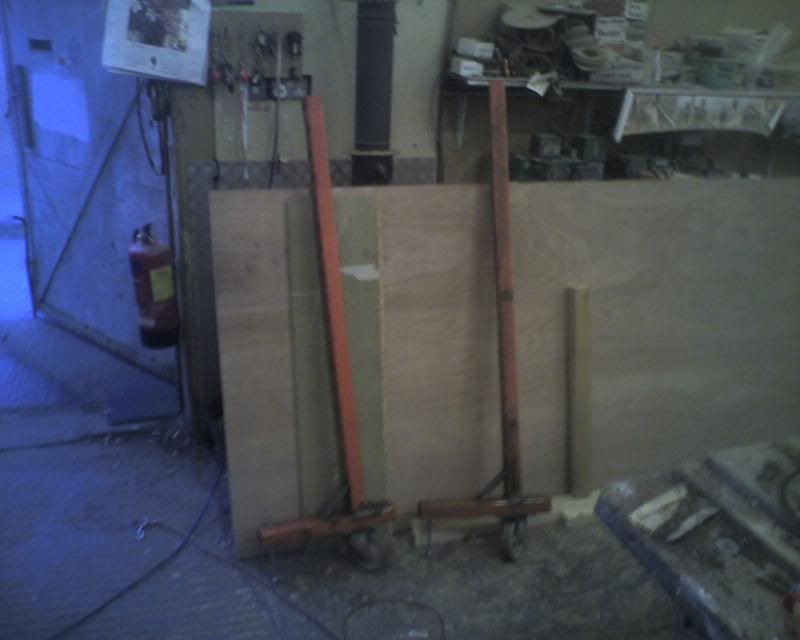 |
| |
whats that burning smell?
oh curse word :-(
|
|
hairymel
Club Retro Rides Member
avatar by volksangyl
Posts: 1,081
Club RR Member Number: 207
|
|
|
|
after assembling 4 legs i welded up a pair of bolt in base frames from dexion. while i was at it i bolted a pair of dexion support rails between the ends. 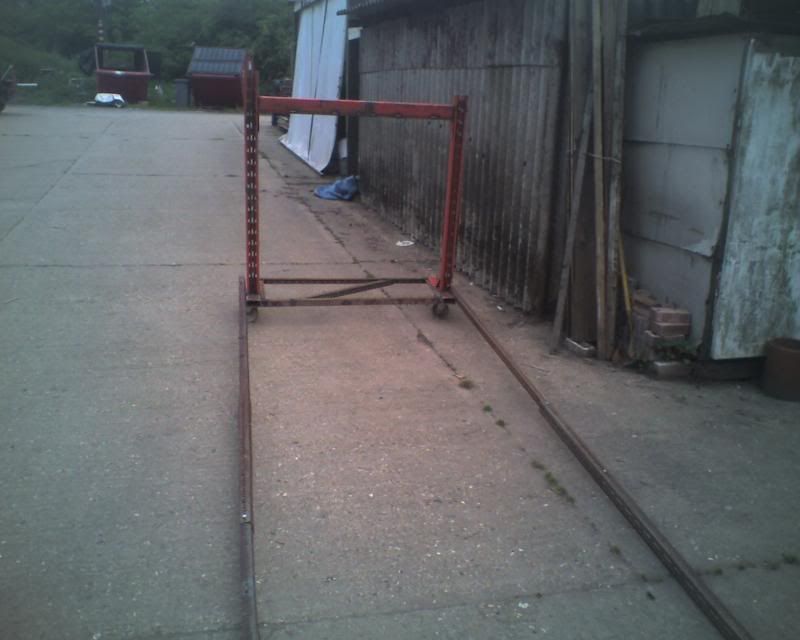 this was obviously an inappropriate material choice as it was much too bendy. plan b was put into effect and i put the kettle on  after a few cigarettes and several cups of coffee i decided that for plan c i would use the only other long material i had available  i welded a sleeve of 62mm? tube to the side of the legs 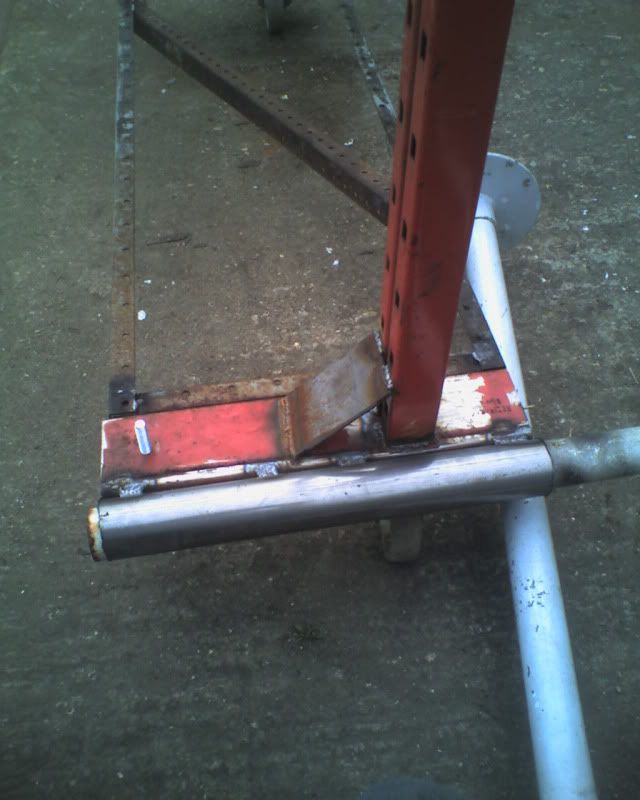 drilled 8mm holes at each end of the sleeve and welded an 8mm nut over the hole. 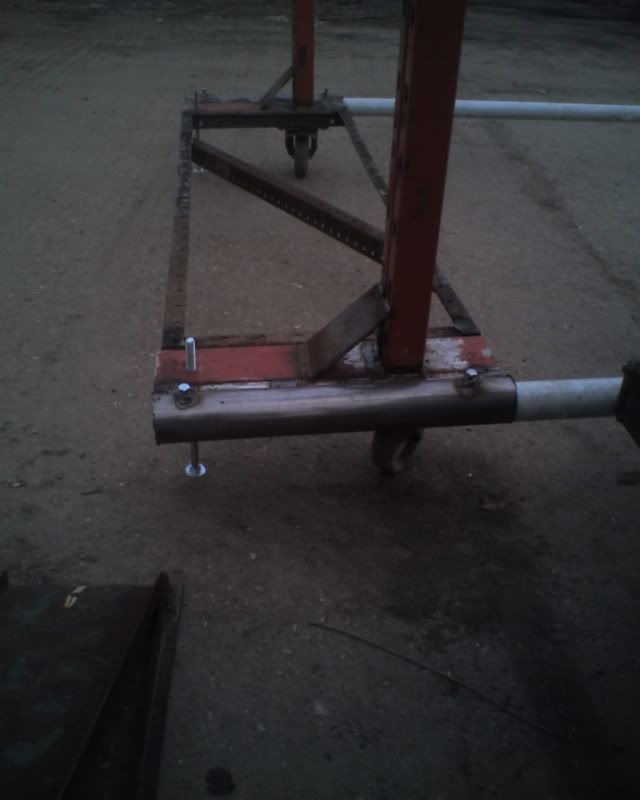 all to support some fairly thinwalled 57mm? (can you tell i haven't measured anything  ) tube. this inconveniently was only 2.5m long so i welded 2 bits together for each side, using the floppy dexion to keep it square(ish) while welding 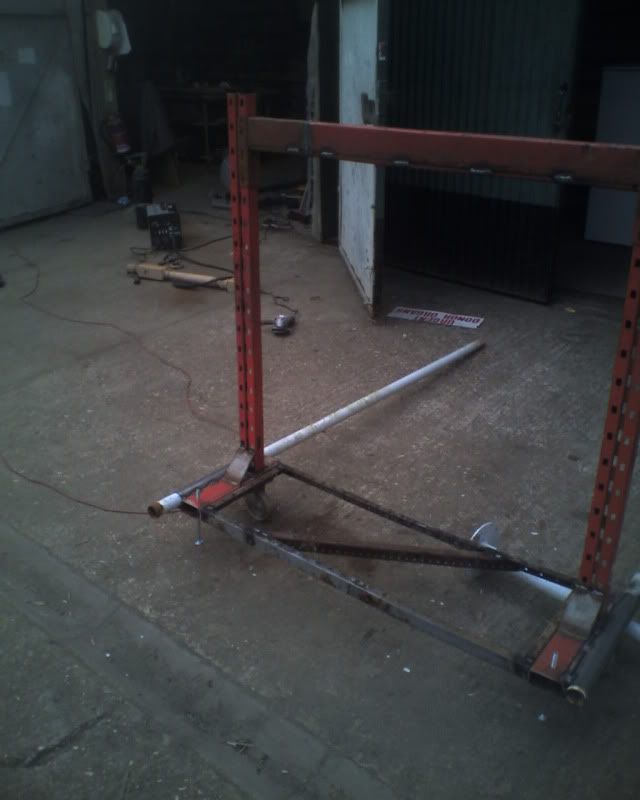 previously, out of camera shot  , i had cut and shut the crossmember pieces of the pallet bay to form the horizontal support of the jig. to these i added a similar sleeve with a bit of extra gusseting(great word  ) 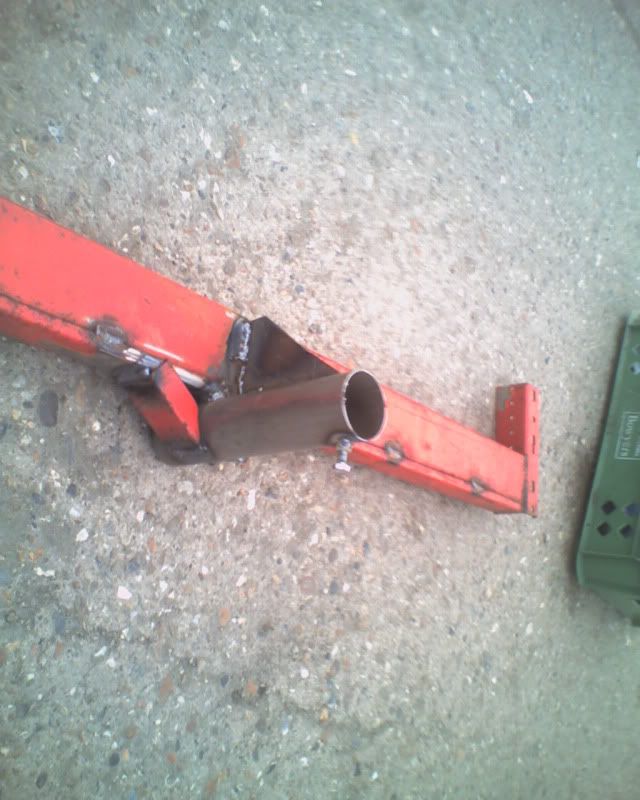 |
| |
whats that burning smell?
oh curse word :-(
|
|
hairymel
Club Retro Rides Member
avatar by volksangyl
Posts: 1,081
Club RR Member Number: 207
|
|
|
|
jig finished i hope  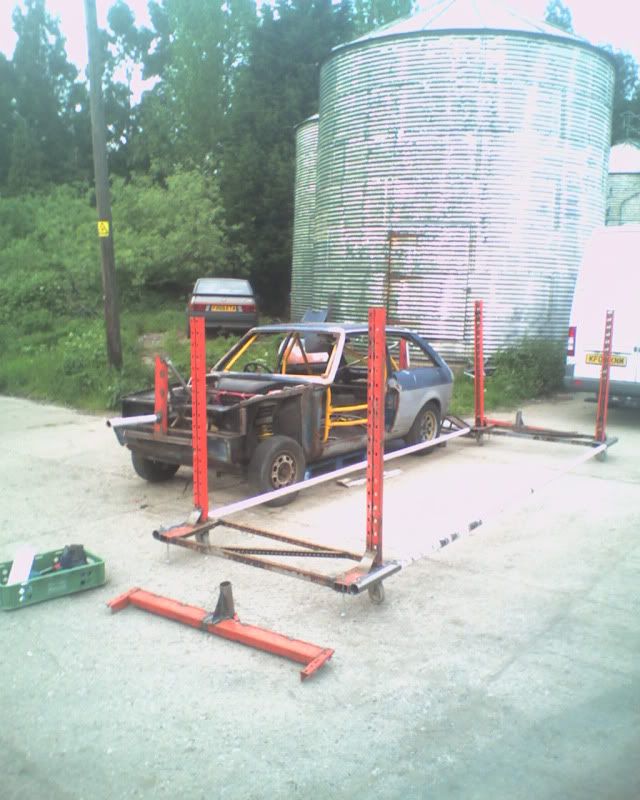 how the hell am i going to get that up there? 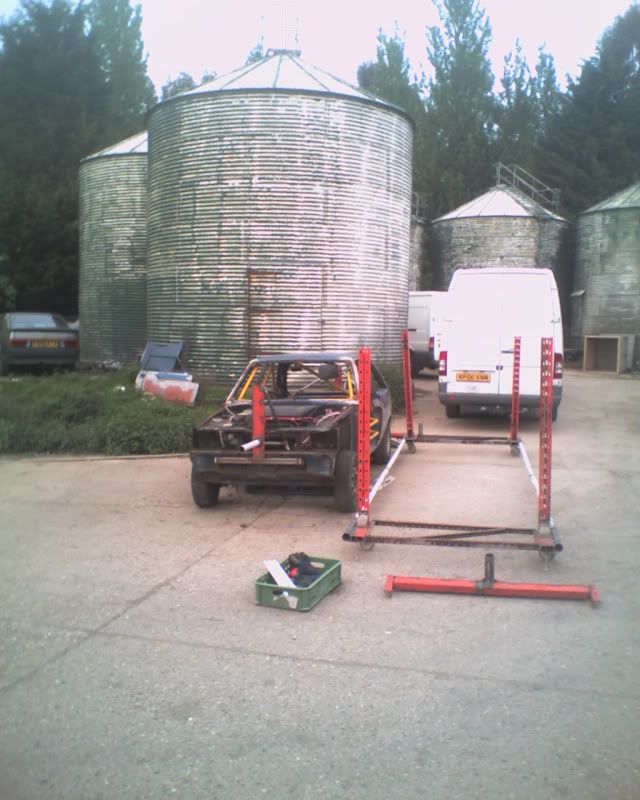 cheat! 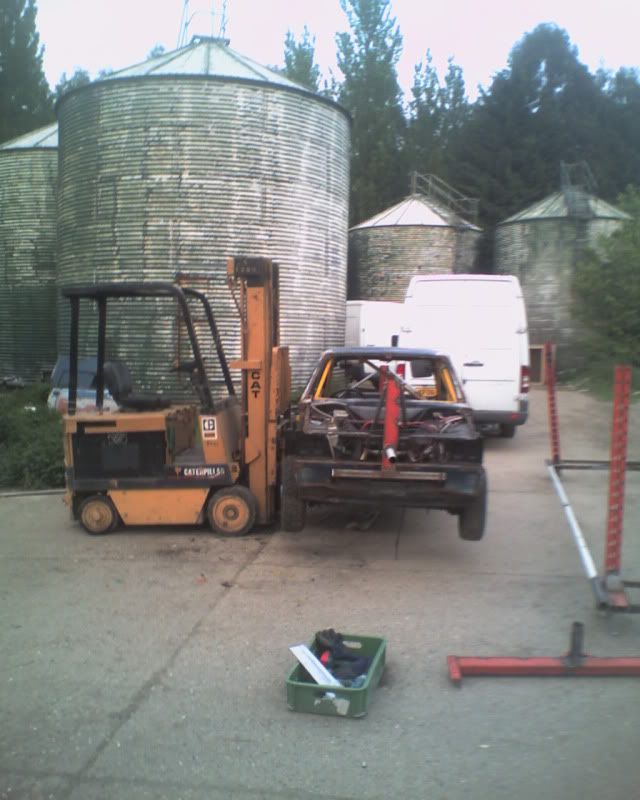 when the car is finally put under cover, i cant get the forklift anywhere near it  so I will have to come up with yet another plan b  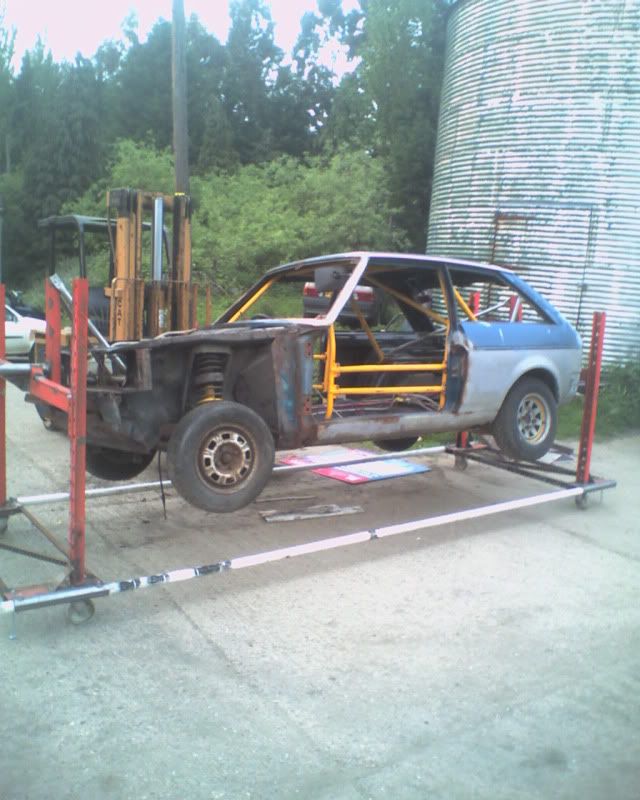 with a bit of fiddling and finger crossing the car is test fitted to the jig. 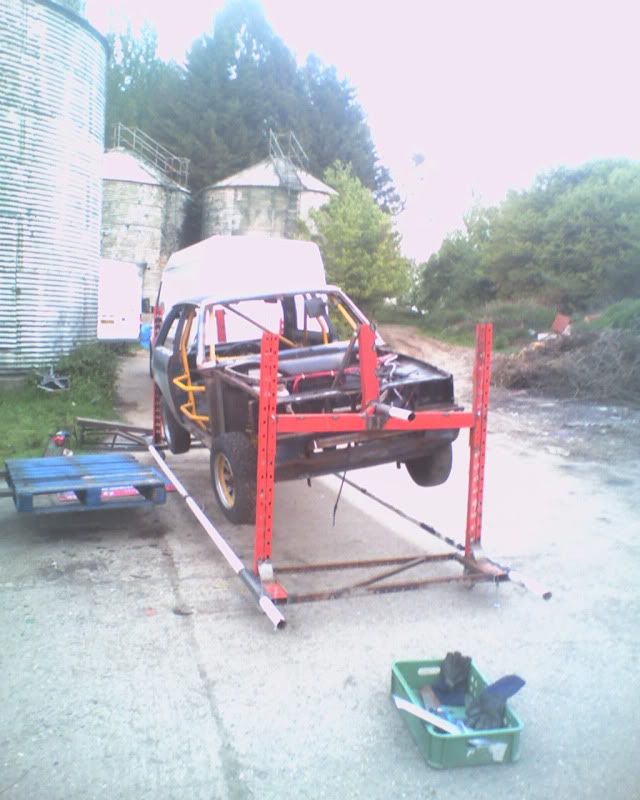 some careful pushing pulling and rocking doesn't make the whole thing collapse  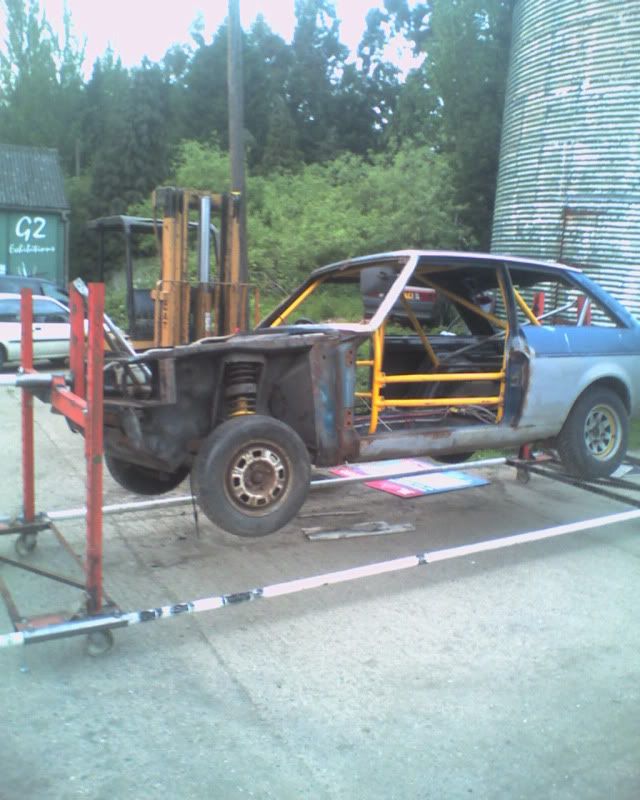 I can rotate the car by about 30 degrees by hand but the axle and suspension are making the car very bottom heavy. hopefully when they are removed the pivot point will be a bit closer to the cars centre of gravity  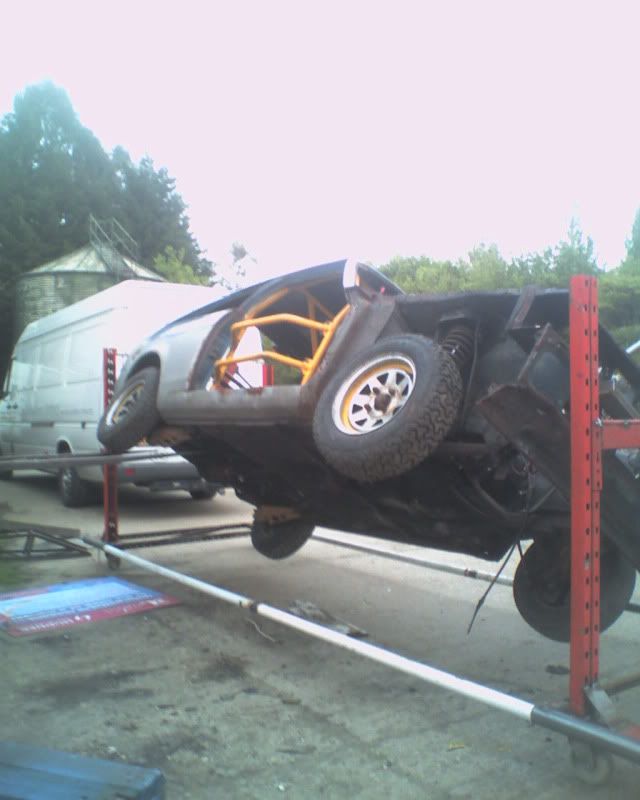 notice the big yellow friction damping device stopping the car returning to horizontal. the bolt screwing down onto the pivot tube may not be up to the job , so a minor redesign may be in order. 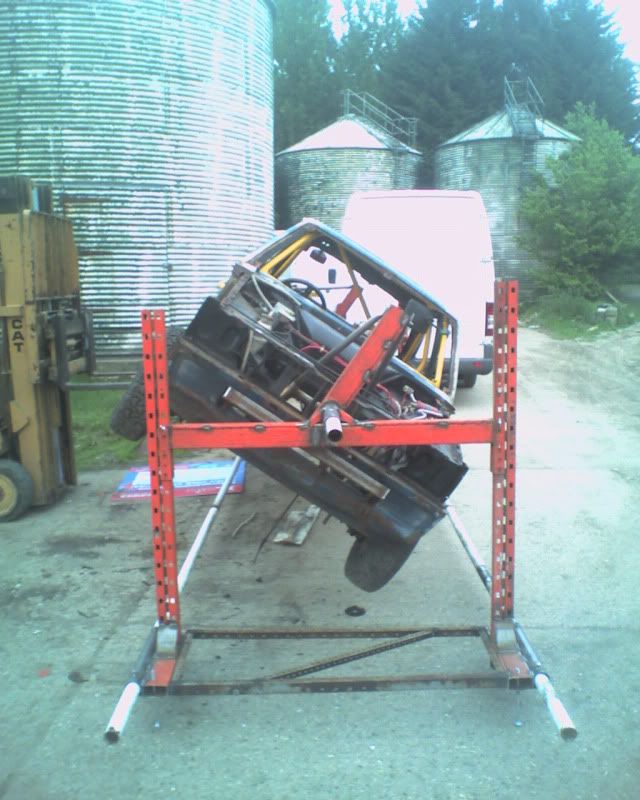 back to bed till next time  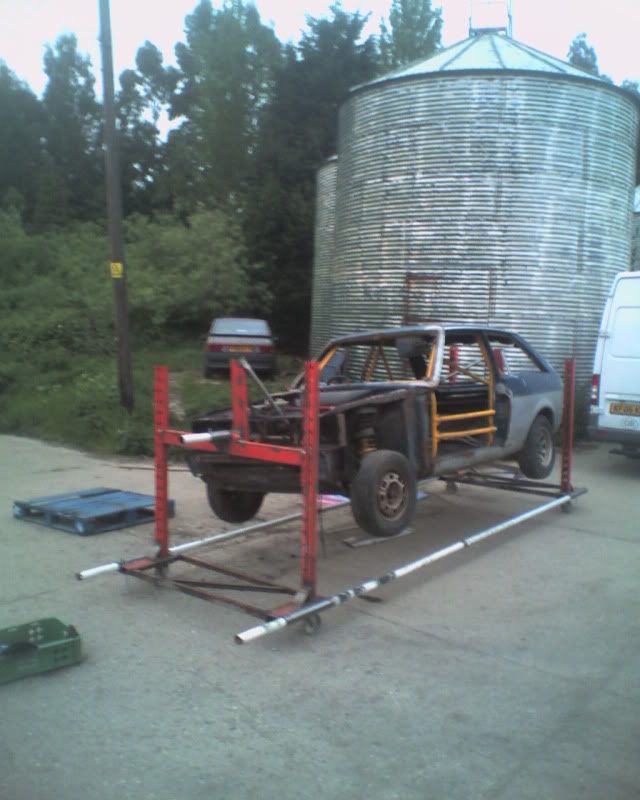 total time spent (not really kept count and pottering about at the moment so just a guess  ) 40 hours total spend £650 (not including the huge ebay bill this month for things i haven't picked up yet!  ) |
| |
whats that burning smell?
oh curse word :-(
|
|
|
|
|
|
|
|
I'm going to work with a huge smile on my face now that I've had my 'fix' of "chrysler sunbeam 294" great work mate,keep at it...whereever this car is shown/taken when its completed I will be along for a look,I've got to see it in the flesh!!! You are a star mate.
|
| |
|
|
|
|
qwerty
Club Retro Rides Member
Posts: 2,419
Club RR Member Number: 52
|
|
|
|
|
Brilliant progress as always! Love reading this thread!
|
| |
|
|
|
|
|
|
|
|
GENIUS !!!!
Great progress there mate.
|
| |
|
|
|
|
|
May 20, 2010 12:04:54 GMT
|
|
Spectacular! This is what its all about. Nice work.
|
| |
1974 Lancia Beta Saloon
1975 Mazda 929 Coupé
1986 Mazda 929 Wagon
1979 Mazda 929 Hardtop
1982 Fiat Argenta 2.0 iniezione elettronica
1977 Toyota Carina TA14
1989 Subaru 1800 Wagon
1982 Hyundai Pony 1200TL 2-dr
1985 Hyundai Pony 1200 GL
1986 Maserati 425 Biturbo
1992 Rover 214 SEi 5-dr
2000 Rover 45 V6 Club
1994 Peugeot 205 'Junior' Diesel
1988 Volvo 760 Turbodiesel Saloon
1992 Talbot Express Autosleeper Rambler
2003 Renault Laguna SPEARS OR REAPERS
|
|
|
|
|
|
|
Sorry to everyone that thought this was an update its not its just another photo to keep Mels mojo up! ;D  |
| |
|
|
|
|
|
|
|
my god we should all fall at your feet in worship ! i cannot believe your even ATTEMPTING to save this ! best of luck with it, i hope your mojo feeds your drive to finish it  |
| |
|
|
hairymel
Club Retro Rides Member
avatar by volksangyl
Posts: 1,081
Club RR Member Number: 207
|
|
|
|
thanks for the pic gurners  I cannot believe your even ATTEMPTING to save this ! ...........I hope your mojo feeds your drive to finish it  i tend to agree with you ruishy  i am a bit scared at the moment as i have got to the stage of actually having to do something constructive to the car!  interim update: no actual time spent on the car since the last update  i have decided (ie got out my measuring stick ;D)that the car on jig is a very tight fit in my personal workspace  with plan b in mind i have managed to wangle a fairly short term rental of a barn/lockup/workshop area on the farm i work out of. 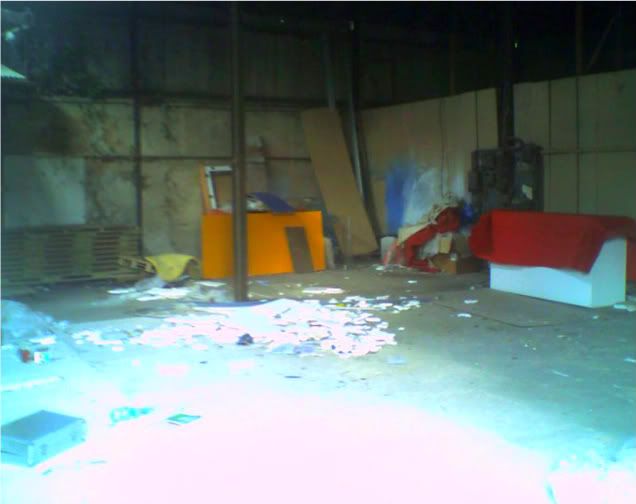 this will enable me to use my bosses forklift for the nasty heavy bits ;D the downside of this is that i will have to get a shift on or i will be paying full rent for the lockup. (anyone want to share a fairly large workshop 5mins from stansted @35quid a week each?) as mentioned previously i have spunked a fair bit of cash on ebay for bits i don't really need yet picking up a n/s wing up on thursday and hopefully collecting a set of impractical  rims in the same journey. i will try to do the financially painful update on friday with pics of these and the other new (to me) bits  |
| |
whats that burning smell?
oh curse word :-(
|
|
hairymel
Club Retro Rides Member
avatar by volksangyl
Posts: 1,081
Club RR Member Number: 207
|
|
|
|
handed over a pile of cash to my landlord this morning so this evening I moved the sunbeam into its holiday home  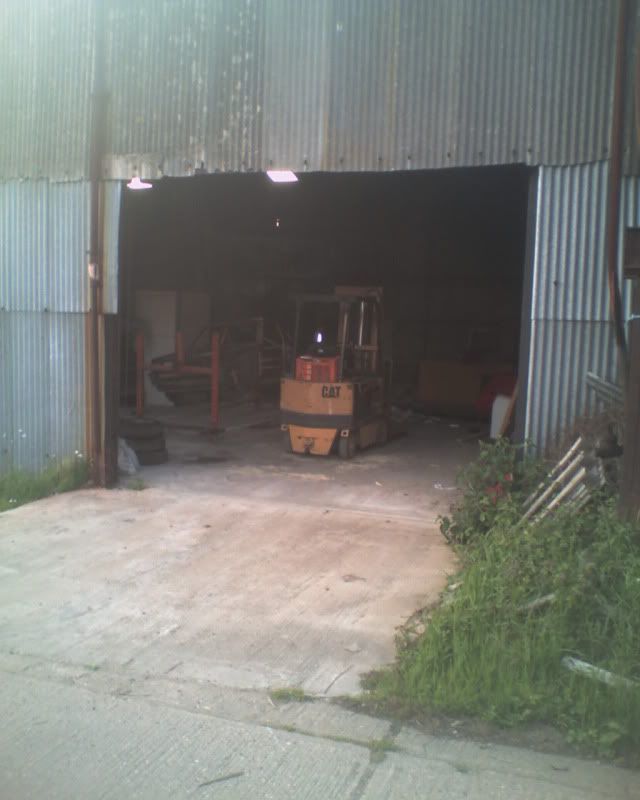 previous tenant didn't leave it very tidy  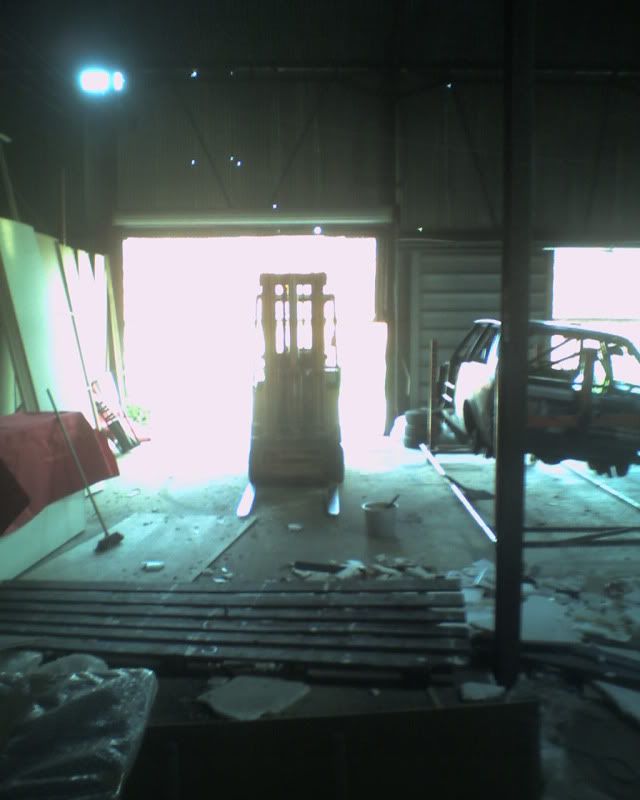 an hour of moving the car and putting it back on the spit turned into: wheels off 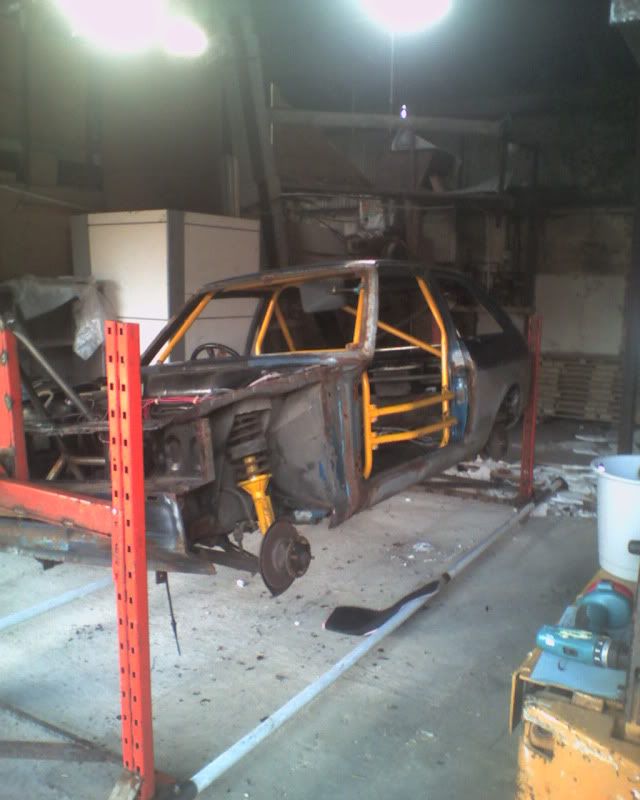 I then thought I would see if the removal of the wheels would make upside down easier. it did but the car still wanted to be right way up. during this experiment I somehow sliced my palm quite deeply  after a bit of a cry and a new pair of gloves front suspension off 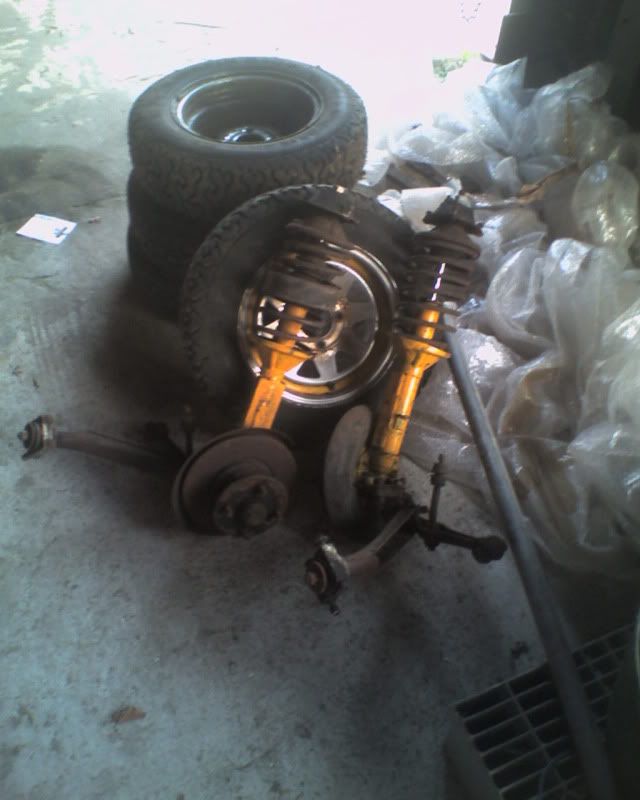 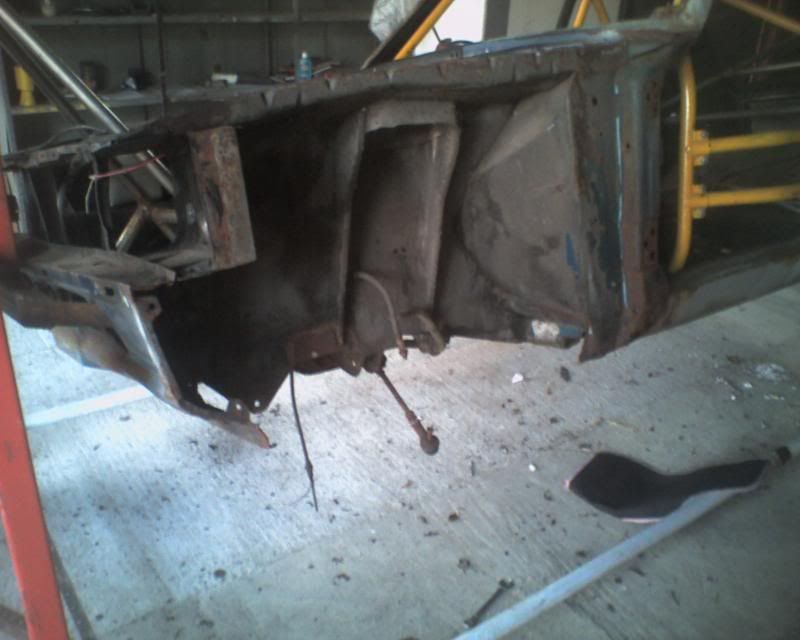 I was getting a bit carried away by now,and decided I would make a start on removing the axle. I was finding it difficult to see, probably due to the extreme blood loss  axle off   apologies for the awful pics. i think that one small fluorescent tube to light a large workshop is probably not good enough  the wiring is also fairly scary so I guess that will be the next job before I plug in any power hungry tools ;D as it was too dark to do anything else I dropped the shutter and went home, 4 hours late for dinner  before leaving I couldn't help but tip the car upside down again  still not stable  I think the pivot point should have been 4ish inches lower. a prop or a better friction device will make it acceptable though  back to bed till next time 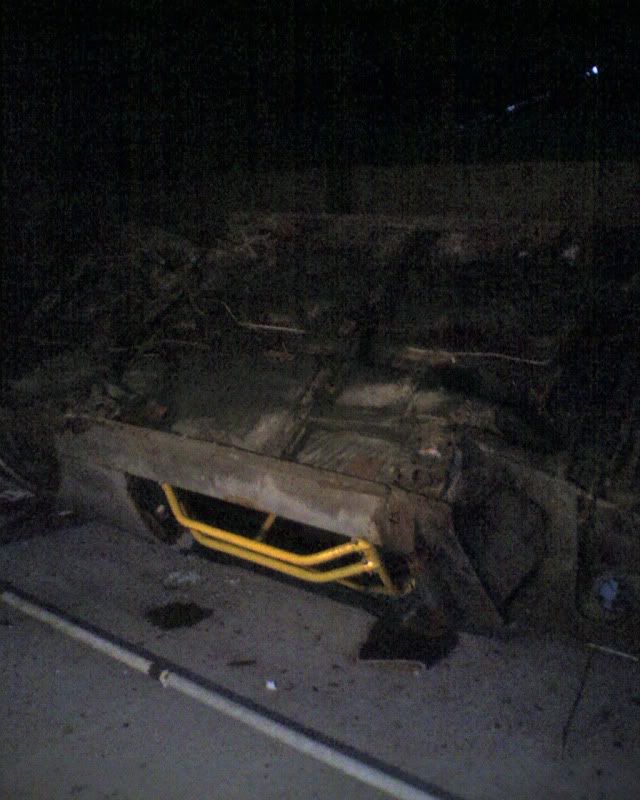 total time spent (making mouths with my bifurcated palm  ) 45 hours total spend £650 (too scared to add on the stuff I have bought recently ;D) |
| |
Last Edit: Jun 2, 2010 23:16:49 GMT by hairymel
whats that burning smell?
oh curse word :-(
|
|
hairymel
Club Retro Rides Member
avatar by volksangyl
Posts: 1,081
Club RR Member Number: 207
|
|
|
|
decided to start on the drivers side sill area as it looks to be the worst for corrosion. rear inner and outer sill holed 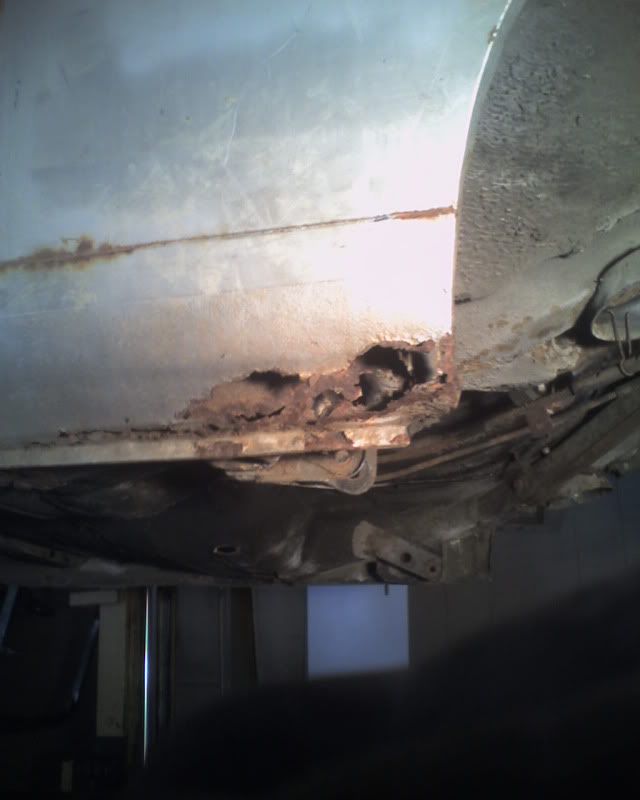 bottom of a post is a bit of a horror not only is it rotten but it is buckled upwards and pushed out , separating from the sill and floorpan 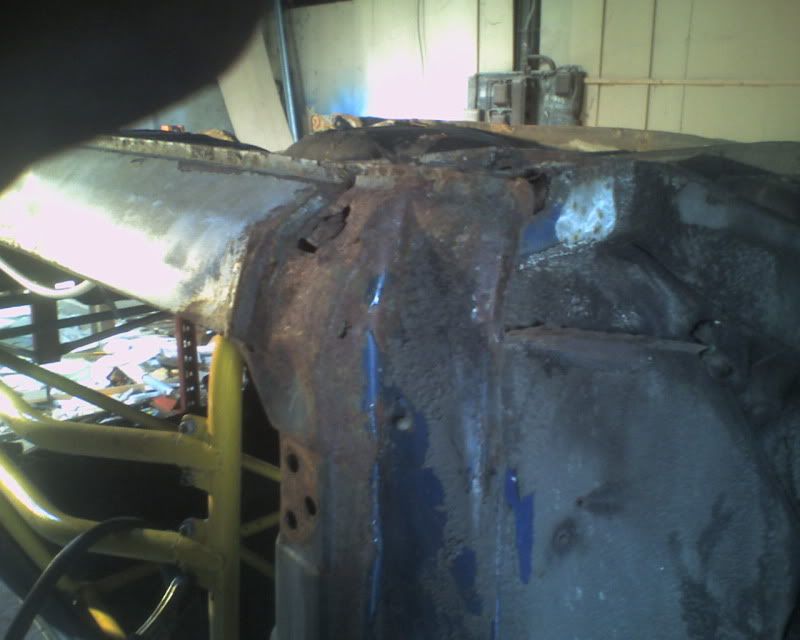 jacking point is almost non existent \ 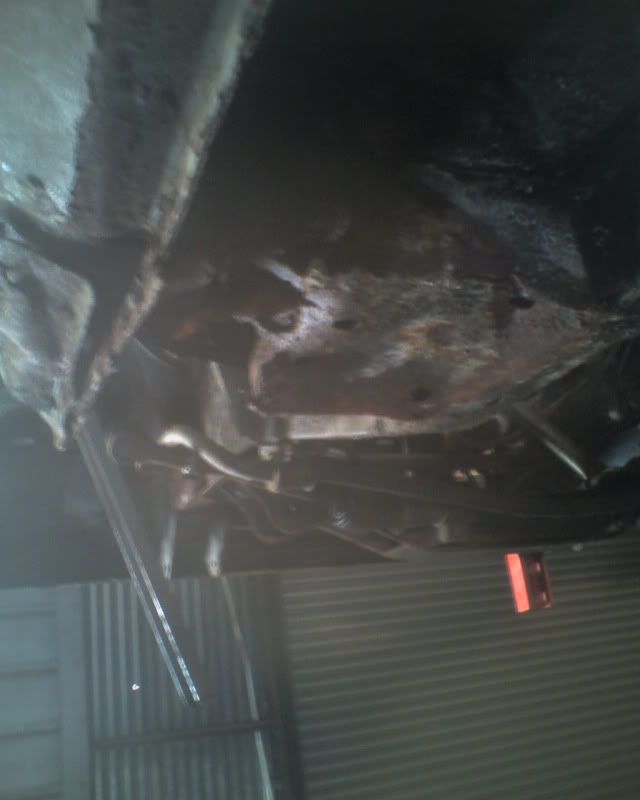 first time for the welder to touch the car  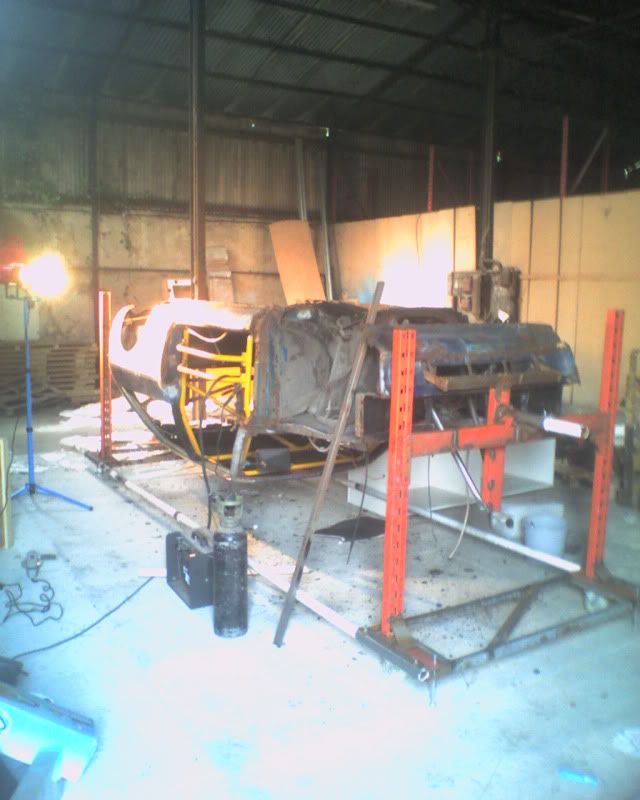 although i hope the cage will give the shell a bit of stability, its good practice to brace the door opening. 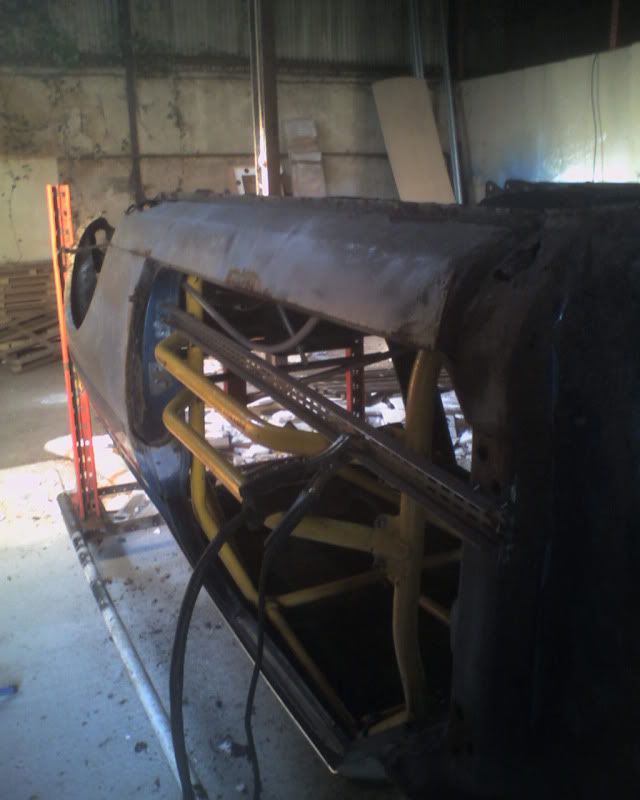 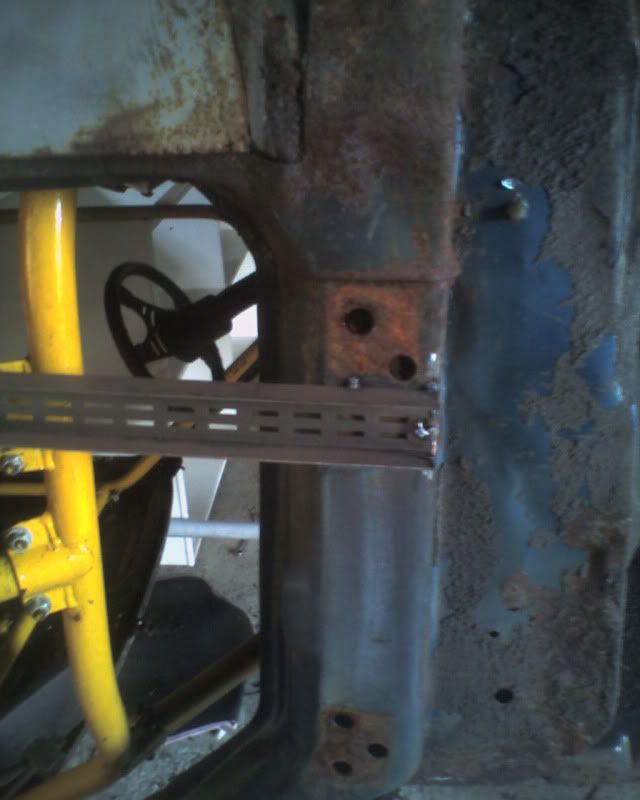 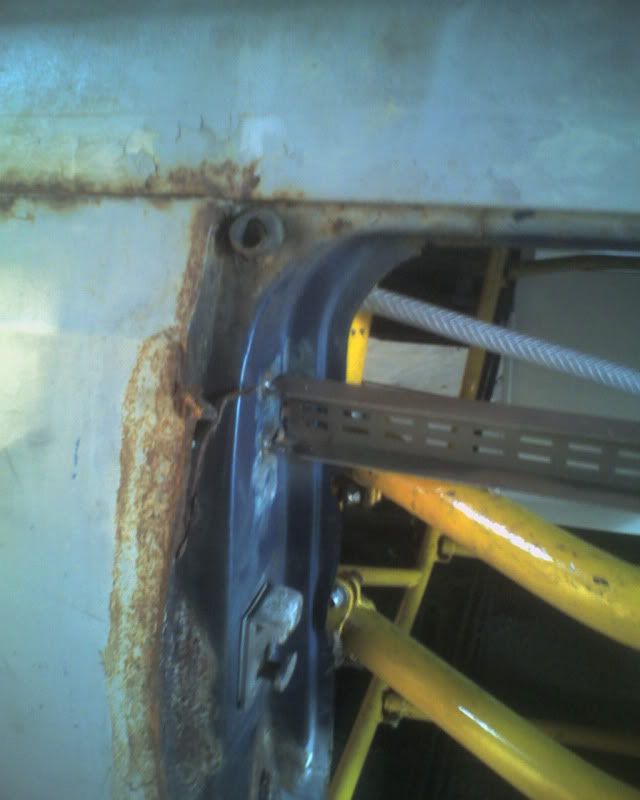 i may do something a bit less half arsed when i chop a bit more out  "first cut is the deepest" not really  first off i cut around the rotten area (leaving the sill end as a wobbly datum point) 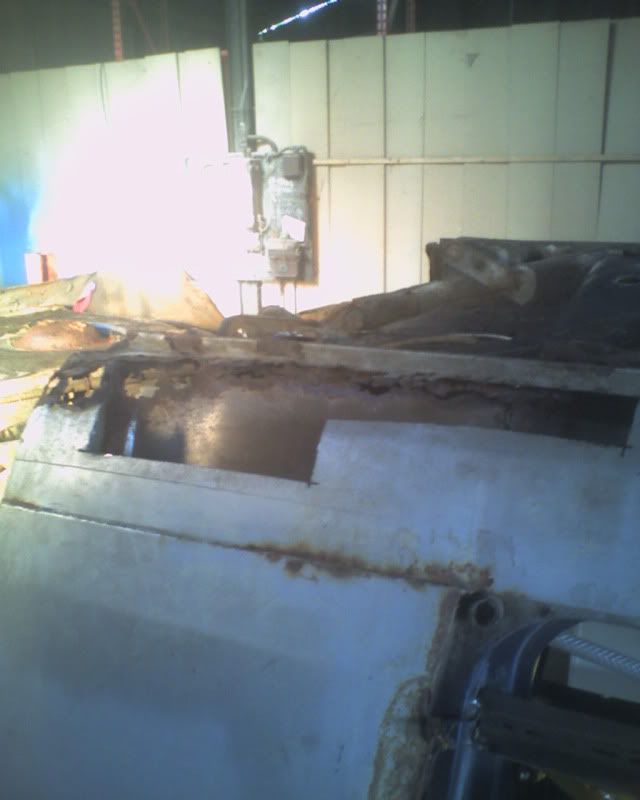 could be much worse  the inner sill in this area is only rotten in the bottom 2 or 3 inches, with the rest of it still mostly showing the factory coating. the a post is next for a bit of exploratory surgery 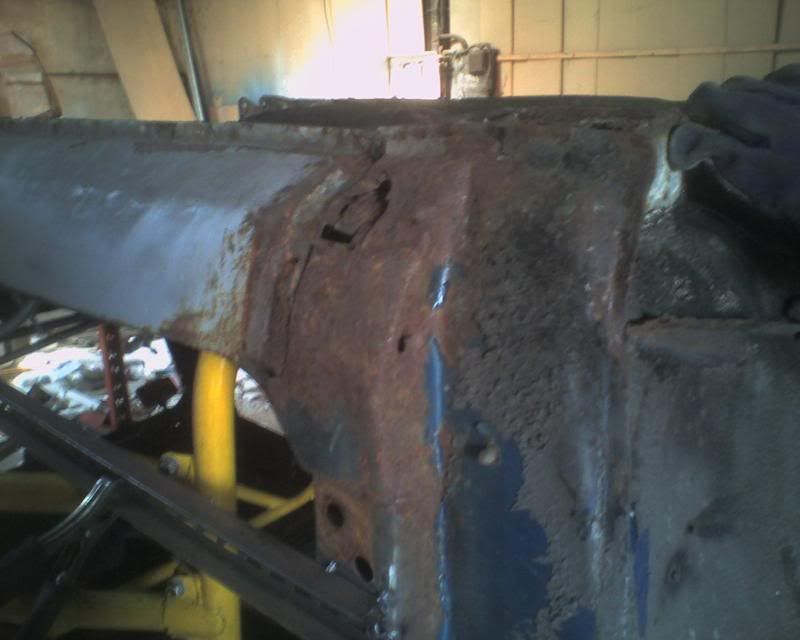 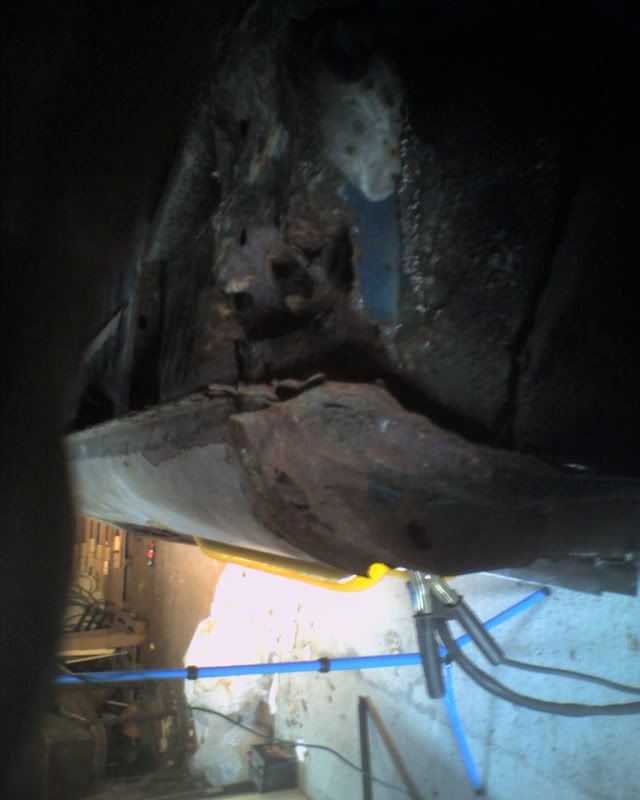 i cut the face of the a post bottom off 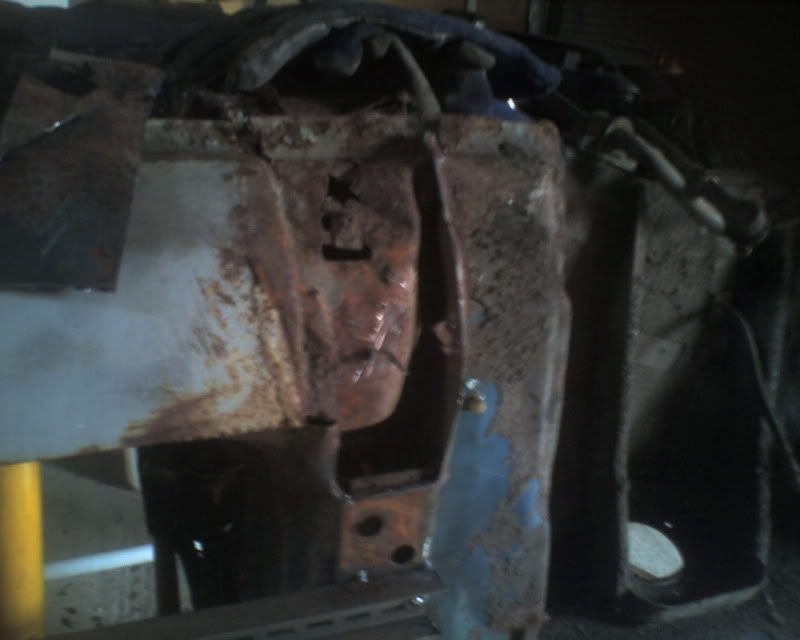 fairly thin/rotten all over and the sill end is also quite poor. until i get a new avenger cover sill to fudge in i don't know what i will have to fabricate here so i will leave it for the time being. so back to the back  sill cut back to access the rot 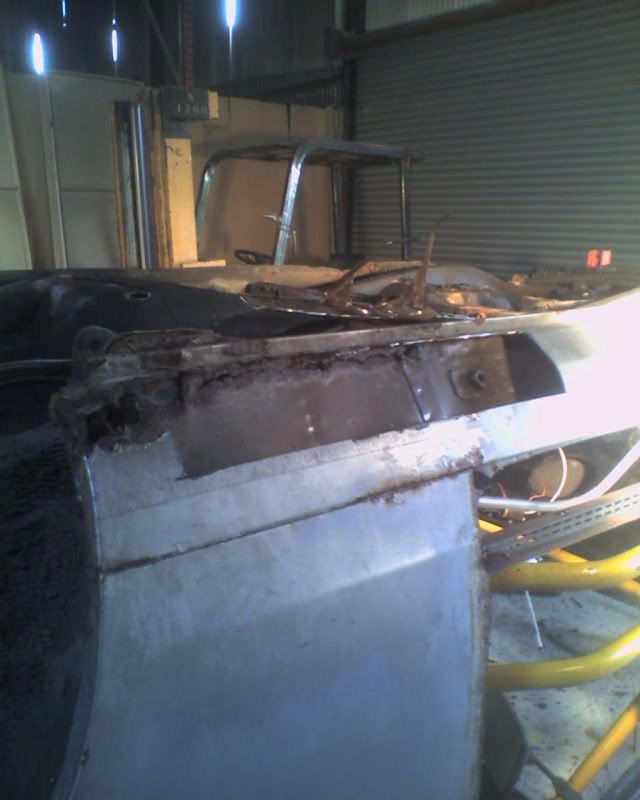 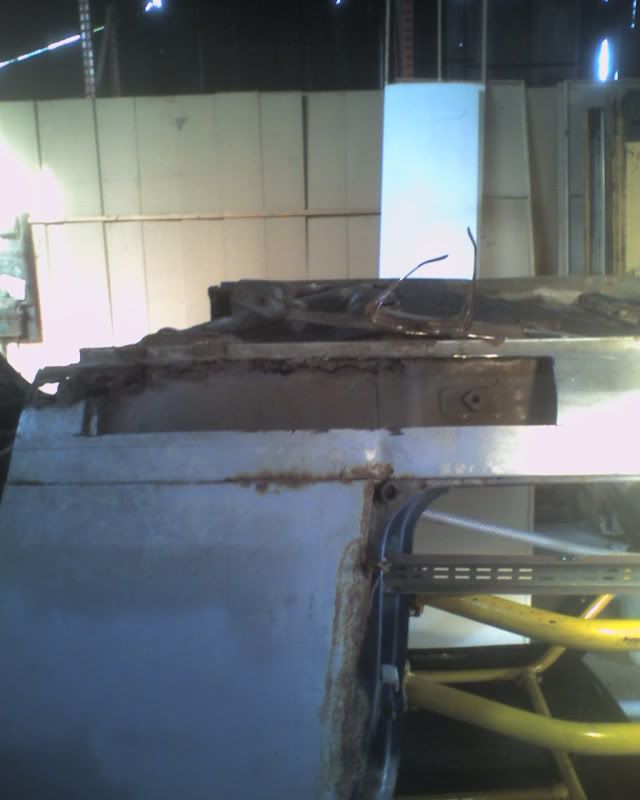 rusty bits hacked out 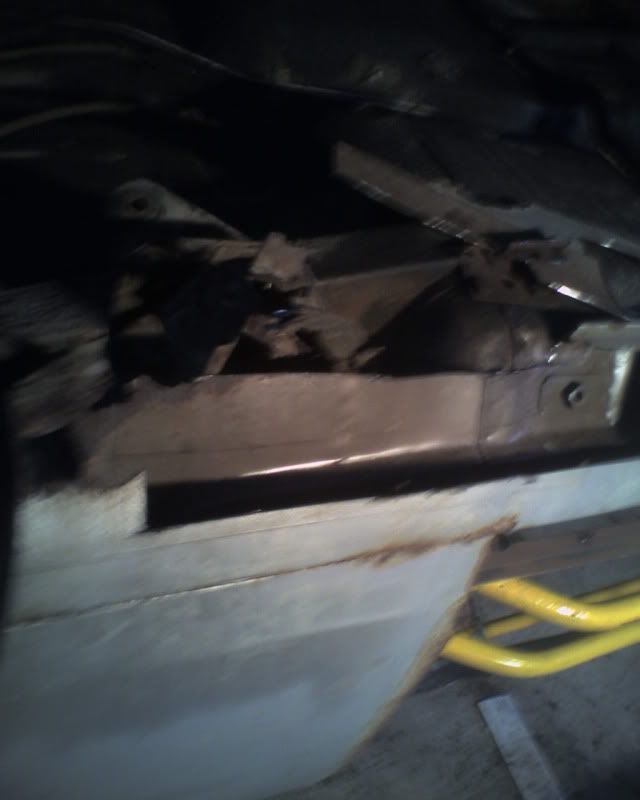 looking at what is left i decided to cut more out to make the repair a bit easier. 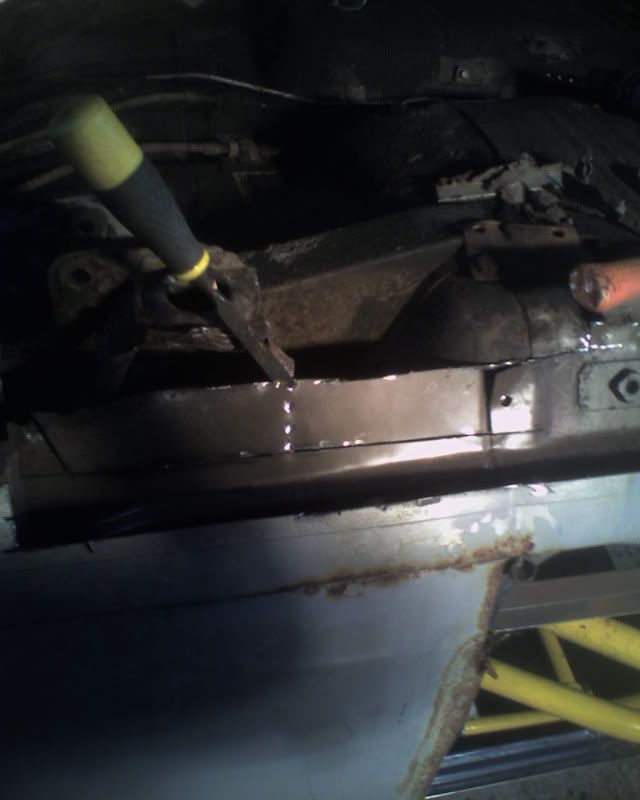 ready for cleaning up and repair panel fabrication. 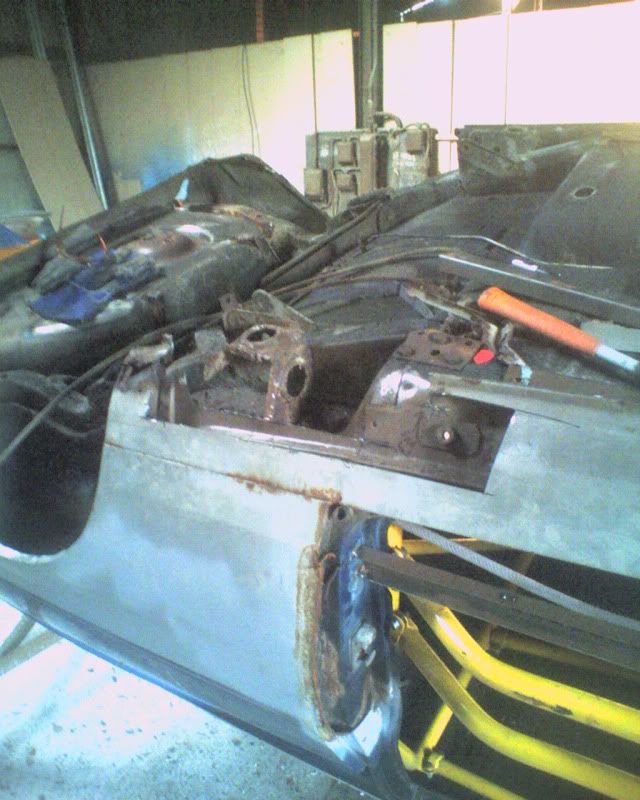 too sweaty under my newly purchased 1kw halogen site lights so i called it a day  total time spent (wishing i had ordered some new sills last week and bought some cans of etch and weld through primer today  ) 48 hours total spend £650 (still too scared to add on the stuff I have bought recently +the 2 argos style order forms i filled out @toolstation when i only wanted a freestanding light and some cutting disks  ;D) |
| |
whats that burning smell?
oh curse word :-(
|
|
|
|
|
|
|
|
Good work there Mel,at this rate it will be mot'd by the summer!!
|
| |
|
|
hairymel
Club Retro Rides Member
avatar by volksangyl
Posts: 1,081
Club RR Member Number: 207
|
|
|
|
i need to get a shift on then  |
| |
whats that burning smell?
oh curse word :-(
|
|
|
|


 ) tube.


 ) 40 hours
 )
) 


 ) 48 hours