|
|
|
|
|
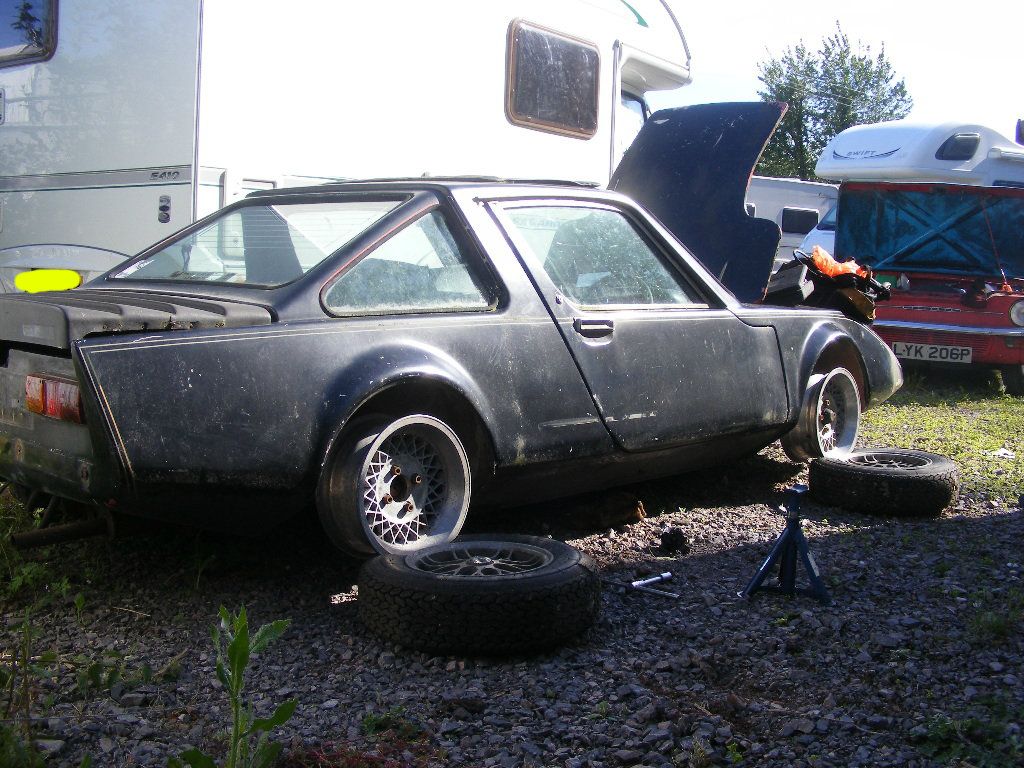
Excellent project - you're a brave man to take this on. I wish you all the best, and hope that you find all the mojo (and cash) you need to finish it. the 2 argos style order forms I filled out @toolstation when I only wanted a freestanding light and some cutting disks  ;D)  I know those - it is far too easy to fill out the whole form while flipping though the laminated book of tool dreams. |
| |
|
|
|
|
|
|
|
|
|
|
dude, this is serious work. I hope you are going to retain some hints to its competition past in its road incarnation. That would be awesome.
|
| |
1941 Wolseley Not Rod - 1956 Humber Hawk - 1957 Daimler Conquest - 1966 Buick LeSabre - 1968 Plymouth Sport Fury - 1968 Ford Galaxie - 1969 Ford Country Squire - 1969 Mercury Marquis - 1970 Morris Minor - 1970 Buick Skylark - 1970 Ford Galaxie - 1971 Ford Galaxie - 1976 Continental Mark IV - 1976 Ford Capri - 1994 Ford Fiesta
|
|
hairymel
Club Retro Rides Member
avatar by volksangyl
Posts: 1,081
Club RR Member Number: 207
|
|
|
|
jrevillug: thanks for your comments  alistair: i don't think it ever had a competition past as the grass track build didn't appear to be finished. i guess that unfortunately (  ) i have no choice but to make it a stripped out style car as i don't have any interior trim , not even a dash! |
| |
whats that burning smell?
oh curse word :-(
|
|
|
|
|
|
|
|
is this a joke thread ? or are you REALLY going to do this?? you must be the bravest or maddest person ever on RR...you really do deserve all the help and praise you get on this project ..well done mate crack on !!!!!!!
|
| |
|
|
|
|
|
|
|
|
Mel,let us know what interior bits you need and I'm sure between us all we can get the interior from here and there,I will be looking about for sunbeam trim bits from now on!!
|
| |
|
|
hairymel
Club Retro Rides Member
avatar by volksangyl
Posts: 1,081
Club RR Member Number: 207
|
|
|
|
vitesse6: i am aware of the comedy value afforded by my attempted build. i do however hope to get the car roadworthy before i am carted away ;D gurnersimps1963: my brother has just said you may be jumping the gun a bit talking about the interior! not too fussed really, i'm aiming for functional and less interior is less work  . |
| |
whats that burning smell?
oh curse word :-(
|
|
y282
Part of things
 
Posts: 122
|
|
|
|
|
bookmarked. to turn a stock banger back into something resembling a road car again is a proper feat. love these cars.
and if you can't finish it, leave it in the rollover frame and charge kids to sit in it.
|
| |
24v cosworth capri, M3 evo coupe , cbr900rrn, cb750f2n
|
|
|
|
|
|
|
|
Jumping the gun?? well probably but I'm looking forward sooooo much to see this finished that I will gladly help out with a few bits if I can........
|
| |
|
|
hairymel
Club Retro Rides Member
avatar by volksangyl
Posts: 1,081
Club RR Member Number: 207
|
|
|
|
i've been putting this off for while but here is the spending update  took a trip this afternoon to pick up a set of 205/60/13 falkens from polowry  60 quid 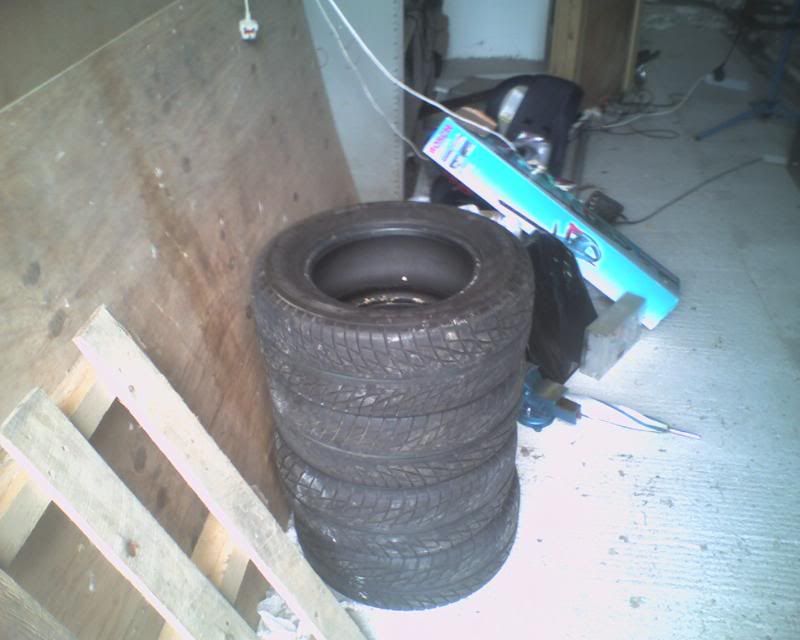 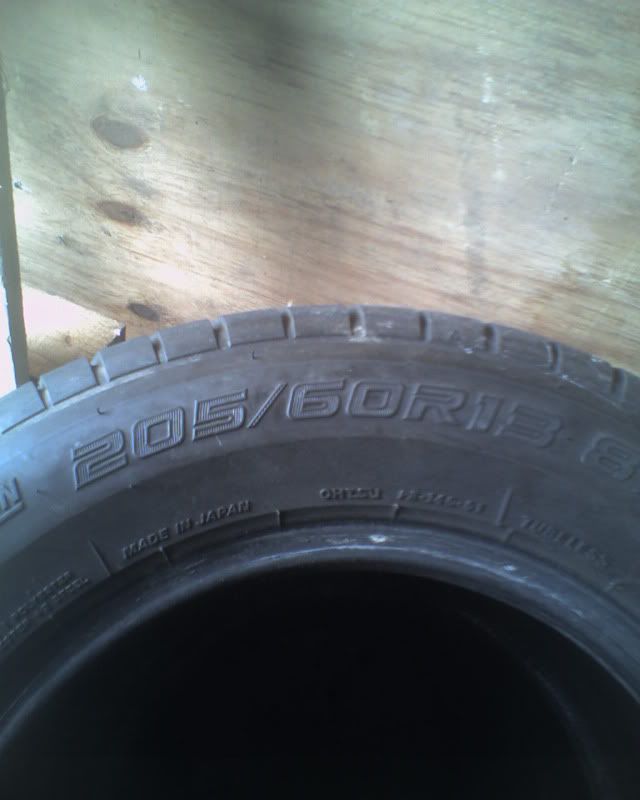 why do I need them? for my shiney new(to me) compomotive ms1380's 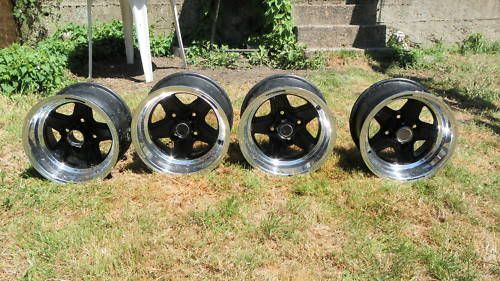 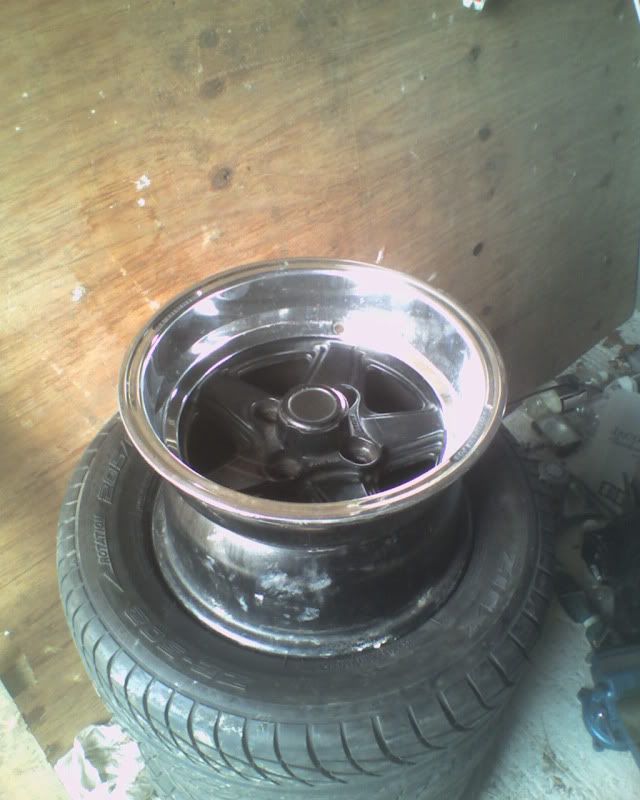   202ukp (damn this us keyboard) 108pcd 8jx13 6 pos offset recently polished and just missing 1 centre cap think I might need to do a little bit of tweaking to my arches once they are metal instead of rust ;D also collected recently: n/s wing needs a bit of work but should be ok 47ukp  some nos badges 6.50ukp 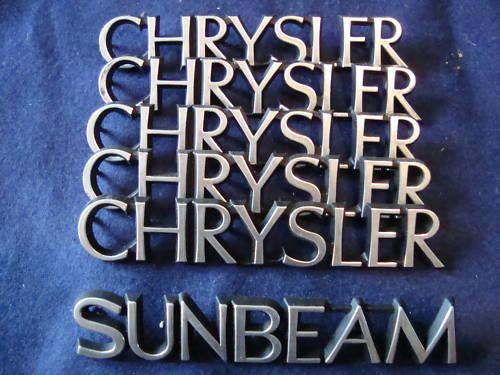 and a complete(ish) loom from a lotus rally car. 24ukp not looking forward to sorting this but it needs doing   total time spent (going to barbecues and fabricating burgers not repair panels) 49 hours total spend £1040 (inc paint and odds and sods not inc rent and tool porn . half way to buying a complete car but where is the fun in that ;D) edit/ funnily enough i paid 1040 for my recently rebuilt ti back in 1992 and sold it in 97 ish for 60 to a mate just to get some driveway back  he took the carbs off and left it in a field until it got fragged, really regret it now  |
| |
Last Edit: Jun 6, 2010 15:00:28 GMT by hairymel
whats that burning smell?
oh curse word :-(
|
|
|
|
|
|
chip83
Part of things
  One day at a time....
Posts: 357
|
|
|
|
|
this thread is an insperation,keep it up fella.
|
| |
Quashqui and Yeti (needs must currently)
SAAB 93 EST (Sold)
Volvo S40(sold)
Volvo V40(sold)
MK2 astra aka "THE SHED"(sold)
Mgb GT (crashed)
Peugeot 405(sold)
Orion 1600i (sold)
Metro (scrapped)
Mk1 Fiesta (Broken for spares)
Mk5 Cortina (crashed)
|
|
|
|
|
|
|
|
Now when my friends tell me "you should just scrap that old Polo of yours, it's not worth it" I can prove them all wrong with the awesome work you're undertaking with the old Sunbeam. This is an incredible journey you're undertaking, I hope the destination is full of fantastic stuff for you.
|
| |
|
|
hairymel
Club Retro Rides Member
avatar by volksangyl
Posts: 1,081
Club RR Member Number: 207
|
|
|
|
yay sills arrived  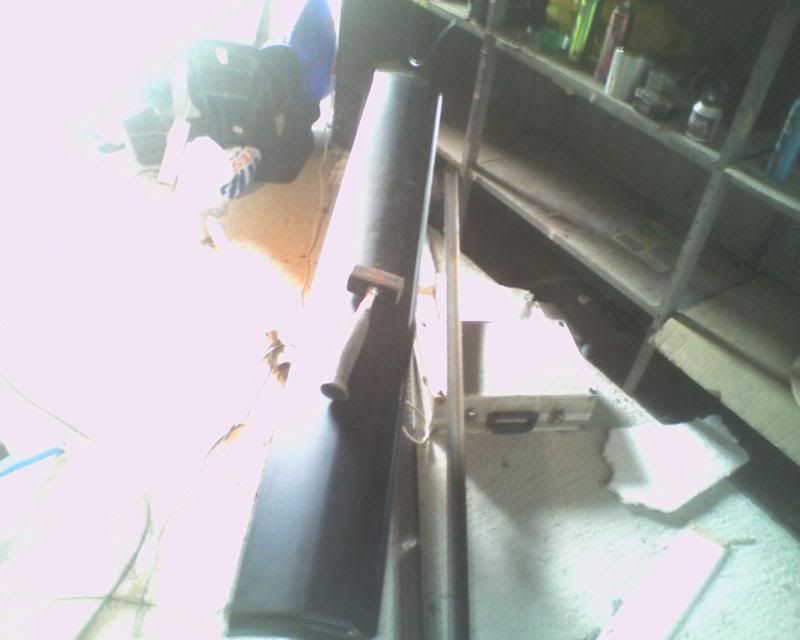 coat of etch primer over the kurusted area and a new slot cut to inspect the rot in the inner sill  woop there it is   bashed up a repair panel for the rear inner sill. typically in my haste i cut on the wrong line so a repair to the repair panel was made  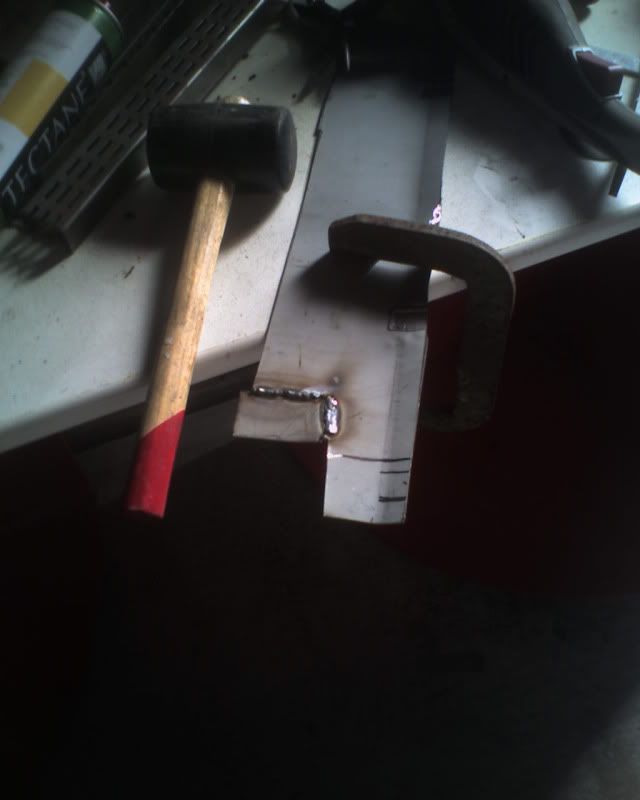 panel offered up to check fit, marked for position then sill end/bottom of arch cut off 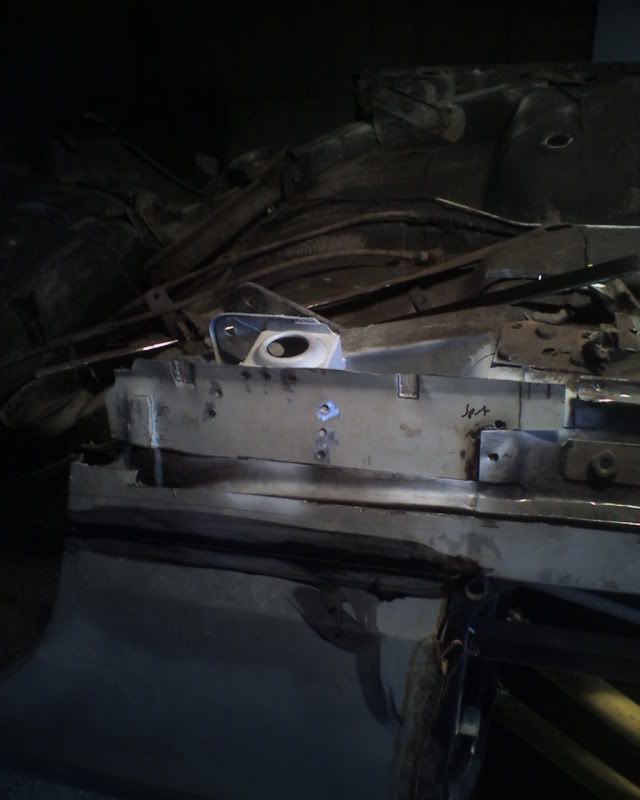 weld through primer sprayed onto the rear of the panel 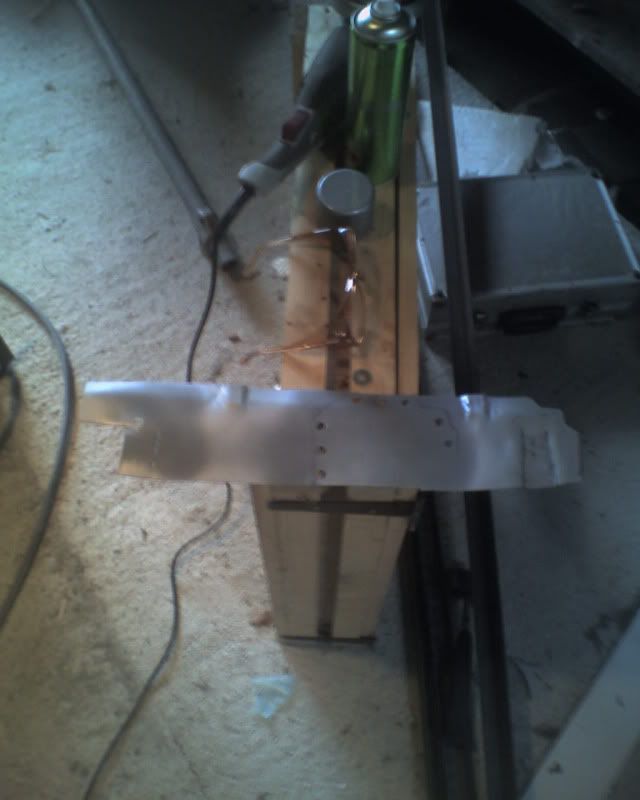 rear jacking point flanges cleaned of primer, slots from cutting the inner sill off repaired and painted with weld through primer 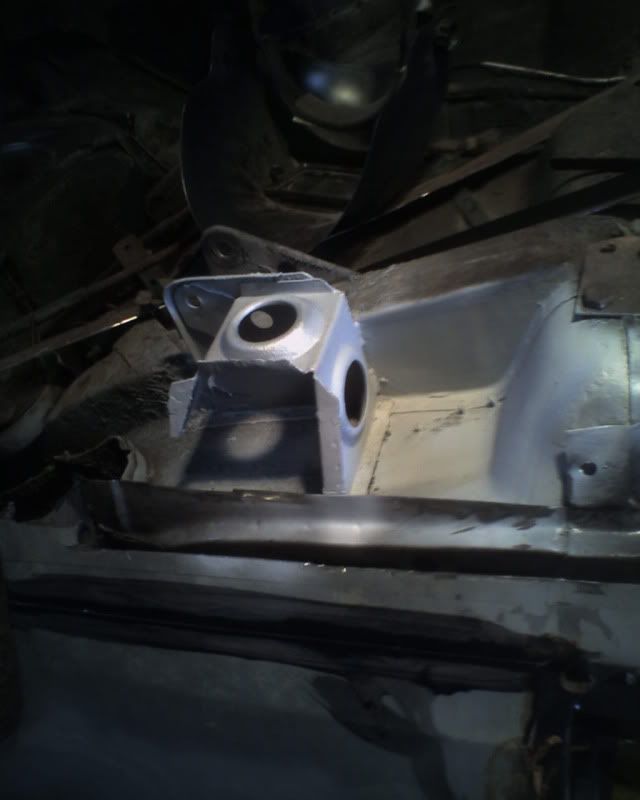 panel clamped in place  panel tacked in place and puddle welded to replace the oem spotwelds 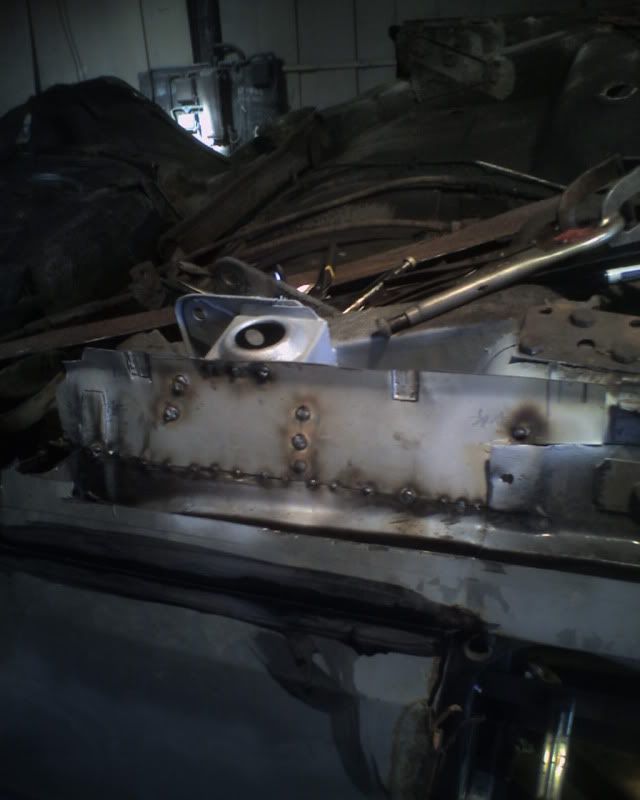 sort of seam welded, my trusty sip mig is having its usual random issues. (plus my welding is not very consistent either  )  the end of the panel cut off to replicate the original panel join (left on until now to help with lining up the repair) 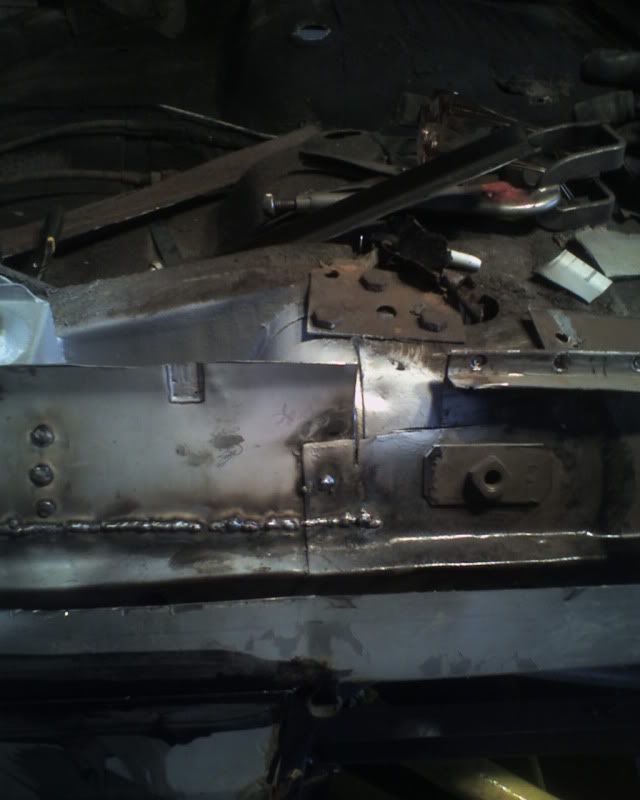 cardboard template made 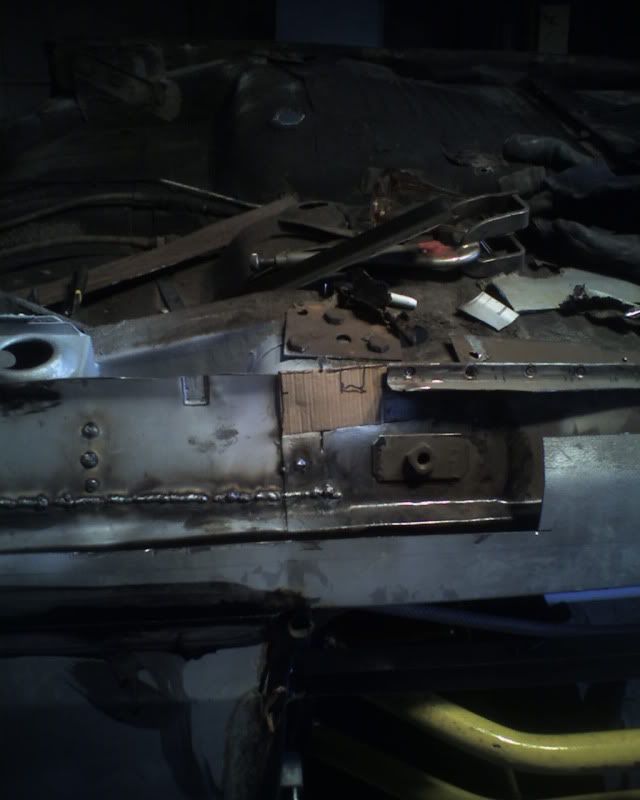 transferred to metal 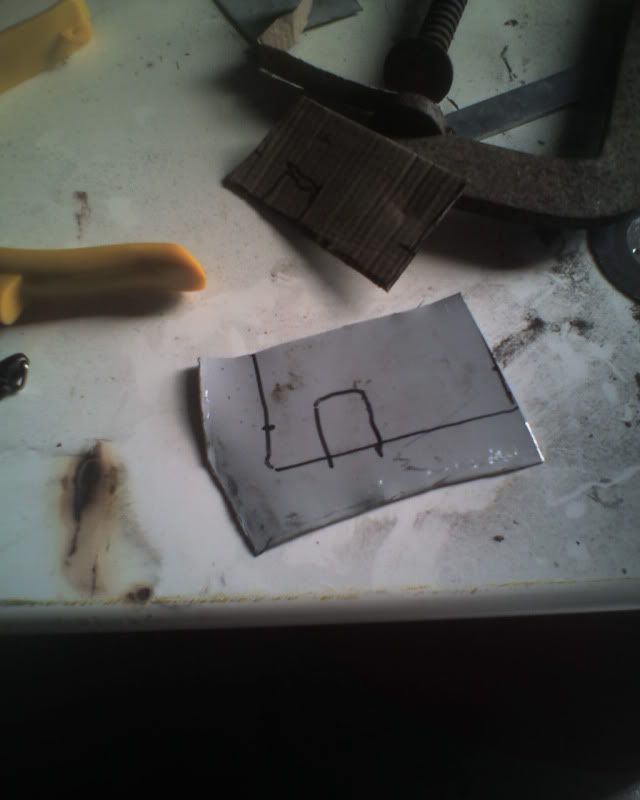 bashed out and trimmed to fit, then tacked on  front of inner sill hacked off  small repair seam welded. middle part of inner sill left to help lining up the front repair 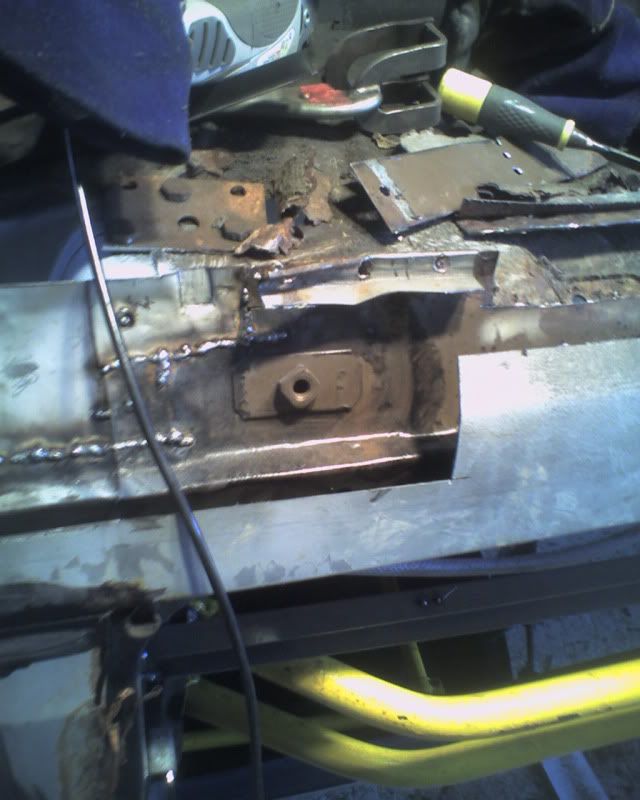 floor pan edge wire brushed and kurusted 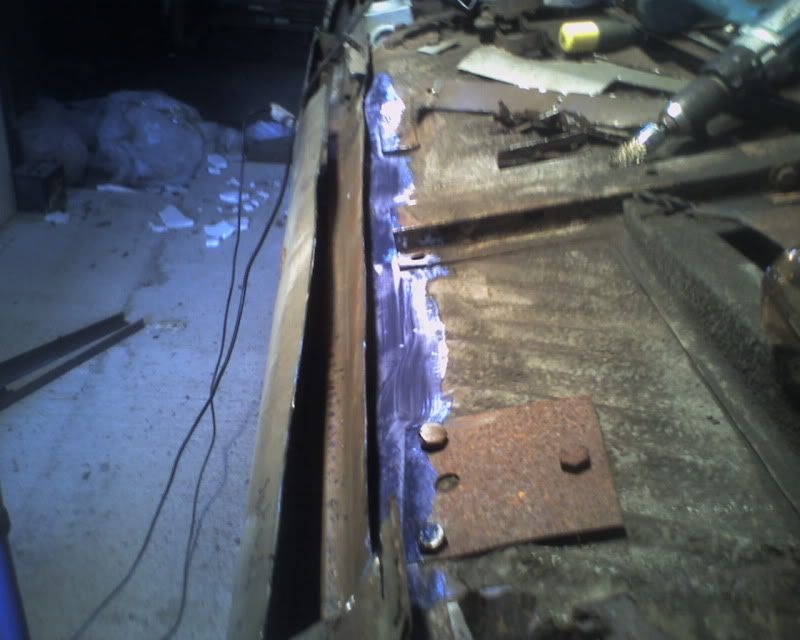 this part of the sill doesn't come with the avenger skin sill so will need to be repaired/fabricated 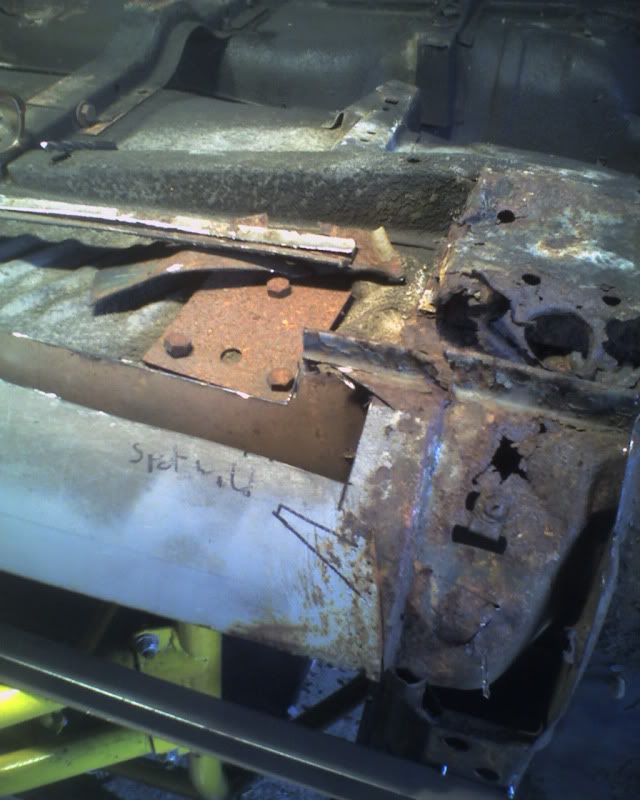 while I'm here i cut the face off the bottom of the a post to see whats behind 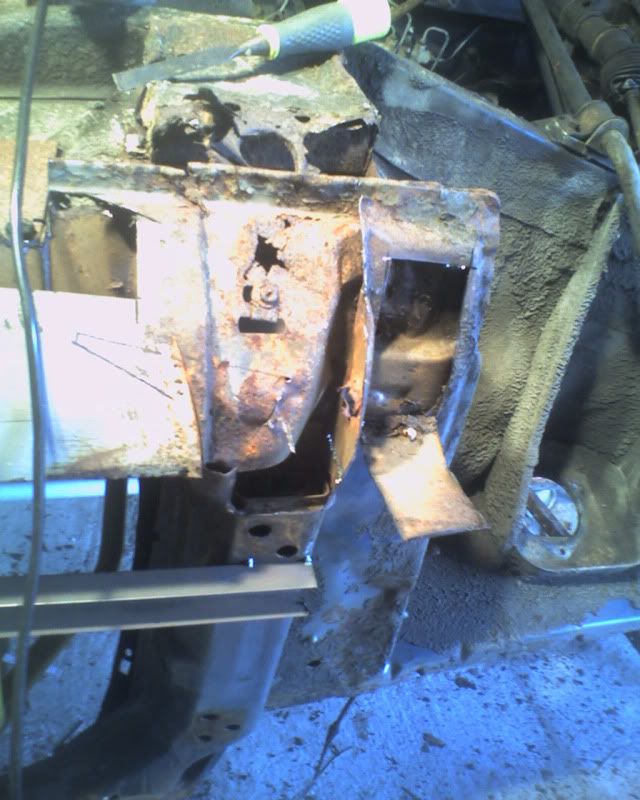 more rust and another of the colourful snails from my early posts  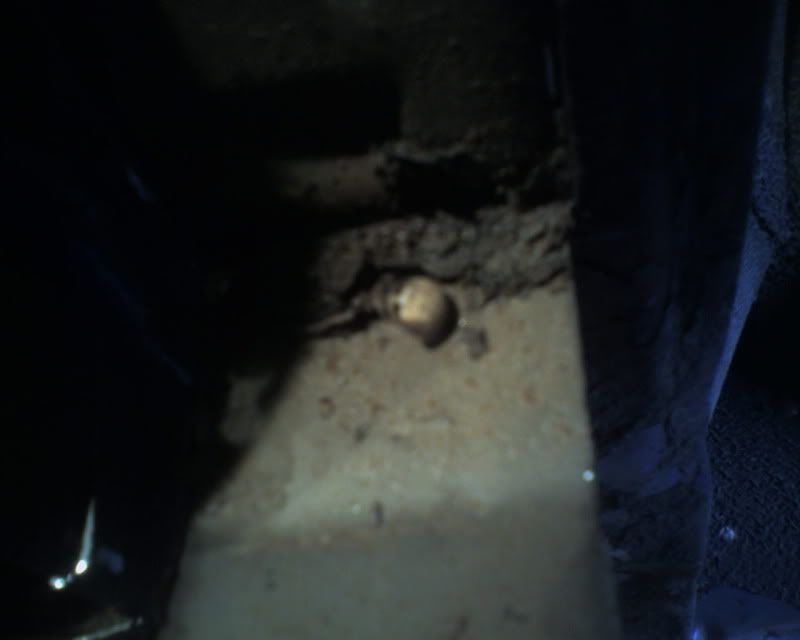 thats all for today  total time spent (actually making the car better  ) 54 hours total spend £1080 (need to source a kettle soon - very thirsty  ) |
| |
whats that burning smell?
oh curse word :-(
|
|
hairymel
Club Retro Rides Member
avatar by volksangyl
Posts: 1,081
Club RR Member Number: 207
|
|
|
|
thanks for the comments guys  volksangyl :- its the journey that's the important part, without it you will never get anywhere  keep up your mojo with your polo m8 or in 20 years you will be dragging a rusty old car out of a hedge too ;D |
| |
whats that burning smell?
oh curse word :-(
|
|
hairymel
Club Retro Rides Member
avatar by volksangyl
Posts: 1,081
Club RR Member Number: 207
|
|
Jun 10, 2010 19:52:39 GMT
|
had a lazy morning then took my transit camper for a while you wait (2 1/2 hrs!) mot. passed with advisories on 2 rear tyres near limit and crumbly top of wheelarch very pleased, I can fix that at my leisure  marked out some 1.2mm zintec sheet for the next bit of inner sill.  cut and offered up to the offending area, then marked for bends and drain channels 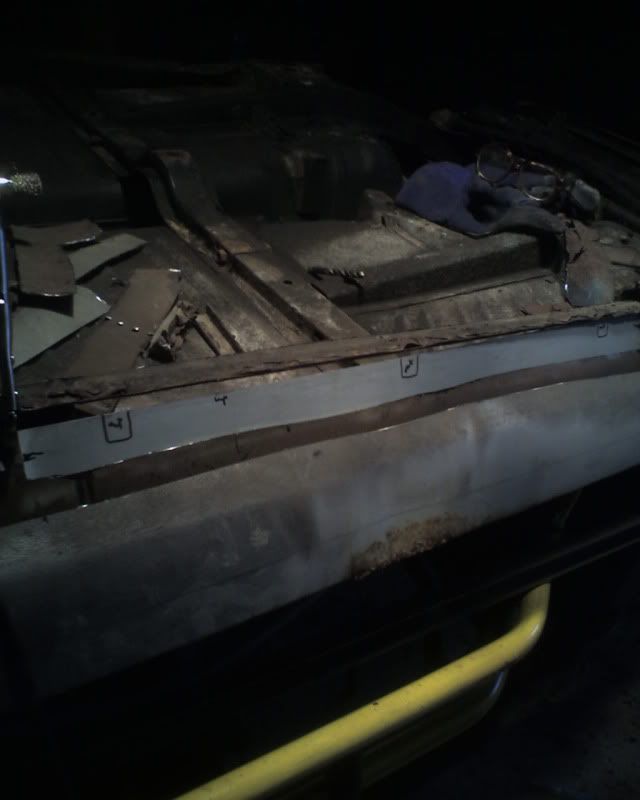 as this bit was longer than the last I tried bending it between 2 bits of angle. 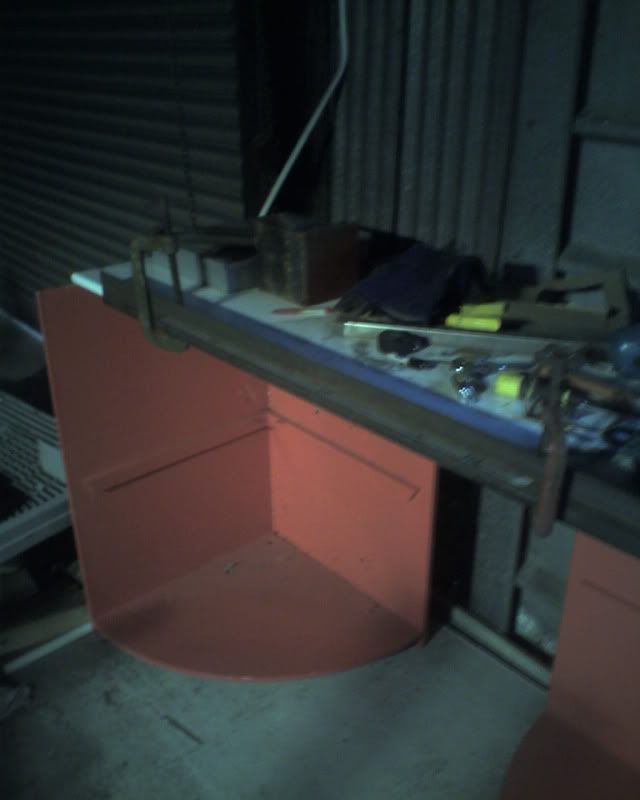 this didn't work very well so I just bent it a bit at a time in the vice.  using a blunt chisel and the open jaws of the vice I knocked out the shape of the drain channel  this causes the flat plate to bend. 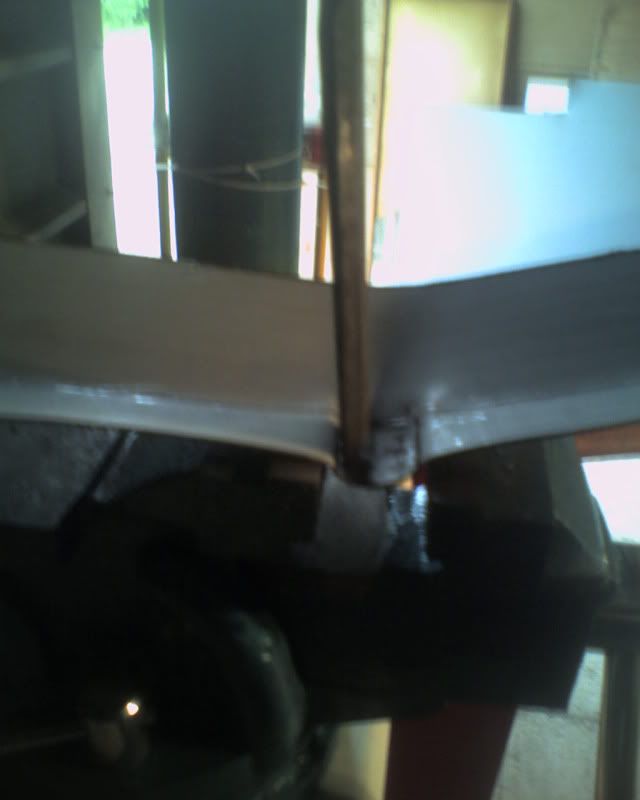 bend taken out by bashing on a flat surface.  channel straightened and finally shaped on the edge of a bit of thick plate. 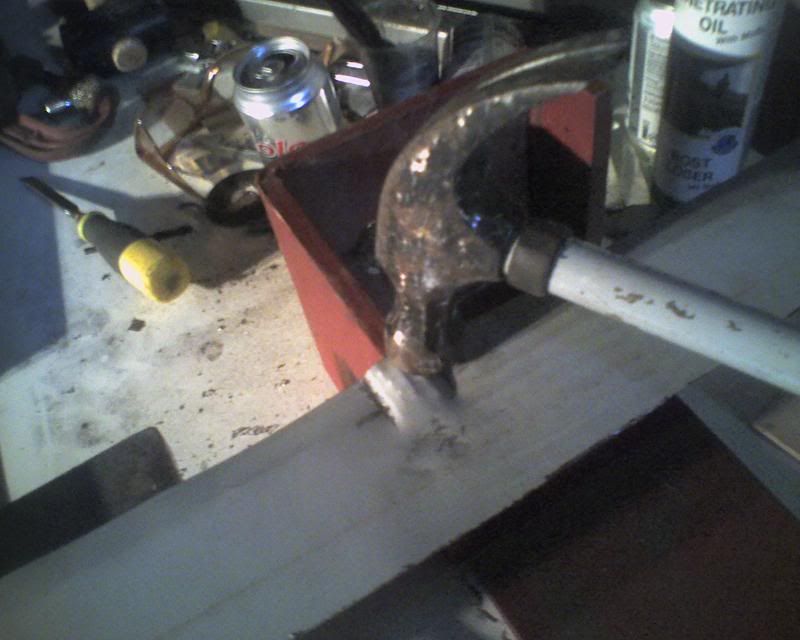 repair panel clamped in place. the flange isn't straight/flat but I will tweak it when it comes to fitting the outer sill.  tacked in place  seam welded 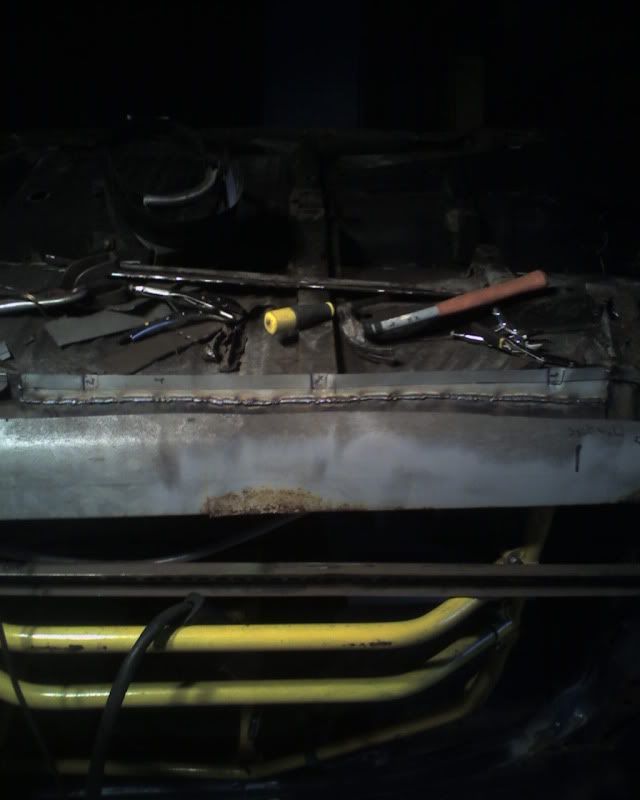 remaining bit of inner sill at the rear marked for cutting  started to weld it into position and the pub bottle I was using ran out. I went and got my large argosheild bottle. connected it up, did less than 10mm of weld and the welder stopped  shouldn't have exceeded the duty cycle , so might be buggered  might have to replace it as its always been a bit flaky, but then I will have nothing to blame the shoddy welding on ;D 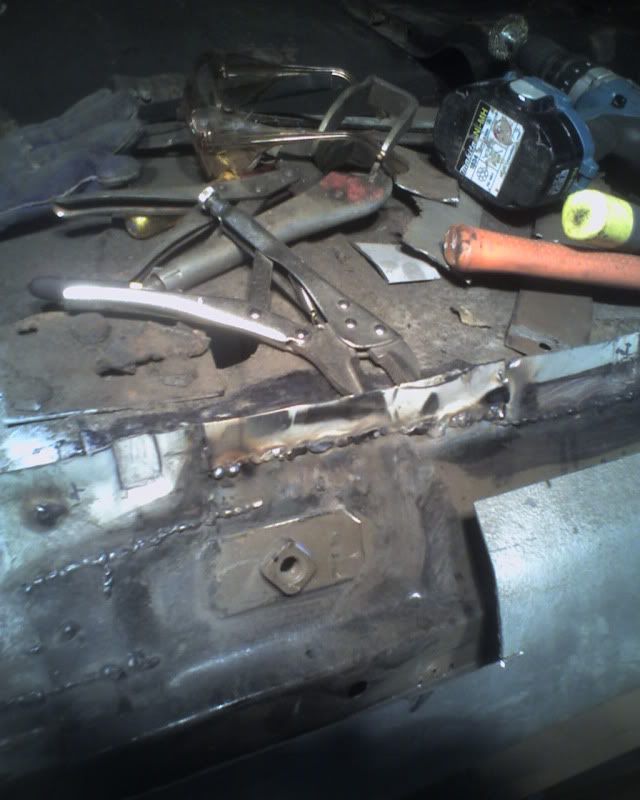 I have to thank tonybmw and all the other posters who have inspired/taught me by their threads, up until now all I have done is fudge a plate over rust. there is no way I would have known where to start without their examples  I hope that by the end of this build I will be able to weld, fabricate and body repair to a acceptable standard ( so that I can do it all again probably  ) total time spent (making the car better but the welder worse ;D ) 58 hours total spend £1080 (haven't got a kettle yet but i'm off to the pub:P ) |
| |
Last Edit: Jun 10, 2010 19:58:26 GMT by hairymel
whats that burning smell?
oh curse word :-(
|
|
tux
Part of things
  Fat Bloke
Posts: 417
|
|
Jun 10, 2010 20:20:47 GMT
|
I can't decide whether you are incredibly brave, incredibly broke or clinically insane!  Whichever way, you are a bloody hero!  Well done sir, some awesome dedication going on here. ;D |
| |
|
|
luckygti
Posted a lot
   I need to try harder!
Posts: 4,912
|
|
Jun 10, 2010 21:23:14 GMT
|
I can't decide whether you are incredibly brave, incredibly broke or clinically insane!  Whichever way, you are a bloody hero!  Well done sir, some awesome dedication going on here. ;D Seconded,  heroic effort, and glad to see that stuff is getting done  Awesome! |
| |
|
|
hairymel
Club Retro Rides Member
avatar by volksangyl
Posts: 1,081
Club RR Member Number: 207
|
|
|
|
yesterdays update: spent 1/2 hour disassembling my mig until I noticed one of the power switches was not fully down  I took the opportunity to give it a service. blew it out with the airline. lubed the tension pinch roller as it was almost seized. I replaced the old plastic liner with a coiled steel one for an industrial mig. this required a bit of fettling, but was a lot cheaper than a sip part. I have been told that net curtain wire does the job just as well ;D the difference was amazing  from now on the shoddy welding should be down to my poor technique  back to the front   sill end part cut out 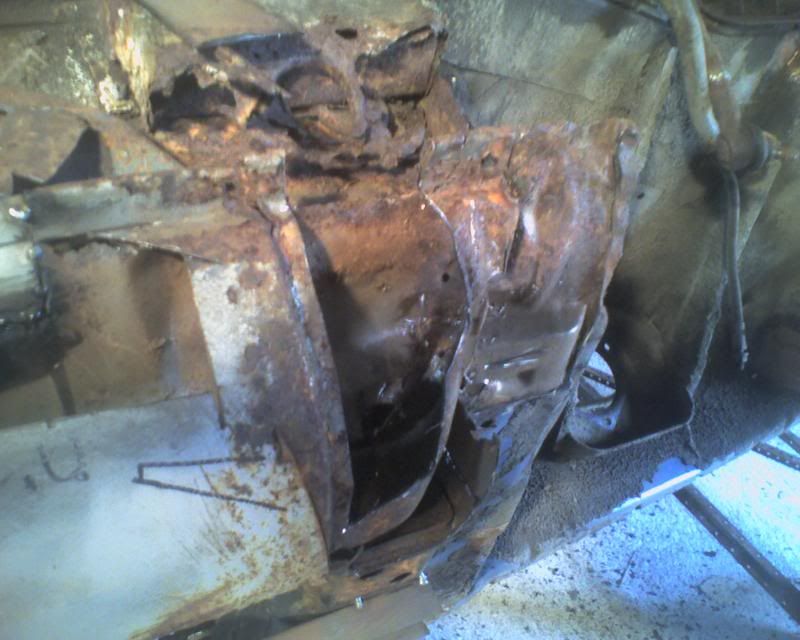 crusty   template made. 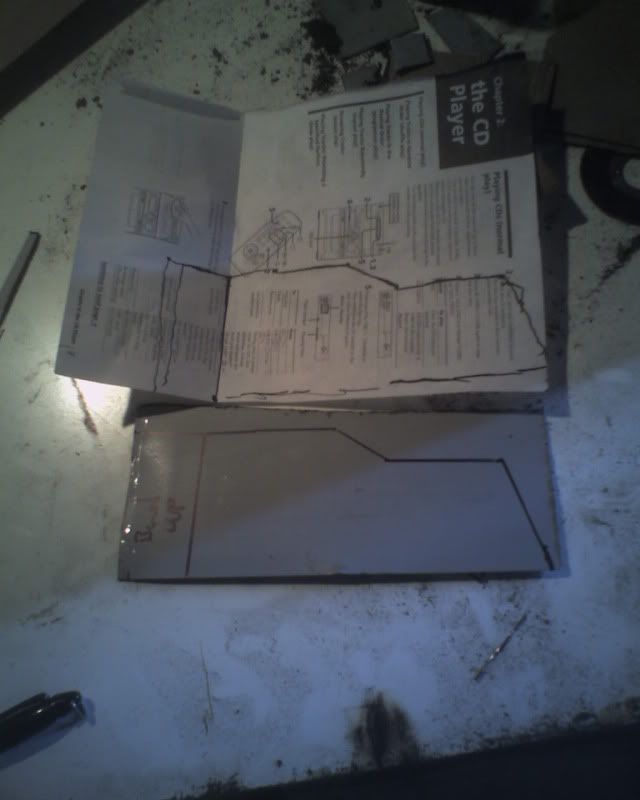 bent to shape and tacked in 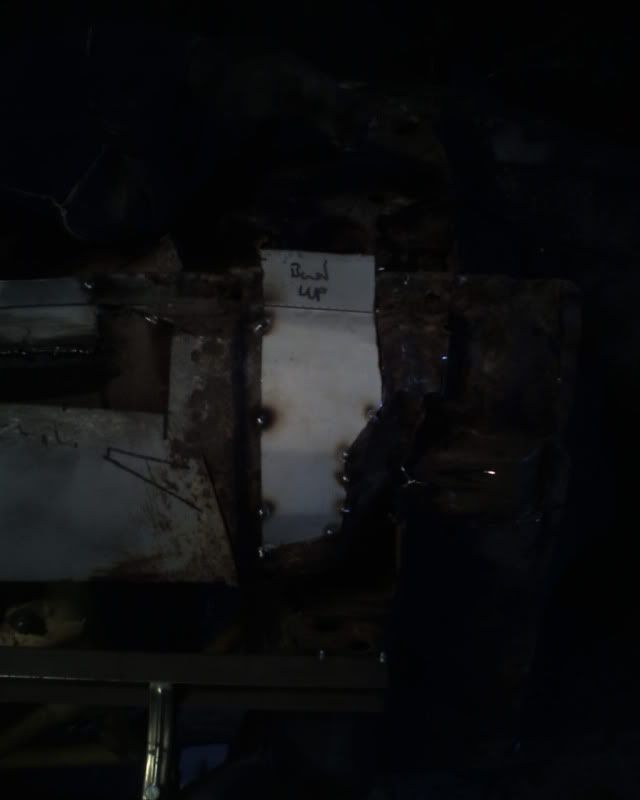 rinse and repeat until the basic shape is replicated 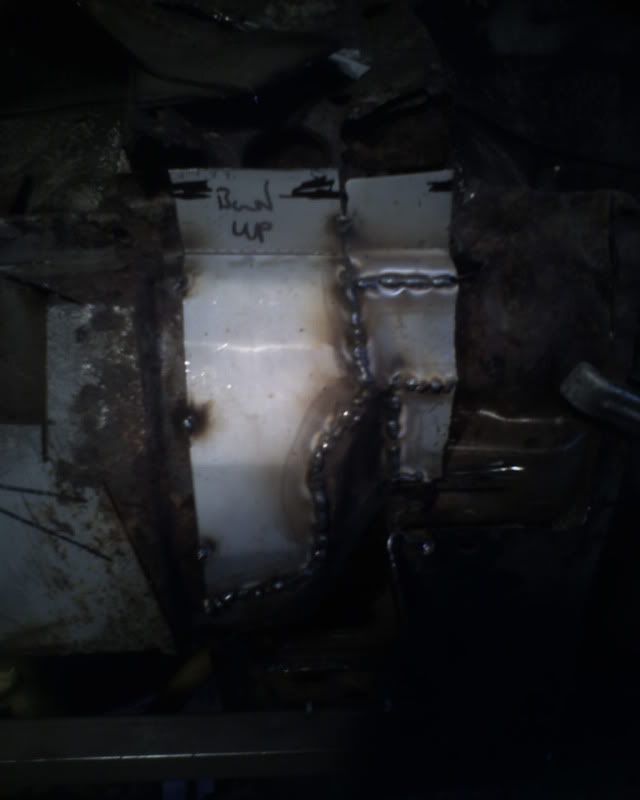 then the new bit is cut off and saved till later  this is the side that is damaged. there is a lot of rippling/folding going from the hole in the inner sill to the top right. 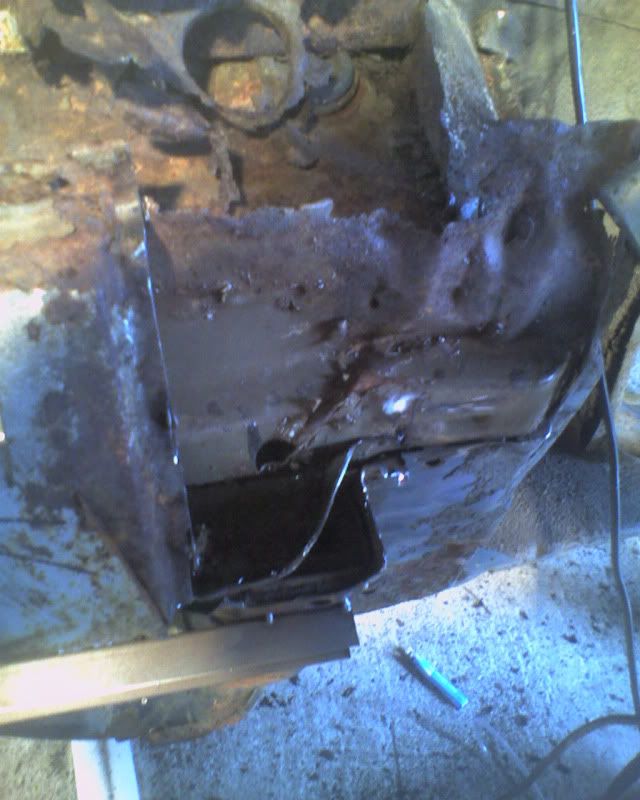 inside the car the tack welds holding the innersill to the a post have come away. 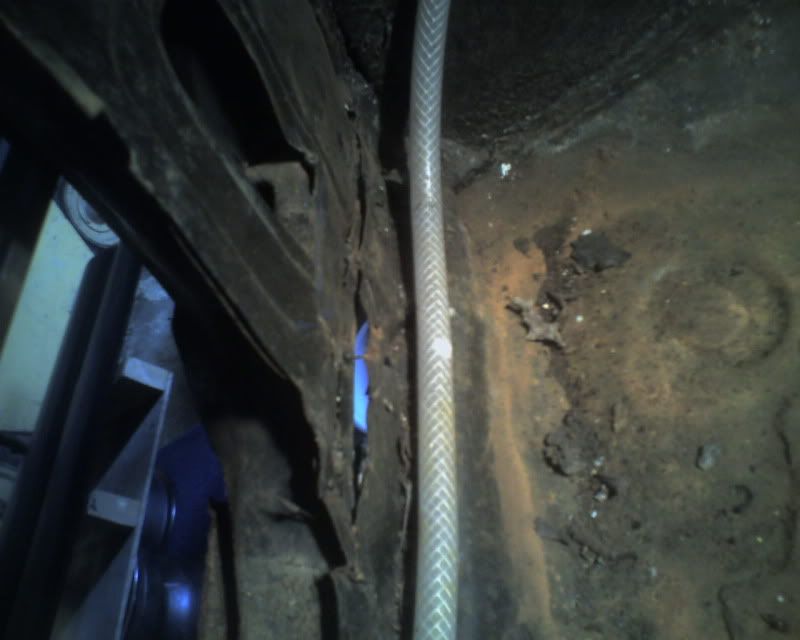 this shows the squashed panel better. here I have bashed the damage out as best I can. hopefully this will get the rest of the panel back to where it should be. 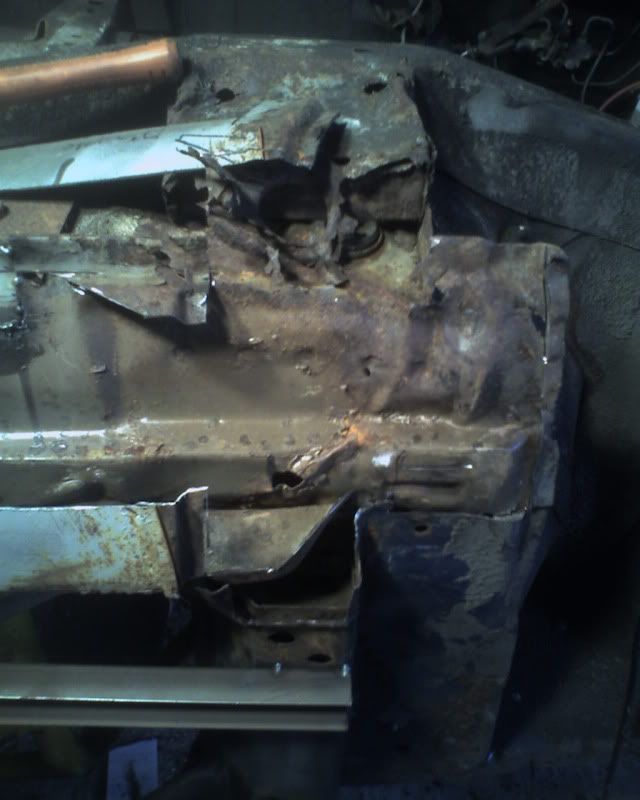 damage cut out  I replaced the cut out part, then replaced the curved part. the strip n the right is just tacked on to give a datum point for the edge of the panel and to support the remains of the inner sill. 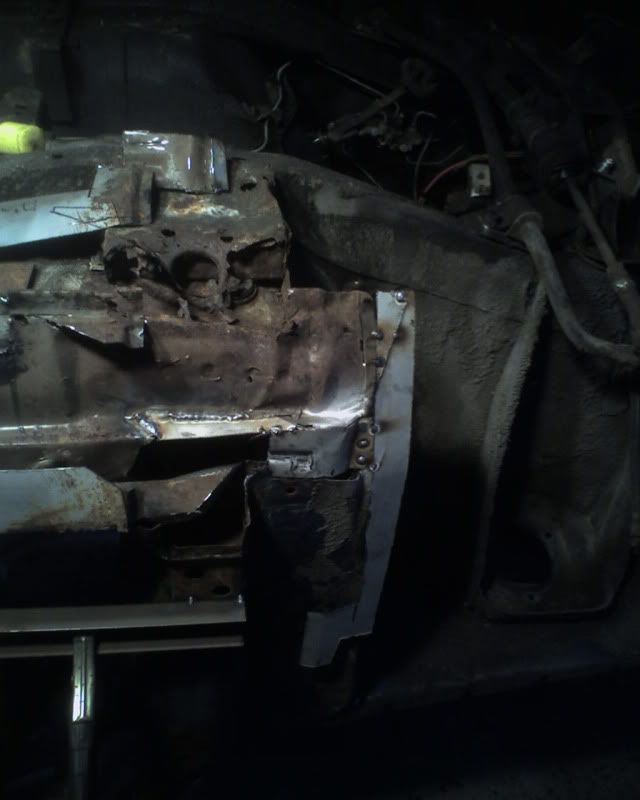 more cut out , exposing the floorpan edge.  still plenty of zintec left   cutout replaced, edge seam welded and pool welded to floorpan. 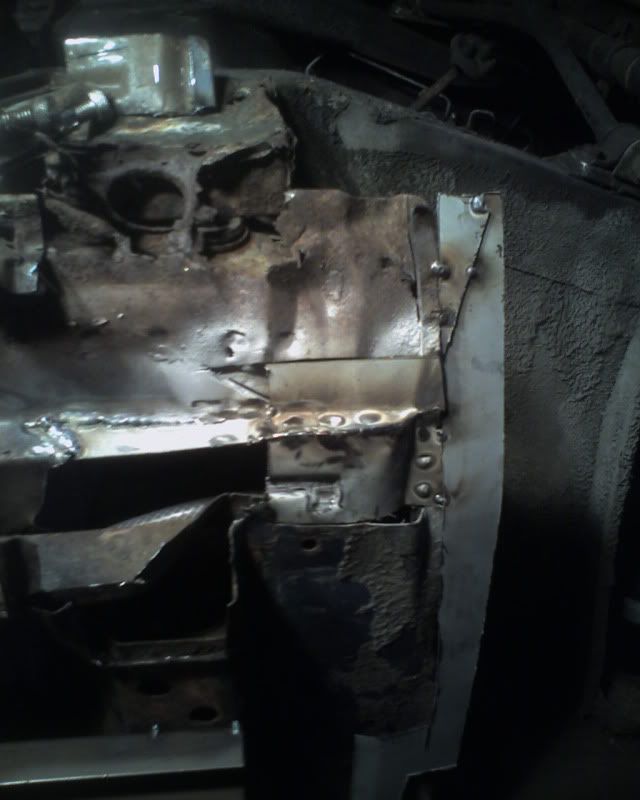 much too tired to carry on, I was making mistakes so called it a day  total time spent (making the car better and the welder better ;D ) 64 hours total spend £1080 (not including donuts:P ) 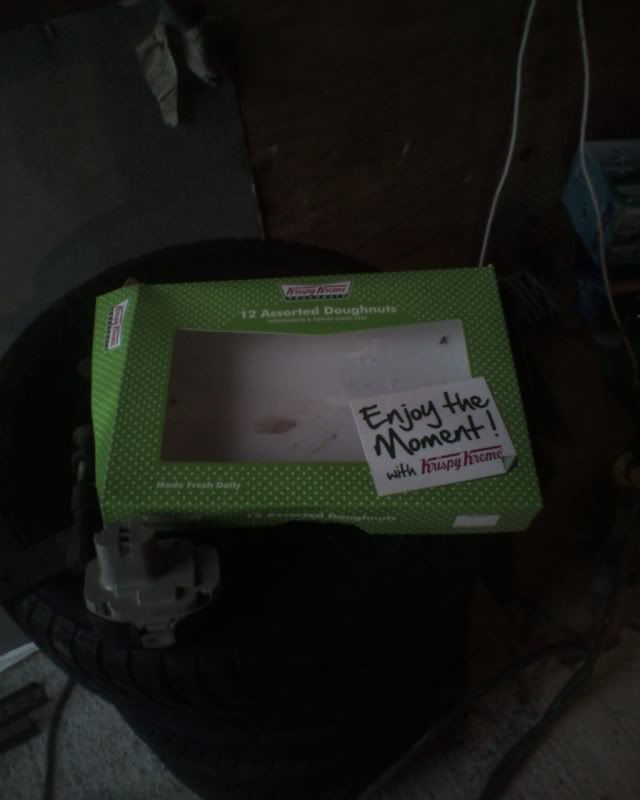 |
| |
Last Edit: Jun 12, 2010 9:48:09 GMT by hairymel
whats that burning smell?
oh curse word :-(
|
|
|
|
|
Jun 12, 2010 15:16:09 GMT
|
cracking work there hairymel, inspirational stuff indeed  ;D |
| |
"quote hairnet"
I'm not paying nine pound for a pi$$!
[/quote]
|
|
|
|
|
Jun 12, 2010 15:51:35 GMT
|
|
I'm amazed at how fast you're making progress on this monster of a challenge... you're making it look almost easy!
|
| |
|
|
|
|
 the 2 argos style order forms I filled out @toolstation when I only wanted a freestanding light and some cutting disks
  ;D)
;D)  I know those - it is far too easy to fill out the whole form while flipping though the laminated book of tool dreams.
 ;D)
;D)  I know those - it is far too easy to fill out the whole form while flipping though the laminated book of tool dreams.




 )
)


 )
) 


