foxy99
Posted a lot
  
Posts: 1,454
|
|
|
|
|
I would suggest POR-15
I used it on over 70 tank with no issues.
top-tip: do not pour the whole can in as instructed. It will race around everywhere and is a real pain to get back out. Pour a very small amount in and it will crawl around the tank as you rotate it coating every part of it and you will not end up with a dried puddle of it anywhere. Also do not touch it with bare skin. Nothing shifts it, apart from wear.
|
| |
1974 Daimler Double-Six VDP
1965/67 Hillman Imp pick-up
1984 VW Polo breadvan
1970s Yamaha Twins (4)
1976 Honda SS50ZK1
|
|
|
|
gazzam
Part of things
 
Posts: 740 
|
|
|
|
Thanks foxy, but I already have another product, hopefully it’s as good. I’ve used regular POR15 and like it. When I went into the workshop this morning I found there was fuel in the spare tyre well and on the floor under it. Once I’d cleaned it up I put some more in the right hand tank to see where it was coming from. It was leaking from the left hand pump, so I quickly drained the tank. Pulled the pump out and immediately saw the problem. 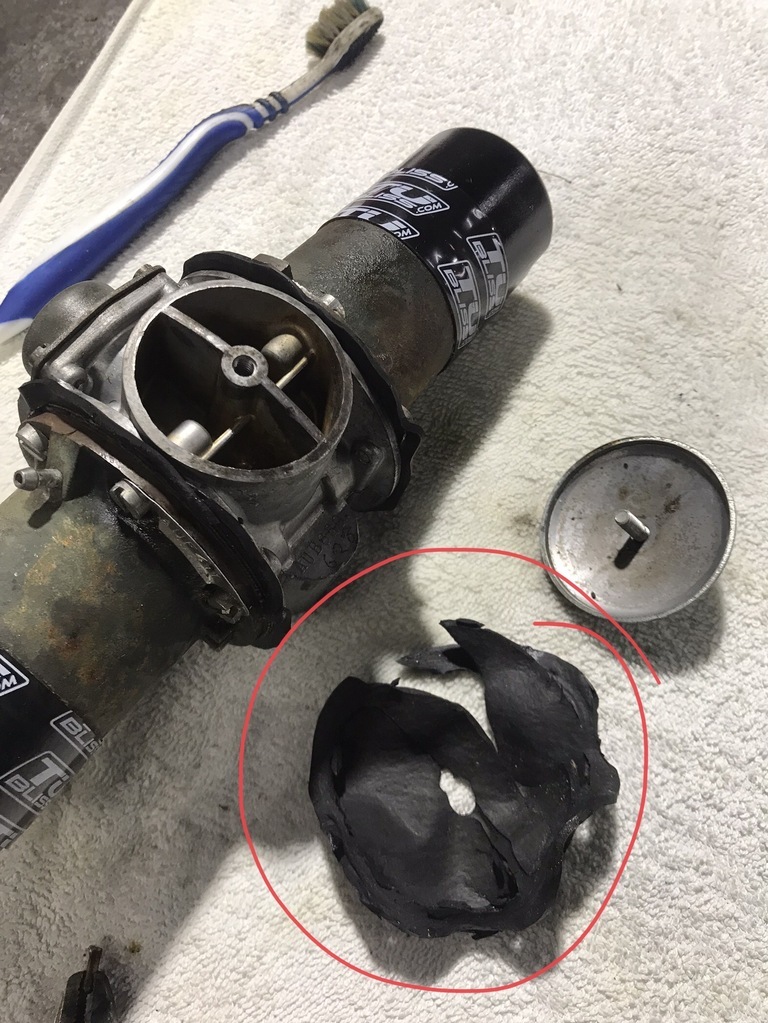 That’s the gasket I’d made from a old inner tube. It appears it doesn’t like petrol. I’ve since bought some proper gasket material, so I made a fresh one. 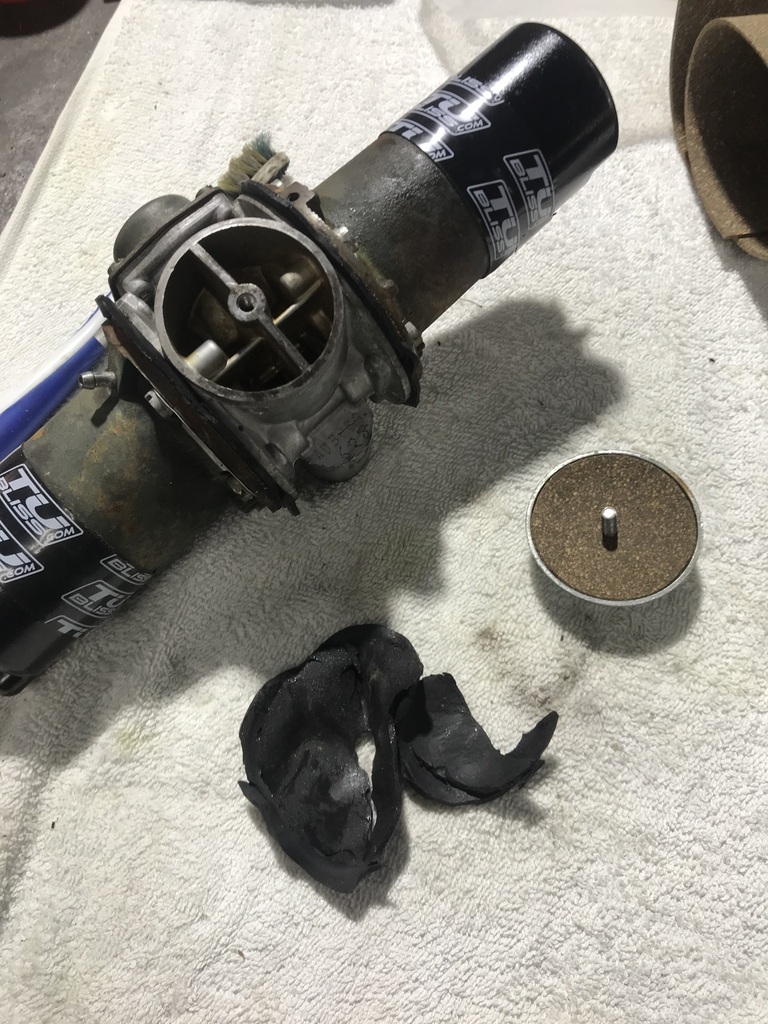 Turns out the tank had a pinhole in it. It’s in an area right on the bottom, underneath the fuel out/return unions and difficult to see from the sender unit hole. So I cleaned off the paint and put some solder on it. Then stood the tank up and put a couple of litres of Evaporust in. It can sit for a few days. Once the rusty surface is clean, I’ll treat it with sealer. The sealer I have is a KBS motorcycle kit. It has two prep products and the sealer itself. Anyone used it and had success with it? Was sick of mechanical stuff so I spent a little time straightening the lower grille. Nice bit of stainless, just needed a little hammer and dolly work. Before: 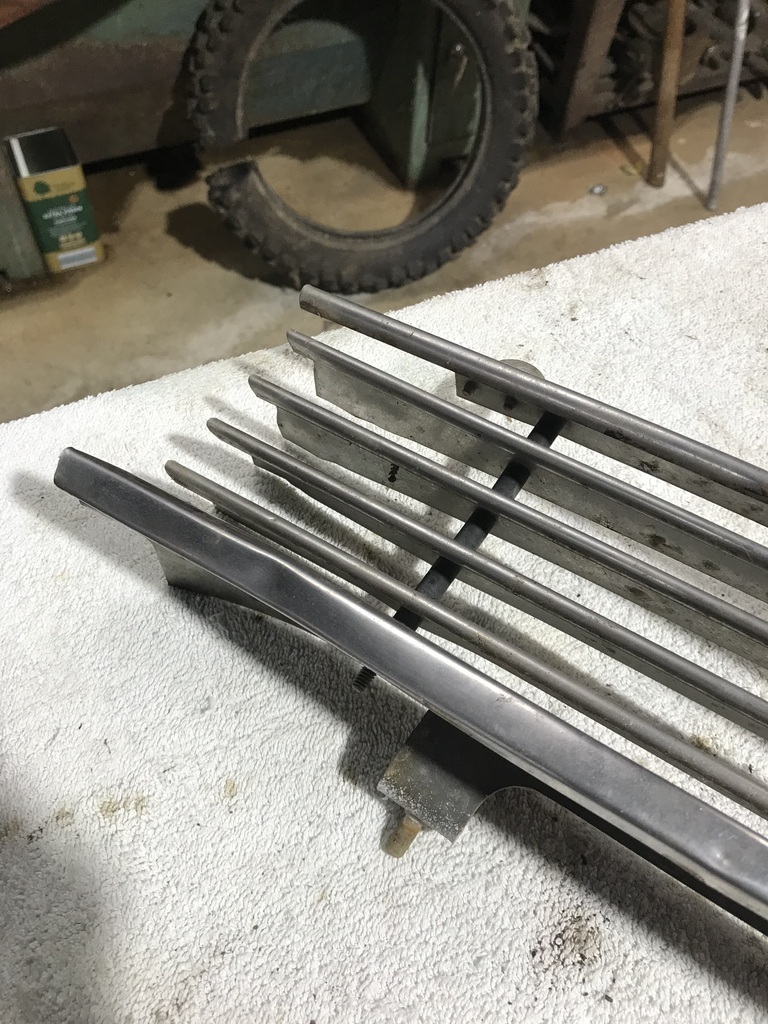 After: 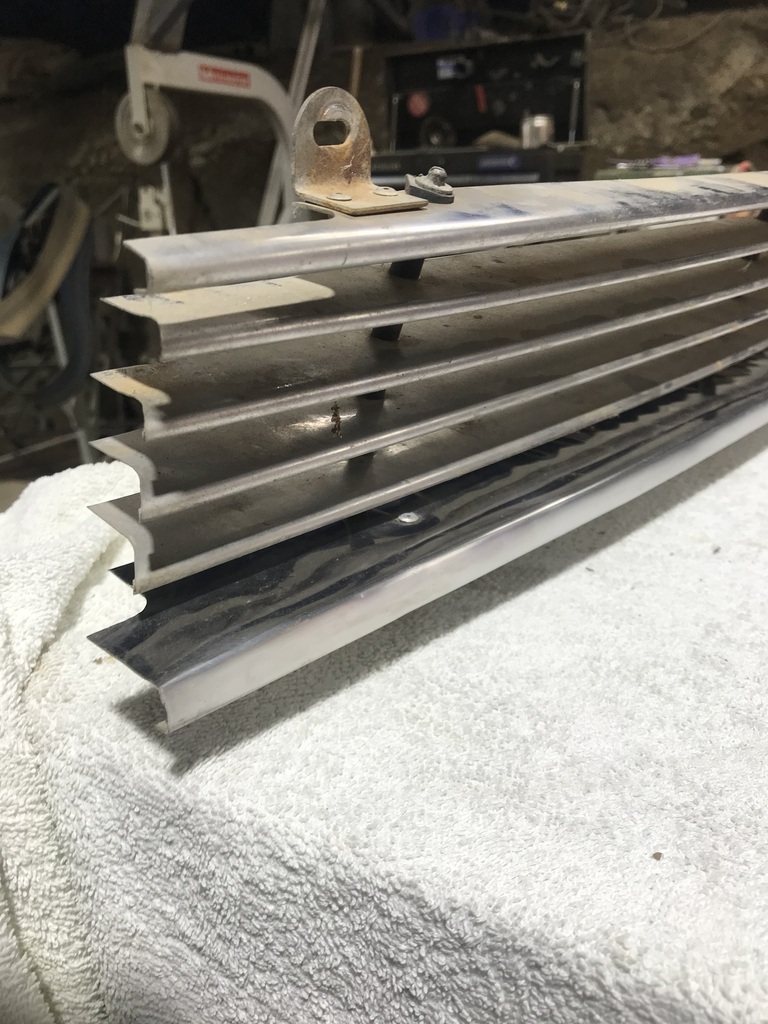 By no means perfect, but a lot better than it was. It sits under the front bumper, so it’s fine. Thanks. |
| |
|
|
|
|
gazzam
Part of things
 
Posts: 740 
|
|
|
|
Rear brake seals and pistons arrived, so got them rebuilt. Pretty straightforward, cleaned up and reassembled. 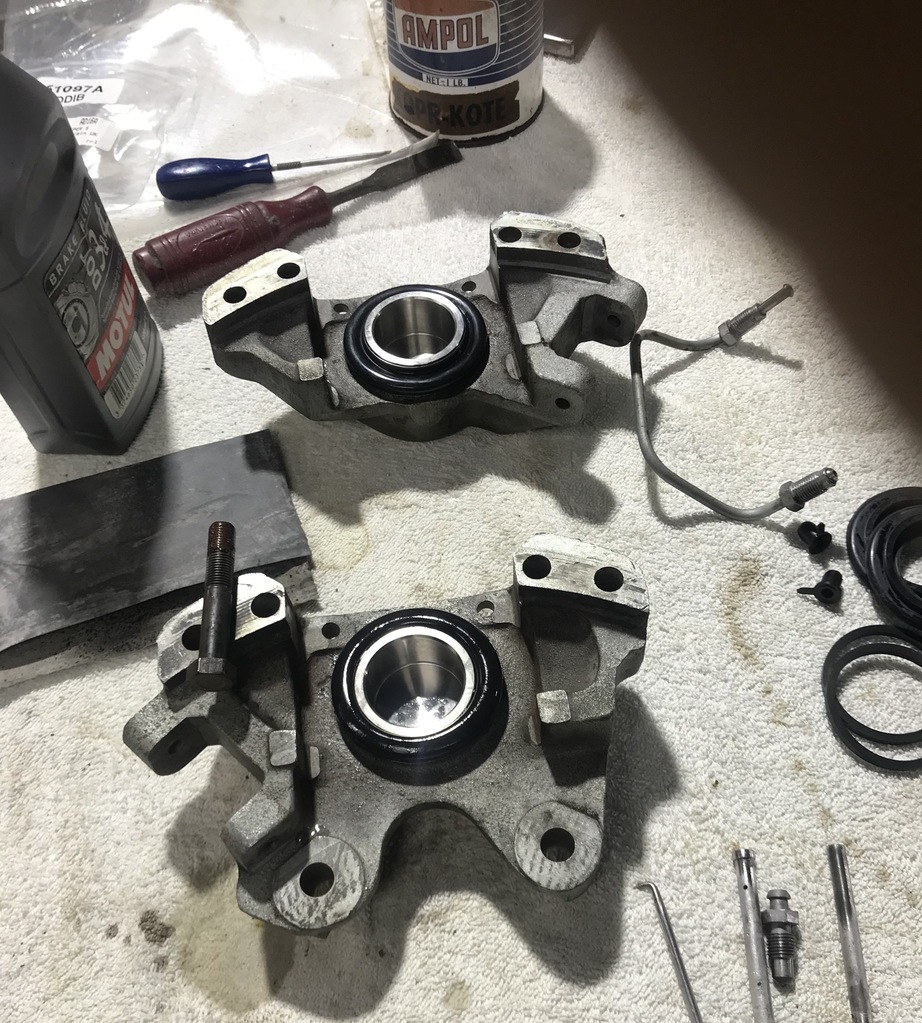 And after another degrease and pressure wash, remounted the calipers and lock wired the mounting bolts. Greased all the suspension and u joints after pressure washing, while access is reasonable. Also dropped the diff oil, will refill before I reinstall the subframe. During assembly, certainly easier than it would be with the subframe in the car. 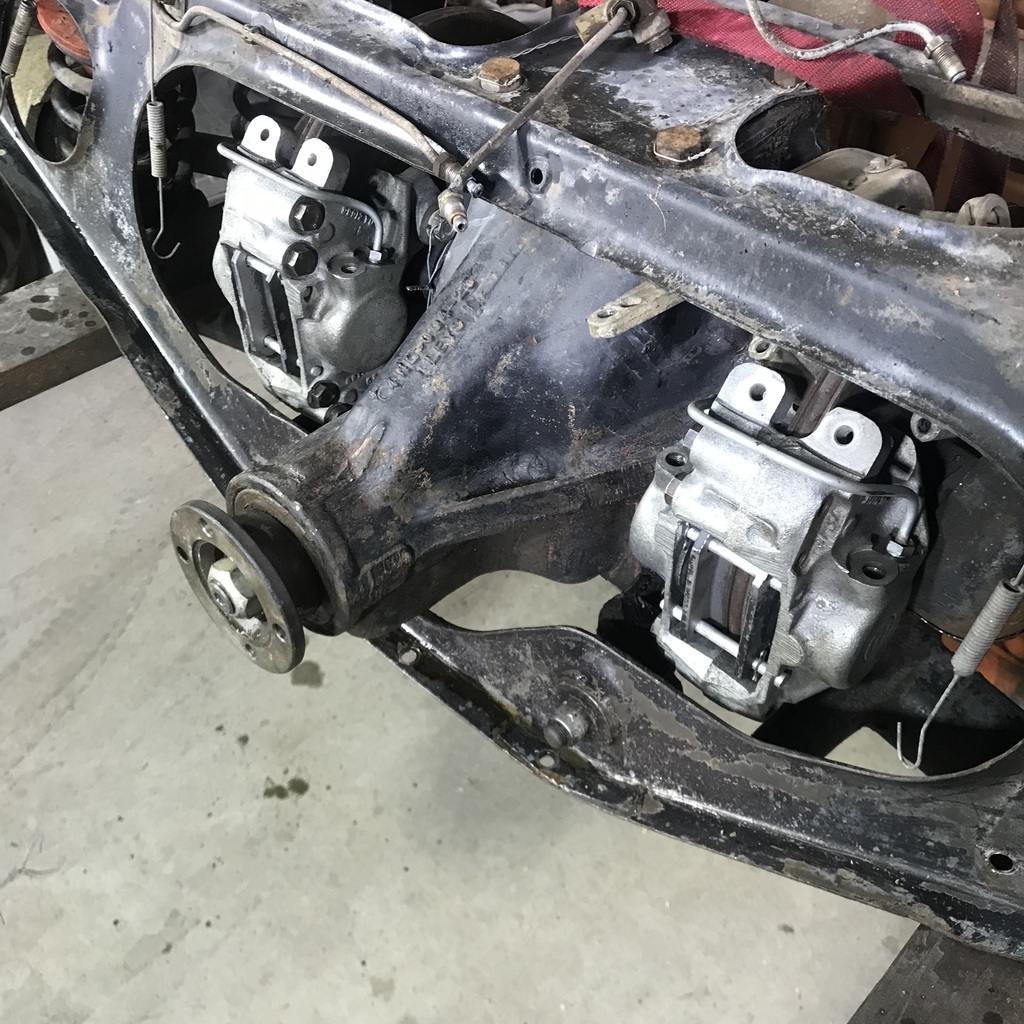 Discovered that the brake hose between the body and the subframe is blocked, so that was probably the biggest reason for the brakes dragging. First time I’ve experienced that. I had heard of it, but always thought it was highly unlikely. I had opened the bleed screws and tried to tap the pads away from the discs. No fluid came out, so there was no movement. The pistons were rusty so even if they weren’t seized, that needed doing anyway. Put the base plate back on, after a surprising amount of beating back into shape. 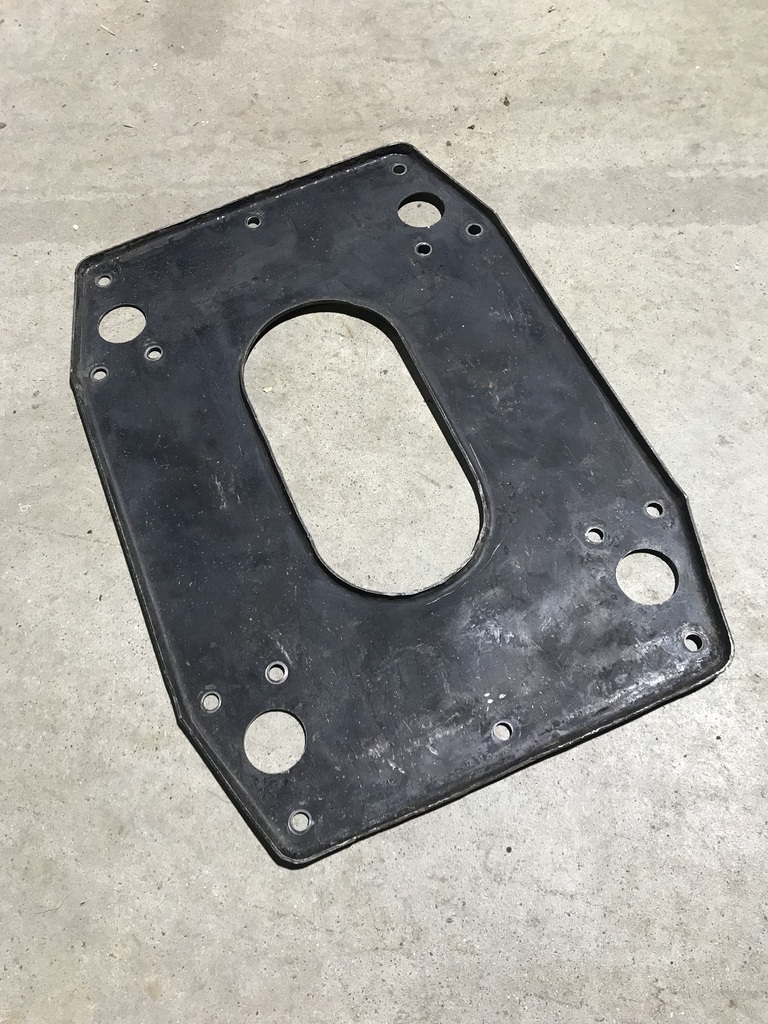 Returned to shape nicely though. Thanks |
| |
|
|
Carsie
Part of things
 
Posts: 127
|
|
|
|
Ha! I love your tribulations- sounds just like mine- "tonight I'll..... JUST....fix XYZ" LOL! Re. "Discovered that the brake hose between the body and the subframe is blocked, so that was probably the biggest reason for the brakes dragging. First time I’ve experienced that. I had heard of it, but always thought it was highly unlikely." I'm lucky enough (oxymoron) to also own a Silver Shadow 2 and it too suffered from a collapsed brake hose; the RR Forums say it's a common problem. Fortunately for me there are six calipers plus innumerable brake lines (aka ££££) to stop a two ton Rolls from rolling.... Please keep the posts coming- always love a Jag.  |
| |
|
|
gazzam
Part of things
 
Posts: 740 
|
|
|
|
The rear subframe is now back in the car. 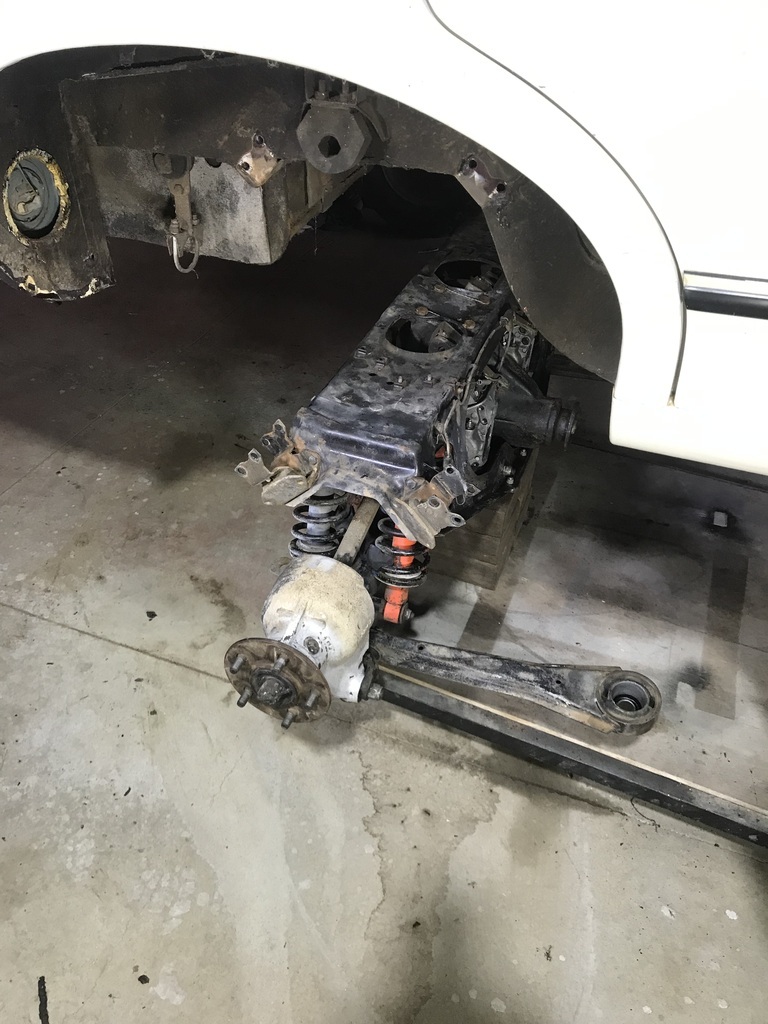 I know that looks just like the removal photo, but believe me there is less 50 year old oil and grease on it! It was a breeze really, remove and replace. Actually the whole brake job was straightforward, access is not great, through the subframe, but reasonable. Handbrake also, Mark! I definitely wouldn’t like to do it with the subframe in the car. But with it at waist height, in front of you, not bad at all. I would really have loved to take the whole thing to bits and make it all like new, but that’s just not how this thing is going to be. It’ll be a car that looks (and is) good on top. And under the bonnet. I’ll probably be the only one who sees it’s underside, and I have too many projects already. I decided to replace the front brake hoses. So I might as well see if it needs seals etc in the front calipers. So I removed the rhs caliper. After doing so, I found a couple of shim washers on the floor. There are 3 in the stack leaning on that screwdriver. 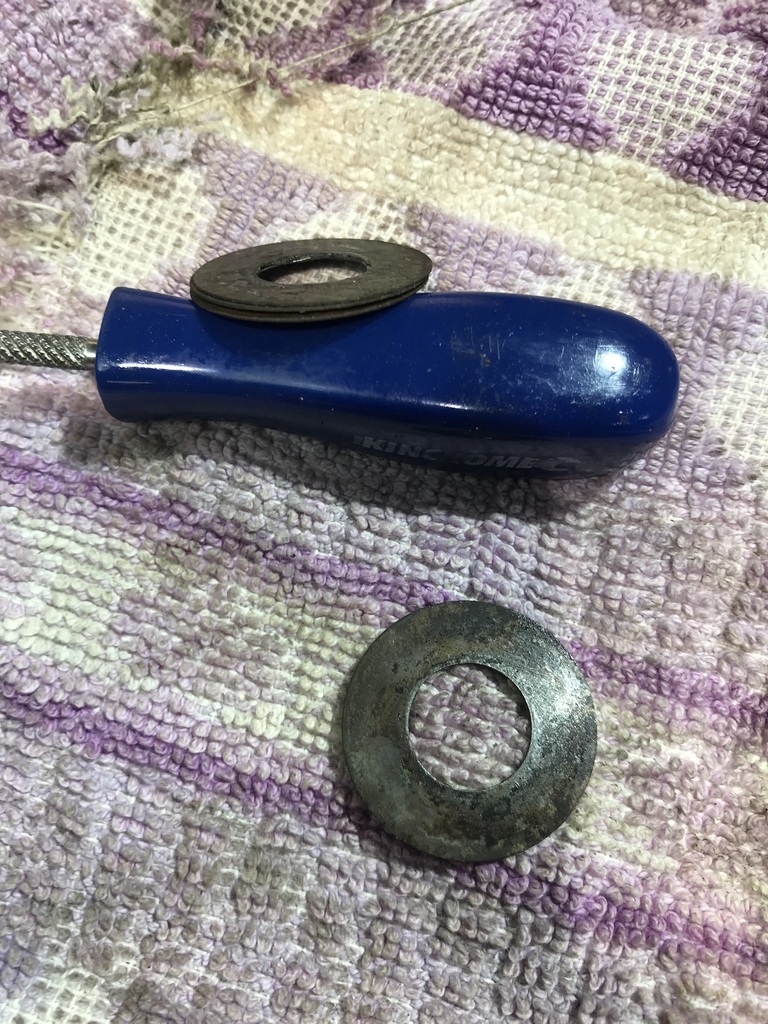 Couldn’t really see where they came from. So I took the other side caliper off and it seems they fill the gap between the caliper and the steering arm. 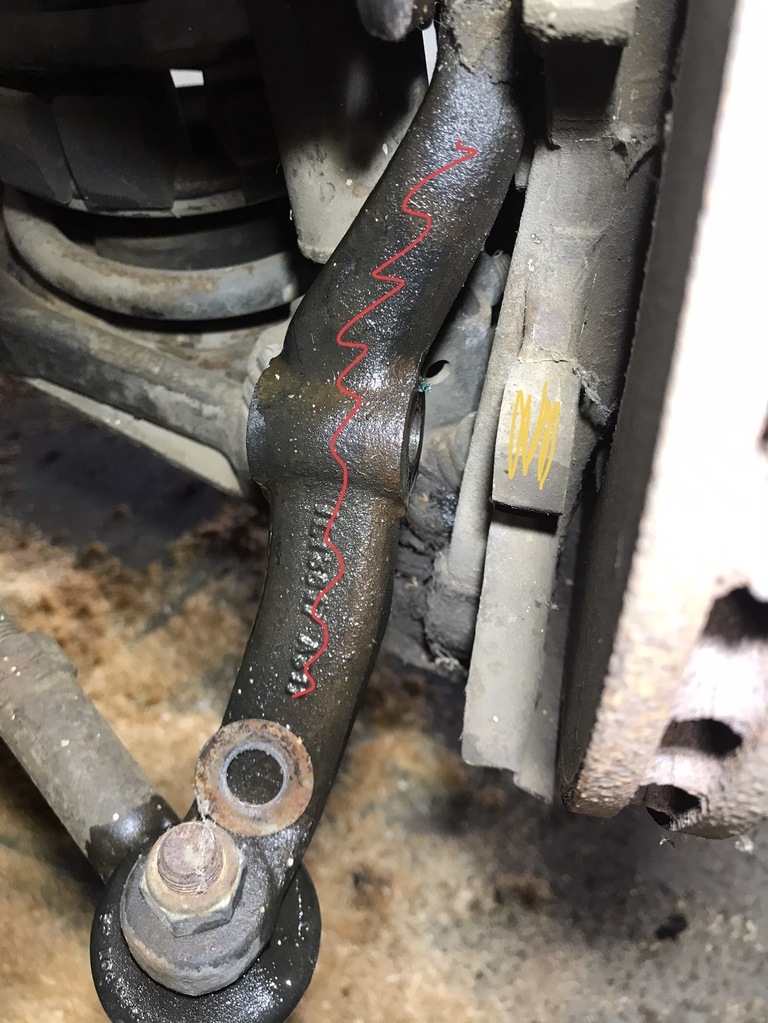 Disc on the right, caliper carrier ( yellow line ), steering arm ( red line ). I’m pretty sure the caliper goes against the carrier and the shim washers go between the caliper and the steering arm. If you know this is wrong, please let me know. Pulled apart the driver’s side caliper. A bit of mucking about to get the pistons out. Used air pressure to push them out, but with 4 of them all connected it’s a bit complicated. If there was one supply pipe to each piston it would be easy… Once they were out, they came up like new after a brief rub with 600 grit. One piston cleaned up, 3 to go. 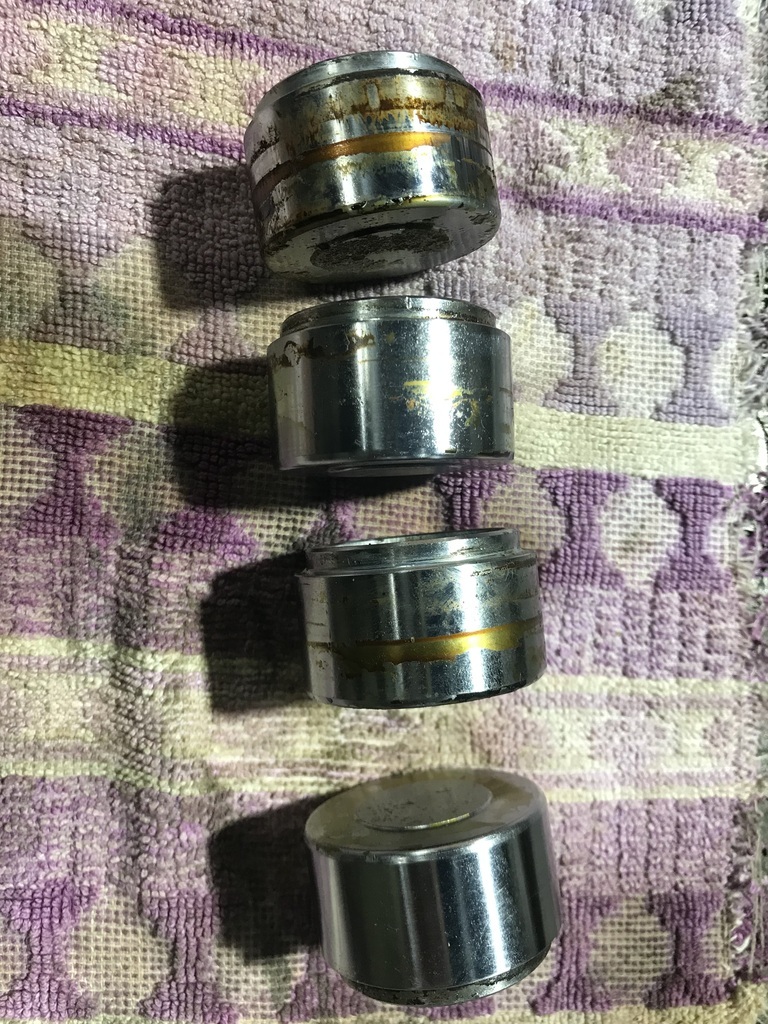 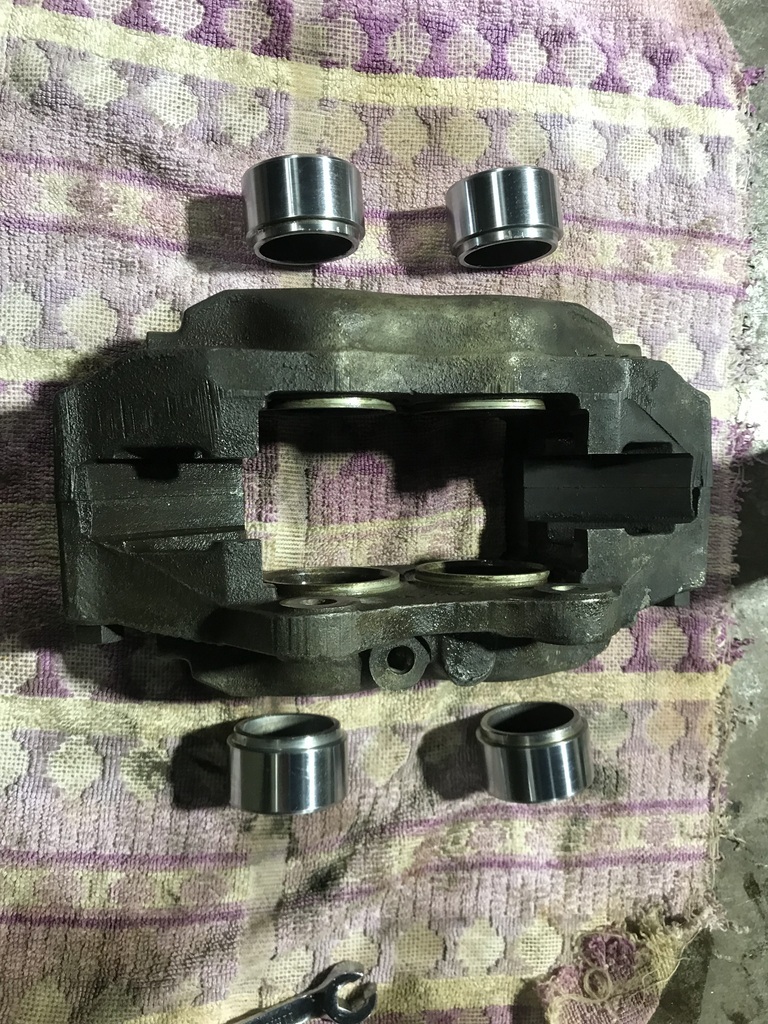 Could probably just put them back together, but have new seals on the way. Thanks |
| |
|
|
|
|
|
|
|
|
Looking good! The shims are for aligning the caliper yes, just a matter of putting them in, checking caliper positioning and rearranging them if needed.
|
| |
|
|
|
|
|
|
|
|
I think your assumption is wrong. Mine came off washers between caliper and the wheelholder.
|
| |
|
|
gazzam
Part of things
 
Posts: 740 
|
|
|
|
I think your assumption is wrong. Mine came off washers between caliper and the wheelholder. According to the ROM, I think someone might have assembled yours wrongly. Plenty of chance for that in a fifty year old car. 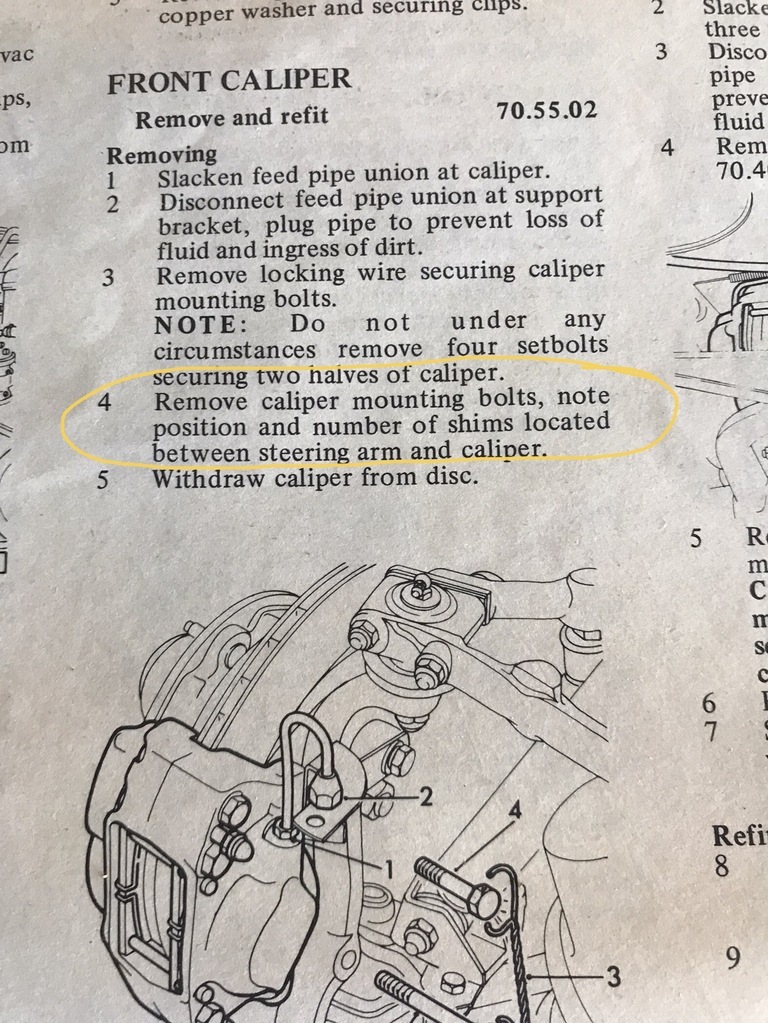 Also I reckon it would be very difficult to assemble it with them where you say. It’s hard to see in that spot, I suppose it’d be possible to stick them there with grease though. As for aligning the caliper, I can’t see how you’d do that. Also it’s not necessary - the pistons accomodate any difference side to side. I think these shims are purely to fill the gap between the caliper and the steering arm, so as not to put any bending load on it. I could be wrong though, it’s happened before! |
| |
|
|
|
|
|
|
|
Great read! I love these cars. Beautiful shape and such a nice drive. I was just presuming you were in the UK and started spotting things.. lack of any real rust on a 50yo jag for starters. Then the kopacoat tin. Then the mention of kbs coatings (I use their rust seal on customers vehicles) Finally - the gum trees near the shed in the first pic. Ah ha! So since you're in this part of the world you'll know the obvious engine choice for your Jag if the engine is shagged - as seen here on a mates car I had in for some work... 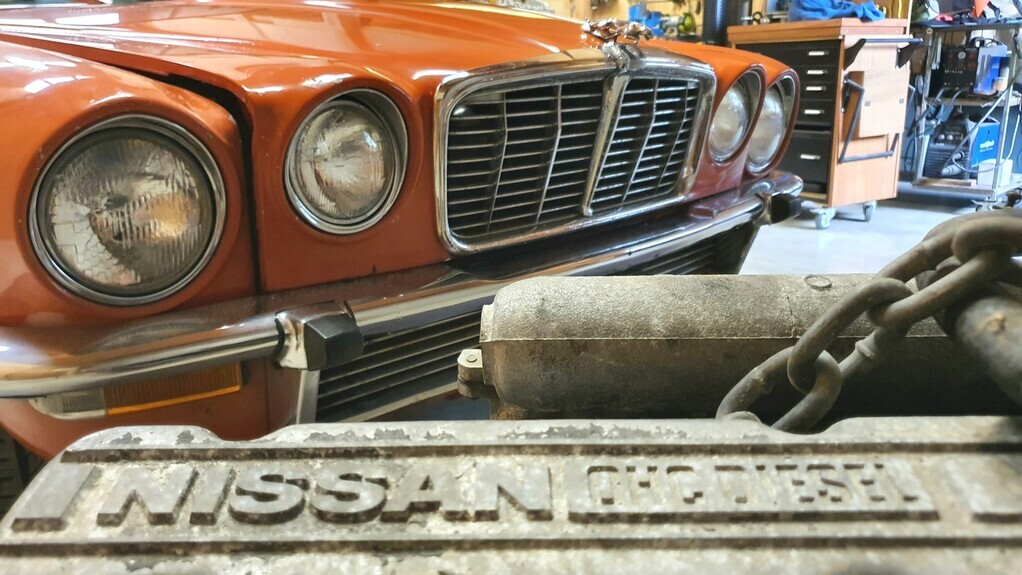 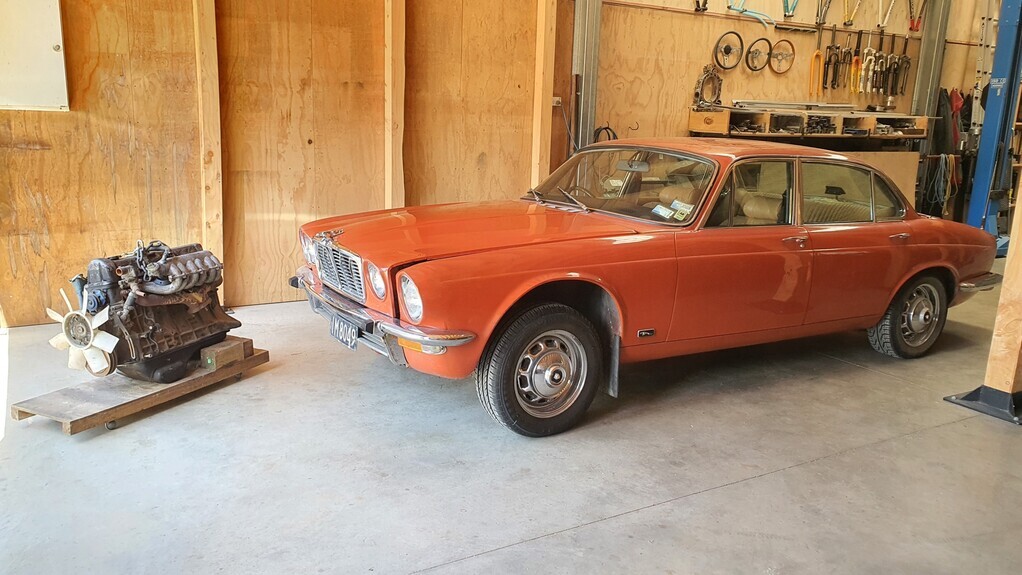 He's very happy with his jags powerplant... 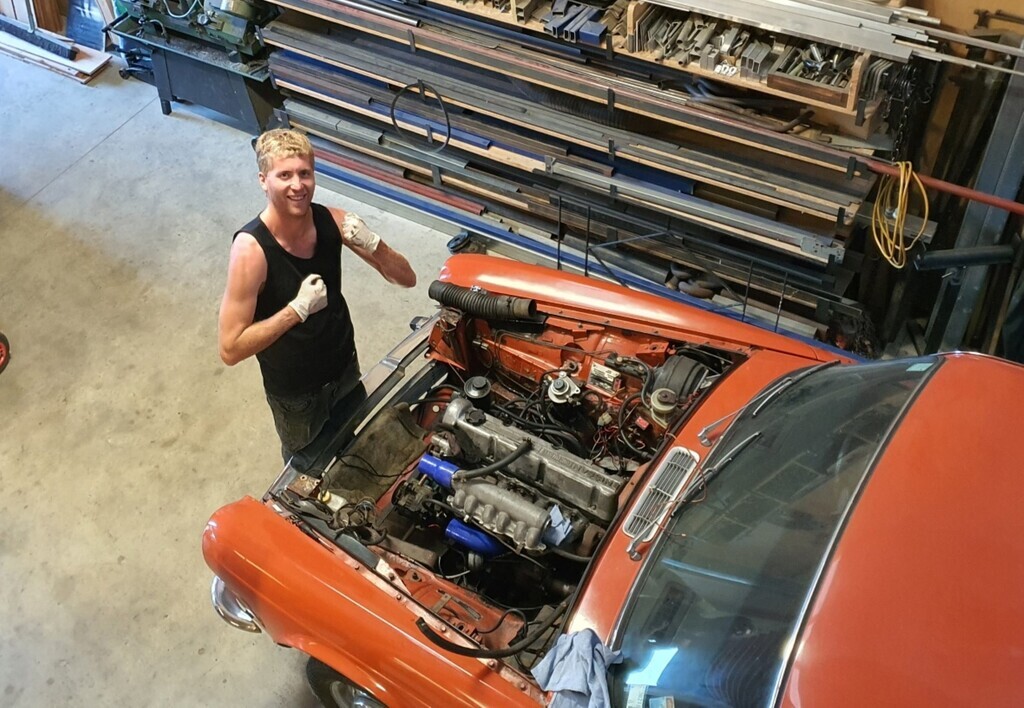 |
| |
|
|
|
|
gazzam
Part of things
 
Posts: 740 
|
|
|
|
|
So you've used KBS in fuel tanks?
With success?
Thanks
|
| |
|
|
|
|
|
|
|
I think your assumption is wrong. Mine came off washers between caliper and the wheelholder. According to the ROM, I think someone might have assembled yours wrongly. Plenty of chance for that in a fifty year old car.  Also I reckon it would be very difficult to assemble it with them where you say. It’s hard to see in that spot, I suppose it’d be possible to stick them there with grease though. As for aligning the caliper, I can’t see how you’d do that. Also it’s not necessary - the pistons accomodate any difference side to side. I think these shims are purely to fill the gap between the caliper and the steering arm, so as not to put any bending load on it. I could be wrong though, it’s happened before! I think putting shims between the calliper and steering arm makes sense to prevent any bending load as you say, I think the confusion with the purpose of the shims comes from the earlier MK2 era cars which did have shims to centre the calliper althought as you mention this isn't necessary so i'm not sure why it was required on the MK2. The haynes manual for the MK2 says this:
The only thing I can think of is that on the MK2 they have a retractor inside the piston which may be why they have to be centralised but I can't see why that would be the case, certainly not for such a tiny amount. It may just be that discs were fairly new on road cars and so they were being cautious.
|
| |
|
|
|
|
|
|
|
|
Also to add in your manual it says to never split the two halfs of the callipers under any circumstances, this seems to be a myth on brake callipers from the 60's and 70's from what I can find and no one was ever able to provide a reason why this was Lots of people seem to have subsiquently done this with no issues.
My most recent MK2 has Jaguar 420 three pot front callipers which are the same as early XJ6 and these just have a rubber seal between the two halves. I bought a kit that came with new bolts and seals and rebuilt them and they were fine. I can't see how you can fully clean them out internally without splitting them when they are in poor condition.
|
| |
|
|
gazzam
Part of things
 
Posts: 740 
|
|
|
|
When I ordered the seal kit they said that the Jaguar kit didn’t have the seals to go between the two halves. That’s probably why the book says not to separate them. The kit I have ordered apparently has them, so I can separate them, should I want. Not sure it’s needed though. Cleaned up the rhs caliper. Not sure what they are made of, they don’t seem to rust and they don’t seem to be plated, but they’re heavy. Like cast iron heavy. Before. 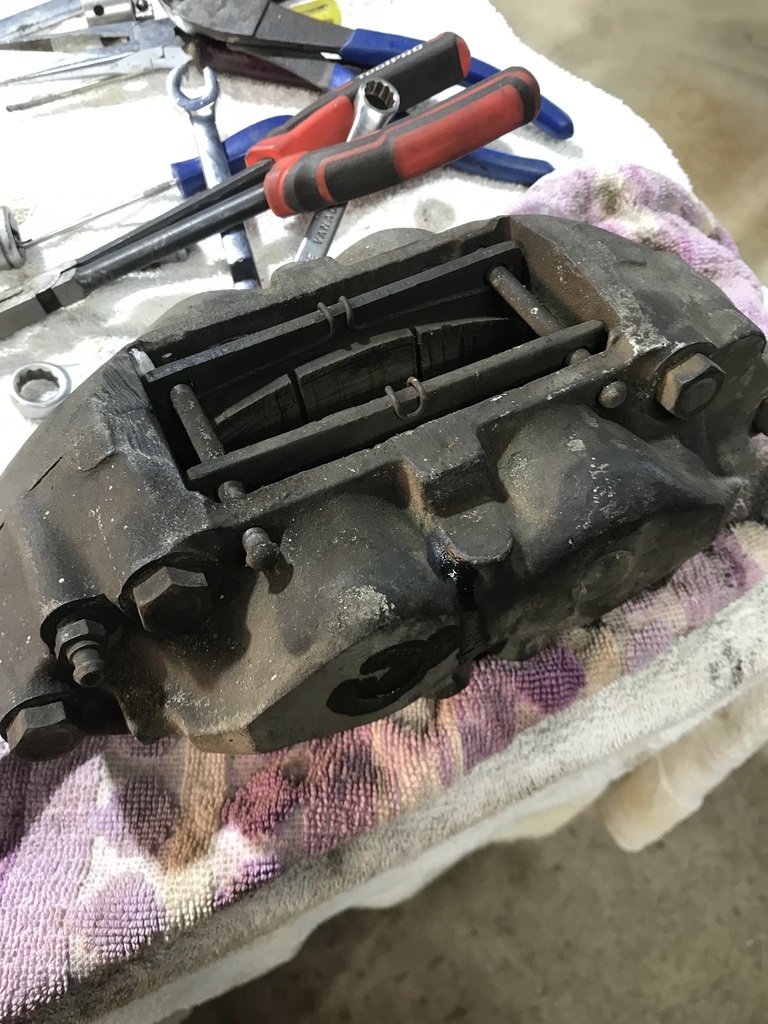 And after. 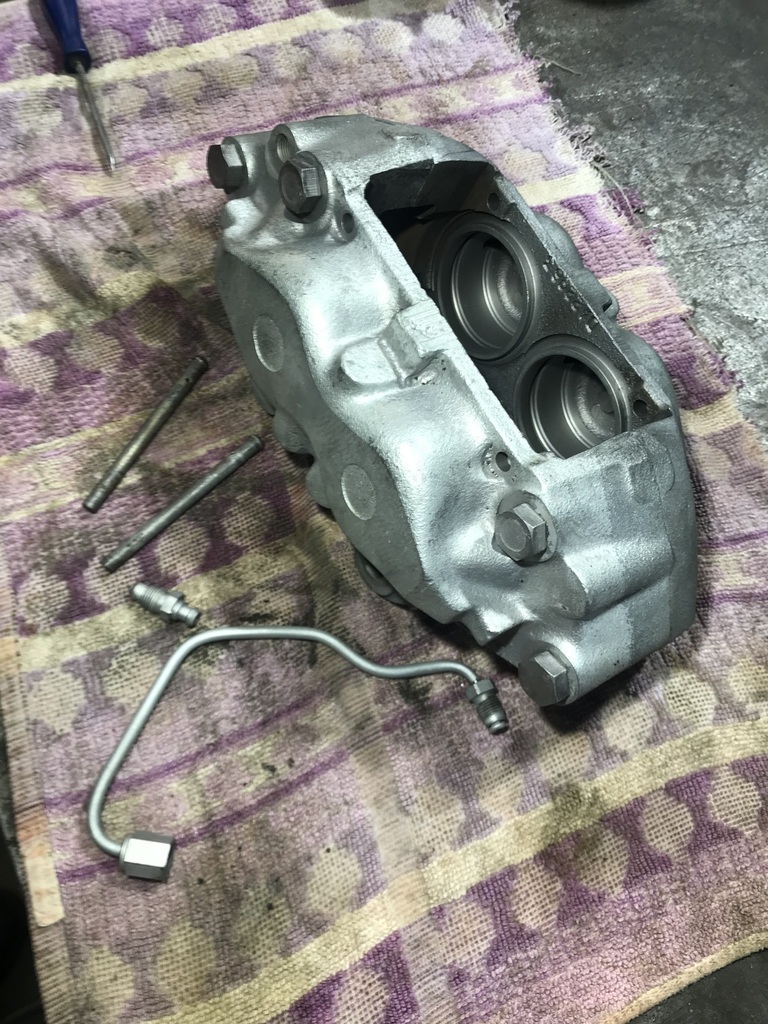 I won’t pull the lhs one apart until I have the seals and this one reassembled. I spent the rest of the day getting rid of some of the piping that clutters the top of the engine. It’s all stuff that was connected to the air pump, that didn’t have a drive belt, so therefore wasn’t pumping air. This made access to the top of the engine in general, and the sparkplugs in particular, much better. I should have done it earlier. No photos though, it could incriminate me. Had to make some cap things to block off the holes this left in the intake manifold, but conveniently forgot to take photos… Was almost thinking of trying to start the engine, but when I put some fuel in it and tried the pumps, the one that was leaking, that I thought I’d fixed, is still bloody leaking. Hopefully I’ll get that sorted tomorrow and I might try and start it. Thanks |
| |
|
|
gazzam
Part of things
 
Posts: 740 
|
|
|
|
Just so you don’t think I didn’t have a play do any work yesterday (Sunday). I just neglected to take any photos. However I did fix this. 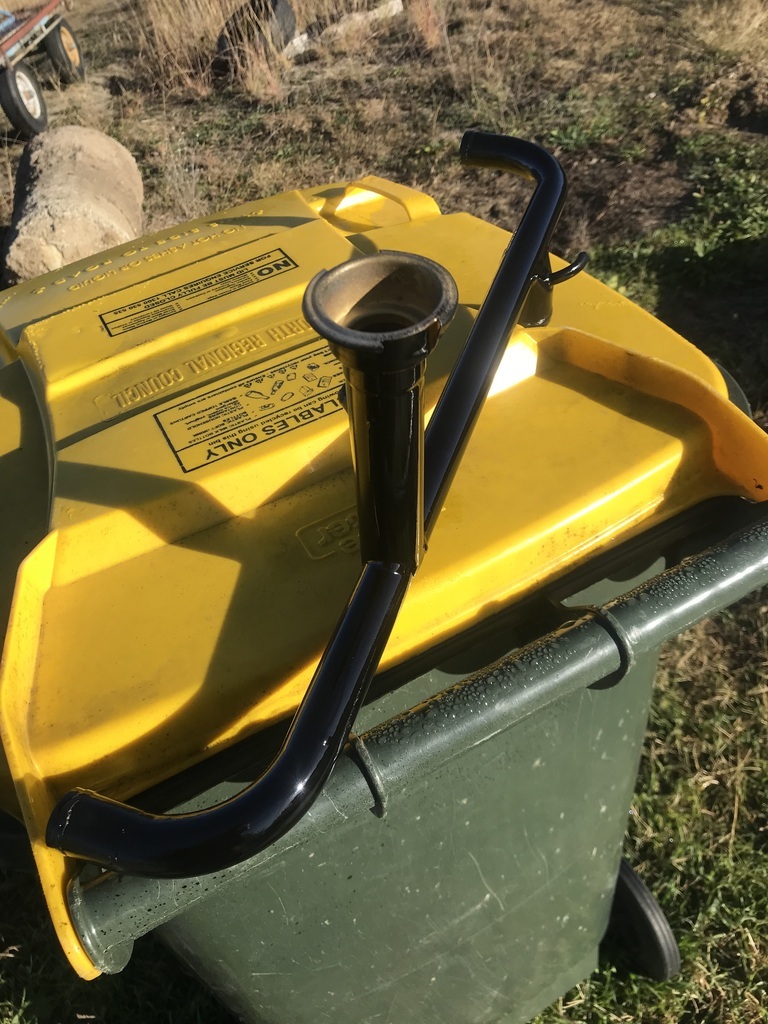 That is the coolant pipe that goes across the front of the engine. Four of the five hose ends needed attention. This is the worst. (Yes, that’s frost, -1C here this morning.) 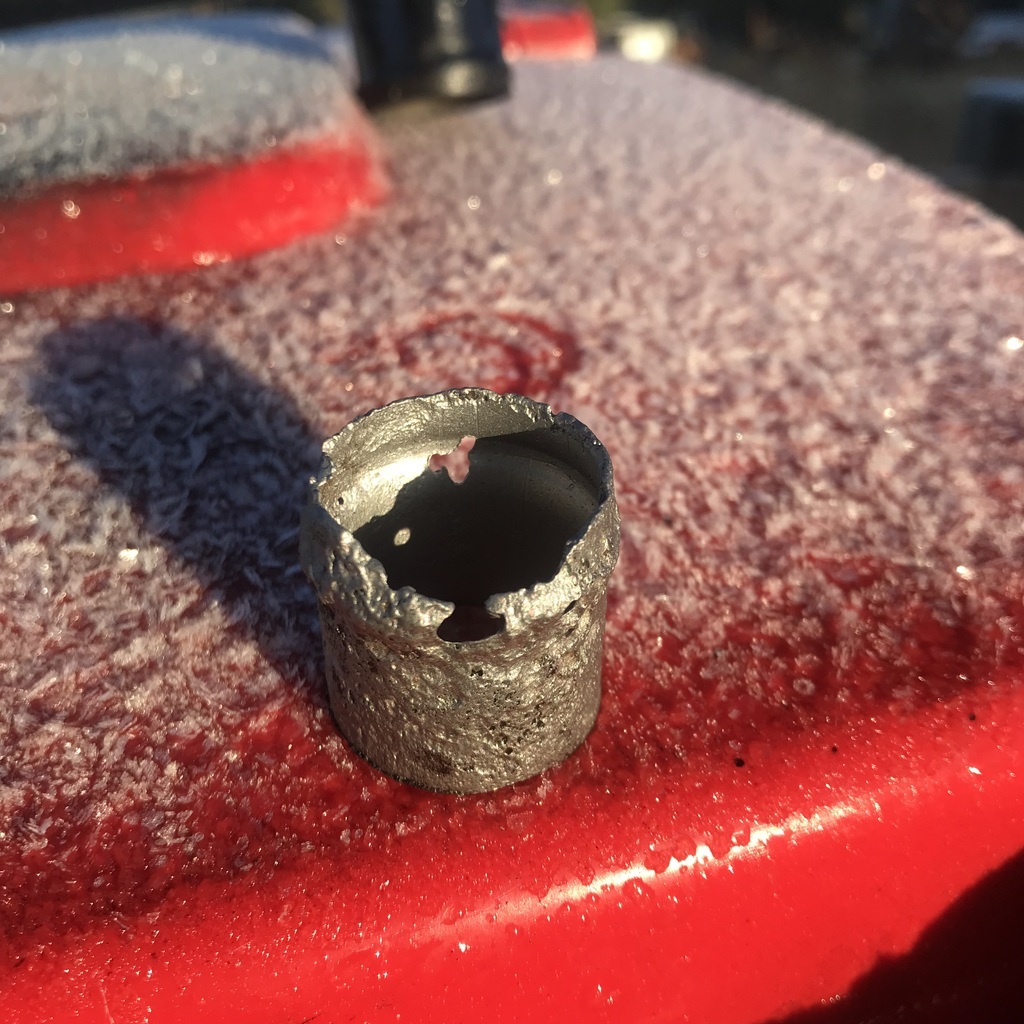 I found a piece of tube that was just the right size. Ran a weld around near one end of a short piece to form the bead that helps keep the hose from coming off. Then welded the piece to the main tube. And ground down the weld. The other three ends were only pitted so I ran some braze over the and sanded it flat, or curved if you prefer. Then a coat of paint and all done. Also made a start on putting the exhaust back together. I'd cut the exhaust apart on either side of the IRS cage simply to ease muffler removal ( to get the fuel tanks out ) and then to get the pipes out of the cage. The plan was to put them back together with flange joints, to make it easier all round. 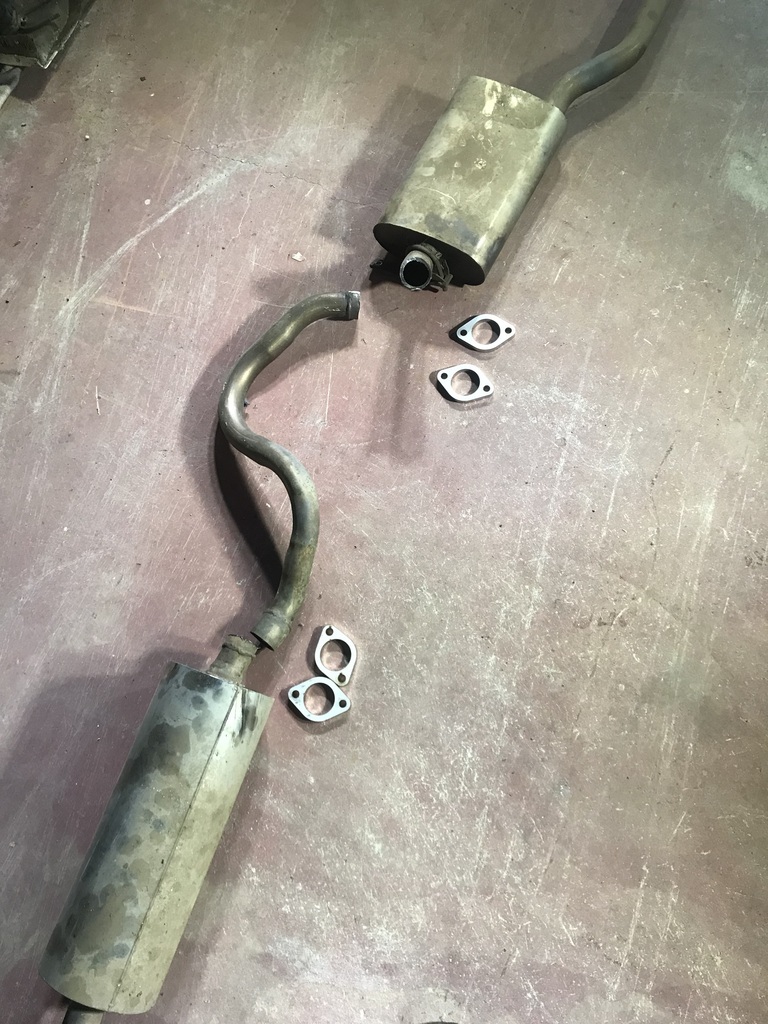 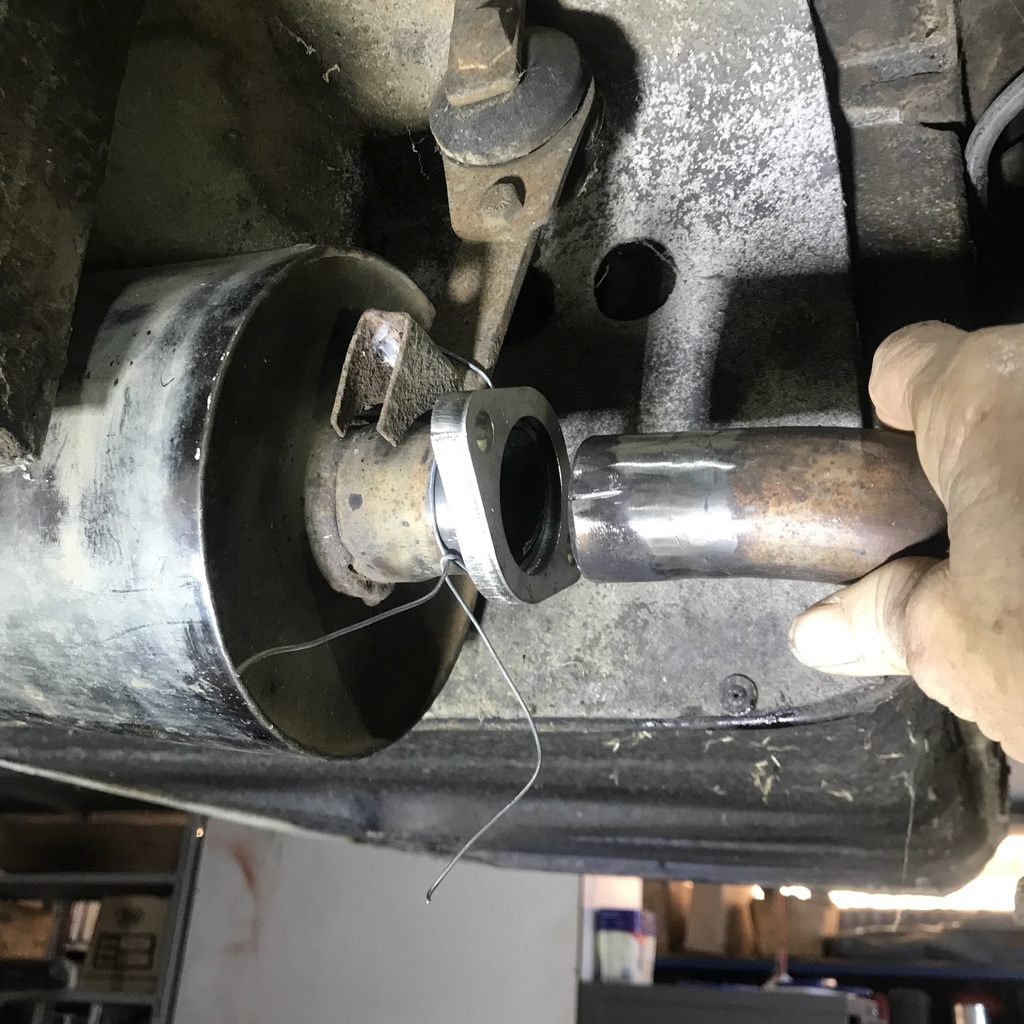 Got them tacked together and mostly welded up today. It went well. Lots of adjustments, but I think it will work out ok. It’s particularly tight through the IRS cage, but it went through there before so… Was worried that the flange would make it impossible to get through the cage, but that was unfounded. Welding round a pipe that’s got severe bends is difficult just because it’s tricky to get it into a position where you can get at it. That and getting tig tacks on the pipes up under the car were tricky. Full stainless system, so that’s a bonus. 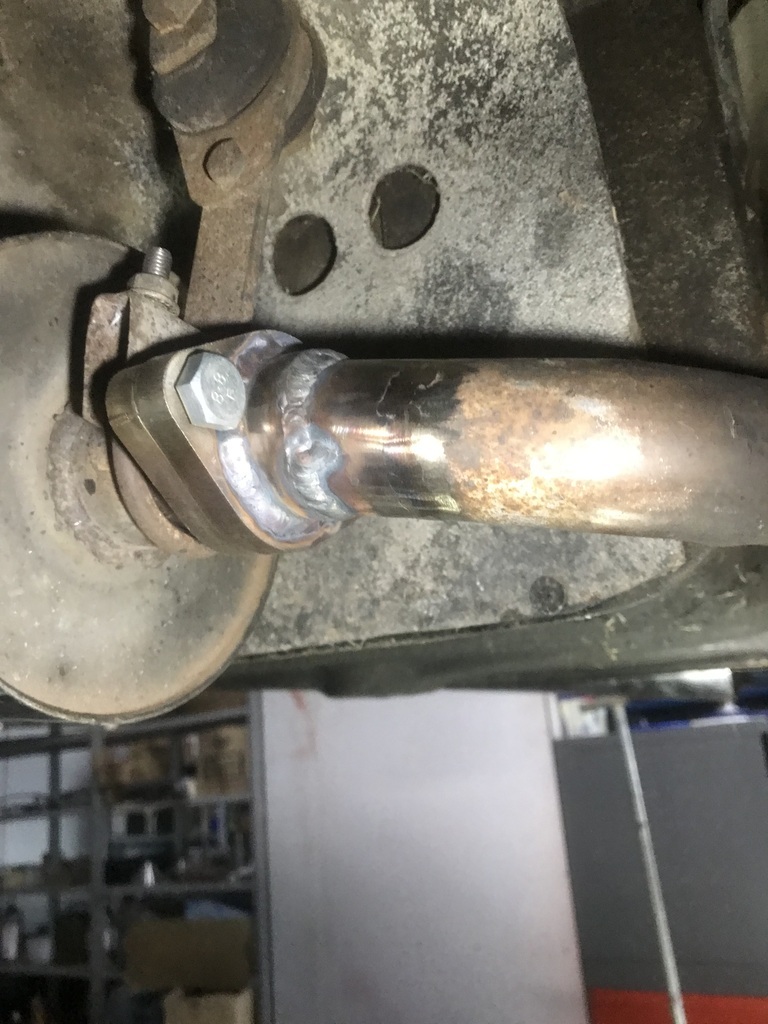 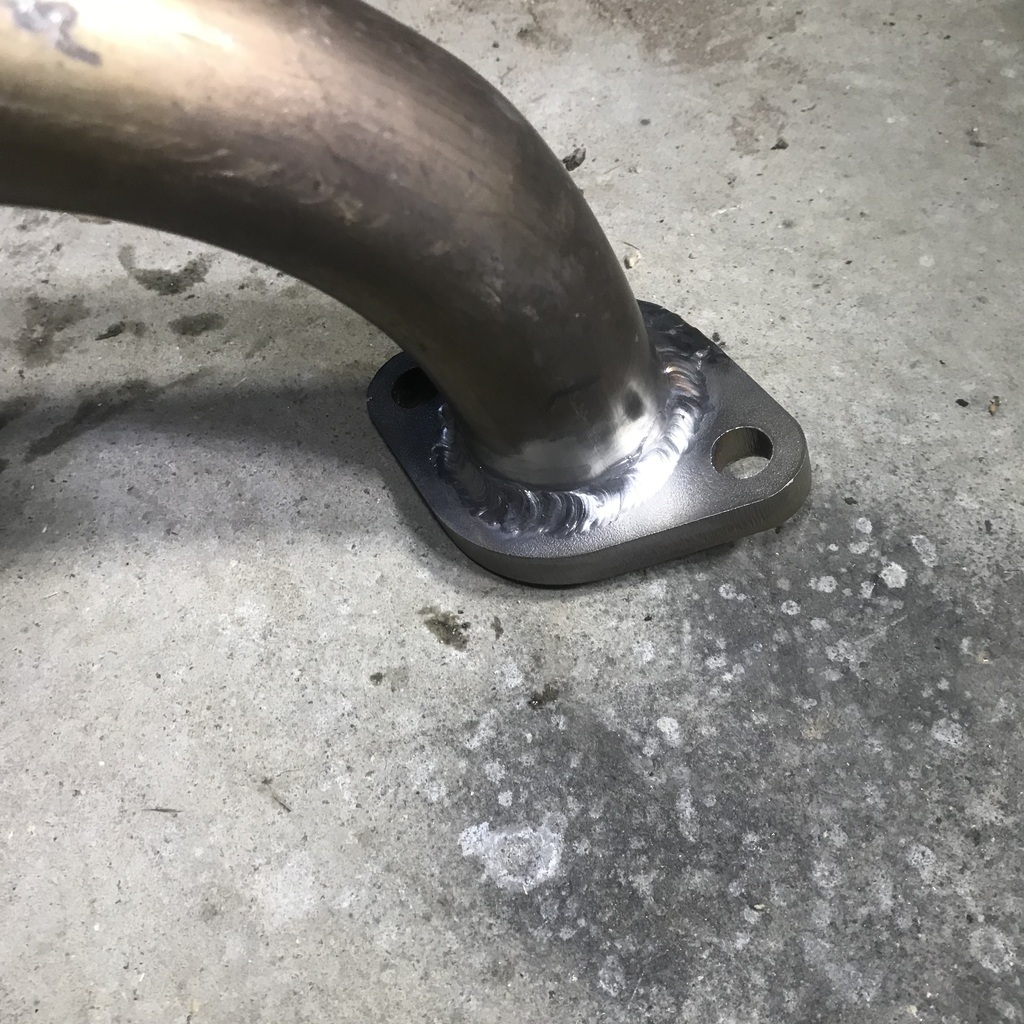 Thanks |
| |
|
|
oto67
Part of things
 
Posts: 70
|
|
Jul 10, 2023 12:38:51 GMT
|
|
Nice job buddy, pita bout the recuring fuel leak, but i doubt itl be long now before the big cat purs again.
|
| |
|
|
foxy99
Posted a lot
  
Posts: 1,454
|
|
Jul 10, 2023 17:28:04 GMT
|
Good to know I'm not the only one whose coolant cross-pipe was toast. The expansion-tank on the inner-wing may also be in poor shape   |
| |
1974 Daimler Double-Six VDP
1965/67 Hillman Imp pick-up
1984 VW Polo breadvan
1970s Yamaha Twins (4)
1976 Honda SS50ZK1
|
|
gazzam
Part of things
 
Posts: 740 
|
|
Jul 10, 2023 18:54:35 GMT
|
|
That’s going to take a bit more work than mine.
The expansion tank had some sludge in it, but seems ok. I think it’s copper. Would that be right?
|
| |
|
|
foxy99
Posted a lot
  
Posts: 1,454
|
|
|
|
My tank is definitely steel. I did have a go at making new spouts etc for it (after de-brazing the original ones from the main pipe with oxy-acetylene) but you may see from my pics the two halves of the pipe are split along the seam. I have lots of parts lists for these cars and there are several part numbers for the tanks (& crosspipes) but they obviously don't specify the material so the parts lists wouldn't help here. Prety sure they are all steel tho. I scoured Ebay etc for years looking for new ones but never seemed to find quite the right version. Then, some years ago, I found you can get replica pipes in UK for £165 replica pipes in UK for £165. Also got a used tank for £70 and it seems to be identical.  used expansion tank used expansion tank |
| |
1974 Daimler Double-Six VDP
1965/67 Hillman Imp pick-up
1984 VW Polo breadvan
1970s Yamaha Twins (4)
1976 Honda SS50ZK1
|
|
|
|
|
|


