Ok, so there has been some radio silence here and those that follow me on the socials will know the usual up and downs still continue. 🙄
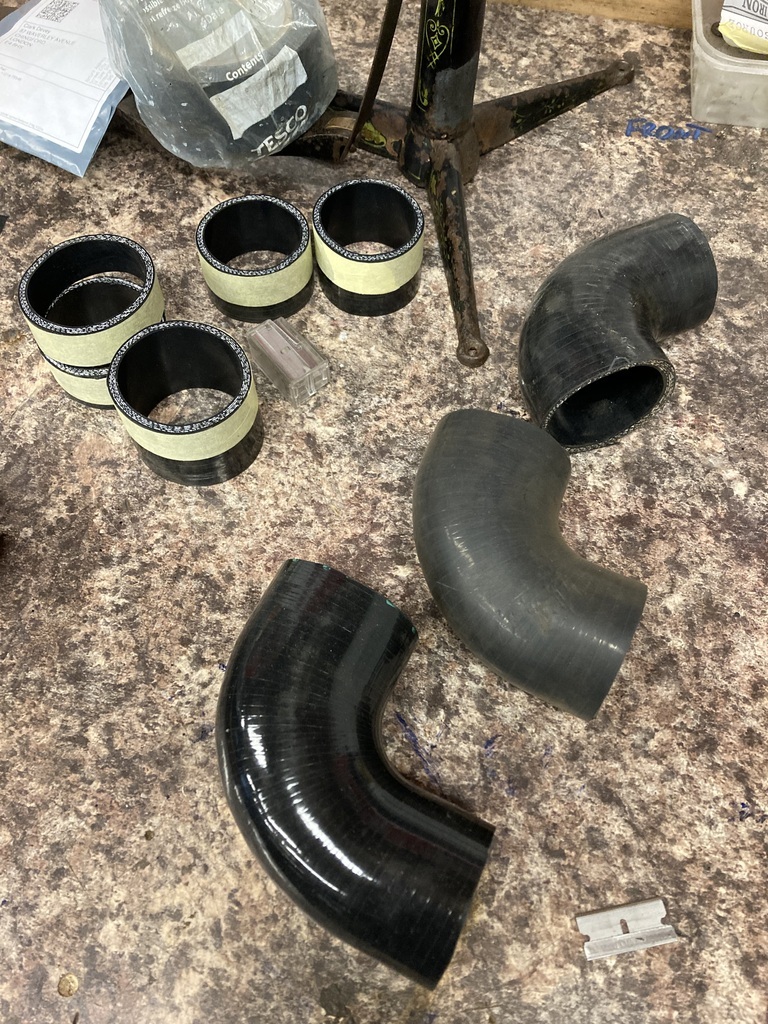
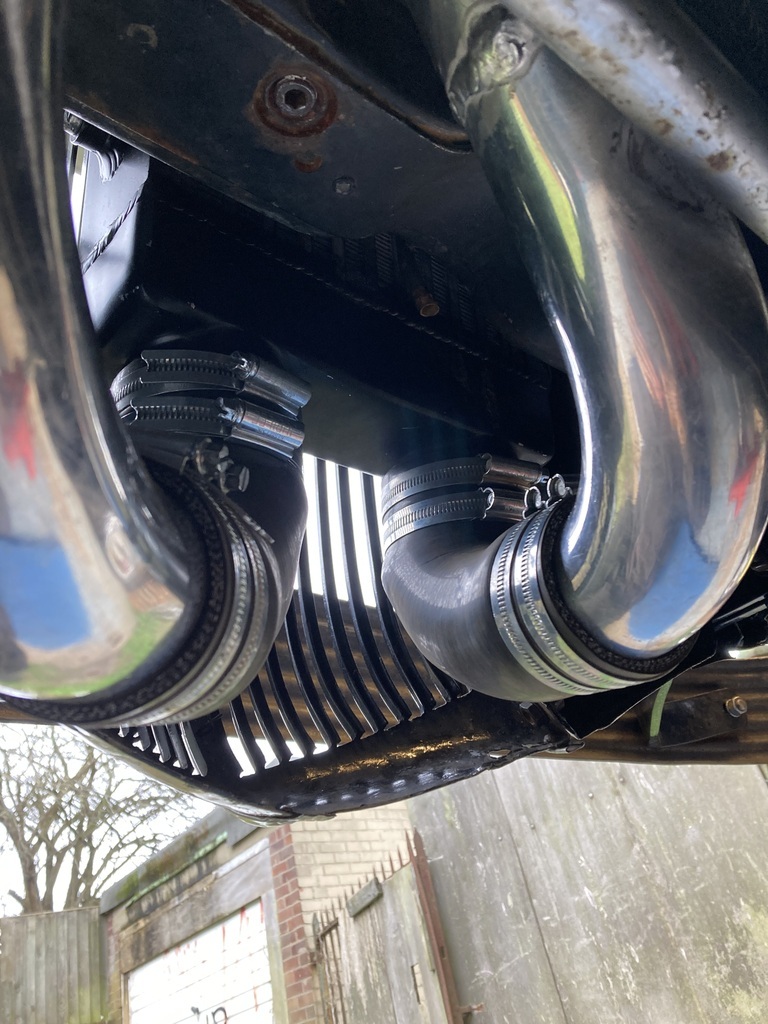
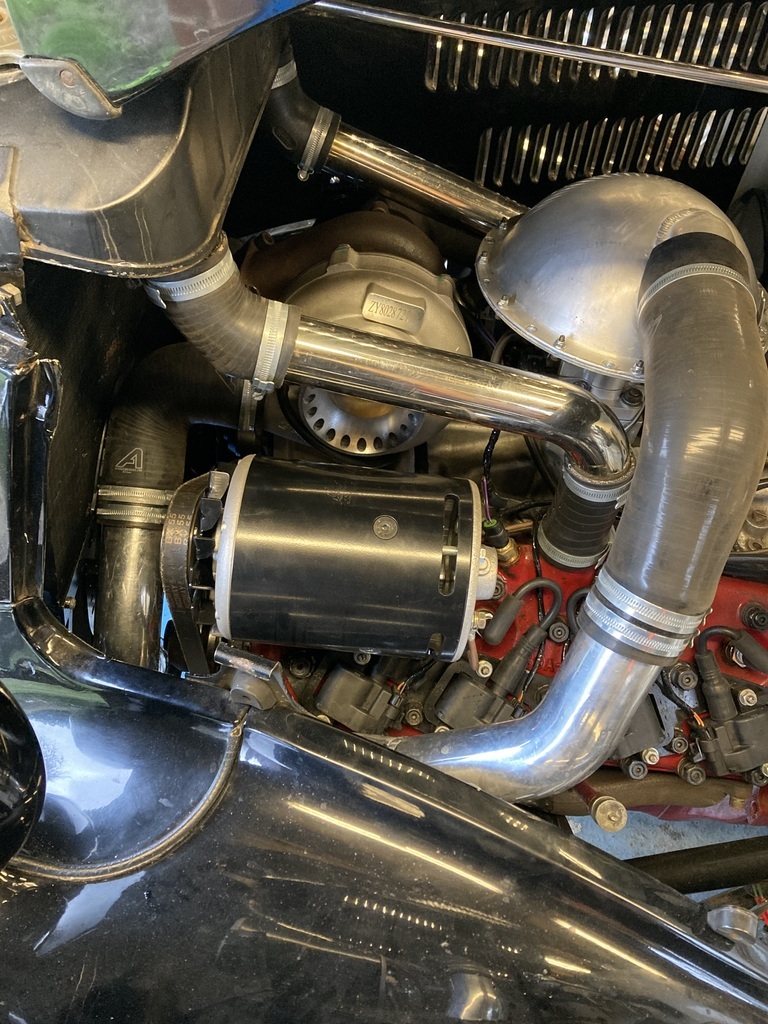
To pick up from where I left off, even though I’d given up, I knew at some point I would need a replacement silicone joiner and that would be a couple of days before it arrived which in reality would probably be enough time for me to get over things. 😁
I actually ordered two replacements to be able to replace the pair at the same time.
The reason for this was the joiners had their legs trimmed down a number of times but now everything was in its forever position they have ended up a little on the short side.
Anyway, in this down time I wasn’t idle but did need a break from the cars which led me onto this O/T project.
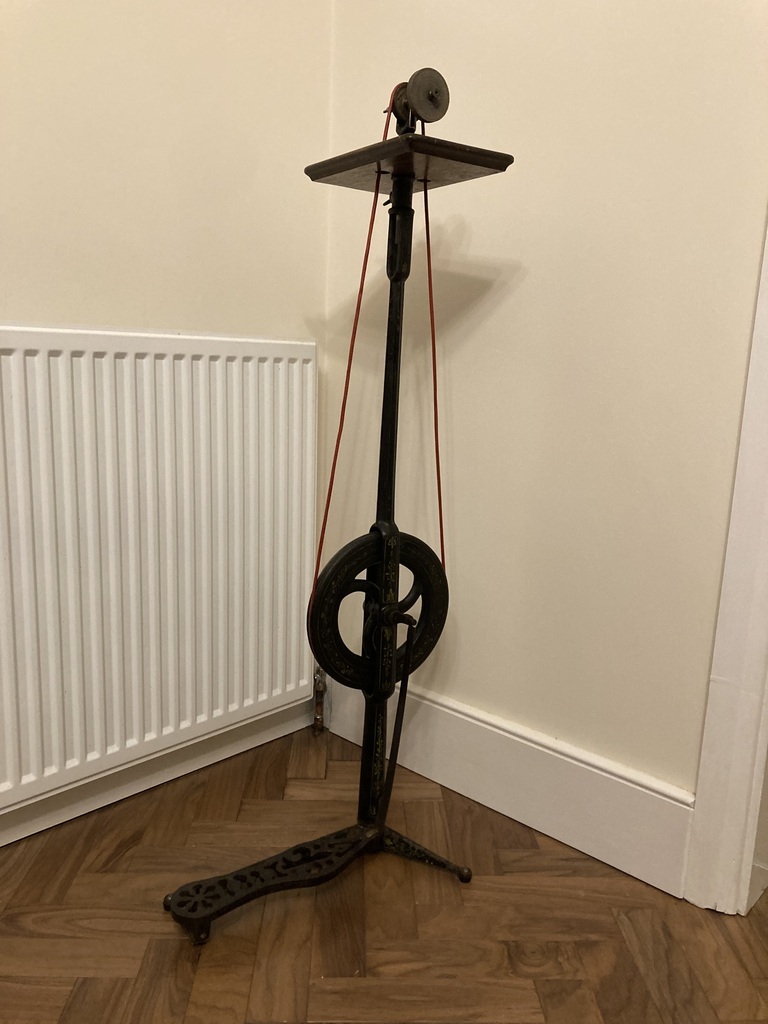
A few months back I’d been given this Victorian treadle after helping out clearing a deceased neighbours garage/workshop.
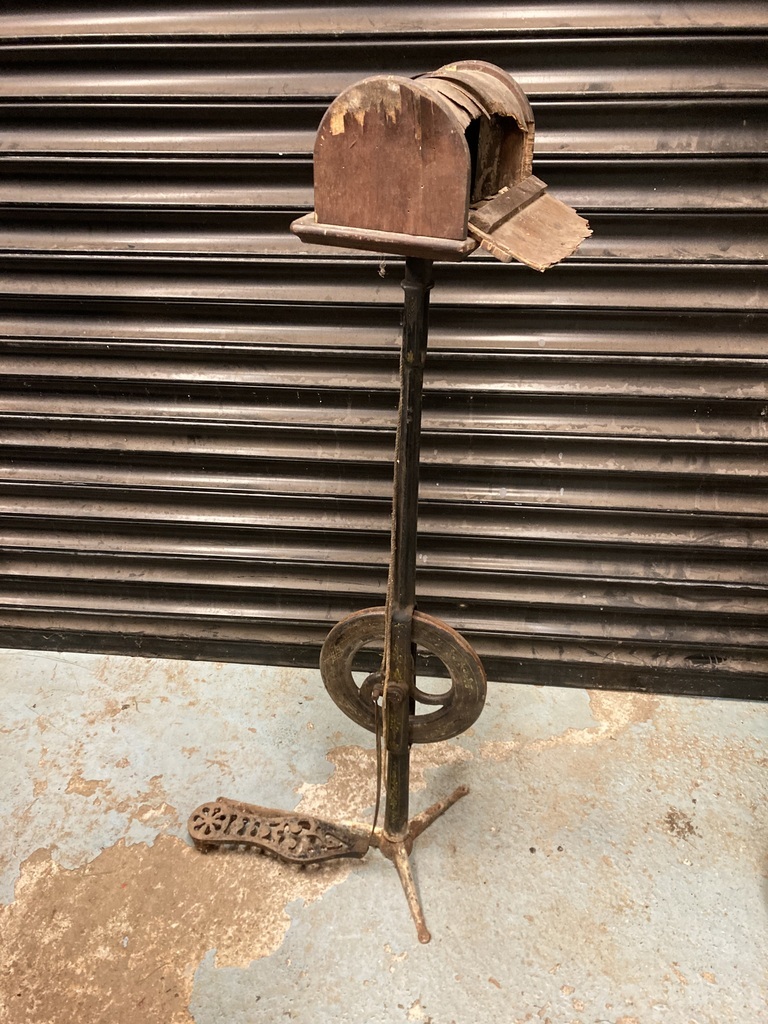
It was complete and semi-working but had suffered from poor storage.
Someone had been there before with questionable repairs like a replacement drive belt made from string and hot glue (!) but the originality was glinting through the dirt.
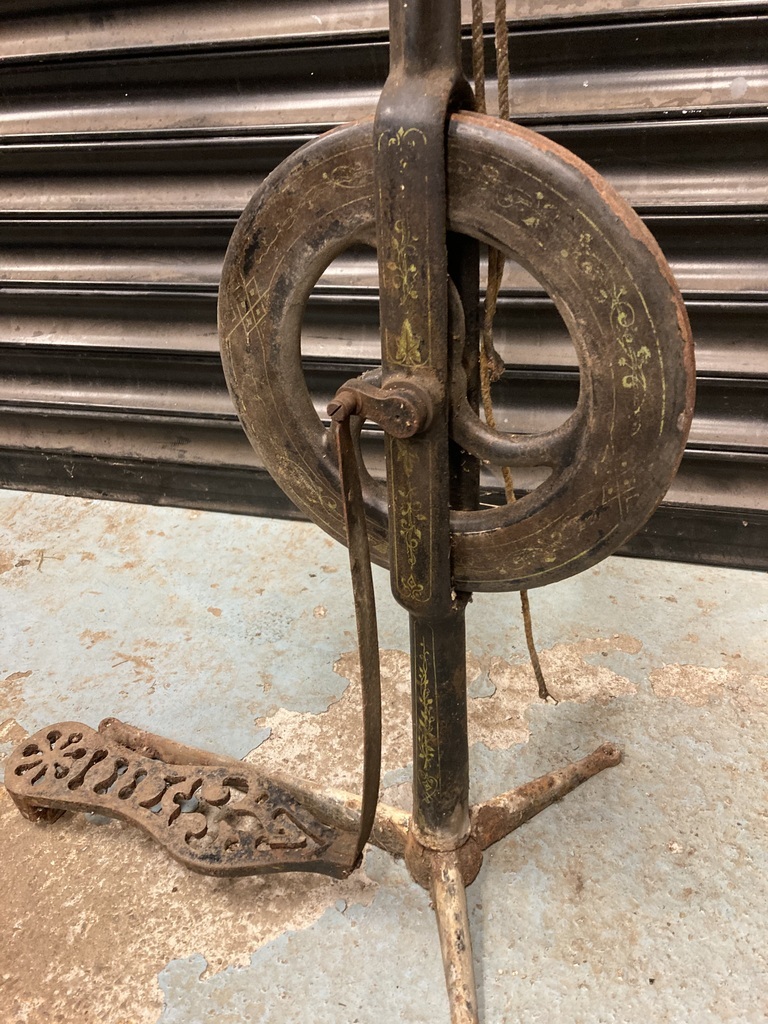
The head scratcher was its original use.
It had a small grinding wheel which fitted perfect, had never been used and had no real abrasive qualities as you can hold your finger to it spinning with no ill effects.
The other side has a soft cleaning brush.
I cannot think of any situation where you’d need the combination of a grinding wheel and a cleaning brush?
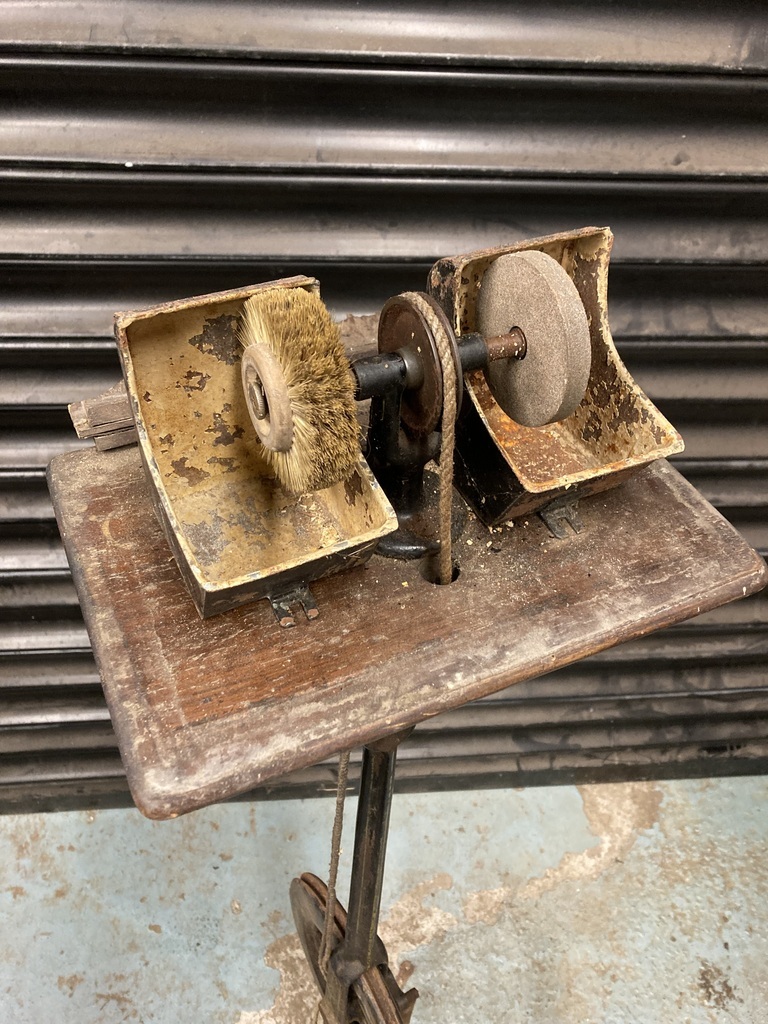
Getting the treadle up on the bench revealed how bad the water damage was particularly to the base and foot.
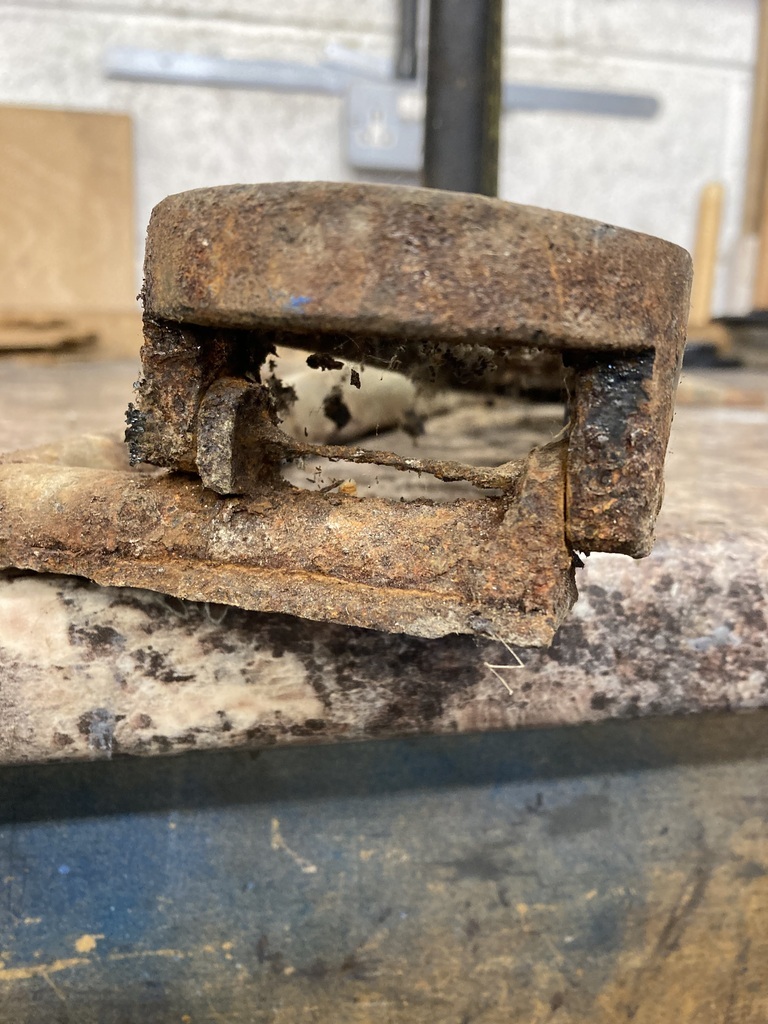
Closer inspection also revealed that the foot hinge section had broken off the leg casting in the very distant past and been repaired with a plate riveted to the bottom of the cast leg.
Also one end of the hinge had been replaced with a screwed in piece.
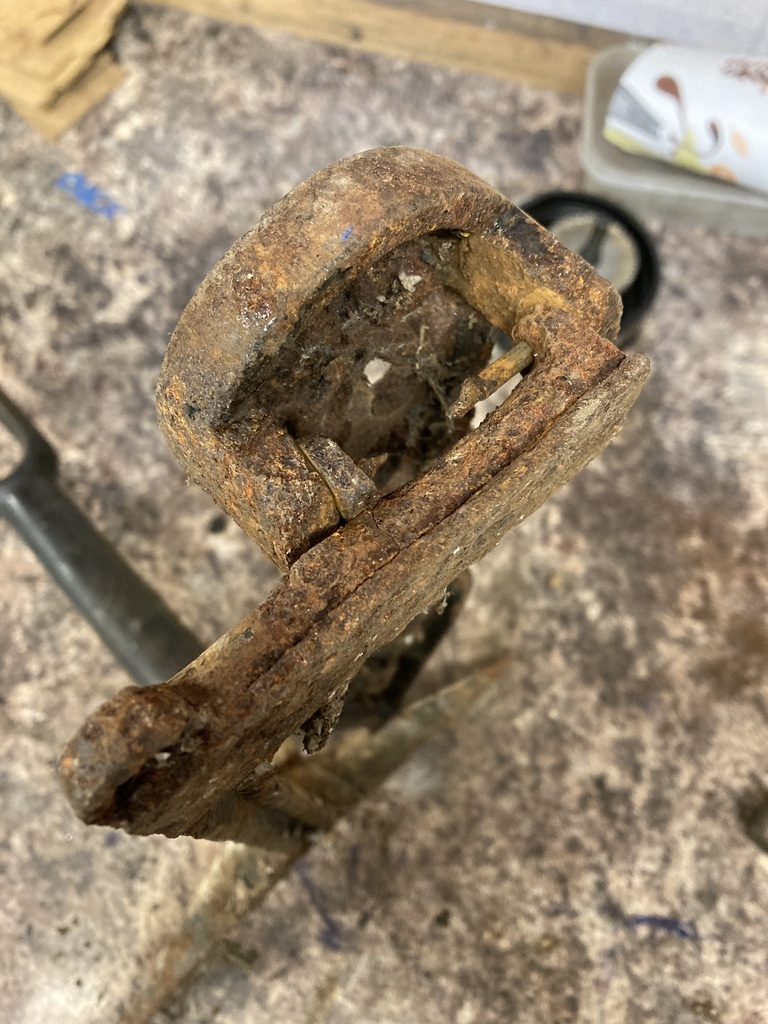
The foot hinge pin pretty much disintegrated, one side I could tap through but the other side was completely seized and I didn’t fancy banging on an unknown repair.
Removing one side of the corroded hinge pin did give me enough wiggle room to remove the foot.
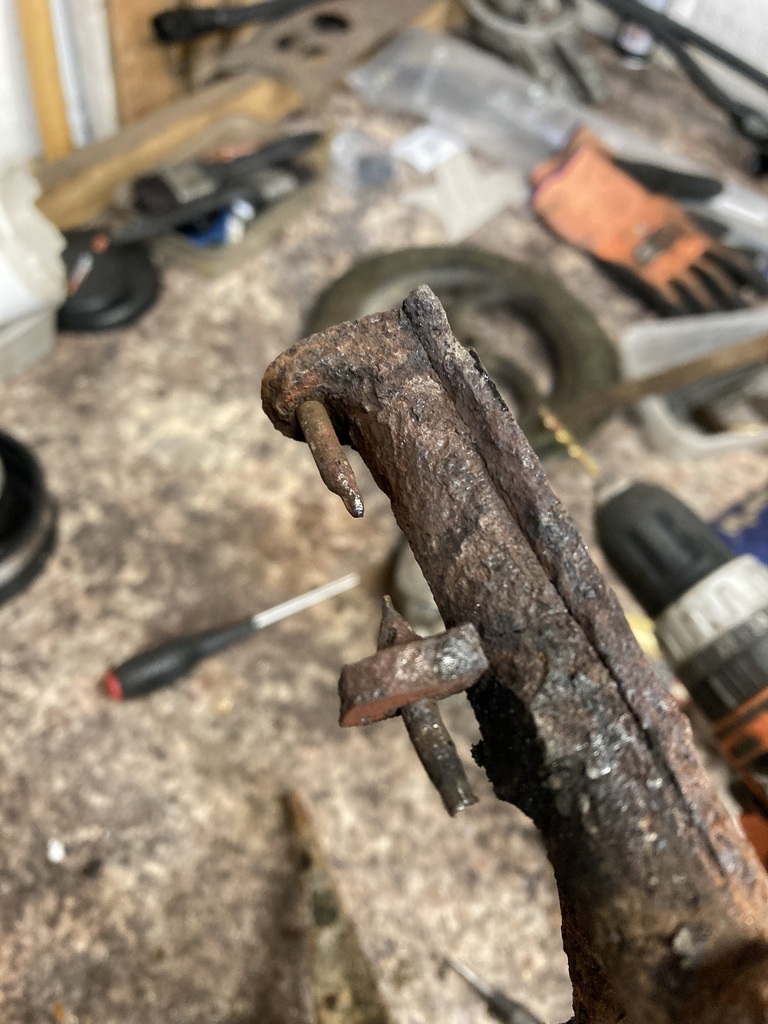
Removing the foot revealed yet more more repairs.
The hinge pin holes had been brazed up and re-drilled.
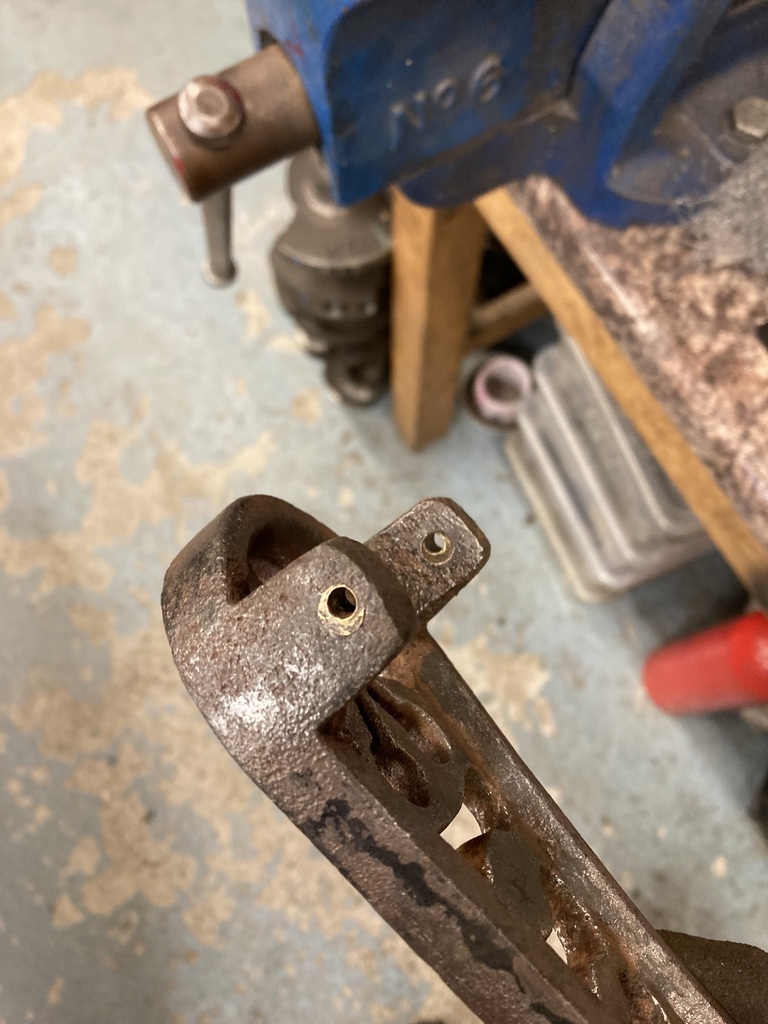
And this brass section of the foot that the drive bar attaches to was also suspect but functional.
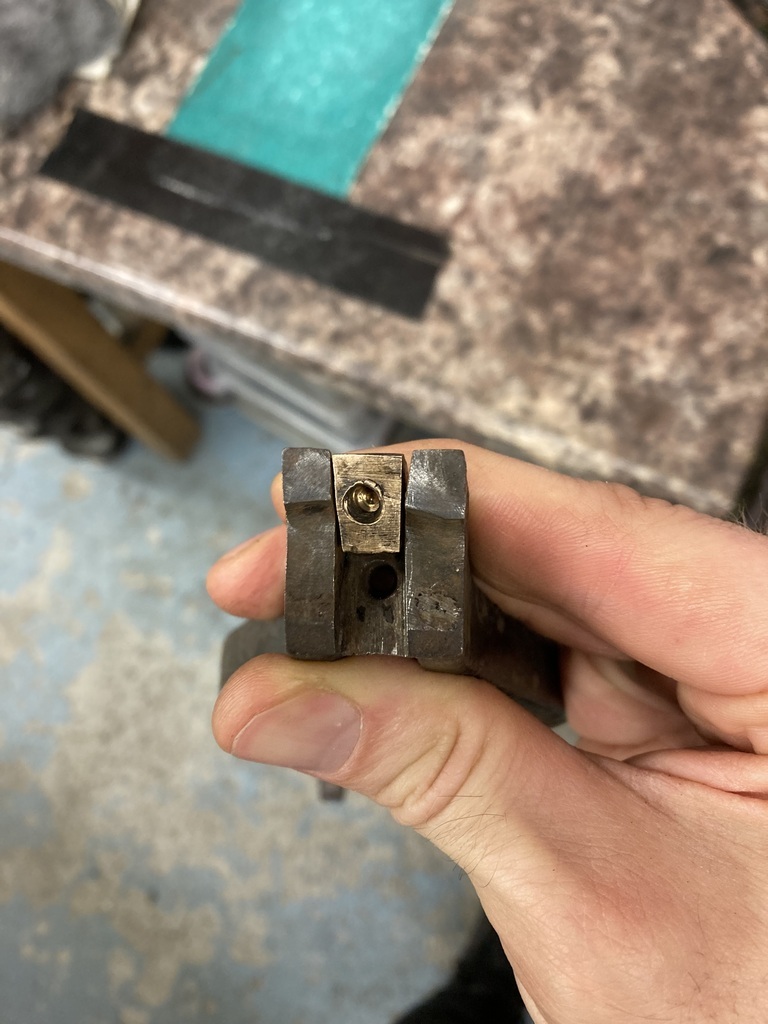
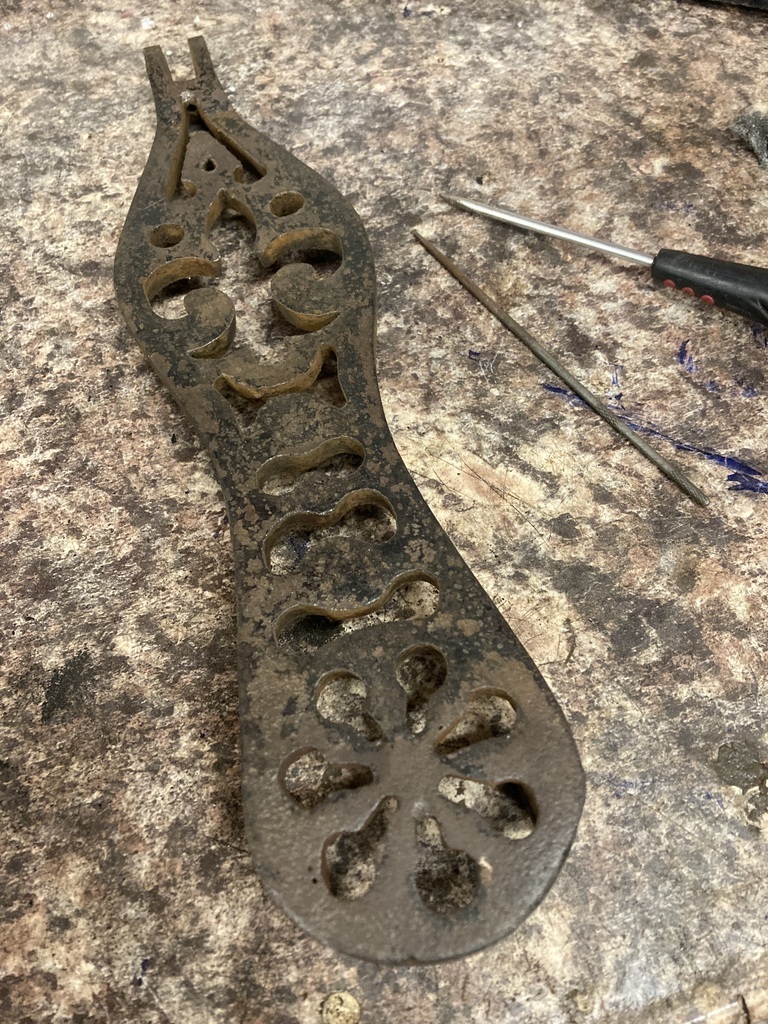
I had intentions of repainting the foot but realised that it would look out of place against the rest of the original paintwork I decided a good wire brush and a needle file to remove to all the grot inside the ornate casting would keep things more in keeping.
I used beeswax to provide a light protective coating.
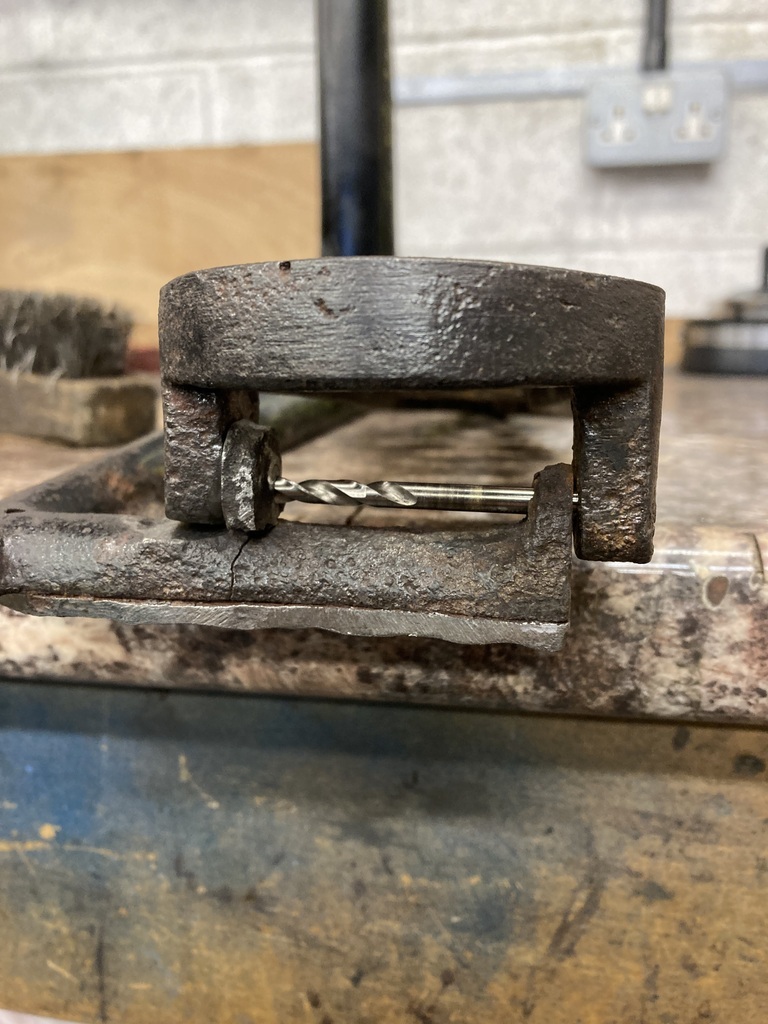
Finding the hinge pin holes present in the pedal to be a nice 4mm and the one remaining hinge hole in the frame the same I had a good guide to drill out the up stand with a new hinge pin hole but straight this time!
Here using the drill bit as a temporary hinge pin.
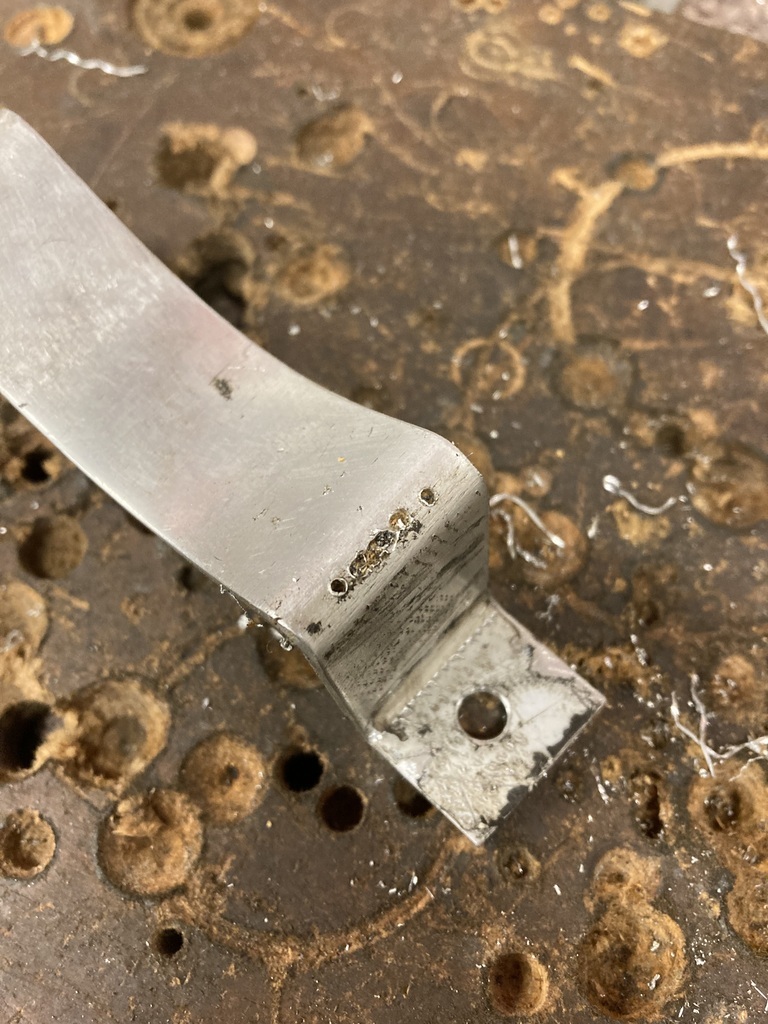
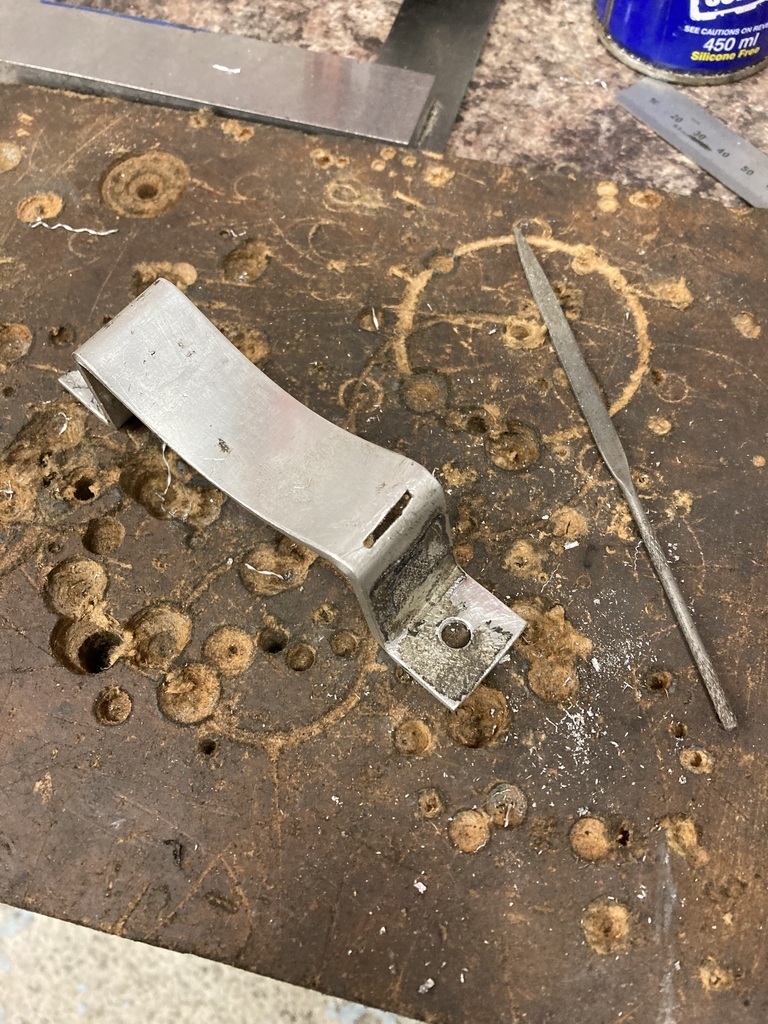
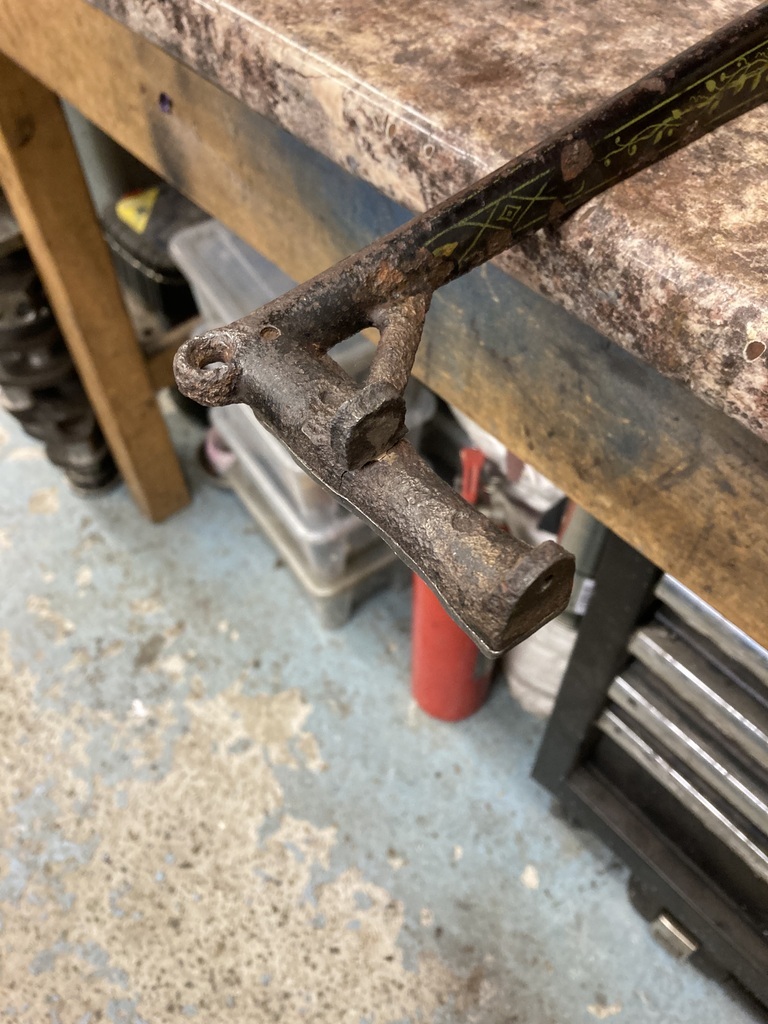
I neatened up the old repair so it wasn’t as visible.
You can really see what a bad design this was as it’s completely unsupported where it needs support the most and unsurprisingly broke directly behind the small corner brace.
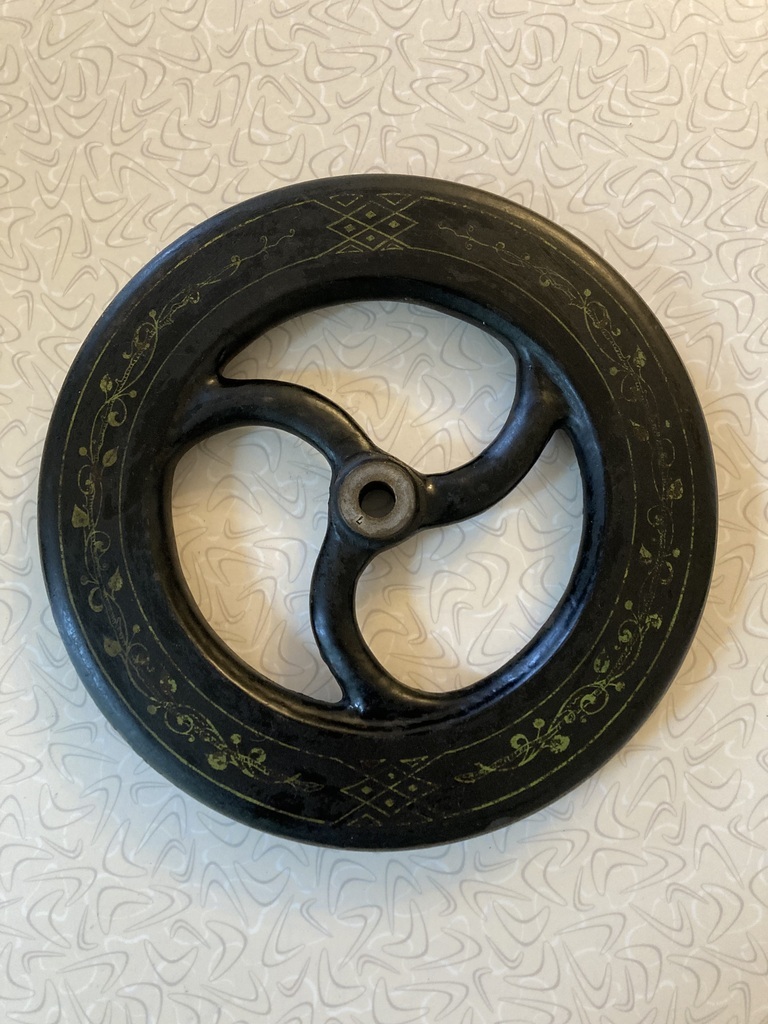
The flywheel was easily removed with its driveshaft which showed zero wear.
The flywheel needed nothing more than a quick scrub in the sink.
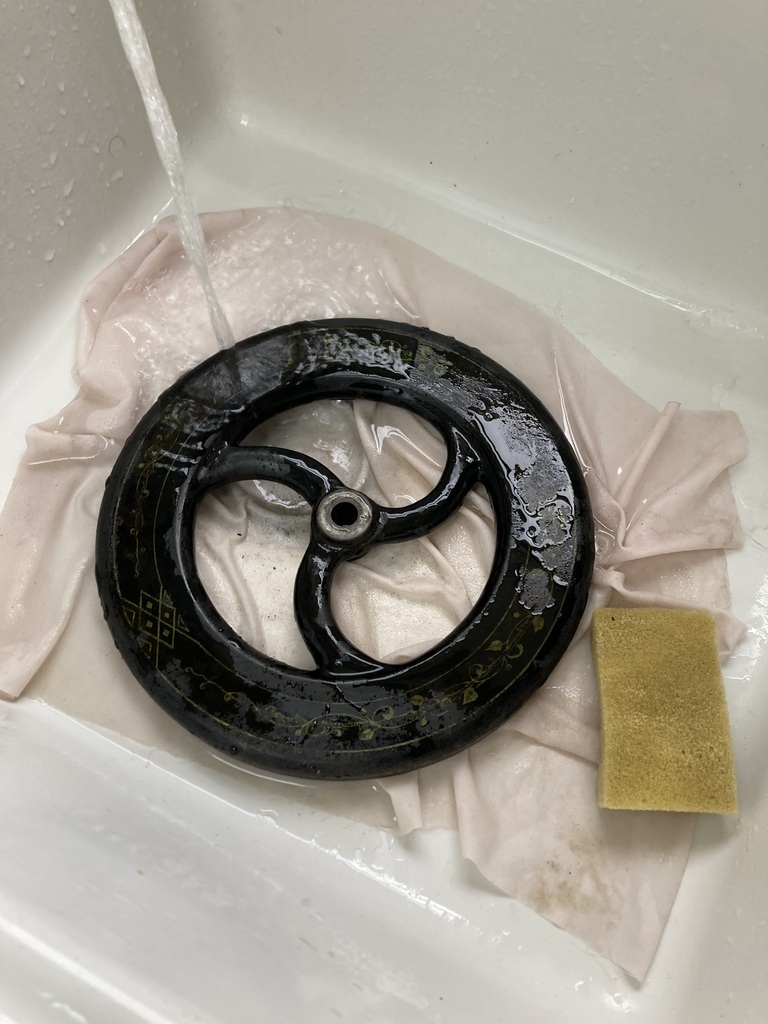
The cleaning really bringing out the original intricate paintwork.
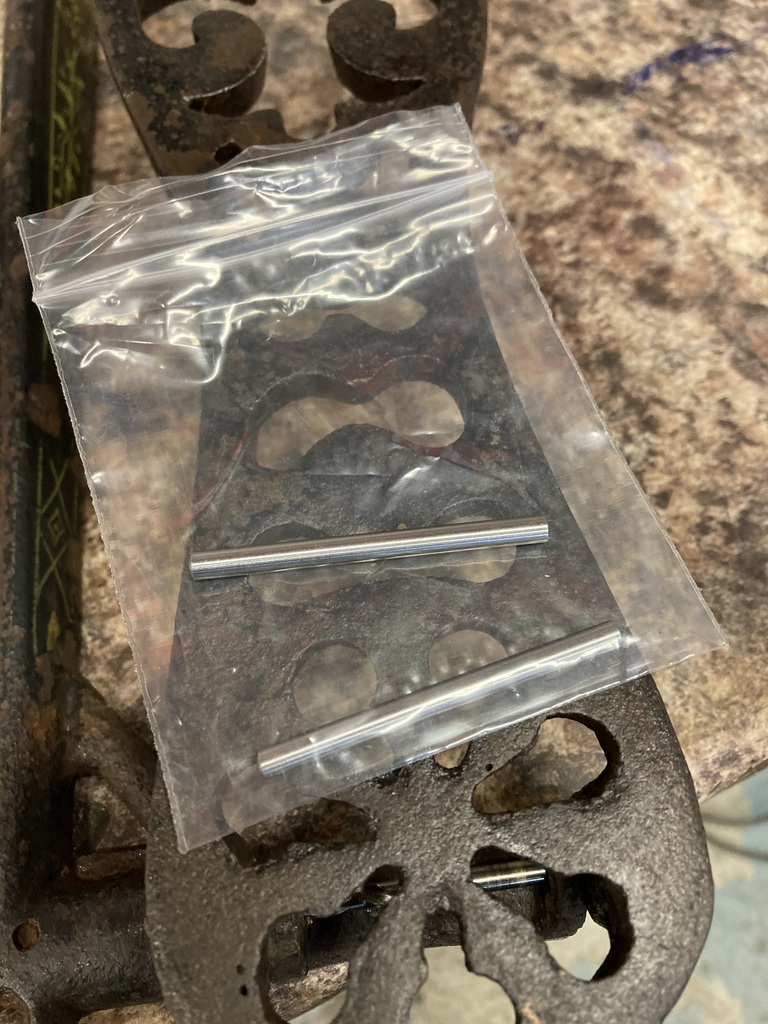
I had ordered some 4mm ground pins for the foot hinge which arrived but A, they were too short as I’d cocked up the length I needed and B, didn’t fit my pre-drilled holes as the pin was a true 4mm and my twist drill had drilled undersize.
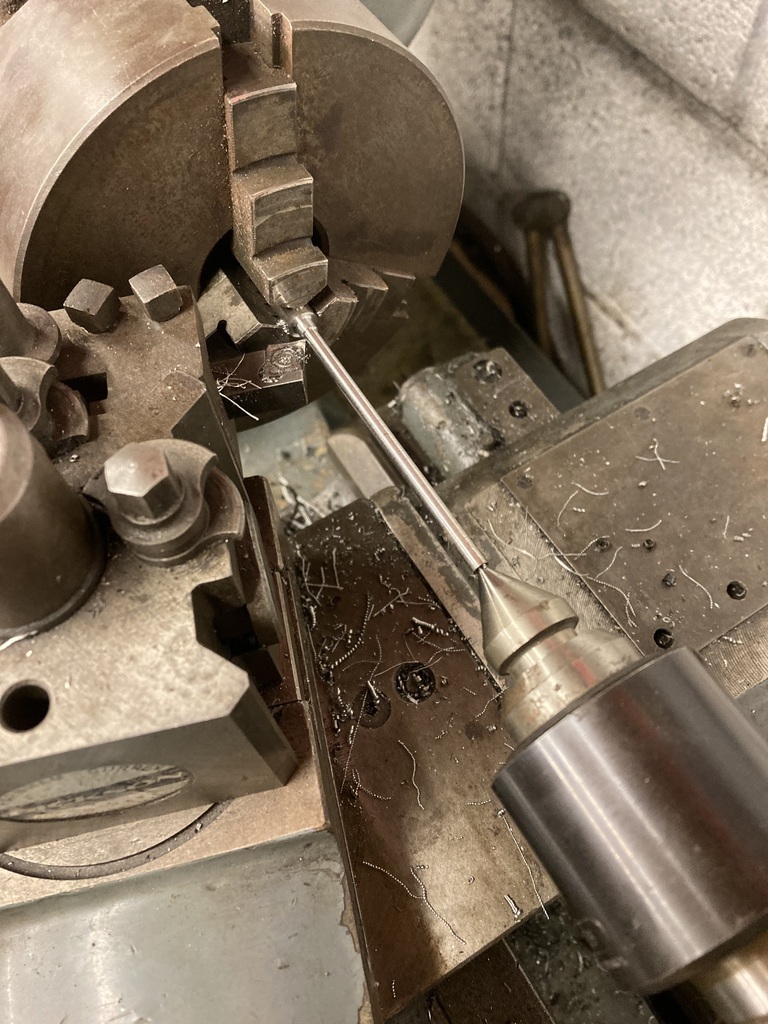
I looked into oversized drills and/or reamers (read expensive) but decided that I could just make a pin to what ever size I wanted. It’s not like the treadle is going back into full time service so didn’t bother with hardening it even though I was very tempted as I haven’t done it in a long time!
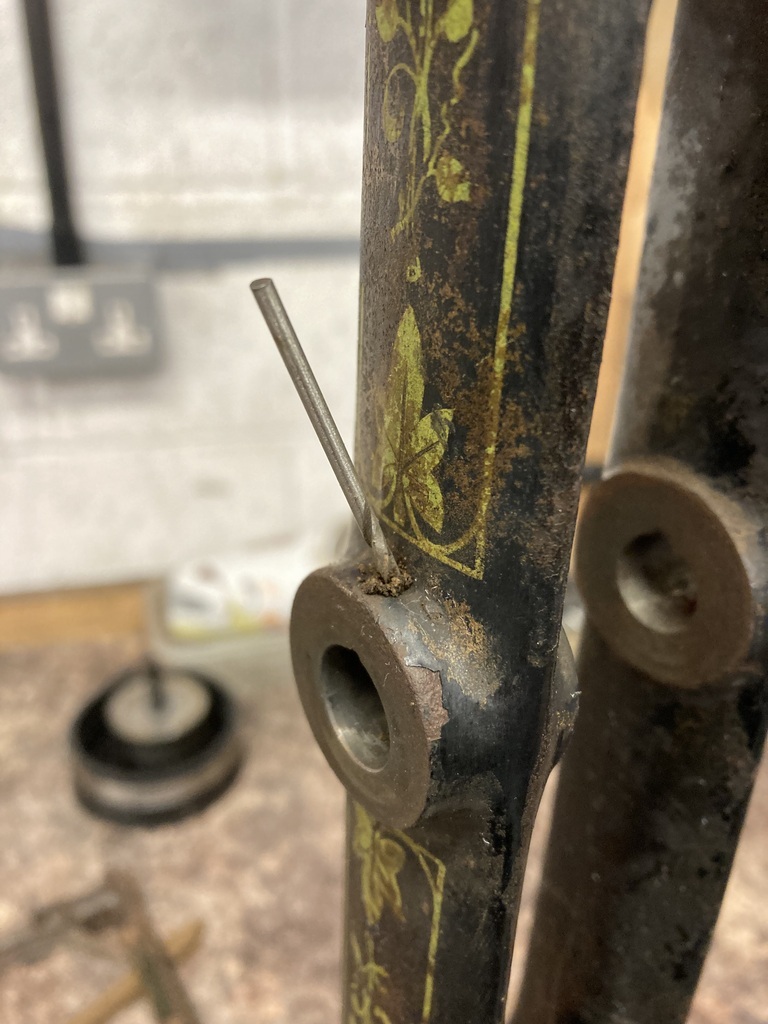
Before it went back together I made sure to unblock the oilers.
Everything was reassembled and oiled and working beautifully.
Moving onto the top section I removed the remains of the lid which had broke in two because of water damage.
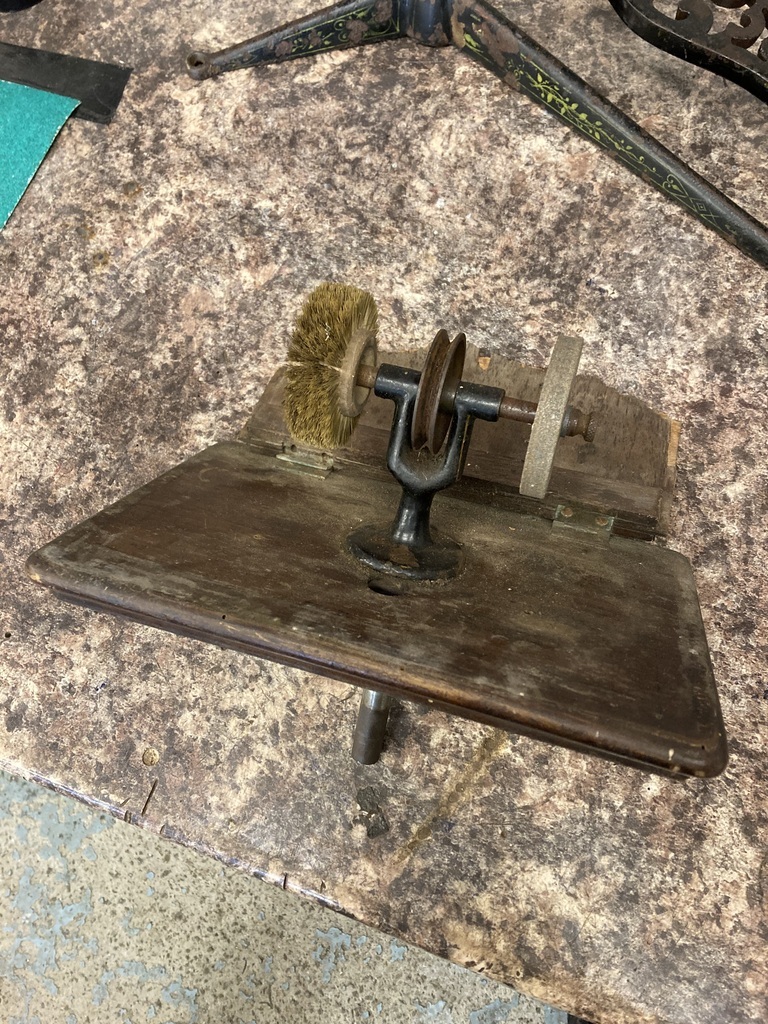
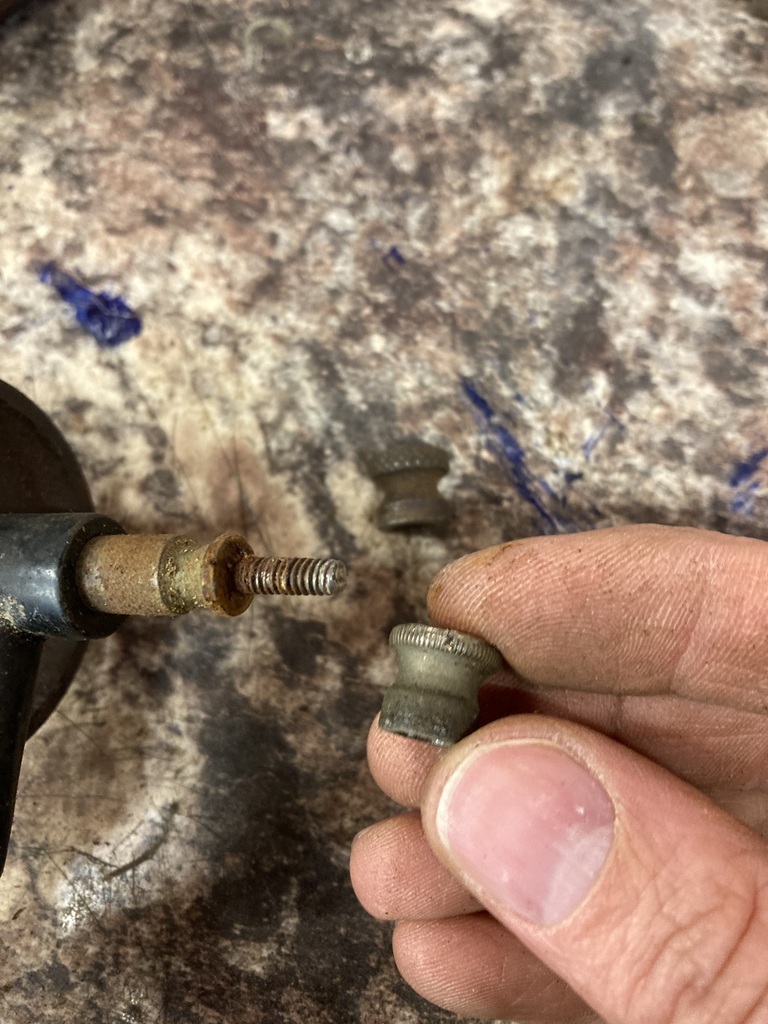
The knurled retaining nut was undone to remove the grinding wheel and as I went to do the same on the other the nut just fell off.
It wasn’t even remotely correct and, again, had been “fixed” with hot glue!
It did reveal the shaft being left hand thread which complicates making a replacement.
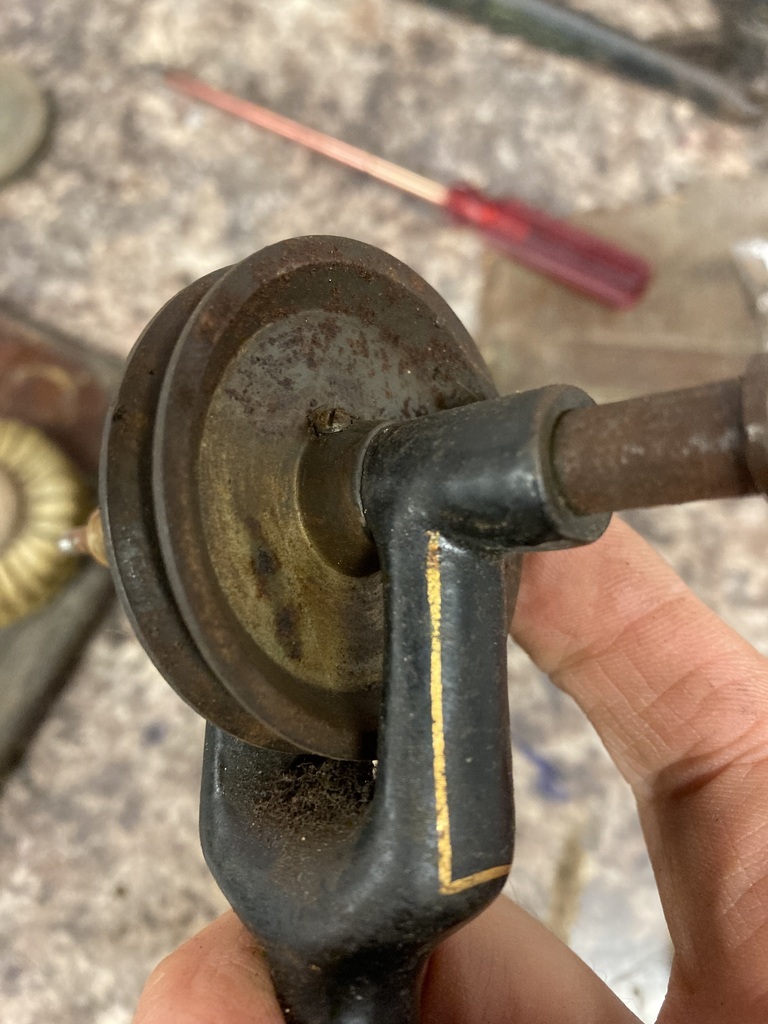
I attempted to take apart the remaining assembly put it didn’t want to come apart easily and I didn’t want to force things so left it be. It was again in mint condition anyway.
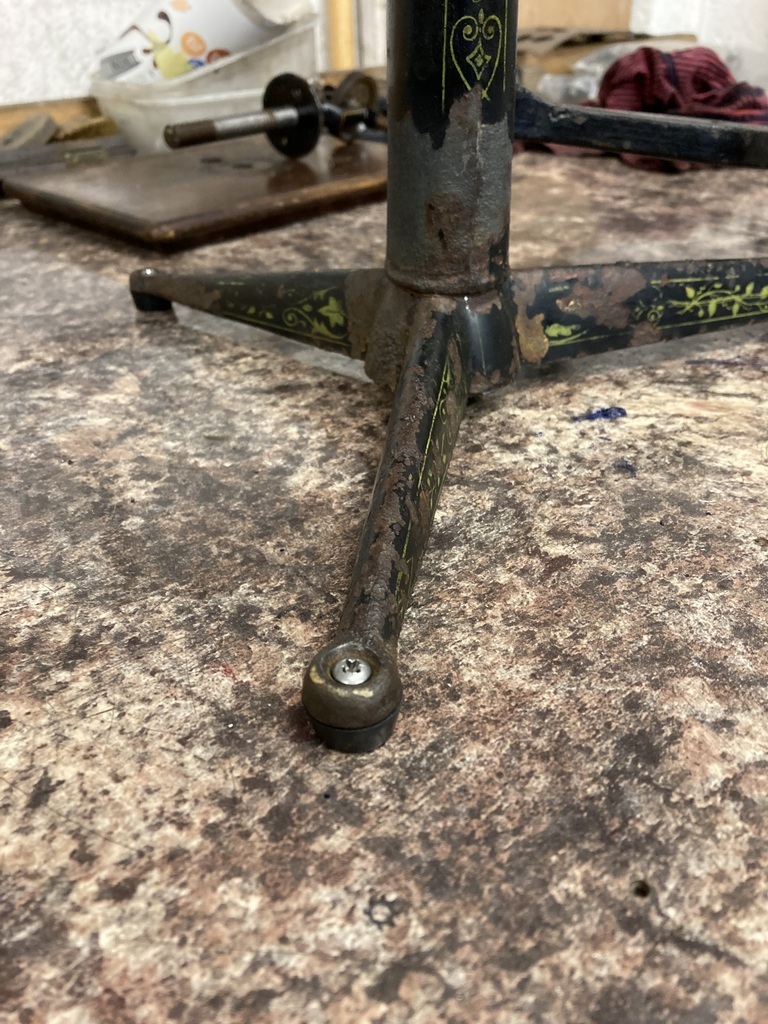
The legs had provisions for some form of feet to be attached to their ends.
I managed to find these small rubber feet with a steel insert that are intended for speaker cabinets and the like that were the same diameter.
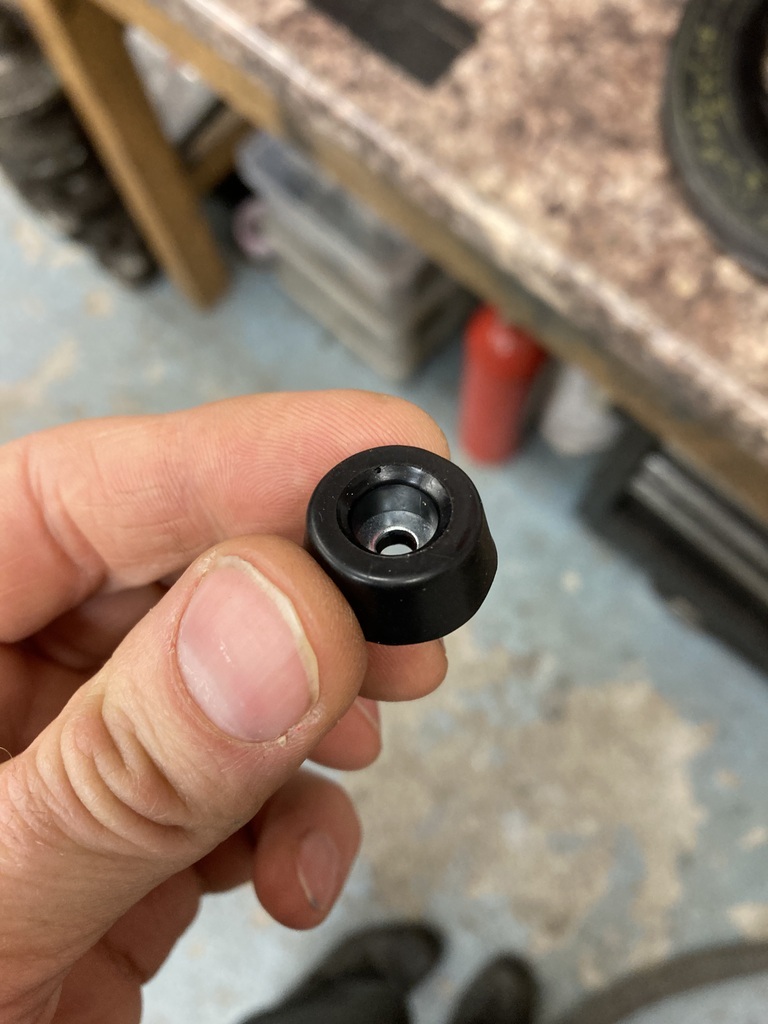
They came with a 4mm mounting hole but I wanted to fit a 1/4” (6mm) fixing which the legs were already sized for.
No problem I thought, I’ll just drill them out.
That idea was a total fail as it just spun the steel insert in the rubber until it got hot enough to melt the rubber.
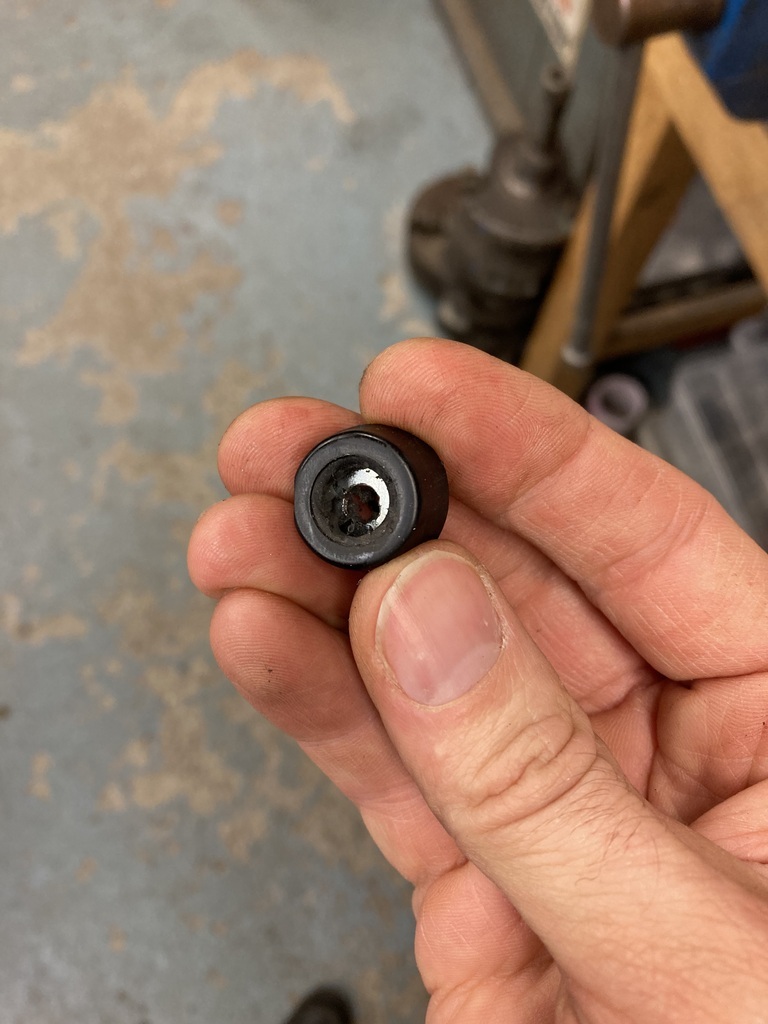
Luckily I had spare and admitted defeat with using my chosen hardware and had use an M4 alternate.
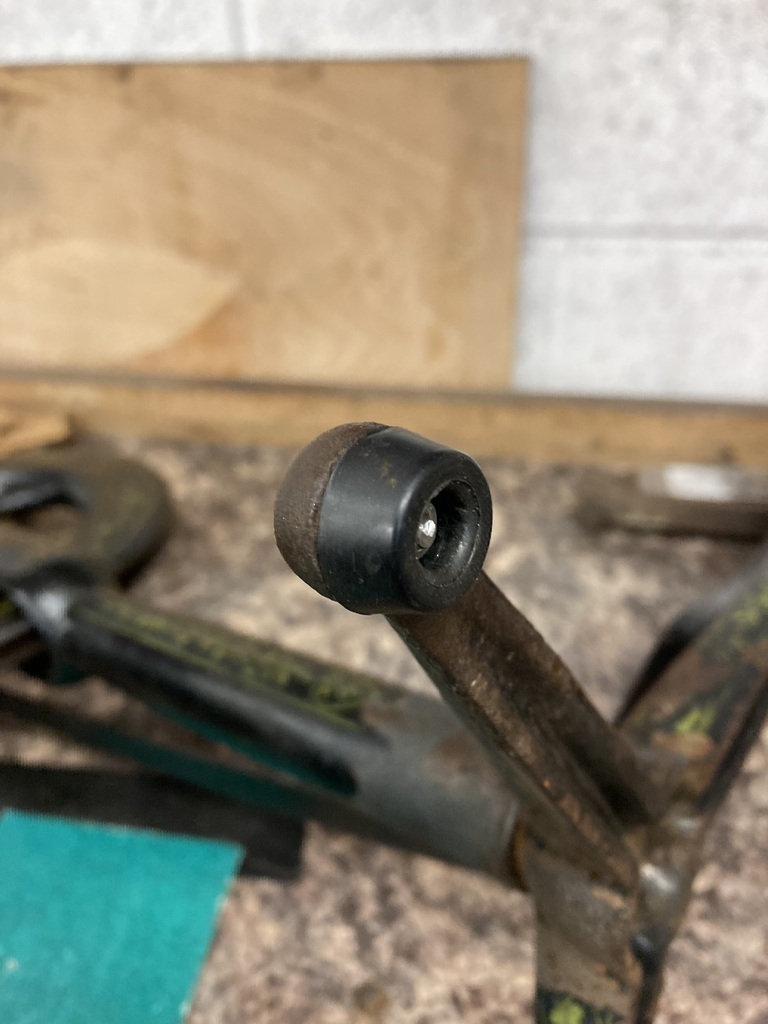
Forgive me for I have sinned with crosshead hardware. 😔
Last item to fit was a new drive belt which are corded leather.
This is still readily available as it’s what is used with Singer sewing machines.
The Singers use a standard length belt of 72”, which all the vendors seem to stock. This was a bit short by a few inches to comfortably fit my application but I managed to just squeeze it on.
