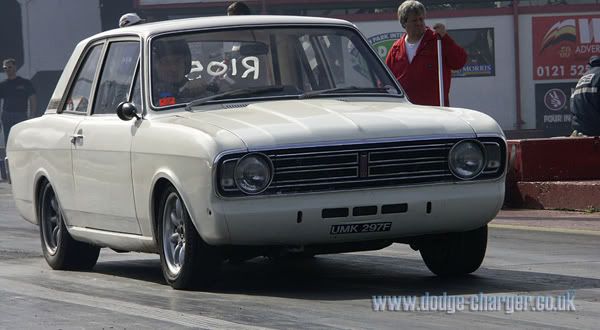
I’d swapped out the original wide 5 wheels and corresponding hubs a while back as I’d become frustrated with the lack of wheel options using the big stud pattern.
Changing the stud pattern meant I lost my “race wheels” which were banded, original steels and ever since I’ve been looking for replacements which has proved harder than expected.
The problem is I wanted a 6 or 7” wide wheel which is an uncommon width in the Hot Rod world.
Add the fact I also wanted 16” diameter and options were almost nonexistent.
Then a set of original sixties, Supreme Industries slots came up for sale.
A set of four, the correct stud pattern and 6.75” wide made them perfect except they were 15”.
I quick check on the Dunlop Historic tyre sizes showed that a 650x15 tyre was the same overall diameter as my previous 600x16’s.
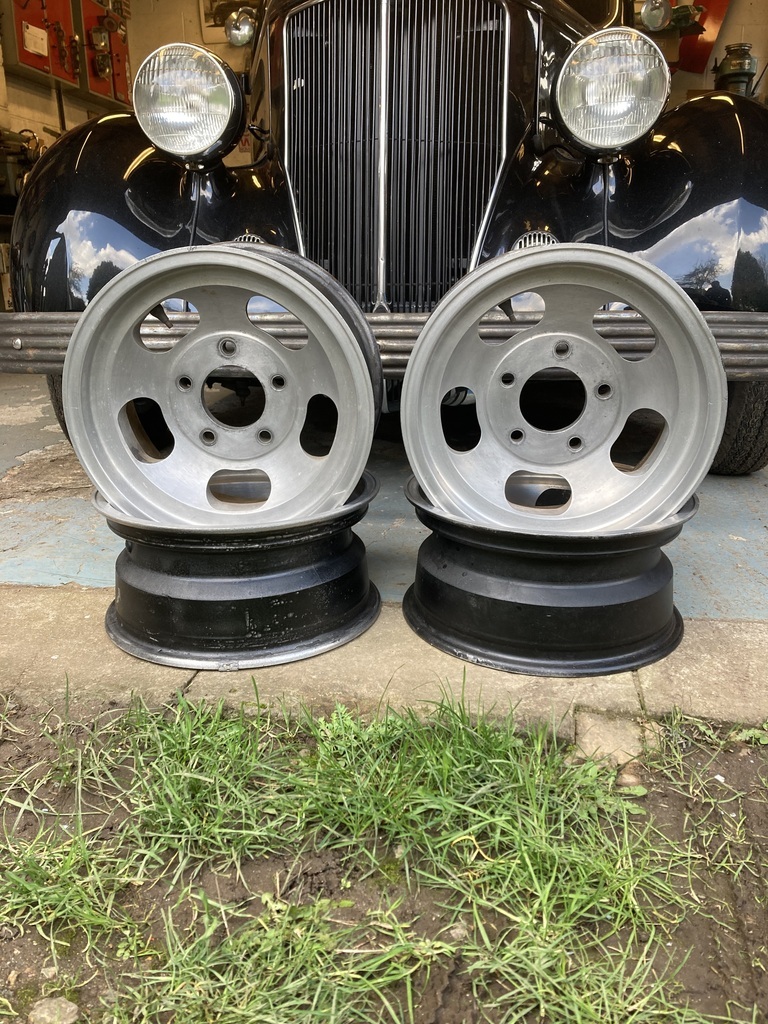
Now I’ll be the first to admit that slots weren’t my first choice of wheel but hopefully with a few tweaks they could be improved or back dated in looks.
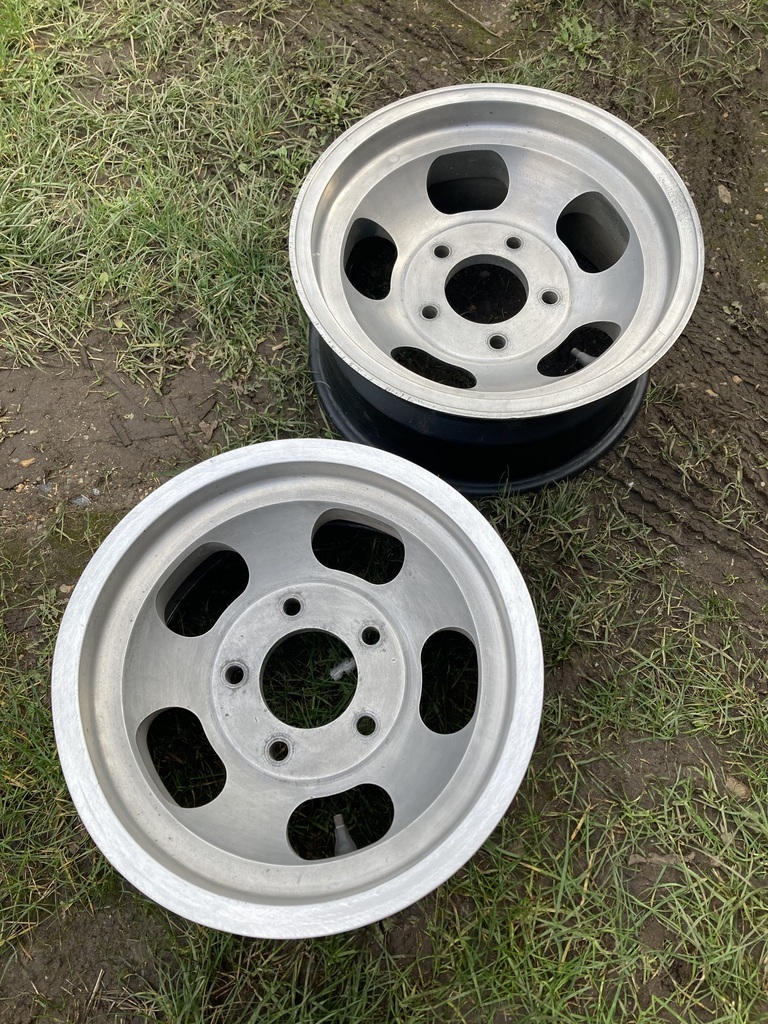
The first area to get attention was the raised section on the outer edge of the wheel lip.
Early aftermarket wheels like magnesium Halibrands don’t have this lip and I feel it also adds visual weight and blocky-ness to the wheel.

I haven’t seen a definitive answer for the purpose of the lip but a rubbing edge to project the wheel or a support for bang-on wheel weights are possibles.
I mounted the wheel on my balancer as a means to spin it and used a 40 grit flap wheel in the grinder to remove the bulk of material and blended it all in with finer emery cloth.


A finished wheel against an original.
It’s only a small detail that no one will ever notice but I think it does improve the visuals.
I needed a set of shank style wheel nuts but I didn’t want the usual extended hex, domed end, chromed up bling-tastic versions.
I got in touch with Mister Tee who was closing down his wheel nut business. I got a pretty good deal but he only had the longer shank version left, which for the price we’re getting and shortening.
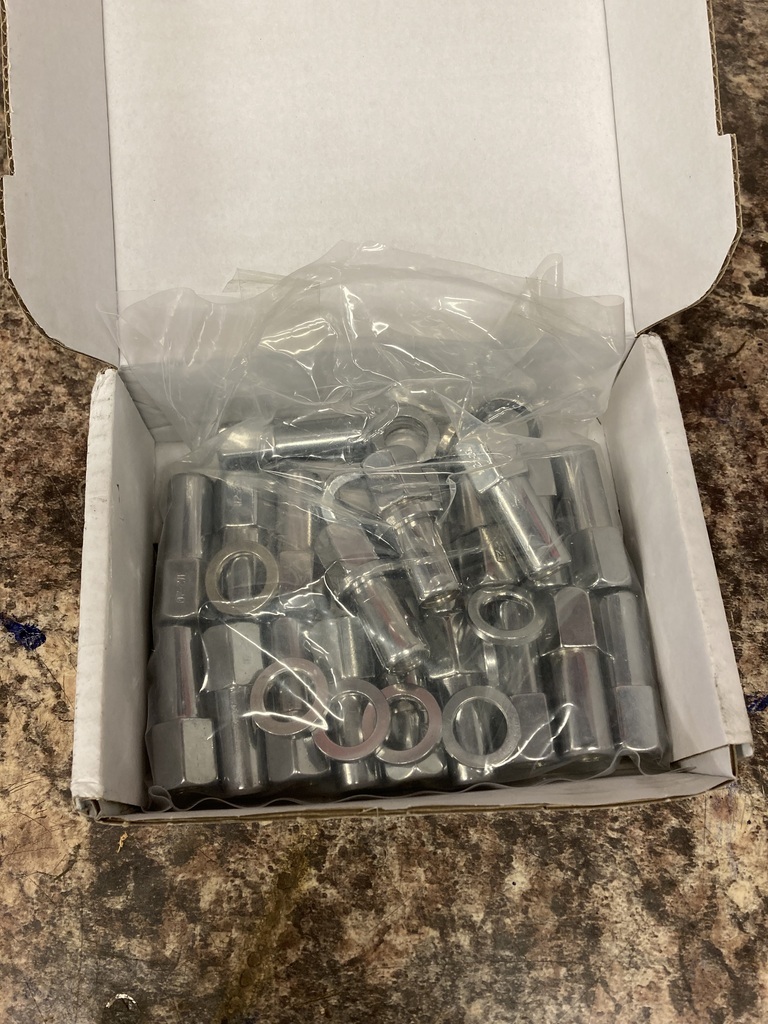
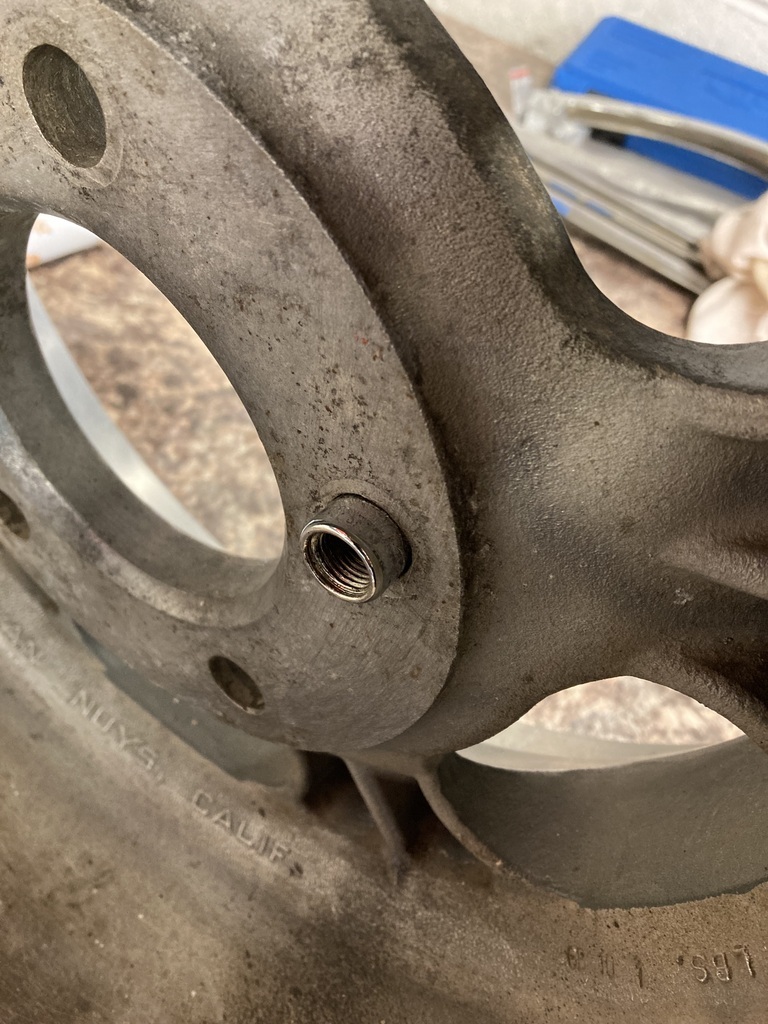
Here’s what excess length looked like.
Of course I had to do a little mock up.

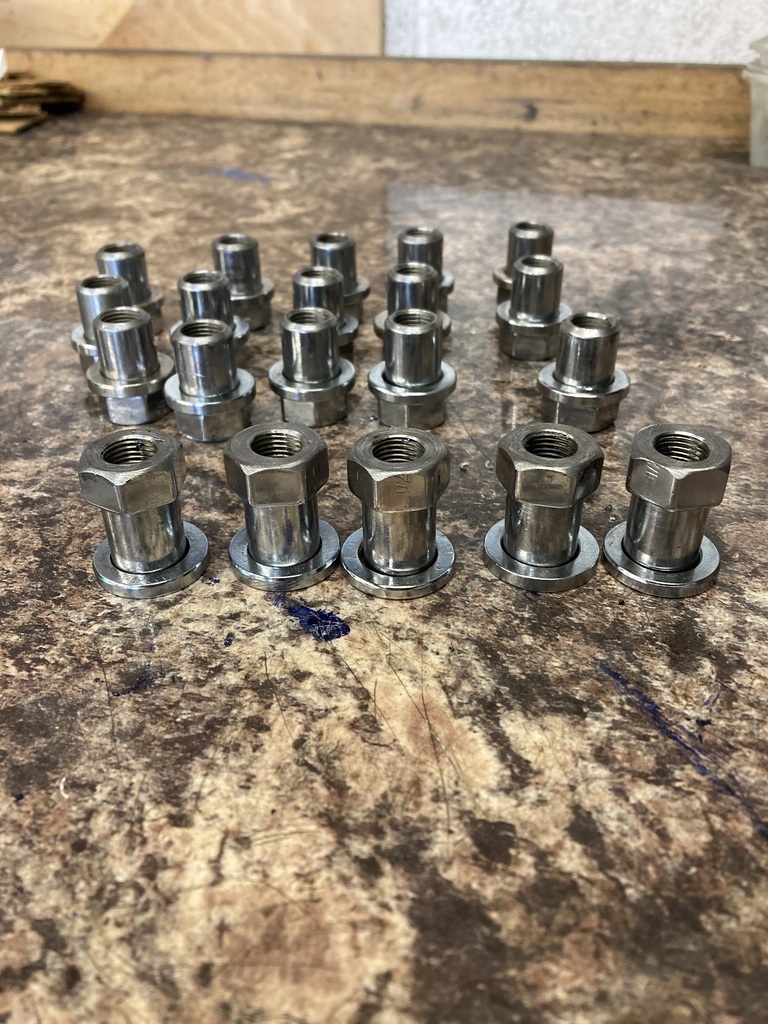
Having 20 wheel nuts to modify led me to setting up a production line with the lathe.
Setting the shoulder of each nut flush to the face of the chuck ment I could quickly set each nut in the same position.

I could then set the parting tool to the depth I wanted, lock it down and quickly shorten each nut with minimal set-up.
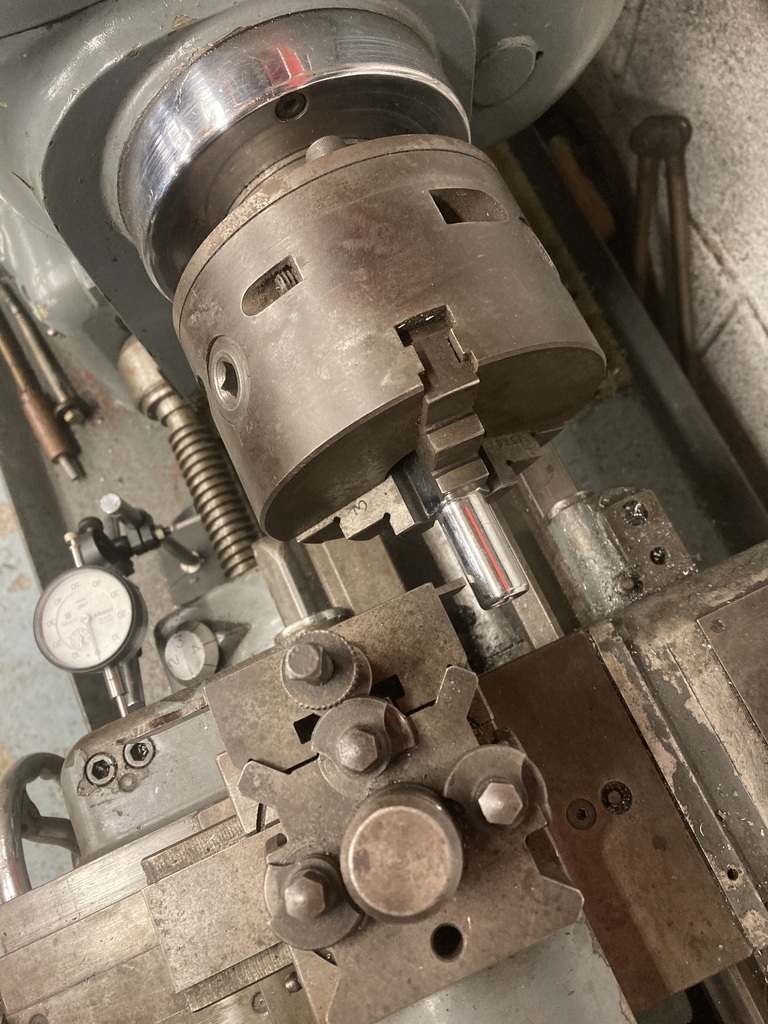
With all the shanks shortened to length they needed the taper putting back on so they would self locate in the wheel.
Setting each nut in the chuck as before, the compound slide, set at 45*, could be used to put the taper back in the same on each one.

Job done.

Mocked up in the wheel I really didn’t like the extended hex.
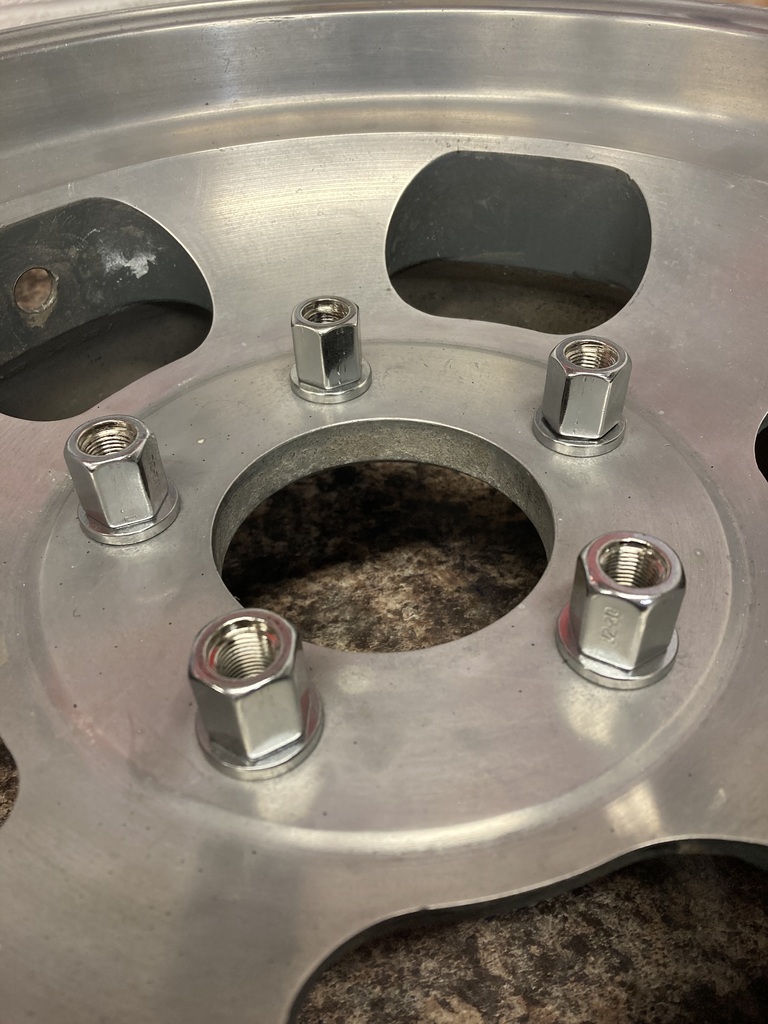
I mocked up some standard taper wheel nuts to get an idea of stick out and this looked a lot better.
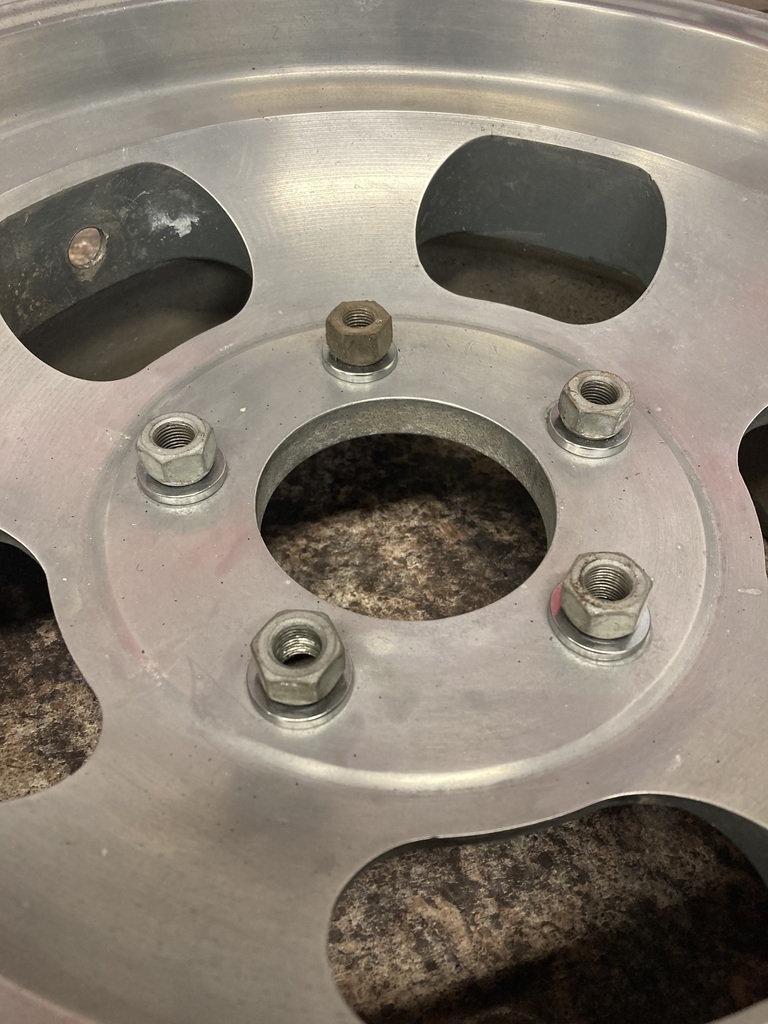
Back in the lathe to be parted off again. This was easier as they just butted up to the chuck.
I did cheat and use a grinder to round off the corners.

The first five done and looking much better.
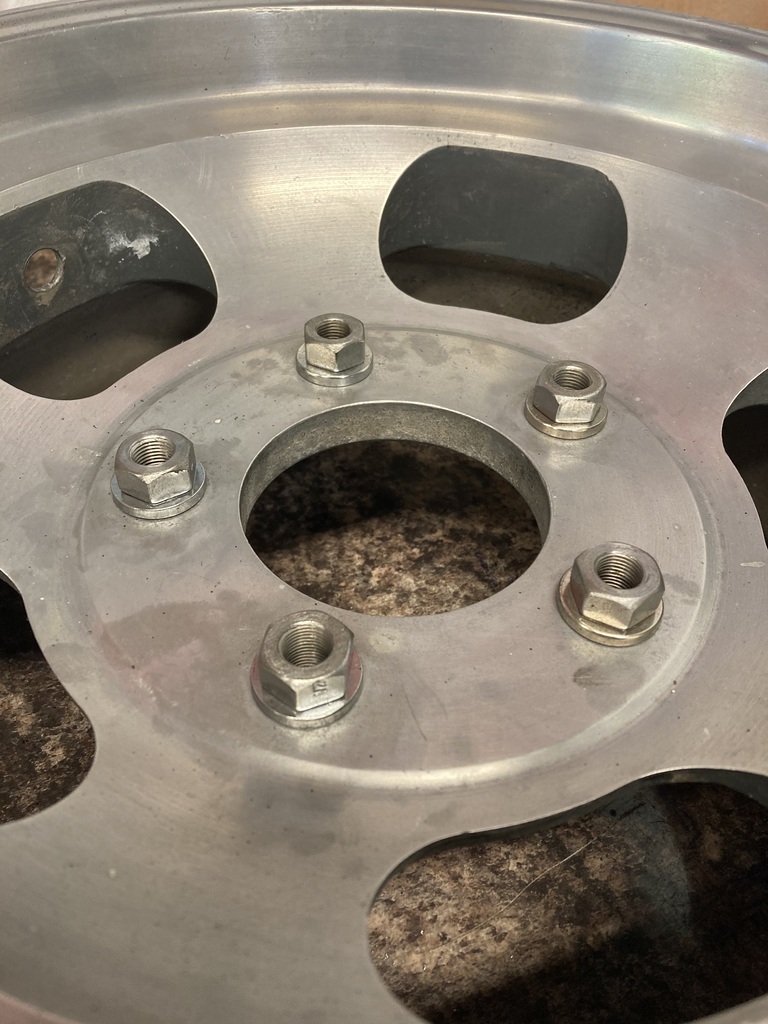
And finish the other fifteen.
By now I’d had the first wheel blasted to loose the polish and get it back to a ‘as cast’ look.

Then it got hit with the secret sauce.
Here’s the finished wheel compared to an untouched one.
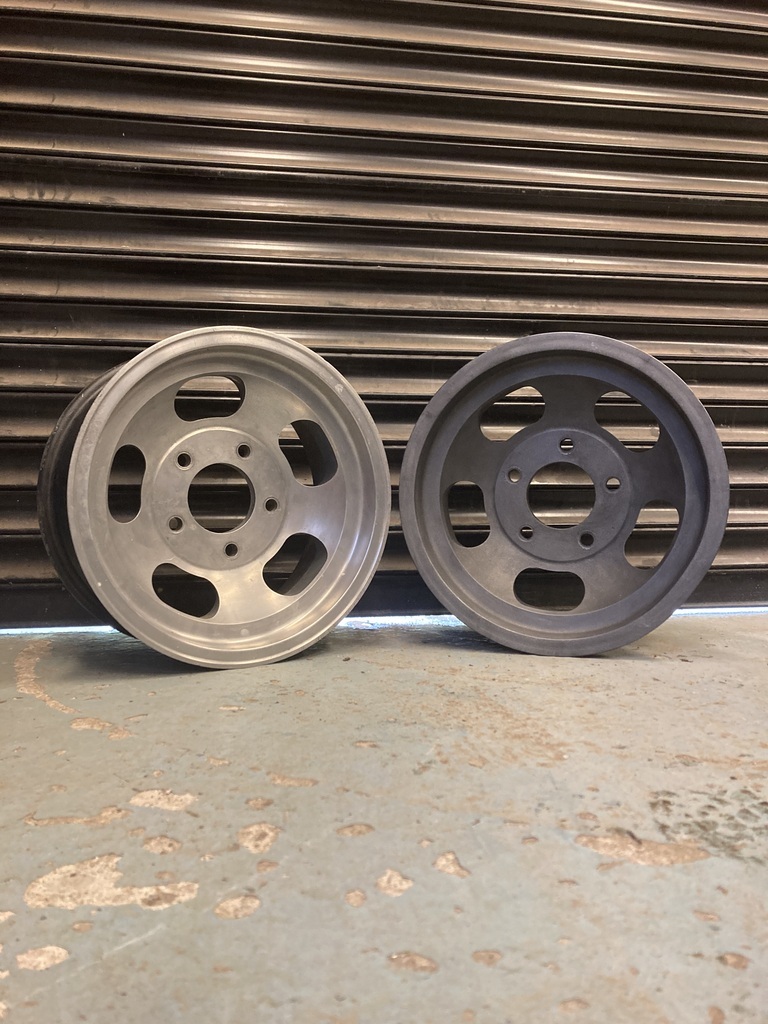
Then repeat everything on the remaining three wheels.

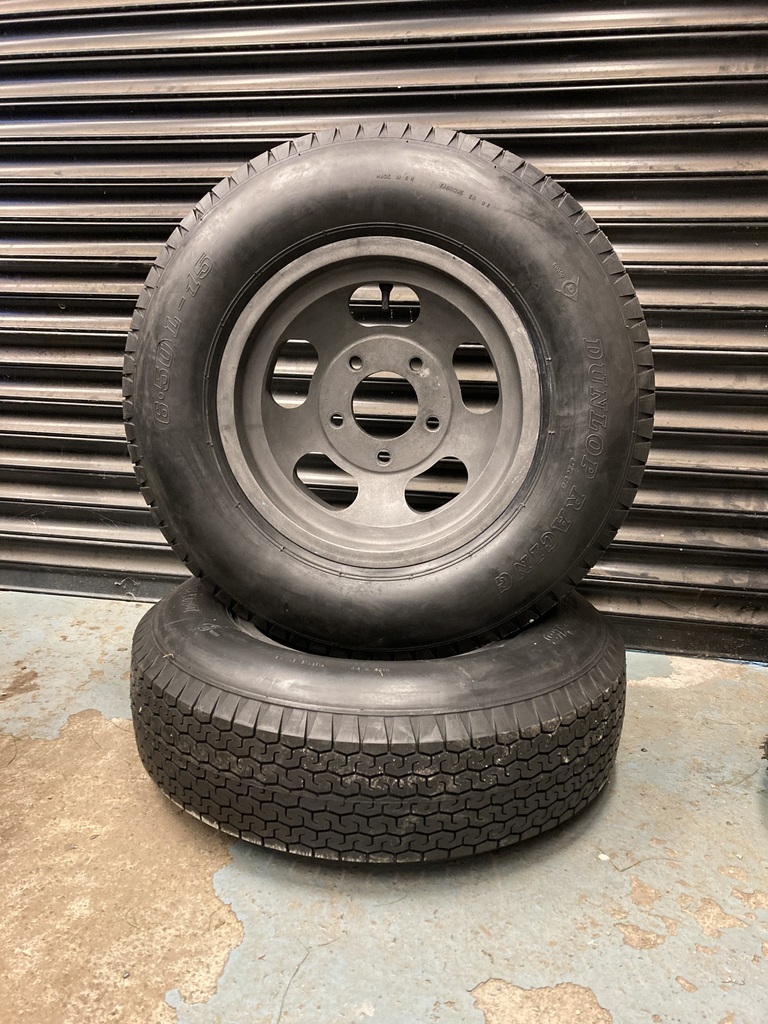
I needed the tyres now. I’d already decided on the Dunlops and size. Previously I would pick them up as part-worn as the race teams punt ‘em out for fresh ones but they still have life in them for what I want. This takes time until the right ones come up and what I now wanted are not so common a size either so I bit the bullet and bought a new set, which was painful to say the least.


 with it because I couldn’t get the clutch to disengage.
 car looks great on the road. More video needed

