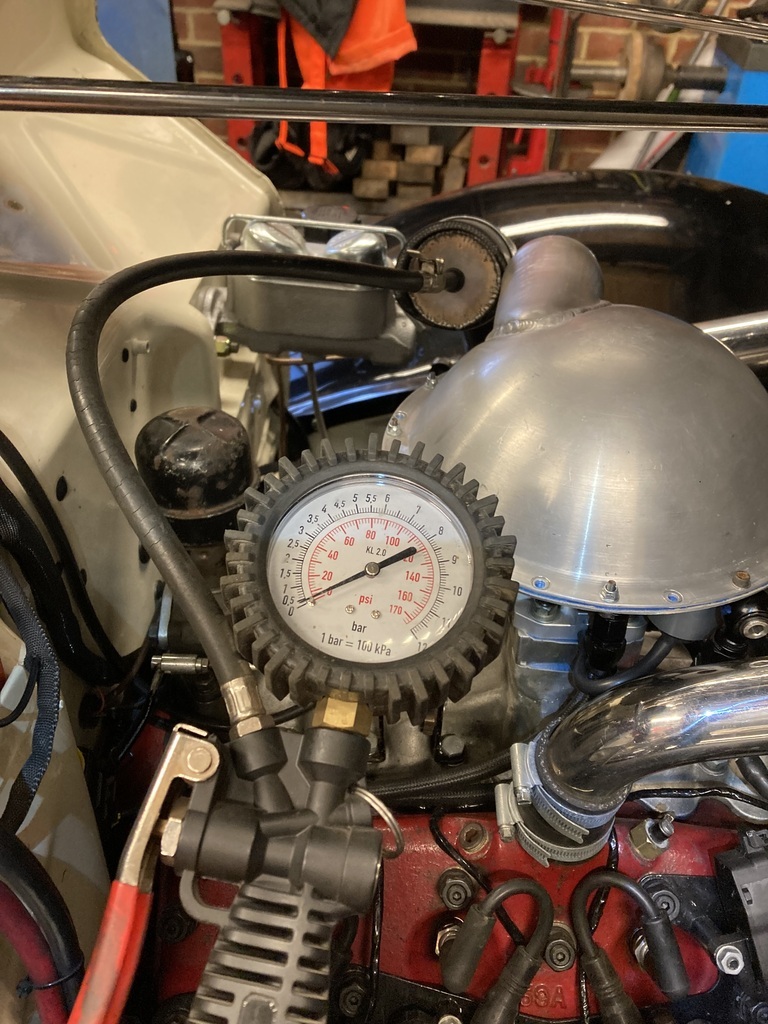
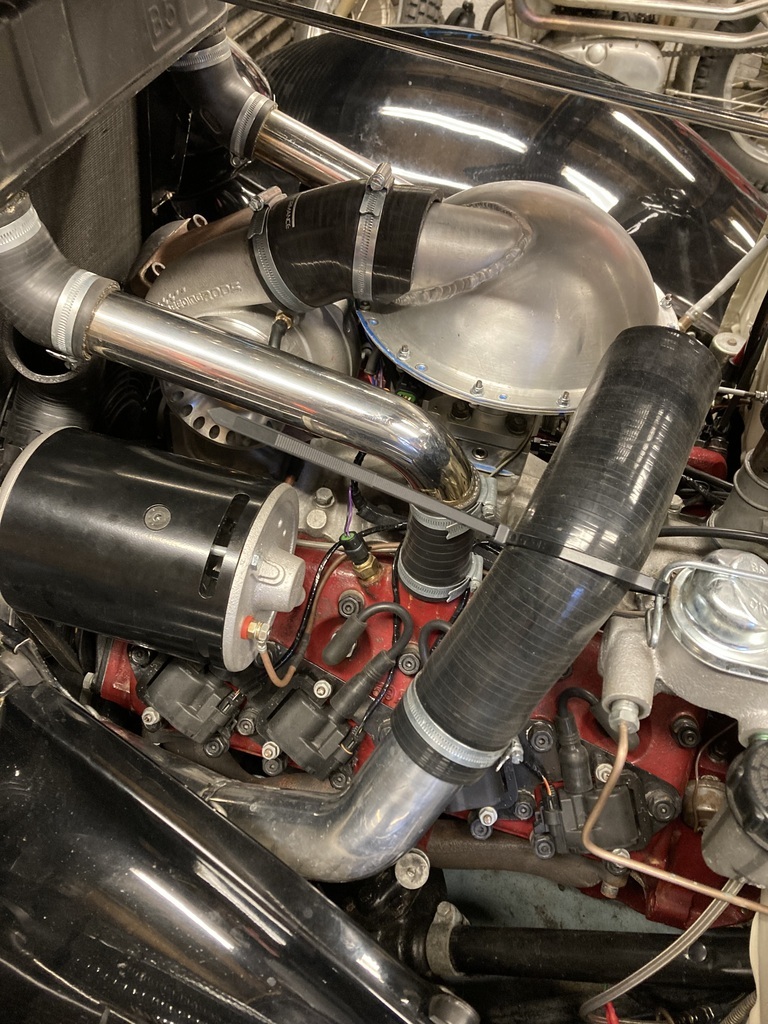
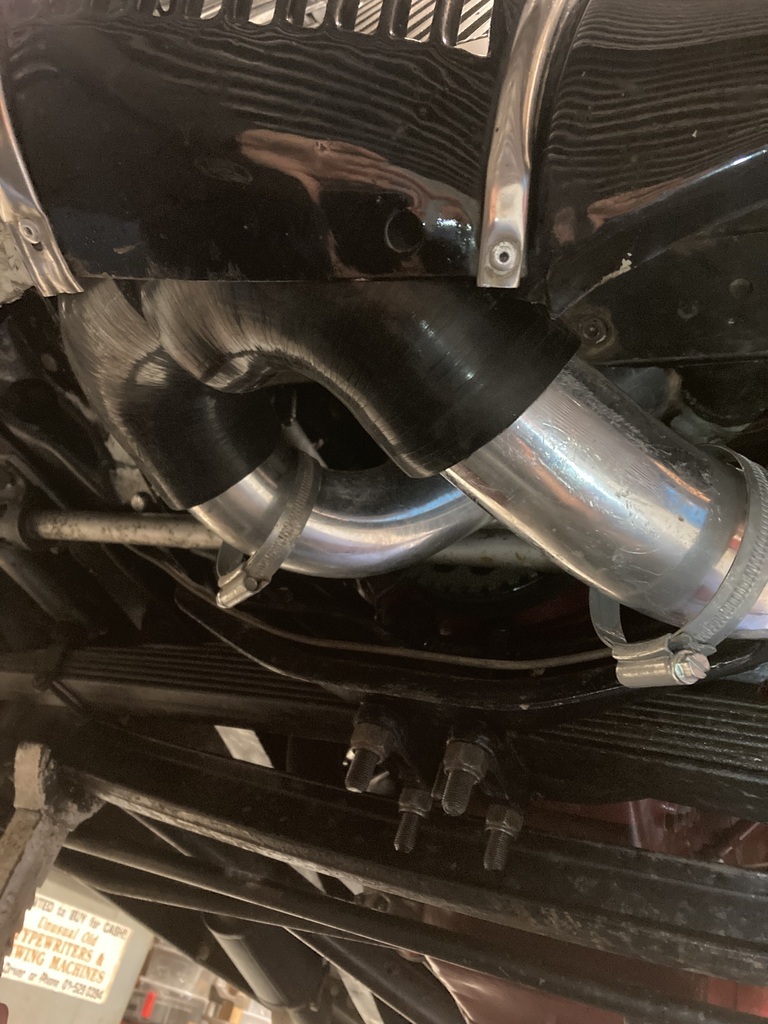
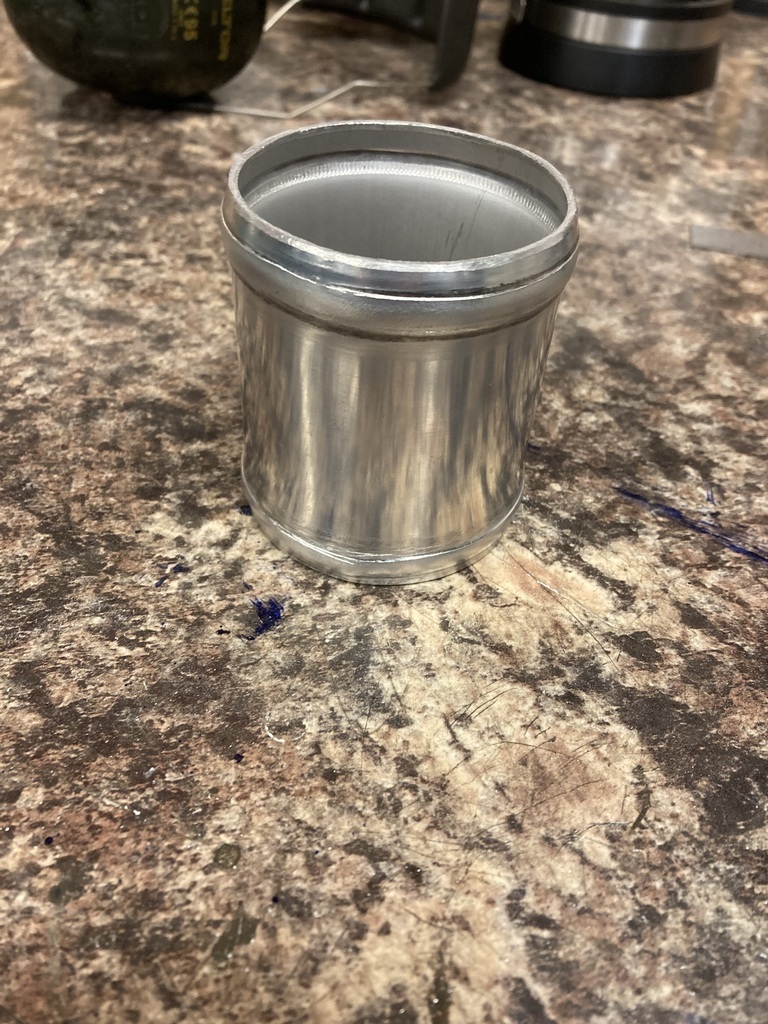
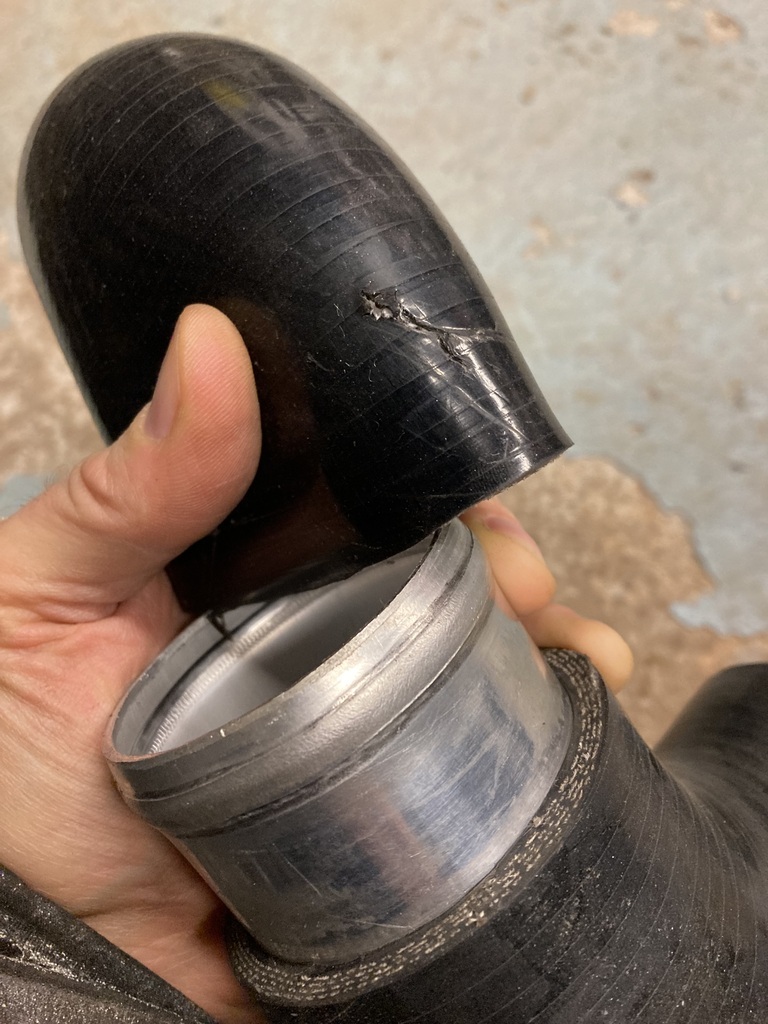
After the disastrous session on the rollers I headed home and promptly hit a wall of traffic on the way as they’d closed the road due to an accident.
Great.
This quadrupled my journey time and by the time I got home my ears were ringing and I stank of exhaust.
All because of this.
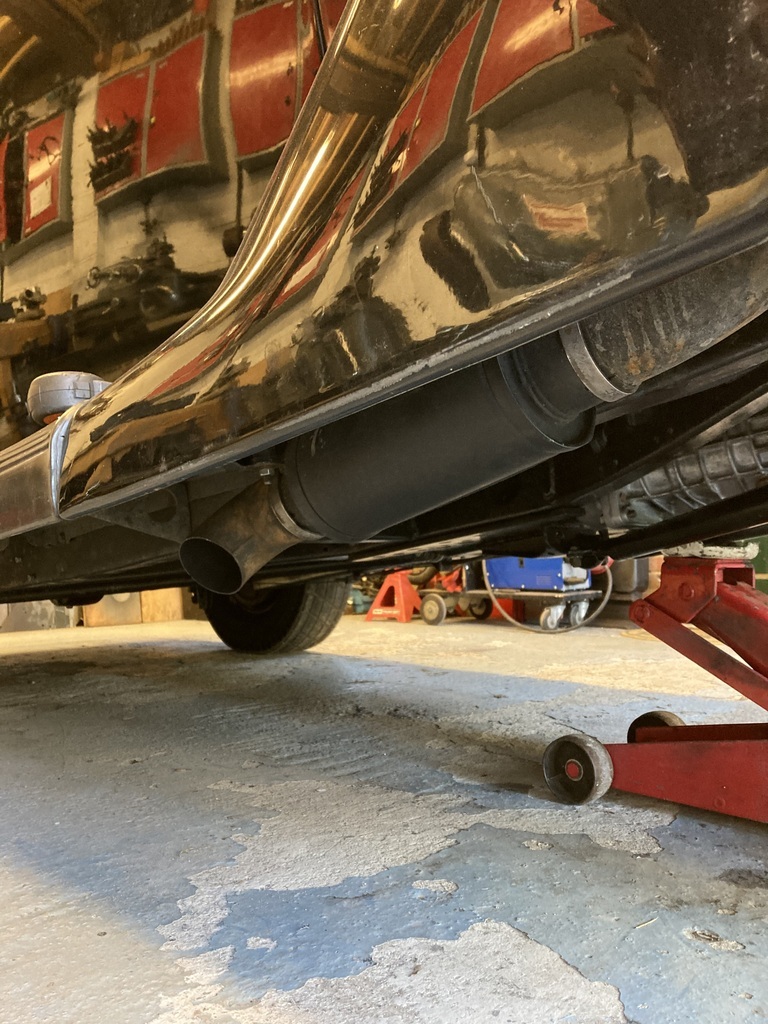
I’d ended the exhaust under the front wing just because it got me on the road quicker.
It was loud but not stupid loud and wasn’t to bad terrible going down the road either but stuck in traffic just had it echoing under the wing and exiting the exhaust under the floor boards which eventually made its way into the cab.
While I was waiting on the new injectors I grabbed a few bits to move it further down the car.
I will probably run it all the way to the back of the car eventually with another silencer added.
I’ve kept the 3” sizing from the turbo to the silencer under the wing and continued that with the new extension.
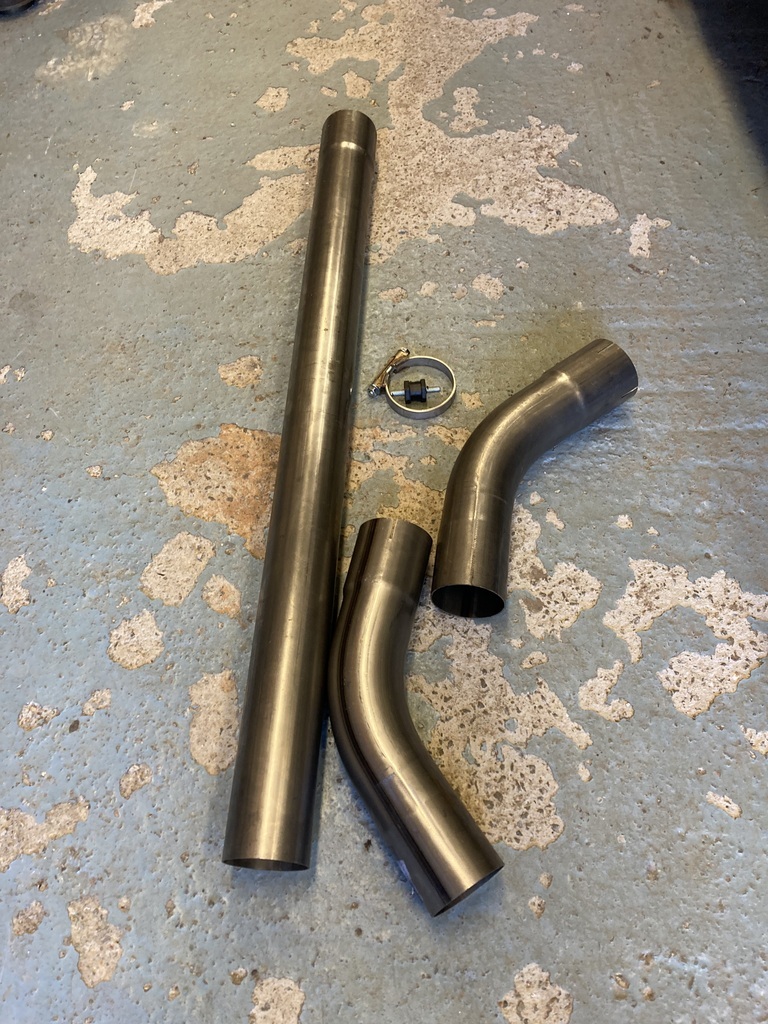
Sliding all the pieces together for an initial mockup showed it was all heading in the right direction.
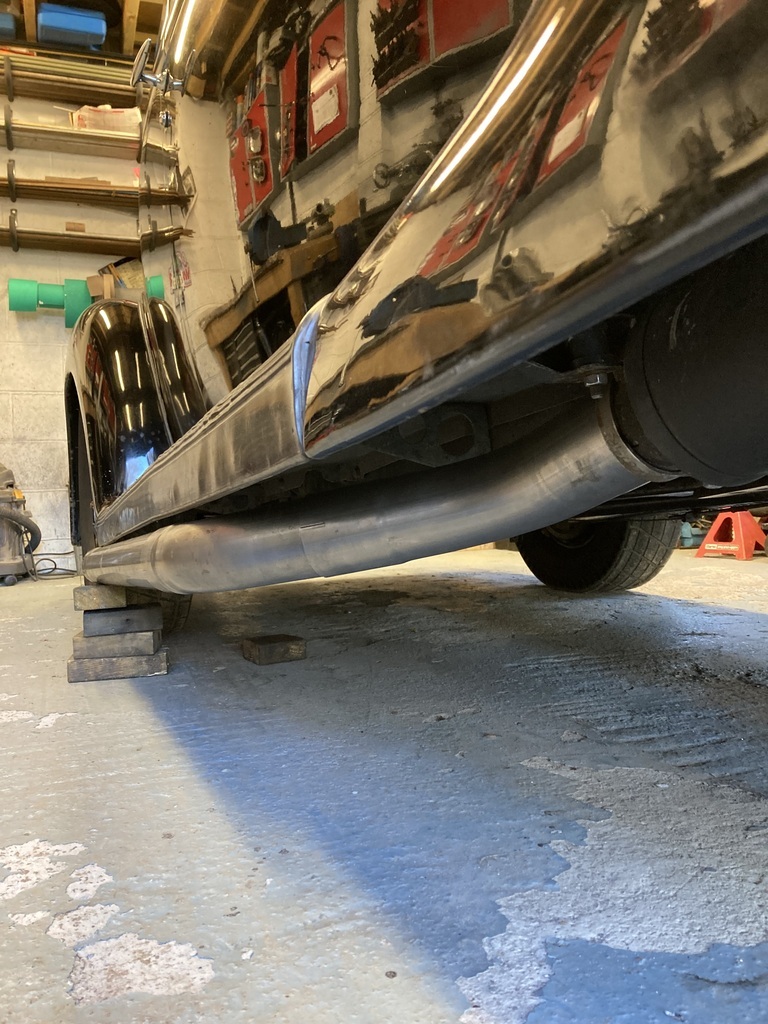
Mmmm…. Just no… 😆
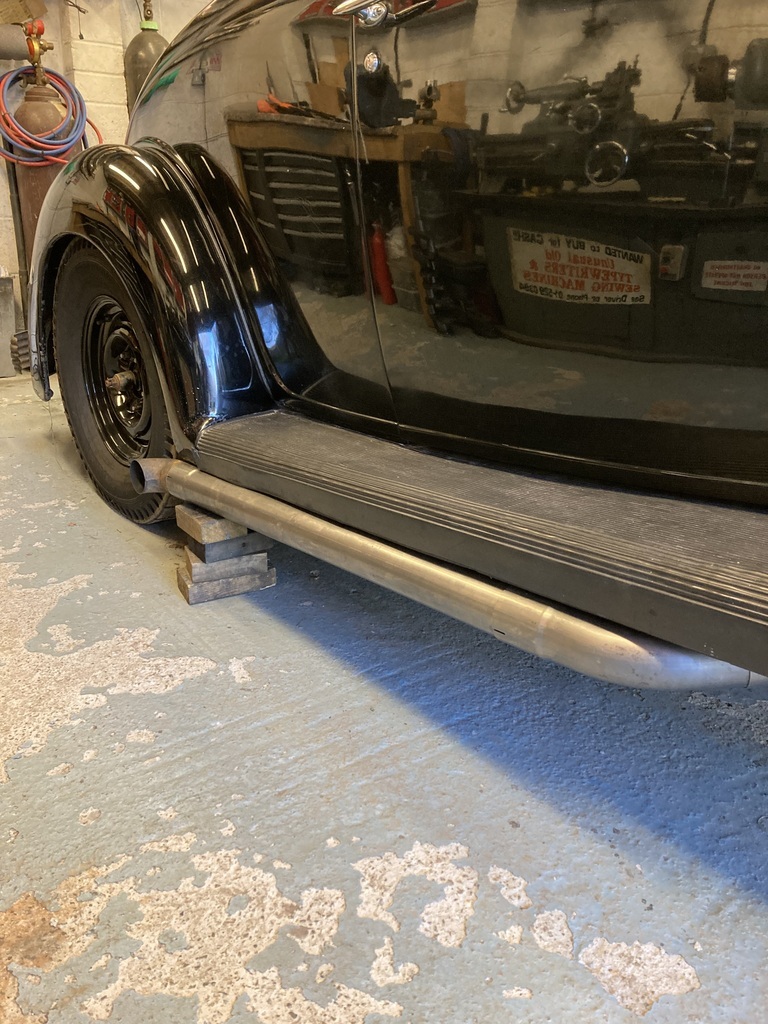
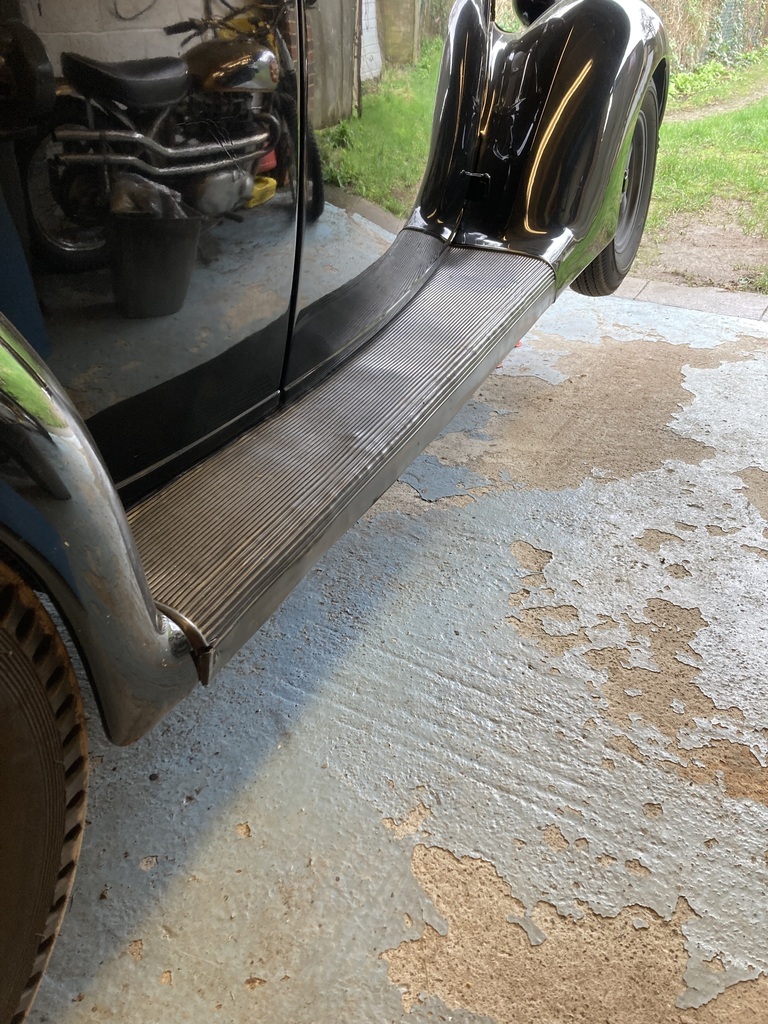
Trimming each section allowed it to pull in and up, under the running board.
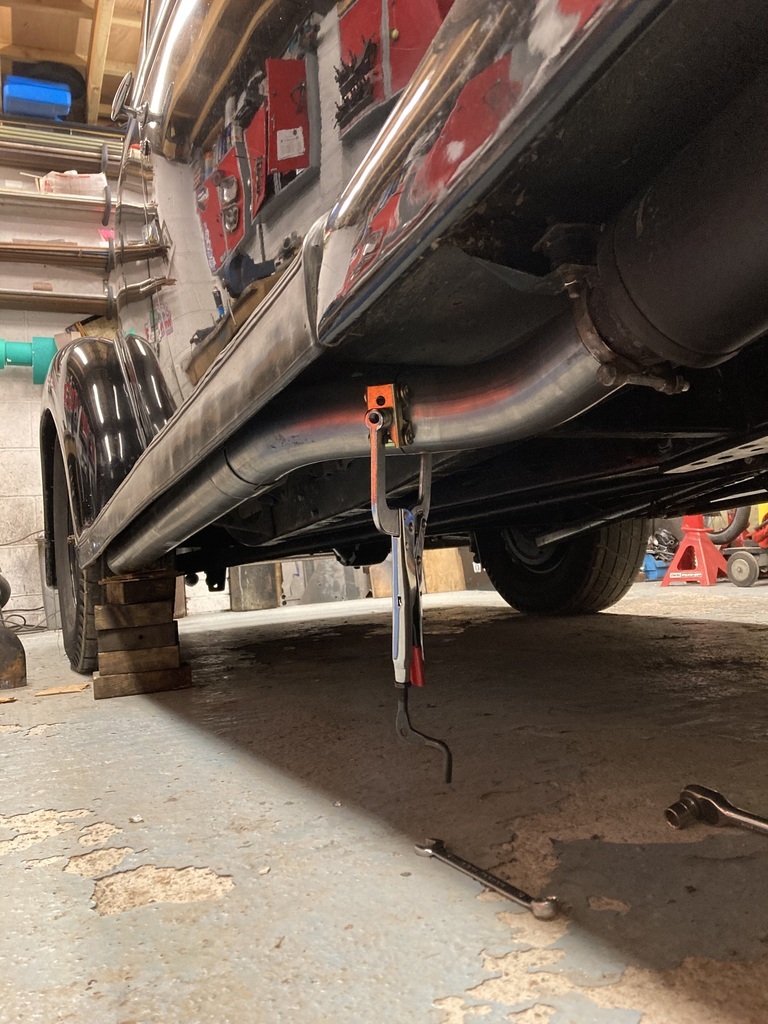
I had a decent exhaust hanger, which I covered earlier in the thread, at the front of the running board but would need another one at the other end.
Not having a lot of faith in this being a final solution as side exit exhausts always suck on a road car, I didn’t want to be cutting, welding or drilling into the running boards.
The factory running board supports had these holes and wondered if I could make use of them.
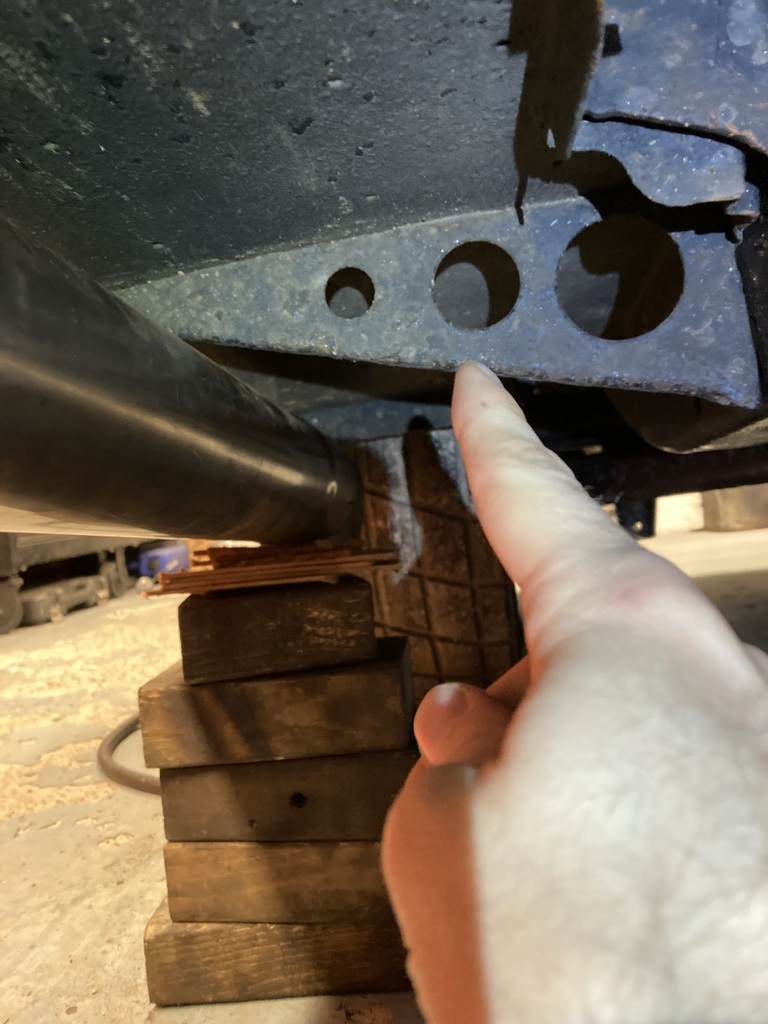
I dug around in the bolt boxes and found this washer that fitted the hole perfect.
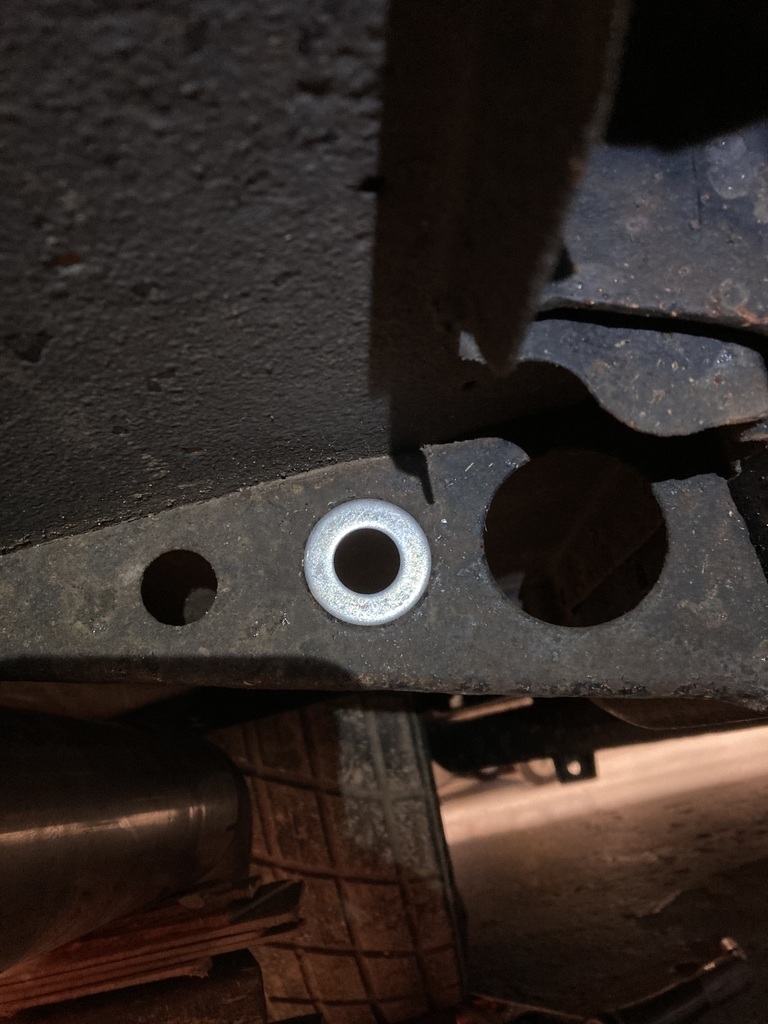
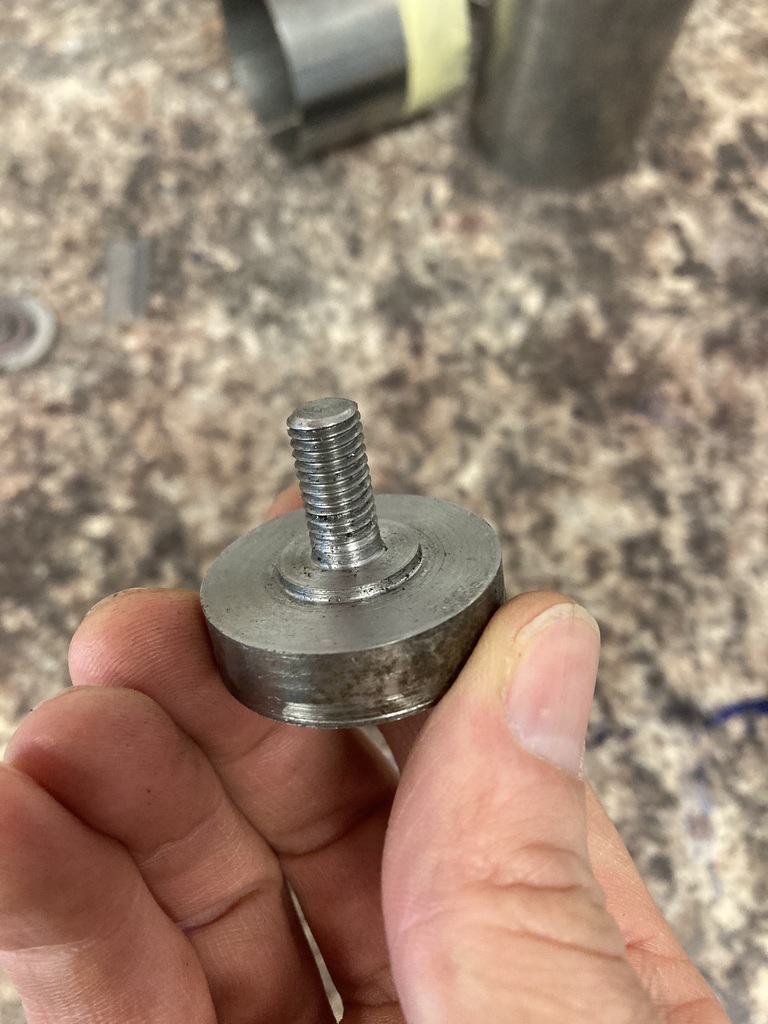
I then turned up this plug that sits against the hole in the bracket and registers to the centre hole in the washer with a threaded stud. It’s threaded M8 so it matches all the other hardware associated with the exhaust.
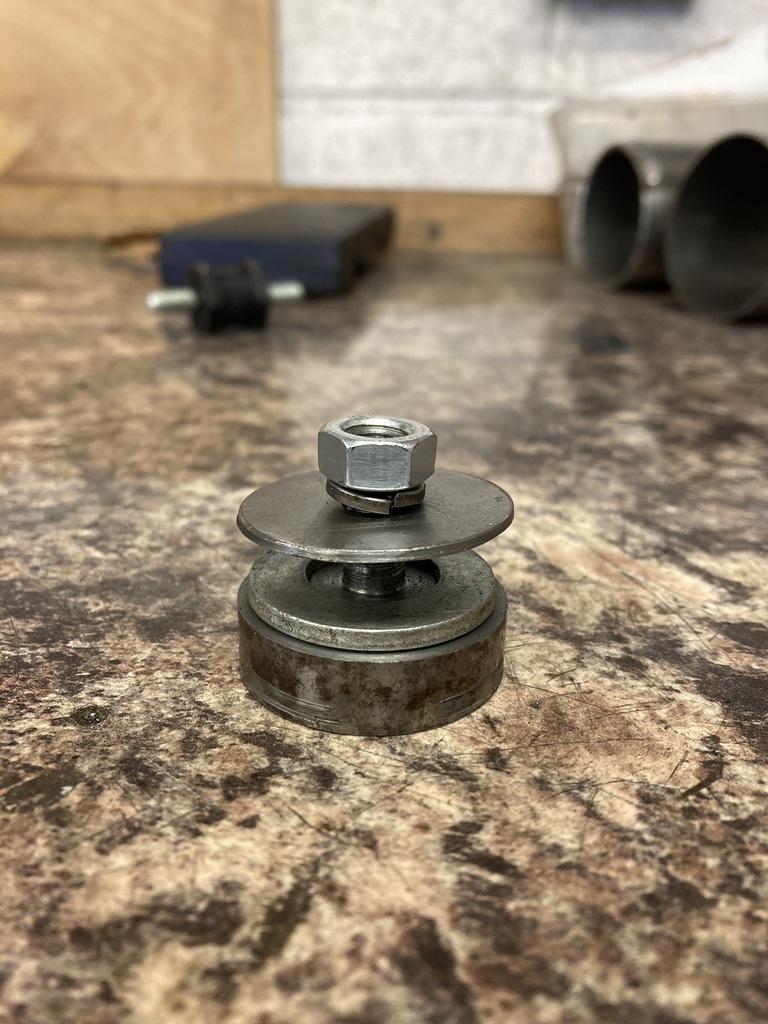
Here’s the assembly together with a penny washer I made to act as the second side of the clamp.
I now needed the hanger part which would attach to the plug.
I wanted the hanger portion to slide over the plug and be a perfect fit which meant not reaching for the hole saws. 🙄
Marked out the hanger on some 2mm plate and drilled the initial holes.
Using a gauge pin through the pilot hole I could quickly clamp the plate in the 4-jaw.
Yes it was frightening and no I didn’t stand in front of it. ☠️
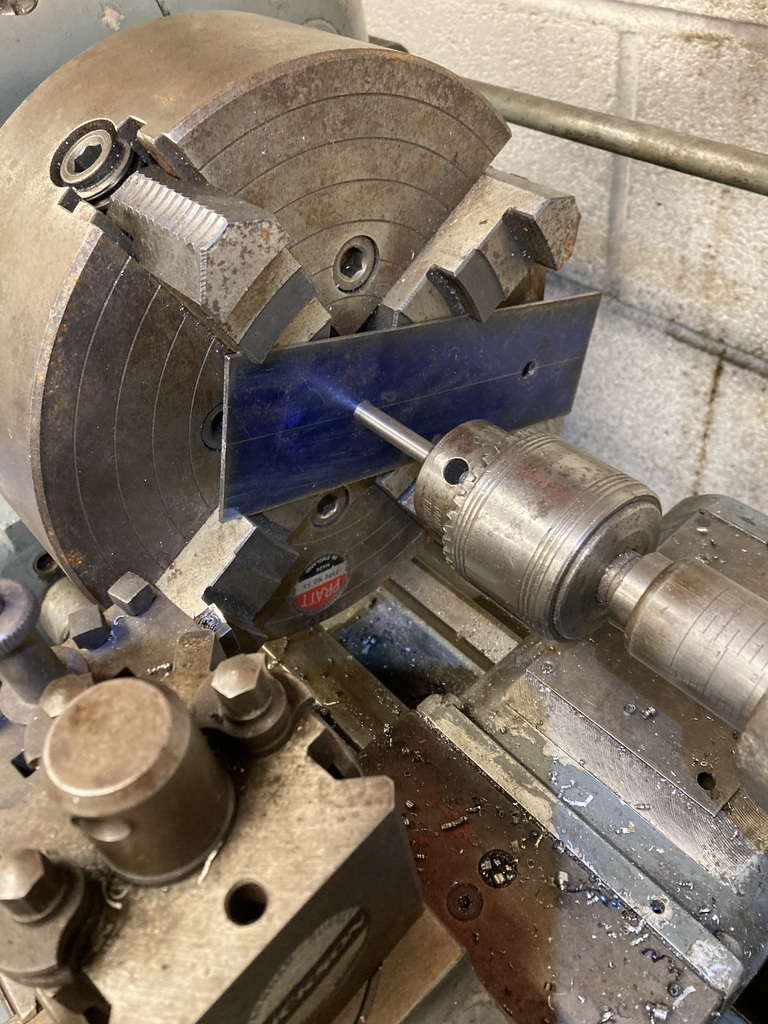
Step drill used to quickly take it out to near final size.
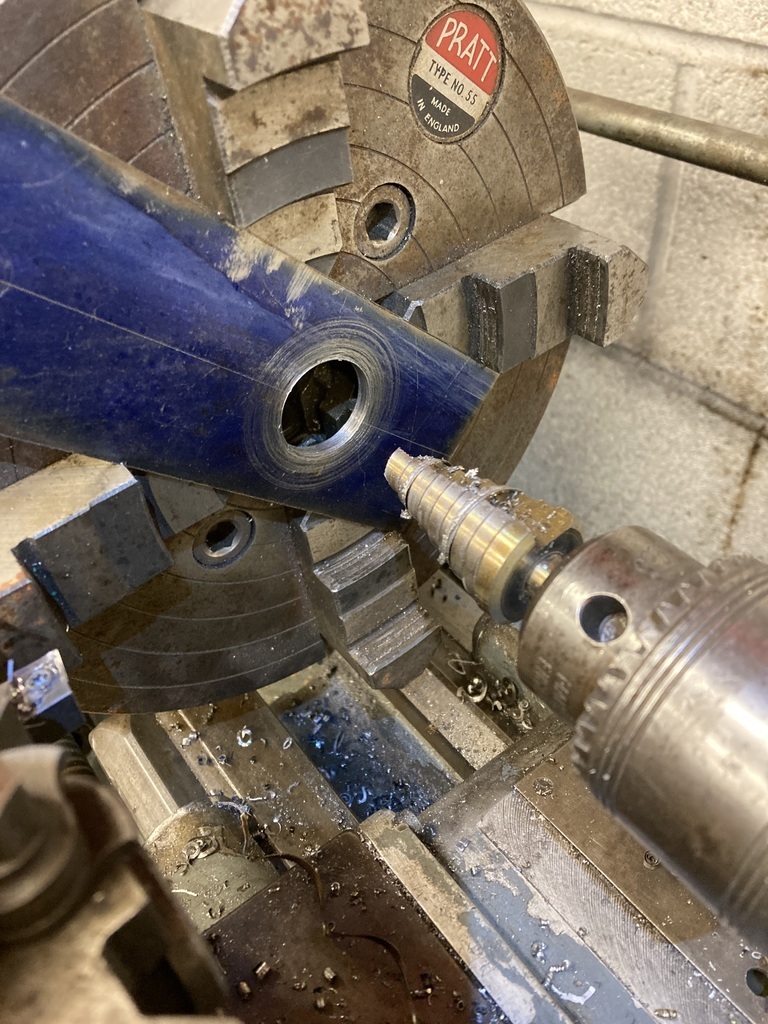
And finish with the boring bar.
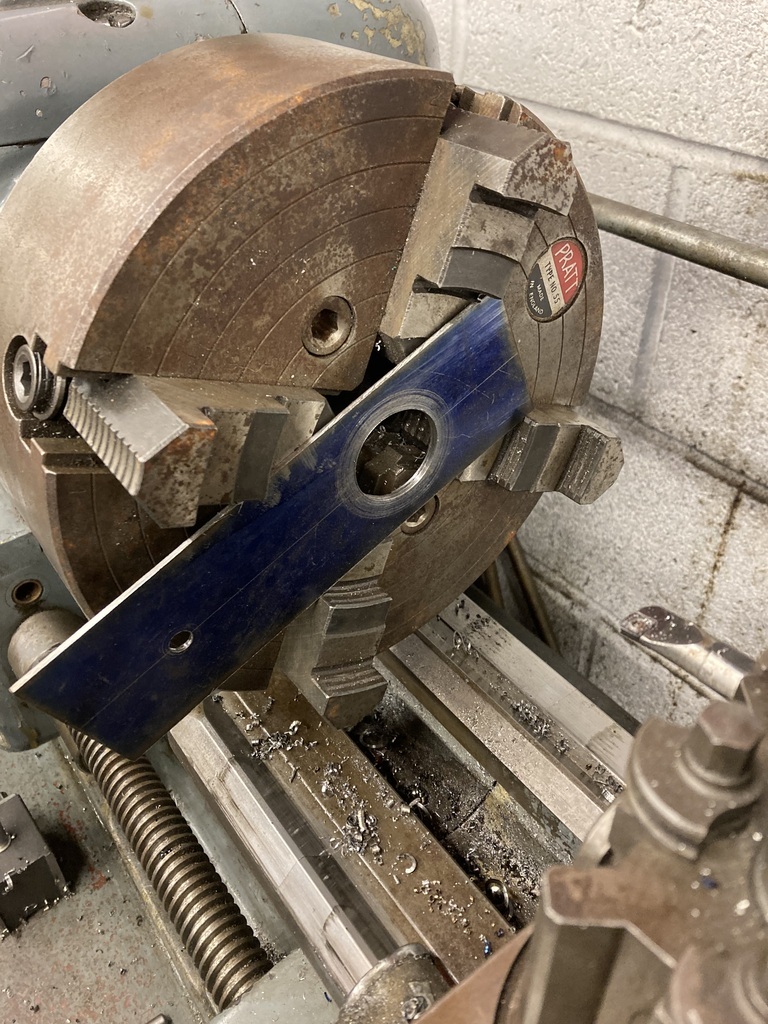
I can then take it back to the CAD template and trim it to the final shape.
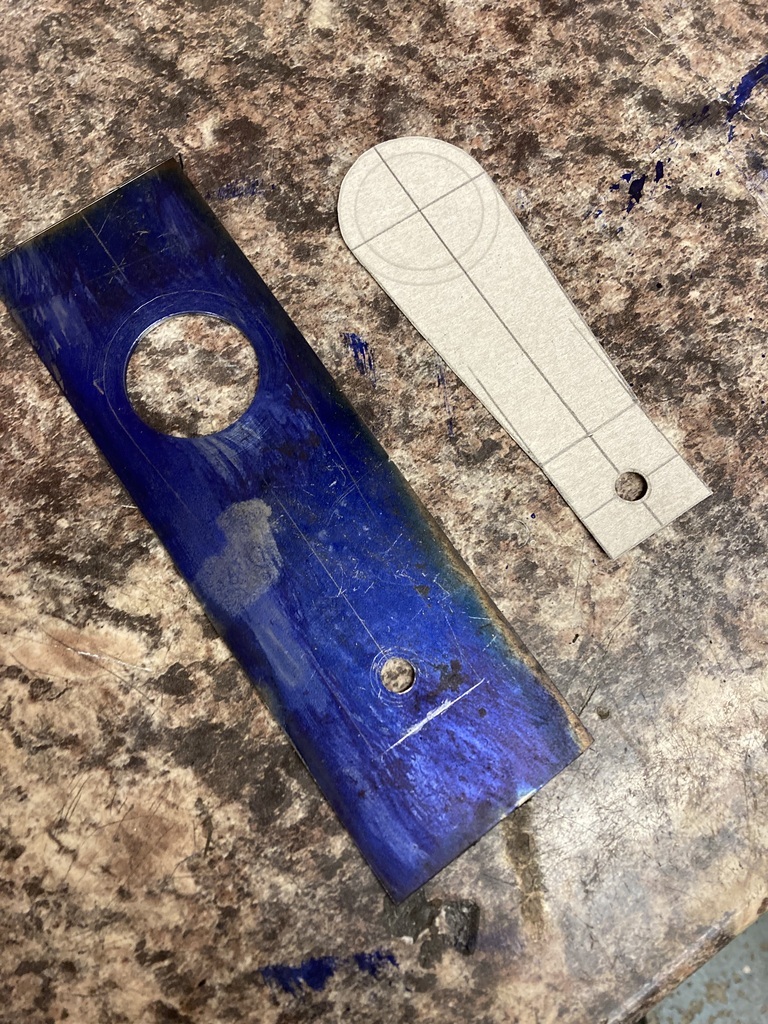
Cut to shape and folded it was welded onto the plug.
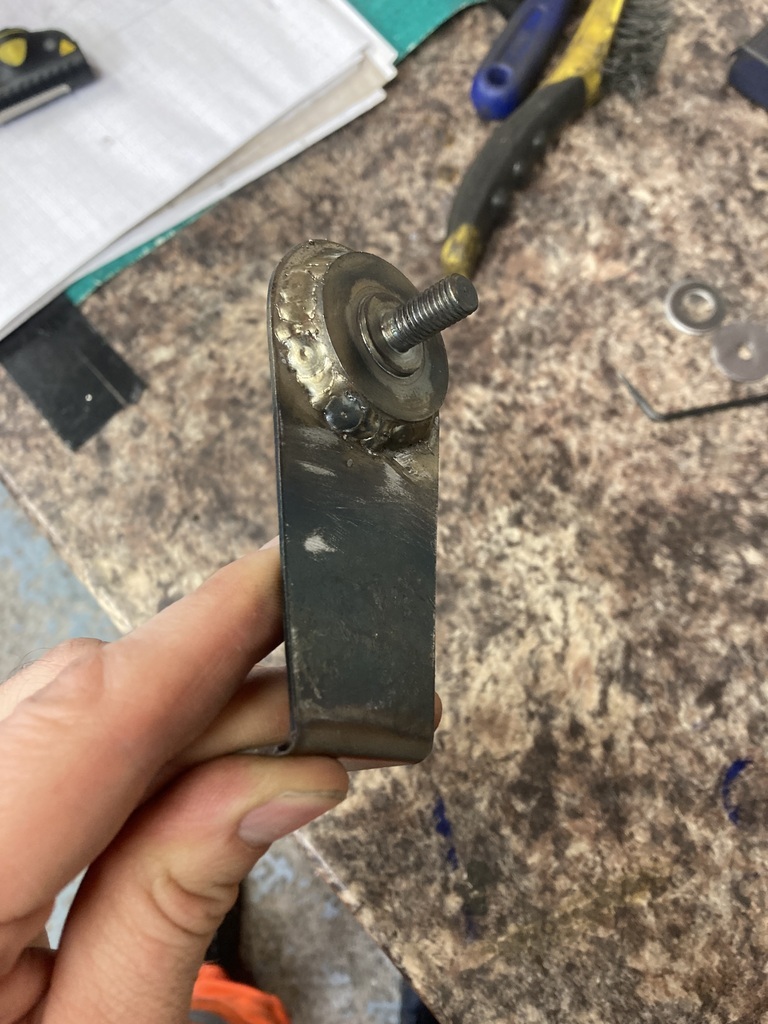
The whole assembly located in the bracket hole.
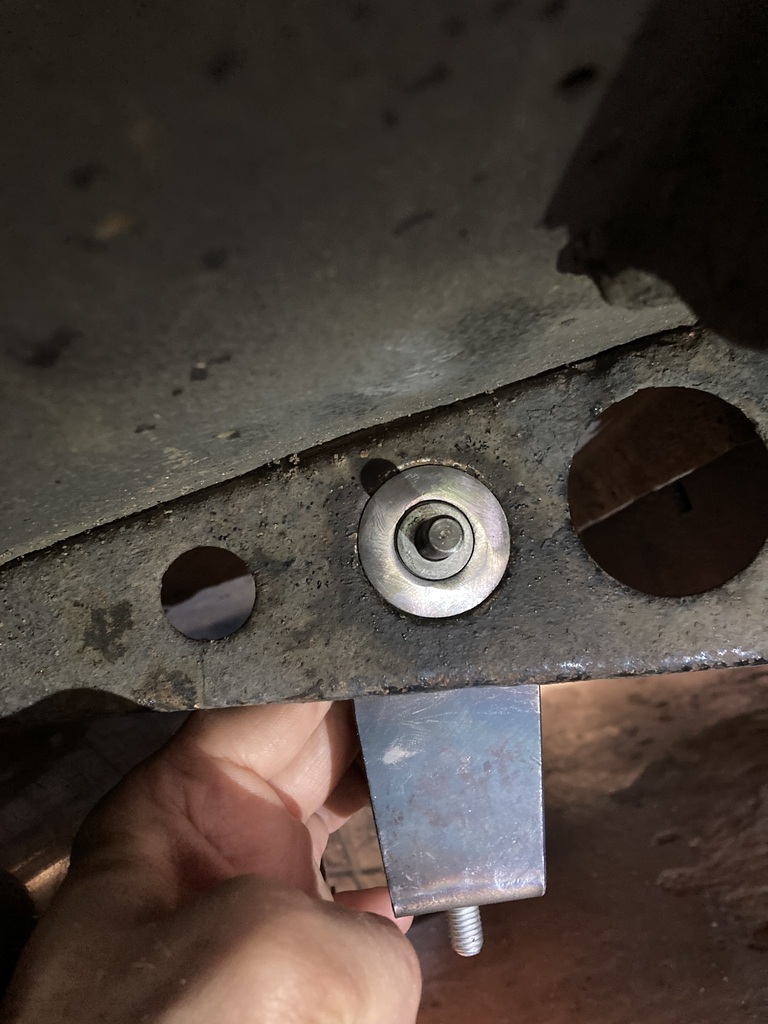
And bolted up.
The most complicated exhaust hanger but no cutting, welding or drilling!
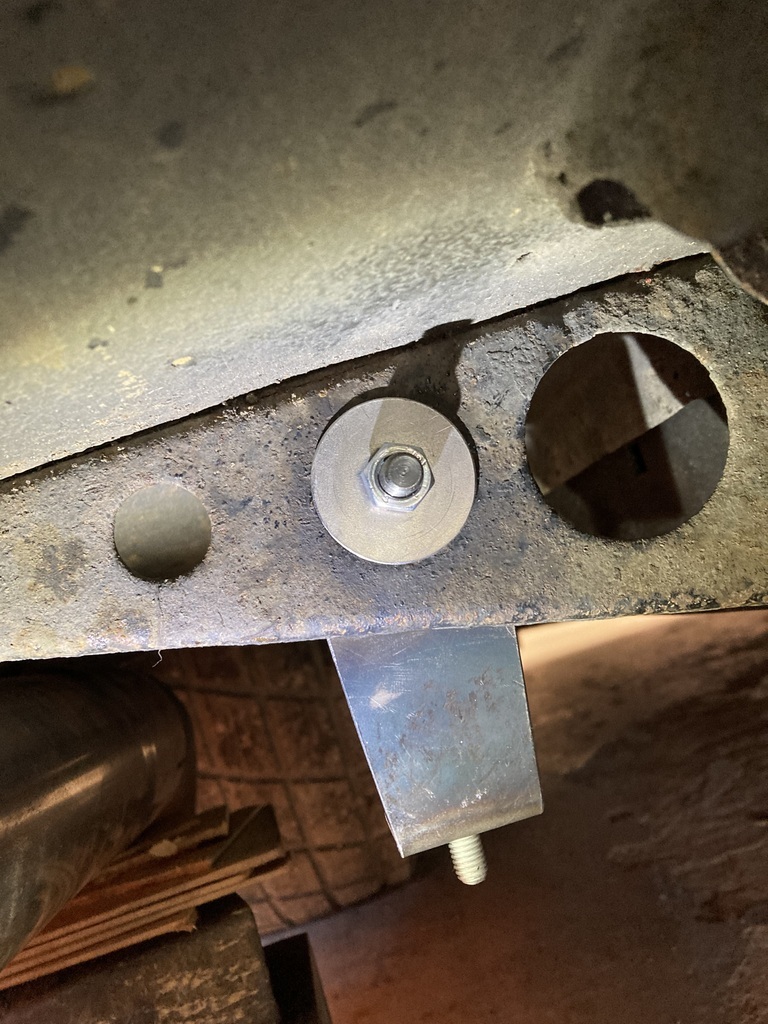
The stud hanging down from the bottom of the hanger in the previous photo is the cotton reel.
I could now build a bracket off the top of the cotton reel to the exhaust pipe, keeping the cotton reel in compression as it should be.
Some more CAD.
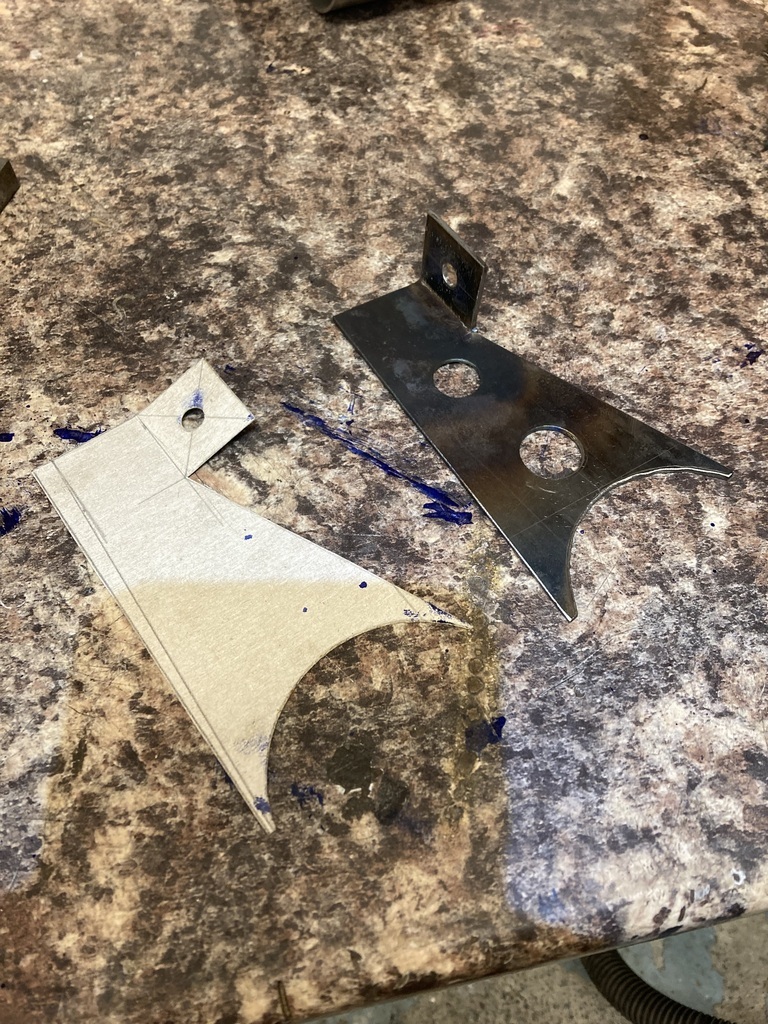
With that final piece in place it could all be checked one final time for straightness and squareness and all tacked together and dropped off as one piece for the first time for final welding.
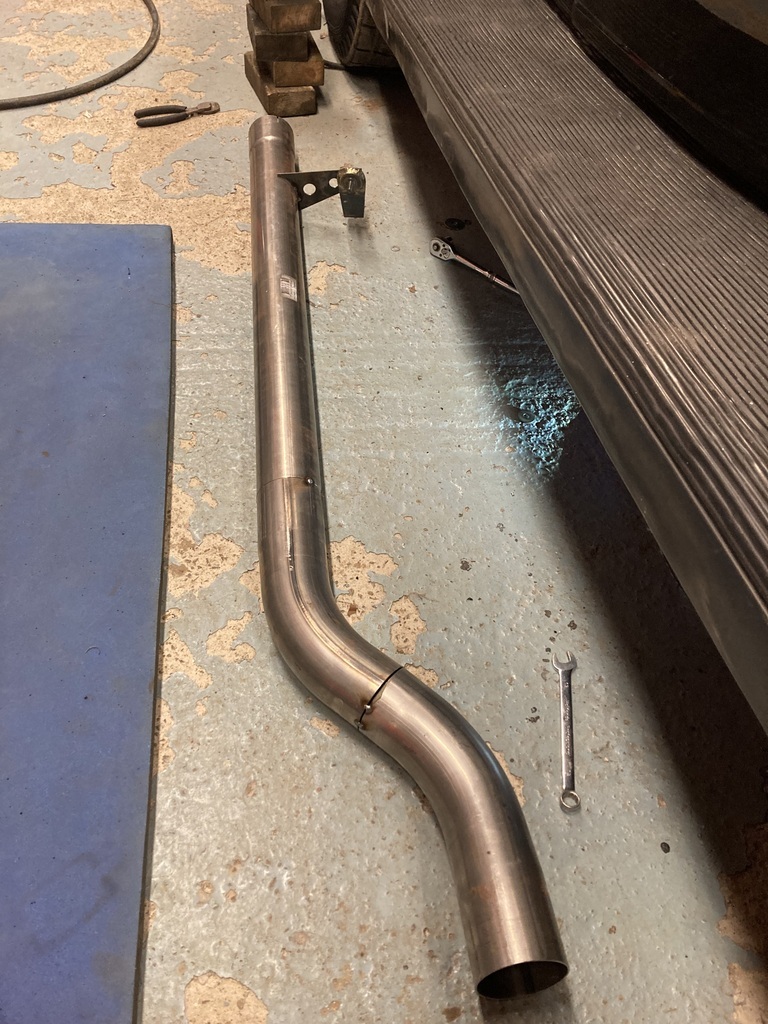
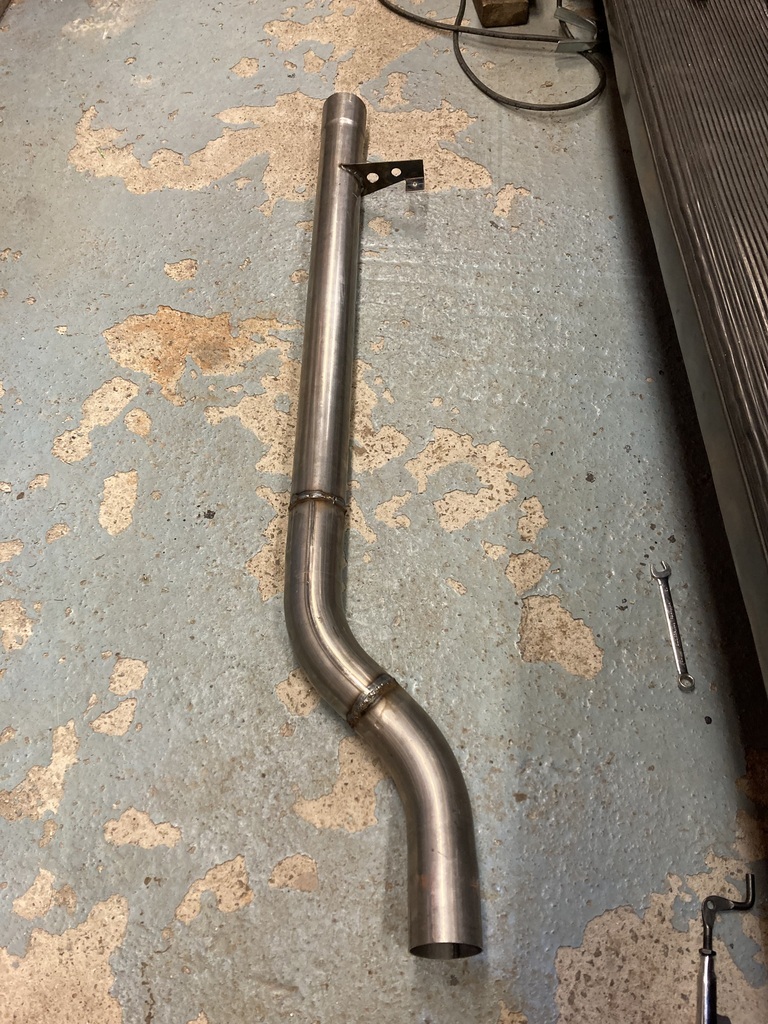
Fully welded and a couple of fillet pieces added for strength.
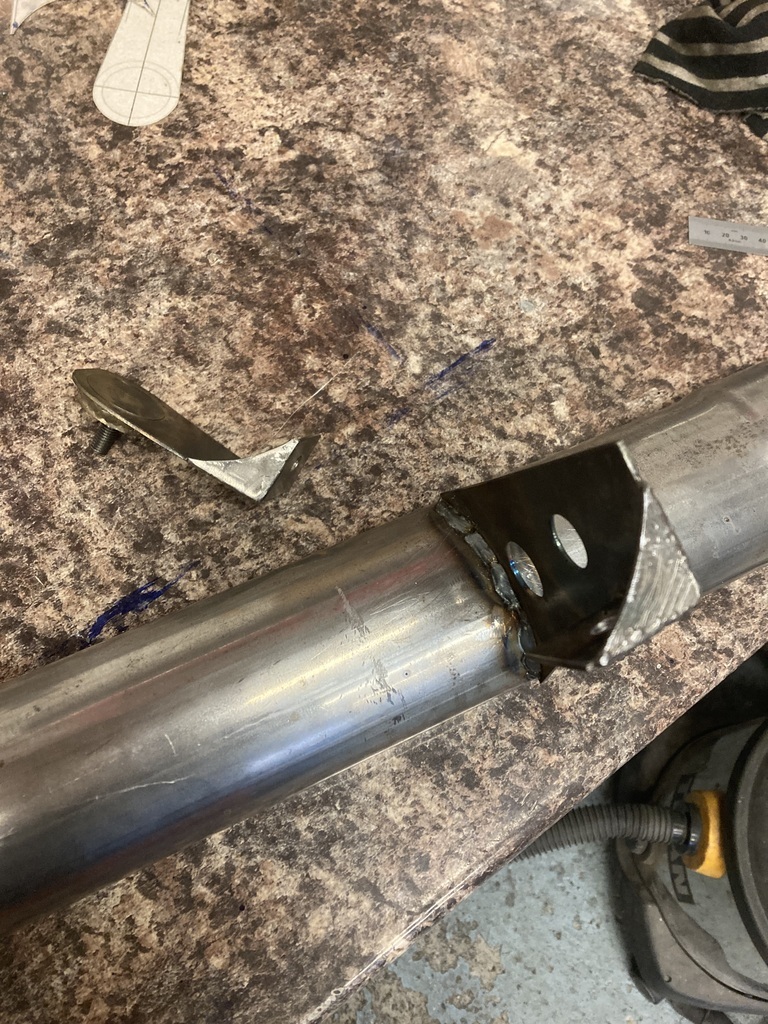
Everything got coated in hi-temp paint and the final fit up.
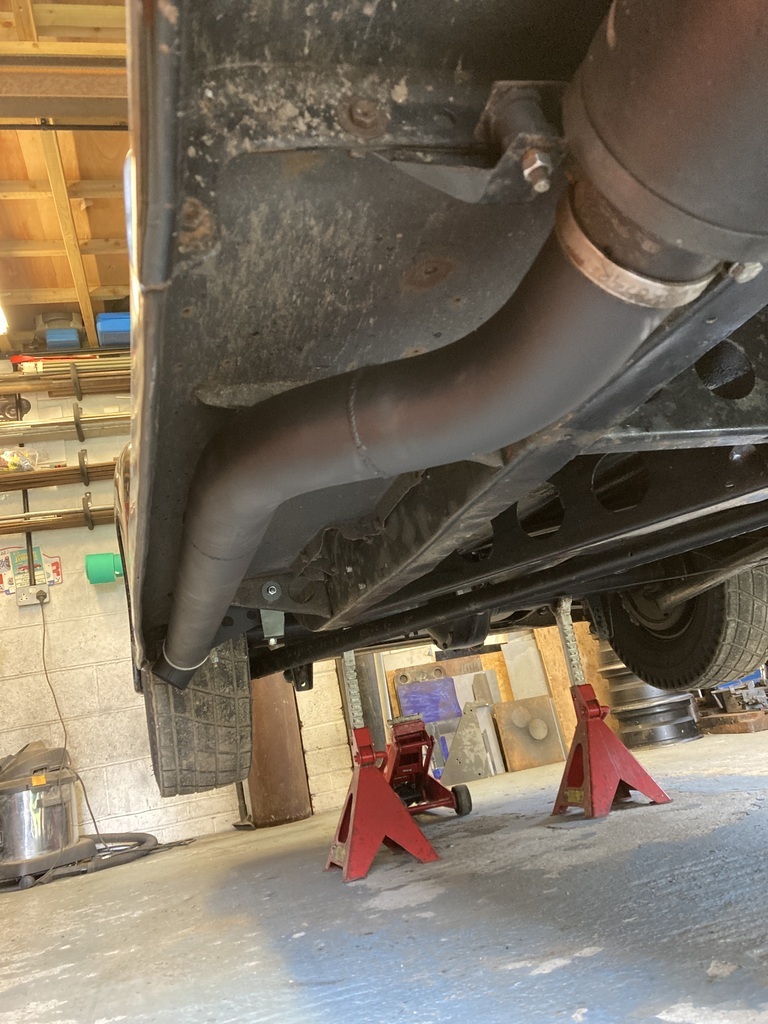
You’d never know there was a 3” exhaust lurking under the running board.
With the injectors I got directed to a local guy who made “custom” injectors, anything you want.
Well, I rode the train for week and knew it wasn’t going anywhere so went and got all my stuff back.
It was proving difficult to find anyone in the UK who had my style of injectors in the flow range I needed.
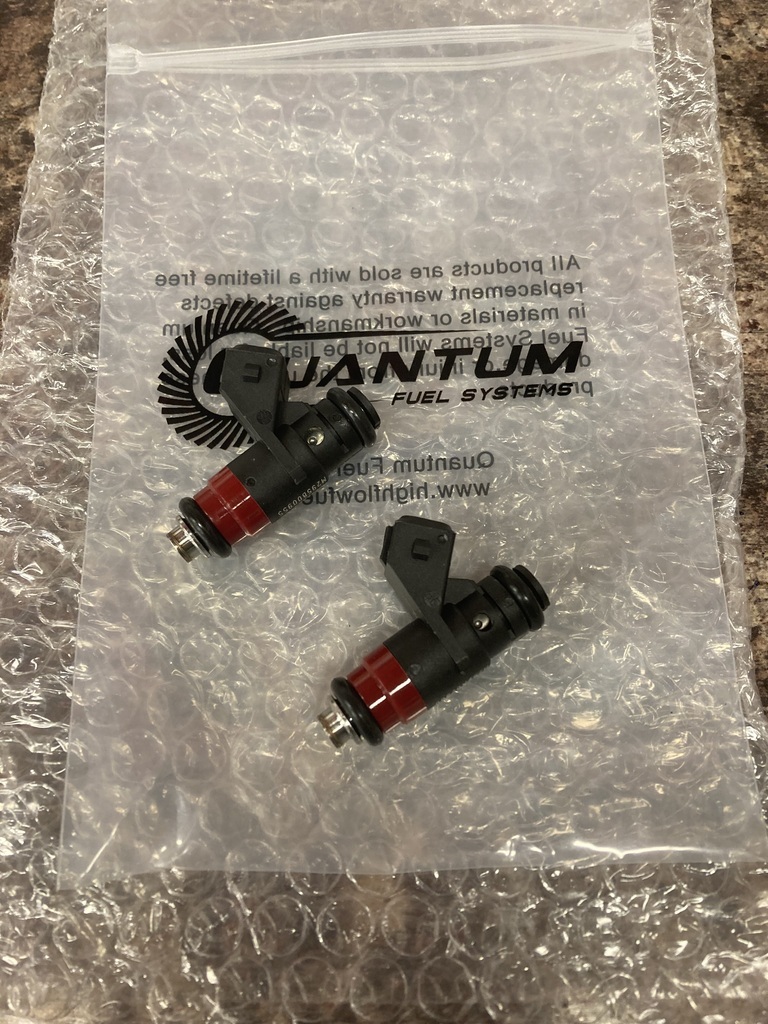
I turned to looking in the US and after realising they rate their injector flow in lbs not cc I was finally able to find what I wanted.
Ordered Friday afternoon they arrived Monday morning.
To change them is just a matter of unscrewing the lid and pulling the injectors out.
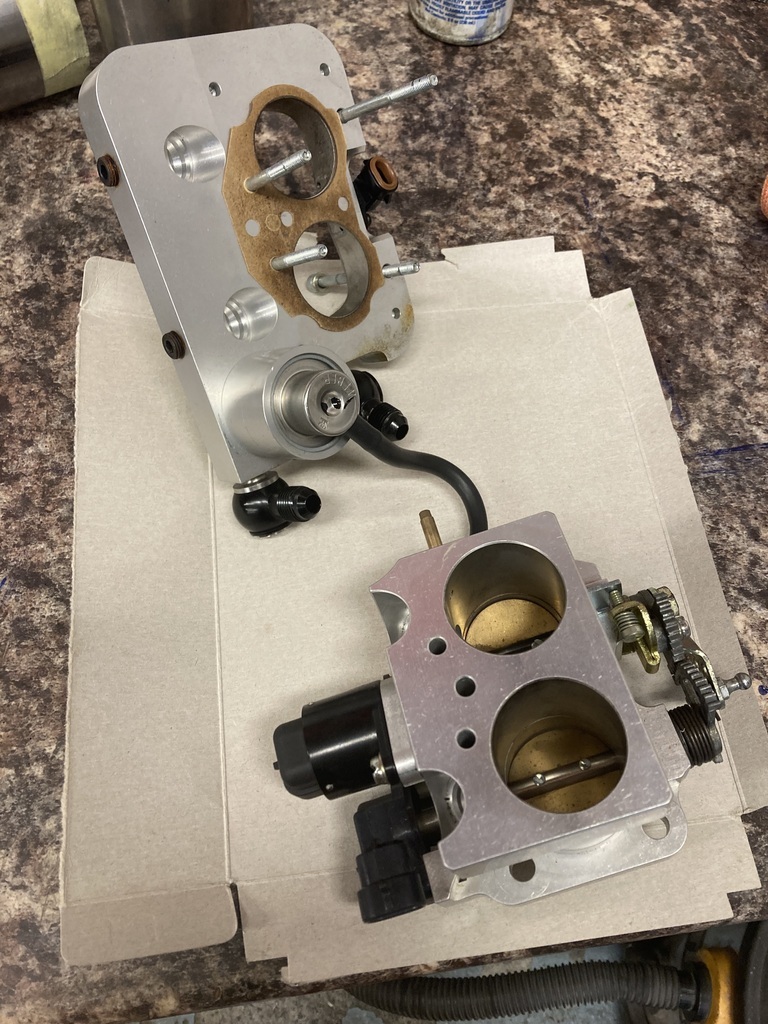
Push the new ones in and sit the lid back on.
The throttle body doesn’t need to be removed from the engine but it was off already from before.
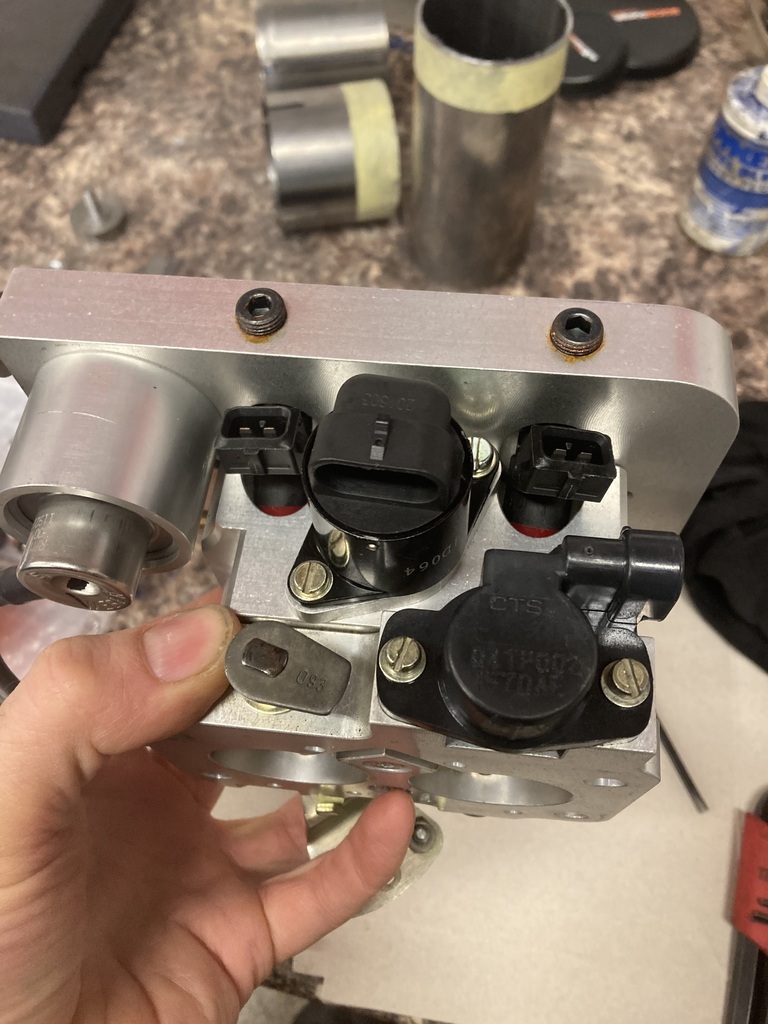
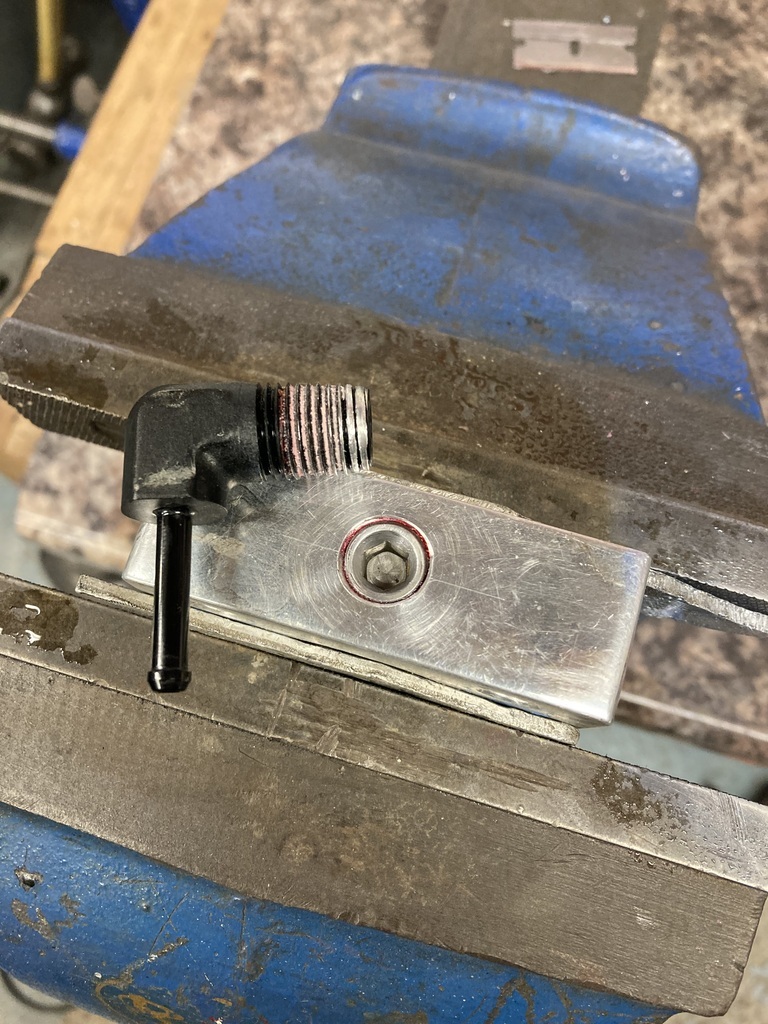
Before I bolted the throttle body back on I wanted to move the vacuum port for the MAP sensor located at the ECU.
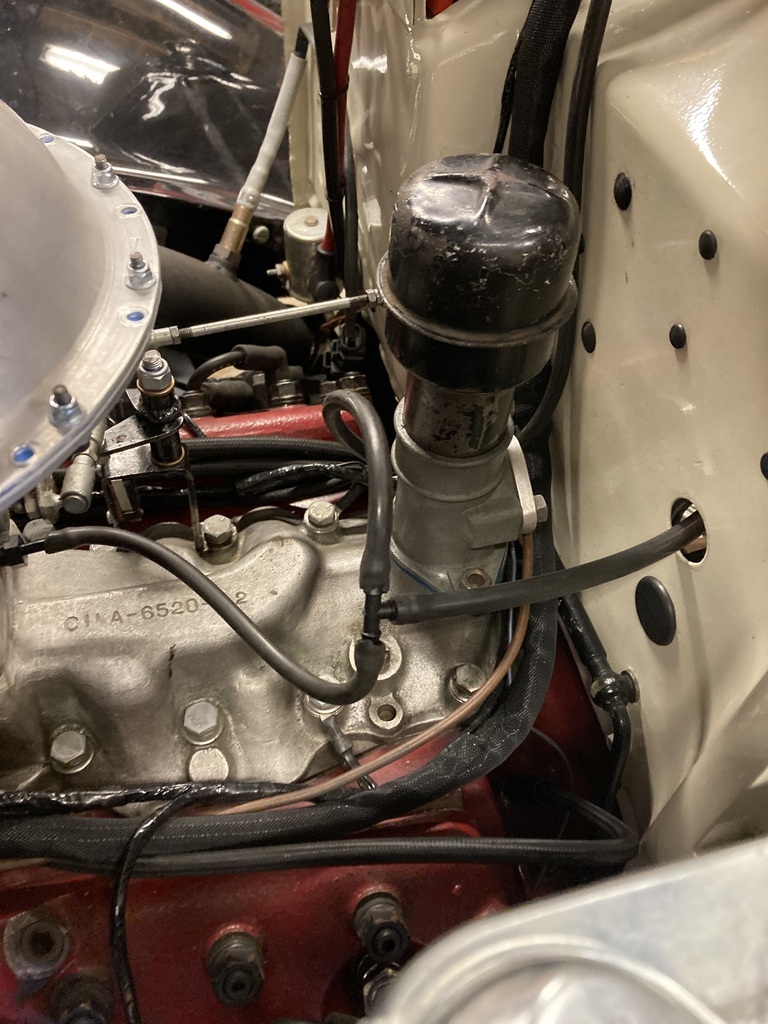
I had the vacuum take-off placed in the carb spacer on the drivers side and with the vacuum hose running from the ECU under the dash, through the firewall, down the other side and looping around the engine it was quite a long run.
The problem with long vacuum hose runs is the increased volume. The bigger the volume that has to change, the longer the delay for the ECU to react to changes in the engine status.
I thought I could do better.
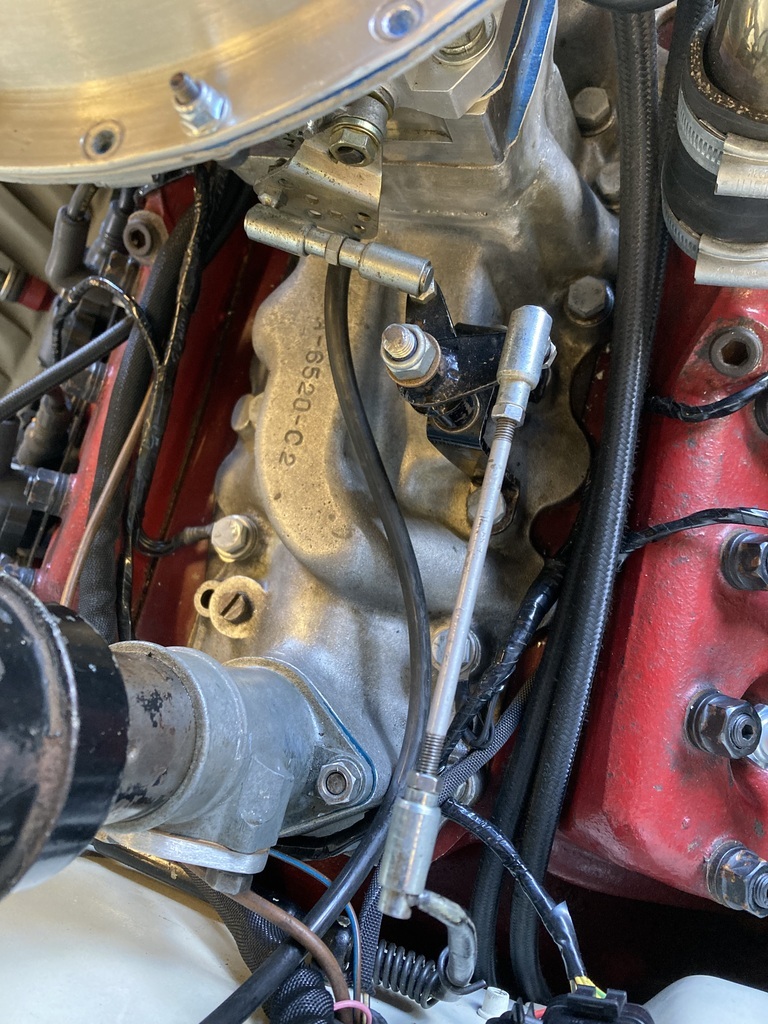
I realised I could relocate the vacuum fitting on the back of manifold allowing me to loose 9” of length which was getting on for a 1/4 of the original length.
Trying to drill and tap the new port wasn’t the easiest.
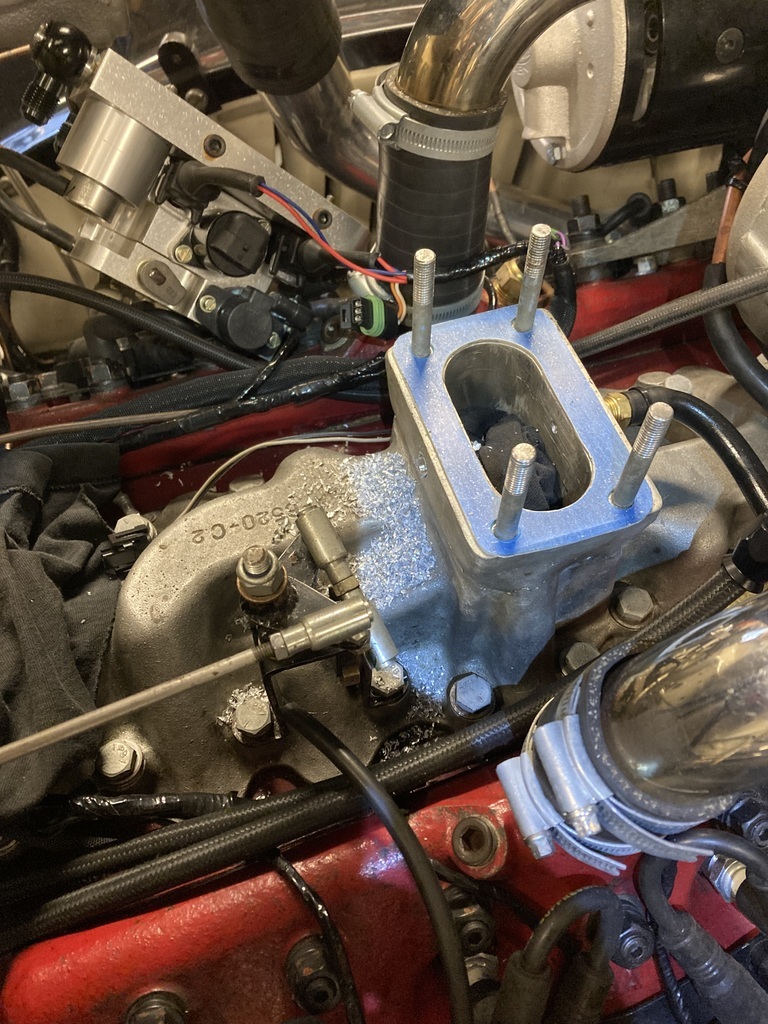
The old, now redundant port, got plugged.
The much neater, finished vacuum line.
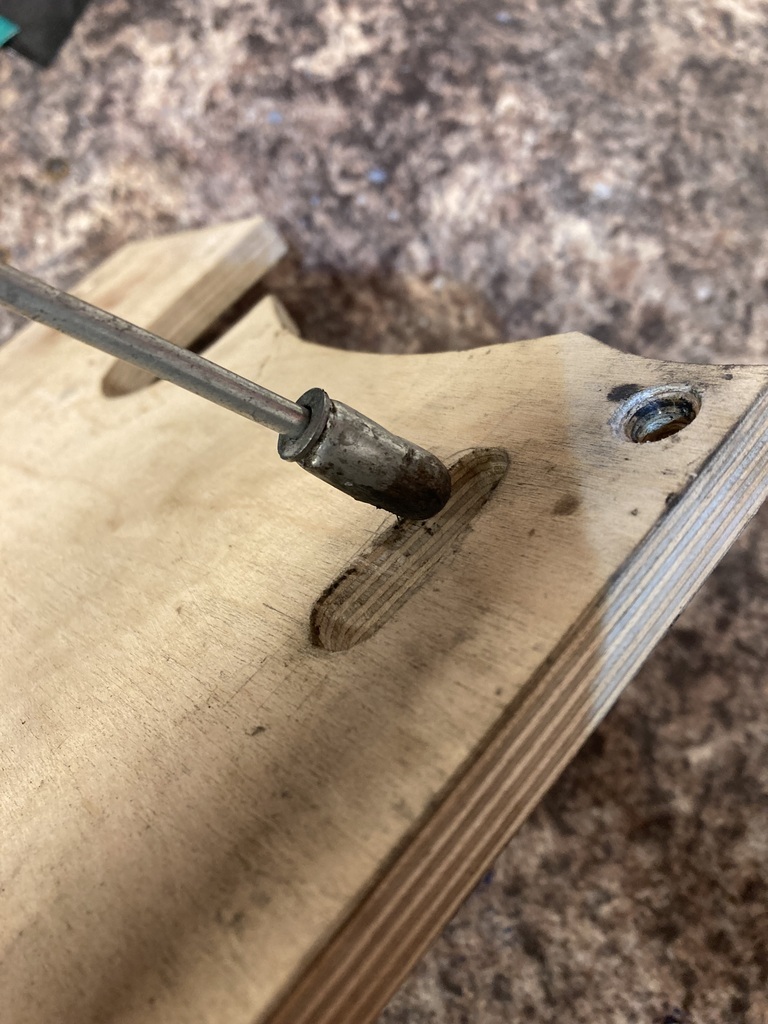
The last job was the accelerator pedal ball joint that passes through the floor board.
I felt it catch the edge of the floor board once while driving which was enough warning for me so I widened the slot slightly for a little more clearance.
The witness marks can be seen to the left of the ball joint.
Time to head back to the rolling road…


