As mentioned the fan needed moving to the backside of the rad.
I picked up a 12” Revotec to replace the 14” one I already had. It was also from their slimline range as I trying to claw back as much space as possible.
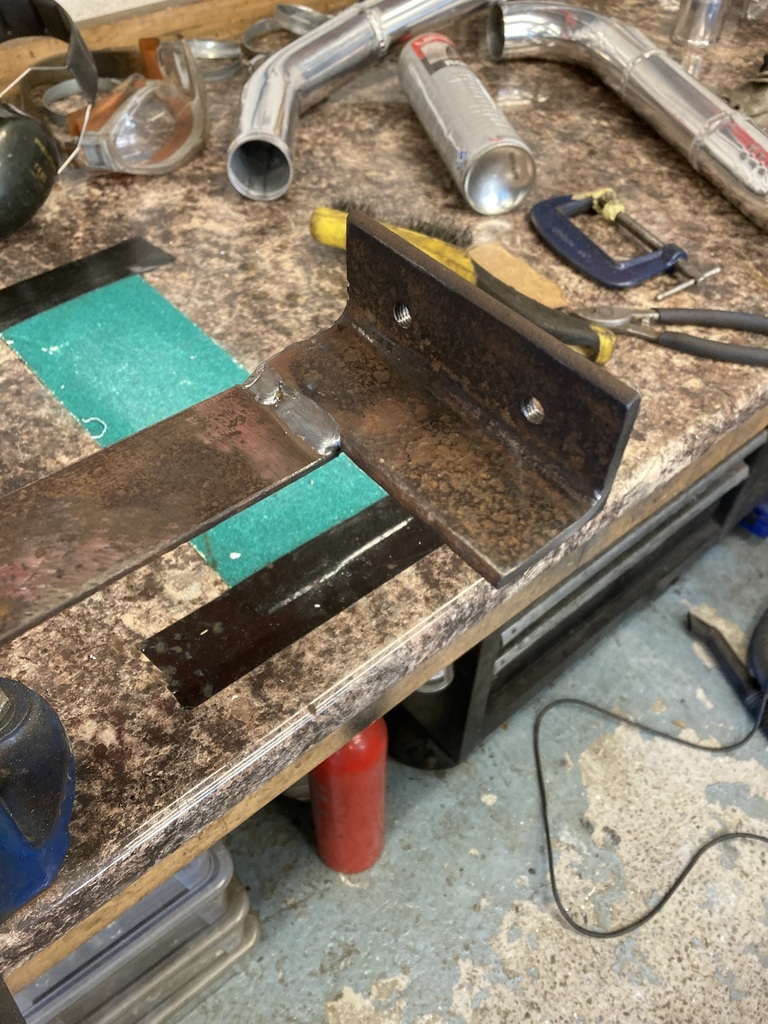
There are laser/water cut mounting bracket kits available for these fans which are well worth money but they are aluminium and I needed steel ones as I was planning on mounting off the original steel radiator frame.
I bought a set anyway as they would make a great template to copy from in steel.
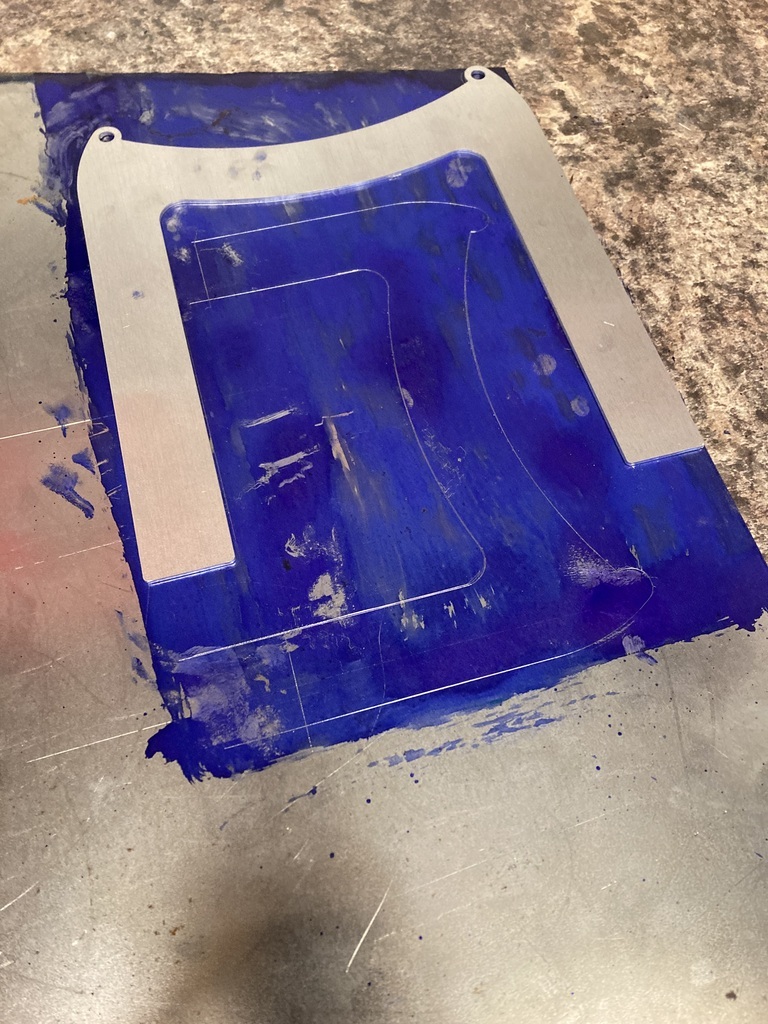
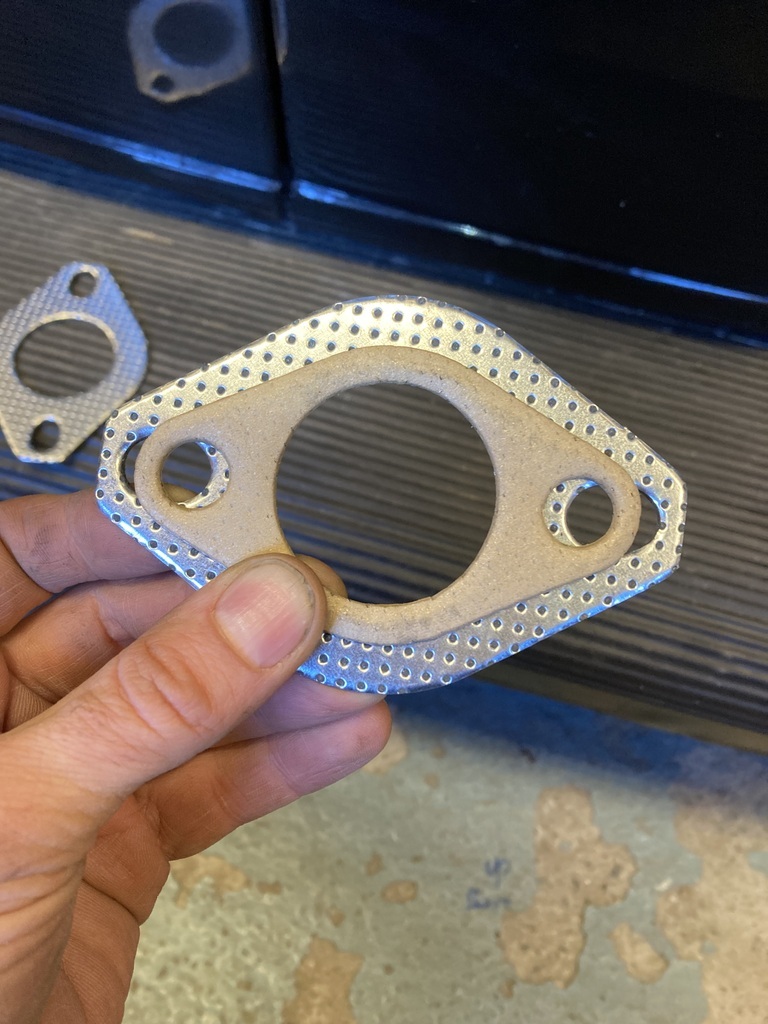
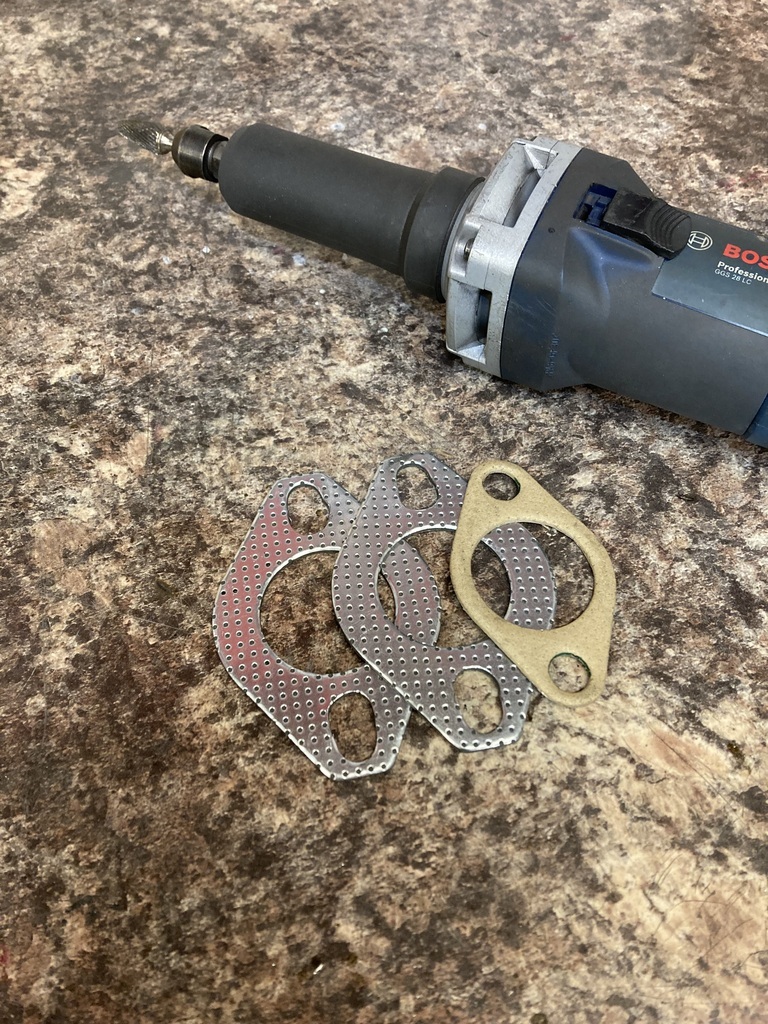
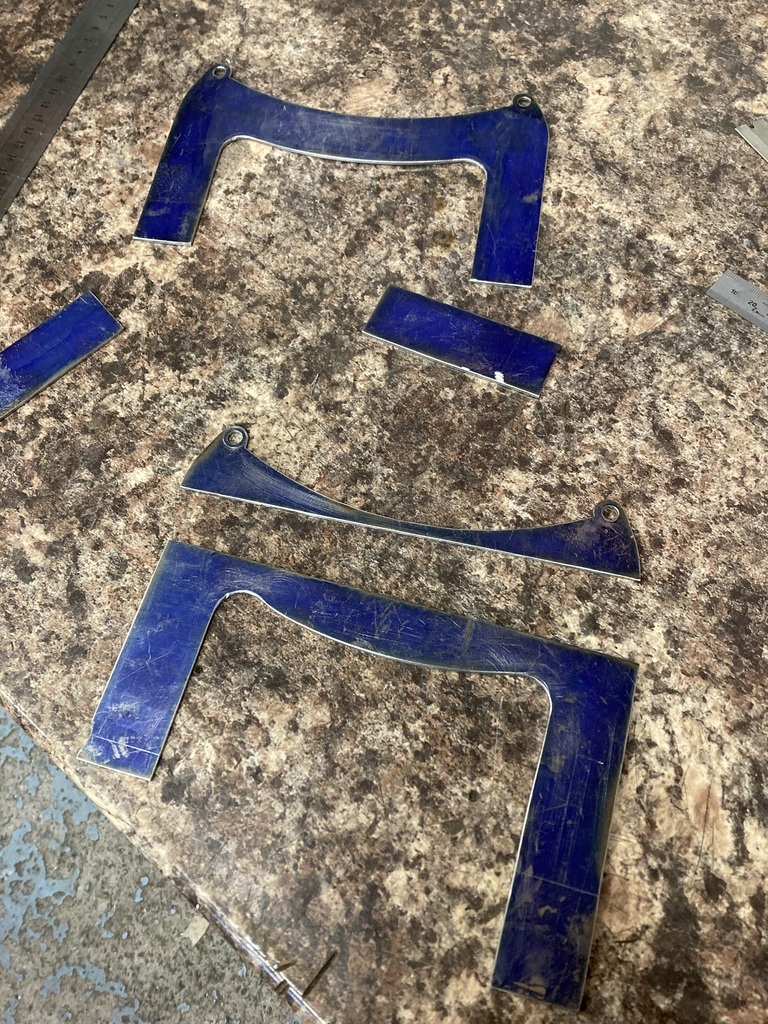
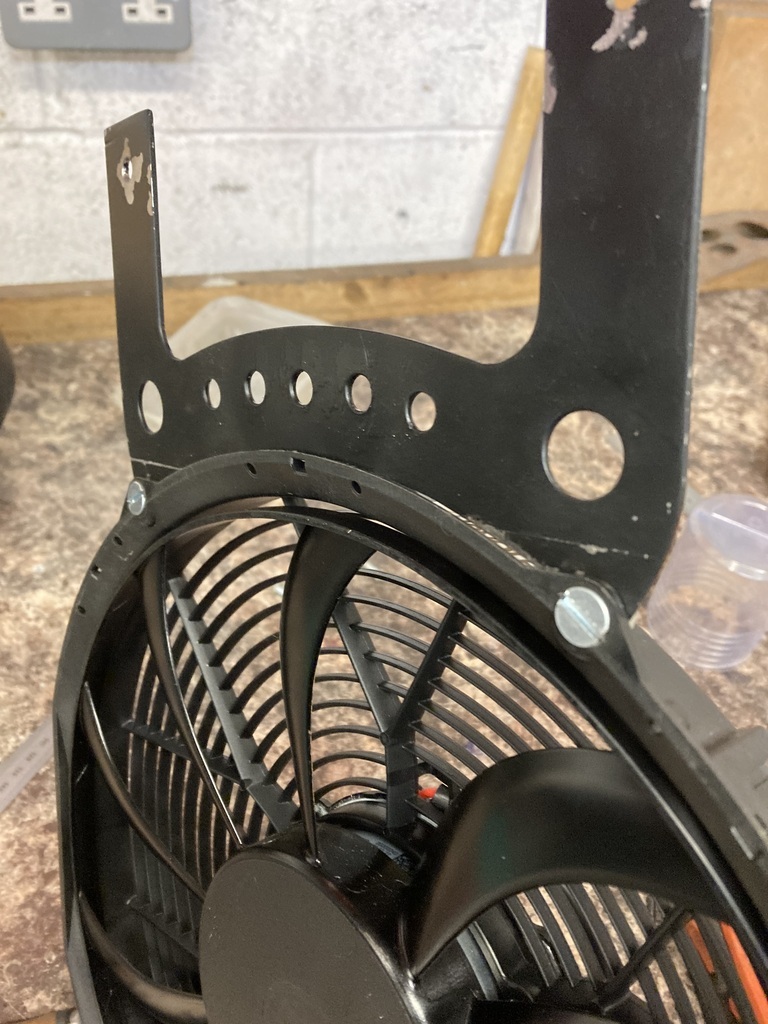
After cutting them out I was left with this.
The legs have been left at different lengths on purpose as I knew I would have to offset the fan position on the rad to again claw back extra space for the charge pipes that were to come.
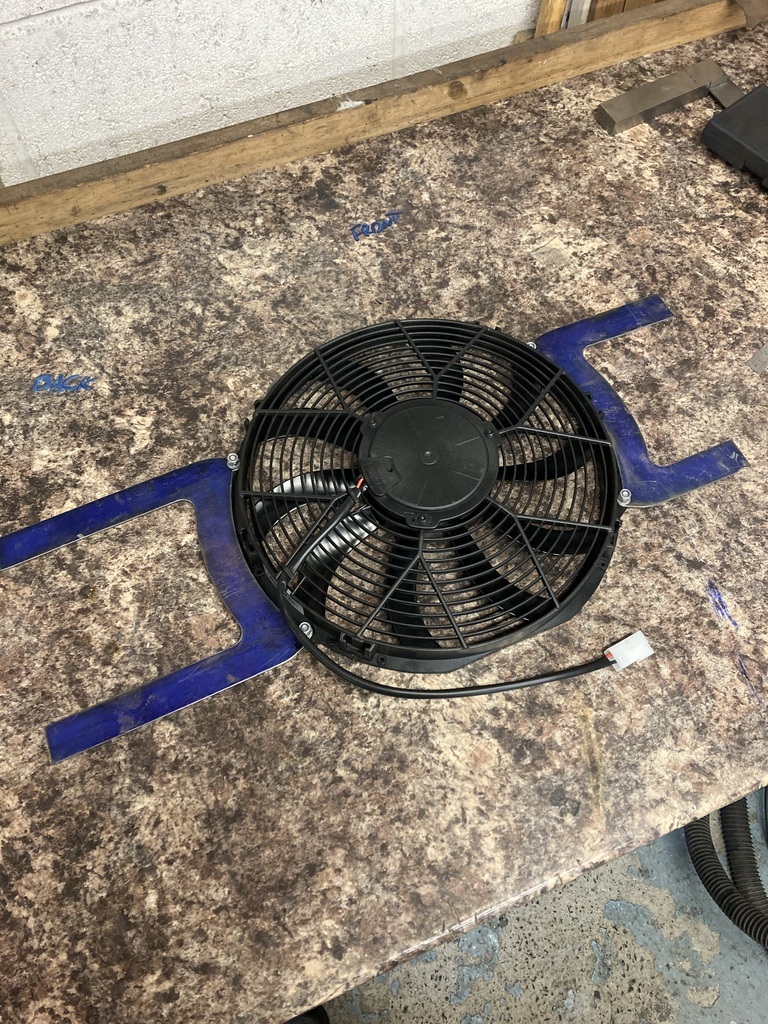
I had the same problem with fitting the new fan as fitting the intercooler in that the front end would need to come off for access, which would require a second pair of hands again.
Luckily for me, my sister’s significant other was at a lose end and he got roped in to help for a day!
After positioning the fan on the rad the brackets were marked for trimming.
Not much left of the short side!
The fan was bolted to the brackets and the brackets tacked onto the frame.
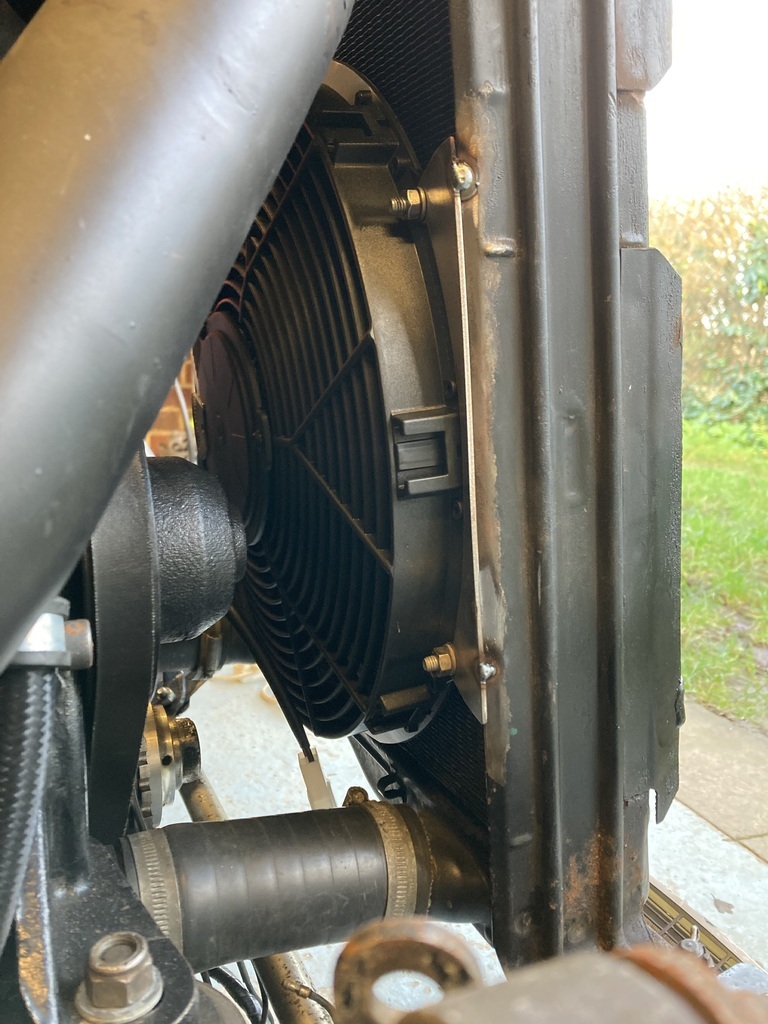
There was nothing stopping it being fully welded but something didn’t sit right with me but I couldn’t put my finger on it.
At this point it was decided to break for lunch.
On our return I spotted it straight away… it was impossible to unbolt the fan from the brackets! 😆
A quick rethink led to the short side being slotted to allow the fan to slide onto the fixed bracket and a second disassembly point on the long side.
Handily, the offcut from the previously cut short side bracket was used as the fixed mounting with some captive nuts welded to the backside.
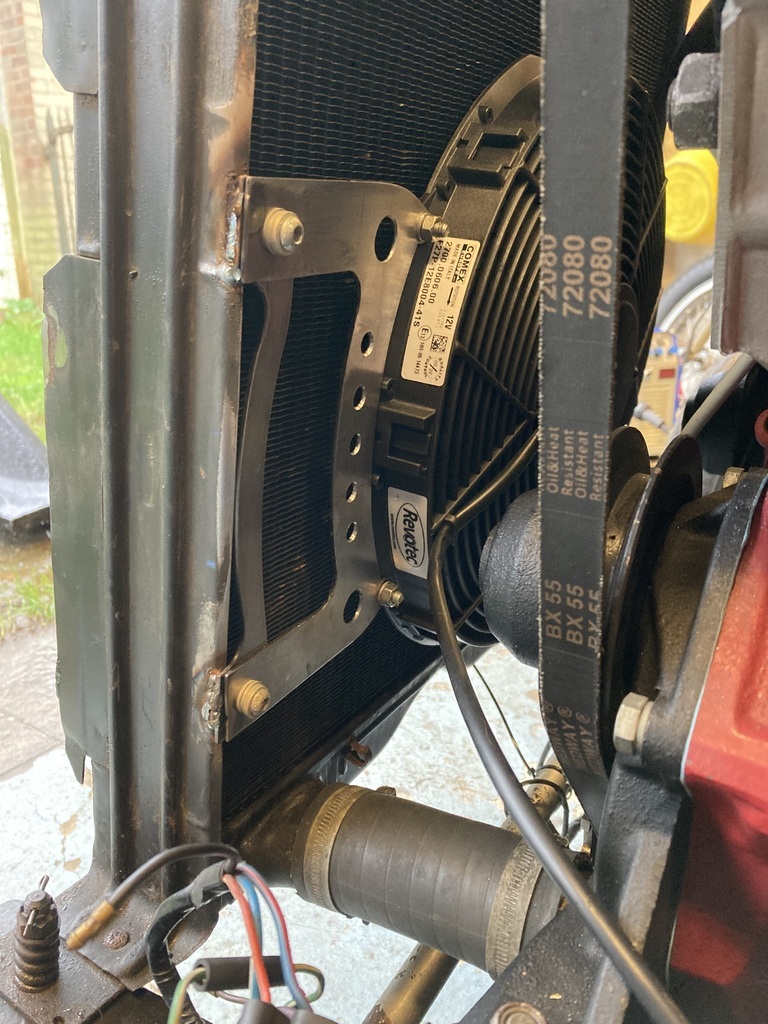
The fan now being on the opposite side of the rad would mean a rejig of the wiring.
The first fan was originally switched by a control box.
This crapped out as they always evidently do so I pulled it all out and just had a toggle switch switching a 5-pin relay.
When I was last on the rolling road the tuner said the car was getting hot so I replied to just flick the fan switch on.
He looked at me like I had two heads and just said “why isn’t it running off the ECU?”.
Yeh, why isn’t it, I thought.
I dug out another spare digital output wire (DPO) from the bundle that I’d previously de-pinned from the ECU loom.
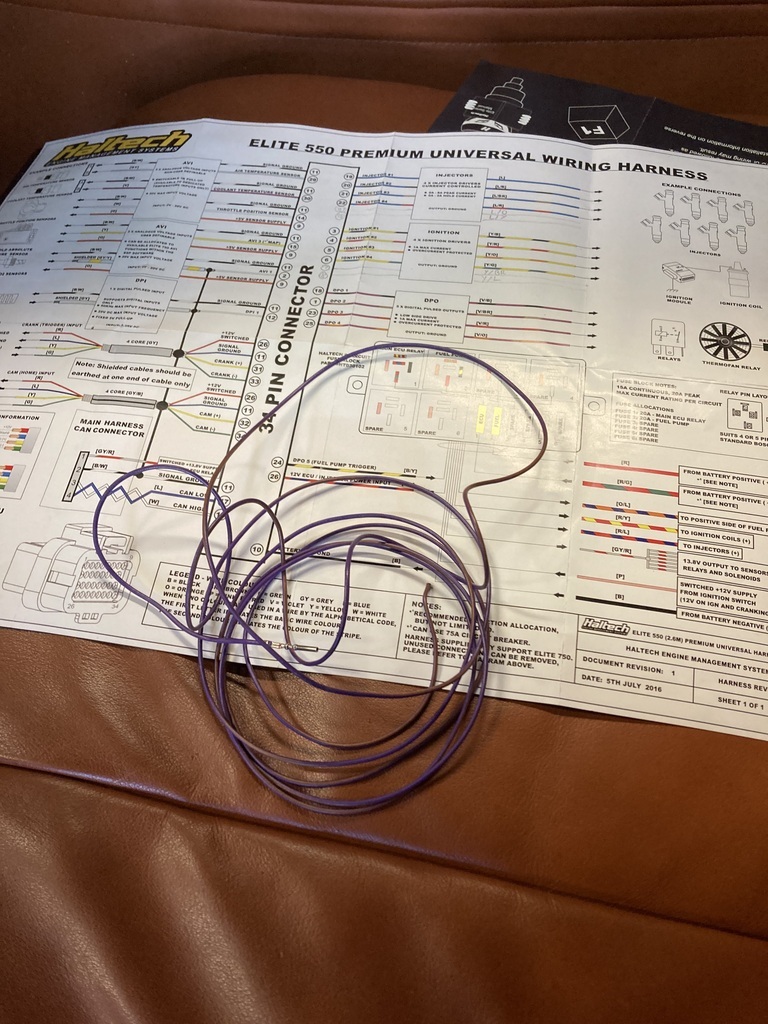
Awhile back I had stripped sections of the cars loom to remove and add wires.
One of the wires I added was the earth for the fan which was now on the wrong side of the engine bay.
I had no choice but to cut the loom open again to remove the single wire. 🤦♂️
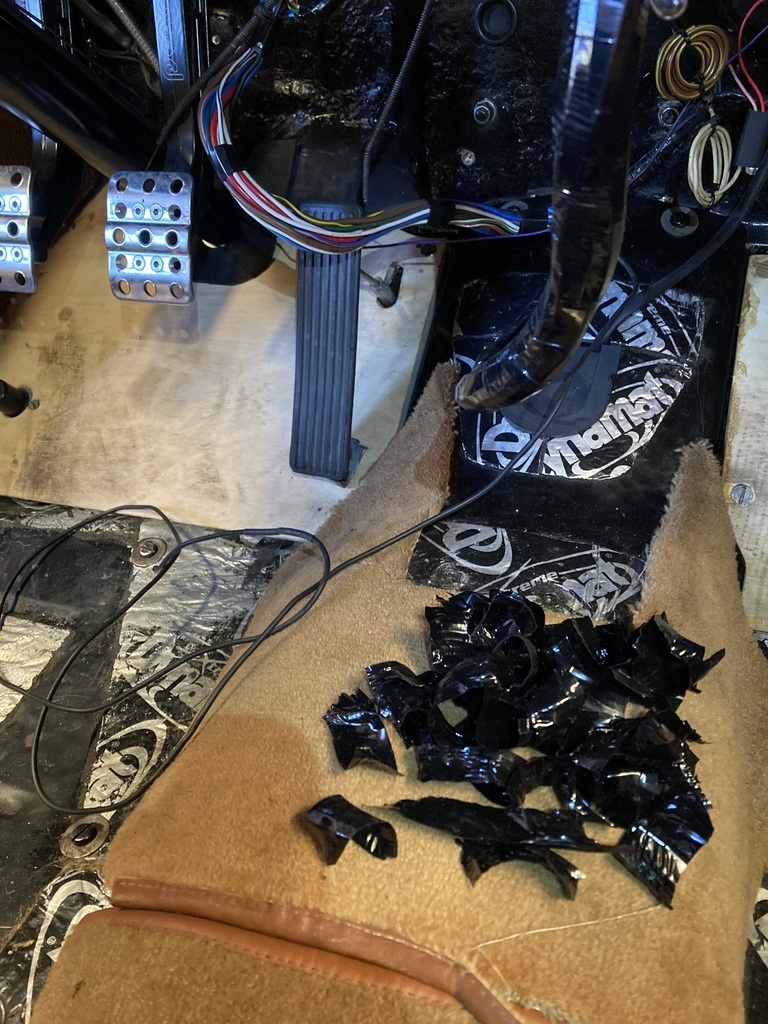
And remove the redundant toggle switch and associated wiring.
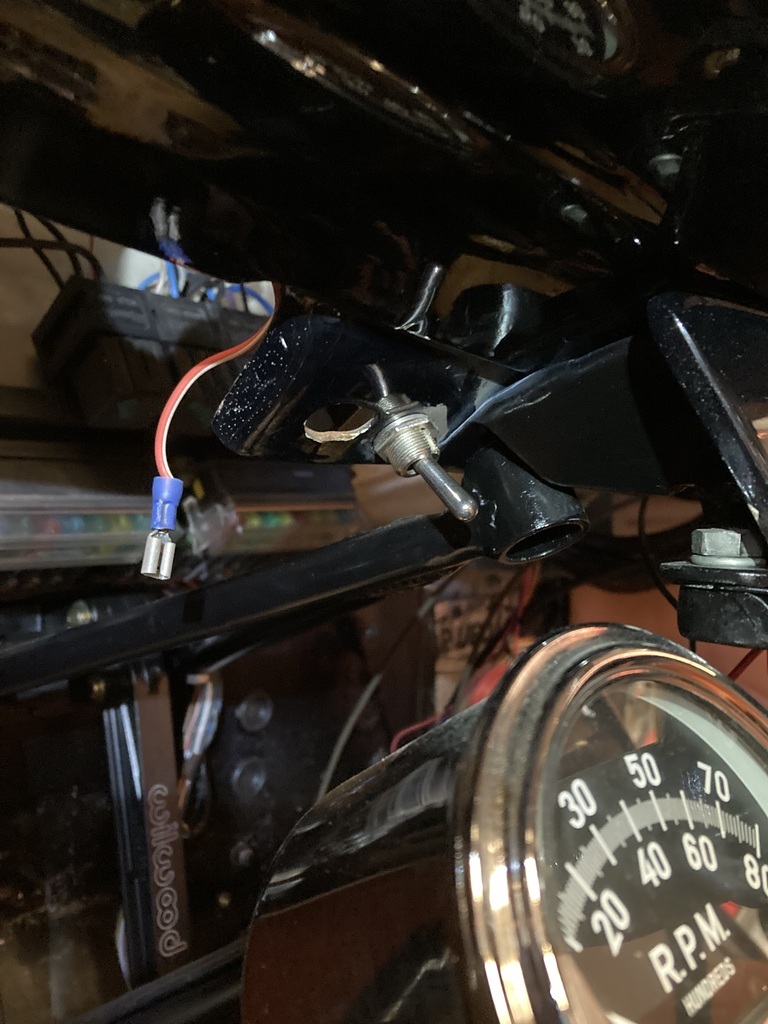
The fan is wired in that it has a permanent live from the fuse box direct to the fan and the ground is switched via the relay.
This arrangement I kept and added a permanent live to the low amp side of the relay and the DPO, which is a switched ground direct from the ECU, goes to the ground of the low amp side of the relay.
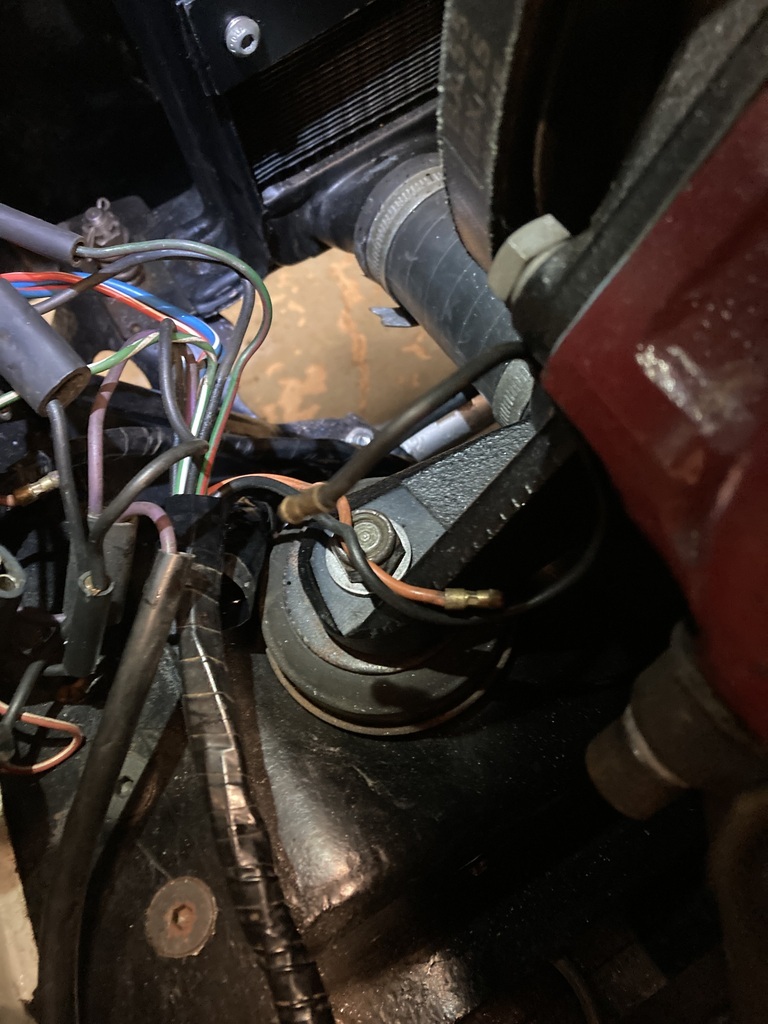
The orange and black wire seen on the right are for the fan.
I managed to pull them back from the wrapped loom which gave me longer tails to work with.
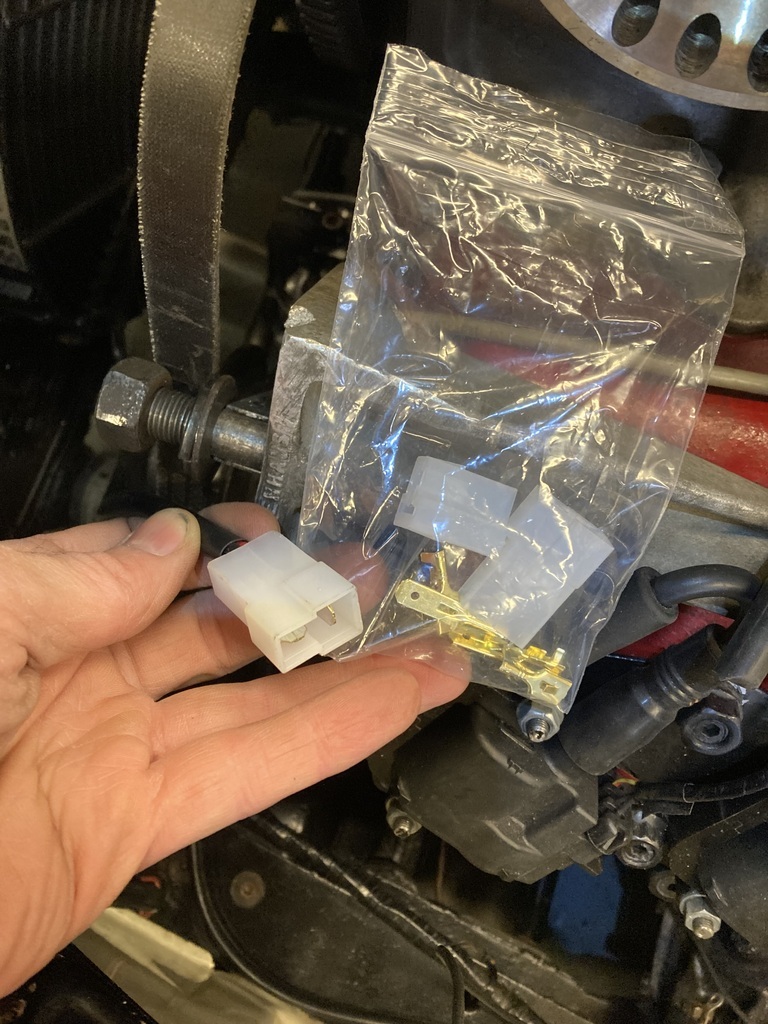
The Revotec fans come with a pre-terminated ‘T style’ multi plug which is nice but you don’t get supplied the male half!
You have to buy the plug set just to get the male one. They’re cheap but still seems a little wasteful?
Setting up the on/off settings for the fan now was of matter of going into the software, allocate the DPO wire to the cooling fan which then brings up a menu where you select the temperature, to the exact degree, that the fan switches on and the exact degree it turns off at and that’s just scratching the surface.
Multiple fan switching, soft starts, variable speed control etc etc. It’s all possible.
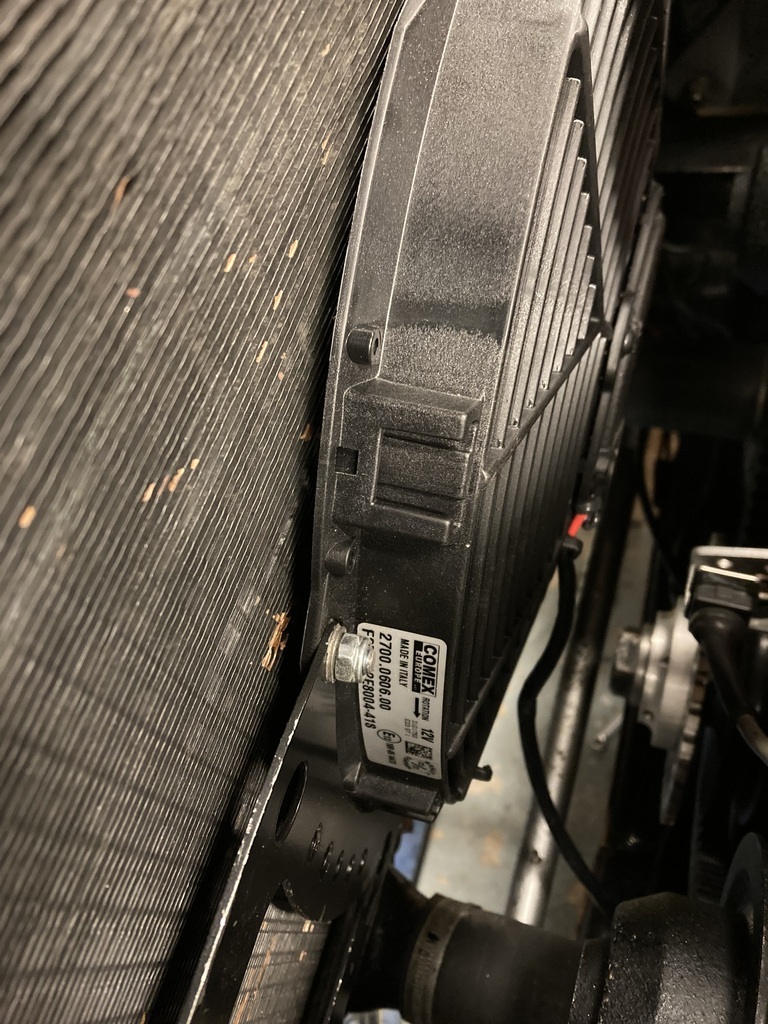
Moving ahead, the button head fan fixings had started to contact the rad fins.
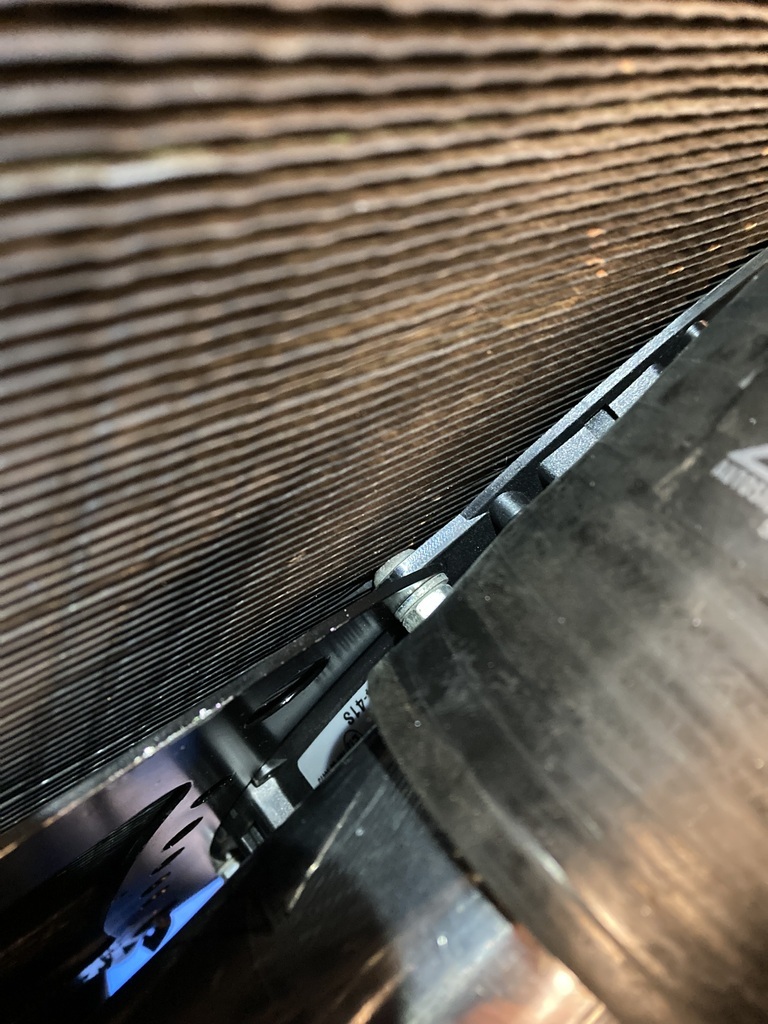
It was only cosmetic damage at this point.
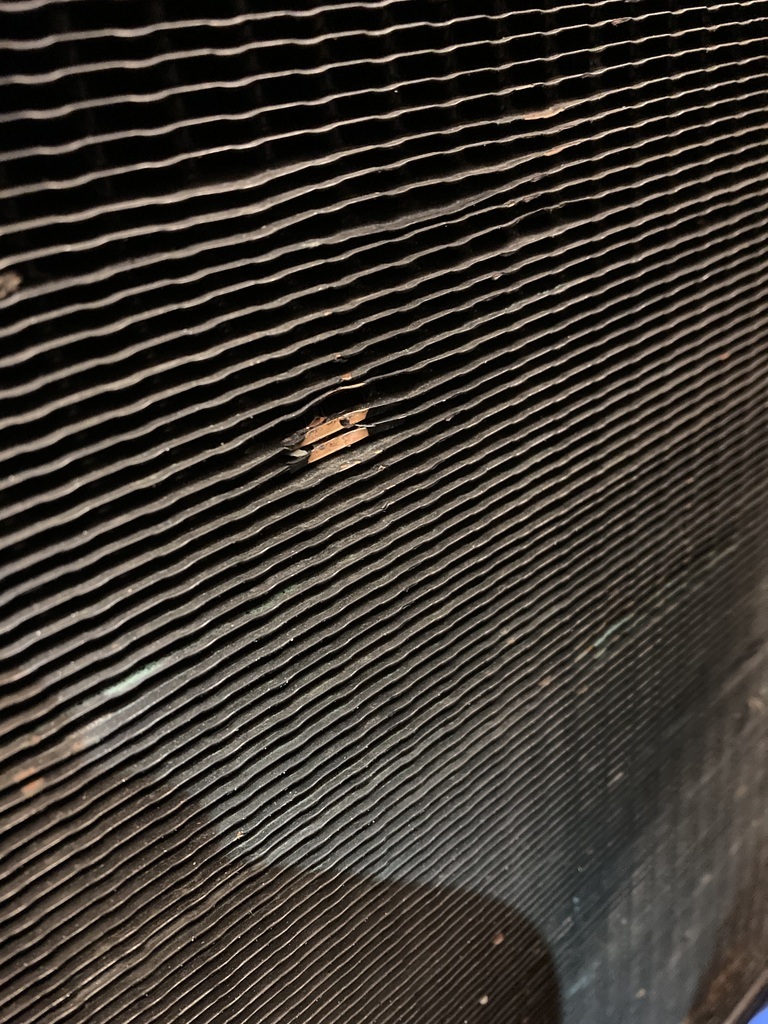
This gave me the opportunity to bring out this quirky tool I’ve had for a long time.
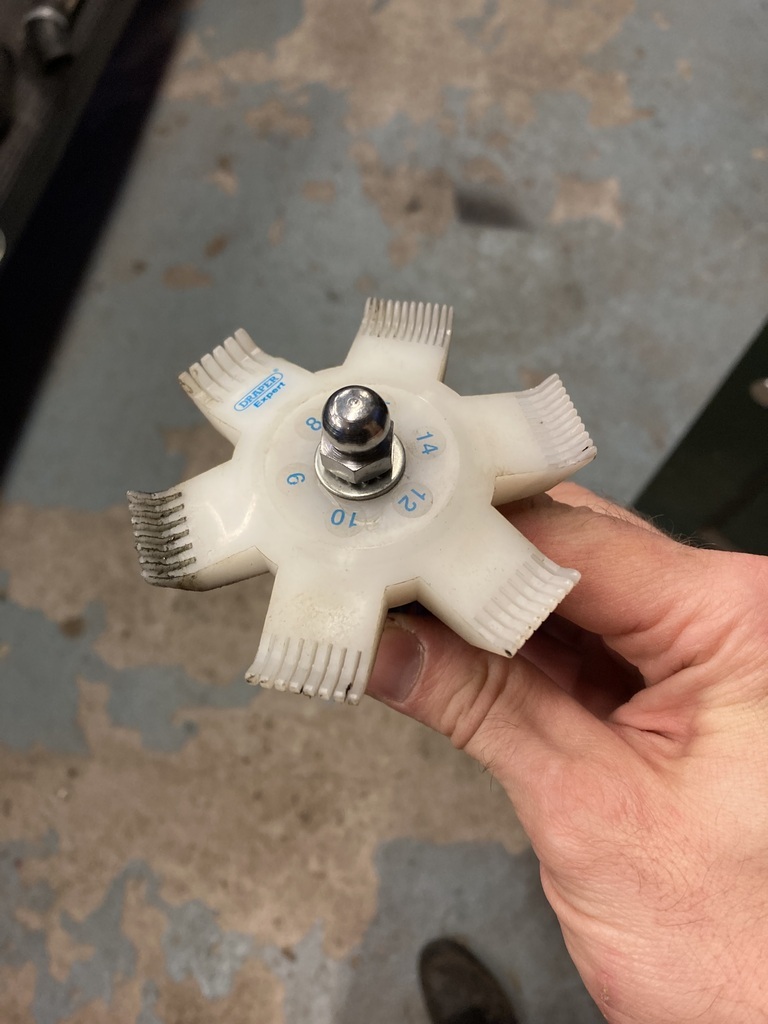
It’s a radiator comb and works really well for straightening out damaged fins.
I’ve revived some really battered rads with this tool.
The fins straightened back out even though the missing paint makes them look more damaged than before and the photo showing up all the other imperfections!
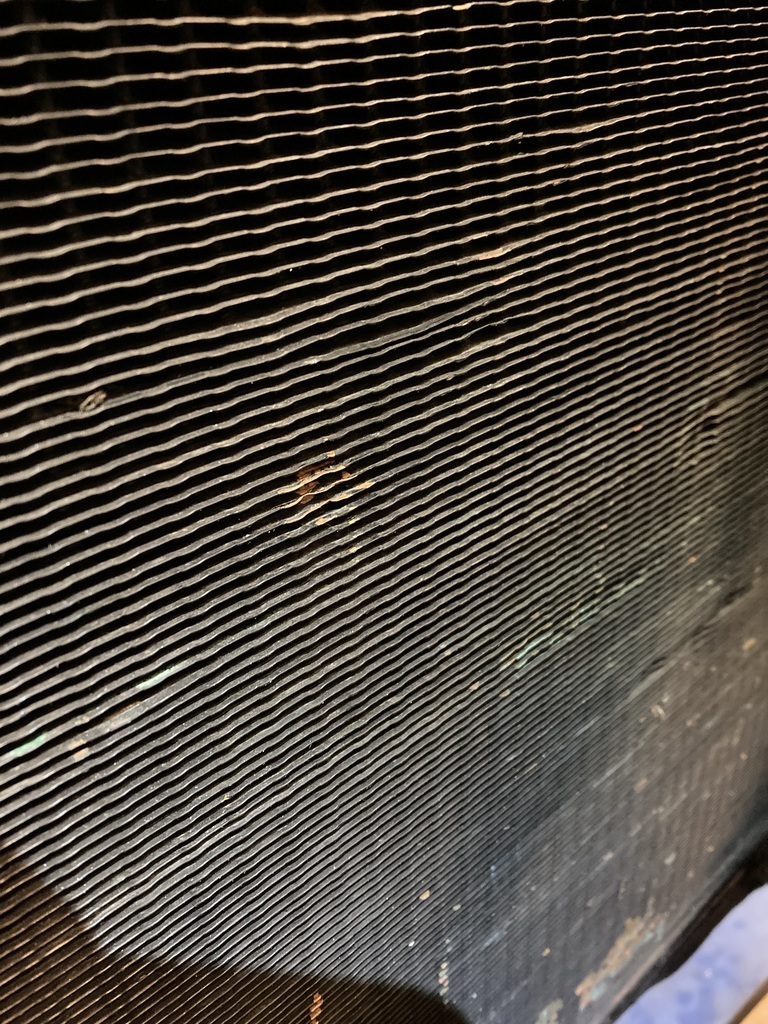
These were the problem.
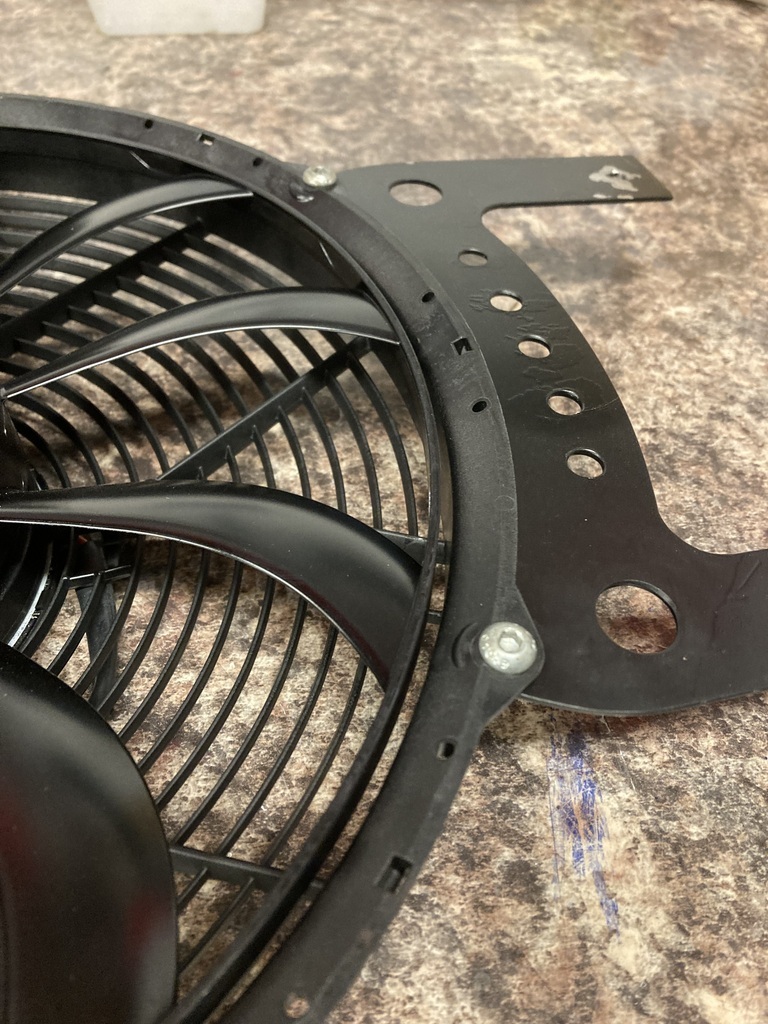
Having the fan assembly on the bench showed up another issue.
The bracket didn’t sit square when bolted up.
This angle caused the fan and fixings to be pushed towards the fins.
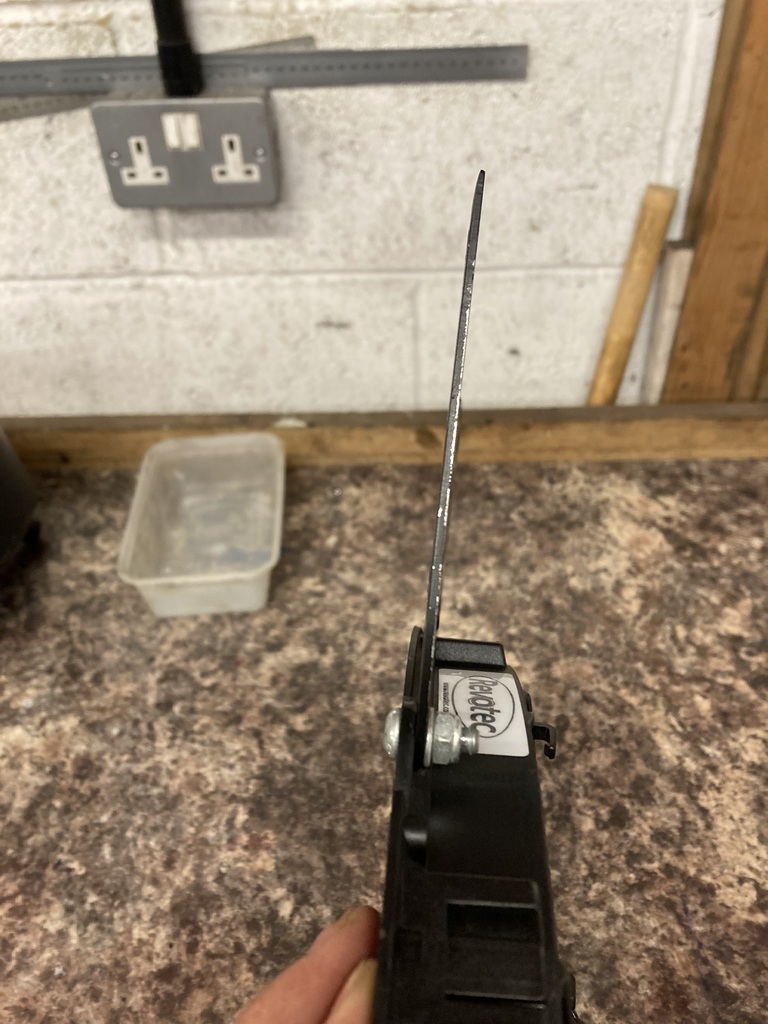
I got out my hokey folder to put a small tweak in the bracket lugs.
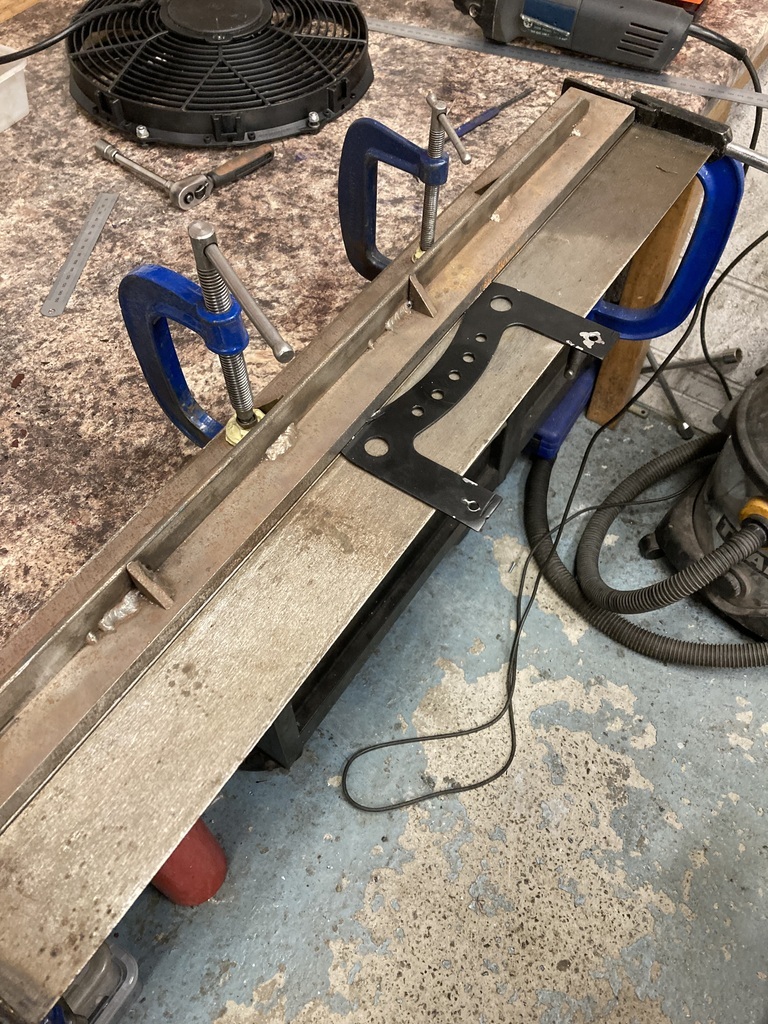
Which straightened things out.
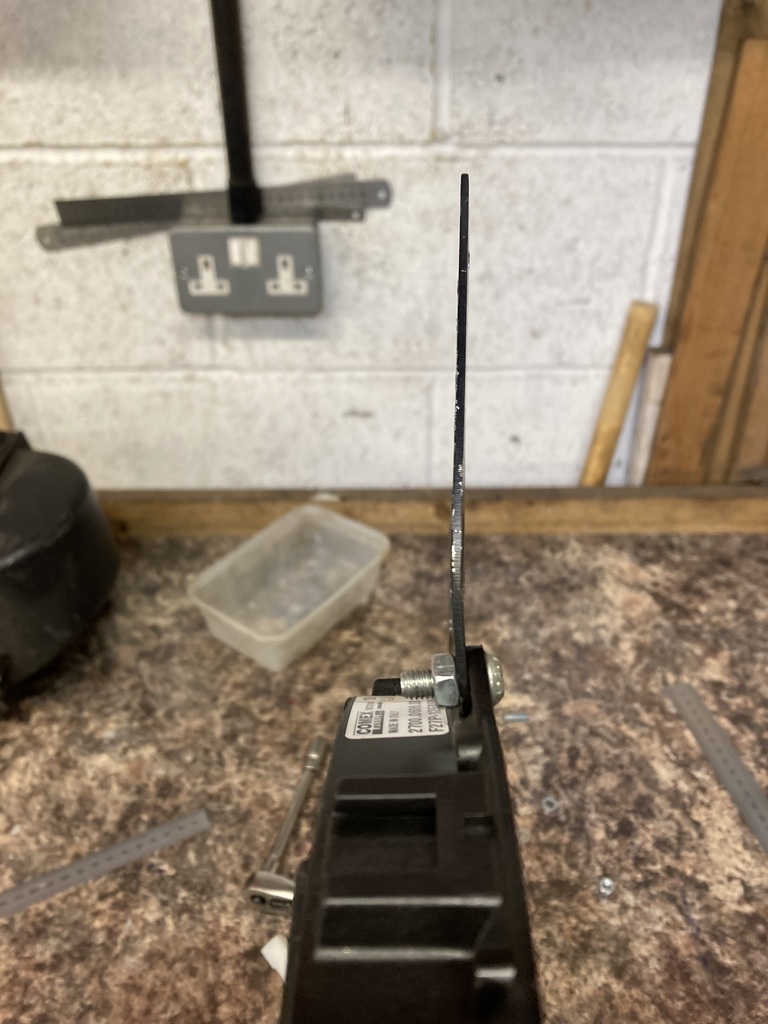
And the fan cage got countersunk with matching hardware to make it all flush on the backside.
Mounted back up the fan sits nice and level now with added clearance and the bracket is also under a little tension wanting to push away from the rad rather than flop into it.


 beats sitting for hours with a fine screwdriver straightening bent/damaged fins, hands down


 have you got a plan for a way forward ?