I’ve left this thread far too long without updates, I’ve been very busy and not got round to posting updates, I hope I’ve got these images in some sort of chronological order, if I’ve misplaced an image or two out or order my apologies
starting off where (I think) I lift off, laying the concrete base at the garage doors, after leaving it over night I spent the next three of days watering the concrete sopping it drying too soon as it was in the middle of the hot summer were were having


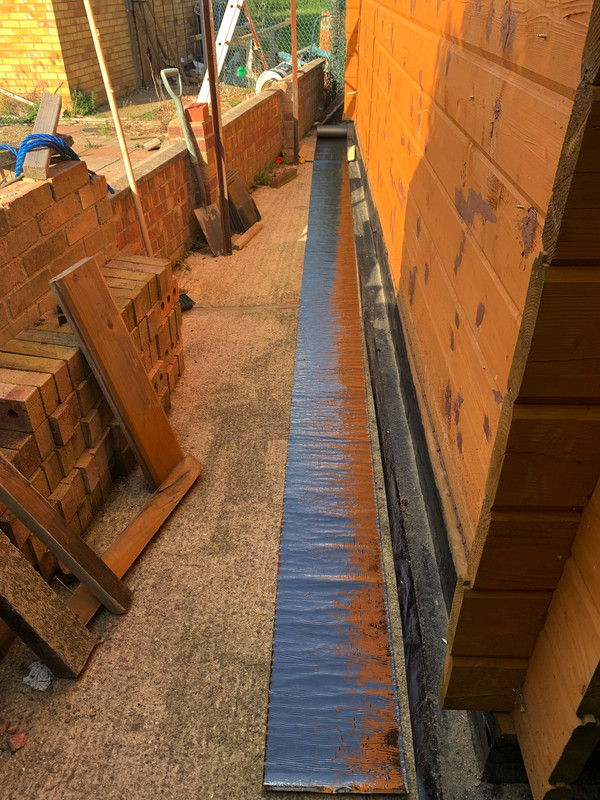
Then followed up the moisture barrier over the garage doors, the last part to do

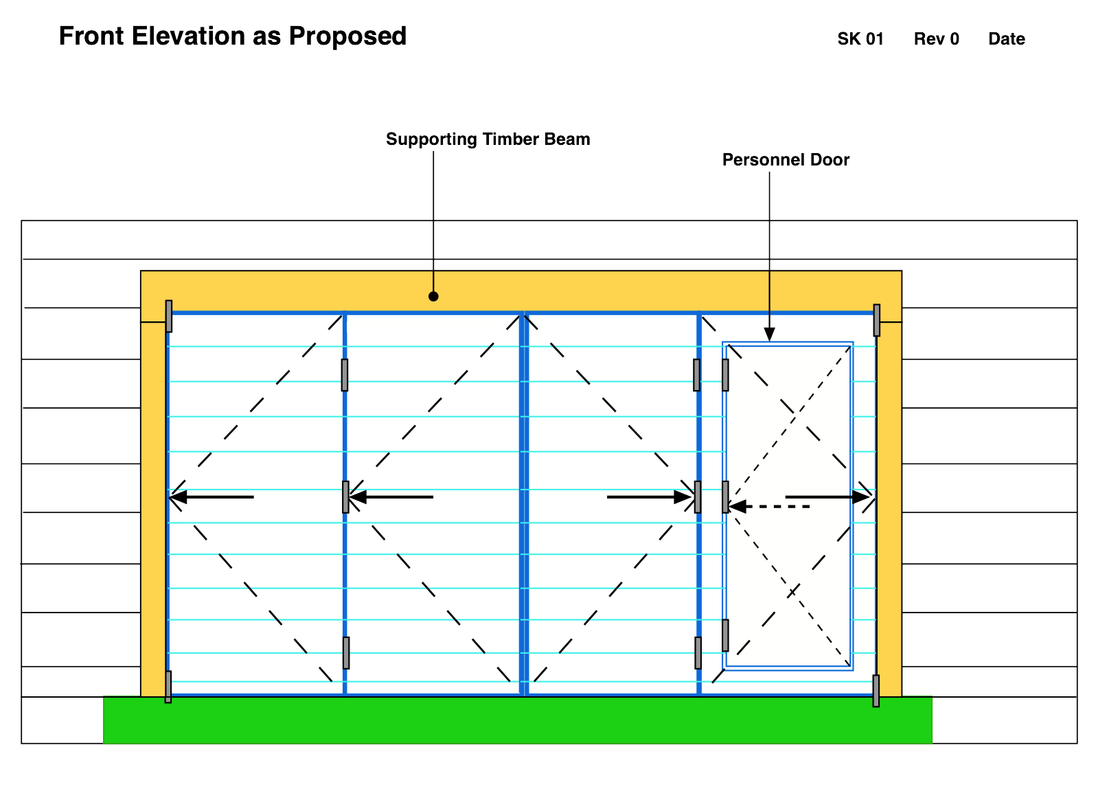
I strung a line helping me to make the boxing for the OSB going over the doors


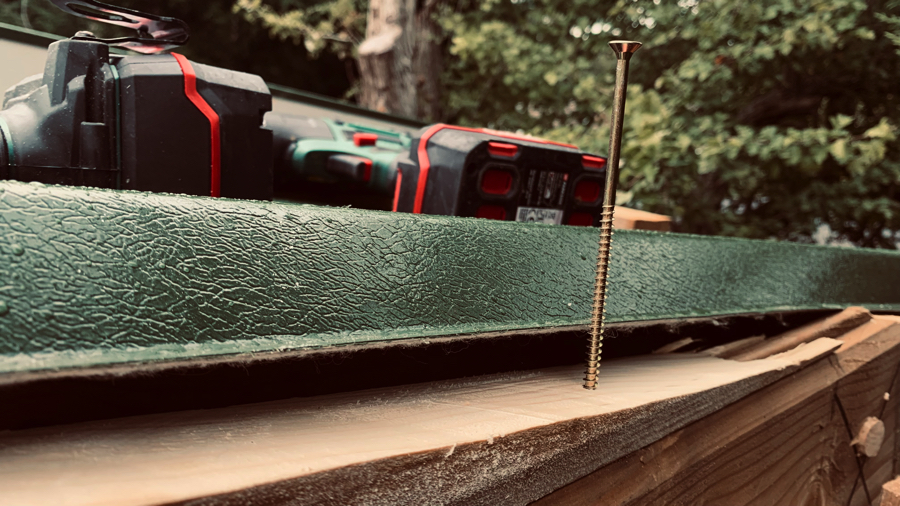
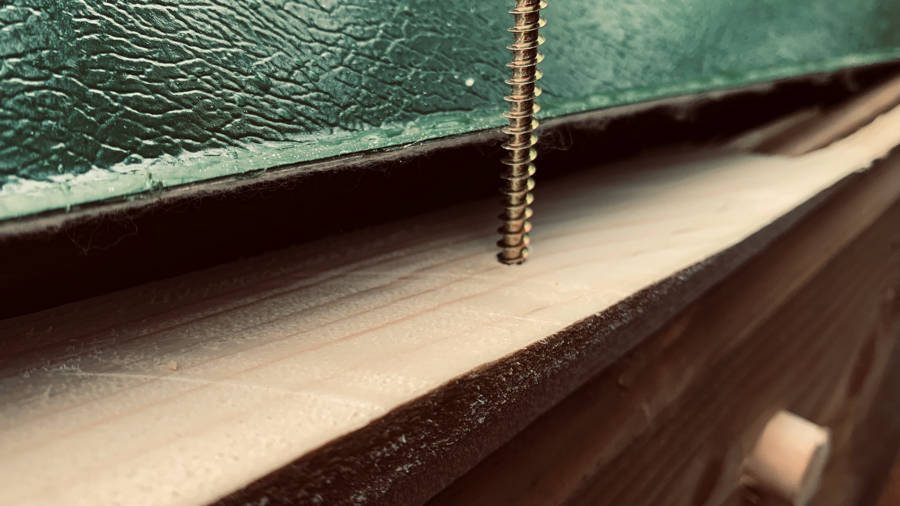
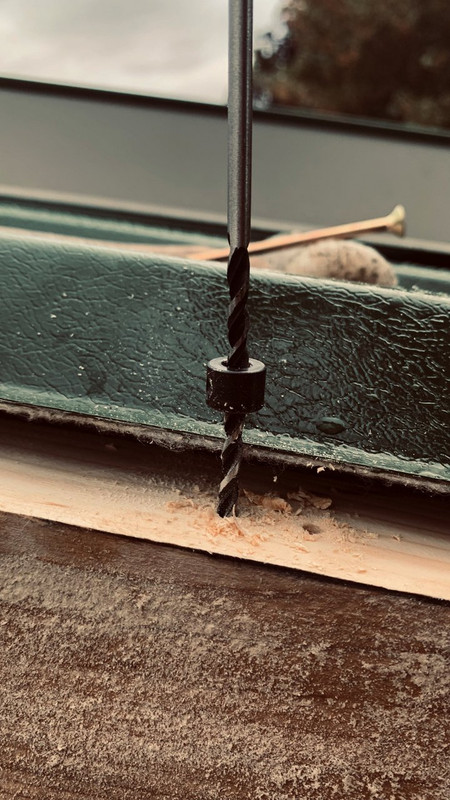
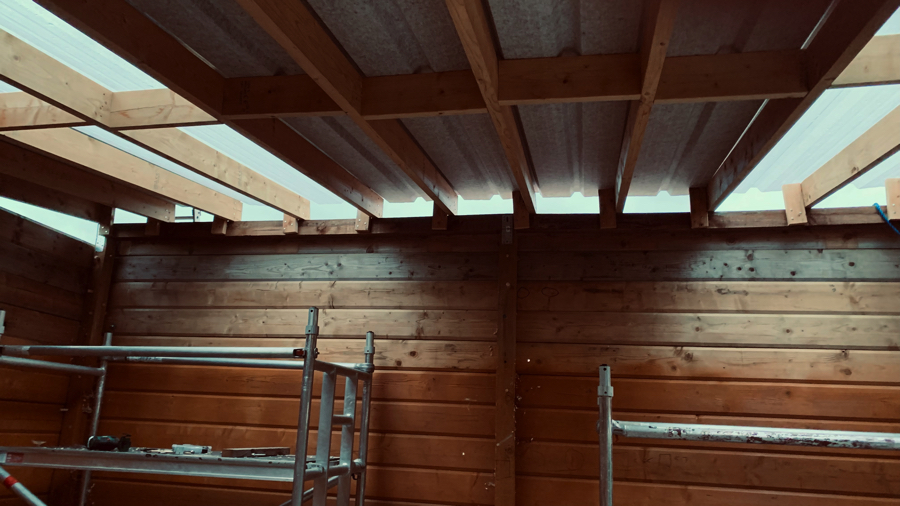
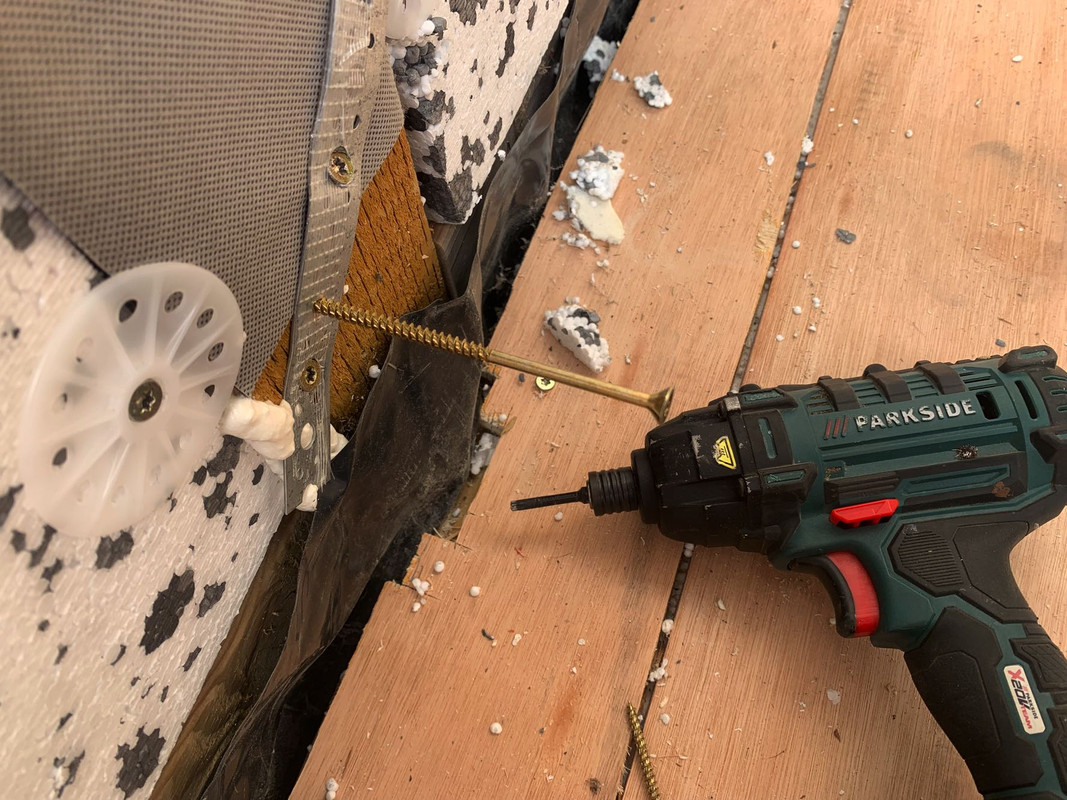
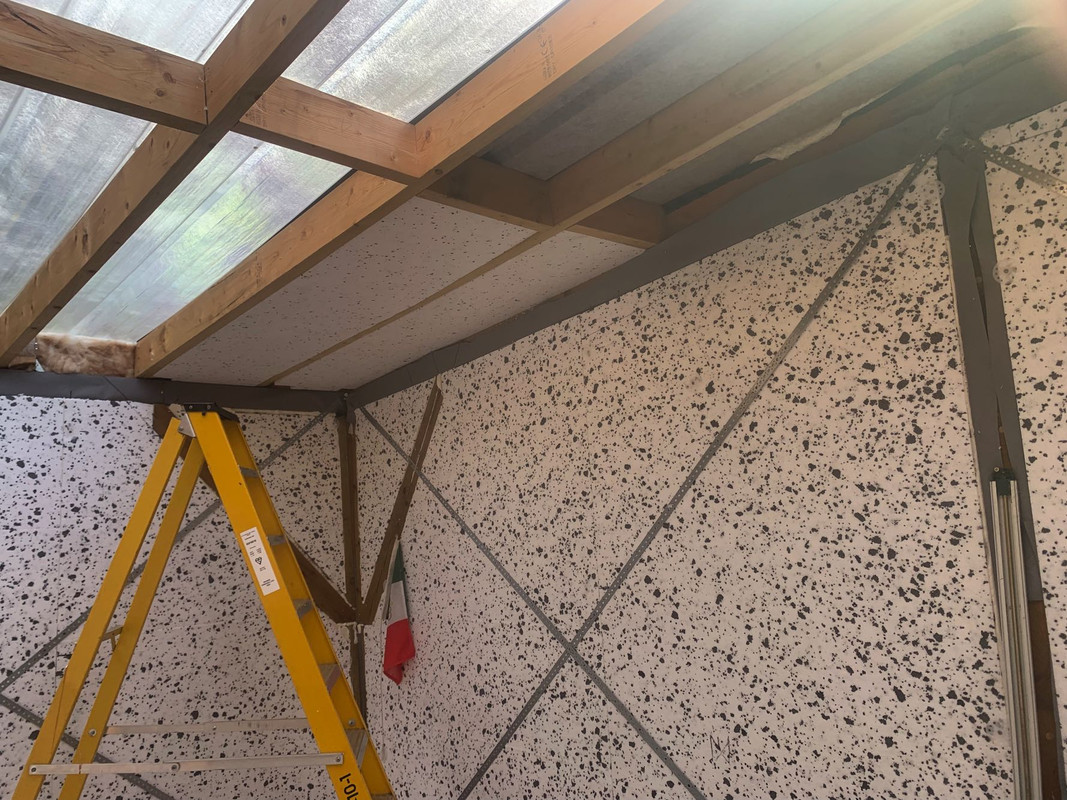
While I was waiting for the EPD, ply and OSB, after chatting to my structural engineer friend I decided to take out most (I ended up taking out all the 60mm and 70mm) roof sheet bolts and replace them with 120mm bolts


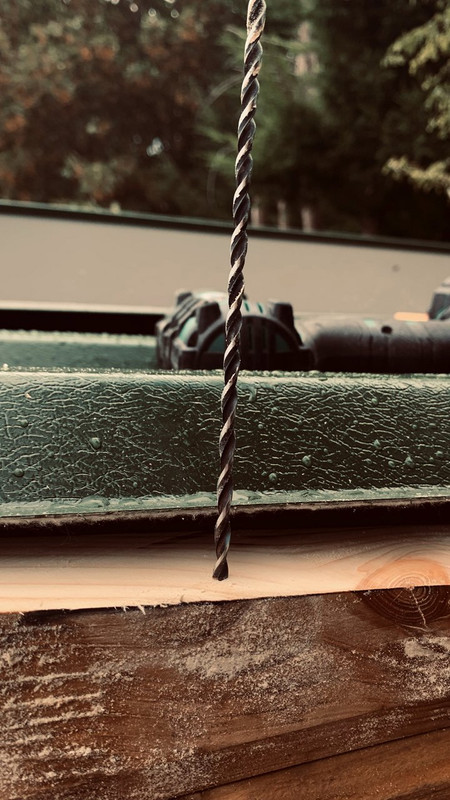
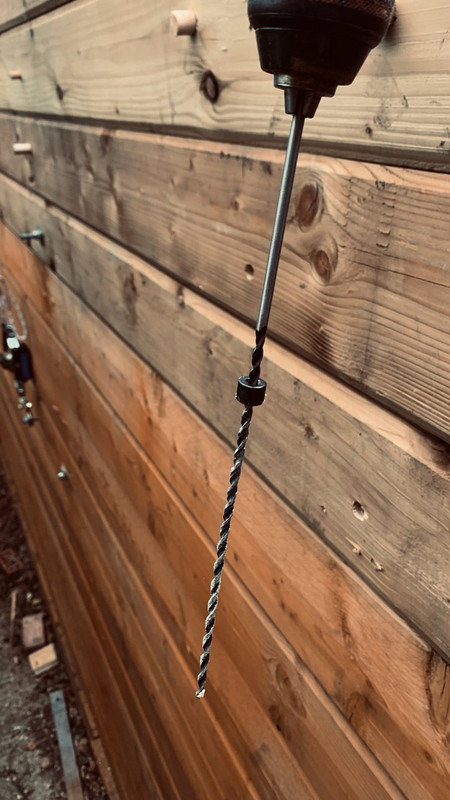
To be sure I was hitting a joist and not fresh air I poked the holes with a wire to know where the joist I was aiming for was


I filled the ridges on the sheets with builders expandable foam


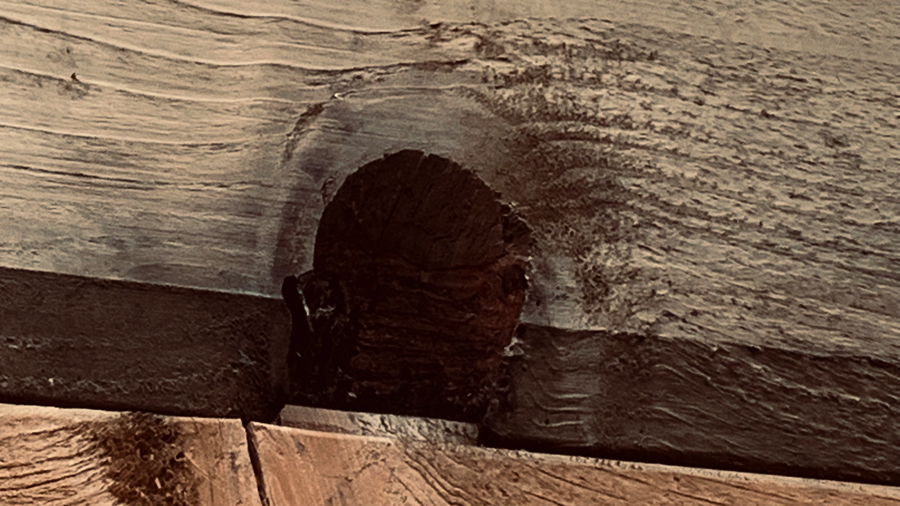
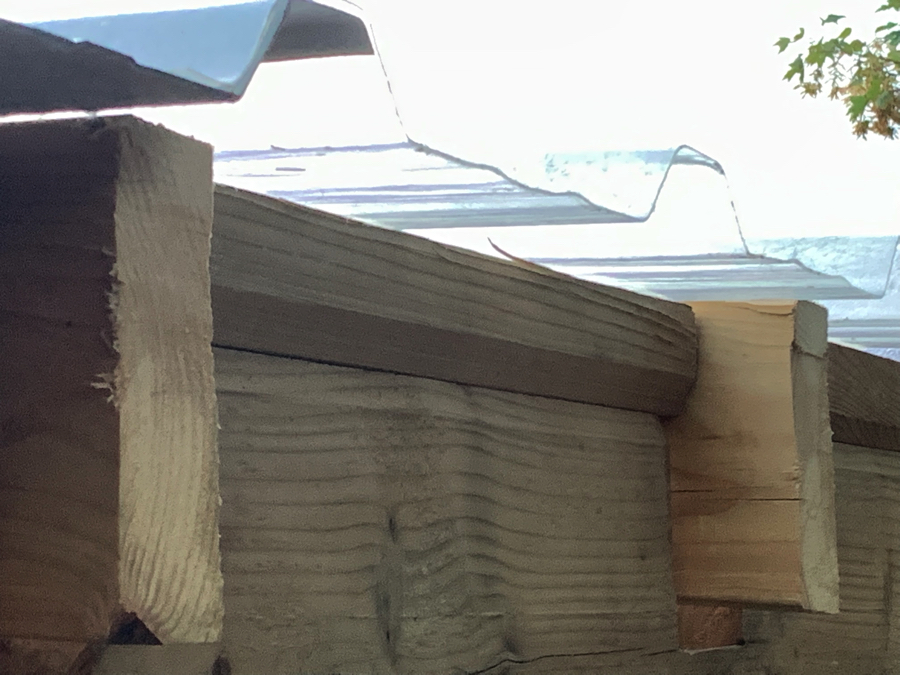
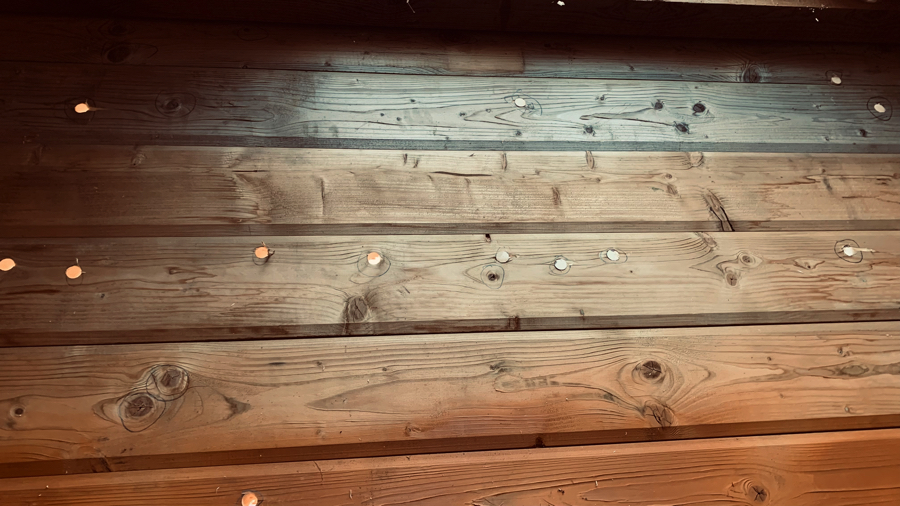
Then I made a start on the Roof Edge Trim, I used the same silicon I used for the knots in my timber


For the corners I cut the edge tricot form an overlap


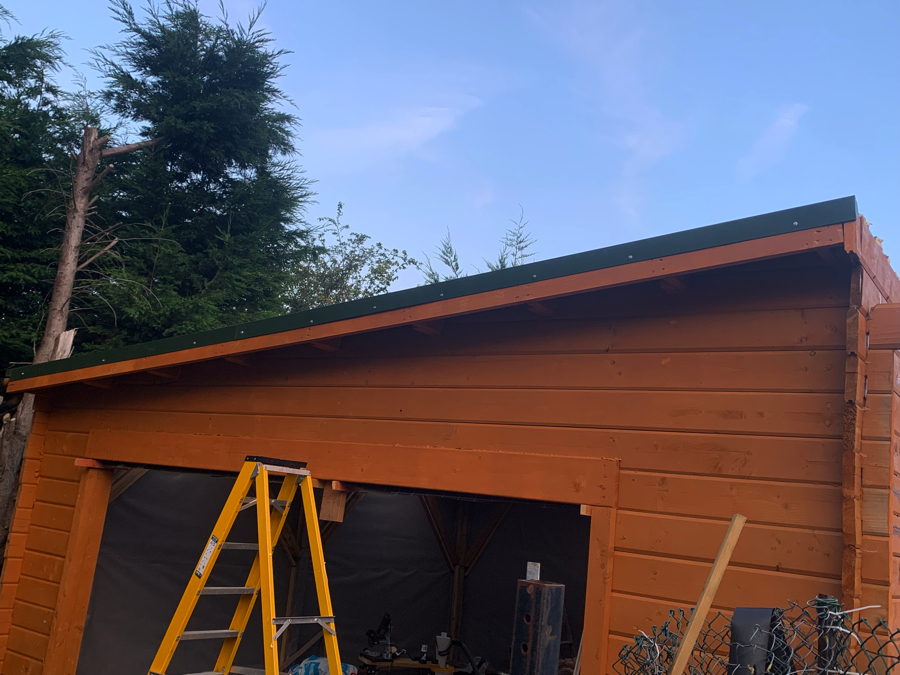

That was for the sides, now for the front, I had double sided tape to stick the foam that was provided with the sheets and cut off the extruding expanding foam


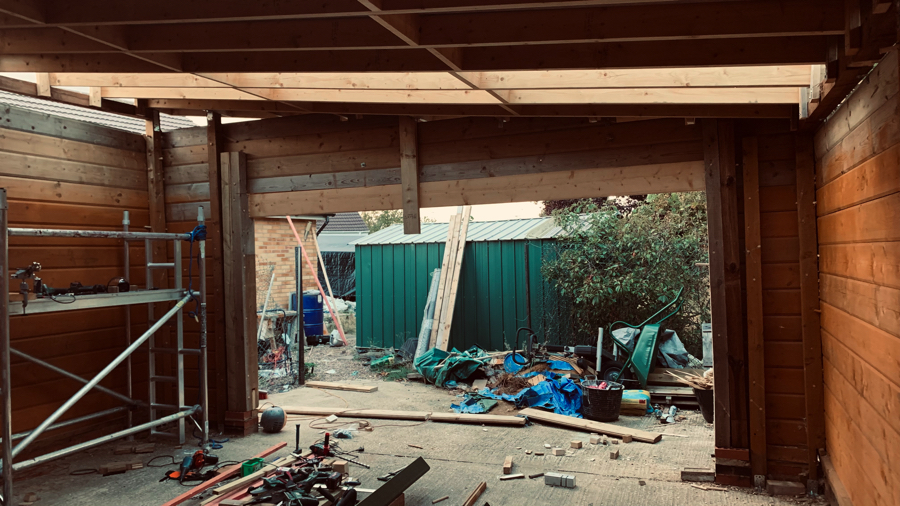
Then I made a start at taking off the shuttering off the garage opening and still have the rods poking out to bond in to the concrete ramp I’ll be laying later (maybe next year now)


Then I set about waterproofing the brick joint at the concrete pad area as damp was entering the garage floor at this location, I first bought spray sealant and went all round giving it a couple of coats, first going round with a brush


I tidied up some ruff pointing and scraped off any loos mortar


With all the dust and debris around the walls I couldn’t see how bad the joint to the concrete was


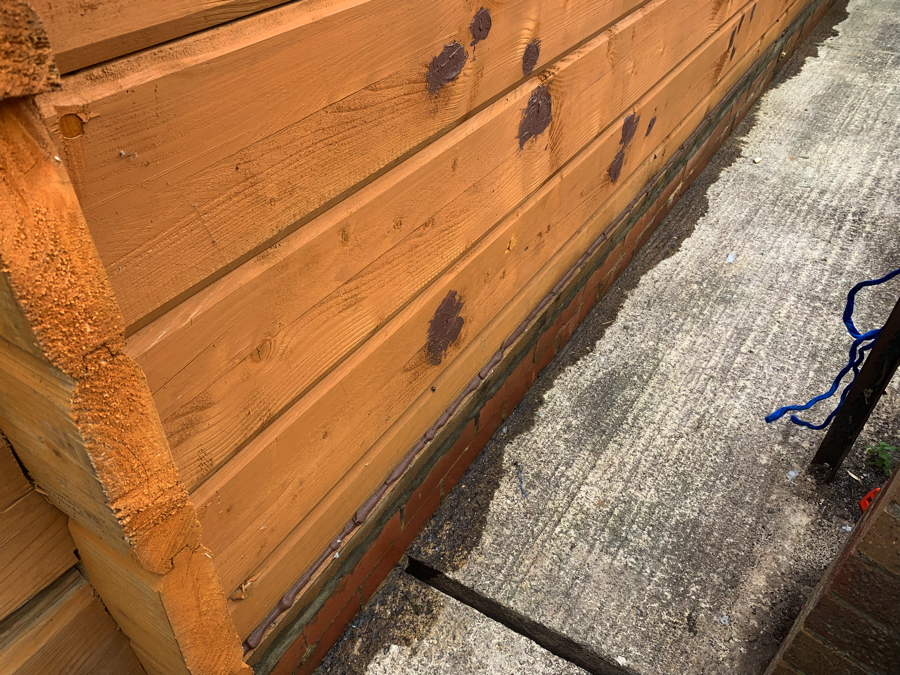
When it rained a day or two later the sealant did it’s job

But I wasn’t convinced this was going to be a permanent solution so I ordered 25Lt of bitumen, worked out much cheaper per litre than if I bought a 5 or 10 litre can, around £60 delivered

I set about masking thee area I was going to paint, I didn’t want the bitumen going all over the place


Then with a tar brush I set about doing some painting


I also painted the bitumen on the inside of the concrete garage opening

Would you believe it if the following day it didn’t bloody well rain, not just rain but cat and dogs kind of rain, I went out and took a look at the mess


The following day you couldn’t tell it rained the day before, and the bitumen hadn’t spread, it was only the oil part of it that followed the water

Last year (or the year before that) I bought a barrel of 205 litres of red diesel, but the barrel couldn’t be taken anywhere near where I wanted it near the garage, so I went out and bought a secondhand barrel for £15 and placed it where I wanted it

I had placed it on a couple of breeze blocks but after a day or so I wasn’t happy with this so built a concrete pad for the barrel


Fuel gauge
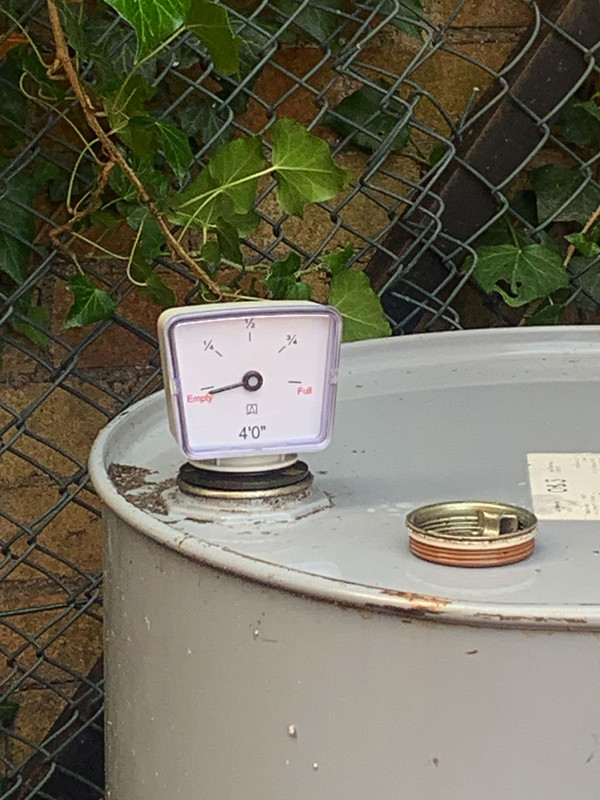
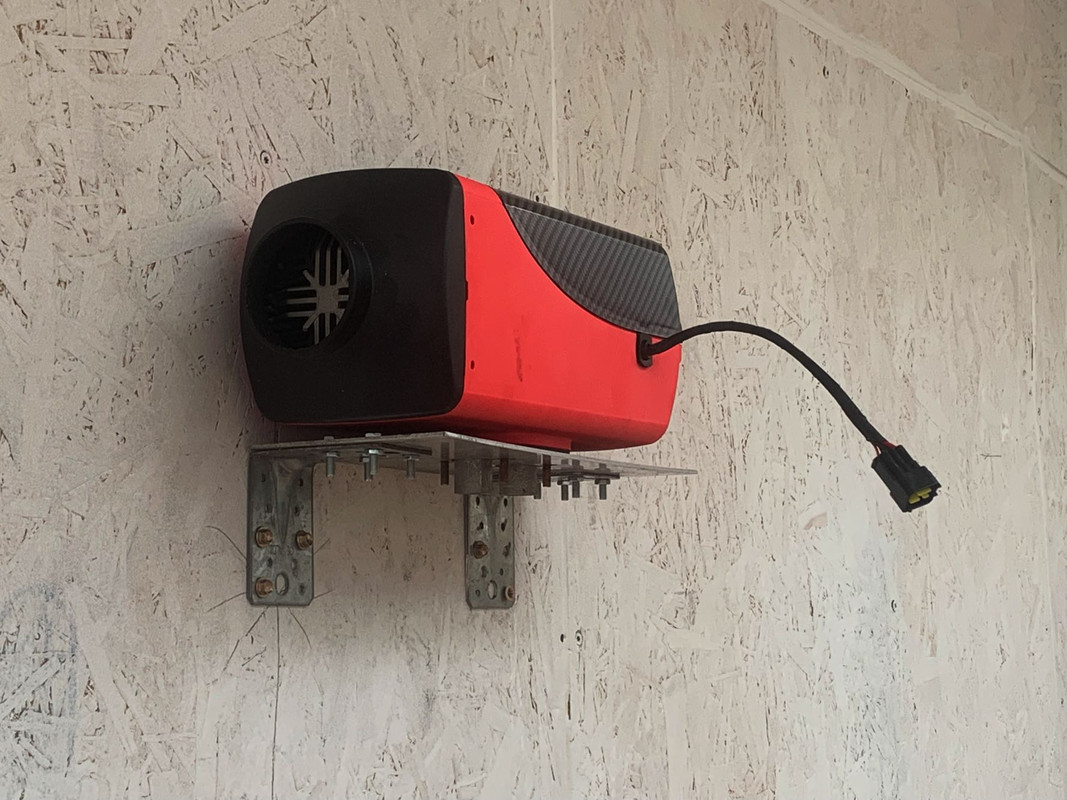
And the air breather and take up pipe to the Chinese diesel heater

Not wanting to be taking any chances of the diesel turning to a kind of jelly if frozen I layer out the piping in some guttering pipes and used foam lagging round the hose


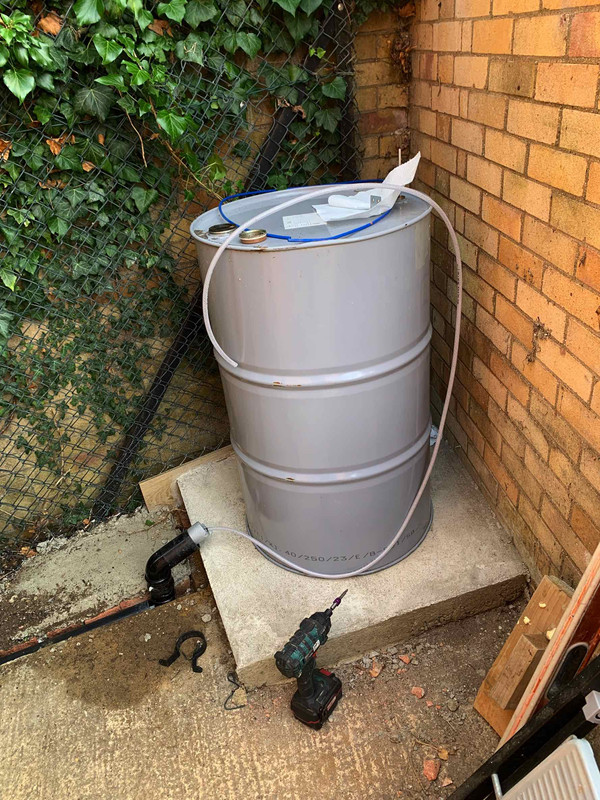
I also bought a diesel pump and 16 metres of diesel resistant hose to pump diesel from its original location to this new barrel


Eventually the insulation arrived

This was for the floor, EPS 200 with a density of 30Kg/M3 x12 good enough to hold up the Elise with no problem


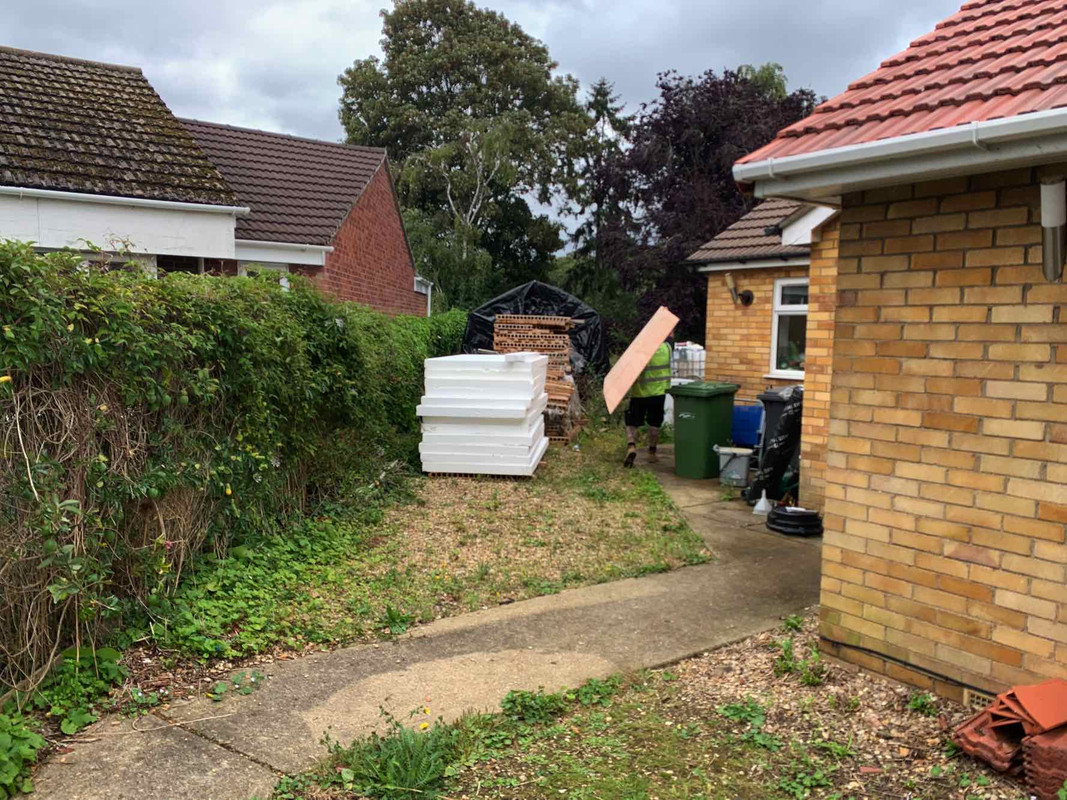
And then the ply for the floor


Did a good clean up in the garage ready for the DPM



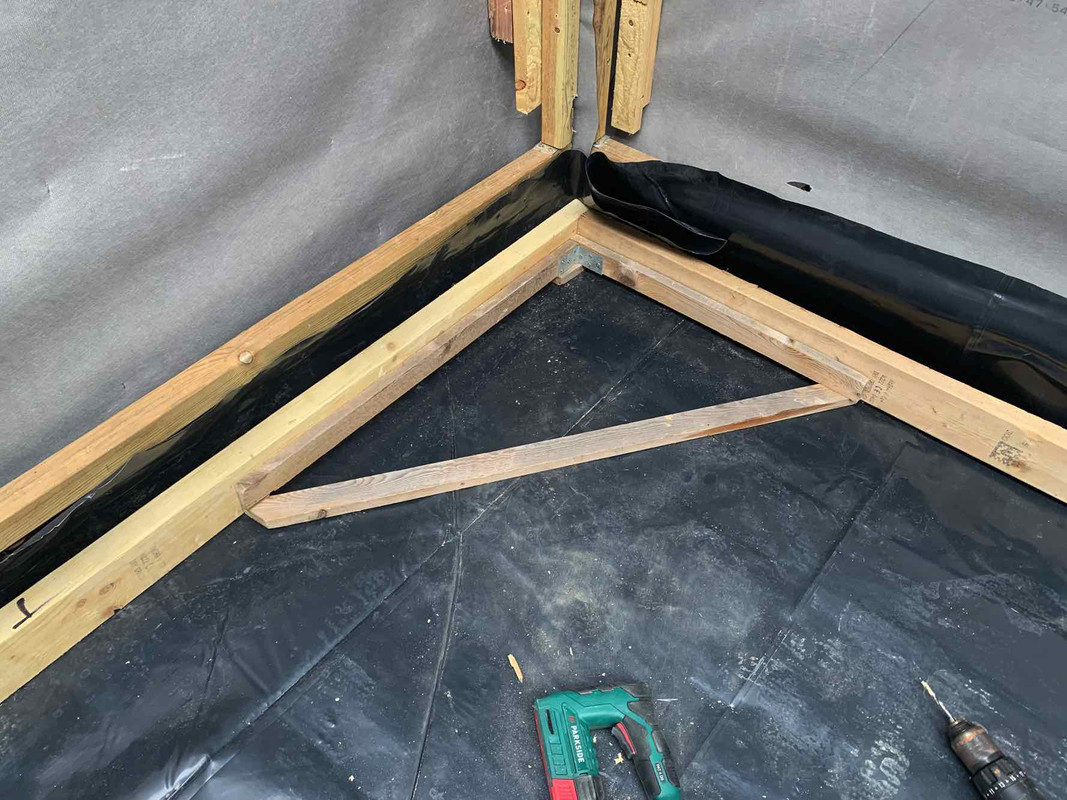


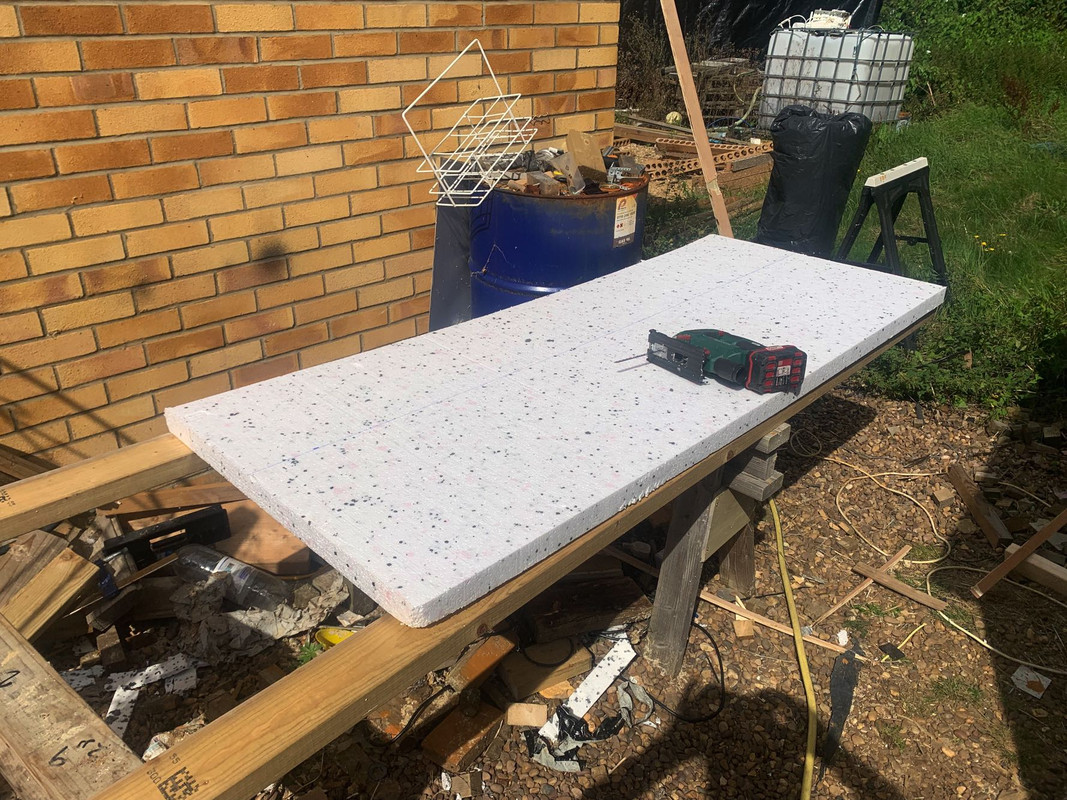
At first I laid them left to right looking in to the garage, but then after a discussion with my engineering friend I started back to front (looking back I'm should of started front to back) this way I could lay more timber joists between the insulation, I measured up the insulation and the seats were 240cm x 120cm so made my joist to fit and cut the insulation to get me two extra joists in the 120cm

Now how did I cut them! Well the blade I bought to use with the jigsaw was no good as it kept bending, so I got out my hand saw and this proved to be very hard work, I then used my Japanese saw and this was a bit better but still hard work

Then I made myself a hot blade using 7.5M Long AWG21 0.7mm Diameter Resistor Wire for Kiln Furnace, off Amazon £10, this made light work of cutting the insulation


I used two bolts and drilled hole for the wire to go through


As mentioned after chatting with my engineer friend I changed the direction of the joists


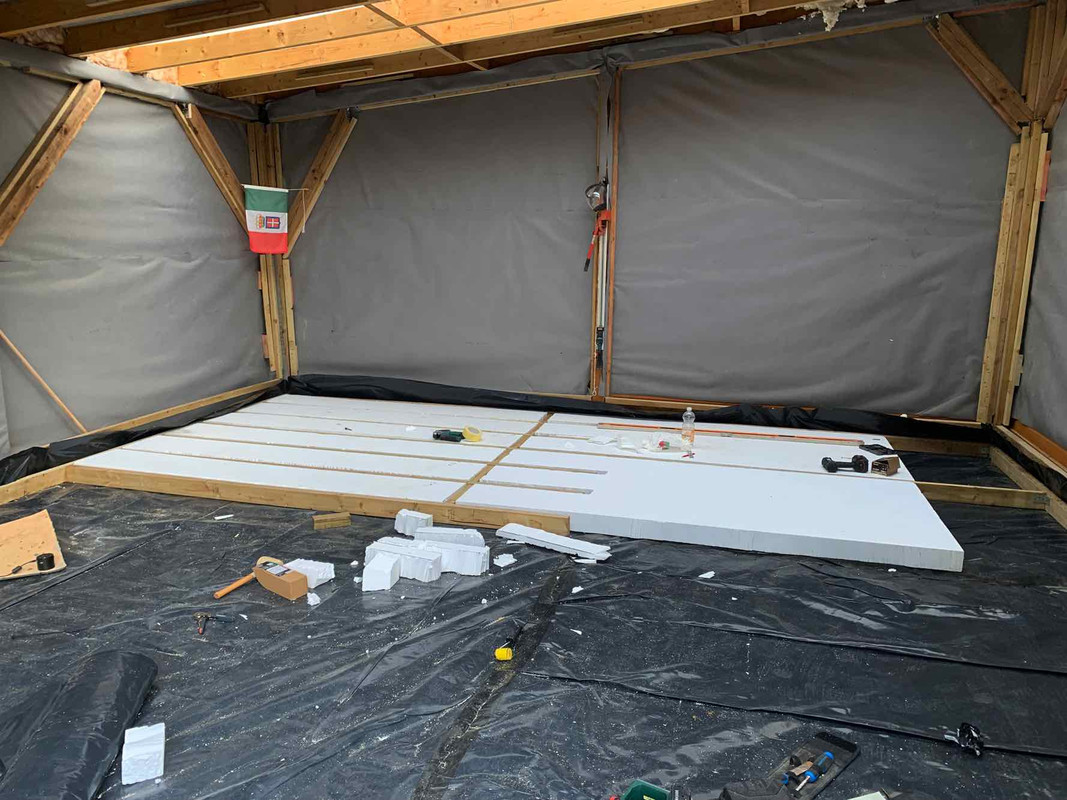

The insulation was dead on 100mm high, the joist were to be 100mm x 50mm but the are a bit less after planing so the joists were only 96mm x 46mm so I ended up getting a sheet of 6mm ply and had it cut in to strips of 40mm wide to pack the joist up


It was so hot in the garage I had to use our fan to keep me cool


This little contraption was a life savour, with it I was able to lift and move all the 8x4 ply with ease, without it I would of needed another person and even then it would of been difficult to get a good grip on the sheet


The last bits

I filed up the gaps between the insulation and joists with expandable foam


On laying my ply sheets, what did I discover!!! The sheets weren’t 240cm x 120cm, the ply were all 8x4, all my measuring to get the joists centre for the ply was a waste of time and had to make a fresh start with cutting the ply, and this never really worked out as good as my carpentry skills are not top notch
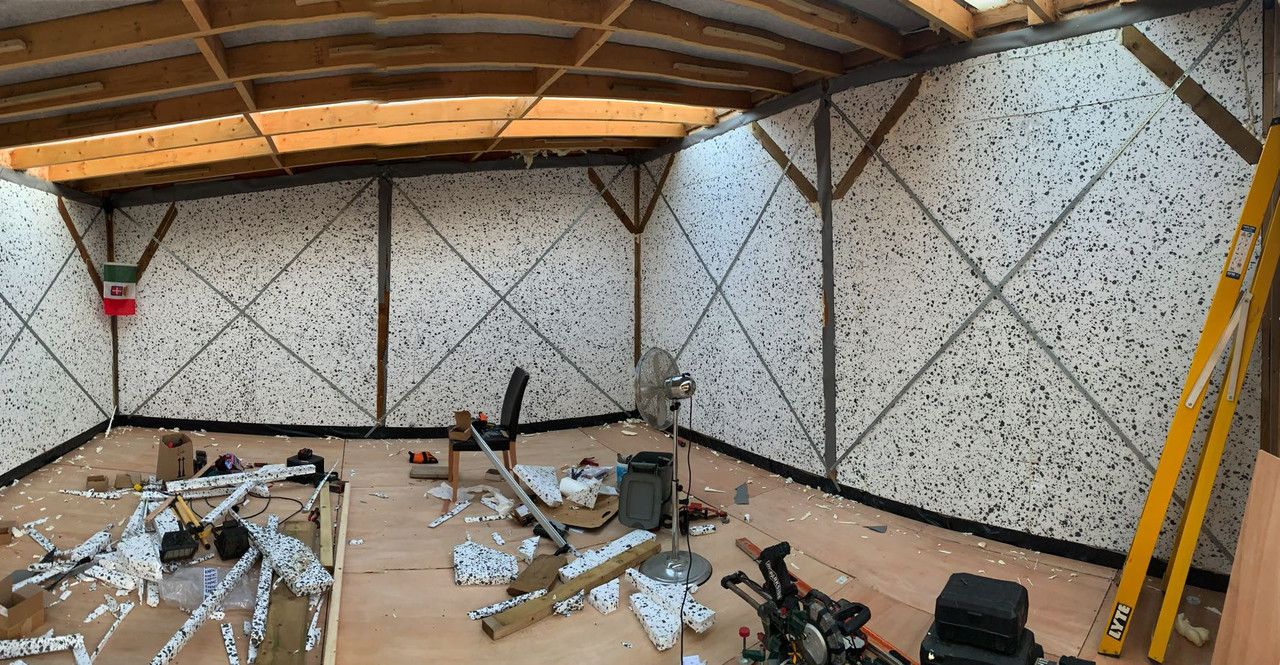
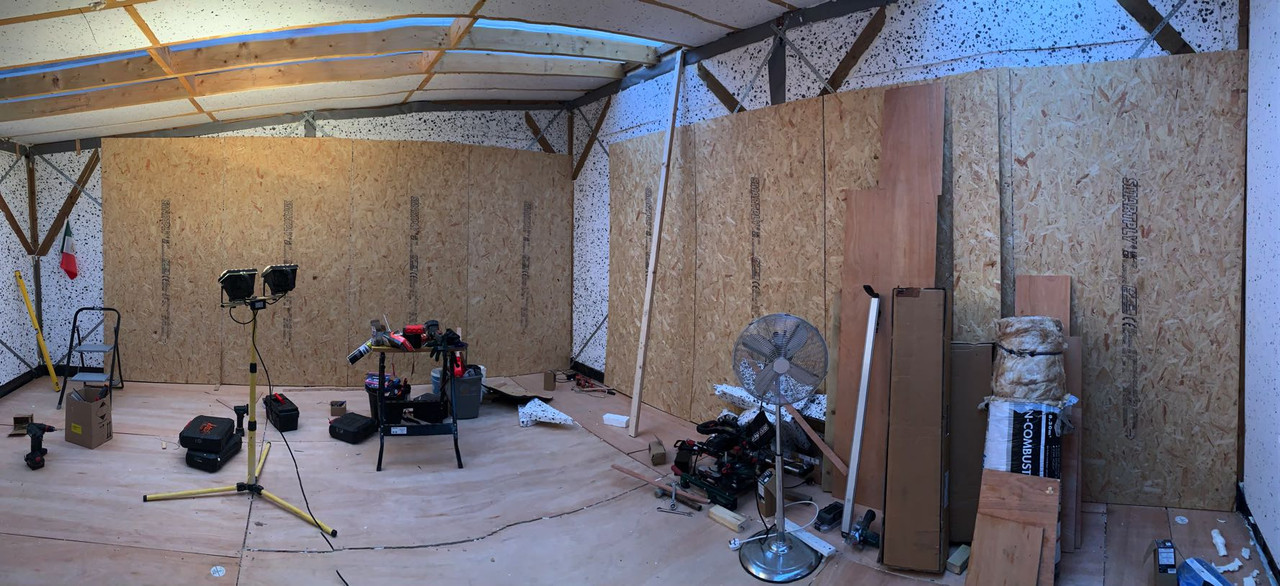
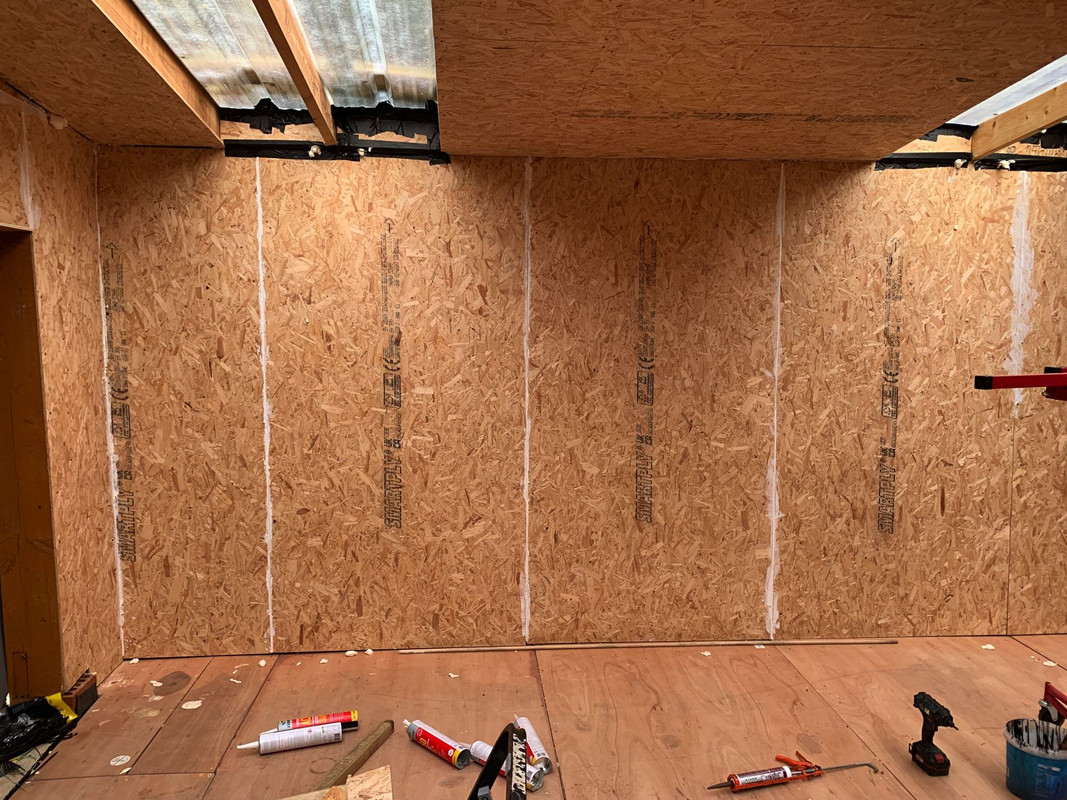
Anyway after the ply was laid I made a start on the wall insulation, but this time I made myself a longer hot knife 250cm long so I could cut the insulation with only having to lower the wire on to the insulation and not having to saw through it, I filed up the space between the floor and the wall insulation timber


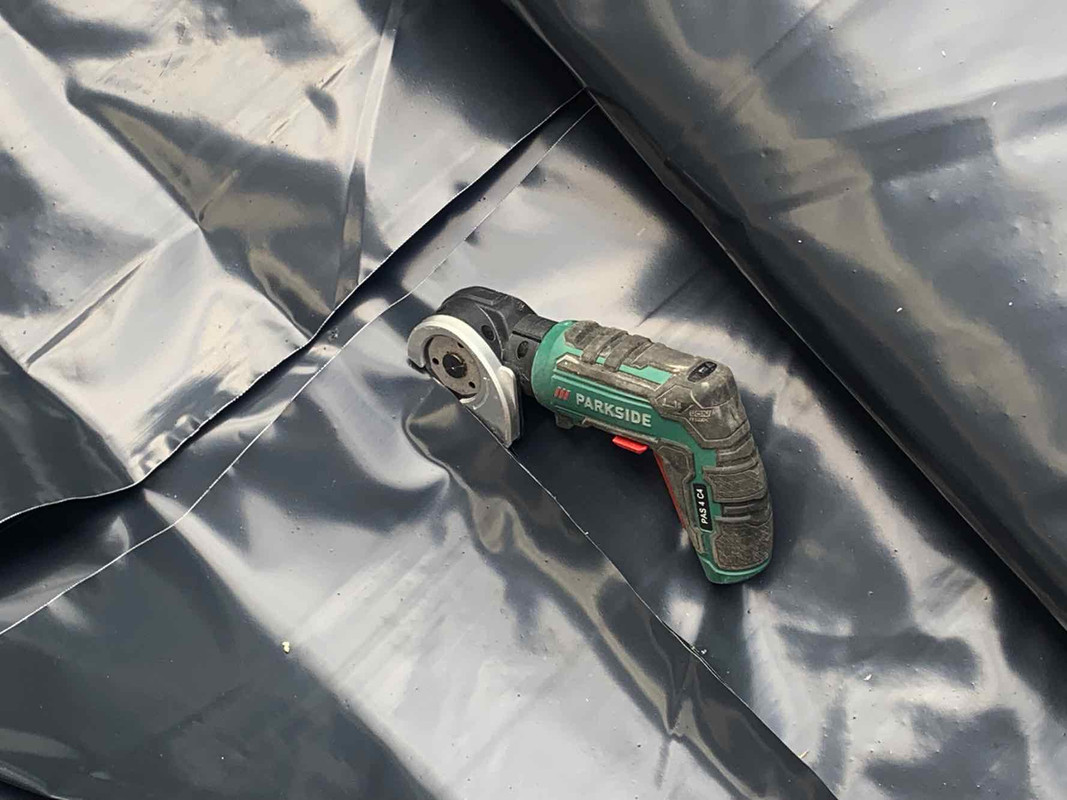
What stroke of luck Lidl had these, pipe bender, handy for my diesel pipe and this PVC conduit cutter I’ll need for my wiring conduit

I mentioned before (I think) this concrete bap was laid down as a compound for our two big dogs the had, they once passed away so the compound wasn’t being used for anything, when the builder finished laying the concrete he fenced it off with that plastic orange builders netting they use, well my dog Alfie
The first day home with us


Molly and Alfie together

Well Alfie to one jump over this netting and onto the fresh concrete he went, leaving behind his footprints


There might be some errors here or there as it’s a long post

