lebowski
Part of things
  Hillman Avenger, Clan Clover
Posts: 488
|
|
|
|
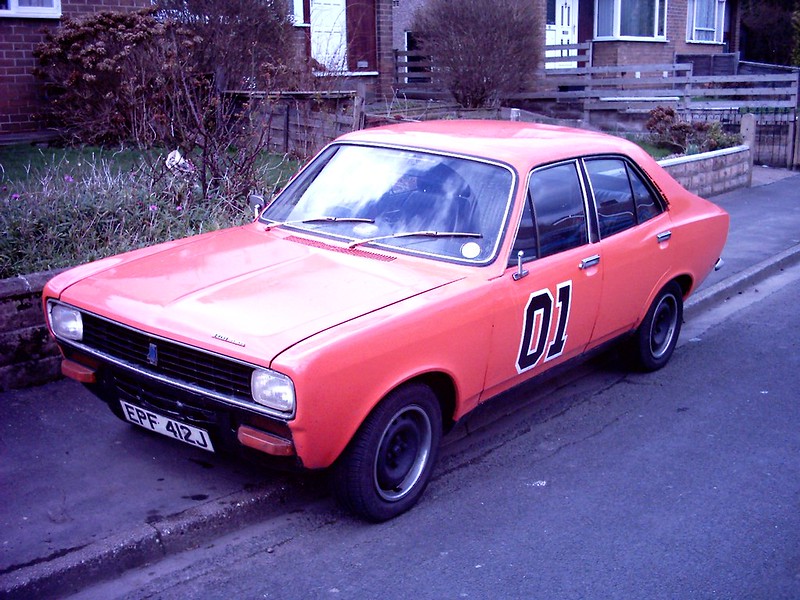
I bought this Avenger in about 2001 when I was 18. It was my second car after a Hillman Imp. I used it as a daily driver in its Dukes of Hazzard colours until 2009, during which time it had the usual parts welded and repaired.
In about 2006, I managed to buy some 2nd hand turbo parts for the car (from Vambo on here I think). This included an exhaust manifold, turbo carb and plenum and a few turbo's which needed rebuilding. Over the next few years my Dad and I started putting together the parts to turbocharge the car and convert to fuel injection, using Megasquirt which was pretty new at the time. I bought an ecu and we started making/modifying the parts required on a spare engine.
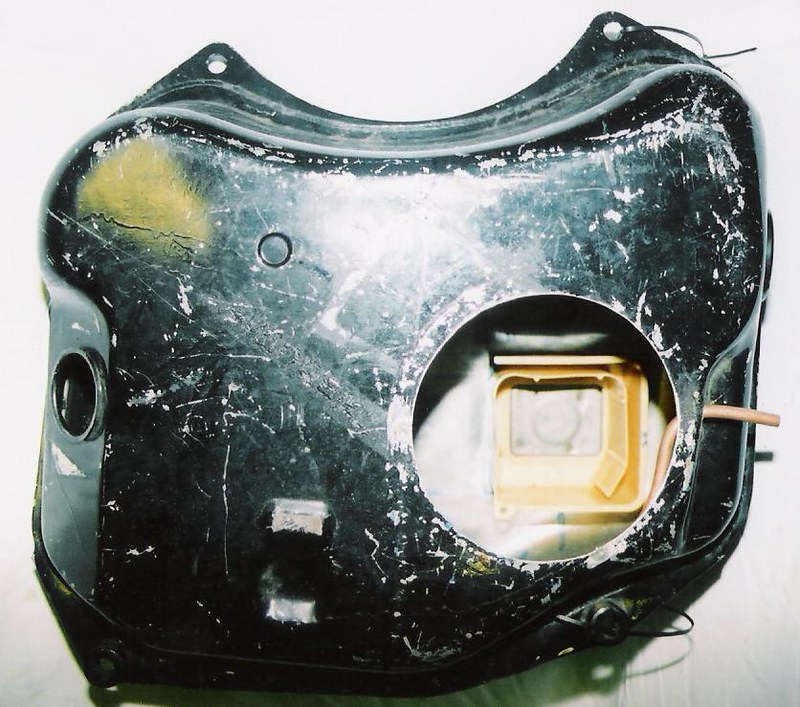
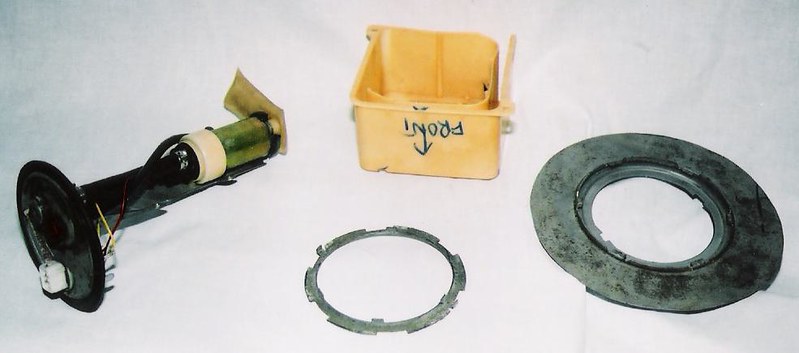
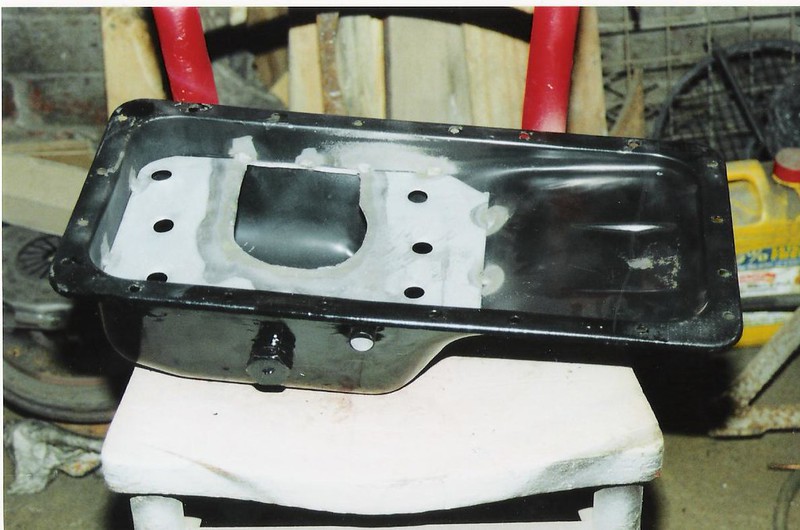
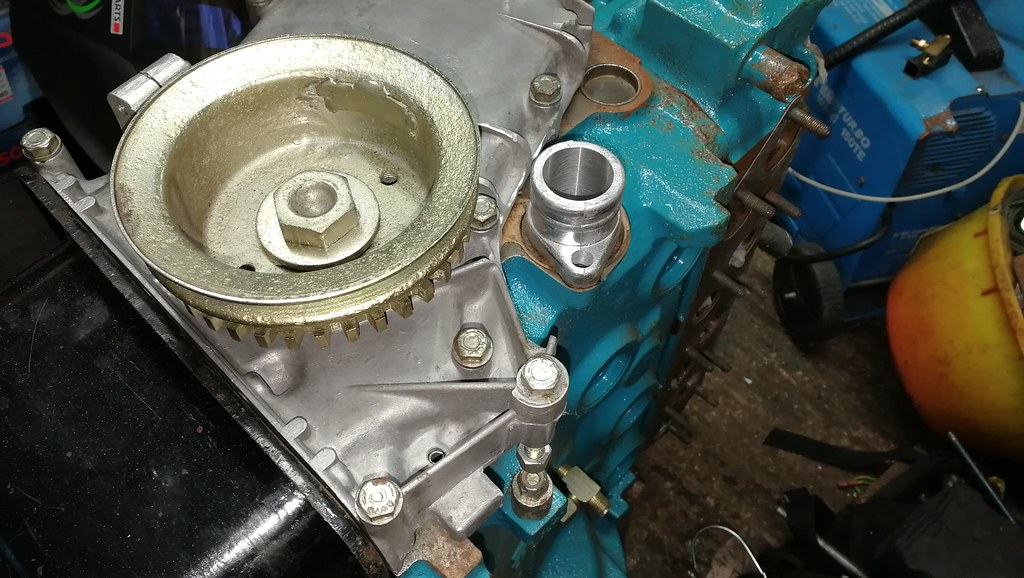
We put a Scorpio swirl pot into the fuel tank, along with the pump cradle (the pump was upgraded to a Walbro unit). A Sierra 36-1 trigger wheel was attached to the crank pulley: A sump baffle was added, along with a stub for the turbo oil return:
We fabricated an inlet manifold from Aluminium, which would mount a set of 45mm Lotus esprit throttle bodies and the plenum. It also has injector bosses and a vacuum/boost rail built in to drive the map sensor, boost guage, servo, etc. The fuel rail was made from square section tube and the top hats were turned and then brazed to it. Fittings were brazed to either end. Lots of care was then taken to match the ports between the throttle bodies/manifold/head so that there are no steps. This stage of the project took ages.
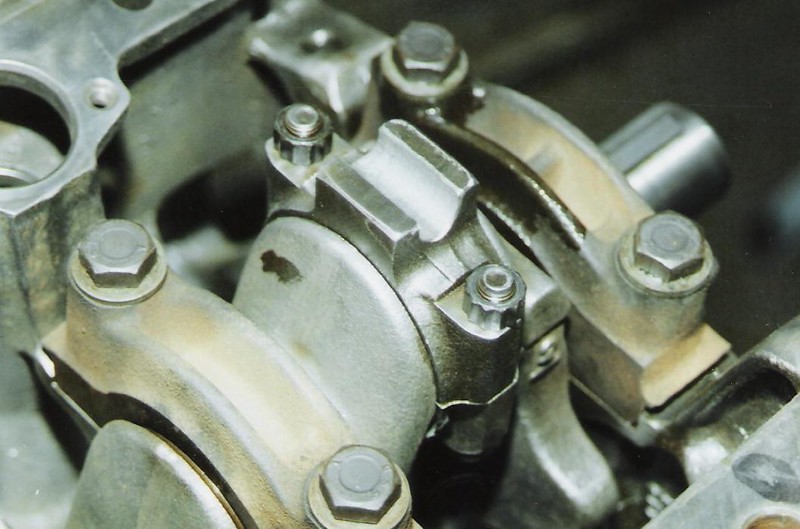
The engine itself is a 1600, with a Ti head. New valves were fitted along with K line valve stem inserts. The static compression ratio was reduced to 8.5:1 by deepening the dish on the top of the pistons. All the components were balanced meticulously and the conrods were lightened. The rotating assembly was then dynamically balanced. The block also had grooves cut into the deck for wire ringing.
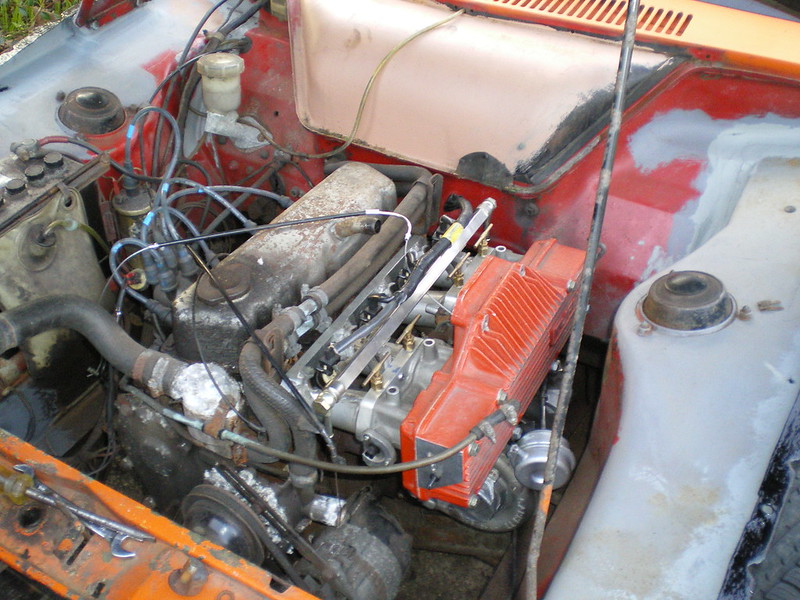
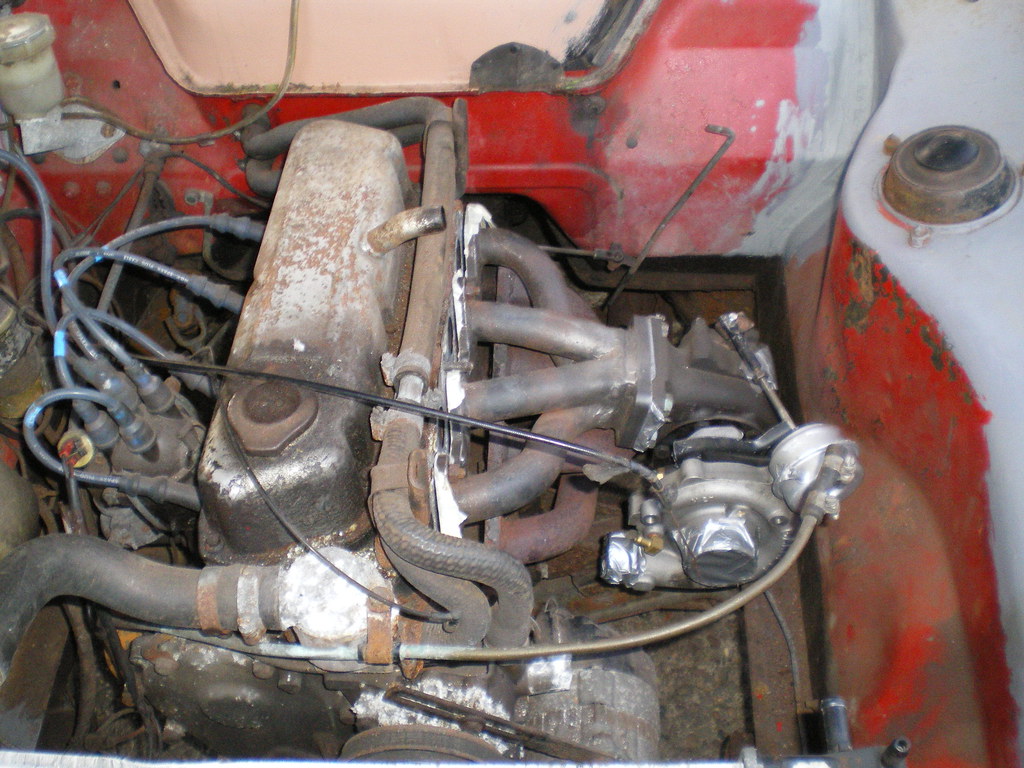
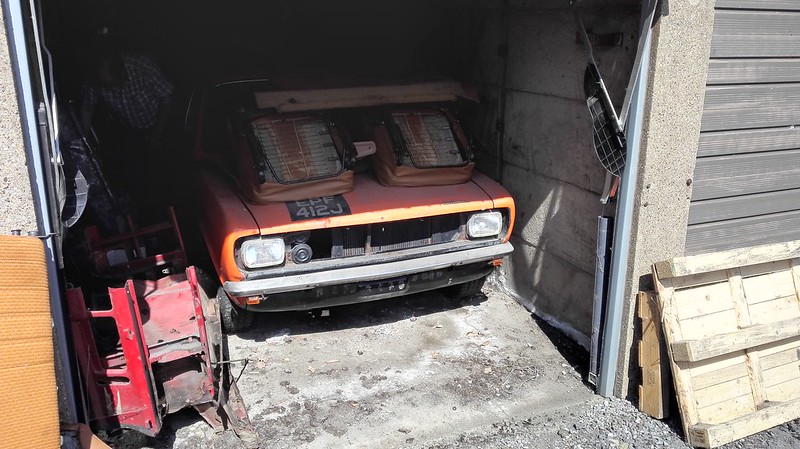
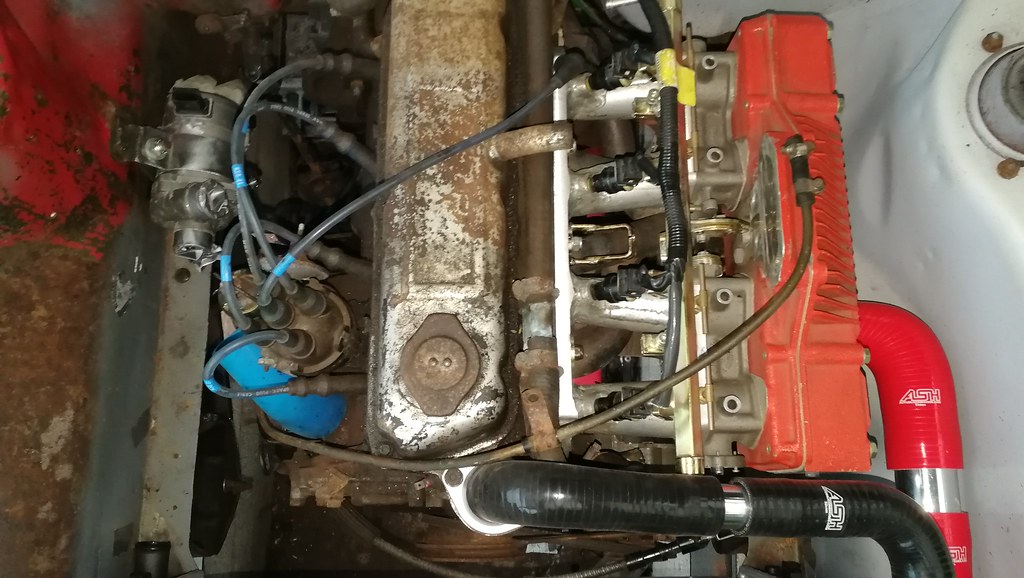
There were of course many many other little jobs along the way which means it took a couple of years to get to this point. Here is a picture of the manifolds test fitted onto the engine in the car. And on the 'new' engine: The turbo itself is a T3 hybrid which I built during a university placement when I worked at Garrett. By this time it was 2009, and I went on a round the world trip with a friend and ended up being away for 4 years. The car was put into a rented garage, where it stayed unused for the next 8 years. |
| |
|
|
|
|
lebowski
Part of things
  Hillman Avenger, Clan Clover
Posts: 488
|
|
|
|
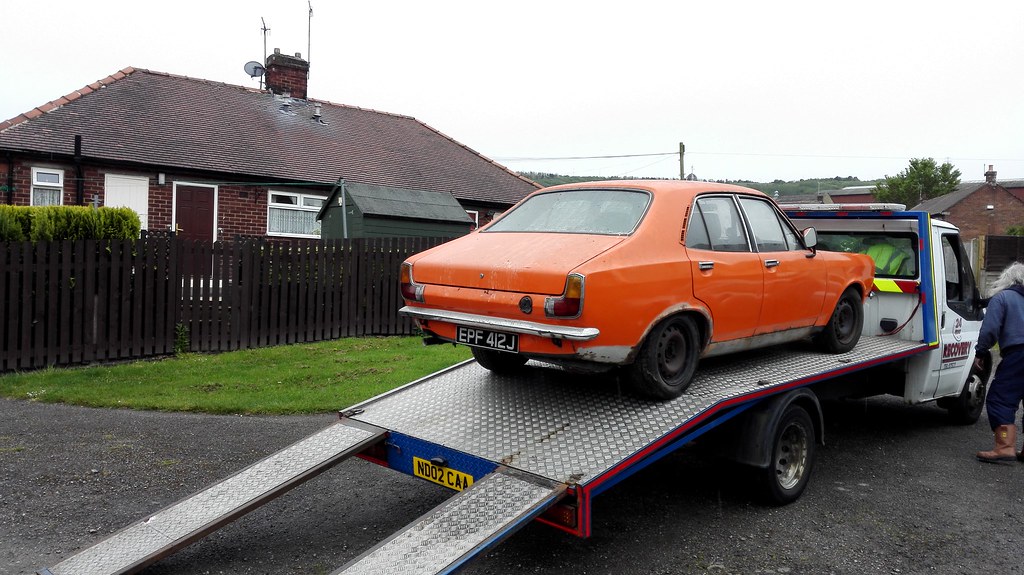
In May 2017, I was back in the UK and finally decided to pull the car out of the garage, either to sell it as is or to continue the project, depending on the state of it. After pulling it out, it didn't look too bad.
The brakes were stuck on and had to be freed off by hitting the wheels with a hammer whilst the car was being pulled by the winch.
The rear OS arch was looking a bit scabby
And the seats were looking a bit mouldy Unfortunately, a bit of jiggery pokery with a screwdriver showed that the front chassis legs were a bit rotten This escalated somewhat Shortly before the car was laid up, it had a new front panel and inkwell panel fitted. Thankfully, these were still fine, but there was plenty of rot everywhere else. It was never meant to be a restoration as such, but I got a bit carried away with the bodywork, and as always, once you peel back the layers there is plenty of rot to be found. |
| |
|
|
bazzateer
Posted a lot
   Imping along sans Vogue
Posts: 3,653
|
|
|
|
|
Keep it coming!
|
| |
1968 Singer Chamois Sport
1972 Sunbeam Imp Sport
1976 Datsun 260Z 2+2
1998 Peugeot Boxer Pilote motorhome
2003 Rover 75 1.8 Club SE (daily)
2006 MG ZT 190+ (another daily)
2007 BMW 530d Touring M Sport (tow car)
|
|
lebowski
Part of things
  Hillman Avenger, Clan Clover
Posts: 488
|
|
|
|
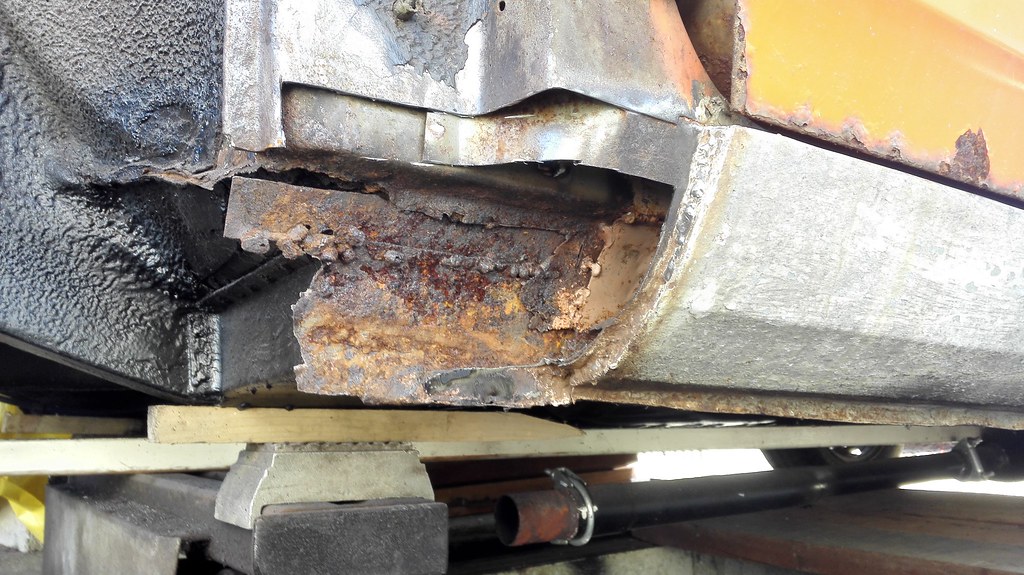
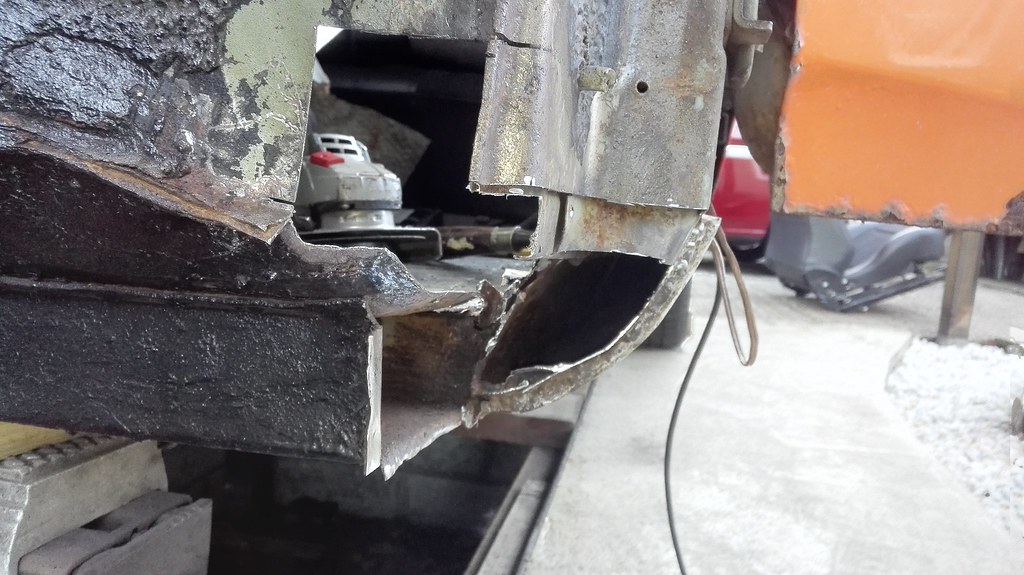
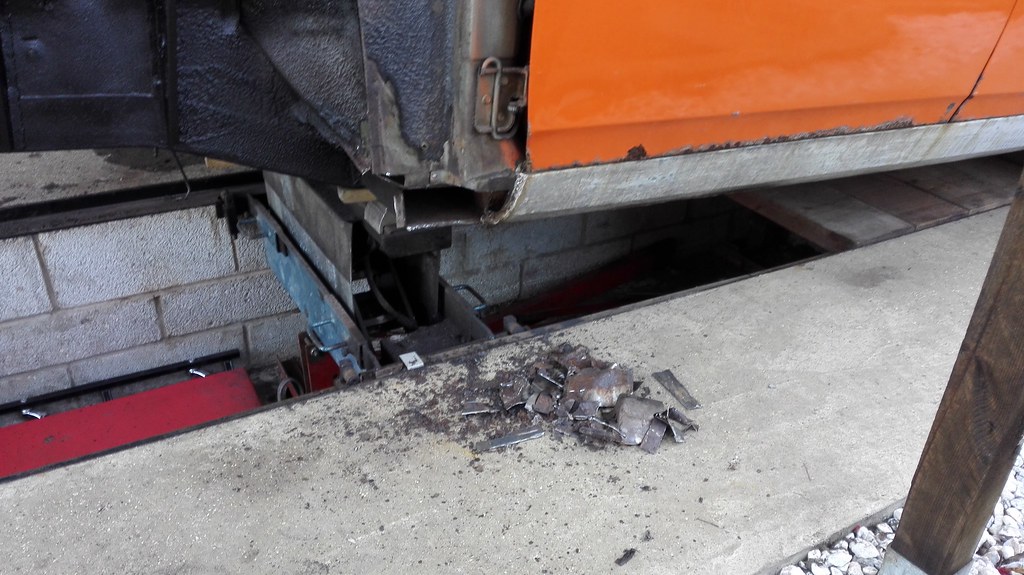
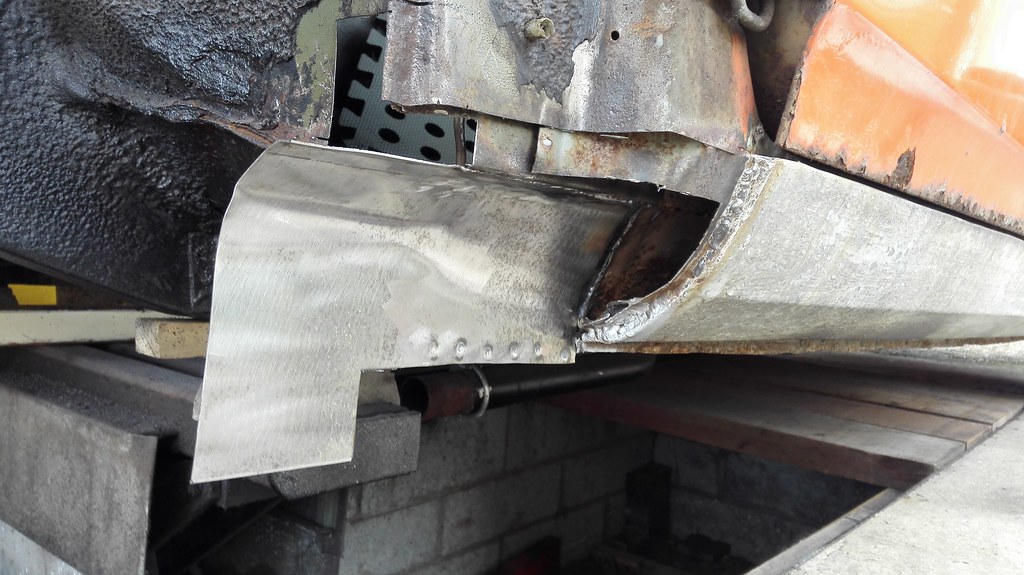
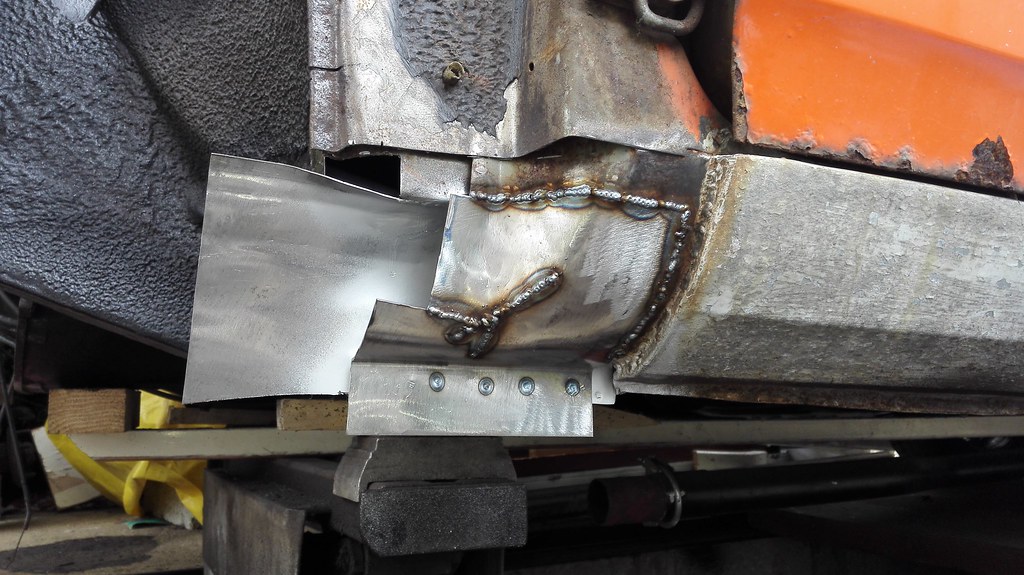
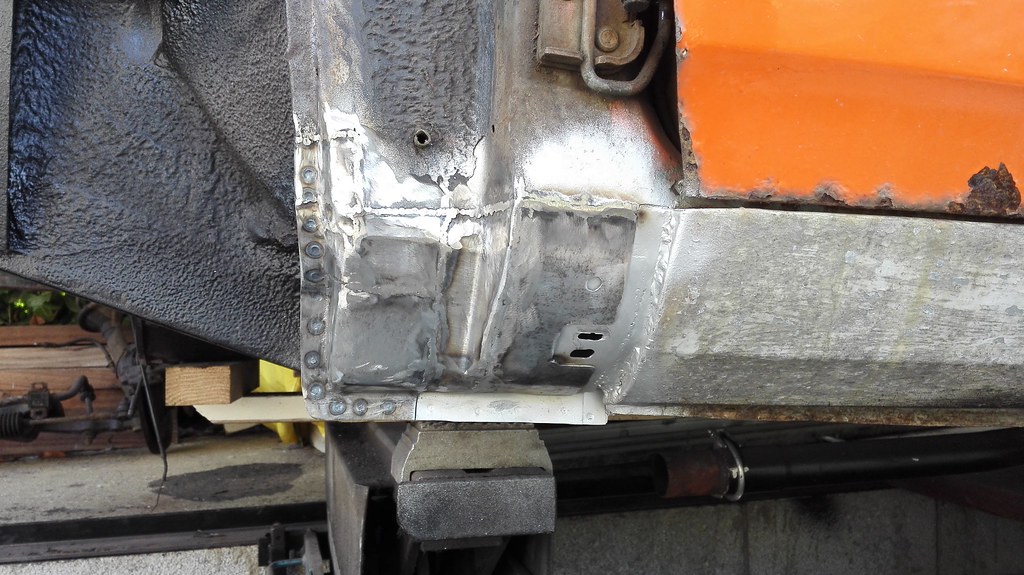
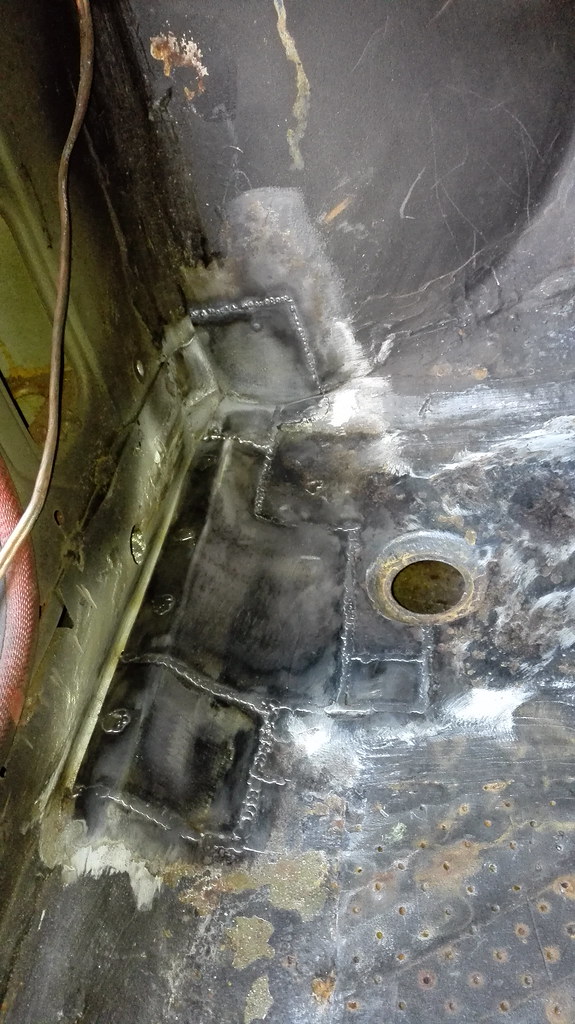
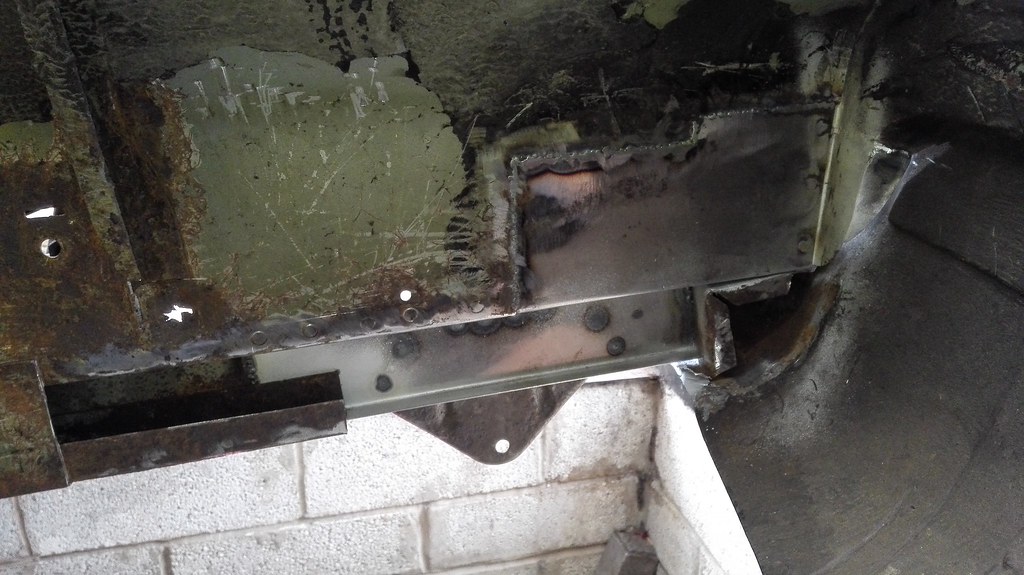
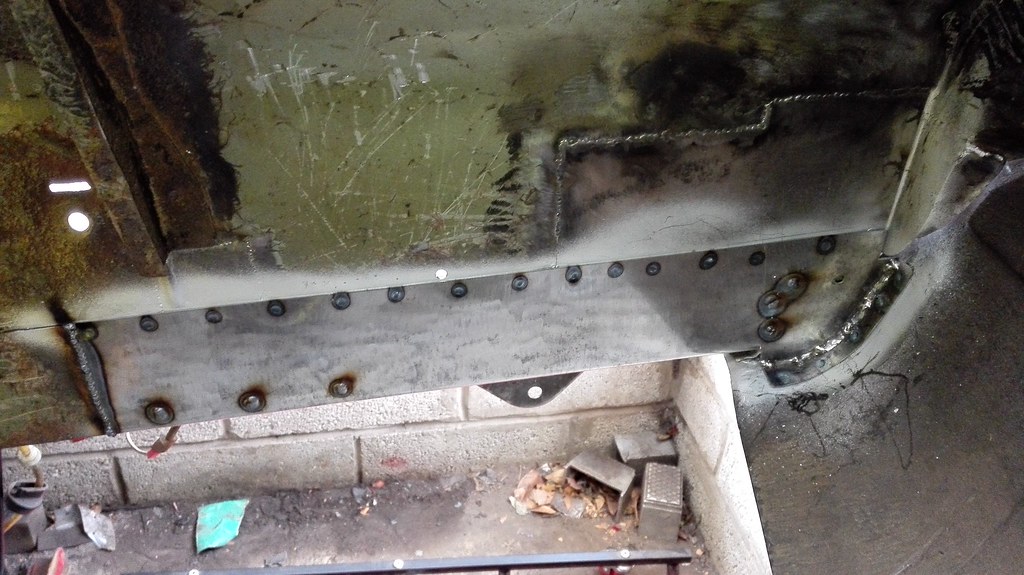
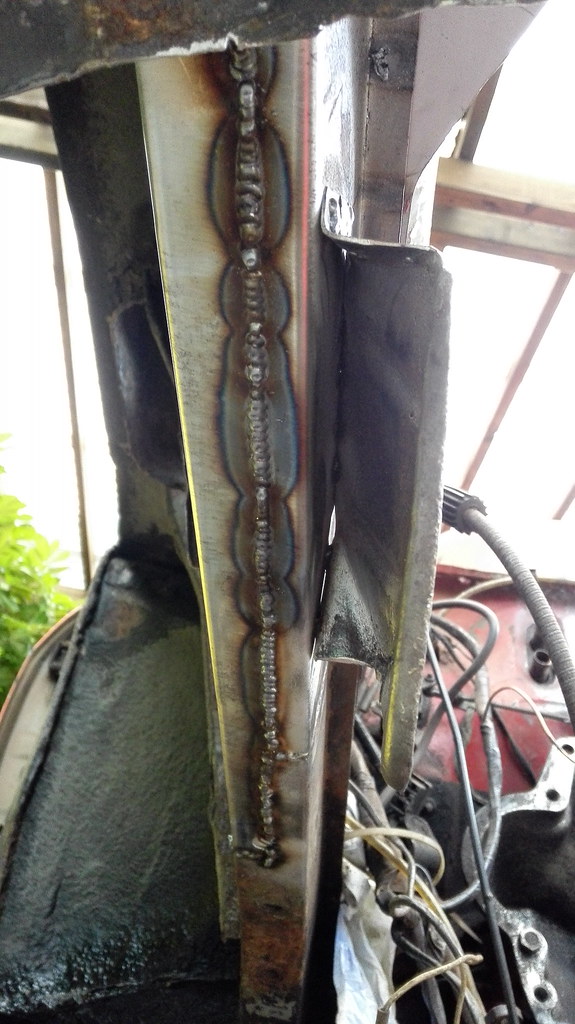
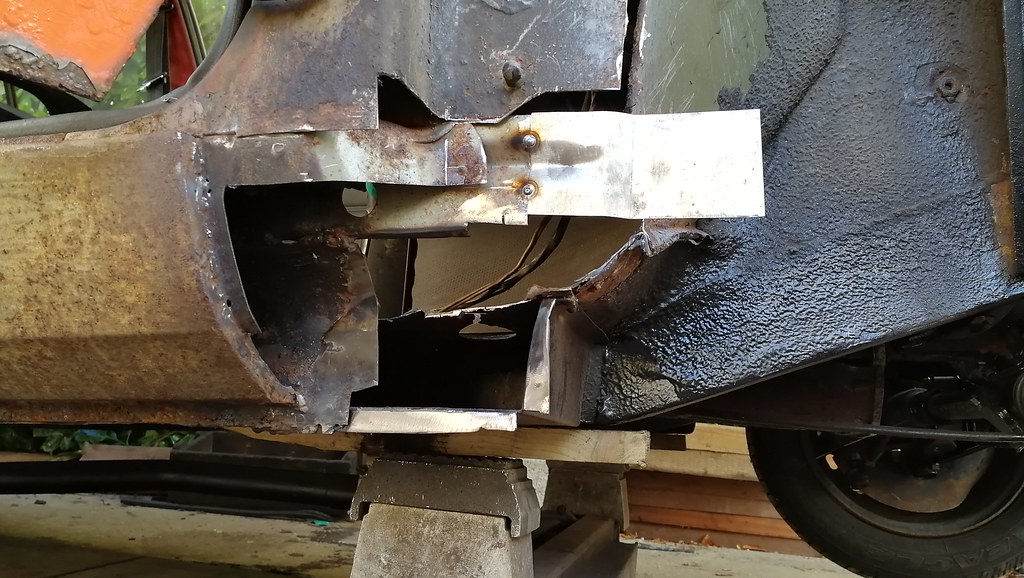
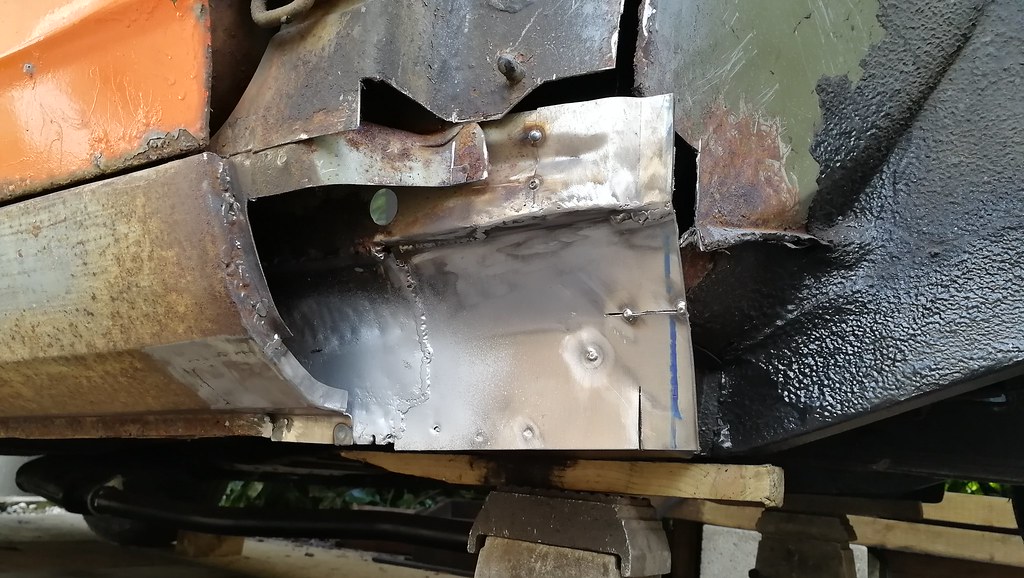
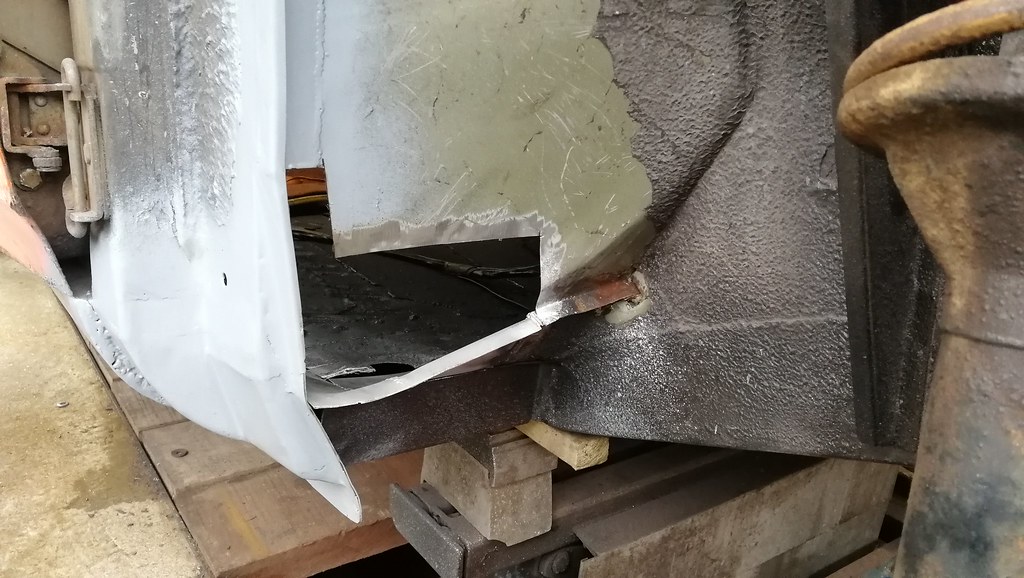
The bottom of the A-pillars were completely rotten on both sides too. The inner and outer sills had previously been replaced, but unfortunately at the front they had been welded to the old ones rather than cut out and done properly. The rest of the sill was fine, so just the front section needed replacing.
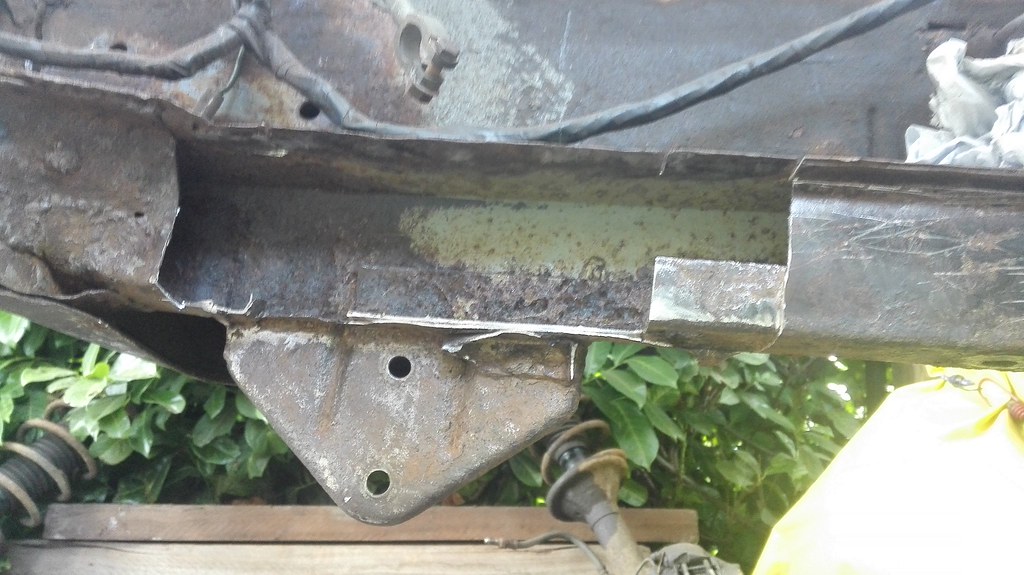
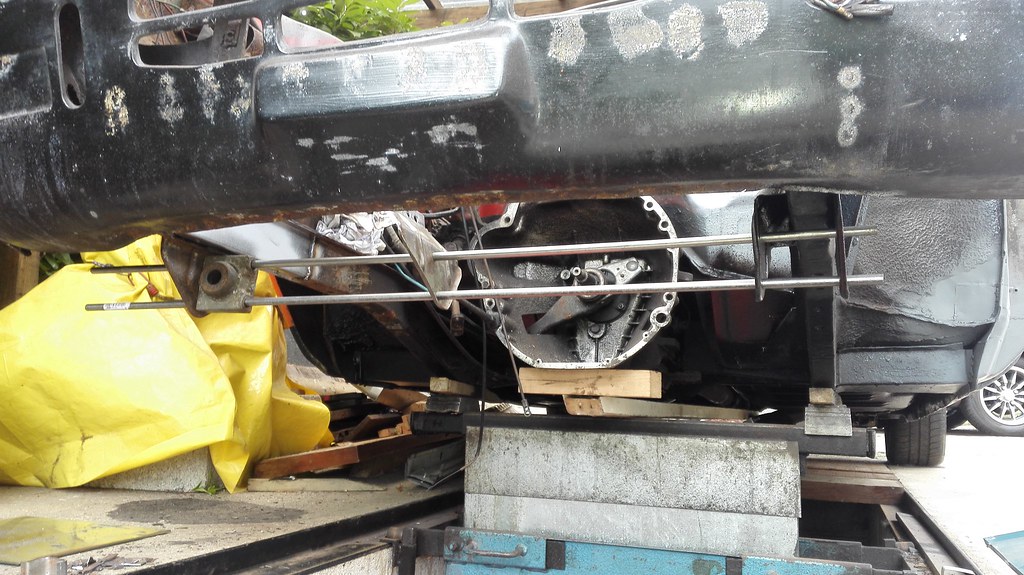
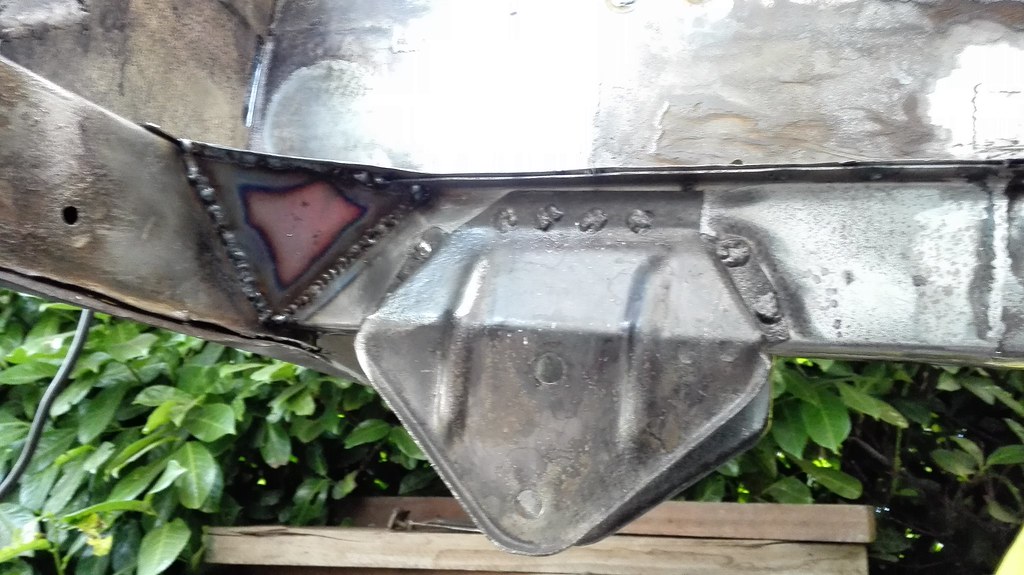
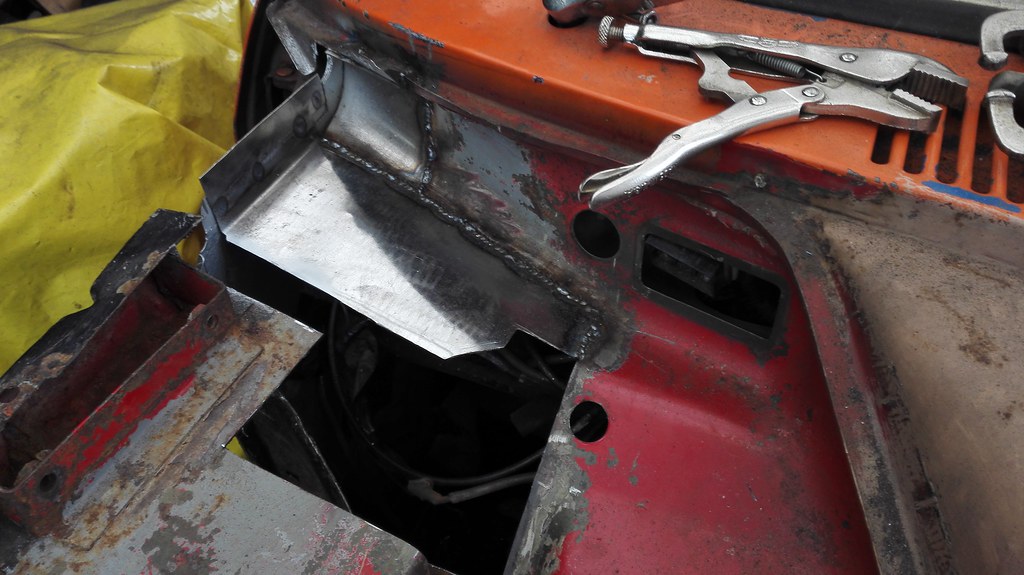
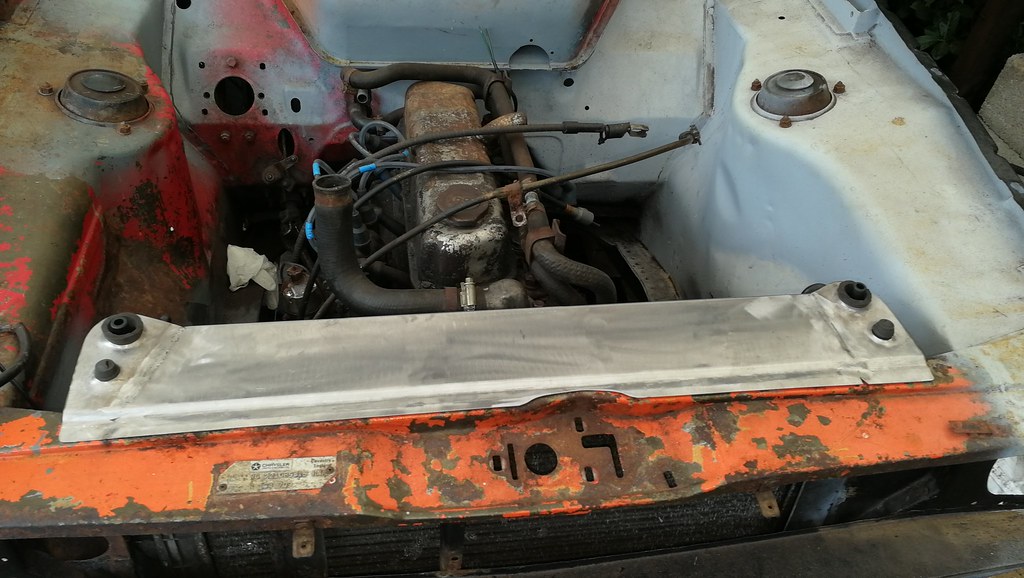
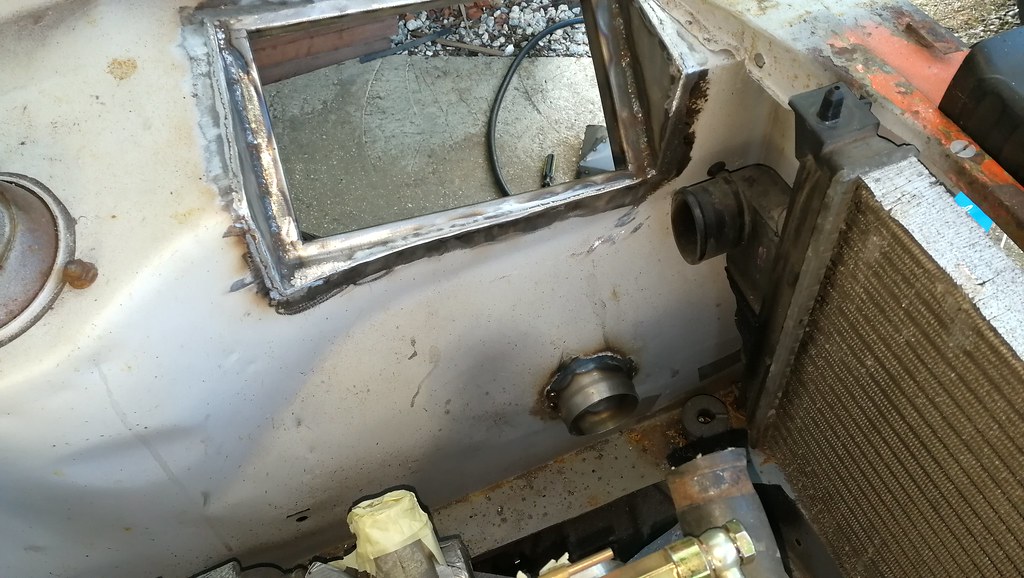
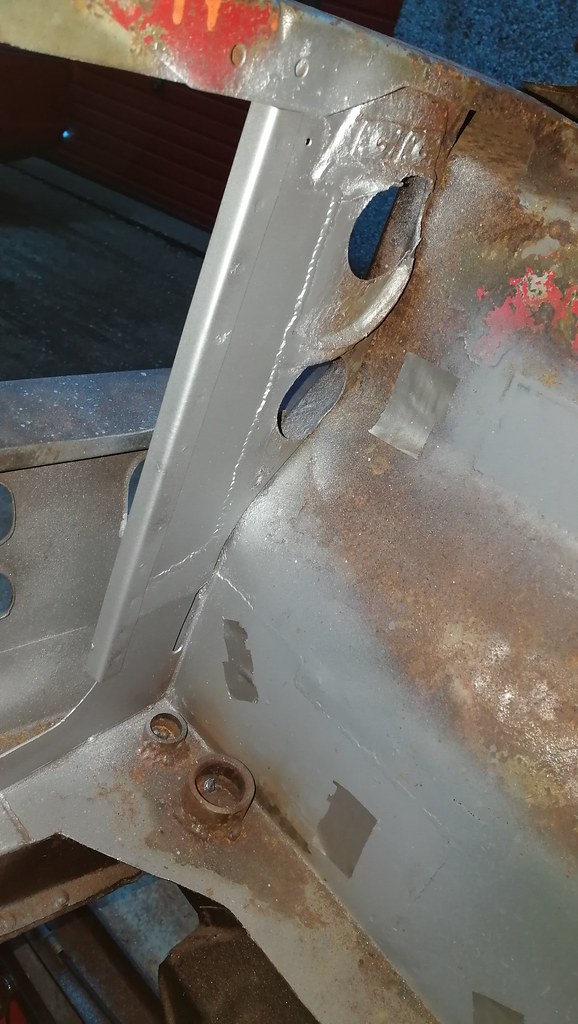
At this point I started to look at the chassis legs I did them in two halves with a seam along the bottom. This meant that I didn't lose the suspension pickup points I also had to fix the bottom of the radiator shroud And the top part of the chassis rail and inner wing. The big rectangular hole you can see in the radiator mounting panel is where I was originally going to fit a Ford RS turbo intercooler. More on this later.
|
| |
|
|
Davenger
Club Retro Rides Member
It's only metal
Posts: 7,272
Club RR Member Number: 140
|
Hillman Avenger TurboDavenger
@dminifreak
Club Retro Rides Member 140
|
|
|
|
Great progress
I feel your pain with the rust, mine was horrendous
|
| |
|
|
|
|
|
|
|
|
Nice work on that A post.
|
| |
|
|
|
|
|
|
|
|
Cool car and mods, nice workmanship.
Avengers were sold here in the States as the Plymouth Cricket (as in, insect or sport? Dunno) and universally panned. But as a kid in England, my Mum and Dad would sometimes get them as rental cars...and we thought they were cool! I can still smell that great plastic new car smell, invariably added to with plenty of ciggy fumes. Good times. John
|
| |
|
|
lebowski
Part of things
  Hillman Avenger, Clan Clover
Posts: 488
|
|
|
|
The car is actually on the road now. This thread is a retrospective look at what I did to it over a long(ish) period. So my progress isn't as rapid as it might seem! The pictures below are from around 2017.
I also did the same work on the passenger side and removed the battery tray, as I planned to relocate that to the boot.
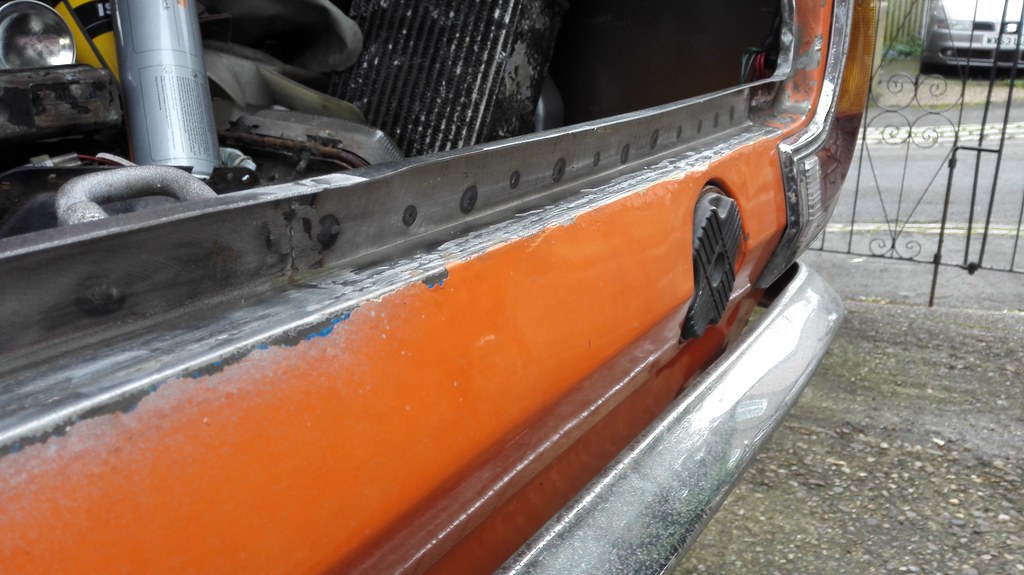
The rot continued.... The boot lip was rotten under the seal
|
| |
|
|
|
|
|
|
|
|
Great thread and awesome to see another Avenger on here.
Many of these areas you've had to repair are ones I'm going to have to do on mine as well.
Mine's been off the road since 2006 after the cross pin In the diff snapped
I'd been patching the front wings for a couple of years to just keep it on the road as it was my daily, but decided when the diff went it was time to do something with it. Anyway that was in 06 and only now am I starting to look at getting it back on the road.
Engine is a 1600 Ti lump, but with Ex-Talbot works big valve head, lightened and balanced bottom end, AVFR5 cam, Webers, 4 branch etc.
It used to be good for over 125mph and would pull to 7500rpm happily.
I've had many thoughts of engine swaps and conversions over the years, Vauxhall 1.8 Sri 8v, turbo diesel of some sort and lately either Turbo-ing a spare Sunbeam 1600 GLS lump I've got, or just converting what's already in it to fuel injection from carbs.
Better sort the body out first before I decide which route I'm actually going to take.
Anyway, great thread and looking forward to seeing more info on it.
Will
|
| |
1964 Saab 96 two Stroke
1971 Hillman Avenger 1500 GL (Tuned 1600 fitted)
1976 Saab 99 2dr EMS (Project of very slow progress)
1978 Saab 99 2dr EMS (Awaiting reshell)
1981 Saab 99 2dr Turbo (Awaiting reshell)
|
|
|
|
|
|
|
|
Really nice fab and welding there!
|
| |
Rover Metro - The TARDIS - brake problems.....Stored
Rover 75 - Barge
MGZTT Cdti 160+ - Winter Hack and Audi botherer...
MGF - The Golden Shot...Stored
Project Minion........
Can you see the theme?
|
|
|
|
lebowski
Part of things
  Hillman Avenger, Clan Clover
Posts: 488
|
|
|
|
Great thread and awesome to see another Avenger on here. Many of these areas you've had to repair are ones I'm going to have to do on mine as well. Will I think maybe I recognise yours from a trip to curborough a long time ago. It looked great with the dolomite spoiler. |
| |
|
|
lebowski
Part of things
  Hillman Avenger, Clan Clover
Posts: 488
|
|
|
|
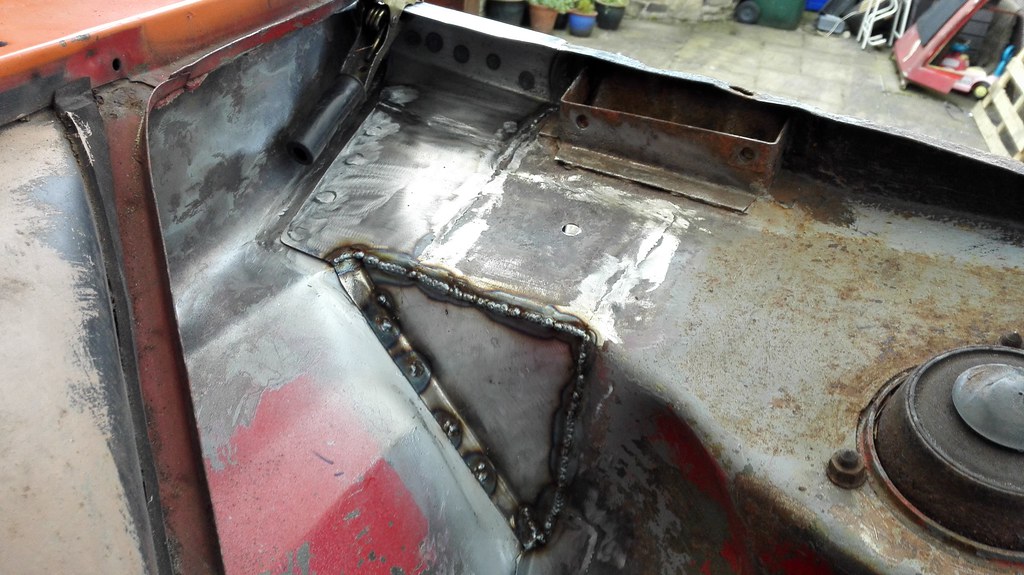
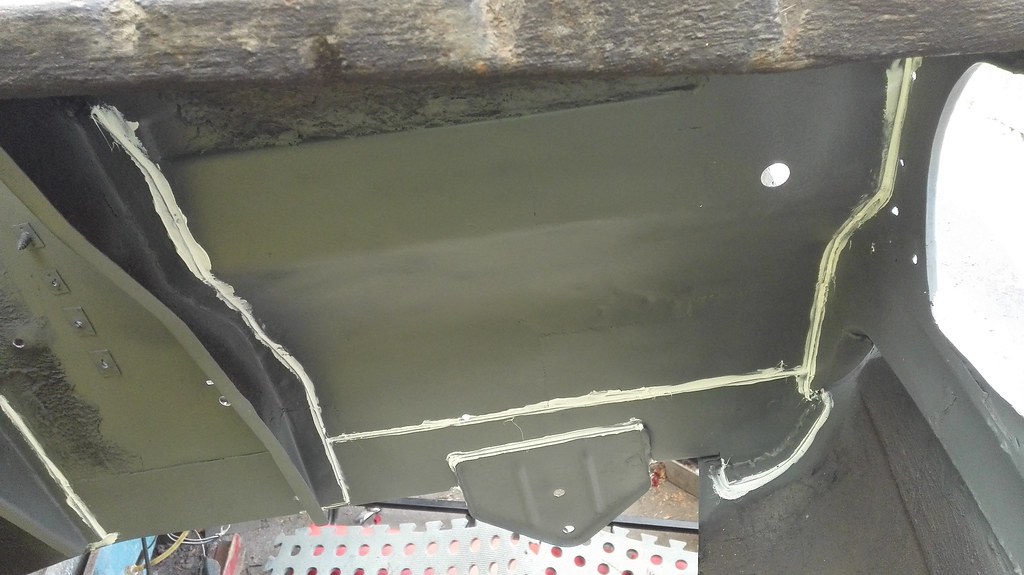
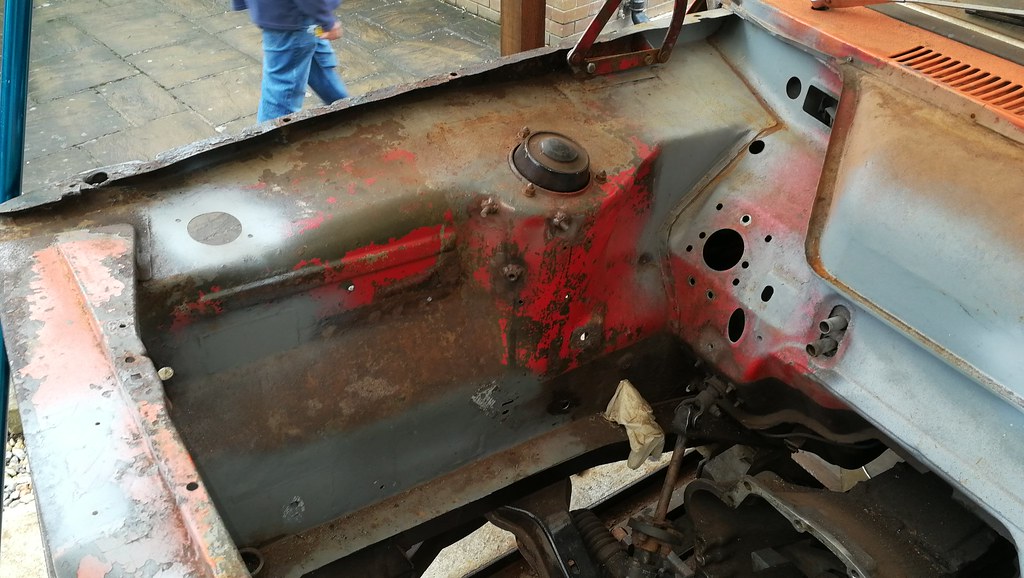
The final major welding at the front end was the bottom of the other A-pillar. After this was done I could put the engine back in and decide where/how to mount all the additional turbo parts. This side didn't look as bad, but after peeling away the layers it was rotten. The floor also required some attention. Everything was protected as well as possible, and thoroughly primed/painted/cavity waxed afterwards, so hopefully these jobs won't need repeating for a long time. |
| |
|
|
lebowski
Part of things
  Hillman Avenger, Clan Clover
Posts: 488
|
|
|
|
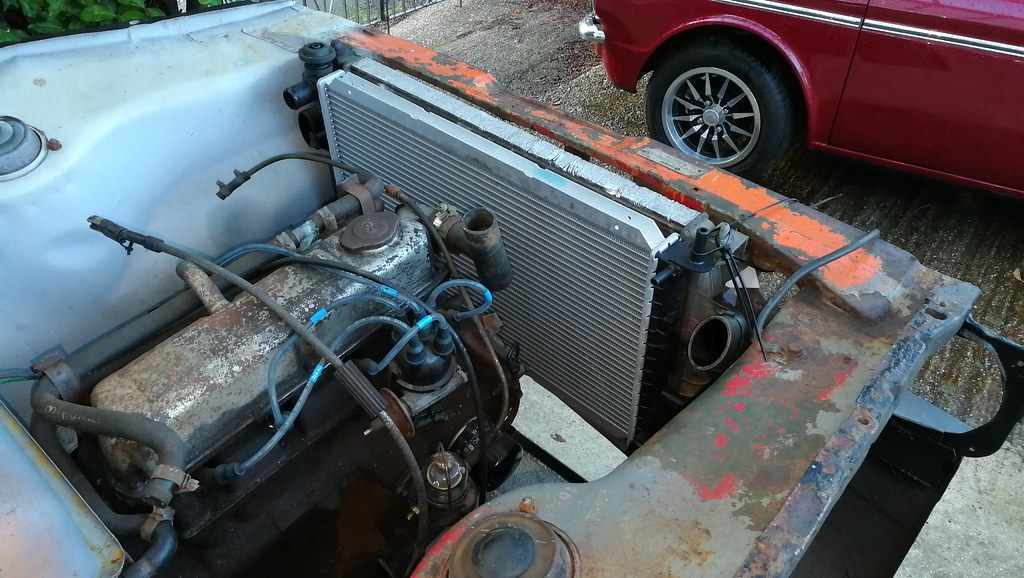
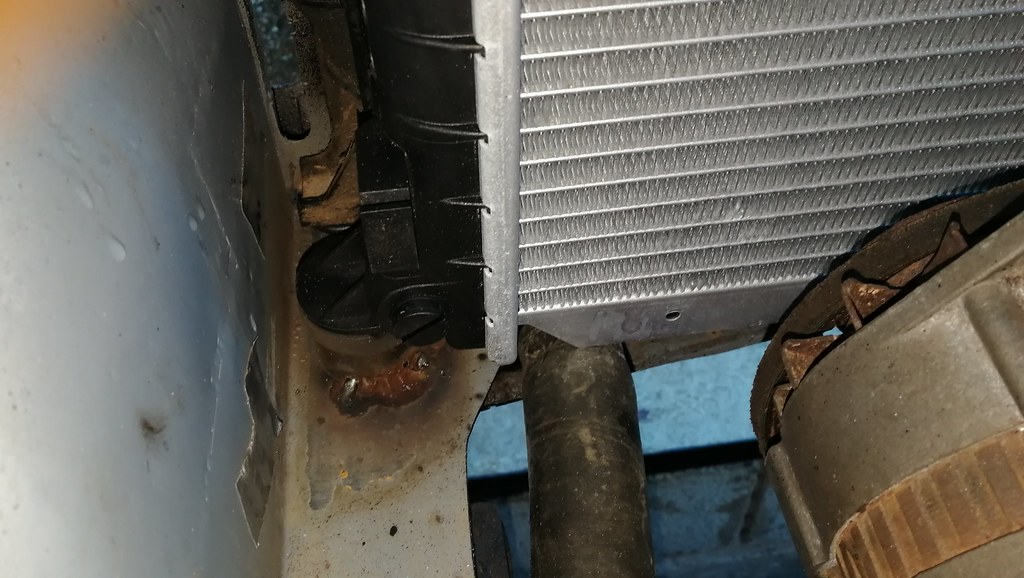
So my plan was to get the engine bay blasted to get rid of any rust remaining, and get into the corners where it's not possible to reach with a knot wheel. Before I could send it away for blasting, I had to make sure that I had made all the mountings and done all the bodywork for the turbo conversion. The last thing I wanted was to have to start cutting and welding after painting the engine bay. The first job was to find a suitable intercooler. When the project was started, I initially was going to use an RS turbo one, but it's small and would be pretty useless. After studying the dimensions of many intercoolers online, I found that the Peugeot 406 diesel one fits very well into an Avenger, and makes full use of the space available at the front of the car. 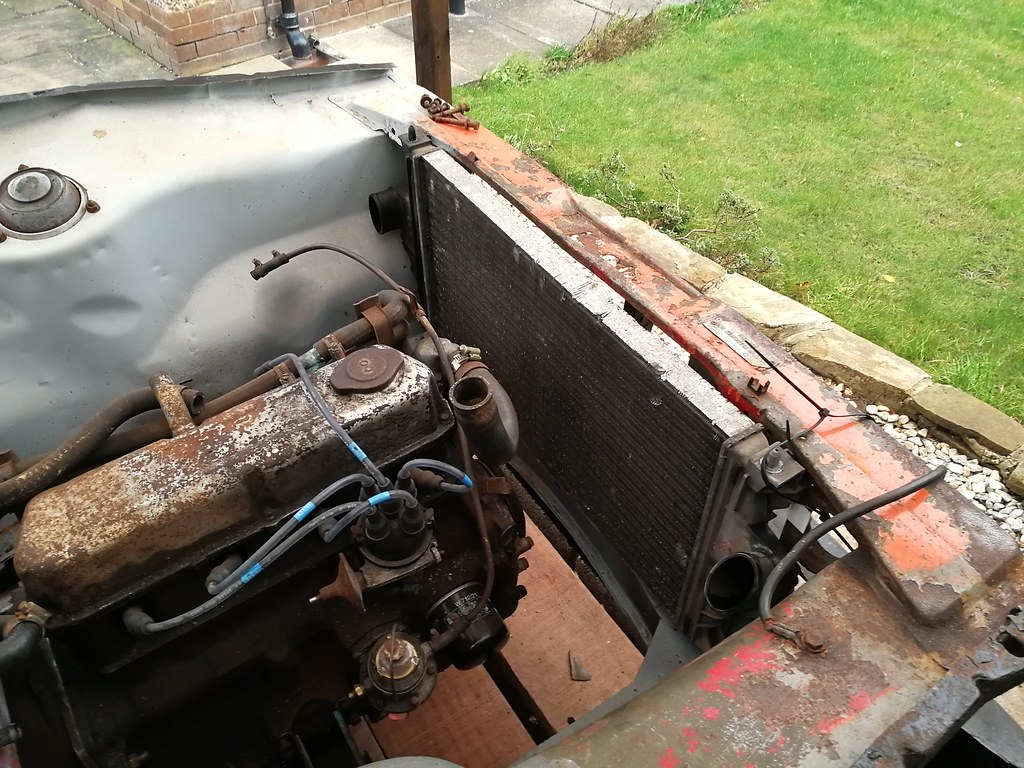 IMG_20171128_151324 IMG_20171128_151324 by Chris Witkowski, on Flickr A Ford Focus radiator worked well size wise with the intercooler, with a similar size core and the pipes and tanks in the right places. To mount them, I got some pieces of thickish pipe and welded short sections of them to the chassis rails for the rubber mounts to sit in. I wanted to fully shroud the radiators for maximum cooling performance, so I started making the shrouds. One on top and one underneath. The sides of the cores would be sealed with foam strips.
This is the lower shroud with the intercooler removed. Having the intercooler in front of the radiator meant that there wasn't really enough room for the engine driven water pump. I got hold of a Pierburg CWA200 electric waterpump. These are fitted to several BMW's. I made a bracket to mount it to the inner wing. I also fitted the turbo and the inlet to the engine so I could come up with the intake pipework. From the turbo to the intercooler was easy enough.
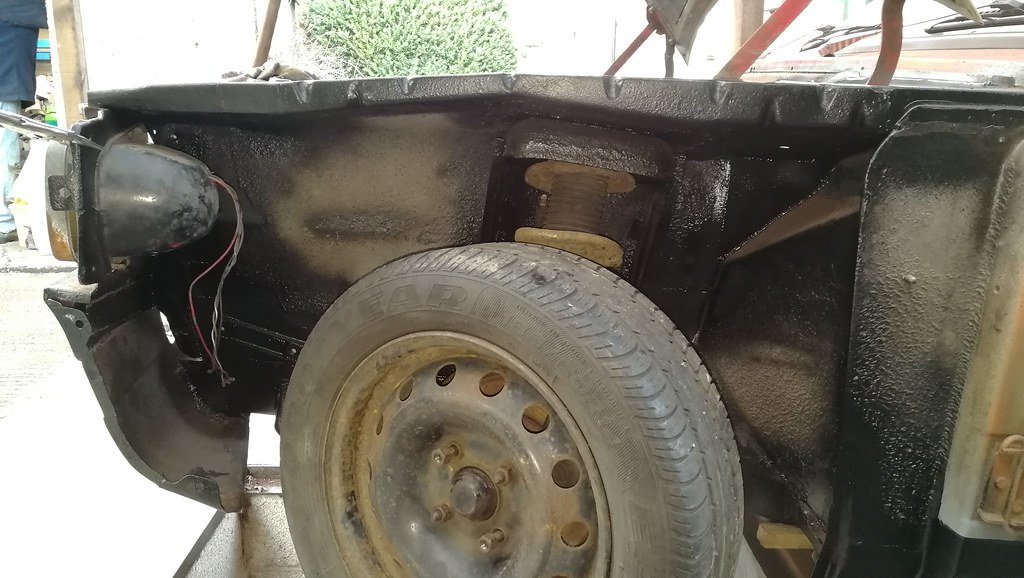
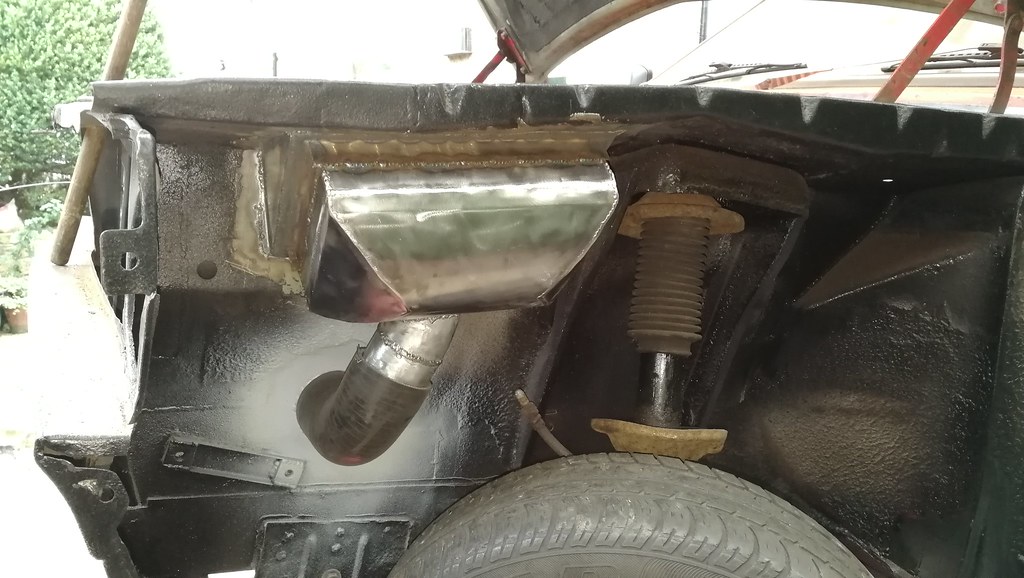
More difficult would be the air filter. You can see in the picture above that there's a bit of space in front of the turbo, so I could've fitted a filter directly onto the compressor inlet. However, it would be sucking hot air straight off the back of the radiator, so wasn't ideal. After some collaboration with my Dad, it was decided to try and make use of the space inside the NS wheelarch. The spring was removed and the wheel jacked up to see what the minimum space available was.
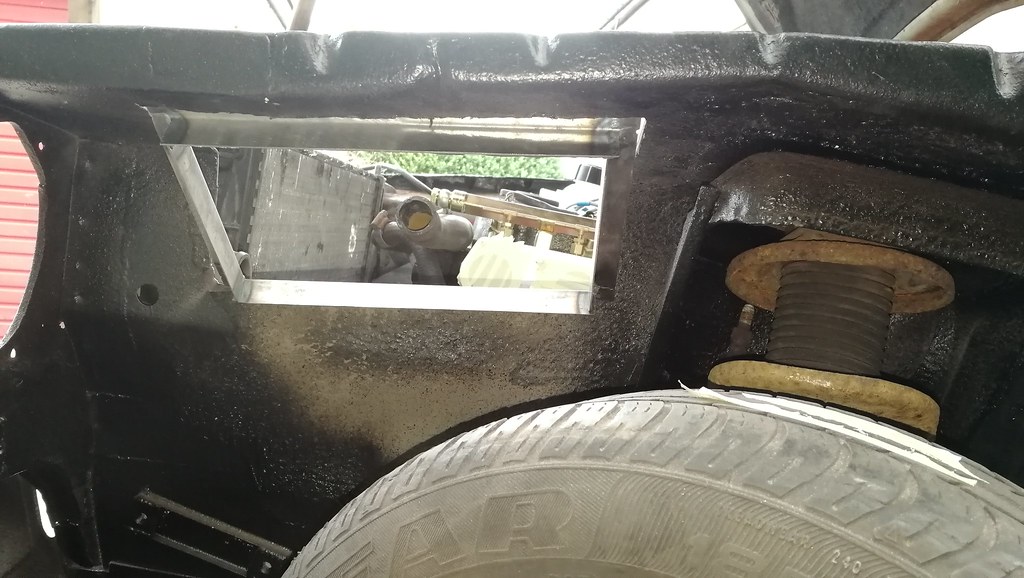
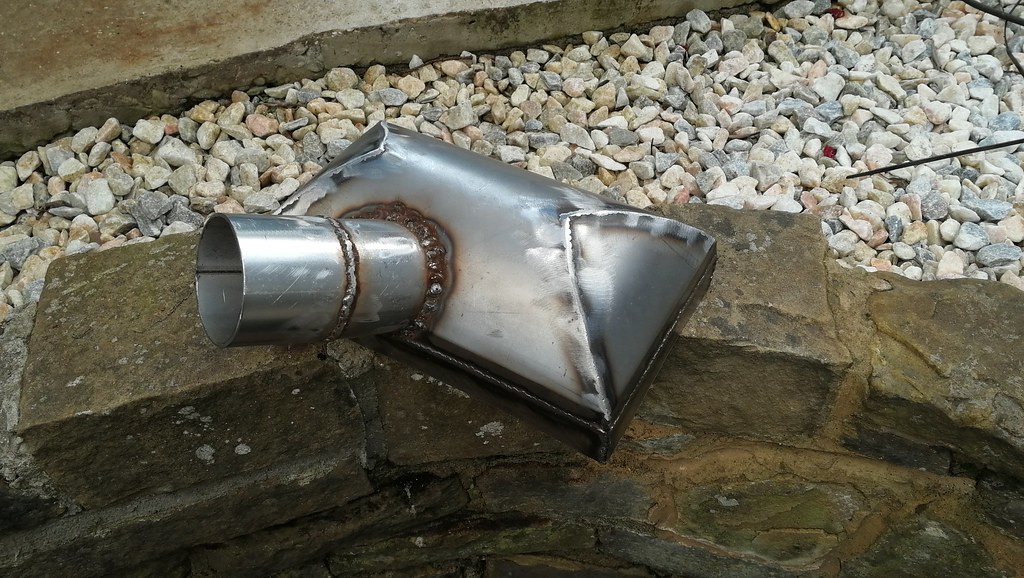
I bought a Mk1 1.8 MX5 air filter. Plenty of far more powerful cars seem to use a filter of around this size, so I hoped it wouldn't be restrictive. I fabricated this piece to fit into the inner wing, with the filter rested on the edge of the hole.
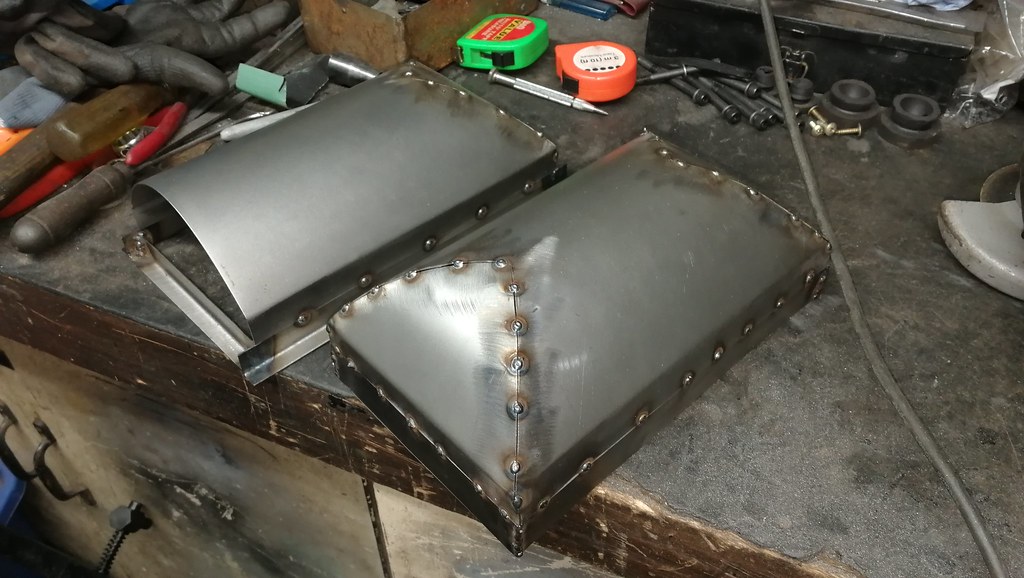
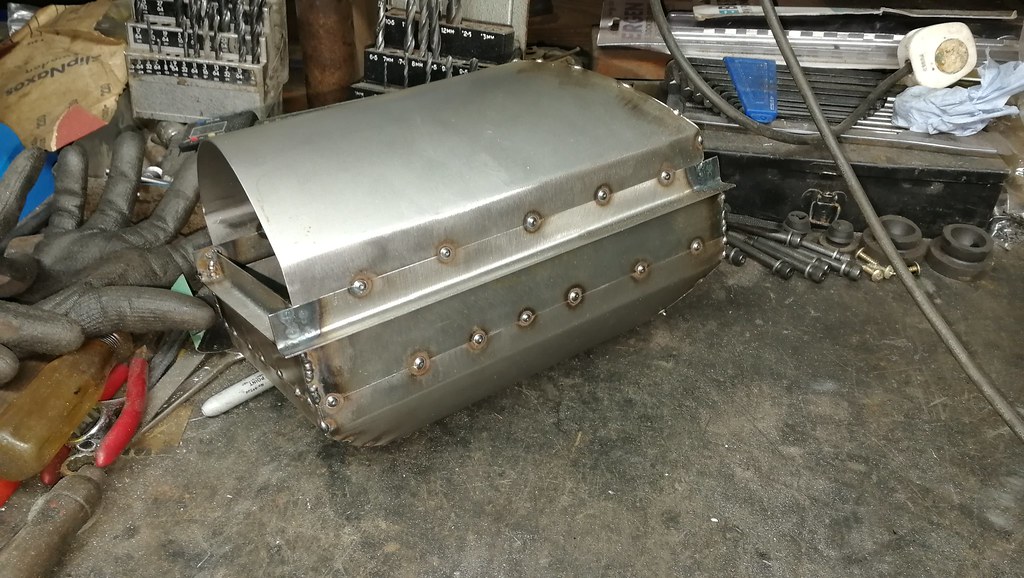
I then fabricated the two halves of the airbox. which fit together something like this The bottom piece of the airbox had a pipe welded into it and was welded into the car. You can see the silicone pipes to the turbo inlet.
This pipe was welded in lower down and both ends were swaged.
And the two are connected together with a silicone bend |
| |
|
|
|
|
|
|
|
Absolutely superb work. You, sir, have been bookmarked  |
| |
|
|
|
|
Hillman Avenger Turbopeteh1969
@peteh1969
Club Retro Rides Member 107
|
|
|
|
Does the wheel clear the air box on full compression with full right hand lock?
Looks a good project.
It would be better for the future if you used weld through primer on all the joints before assembly.
|
| |
|
|
lebowski
Part of things
  Hillman Avenger, Clan Clover
Posts: 488
|
|
|
|
|
Thanks for the comments. Much appreciated.
The wheel does clear the airbox on full compression and lock. It doesn't look like it will in the photo above, but it does with a bit of space to spare.
I have used weld through primer everywhere. It just doesn't show up very well as it's silver, but you can see it if you look closely at the pictures.
|
| |
|
|
lebowski
Part of things
  Hillman Avenger, Clan Clover
Posts: 488
|
|
|
|
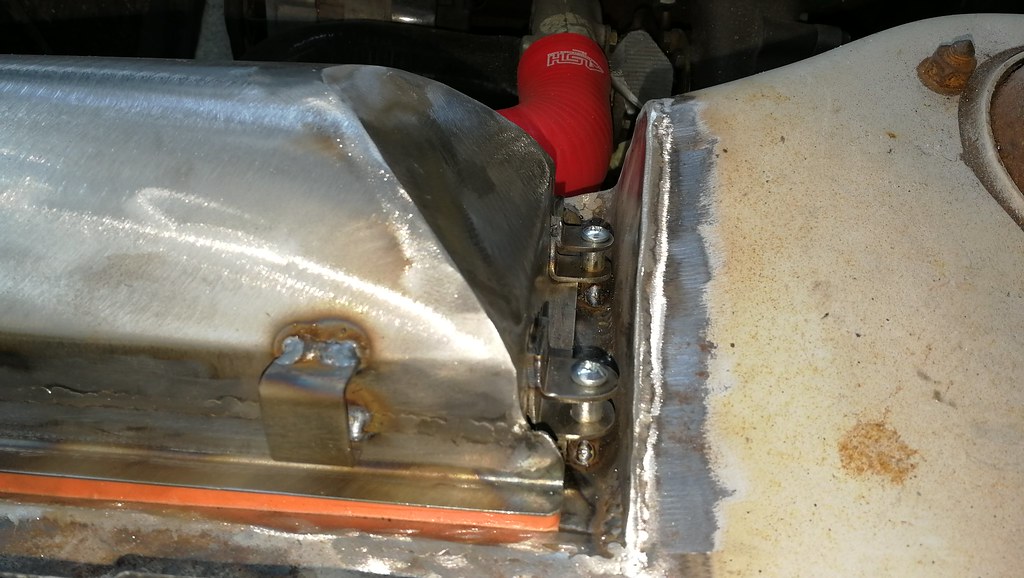
The lid of the airbox ended up like this. I needed to add some way of fastening it down. I was originally going to use some kind of quick release clips, but it was difficult finding a way to locate them properly, so I went with this simpler solution at each end. Of course, you may have noticed that the air has no way to get into the airbox, so an inlet was fabricated to fit (snugly) through the front panel by the radiators. I made this as large as possible.
The pipe was extended, and pokes through the front panel like this: And the finished airbox looks like below. I did want to put a bellmouth on the airbox inlet and the pipe sticking up inside the box, but I couldn't find any suitably sized ones, and it'd cause problems taking off the lid of the box.
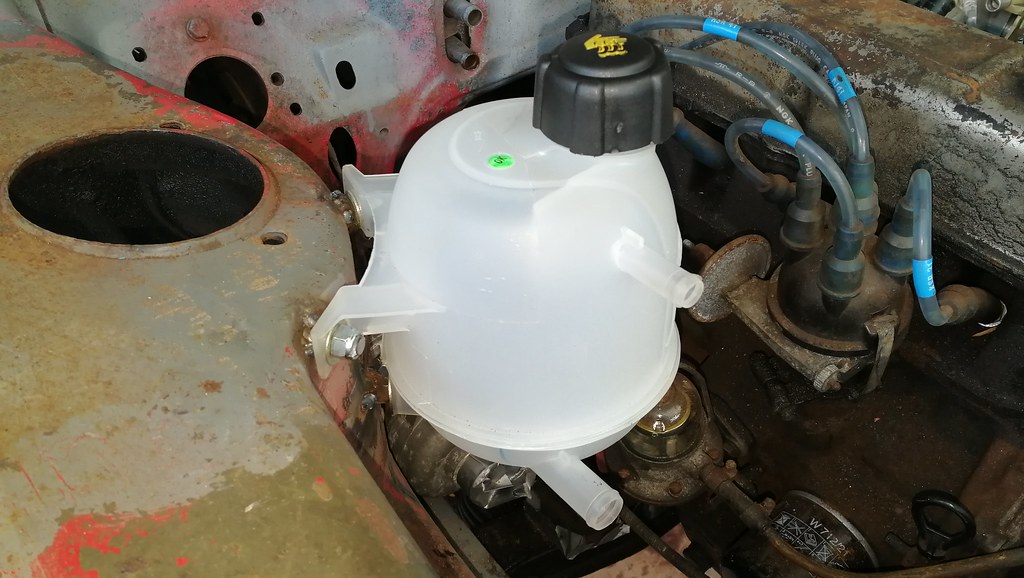
At the same time I had to consider the cooling system plumbing. I fitted this expansion tank from a Renault Espace/Clio as high as possible so it would self bleed like a modern car And I turned around the original thermostat cover and used a cut down Avenger hose with a joiner and a generic 90 degree bend to go to the top radiator attachment. The new electric waterpump was mounted low down as below, giving pretty much a straight shot from the radiator bottom hose to the waterpump inlet (You can also see the mk1 top hose arrangement using a Fiesta thermostat housing, but I wasn't happy with this solution).
I also had to get rid of the original waterpump casting from the front cover of the engine, so I cut it off and managed to find this small motorbike inlet manifold which could be fettled to fit. This also meant that I lost one of the pipes for the heater circuit, so that would need rethinking later.
|
| |
|
|
lebowski
Part of things
  Hillman Avenger, Clan Clover
Posts: 488
|
|
|
|
I also trimmed the radiator mounting panel to better fit the intercooler core. You can see the radiator/intercooler mounts on the chassis leg. The welding is not very pretty because I was bent over double with very little space to work.
I still had the boost pipe to make from the intercooler to the plenum. The Lotus plenum inlet looks like below. The two holes are for two extra injectors that the Esprit had. I had to blank them off.
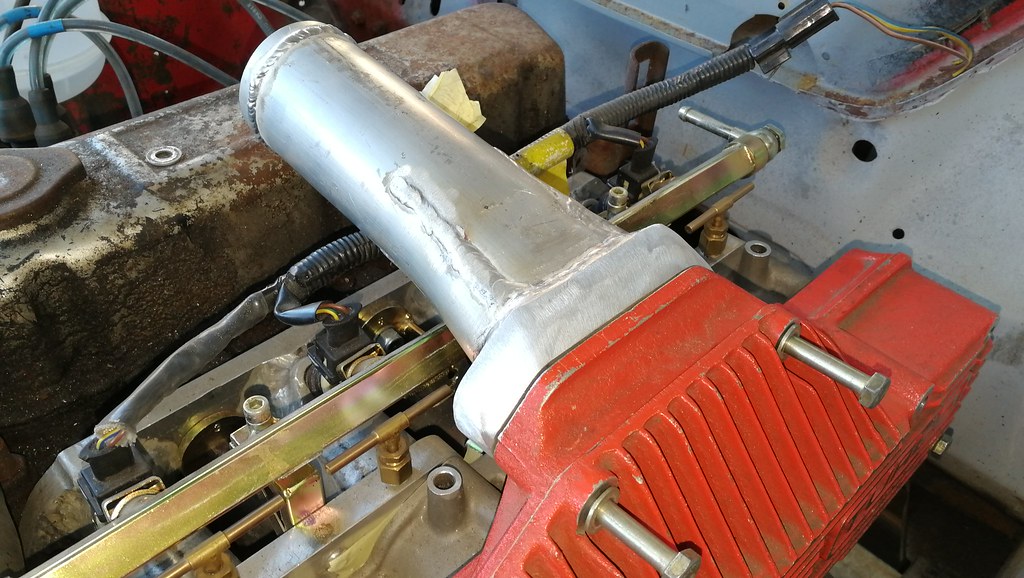
Lotus had two different pipes going into this plenum in their Esprit. Unfortunately neither of them would be suitable. So the next job was to fabricate an inlet pipe. I started with a slab of aluminium and a pipe with a circumference close to that of the oval intake on the plenum. I slit the pipe in 4 places and splayed it out a little to fit the hole. I would then cut some pieces to fill the gaps and get them welded in. Unfortunately I don't have equipment suitable for aluminium welding, so I had to jig everything in place and then take it for welding in stages. After the welding was complete and it was all internally port matched and smoothed, it ended up looking like this. Clearance to the fuel rail was tight (and in fact needed mild persuasion with a hammer after this). The Lotus pipes would've clashed with the fuel rail.
Once the inlet was finished, I could make the final boost pipe. Unfortunately the local shop had run out of black hoses, so the pressure side boost pipes are pinky red.
I took the engine out after this as there were only a few things to do before sending it for blasting. |
| |
|
|
|
|
|
|
|
|
What! You can't leave it there, more please.
|
| |
|
|
lebowski
Part of things
  Hillman Avenger, Clan Clover
Posts: 488
|
|
|
|
Before the car went for the engine bay blasting, I made mounting brackets for a Spal fan in the snow. There's a small one at the bottom as well.
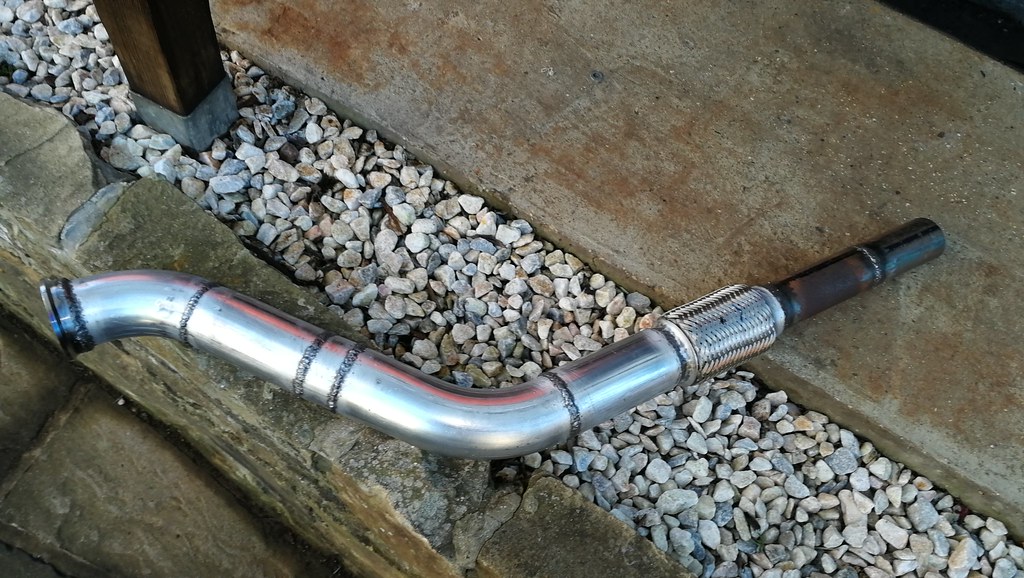
I also made brackets for a Sunbeam type washer bottle. Along with the appropriate hole in the inner wing I made a 2.5" downpipe for the exhaust. I already had a brand new 2" Ashley system on the car, so I decided to step down to that rather than remake the entire system. After a bit of research I bought some Peugeot 406 coupe Brembo calipers. These bolt directly to the Avenger strut and are aluminium, so they're a lot lighter than iron 4 pots. For the discs, I used 283.5mm 406 ones (non coupe). These need turning down to 269mm along with the centrebore opening a tiny bit, and 4 mounting holes drilling for the hub. You then need 4x 6mm spacers between the strut and the caliper to centralise them on the disc. They fit easily inside a 14" wheel, but I don't think they'd fit a 13" one. By now it was about May 2018, and the car was finally ready to go for the engine bay blasting. After priming and a light skim of filler to hide the welds. The yellow is filler primer. Then smoothed down And finally painted. |
| |
|
|
|
|


