Rob M
Posted a lot
  
Posts: 1,915
Club RR Member Number: 41
|
Hillman Avenger TurboRob M
@zeb
Club Retro Rides Member 41
|
|
|
Fantastic engineering skills and fabrication! What I do love, more than anything, is the modifying of the factory lump as opposed to transplanting more horsepower. It is lovely to see older engines/designs being worked on, thought about, to make them perform as well as a modern lump. I'm not pretending that they will necessarily deliver super douper HP with 40+ mpg while pulling 127mph but it must be truly satisfying to be able to burn off much more modern performance cars with a car that's mechanicals were designed half a century ago and more.  |
| |
|
|
|
|
lebowski
Part of things
  Hillman Avenger, Clan Clover
Posts: 488
|
|
|
|
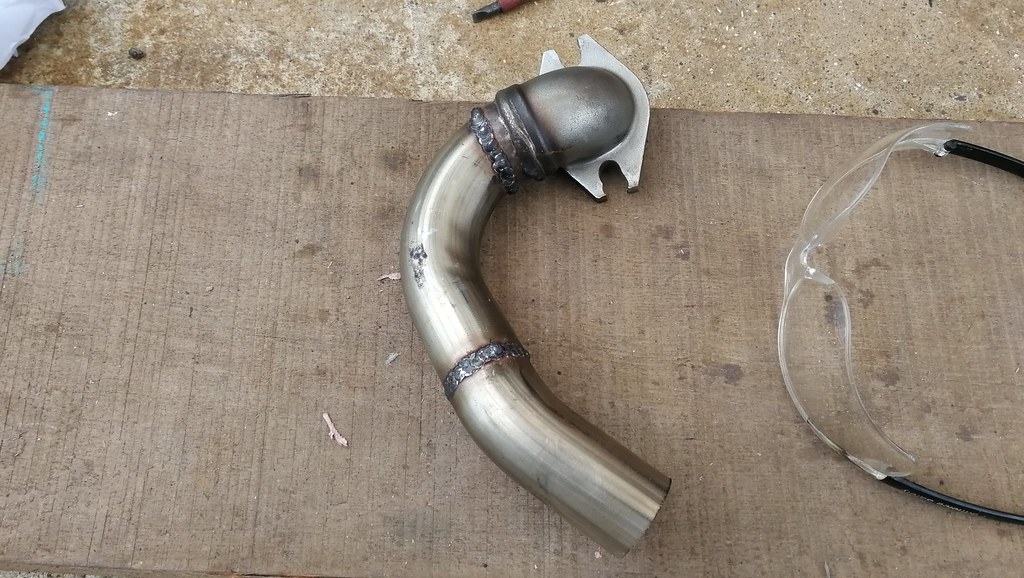
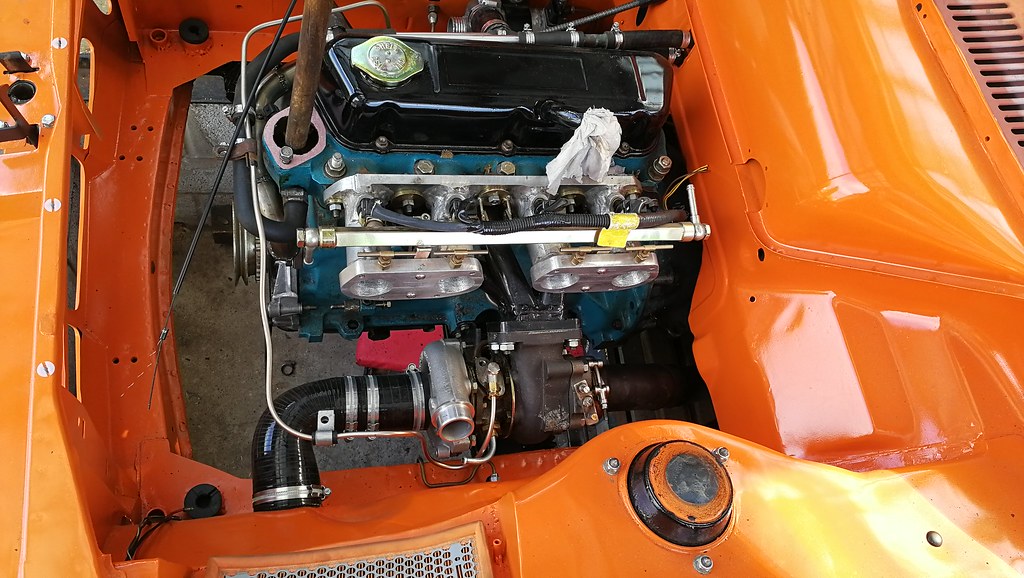
It would certainly have been a lot easier just to transplant a modern engine in I think! Now I could start bolting things back to the car, hopefully for the last time. Headlights and horns I modified the bonnet hinges to incorporate 986 Boxster bonnet struts. They hold the bonnet a bit more wide open, so I don't bang my head on it as much. Waterpump and gearbox in Brake servo fitted with a Landrover master cylinder New brake pipes were made up and then engine in Manifolds on The distributor blanking plate also mounts the coilpack. I relocated the wastegate actuator because I had to turn the compressor outlet to point right where the actuator was originally sitting. I then tried to finish the coolant pipes. I needed to make a pipe from the waterpump outlet to the stub manifold on the front of the engine.
Unfortunately there wasn't much room for bulky silicone pipes, so my Dad got me some stainless EGR pipes and I fabricated a manifold The waterpump inlet/expansion tank area ended up plumbed like this And the finished cooling system The turbo is water cooled so there is also a t-piece which goes into the radiator top hose. I don't think I have a photo of it. |
| |
|
|
mat88
Yorkshire and The Humber
Posts: 1,542
|
|
|
|
|
Really liking the look of this. Bookmarked for the updates!
|
| |
|
|
rickygolf83
Scotland
Mk2 Golf 8v & 16v, VR6, Nova Antibes, Mk4 1.8t & mk4 Gt Tdi 130
Posts: 560 
|
|
|
|
|
This thread is awesome! My dad had a "V Plate" Avenger when I was born and until I was about 4.
Mad old thing, the front reg plate that fell off and was recovered at a later date is still in his hut and a wing mirror from it resides in his tool box!
Look forward to more updates.....
|
| |
|
|
|
|
|
|
|
|
High-end thinking and execution, very impressive work. John
|
| |
|
|
lebowski
Part of things
  Hillman Avenger, Clan Clover
Posts: 488
|
|
|
|
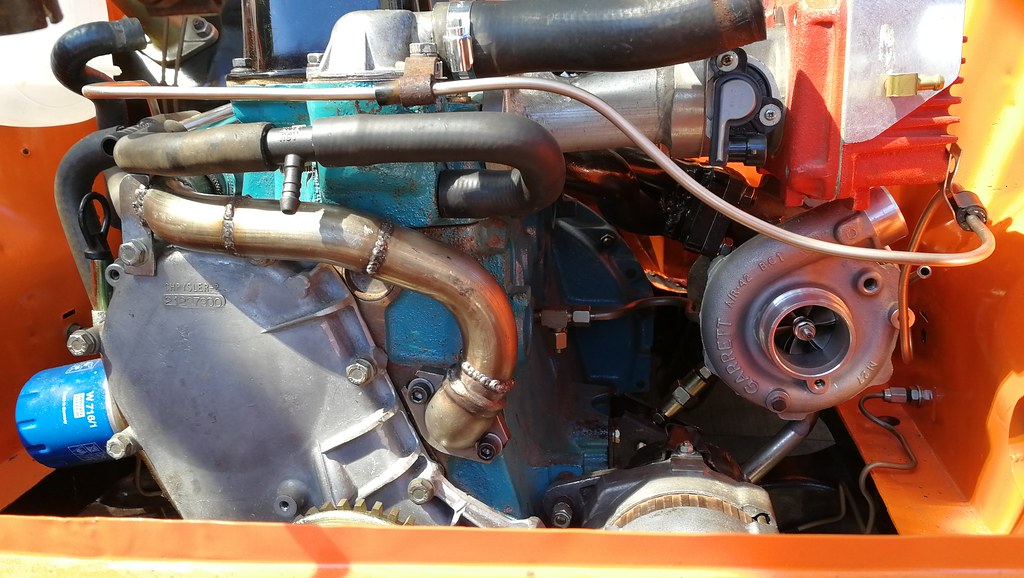
Some more pictures showing the water pipe arrangements. You can see the engine water inlet on the left. There's a pipe from the block to the turbo for turbo cooling. The pipe on the far right is the oil feed for the turbo.
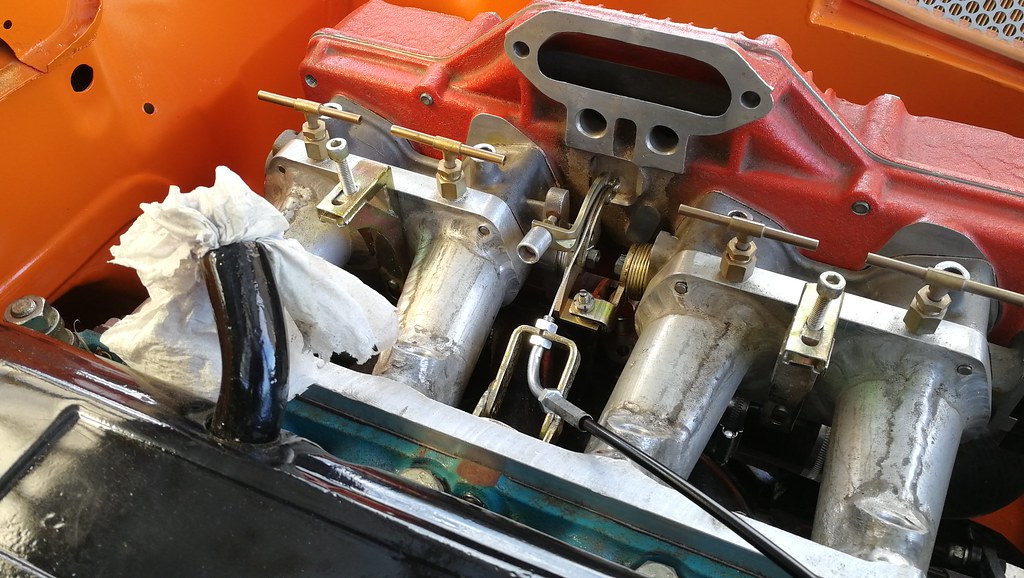
In this picture you can see the adjustable turbo support above the engine mount, and the drain coming from the bottom of the turbo. The throttle cable was a bit of a headache. The car originally had the pushrod type pedal box. My Dad gave me a cable type that he was saving for his Sunbeam Ti. The throttle spring return on the throttle bodies wasn't really strong enough to close the throttle with the weight of the pedal and the cable resistance. I had to add an additional spring on the pedal box. I also added an adjustable throttle stop on the pedal box to avoid stretching the cable.
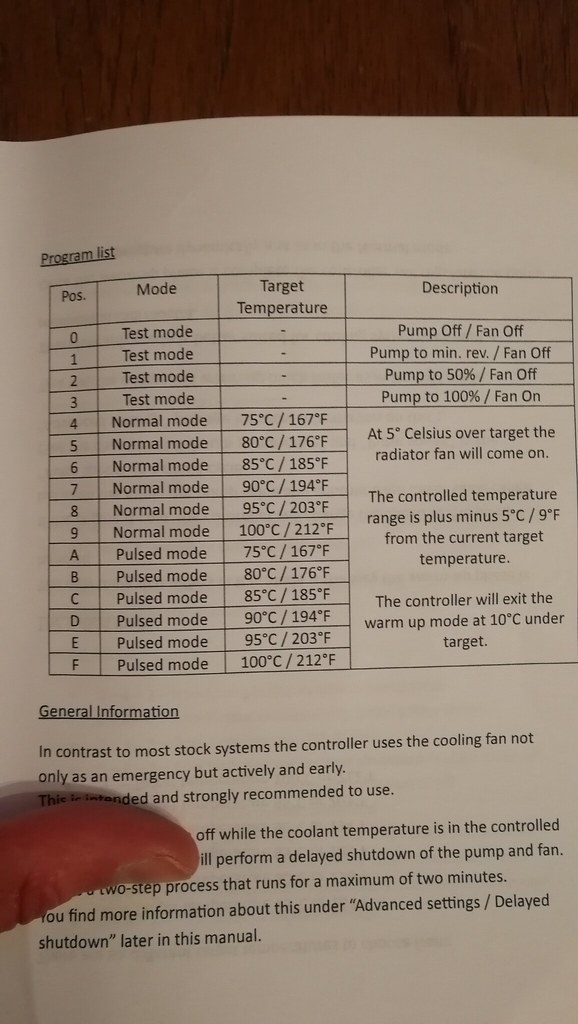
Adding the final bits to the engine bay. The dump valve was added to the top boost pipe. You can see the fuel pressure regulator on the end of the fuel rail. There is a vacuum/boost rail on the bulkhead on the right of the picture. This is to connect the boost guage, fuel pressure regulator, dump valve, map sensor and brake servo. You can also see the temperature sensor for the waterpump in the thermostat cover. The plan was to run without a thermostat and allow the pump to take care of the running temperature.
I also started doing the wiring for the ecu. The fusebox on the bulkhead was later relocated to the glovebox for convenience.
By now the rest of the car was looking like this Unfortunately before it could be put on the road, the rear wheelarches and corners needed attention. |
| |
|
|
|
|
|
|
|
|
‘Kin’ fabulous
|
| |
Bicycle x1
Alfa Giulietta (now wife's)
Alfa 156
BMW 630i
Honda rc36
|
|
|
|
|
Dec 10, 2019 20:35:50 GMT
|
Great thread and awesome to see another Avenger on here. Many of these areas you've had to repair are ones I'm going to have to do on mine as well. Will I think maybe I recognise yours from a trip to curborough a long time ago. It looked great with the dolomite spoiler. That's definitely possible. I did attend most years in various Sunbeams and Avengers from 1996 up until 2006 and in this Avenger from 2001 until 06. The Dolomite Sprint spoiler fits nicely and is just a tiny bit narrow. I had to extend it by about half an inch. |
| |
1964 Saab 96 two Stroke
1971 Hillman Avenger 1500 GL (Tuned 1600 fitted)
1976 Saab 99 2dr EMS (Project of very slow progress)
1978 Saab 99 2dr EMS (Awaiting reshell)
1981 Saab 99 2dr Turbo (Awaiting reshell)
|
|
|
|
|
Dec 10, 2019 20:40:21 GMT
|
|
One thing I would recommend doing, is fitting a chassis brace on the front, bolting onto the two bolts of each tie rod mounting blocks.
This helps stresses from heavy braking trying to spread the front chassis rails.
I've just used a length of 1" box with a plate welded onto each end with two holes in each plate.
Will
|
| |
1964 Saab 96 two Stroke
1971 Hillman Avenger 1500 GL (Tuned 1600 fitted)
1976 Saab 99 2dr EMS (Project of very slow progress)
1978 Saab 99 2dr EMS (Awaiting reshell)
1981 Saab 99 2dr Turbo (Awaiting reshell)
|
|
lebowski
Part of things
  Hillman Avenger, Clan Clover
Posts: 488
|
|
|
|
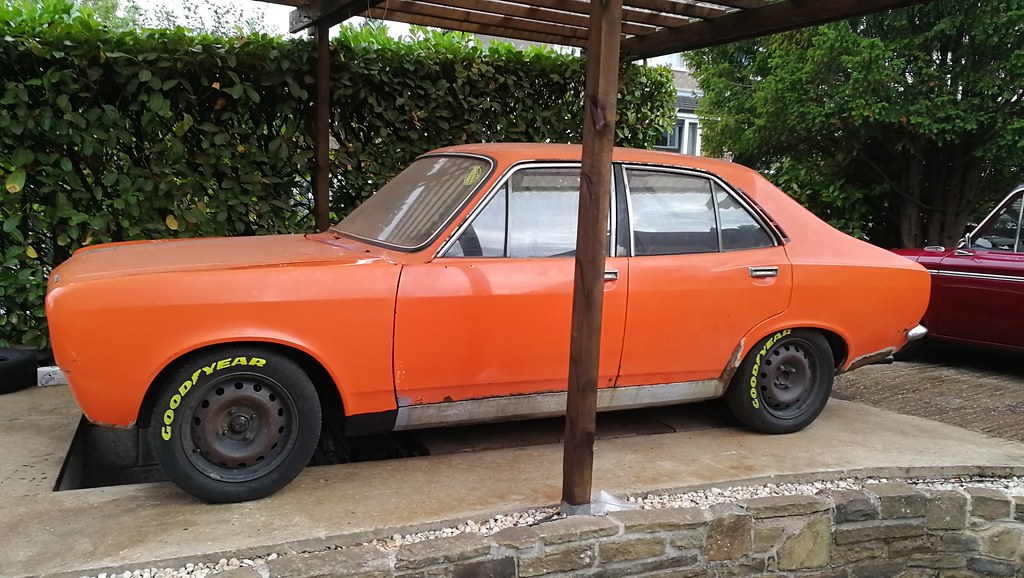
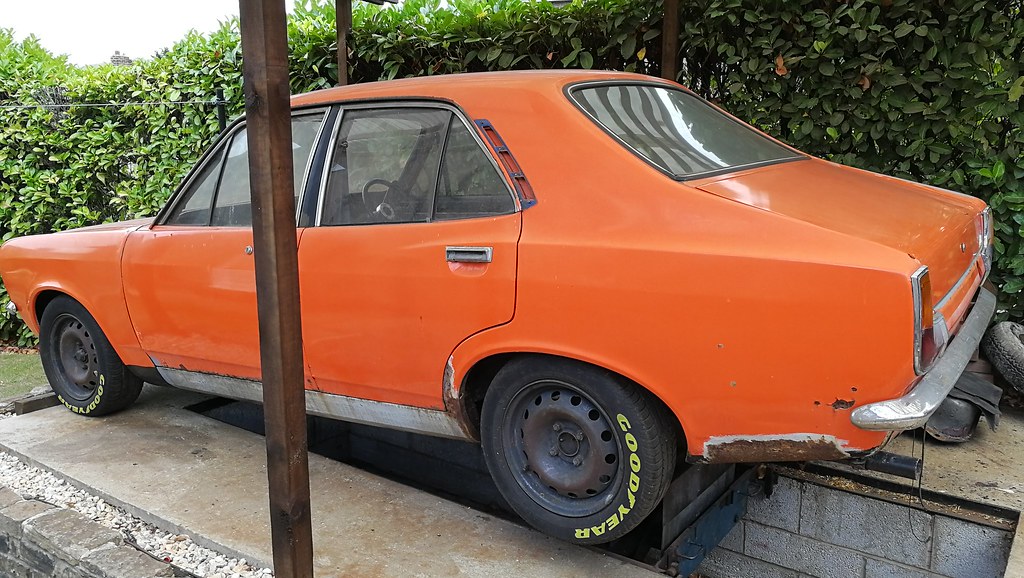
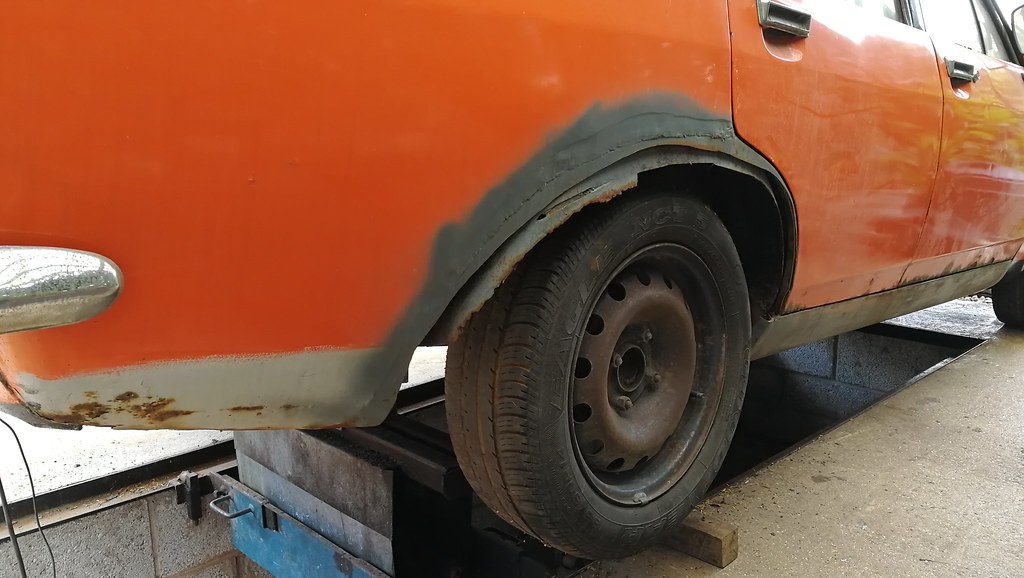
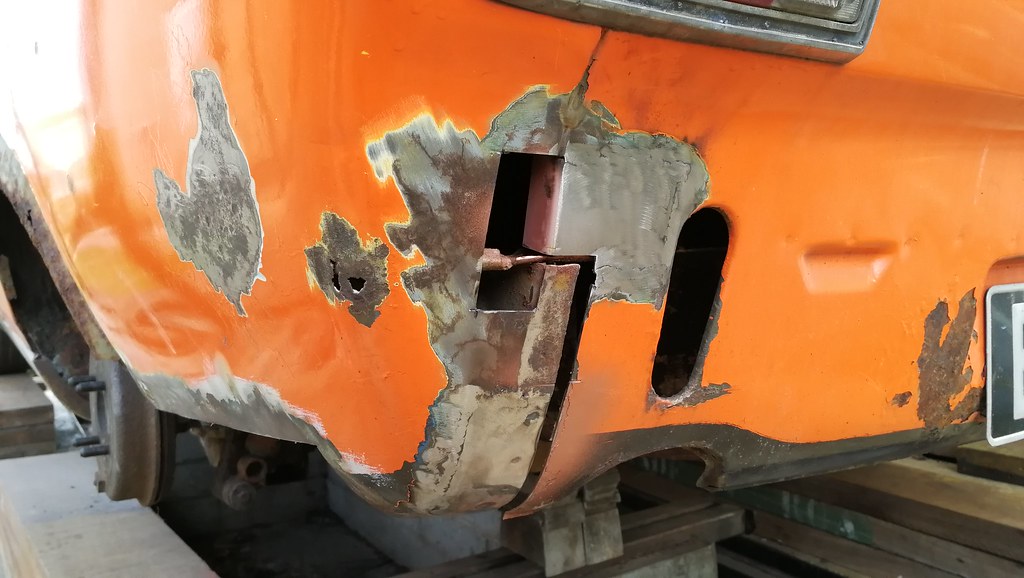
Sounds like a sensible idea regarding the chassis brace. It was disappointing to go back to bodywork after all of the relatively enjoyable mechanical work. But the back corners of the car were fairly rusty and needed sorting. First up was the drivers side. The arch had been cut off some time ago, hence the primer sprayed over it.
The inside bottom edge was rotten too. And the back end of the sill needed a bit of work. I welded a new bit of metal in after cutting out any rot. I don't have a photo of the completed repair but this is part way through. My Dad bought a shrinker stretcher and made me a new inner arch lip which fit well to the outer arch (I also repaired that gouge just above the new lip).
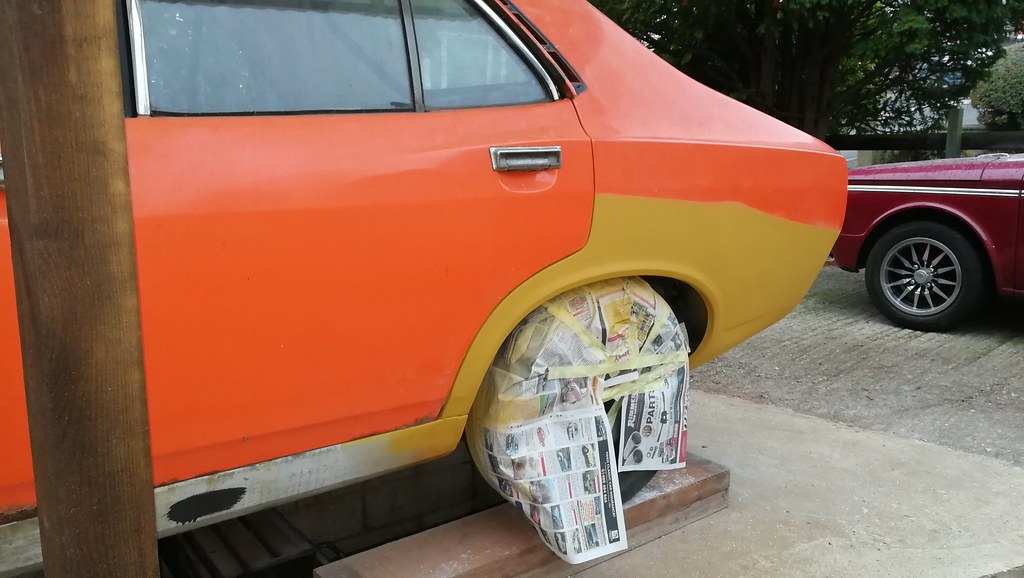
The repaired inner was cleaned up and painted with POR15, except for the lip which had weld thru primer. And then the outer arch could go on. Then the rear corner could be repaired This is the rot cut out of the inside part And the finished job My Dad gave it a skim of filler (because I hate doing filler) and then it was primed and painted for protection. |
| |
|
|
|
|
lebowski
Part of things
  Hillman Avenger, Clan Clover
Posts: 488
|
|
Dec 11, 2019 11:24:17 GMT
|
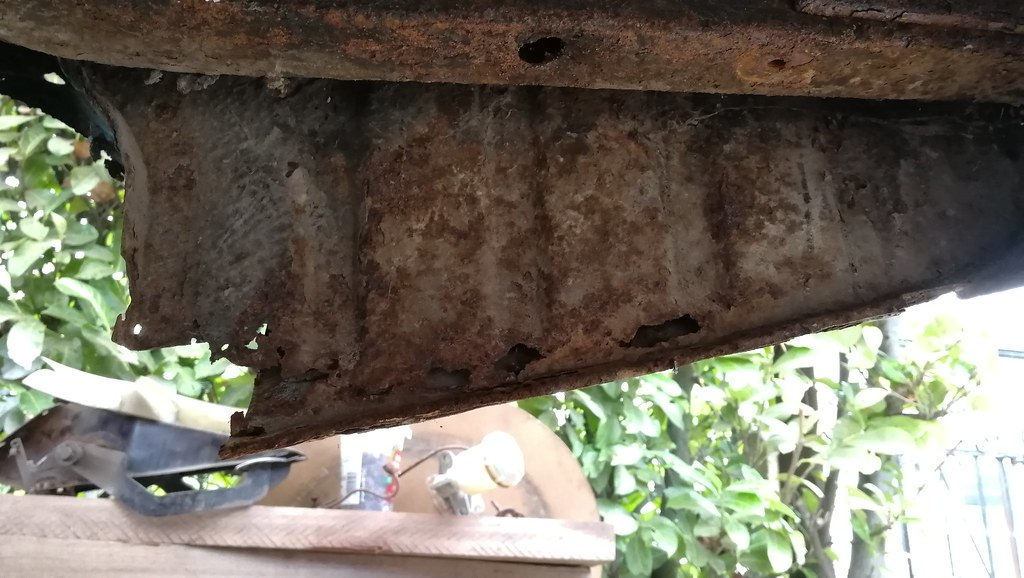
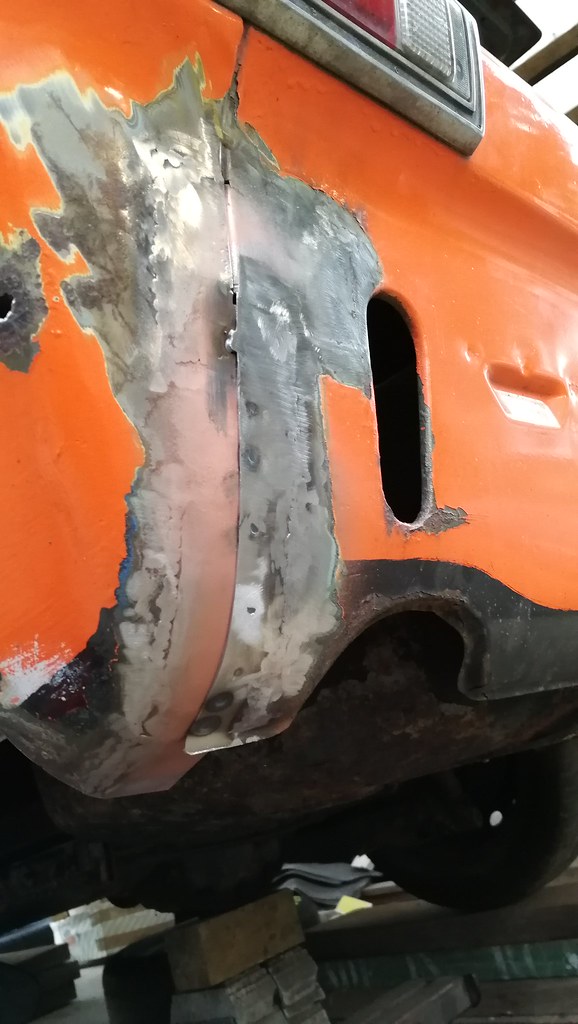
Investigations with an angle grinder showed that the other side was just as bad The outer arch looked ok, but you could see from underneath that the inner arch was gone. After cutting it off you could see that the lip had totally rotted away.
I started the repairs at the back first. And then at the front The inner arch lip was once again made by Dad on the shrinker stretcher and painted with POR15. Then the outer arch and rear corner were repaired. The inside was repaired as per the other side, then cleaned up and painted along with the chassis leg. And the finished job
I also welded this little box in the boot to give clearance to the fuel fittings on top of the fuel tank after putting in the high pressure pump. 8mm Cupro Nickel fuel lines were run in the prop tunnel. The ends were flared gently with a brake flaring tool. Then the prop was put back on and the exhaust hung properly. The fuel tank was also fitted.
Next job, wiring.
|
| |
|
|
|
|
Hillman Avenger Turbopeteh1969
@peteh1969
Club Retro Rides Member 107
|
Dec 11, 2019 11:55:49 GMT
|
|
So where are you and where is the car located?
Ref to a post you made on another RR thread.
|
| |
|
|
lebowski
Part of things
  Hillman Avenger, Clan Clover
Posts: 488
|
|
Dec 11, 2019 12:05:36 GMT
|
|
The car's in the UK. I'm just on holiday in Sri Lanka.
|
| |
|
|
|
|
lebowski
Part of things
  Hillman Avenger, Clan Clover
Posts: 488
|
|
|
|
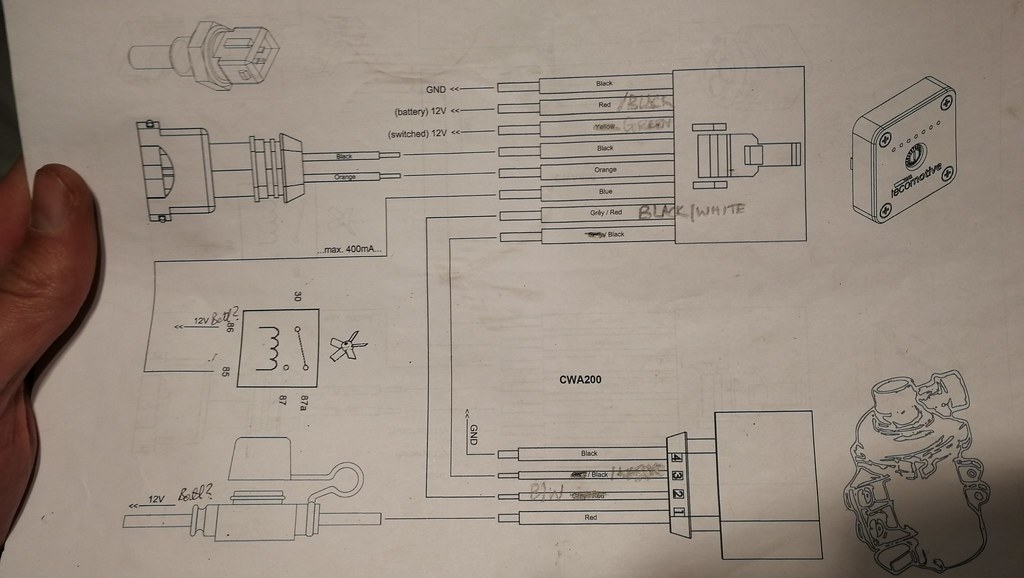
The wiring loom ended up like this. The ecu is a Megasquirt V2.2, which is one of the older ones (although was the newest available when I bought it at the start of the project). It could originally only control the fuelling, but with some modifications can also control the ignition. I have set it up to control spark using Ford EDIS parts. The 37 pin connector at the top is the connector on the back of the ecu. and the waterpump/fan wiring I mounted it all in the glove box. The fuse box on the right is basically for supplying all the live and switched live signals. You can see the Tecomotive waterpump controller. The dial on the front alters the target coolant temperature.
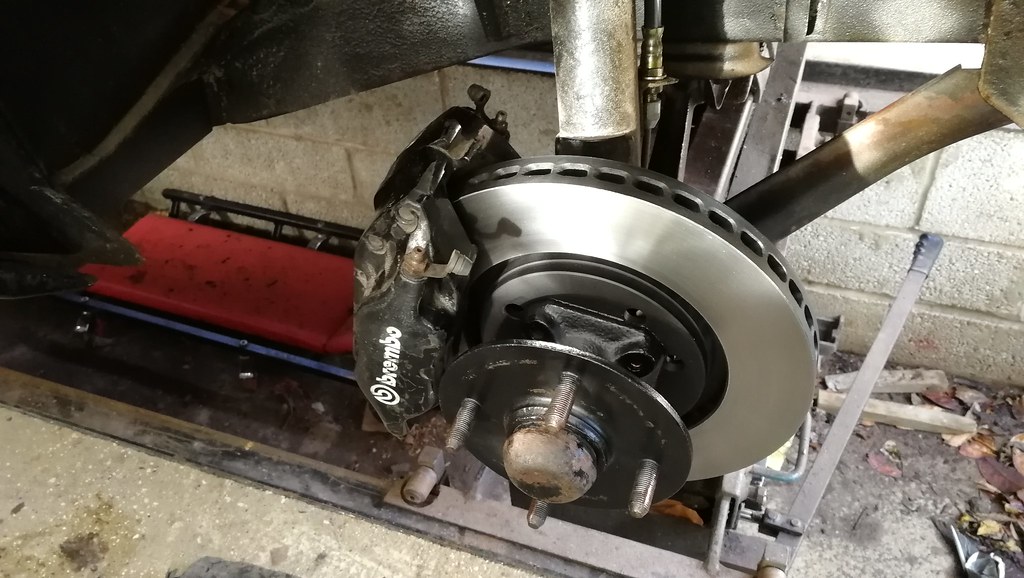
I also did a bit of reading about injector sizing. The injectors I had fitted upto now were from a Rover K-series, which I understood to be good upto 200bhp. However, their flow rate looked too low for that, so I changed them. The new ones are 360cc/min and are EV6 type injectors. These have 4 nozzles instead of 1, and supposedly atomise the fuel better (you can search EV1 vs EV6 on youtube for a comparison). The finished engine bay looked like this I also fitted the brakes The megasquirt was loaded with a base map, and once everything was correctly connected, the car started immediately. I made sure that the wastegate was pegged open on the turbo, so that I couldn't make any boost until the mapping was done properly on a rolling road. |
| |
|
|
|
|
|
Dec 12, 2019 10:24:08 GMT
|
|
Great project. I'm extremely jealous of your pit too!
|
| |
|
|
|
|
|
Dec 12, 2019 12:12:41 GMT
|
|
Great work, I'm probably missing something in the diagram but does the megasquirt work ok without a map or airflow sensor?
|
| |
|
|
lebowski
Part of things
  Hillman Avenger, Clan Clover
Posts: 488
|
|
Dec 12, 2019 17:10:06 GMT
|
|
The pit is pretty handy.
The Megasquirt has an inbuilt map sensor which is fitted to the circuit board and therefore doesn't feature in the wiring loom diagram. It's just connected directly to the vacuum/boost rail on the bulkhead.
|
| |
|
|
|
|
|
Dec 12, 2019 19:37:14 GMT
|
|
Thanks I wondered how it would work without one!
|
| |
|
|
scimjim
Club Retro Rides Member
Posts: 1,503
Club RR Member Number: 8
|
Hillman Avenger Turboscimjim
@scimjim
Club Retro Rides Member 8
|
Dec 12, 2019 19:59:27 GMT
|
The wiring loom ended up like this. The ecu is a Megasquirt V2.2, which is one of the older ones (although was the newest available when I bought it at the start of the project). It could originally only control the fuelling, but with some modifications can also control the ignition. I have set it up to control spark using Ford EDIS parts. The 37 pin connector at the top is the connector on the back of the ecu. loving this build 😎 just one question, have you not fitted an inertia/crash switch? I’m running a zetec on MS1 V3 which is what I presume you’ve Basically converted yours to? Hmm, that’s sort of two questions 🤪 |
| |
|
|
|
|


