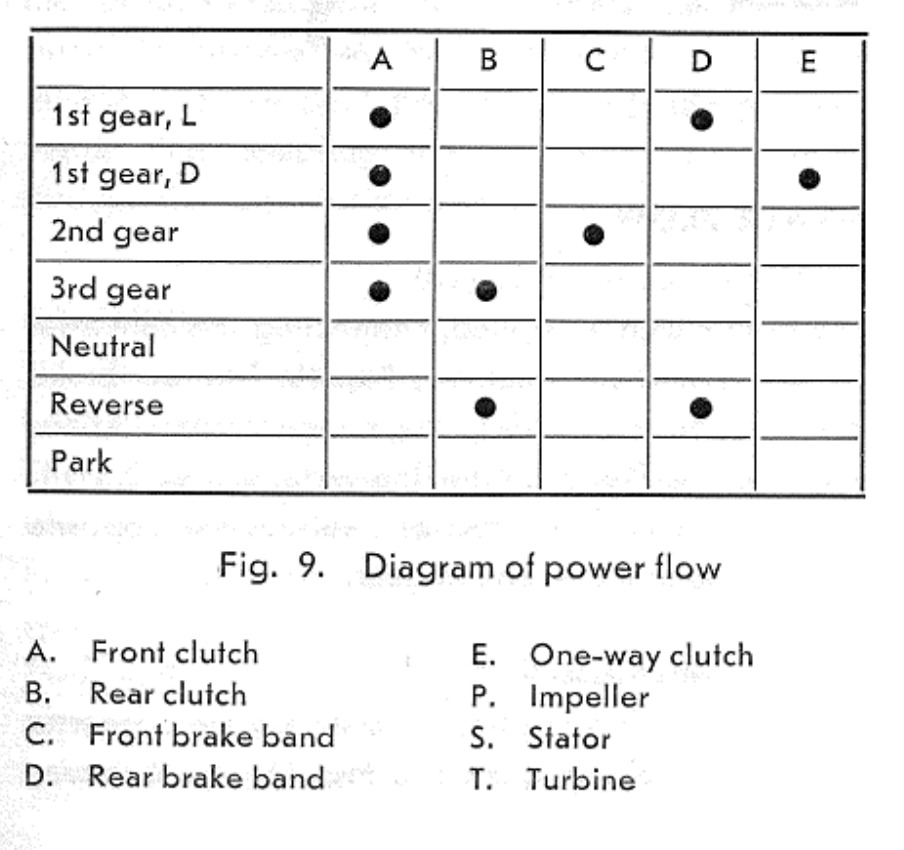
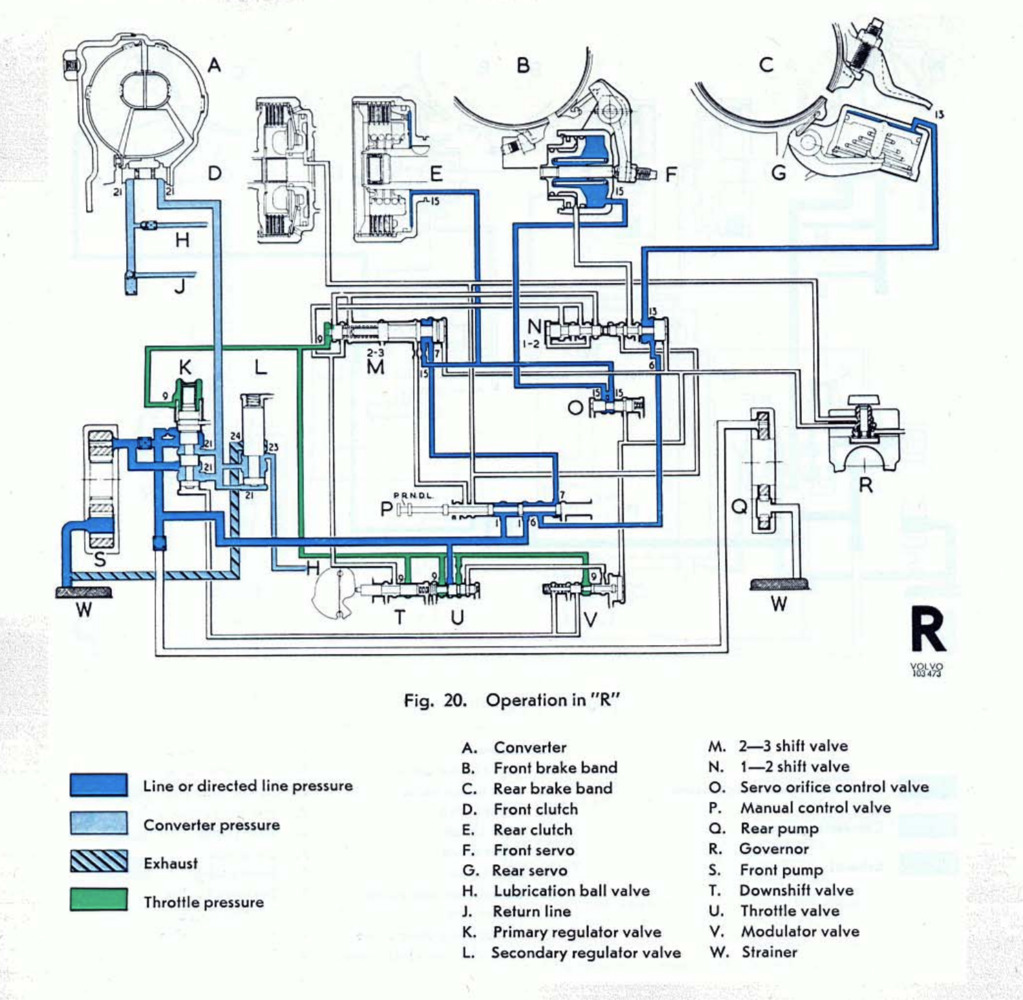
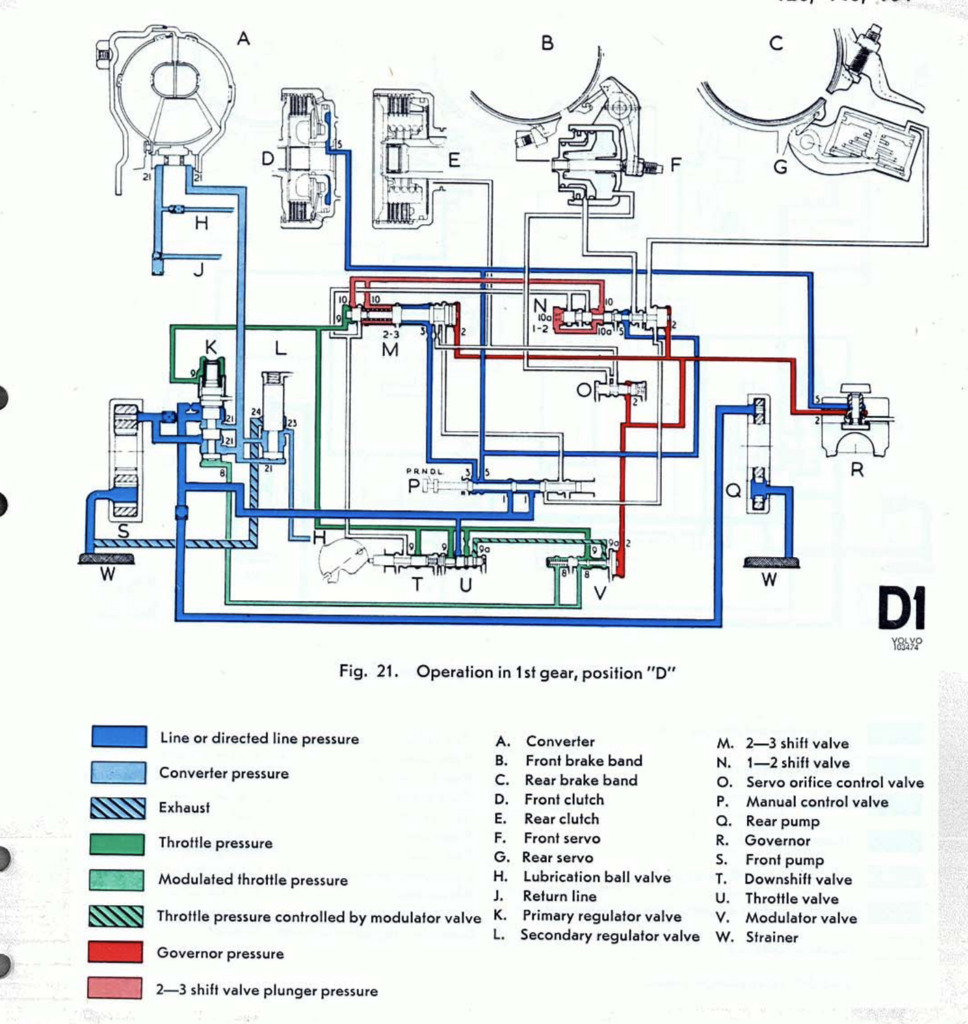
So gearbox fans, it's time to put this one back together. After the strip down, with this being the 3rd (I think) time I've had this gearbox apart for various reasons, I was feeling much more comfortable with what the different parts did, how it goes together and feeling generally quietly confident that the rebuild would not be too bad.
Opening the package of the rebuild kit immediately brought me back down to earth, it's quite a daunting pile of unlabelled parts. But armed with a selection of manuals (from what I've read no single manual offers full info on the BW35 box, and it's sometimes necessary to cross reference the Daimler, Triumph and Volvo manuals for complete info) there was nothing for it but to have a go!
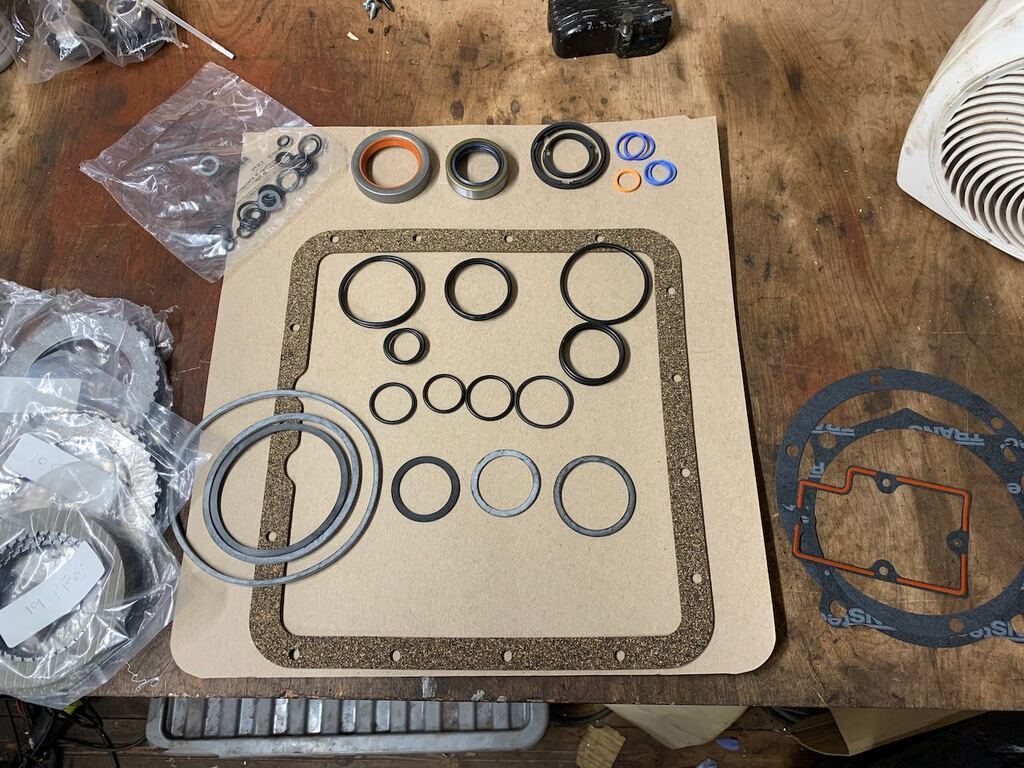
Thats the kit after I gave it a rough sorting out into piles of similar parts. I noticed on the label that this is a kit for BW35,40, 60 & 65 gearboxes, so whilst some of the key compoentners will be used in all gearboxes, at least half the stack of O rings won't be needed for my application.
Clearly the only way to do it was to work methodically from the back of the gearbox forwards removing one old seal at a time and then finding its matching replacement in the new kit. While a lot of the O rings look very similar sizes, when you line them up on top of each other it's fairly clear whether the sizes match or not.
There's 4 different types of seal in the kit; 'normal' rubber O rings, rectangular section rubber O rings, oil control rings (some metal and some of an almost fibrous feeling material) and oil seals (such as the input and output shaft seals)
So the first part to get new seals fitted was the output shaft and ring gear.
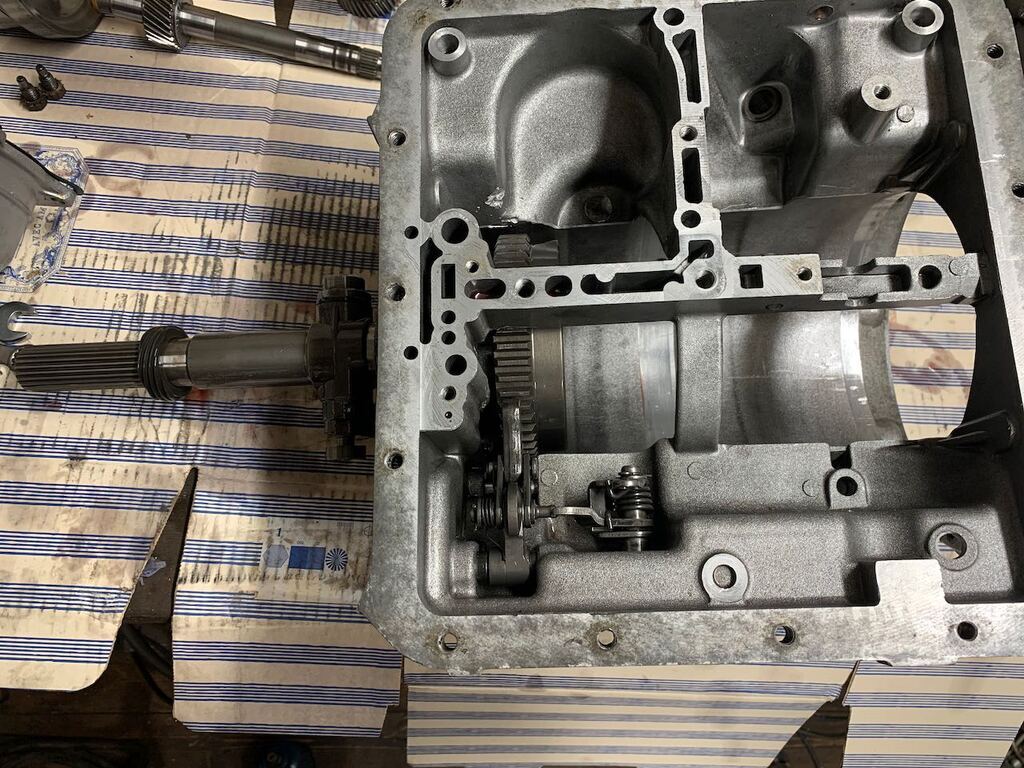
It has 3 of the metal oil control type rings on it. I was intending to take more pictures, but I very quickly got covered in gearbox oil and it wasn't always practical to stop for photography! After that the planet gears and carrier slide in along with the rear band, and there's no parts to replace on them.
Into that you slide the shaft holding the sun gear. This I did remember to photograph!
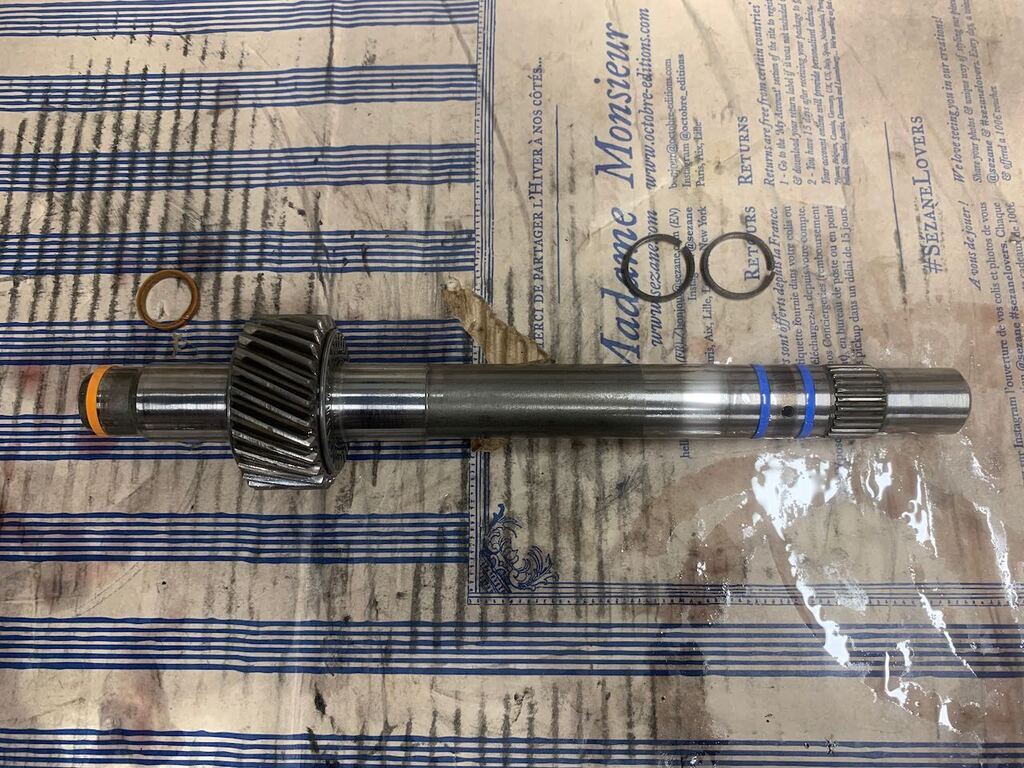
Here you can see I've fitted the new oil sealing rings. These were the fibrous type ones, and as you can see from the old ones, the two blue ones were split, but the orange one wasn't and had to be carefully stretched over the end of the shaft. This then slides into the gearbox and the next part to go in in is the rear clutch assembly.
This needed the larger of the sets of 3 metal oil control rings fitting to it, in much the same way as the output shaft did with a set fo 3 smaller oil control rings.

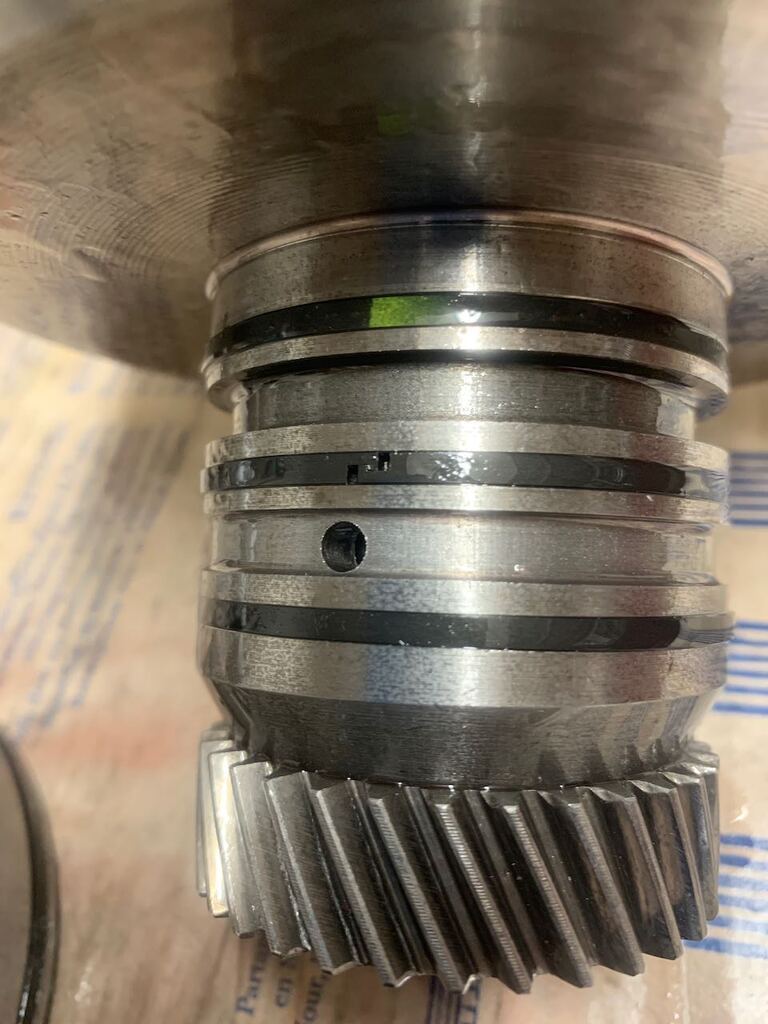
They have a little puzzle lock type design that holds them together. It was a bit fiddly to get them fitted onto the clutch hub and locked together, but probably not as bad as I thought it might be! They are marked with a yellow paint stripe, which matched up with the info in the manual regarding clocking the ring gaps, but that only works if you notice that before you fit the rings and fit them I the right order.... so I clocked them as per the manual and ignored the paint stripe!
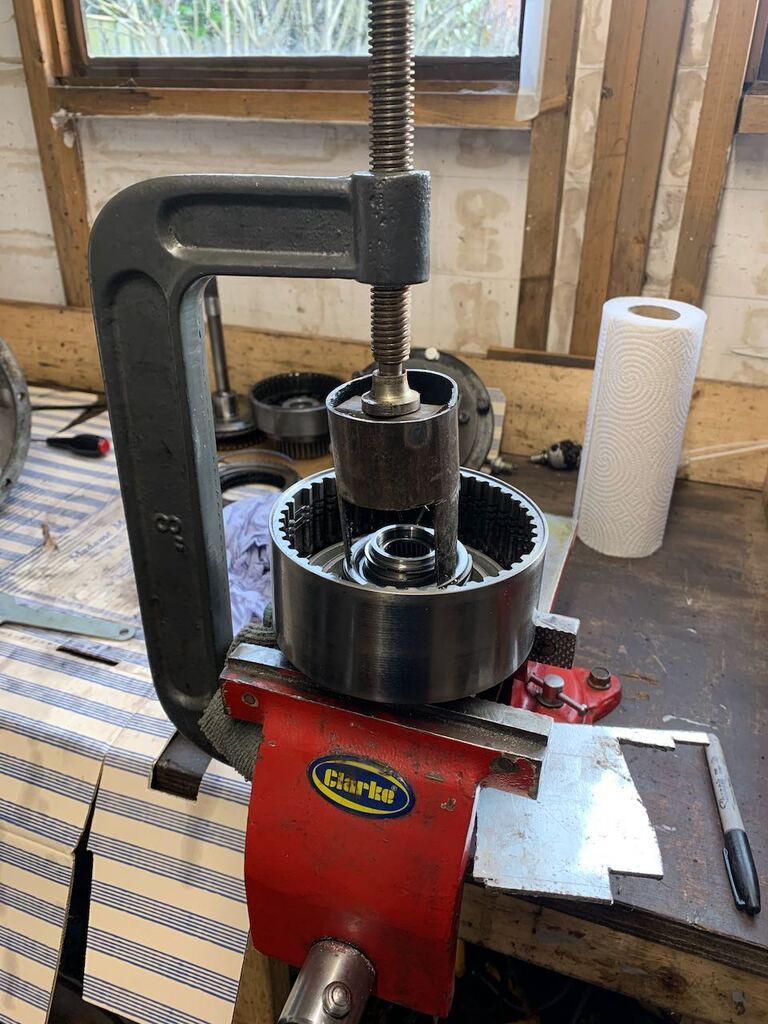
Now I could turn my attention to some of the first of the rubber seals. The rear clutch piston went back together relatively easily, I greased up the bore of the clutch housing with vaseline and also on the new seal, and with a firm push it popped back together nicely. It was then just a case of clamping the spring down with my dodgy bit of exhaust pipe and G clamp and popping the C clip back on. Then I could stack the new clutch plates in. I soaked the clutch plates in clean AFT for a few mines before fitting.
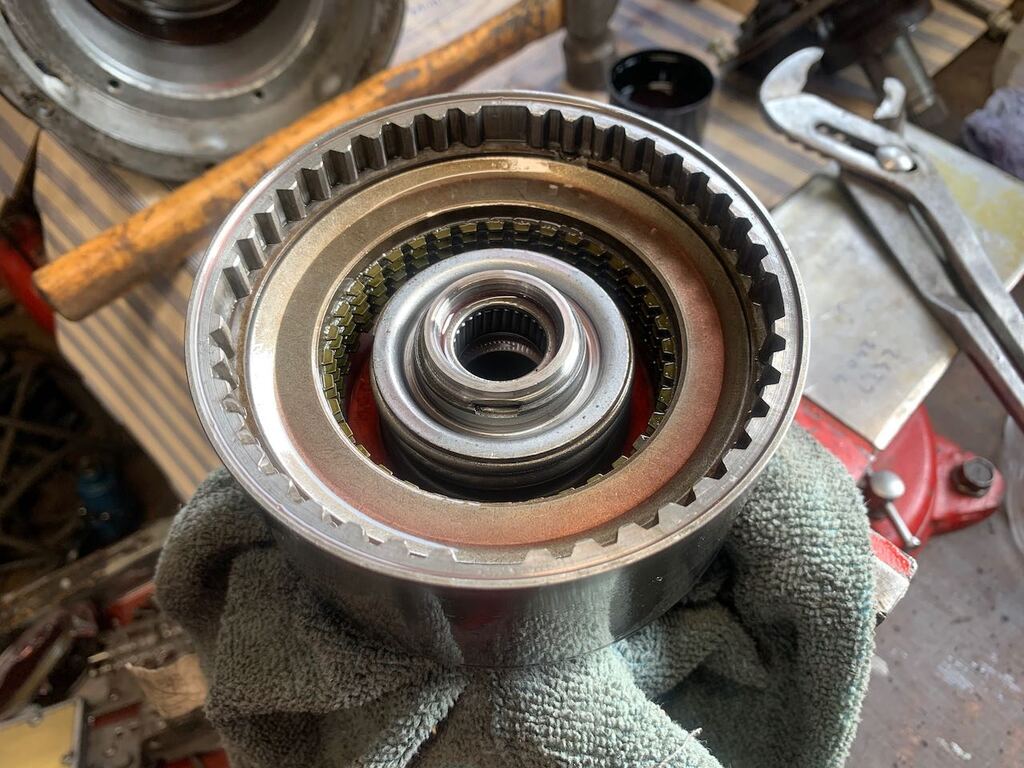
And then slide it home into the gearbox.
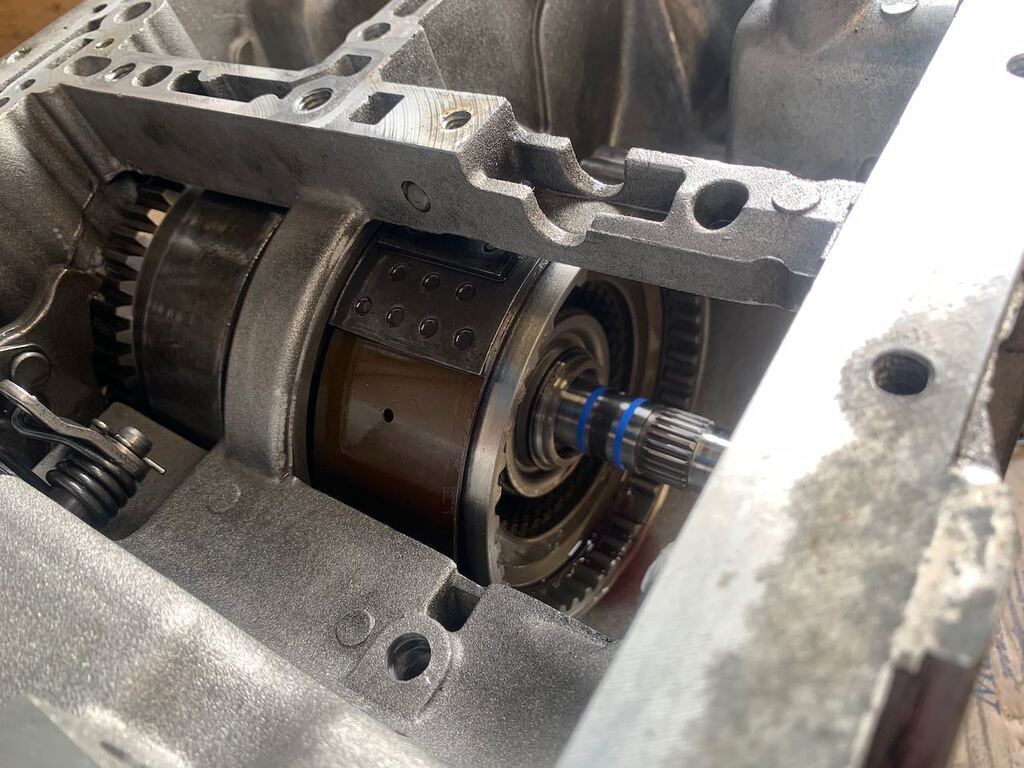
Things were going really rather smoothly at this point... too smoothly...
Next up was the front clutch. This is where the previous owners rebuild had ultimately failed, and here things got more difficult. In this photo you can see the clutch hub and the clutch piston complete with new seal and lots of vaseline to help things slide together.
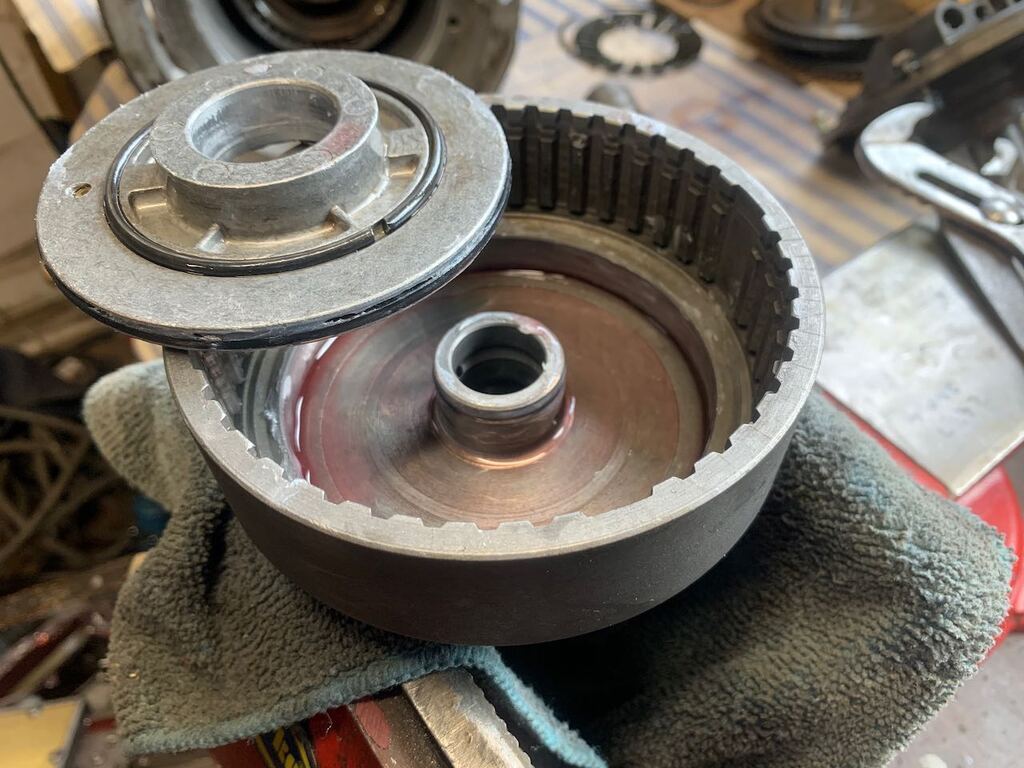
But slide together they would not. The seal is a big thick rectangle section, and was not going to go into the tight fitting bore without a fight! The manual mentions a tool, like a piston ring compressor, that helps guide the seal into its bore. I tried to improvise one, but it didn't really work. Over several attempts at fitting the seal, I managed to nick the face of the seal in a couple of places. Damn.
Many grumpy words were said. Knowing this seal was now scrap, I found that I'd have to order a whole new set of seals (as several hours of googling didn't help me manage to find just a front clutch piston seal on it's own). At least a set of seals alone was cheaper than the kit with the clutches, and I've now got spares and spare gaskets.
While I waited for the new seals I decided to carry on experimenting with the damaged seal, so I'd have a technique sorted by the time the new seal arrived. I failed at pictures here, but I did find some small burrs on the clutch hub on the edge of the bore that the piston slides into. They definitely weren't helping. I don't know if I caused them with my various attempts at fitting the piston, or whether it was a result of the previous owners attempts at rebuild. Anyway, I dressed them back carefully, and it did seem to help a bit. I also experimented with teasing the seal into the bore using a plastic tool, the type that comes with a kit to replace a mobile phone screen. This, along with plenty of vaseline, seemed to be working. The plastic wasn't hard/sharp enough to do any damage to the seal, so could be used safely to manipulate the seal to get it started in the bore.
So a week later when the replacement seals finally arrived, I was able to go for round two.

Success! So yes, plastic tool, working round carefully teasing the seal into the bore while pushing down by hand on the piston for several minutes did the job. Assembling the front clutch packs was then easy, and this clutch assembly could be slid into the gearbox.
The front pump was the last rotating component to have a new seal fitted. Like the front clutch piston, this was clearly not going to be an easy reassembly. But this time I was prepared. As the outer edge of the front pump is exposed to the elements, it was rusty. So I first went round the lip of the bore and carefully sanded back all the surface rust, before cleaning it all out very carefully.
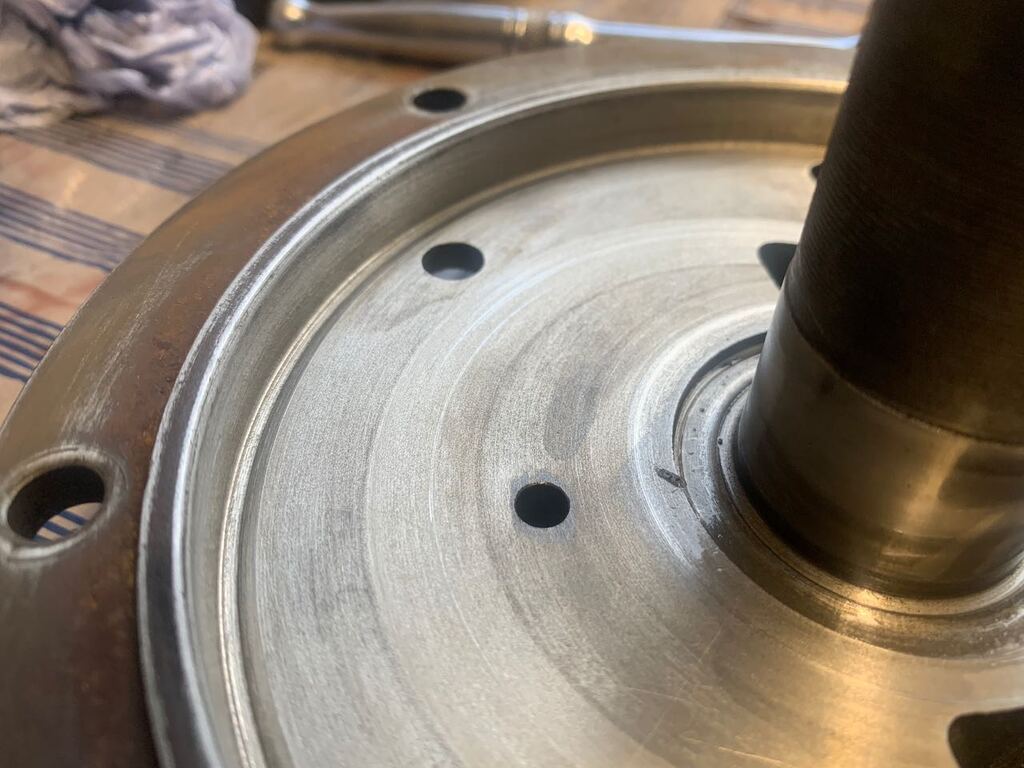
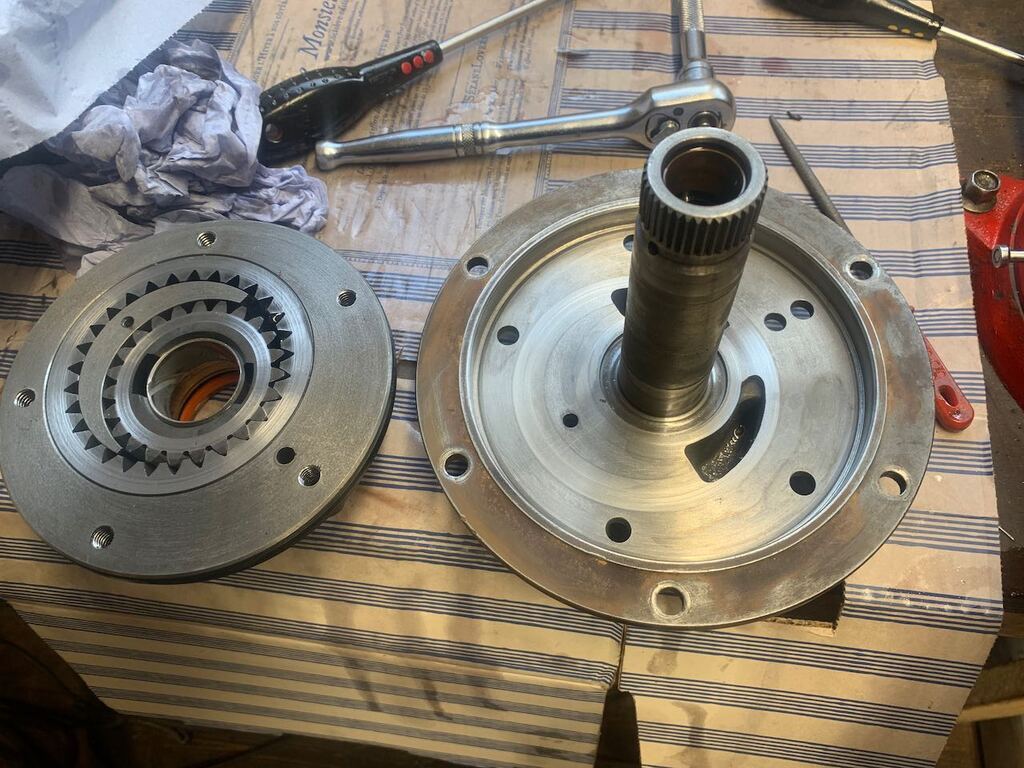
Then using the same technique with the plastic tool I was able to carefully reassemble it. It was easer than the front clutch though, as there was easer access to the edge of the seal, rather than having to work down inside the clutch hub.
After that, changing the O ring seals in the two servos was dead easy, just a case of stripping them apart, matching up which O rings I needed out of the pile and popping them back together. So easy I completely forgot to take any photos.
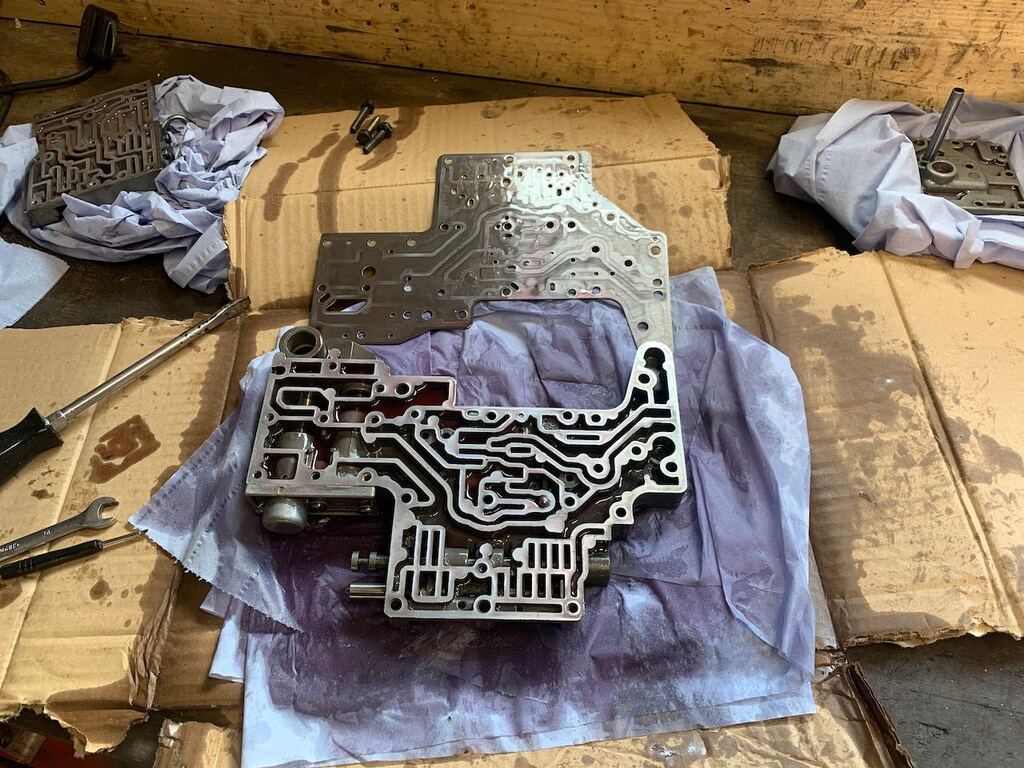
With that done, all that was left was to bolt up the valve body and bolt the various outer housings back on and it was done.
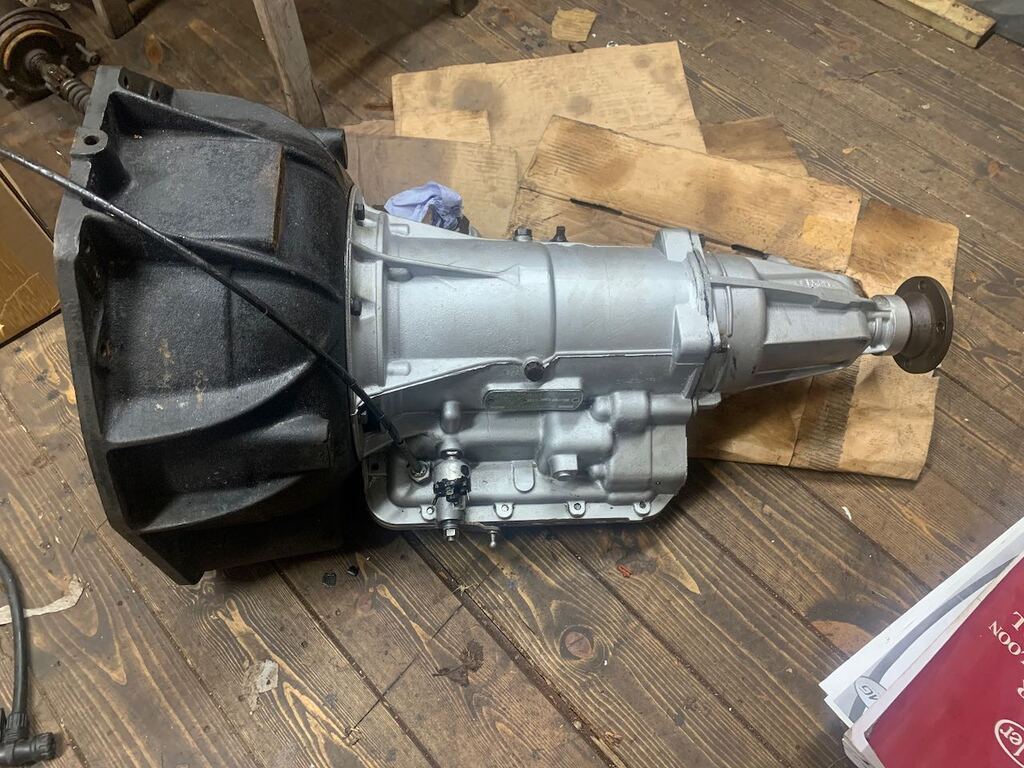
So now it's just waiting for me to have some decent hours of daylight, and to feel strong enough, to try and fit it back into the car!
In the mean time I'd been reading
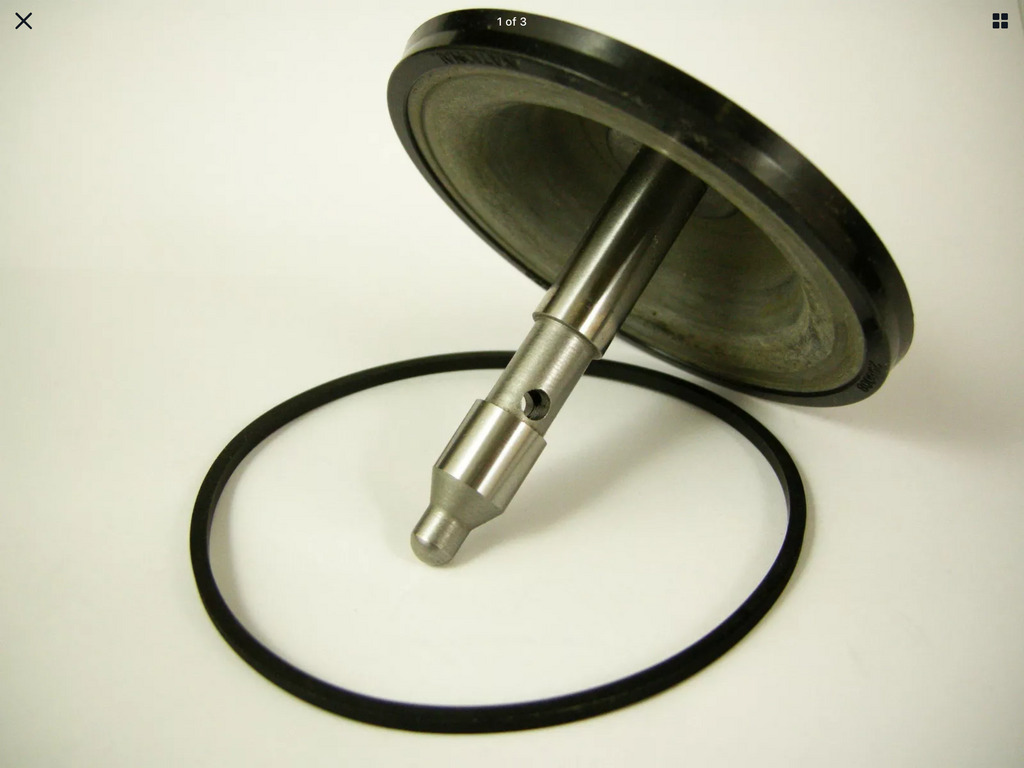
ivanhoew's lovely thread on the Temptress, and he was investigating a broken vacuum advance unit. Seeing the damaged rubber diaphragm he found inside, and knowing that there wasn't a single rubber component on my car that hasn't needed to be replaced, it got me thinking...
A quick test with a syringe and some vacuum hose showed that my vacuum advance was indeed not working. Stripping the unit off the distributer and getting it apart in the shed it was clear that the diaphragm had indeed perished and broken.
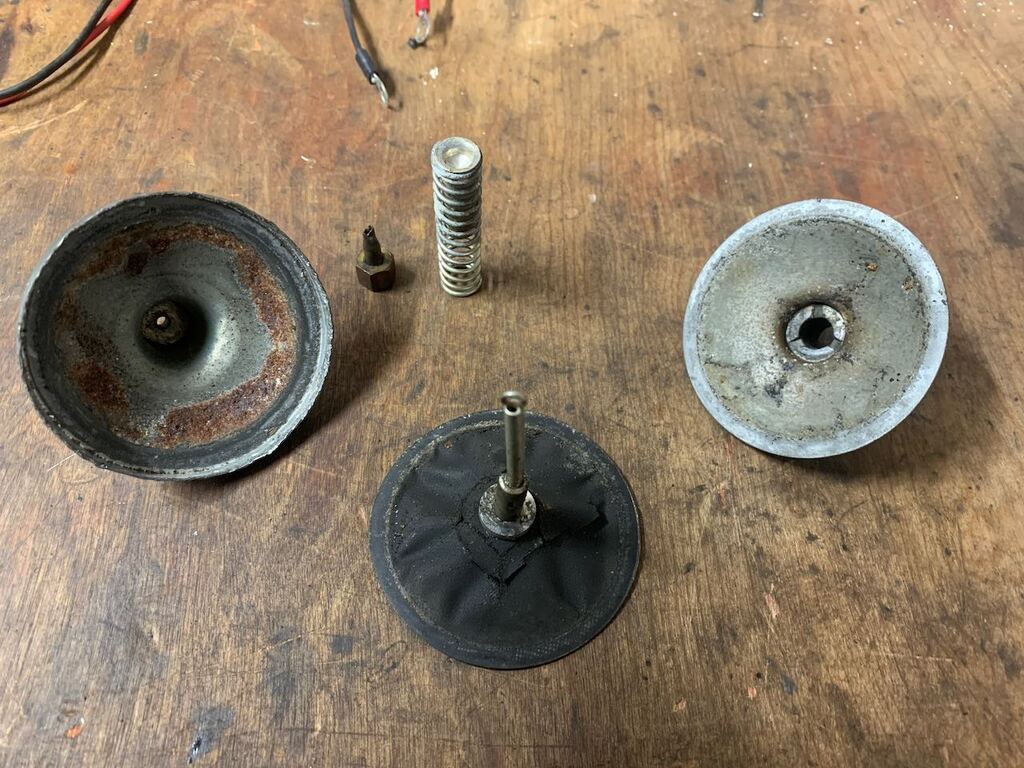
So I have a new one coming in the post. Replacing it and getting the proper ignition timing should helpfully make a nice improvement to how well the engine runs at light throttle.
I'm quite looking forward to getting this round of fixes done, a lot will have changed since I last drove the car and I'm hoping it will make a significant improvement to the driving experience.



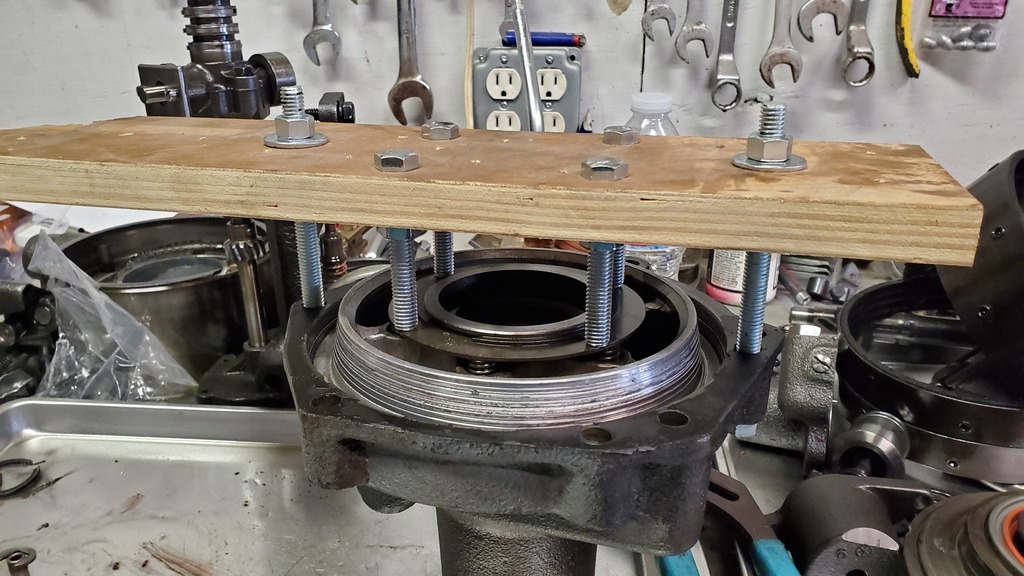


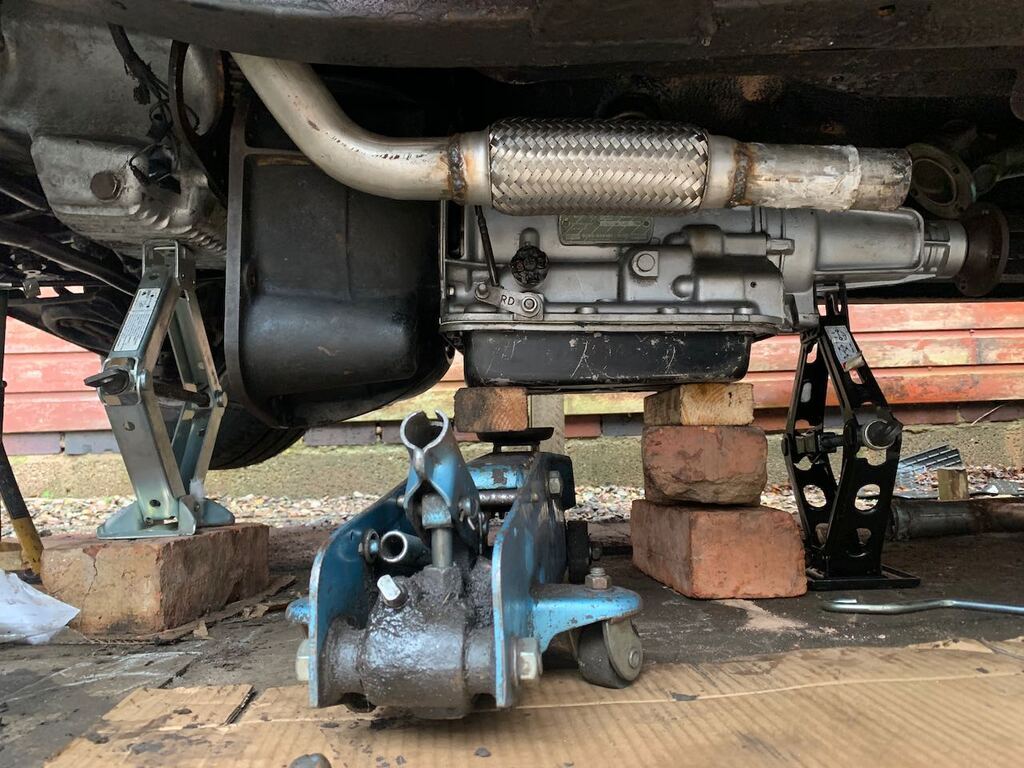
 No forwards drive, well not unless you rev it hard. Reverse all good, better than before because it went in smoothly and quickly without a 'clonk'..

