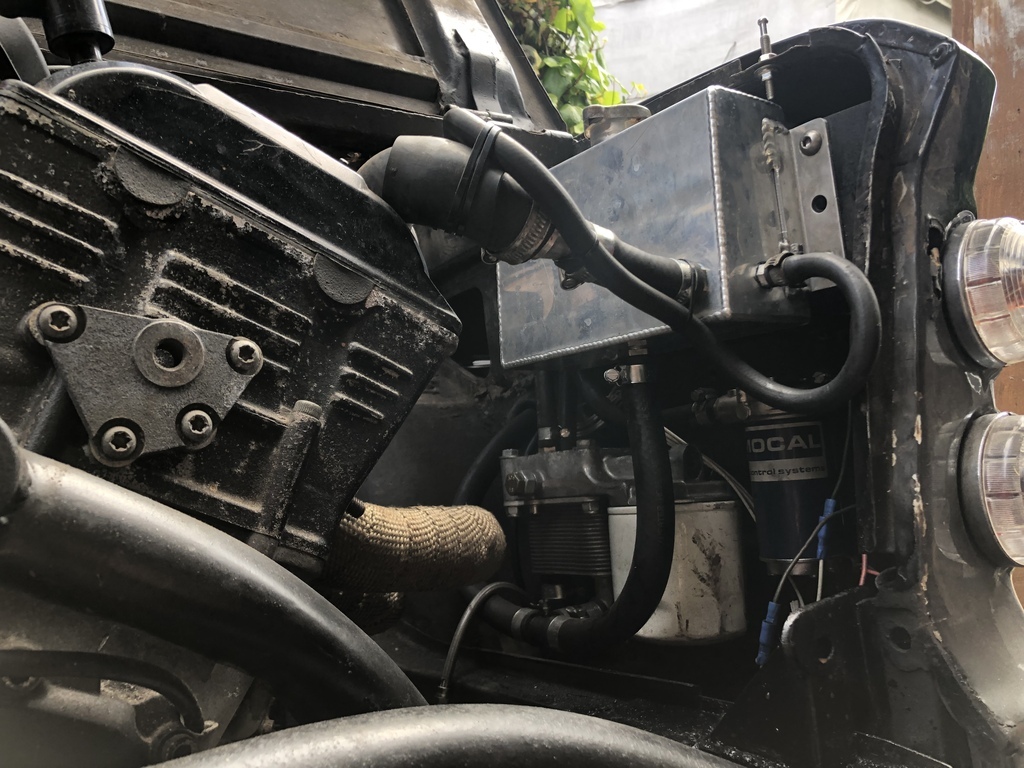
I’ve just spent 4 days solid on the imp and made some good progress. Technically this was my last weekend before the show as I’m busy next weekend but there are plenty of evenings between now and then. Although that’s only like 2hrs each night by time I get home from work. Annnyywaay….
What I have I got done…
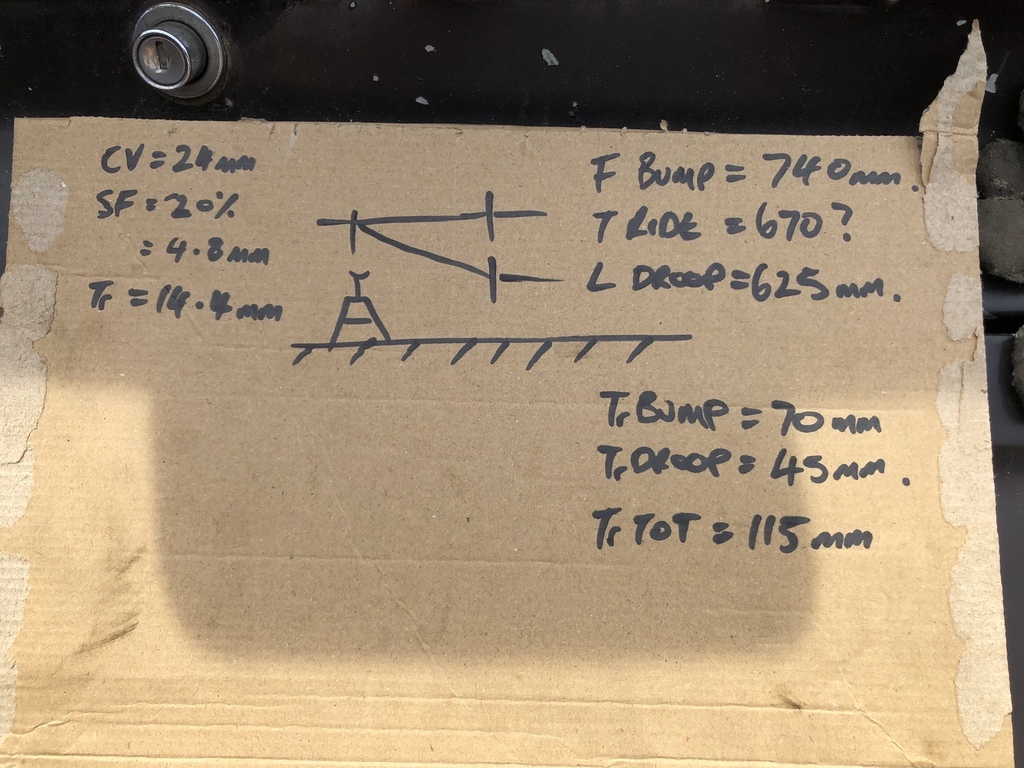
First job was to fix the front ride height. Even on its bump stops the height was still higher than the target ride height of the rear. Big negative rake angle, not cool. So I set about slamming the front. I changed the design of the top mounts to drop the bump stops by 30mm ish. This put the wheel right at the top of the inner arch tub.
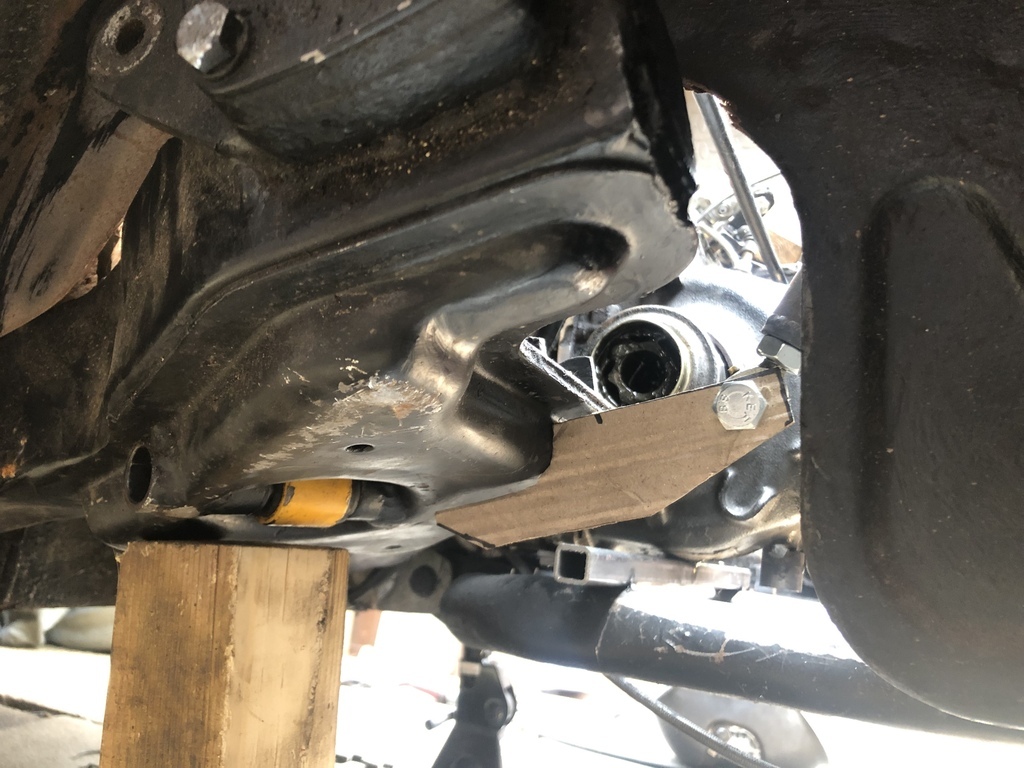
This then causes all sorts of issues with steering and roll clearance. I only tubbed the car enough to clear at the ride height I was originally working to. So I’ve had to cut and do nasty things to what was a finished area. Anyway ugly stuff now allows for full lock to lock to bump.. well good enough. I’ll fix the scars at some point.
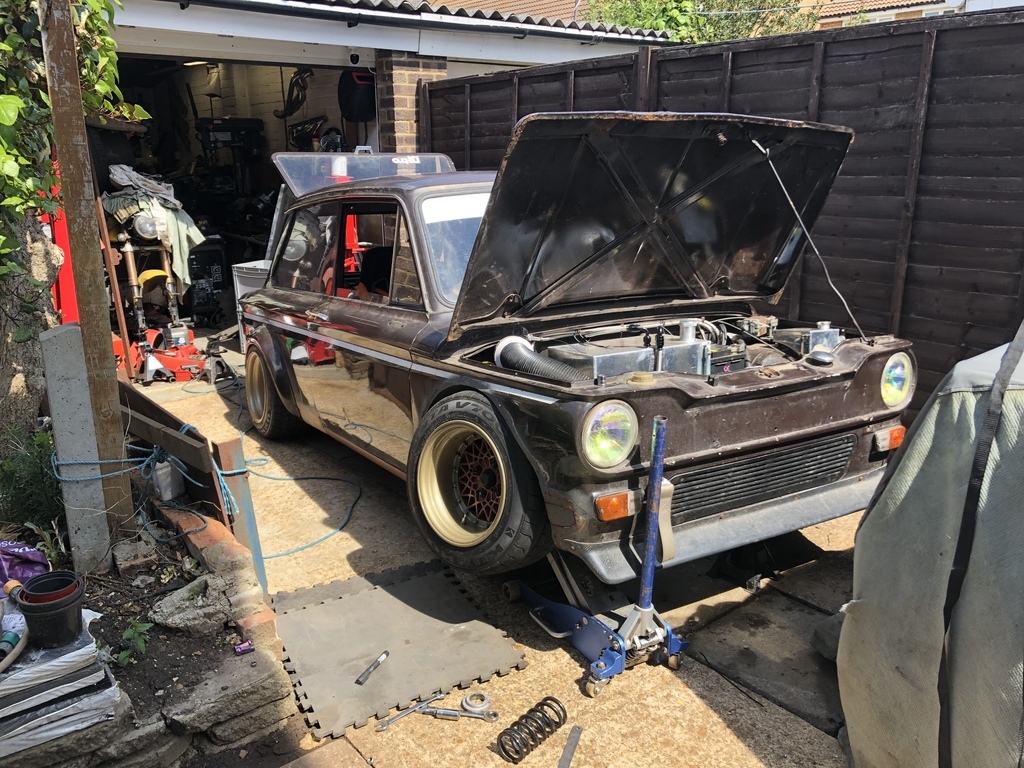
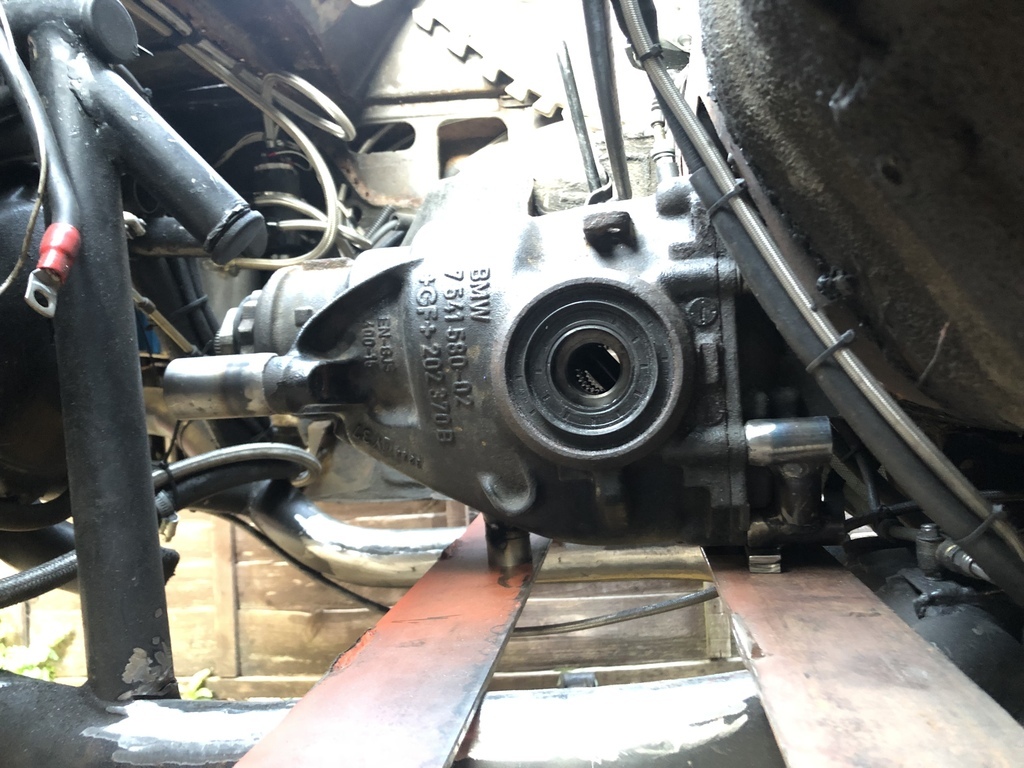
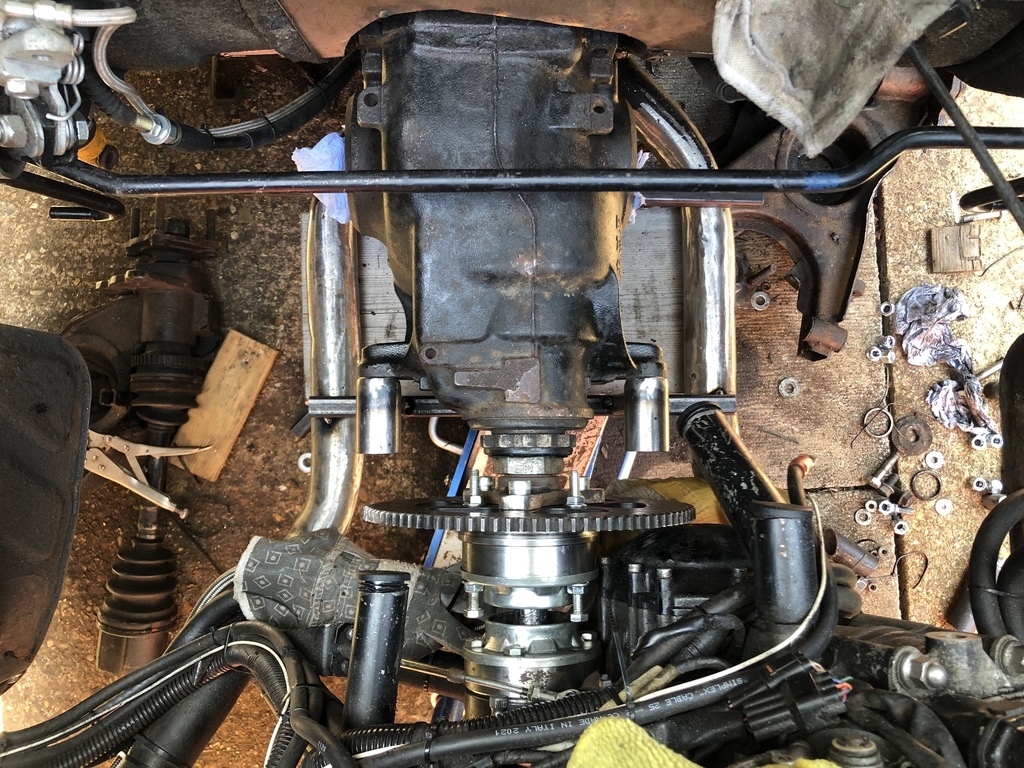
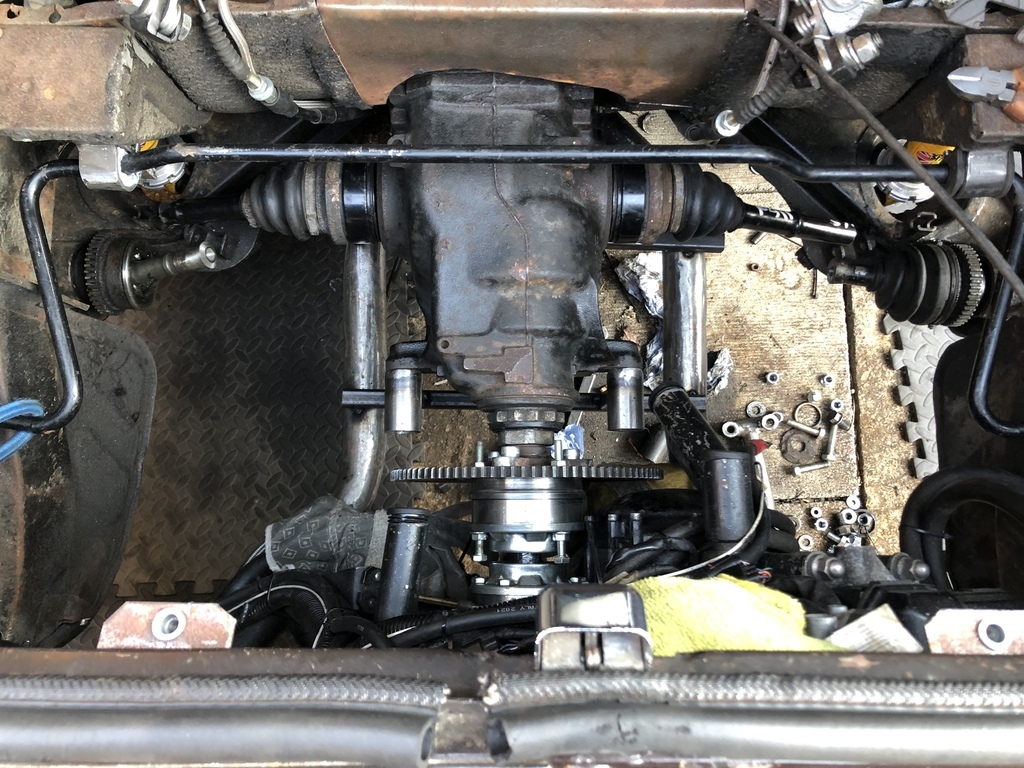
Moving onto more important things… now my metal had finally arrived… I was able to get the diff mounted. I started with the obvious bars to get it fixed in secure. I then removed the support bars so I could refit the exhaust and then make bars to avoid this.

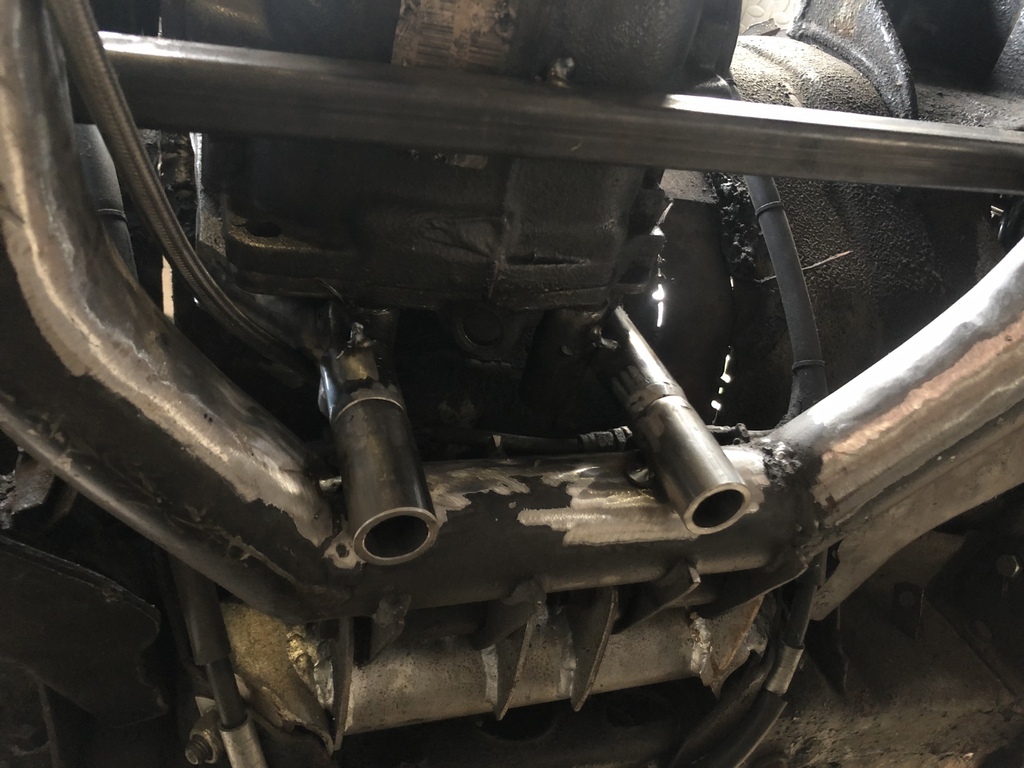
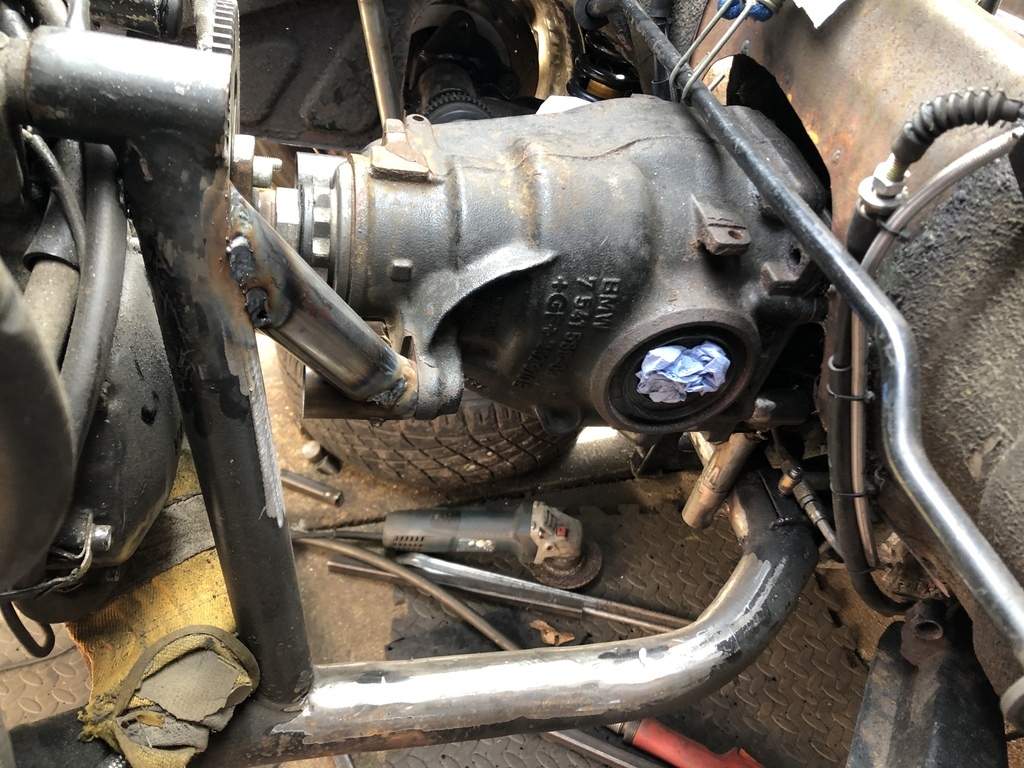
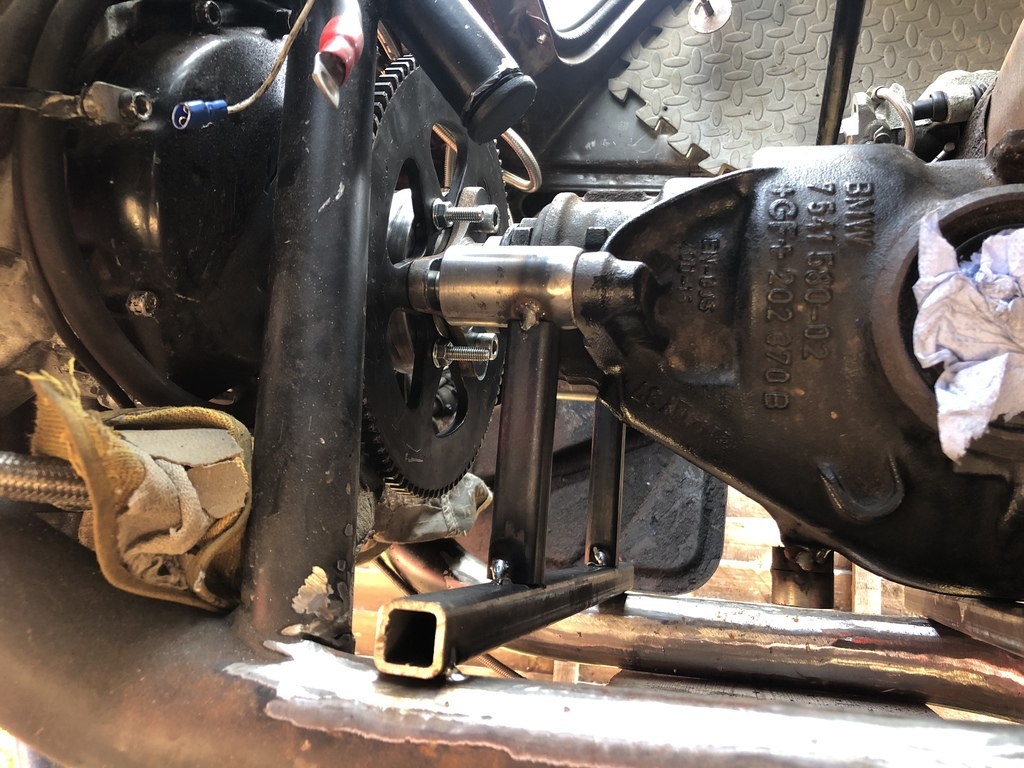
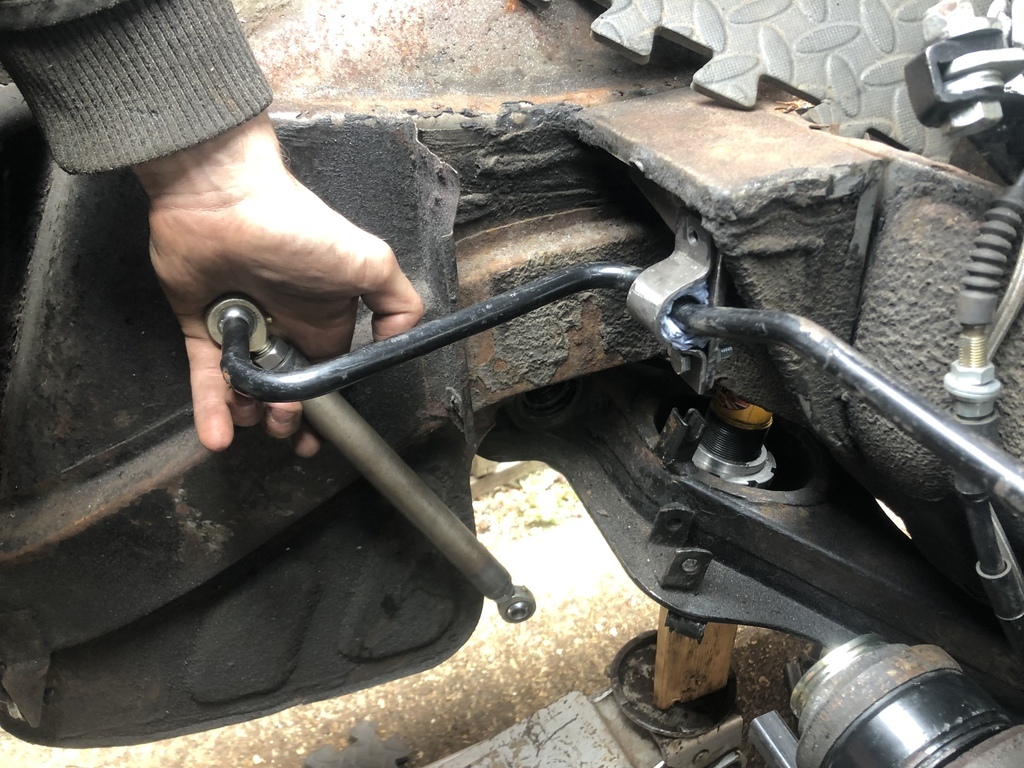
It’s just my luck that one bar would want to be bang on where the exhaust runs. This wasn’t too bad as I needed to invent a new way of mounting the reverse motor anyway so this could be incorporated.

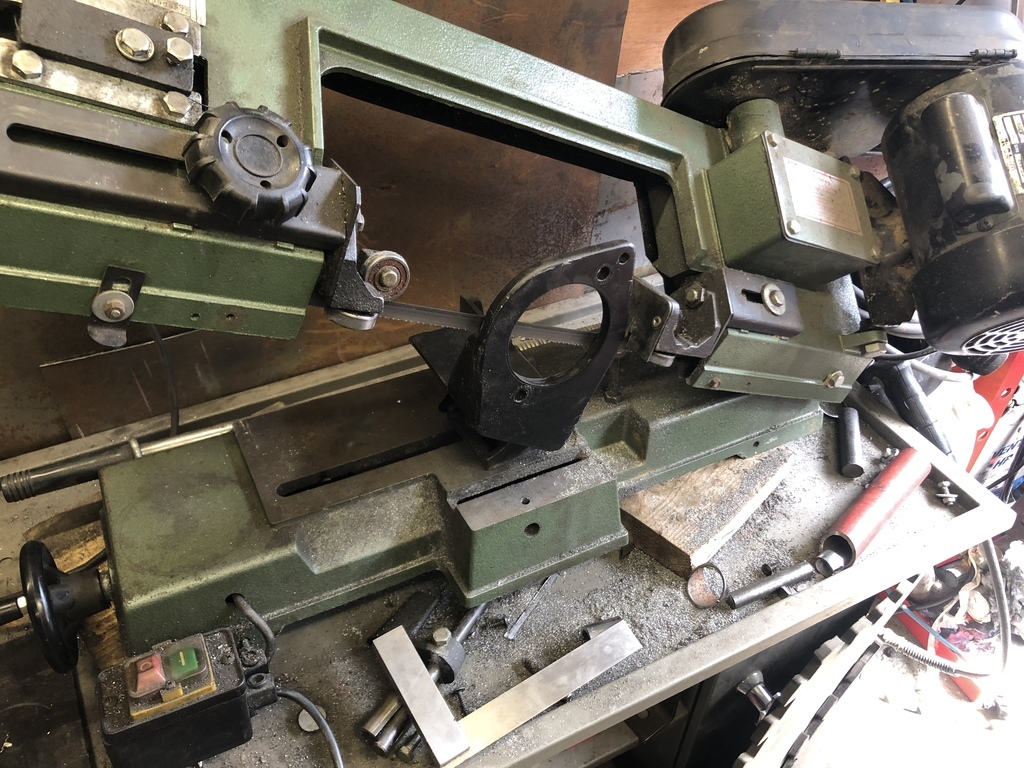
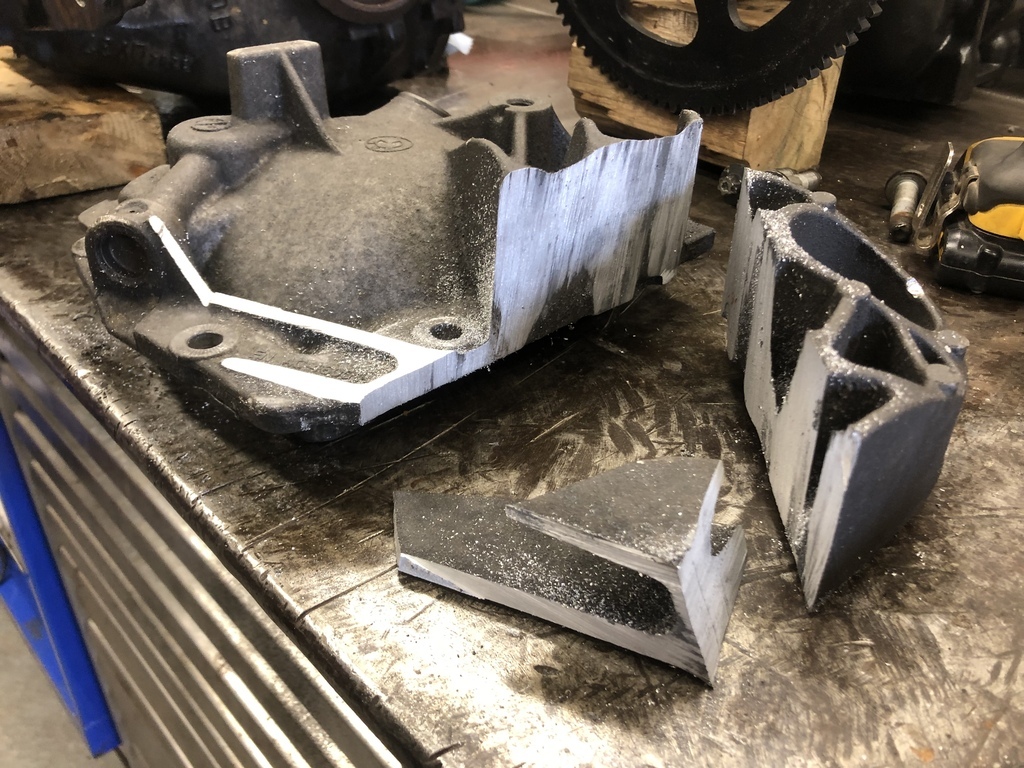
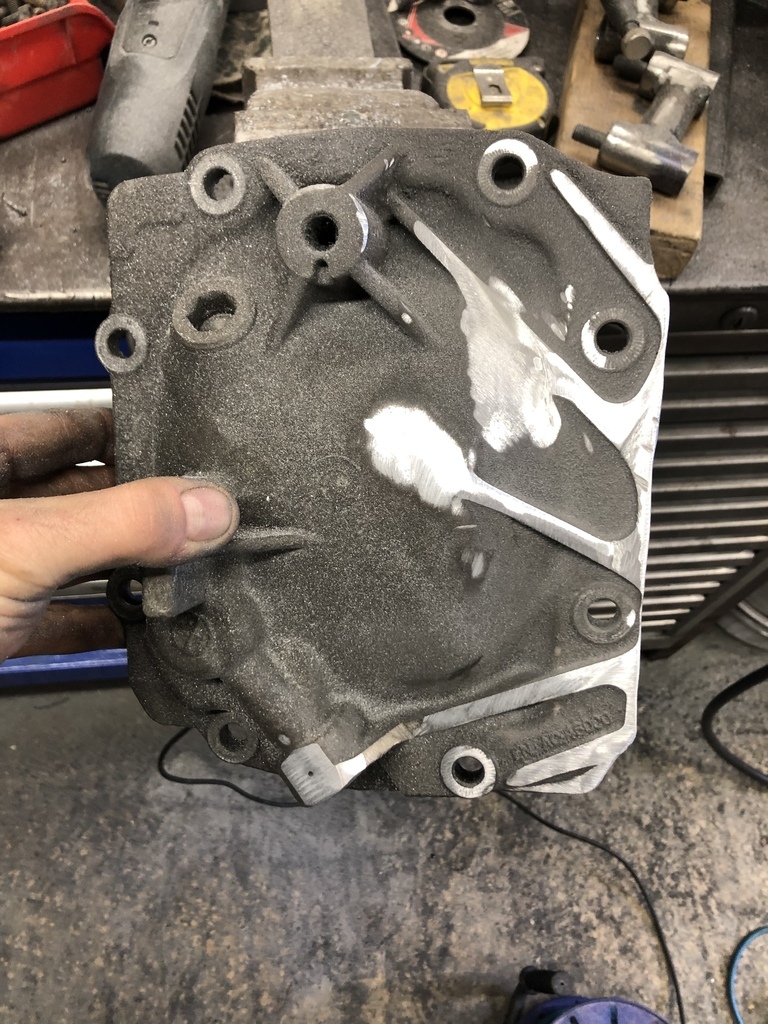
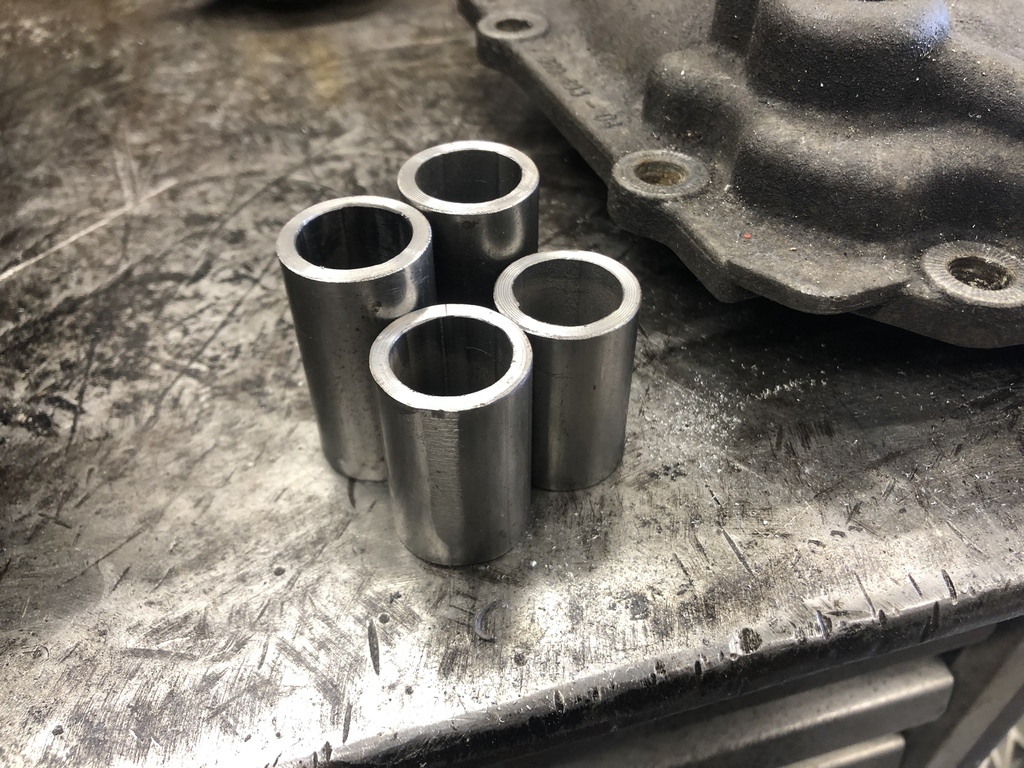
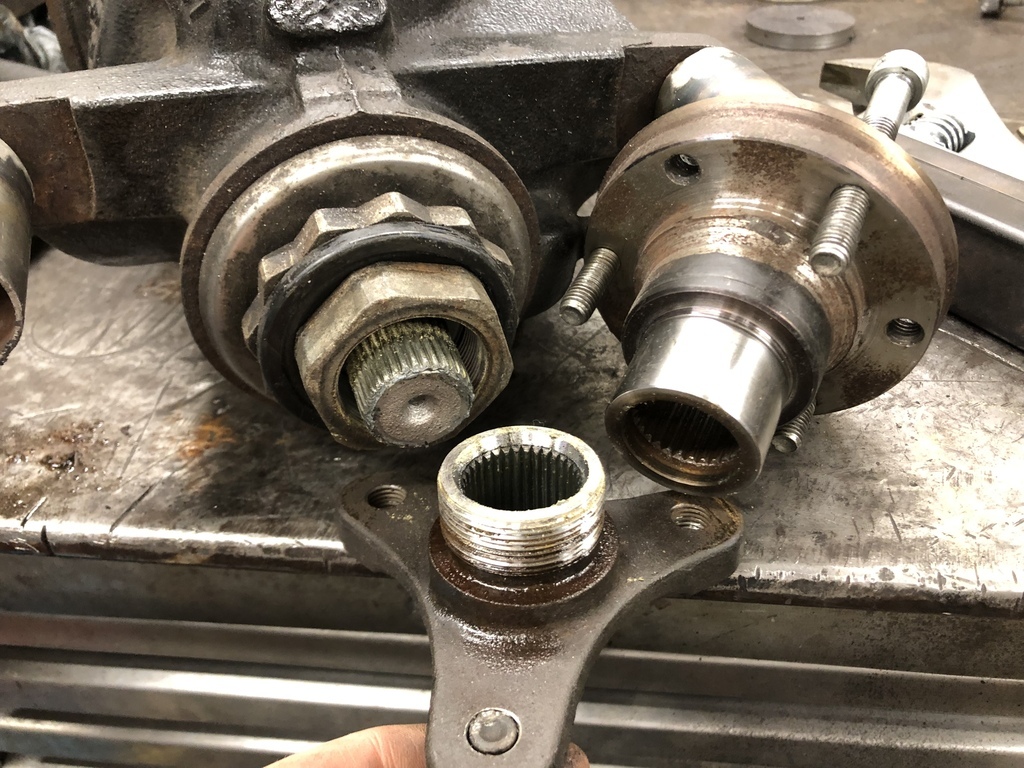
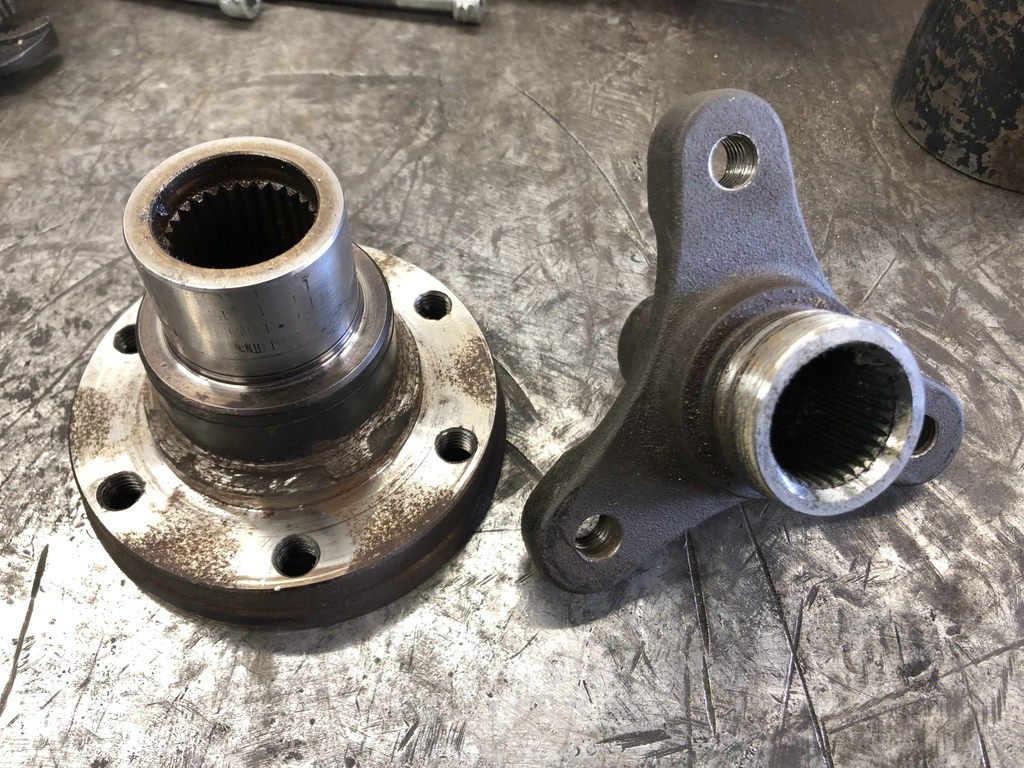
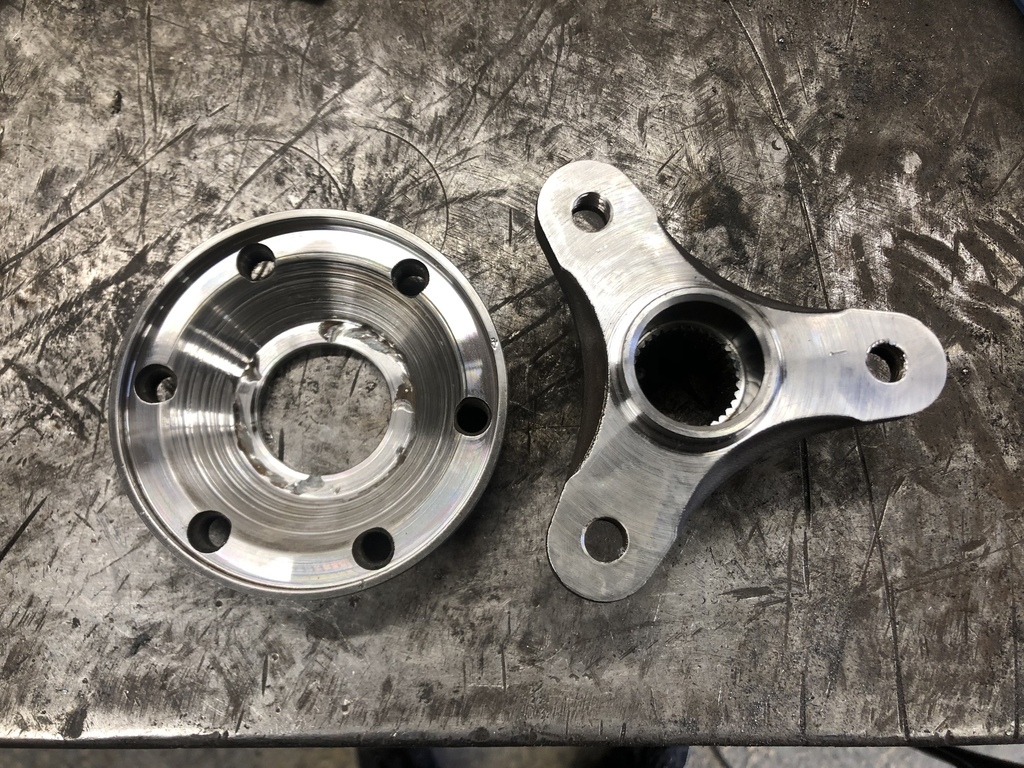
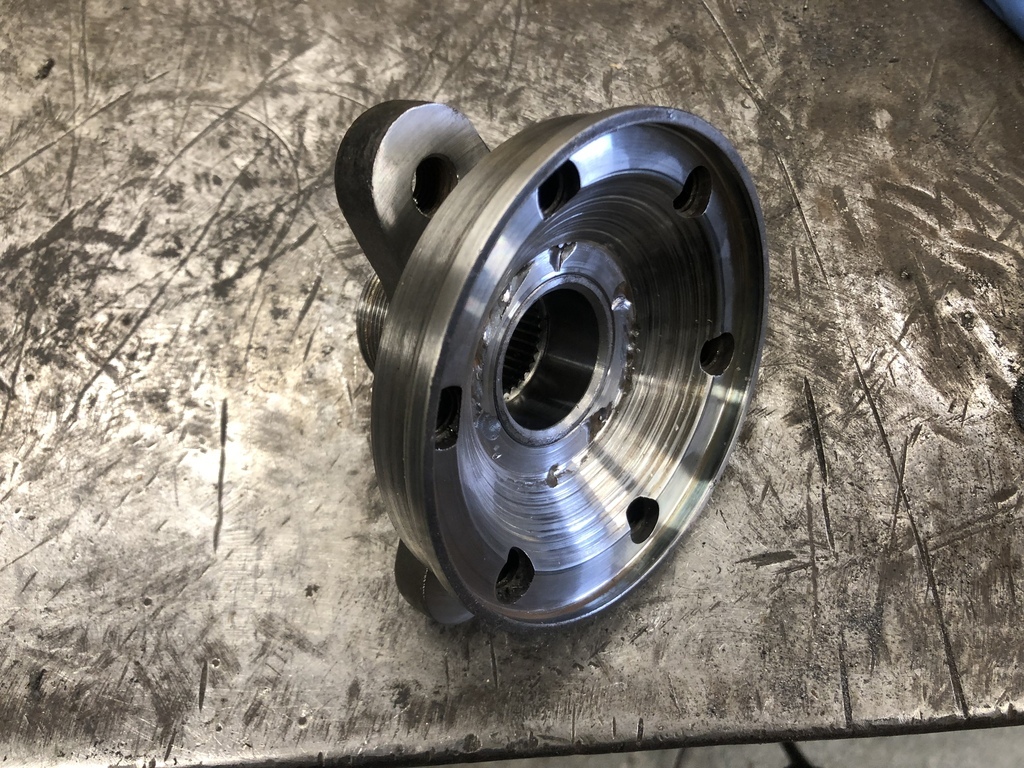
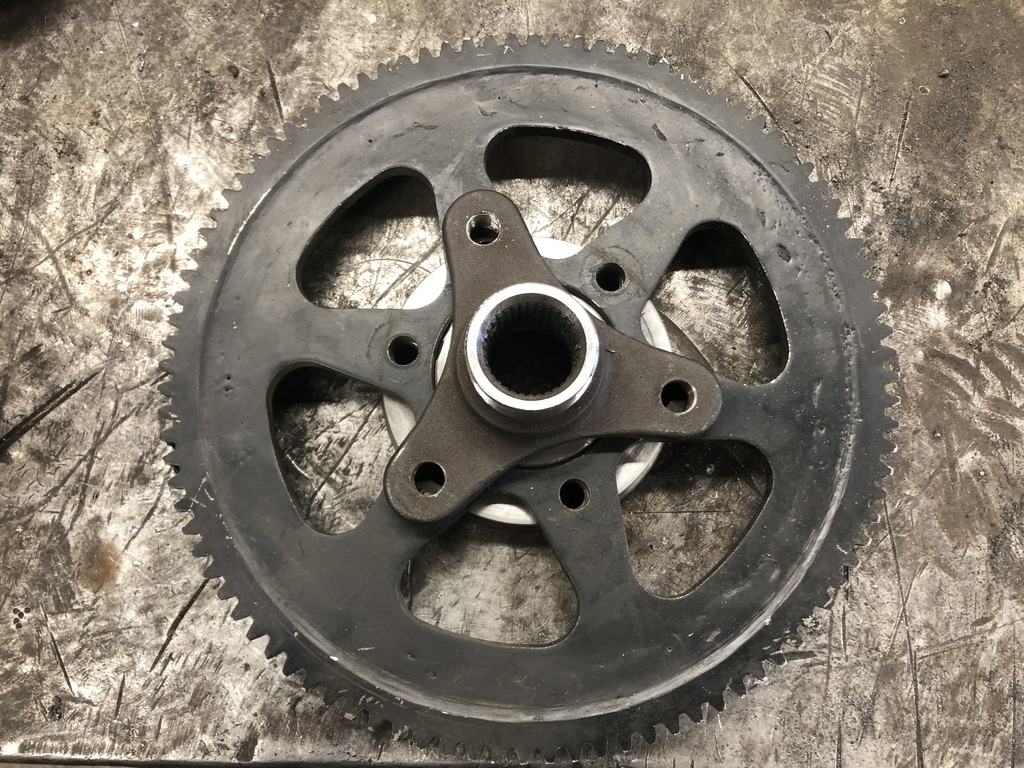
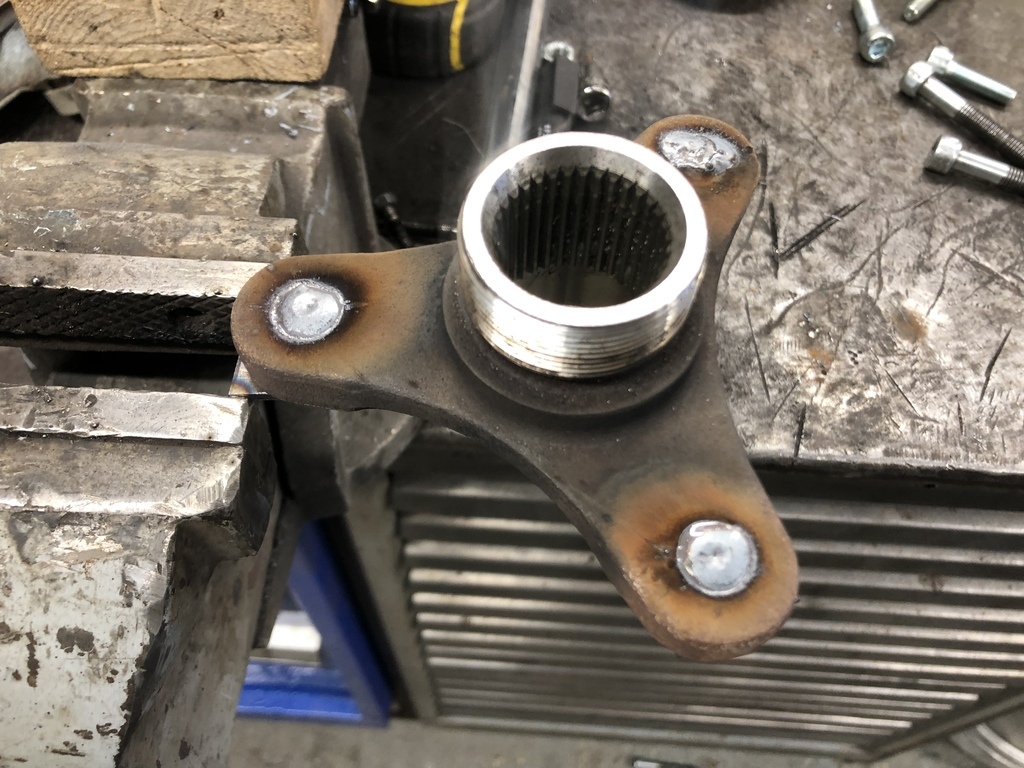
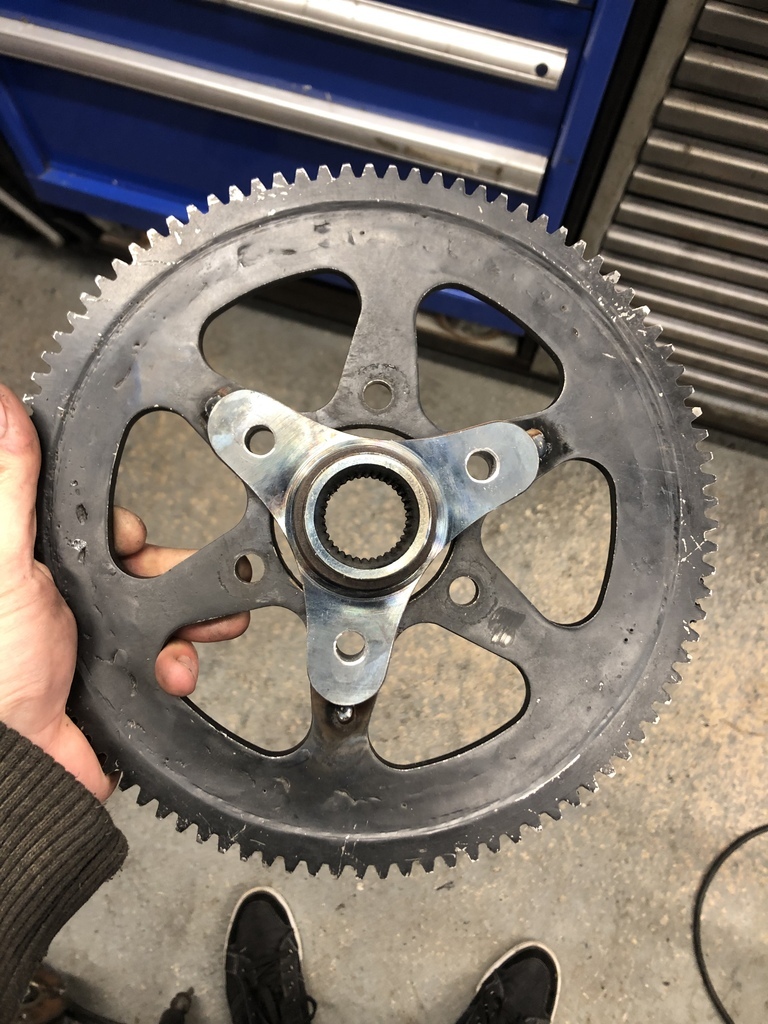
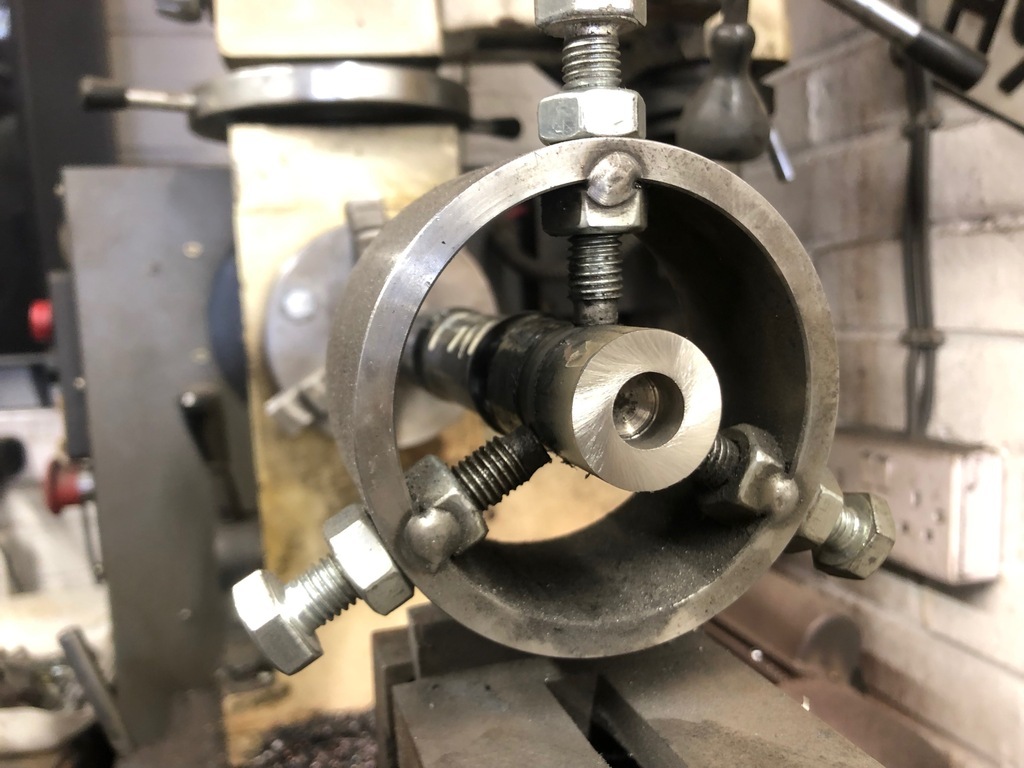
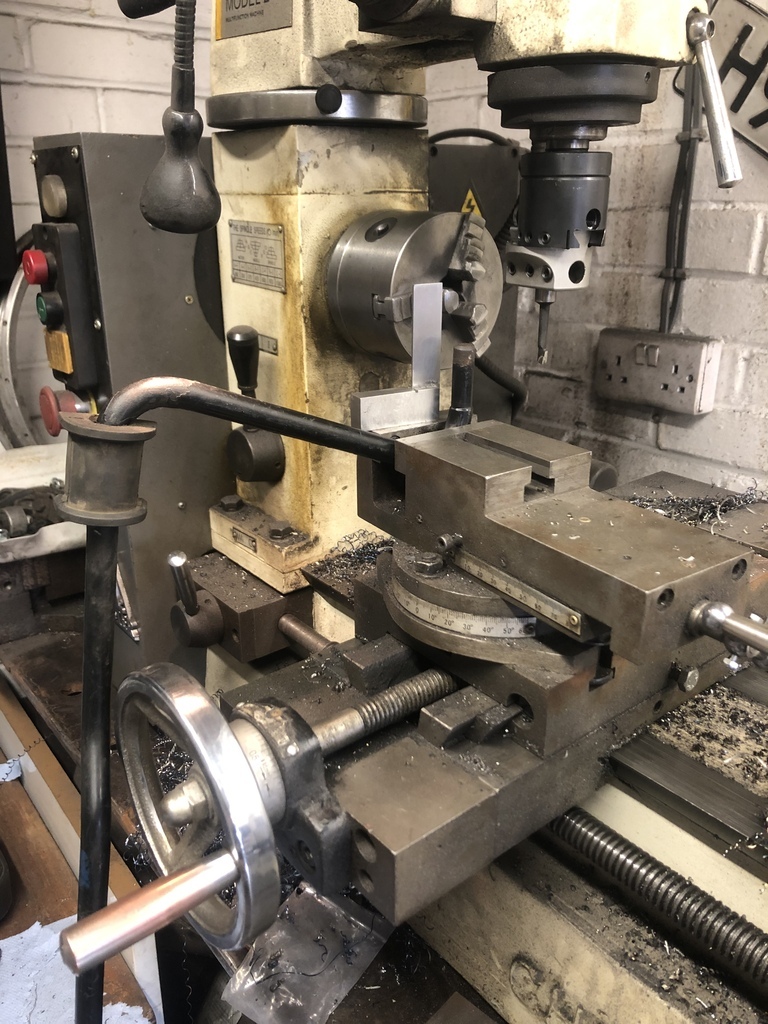
I parted off the old mount flange to recycle the face plate. If you remember I had to get this on the mill to bore out the main hole ID so I didn’t want to re make this. A cheap band saw is hugely recommended for anyone starting out. It’s one of those tools that you never need but when you have one you can’t live with out.

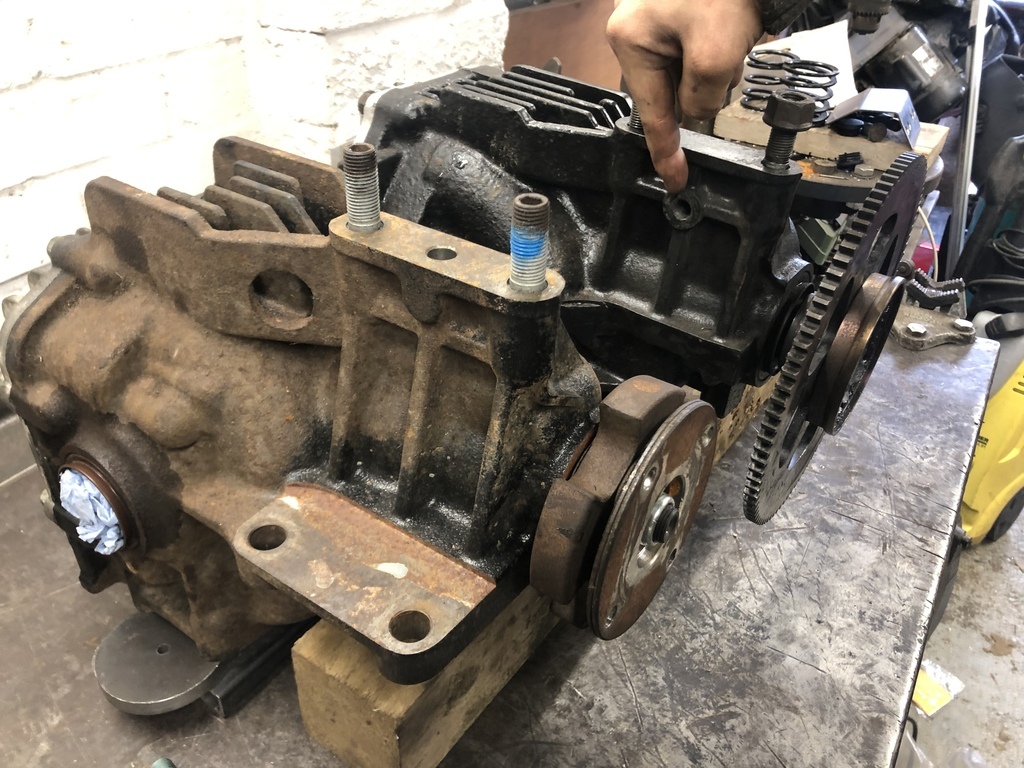
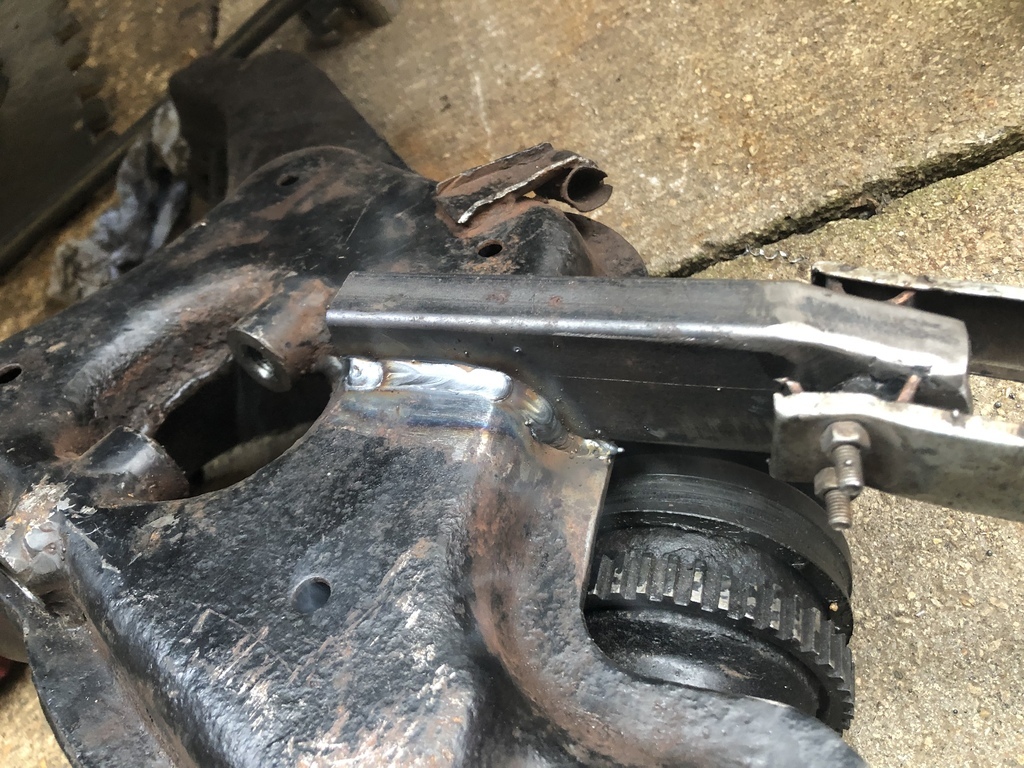
I cut a hole so this plate could pivot around this diff mount.
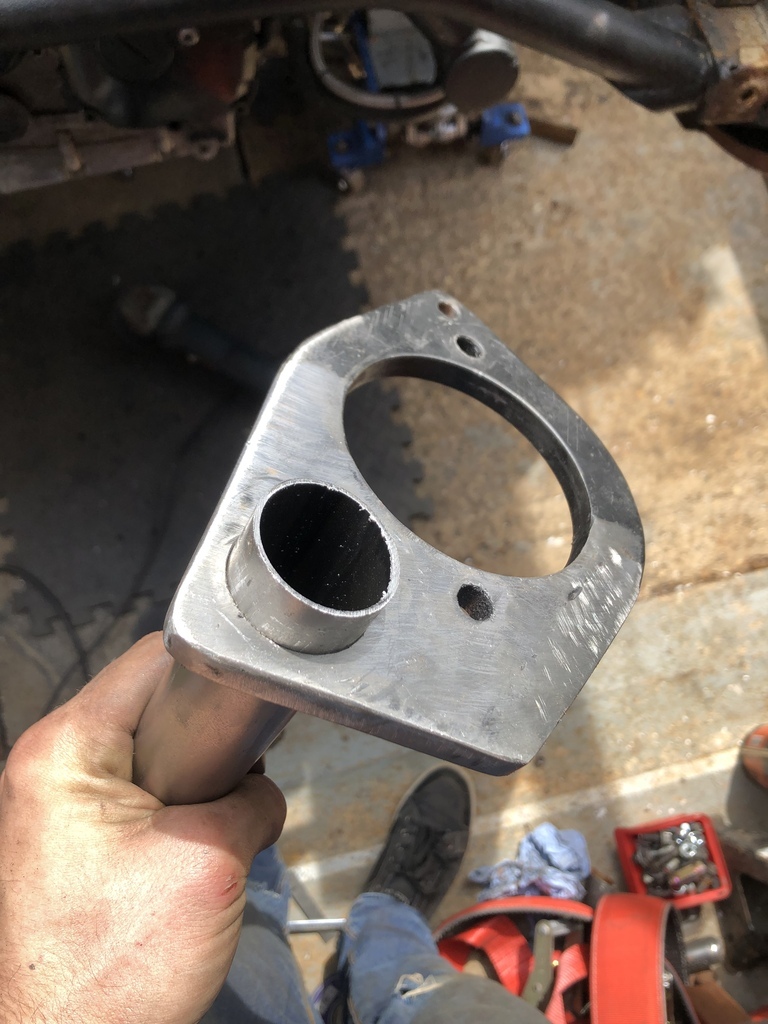
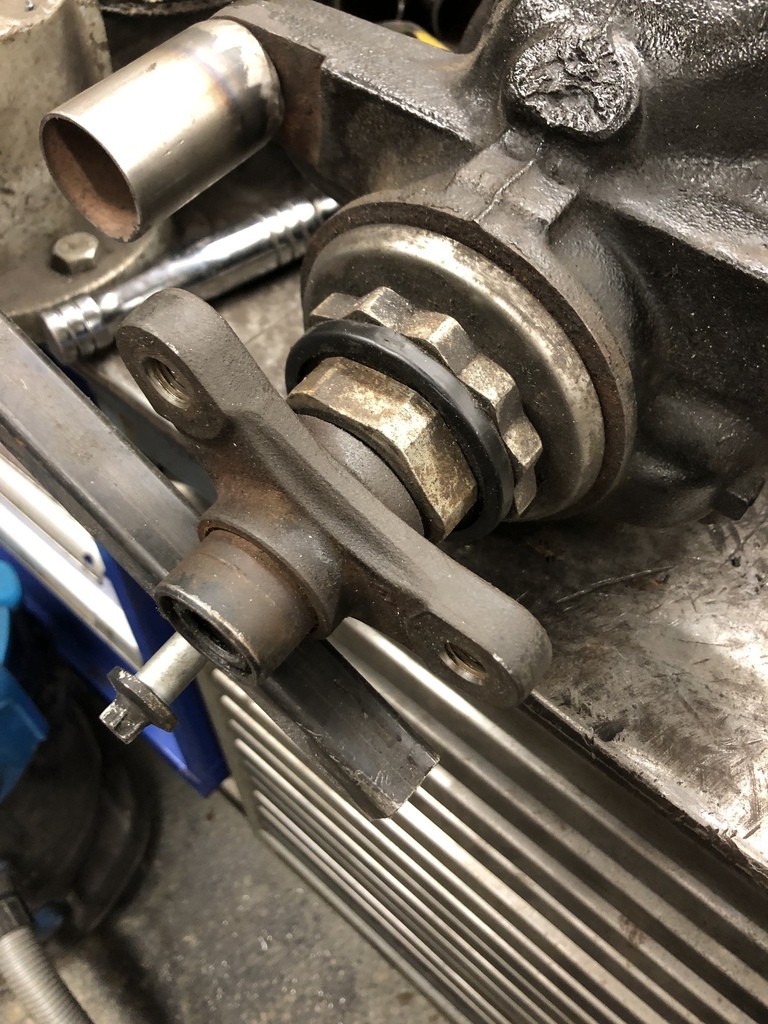
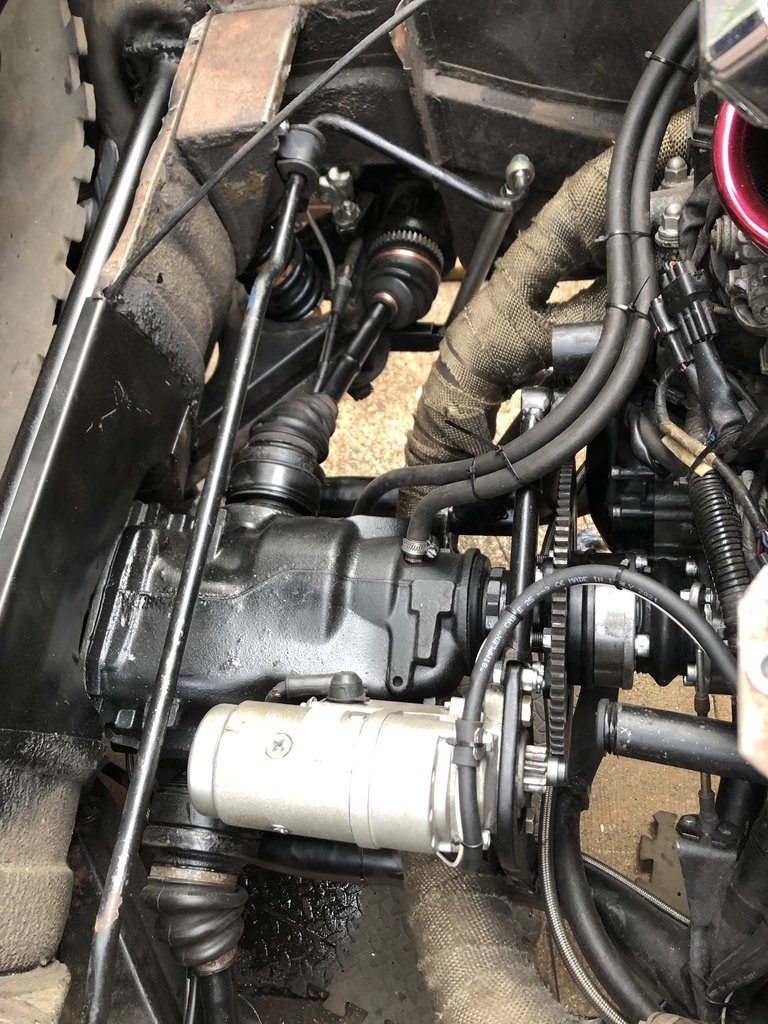
When bolted on I was able to set the engagement depth as well as it’s offset from the gear.

I packed out the pinion to give me the full thrown out length and offset the engagement by using a bit of blue roll in the teeth haha. I checked it all with some squares and tacked it in place.
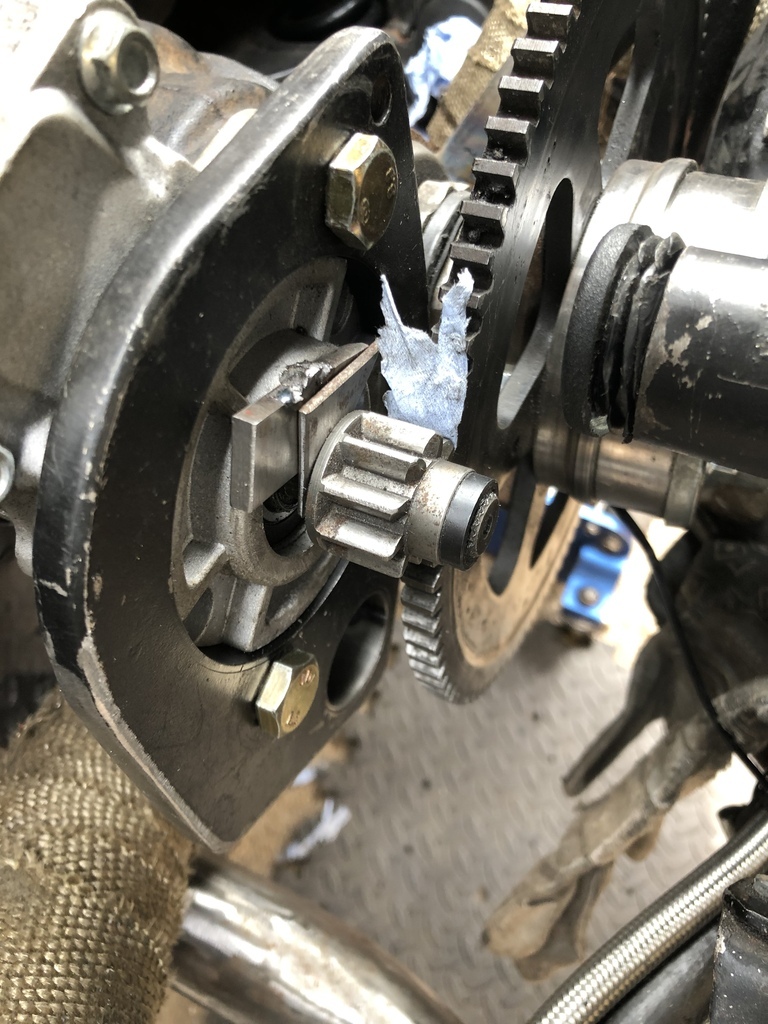
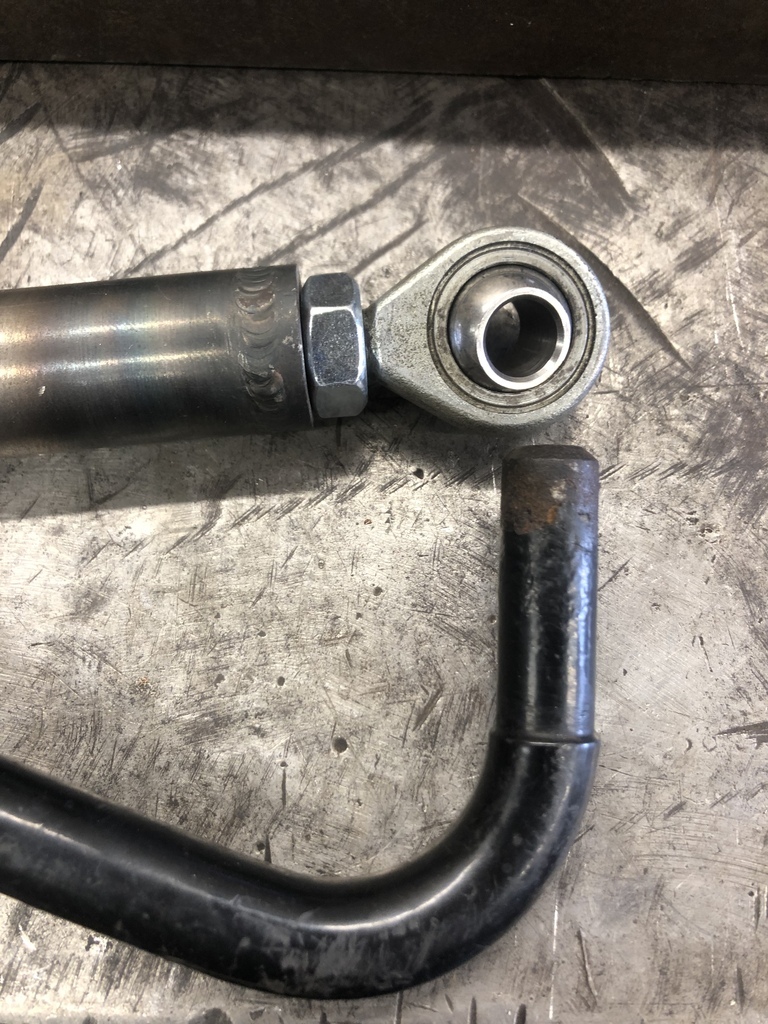
This new motor position didn’t have much resistive strength against the torque reaction. I decided it’s best to make a removable brace to keep it engaged with the gear. It only has to move a few millimetres before it starts to slip out and grind. This bar needs to be removable so it’s easier to take the diff in and out. This all took quite a lot of time…
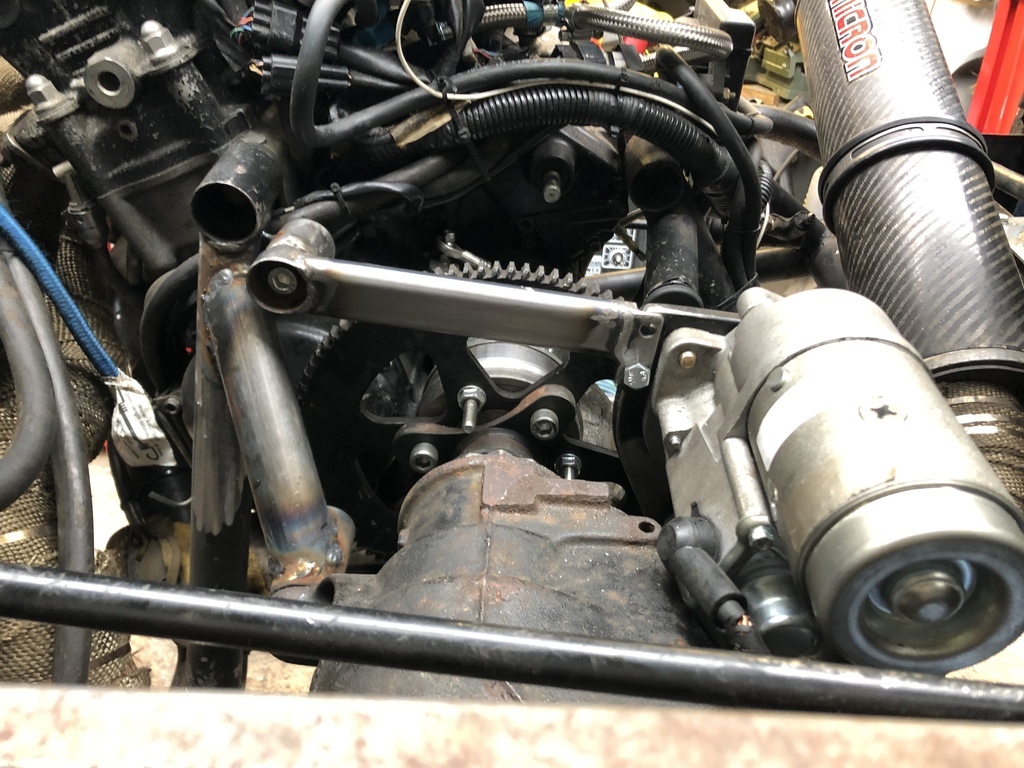
I then made two more bars up to the main diff mounts.
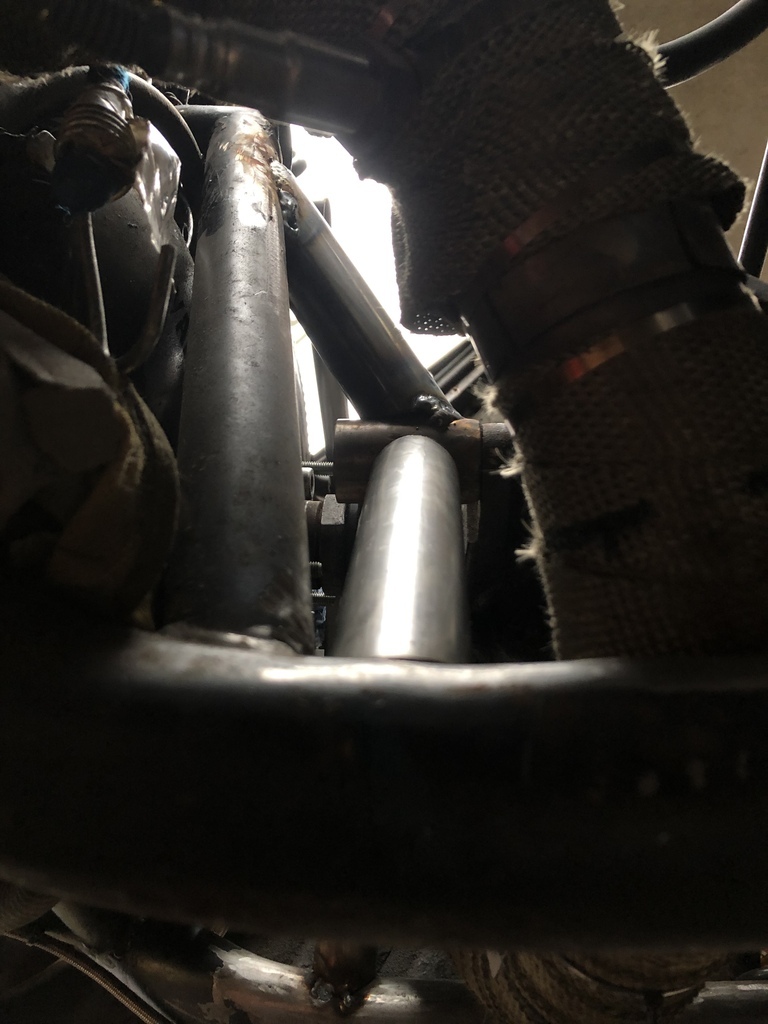
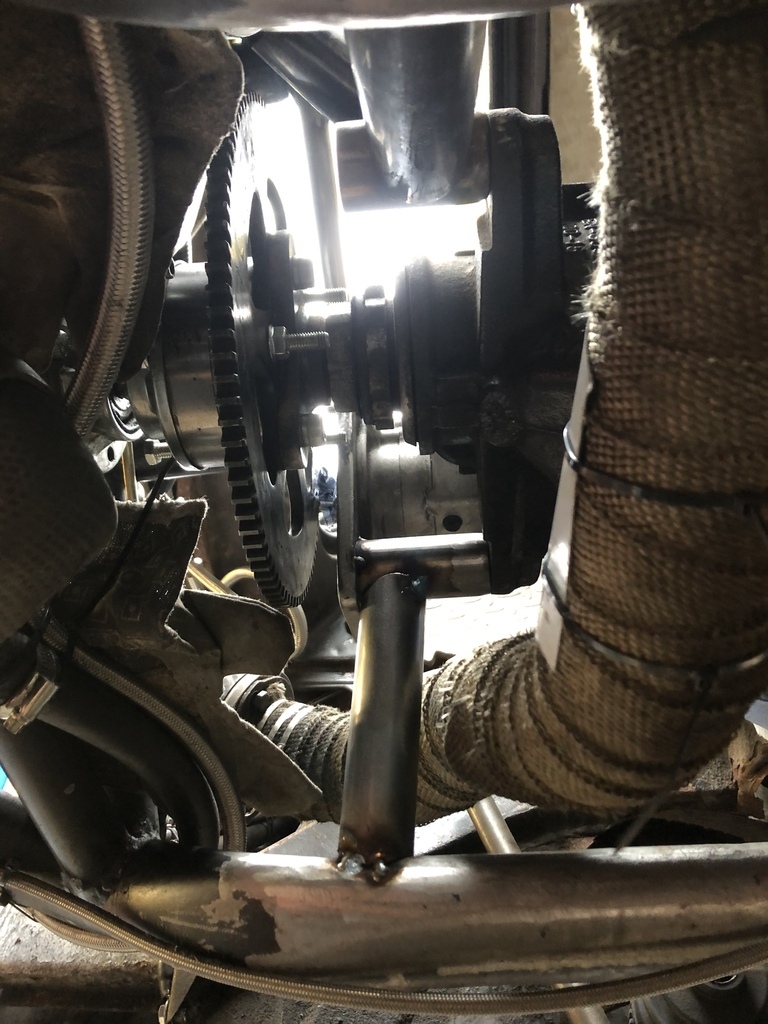
I added one cross brace to the main frame as I’ve removed all the old RX8 diff mount bars. This would have been an full cross but the exhaust hangs very low and I’m not re making that now.
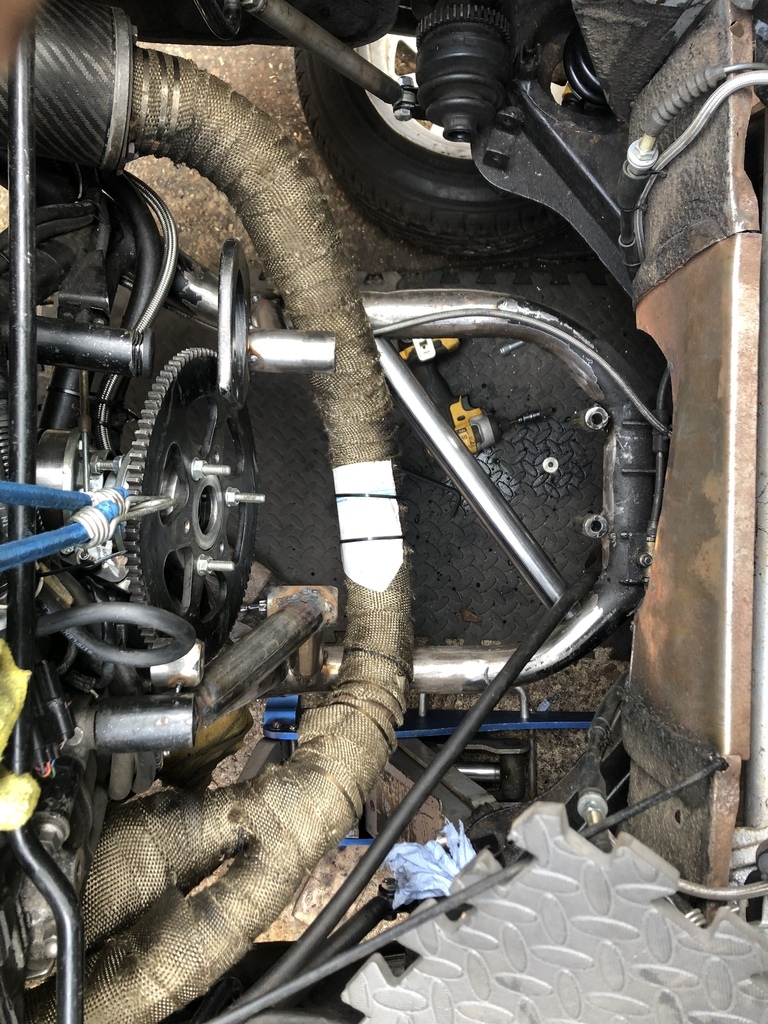
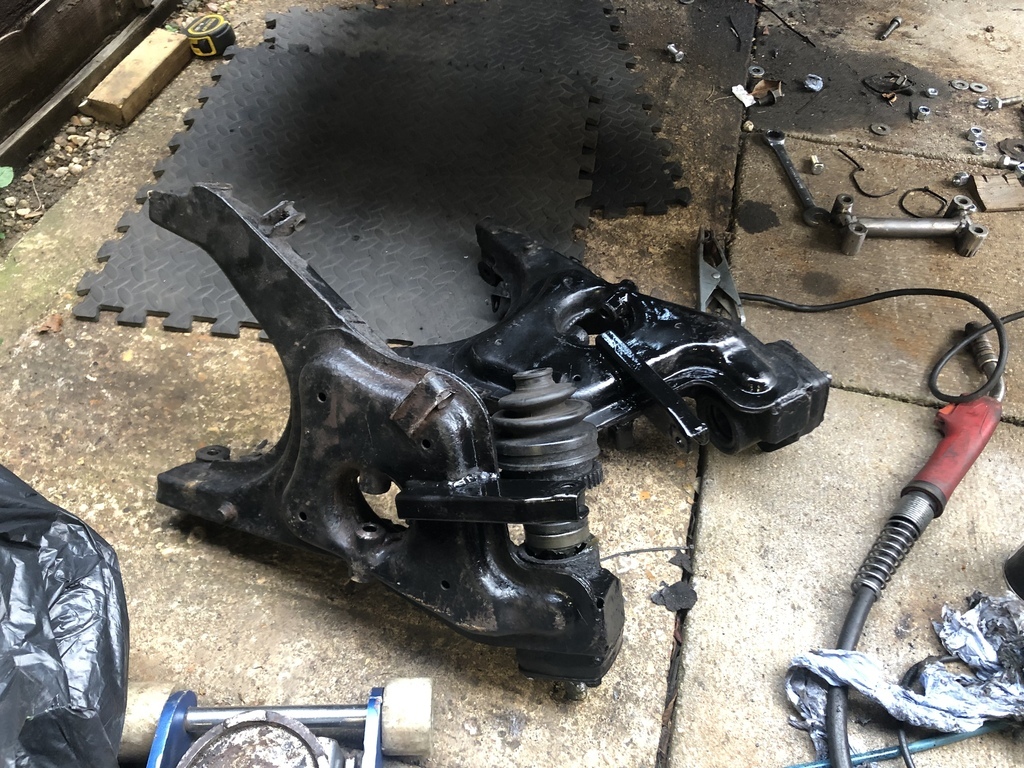
Diff was out so I can fully weld the frame. Not pretty but access was a bit tricky and clean up was impossible.
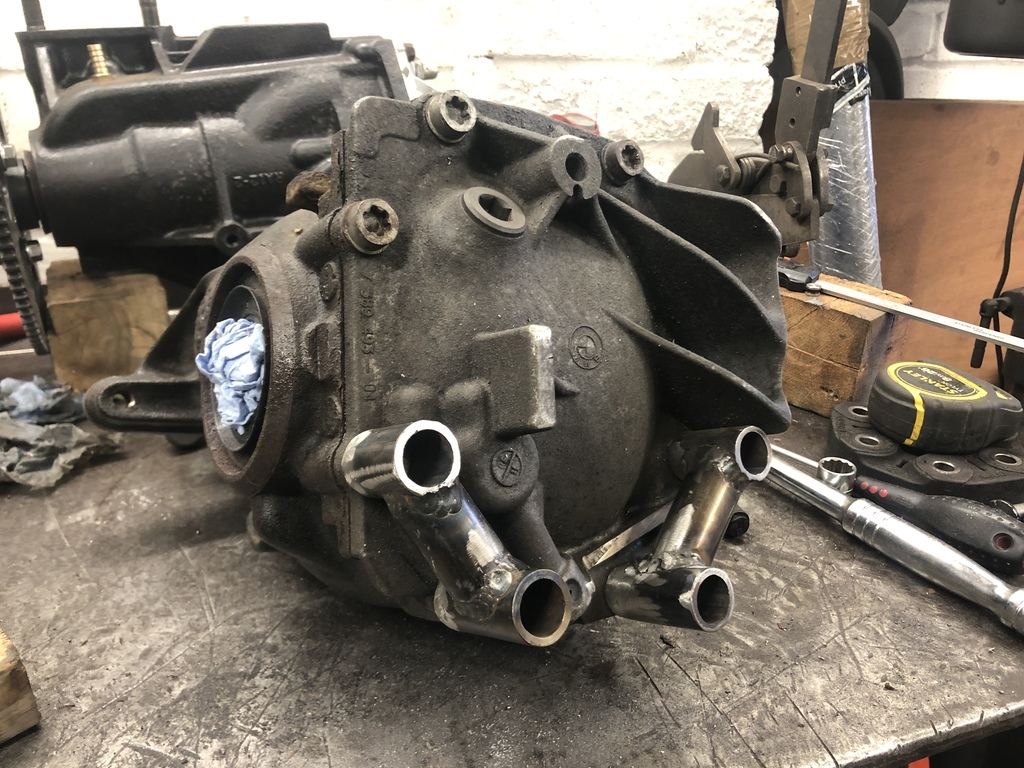
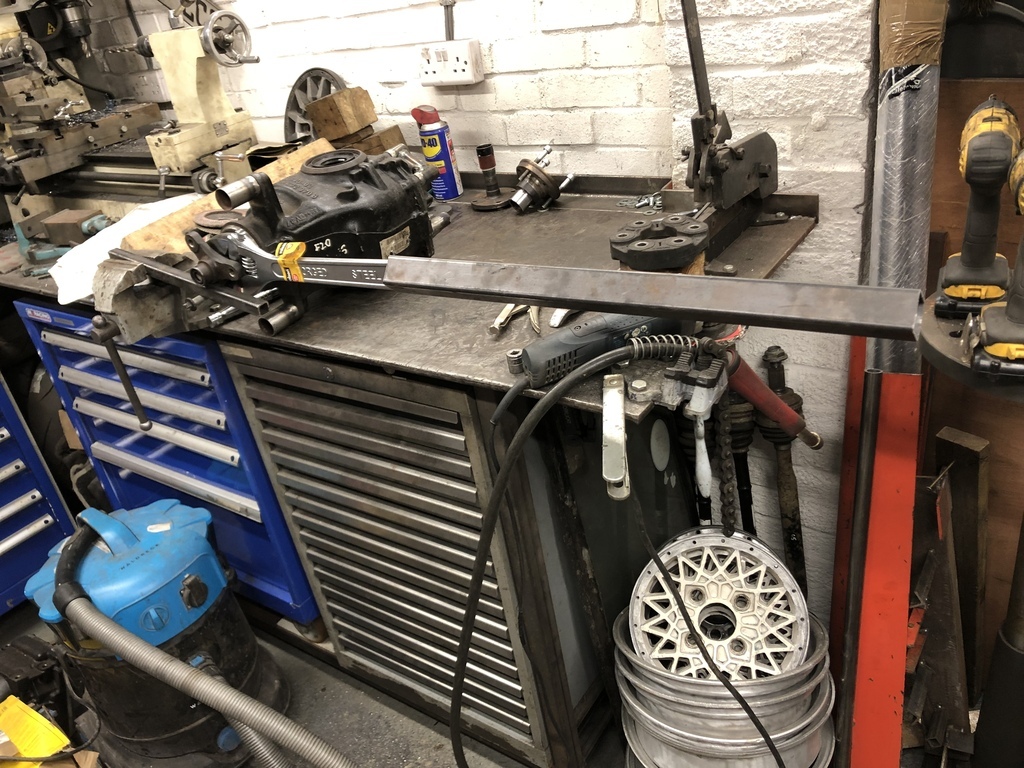
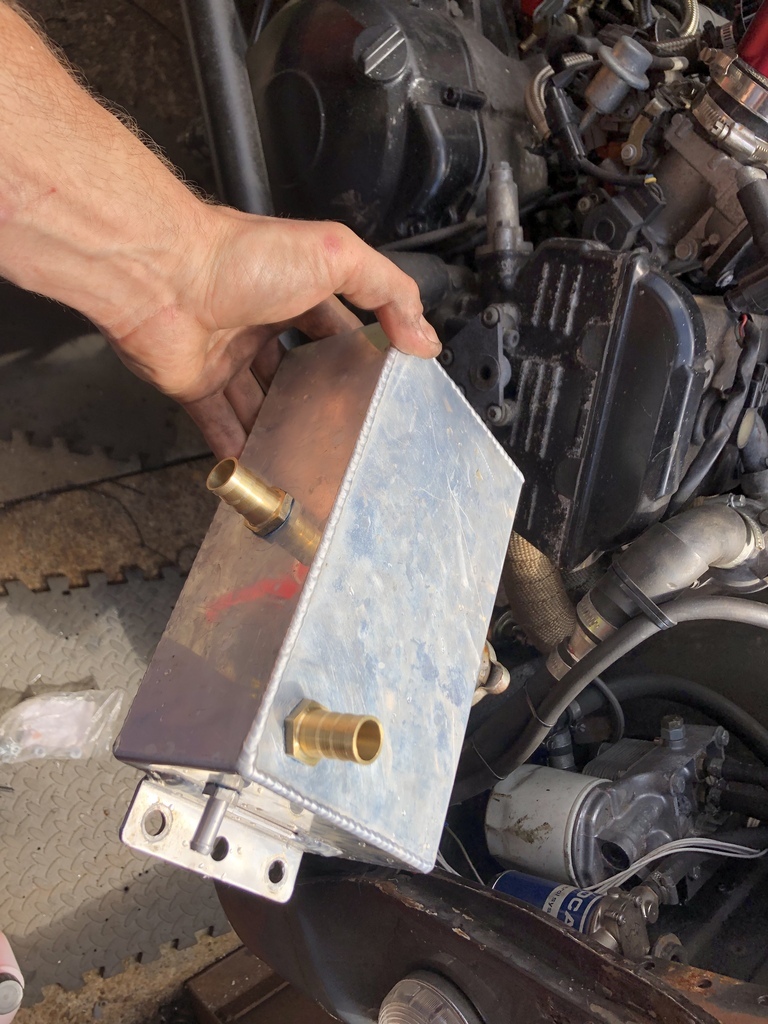
With the diff out I can look at adding the oil feeds and moving the breather etc.
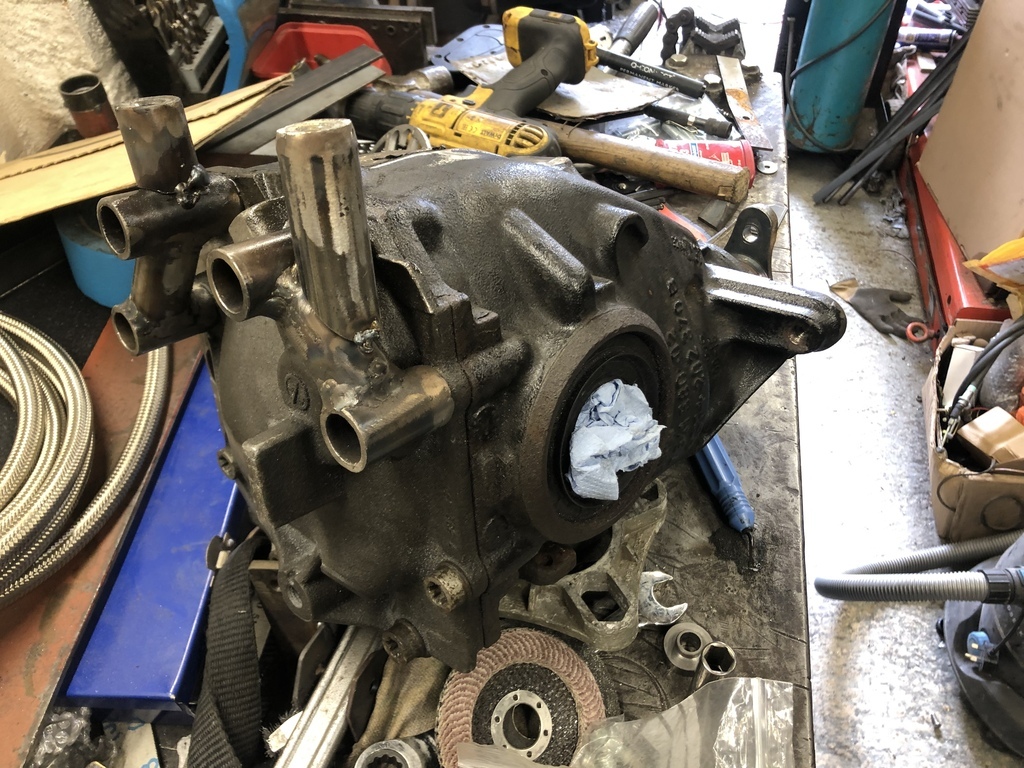
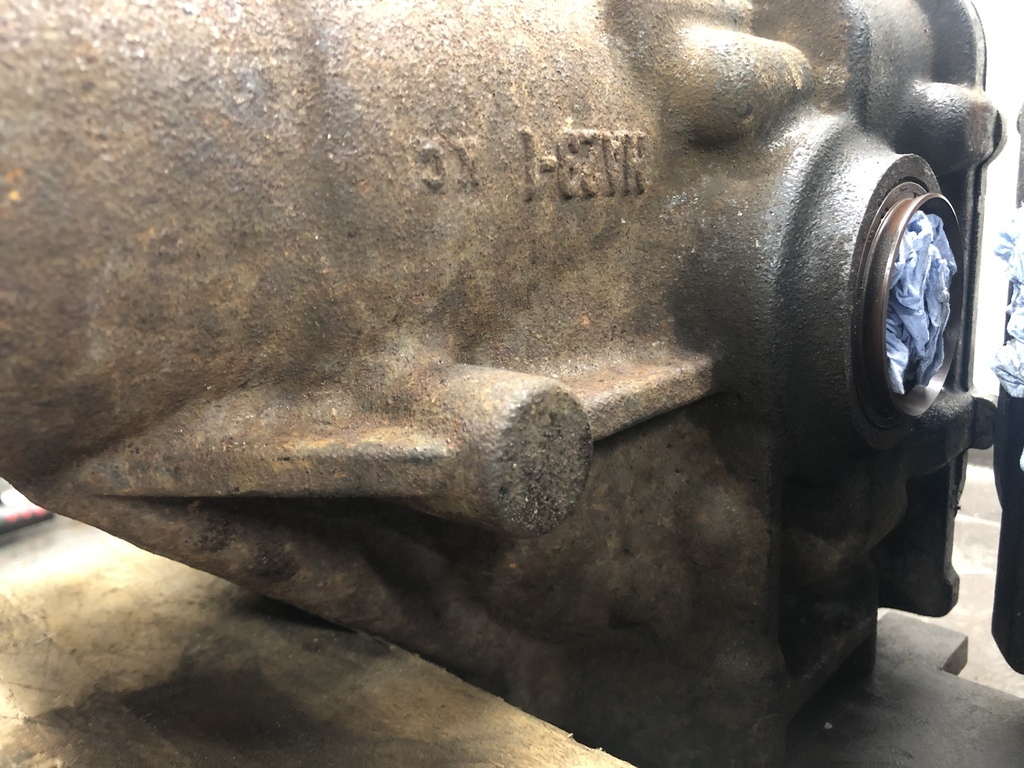
With my best judgment I ground a flat near the second bearing. The target is to get the oil feed bang in the middle of the two bearings… the hump/ridge you see if the start of the rear bearing.
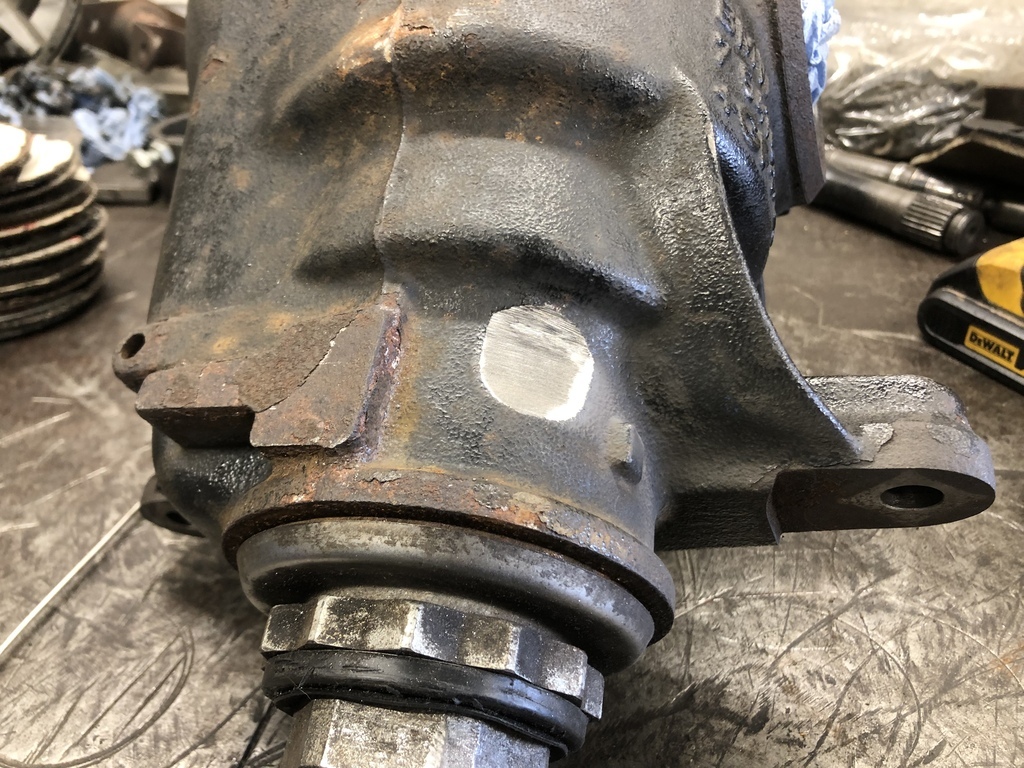
I started with a pilot drill but it suddenly went from drilling cast iron to something more solid so I stopped as I can only assume I hit bearing. The only option was to try again nearer the rear bearing. This worked out fine I went though to the main shaft with out issue.
Then it got a bit weird. I went though with a larger drill and a cavity opened up only on the rear side of the diff. The oil channels in this diff are quite fine and looks like there is a clear route that is should follow.
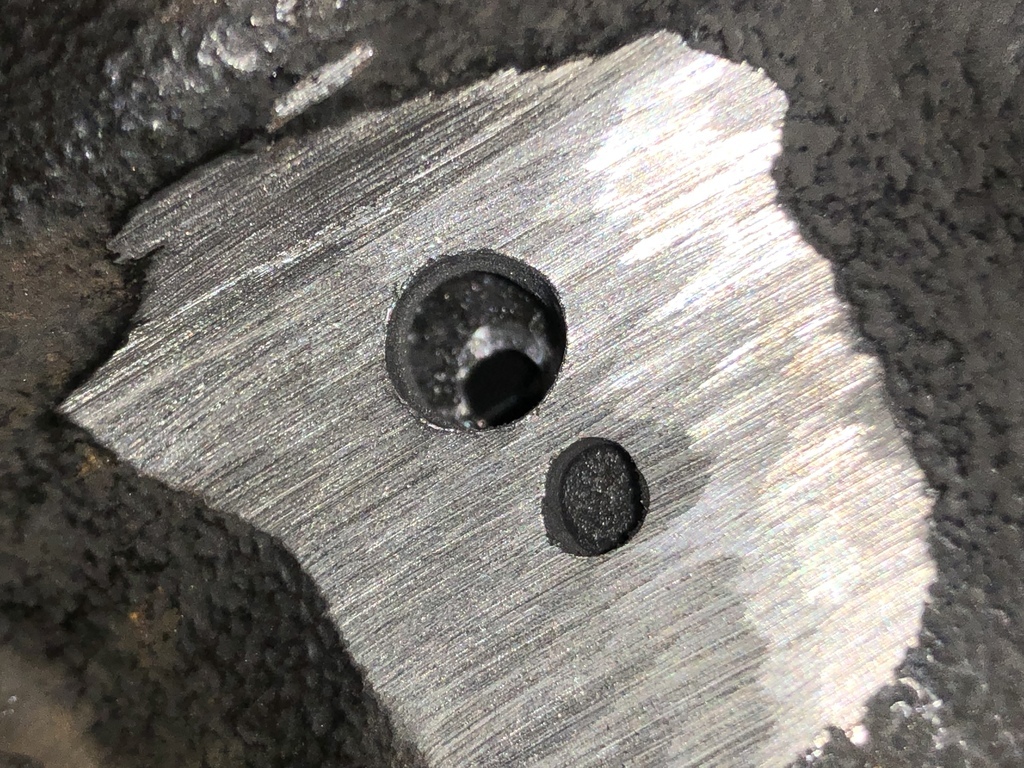
I proceeded to open the hole out to full size thought to the main shaft. All oil paths now lead south down to the sump as this was the oil feed. All drilling was done upside down btw to ensure most of the swarf fell out as much as possible.
I tapped the hole but unfortunately due to the void there were full threads on the one side and next to nothing on the other. I fully caked the barb with loctite and it will be fine.
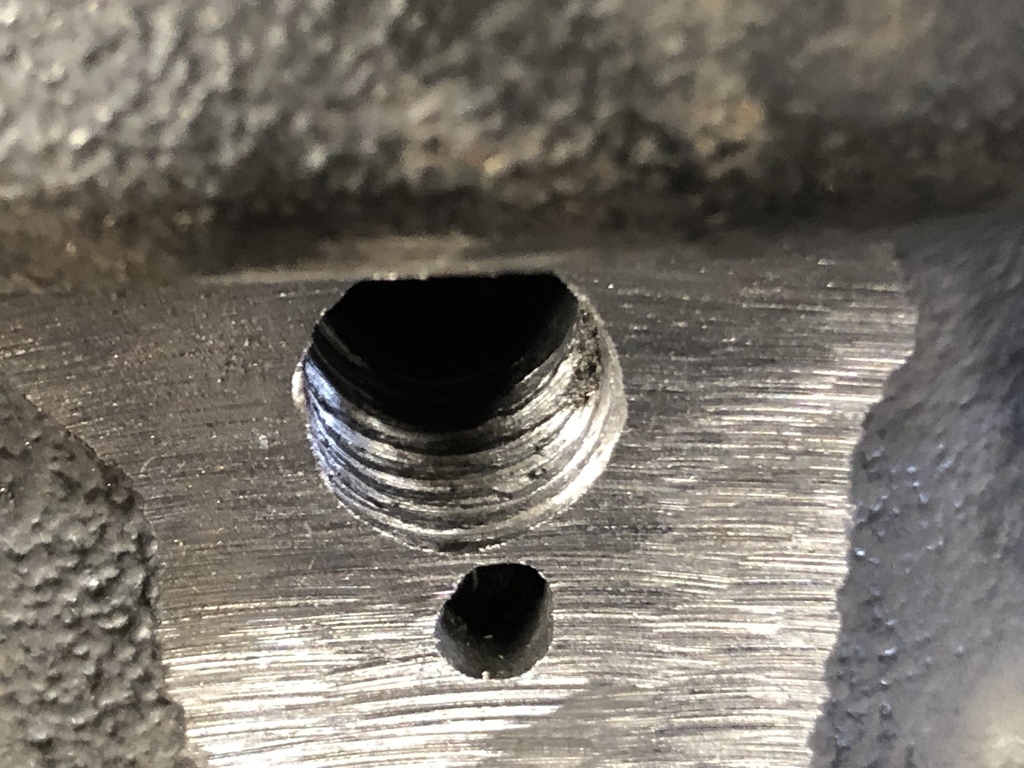
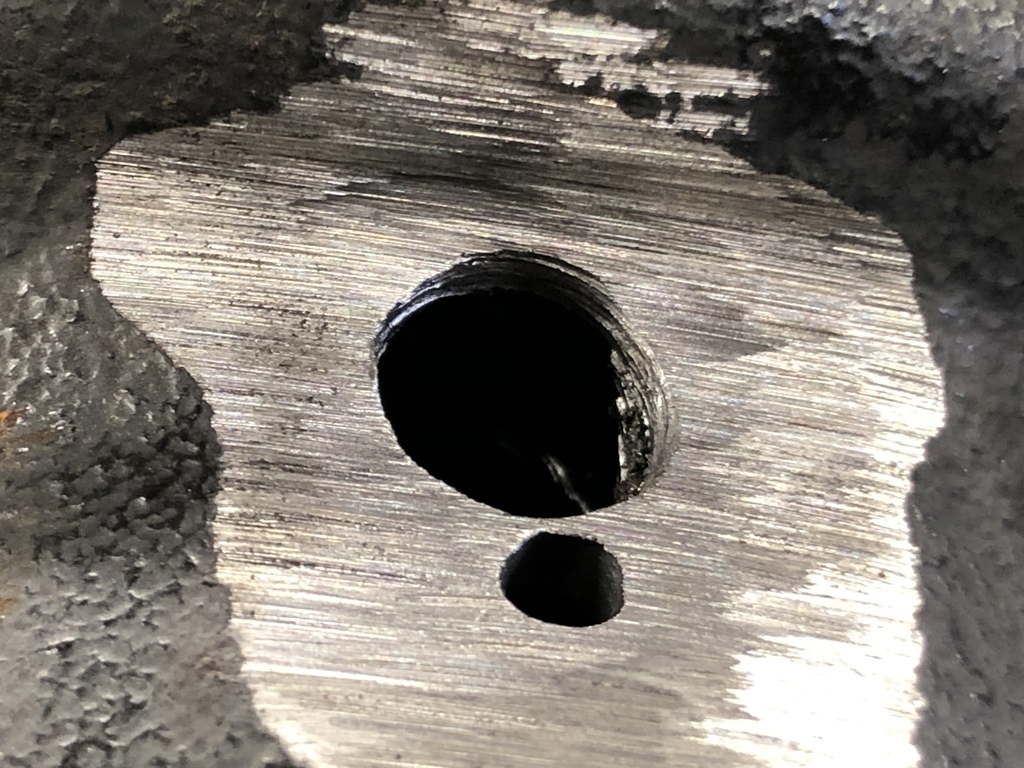
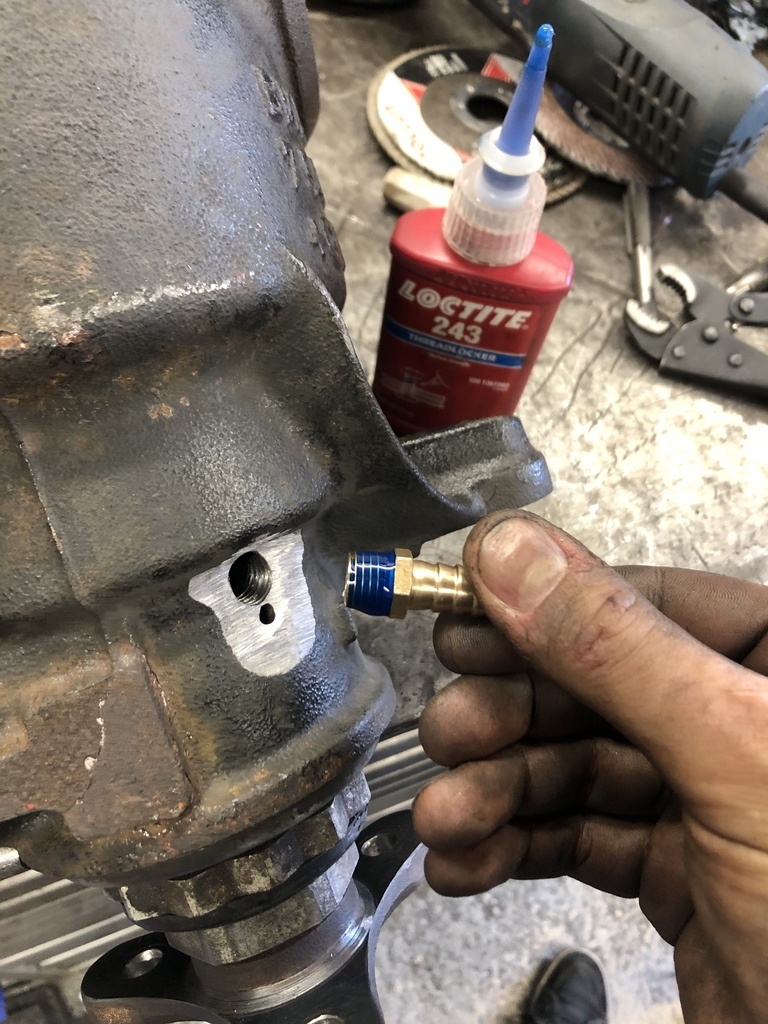
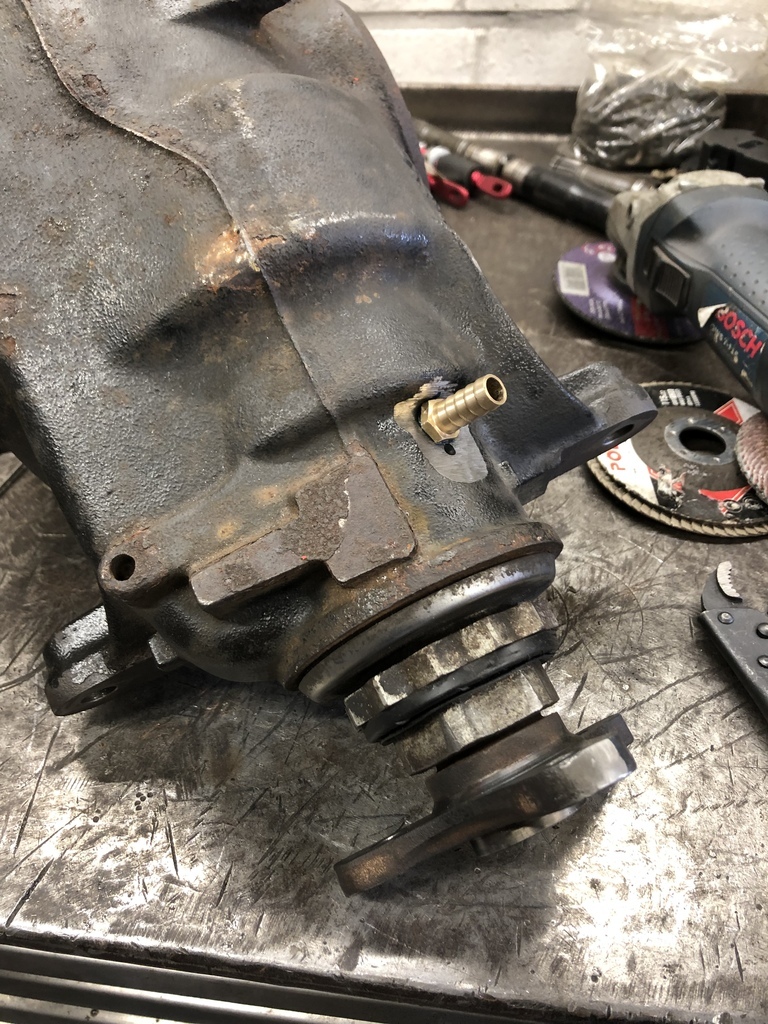
Next target was the drain/outlet feed to the pump, going into the back plate didn’t make sense on this diff so I aimed for the lowest part of the main pumpkin not in line with the CROWN wheel.
Again drilled and tapped. I won’t fit the barb until the diff is in the car as it’s rather exposed here and will probably get broken off on install.
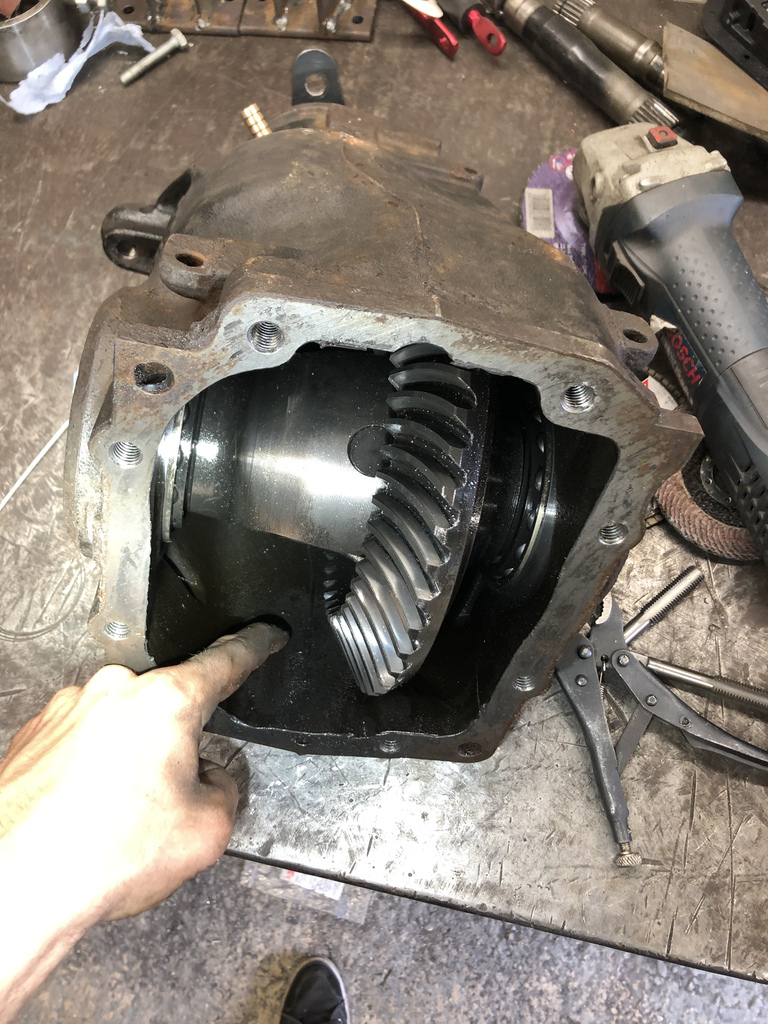
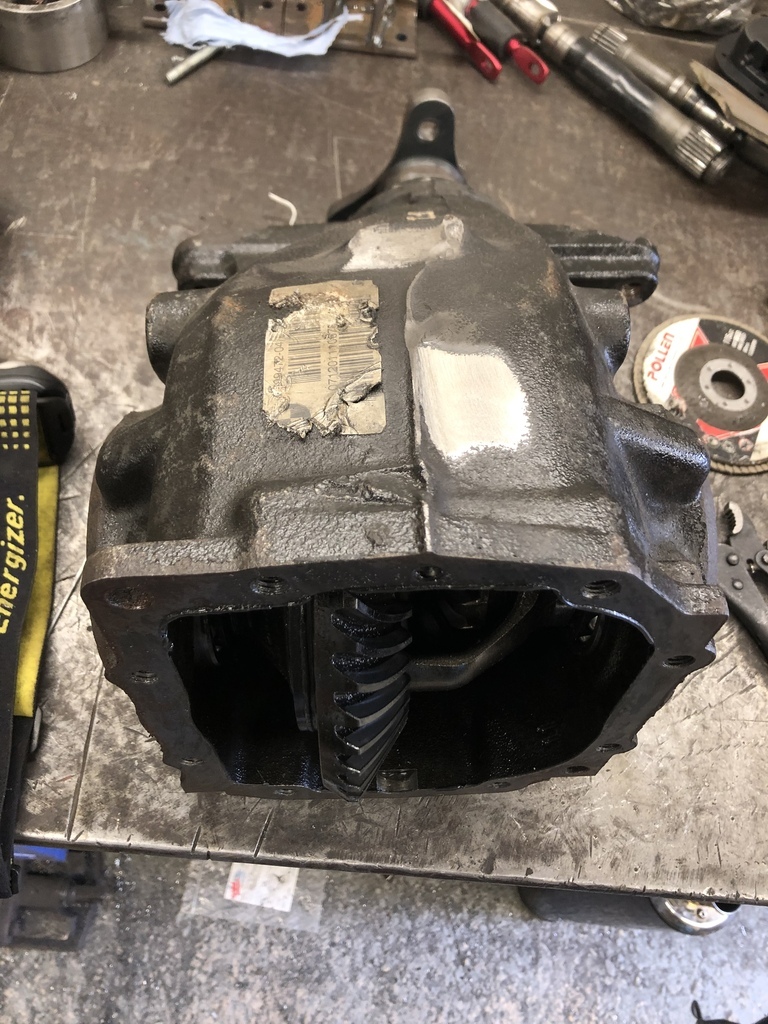
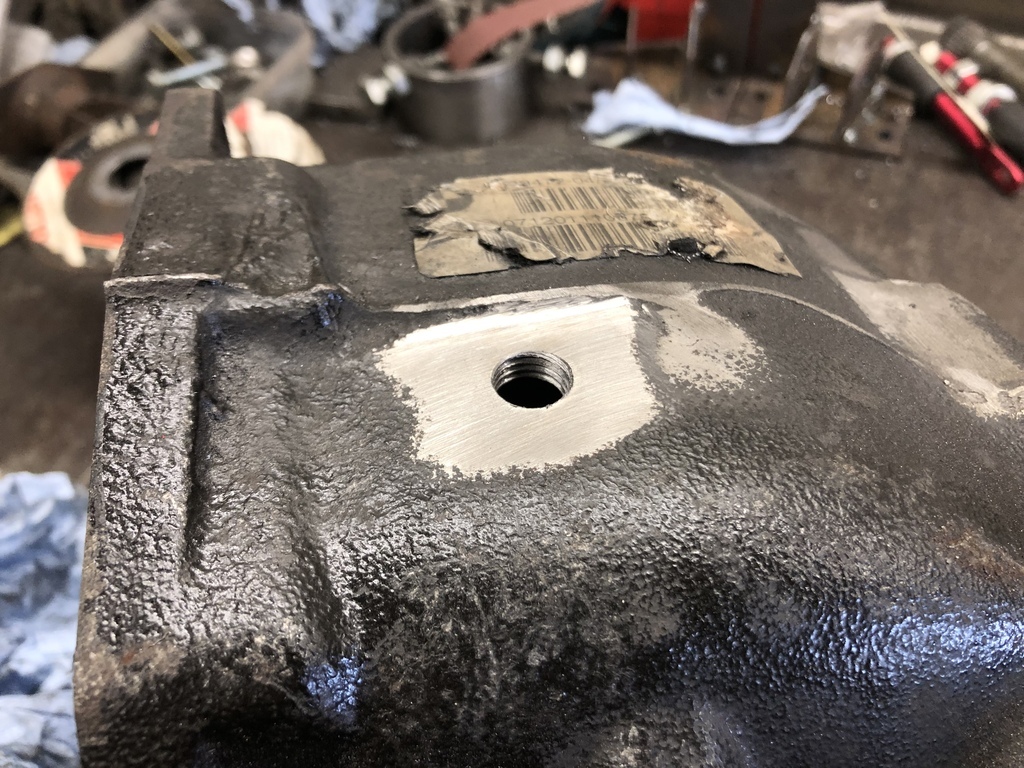
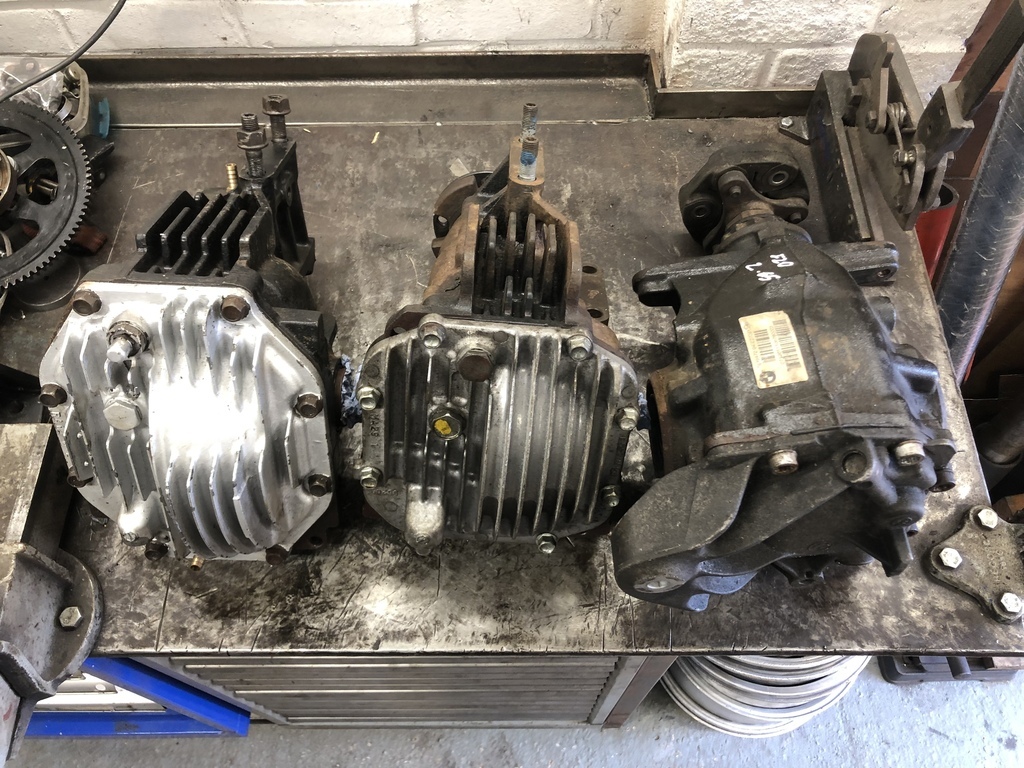
Next I moved on to the breather. The stock breather was a very small hole so I drilled this out and tapped it to plug it with an M4 button head. The obvious was to move the breather to the fill/drain plug like on the RX8 diff but this was a big Allen bolt rather than a standard nut. I opted to go for stealing the breather from the RX8 diff and simply sticking it through the back case up high.
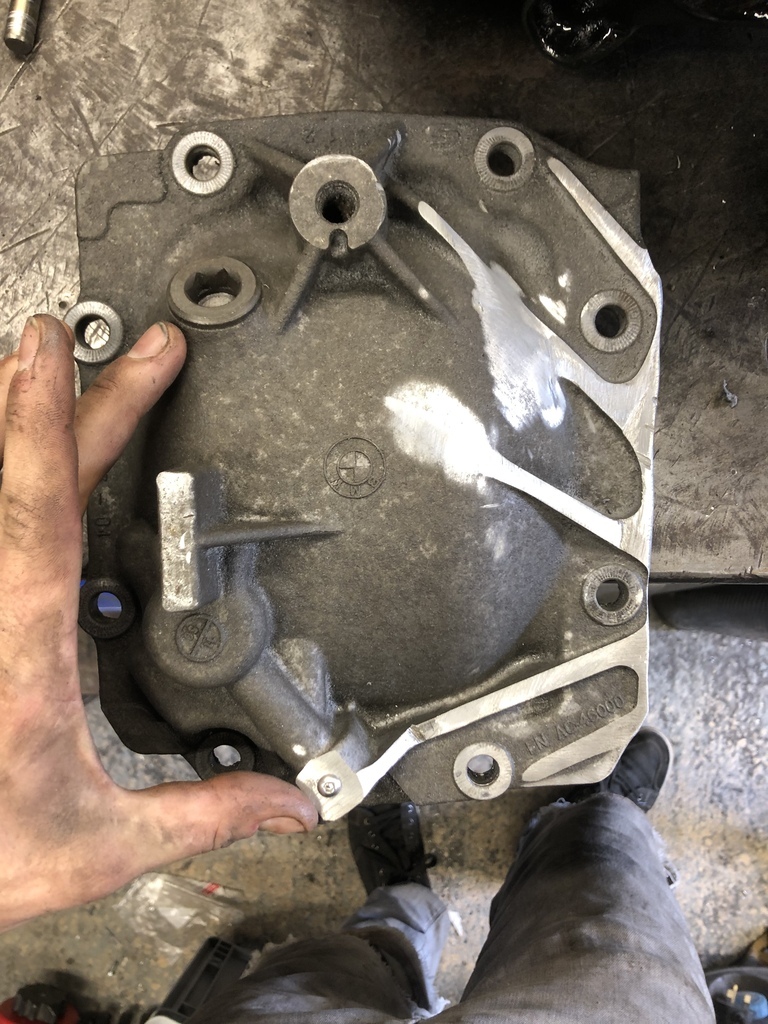
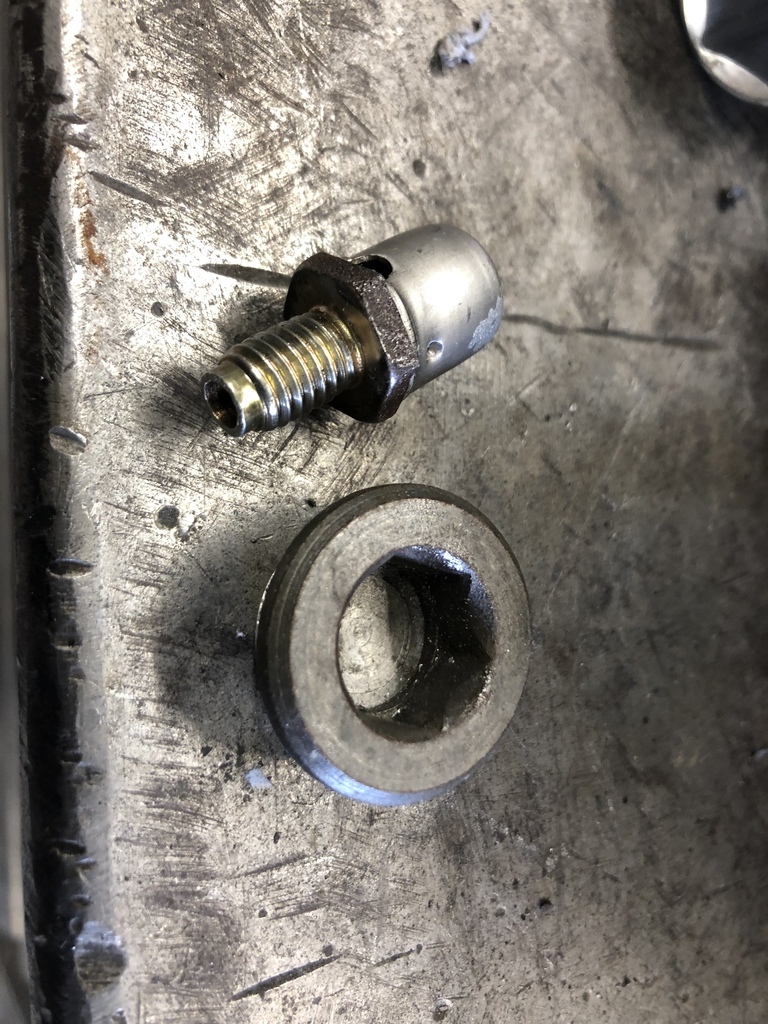
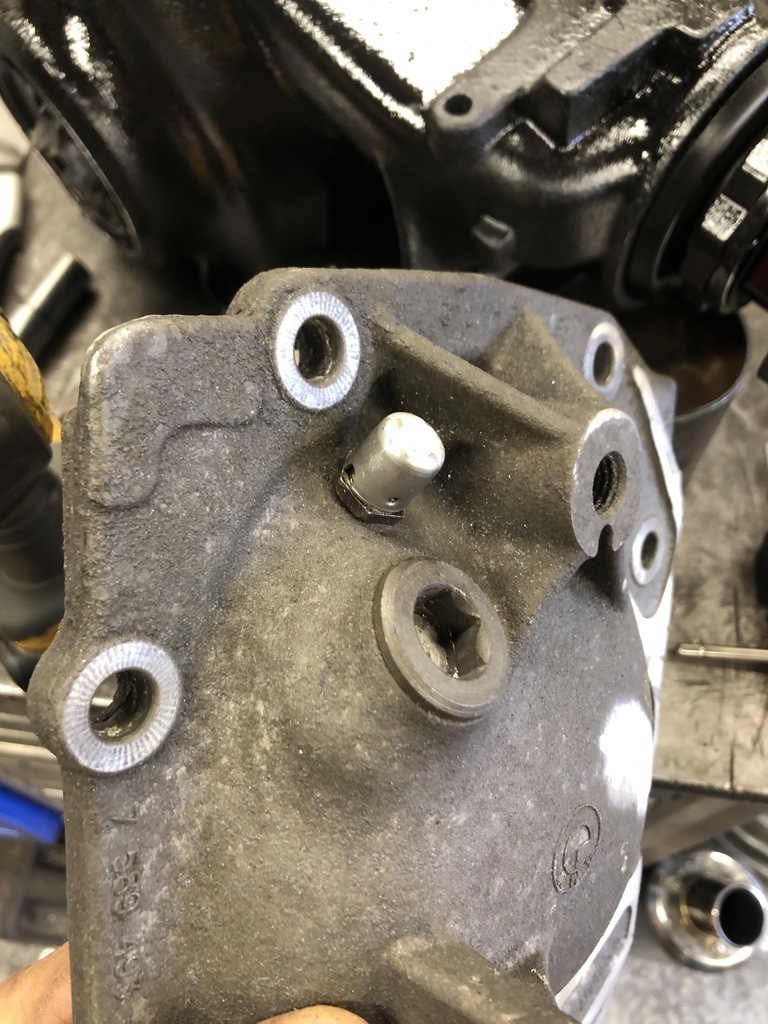
I got it all painted looking good…
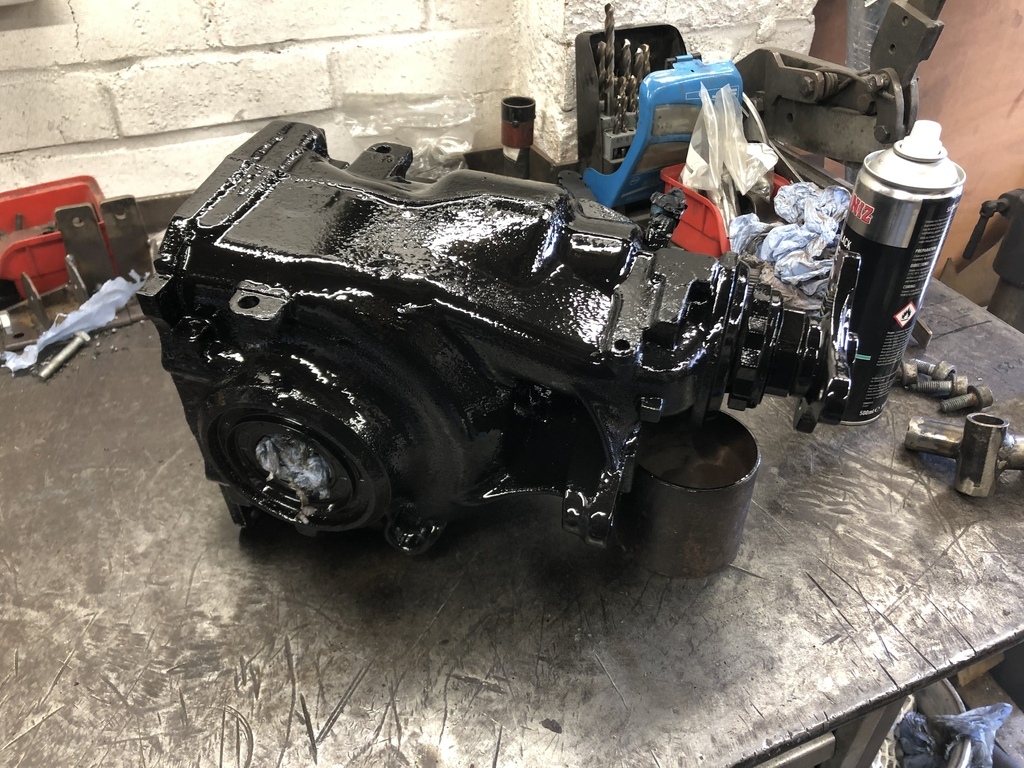

Next we move onto the propshaft… I bought a silicone hose humped coupler as it looked to do the job nicely but in reality this was too stiff and no good by time I cut it down to length it wasn’t going to work.
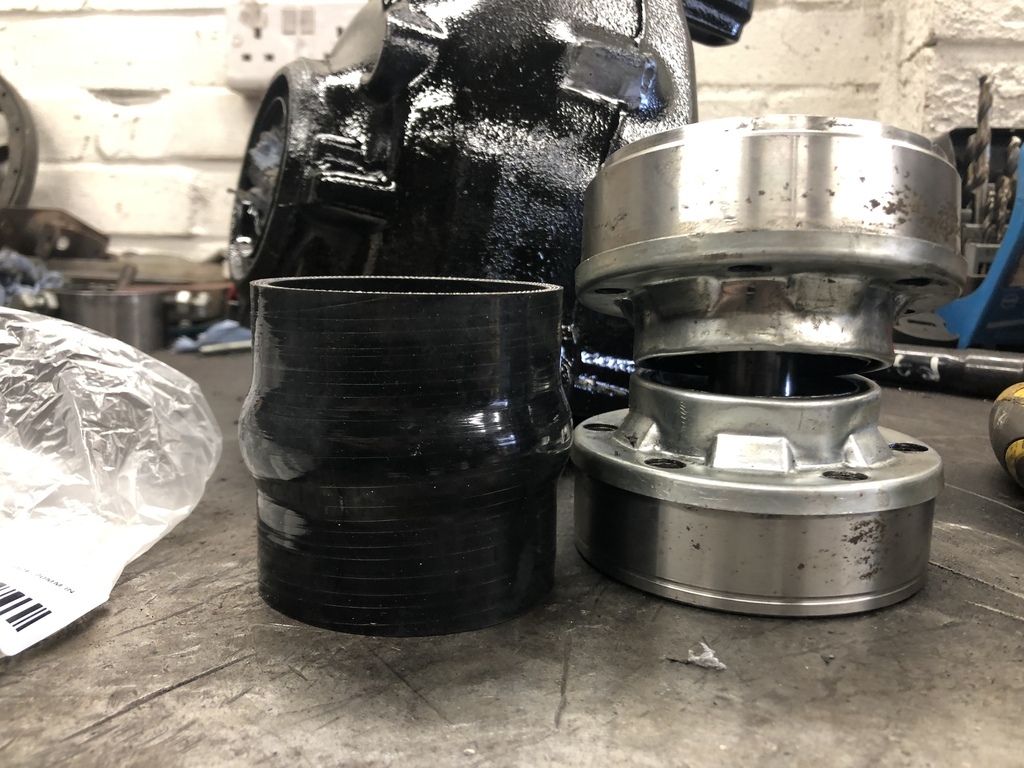
I did however know my solution would be externally mounted and would need some detail to clamp over so at first I tried to simply build material and weld on an external flange. This was really ugly and I decided to do something better.

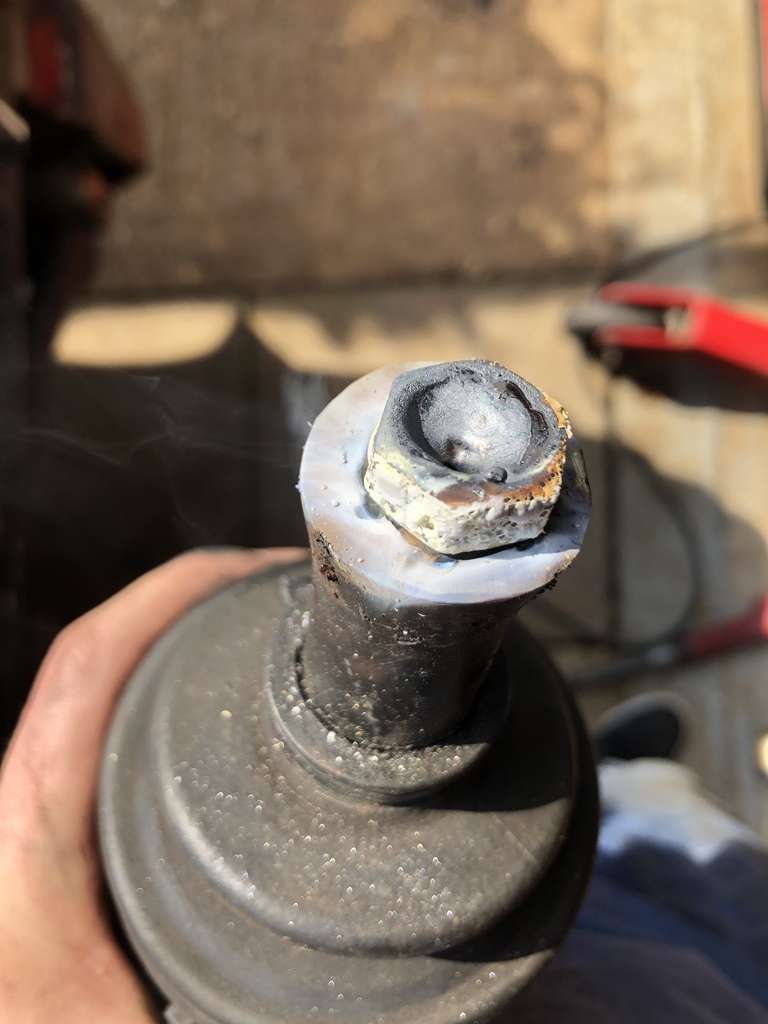
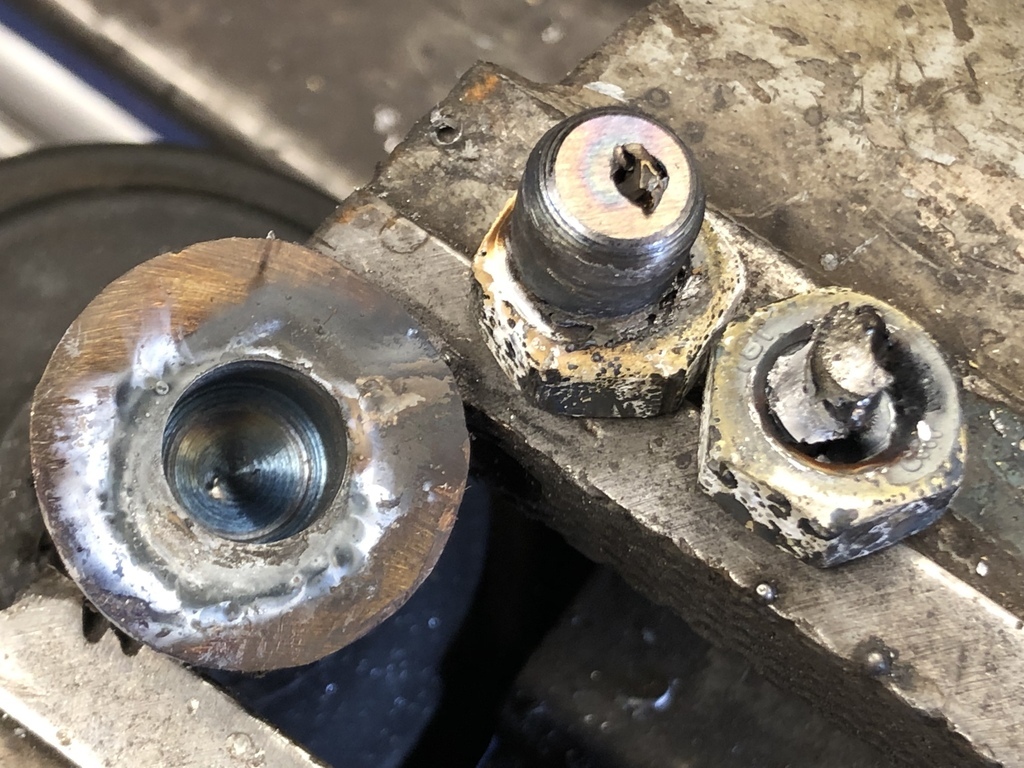
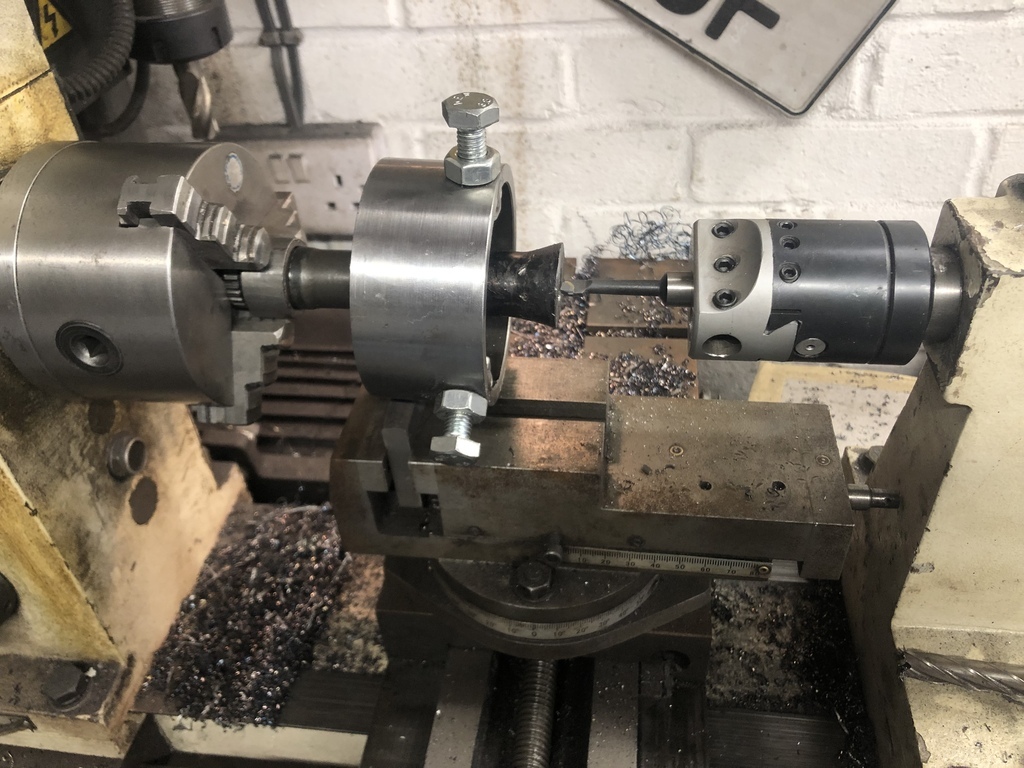
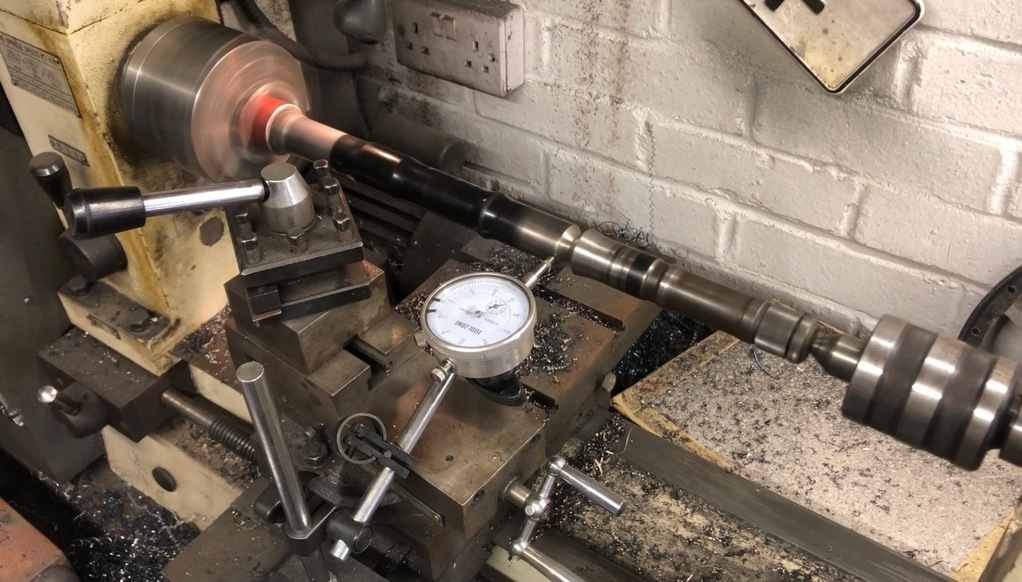
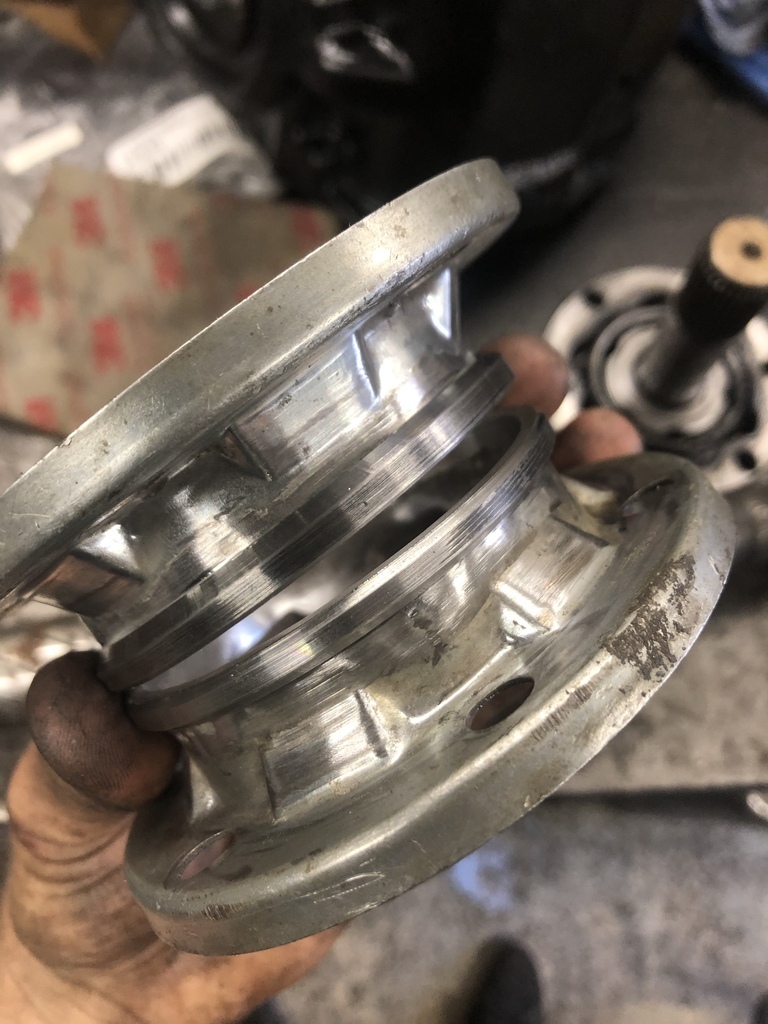
I ended up cutting the centre return detail out of the stock boot cups and turning my own external flanges. I welded these in and then dressed them back in the lathe. It turned out pretty nice in the end.


I then had my eyes on the redundant RX8 driveshaft boot and stole the main ring out of this. The minor OD was within 1mm off the stock boot flange OD so this was almost perfect.

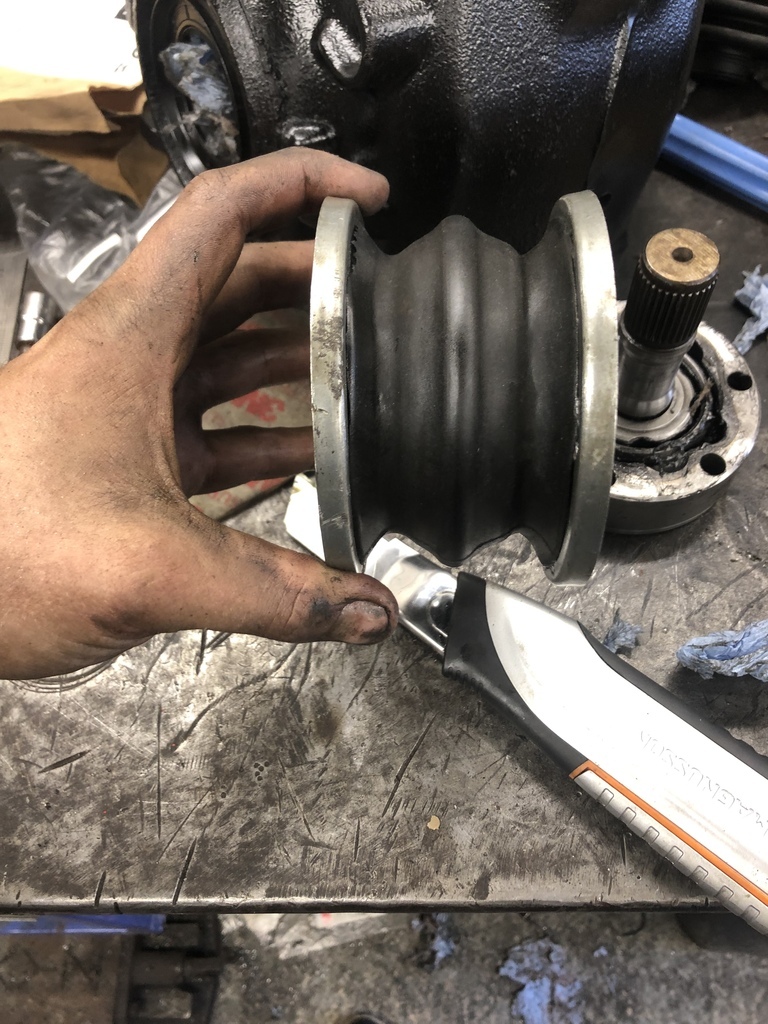
Test fit and then trimmed down…
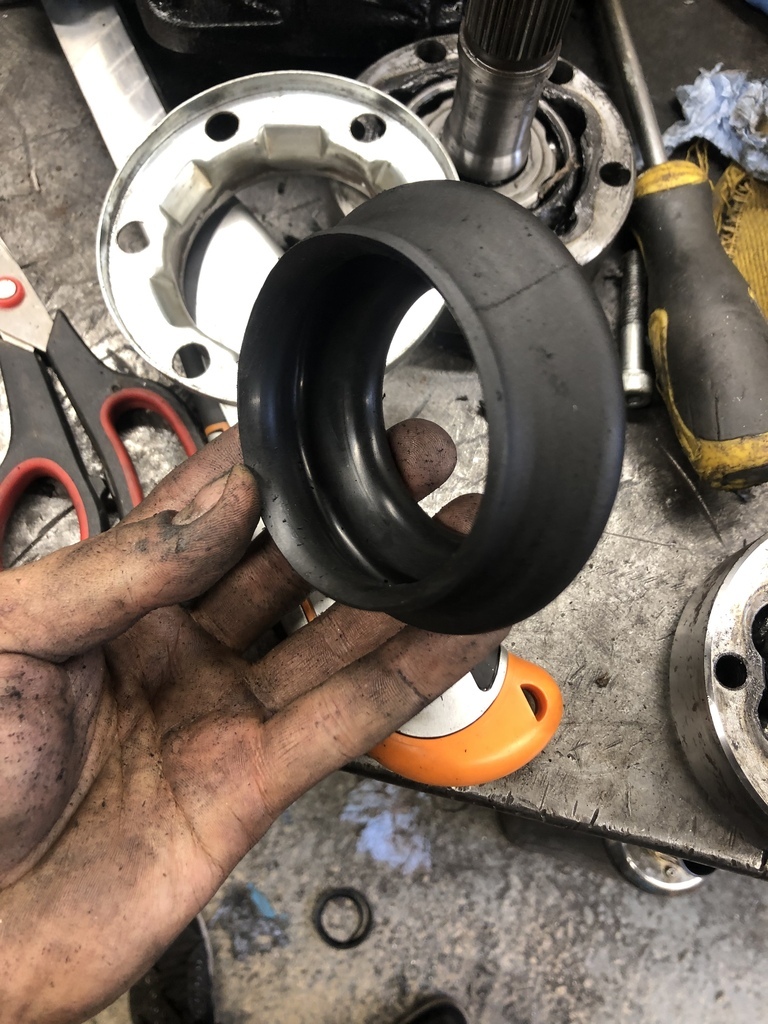
I got the prop all assembled and packed with new grease as I lost all of mine!
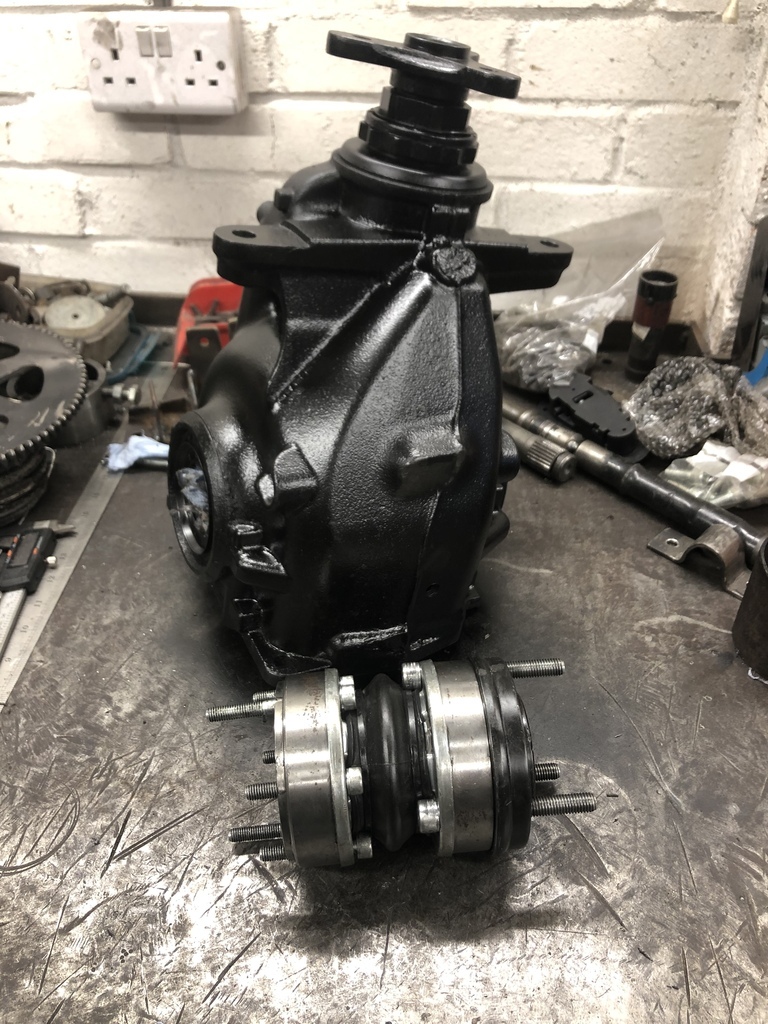
I got the back plate sealed and bolted on with the new diff mounts.
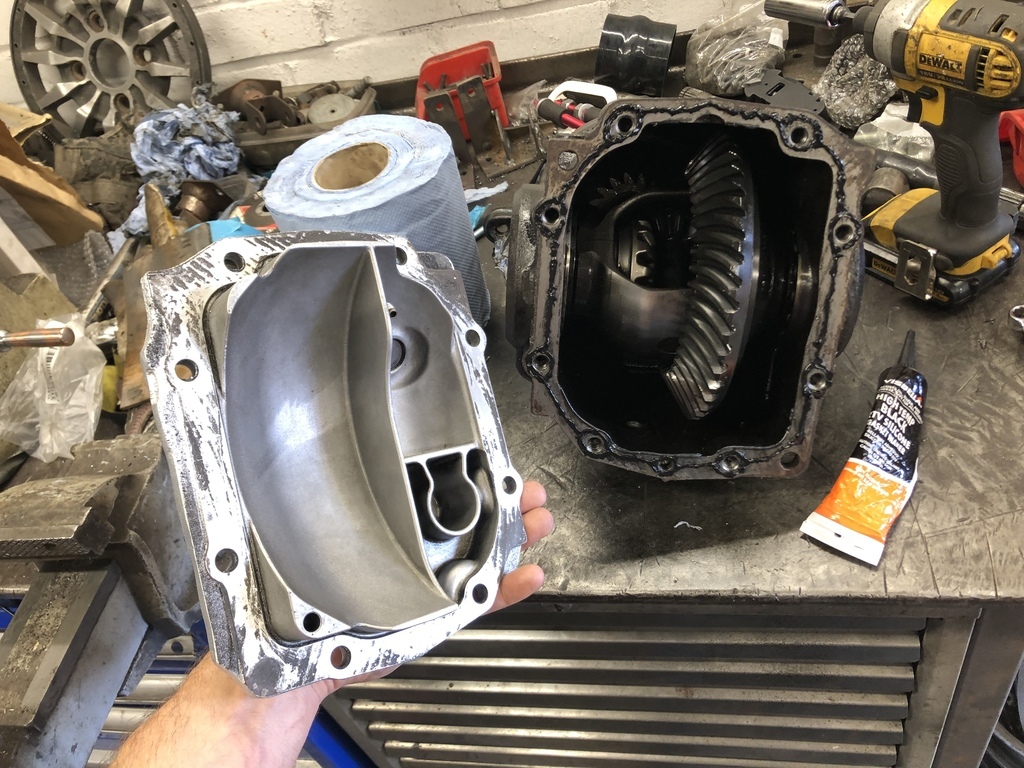
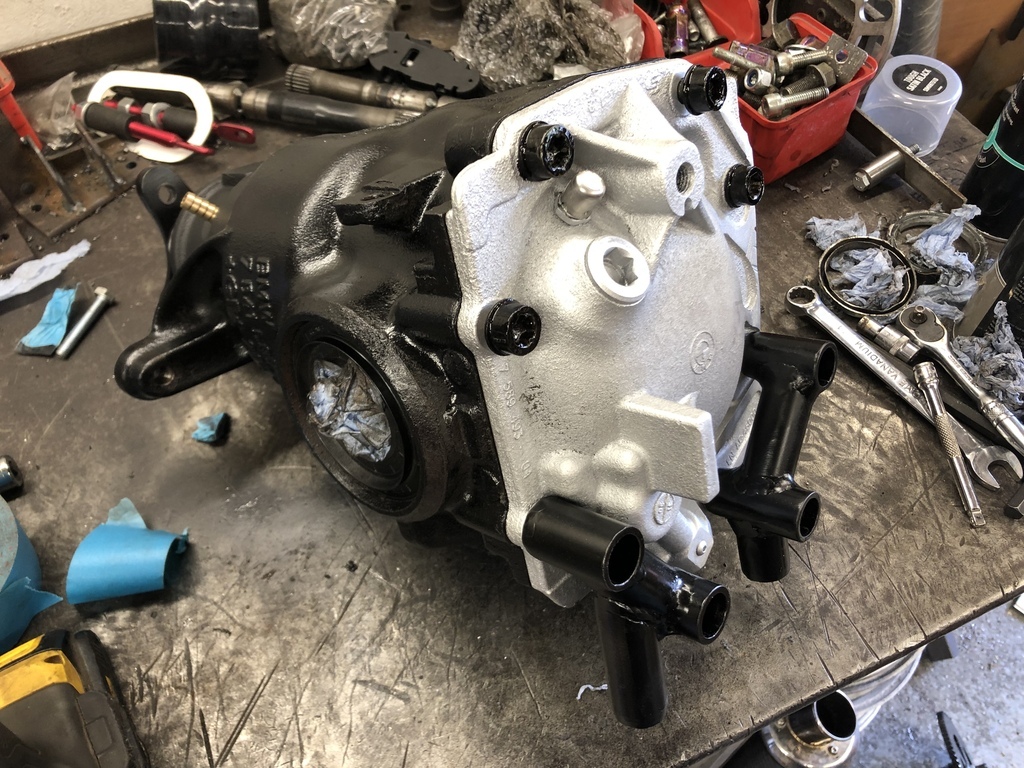
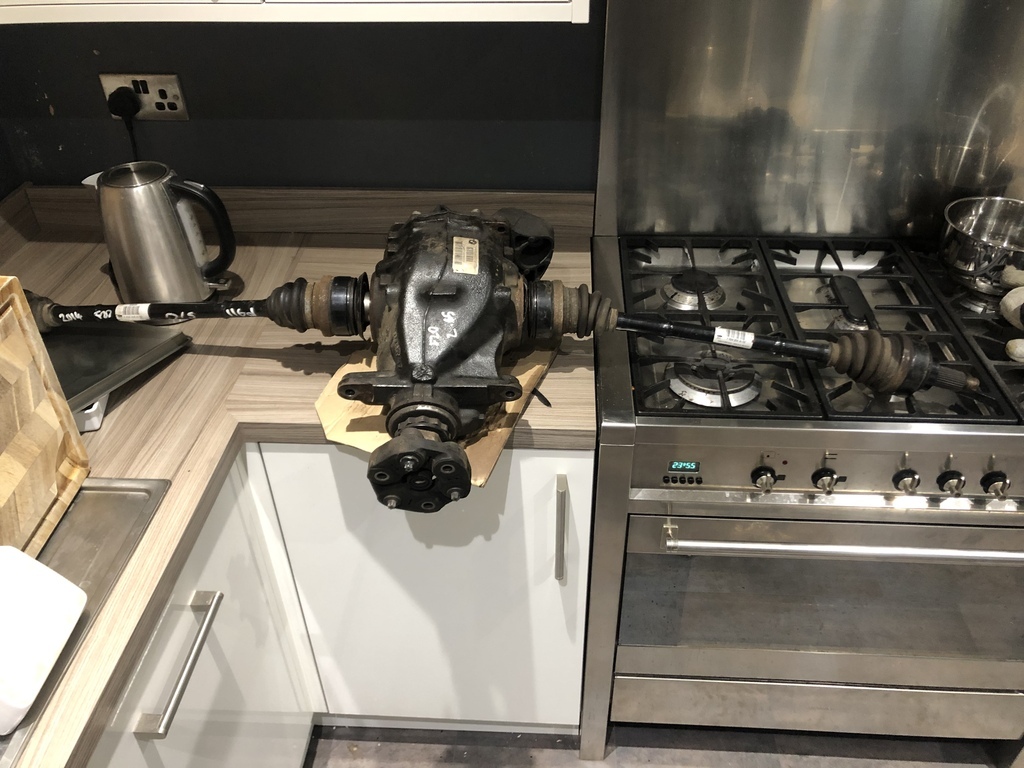
The assembly process of this diff was far better than the old diff. Prop and reverse gear on.

Diff in…
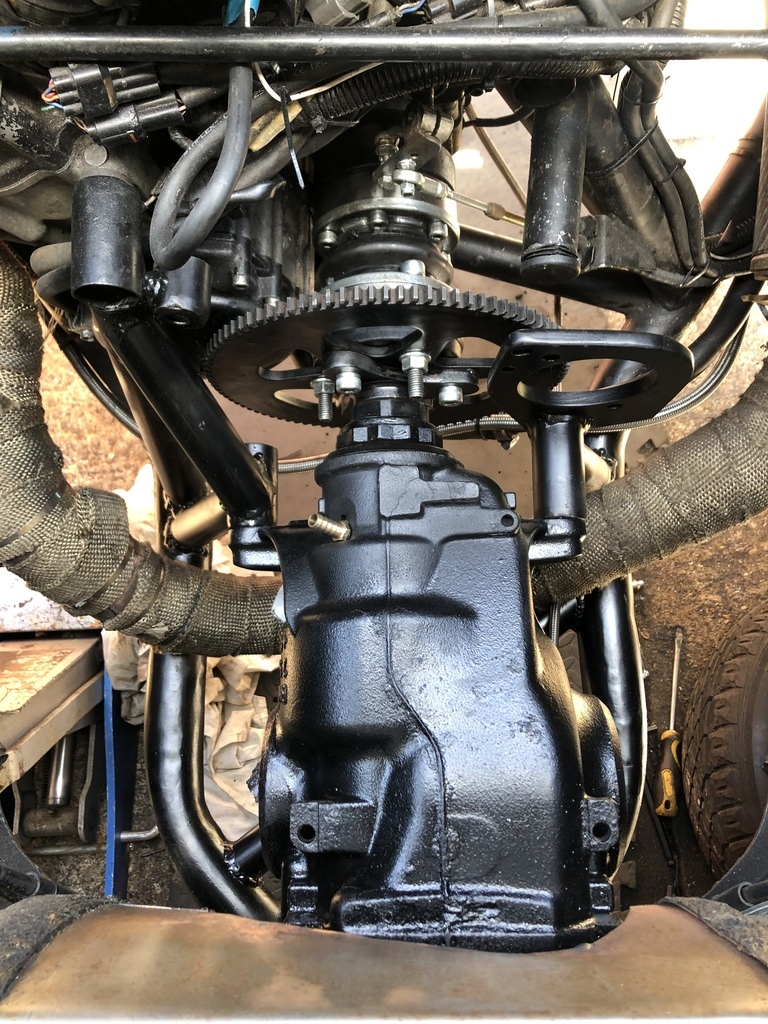
Reverse motor on and brace bar in.
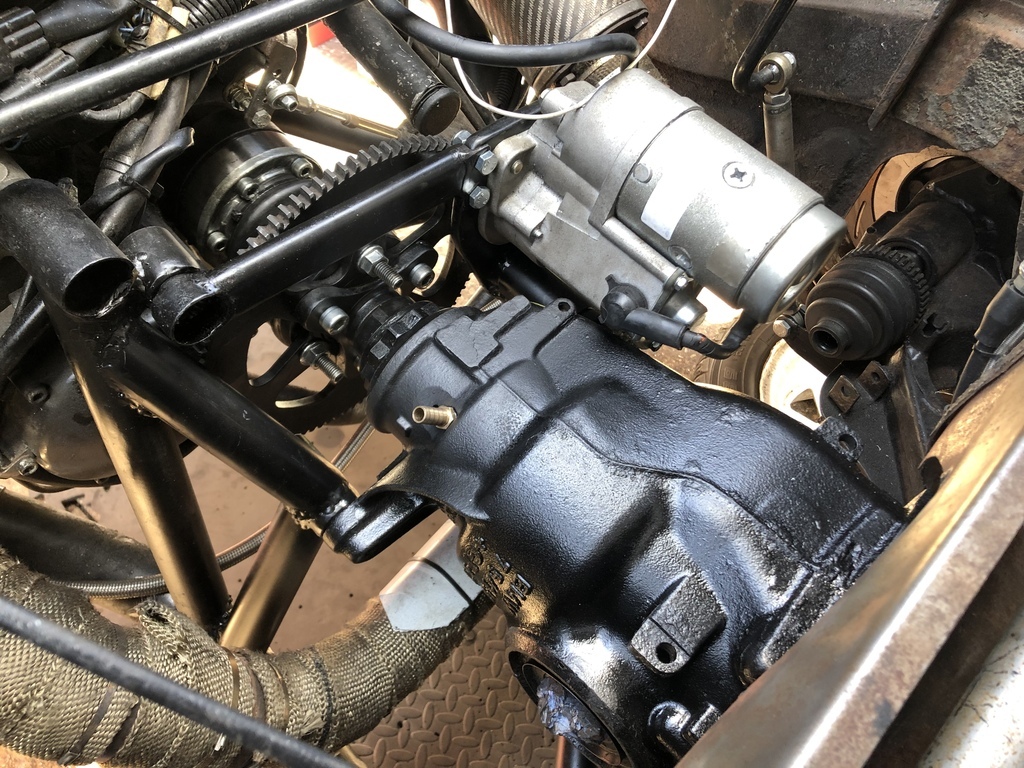
Oil lines attached and diff filled with oil.
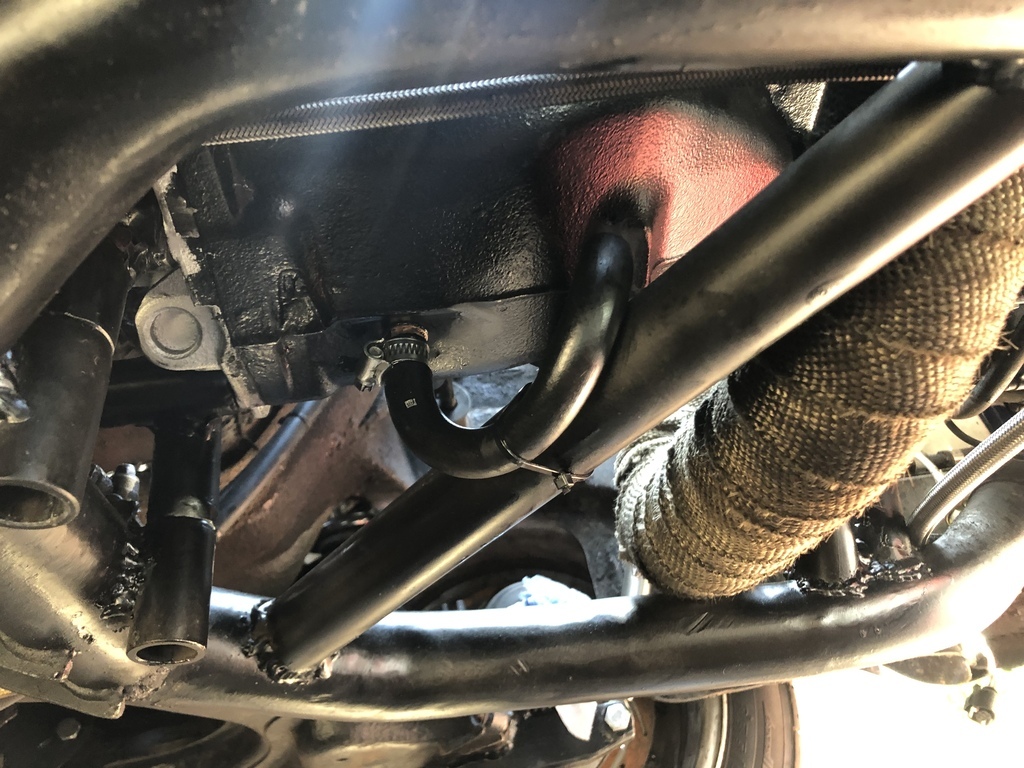
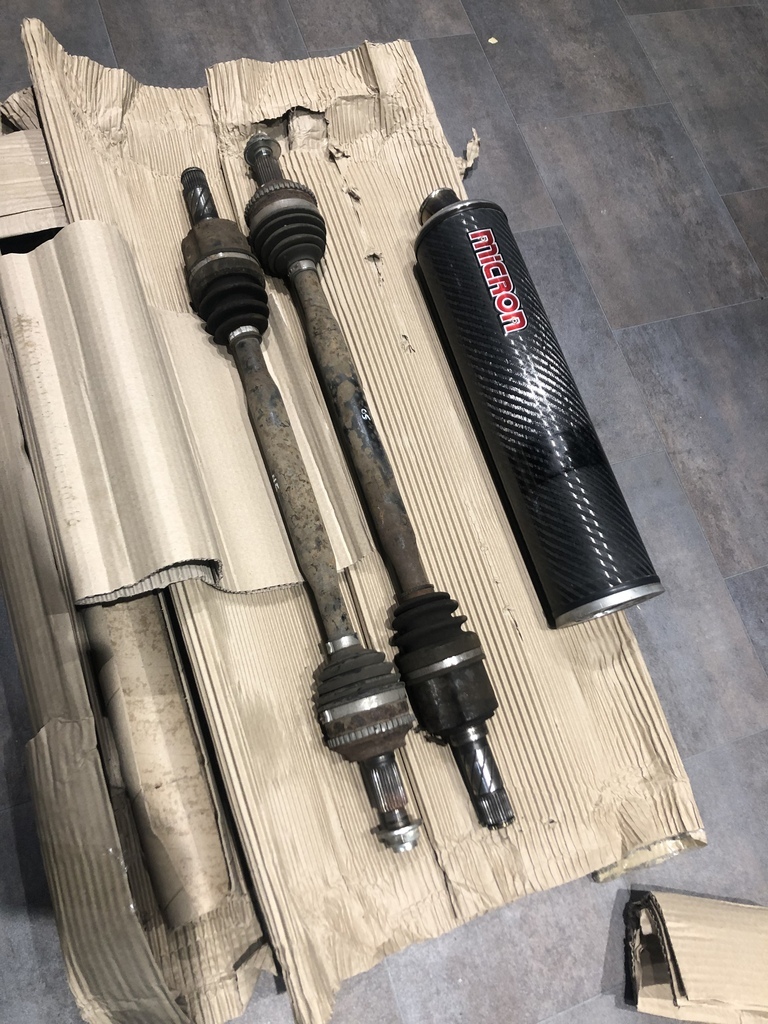
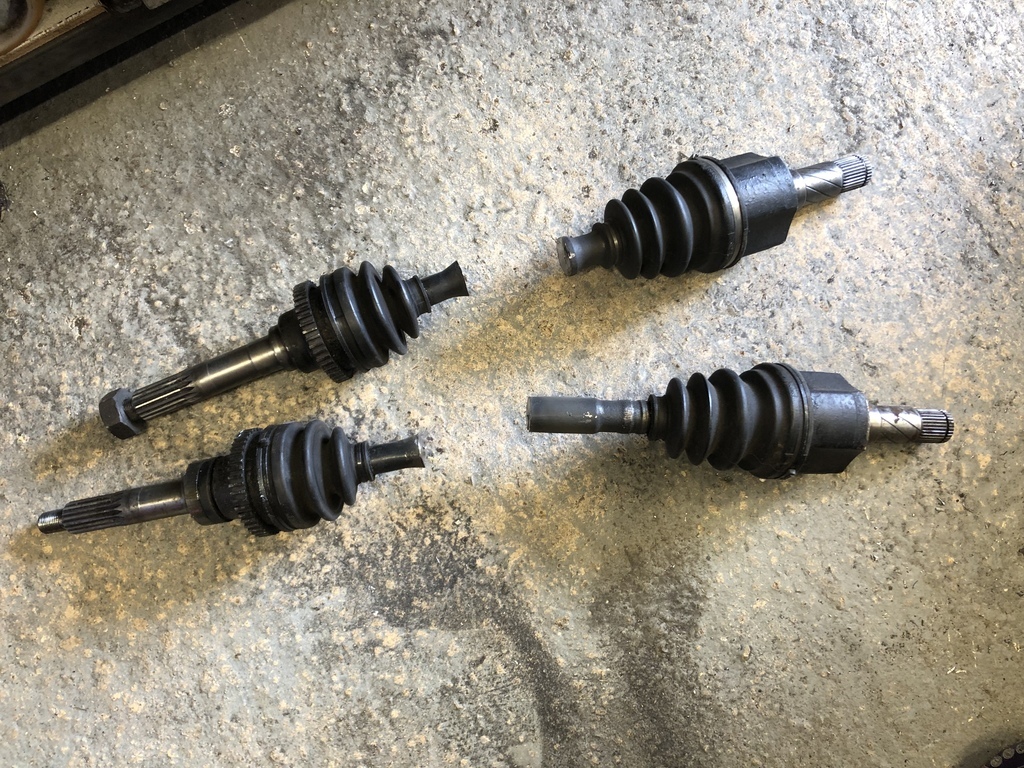
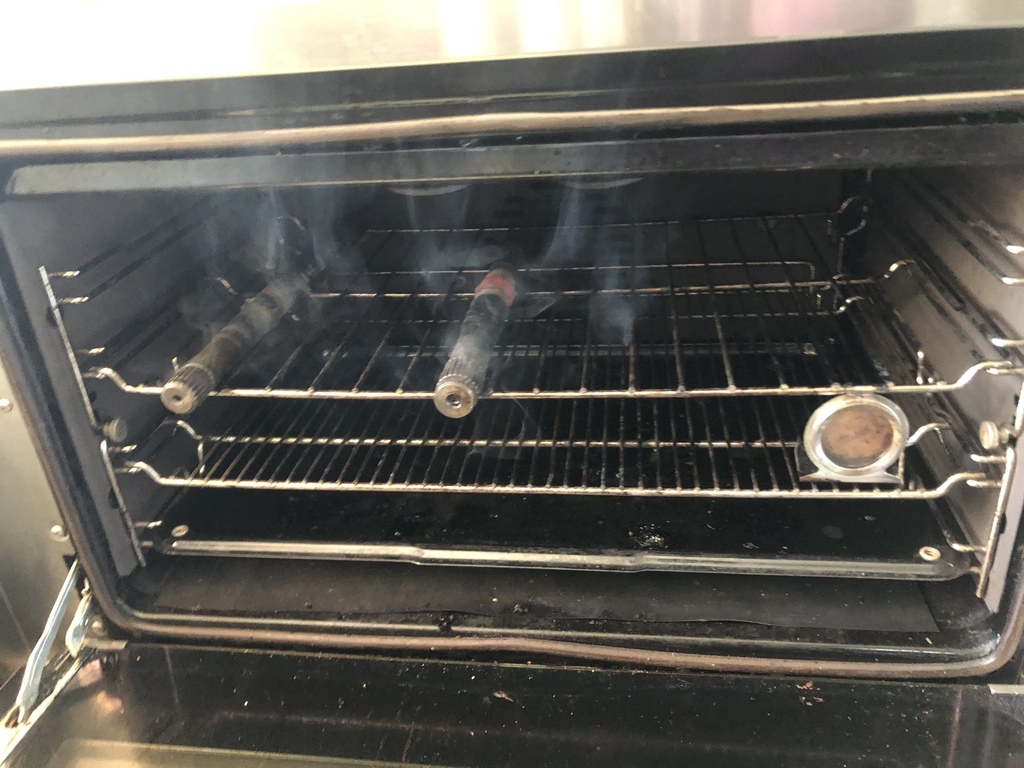
Time to preheat the driveshafts as there’s no going back from here.
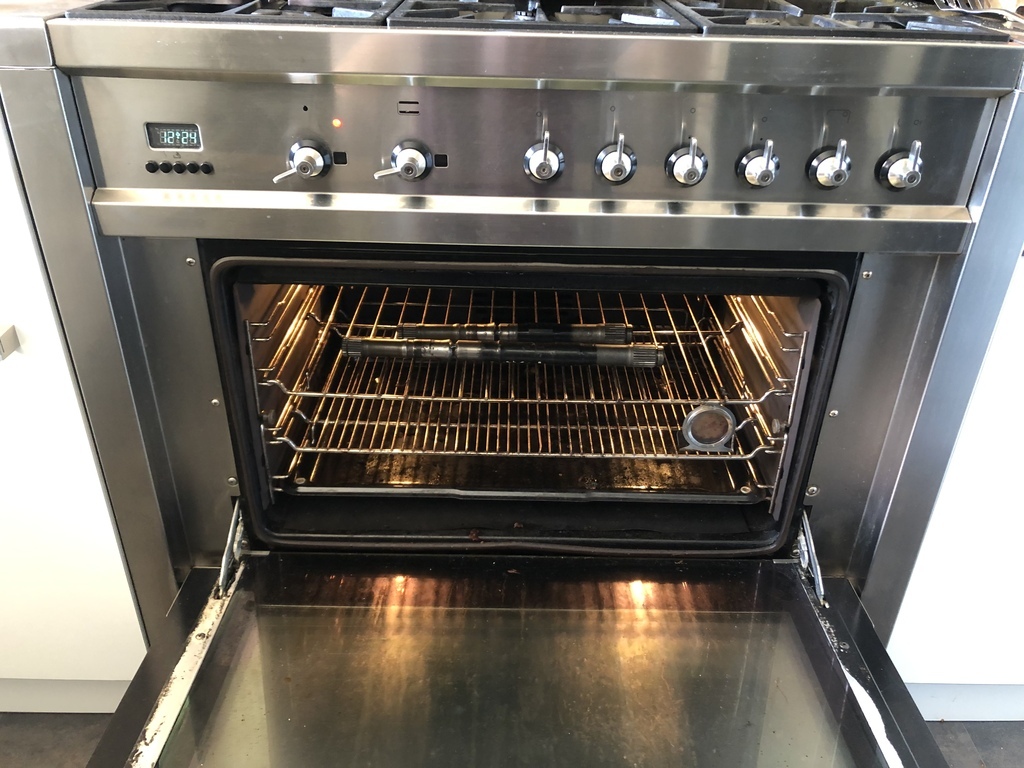
Both shafts splatted with weld…
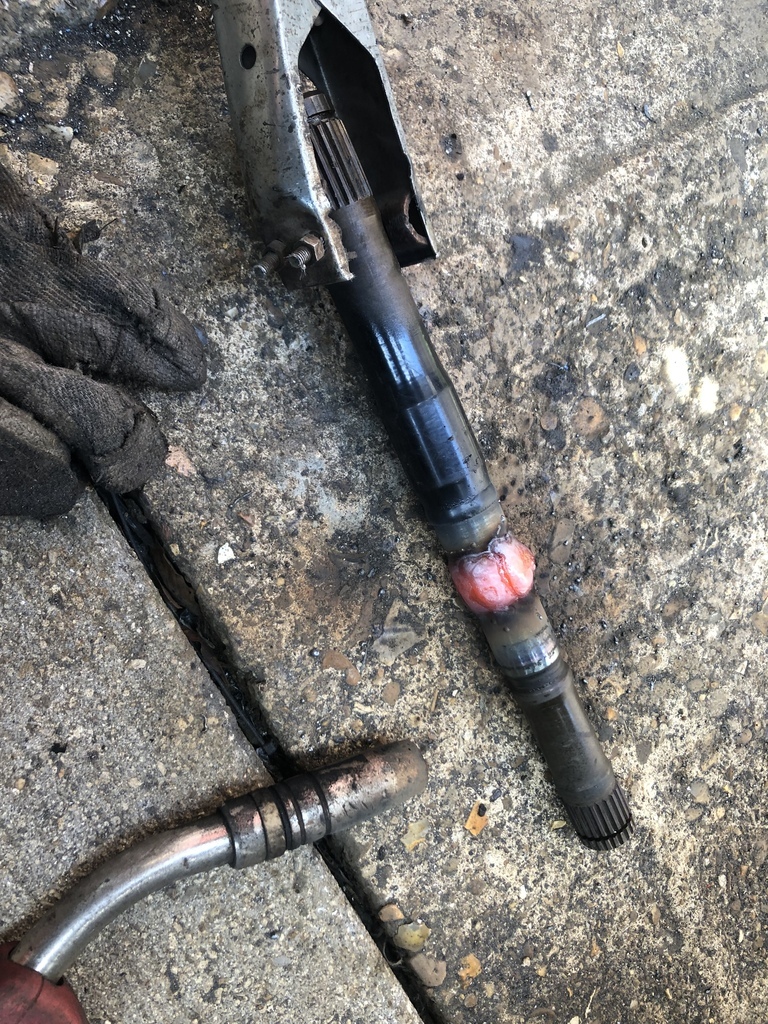
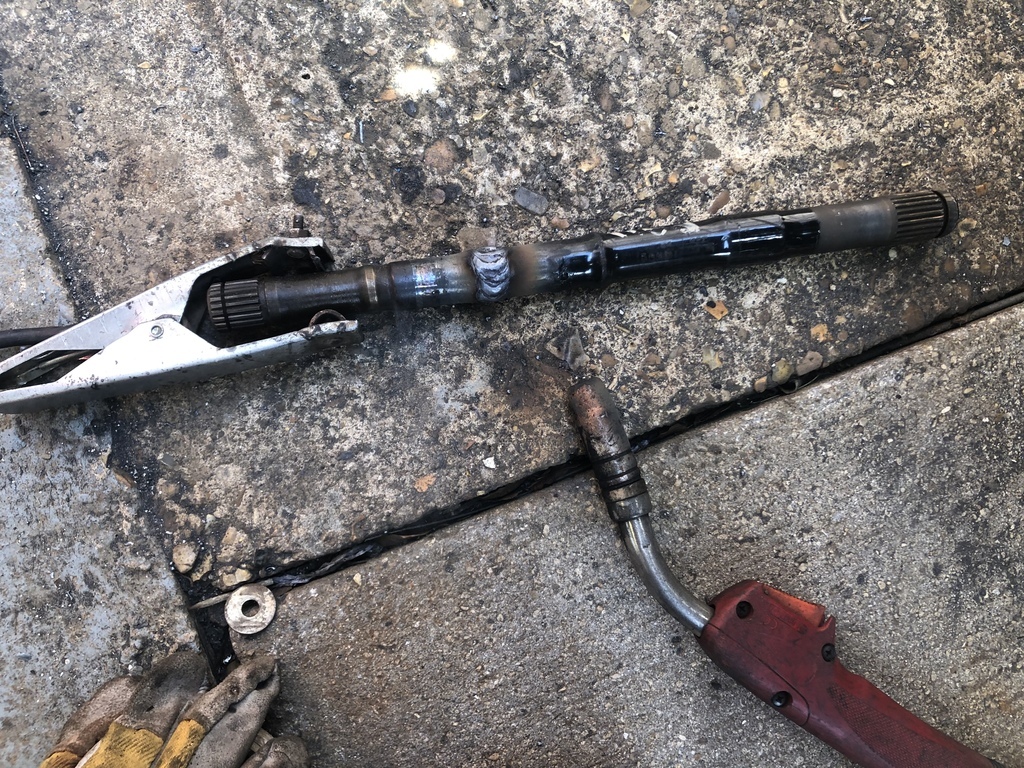
And back in the oven to cool slowly. I checked on this an it took about 1min per degree to cool which is nice an slow hopefully to help normalise everything.
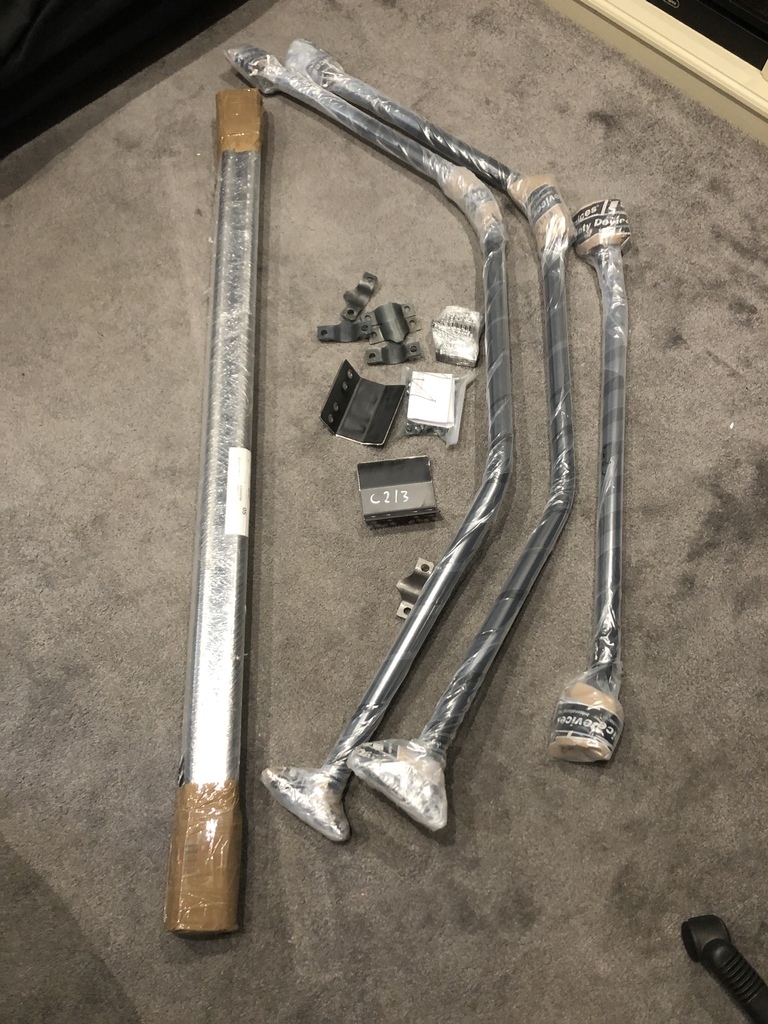
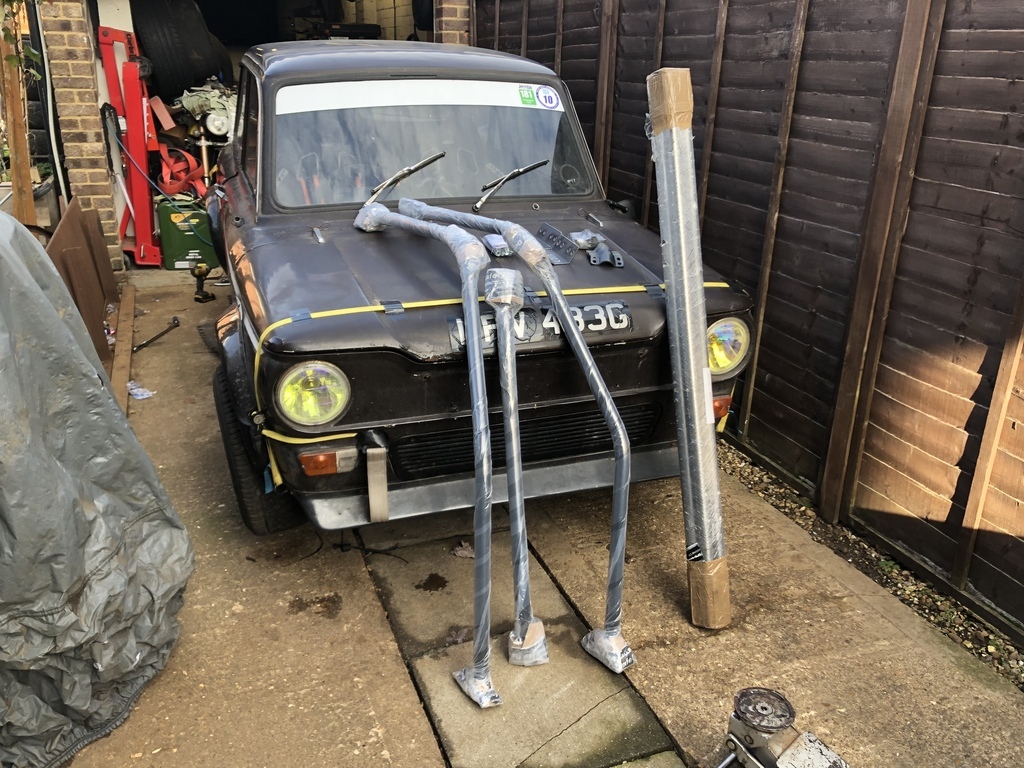
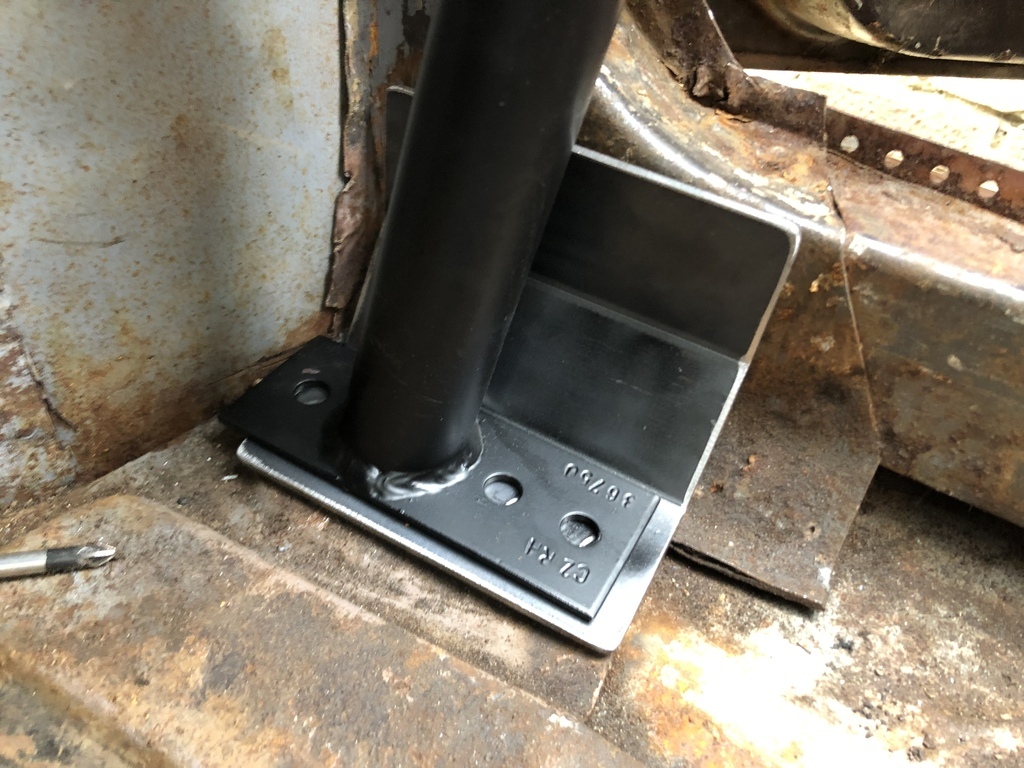
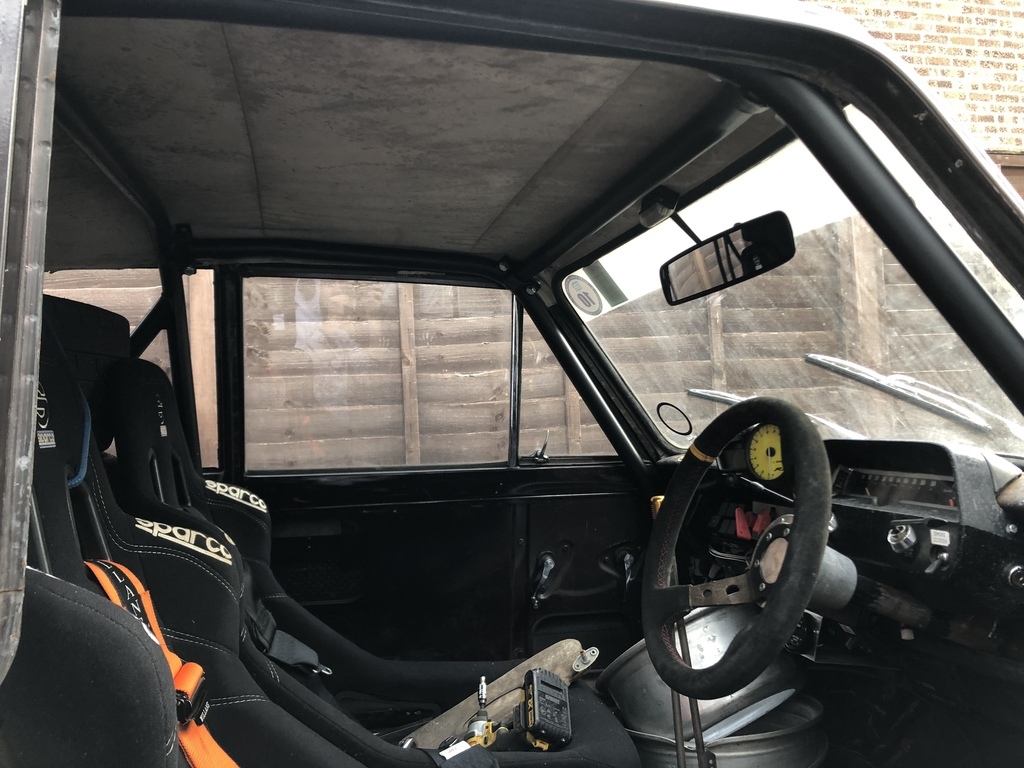
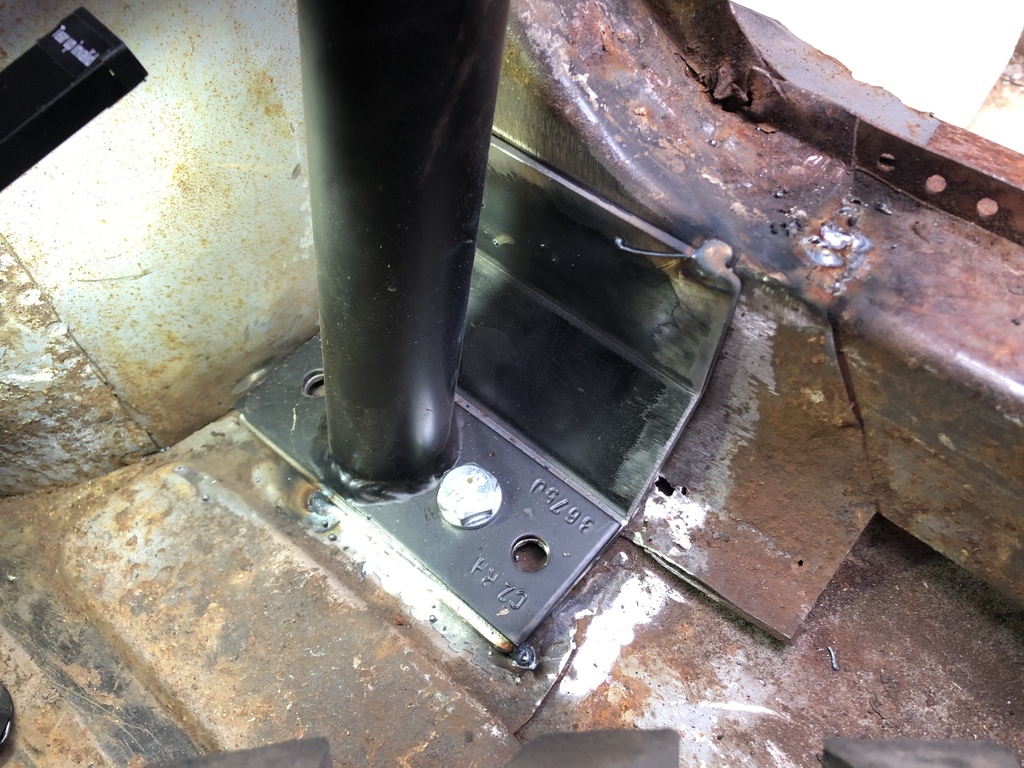
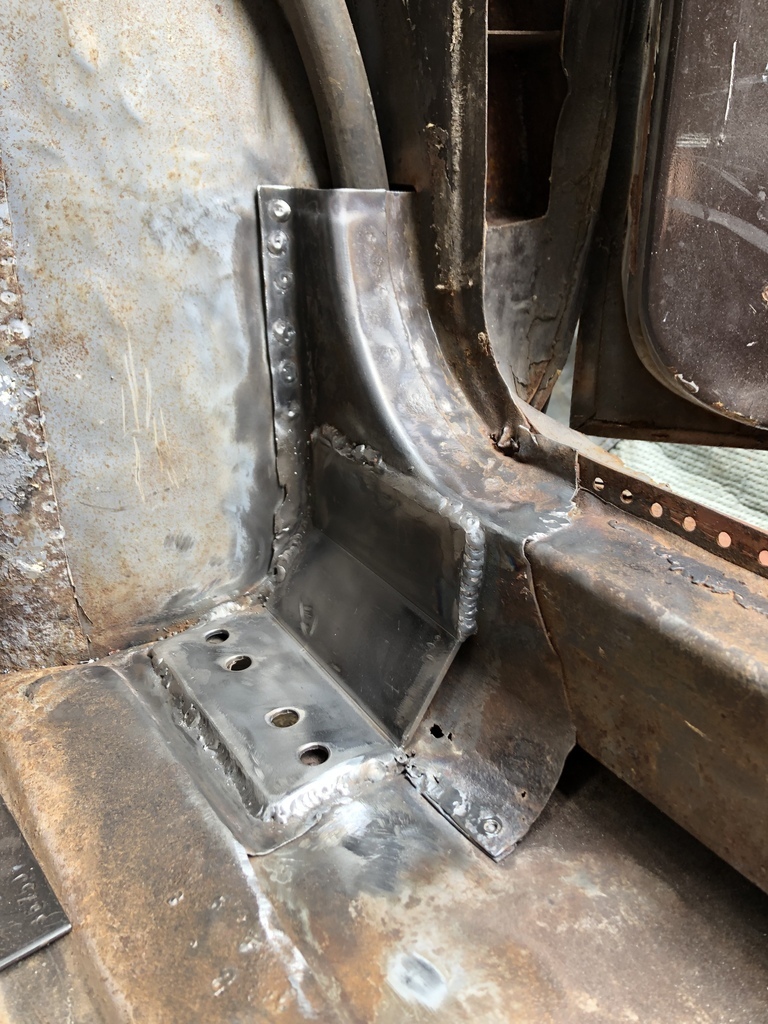
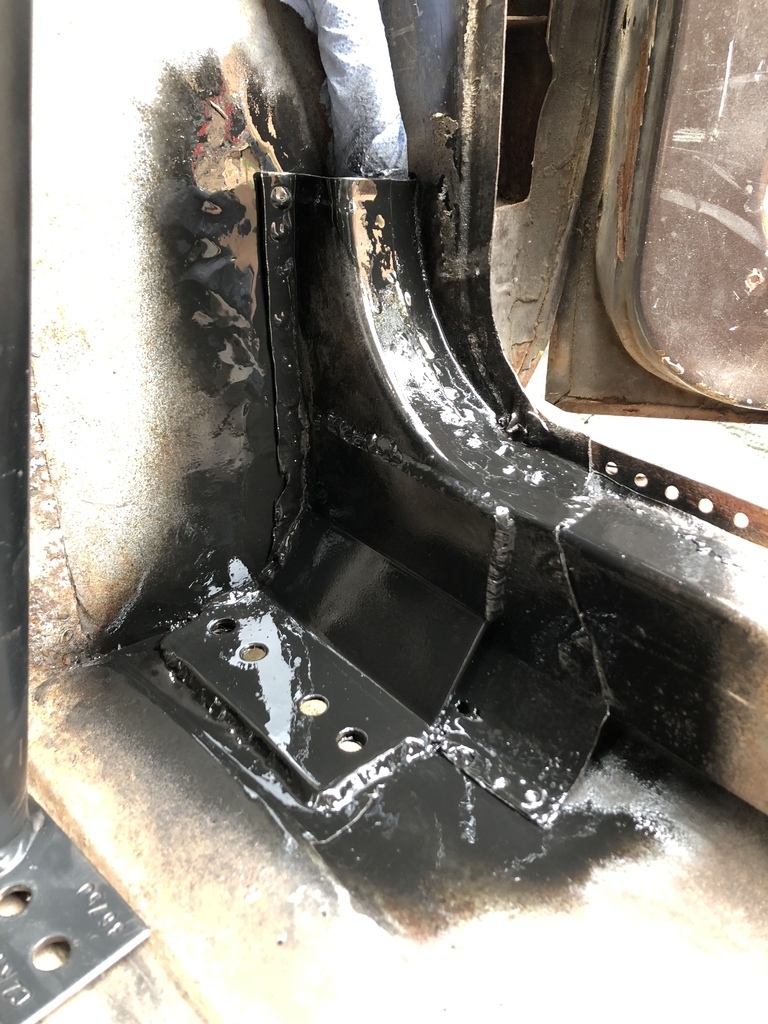
While those cool I looked at the remaining roll cage foot.


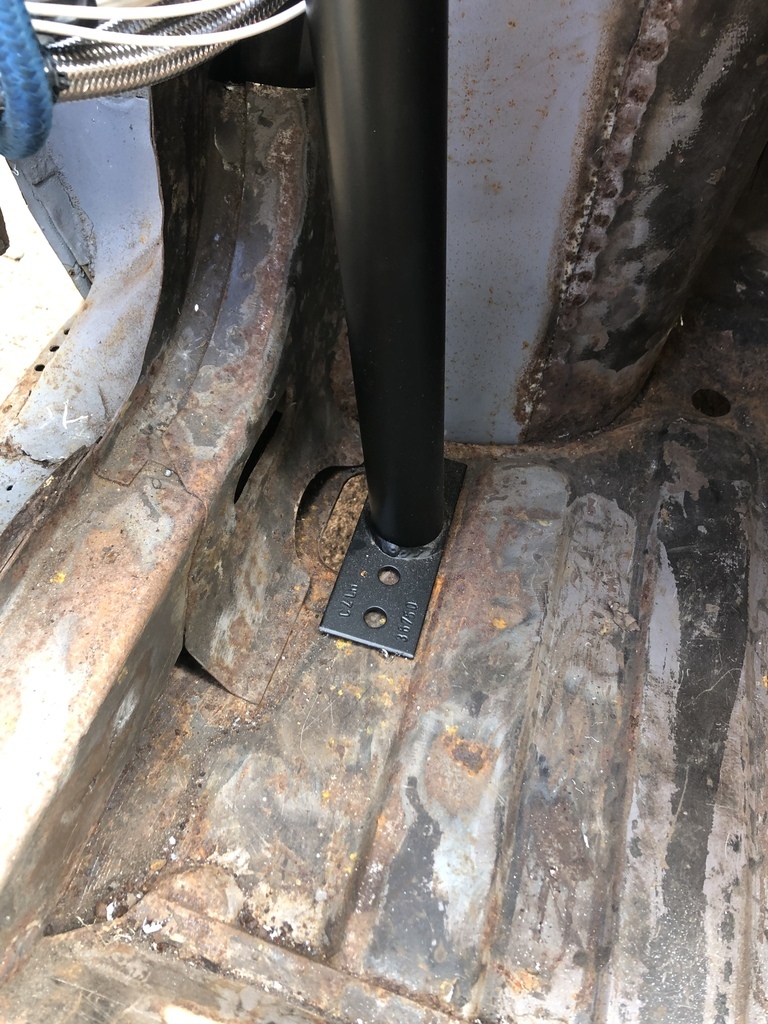

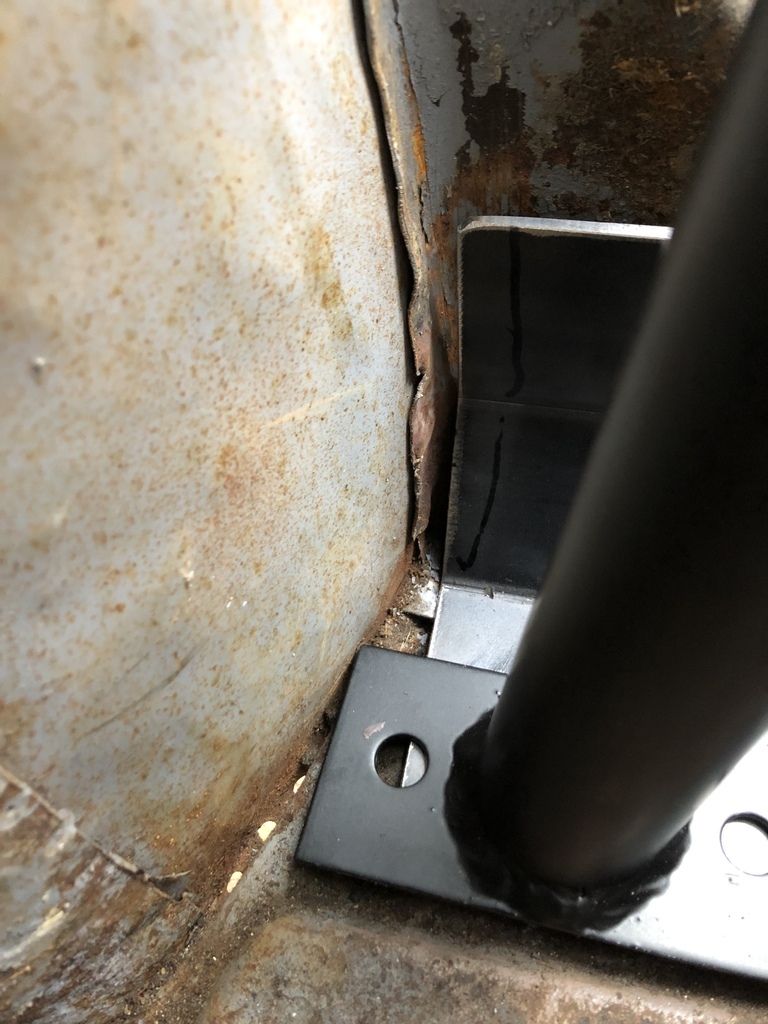
I didn’t fully weld the front edge as I believe I still have some arch work to do here so it’s a lot easier to not weld it now and then fix it later.
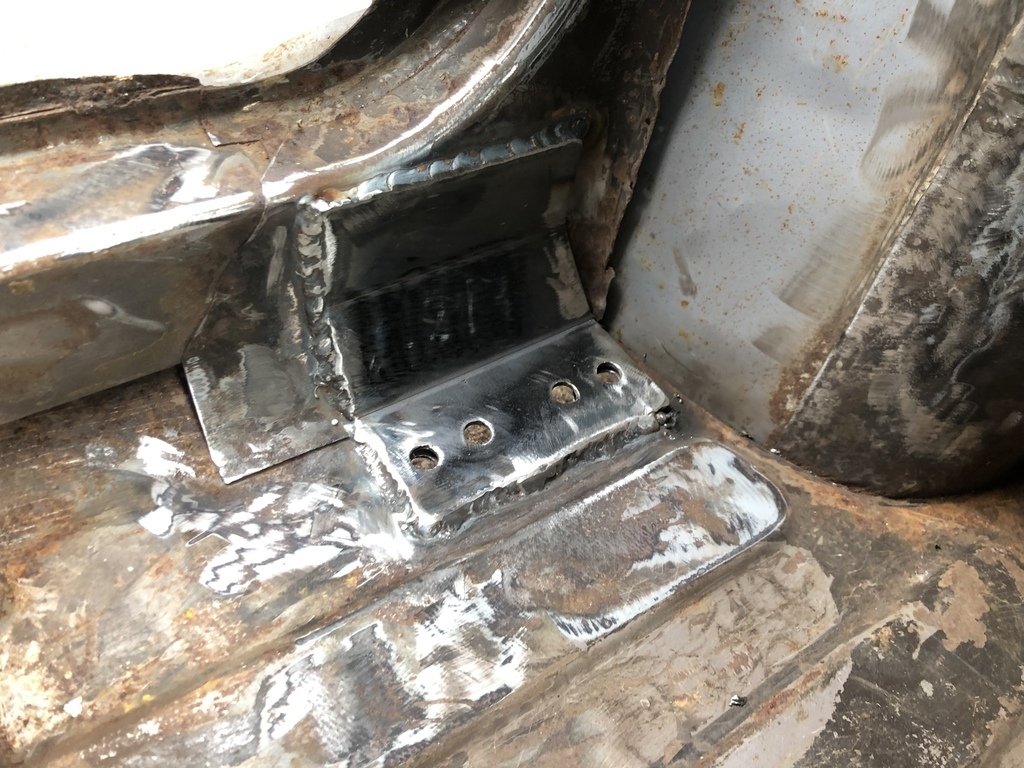
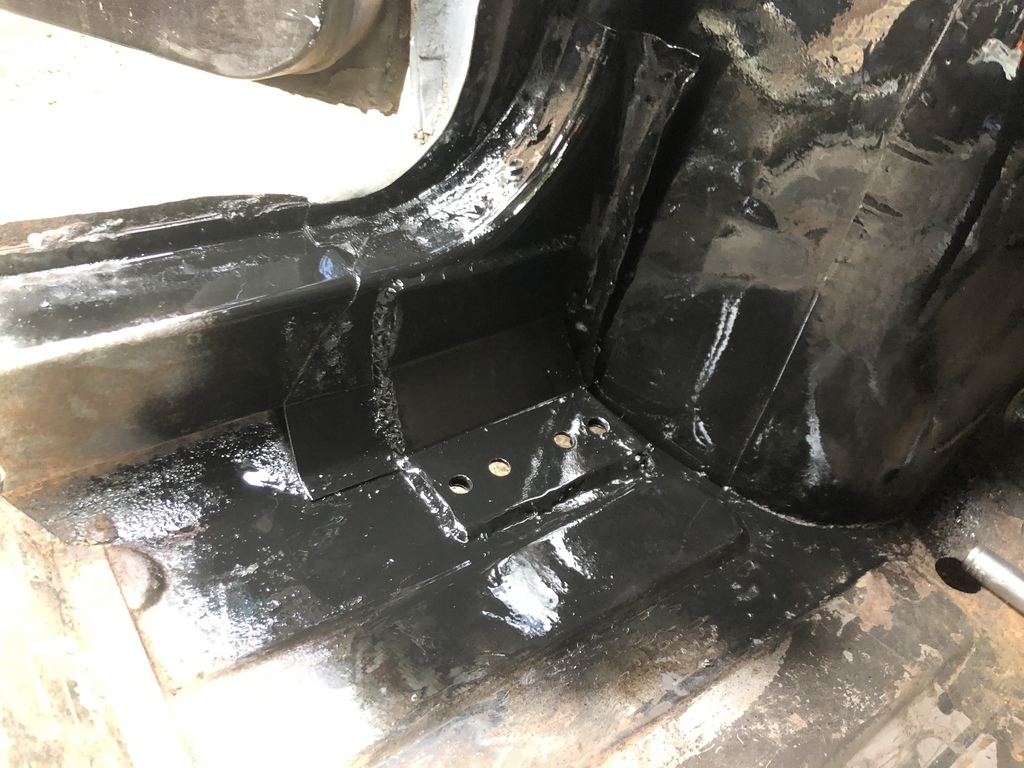
While that paint dried next up was bonnet pins. At Donington the bonnet would unlatch itself and I’d have to pull into the pits with the bonnet bouncing on the safety latch. Not cool. Bonnet pins was a must not for safety as I plan to keep the stock latch and safety but so at least it’s not bouncing up every 5mins.
I’ve pondered over the location of these pins for ages and had a few people’s input. Do I align it with… the head light? Or put it in the centre of the panel, ie edge to bonnet crease? I even proposed right in the corner, centre of the bonnet radius is the pin?
Anyway in person I went with in the middle of the panel details. This bonnet is basically scrap anyway so if we don’t like it we can change it.
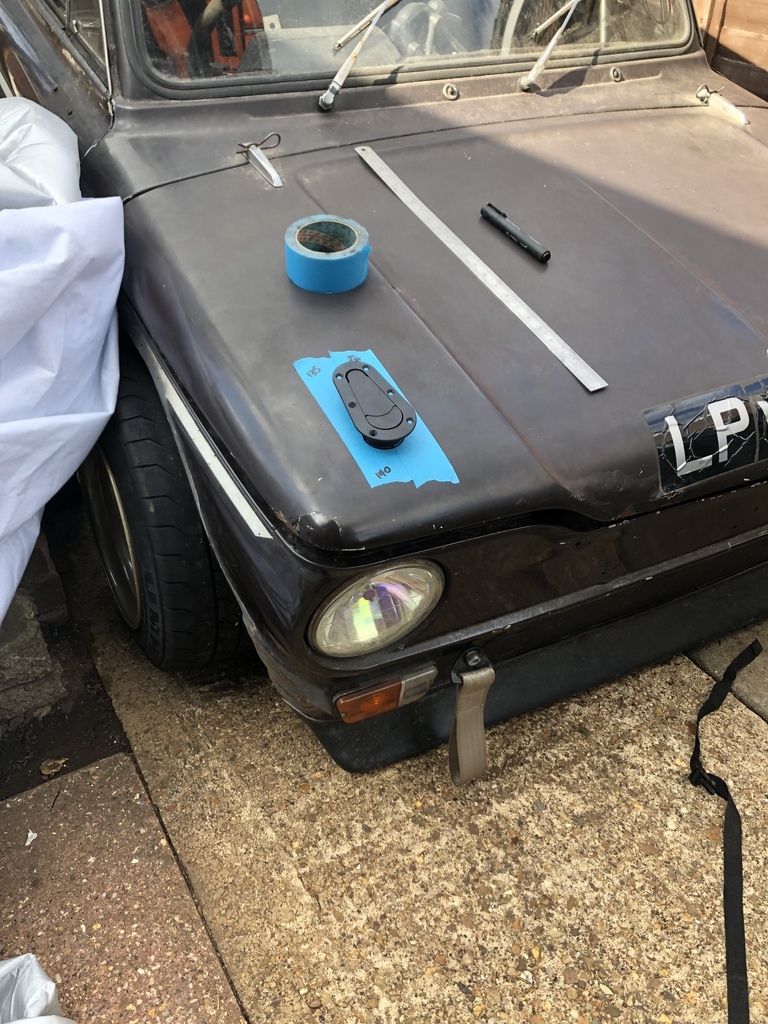
I bought a nibbler purely to do this job and it broke instantly. It did about 2” then broke. That’s going back.
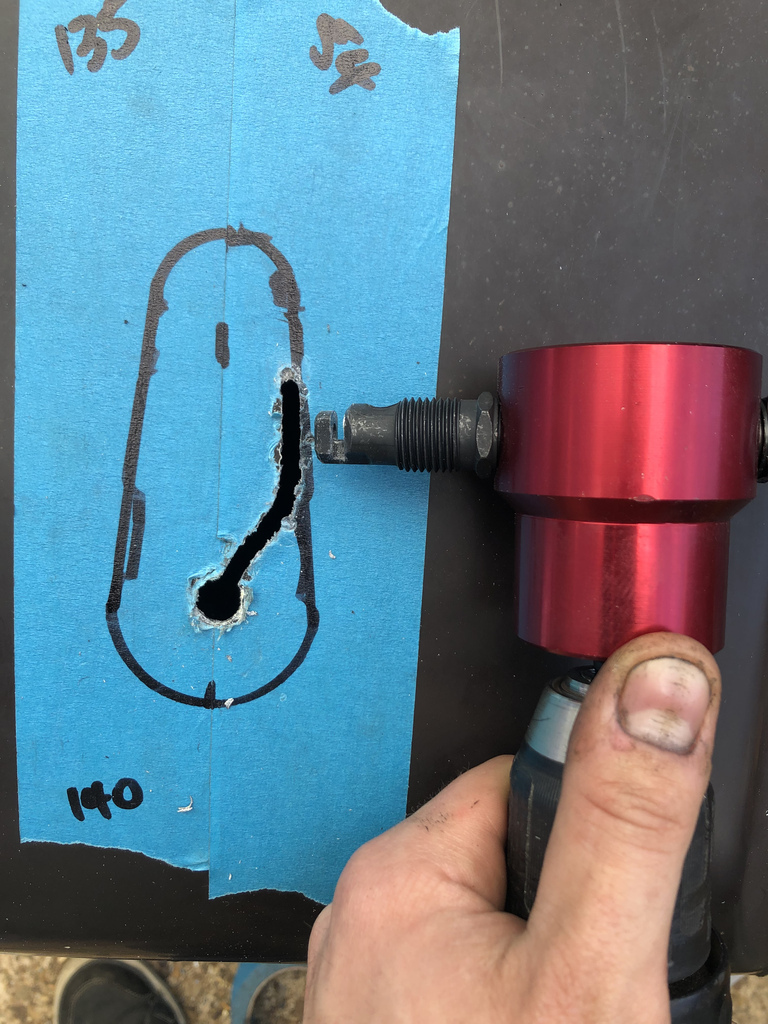
Anyway attacking the the angle grinder I love the layers of paint and filler this car has had. This car would be so much lighter with out 5 buckets of filler in it. Every panel I touch has filler in it!

Anyway I got them sunk in and bolted up.

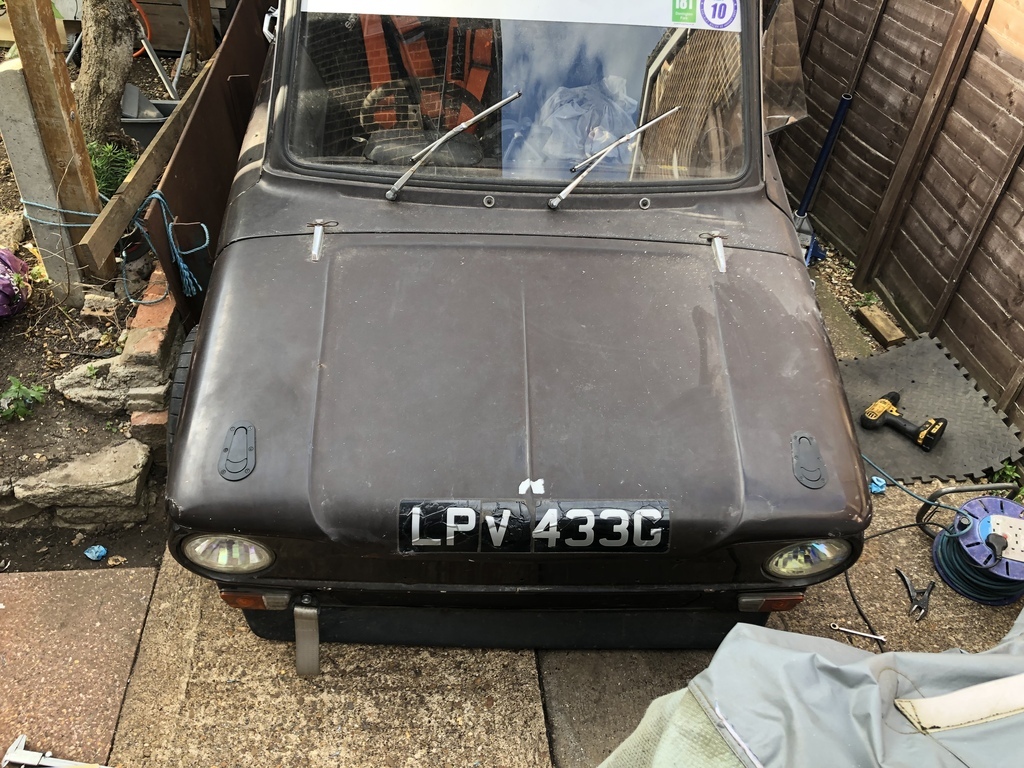
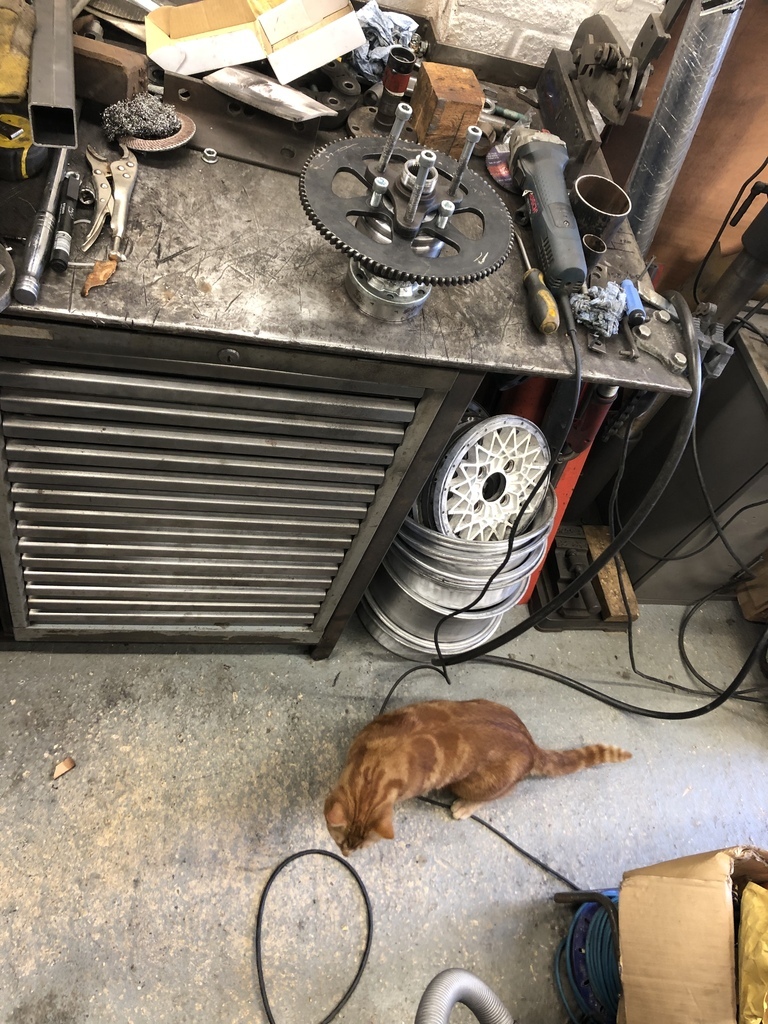
Local cat inspector Tom arrived and said they should have been further back and out but I disagree.
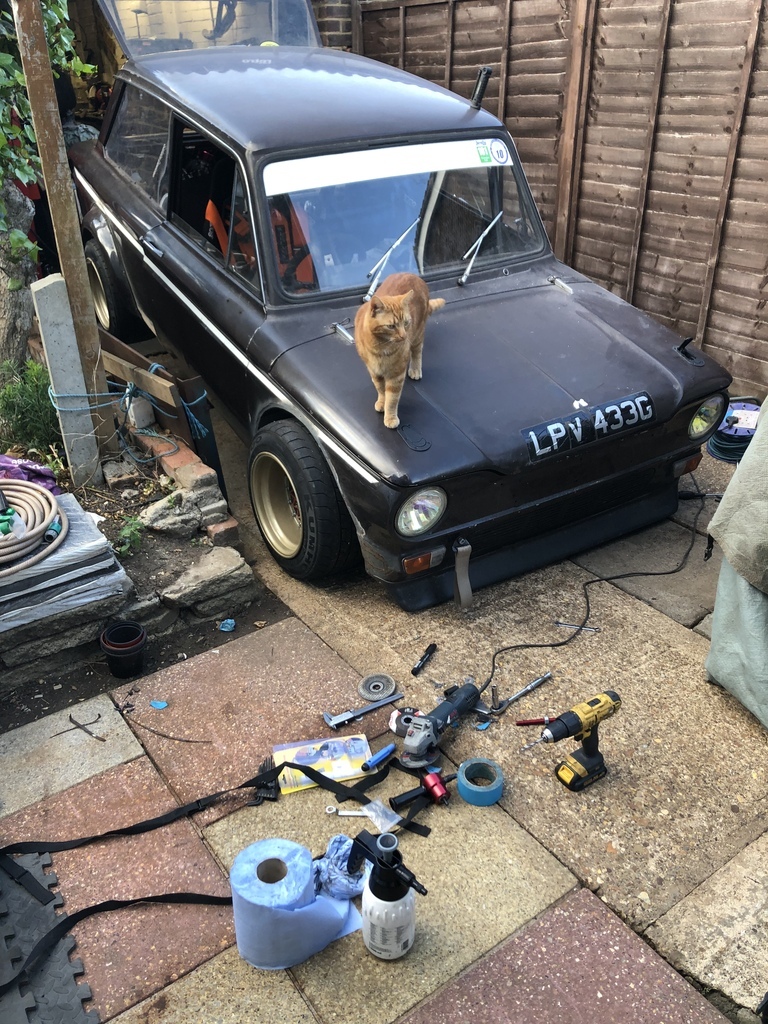
That’s all for now. I have quite a lot of evening work still to do…
 looks great out on track!
 that was before about 7kg of weight reduction, but it's a far cry from the 800s!
 looks great out on track!
 that was before about 7kg of weight reduction, but it's a far cry from the 800s!


