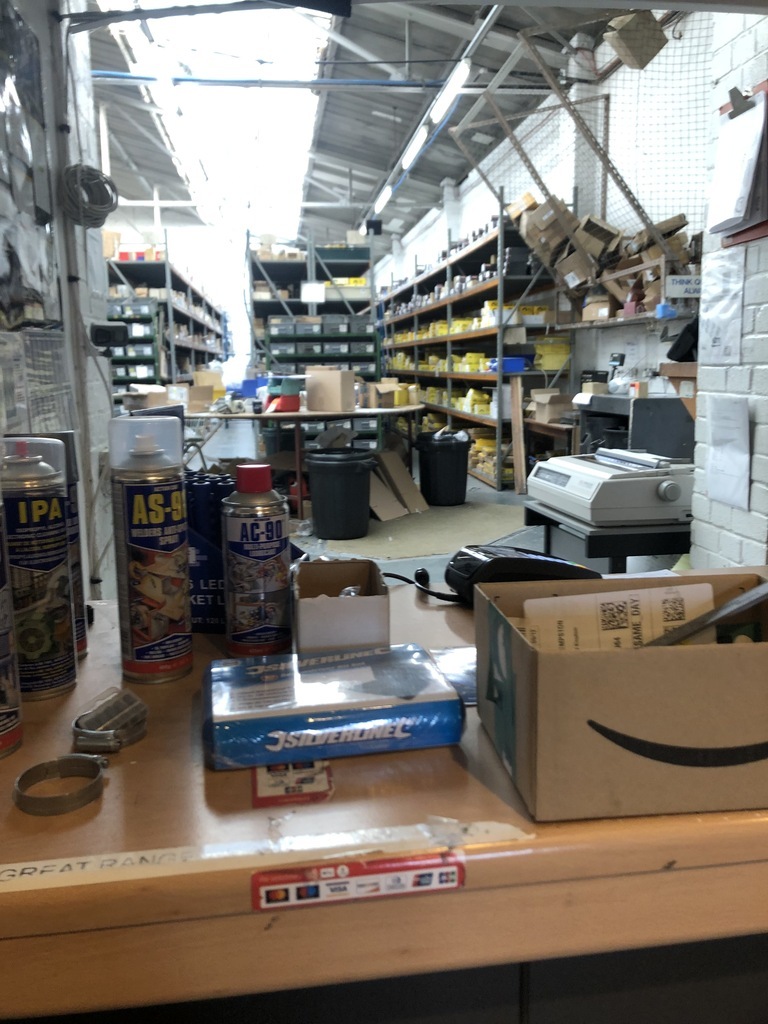
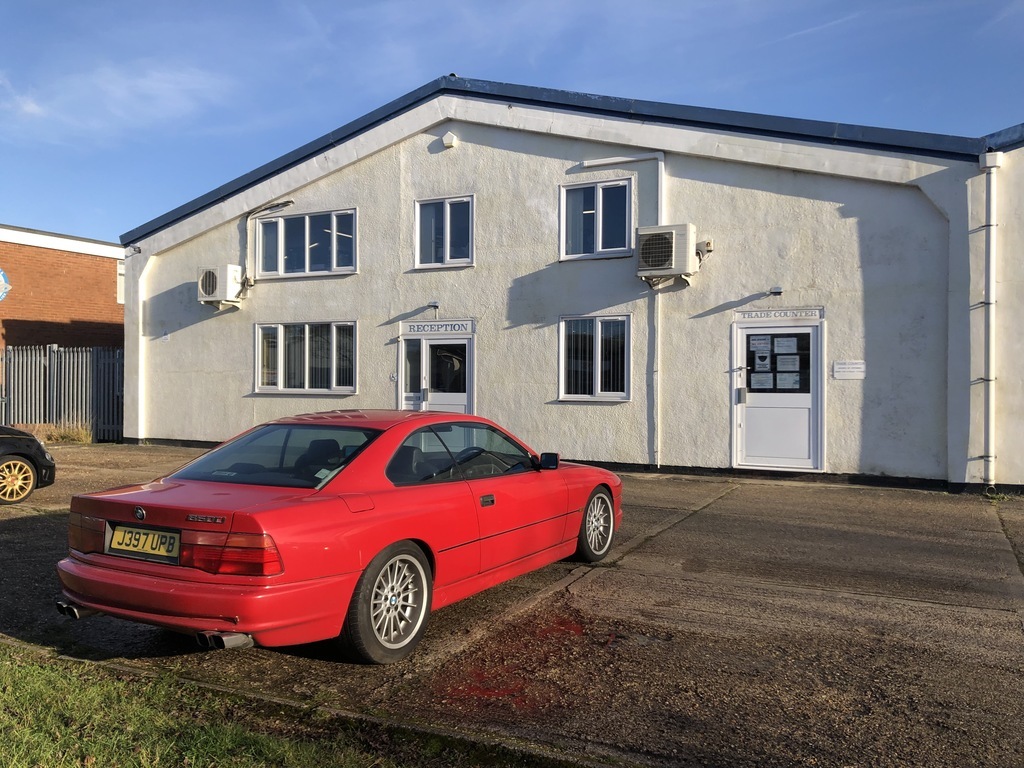
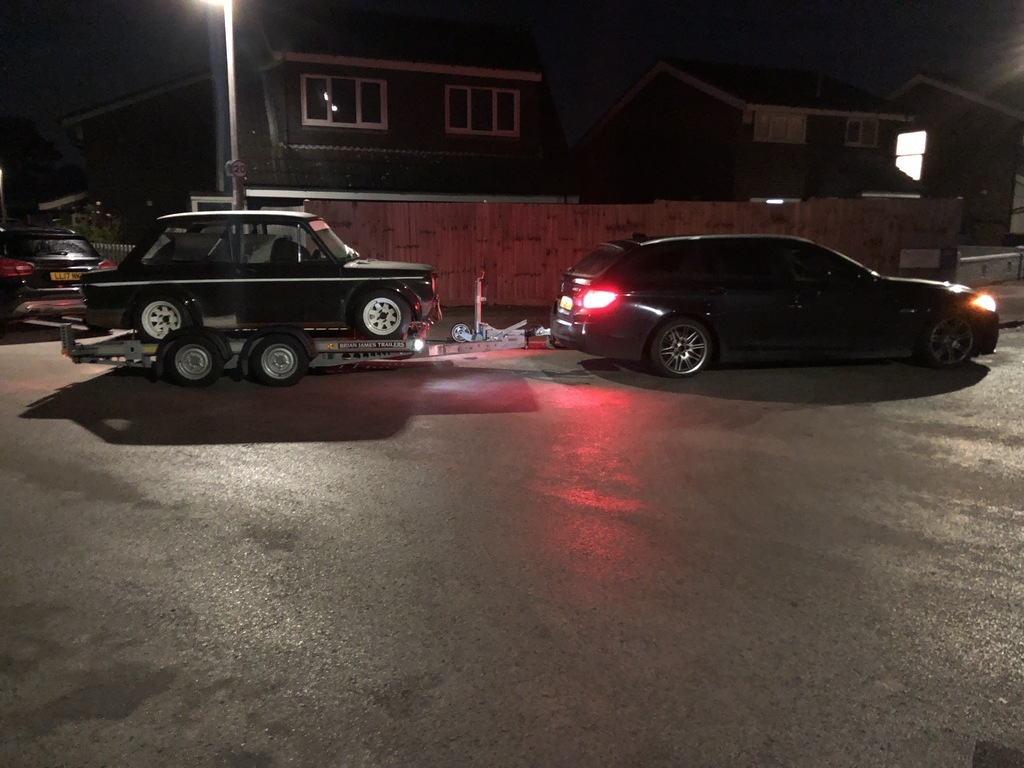
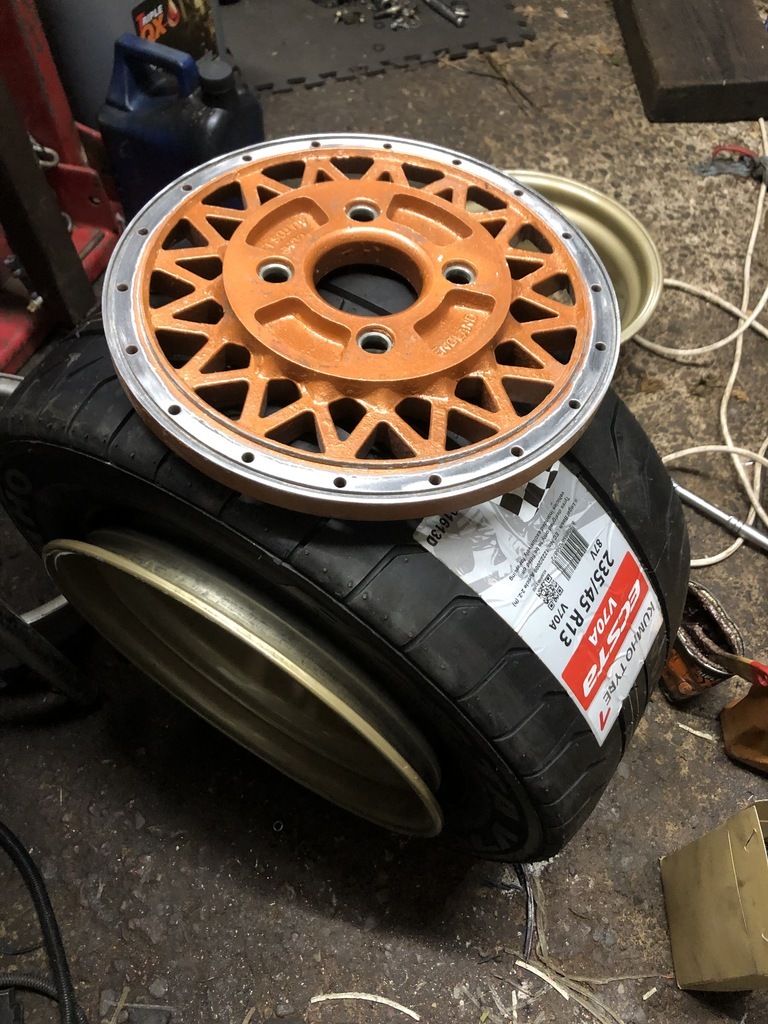
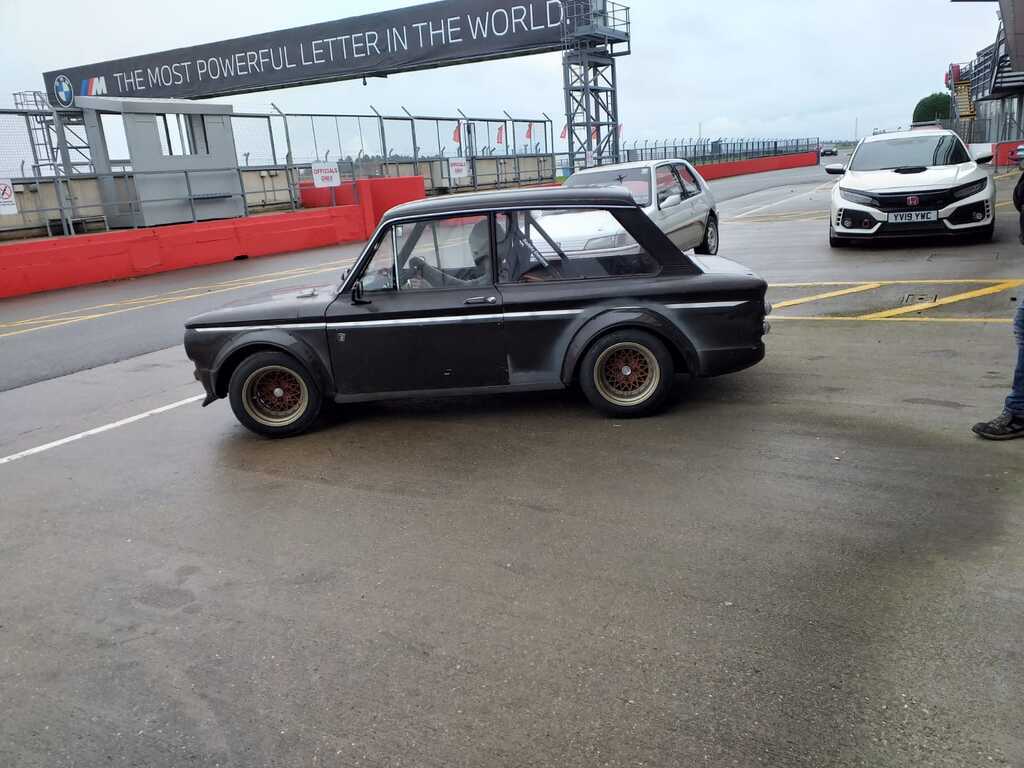
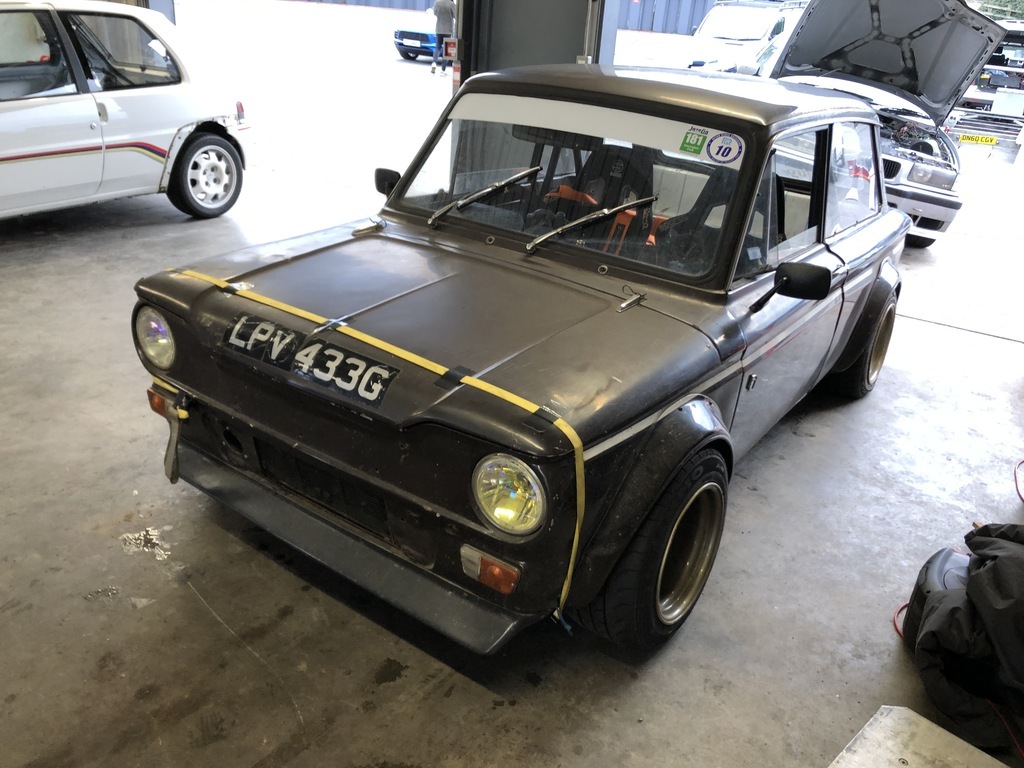
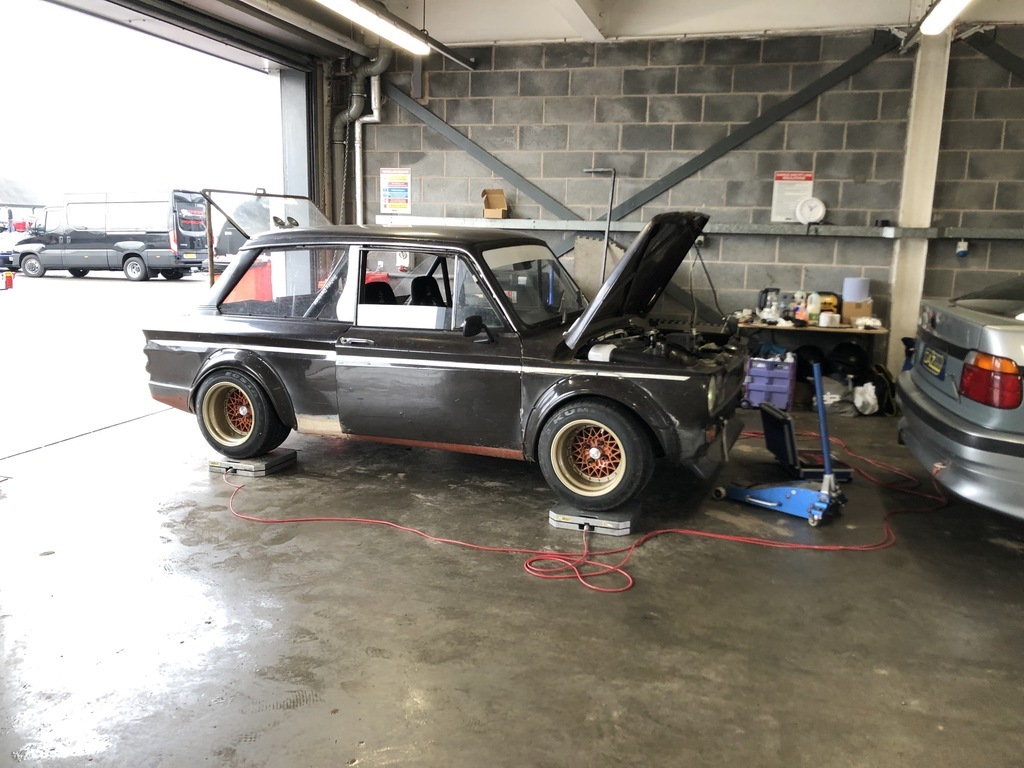
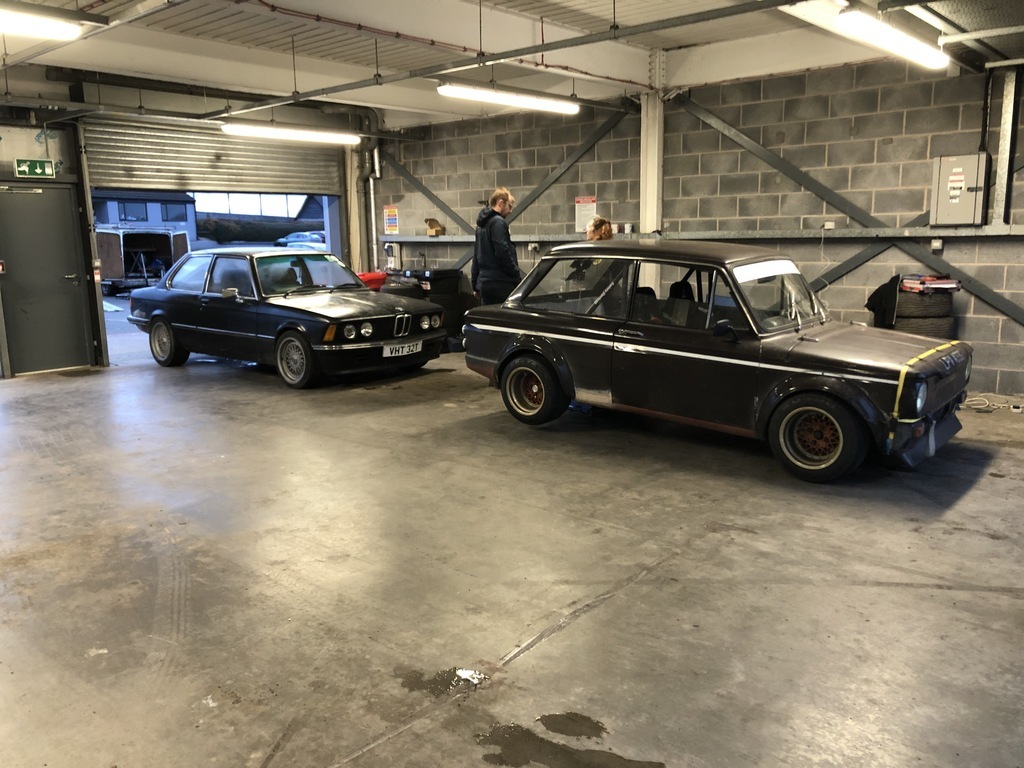
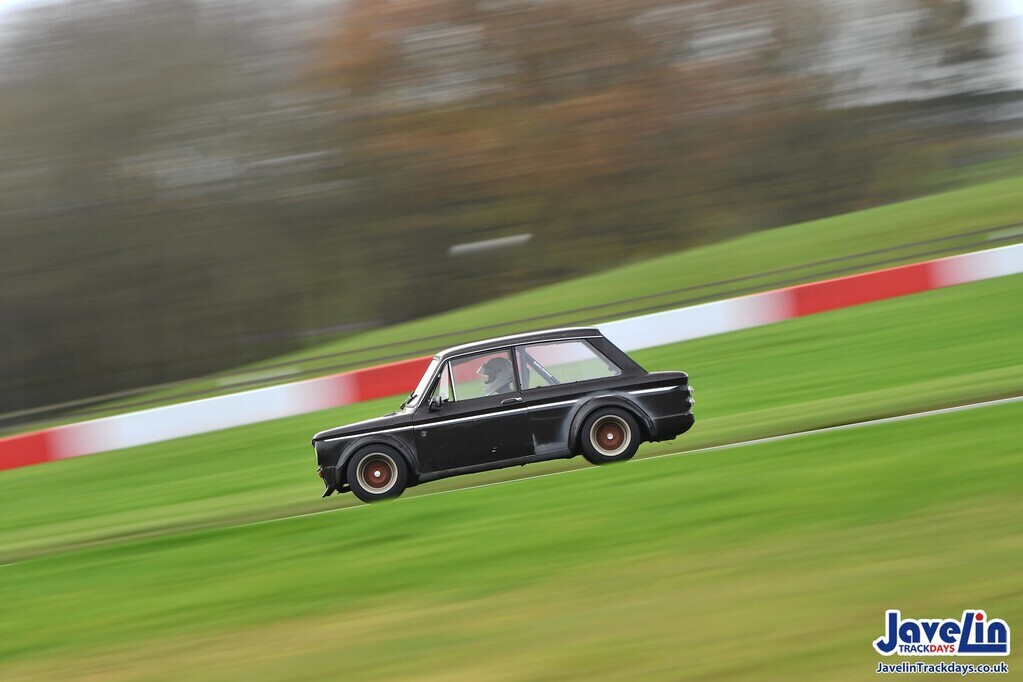
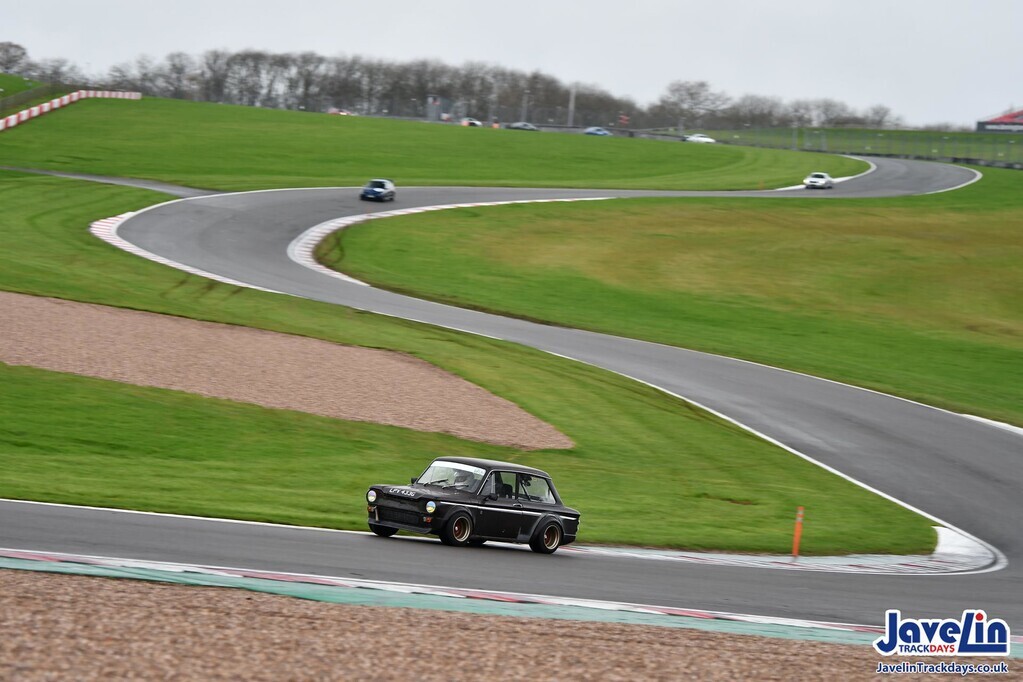
Where to start... I didn't photograph everything but there's an insight to my weekend
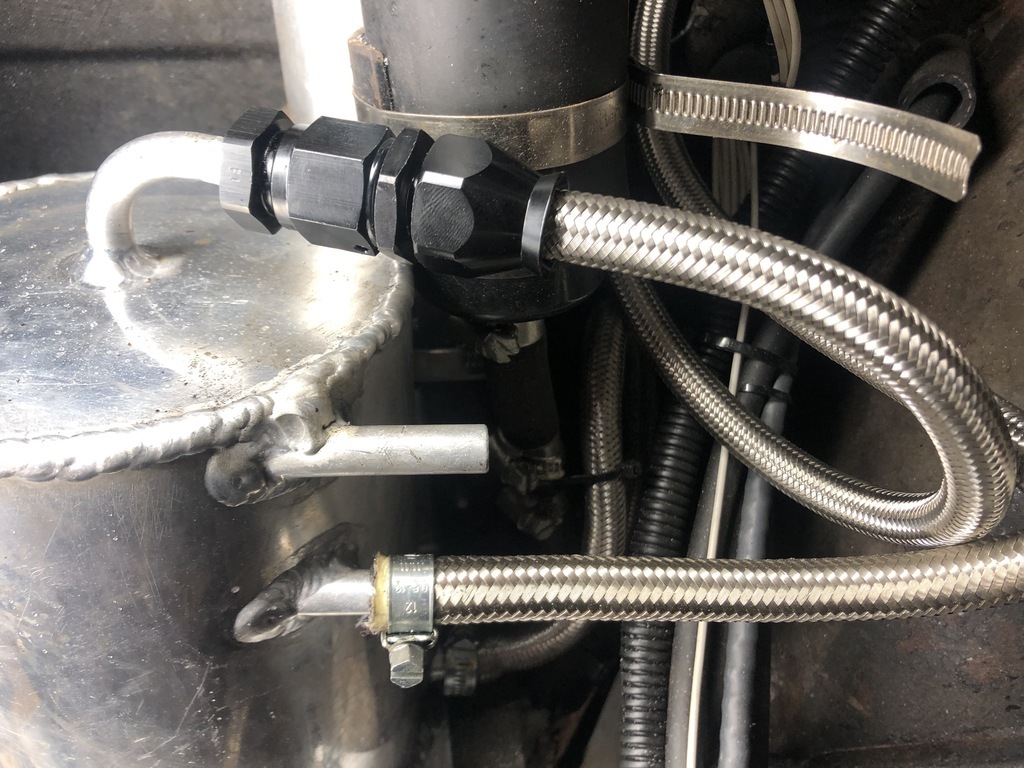
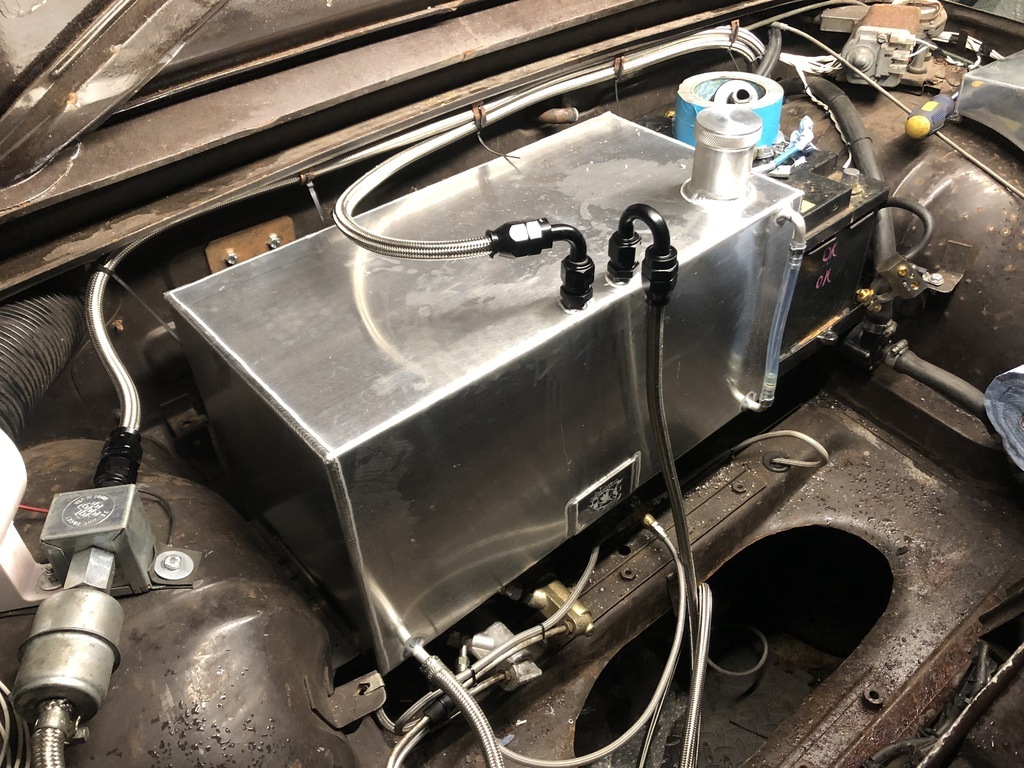
Got the fuel return line laid in and connected. I've used PTFE hose as the lines go through into the cab and normal rubber hose can emit a fuel smell which we don't want. I have a load of jic connectors to terminate these correctly but my tank and swirl pot are normal barb style fittings. I thought I'd try them straight onto the barbs but I can confirm the PTFE hose doesn't seal very well add it weeps. I have a fix on the way for that so lets hope it works...
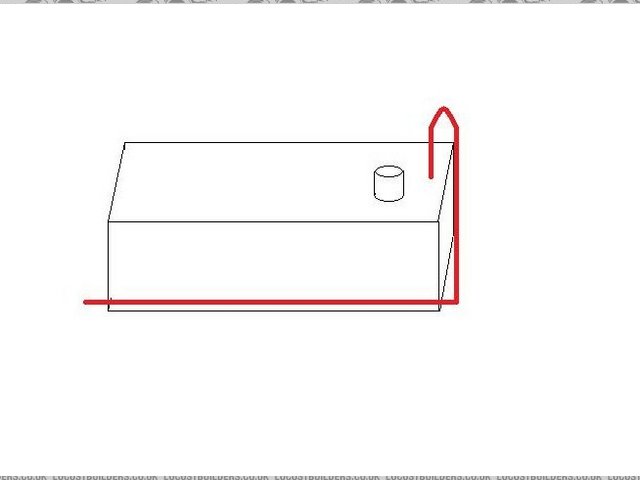
As for the tank breather I will put this on a hose with the filter lower than the tank. So in an event of a rollover where I stop on my roof it wont drain out as easy...
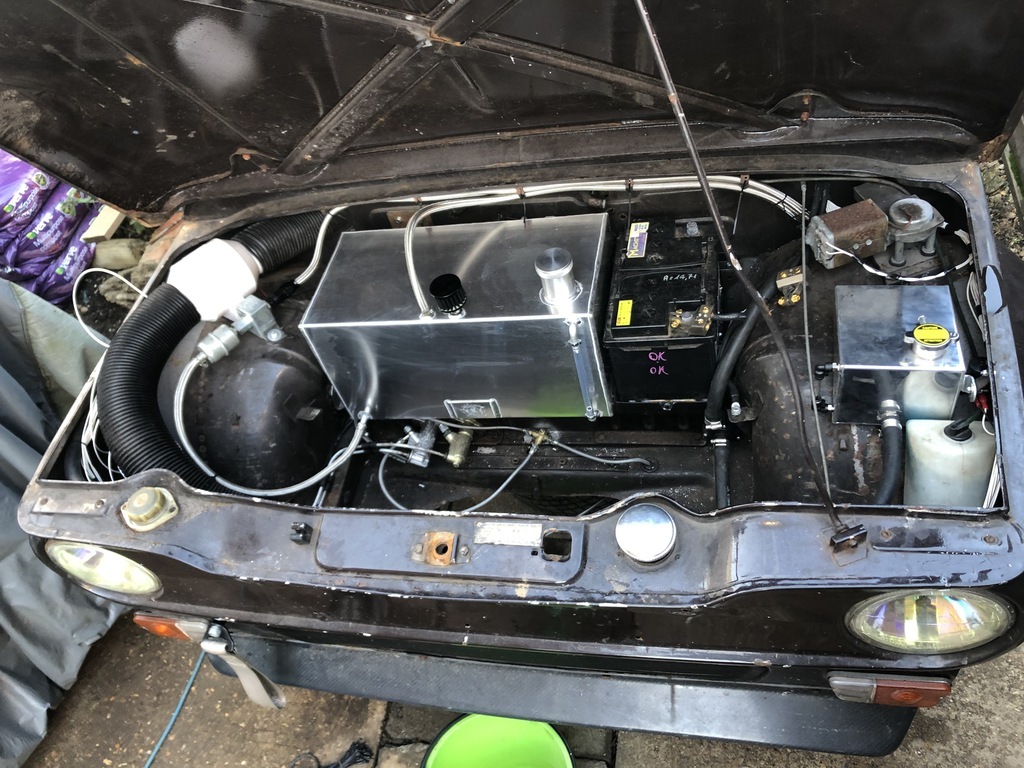
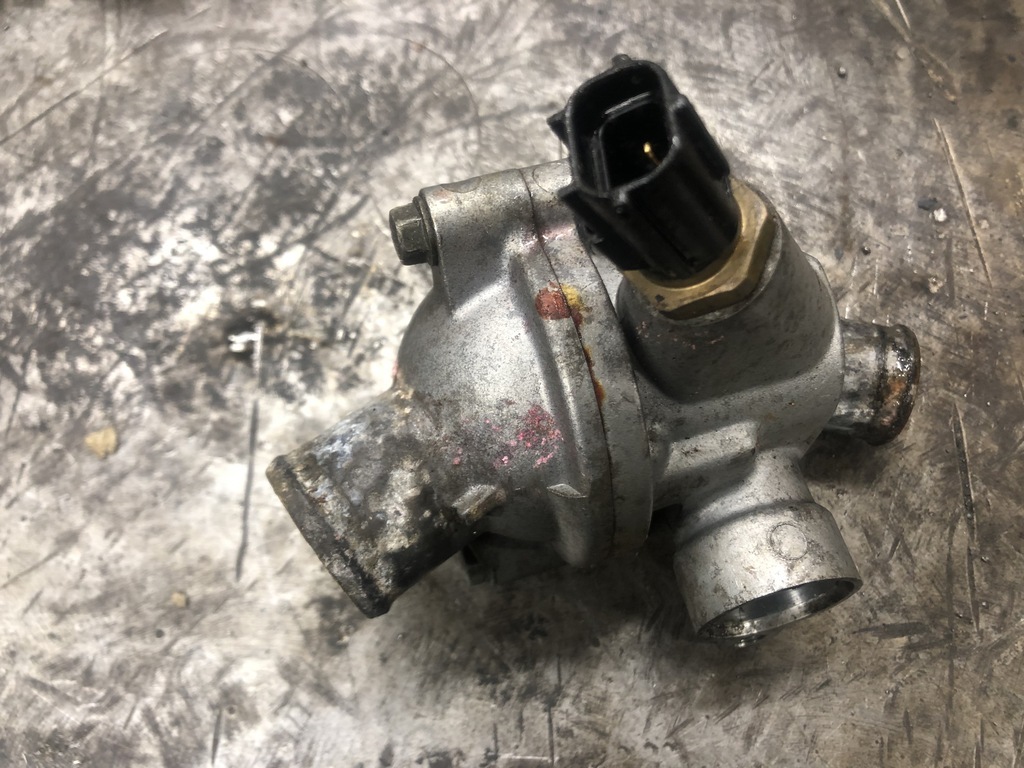
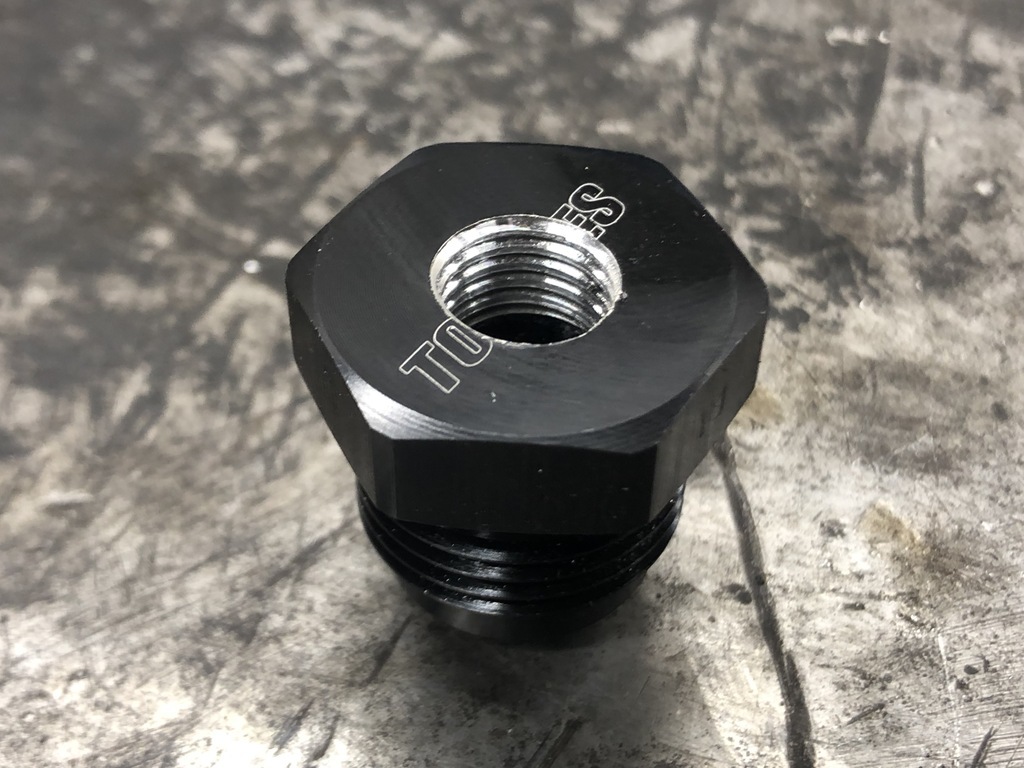
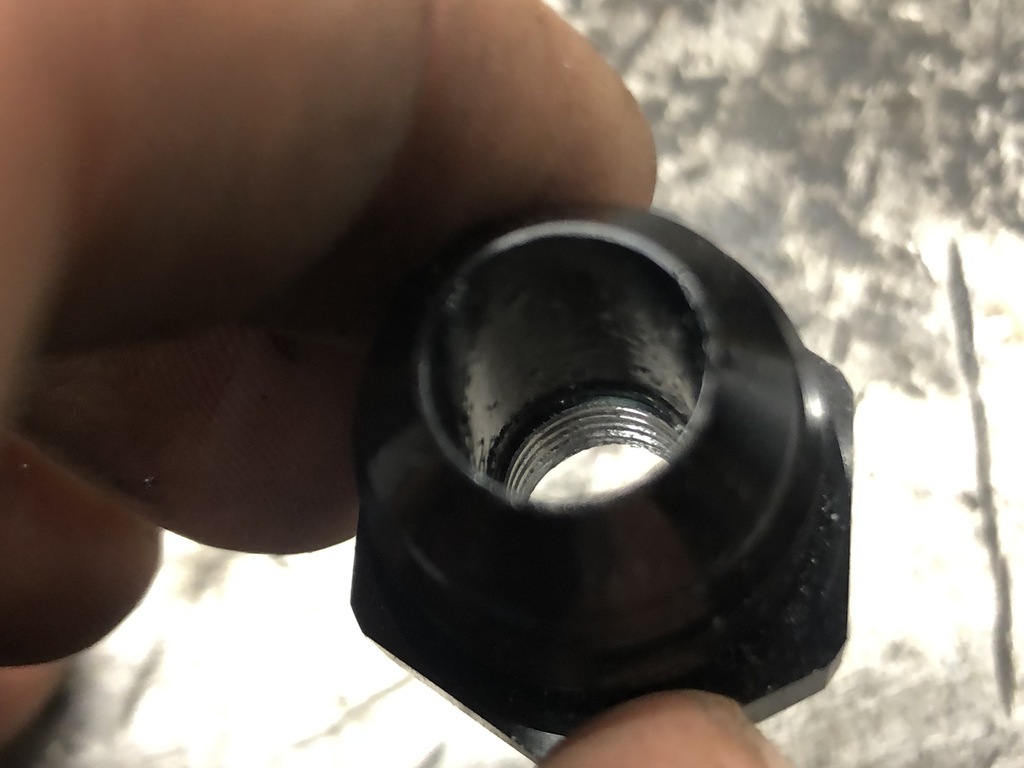
I got the front radiator coolant sensor adaptor fitted. A jubilee clip and adaptor party...

I've unwrapped the exhaust and welded the bung in for the AFR lambda. I used some normal cable ties to stop the whole lot unravelling itself.
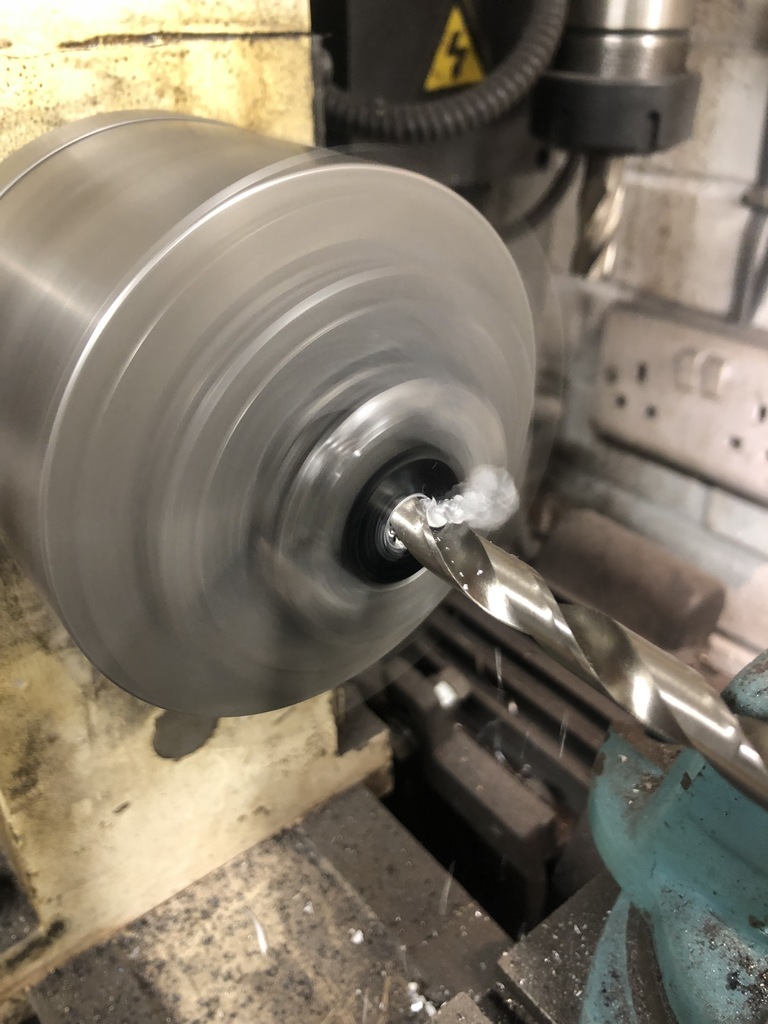
Stainless is pretty hard to drill after is been heat cycled. I've bought a V band to replace this joint one day but I haven't got time to fit that just now.
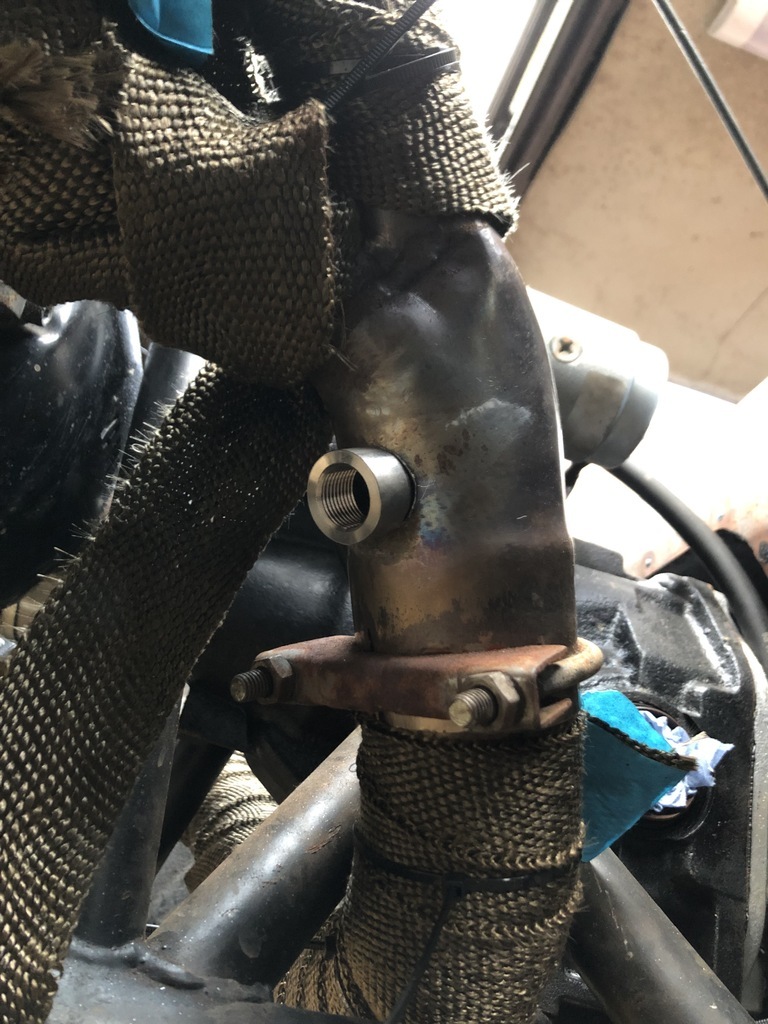
This was a pig to get the weld torch into, I blew a hole or two but got it on there. I also got a big molten ball and length of wire spatter go down my sleeve and burnt my arm! Not cool, was very hot.

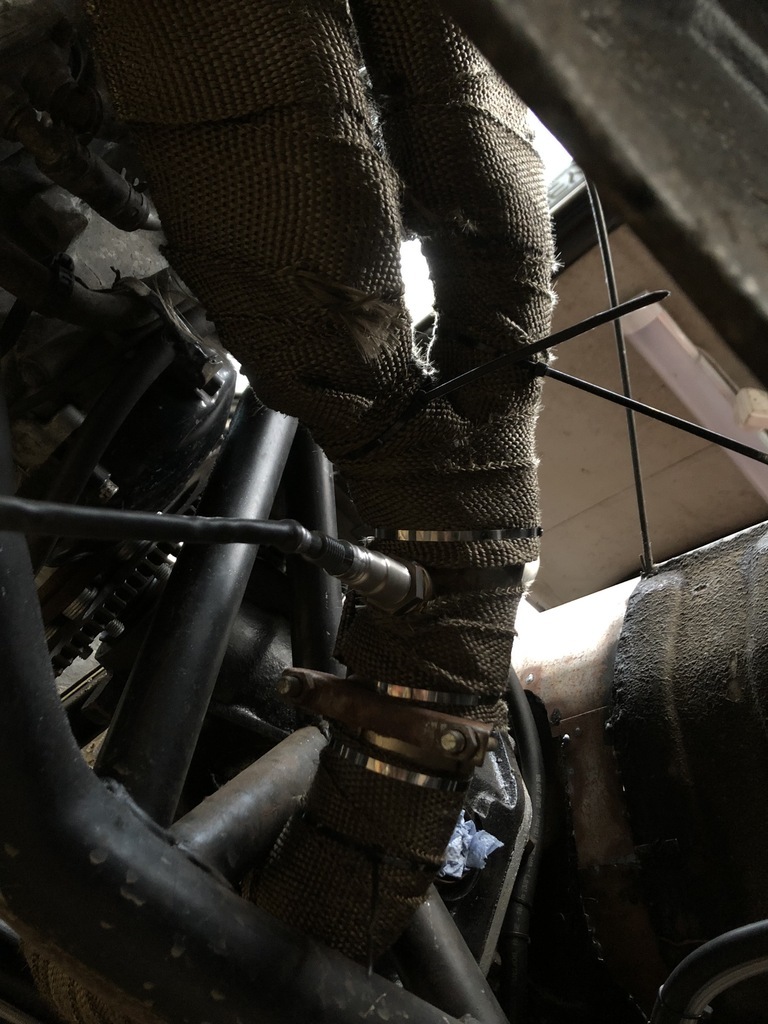
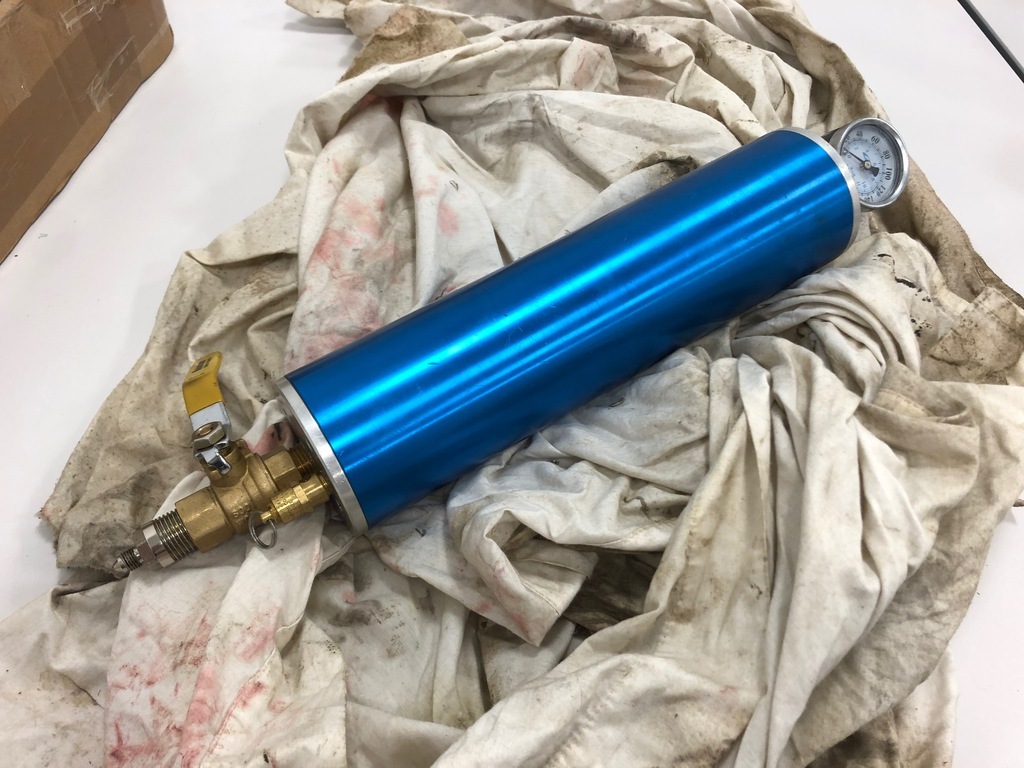
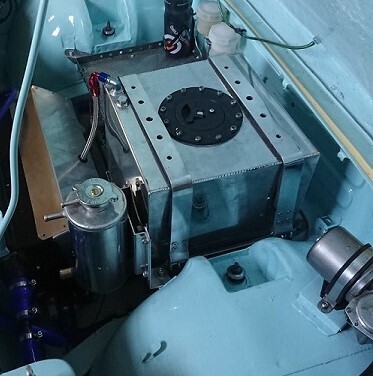
I made some crude brackets to mount the Accusump and I bolted in the swirl pot. The Accusump is pretty long by time you have the gauge out the top and a 90deg jic connector out the bottom. I've positioned it so the valve can be accessed just behind the chassis leg.

The high pressure engine side of the swirl pot is fully functional so I got the car warmed up. I had to bleed the coolant system again and this was far less painful than it was just before RRG21. I think all the air locks are out of the long lengths front to back and with the dual expansion bottle set up it was ok.
I also found out she likes to spit flames....
With the engine suitably warm and both R1 clocks (rear temp) and the new front rad temp gauges were both reading an idle temp of 72deg I drained the oil.
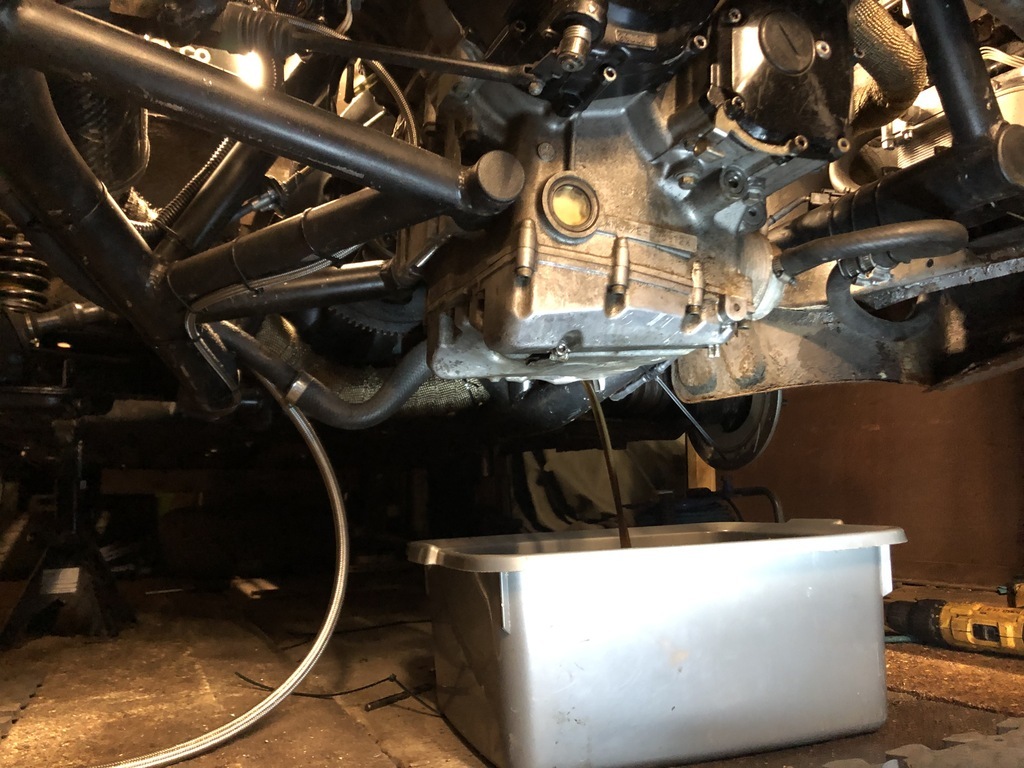
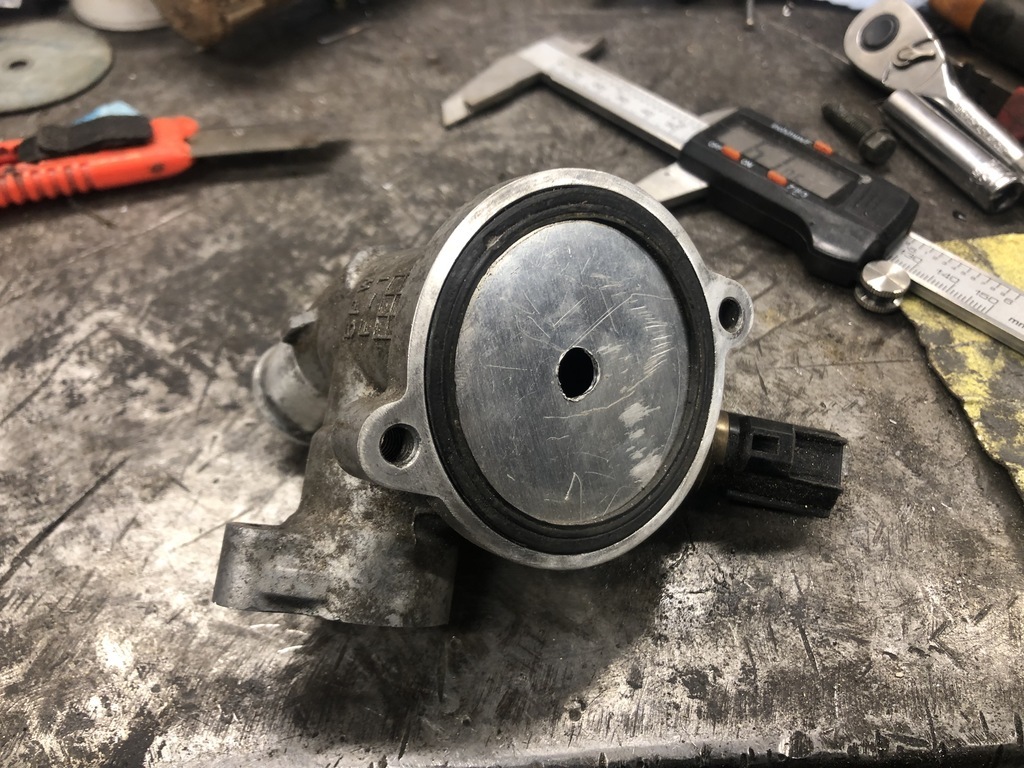
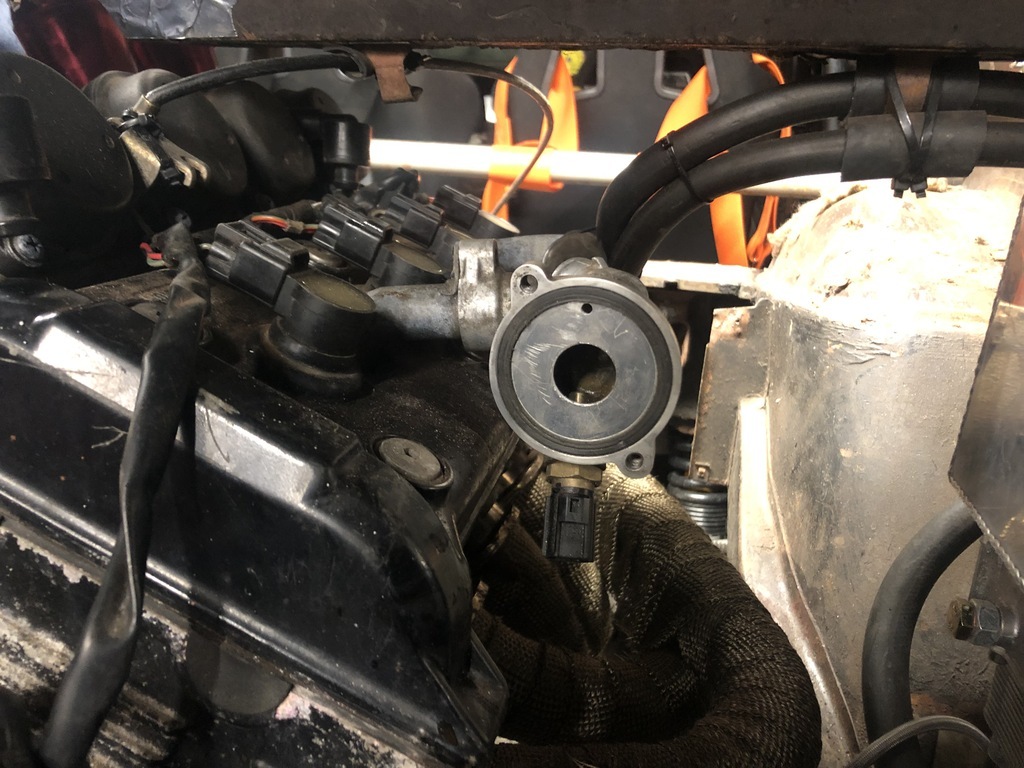
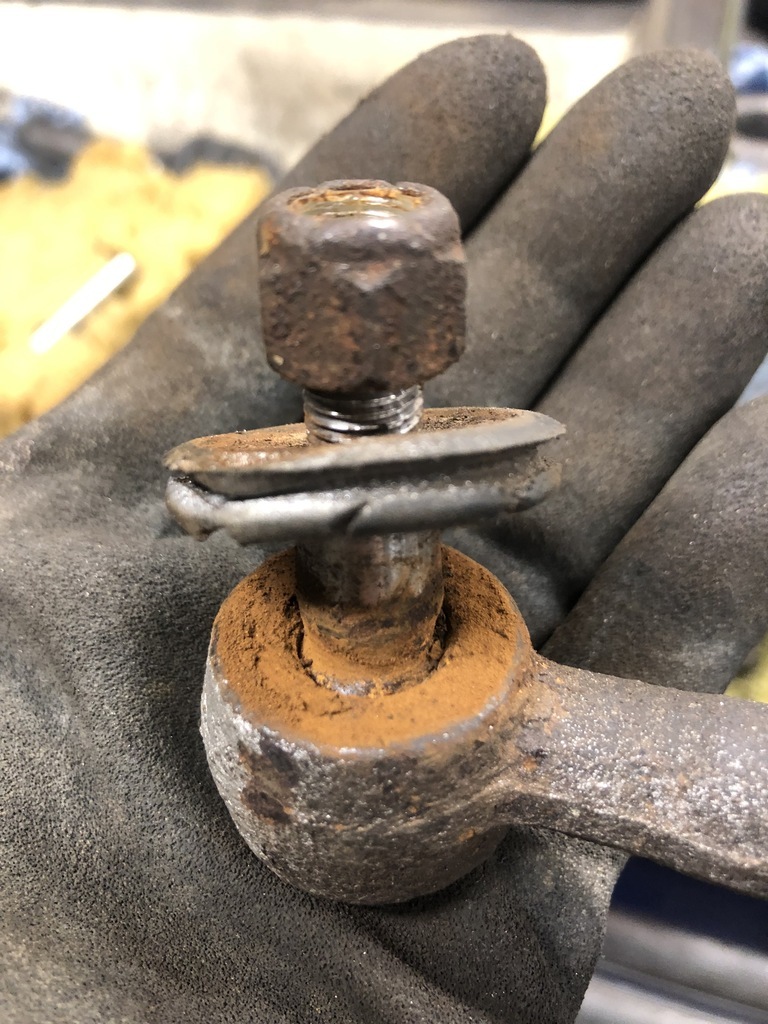
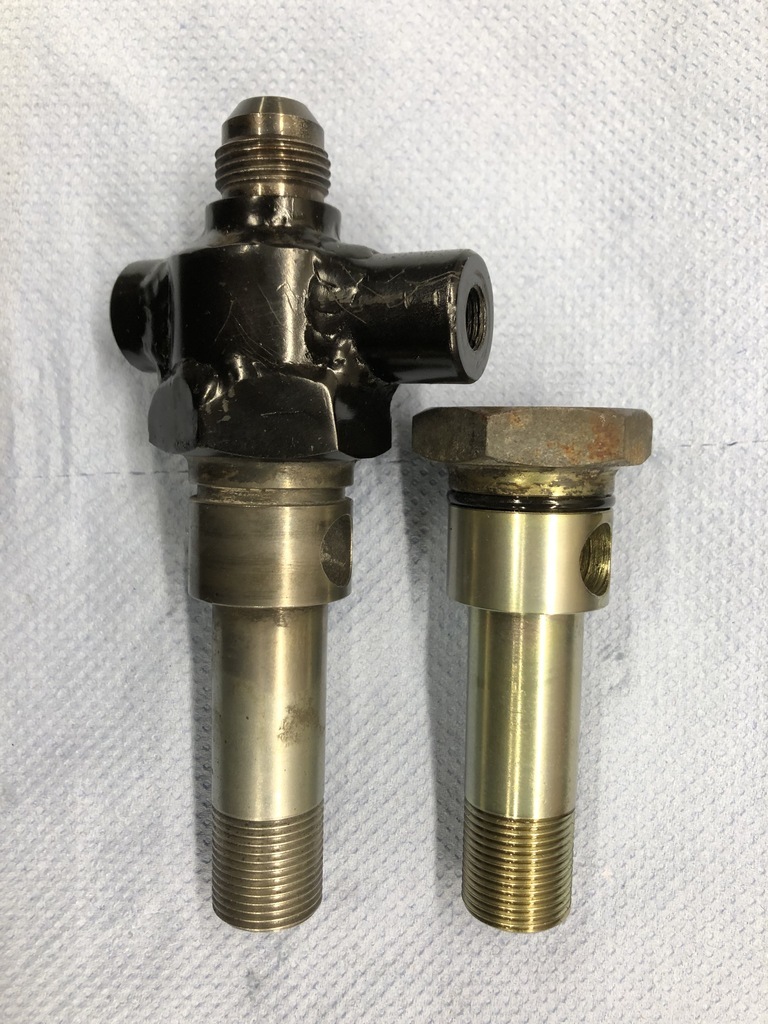
I removed the bolt from the factory R1 oil cooler.

I took this in to the workshop to compare to my modified one. Just checking the threads were the same, bolt was the same size and length etc... I swapped the o-ring over and put this back in.
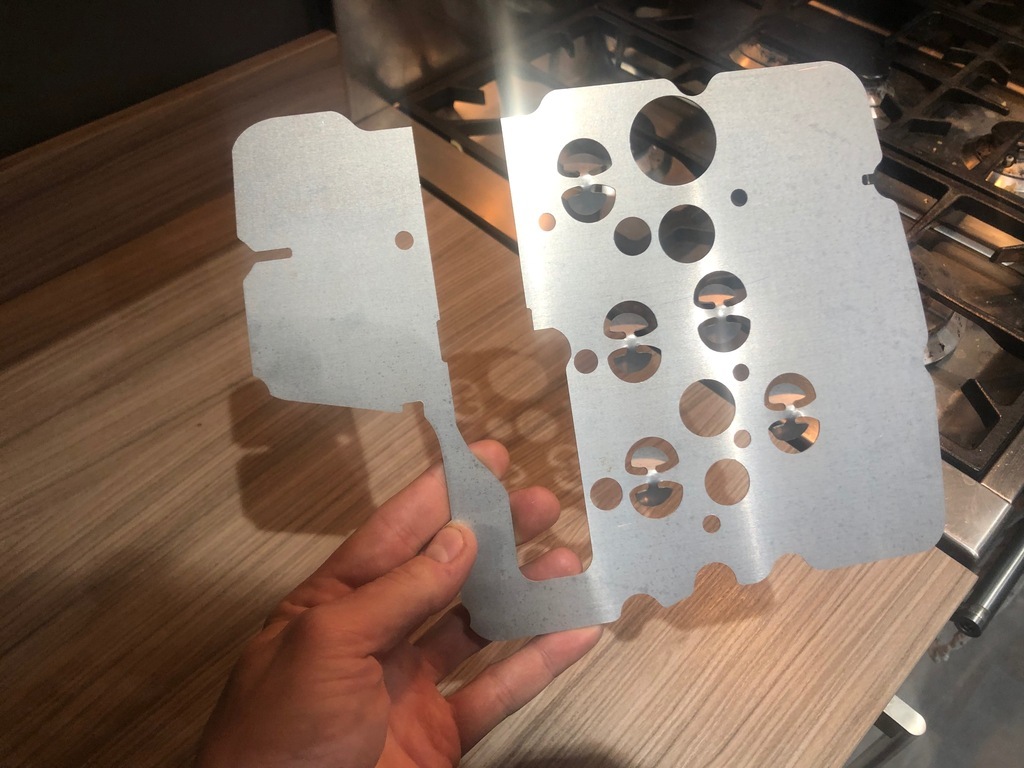
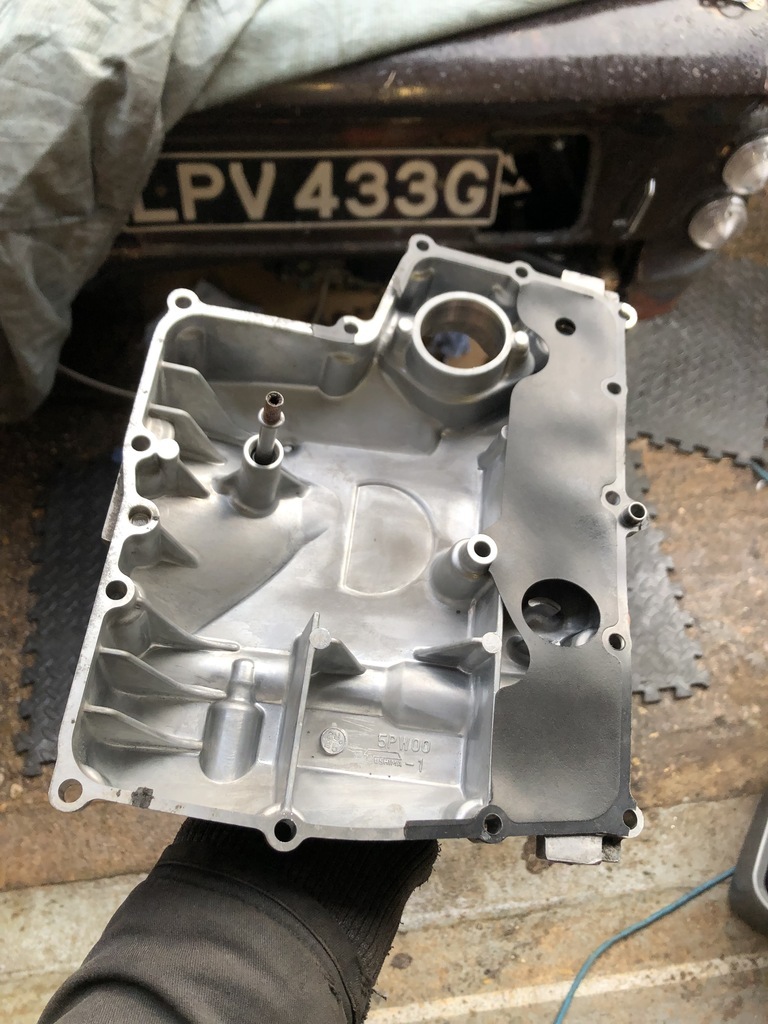
I dropped the sump off so I could fit the baffle plate.

All looks pretty nice up in there.
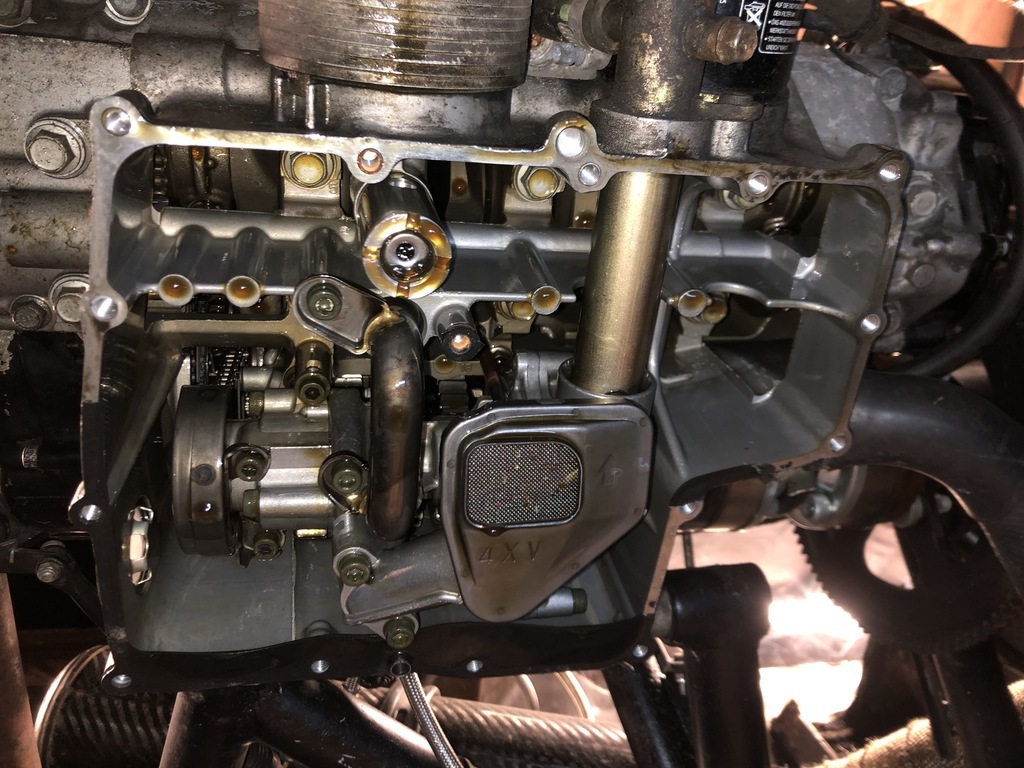
Bit of a bad timing to call it a night but it started raining and it was quite late now. So I covered the engine up with a bin bag to stop any blown debris finding its way in.
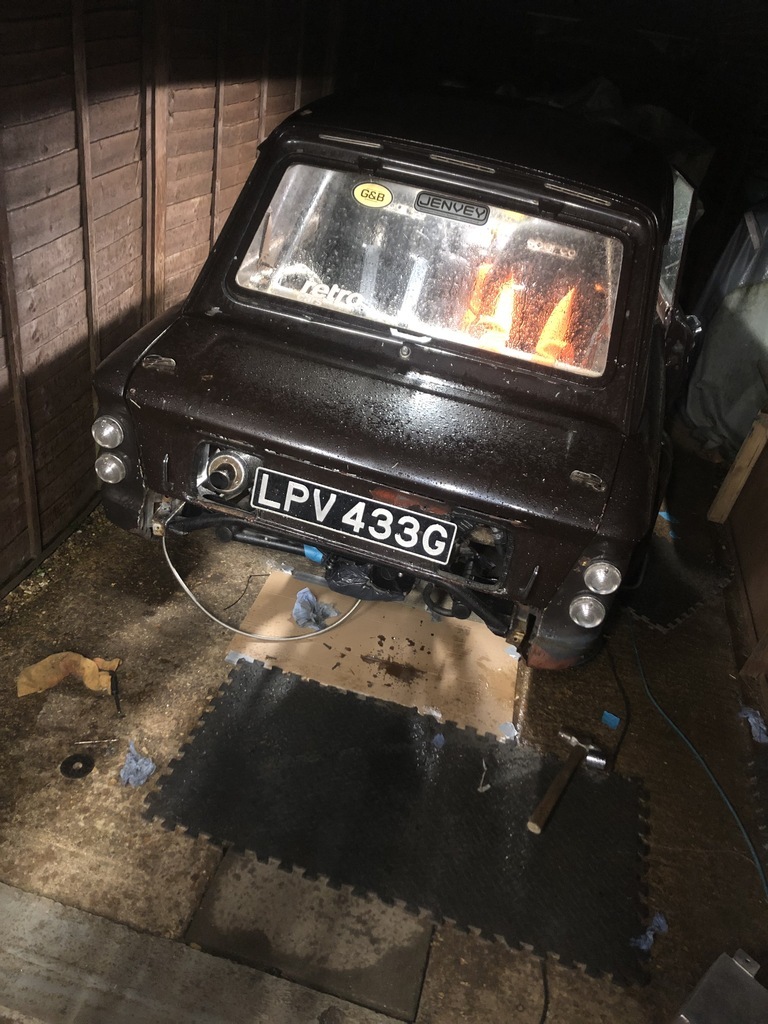
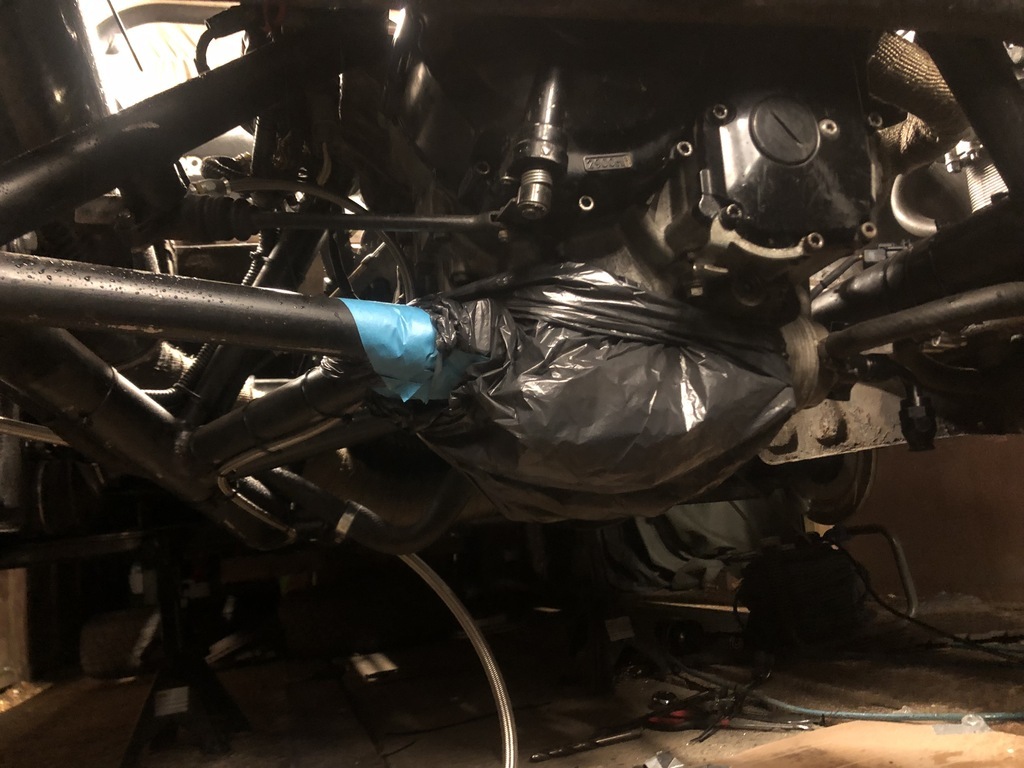
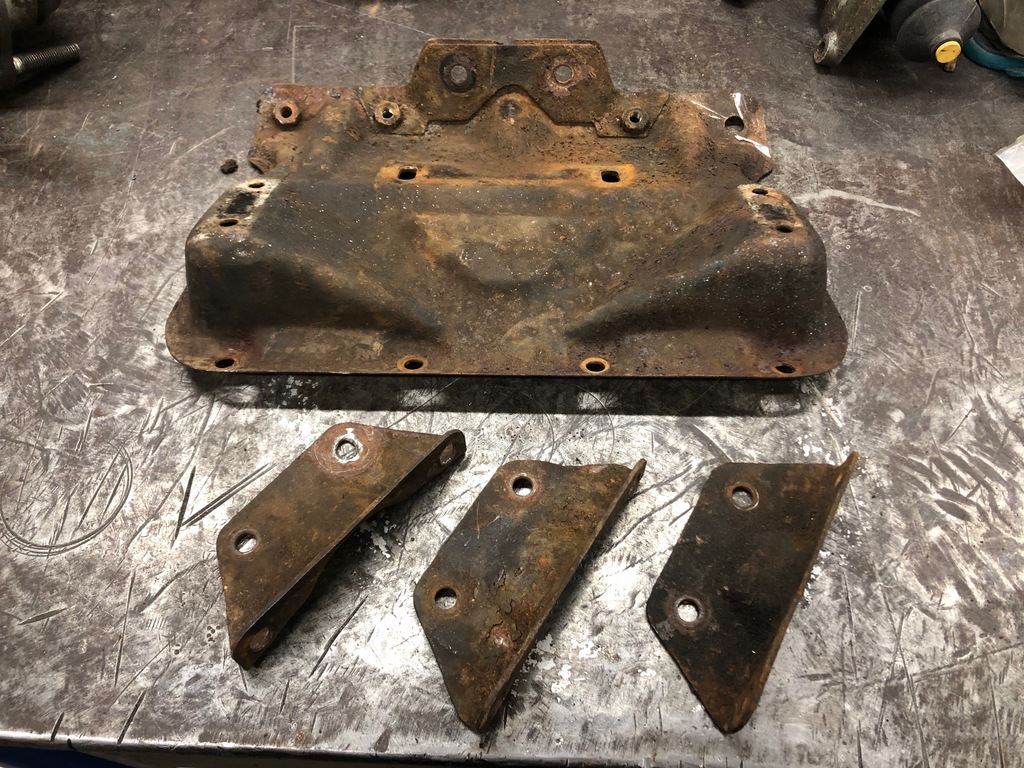
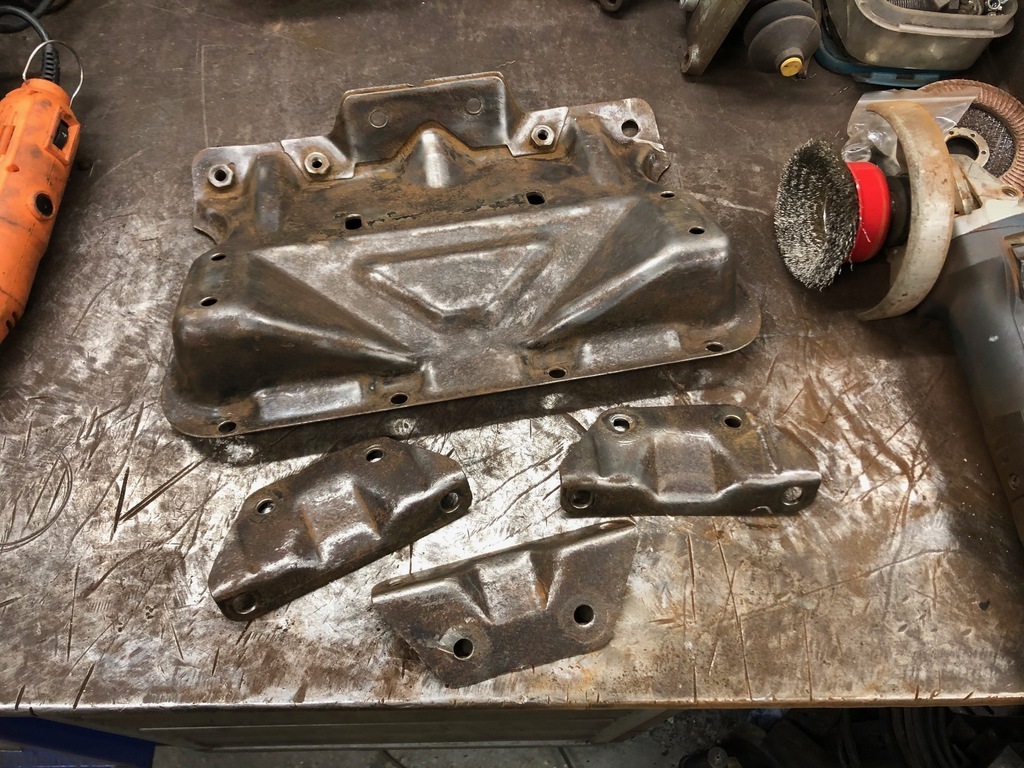
I took this opportunity to make a bit of a sump guard. Well not a sump guard maybe more of a deflector and a way to tell if we get close to something. Theory being if I drop a wheel off a curb at Donington I could easily catch the sump. It sticks right out the back in the middle and very low to the floor.
2mm sheet steel bent and welded... I'm not sure it will be the most aesthetically pleasing thing but we can make a new one if we don't like it. I think a nice ally one will be in order one day.
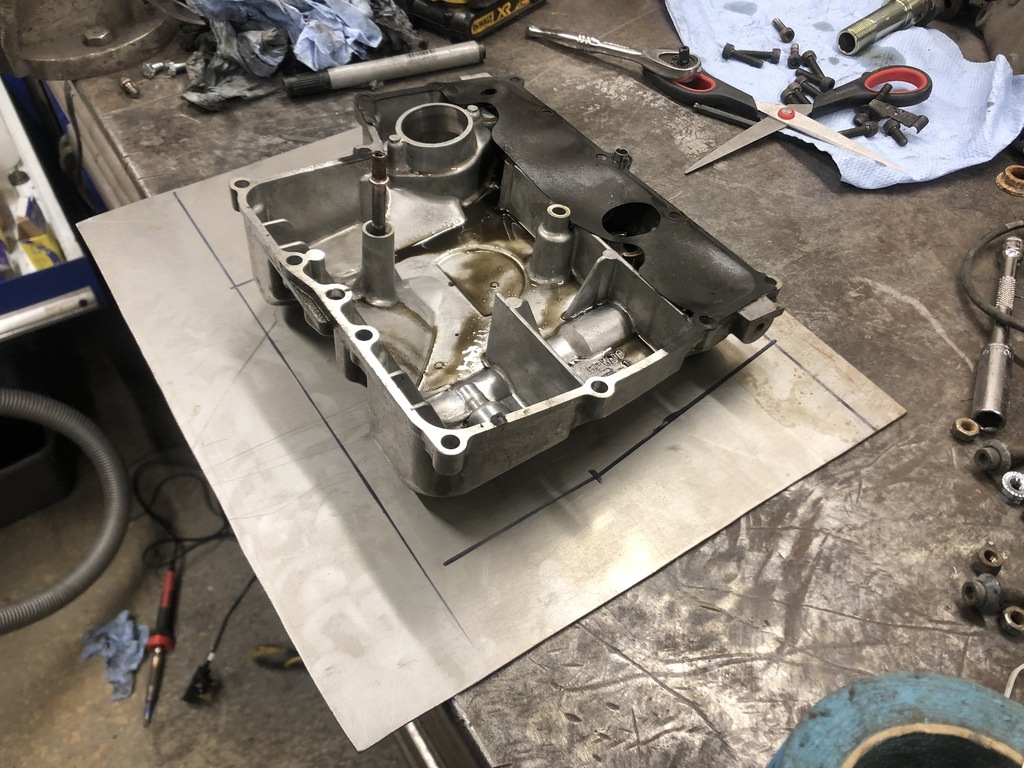
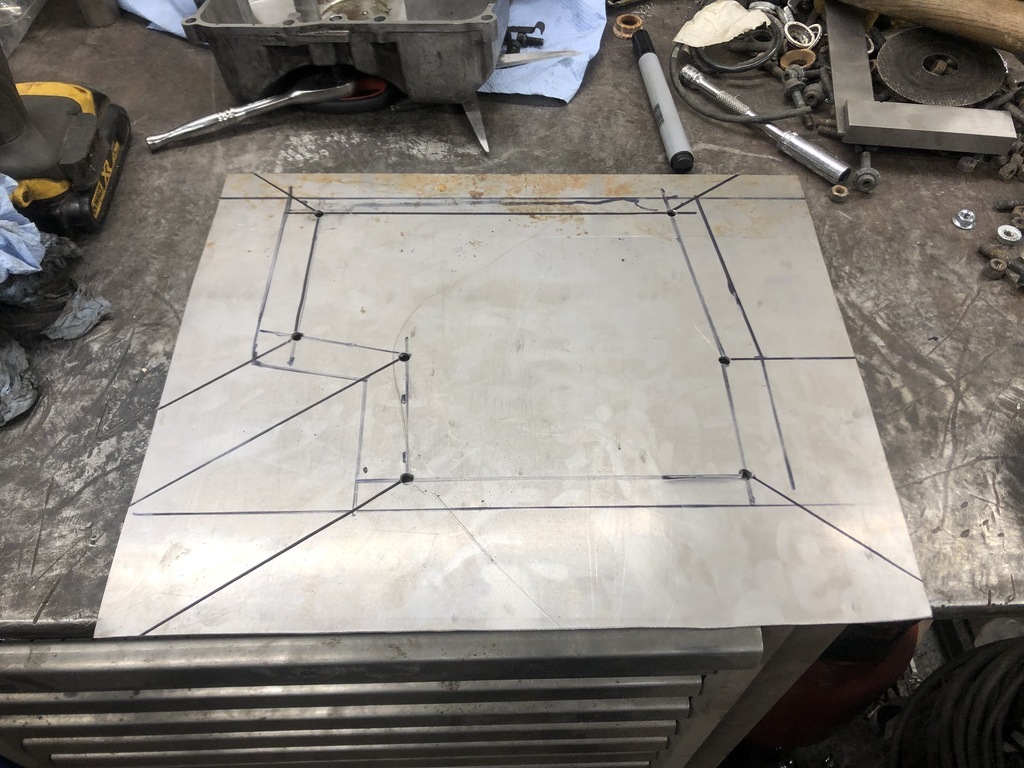
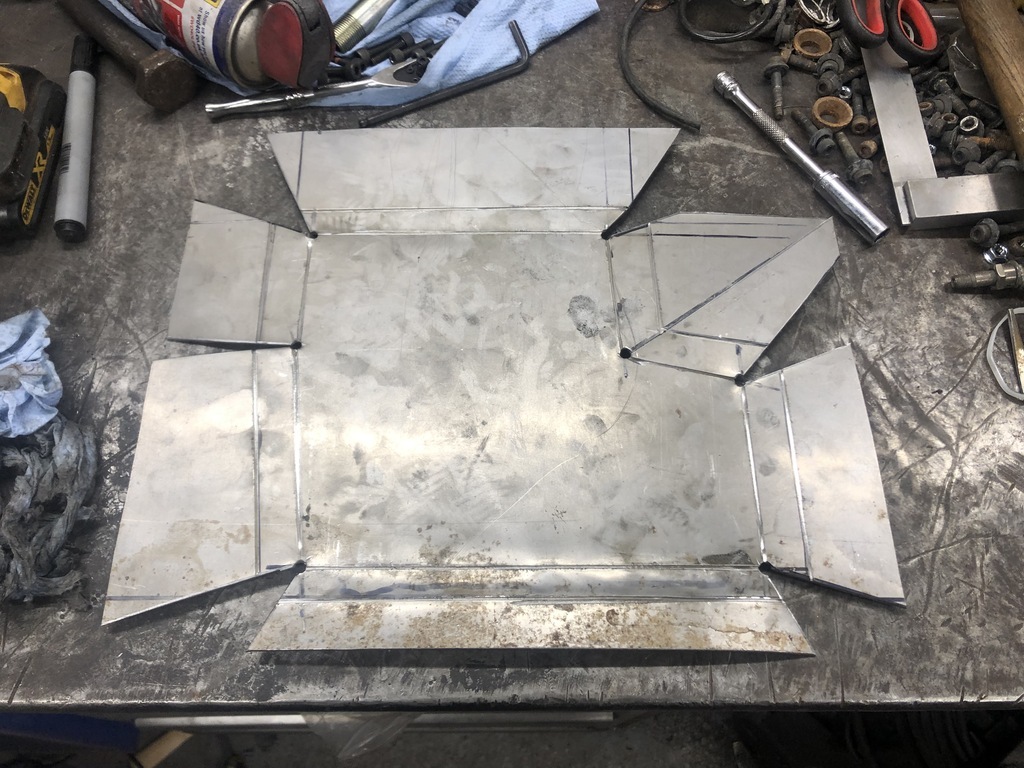

Sunday now, I got the baffle fitted. You need to remove the pick up and some other bits which sandwich it in.

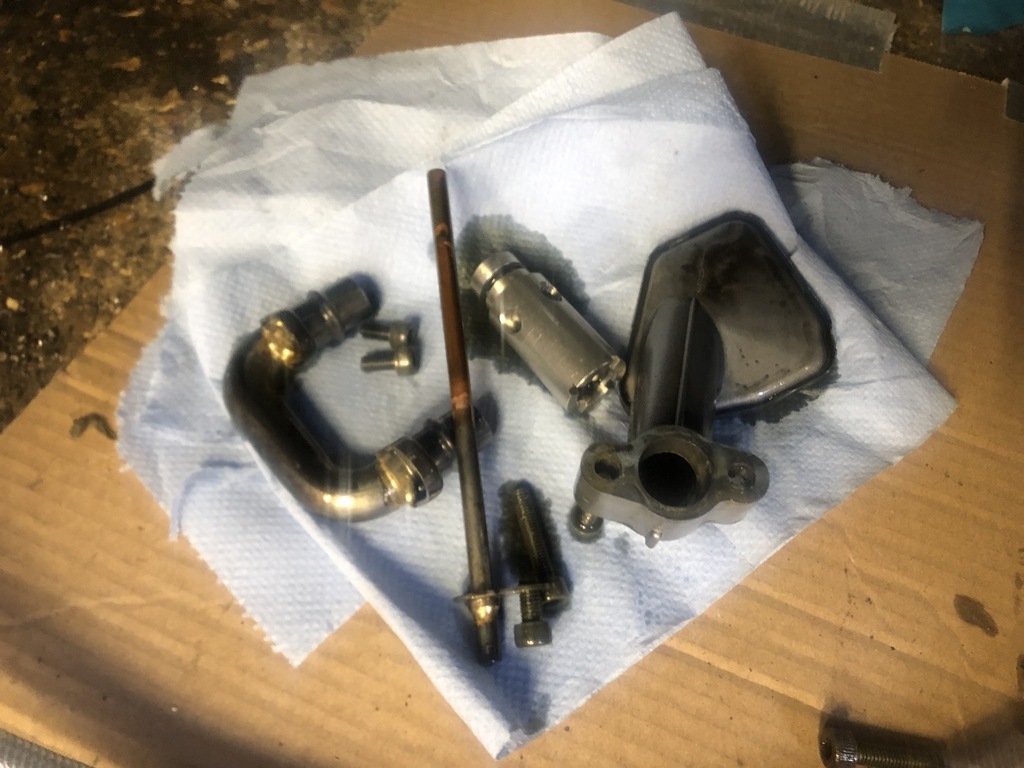
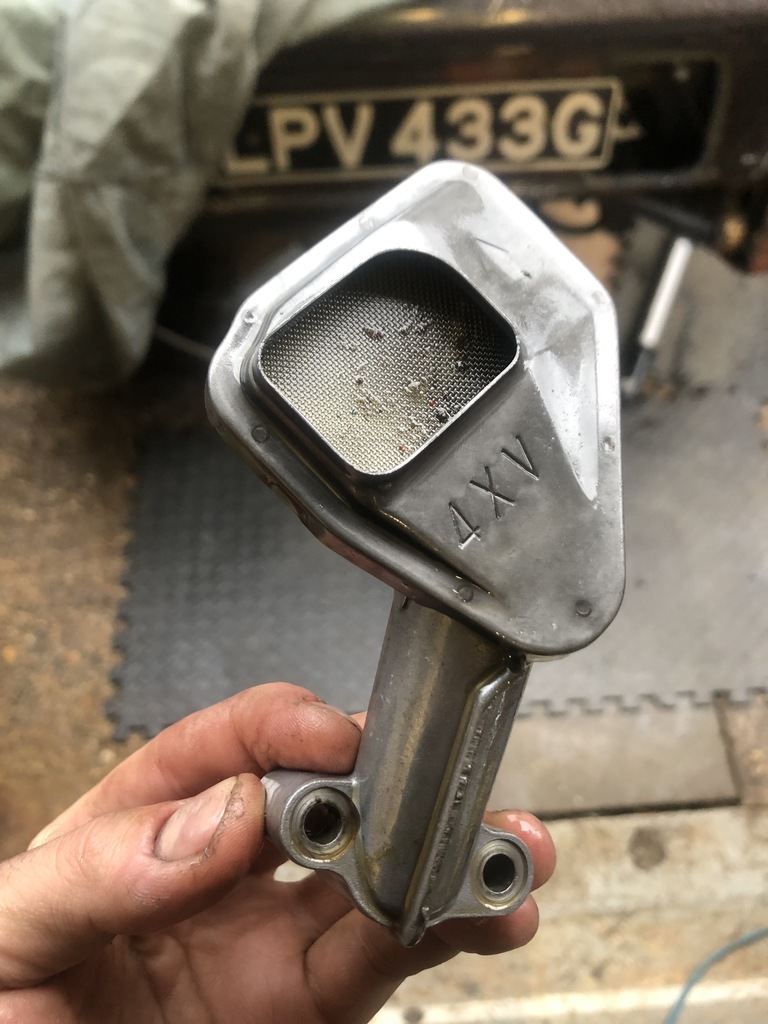
The strainer need a bit of clean.
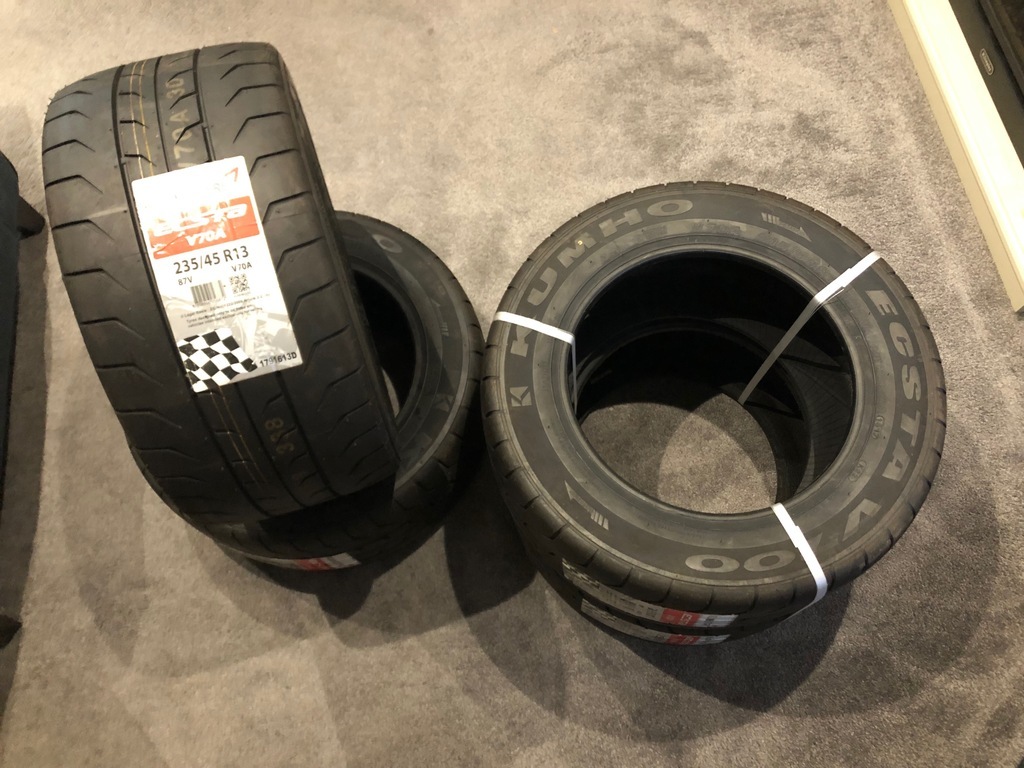
Picked up the new oil...

I have purposely not removed the old gasket just yet just in case I have to send it as it is.. there is a new gasket in the postal system. When this arrives I will remove the old gasket.

I cleaned out the sump and got it put on with a few bolts for now until the new gasket arrives.
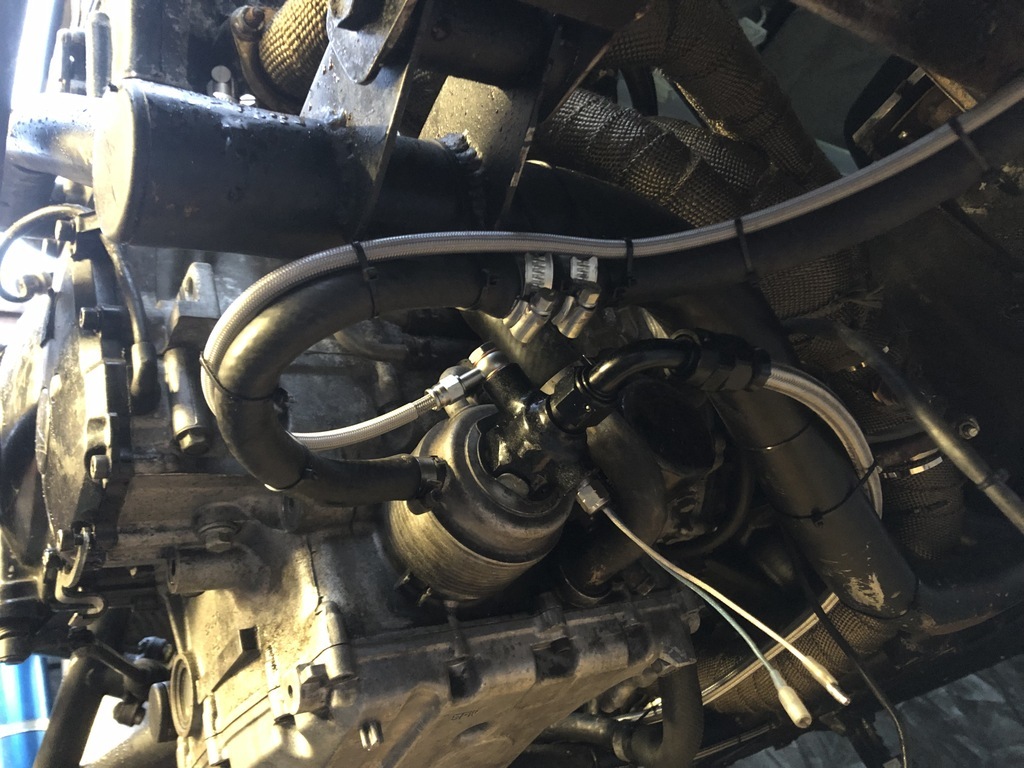
I made up the oil line to the Accusump as well as the line to remote mount the pressure sender.
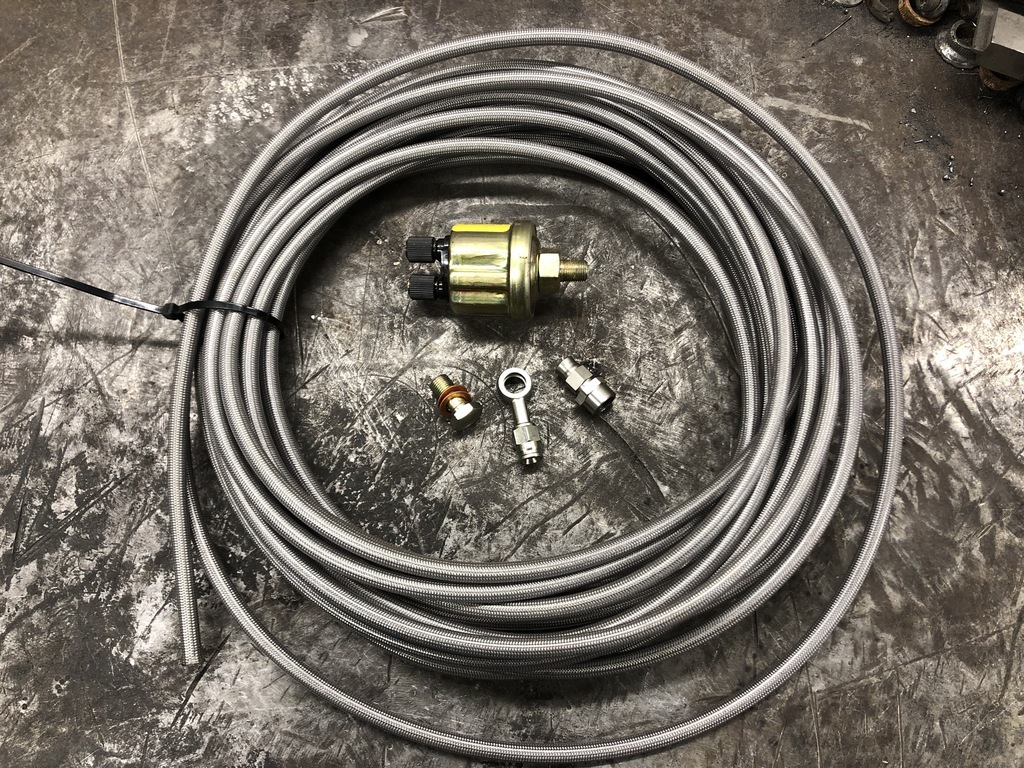
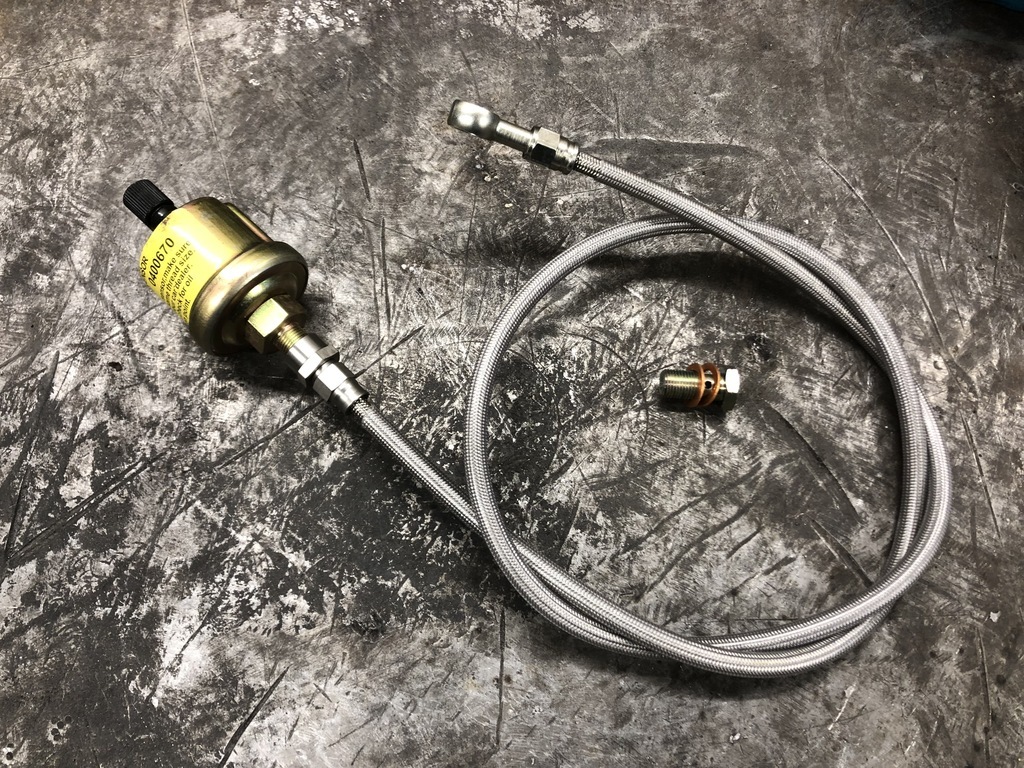
Just a bit of wiring left to do for the temp sensor and its good to go.
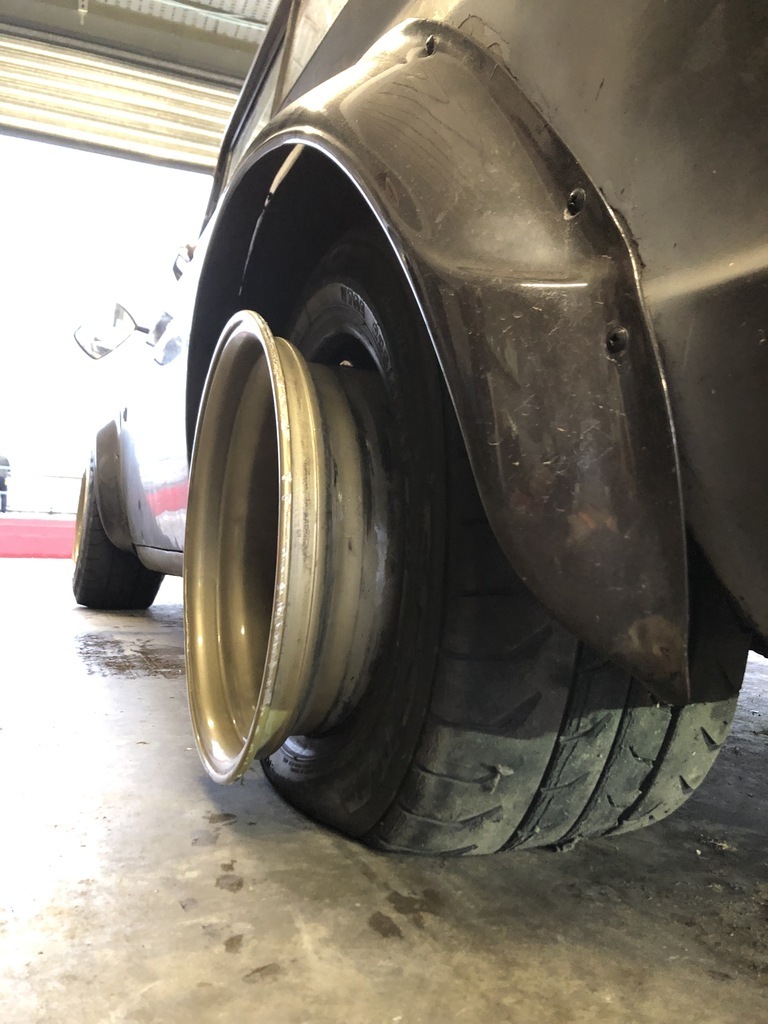
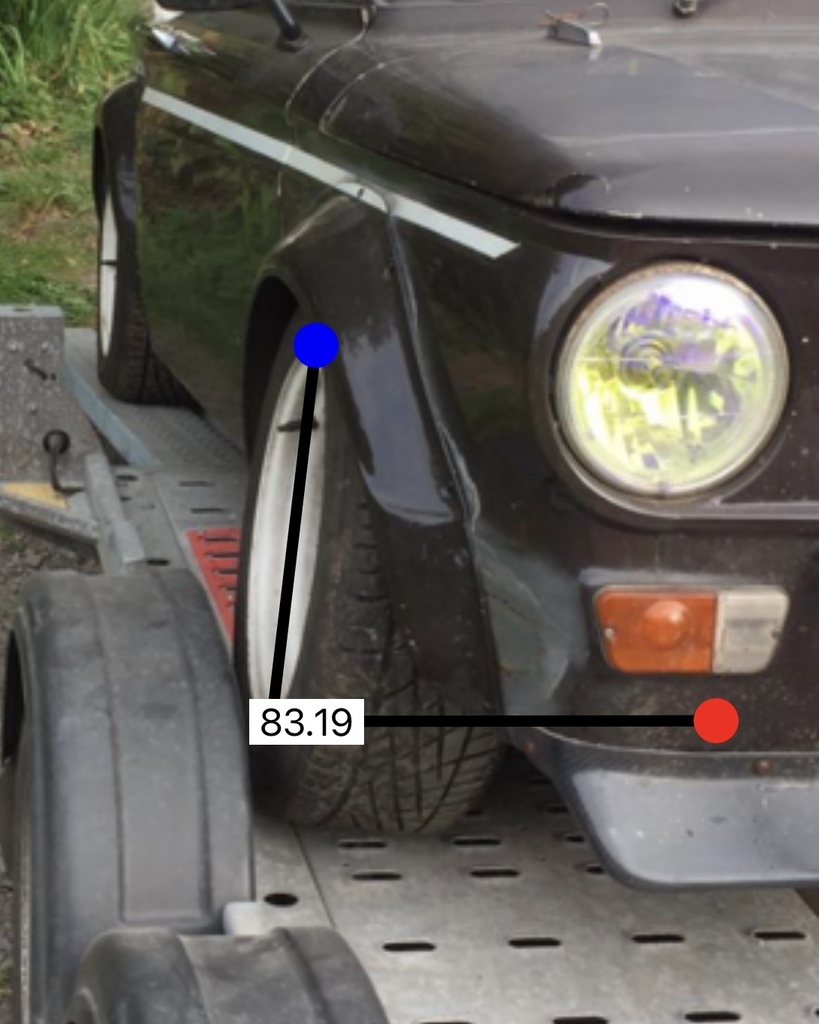
Speaking to Dad on Friday we didn't believe the camber adjustment with the top hat set up is enough and certainly not enough to mean its actually adjustable aka we think it will just be at maximum all the time. Stupidly I never actually measured the camber before taking it all apart but we knew it was a lot. I went back though my photos to try and find a straight on view. This is as close as I could find.
Using a free app... as crude as this is it gave us enough confidence that we needed to go more. Remember I have about 3 degrees of adjustment back so I doubt we can go over.....
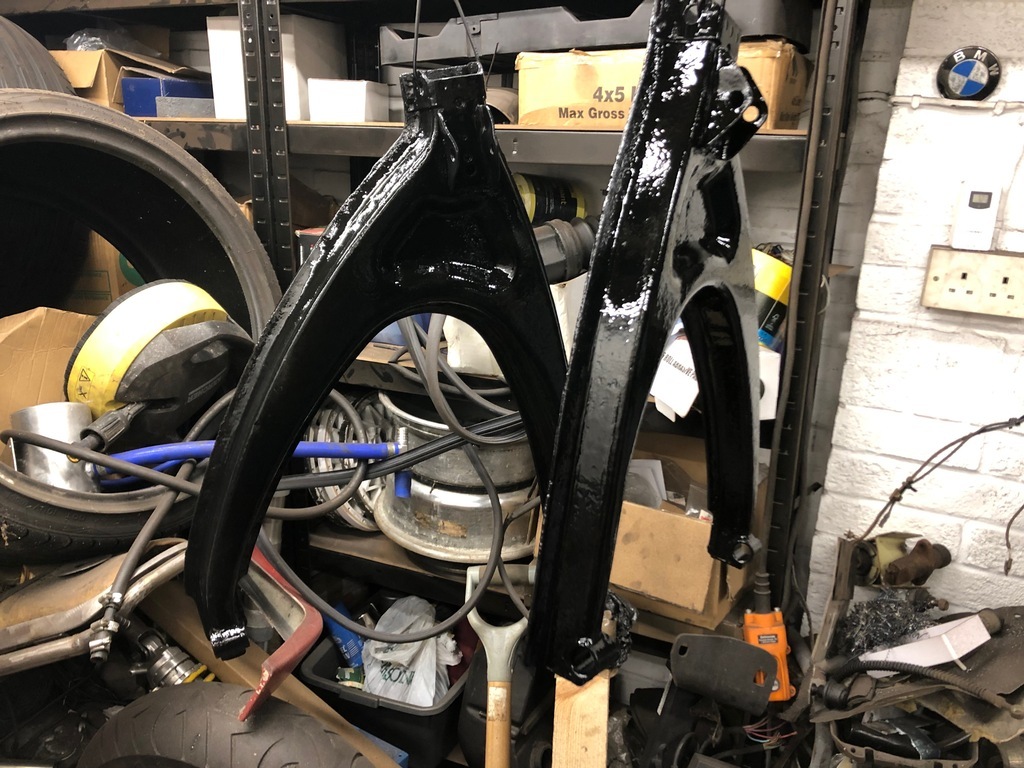
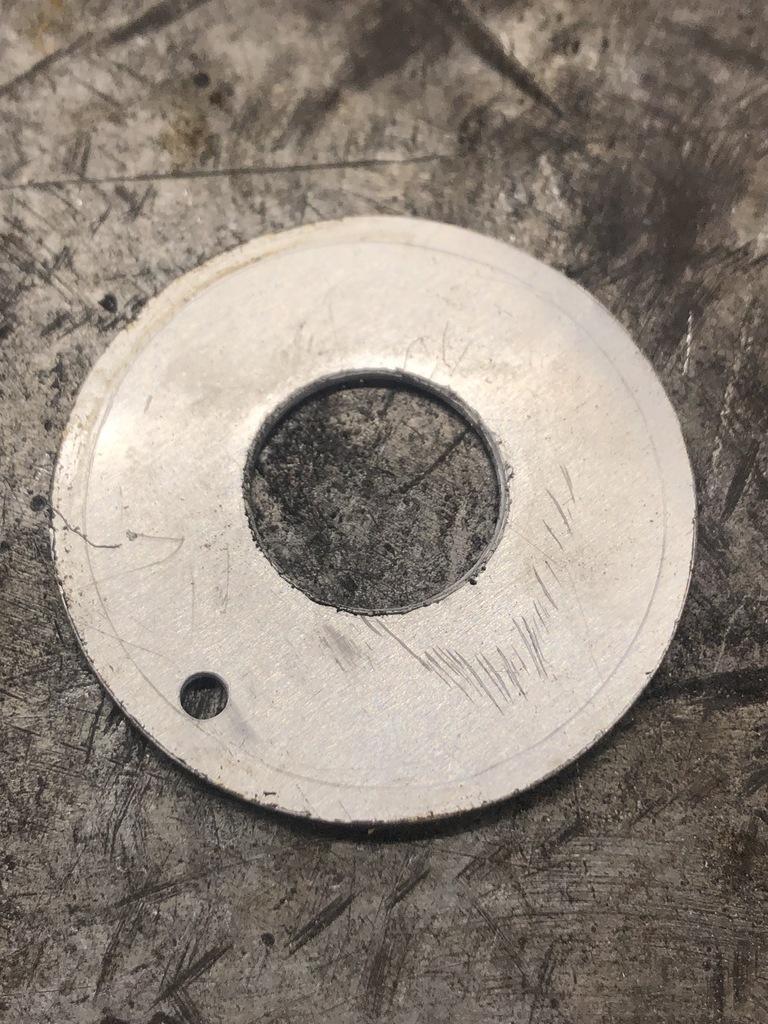
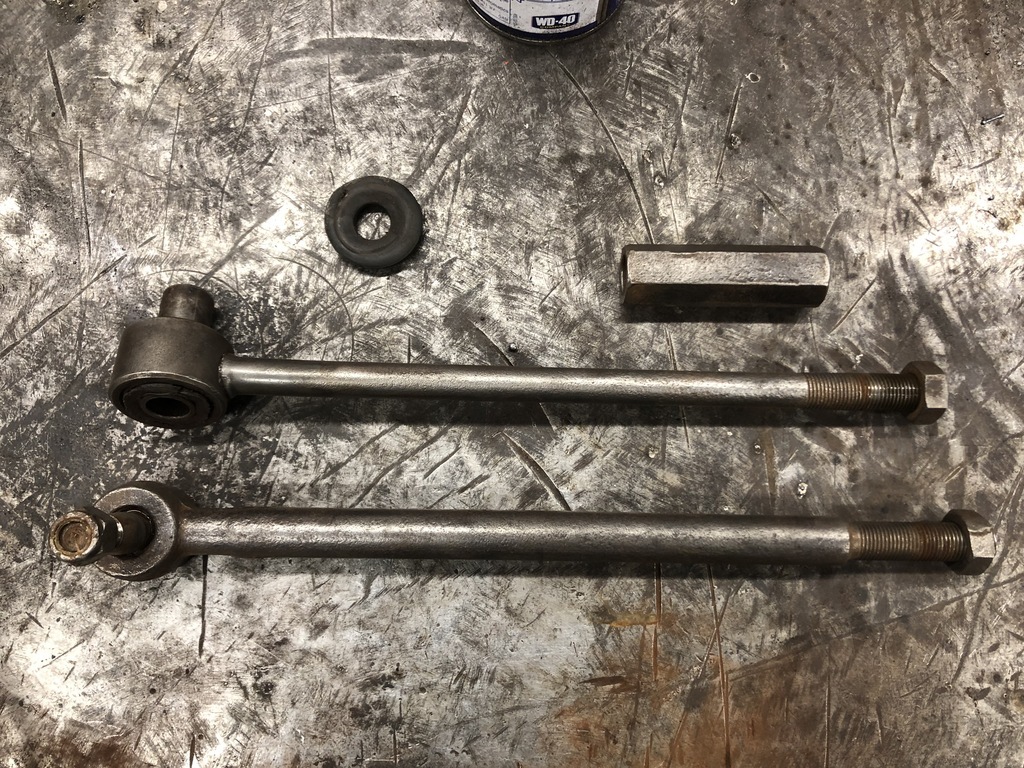
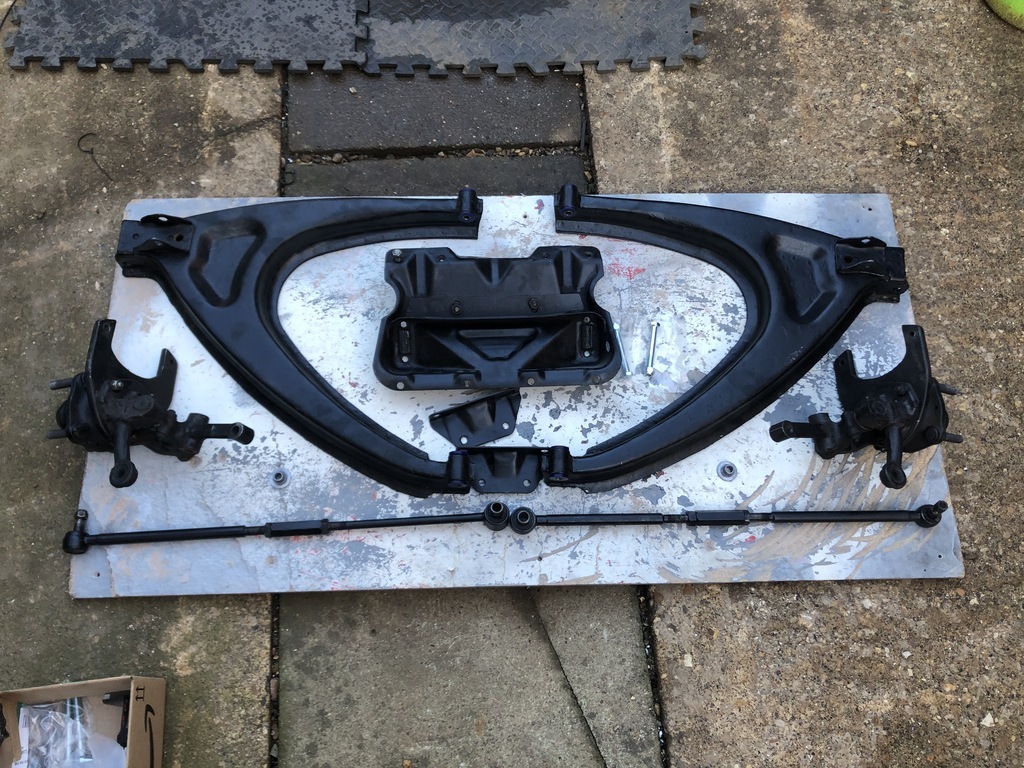
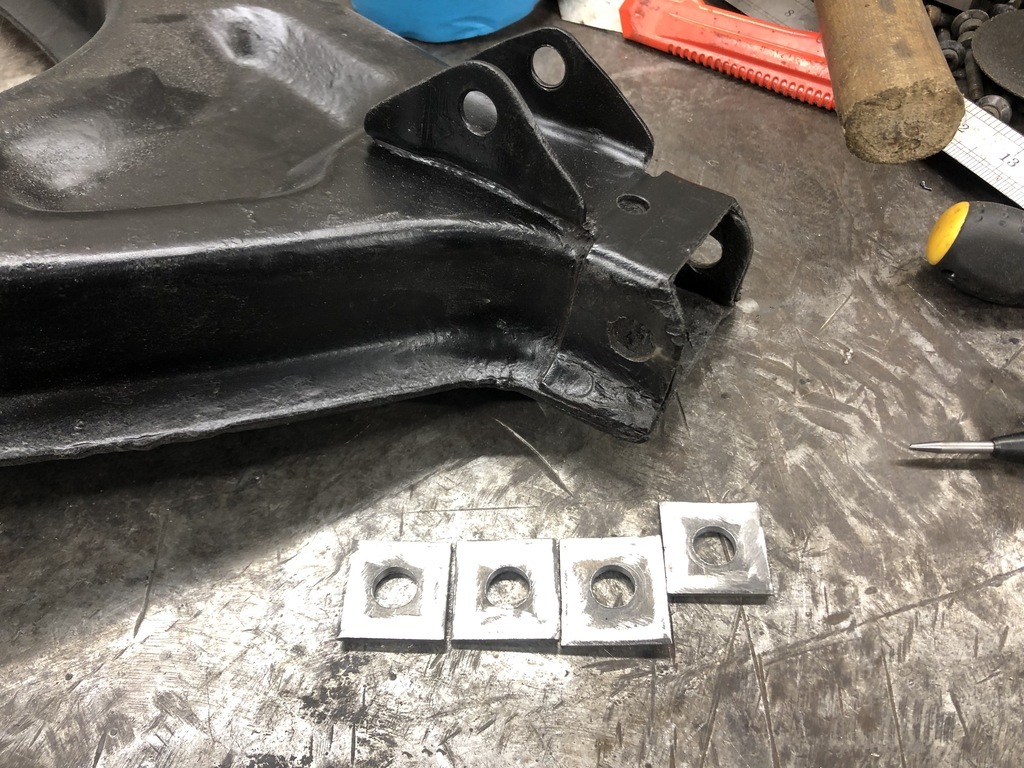
I made 4 washers to basically weld on and move the front pivot hole down.
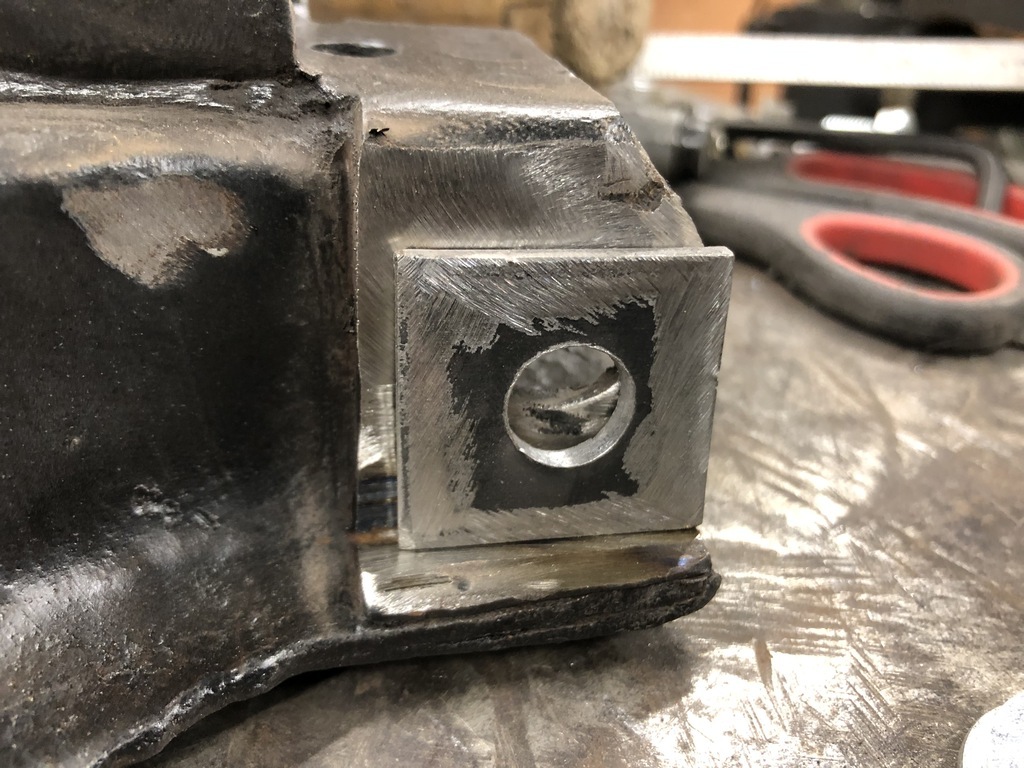
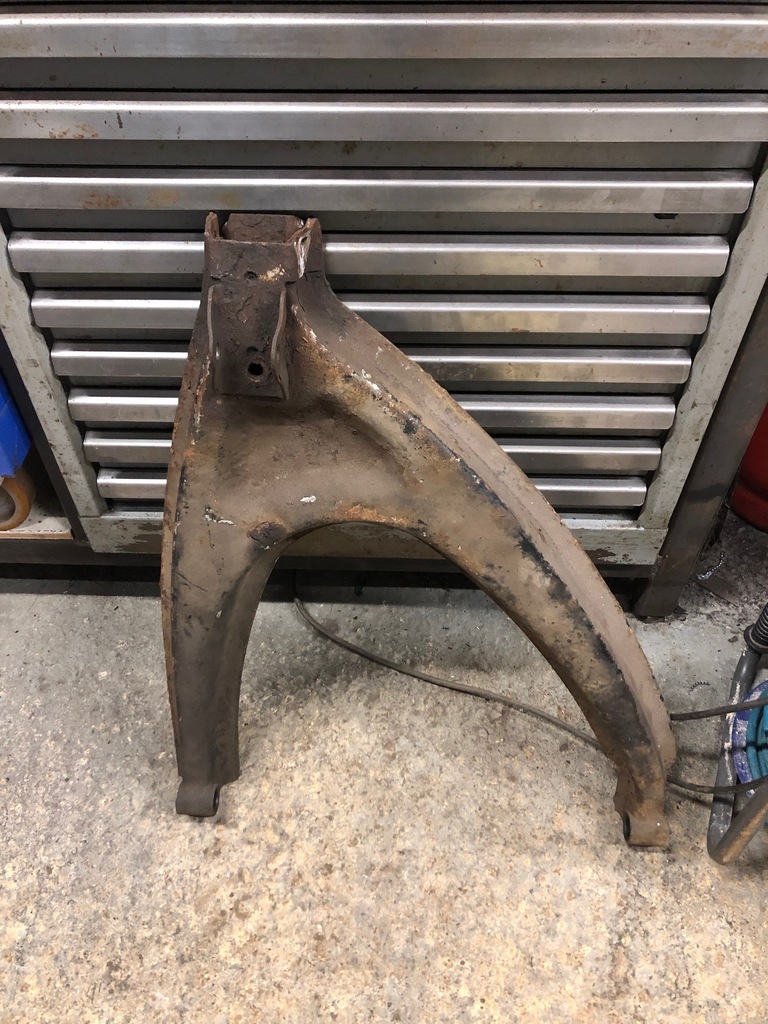
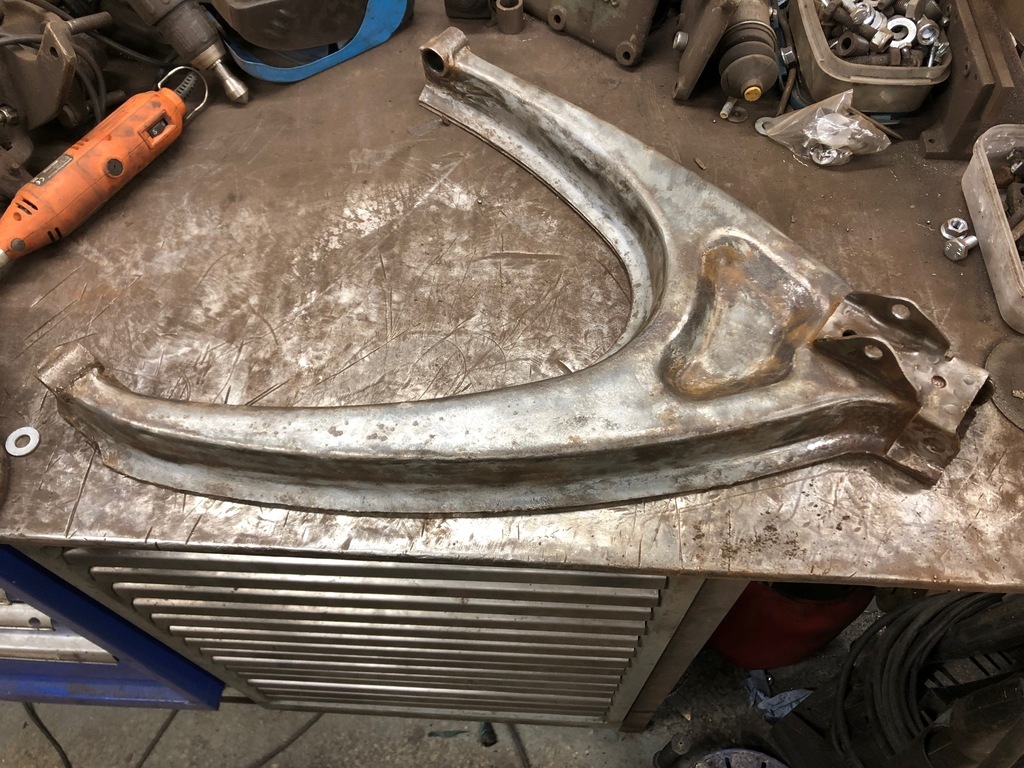
Trying to horse the holes down was pain so I ended up just cutting the old holes out and replacing the metalwork.
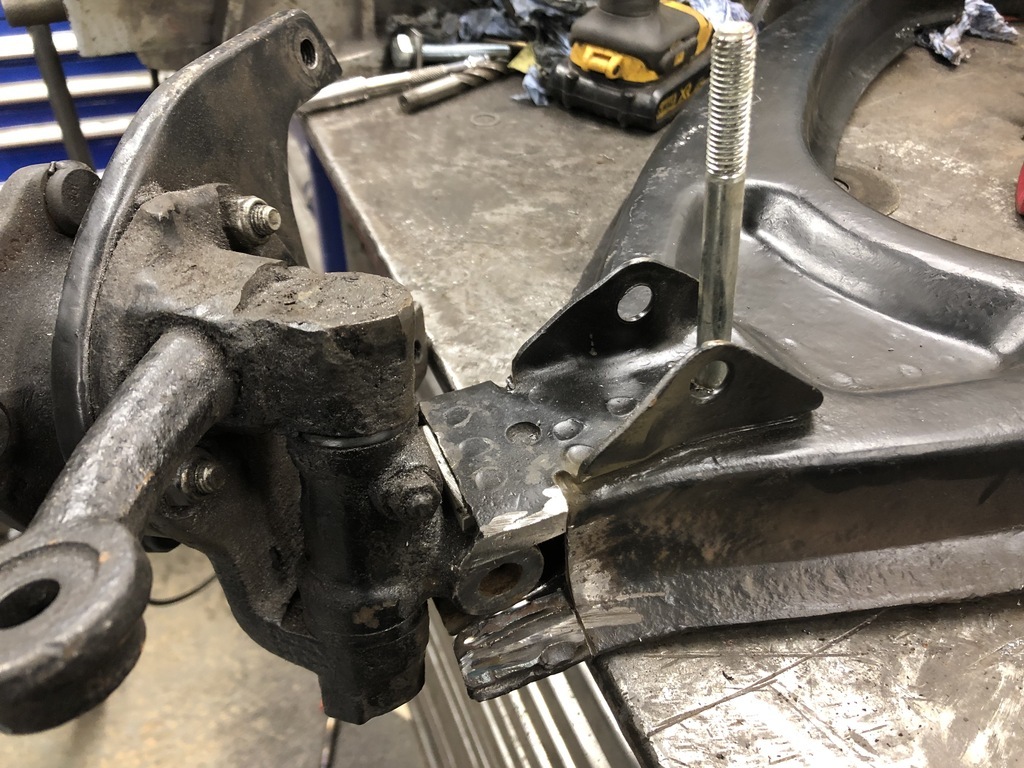
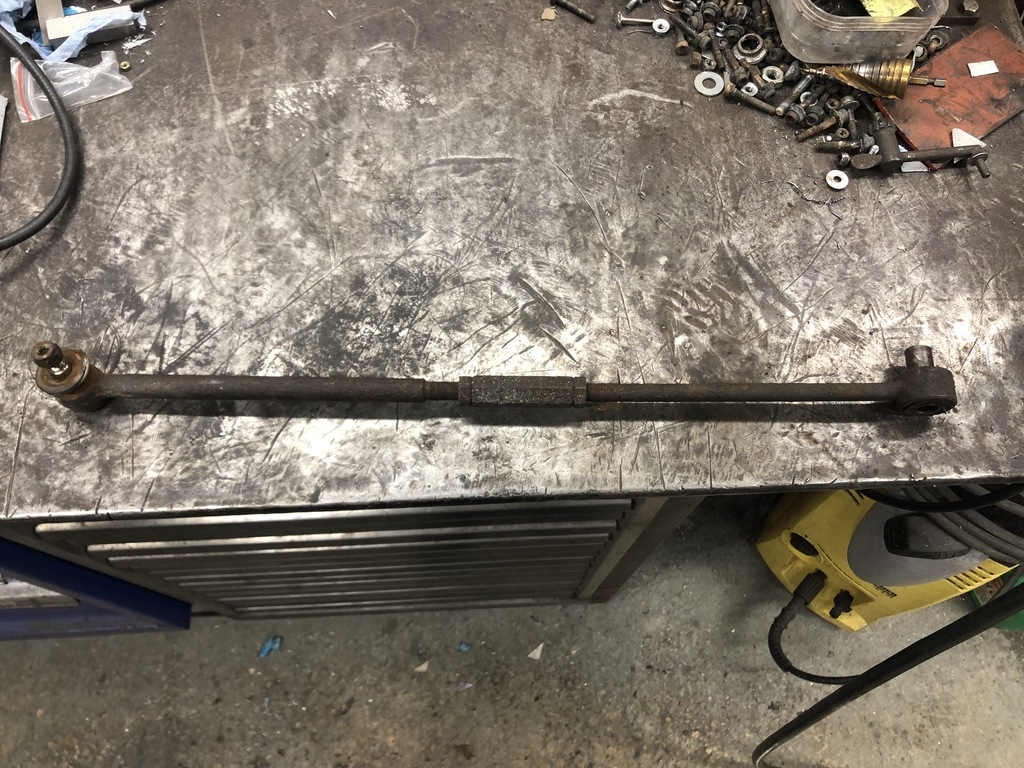
The top surfaces was the control datum face. The standard position was 2mm clear to the upright. To this I added a 5mm thick bit of ally as a spacer. Therefore this will move the upright another 5mm lower than standard location. This is about the same amount of adjustment gained with the shims. Effectively moving the reference and range of sweep another 3-4deg into my favour. It may well be the case that I have to add more shims to the top again now which is good. Hopefully this gives me the ability to play within 1-3deg of neg.

I got them re painted and those can go on tonight.


