I'll have a GoPro running and play around with some angles if I'm allowed... It should be good 
Sunday I started the car up and let it warm up for a bit. There was some sweet tasting steam coming off the exhaust wrap... must be coolant. Looking at the thermostat housing hoses there's pink crystallised residue. It must have been leaking while parked as it never steamed etc at RRG21. I'll have this apart and make sure its all sealed.
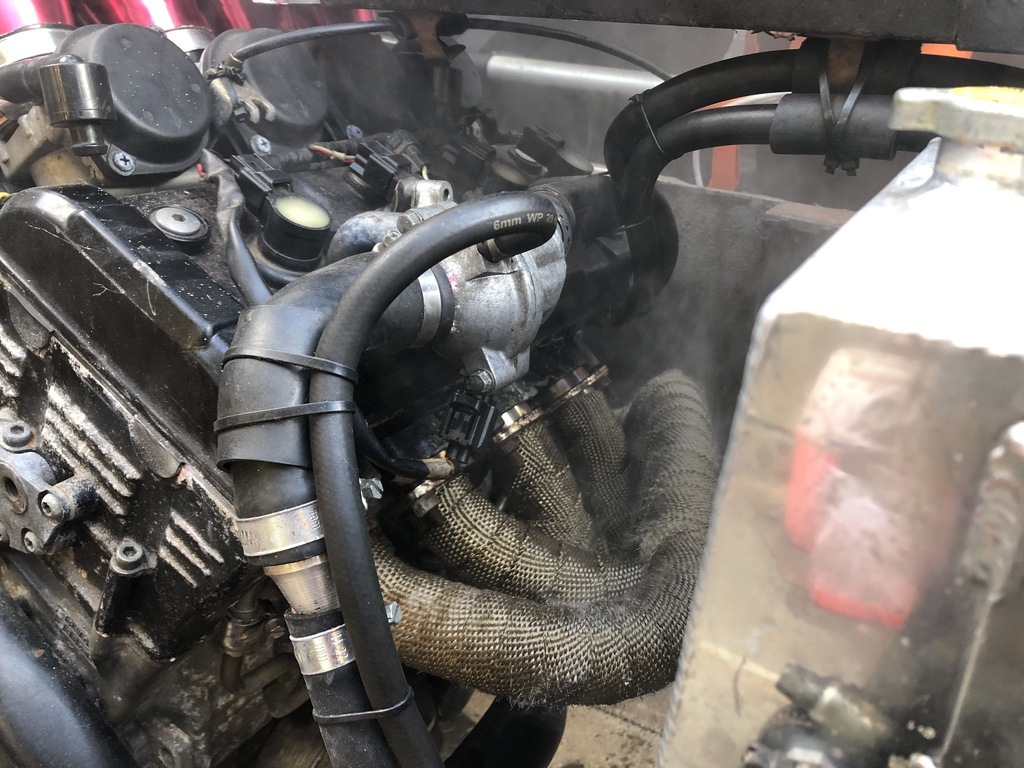

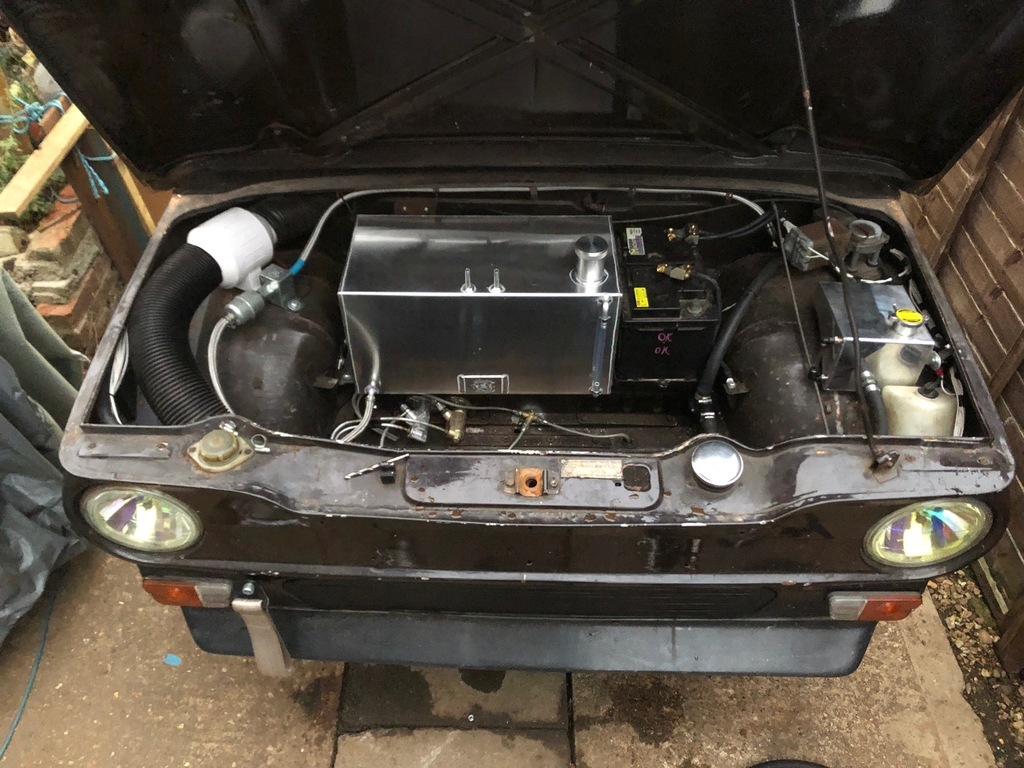
Other than this it was all good so I took the small rear temporary fuel tank off as I intend to replace this with a swirl pot and I have ordered a larger tank to go up front (I hope it fits...should be arriving later this week).
Swirl pot borrowed from an old race car...
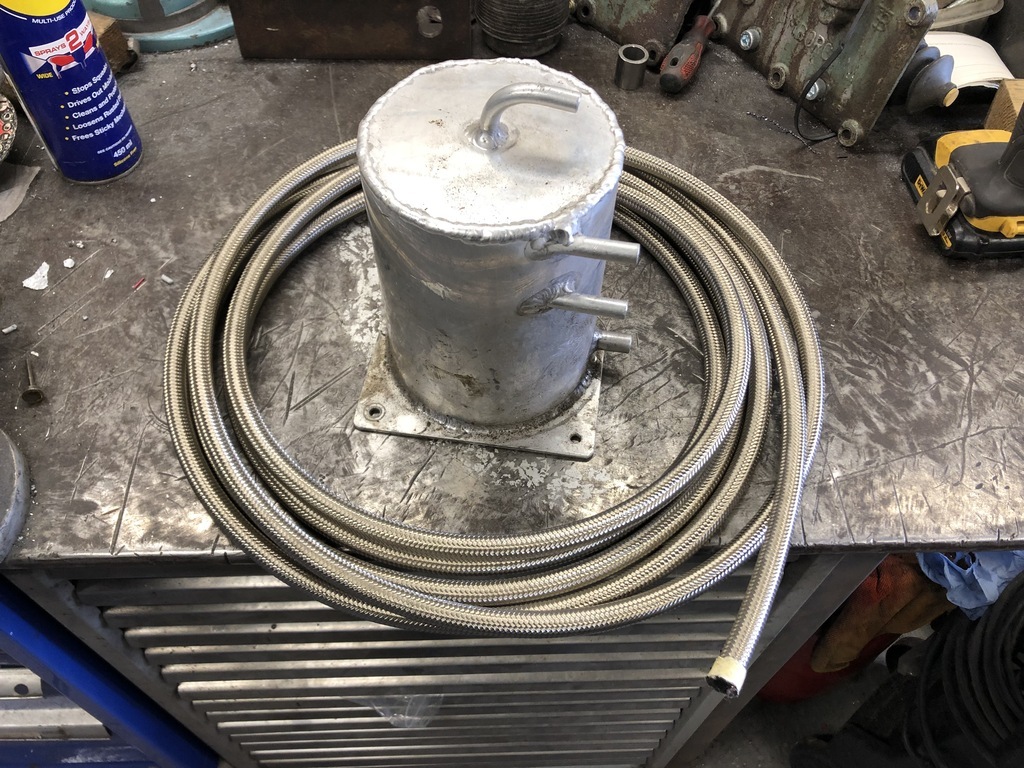
Temporary tank... Did good for retro rides but no good for a track day wouldn't do many laps on that.

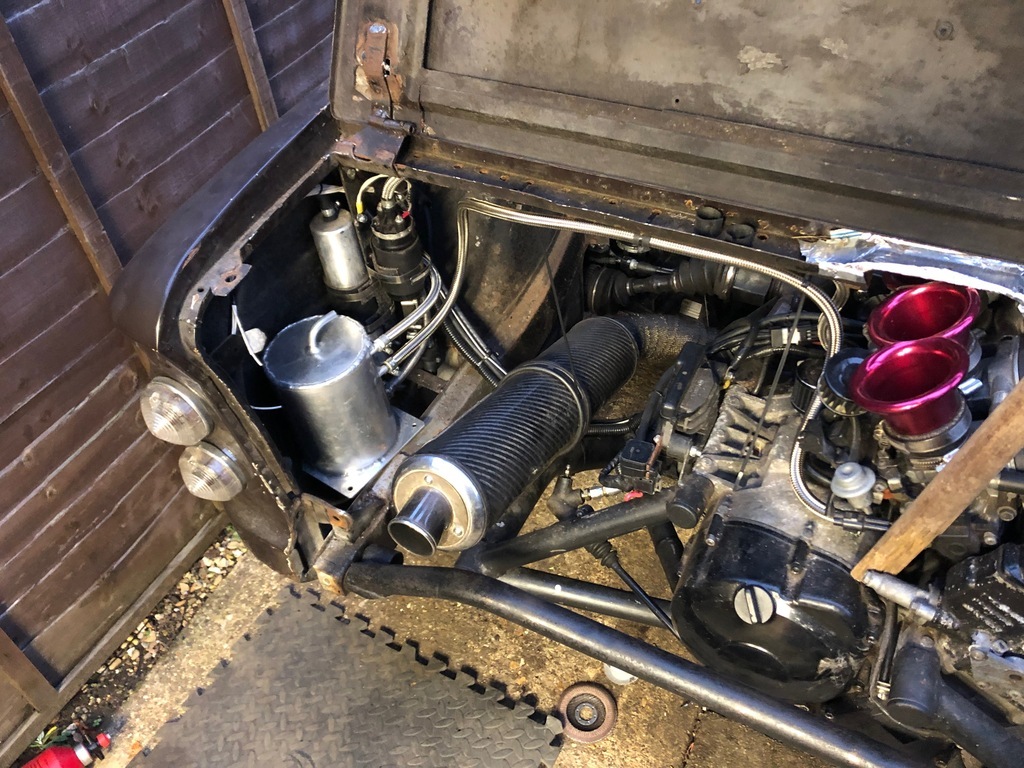
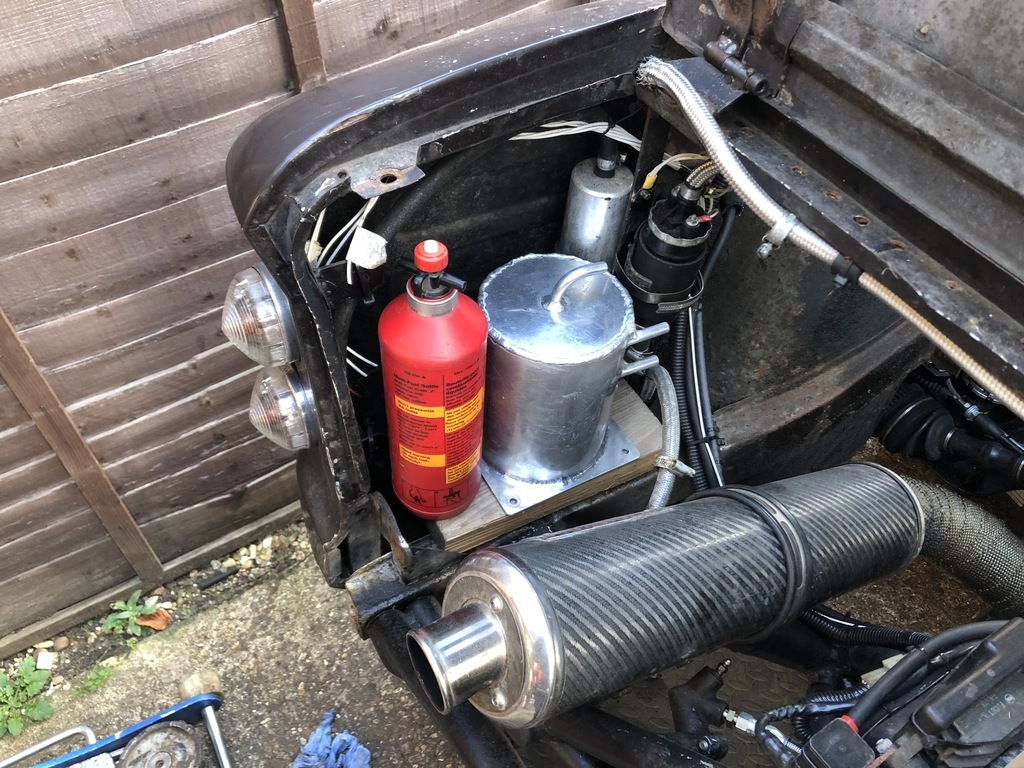
I'll mount the swirl pot in this space. The red bottle is simulating an Accusump that I have bought... I'll get more into that once it arrives.
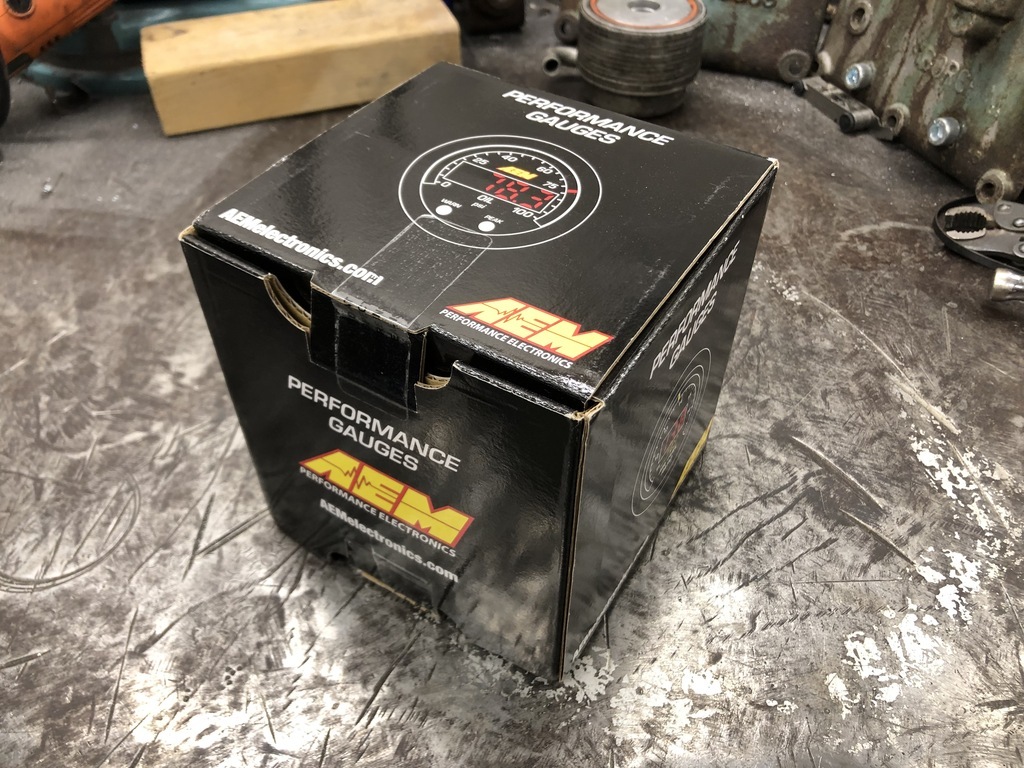
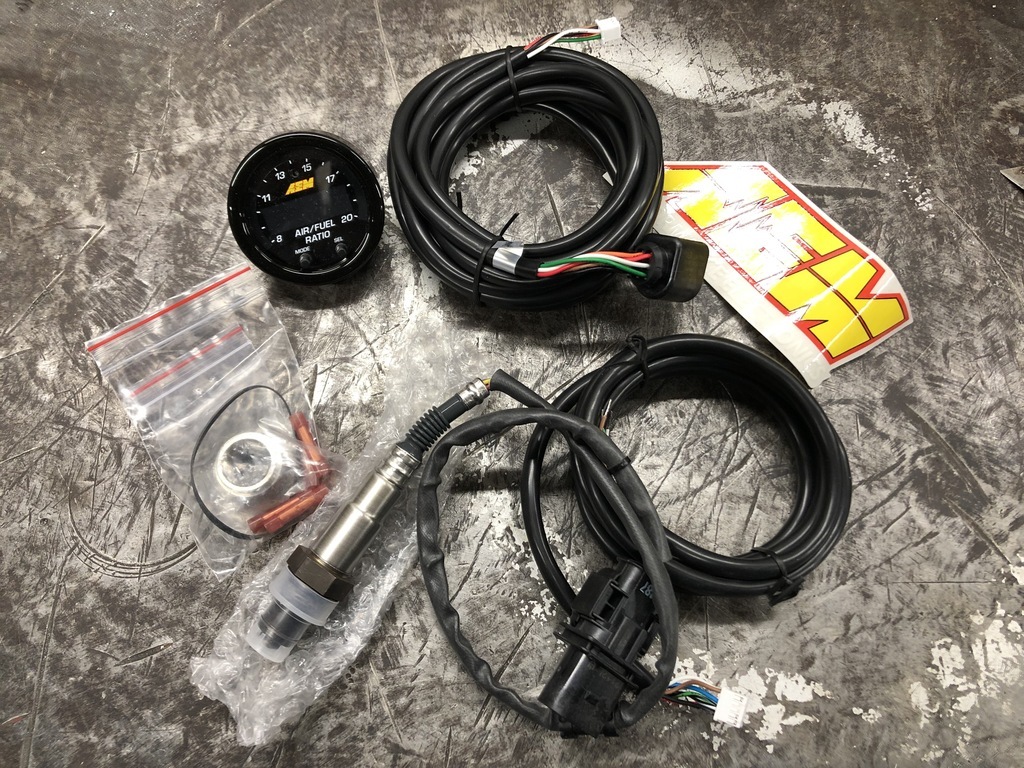
I've bought an AEM air fuel ratio gauge. I've made my own exhaust, the intake is currently open etc. I have a dyno jet power commander 3 that I've had for years and should allow me to tweak the fuelling but I've never fitted it. I hope to get all this mounted before doing too much full throttle running if I have time. I'm sure its fine but good to check I'm not leaning it out.
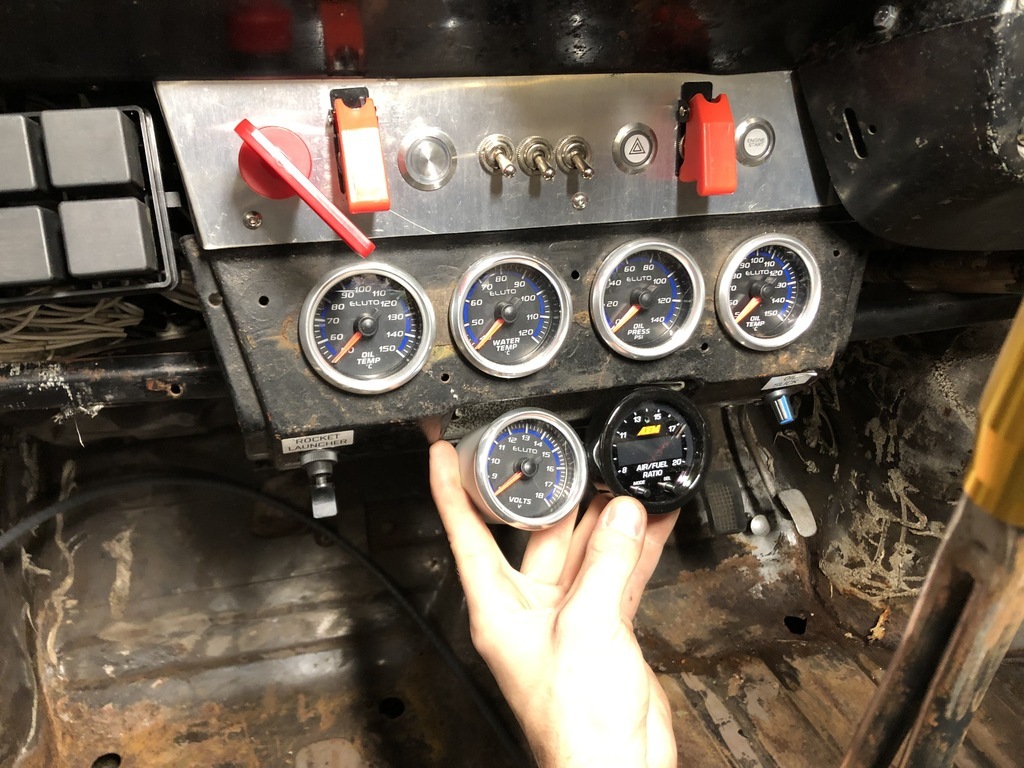
Where do I put the gauges? Volt meter and AFR still to fit...
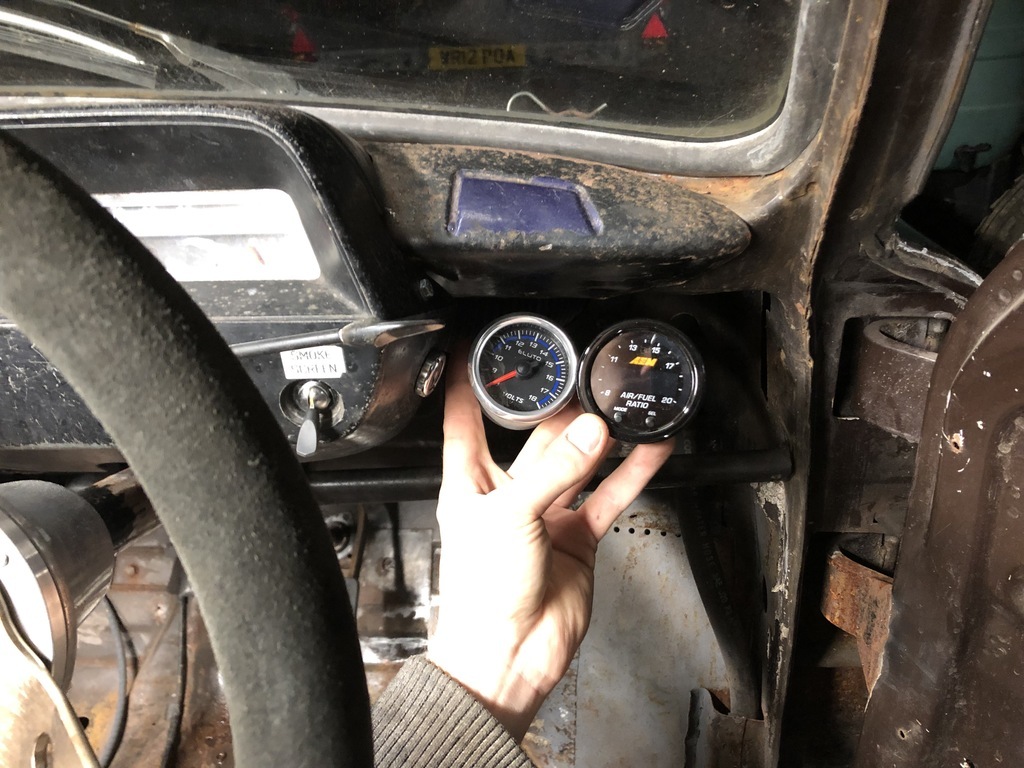
I'm thinking in the middle is better as I've got the front section of the roll cage on order and I expect the leg will cover where ever I put them, sods law haha.
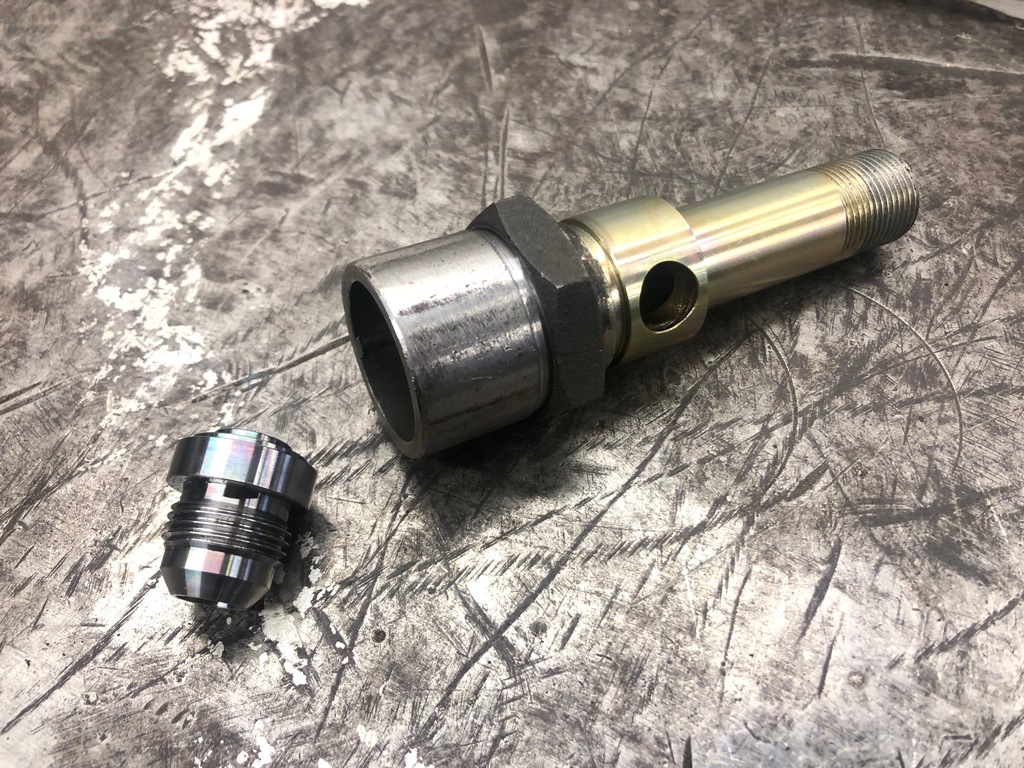
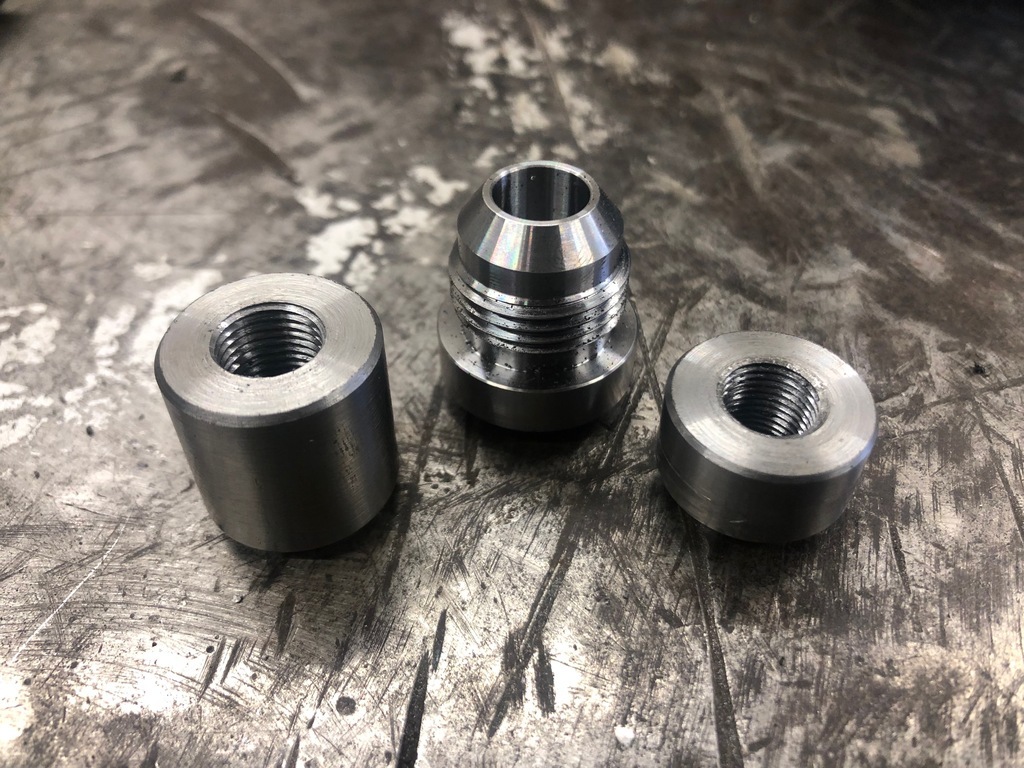
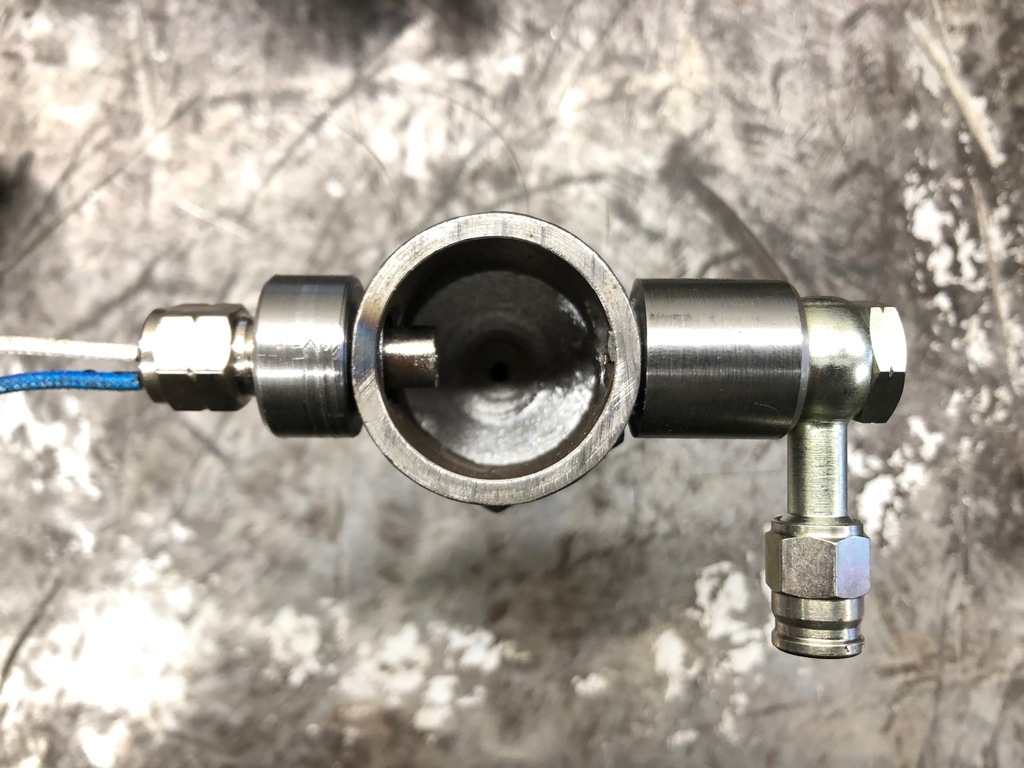
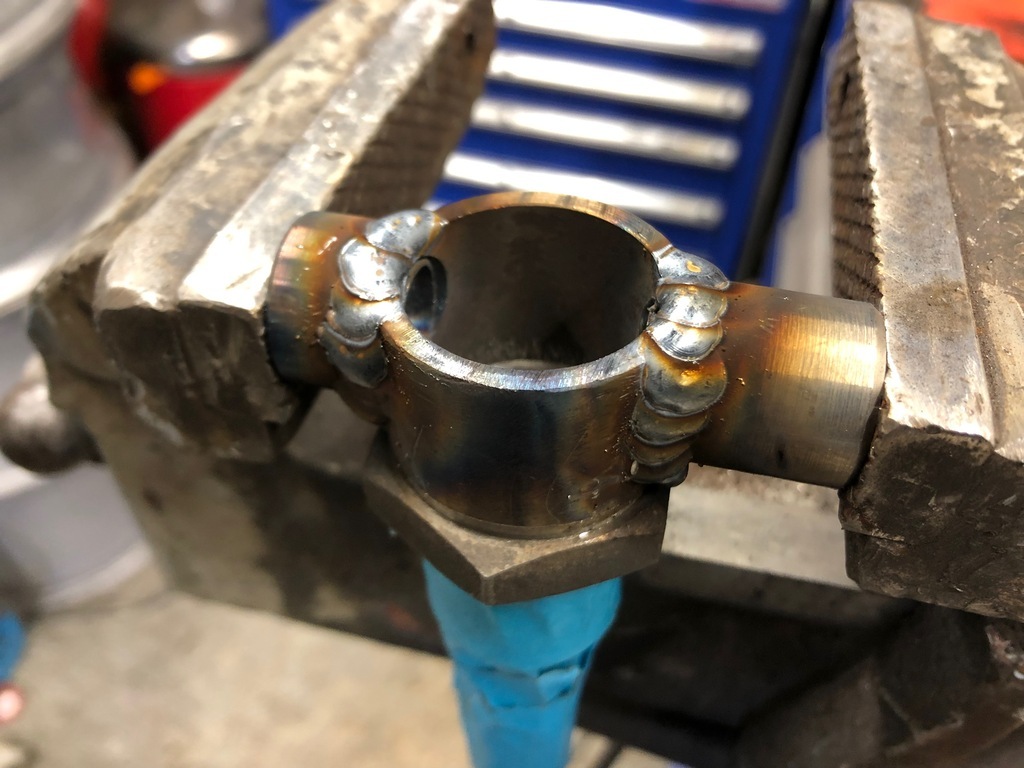
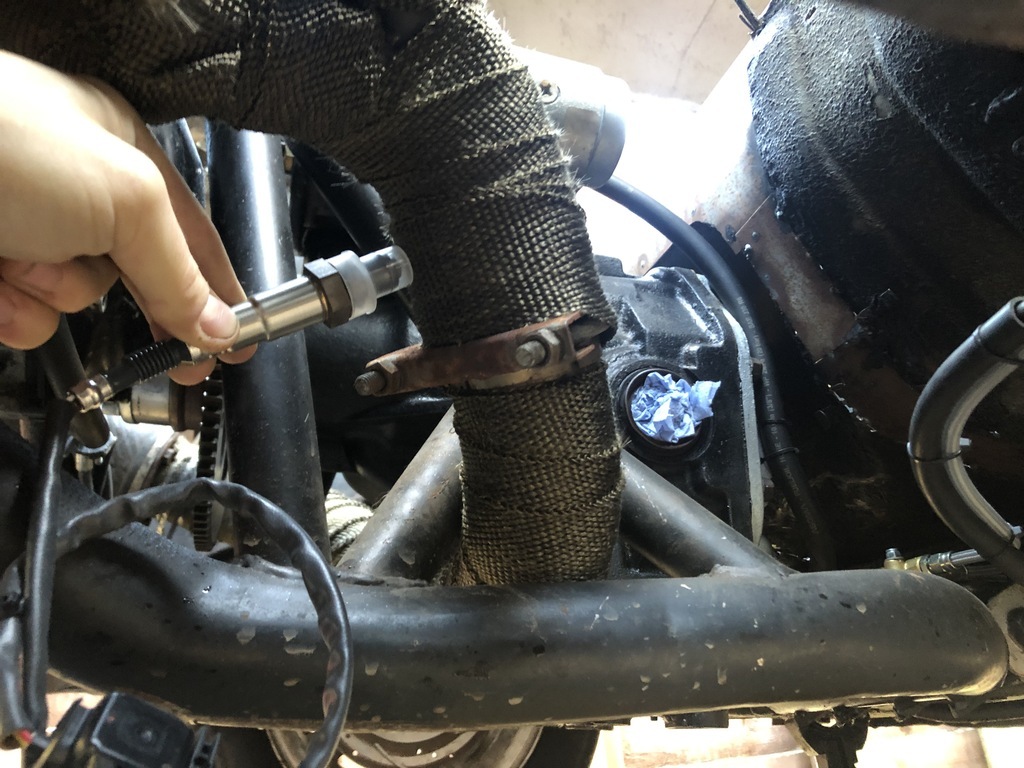
The lambda sensor will go here. Out of reach of the drive shaft for when it breaks again but mainly between the last collector and before a join.
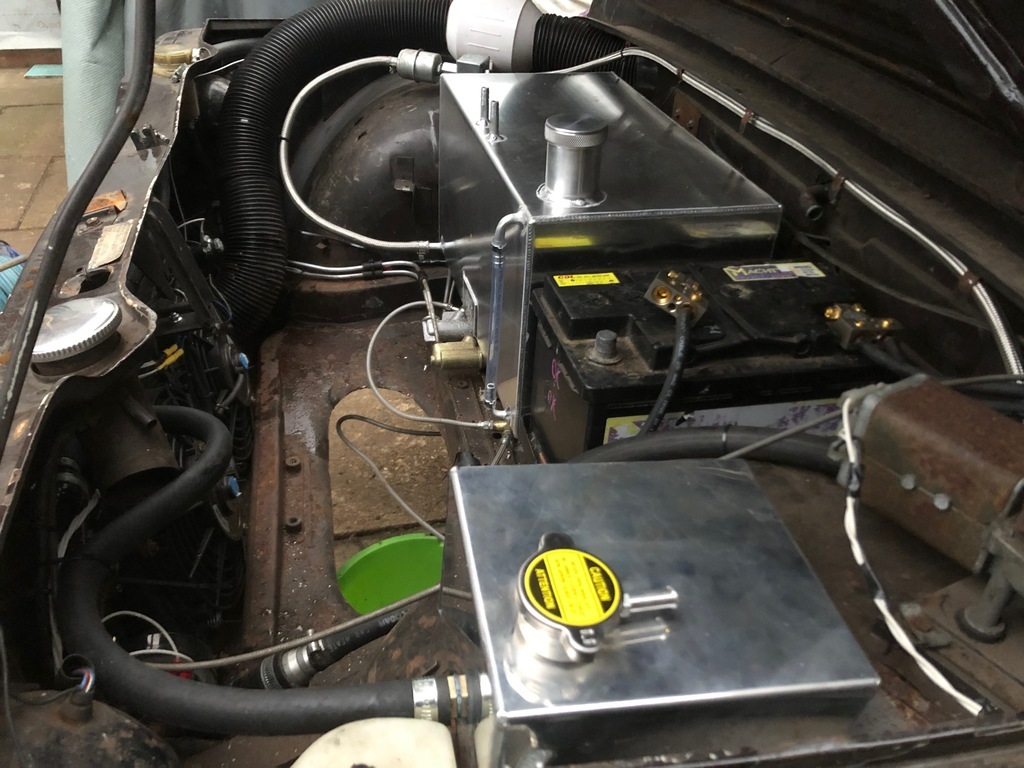
I've got a new coolant expansion bottle for the front. To replace my dads one we crudely fitted before RRG21. It has a hose exit that is no good for me and pointing into the wheel arch so I will cut this off and block it up. I will probably use it to mount a 3rd tab off as it needs an extra mounting point anyway. I'll then add my own 5/8" hose barb out the bottom.
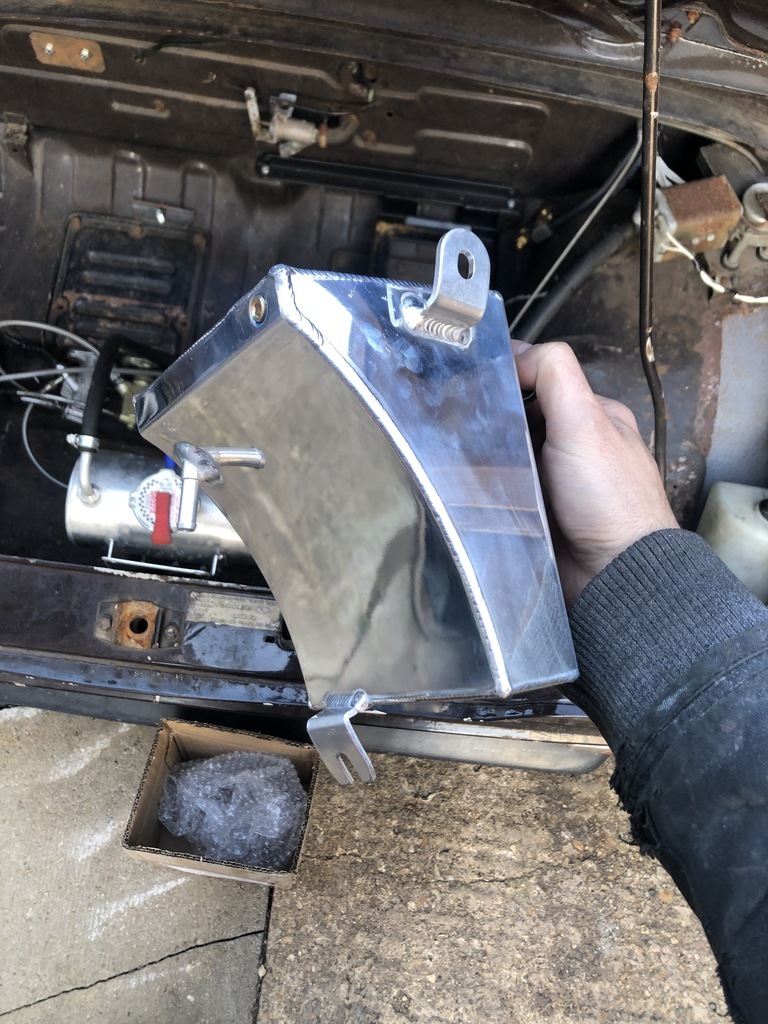

As with most deadlines I'm generally looking around the car trying to get everything I can ordered in time. It may seem that I'm jumping from job to job without completing everything but this is just to get a feel of what I need to order. Finishing stuff only needs to happen at 2am on the morning of the track day anyway right...
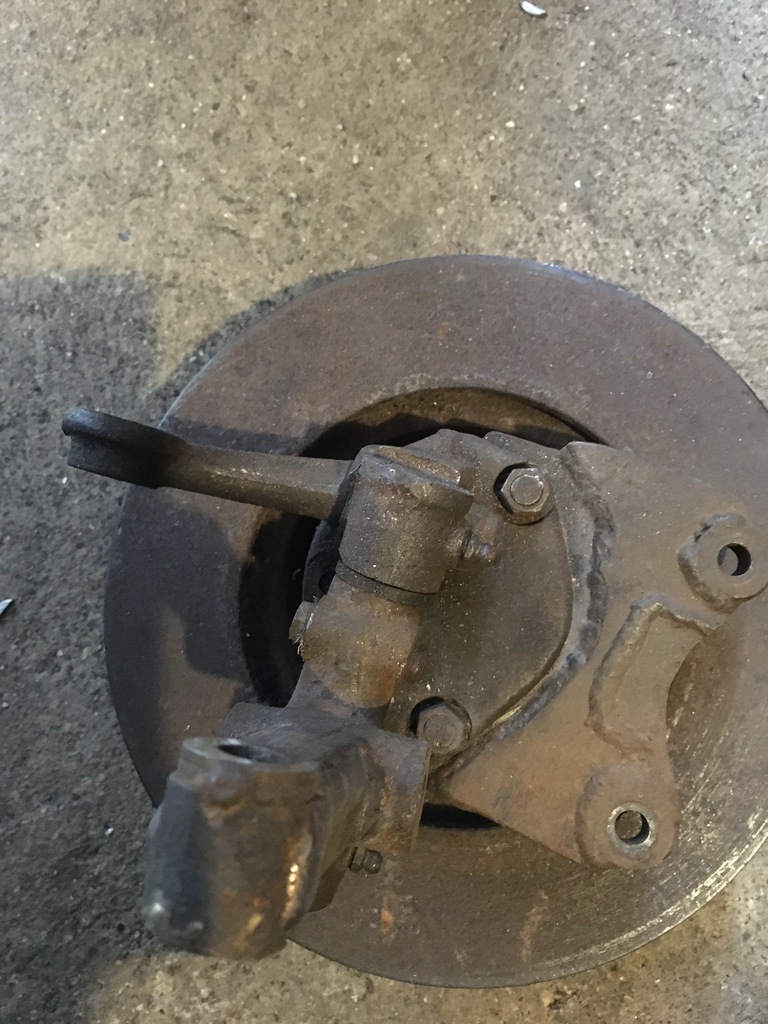
Next on the list was to try and remove some negative camber from the front wheels. This is an issue with lowing an imp as the uprights are simply bolted into the lower arms with no factory adjustment.
I knew from previous attempts this was not going to be an easy job. Removing the wishbones from the car that is. Followers of this thread will know the trouble we went though removing the rear arms from the car... this will be very much the same.
No amount of WD40, hammers and levers could get it to move. I ended up unbolting the brackets from the car while leaving the steering rack on the car as this is also rusted on... pretty difficult. 3hrs later it was on the floor. Considering its only like 10 bolts this is a joke.


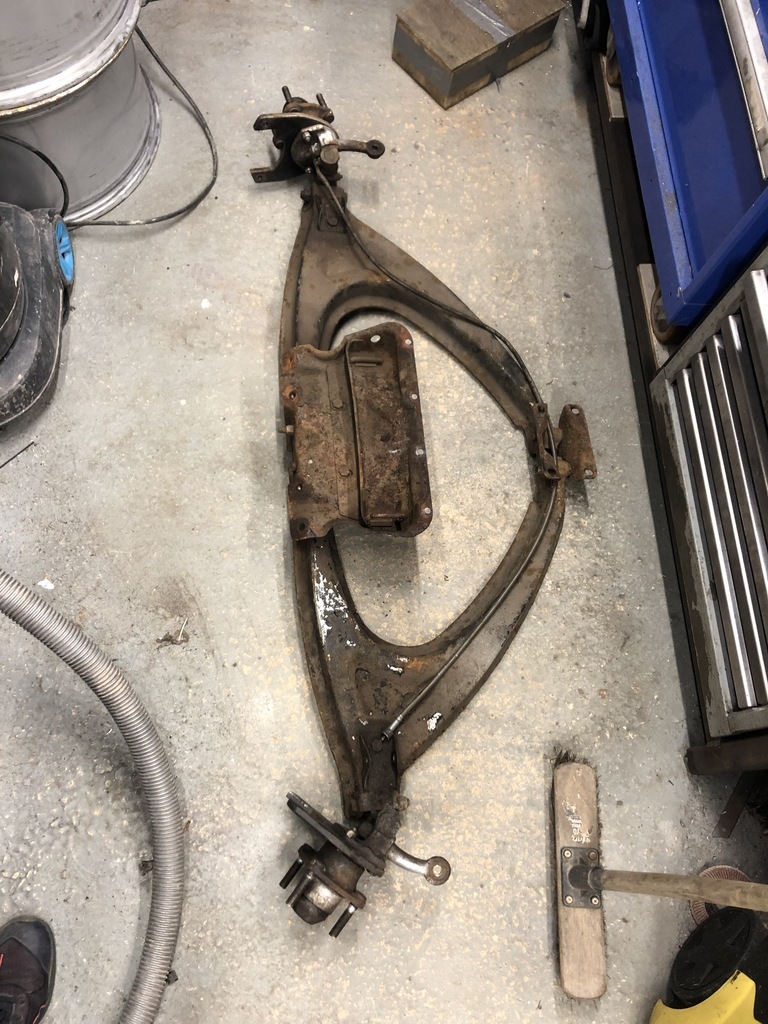
The fun continues into Monday evening now. 5tons of pressure and all I managed to do was half cut a hex shaped hole into the bracket and dome it out. This was not moving.
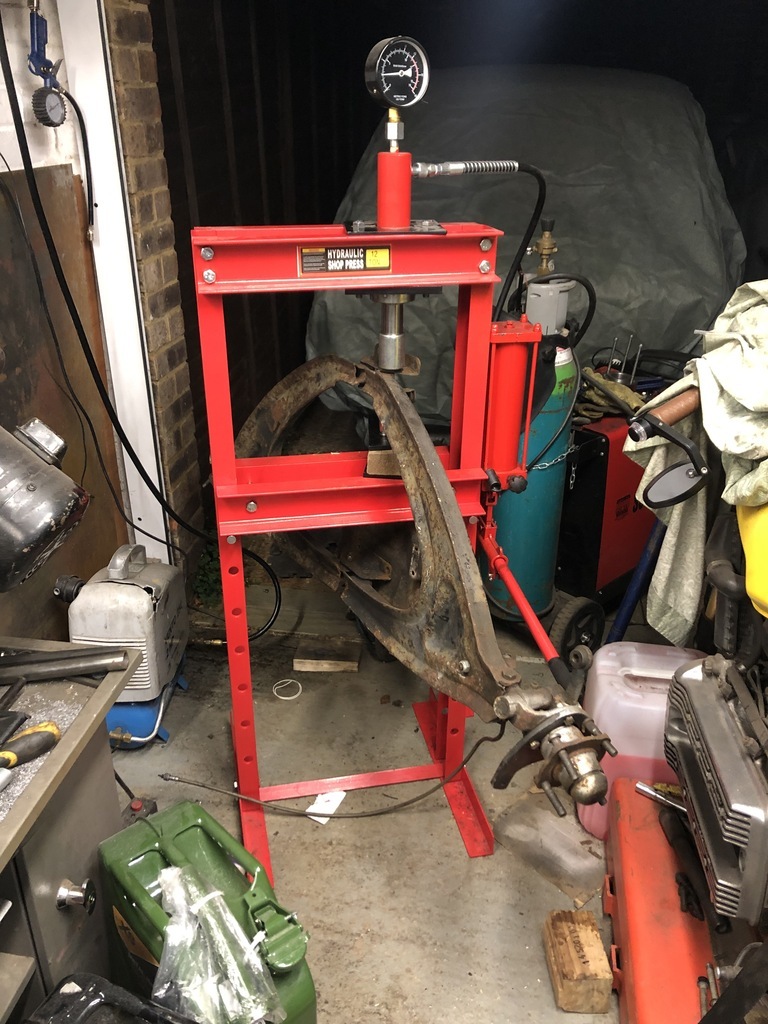

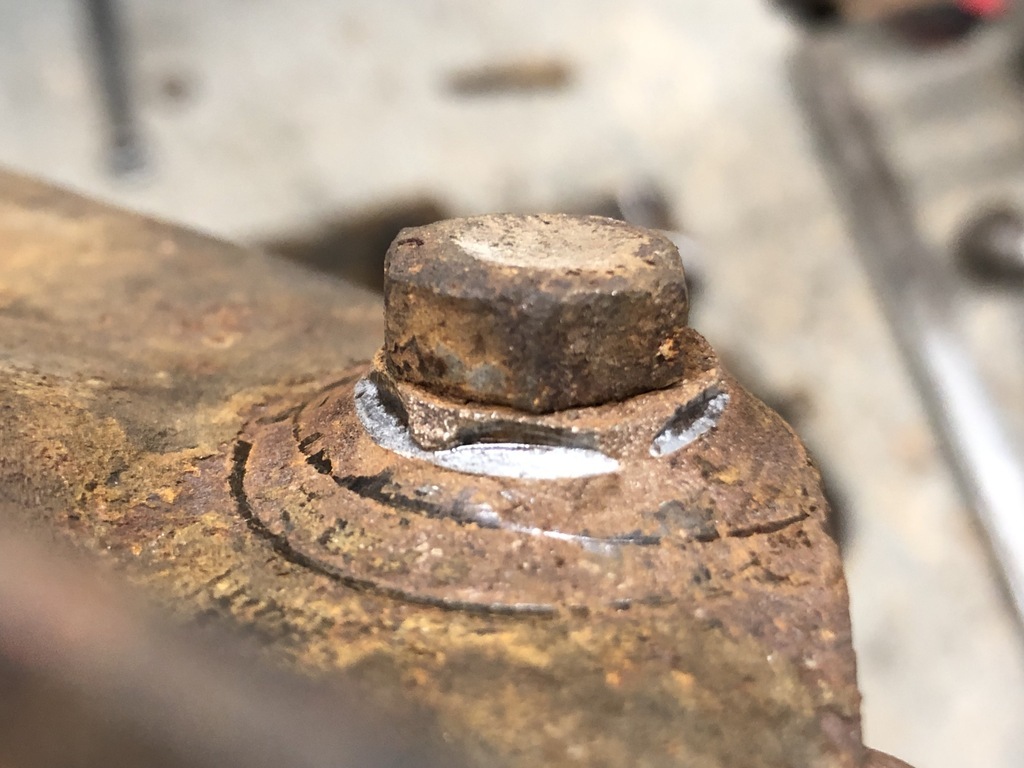
When something did move... its was just the bush coming out the arm as the brackets bent....
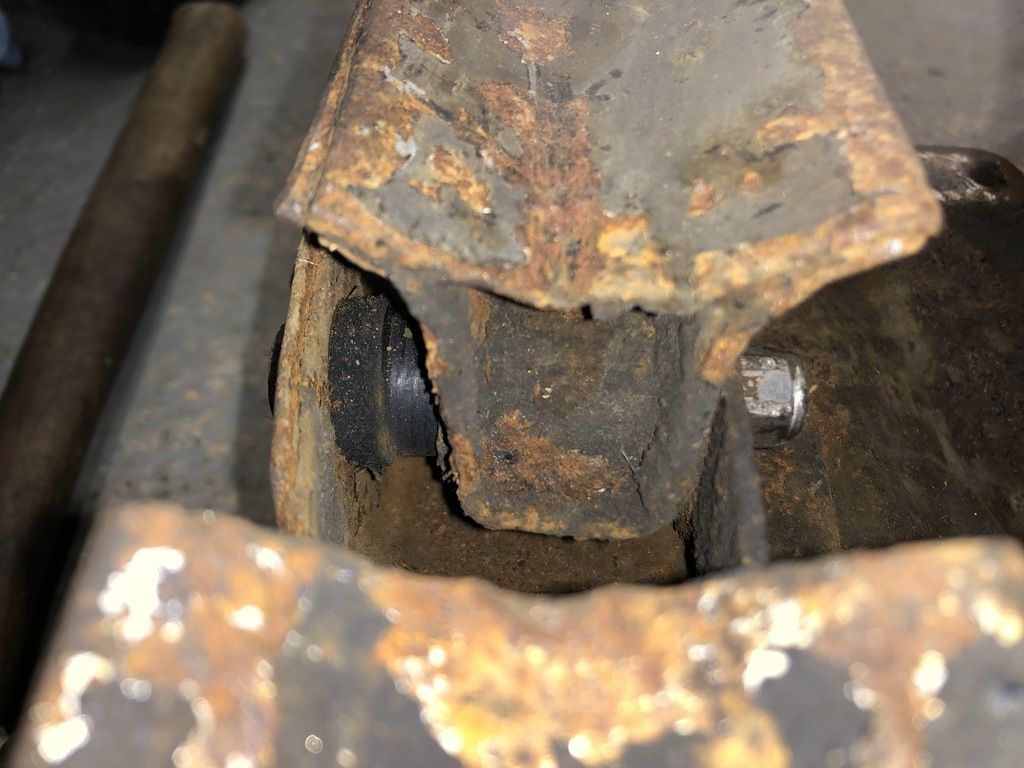
I got one bolt out but gave up on the rest.. Cut the heads off and scrap the bushes. They don't look the best anyway! New bushes and bolts are on order.
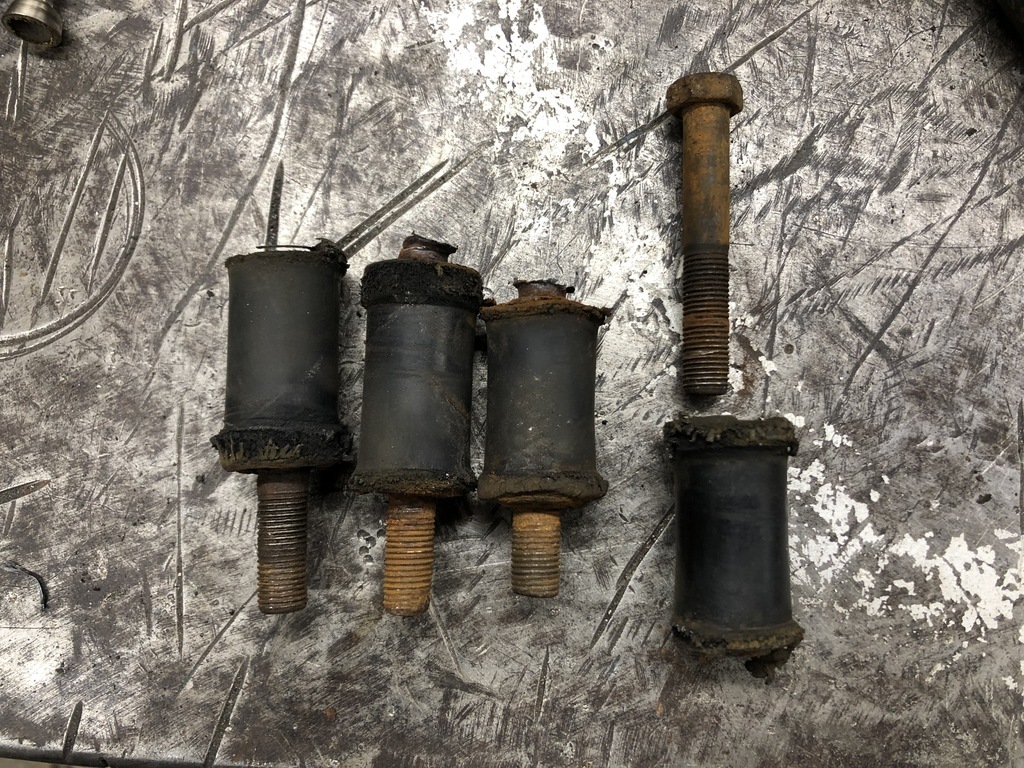
This was only half the fun however. I took these off to sort the camber out. For this to happen you have to remove the upright from the wishbones.
Gave it a chance...tried the heat it, press it, WD40 it and smashed it with hammers...
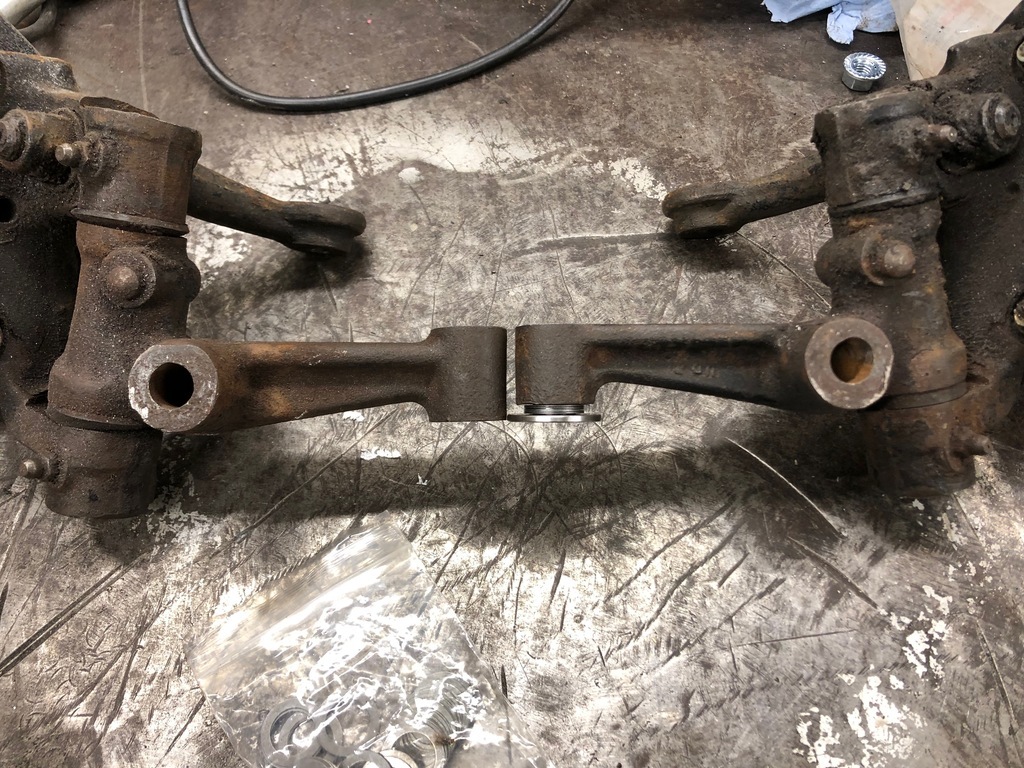
...resort to full butchery. Cut the head and threads off level with the bone and get attacking with chisels and screwdrivers until you have made a suitable mess of the wishbone and it is free!
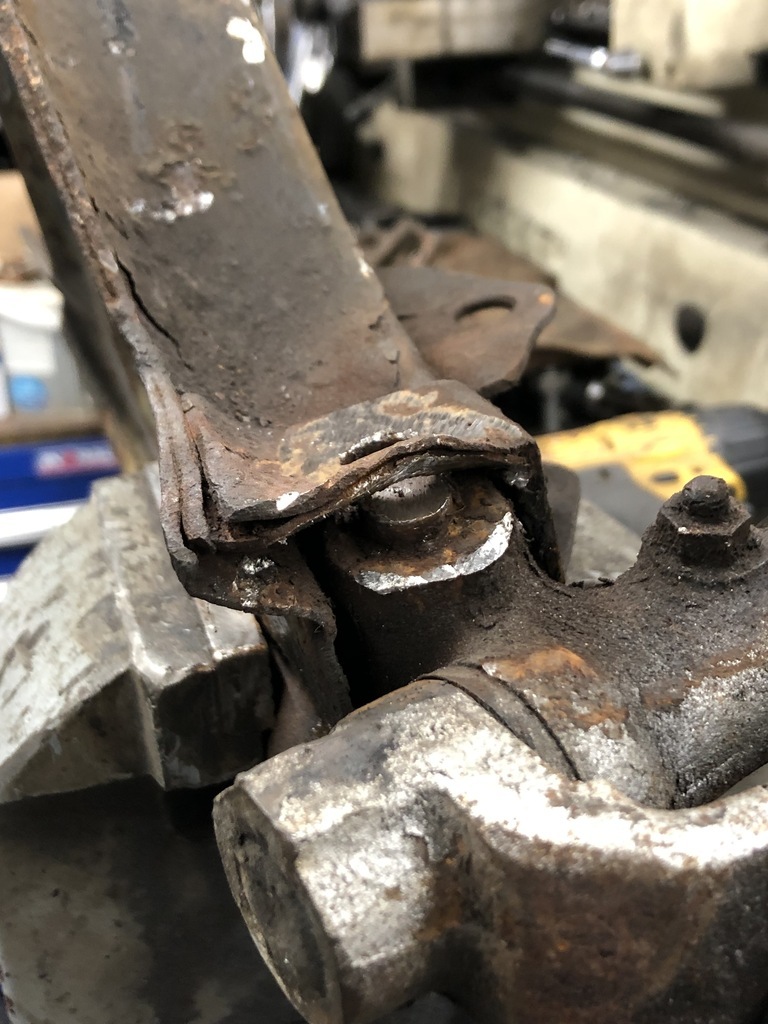
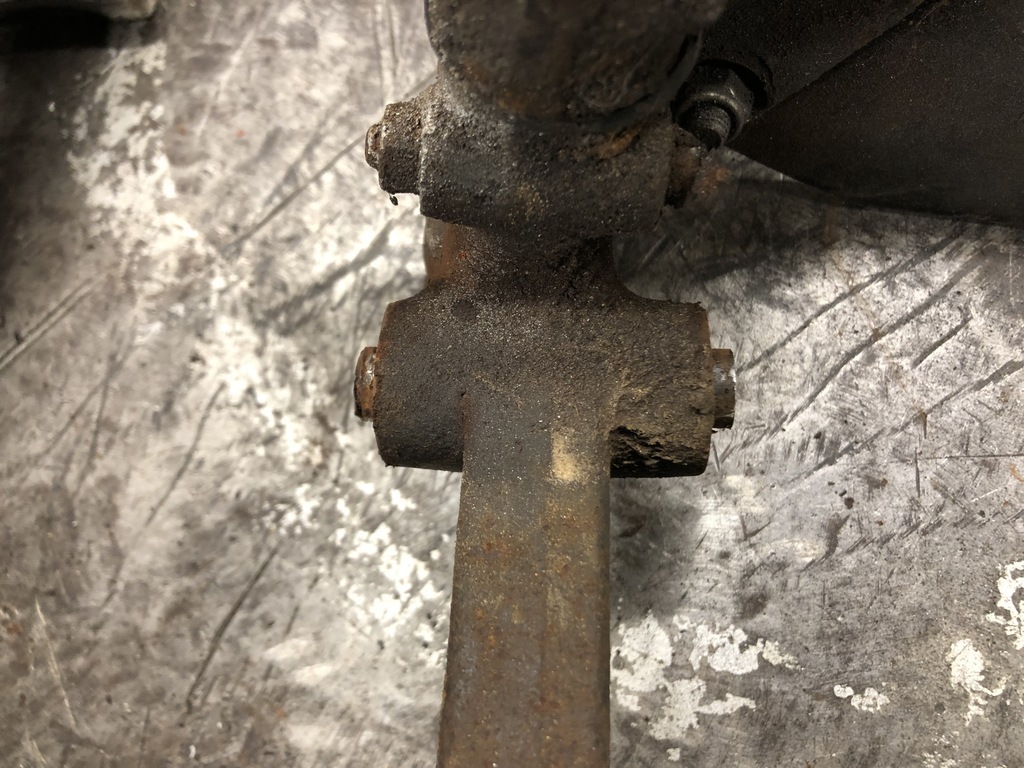
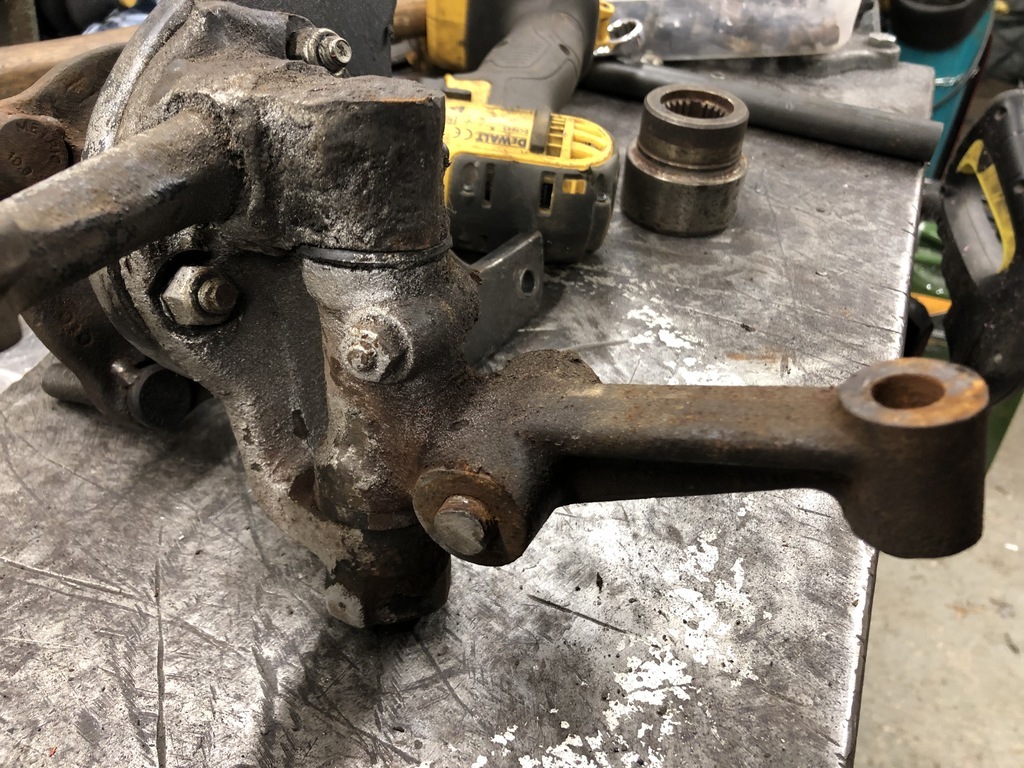
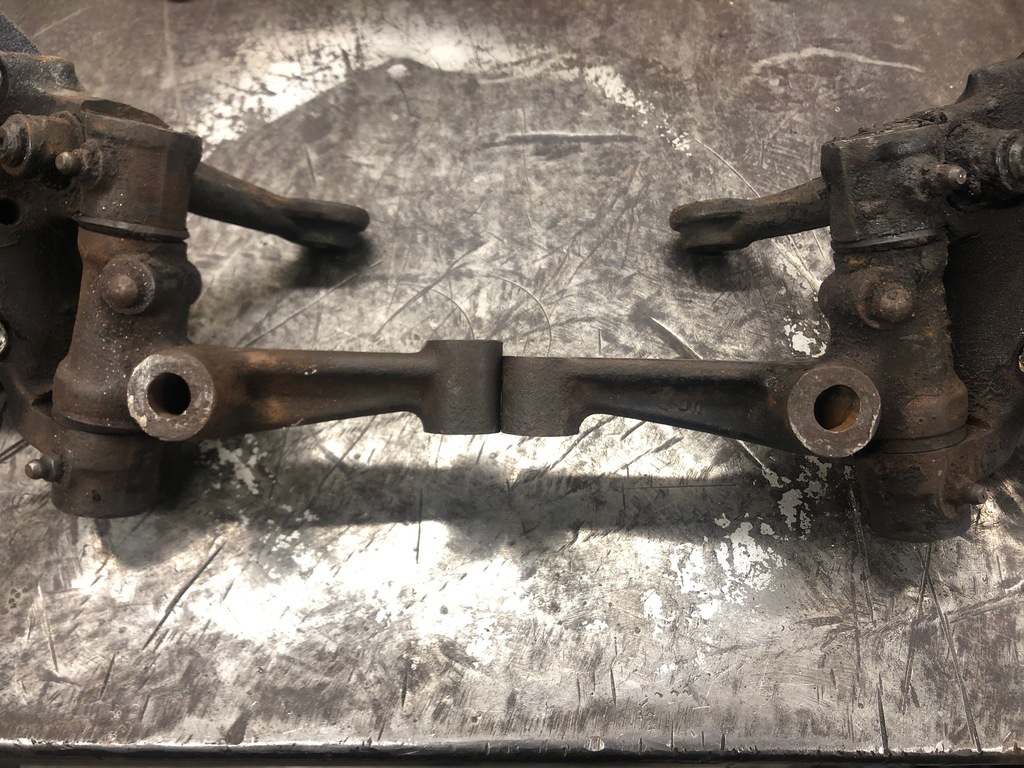
I'll fix this later....
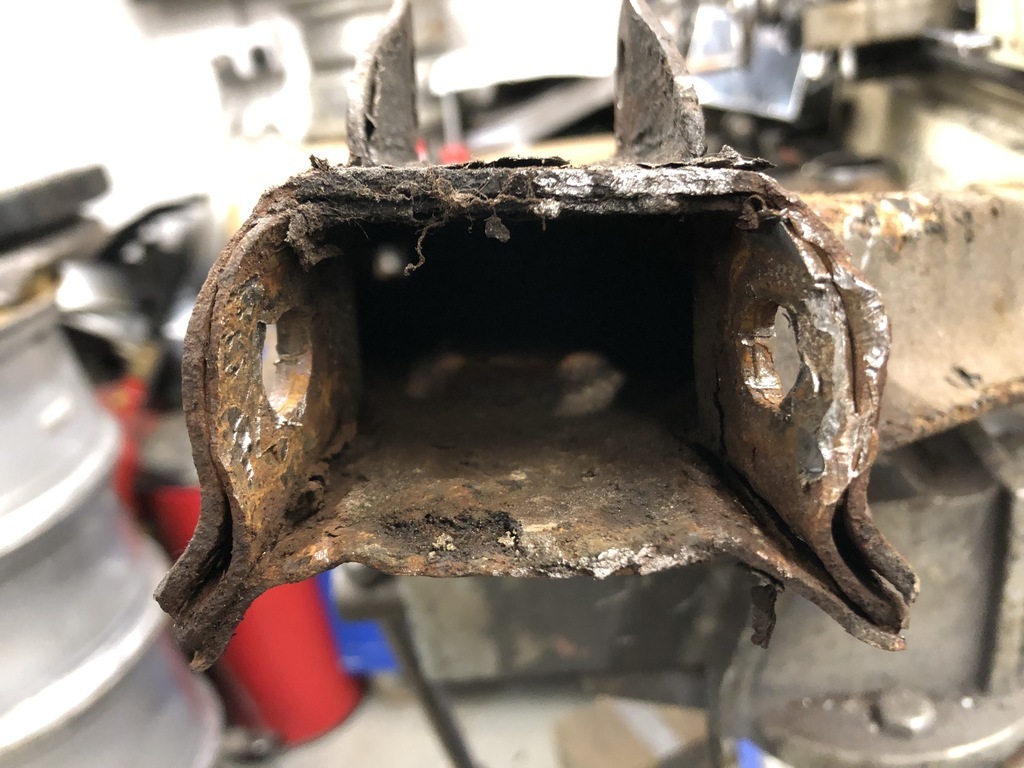
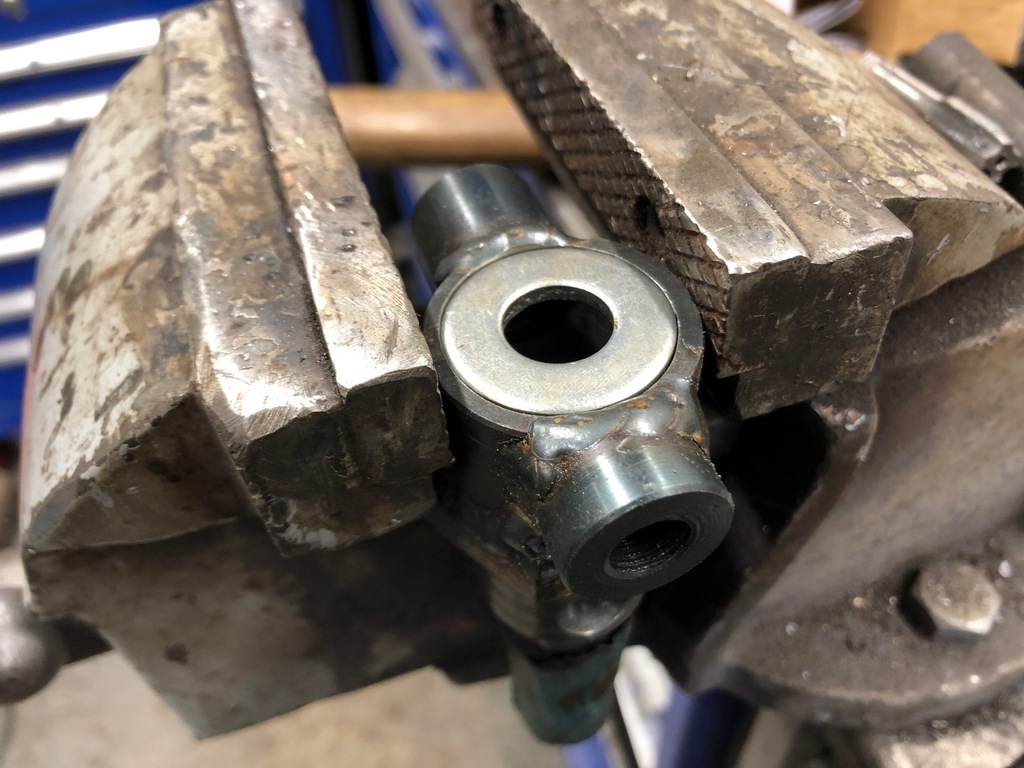
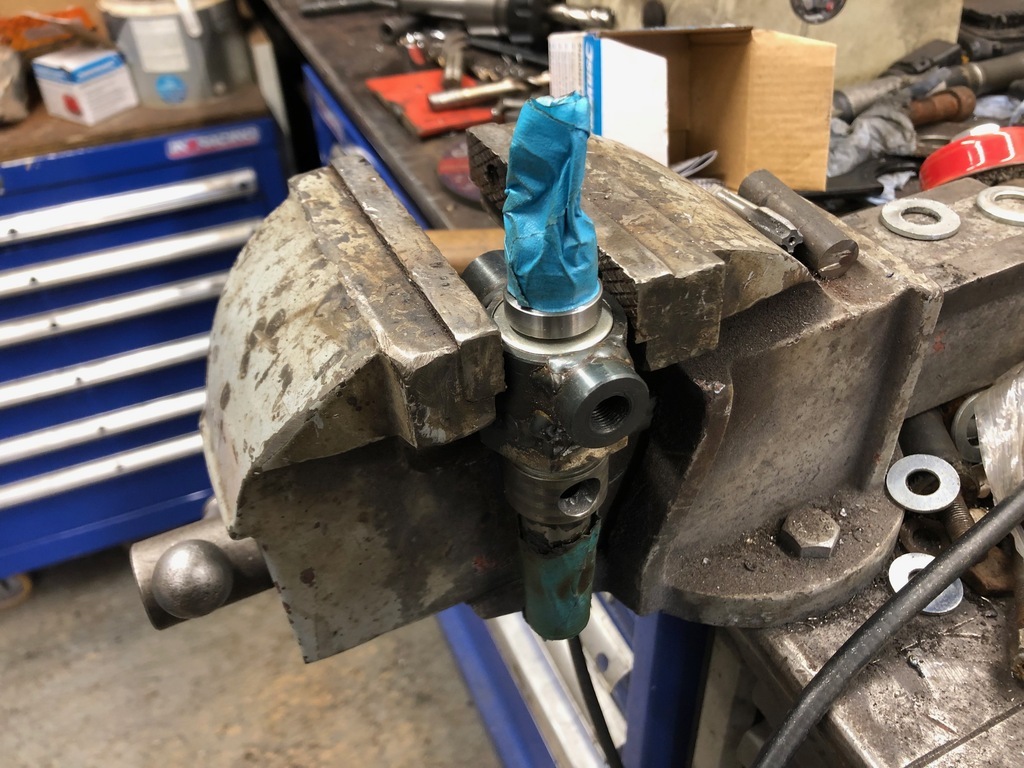
Pressing in to a tube on the remaining exposed bolt. I only got 7tons on it before I chickened out with my sketchy wood stack. (I need to get some proper material for stacking things up higher.) Anyway nothing was moving.

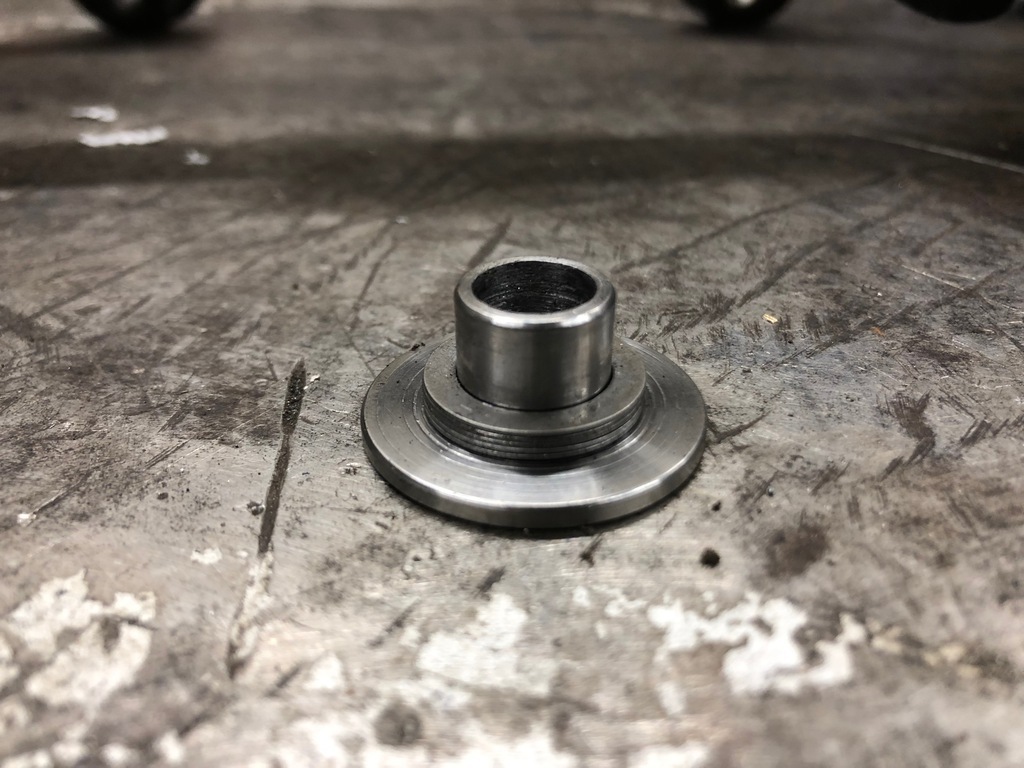
If you cant remove it in one go then turn it into tiny little pieces. I ended up drilling both of the bolts out. Unbelievably even when they were thin tubes of metal they still but up a decent fight.


The first one came out fairly nicely.
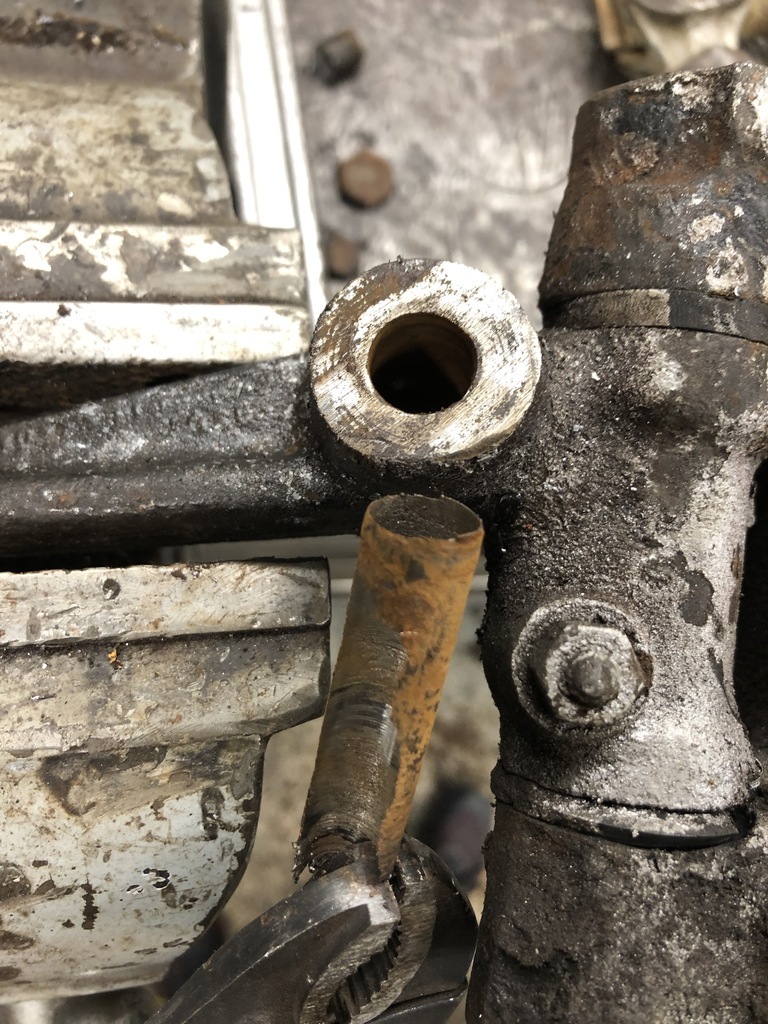
The other was more stubborn but I won.


I wonder what fun we have install for tonight.

Sunday I started the car up and let it warm up for a bit. There was some sweet tasting steam coming off the exhaust wrap... must be coolant. Looking at the thermostat housing hoses there's pink crystallised residue. It must have been leaking while parked as it never steamed etc at RRG21. I'll have this apart and make sure its all sealed.


Other than this it was all good so I took the small rear temporary fuel tank off as I intend to replace this with a swirl pot and I have ordered a larger tank to go up front (I hope it fits...should be arriving later this week).
Swirl pot borrowed from an old race car...

Temporary tank... Did good for retro rides but no good for a track day wouldn't do many laps on that.

I'll mount the swirl pot in this space. The red bottle is simulating an Accusump that I have bought... I'll get more into that once it arrives.

I've bought an AEM air fuel ratio gauge. I've made my own exhaust, the intake is currently open etc. I have a dyno jet power commander 3 that I've had for years and should allow me to tweak the fuelling but I've never fitted it. I hope to get all this mounted before doing too much full throttle running if I have time. I'm sure its fine but good to check I'm not leaning it out.


Where do I put the gauges? Volt meter and AFR still to fit...

I'm thinking in the middle is better as I've got the front section of the roll cage on order and I expect the leg will cover where ever I put them, sods law haha.

The lambda sensor will go here. Out of reach of the drive shaft for when it breaks again
 but mainly between the last collector and before a join.
I've got a new coolant expansion bottle for the front. To replace my dads one we crudely fitted before RRG21. It has a hose exit that is no good for me and pointing into the wheel arch so I will cut this off and block it up. I will probably use it to mount a 3rd tab off as it needs an extra mounting point anyway. I'll then add my own 5/8" hose barb out the bottom.


As with most deadlines I'm generally looking around the car trying to get everything I can ordered in time. It may seem that I'm jumping from job to job without completing everything but this is just to get a feel of what I need to order. Finishing stuff only needs to happen at 2am on the morning of the track day anyway right...
Next on the list was to try and remove some negative camber from the front wheels. This is an issue with lowing an imp as the uprights are simply bolted into the lower arms with no factory adjustment.
I knew from previous attempts this was not going to be an easy job. Removing the wishbones from the car that is. Followers of this thread will know the trouble we went though removing the rear arms from the car... this will be very much the same.
No amount of WD40, hammers and levers could get it to move. I ended up unbolting the brackets from the car while leaving the steering rack on the car as this is also rusted on... pretty difficult. 3hrs later it was on the floor. Considering its only like 10 bolts this is a joke.


The fun continues into Monday evening now. 5tons of pressure and all I managed to do was half cut a hex shaped hole into the bracket and dome it out. This was not moving.


When something did move... its was just the bush coming out the arm as the brackets bent....

I got one bolt out but gave up on the rest.. Cut the heads off and scrap the bushes. They don't look the best anyway! New bushes and bolts are on order.

This was only half the fun however. I took these off to sort the camber out. For this to happen you have to remove the upright from the wishbones.
Gave it a chance...tried the heat it, press it, WD40 it and smashed it with hammers...
...resort to full butchery. Cut the head and threads off level with the bone and get attacking with chisels and screwdrivers until you have made a suitable mess of the wishbone and it is free!


I'll fix this later....

Pressing in to a tube on the remaining exposed bolt. I only got 7tons on it before I chickened out with my sketchy wood stack. (I need to get some proper material for stacking things up higher.) Anyway nothing was moving.

If you cant remove it in one go then turn it into tiny little pieces. I ended up drilling both of the bolts out. Unbelievably even when they were thin tubes of metal they still but up a decent fight.


The first one came out fairly nicely.

The other was more stubborn but I won.


I wonder what fun we have install for tonight.


