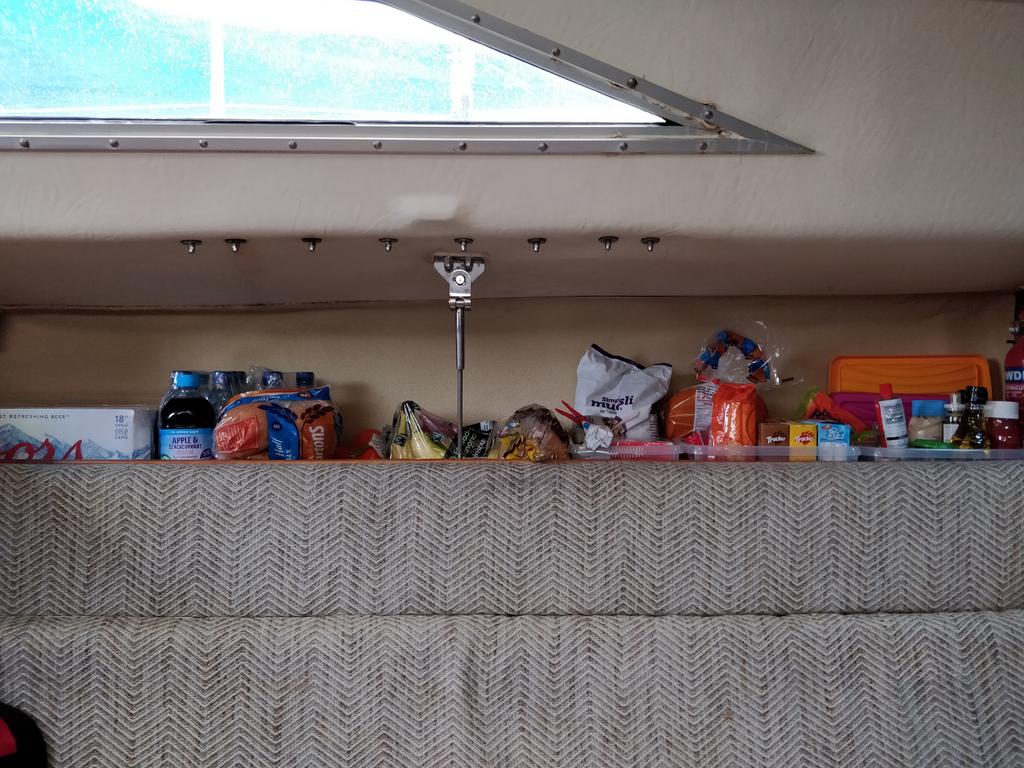
After my last shakedown cruise I was convinced that I needed a fridge.
Not only did the bacon go off after just 1 day in the heatwave, the milk soon followed as did everything else remotely perishable, in the end rather than build my own custom coolbox, I decided to purchase one premade online that I could 'just fit'.
Oh how wrong I was.
After careful measuring I found the biggest fridge that would go in and still fit my narrow counter was a 40 litre WAECO Coolmatic. I needed a top loading one as they loose less cold air when you open them, which is important with the limited battery power onboard.
The plan had been to fit the cooler through the top of the counter, but even with the hole enlarged as much as I could, it was still a no go due to the close proximity of the deck. This was a bit of a curse word as I realised the only solution was the removal of the forward bulkhead to slide it in.
This of course was easier said than done.

As you can see the worktop is all one GRP moulding, the bulkhead had been bonded to it and took some serious separation, outside temperature was around 30 degrees, down in the cabin it was like the black hole of Calcutta, much sweating, swearing and hammering ensued.
The trim around the galley I managed to remove in one piece, which is good as its a lovely piece of lamination.
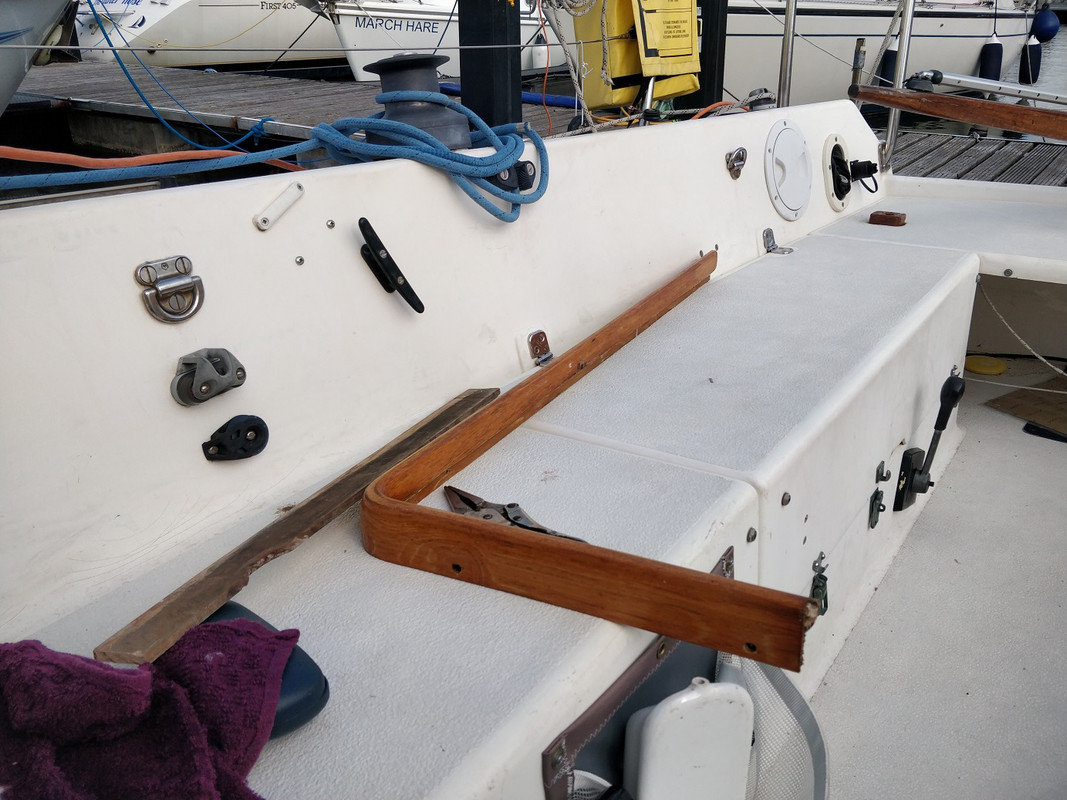
I quickly realised that if I was going to all this trouble then I had to do the job 'properly' as it were. Which meant covering the old scratched GRP laminate surface. I started with 12mm plywood.
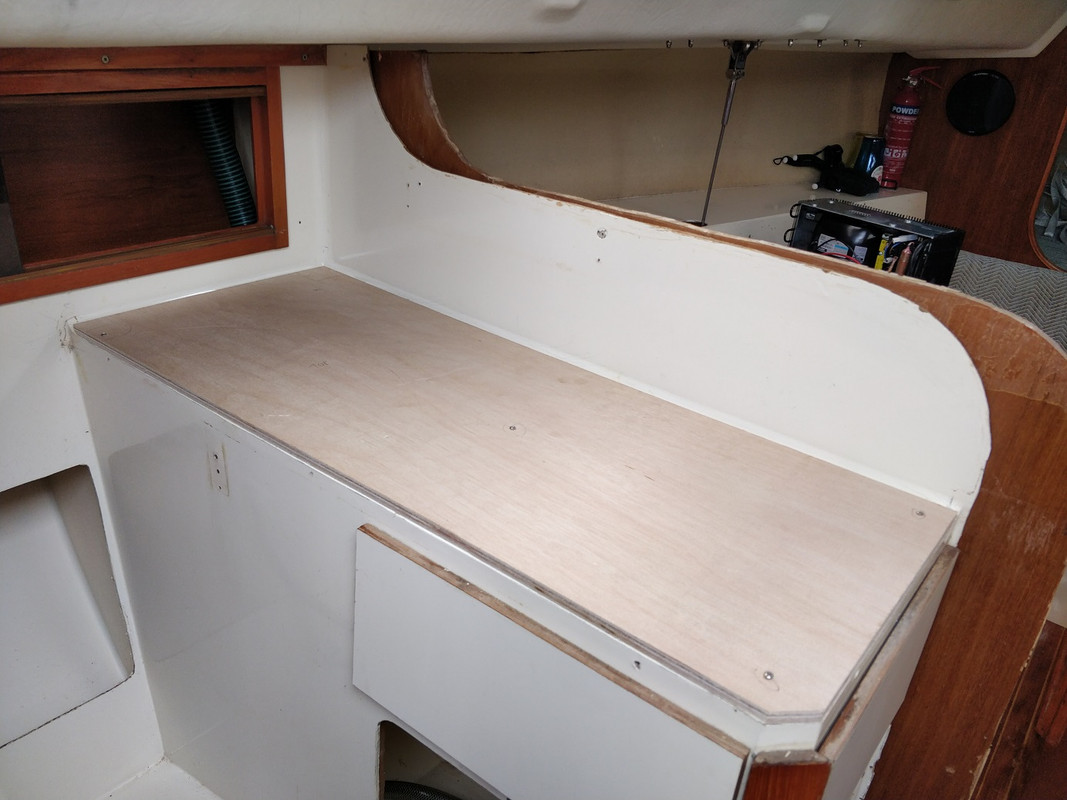
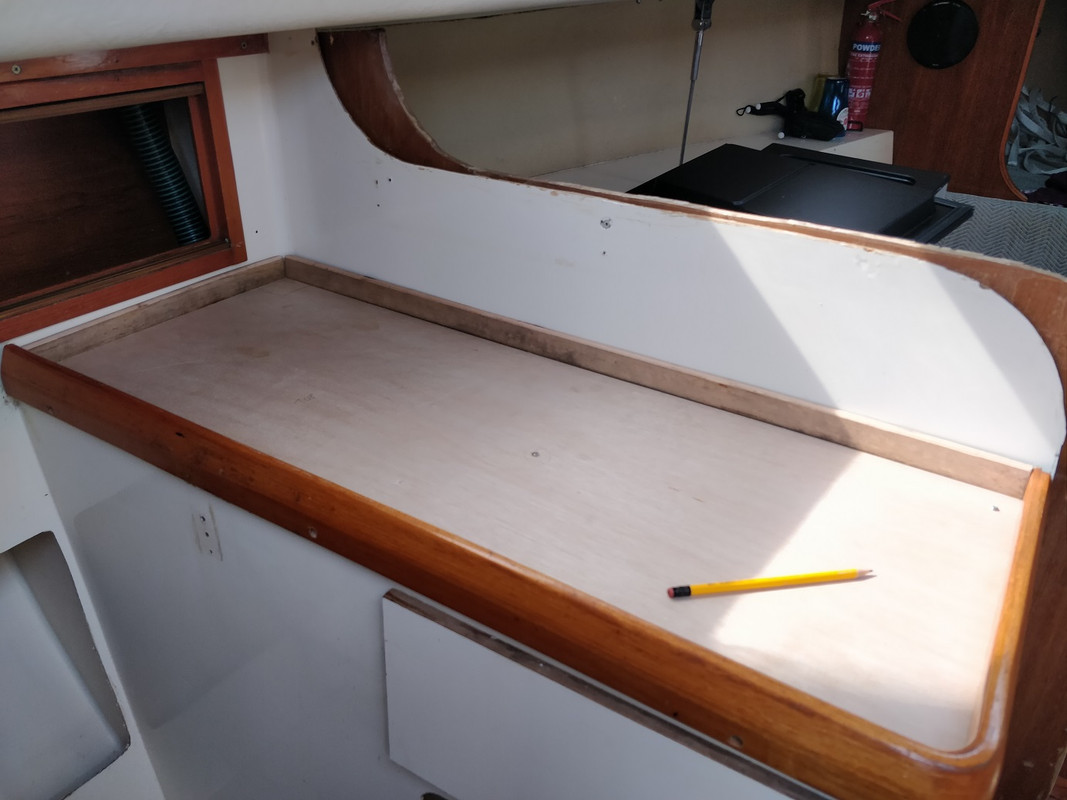
This however caused another problem, the GRP worktop ended in a very large radius which I had no way of getting onto the plywood. After some thinking i decided covering the gap with some oak trim would work.
Next it was time to work on getting the cooler positioned. Not much to say on this other than to say it was hard work due to the weight of the cooler and compressor.
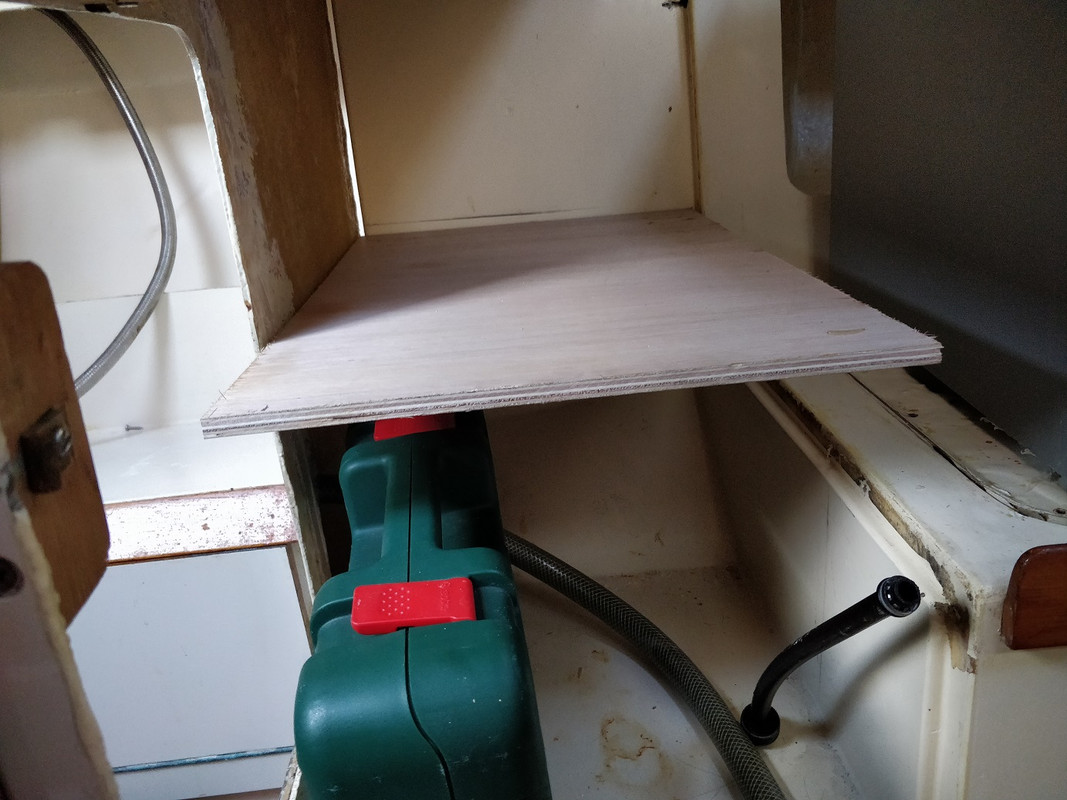
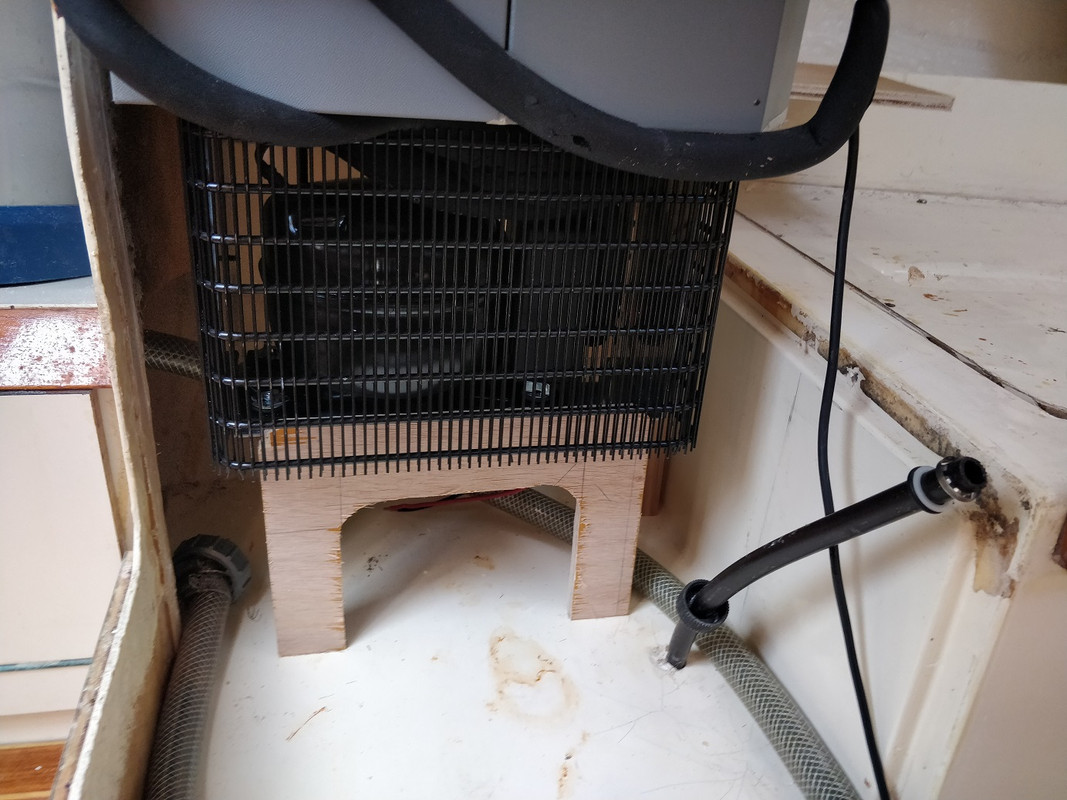

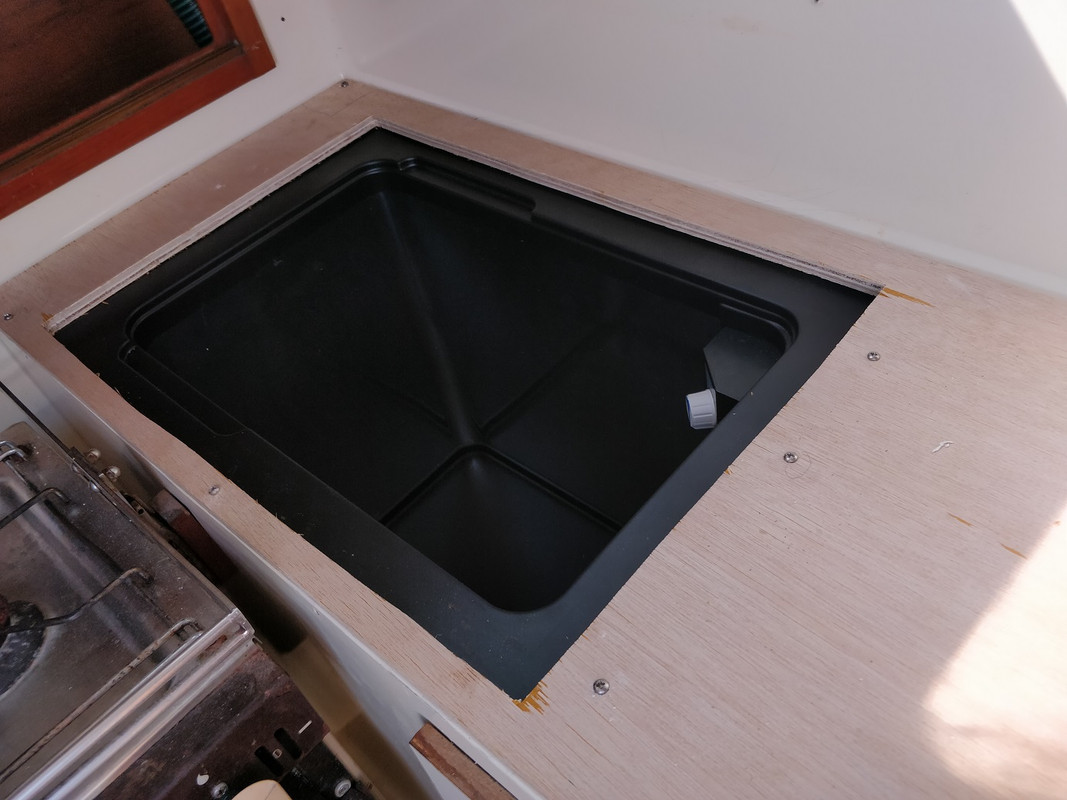
This so far took around 2-3 days of work, even if it doesn't look it in the photos!
With the cooler positioned and shimmed into place it was time to start covering with the roll of Formica I bought on eBay.
It was my first time working with this stuff and I made a few mistakes, luckily none that wouldn't eventually be covered by trim.
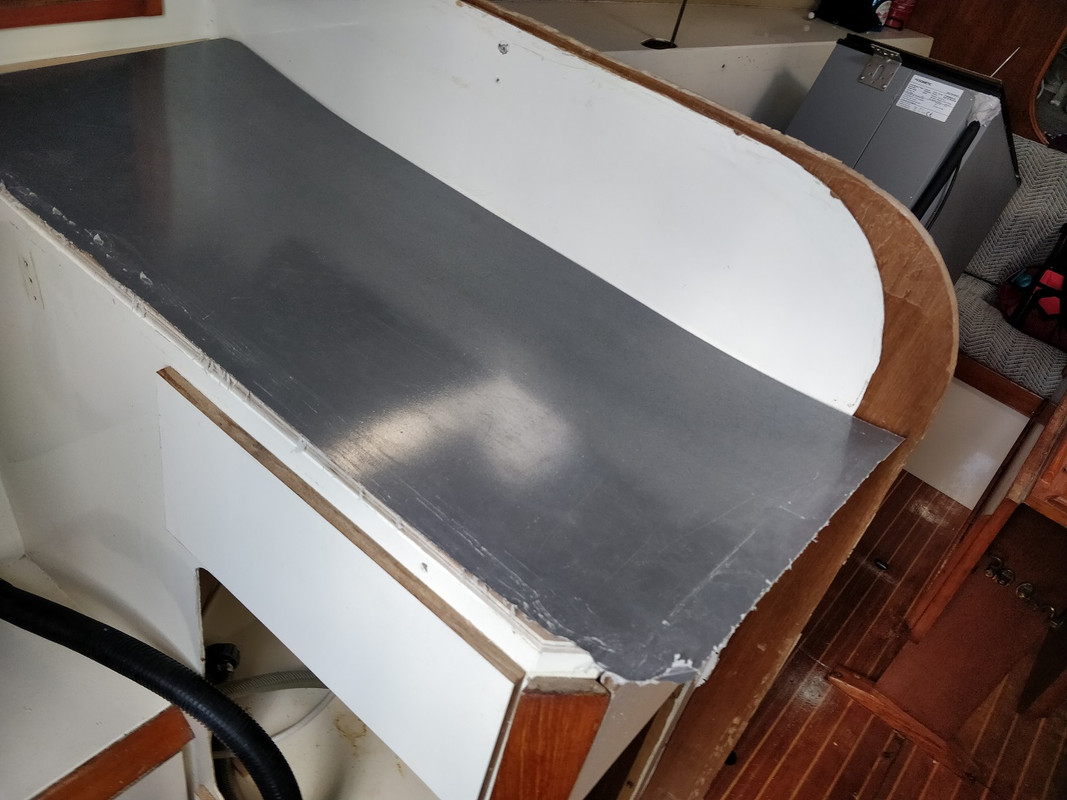
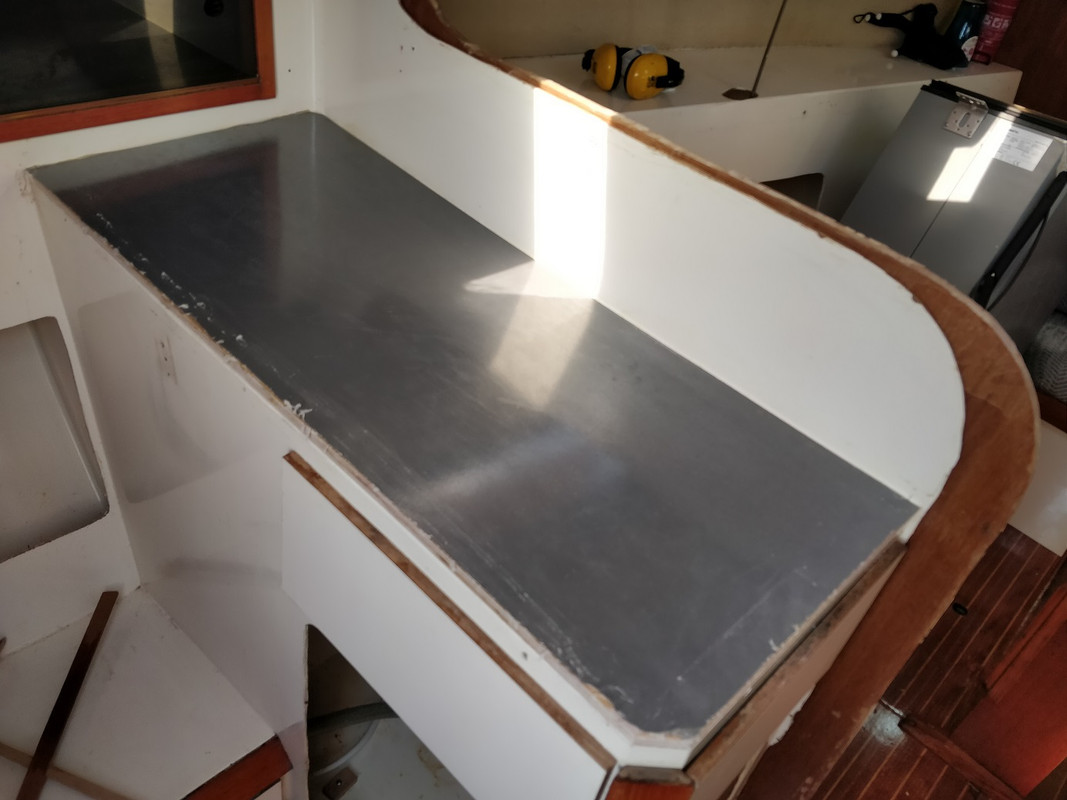
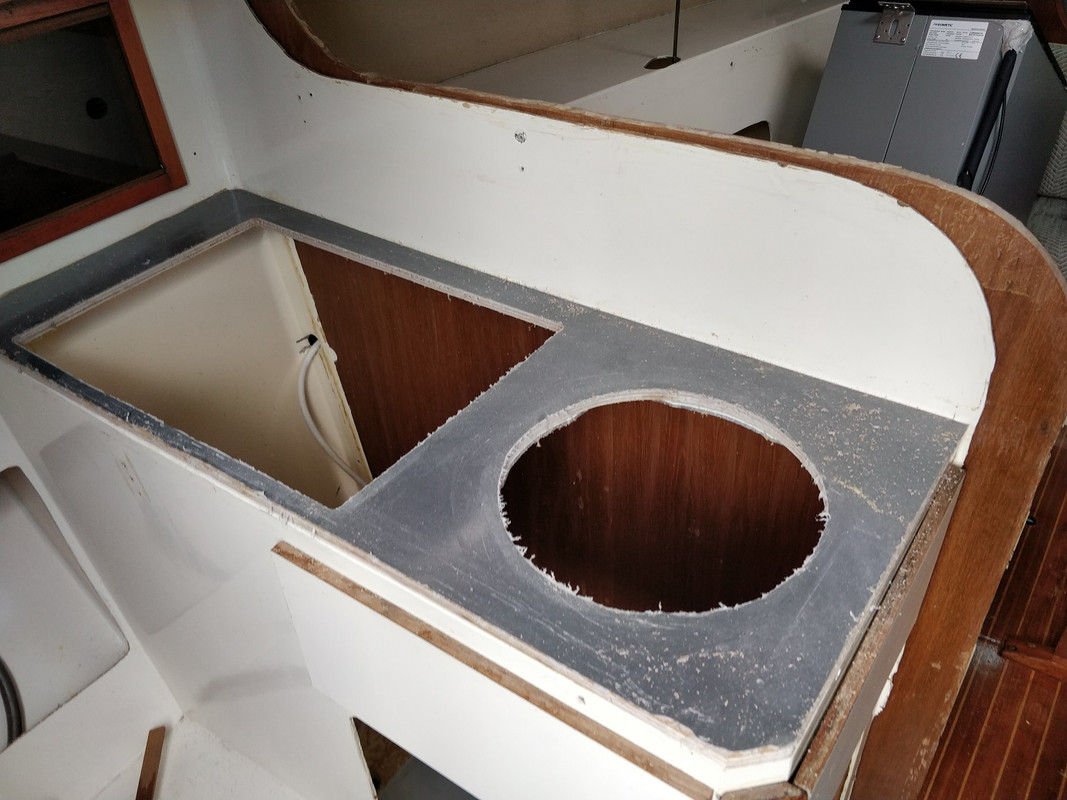
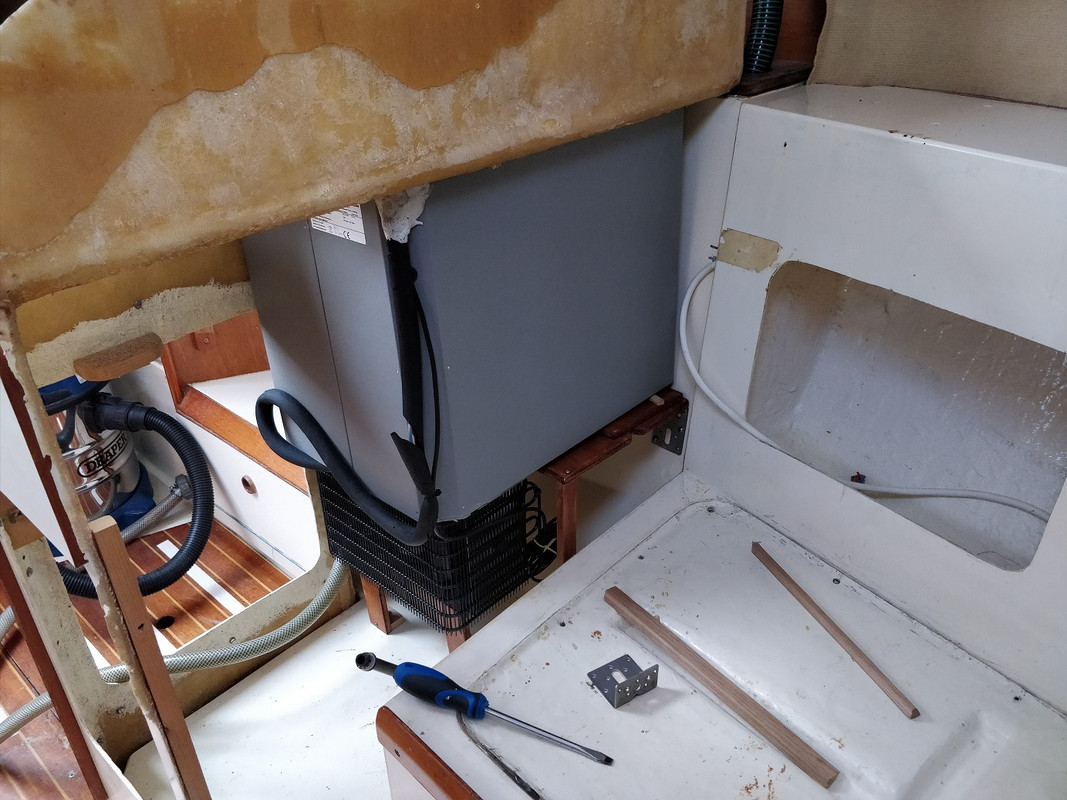
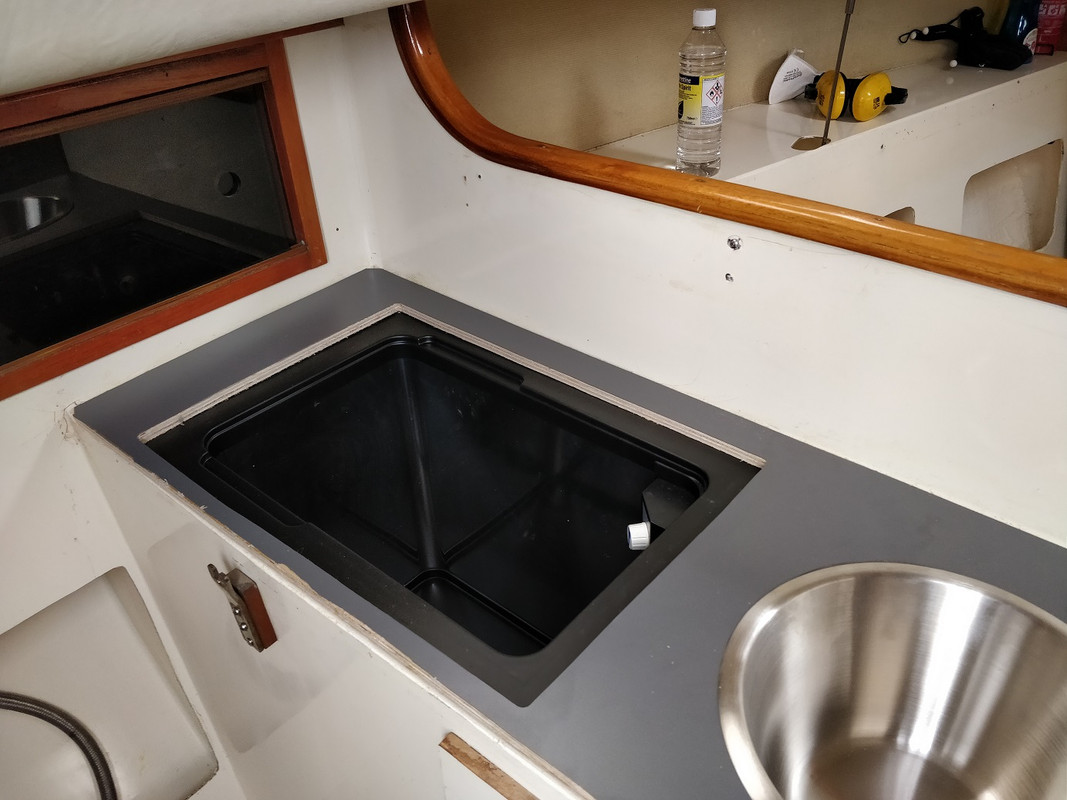
The sink is a salad bowl I picked up for £11!
I used a hole saw to cut a hole to fit the waste in.
I managed to lose my wiring around the back of the cooler, but my patented retrieve-0matic 9000 tool soon fixed that problem.

Since I was going to all this trouble it was time to smarted the plumbing and fit a fresh water pump to make life in the galley easier.
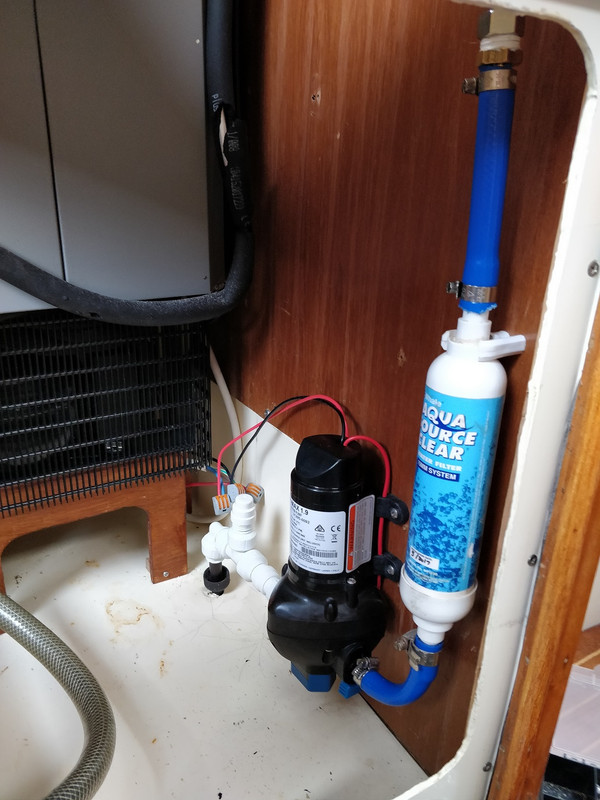
And finally after varnishing trim, gluing on the formica with contact cement and other misc jobs, the finished product.
I can finally enjoy ice cold beers onboard.
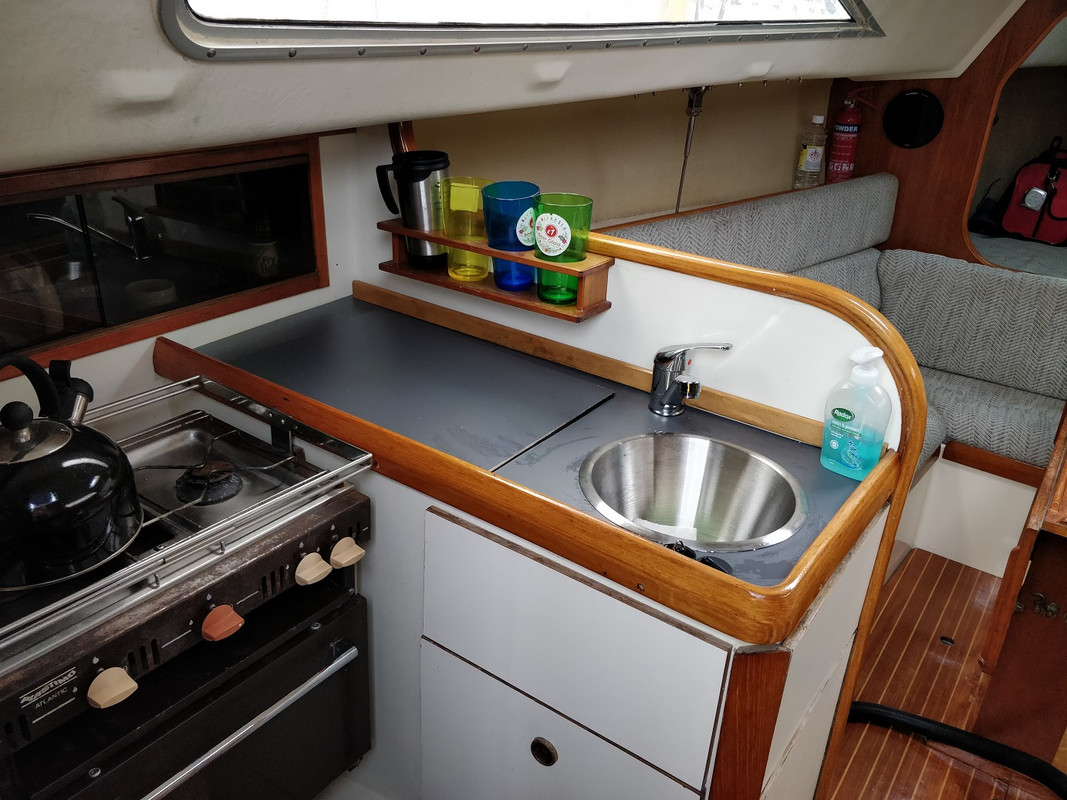

All that's left is some trim around the icebox so you don't see the joint and then its another job smashed off the list!
Not only did the bacon go off after just 1 day in the heatwave, the milk soon followed as did everything else remotely perishable, in the end rather than build my own custom coolbox, I decided to purchase one premade online that I could 'just fit'.
Oh how wrong I was.
After careful measuring I found the biggest fridge that would go in and still fit my narrow counter was a 40 litre WAECO Coolmatic. I needed a top loading one as they loose less cold air when you open them, which is important with the limited battery power onboard.
The plan had been to fit the cooler through the top of the counter, but even with the hole enlarged as much as I could, it was still a no go due to the close proximity of the deck. This was a bit of a curse word as I realised the only solution was the removal of the forward bulkhead to slide it in.
This of course was easier said than done.

As you can see the worktop is all one GRP moulding, the bulkhead had been bonded to it and took some serious separation, outside temperature was around 30 degrees, down in the cabin it was like the black hole of Calcutta, much sweating, swearing and hammering ensued.
The trim around the galley I managed to remove in one piece, which is good as its a lovely piece of lamination.

I quickly realised that if I was going to all this trouble then I had to do the job 'properly' as it were. Which meant covering the old scratched GRP laminate surface. I started with 12mm plywood.

This however caused another problem, the GRP worktop ended in a very large radius which I had no way of getting onto the plywood. After some thinking i decided covering the gap with some oak trim would work.

Next it was time to work on getting the cooler positioned. Not much to say on this other than to say it was hard work due to the weight of the cooler and compressor.


This so far took around 2-3 days of work, even if it doesn't look it in the photos!
With the cooler positioned and shimmed into place it was time to start covering with the roll of Formica I bought on eBay.
It was my first time working with this stuff and I made a few mistakes, luckily none that wouldn't eventually be covered by trim.


The sink is a salad bowl I picked up for £11!
I used a hole saw to cut a hole to fit the waste in.
I managed to lose my wiring around the back of the cooler, but my patented retrieve-0matic 9000 tool soon fixed that problem.

Since I was going to all this trouble it was time to smarted the plumbing and fit a fresh water pump to make life in the galley easier.

And finally after varnishing trim, gluing on the formica with contact cement and other misc jobs, the finished product.
I can finally enjoy ice cold beers onboard.


All that's left is some trim around the icebox so you don't see the joint and then its another job smashed off the list!


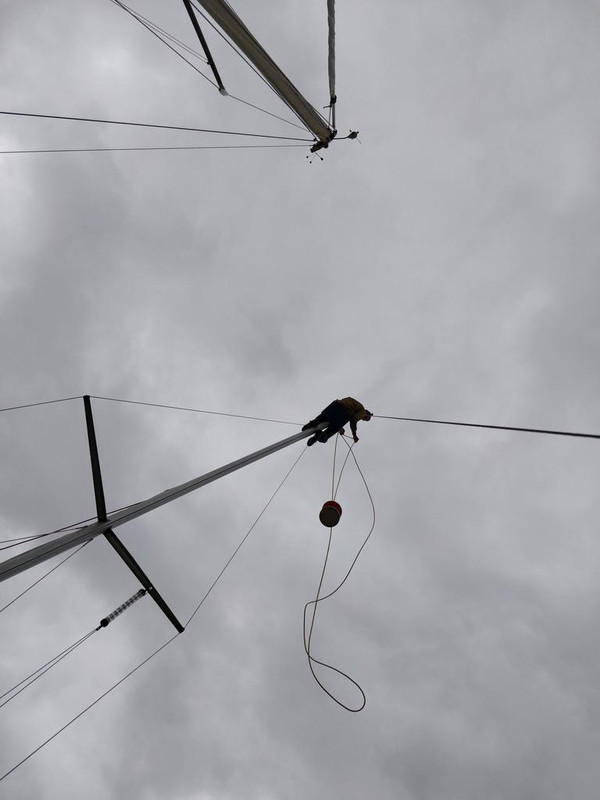
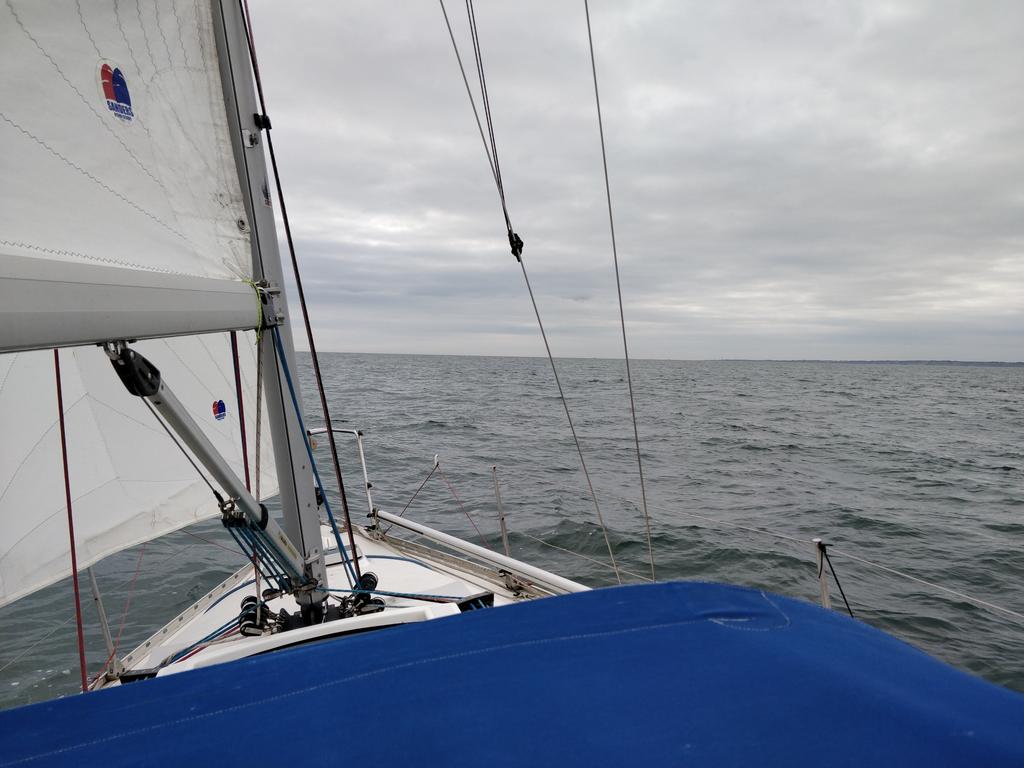
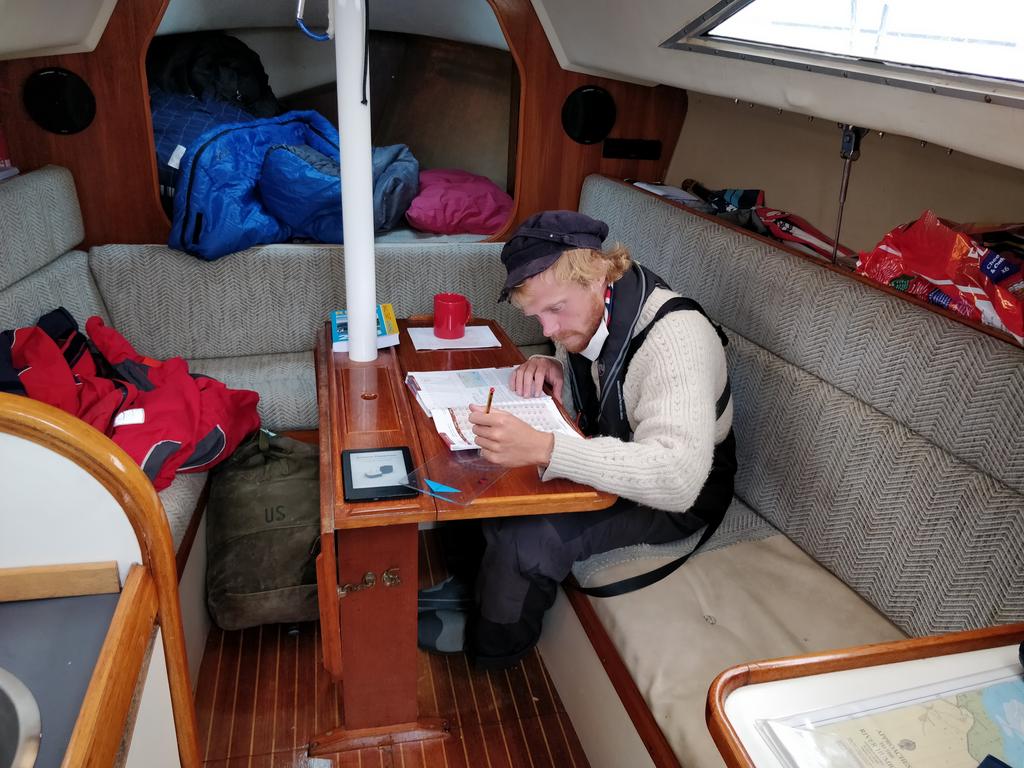






 to set up and the boat was a complete curse word to race in anything like a breeze


