|
|
|
|
|
|
Lovely boat! The only thing i’m Sat here thinking is “that needs more power...”.
I’ve seen VAG PD units employed before, V10 from a Touareg or Q7 would go very nicely with 310hp...
|
| |
|
|
|
|
|
|
|
|
|
Back at work now so time for an update. Over the earlier part of the week / bank holiday I got the mast wiring and accessories finished. And with some assistance the mast is now up again. One step close to sailing. First the new masthead light was fitted and wired into the existing 3 core wire running up the mast, I took care to seal all the fasteners and use rubber grommets on the wires where they passed into the light and mast, for chafe protection, and also to prevent moisture migrating along the cable into the fitting.  New wires pulled through from the base to the head using mousing line, this took a whole morning as it kept getting caught on various bits of reinforcement inside the mast. The last think would need is for the wires to get lost inside!.  The mast  The stainless bracket is for the VHF whip antenna, it took a bit of tweaking as I had to bend it to fit the curvature of the mast, which being a right angle it didn't want to do. I made a wooden wedge out of teak using the belt sander to get the angle correct on the masthead wind instrument..  Next was fitting the PL259 connection for the antenna, its vitally important that care is taken as if there is any continuity between the centre of the coax and the shield not only will it not work, it might even curse word the radio! (technical term)  The finished product, a lot more work than I thought, plus quite expensive. But hopefully I shouldn't have to touch it again for the next 5 years.  Finally time to put the bloody thing up! I moved the boat around and with a lot of swearing and some assistance we used the hand crane to get it up.    With it up and the crane out the way the next job was to roughly tune the rig. This is just preliminary, the boats hull actually deforms with the strain from the rigging and I'll need to re-tighten in a few weeks time as well as tuning under sail. Currently I've got the shrouds wound up 20% of the breaking strain, which is about right, but I'm not happy with it, there's too much of what we call 'panting' this is when the centre of the mast can move / shake excessively.      Finally I fitted my new 'Cable Port'. Previously wires from the mast had gone into special cable glands to seal the deck and prevent rain getting in, these looked pretty untidy and also sometime required the connector removing from the cable so it could pass through. The new cable port uses one big hole that I send all the cables through and then clamps on top to form a watertight seal. It also looks pretty swanky.    That's it until next week. One last big push with the electrical wiring and I'll be out on the water. Which means I can get back to the RX7, I really need to get that at least rolling this year. |
| |
|
|
|
|
|
|
|
Lovely boat! The only thing i’m Sat here thinking is “that needs more power...”. I’ve seen VAG PD units employed before, V10 from a Touareg or Q7 would go very nicely with 310hp... Well there are plans for more power, but it would be an upgrade from 9hp to 14hp!  Even with 310 hp it actually wouldn't go much faster than it does now, without getting too boring its a limited by the hull form pushing through the water. Although I do like the idea of a big supercharger poking out the forward hatch! |
| |
|
|
|
|
|
|
|
Lovely boat! The only thing i’m Sat here thinking is “that needs more power...”. I’ve seen VAG PD units employed before, V10 from a Touareg or Q7 would go very nicely with 310hp... Well there are plans for more power, but it would be an upgrade from 9hp to 14hp!  Even with 310 hp it actually wouldn't go much faster than it does now, without getting too boring its a limited by the hull form pushing through the water. Although I do like the idea of a big supercharger poking out the forward hatch! Suppose you could get into a Donald Campbell scenario! Hydroplane + Jet engine... |
| |
|
|
|
|
|
|
|
Time for another update. This time your intrepid retro rider has 12 days off work, so the updates should be coming a little more regularly. I had a go at making up some 'Soft Shackles', these are made from dyneema and are pretty handy, normal stainless shackles have a tenancy to abrade whatever they're attached to (especially aluminium) and these are much softer. They're also ridiculously strong. Even the smallest 5mm one can hold nearly 2 tons! That's almost enough to lift the boat!   With the rig up then it was time to 'bend on' (nautical term) the mainsail and cover.   My replacement heater exhaust hose arrived, but because I'm an idiot and only measured one end, not realising there was a reducer in it, it doesn't fit. curse word. 24mm now on order.  Next I spent a bit of time, running the battery cables through conduit and installing cable tie bases to clip them out the way. In pictures this seems like such a simple quick job, in reality it represents 2 days of work due the awkward positions I had to work in and just that everything takes twice as long as expected. I also made a cover for the battery switch wiring.        I'm still not 100% happy with it. I would have preferred the wires to be hidden rather than pass through the heads compartment, but I can't think of any way to do that short of ripping the boat to pieces. Next up with the engine battery wiring complete, I could finally reassemble the interior. I also reinstalled and wired the engine panel, and replaced the sound deadening.        The engine cover and steps all need rebuilding with new wood, but that's a job for another year. I switched everything on, and to my surprise, not only did it not catch fire, it even started!  Which concludes today's thrilling instalment. However, a post isn't complete without the latest previous owner screw ups attached, today's exhibits are mild steel screws used in hatchway. And parcel tape that's been encased in the flowcoat!   |
| |
|
|
|
|
|
May 14, 2018 13:09:12 GMT
|
|
Nice to see more updates on this.
Knowing nothing about boats (as I shall now demonstrate), isn't it a bit dodgy having the instruments right where feet can go? It looks like you could easily either tread on or catch your toe under the pull shut-off handle?
|
| |
|
|
|
|
|
May 14, 2018 19:17:55 GMT
|
Nice to see more updates on this. Knowing nothing about boats (as I shall now demonstrate), isn't it a bit dodgy having the instruments right where feet can go? It looks like you could easily either tread on or catch your toe under the pull shut-off handle? Well the panel and stop are somewhat recessed in relation to the hatchway, you'd need to actively push your foot forwards of where you need to step in order to hit it. Its a pretty common location. However I do have plans to move them into the cockpit at some stage, but I'm taking it one project at a time or I'll just be overwhelmed! |
| |
|
|
|
|
|
|
|
So my plan to be more disciplined at keeping this page updated didn't work out. As usual, I've spent literally days and days of work, but in the photos it barely looks like it should have taken me any time at all. But here goes. I first wanted to wrap up the battery areas, specifically tidy up the wiring and secure the batteries properly using tie down straps. 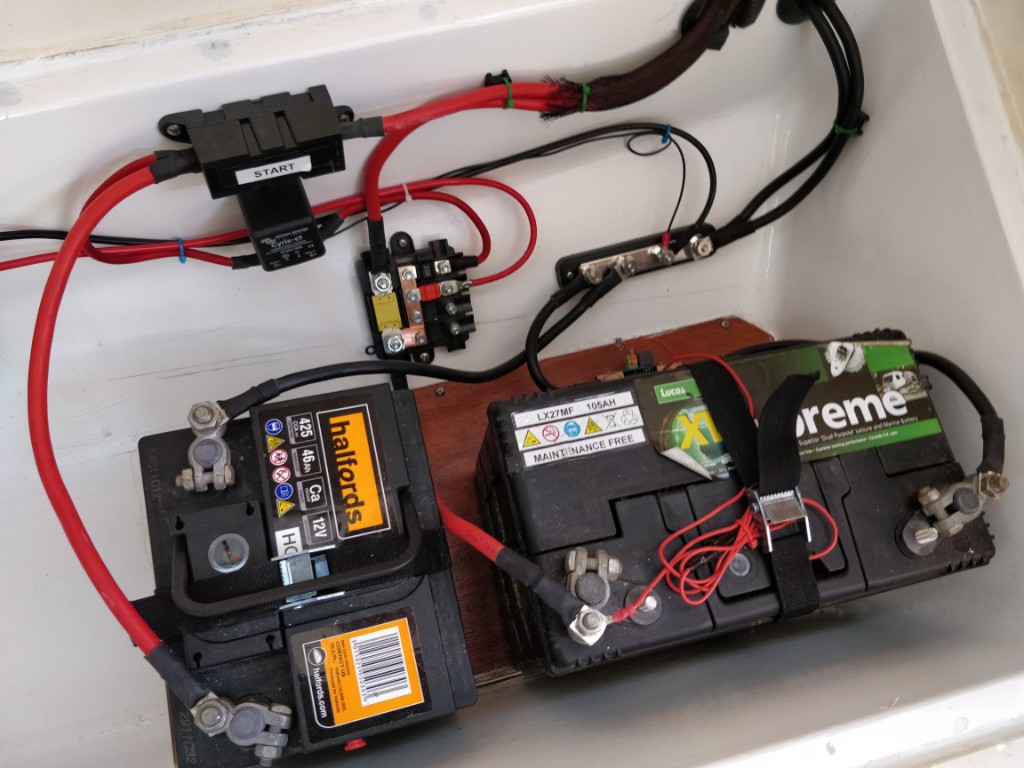 With this completed I could move onto the massive job of rewiring the entire boat. I spent literally days, ripping out old wires and running new ones. It took a while as I had to hide them where possible, which meant runs all the way around the outside of the boat. Unfortunately there was no way to get wires across the middle and keep them hidden. A picture says it all, so here's a load of them: 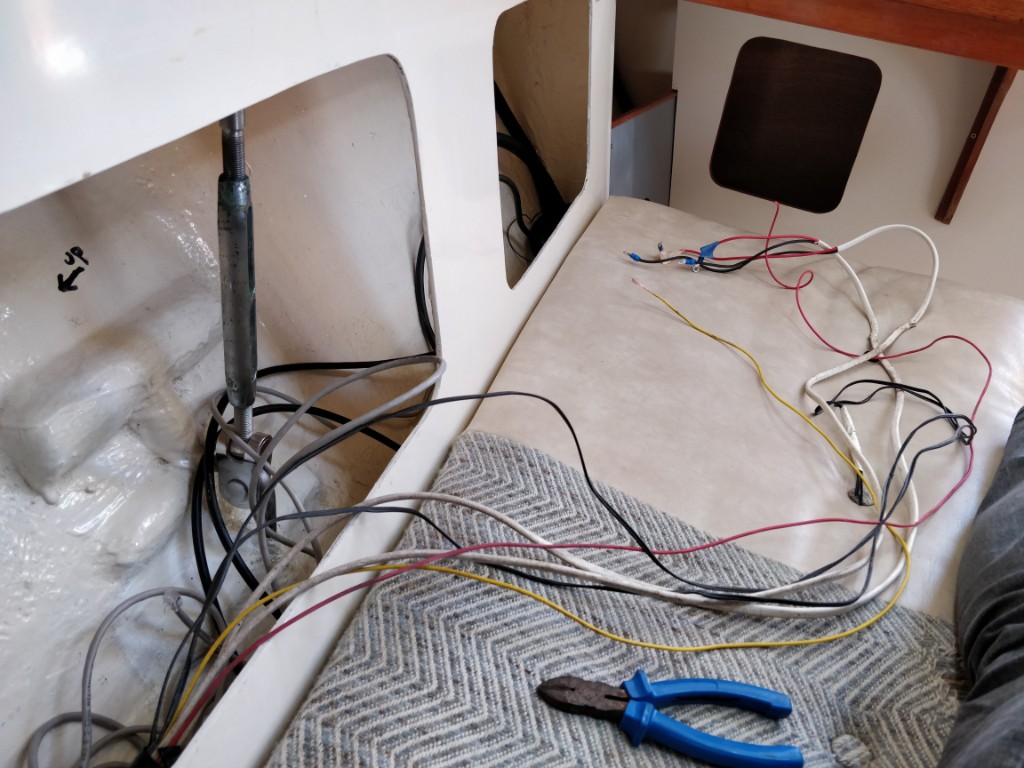 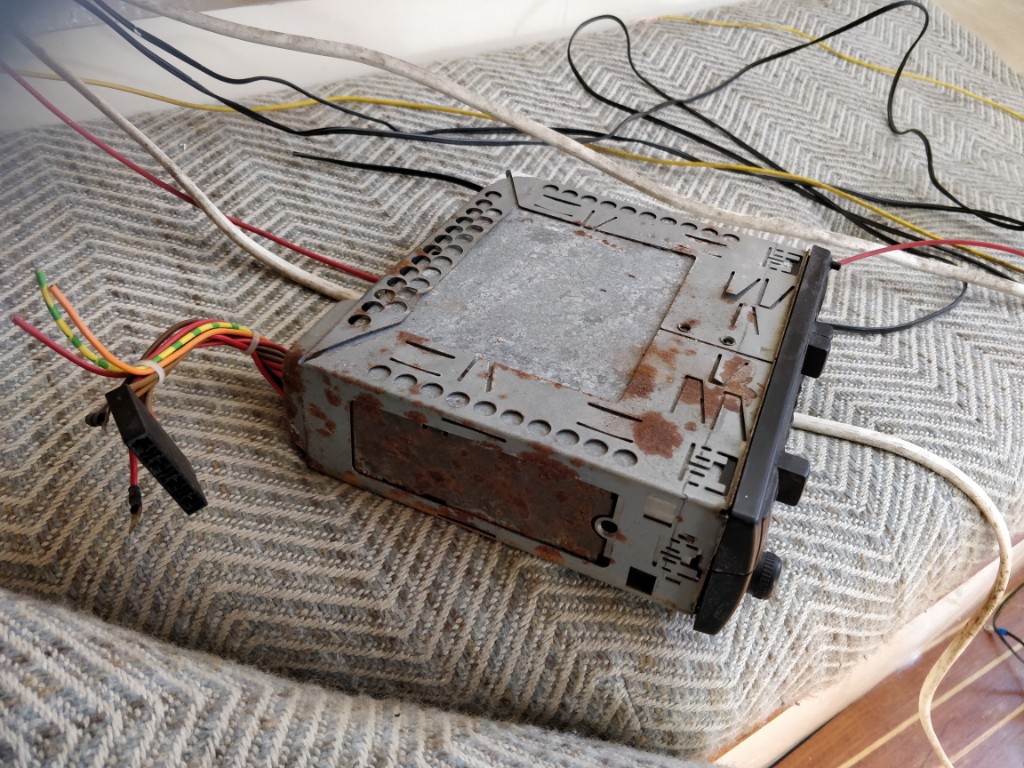 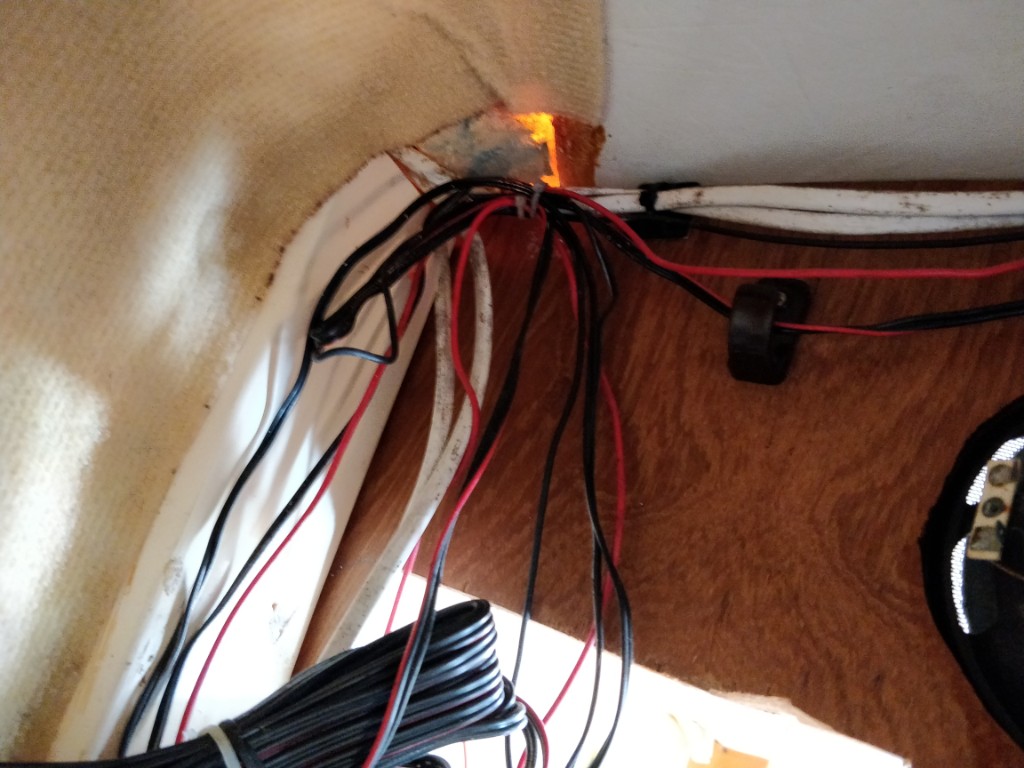 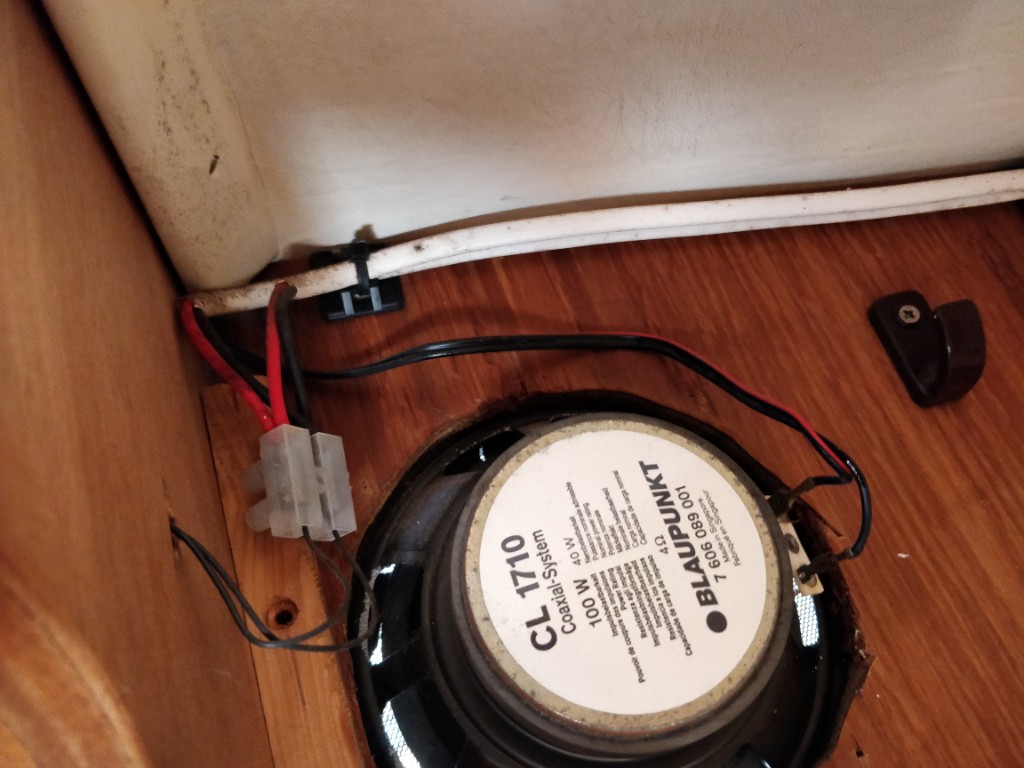 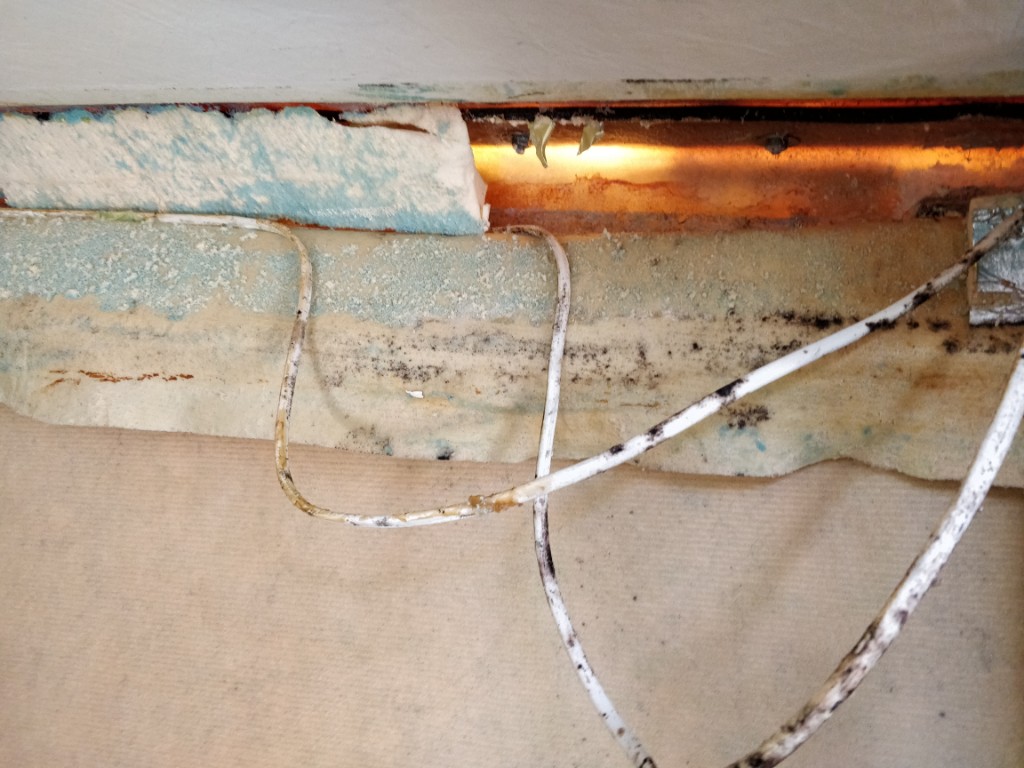 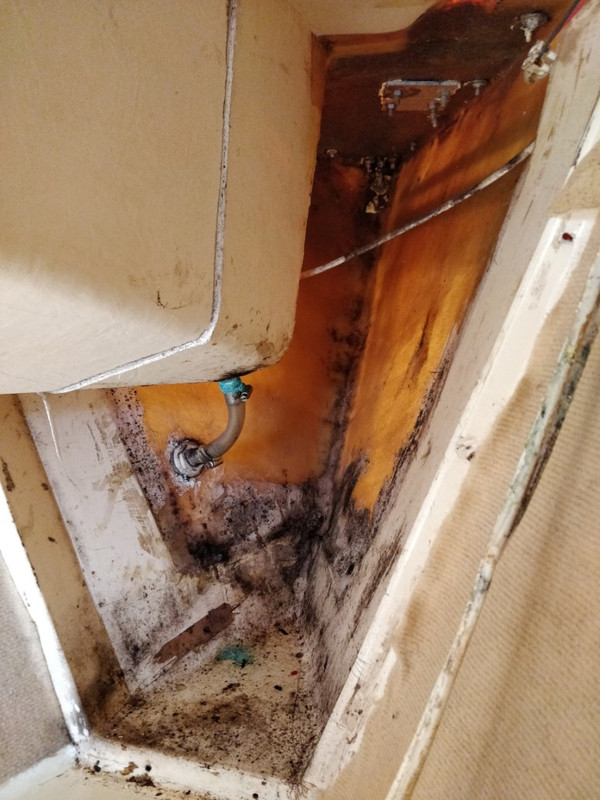 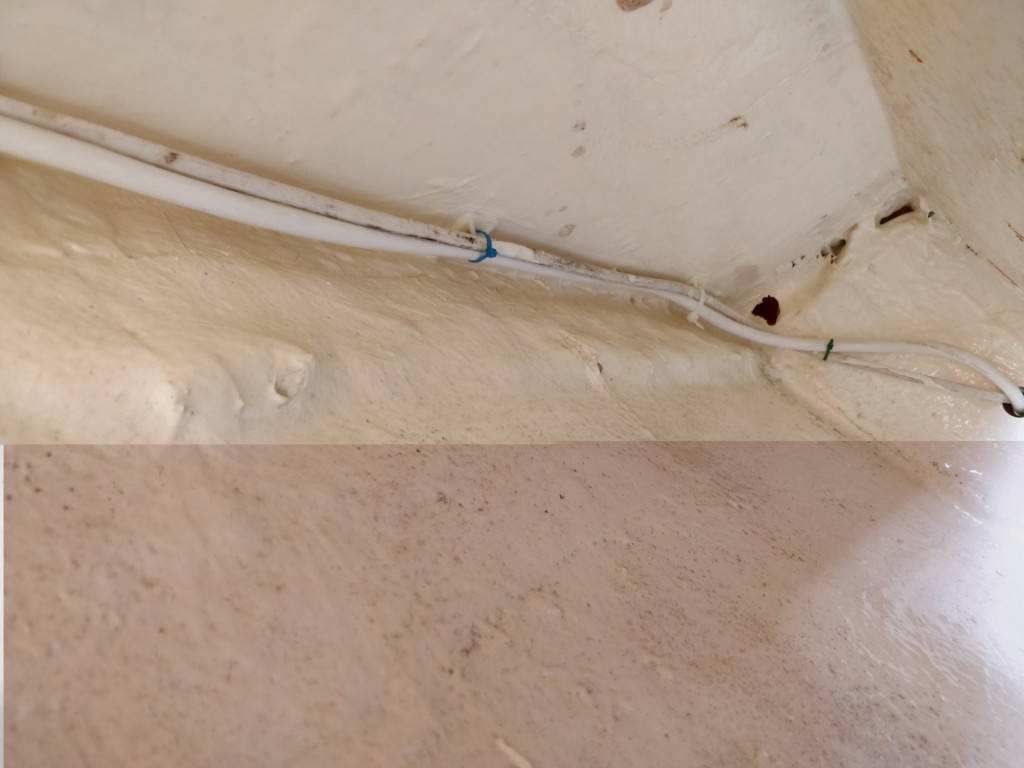 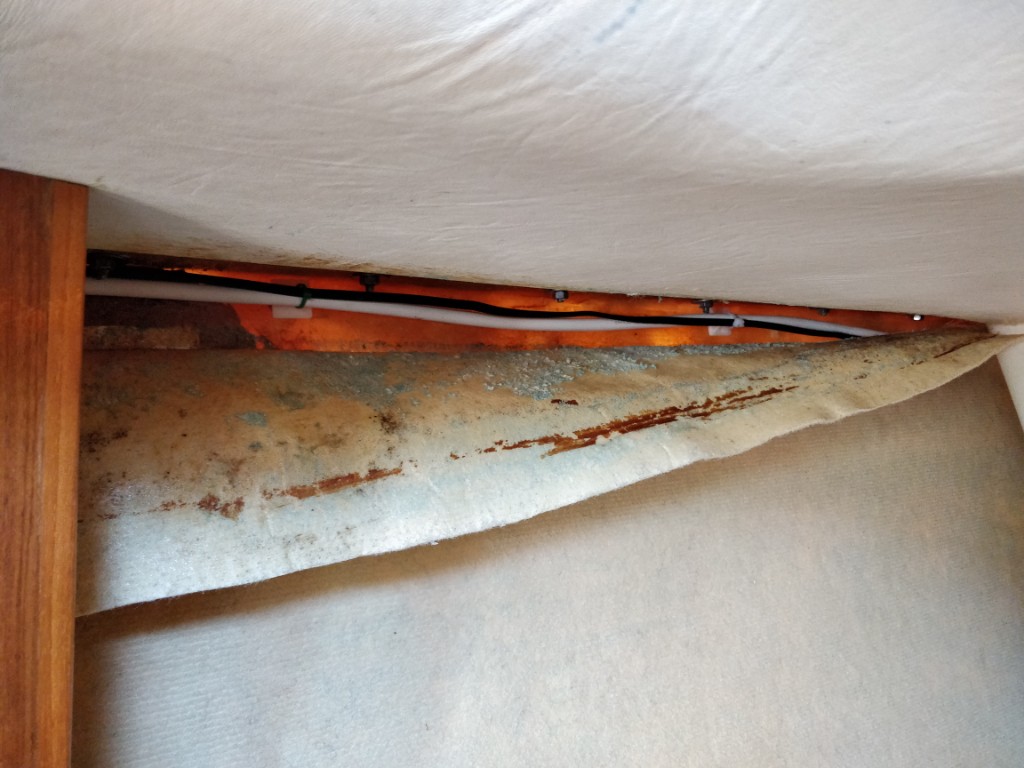 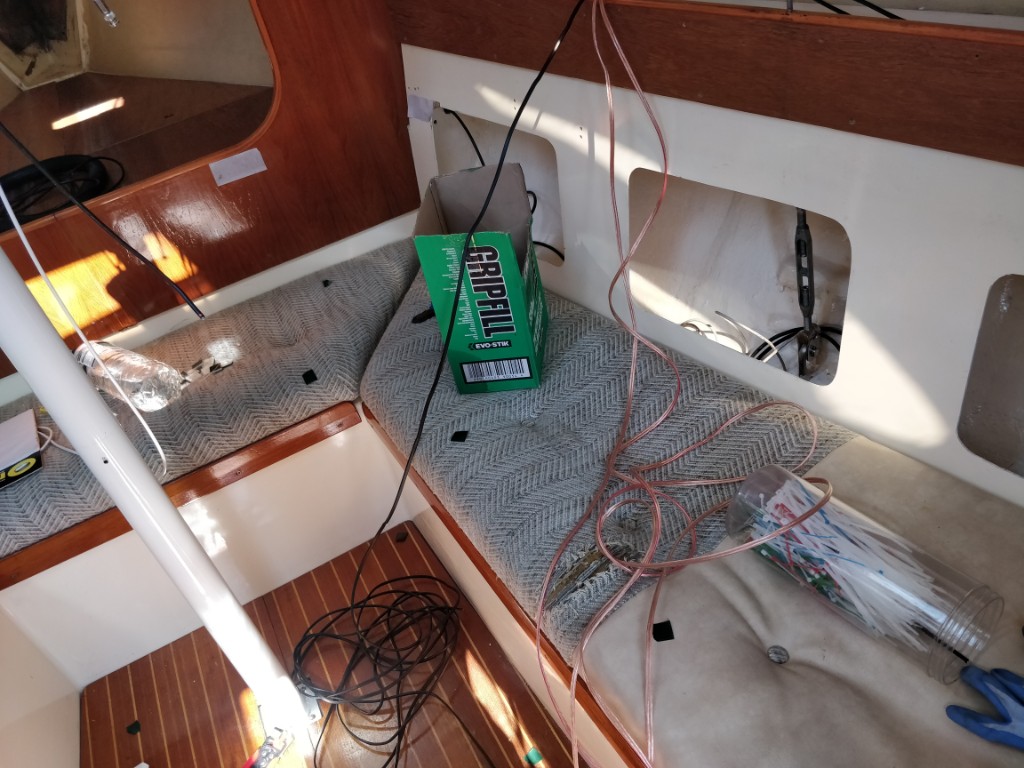 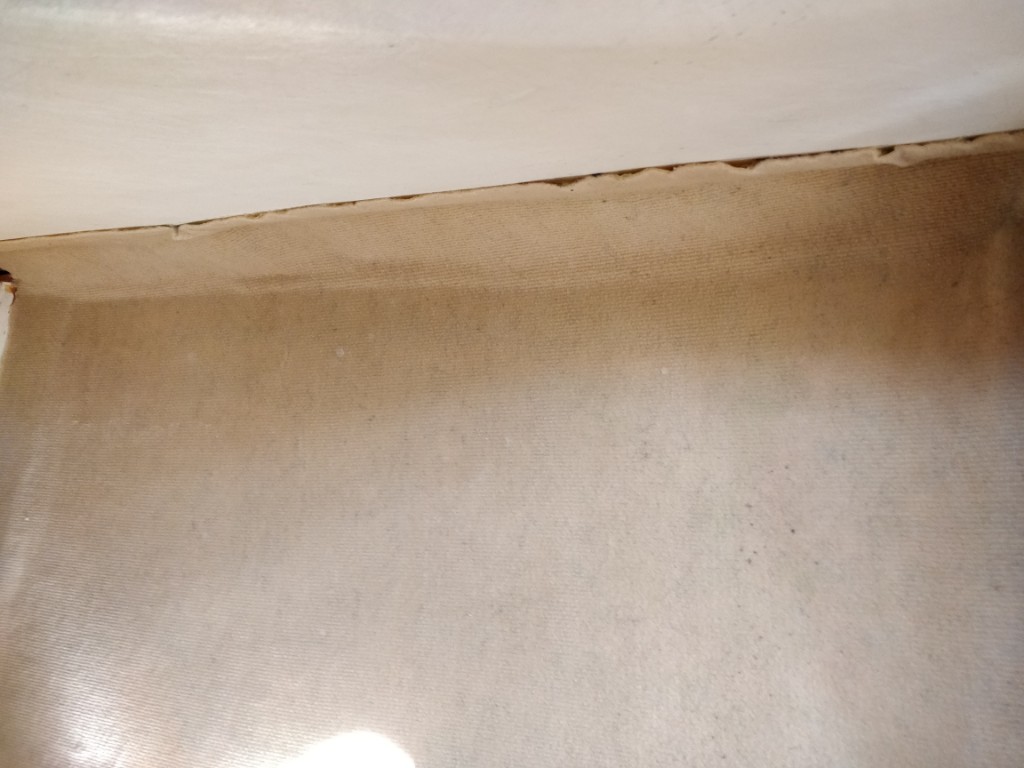 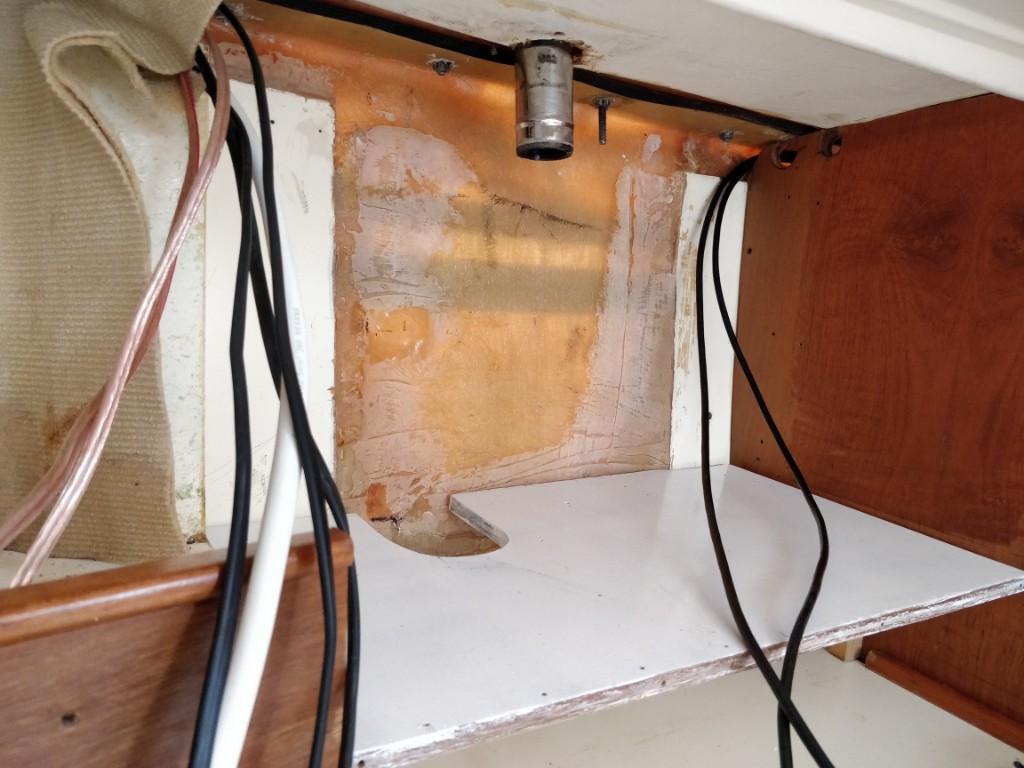 With one side of the wires run I took a break and made a start on the panel area. I started by Epoxying two wooden blocks to the hull. I then cut out a ply wood back to screw into them. 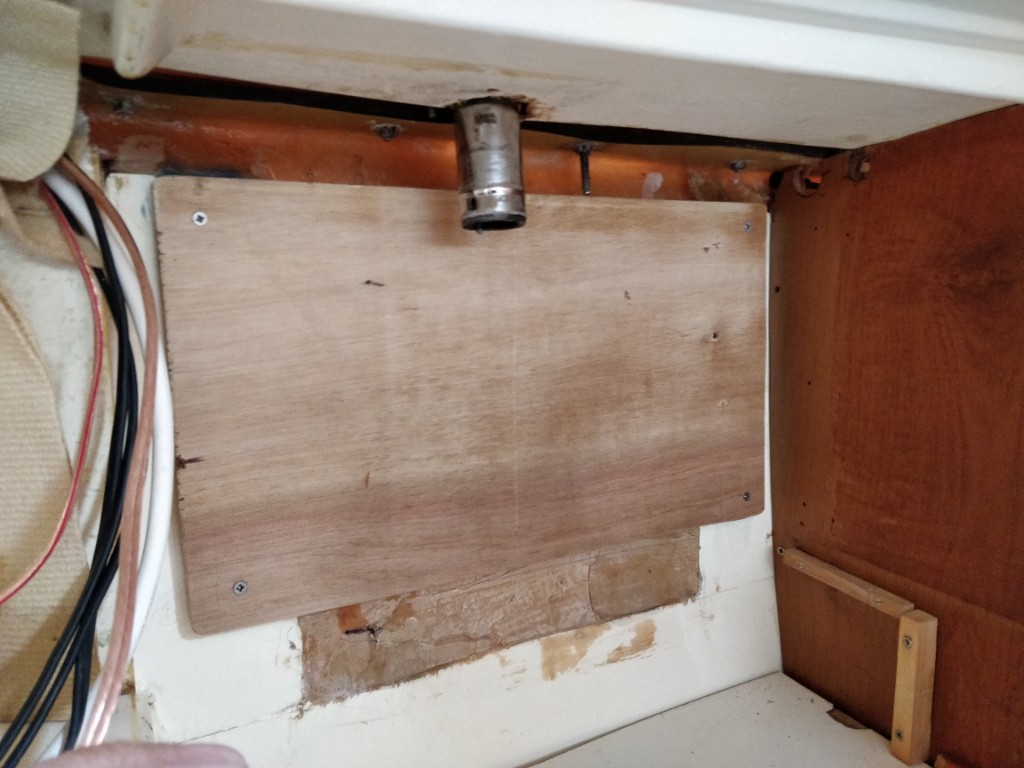 Next I got my open conduit in place. 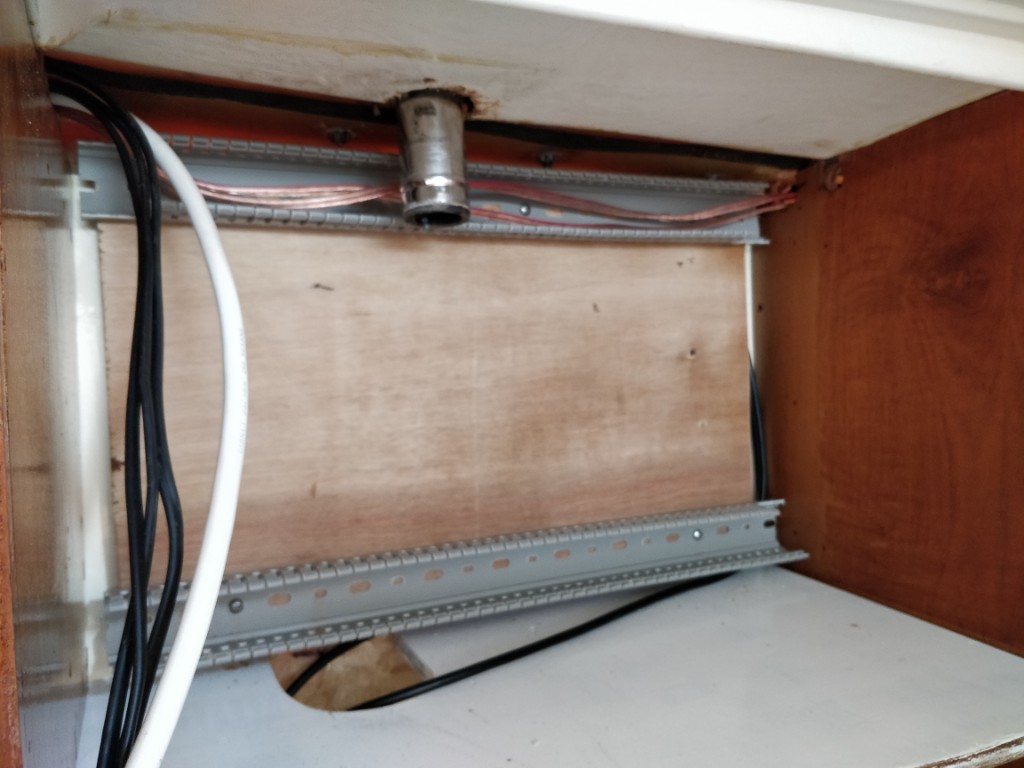 In hindsight I should have kept this wiring with the NMEA2k data wires running behind everything. But I ended up running them through the conduit. 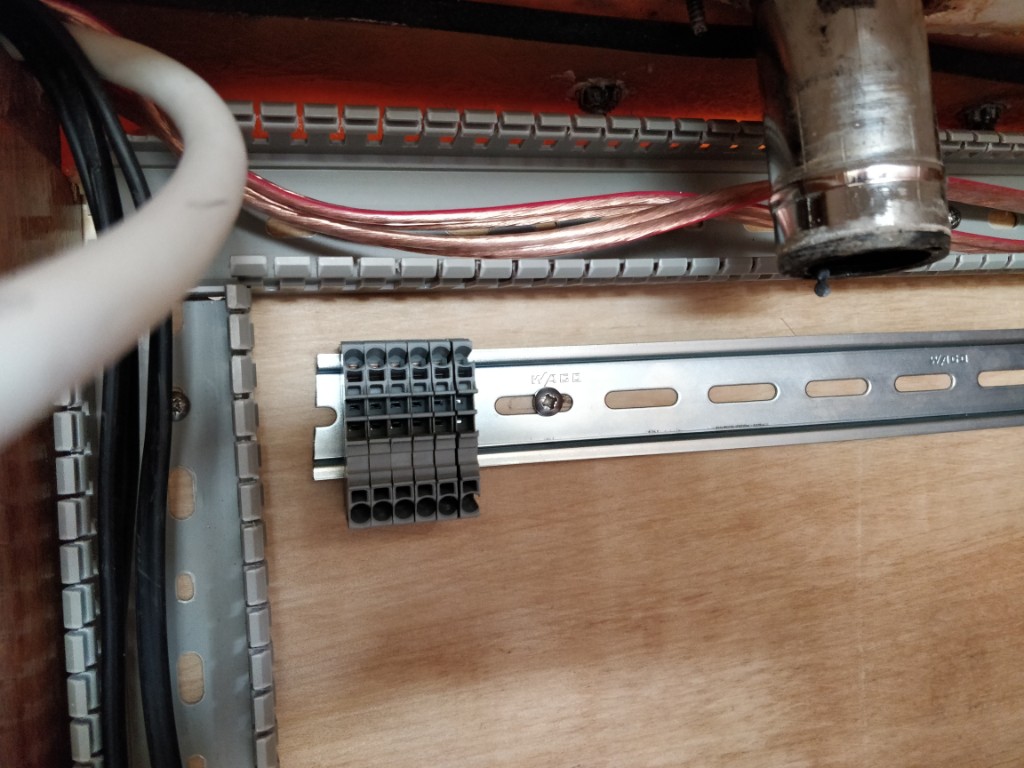 As I didn't have a small enough screwdriver, I made a custom tool from a fork with a filed down prong so I could open the terminal blocks. Still waiting for job offer from Snap On. 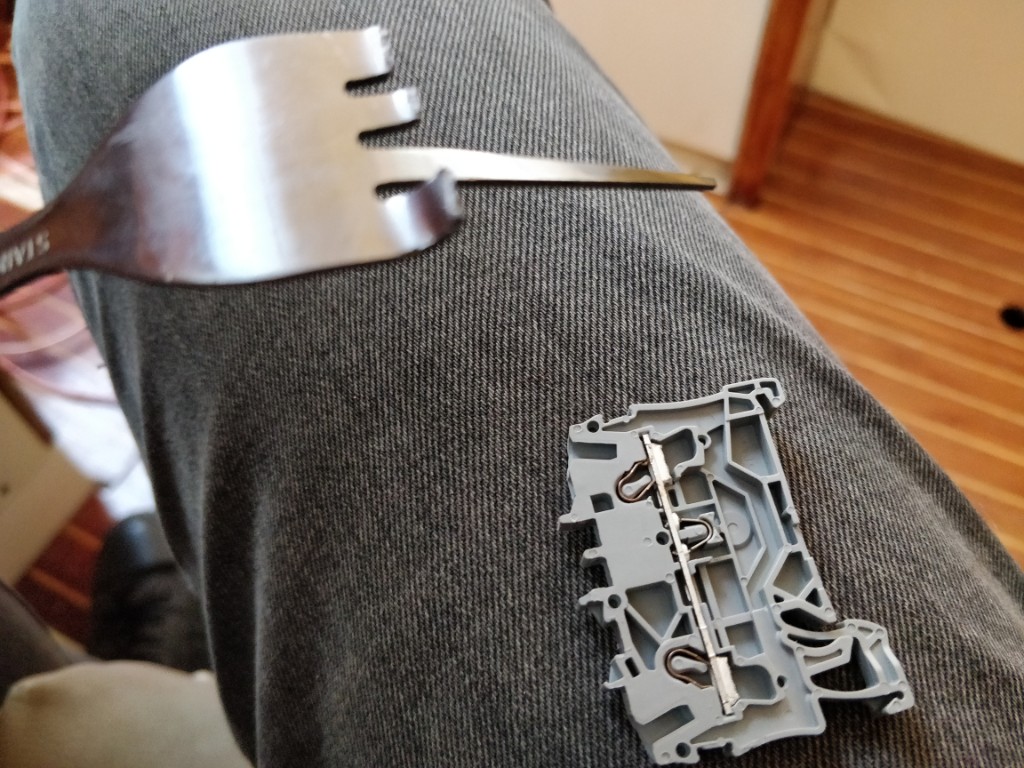 Some more progress 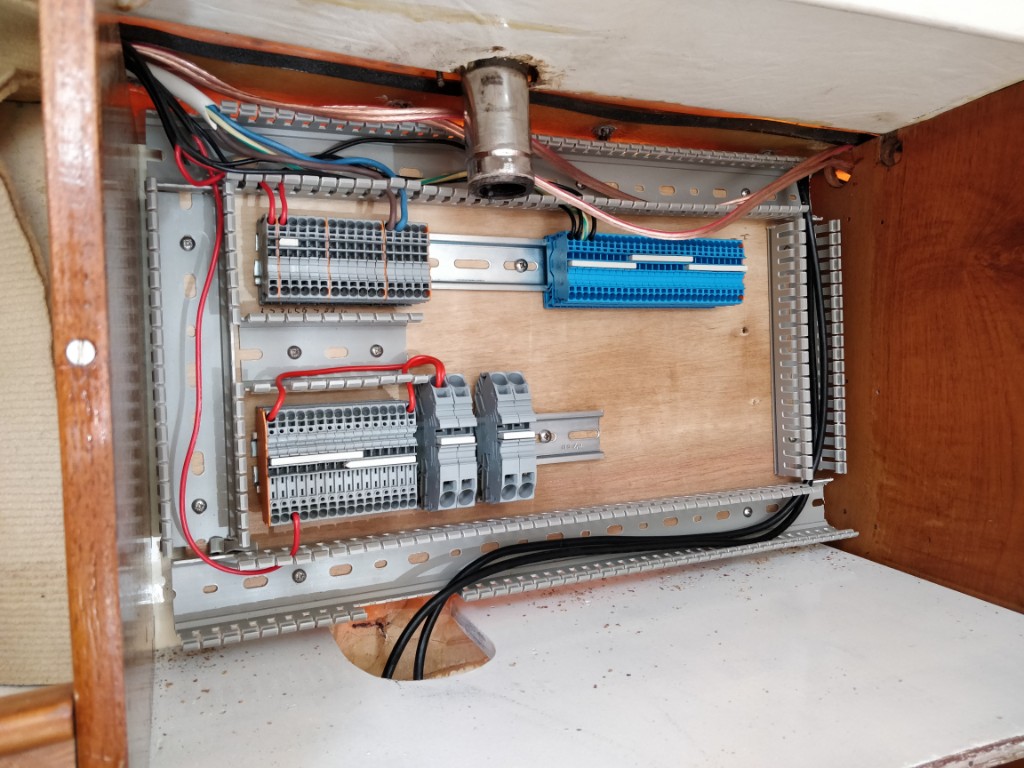 To those interested, the big terminal blocks are the power feeds, they go into the bottom blocks which are fused. From here it will go to the front panel where its switched and then to the top blocks which then feed the circuits. Some of the circuits, Cabin Lights, Gas Alarm, 12v Sockets are always live and go from the fuse directly to their circuit. Anyway with the fun bit over it was time to do some more wiring. 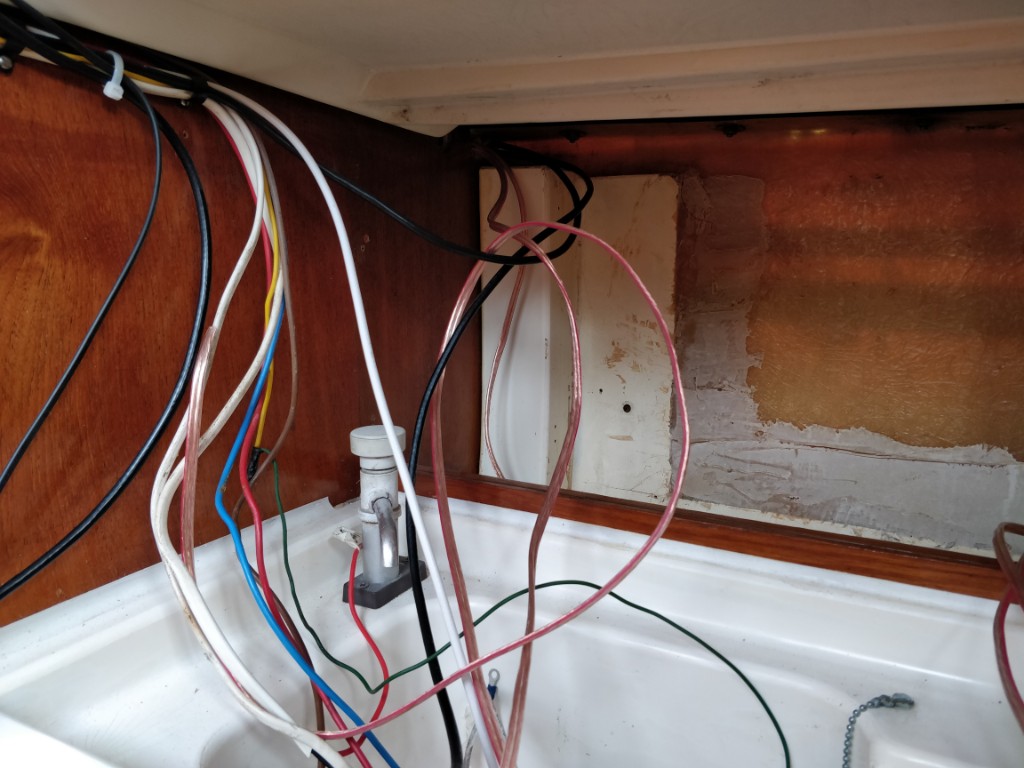 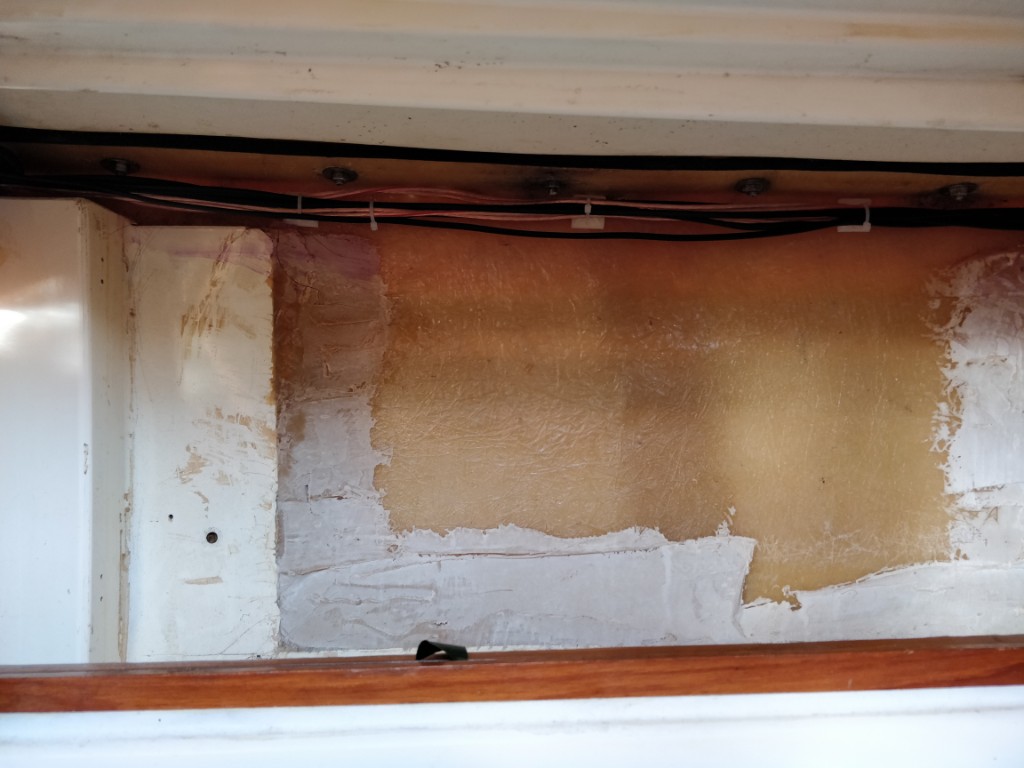 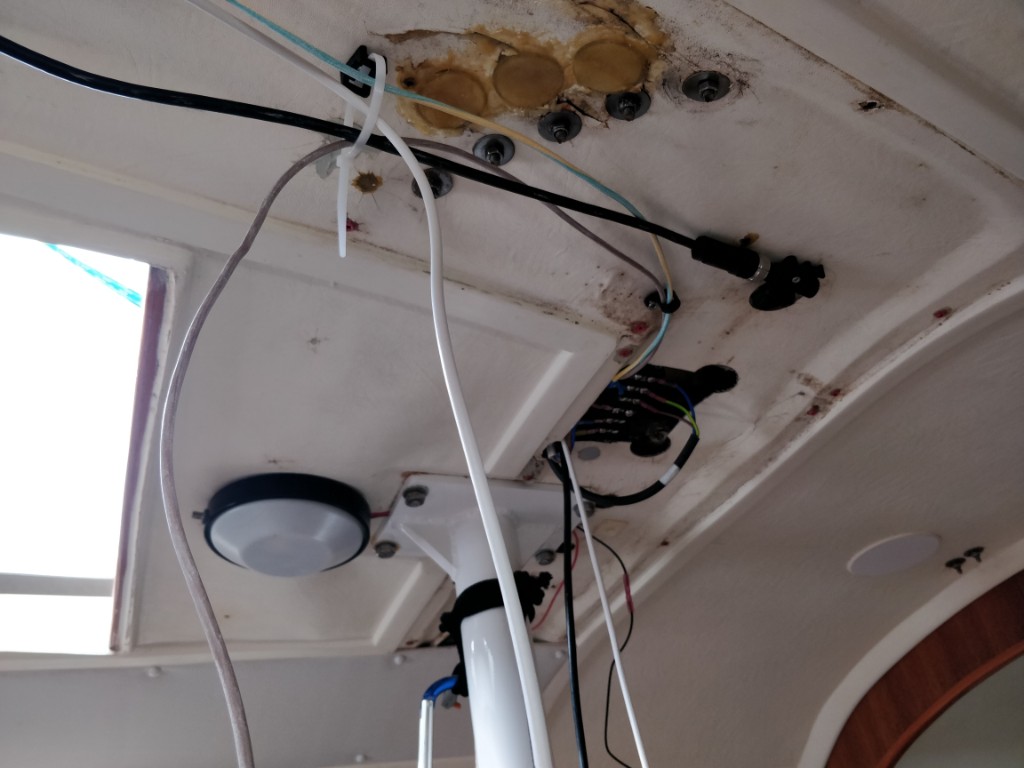 I noticed here that the boat must have had a bump at some stage, as this bulkhead has been displaced. Which explains why I struggled to line up a few things. Wish I'd spotted it sooner as I could have fixed it with ease while everything was out. Its now a job for another year. 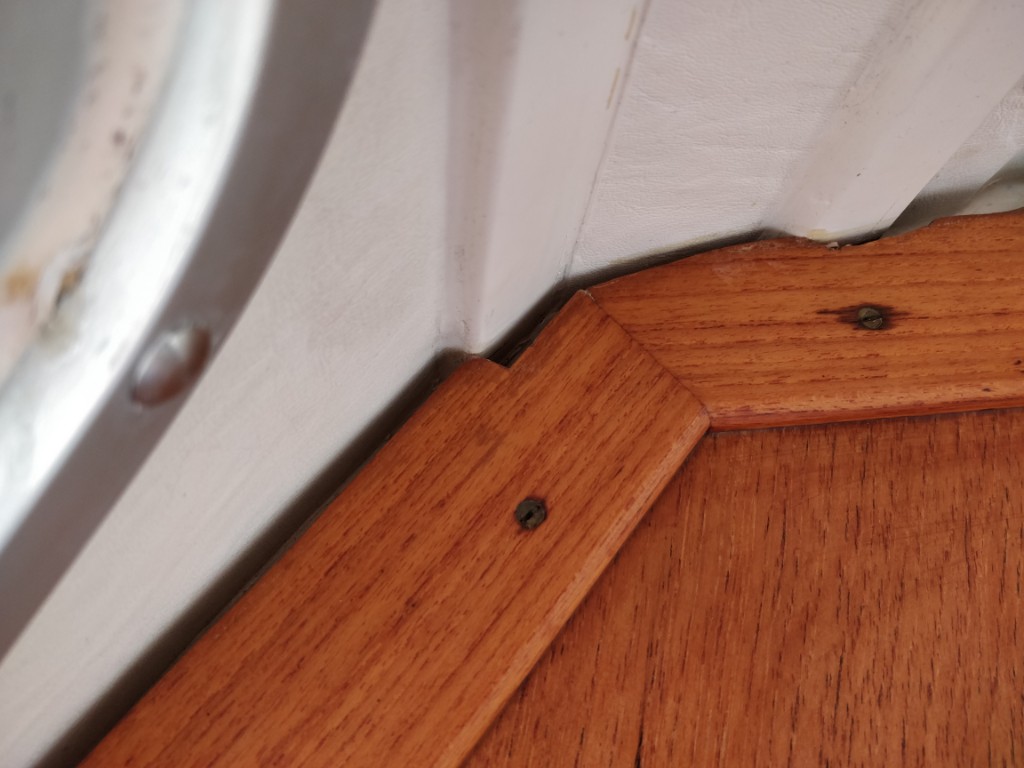 Anyway, back to wiring! 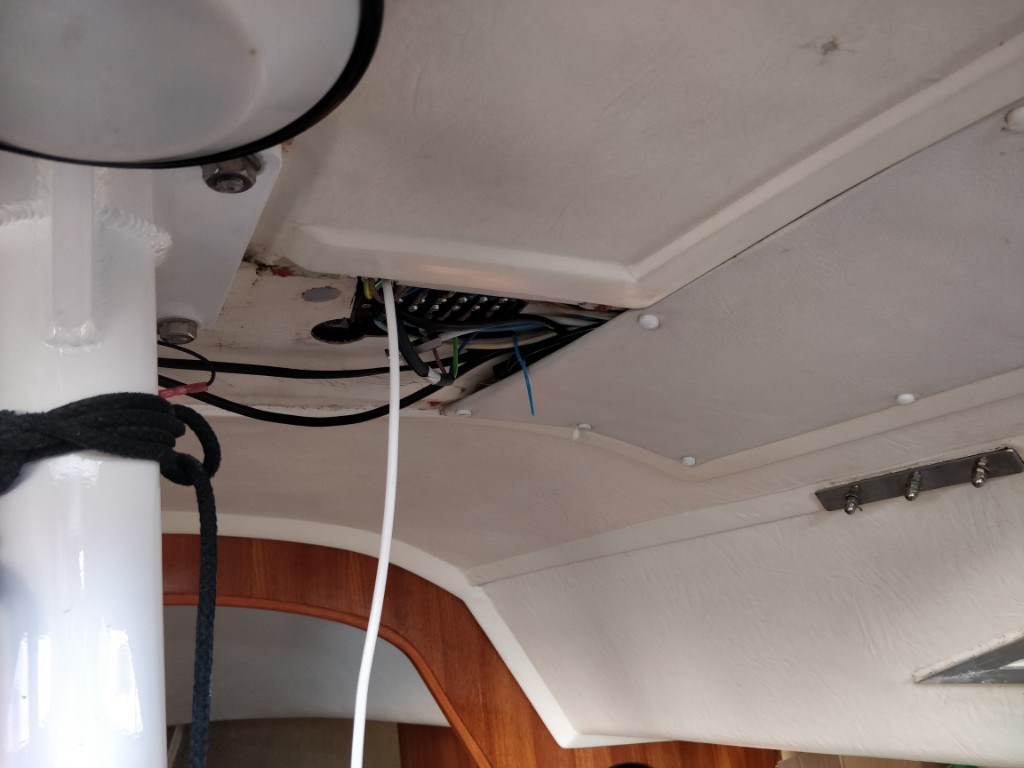 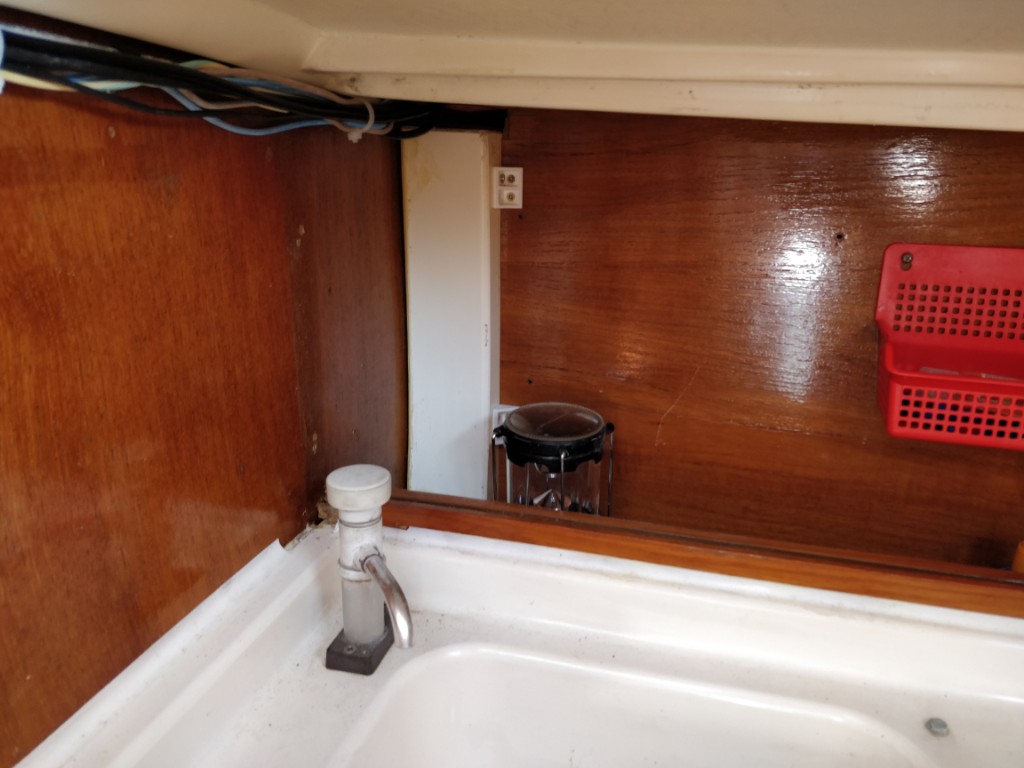 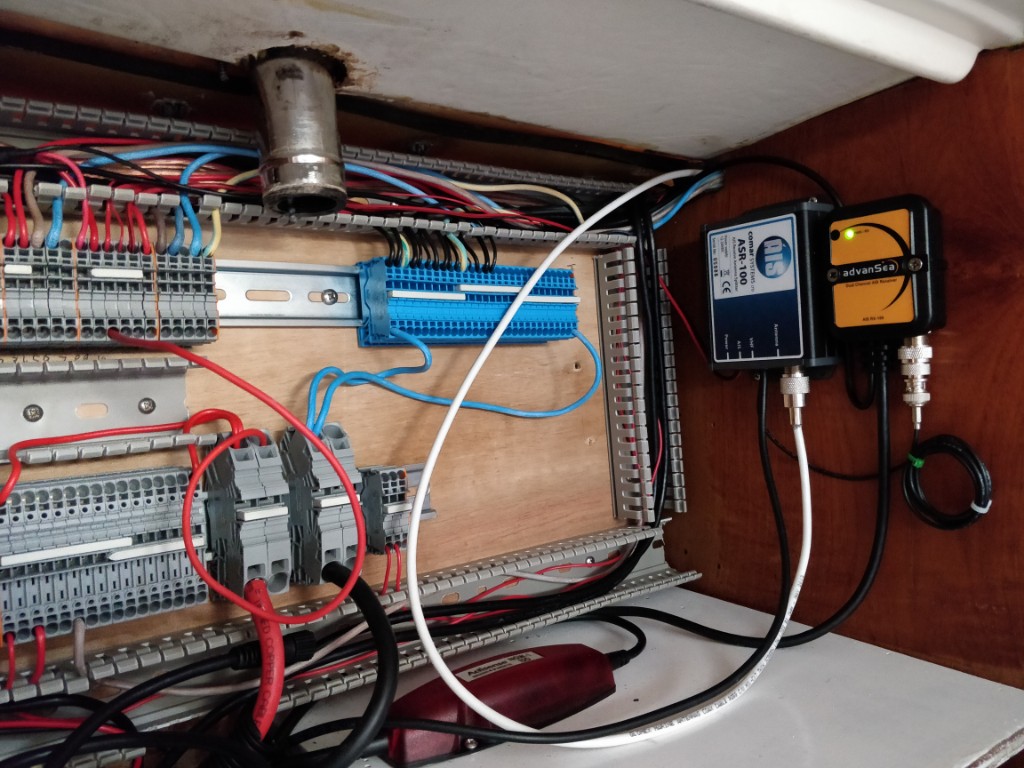 With most of it completed It was time to do some testing. The box on the left takes the VHF signal and splits it, part goes to the VHF for radio comms, the other part goes to the box on the right for AIS. AIS basically means Automatic Identification System. By law all commercial vessels broadcast their position, speed, heading and other info and this box picks up on that and converts it into a NMEA0183 signal. This then goes into the red box at the bottom where its converted into a NMEA2K signal. And broadcast across the network on the boat to be picked up by the instruments, specifically the chart plotter which shows ship positions on the map in real time. I would have been easier to use a NMEA2K AIS, but they're very expensive and I already had this one. Unfortunately it didn't work, but after digging through the manual I worked out that I had to re flash the 0183 > 2K gateway to operate on a different baud rate. After bodging together a serial to USB interface I kind of felt like Johnny Lee Miller in Hackers as I waited for the progress bar to finish. Amazingly it worked and I can now see ships on my chart. 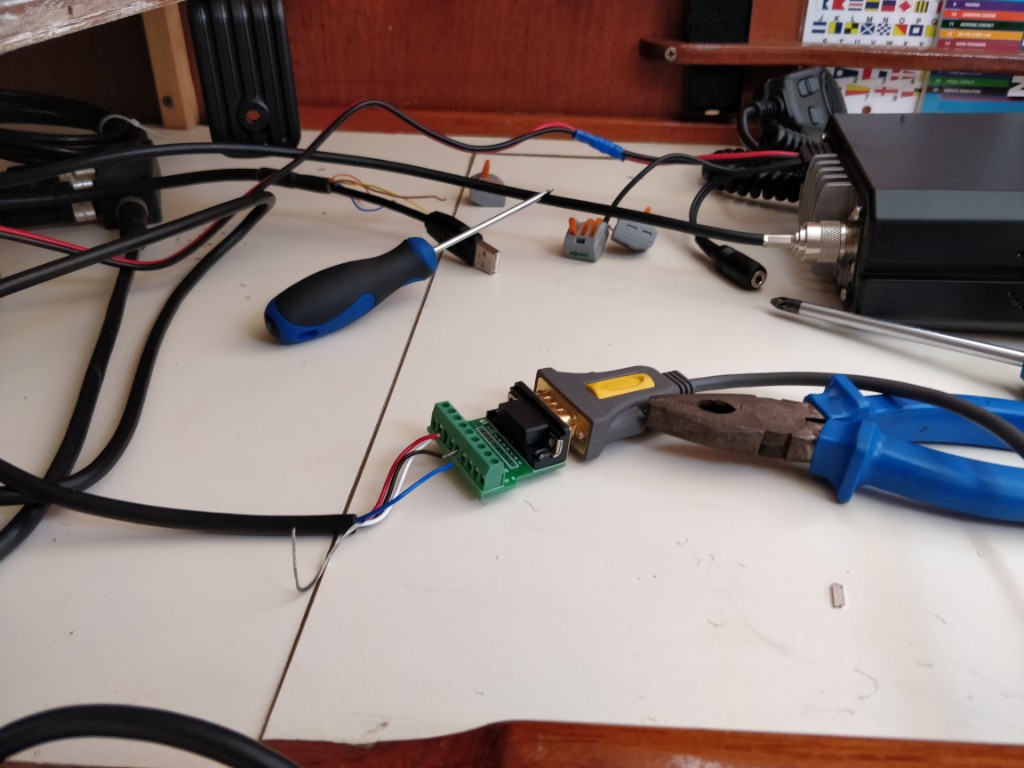 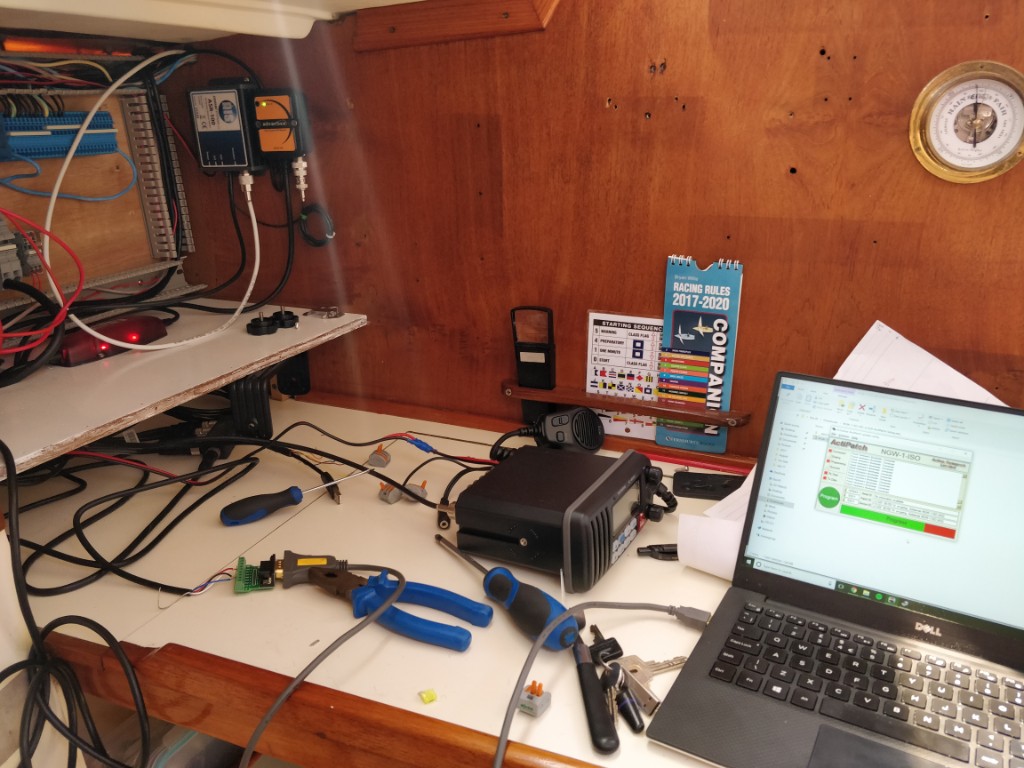 Most important piece of equipment on board tested and working 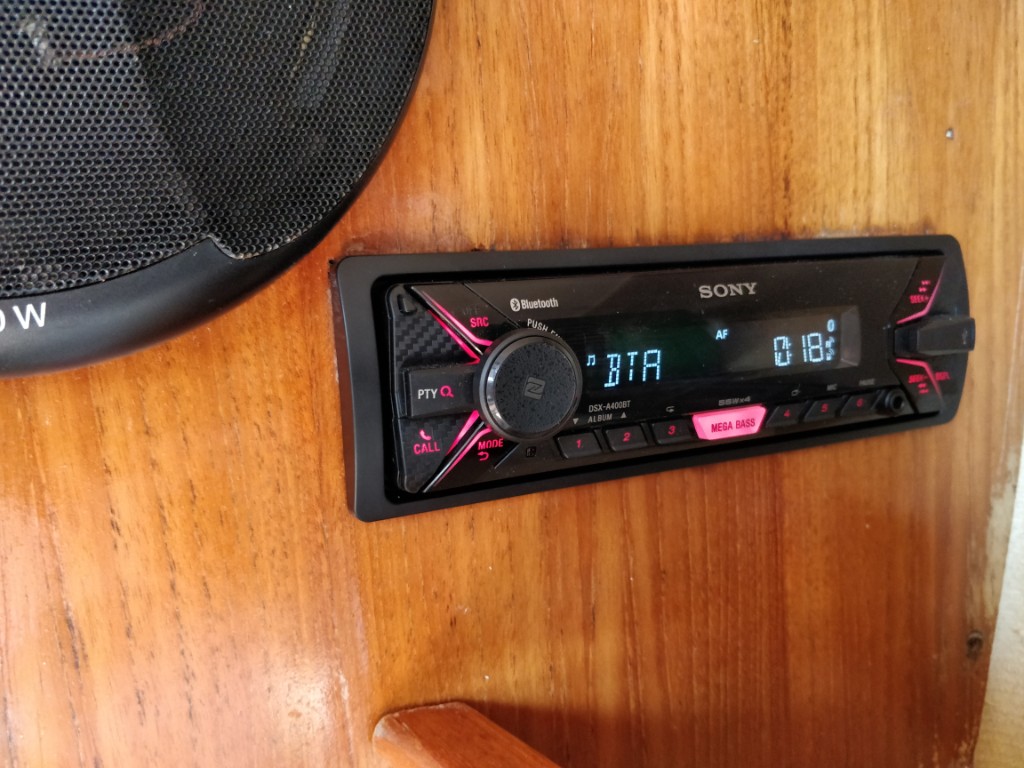 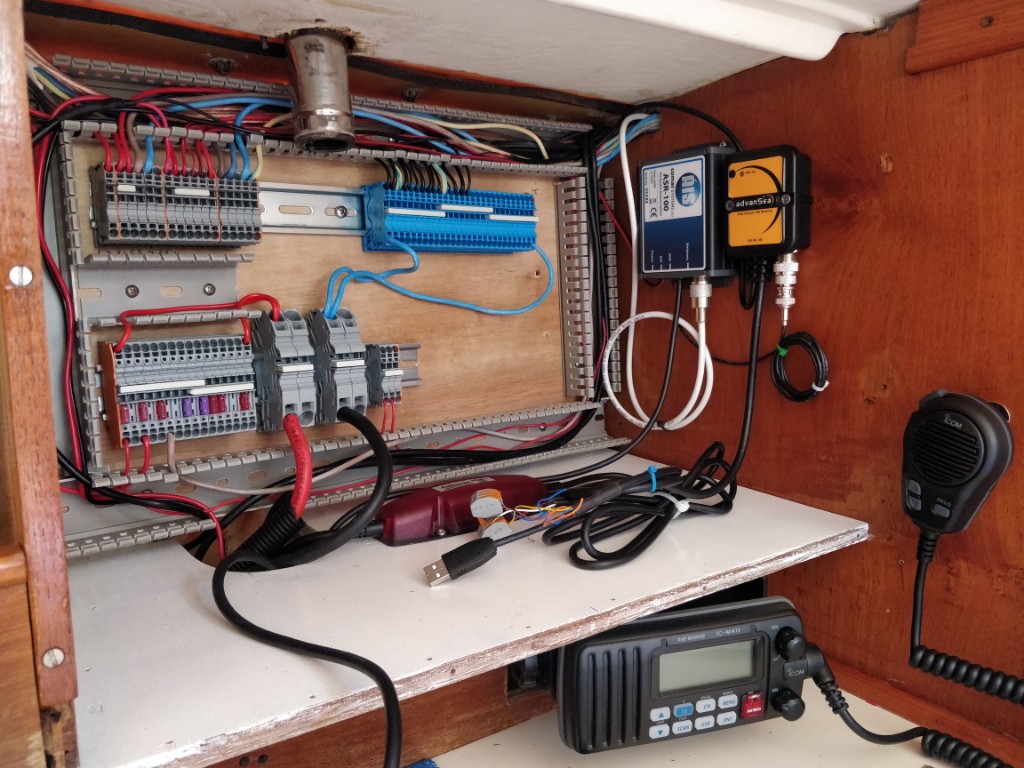 With the wiring tidied up and all but the heater wiring runs done, the electrical refurbish is 95% done. I just need to do the panel and heater wiring. The panel I designed up in CAD and is currently being CNC cut out. I made a bit of a mistake on the text alignment as I was in a hurry to send it off before the bank holiday, hopefully its not too noticeable. 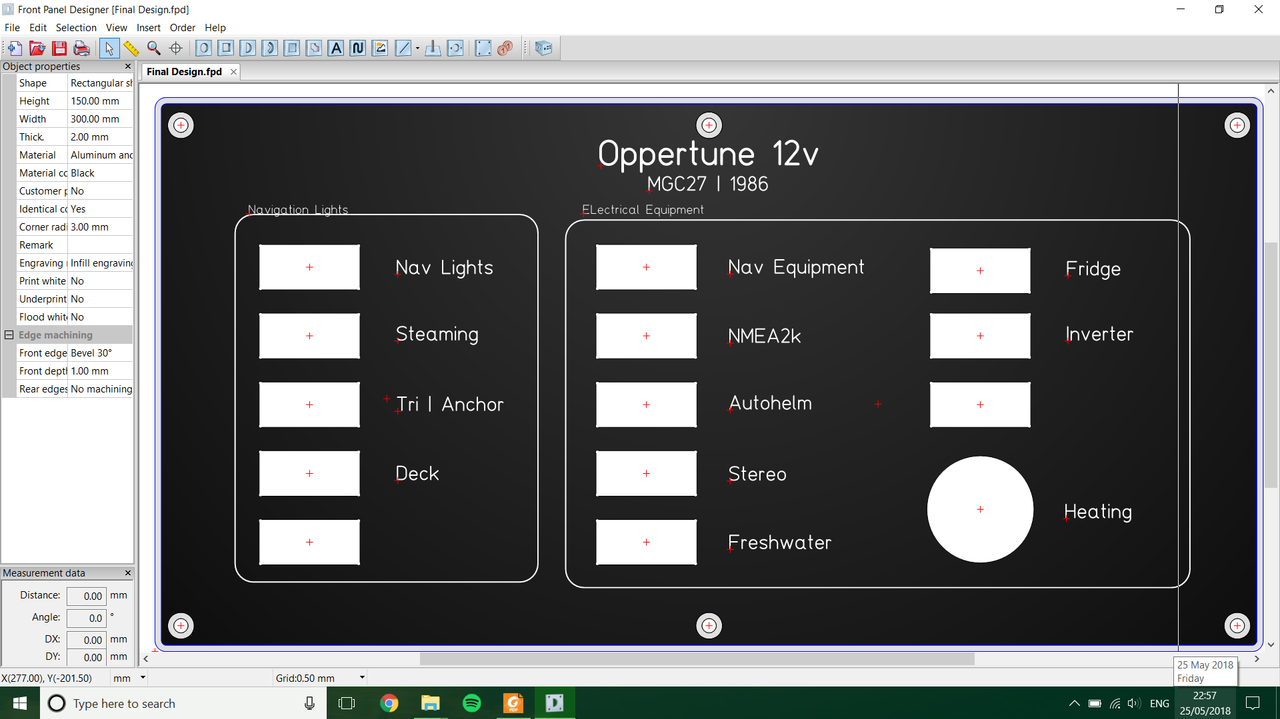 That's all for now. Hopefully after a few more updates I can wind down this blog (until winter) and get to work on the Rex again. |
| |
|
|
|
|
|
May 28, 2018 10:35:23 GMT
|
I can wind down this blog (until winter) and get to work on the Rex again. Don't you bloody dare! We want tales of derring do upon the high seas. Races won and lost, storms ridden. You know, boaty stuff! 😂 Takes an age to just quote the bit you want on a phone. Tired now. Beer 🍺 P.S. Nice work 😊 |
| |
Last Edit: May 28, 2018 10:37:17 GMT by georgeb
|
|
|
|
|
May 28, 2018 22:07:50 GMT
|
|
Don't worry too much, I'm a compulsive tinkerer. There's no such thing as a 'finished' vehicle to me.
|
| |
|
|
|
|
bstardchild
Club Retro Rides Member
Posts: 14,968
Club RR Member Number: 71
|
|
|
|
|
My dad has had sail boats for all his adult life - even now at 80 he's still restoring boats but these days it's all motorboat rather than sailboats as he has 3 vertebra fused in his spine so no longer copes with the physical demands of sailboats.
My favourite remains a Rival 32 which he built from a bare hull - it got the family back in record time from Cherboug to the isle of white in a force 8 - that thing just loved getting it's decks wet and it was a stiff old thing so it had to be a good breeze to get it over.
Great thread by the way bookmarked
|
| |
|
|
|
|
|
|
|
The Rival 32 is a great seaworthy boat, one that will always look after you. A guy near me has one. Just a small update, my custom panel arrived. 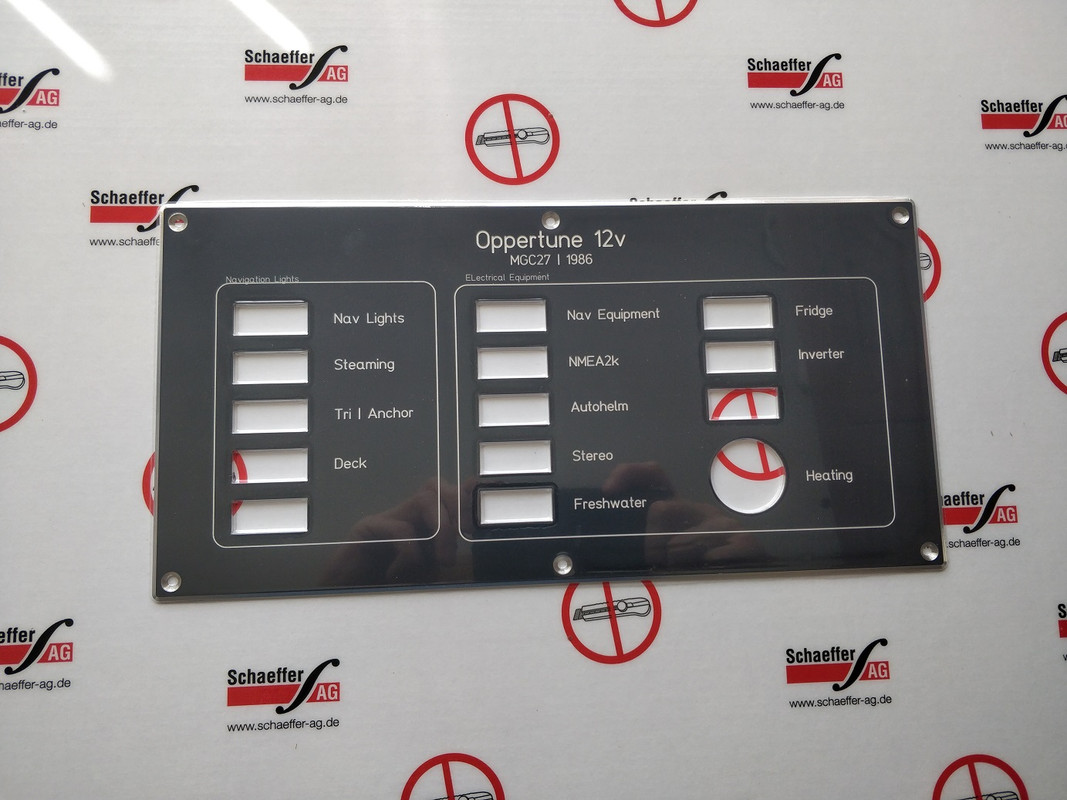 Added in my switches: 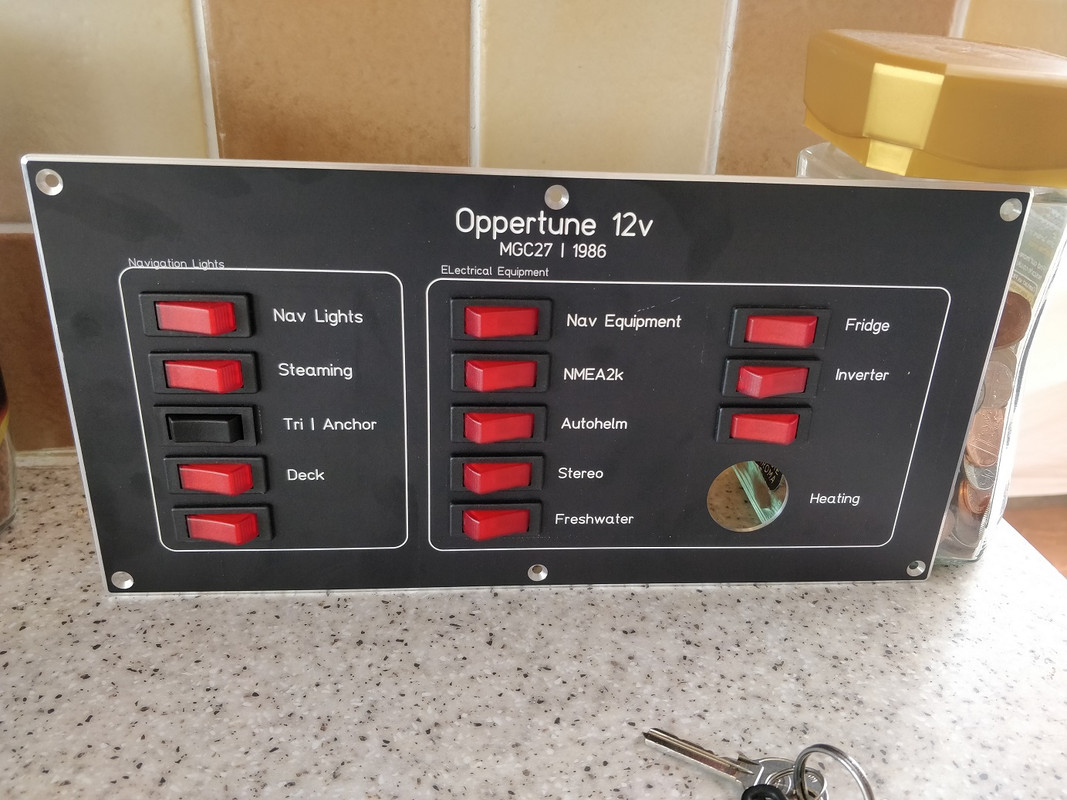 Now I started building the surround. I made it in 12mm plywood and then used a teak veneer to cover it. A couple of coats of varnish and some trim finished the job. 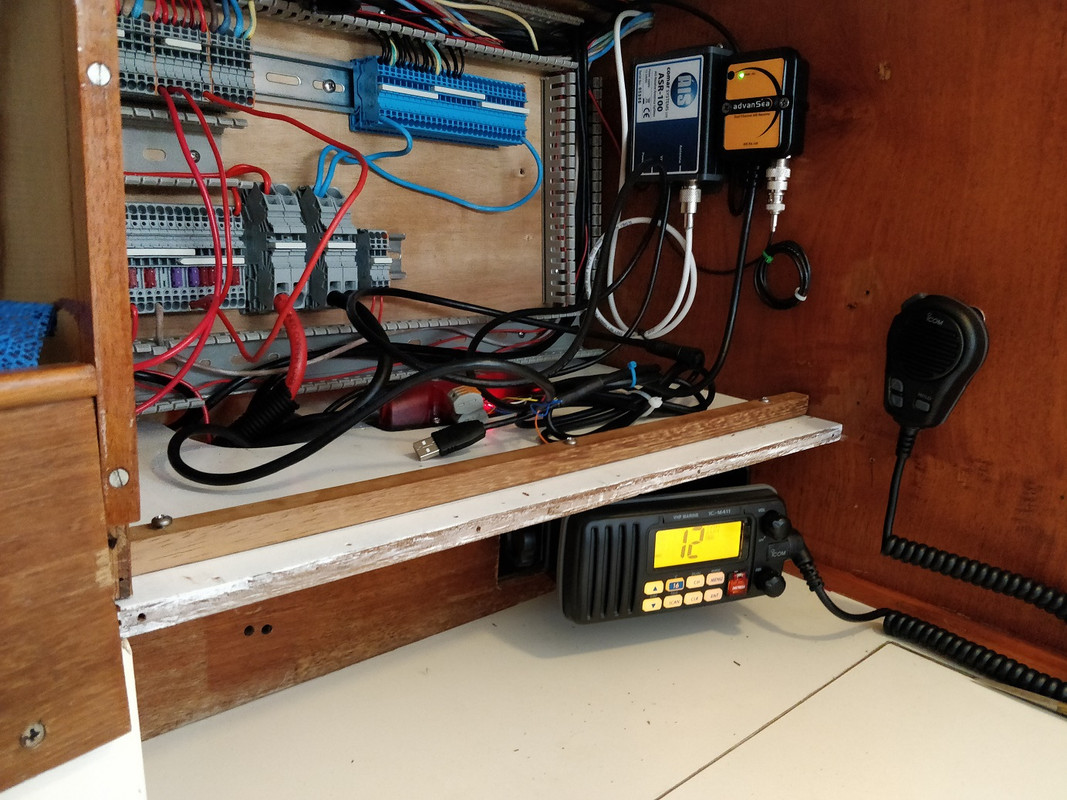 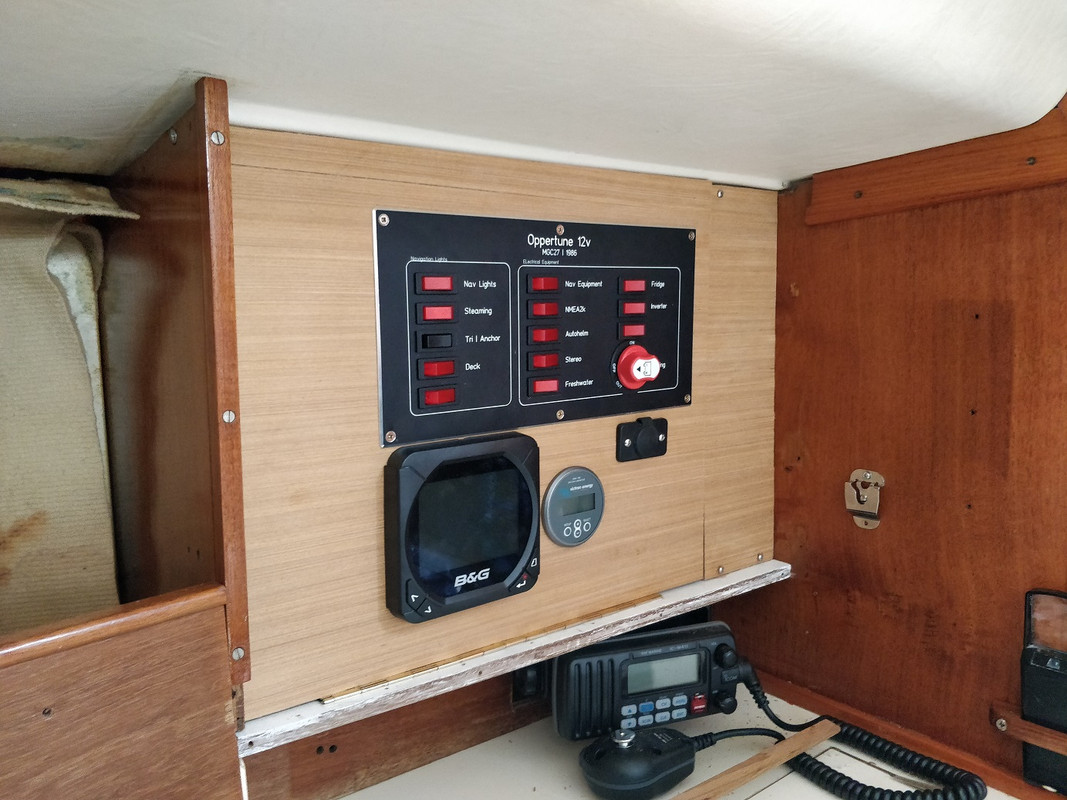 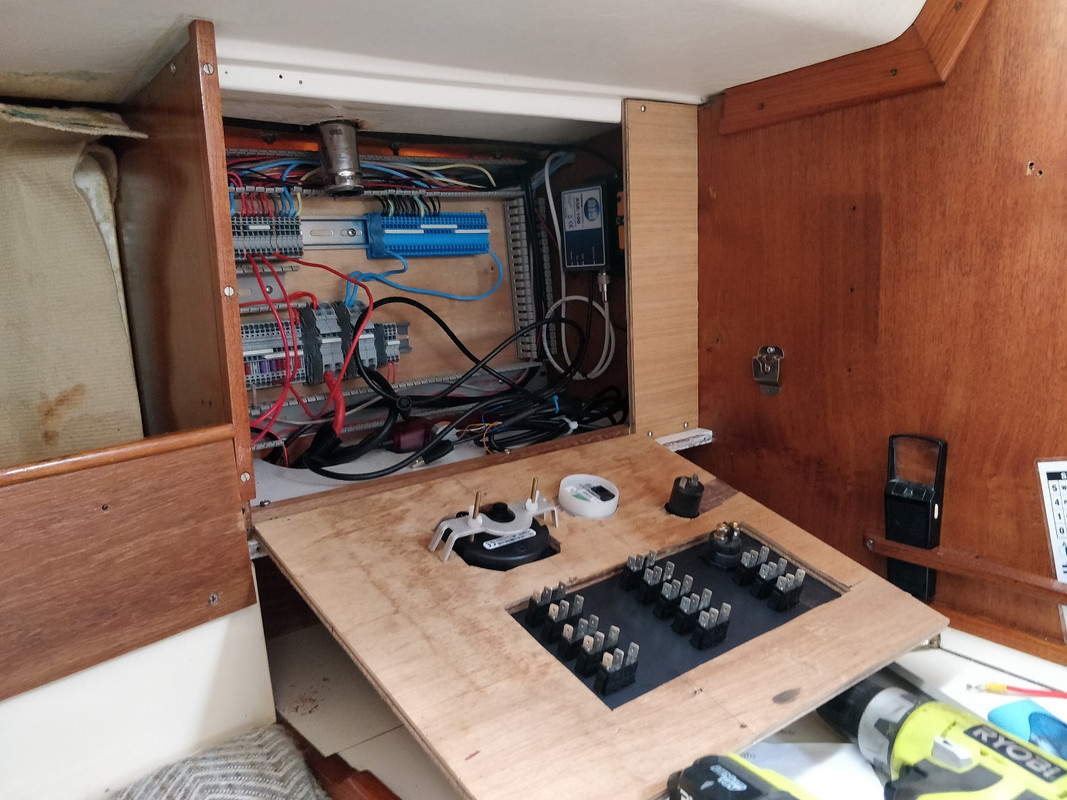 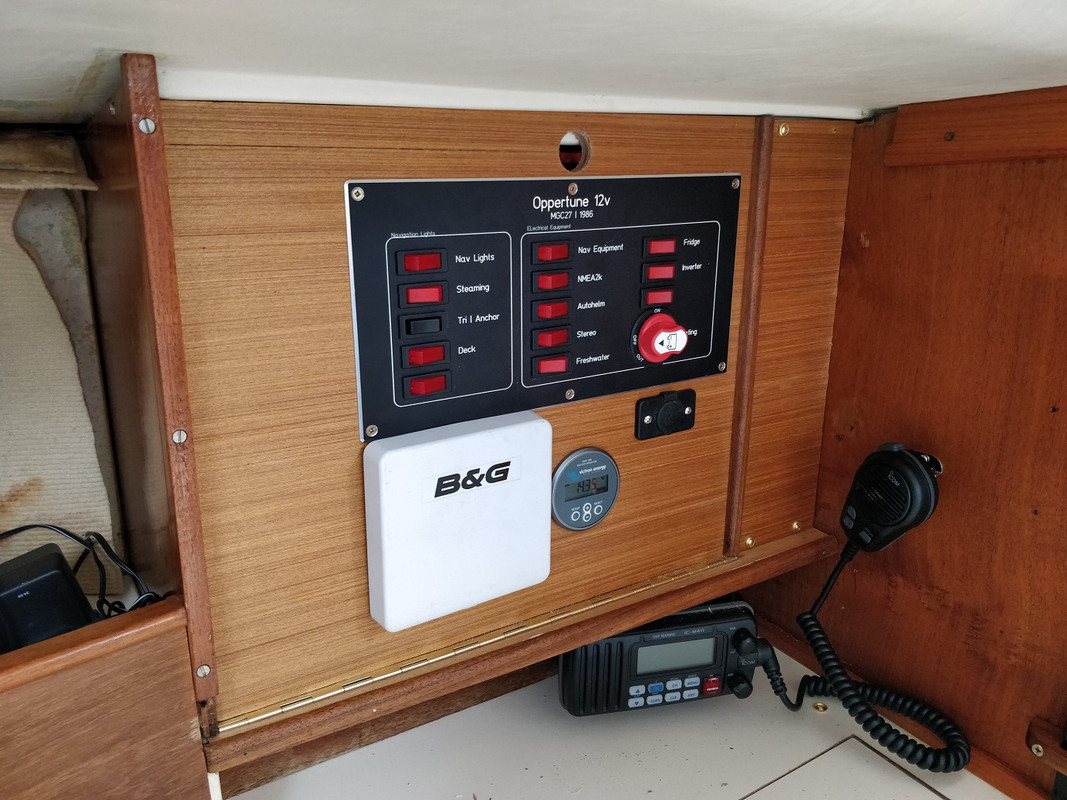 Yes I realise I'm one screw missing  . All I have to do now is wire it up, which I've been putting off as I'm a little burned out on this project now. After that its just a few small bits and pieces throughout the summer. |
| |
|
|
|
|
|
|
|
Okay its been a while. I've done plenty, but uploading blog photos is such a chore that I've been lazy. Here goes: So I believe the next job I tackled was the panel wiring. its now pretty much done, there are a couple of things left to do. (Mainly to do with the heater, but that's not proving necessary this year!)    Did a bit of organising in my 'safety' locker.  Spent ages trying to find out the wiring issue with this bow light, turns out the bulb had gone despite the filament looking perfect. Serves me right for not testing it with the meter, basic stuff!  FINALLY got out for a blast!  Table reinstalled: 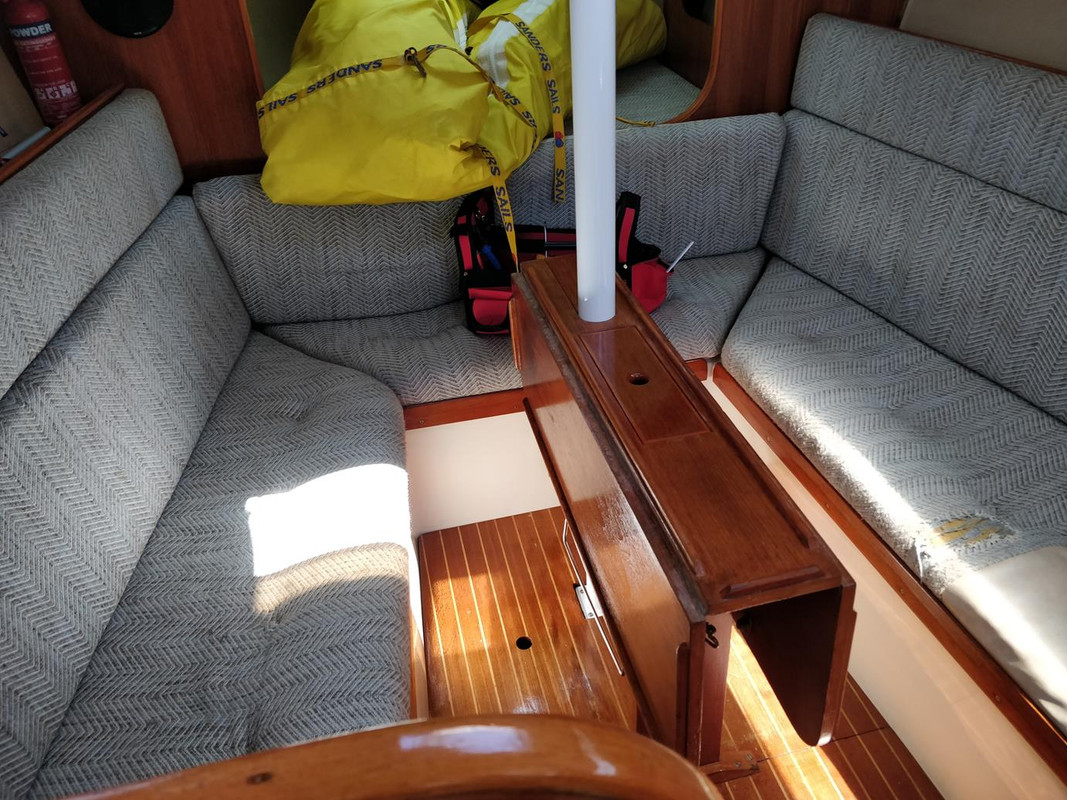 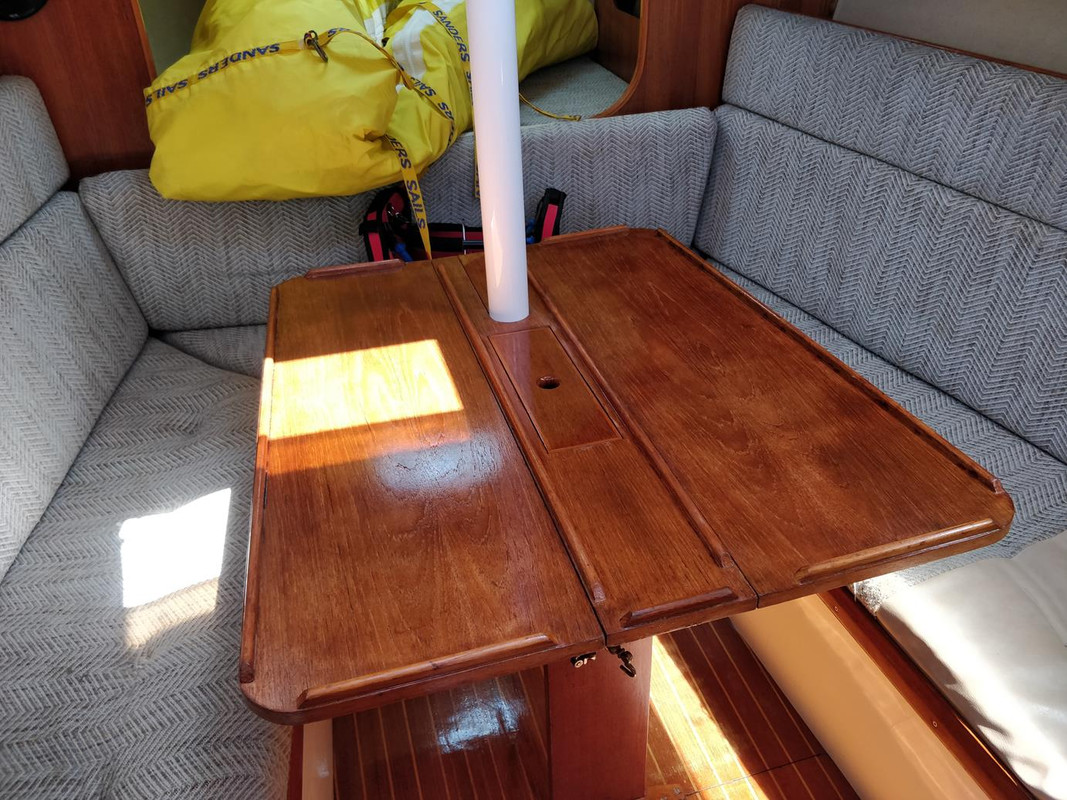 Next up I needed some new washboards, I wanted them in perspex to allow light in. The temporary ones I made were ill fitting and no good, so the first step was to make a template out of 12mm MDF. I scribed the outline of the hatchway onto the MDF and then subtracted the width of the wooden runners. After cutting it (but oversized length ways), I could then slot the board into position, with the hatch pulled closed from inside the boat I could then scribe the curve of the sliding hatch onto it to ensure perfect fit. I cut the curve using the jigsaw. 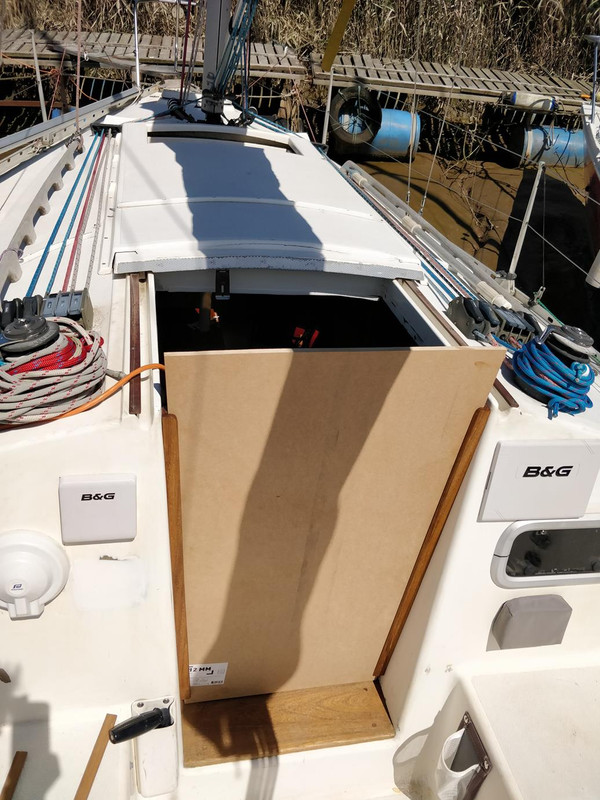 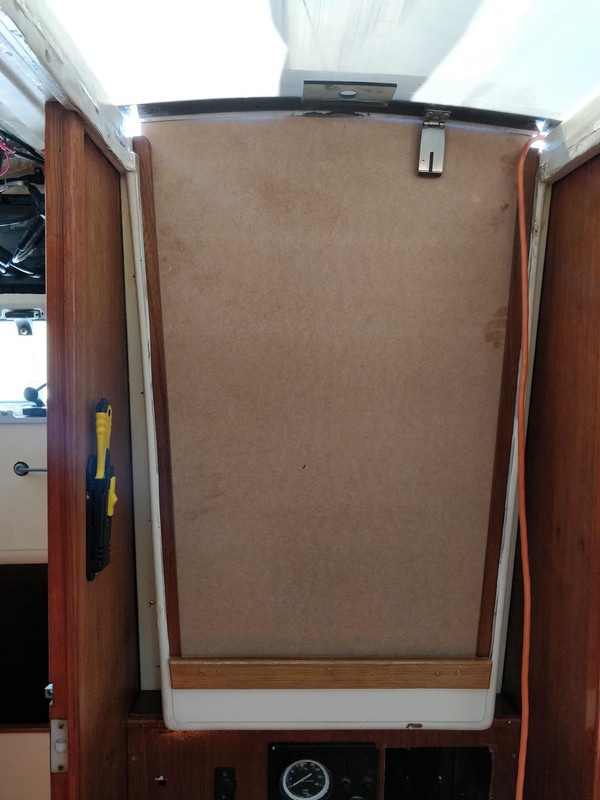 Seeing that 12mm perspex for the amount I needed ran into hundreds of quid, even on fleabay I went to a local plastic fab place and got them to make it in two pieces out of off cuts. I had to use the belt sander to trim a little off to get it too fit, but for £50 I wasn't complaining. 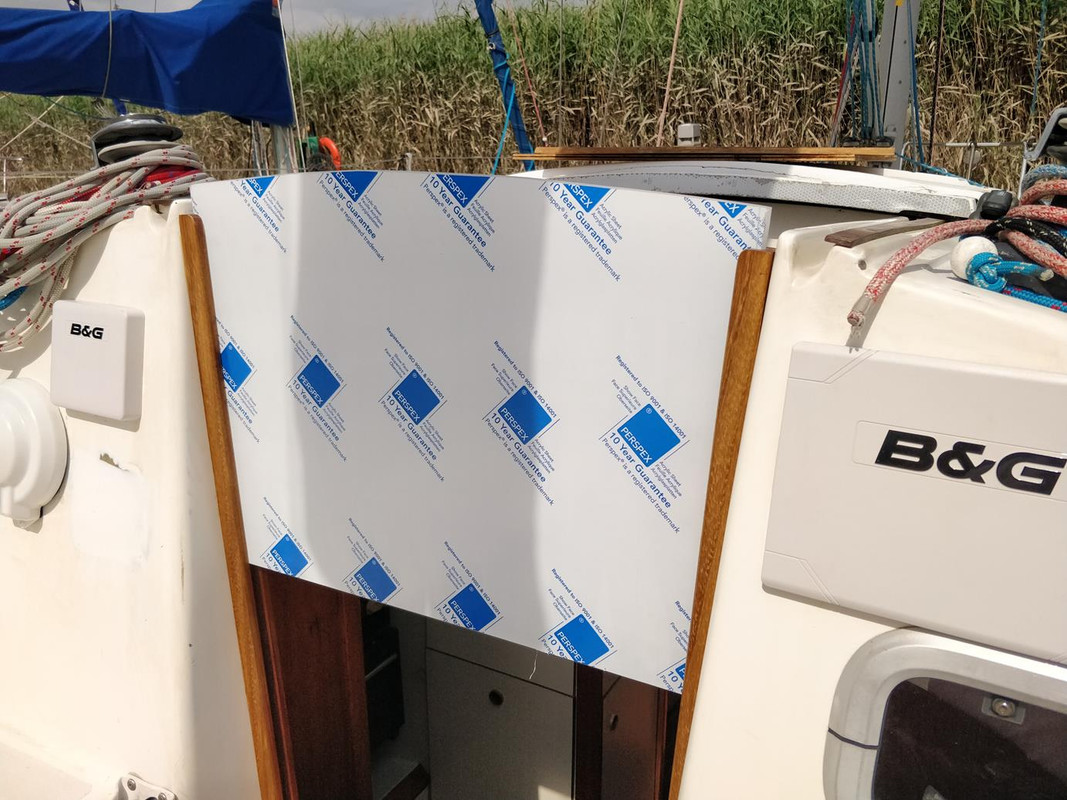 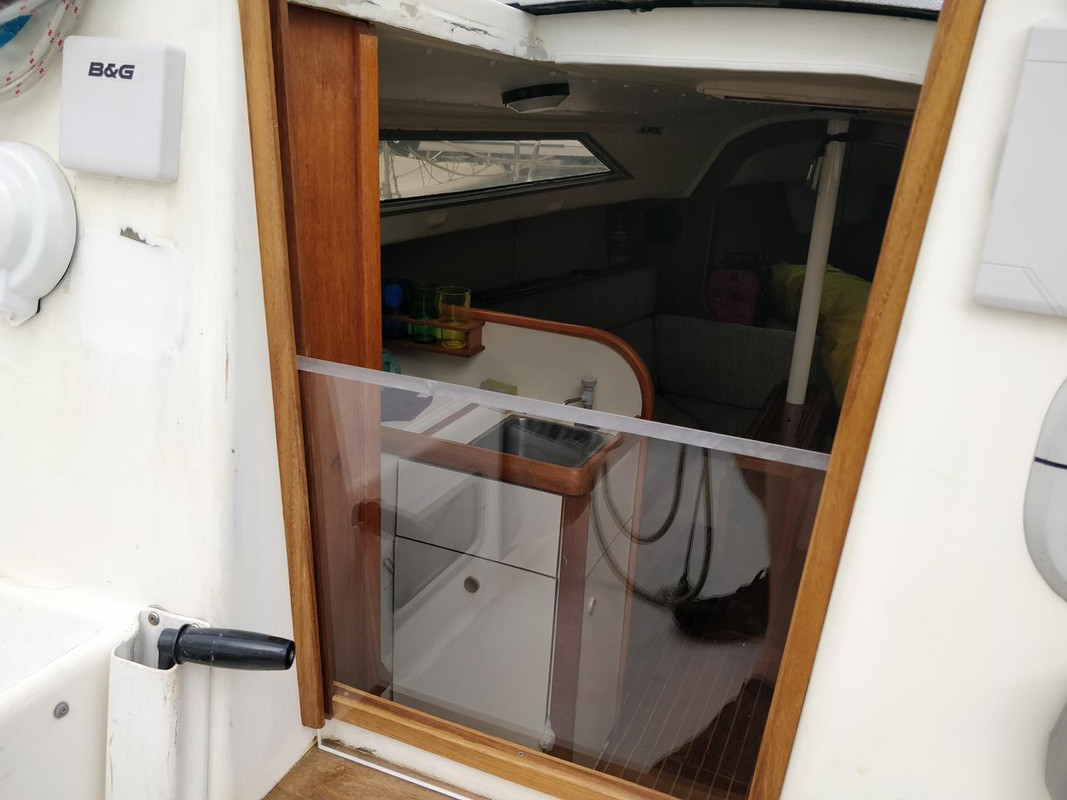 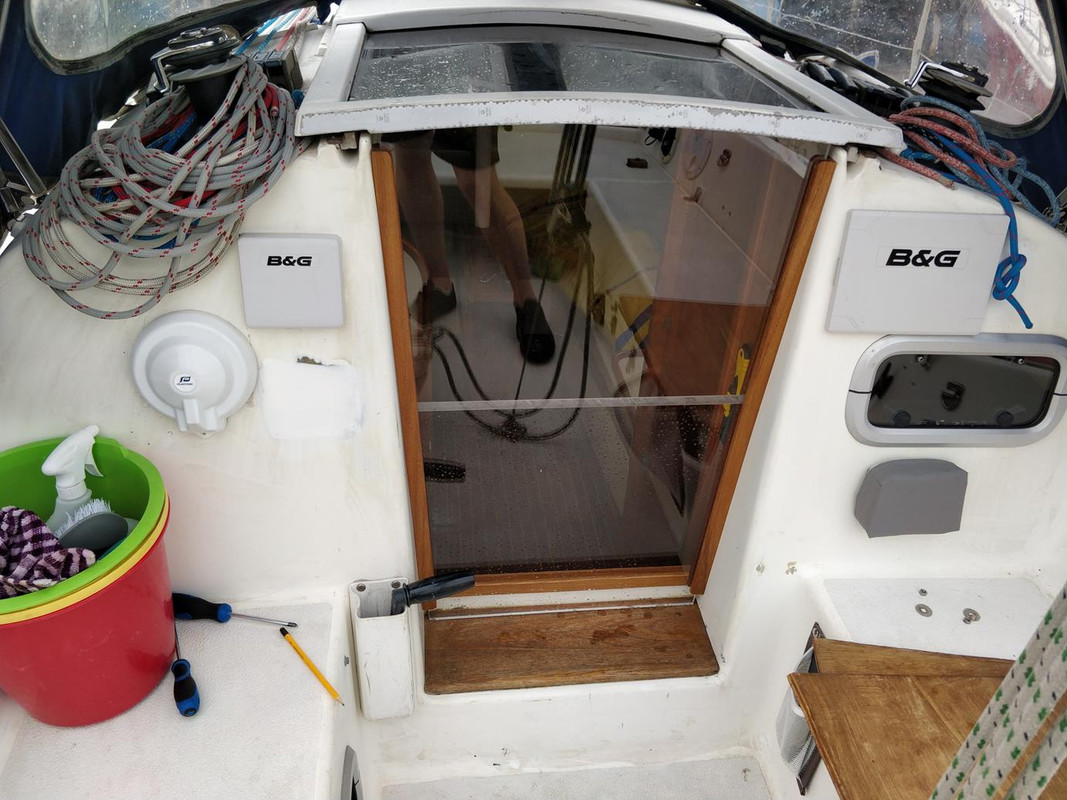 With most the major stuff out of the way it was time to go out a little trip, some photos I got on the way: 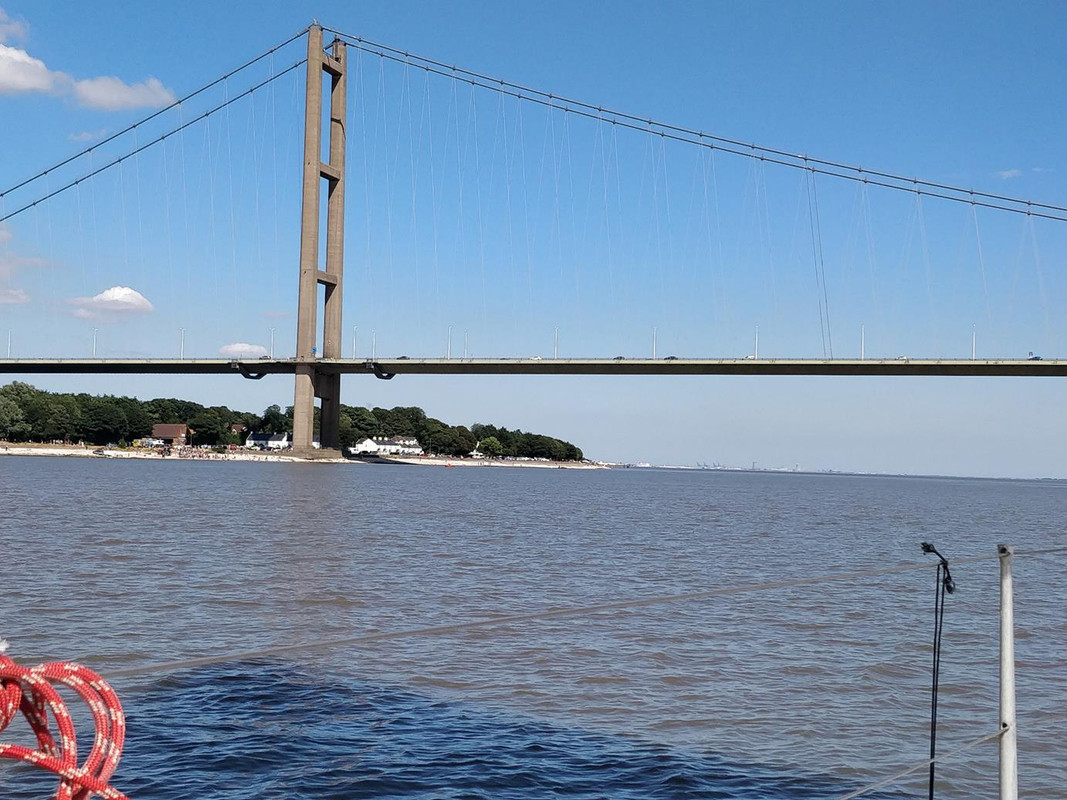 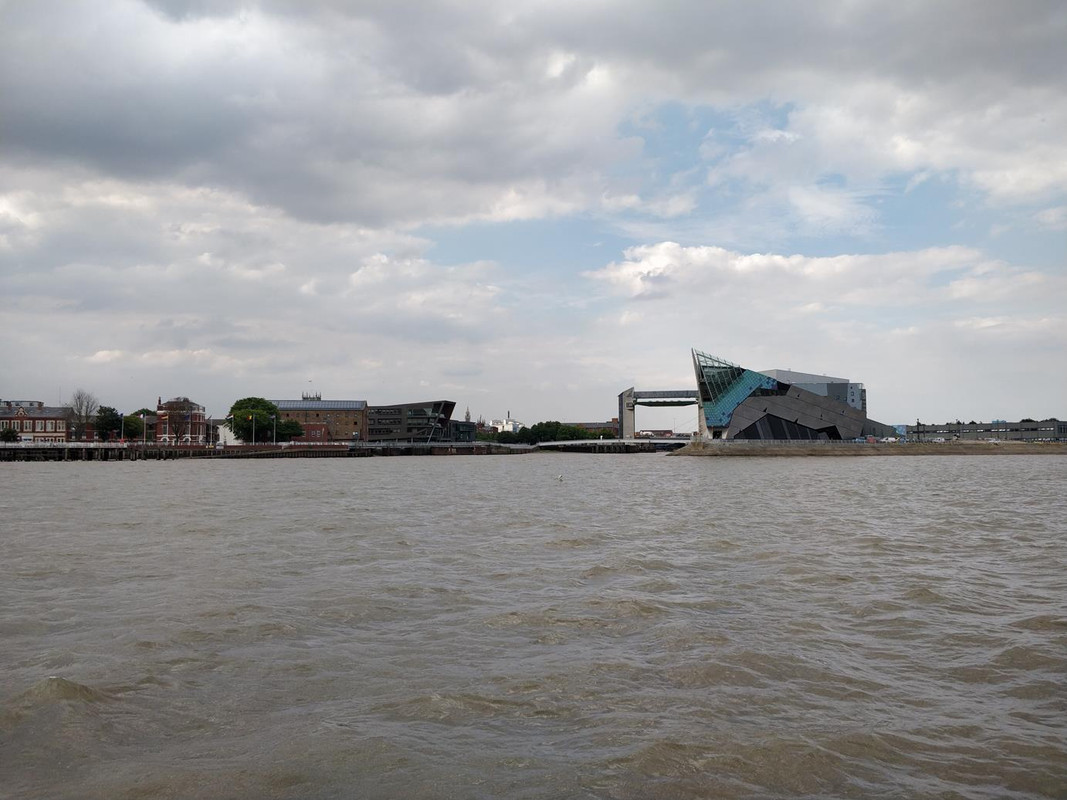 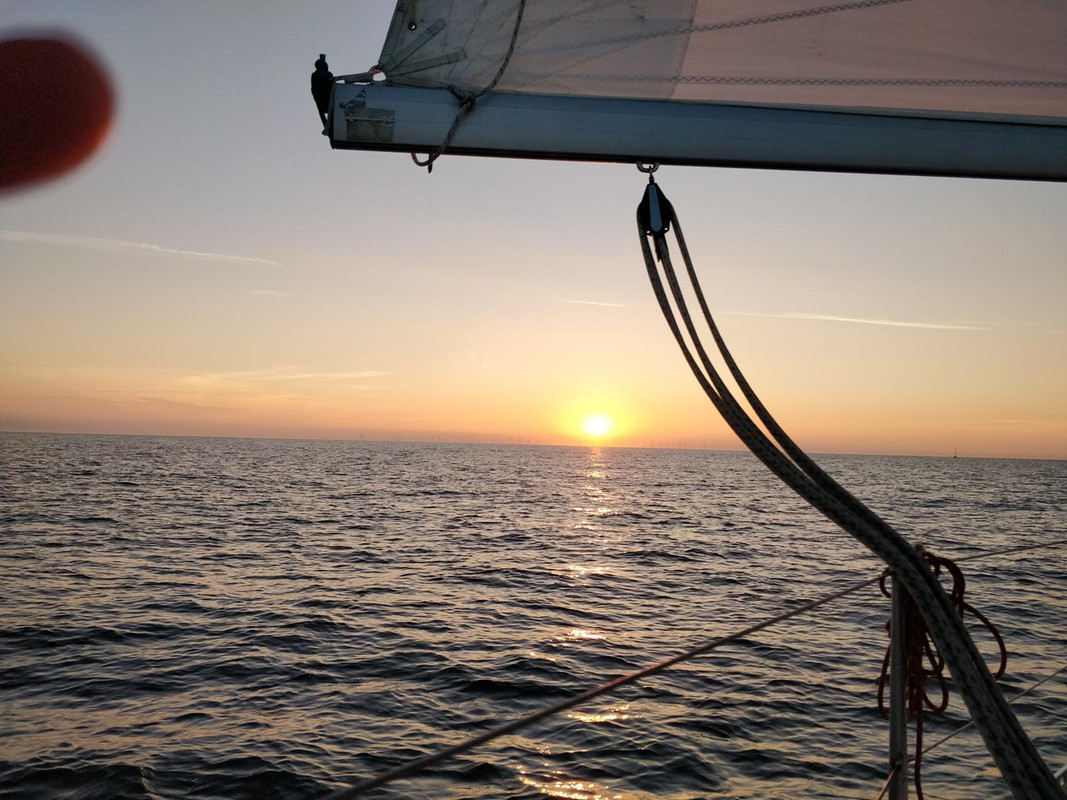 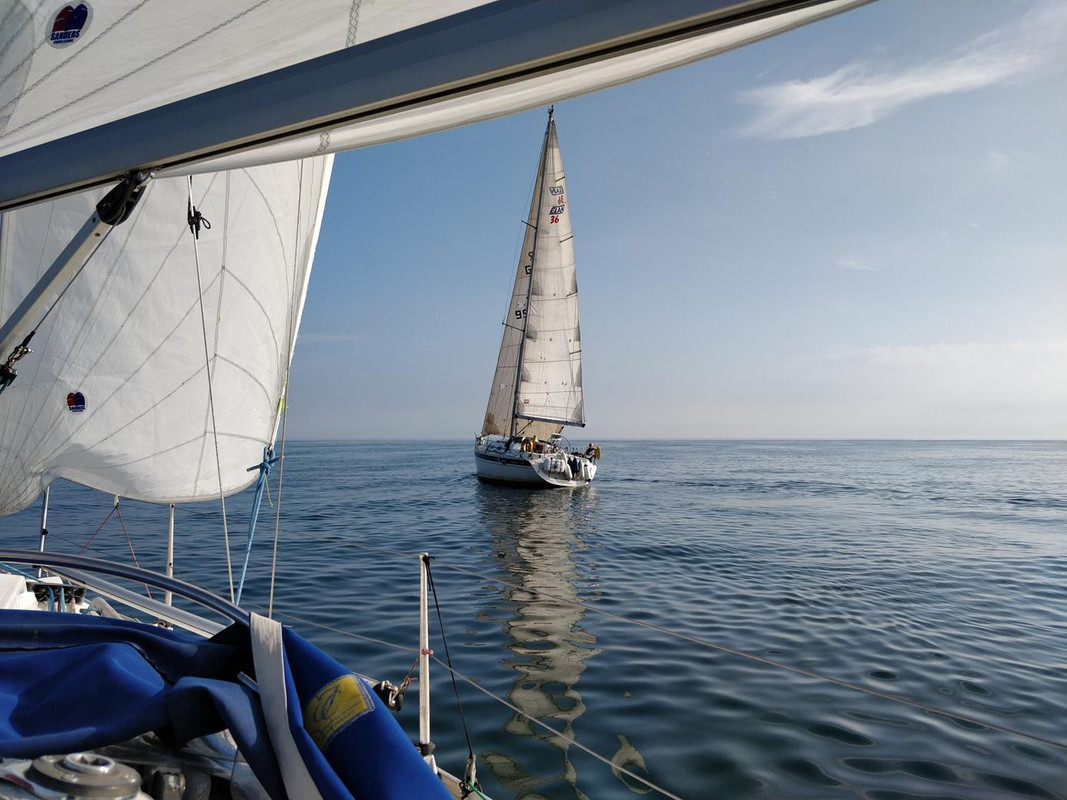 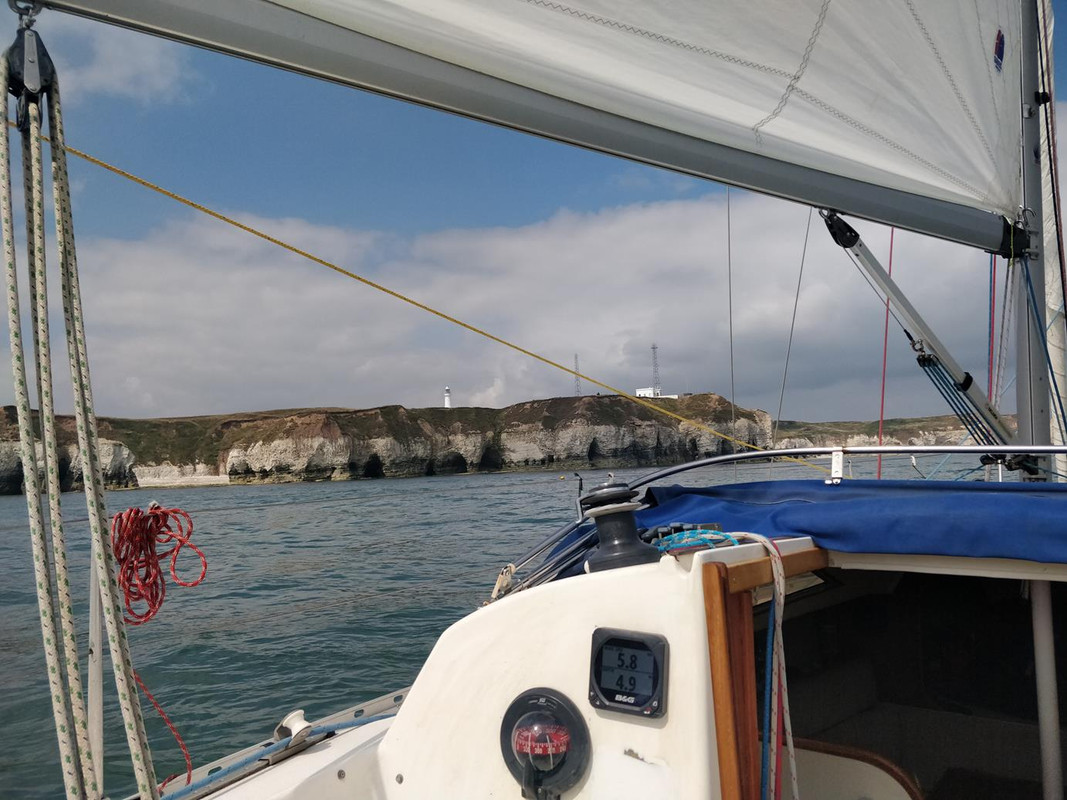  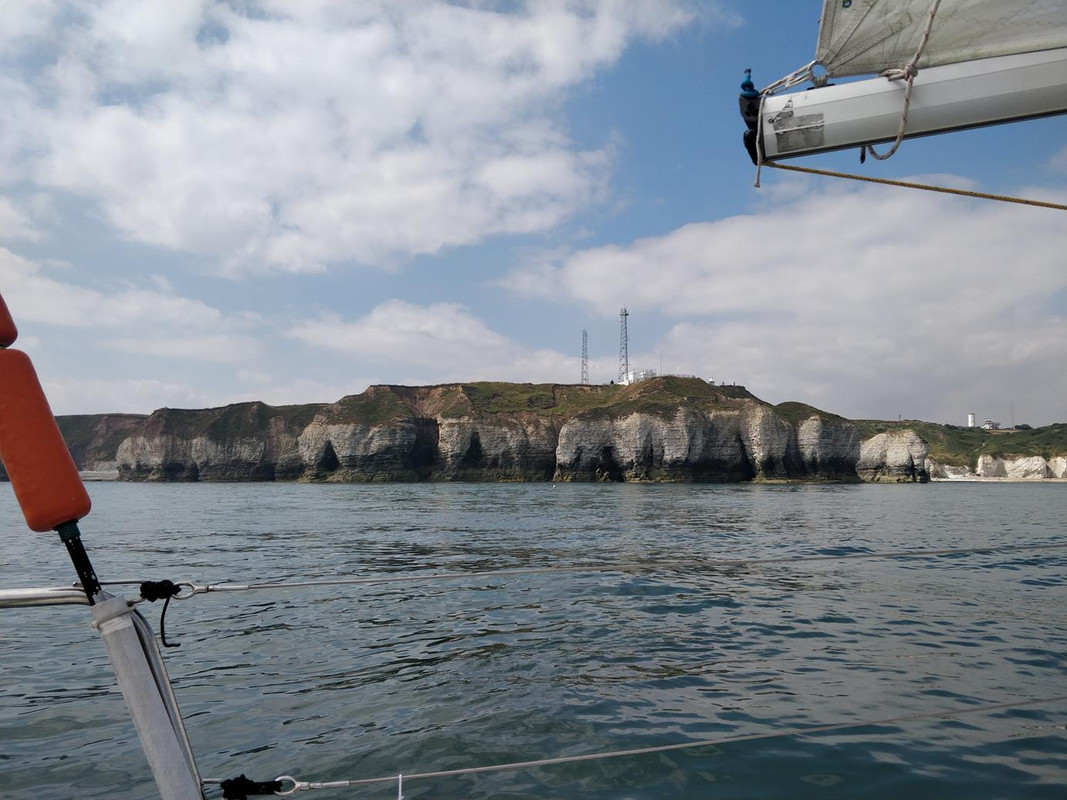 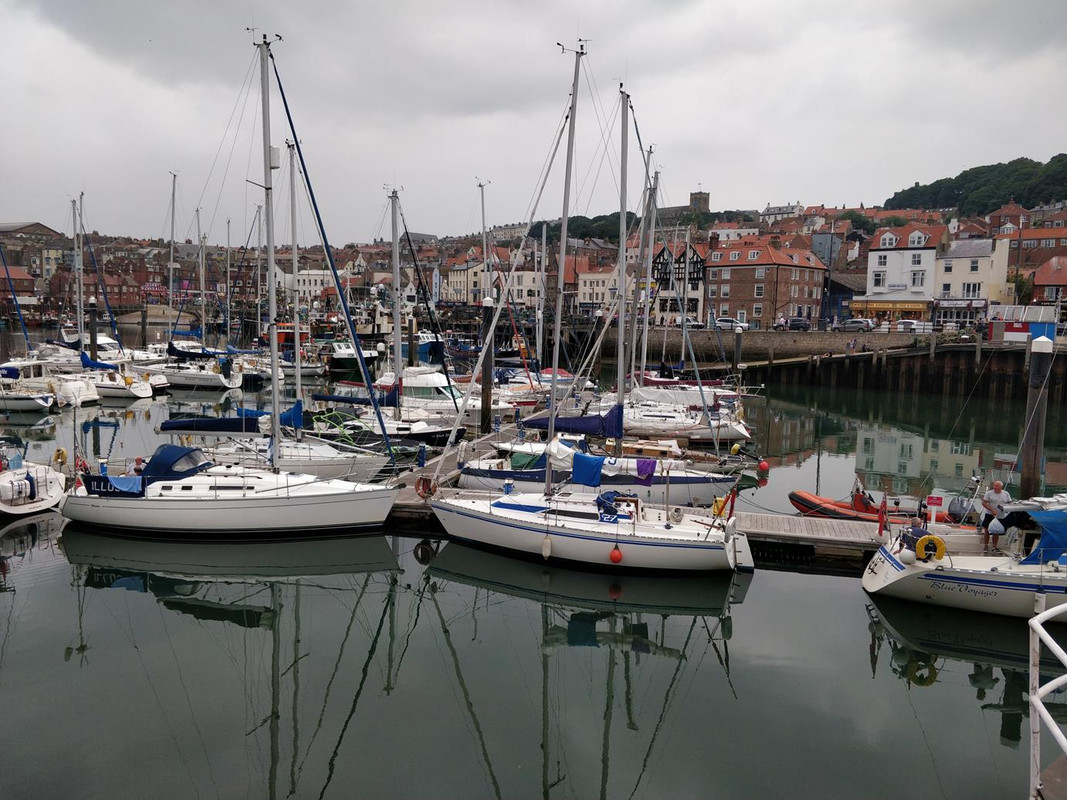 It was on this leg of the trip I encountered a snag. The starboard chainplate that holds on the shrouds had started lifting from the deck, upon close inspection one of the nuts holding it on had cracked! It was impossible to see until I attempted to tighten it as the crack was on the blind face. 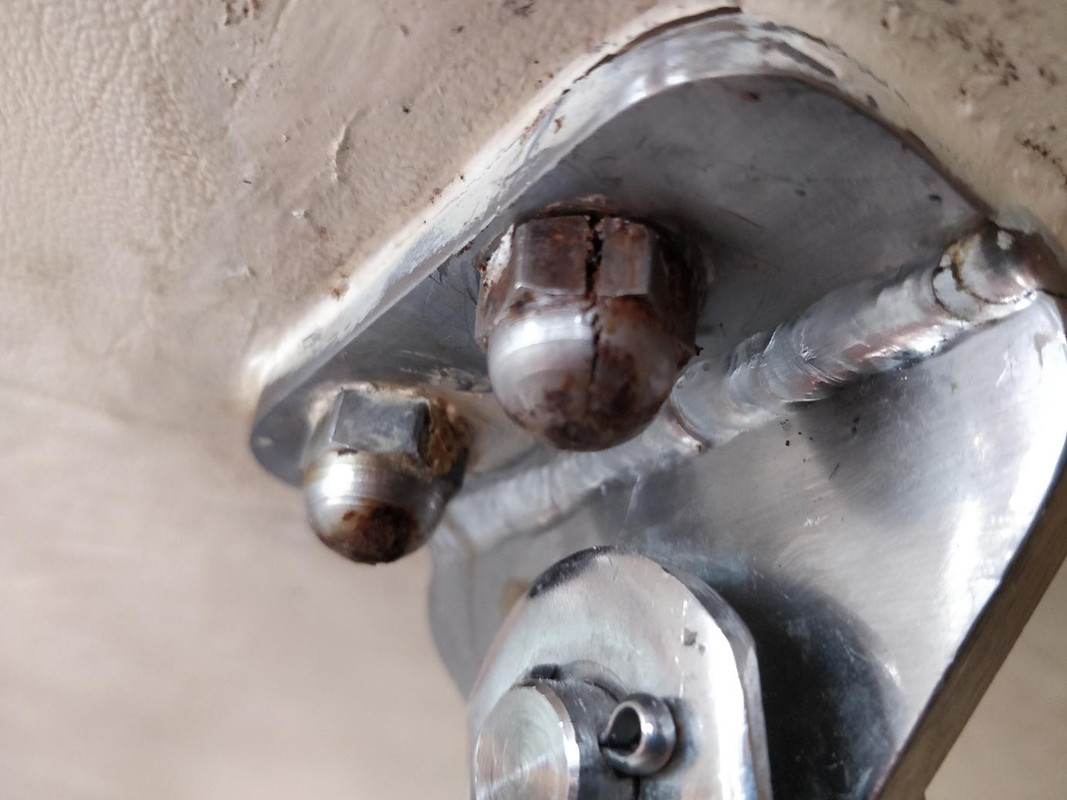 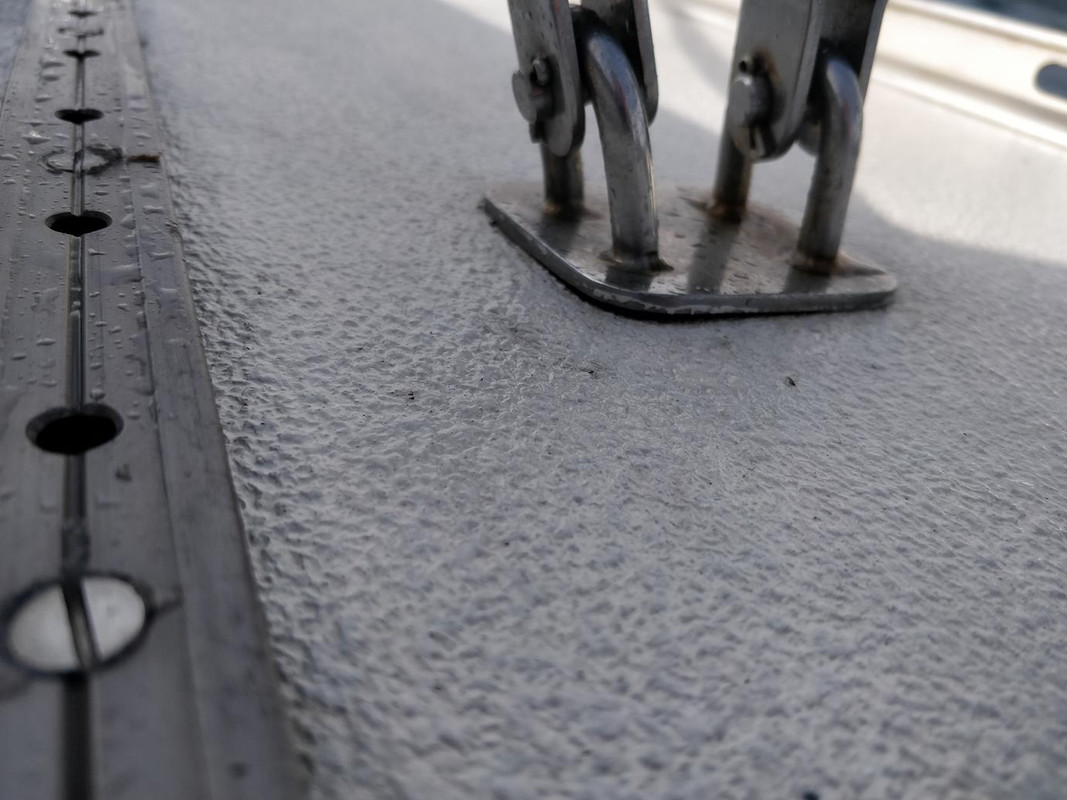 Being quite a breezy day I turned the boat around until I could fix it. Luckily I found a nut that fitted, although for peace of mind I now have to replace the lot and the bolts as well. 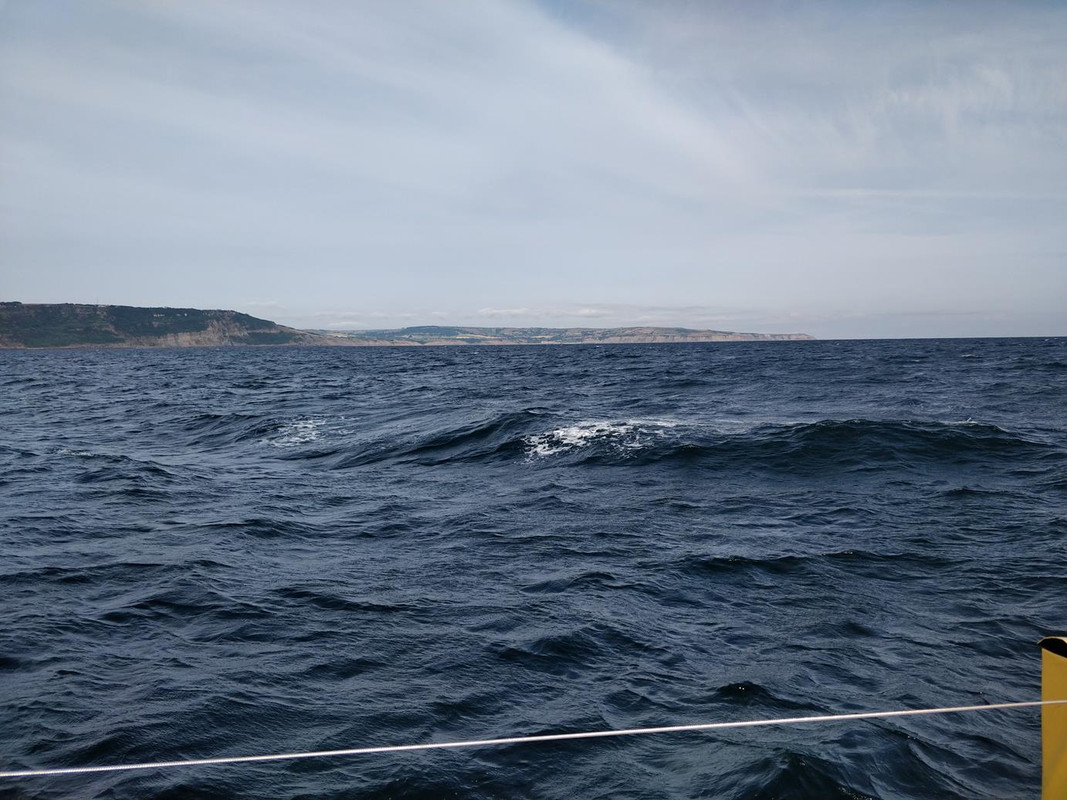 Safely into Brid: 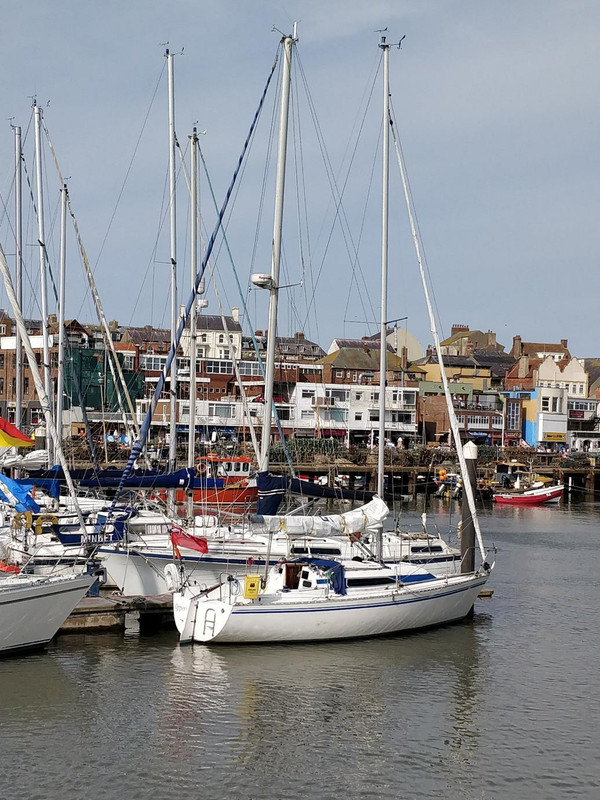 And some final ones of the sunrise on the trip back.  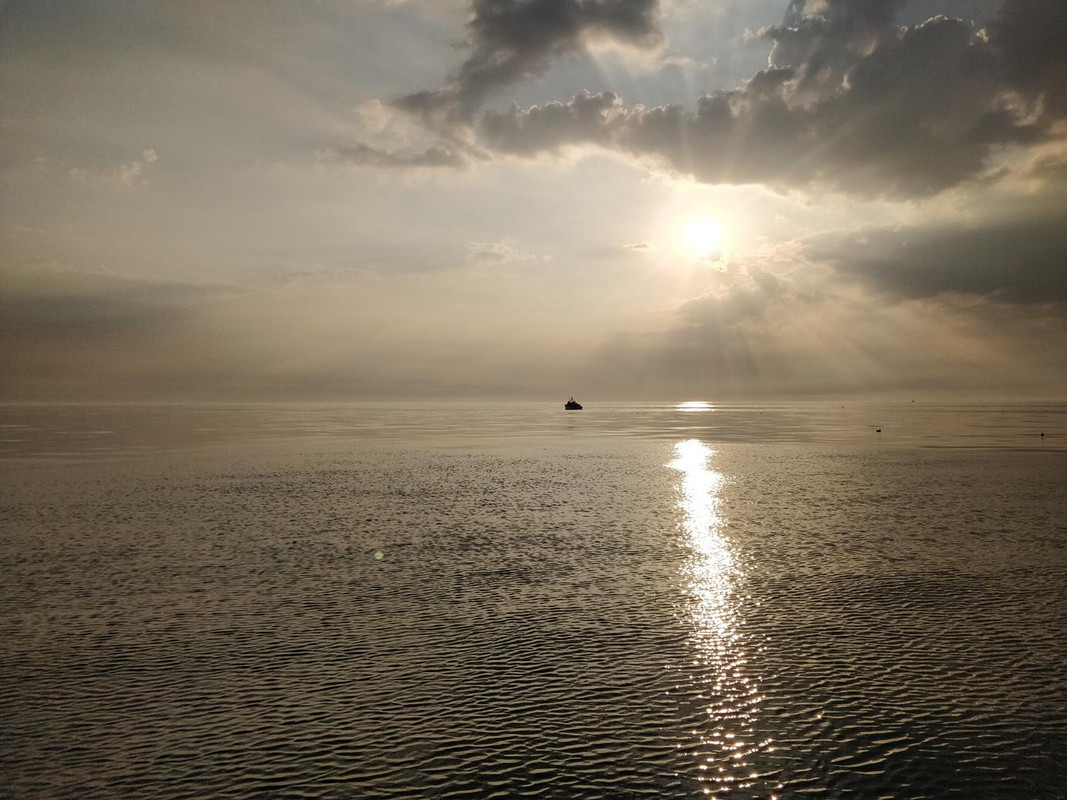 |
| |
|
|
|
|
|
|
|
Lovely, just lovely. Nice score on getting the perspex offcuts, must make a heck of a difference in the cabin. Here's hoping you have no more trouble with your nuts!  |
| |
|
|
|
|
|
|
|
Lovely, just lovely. Nice score on getting the perspex offcuts, must make a heck of a difference in the cabin. Here's hoping you have no more trouble with your nuts!  Massive difference, plus its a lot stronger as well, its pretty much unbreakable. We're hoping to go to Holland at the end of August so I'll be replacing all the bolts & nuts with brand new A4 before I go for the peace of mind. |
| |
|
|
|
|
|
|
|
|
"The starboard chainplate that holds on the shrouds had started lifting from the deck" haven't got a clue what this is but I guess it must be pretty important! great read though and some cracking pictures
|
| |
|
|
|
|
|
|
|
We're hoping to go to Holland at the end of August Looking forward to that already!  |
| |
|
|
bstardchild
Club Retro Rides Member
Posts: 14,968
Club RR Member Number: 71
|
|
|
|
We're hoping to go to Holland at the end of August so I'll be replacing all the bolts & nuts with brand new A4 before I go for the peace of mind. We did the Zuiderzee / Ijsselmeer years ago in a Halcyon 27 - was a great holiday - you'll enjoy that I reckon Bit OT here but I was thinking From memory that was the first start with a "Hull and topside" bonded ground up build that I assisted with - prior to that it had been rebuilds or refurbishments Again from memory Halcyon 27 "Splashdown" (Full Build) Rival 32 "Spellbound" (Full Build) Voyager 35 "Solitaire"(Full Build) Colvic Countess 37 (Full Build) Voyager 35 (Mum liked the open cabin with lots of glass) (Full Build) Then he went back to his roots and refurbished a whisstock built Holman designed 40 footer This one in fact 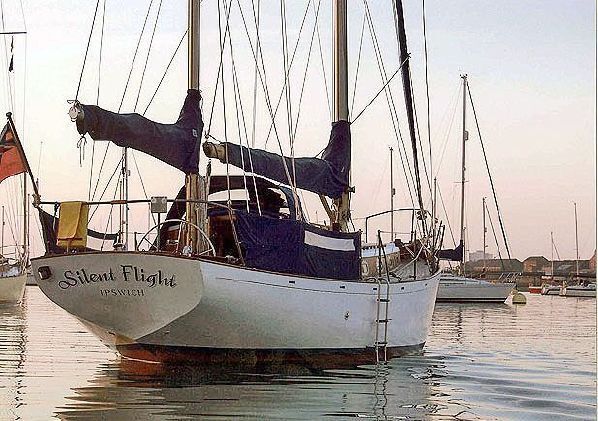 Was originally named KARAMA but all Dads Boats are named starting with So it got re-named "Silent Flight" it's currently up for sale by the current owners (it's called a Landfall class boat as the original one was called Landfall) Nice to see Dad got a mention in the history - he put a lot of work into getting up to scratch (normally his build time for a start from scratch was two years) it was basically as Built in 1972 when he bought it - things had moved on a little but the boat hadn't. It was initially quite strange to think that a boat I had sailed past at least 2 - 3 times a week and admired for it's shape and lines was now owned by Dad - it did sail nicely too www.boatersresources.com/bfs_detail.php?adid=462777Again slight OT element to the thread |
| |
|
|
|
|
|
|
|
We're hoping to go to Holland at the end of August so I'll be replacing all the bolts & nuts with brand new A4 before I go for the peace of mind. We did the Zuiderzee / Ijsselmeer years ago in a Halcyon 27 - was a great holiday - you'll enjoy that I reckon Great post! Always good to see what others are up to. I don't think I've got a full ground up rebuild in me, I made an attempt in the past but all that happened was I spent 3 years not sailing and I eventually sold on the project. Kudos to your dad for actually finishing! I've actually done Holland quite a few times, but this is the first time in this boat. Current plan is Hull -> Ijmuiden -> Amsterdam and from there on into the Markameer and Ijsselmeer. gtviva: So put simply the mast is held up laterally by wires called shrouds, and fore and aft by wires called stays. Where the shrouds attach to the deck is called the chainplates, on my boat these in turn are through bolted to another fitting beneath the deck in the cabin and this fitting has a bottle screw and stainless rod attaching to the hull. If it wasn't for this the tension in the shrouds would either lift up the deck or pull the fitting right out! Its the nut on one of the bolts holding these two fittings together that cracked, allowing the chainplate to start lifting from the deck. georgeb. I'll be sure to take lots of photos. My friend is into his amateur filming as well and I think he wants to do some kind of over dramatised adventure on the high seas kind of short film. |
| |
|
|
|
|
|
|
|
For anyone interested, I did take one small video clip while sailing at about 6am on one of the day: sendvid.com/xg5yhq26 |
| |
|
|
|
|


 .
. 


