smith4
Part of things
 
Posts: 268 
|
|
|
|
The lever arm dampers mostly. The radius arms are different too, though the pic isn’t quite clear enough to be definite. Yep, I was told Vitesse I think. Lever arms and the pretty much everything bar the uprights and brake drums/back plates etc. will be going on Ebay at some point. Hopefully someone will be able to use them. |
| |
|
|
|
|
smith4
Part of things
 
Posts: 268 
|
|
|
|
If you are planning on using Rover 100 driveshafts directly into the Subaru CVs, be warned that not all Subaru CVs have the right spline. In fact in my experience, most don’t. So check the ones you have do have the right spline. If yours do have the right spline to match the Rover shaft I’d really like to know exactly what the donor vehicle was as I’m bored with getting the wrong ones! Nick Thanks for this, Nick. I'm not 100% sure what Subaru model they came from, but possibly a Forester. I don't know what length shaft I'll need yet - it depends on the track width once the lower wishbones have been made up. And also, as I am running more negative camber than standard, this could affect what shaft length I need to run too. If the track is about 30mm narrower than a standard roto track width, I could try out MGF short axles (I have one to try). If the track is wider than standard roto width, then maybe Mk5 Fiesta could work? Once I have the uprights machined and built with the MGF bearings and hub flanges and a rear wheel bolted on, and the Subaru diff and original leafspring bolted up, I can then take some measurements for the adjustable lower wishbones and see if the leafspring needs shortening to keep the rear wheels in the arches. With the original Mk1 GT6 rear suspension, as you know, the camber isn't governed by the length of the leafspring or lack of lower wishbone, it is the angle of the drive shaft. But with the roto setup, it is the length the leafspring and lower wishbone - so a lot a different way of calculating camber! But the switch to this setup should illiminate my rear suspension flex!! |
| |
|
|
|
|
|
Feb 10, 2022 14:29:40 GMT
|
|
Would be interested to hear what CVs you have as I've got the same conundrum ahead of me on mine.
I've got written down that the Subaru CVs have 40mm of plunge. Not sure how much plunge the MGF CVs have, but there should be some scope there too. The short MGF shaft (same splines as the R100) comes in at 388mm without CVs, the R100 at 400mm, and apparently the MGF long shaft at something around 660mm so there's quite a jump.
|
| |
|
|
smith4
Part of things
 
Posts: 268 
|
|
|
|
Would be interested to hear what CVs you have as I've got the same conundrum ahead of me on mine. I've got written down that the Subaru CVs have 40mm of plunge. Not sure how much plunge the MGF CVs have, but there should be some scope there too. The short MGF shaft (same splines as the R100) comes in at 388mm without CVs, the R100 at 400mm, and apparently the MGF long shaft at something around 660mm so there's quite a jump. When I bought the Subaru LSD, I asked for the corresponding Subaru CVs that fit into the diff, so think these have the 40mm plunge. I have the MGF lobros (?) that go on the upright/vertical link end of the driveshaft, which also should have a good depth of plunge. Thanks for the shaft lengths. It's possible that you may be at the rear suspension conumdrum before I get there! I've got engine work and bonnet work next starting very soon. |
| |
|
|
smith4
Part of things
 
Posts: 268 
|
|
|
|
Quick update ! Got some engine work coming soon - engine and box coming out again, and some bits getting swapped over. Old flywheel, clutch and release bearing changing to my new lightweight flywheel (very exciting!!) Also, front timing cover coming off and putting on SD1 cover, Rover P5/6 water pump and pump pulley, and short crank pulley. This will give some extra clearance for radiator as this combinaton of parts gives an overall shorter front end. As such, the SD1 timing cover that I had vapour blasted got a clear coating with very mild metal-flake for protection, and the shorter crank pulley and bolts got de-rusted and some paint. The crank pulley got the same gold paint as the roll cage will be, and match the rear wheel faces. 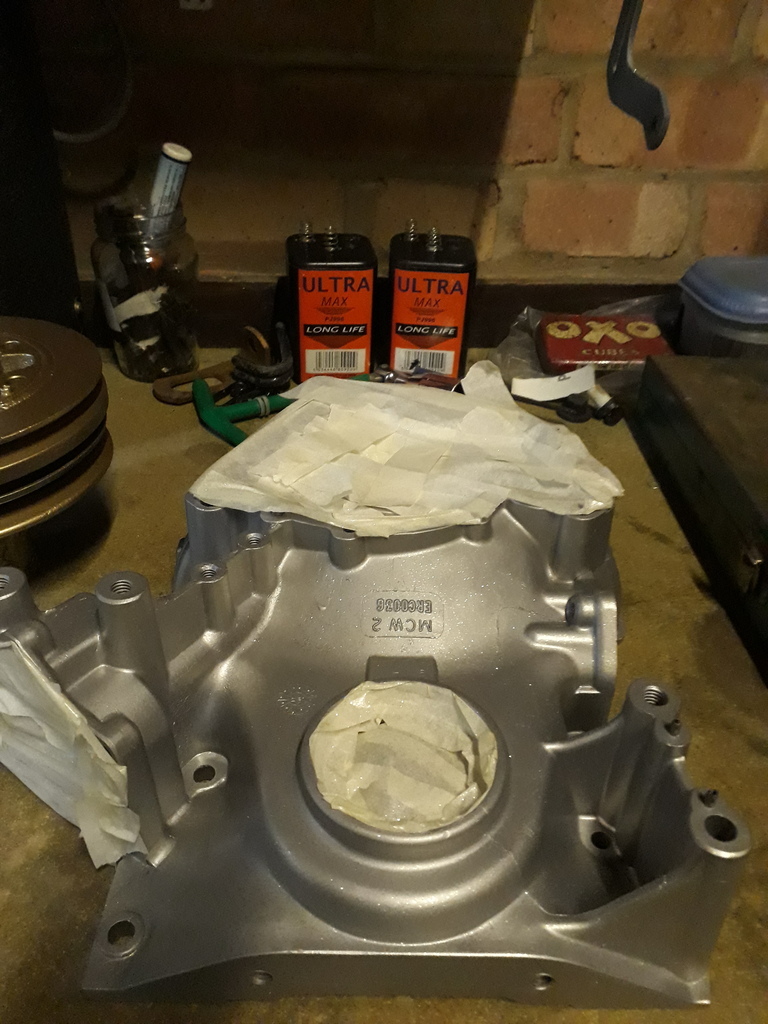 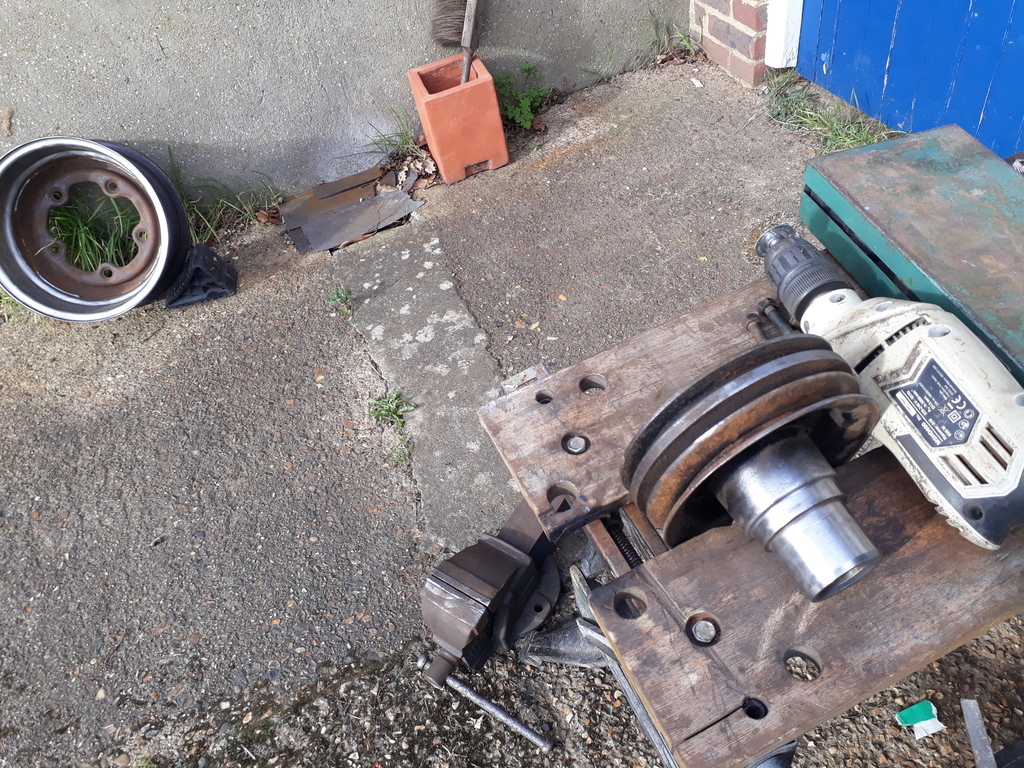 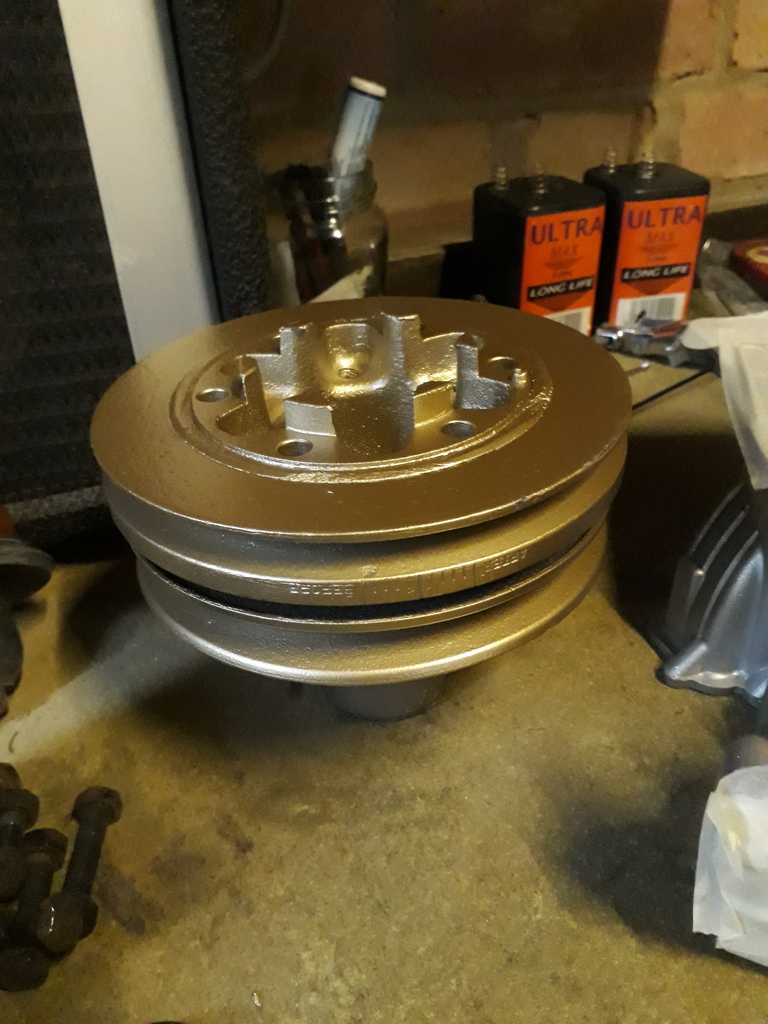 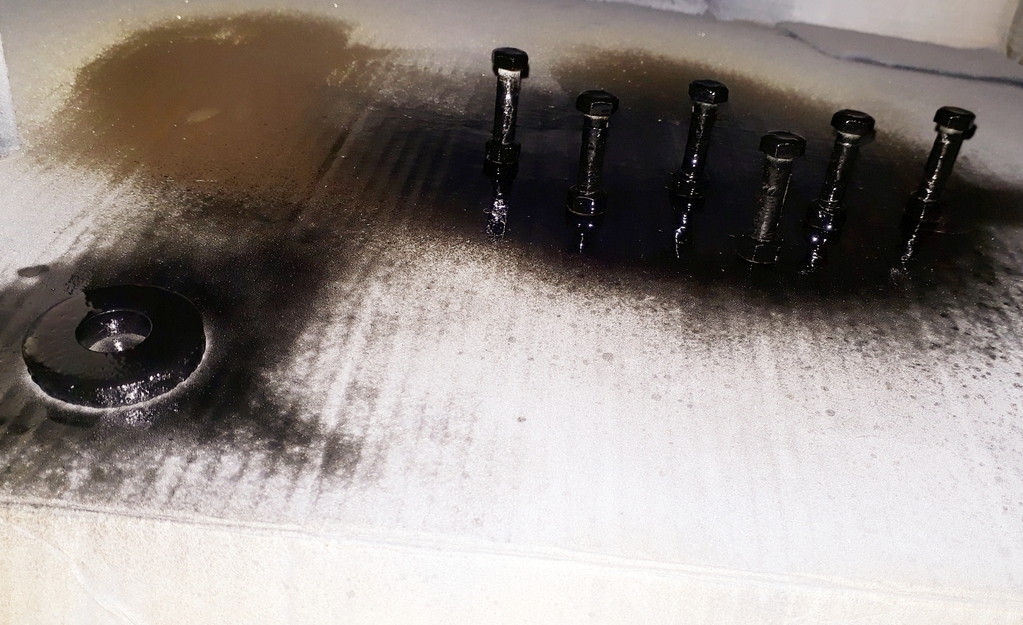 Also with the timing cover front end swap, will be new SD1 oil pump gears, and the MGB V8 oil pump base for remote oil filter (as not really room in the original place), and also oil cooler. Another piccy of my flywheel as I'm looking forward to a lumpy idle and fast spinning up and down of revs 🙂 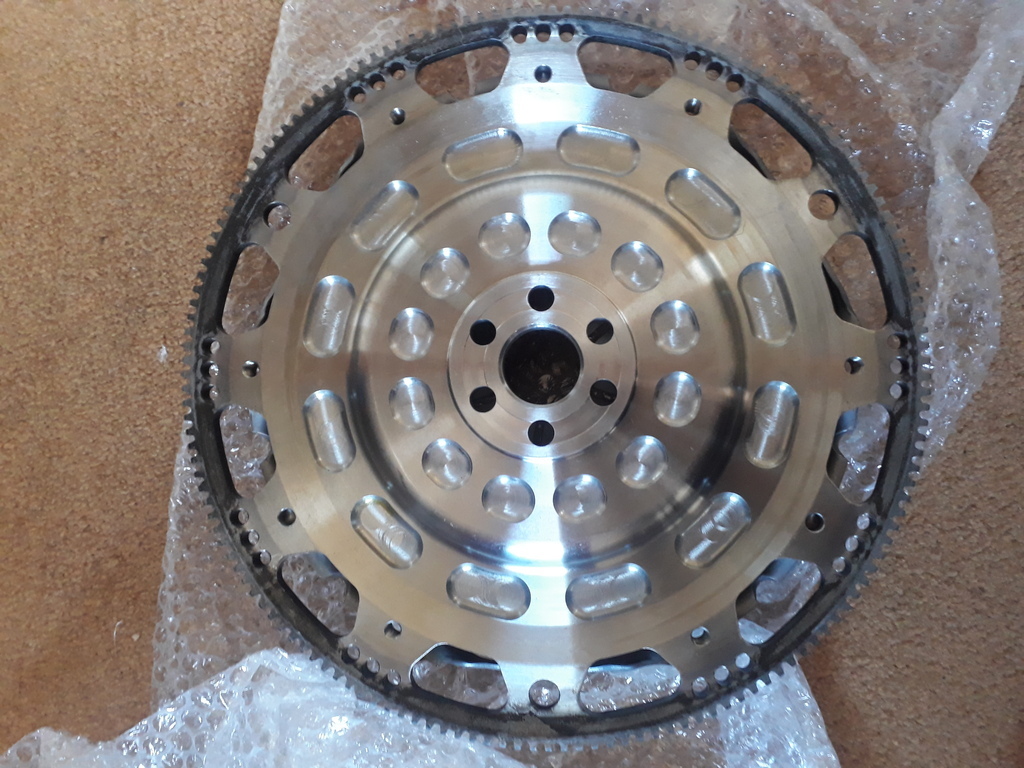 |
| |
|
|
smith4
Part of things
 
Posts: 268 
|
|
|
|
Had an engine day today. After separating the bellhousing and taking off the timing cover, there was a bit of cleaning up to do. Looks like the rear crank seal may have been leaking a bit. Also, a part was missing in the dizzy drive gear, so another part to go on the parts list. 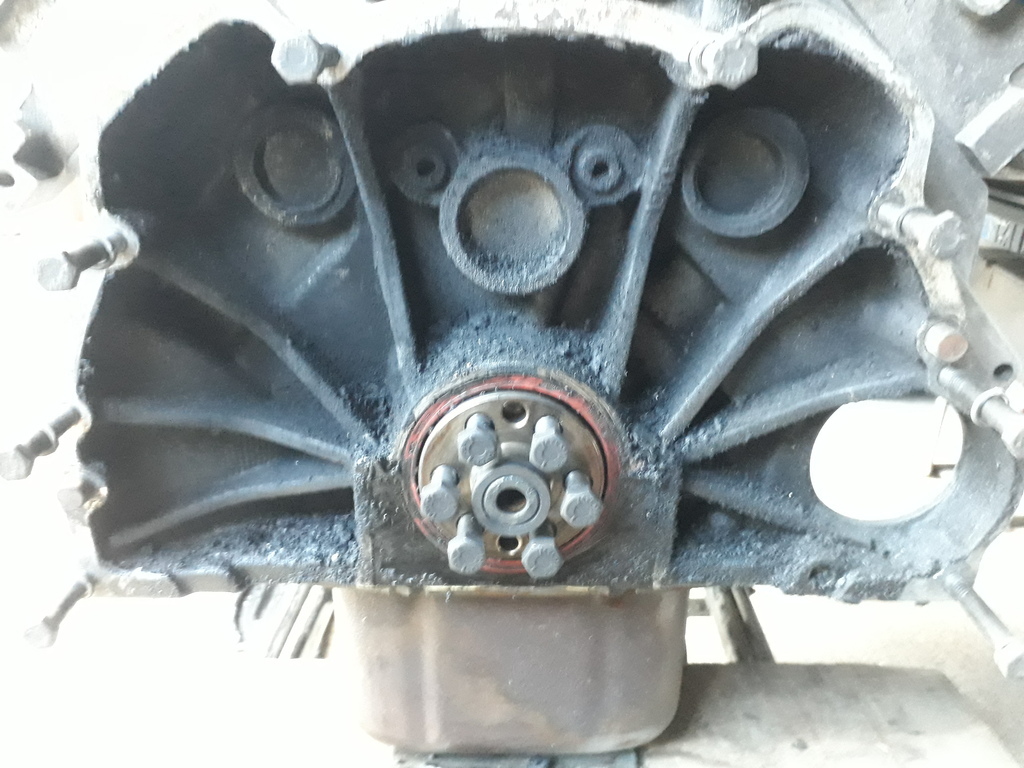 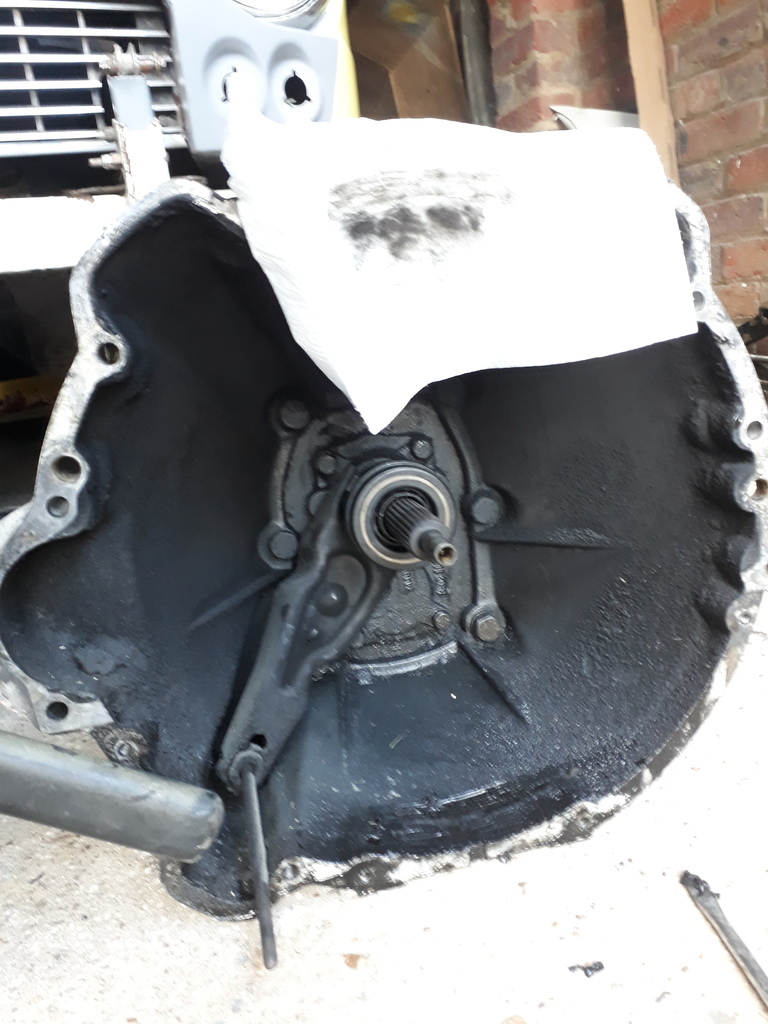 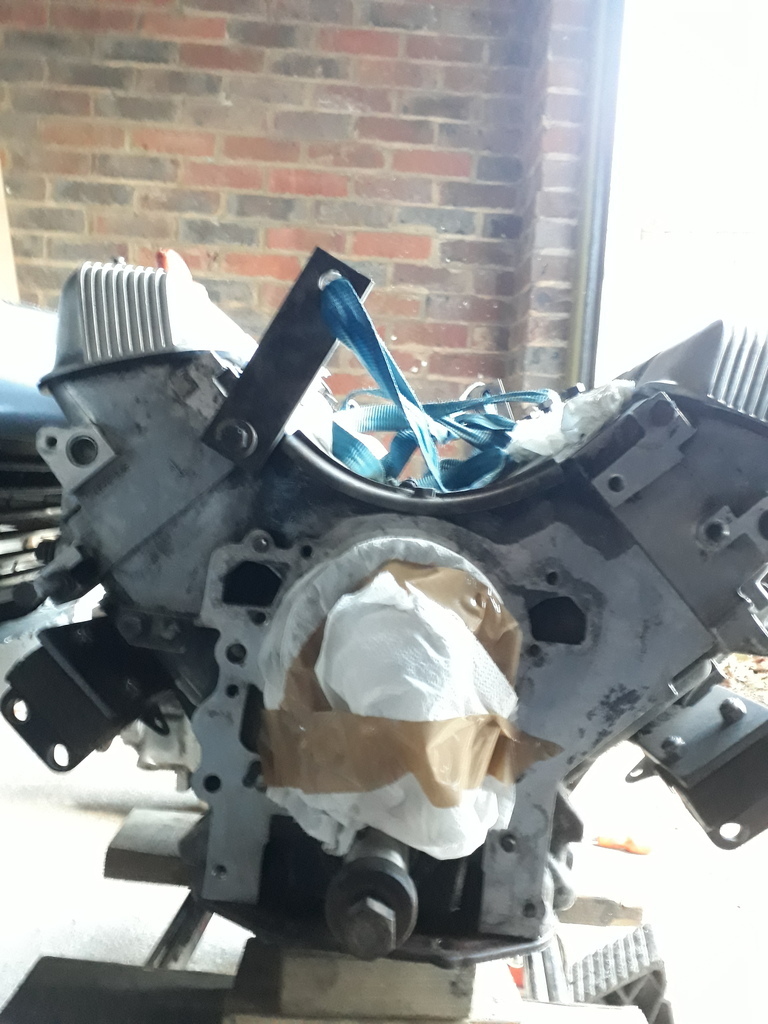 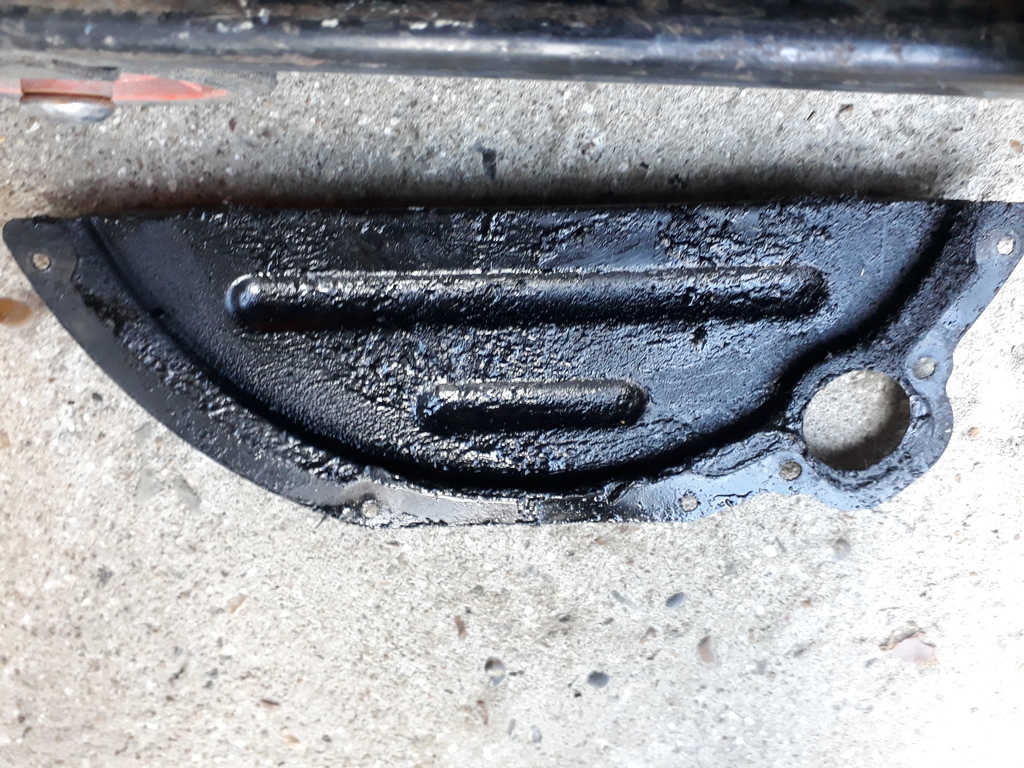 We did a test fit of the vapour blasted SD1 timing cover with painted short crank pulley: 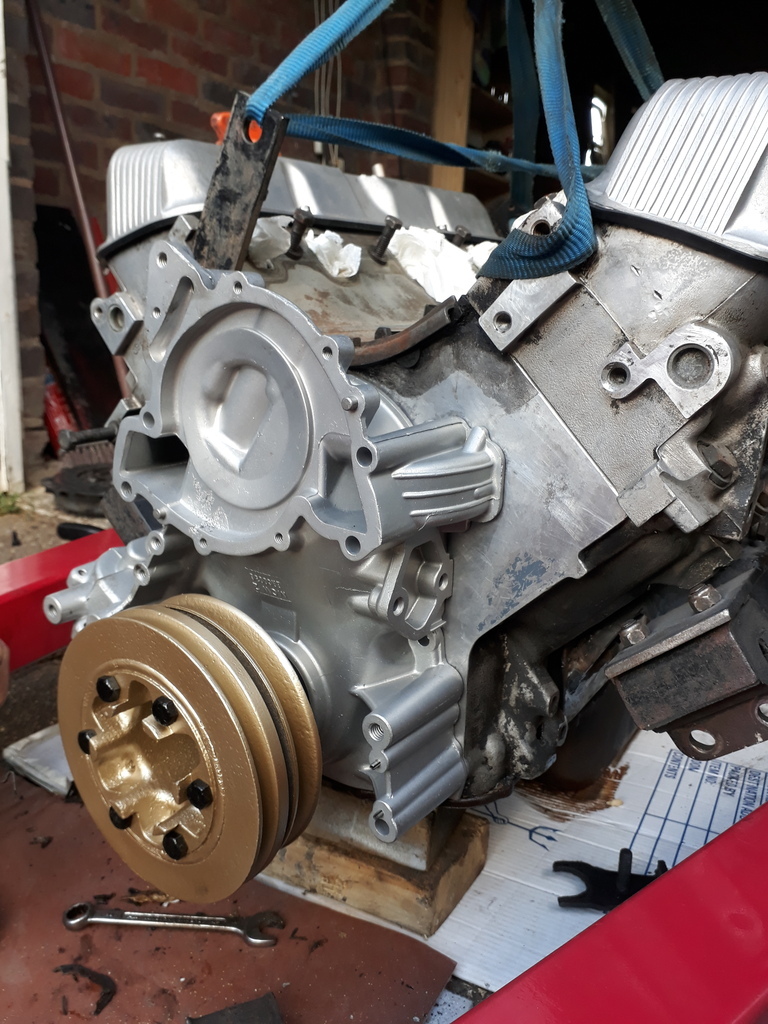 Also held up the new MGB V8 water pump and water pump pulley. Didn't have any suitable hands free to take a photo of that though. Once the cleaning is done, a few more parts ordered/received, and a few things sorted, it will be time to build it all back up and get the new flywheel on. |
| |
|
|
|
|
|
|
|
|
Looks good!
Be careful to be extremely thorough cleaning the timing cover. Vapour blasting leaves a boatload of fine abrasive media coating parts, and a fair few people have had bearings get damaged from bits still left in nooks and crannies.
Really it's not amazingly suitable for engine bits. The name's a bit misleading.
|
| |
Last Edit: Mar 10, 2022 22:01:59 GMT by Rich
|
|
smith4
Part of things
 
Posts: 268 
|
|
Mar 10, 2022 18:45:33 GMT
|
Looks good! Be careful to be extremely thorough cleaning the timing cover. Vapour blasting leaves a boatload of fine abrasive media coating parts, and a fair few people have had bearings get damaged from bits still left in books and crannies. Really it's not amazingly suitable for engine bits. The name's a bit misleading. Thanks, I hadn't realised just how much vapour blasting could leave behind - I will definitely be cleaning out the timing cover and inlet manifold now. I don't have a compressor/air supply, so will a water hose set to a powerful jet work okay? If so, I can blast them with water and then dry them. |
| |
|
|
Darkspeed
Club Retro Rides Member
Posts: 4,879
Club RR Member Number: 39
|
1967 Triumph GT6 (Smith4)Darkspeed
@darkspeed
Club Retro Rides Member 39
|
Mar 10, 2022 21:02:02 GMT
|
What weight is that flywheel? - I though I had gone extreme with mine but that's something else  What clutch does it use? ETA - do you need both pulleys? |
| |
Last Edit: Mar 10, 2022 21:03:33 GMT by Darkspeed
|
|
stealthstylz
Club Retro Rides Member
Posts: 14,960
Club RR Member Number: 174
|
1967 Triumph GT6 (Smith4)stealthstylz
@stealthstylz
Club Retro Rides Member 174
|
Mar 10, 2022 21:30:25 GMT
|
Looks good! Be careful to be extremely thorough cleaning the timing cover. Vapour blasting leaves a boatload of fine abrasive media coating parts, and a fair few people have had bearings get damaged from bits still left in books and crannies. Really it's not amazingly suitable for engine bits. The name's a bit misleading. Thanks, I hadn't realised just how much vapour blasting could leave behind - I will definitely be cleaning out the timing cover and inlet manifold now. I don't have a compressor/air supply, so will a water hose set to a powerful jet work okay? If so, I can blast them with water and then dry them. First thing to do is get a drill bit that's a snug fit within every threaded hole and twist it with your fingers to make sure they're free from blast media gumped up in the bottom. Once you've done that you might be best using a bowl of hot soapy water and tooth/bottle brushes to scrub everything down, then blast any holes out with spray tins of brake cleaner. You really need compressed air though to make sure it's fully clean, as if you blast it with air and stick your face near the blowback you can feel if there's still grit present on your skin. Varour blasting advertised as "safe" for engine parts is a proper con that seems to have got into the car scene psyche as OK. Its worse than dry blasting in pretty much all cases. |
| |
|
|
|
|
smith4
Part of things
 
Posts: 268 
|
|
Mar 10, 2022 23:05:20 GMT
|
What weight is that flywheel? - I though I had gone extreme with mine but that's something else  What clutch does it use? ETA - do you need both pulleys? Thanks man. Flywheel is the lightest I could find that doesn't use the expensive tiny 7 1/4" race clutch. This uses the 9.5" clutch. Flywheel including ring-gear is 5.285kg. I bought the clutch cover from the same race place as it they said its all balanced. I only need the front groove/pulley I think as it lines up with the water pump pulley and alternator. Can I remove the rear part of the pulley? Or does it need it for balancing? Cheers. |
| |
Last Edit: Mar 10, 2022 23:06:51 GMT by smith4
|
|
smith4
Part of things
 
Posts: 268 
|
|
Mar 10, 2022 23:13:08 GMT
|
|
[/quote]First thing to do is get a drill bit that's a snug fit within every threaded hole and twist it with your fingers to make sure they're free from blast media gumped up in the bottom. Once you've done that you might be best using a bowl of hot soapy water and tooth/bottle brushes to scrub everything down, then blast any holes out with spray tins of brake cleaner. You really need compressed air though to make sure it's fully clean, as if you blast it with air and stick your face near the blowback you can feel if there's still grit present on your skin.
Varour blasting advertised as "safe" for engine parts is a proper con that seems to have got into the car scene psyche as OK. Its worse than dry blasting in pretty much all cases.
[/quote]
Such a shame that vapour blasting has its problems.
The bolt holes and everything do look pretty clear to be fair, but I'll have a go with hot the soapy water and tooth-brush, and then spray can brake cleaner into all the nooks and crannies I can find.
Thanks for the advice and tips, mate 👍
|
| |
|
|
Darkspeed
Club Retro Rides Member
Posts: 4,879
Club RR Member Number: 39
|
1967 Triumph GT6 (Smith4)Darkspeed
@darkspeed
Club Retro Rides Member 39
|
Mar 11, 2022 12:00:44 GMT
|
What weight is that flywheel? - I though I had gone extreme with mine but that's something else  What clutch does it use? ETA - do you need both pulleys? Thanks man. Flywheel is the lightest I could find that doesn't use the expensive tiny 7 1/4" race clutch. This uses the 9.5" clutch. Flywheel including ring-gear is 5.285kg. I bought the clutch cover from the same race place as it they said its all balanced. I only need the front groove/pulley I think as it lines up with the water pump pulley and alternator. Can I remove the rear part of the pulley? Or does it need it for balancing? Cheers. That should be light enough assembly to give some pretty nippy throttle response. From memory it was only the big 4x4 multi set up that used a front pulley for balancing by having a lump of steel rod on the inside a rim on the back of one of the pulleys - On mine I machined off the lugs on the front and just use the single pulley. |
| |
|
|
smith4
Part of things
 
Posts: 268 
|
|
Mar 11, 2022 23:11:57 GMT
|
|
[/quote]
That should be light enough assembly to give some pretty nippy throttle response.
From memory it was only the big 4x4 multi set up that used a front pulley for balancing by having a lump of steel rod on the inside a rim on the back of one of the pulleys - On mine I machined off the lugs on the front and just use the single pulley.
[/quote]
Brill, thanks for this.
Running just the single pulley should save a tiny bit of weight, and may help throttle response that tiny bit more 👍
|
| |
|
|
Darkspeed
Club Retro Rides Member
Posts: 4,879
Club RR Member Number: 39
|
1967 Triumph GT6 (Smith4)Darkspeed
@darkspeed
Club Retro Rides Member 39
|
Mar 12, 2022 15:03:48 GMT
|
The Rover balance weight on the front pulley ! 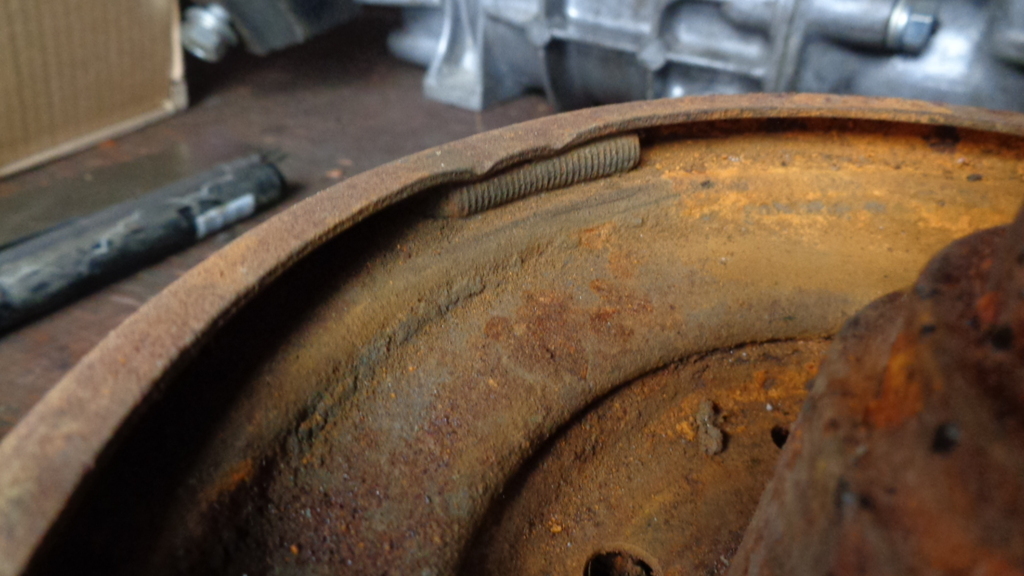 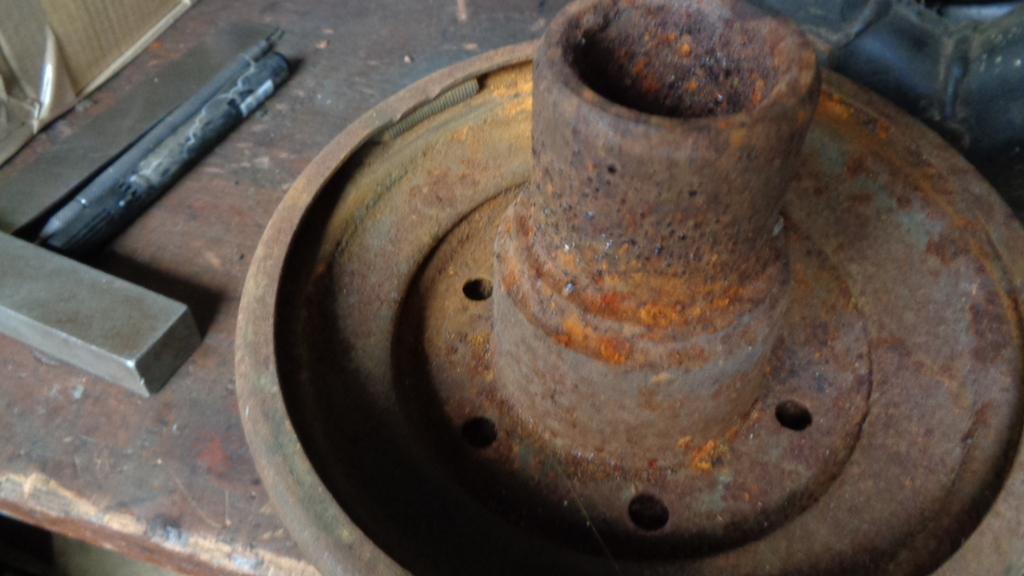 |
| |
|
|
smith4
Part of things
 
Posts: 268 
|
|
Mar 12, 2022 20:57:21 GMT
|
The Rover balance weight on the front pulley !   Thank-you. Not quite what I was expecting 😀 I'll see if my front pulley has anything. |
| |
|
|
Darkspeed
Club Retro Rides Member
Posts: 4,879
Club RR Member Number: 39
|
1967 Triumph GT6 (Smith4)Darkspeed
@darkspeed
Club Retro Rides Member 39
|
Mar 12, 2022 21:35:49 GMT
|
Thank-you. Not quite what I was expecting 😀 I'll see if my front pulley has anything. Yours won't have that - its only on the pressed steel pulleys. |
| |
|
|
v8ian
Posted a lot
  
Posts: 3,832
|
|
Mar 12, 2022 21:57:28 GMT
|
|
I hope thats a steel flywheel, cant remember who I got mine from, but after a clutch fire at santapod, I elected to go steel as I had melted waves of meta into the surface of my stock flywheel, I also went for a Malleable pressure plate, (Helix) as the pressure plat had some huge heat cracks in it too. seem to remember I changed my crank/flywheel bolts to ARP too, using Mustang 302, much cheaper than 215 rover items
|
| |
Last Edit: Mar 12, 2022 22:16:08 GMT by v8ian
Atmo V8 Power . No slicks , No gas + No bits missing . Doing it in style.
Austin A35van, very different------- but still doing it in style, going to be a funmoble
|
|
smith4
Part of things
 
Posts: 268 
|
|
Mar 12, 2022 23:18:11 GMT
|
I hope thats a steel flywheel, cant remember who I got mine from, but after a clutch fire at santapod, I elected to go steel as I had melted waves of meta into the surface of my stock flywheel, I also went for a Malleable pressure plate, (Helix) as the pressure plat had some huge heat cracks in it too. seem to remember I changed my crank/flywheel bolts to ARP too, using Mustang 302, much cheaper than 215 rover items Yes, billet steel, not an original one lightened. Wow, clutch fire sounds bad! You are running a lot more power than me! Mustand 302 ARP bolts sound good. Nice to get good quality but for better value 🙂 I have a standard strength clutch as will have about 200 lbs torque. |
| |
|
|
smith4
Part of things
 
Posts: 268 
|
|
Mar 16, 2022 13:55:15 GMT
|
I got a load of cleaning done on the engine/bellhousing of the V8. Number of tasks happened this week! Thanks Darkspeed, I removed the rear pulley from my crankshaft pulley - cleaned up the area I hadn't got to behind it, and painted it up. 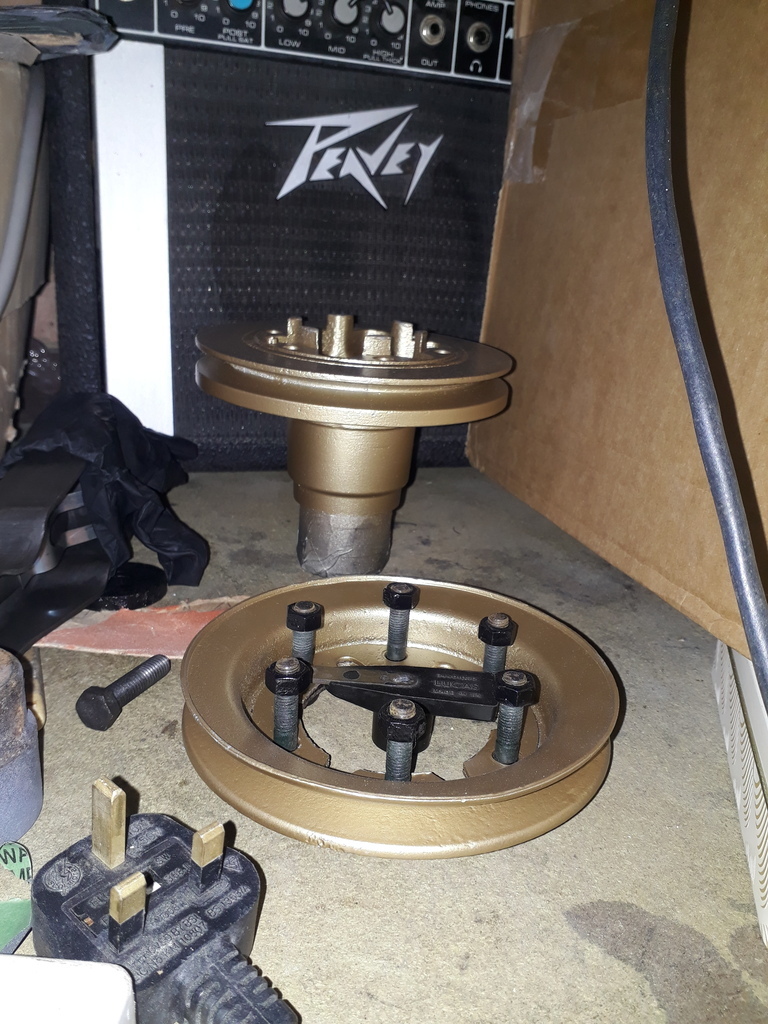 The back of the engine behind the front of the flywheel was very dirty. Had a dry surface over dirty oil. Pics of before, during, and the most current after! 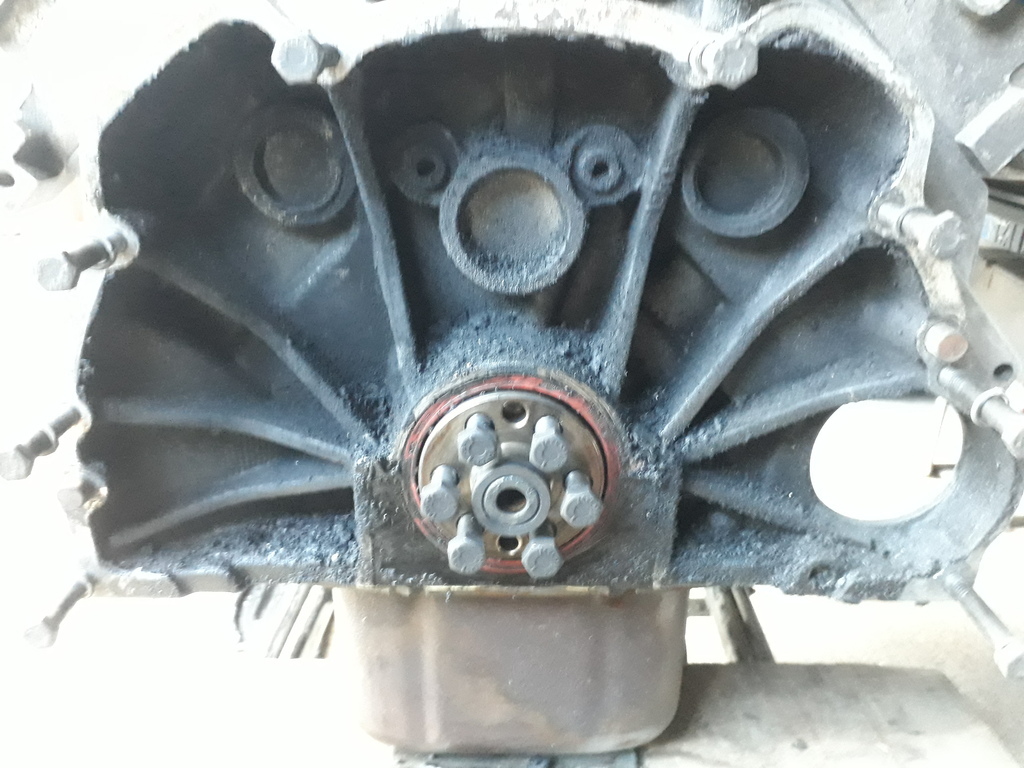 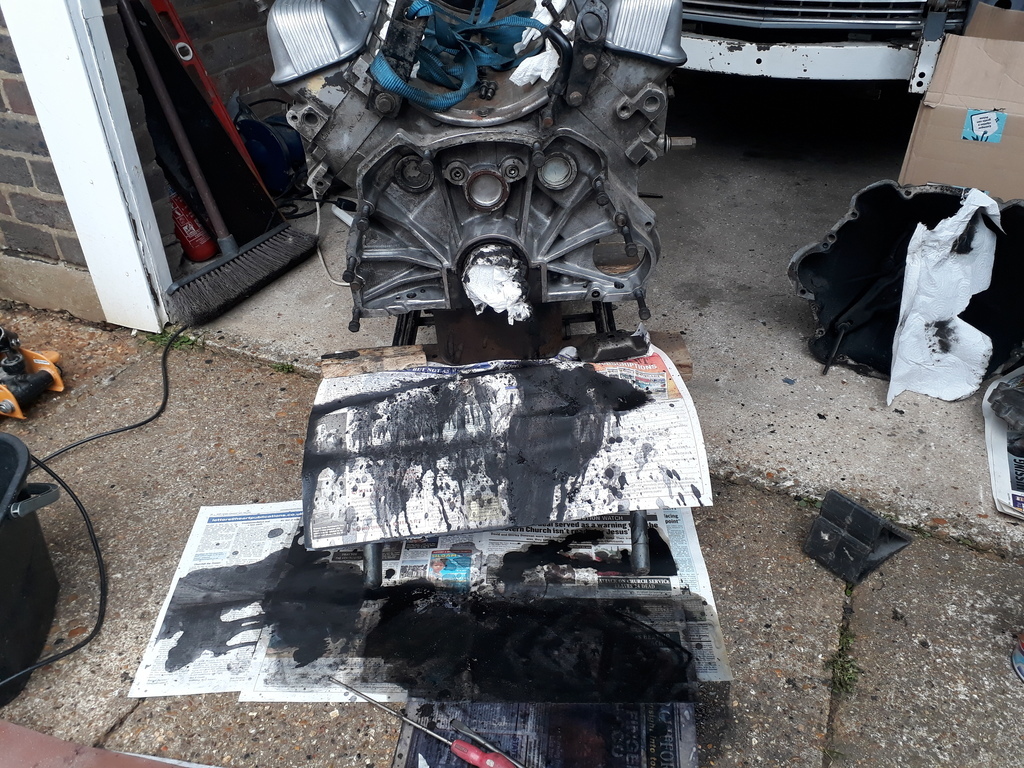 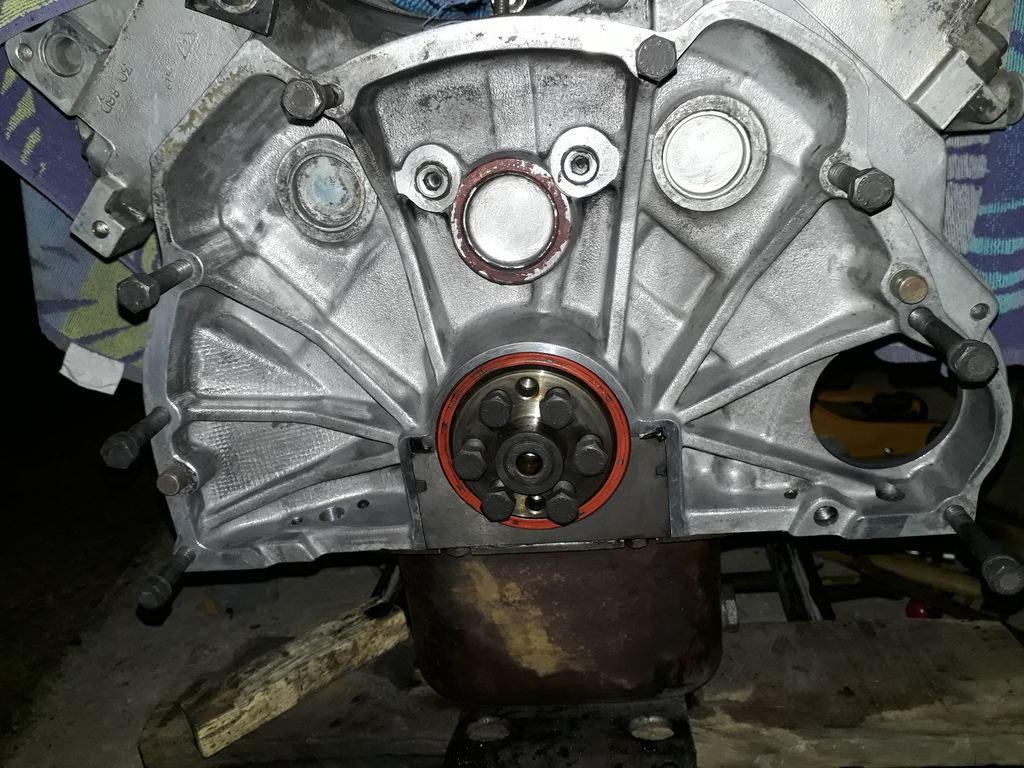 Inside the bellhousing was thick and black - before and after pics: 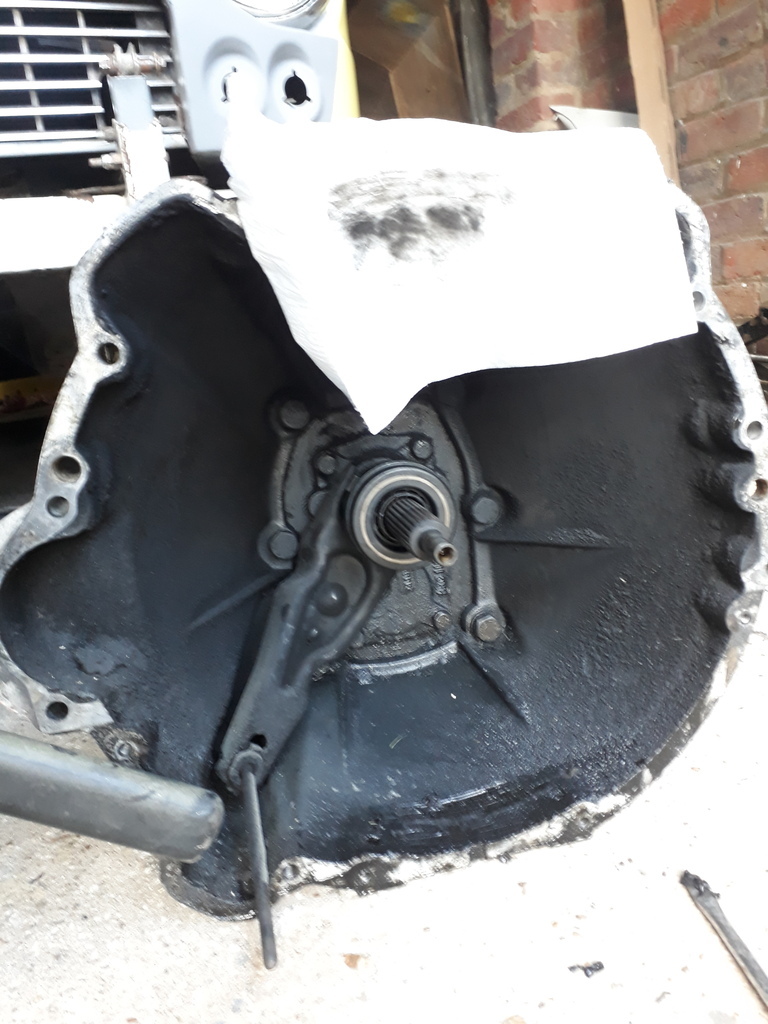 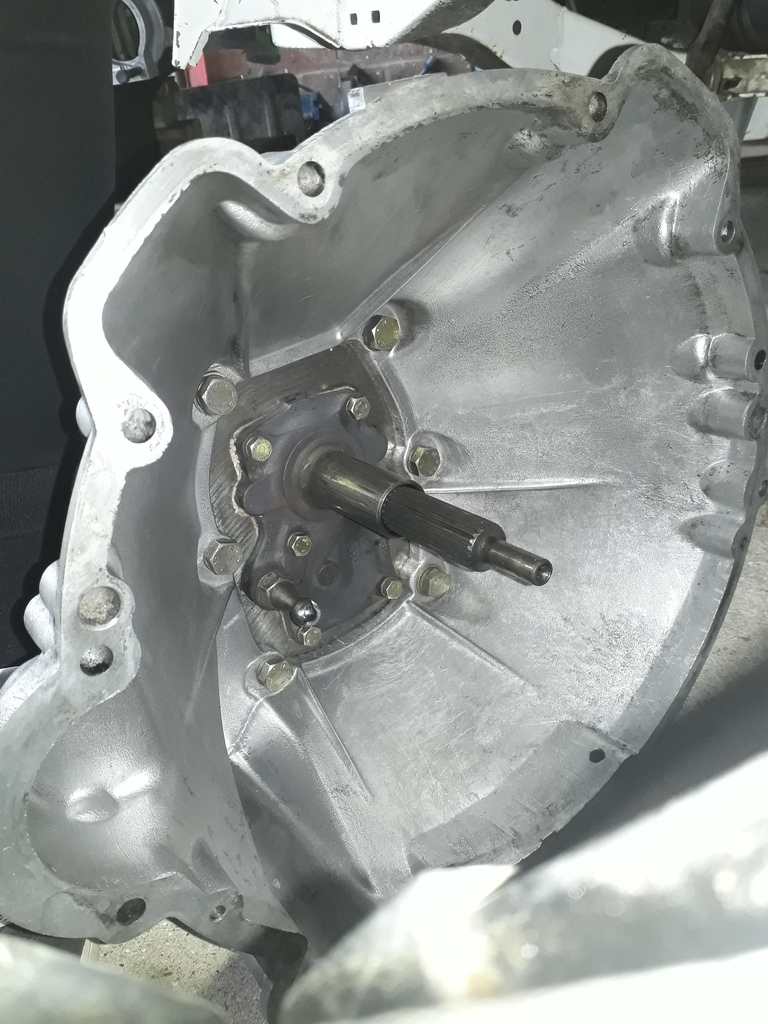 And the plate which bolts onto the front of the bellhousing, underneath the engine and vertically behind the rear of the sump, got a cleaning both sides, and painting on the outside. It doesn't look like it was painted on the inside originally: 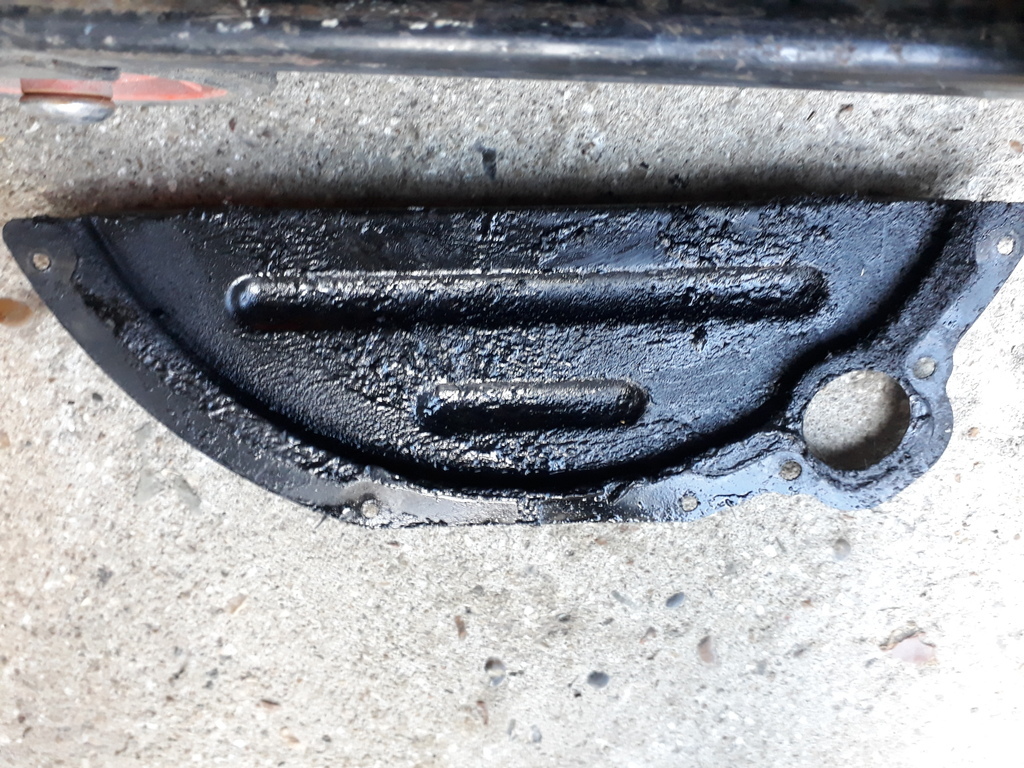 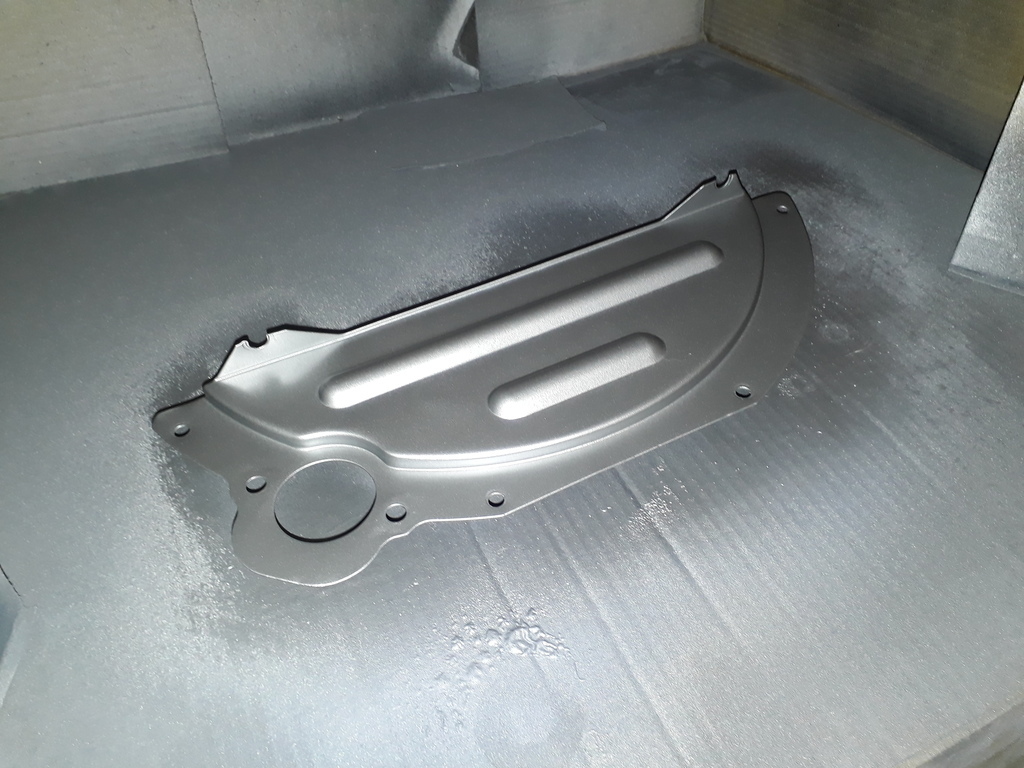 The distributer clamp and valley gasket clamps have been cleaned up and into primer ready for top coat. The crankshaft pulley bolt and thick washer will be getting cleaned up and into paint too. Engine mounts needs removing so that the engine block etc. behind them can be cleaned up. Sump cleaning up and painting will be at a later date. |
| |
|
|
|
|


 What clutch does it use?


