|
|
|
Feb 28, 2020 19:39:36 GMT
|
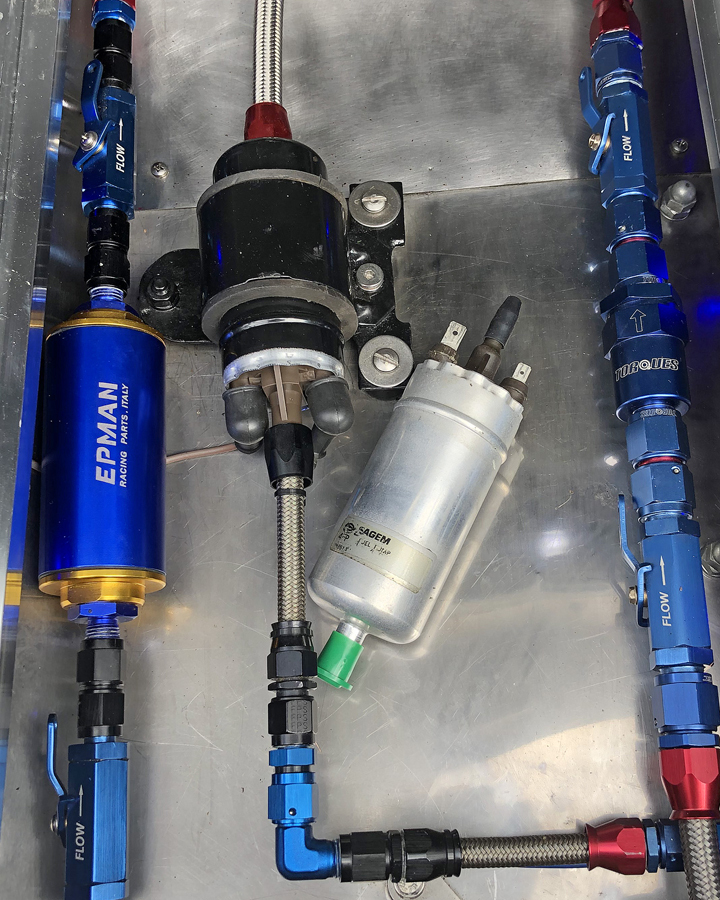
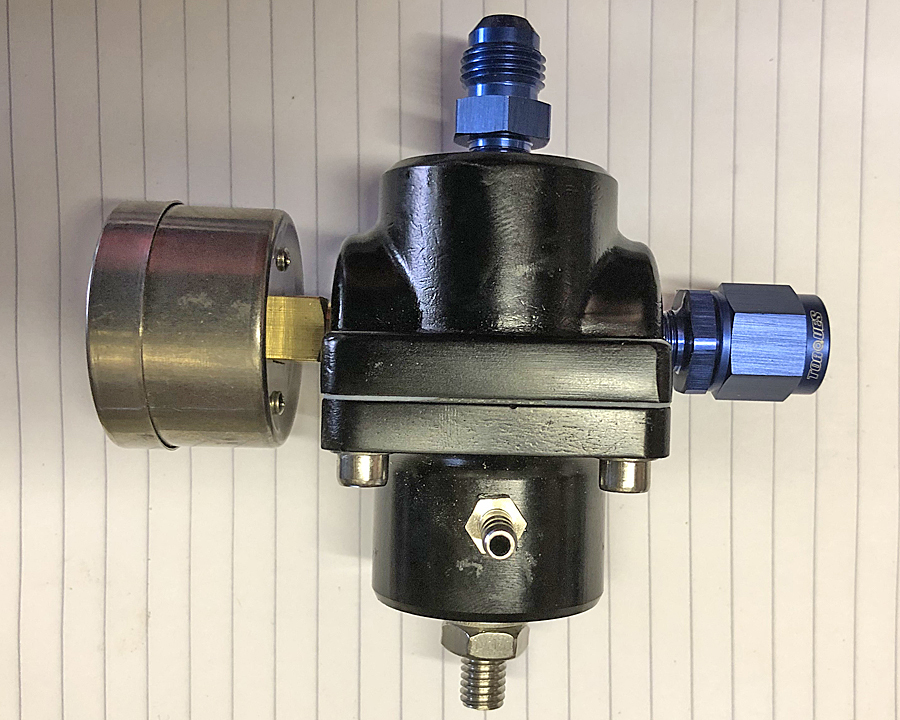
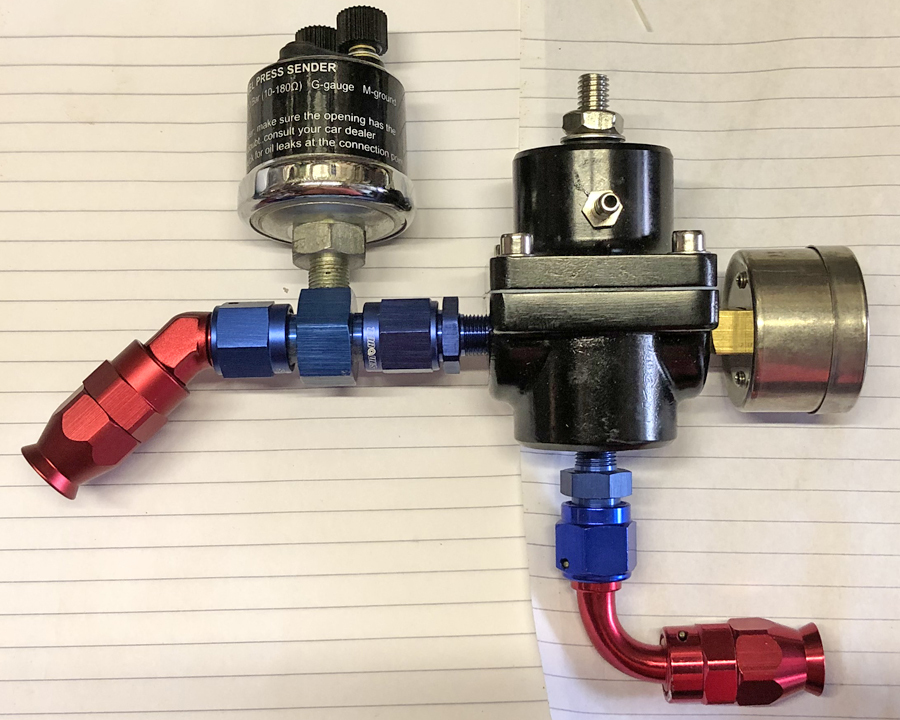
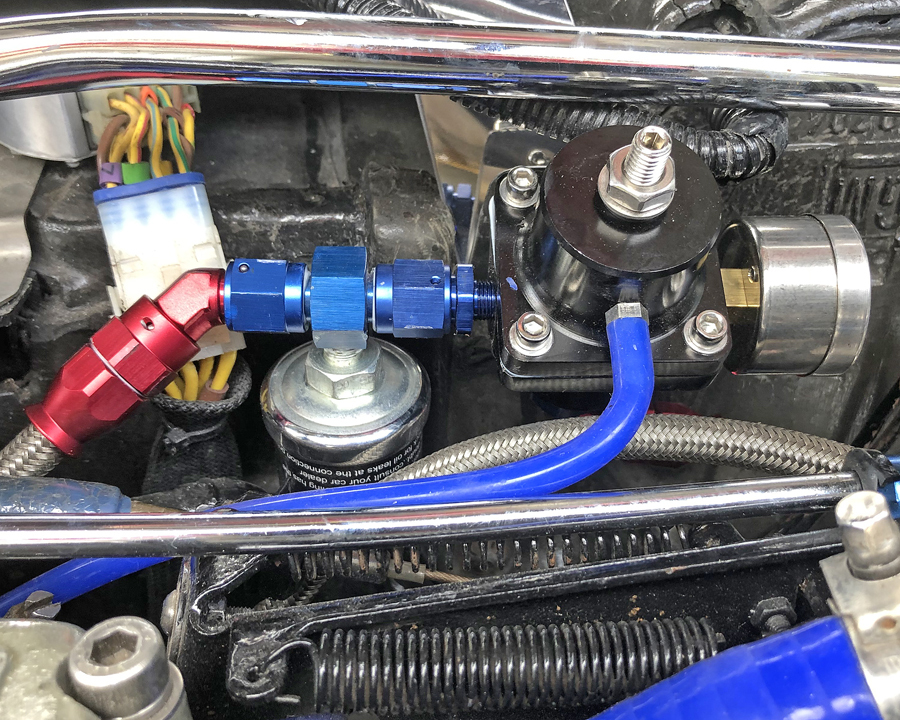
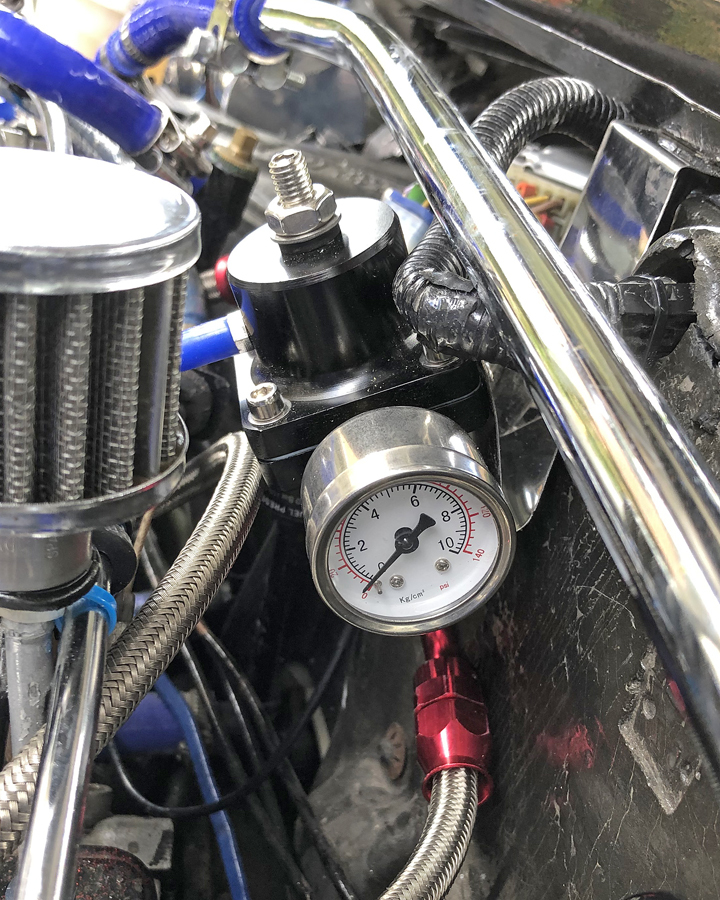
Well not much is happening at the moment due to the severe weather we’ve all been having. The gales have ripped the felt off the garage roof leaving me with water pouring in everywhere! So I’ve been busy recovering the roof with boxed profile steel sheeting, hopefully that will last for some considerable time. Regarding the car, I’m currently looking ahead to when I install the Mega-squirt system. It will eventually need a fuel temperature sensor installed; so initially I’ve bought this piece of kit from an Audi/ VW, 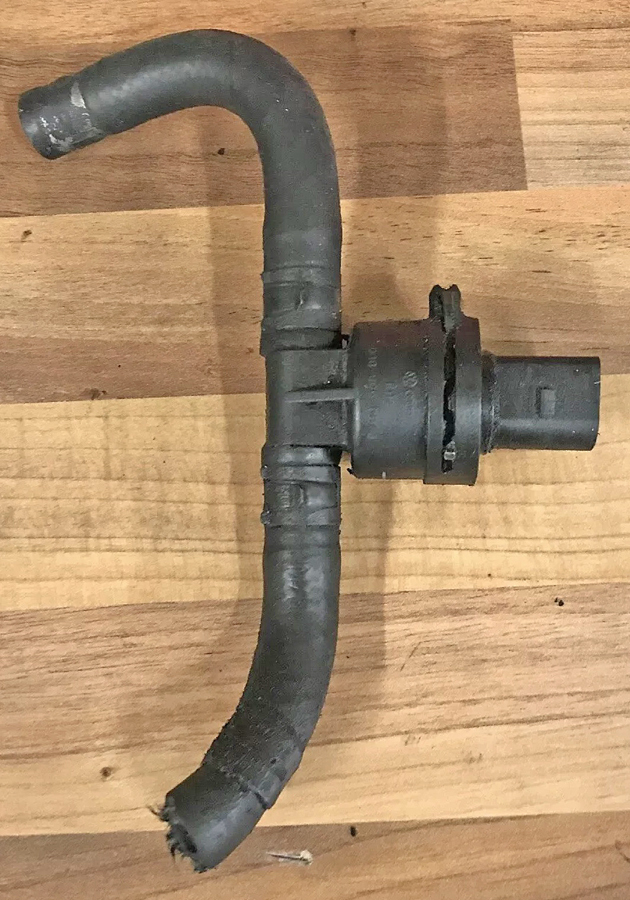 and now that I have it in my hands, I have doubts it’ll work due to the way its installed , push fit onto barbed fittings. Currently my fuel pressure is 36 psi and when I install the Thor system it’ll be pushing 58 psi and I just don’t feel confident it’ll hold. Whilst everything I’ve installed so far have been using AN fittings I’d like to carry on with this. The problem that has now arisen is that no one seems to do a fitting that will house a fuel temp sensor due to the length of the probe. 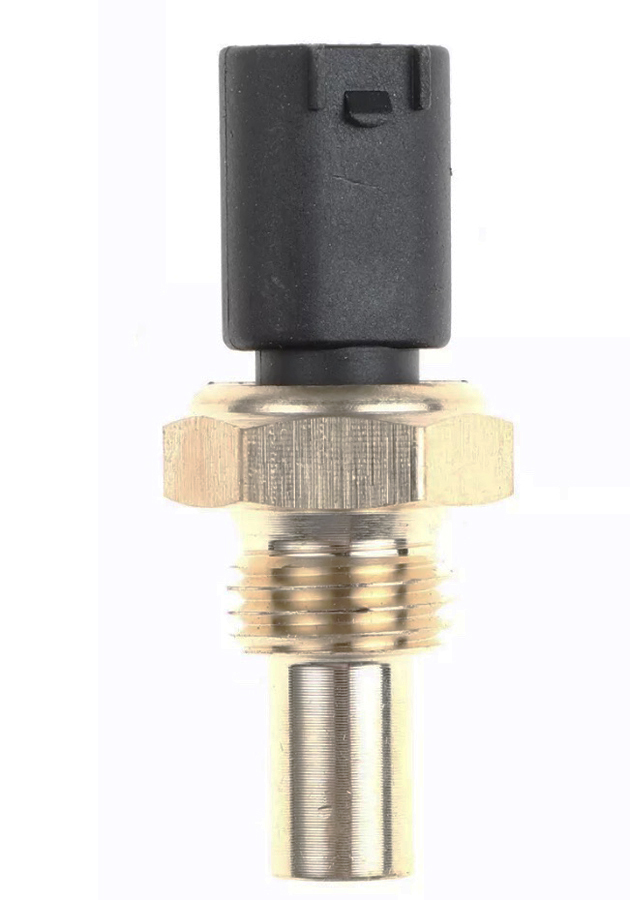 So I’ve come up with an idea to make my own! I’ve now purchased a block of aluminium 1” dia. 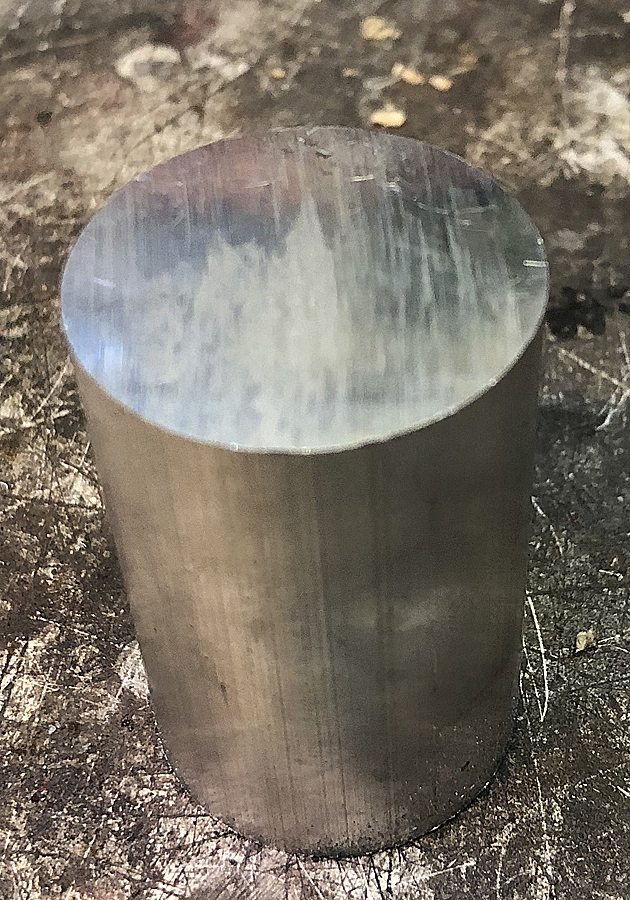 Drilled and tapped entirely through the centre, and purchased the correct fittings needed from EARL’S. 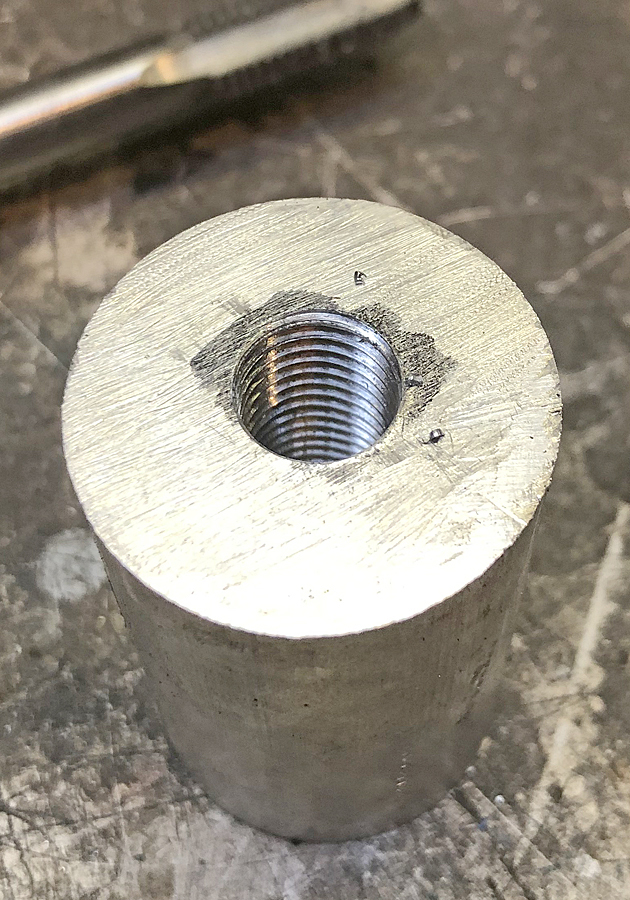 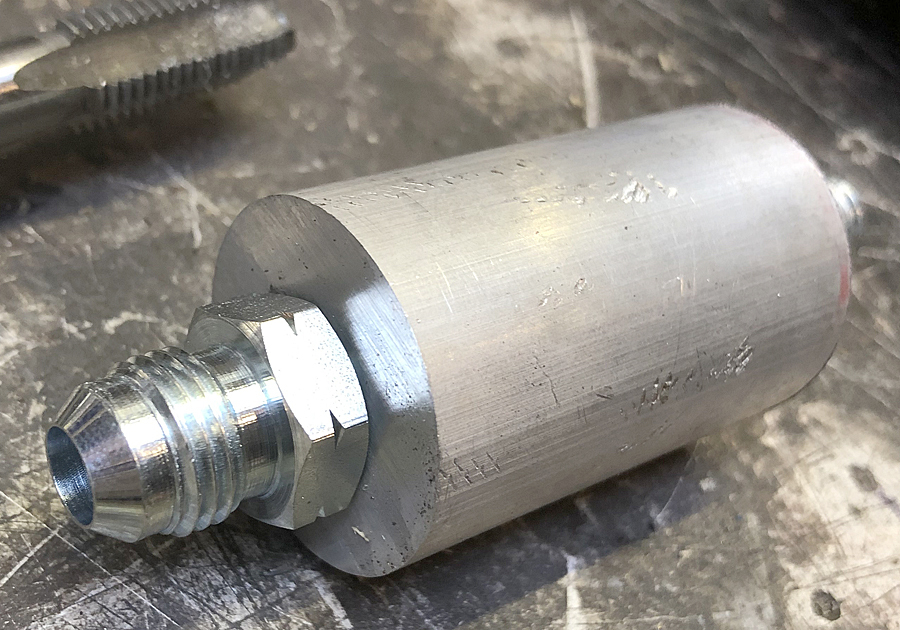 Next I need to drill and tap to fit the sensor, but I’m having problems identifying the size of the thread! I’ve come to the conclusion it’s either an M10 x 1.0 or a 3/8” NPT. |
| |
Bib
|
|
|
|
|
|
|
Feb 28, 2020 19:42:33 GMT
|
 Just in case anyone is interested in doing this themselves. |
| |
Bib
|
|
|
|
|
Feb 29, 2020 10:04:13 GMT
|
|
Too late now but those fittings would take 58 psi fine.
|
| |
|
|
|
|
|
|
|
|
M10x1 is a very common size for sensors on cars.
|
| |
|
|
|
|
|
Jun 11, 2020 19:40:03 GMT
|
I cant believe where the time has gone, 3 months without posting! No excuses, so I have now finished the fuel temperature housing and thanks guys it was M10 x 1. 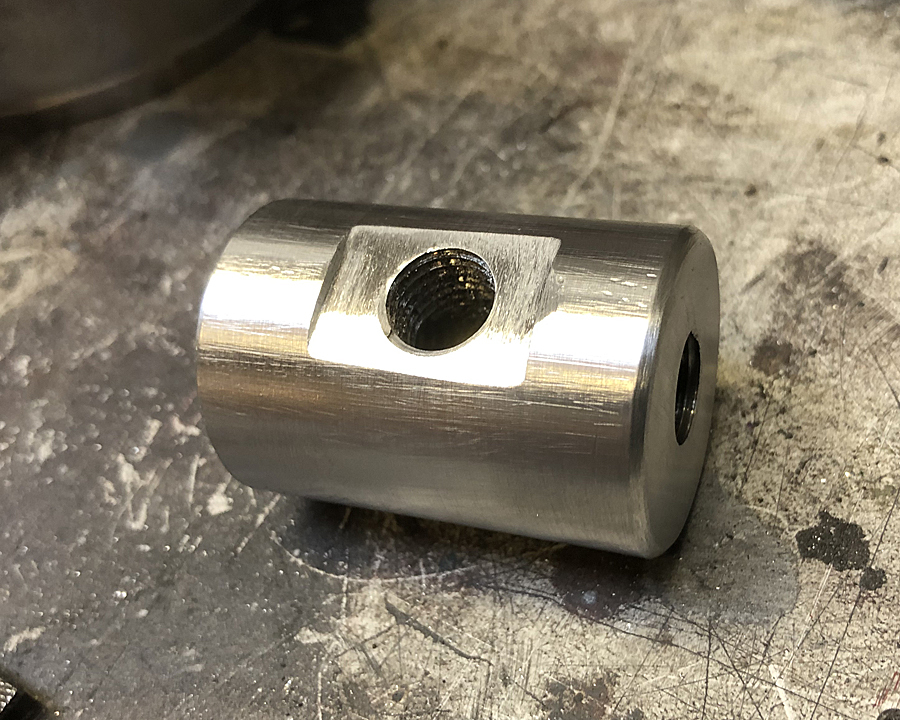 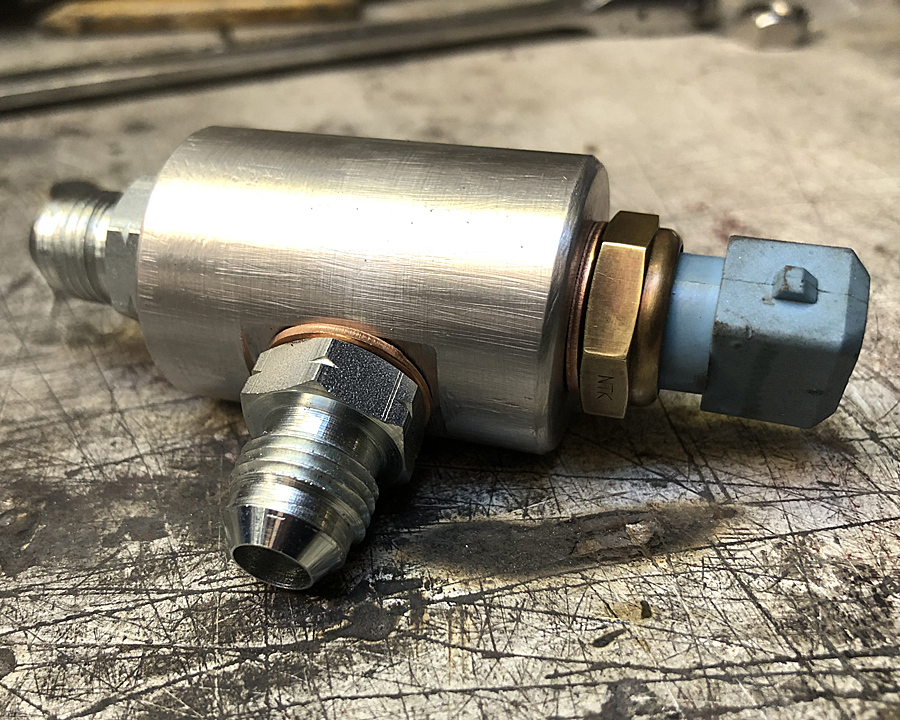 |
| |
Bib
|
|
|
|
|
Jun 11, 2020 20:06:29 GMT
|
More than a couple of months back I was approached by a chap called Glen who creates videos for his web site on YouTube asking to do a feature on my car, every time a date was set it rained! Finally on the third attempt the weather turned out good, met up on Portsdown hill Portsmouth check it out at check it out at youtu.be/ H0xTGO4X_A8 Headed - Last of the V8 Manta's 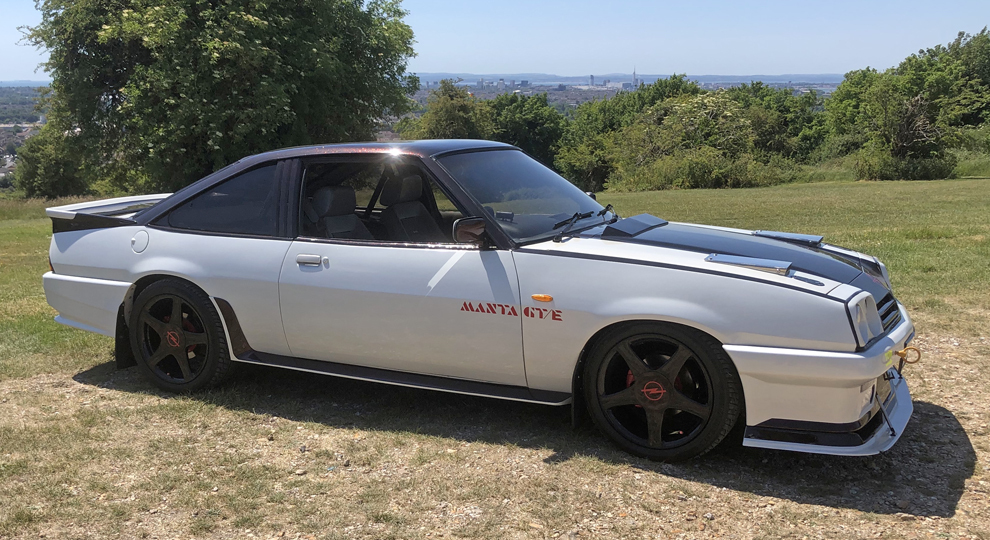 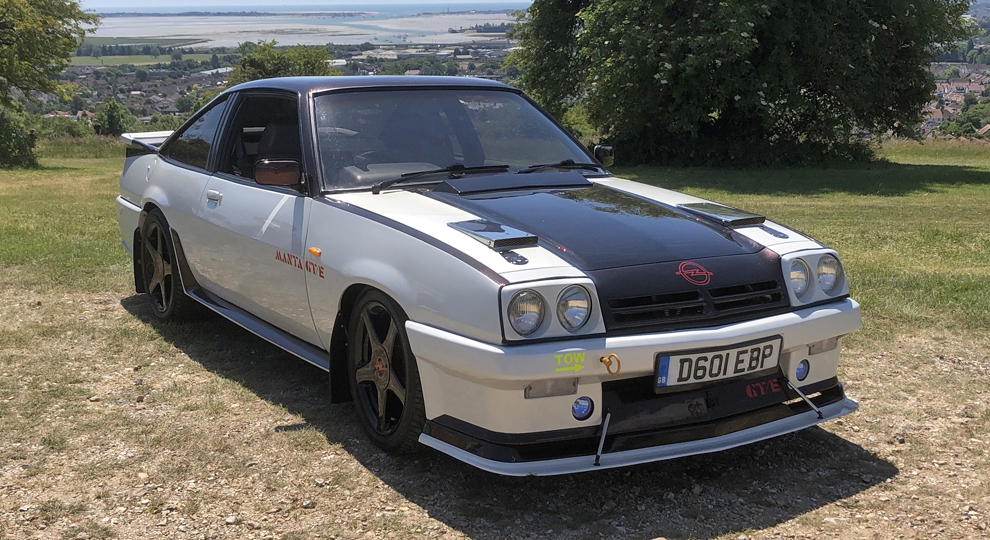 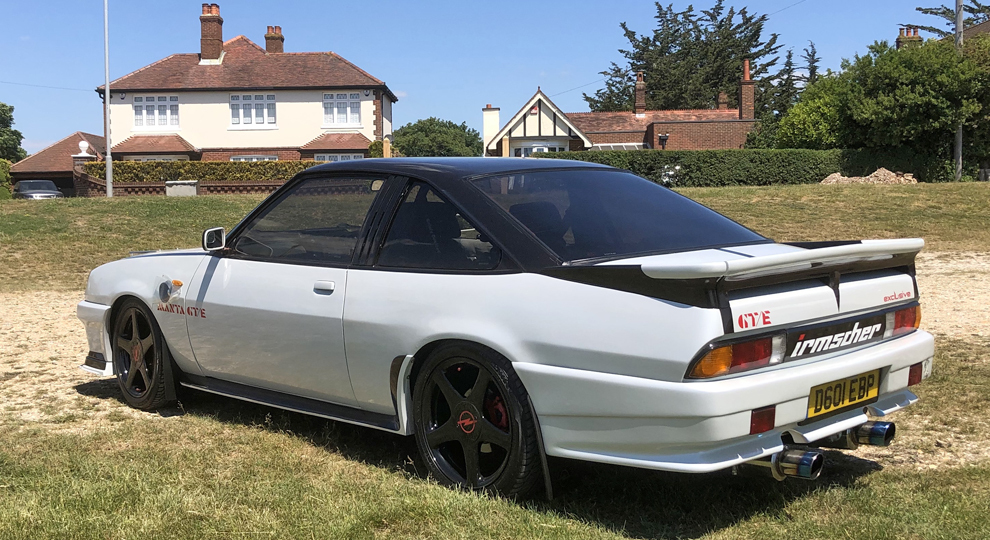 |
| |
Bib
|
|
|
|
|
Jul 26, 2020 21:12:50 GMT
|
|
|
| |
Bib
|
|
|
|
|
Jul 26, 2020 22:26:36 GMT
|
|
|
| |
Bib
|
|
|
|
|
|
|
Aug 23, 2020 22:17:58 GMT
|
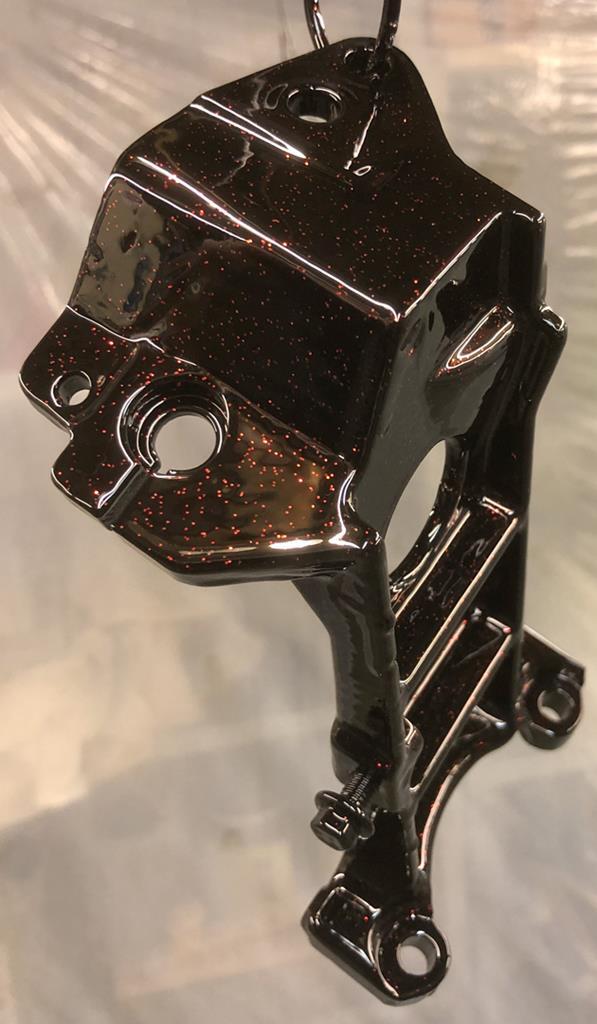
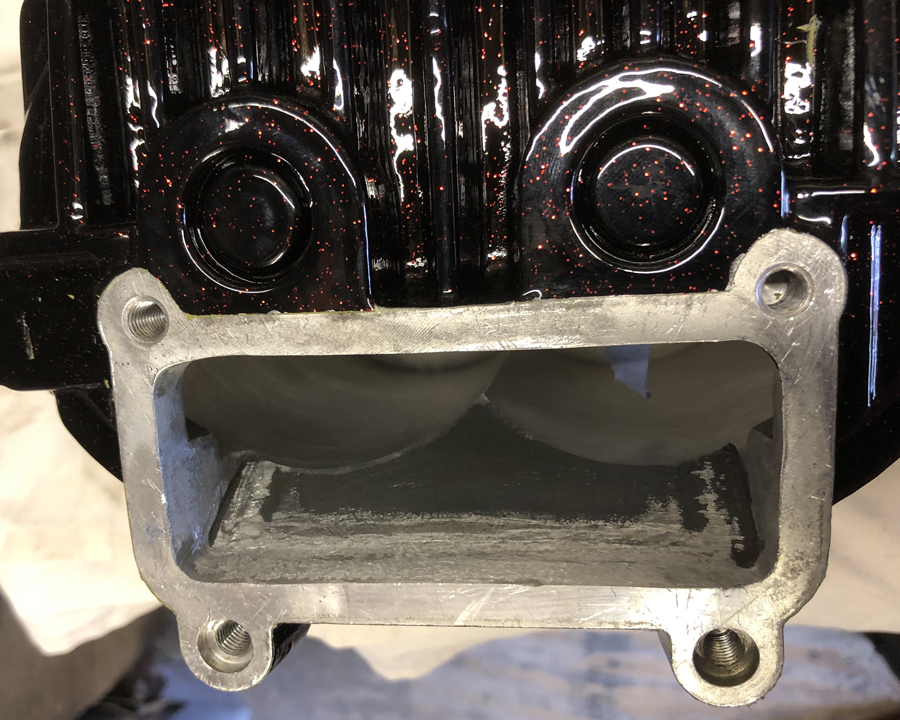
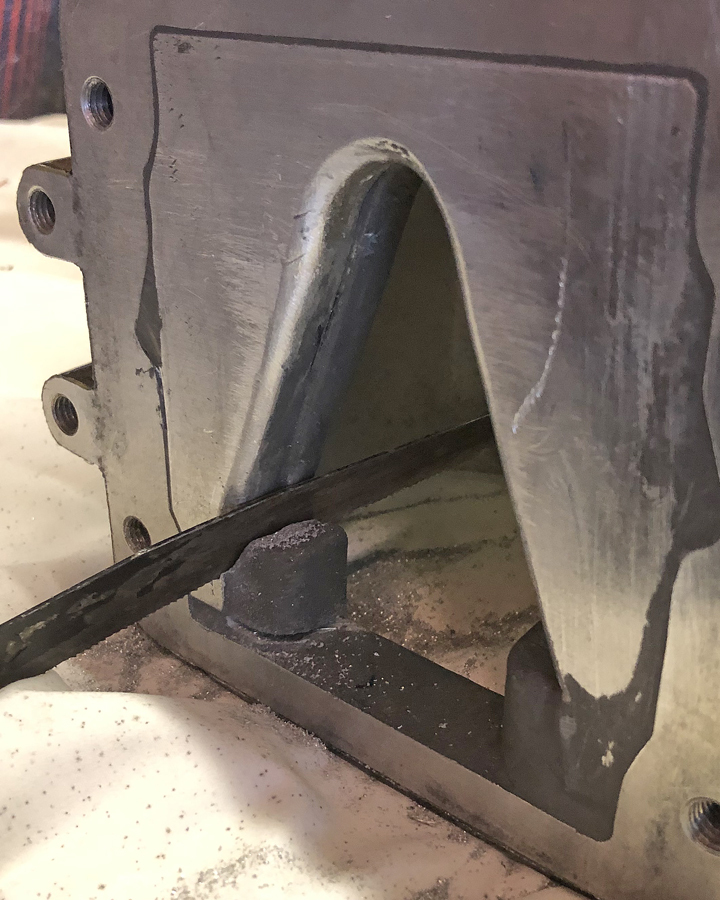
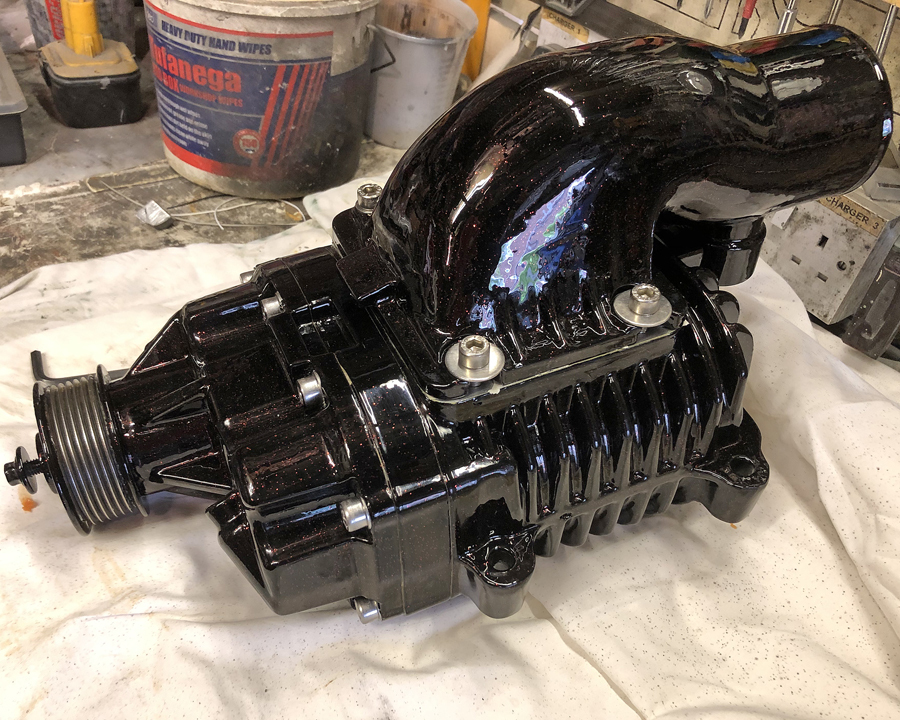
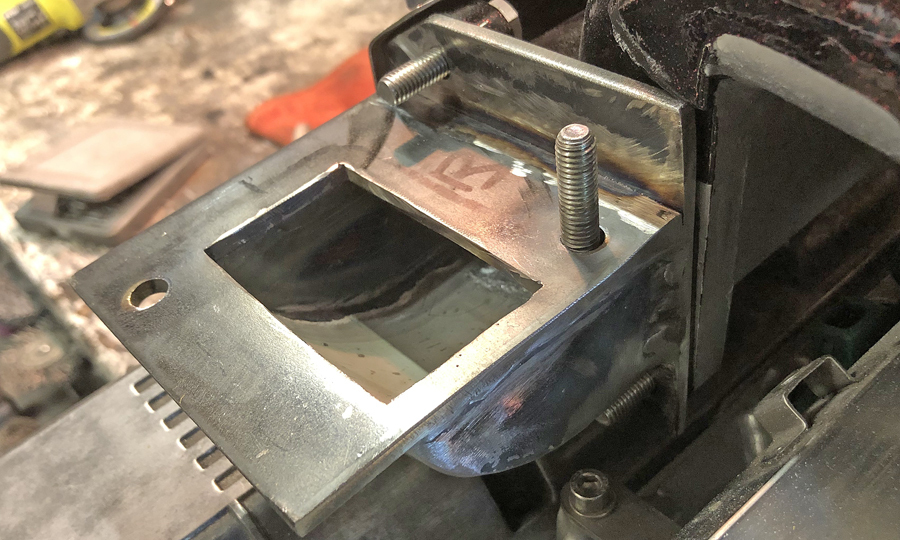
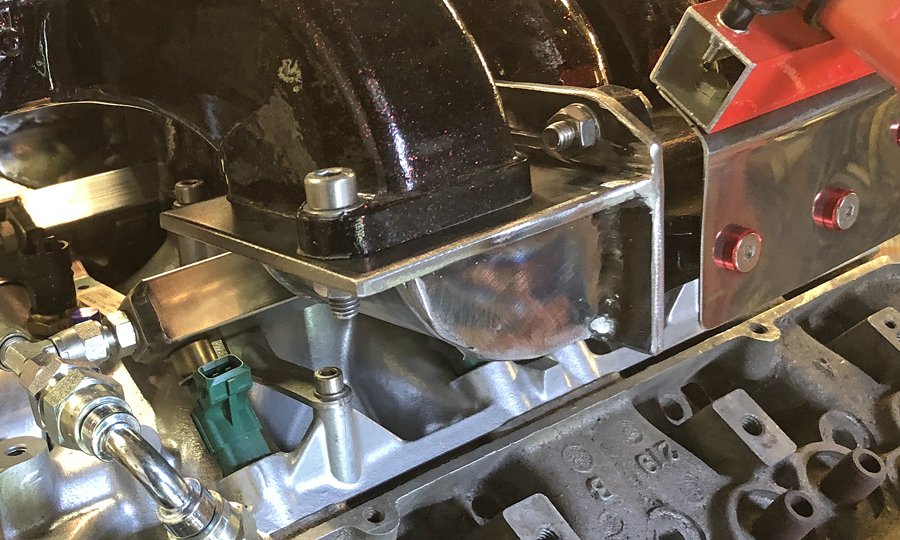
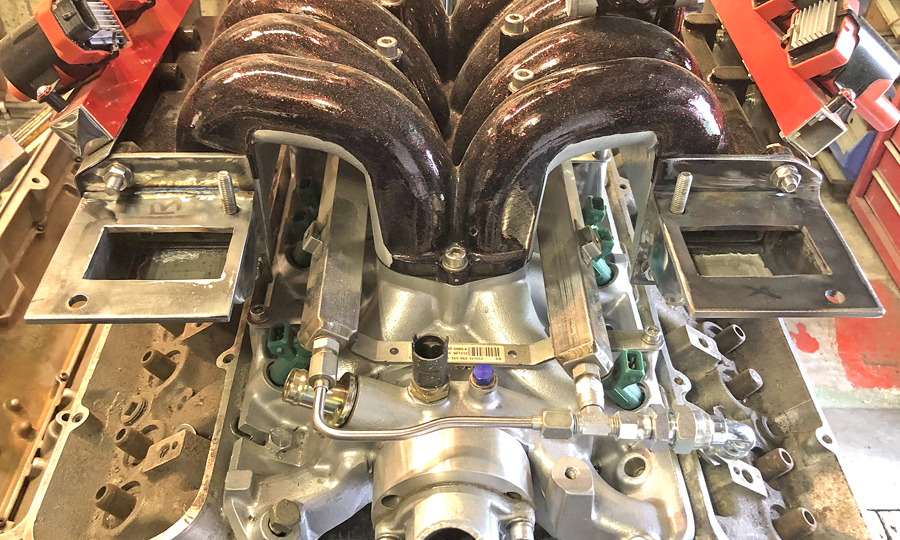
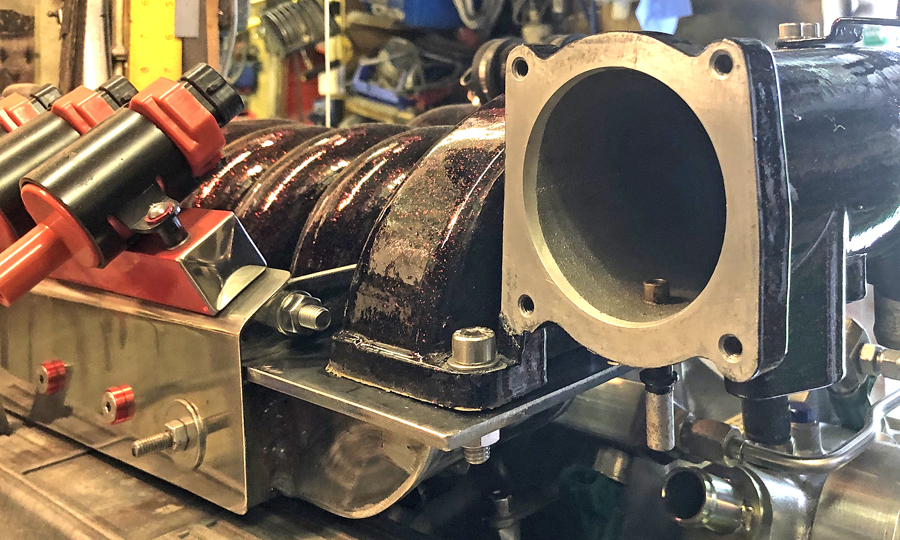
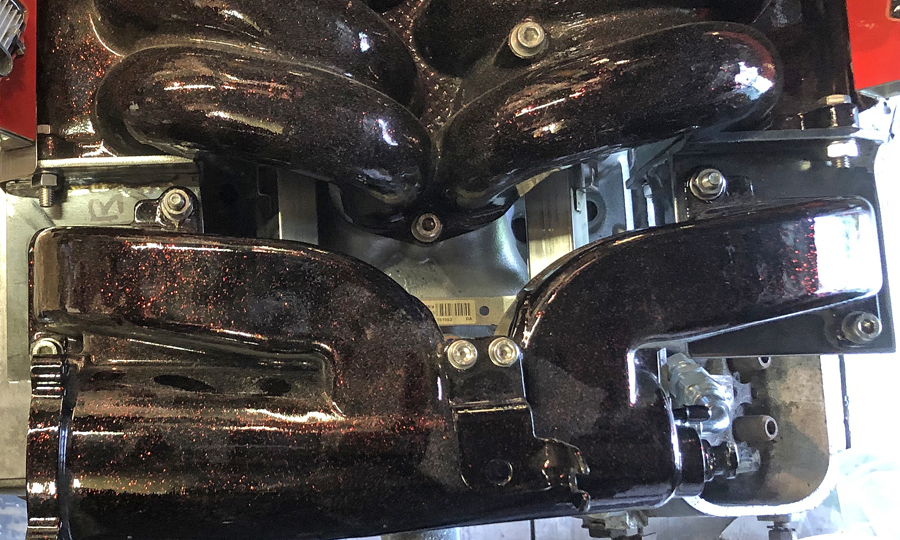
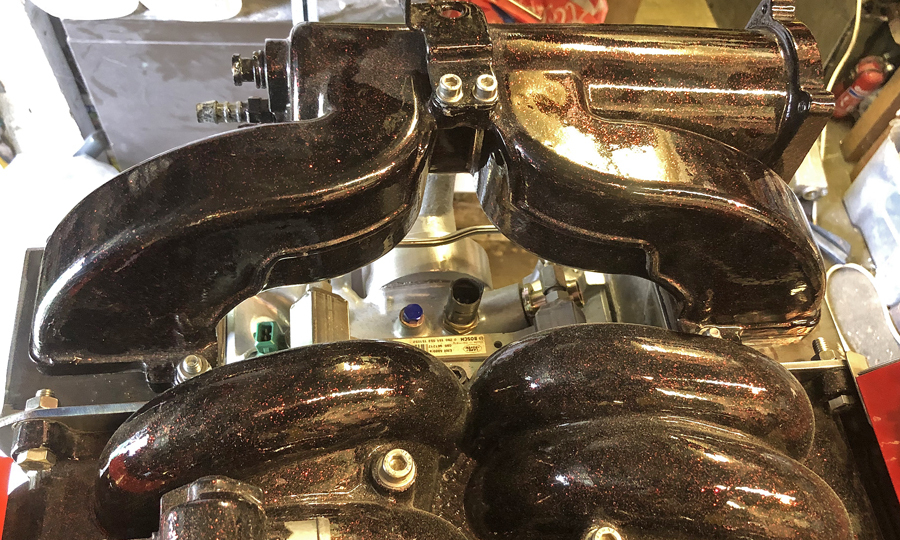
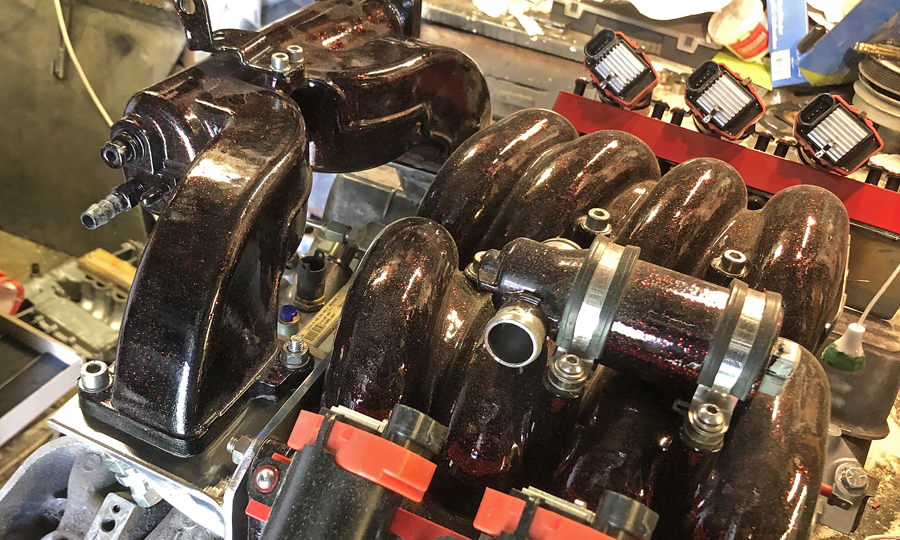
So now looking ahead, I've done some measurements and the next problem is the inlet manifold is facing the wrong way for the pipe work from the inter cooler. So I have this idea in my head about spinning the inlet manifold but rather than ruin my painted parts I've purchased a spare unit. 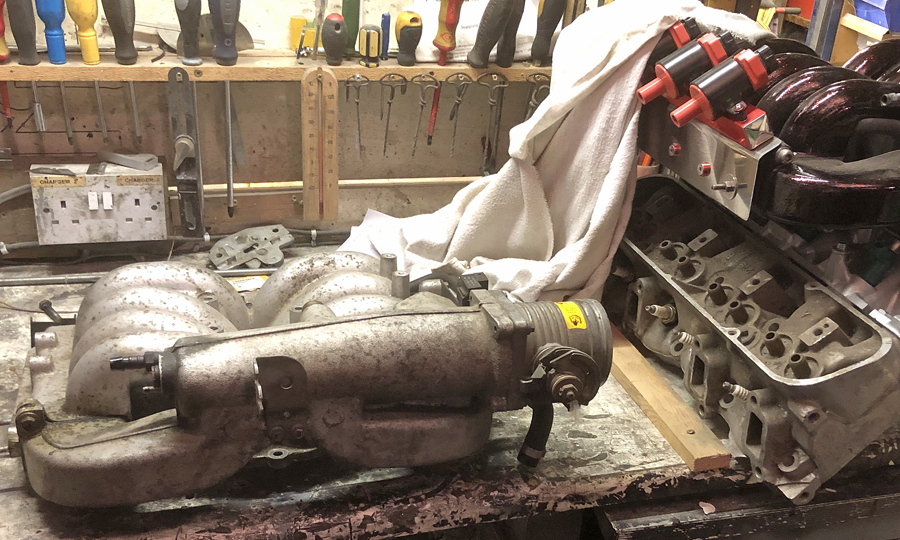 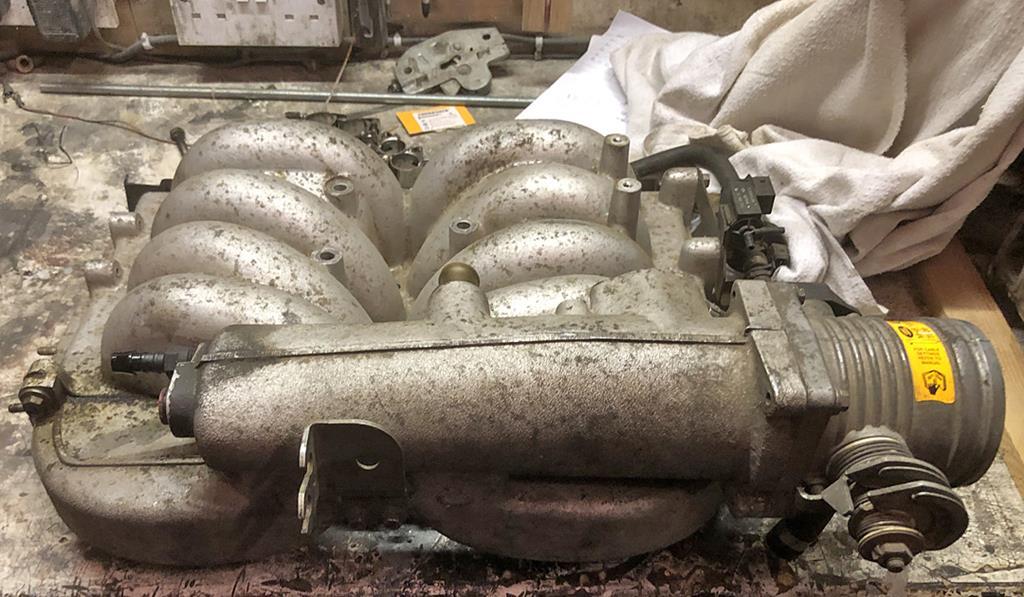 so this is the intended orientation of the manifold. 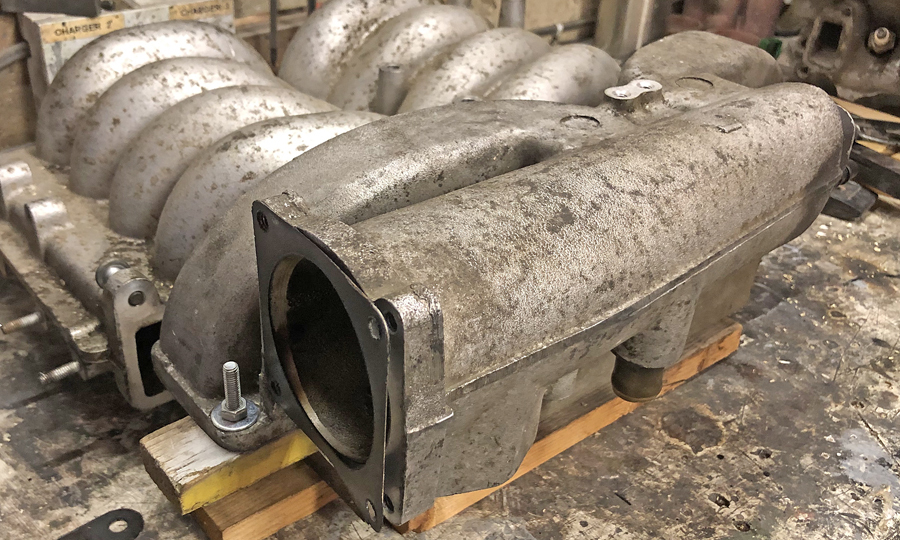 Birds eye view. 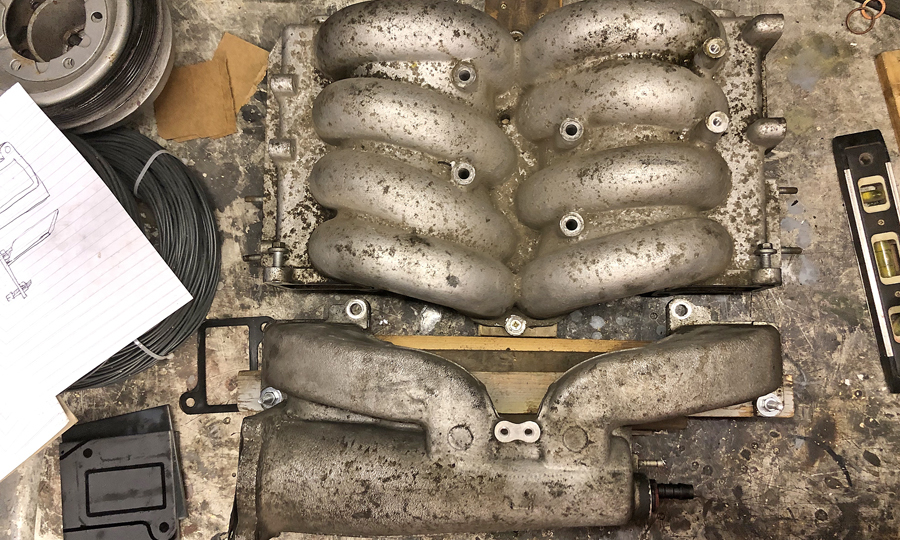 These next photos show the intended height of the adaptors that i will have to create. 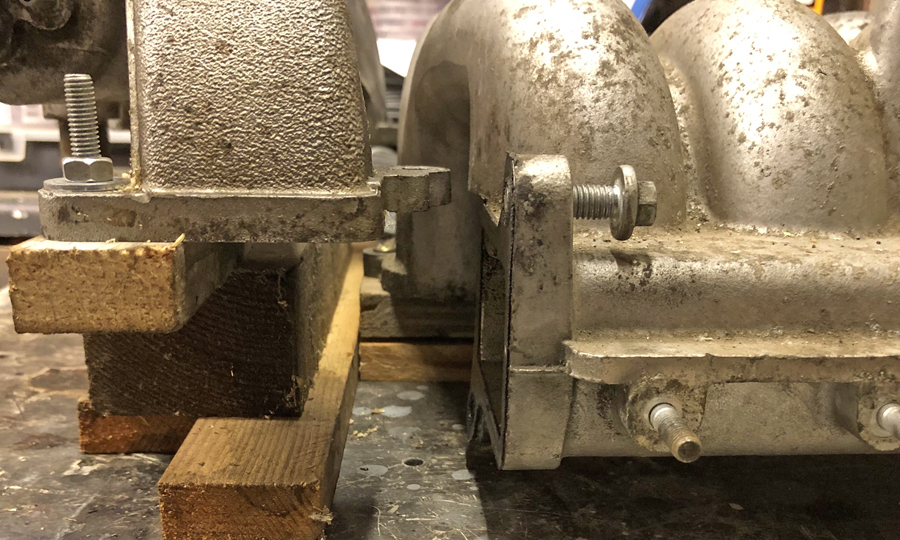 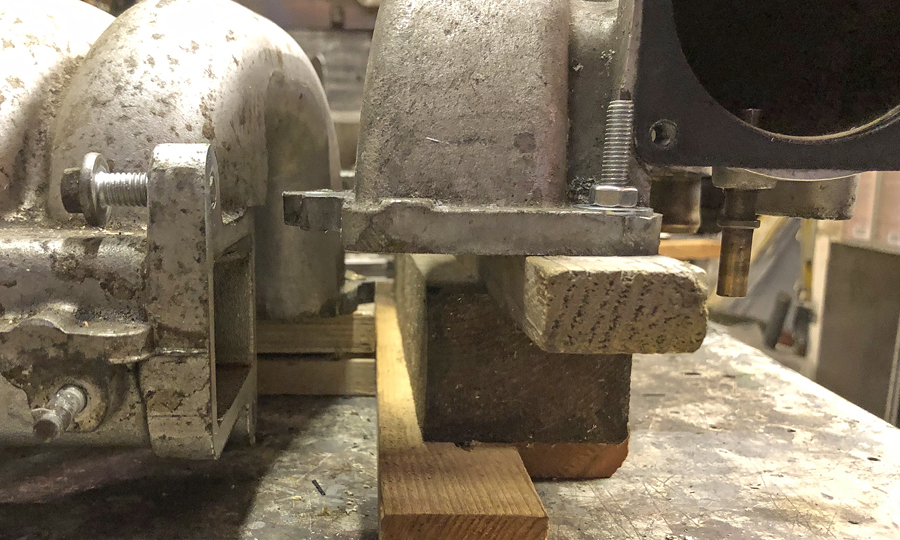 Using 5mm steel plate these are the pieces that will bolt up to the manifold. 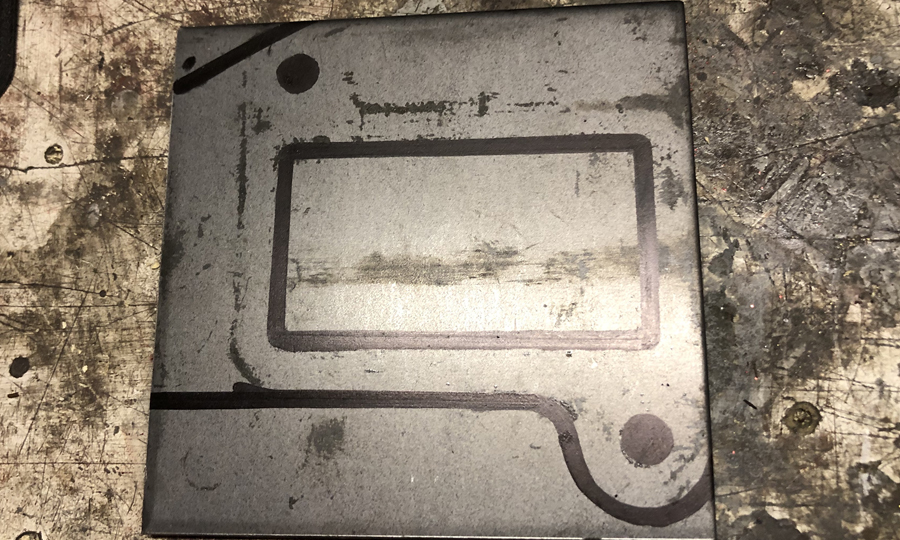 Here is the first set cut out and bolted in position. 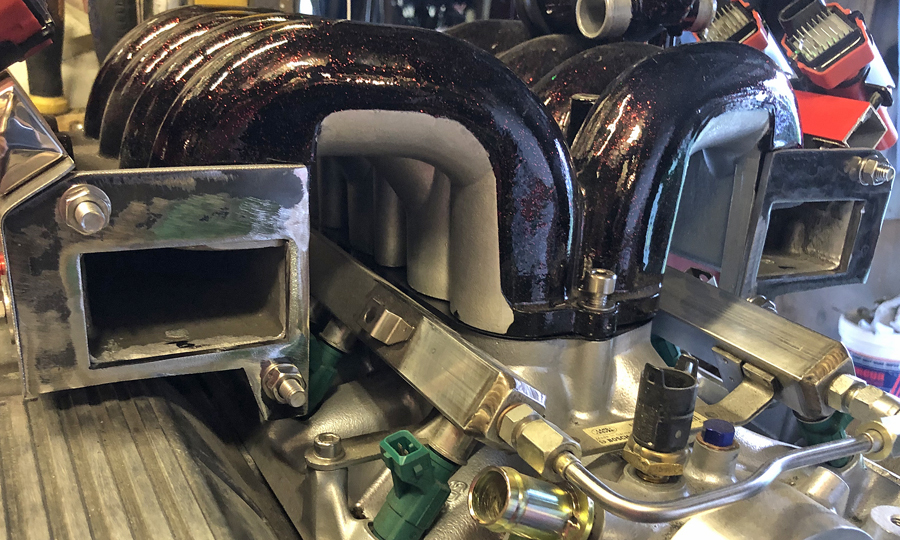 The next set have been cut out and welded into position, the hardest part is keeping it all level and square! 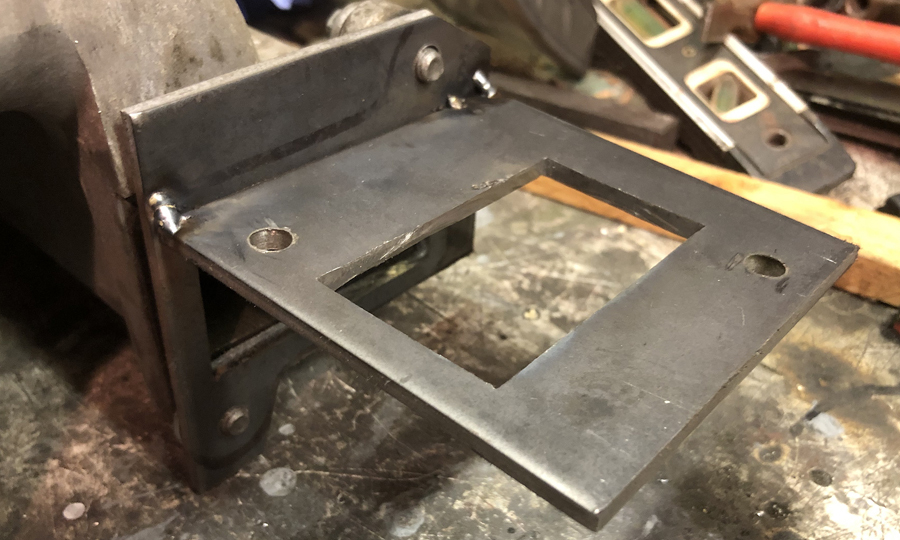 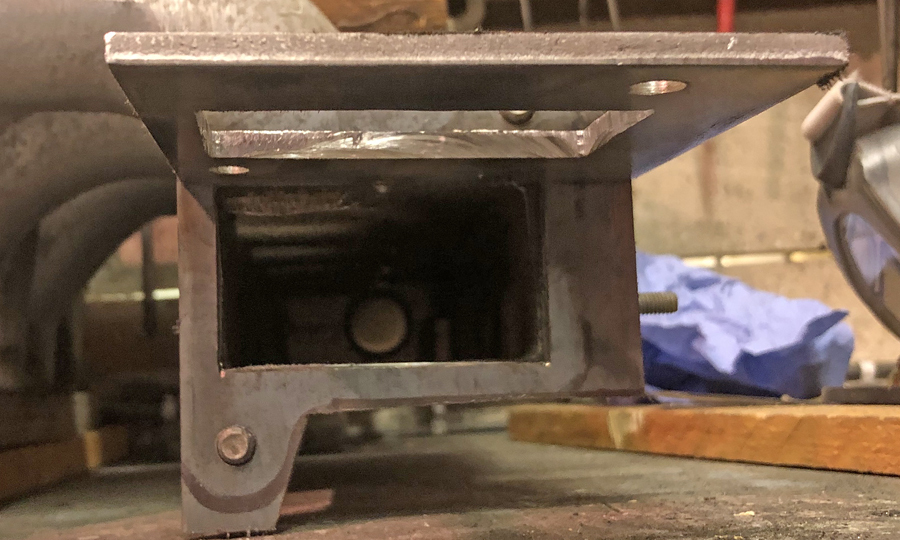 Tomorrow will be filling in the sides and bottom. |
| |
Bib
|
|
|
|
mk2cossie
Club Retro Rides Member
Posts: 3,062  Club RR Member Number: 77
|
1986 Opel Manta Coupe V8mk2cossie
@mk2cossie
Club Retro Rides Member 77
|
Aug 23, 2020 22:41:56 GMT
|
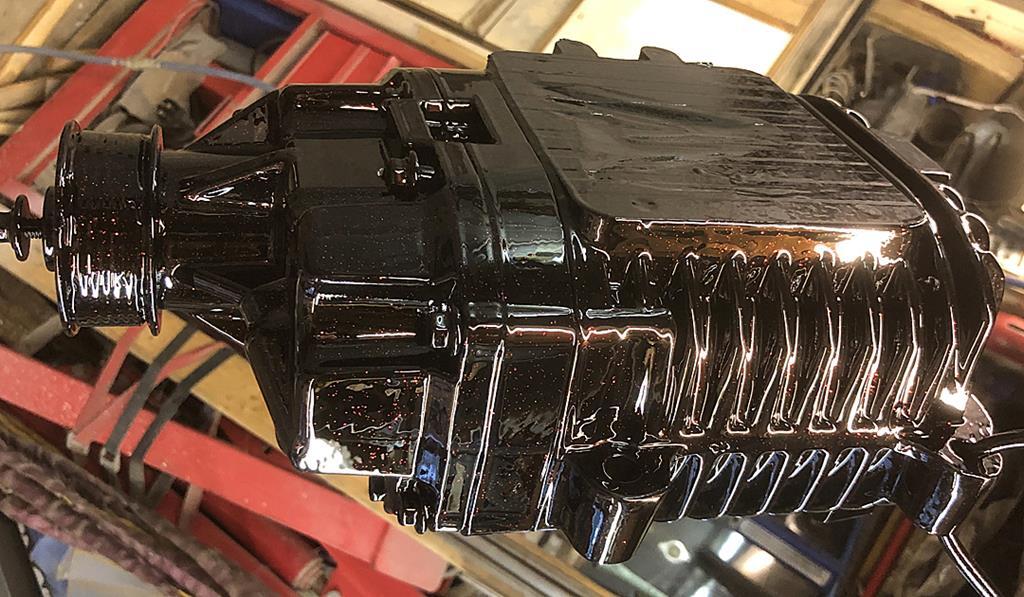
Very nice too! Loving the colour of the paint! Should really stand out at car shows with the sun on it  Liking the idea of turning the inlet manifold inlet section the other way up on some brackets. Is there enough bonnet space for it tho?  |
| |
|
|
|
|
|
Aug 24, 2020 20:07:30 GMT
|
|
|
| |
Bib
|
|
|
|
|
May 20, 2021 22:22:18 GMT
|
|
|
| |
Bib
|
|
|
|
|
May 23, 2021 21:02:56 GMT
|
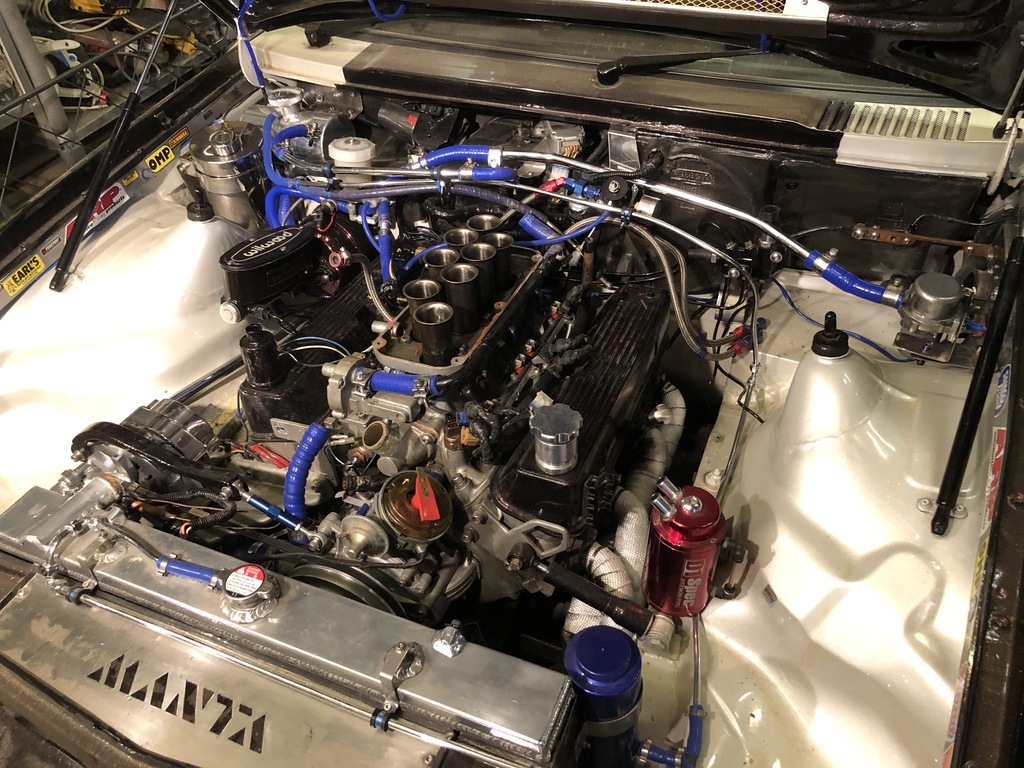
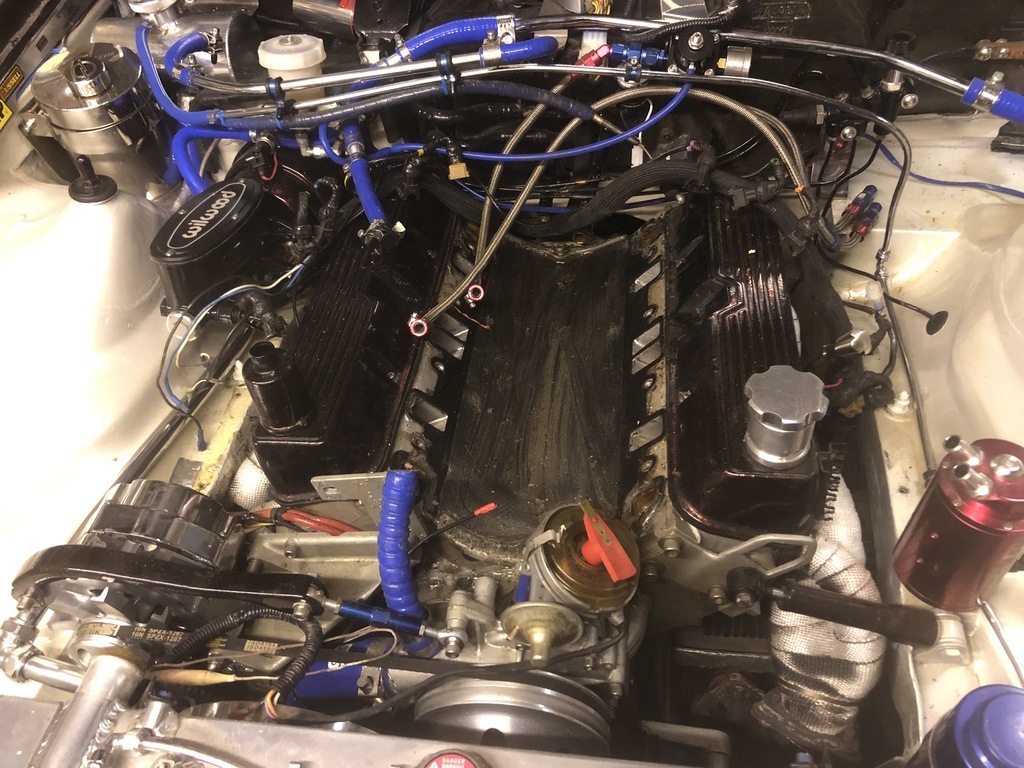
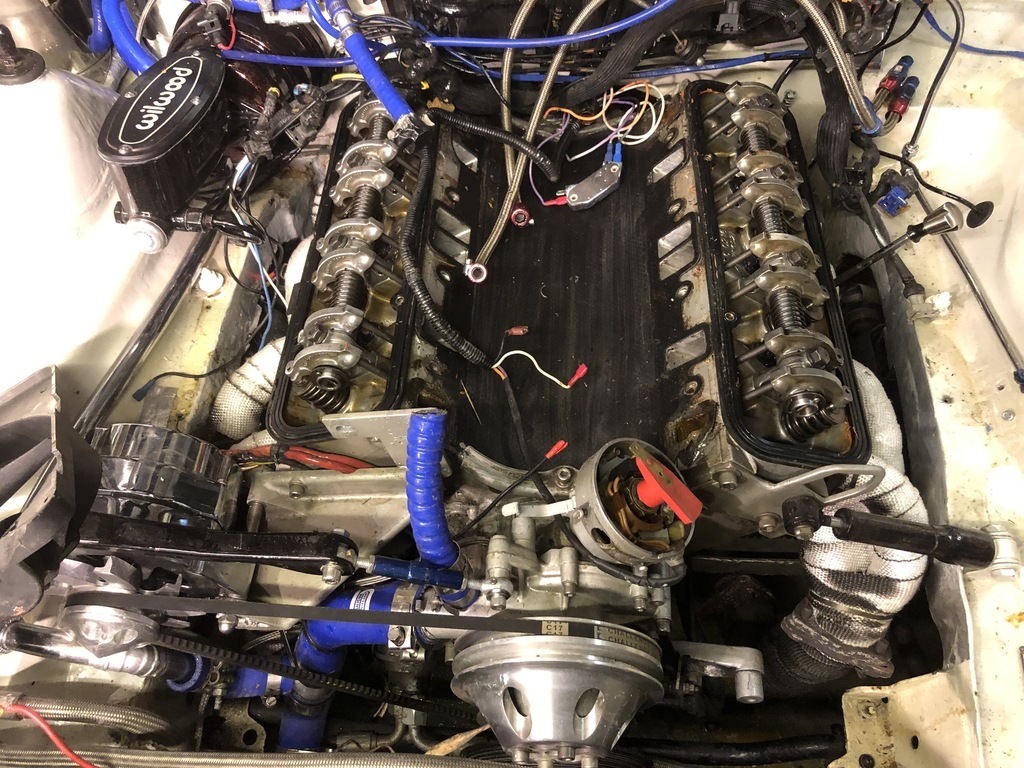
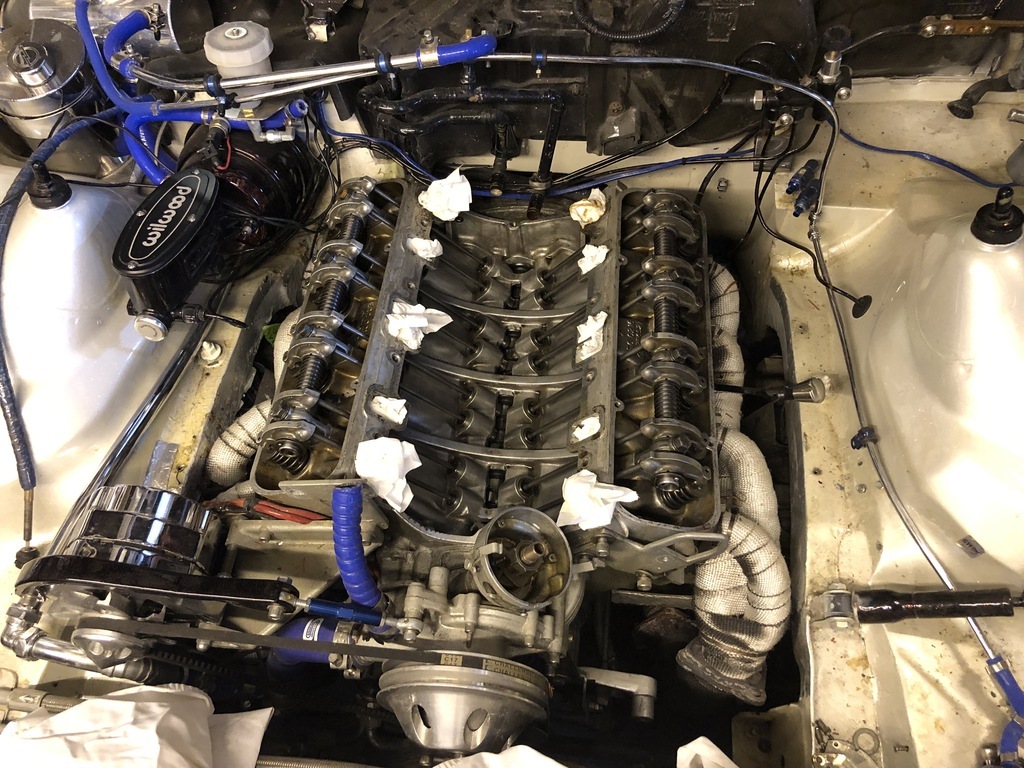
Yesterday I managed to set the preload on the rocker assembly, unfortunately I had to strip down all the followers to drain the oil out before measuring each lifter. 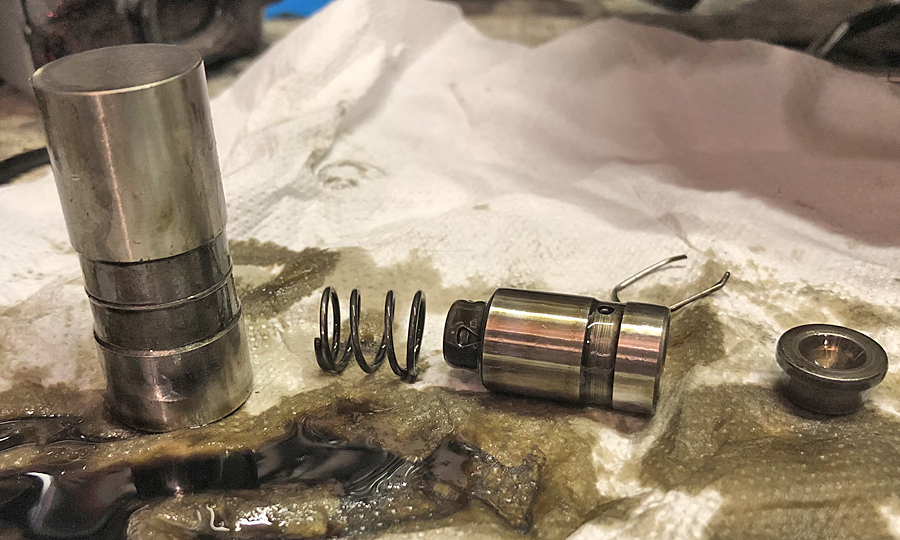 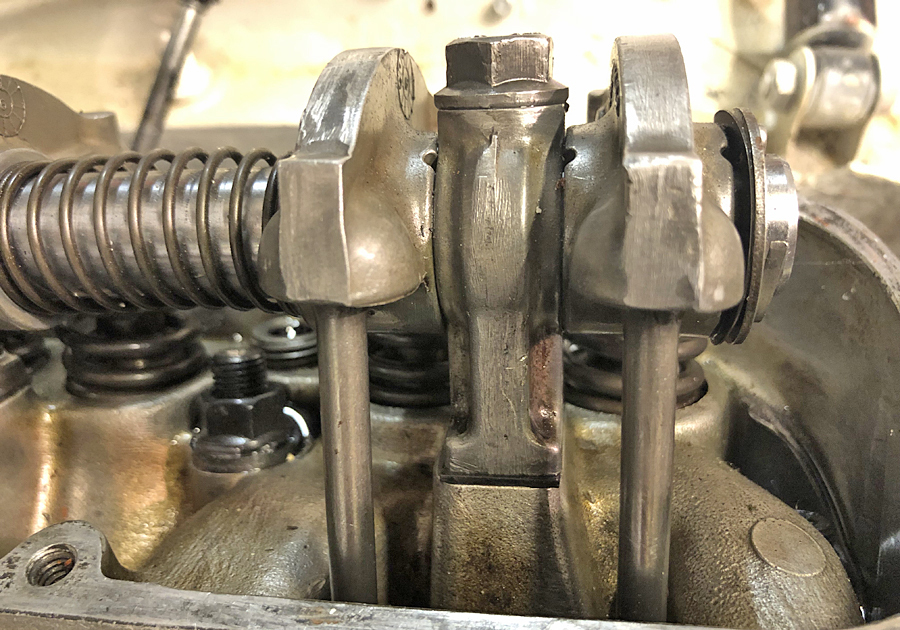 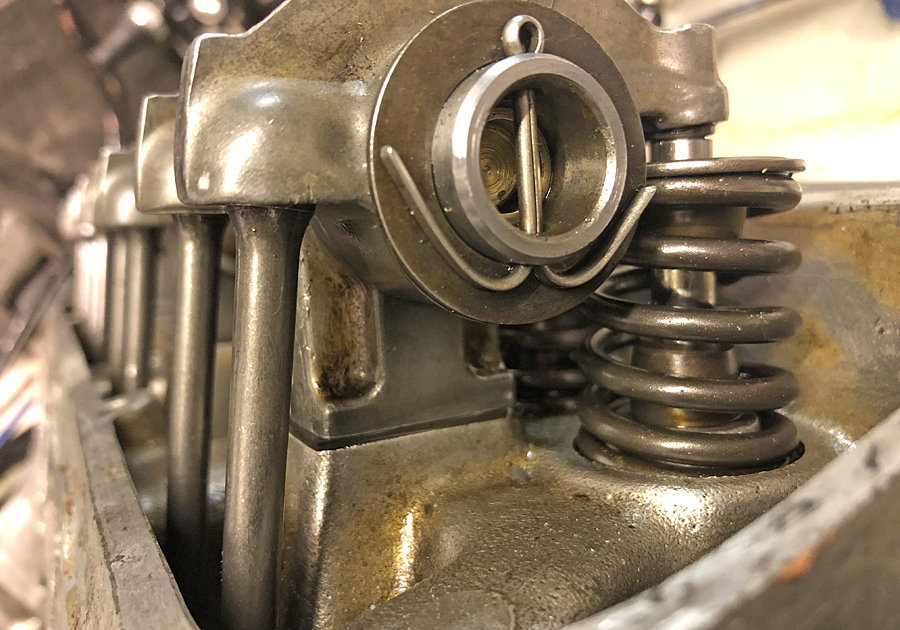 Today I've fitted the bottom pulley for the supercharger. 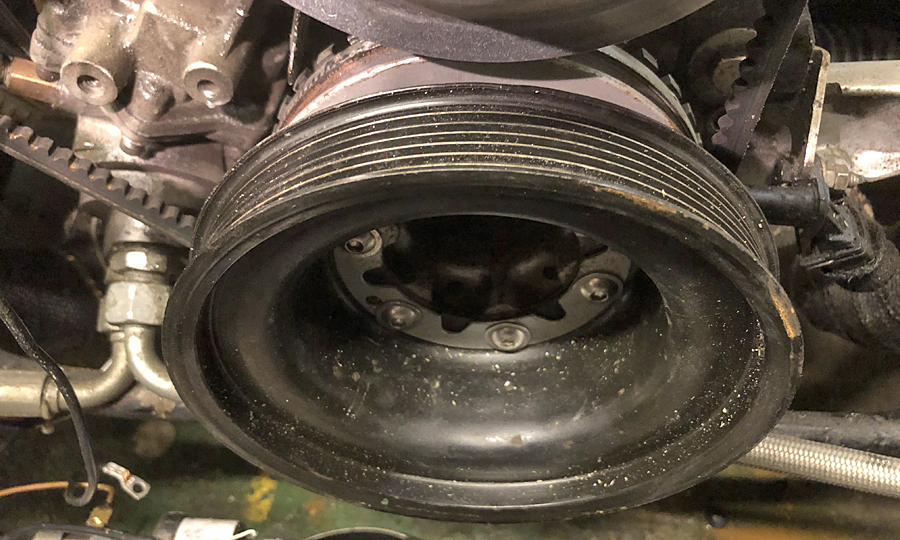 Also modifying the old distributor into a cam sensor. After stripping out the internals welded up the mechanical advance. 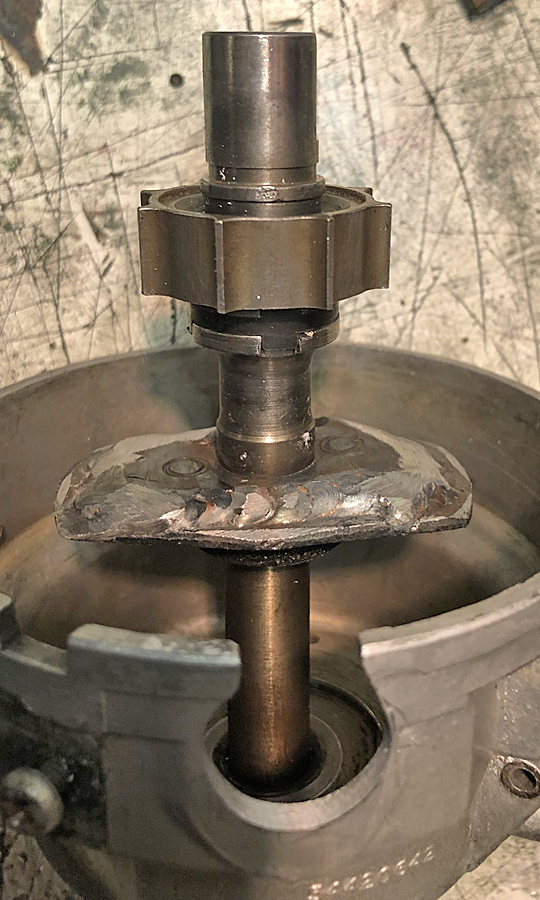 Cut down the top of the shaft. 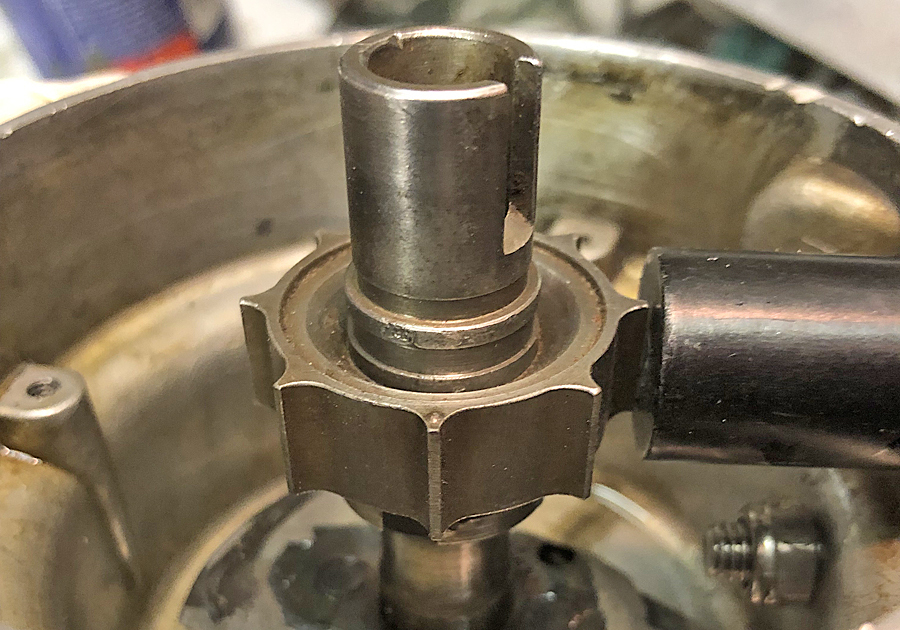 and drilled and tapped for an M6 bolt to keep the cam from lifting at speed. 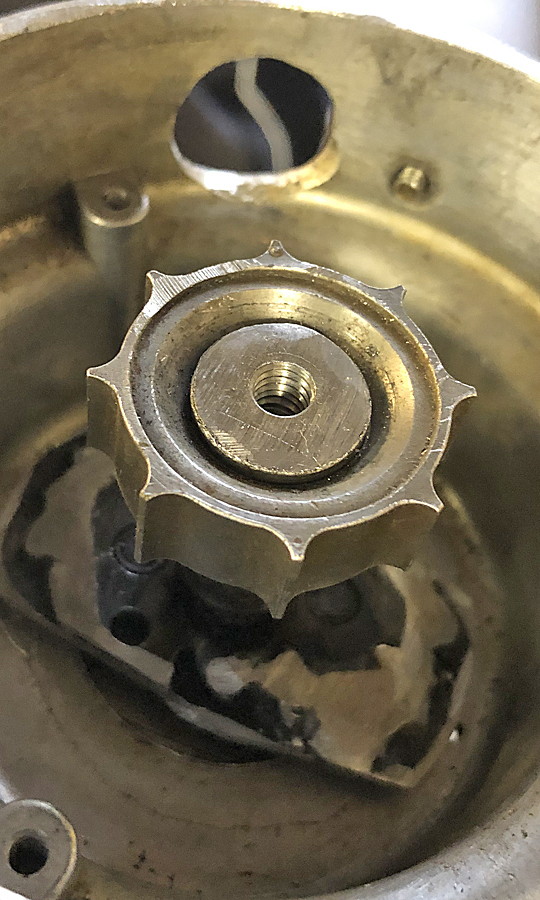 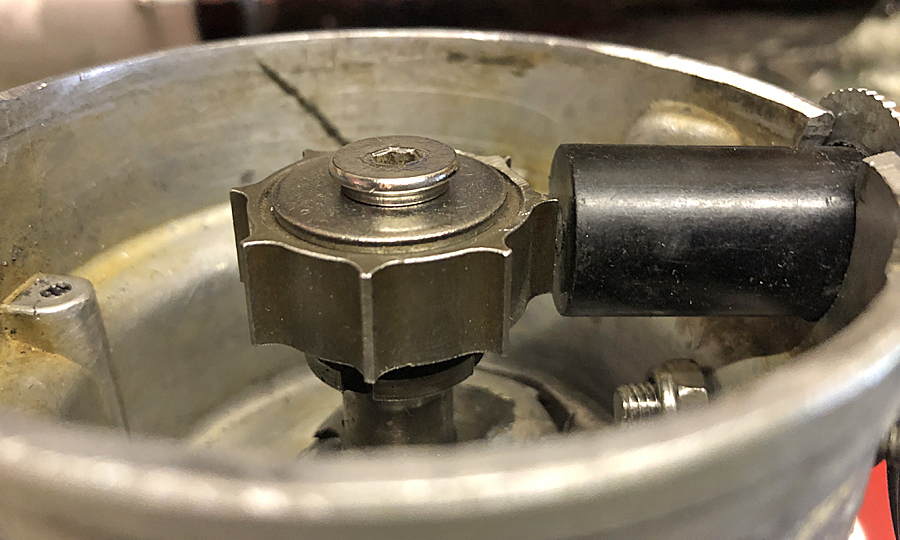 Currently I have 30 thou clearance between the sensor and cam, I hope this is correct. I will need to grind down all but one tooth on the cam this will be done when I have decided on the best position (rotation) to hide the wires. |
| |
Bib
|
|
|
|
|
|
|
Whats the saying, two steps forward and one back, in my case its one forward and two back! Firstly, I'd sent the injectors off to be cleaned and whilst waiting for their return I started on modifiying the heater matrix pipework. Thought it a good idea to pressure test it as i went along, not only did it reveal a tear in the brass housing but also a hole in the centre of the matrix! 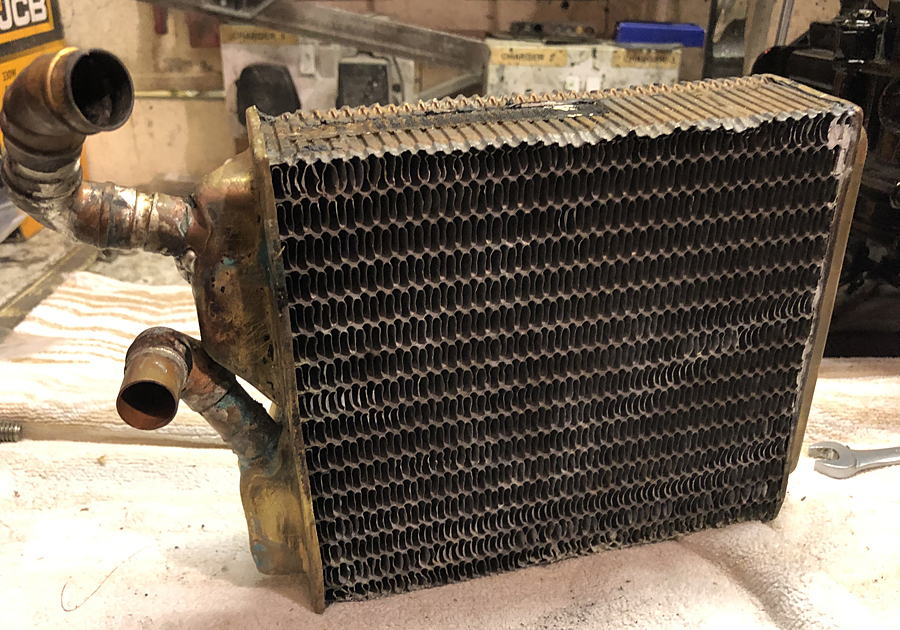 Trying to find an original replacement is near impossible, but by pure luck Car Builder Solution sell one almost identical in size (5mm smaller all round). 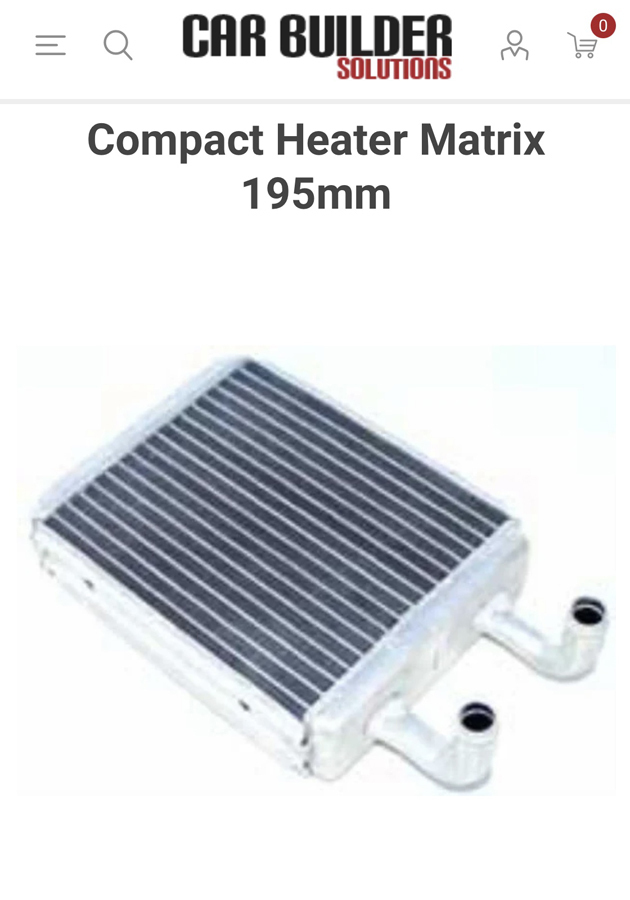 |
| |
Bib
|
|
|
|
|
Jun 10, 2021 12:00:29 GMT
|
|
Or just get it recored?
|
| |
|
|
|
|
|
|
|
I've been working on this project most evenings but progress has been slow. The injectors are now back and installed, below is the report on the status of the injectors. 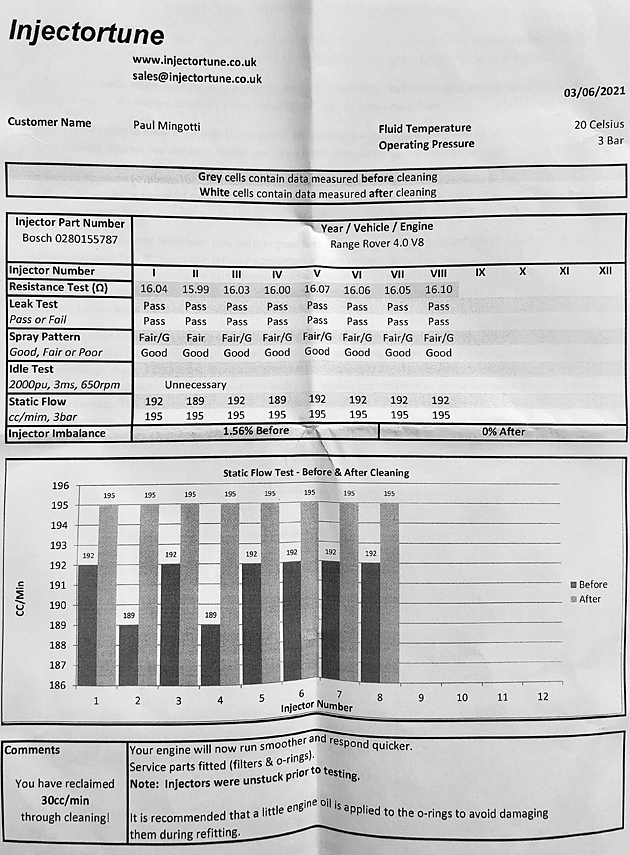 Managed to re-plumb the heater matrix and reroute all the pipework. The part of this install that’s taking the longest is mocking up the supports/brackets for the charger. What you see is version 2. I initially thought 12 mm thick ply would be a good starting point but now I found I’ve got to order 16mm thick aluminium backing plate which bolts to the face of the engine and 12mm thick plate for the charger to bolt to. 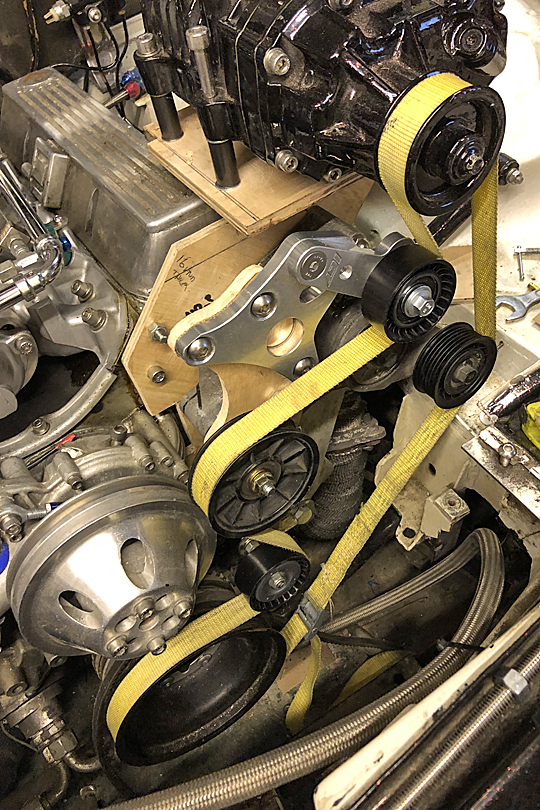 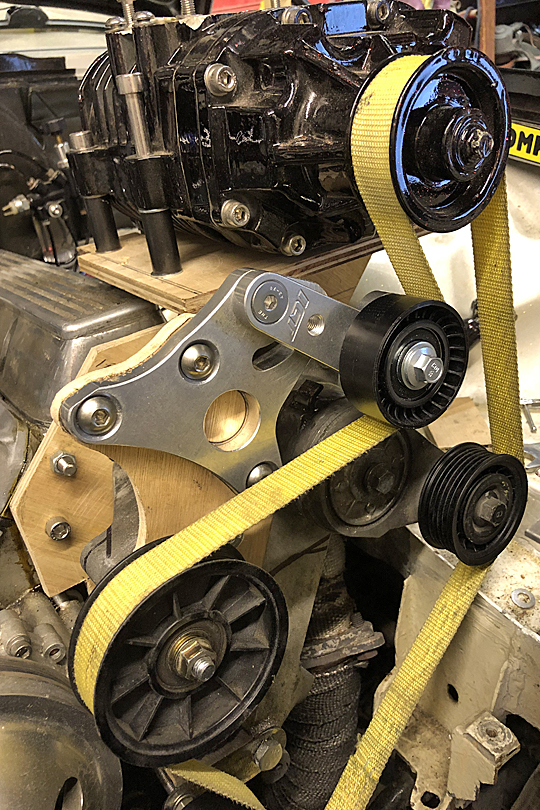 The tool which has beeb a god send is a digital level made working out the angles so much easier. 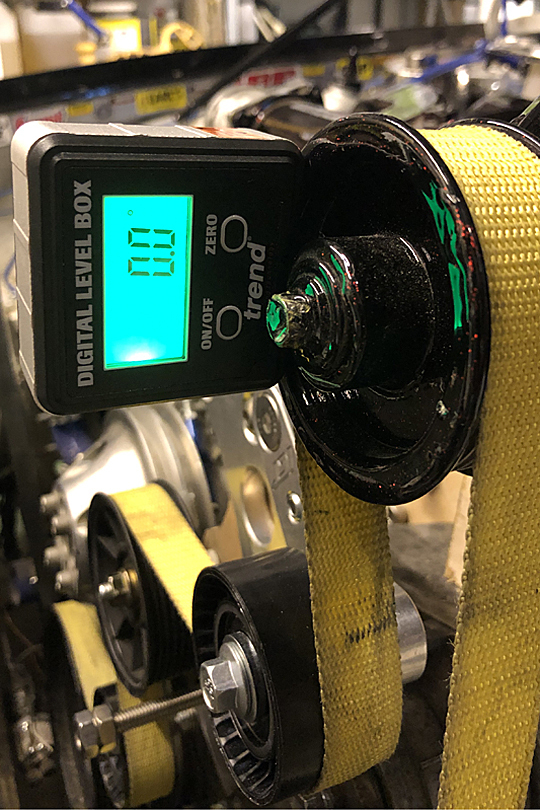 |
| |
Bib
|
|
mk2cossie
Club Retro Rides Member
Posts: 3,062  Club RR Member Number: 77
|
1986 Opel Manta Coupe V8mk2cossie
@mk2cossie
Club Retro Rides Member 77
|
|
|
From a quick calculating, that size fuel injector is out of flow at 240bhp (ish) Is that going to be big enough for what is planned? Looking like good progress otherwise  |
| |
|
|
|
|
|
Jul 30, 2021 19:44:35 GMT
|
Hi mk2cossie, good question since my engine is a 3.5 and these injectors are from a 4.6 I was hoping they would be enough, obviously they're not, something else I'll have to look into ! Thanks for bringing this to my attention. Got the distributor top made by Ged's Shed precision engineering, check out www.geds-shed.co.uk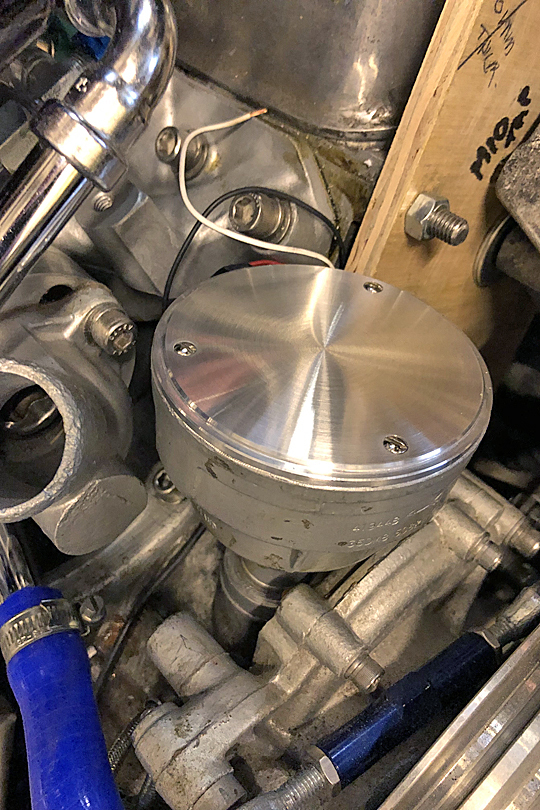 Well impressed with the work, I've now sent him the drawings for the charger support plates. Whilst waiting I trial fitted the intake manifold and found the outlet to the IAC valve fouled the fuel line. 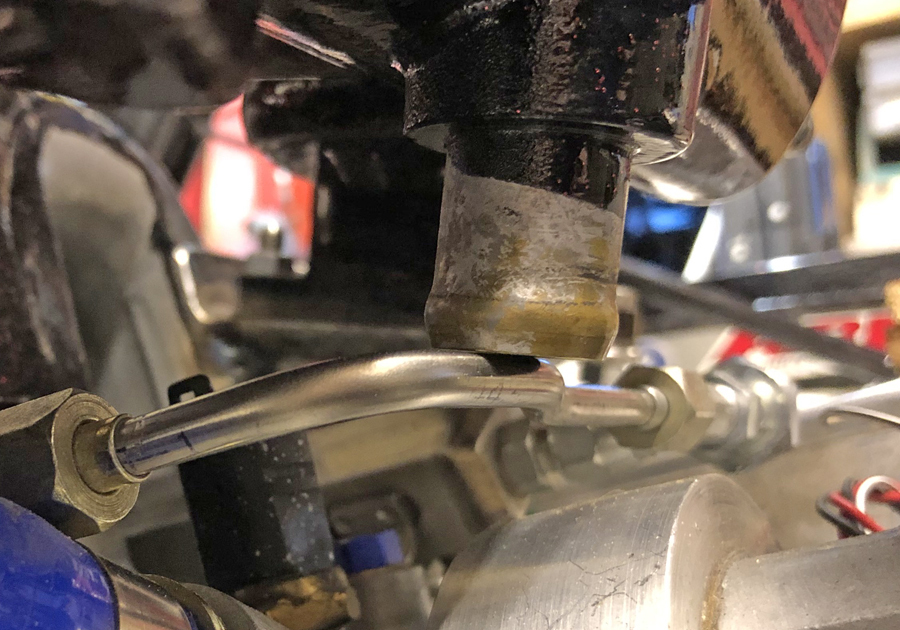 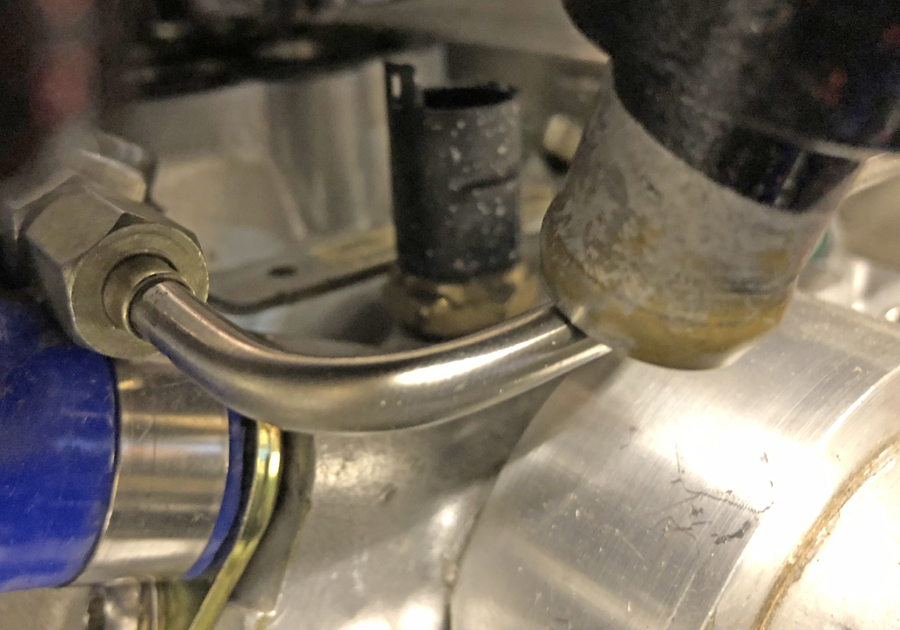 So I've decided to discard the Rover IAC and use the Jaguar one that is currently fitted to the inlet side of the charger. 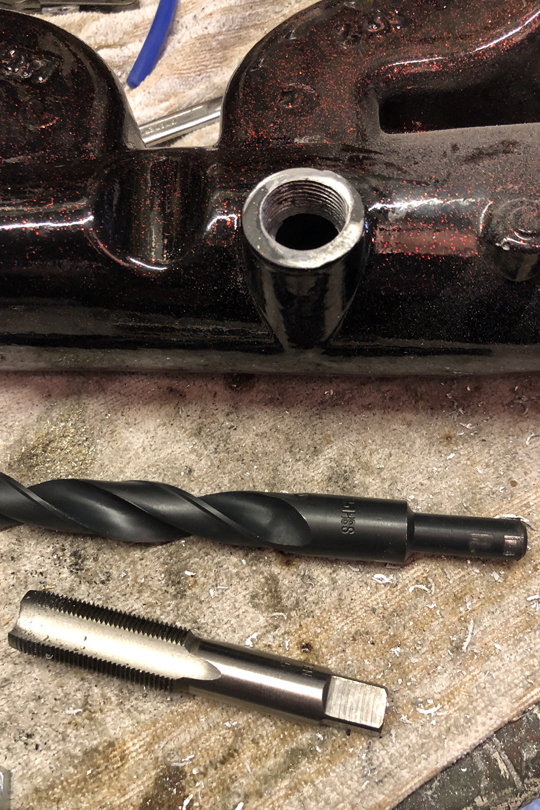 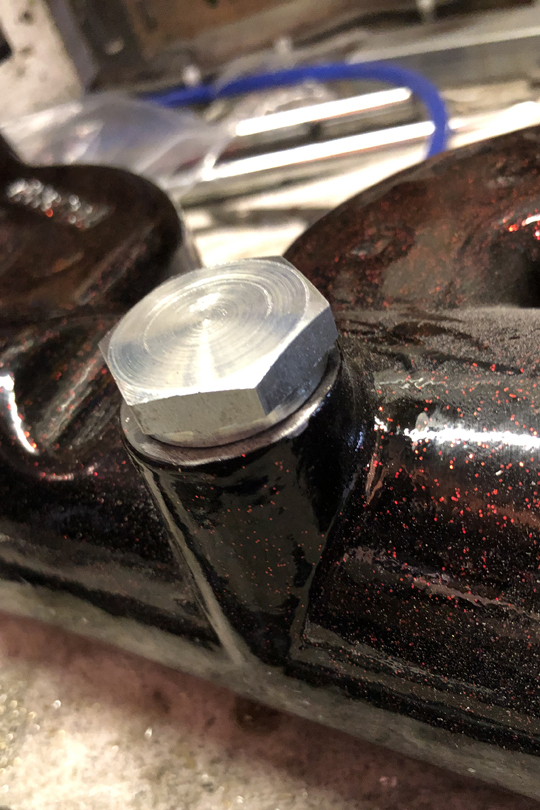 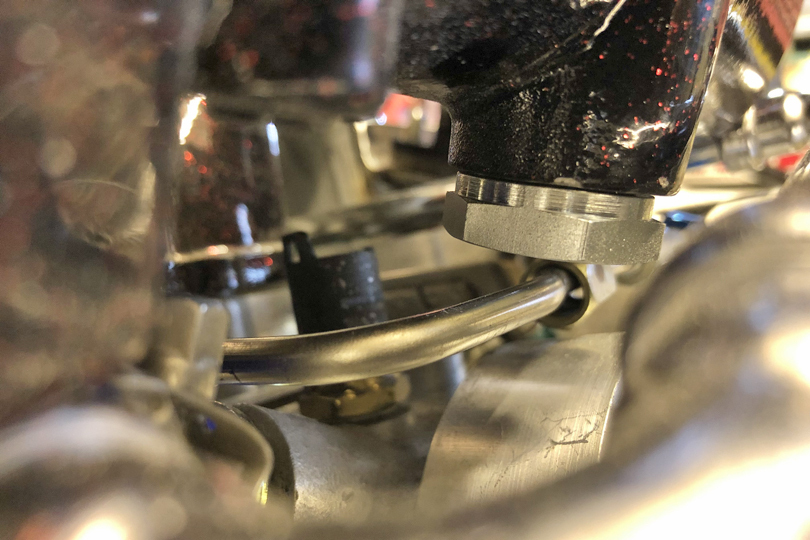 |
| |
Bib
|
|
|
|
|
Jul 30, 2021 19:49:59 GMT
|
Coolant plumbing is now finished and so are the fuel lines. 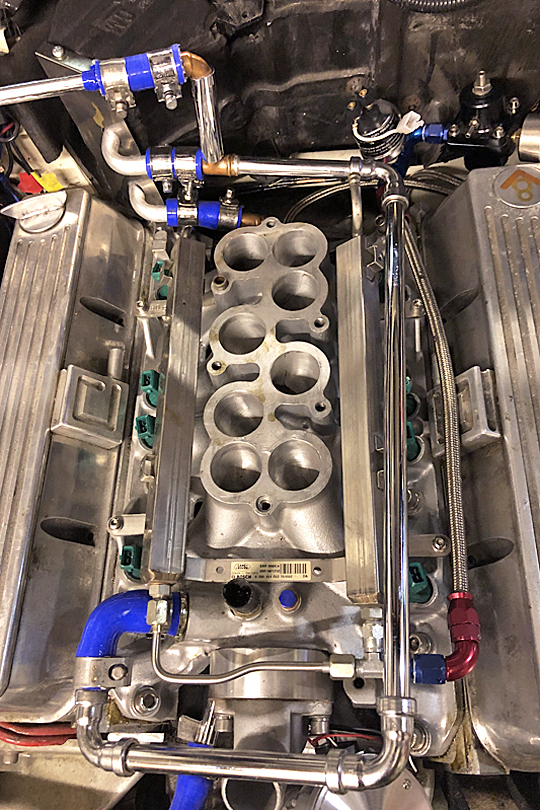 Ged's Shed has dropped me an email showing the plates all finished, I should get them this weekend. 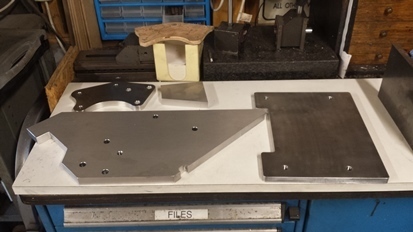 Wondering now if I should try and polish all the plates. |
| |
Bib
|
|
|
|


