|
|
|
Nov 26, 2018 20:24:09 GMT
|
The car has been out of action for the last week the electronic Ignition module packed up, thats the second new unit in three months! Got it fixed last night and hopefully if it's not raining I hope to take it to it first car meet,the Winchester Auto Barn & Drivers' Club Sutton Scotney, Winchester, Hampshire, SO21 3NS Saturday 1st December 9am -12am. A month ago I ordered this little upgrade. 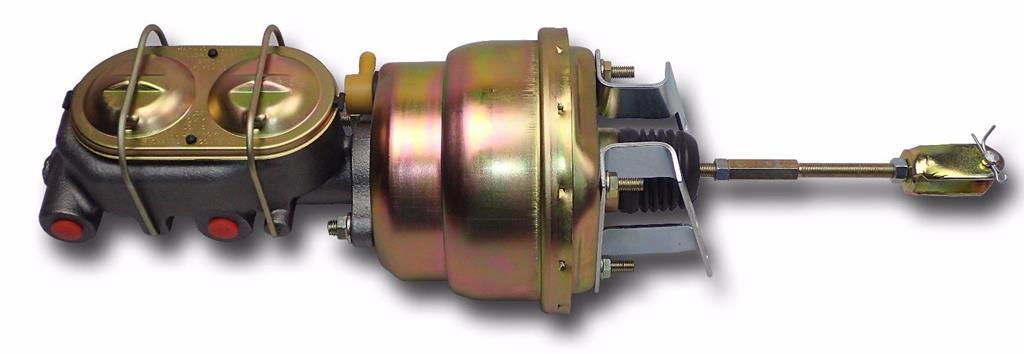 Its from an 1968-72 chevrolet Chevelle its a 7" dual vacuum Servo with matching Master Cylinder. 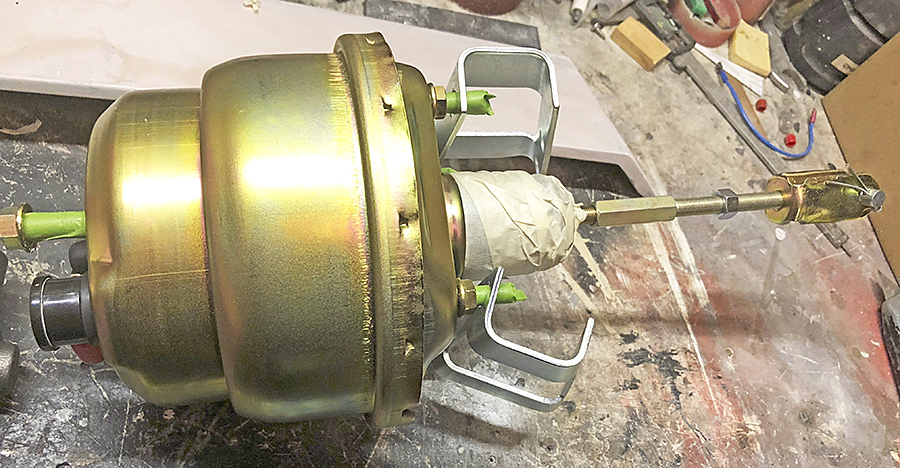 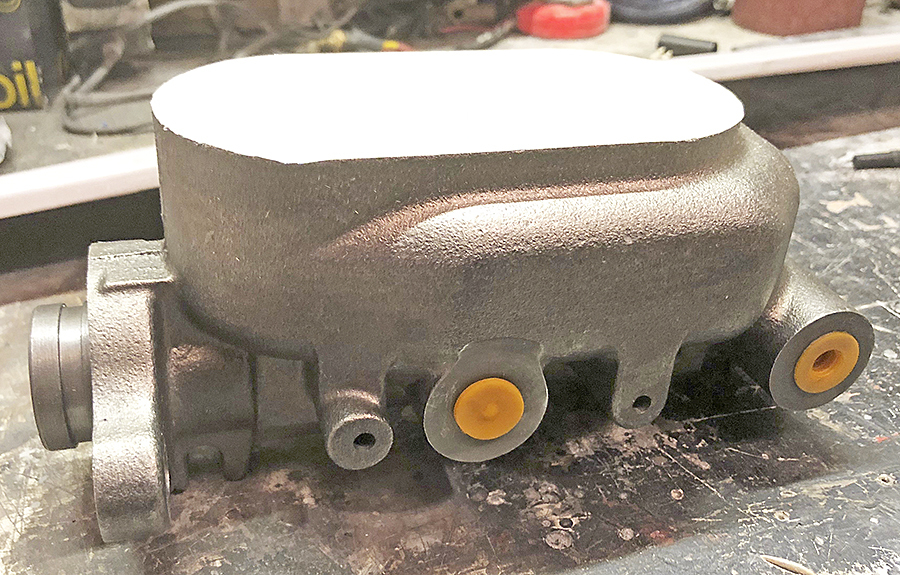 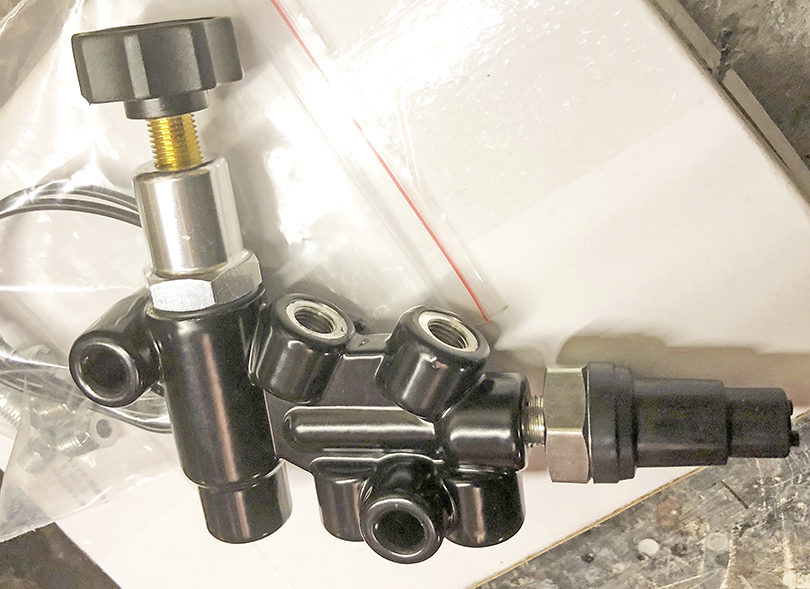 With a new Willwood brake adjustable combination proportional valve. The reason I'm doing this is the existing 7" single vacuum VW polo servo has a small leak and the master cylinder is also leaking! And no one told me when I converted the rear drums to disc that the existing brake proportional valve is only setup for drums. Hopefully get it all painted in the next week and will spend time over Christmas fitting it. |
| |
Bib
|
|
|
|
|
|
|
|
|
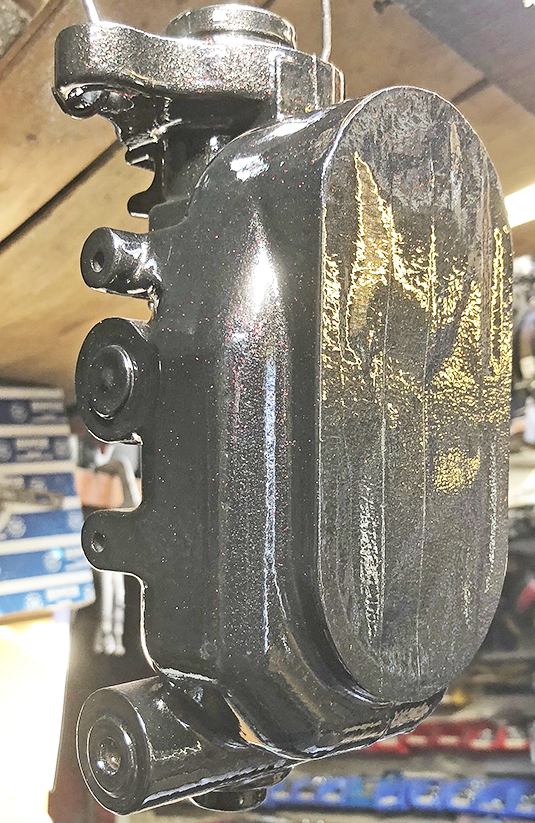 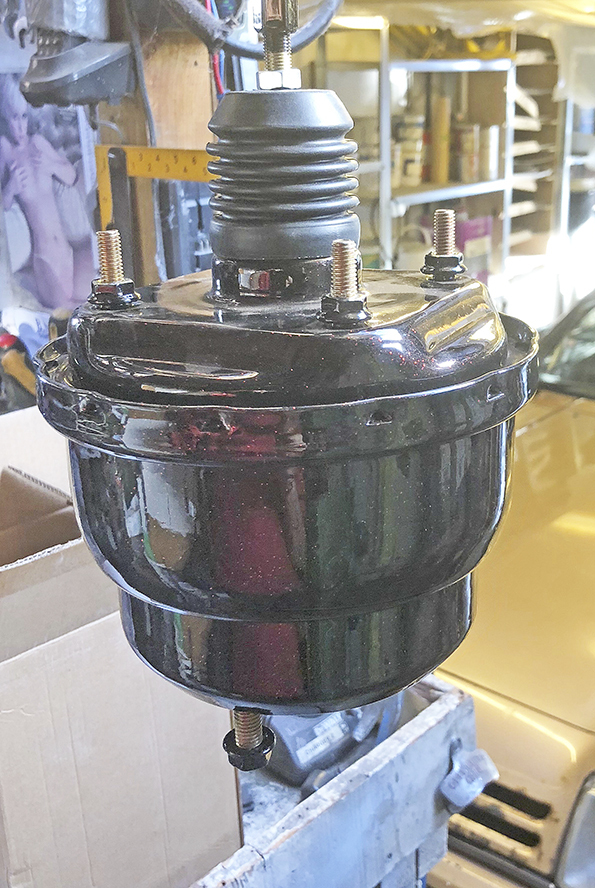 Finally have them all painted! Next step is to start removing the old unit. |
| |
Bib
|
|
|
|
|
Jan 21, 2019 20:16:57 GMT
|
I've finally made it into the garage, what with christmas now out of the way and then contracting the flu and confined to bed for two weeks! I can only just manage a couple of hours at a time but, I've removed the old master cylinder which was leaking brake fluid into the old VW Polo servo you can see how bad this was. 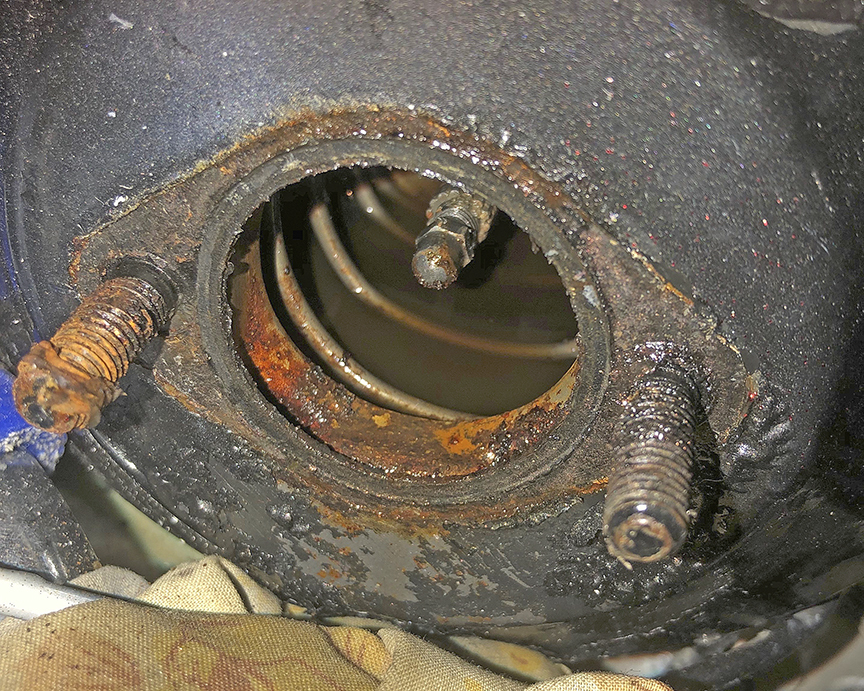 Next the servo was removed. 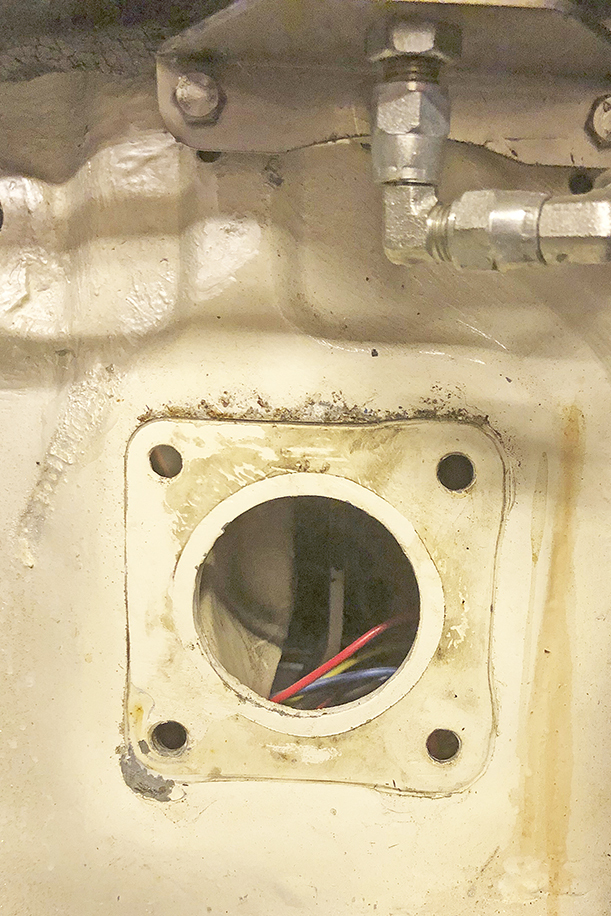 And finally the New sevo has been repositioned. 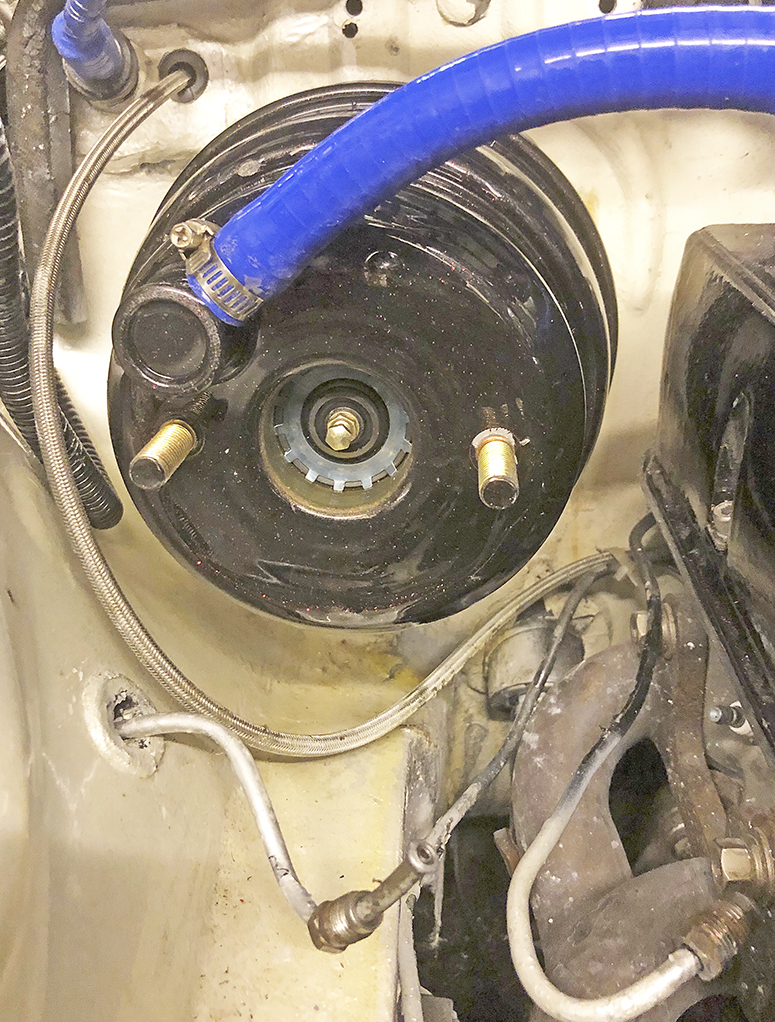 I'll see if I can fit the master cylinder this weekend, fingers crossed! |
| |
Bib
|
|
|
|
|
|
|
Finally got the master cylinder bench bled and installed with all new brake lines. 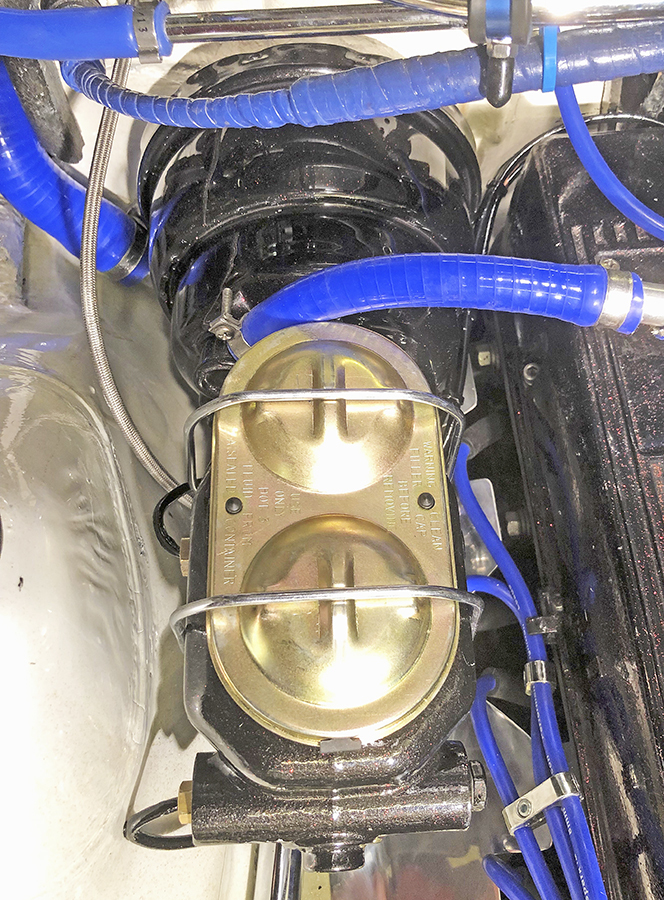 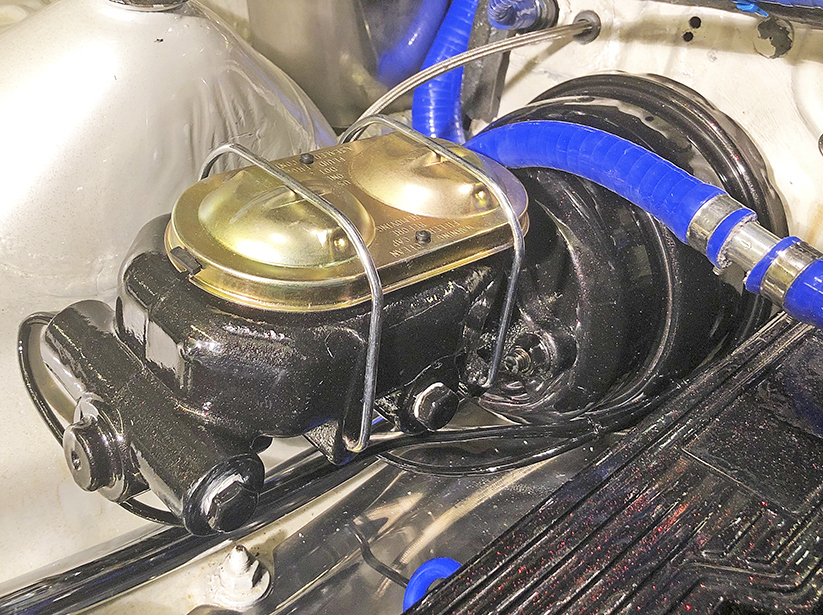 Also installed the Willwood adjustable brake proportional valve. 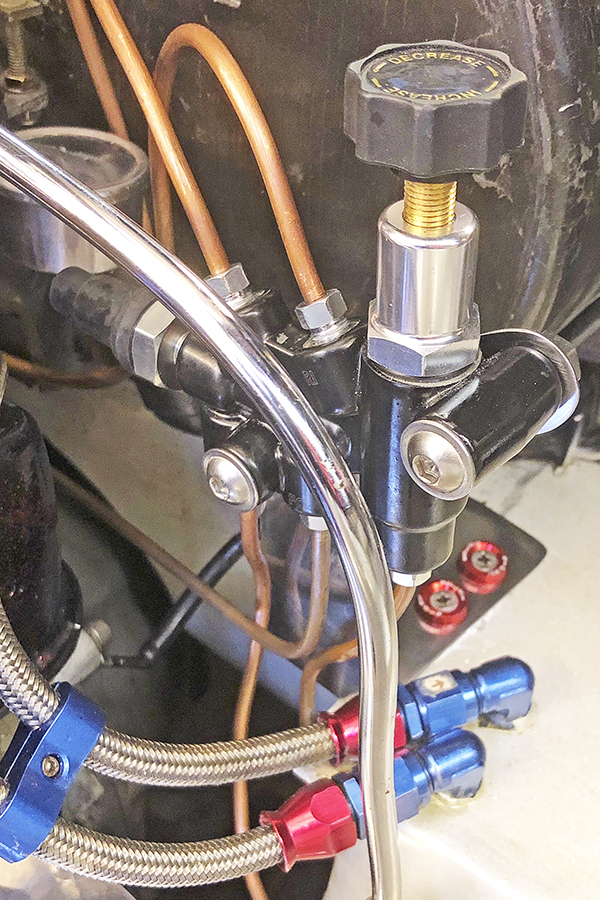 Just need to get the brake lines painted, and bleed the whole system. |
| |
Bib
|
|
|
|
|
|
|
Well tried to bleed the brakes using a Sealey self bleed system, what a piece of junk! It'll have to wait till the weekend when I can pull someone off the street to pump the pedal. So I thought I'd get on with another problem that's reared it ugly head. Here's a couple of shots of the car and bonnet in September all nice and pristeen. 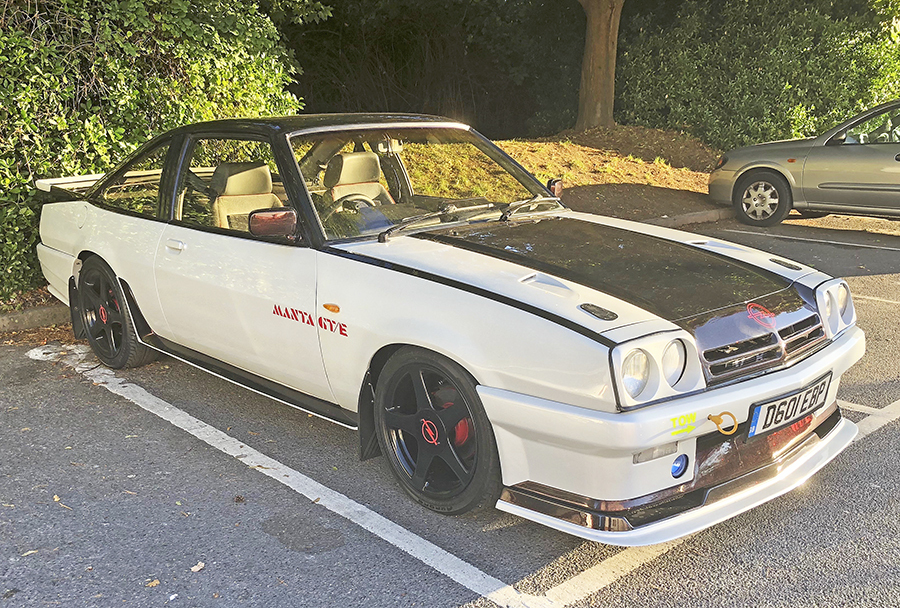 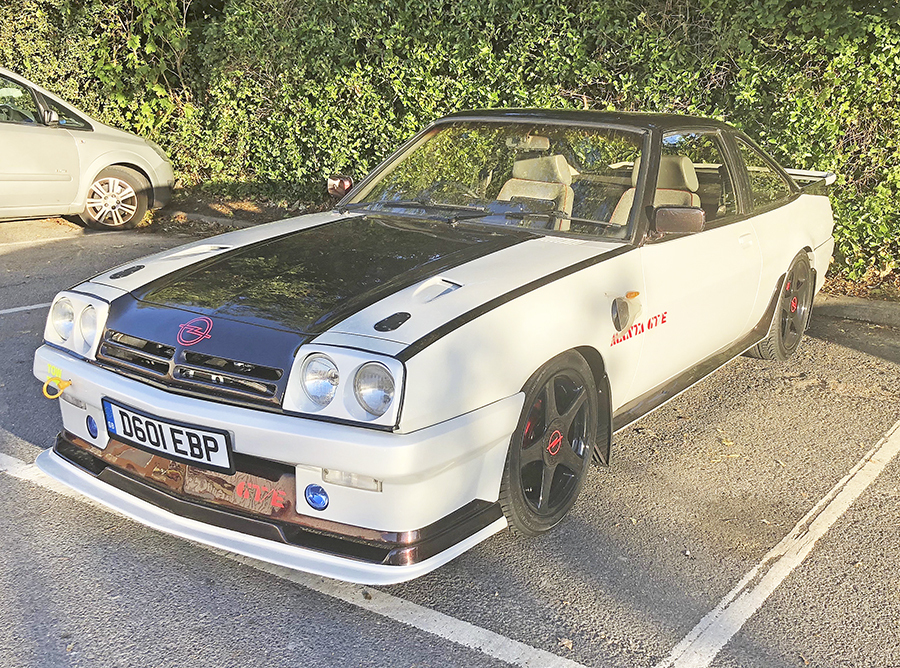 Now due to the heat that built up under the bonnet or maybe from the sun, the bonnet which is metal and the vents which are constructed from plastic have different expansion rates, cracks have appeared around the vents. To ensure water doesn't get in I've covered them in a pvc graphic. 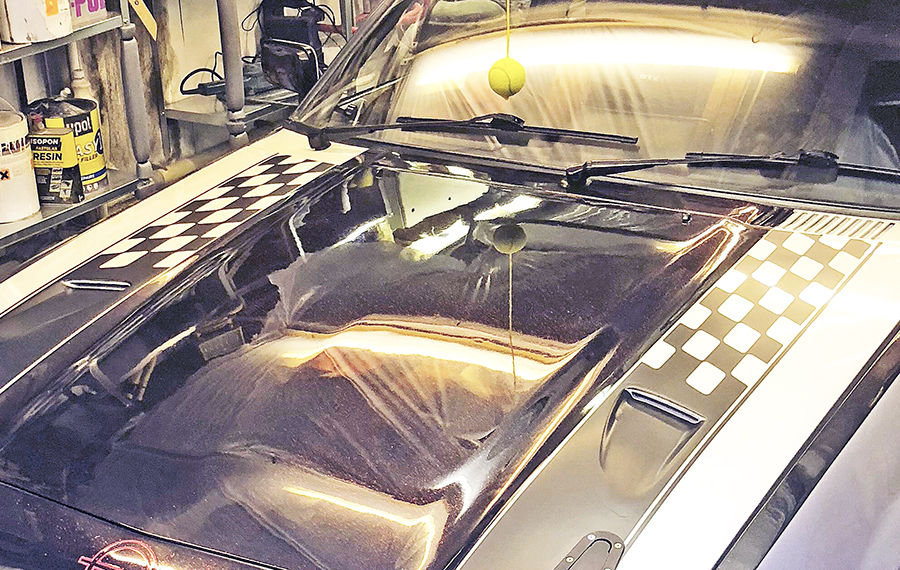 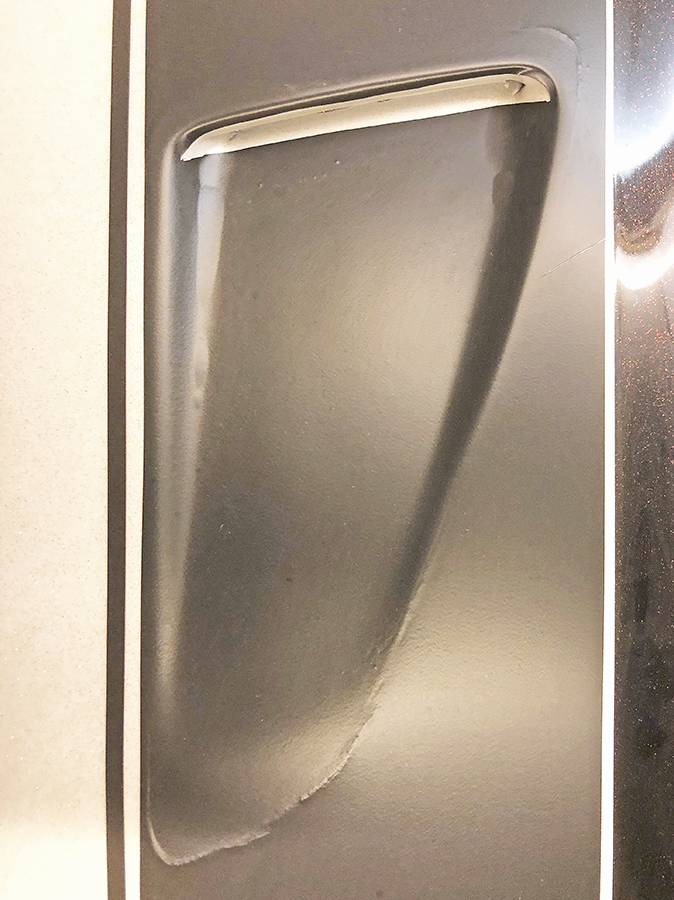 There are two ways of fixing this either strip the whole lot down cut out the plastic vent and try to find metal inserts, which I've failed to find. Or the second option is to make scoops to bolt down over the area, so I'm trying this method first. 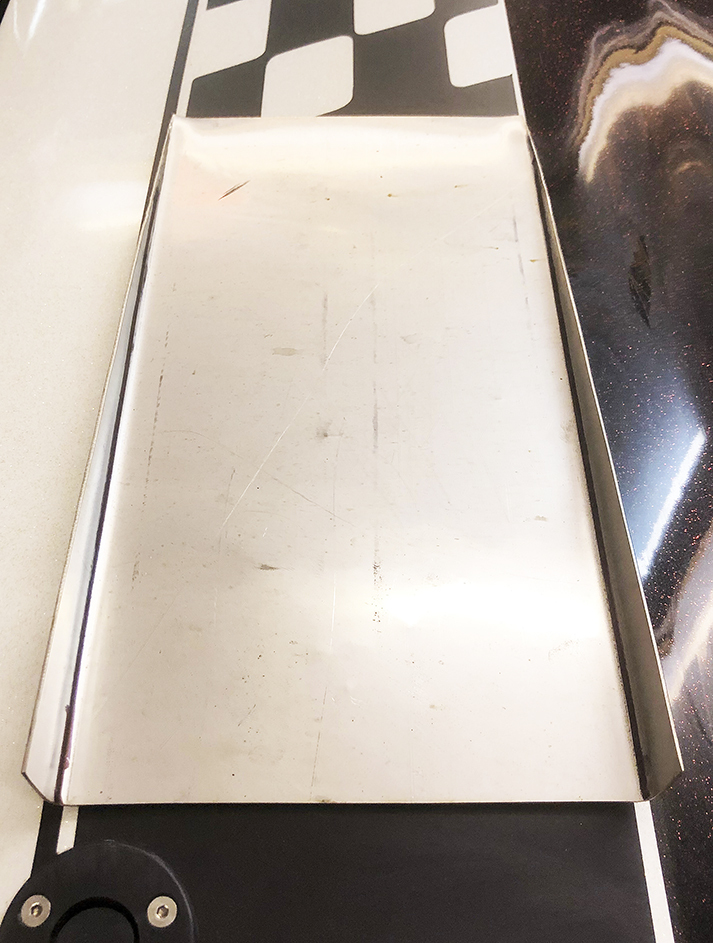 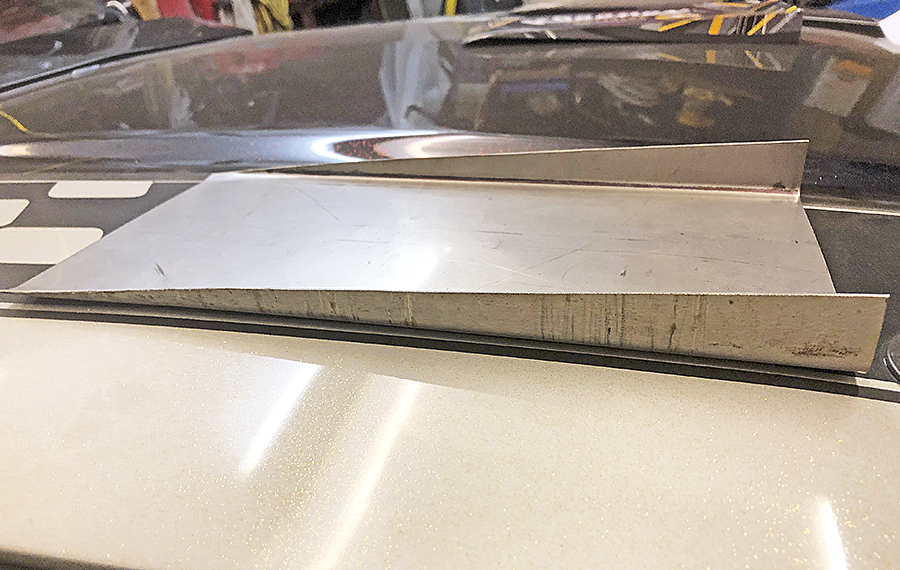 I'm making them out of stainless steel this is the first stage, I've still got to cut out the center to allow the flow of air through. |
| |
Bib
|
|
|
|
|
Feb 18, 2019 10:46:07 GMT
|
I've made the tops next just to give me an idea of what the whole unit would look like on the car, if I don't like it I won't have to waste my time going any further. 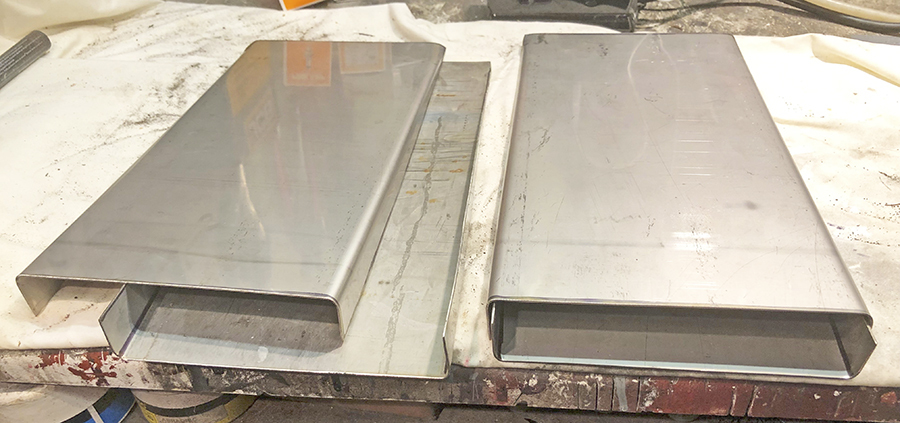 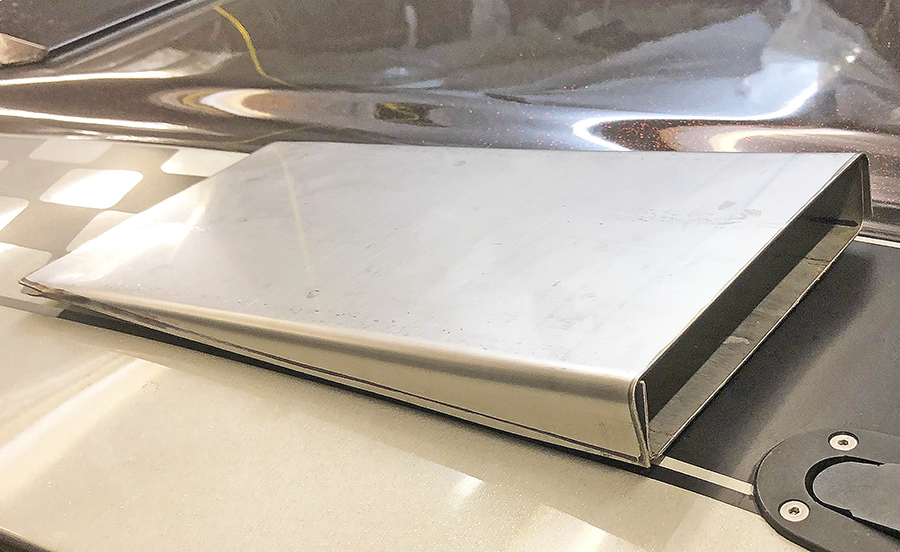 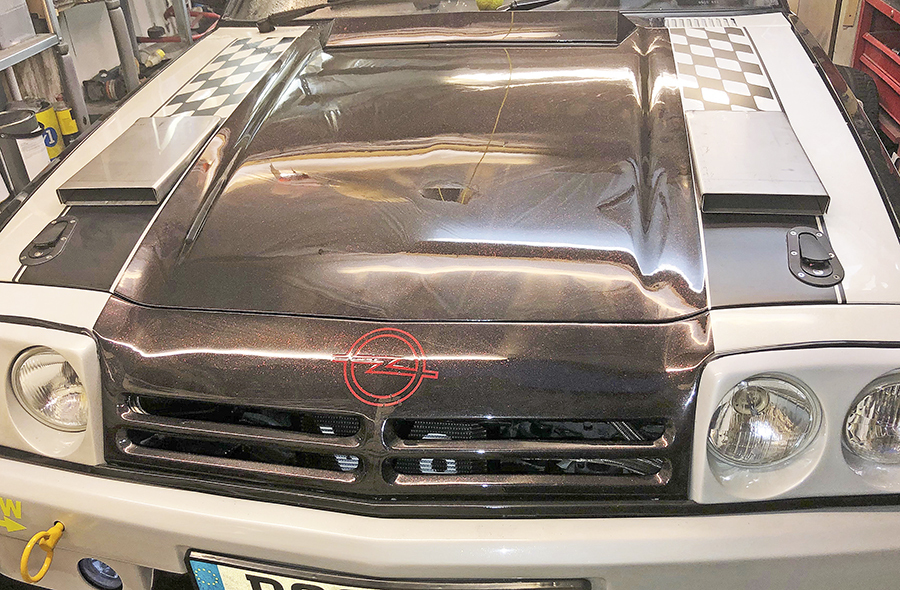 Still not sure on the whole effect this is going to make to the car, but it's got to be better than those awful graphics, right? Marked out the opening in the base plates, managed to cut them out using a disc cutter. I can't recommend enough on using the the thin 1mm cutting discs, so easy. 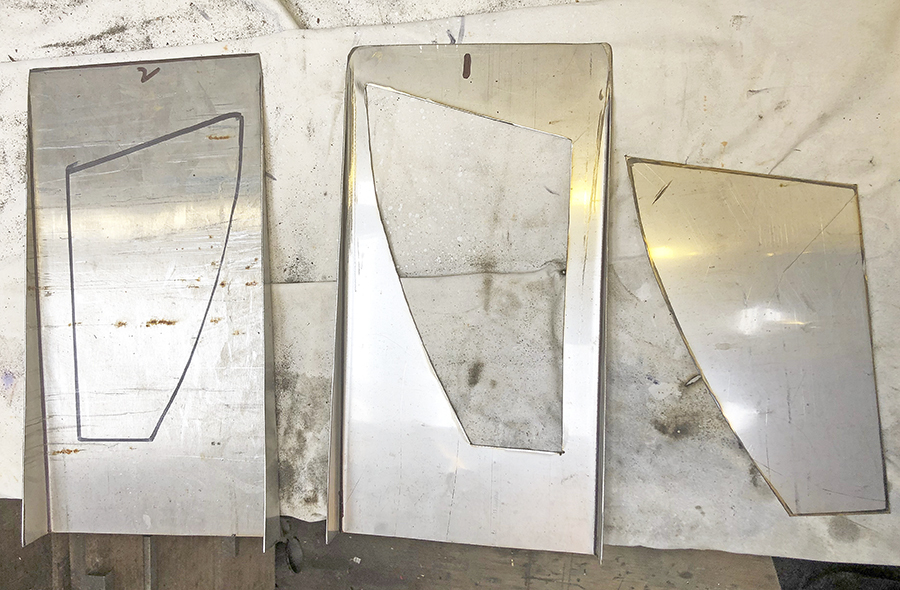 The next job was to remove the graphics, (you can now see clearly the cracks that have appeared) position the base plates on the bonnet and drill the 6mm fixing holes through the plates and bonnet together, then remove the plates and enlarge the drilled holes in the bonnet to 9.5mm and install the blind rivets. 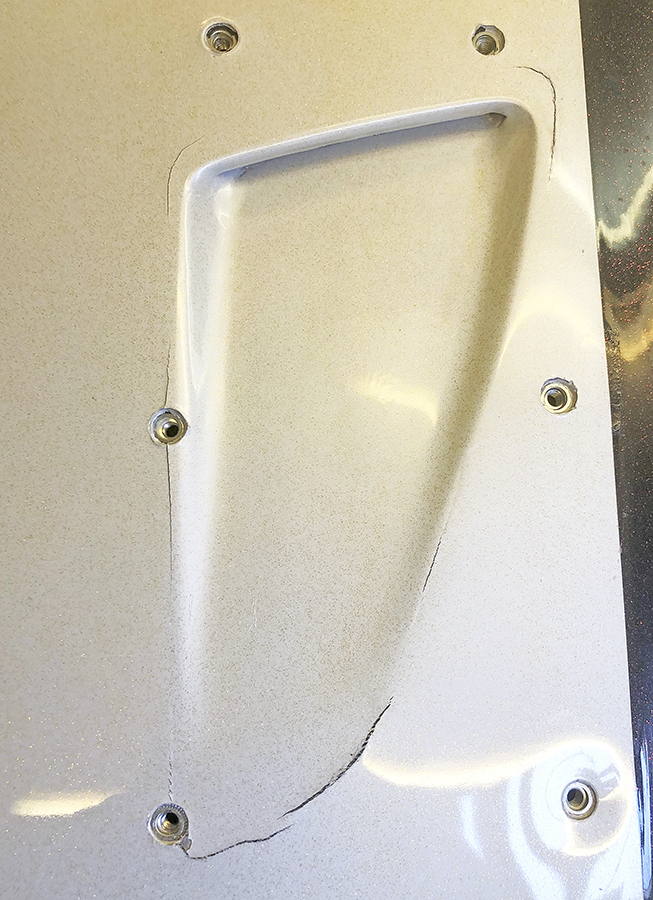 Here is the base plate fixed in its final position with stainless steel bolts, I've used a rubber mastic to ensure no water can get under the units. 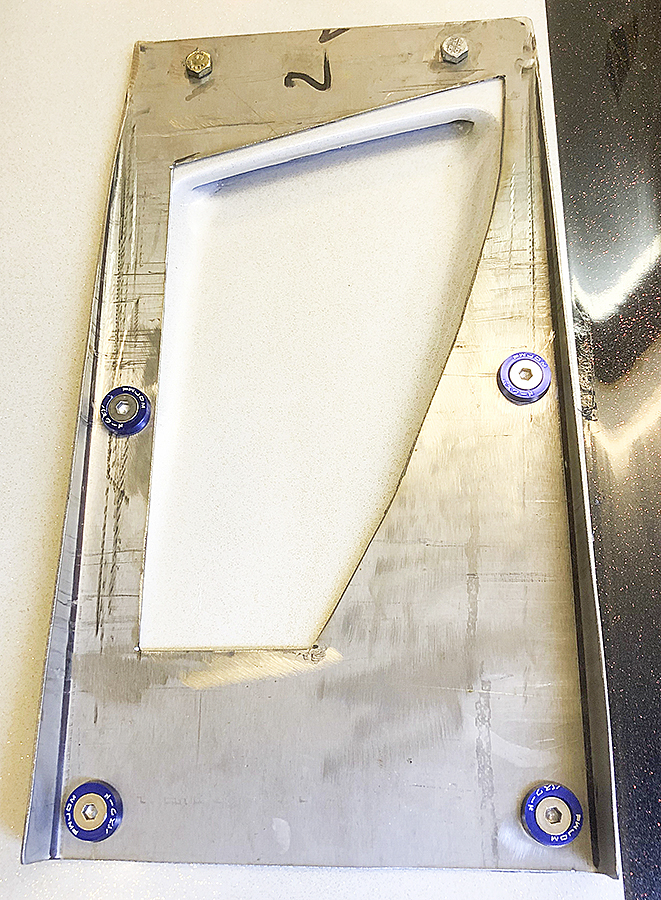 And finally the tops were polished and bolted into position. 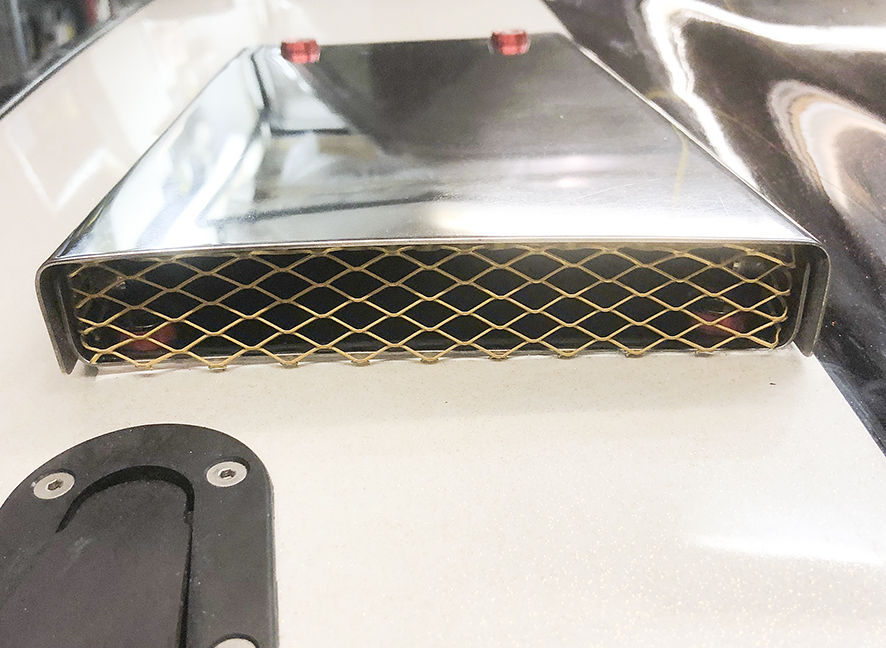 I'm still not 100% sure on whether to paint these or keep them polished, the other upside is the extra amount of air these will catch to cool things down. |
| |
Bib
|
|
|
|
|
Feb 18, 2019 10:57:05 GMT
|
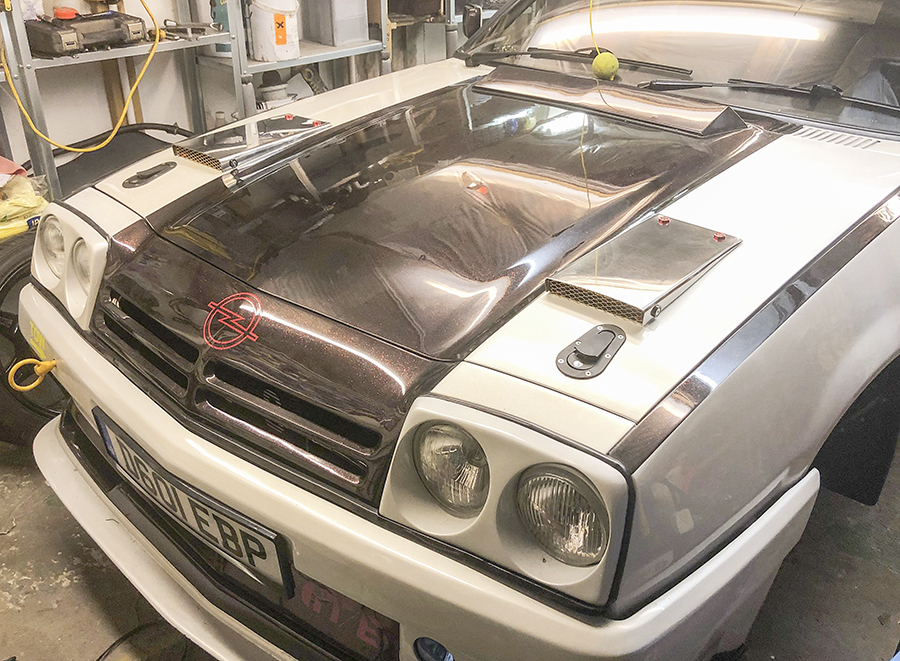 Just made a couple of small alterations to the scoops, I've cut the sides so instead of the straight side profile I've angled them back and also replaced the anodised fittings with stainless steel, helps blend it all in. 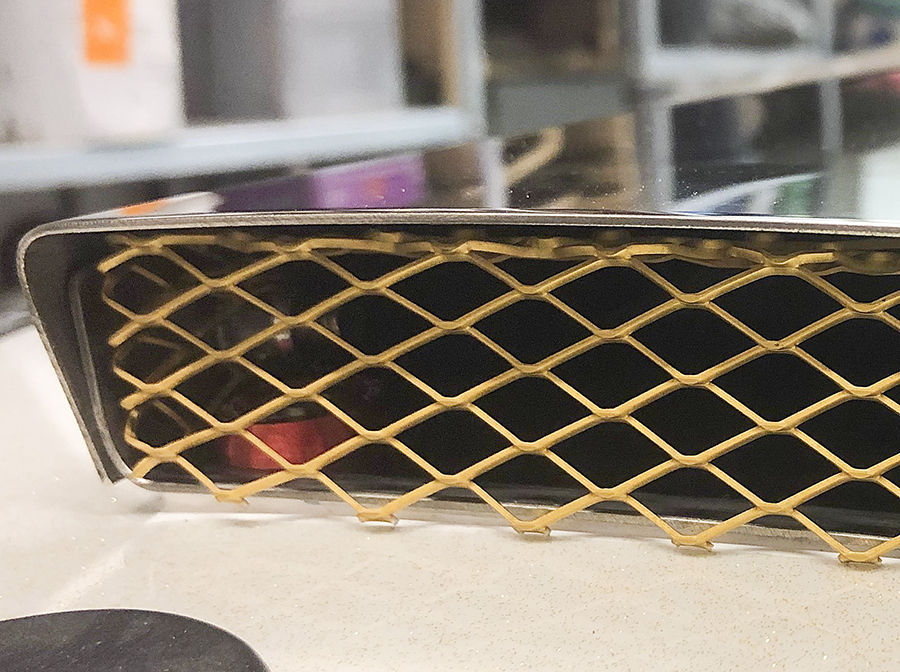 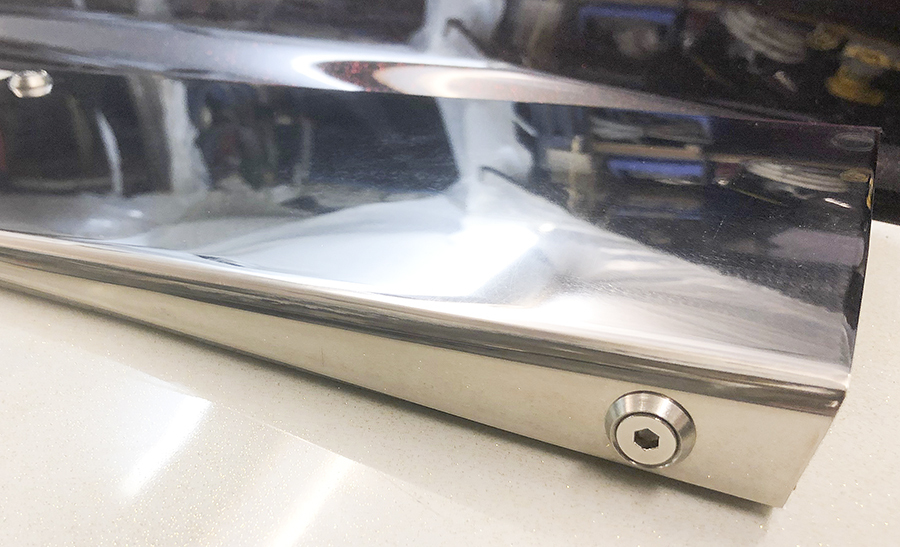 Still need to get the car outside to see the overall effect, also to see if I'll be blinded when the sun catches them! |
| |
Bib
|
|
|
|
|
Feb 18, 2019 11:41:01 GMT
|
|
These suit the look of the car .... gets my vote
|
| |
|
|
|
|
|
Feb 18, 2019 13:06:27 GMT
|
|
the red bolts on the back.........um......not so nice.
Surely a CSK or at least a stainless mushroom bolt polished would look better.
|
| |
|
|
|
|
|
Mar 14, 2019 22:24:57 GMT
|
Hi guys, thanks for the input I have now changed those red bolts to stainless steel and yes they look so much better. An update on the brakes, I've not been able to test them yet as I've hit a problem with the clutch the pedal is rock hard so the clutch slave cylinder has been removed and bled and I've just ordered a endoscope camera so I can feed it up into the clutch housing and find out what is wrong, delivery date two weeks. While I was under the car I noticed the underside of the splitter was getting a hammering, so I've purchased a set of splitter supports. 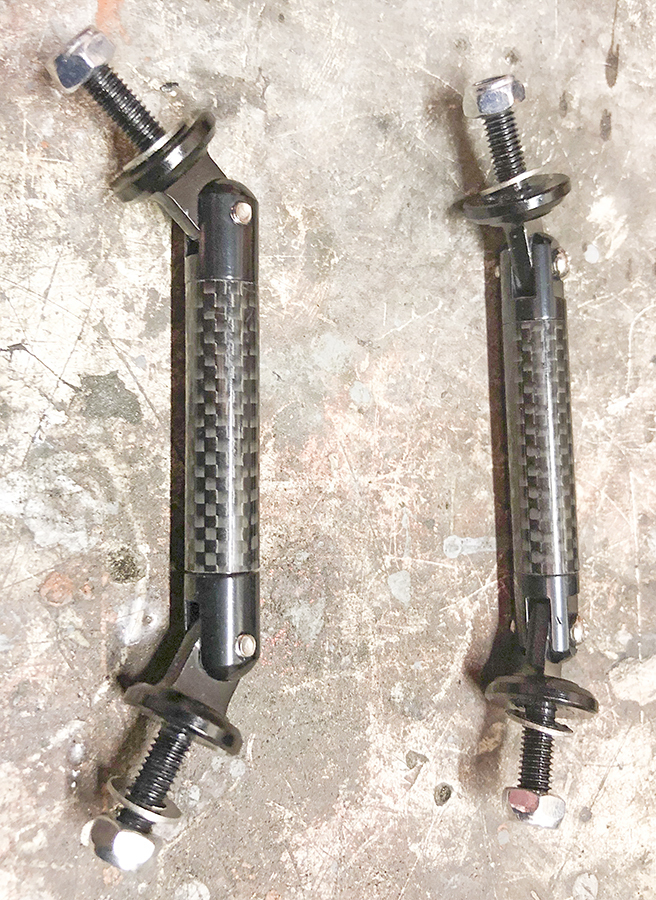 These are only 3" inches long which are way to short so I've replaced those carbon fibre parts and doubled the length with stainless steel. 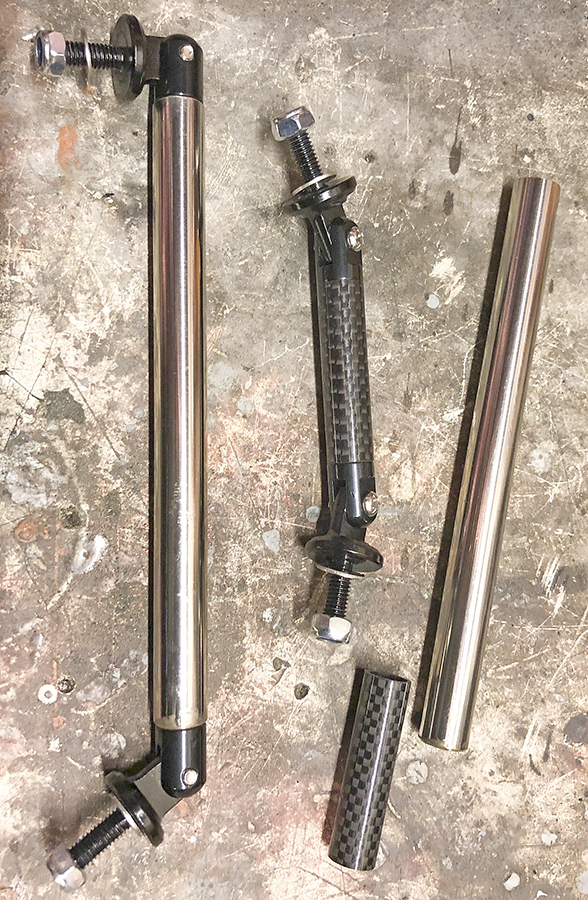 Finally fitted. 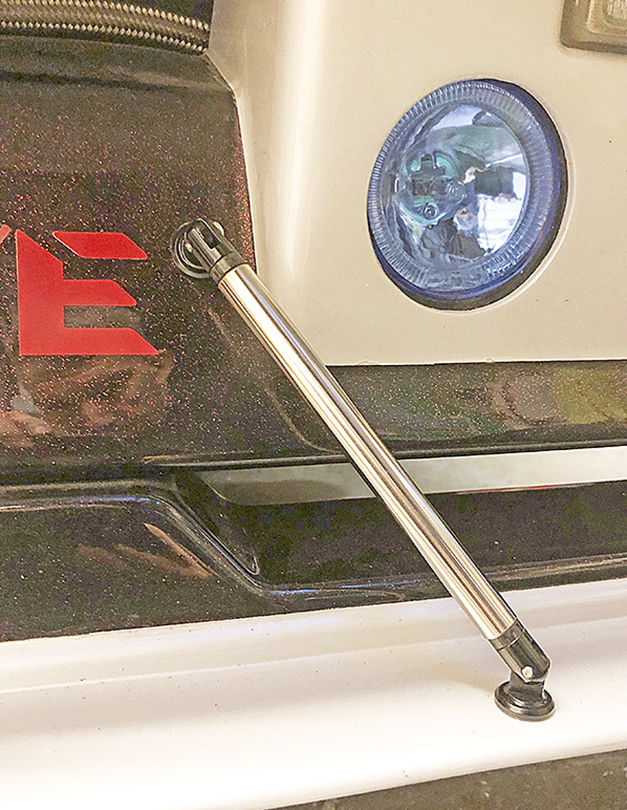 |
| |
Bib
|
|
|
|
|
|
|
Mar 14, 2019 22:43:46 GMT
|
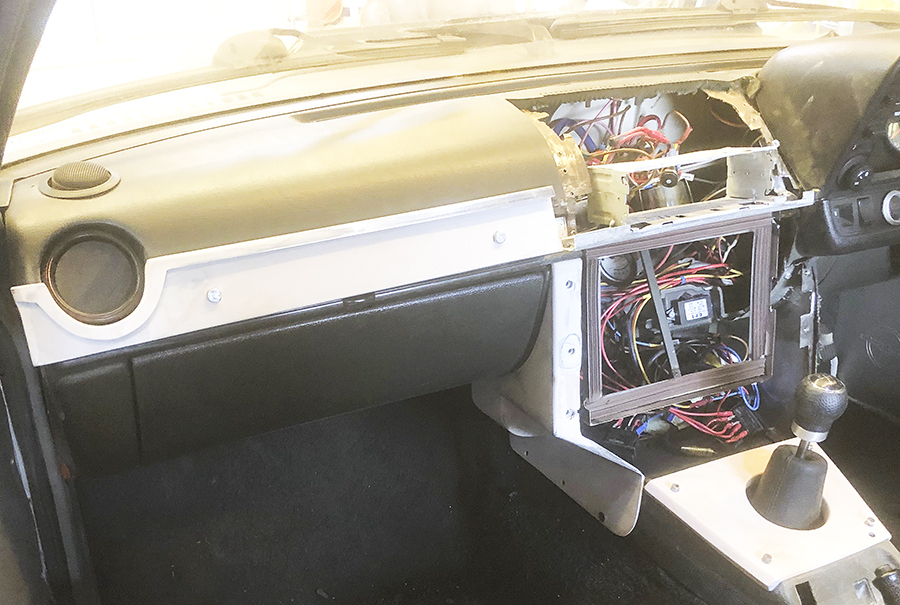
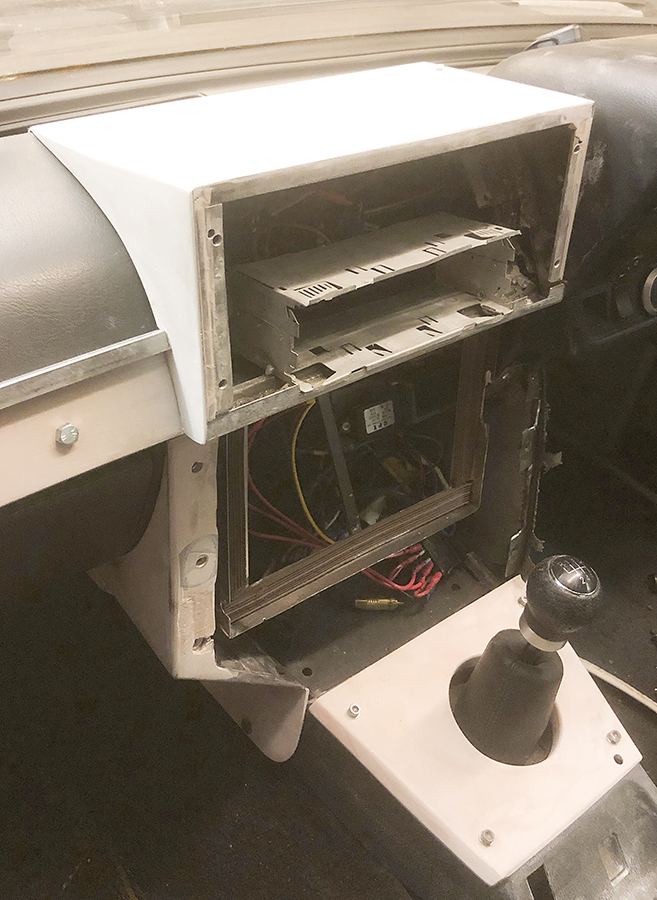
One thing that has been niggleing me is the defunct remote CD changer that has been installed into the dash. 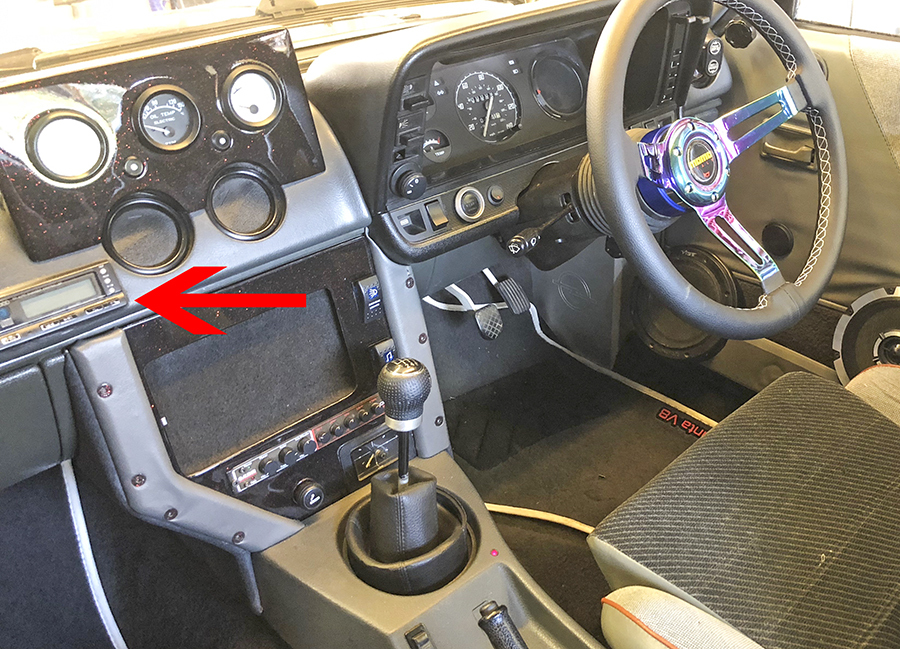 I hope I'm not going to regret this course of action but I've now removed it leaving a nasty looking hole. 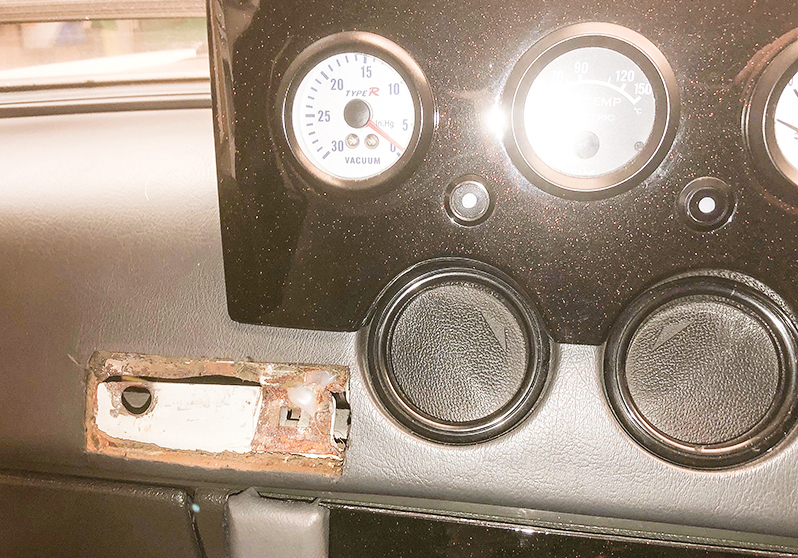 So I have this idea of installing a strip of metal the whole width of the dash and painting it to suit the centre console. 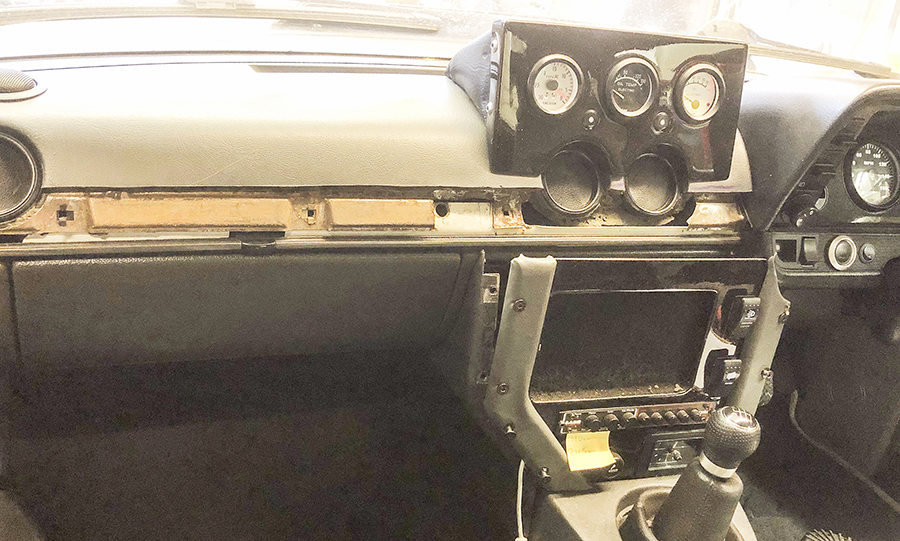 To protect the edge of the vinyl dash I've installed a metal U shaped channel and secured with tags. 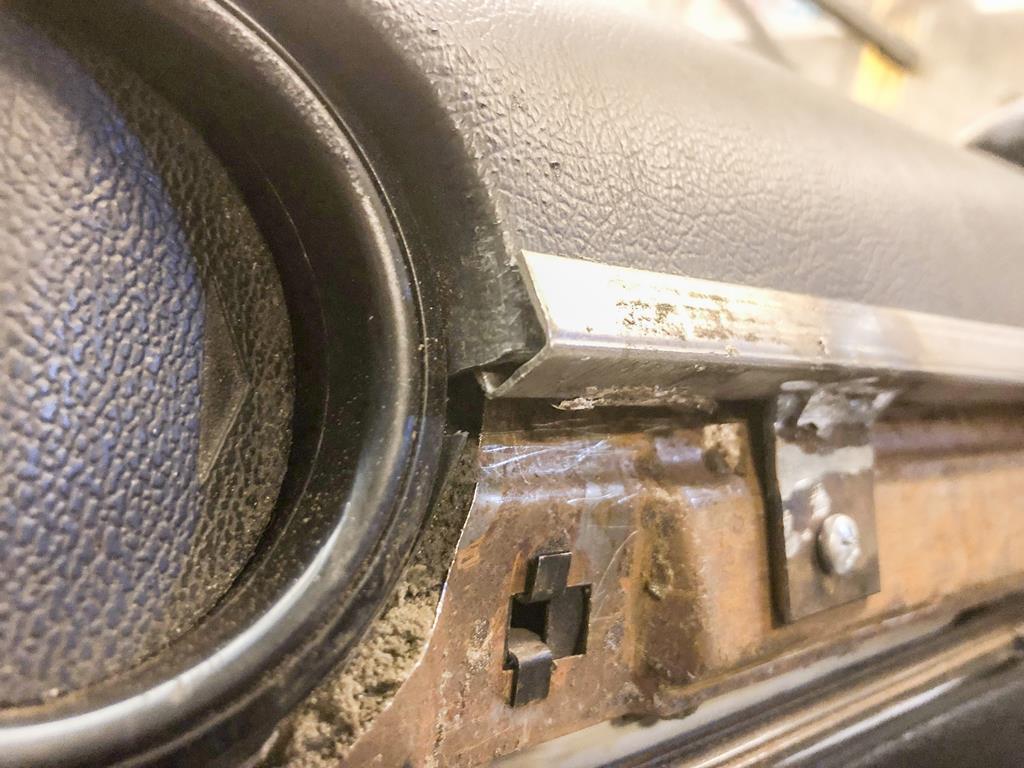 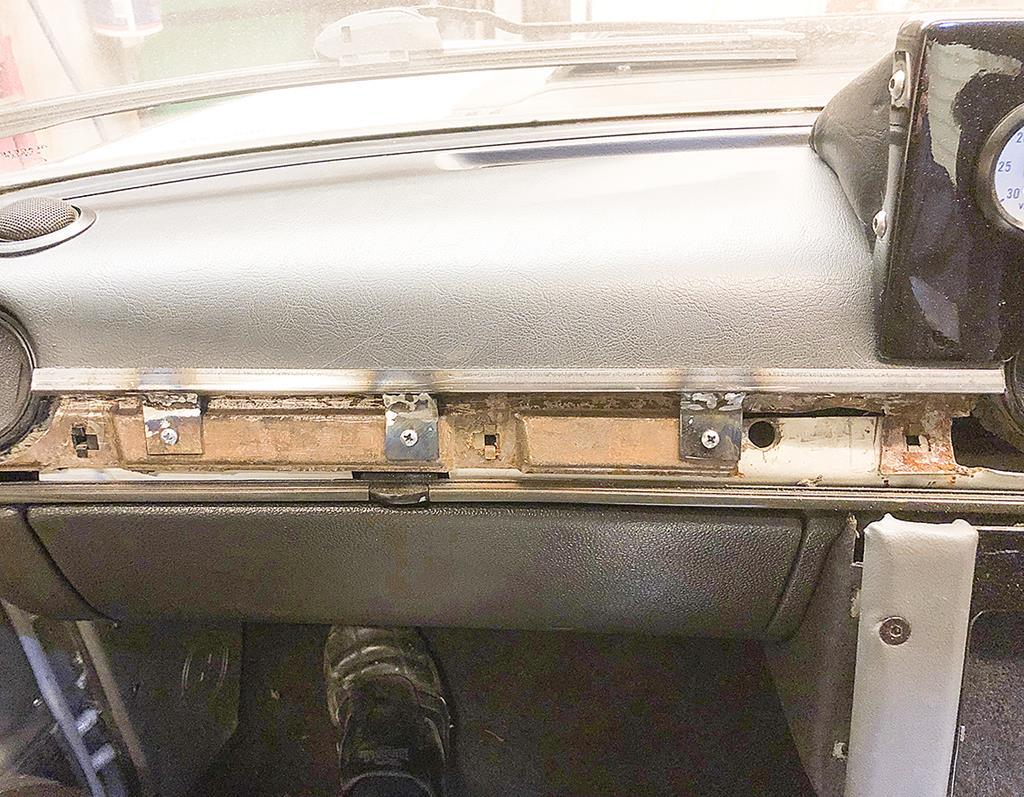 So this is where I am so far, until the weekend. |
| |
Bib
|
|
|
|
|
Mar 21, 2019 22:17:32 GMT
|
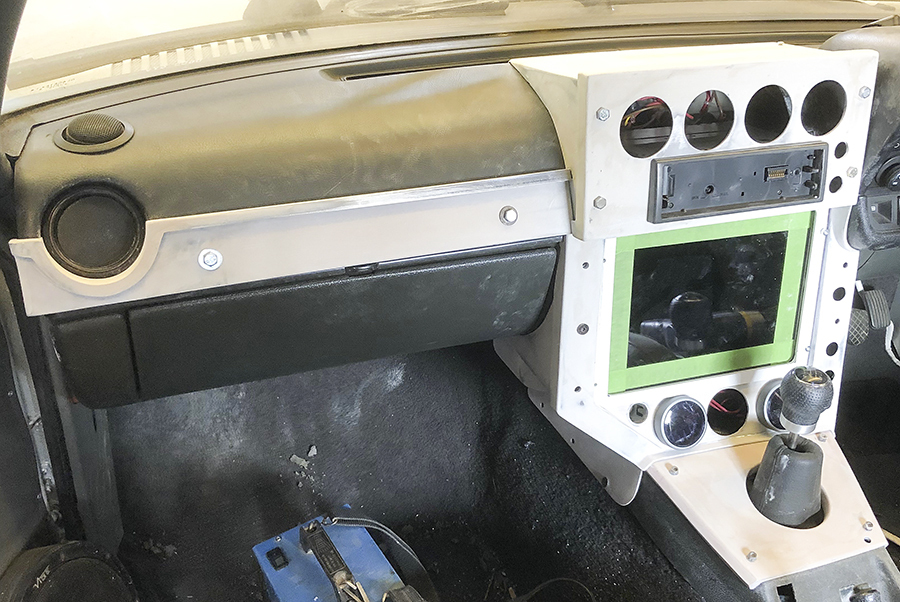
Well I've decided to rebuild the whole unit! Firstly I made cover plate to reduce the aperture of the gear stick as the gater has split and I can't find a replacement. 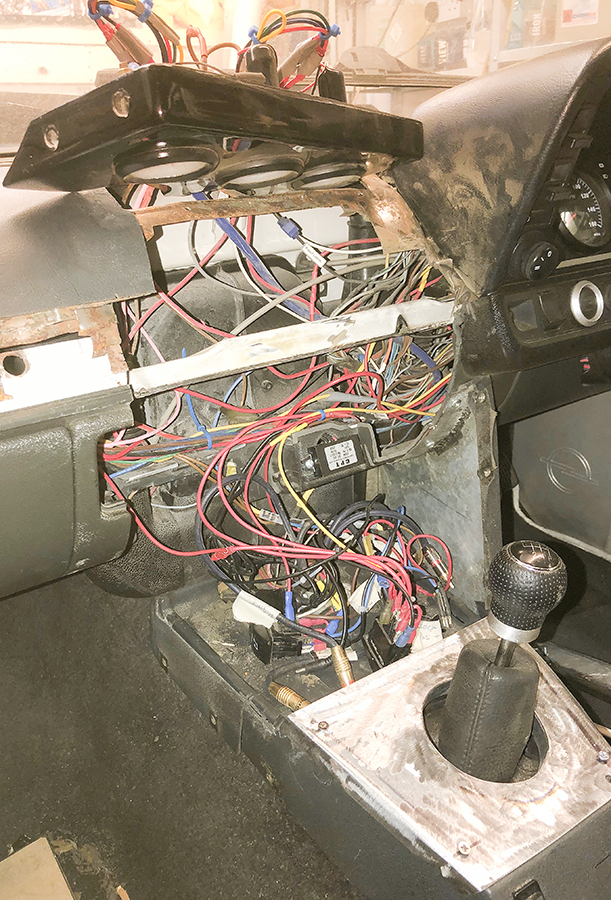 Next was the side panel. 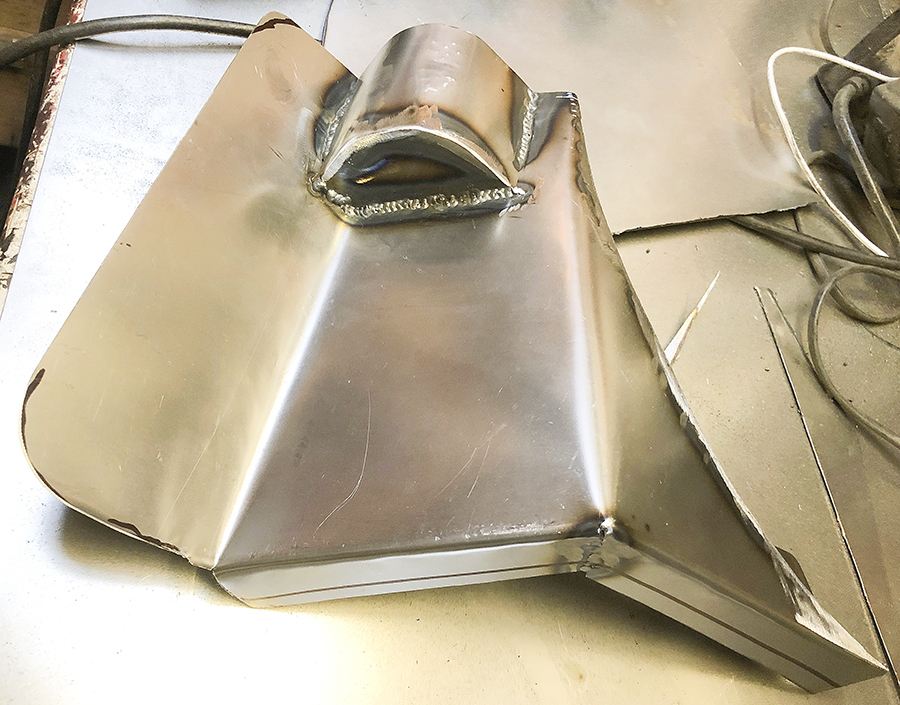 And finally in position. 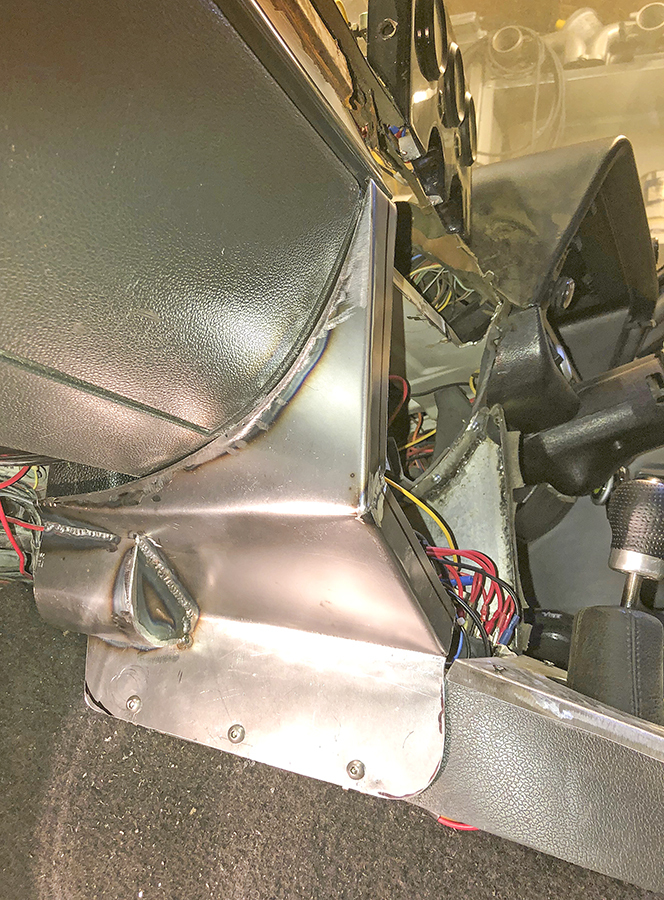 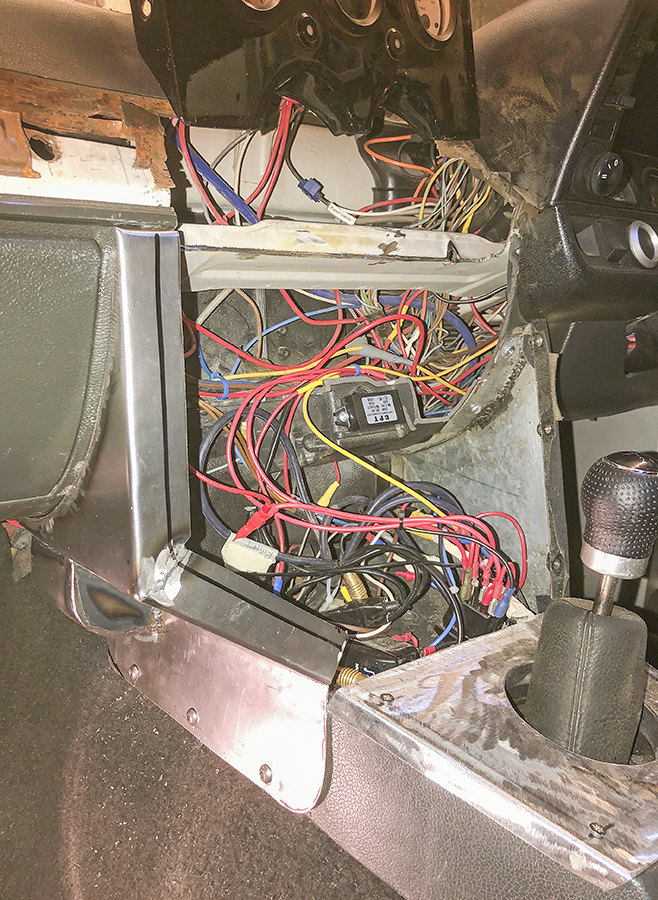 |
| |
Bib
|
|
|
|
|
|
|
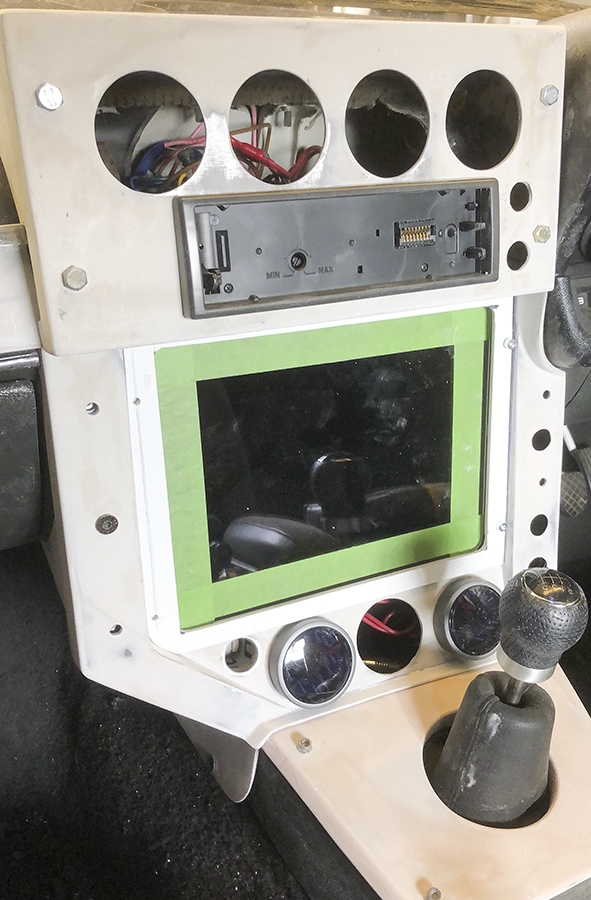
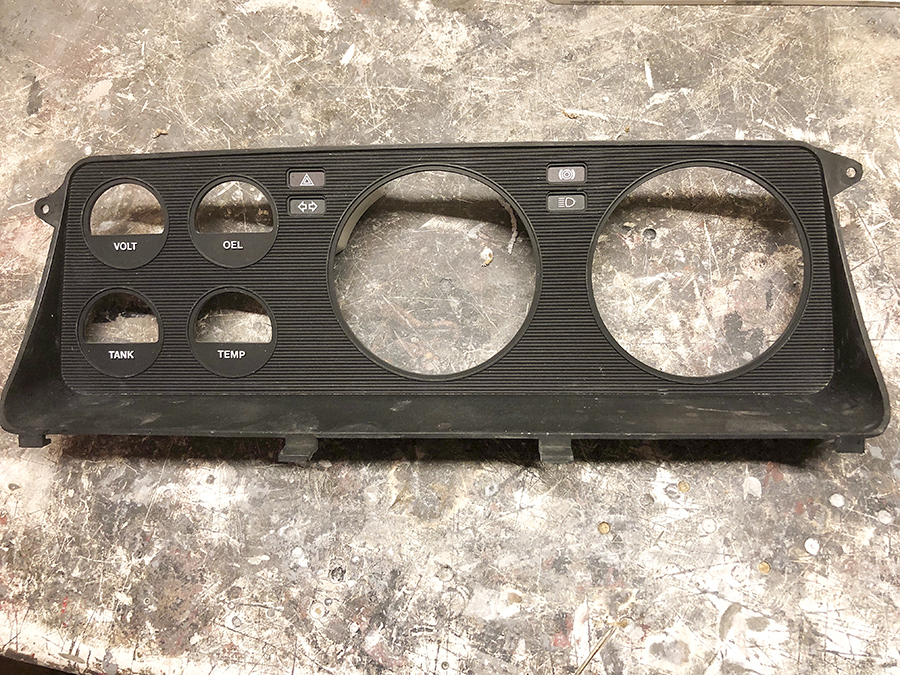
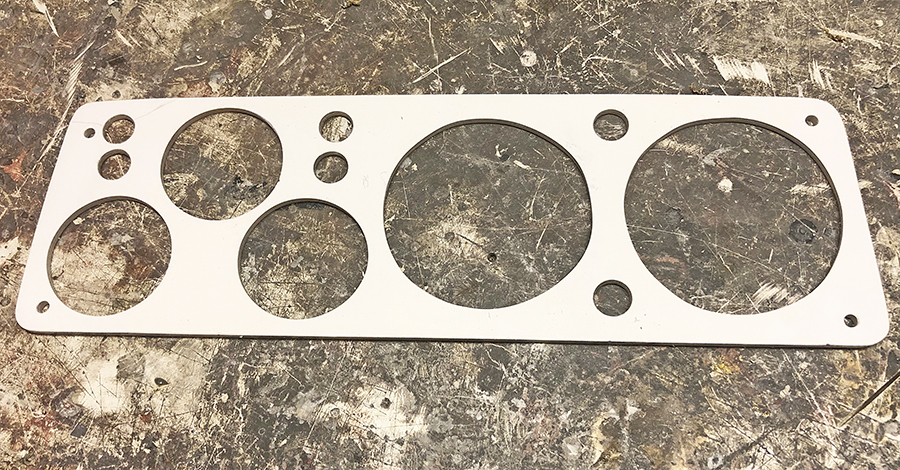
Next job was to make a frame for the Ipad. 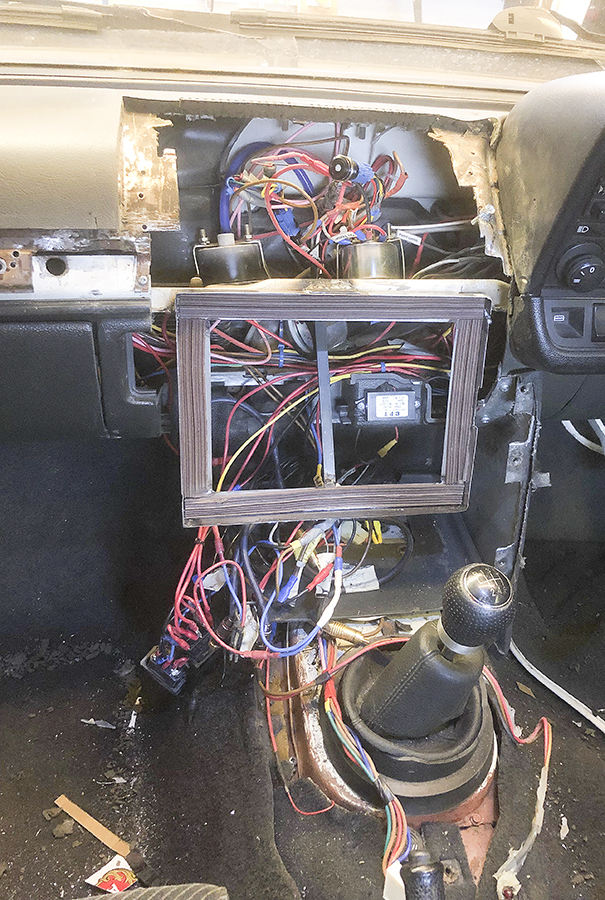 Then the fascia was constructed. 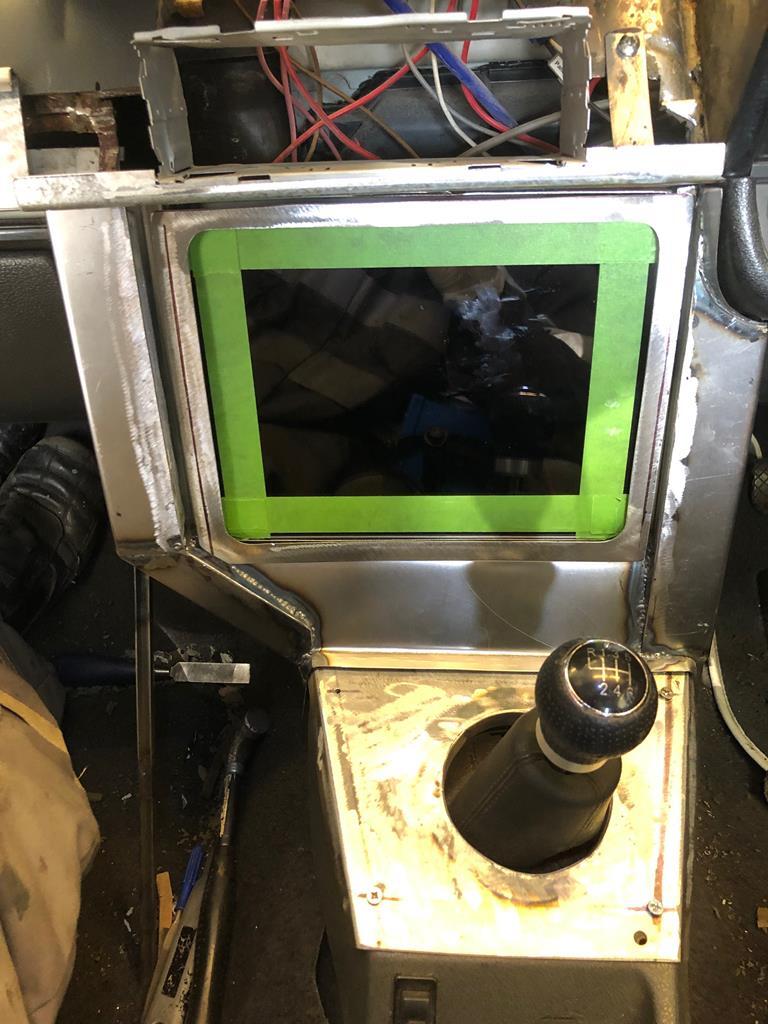 Next was the Pod housing. 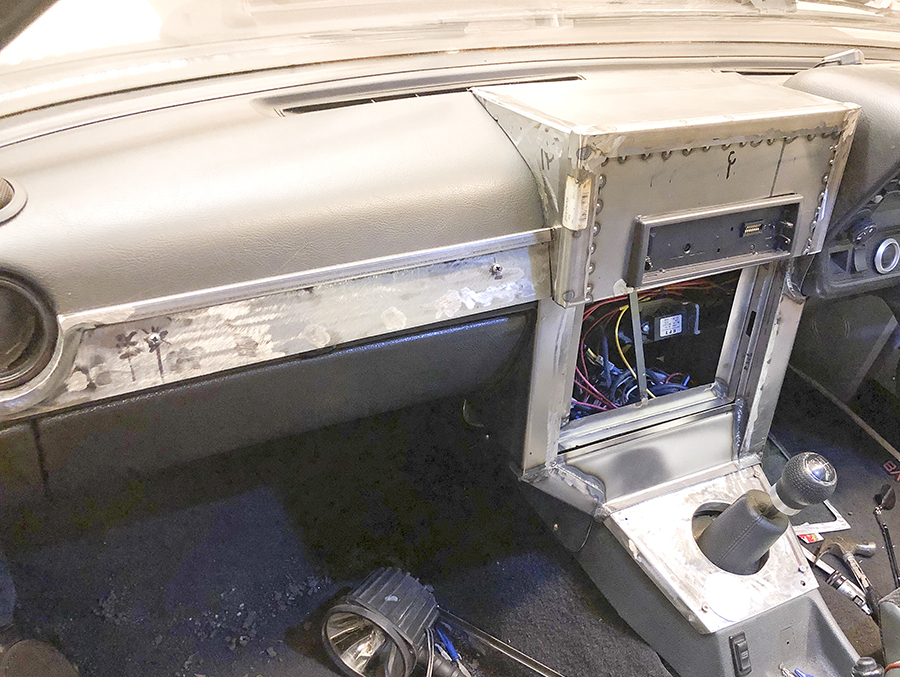 And finally the dials were cut out. 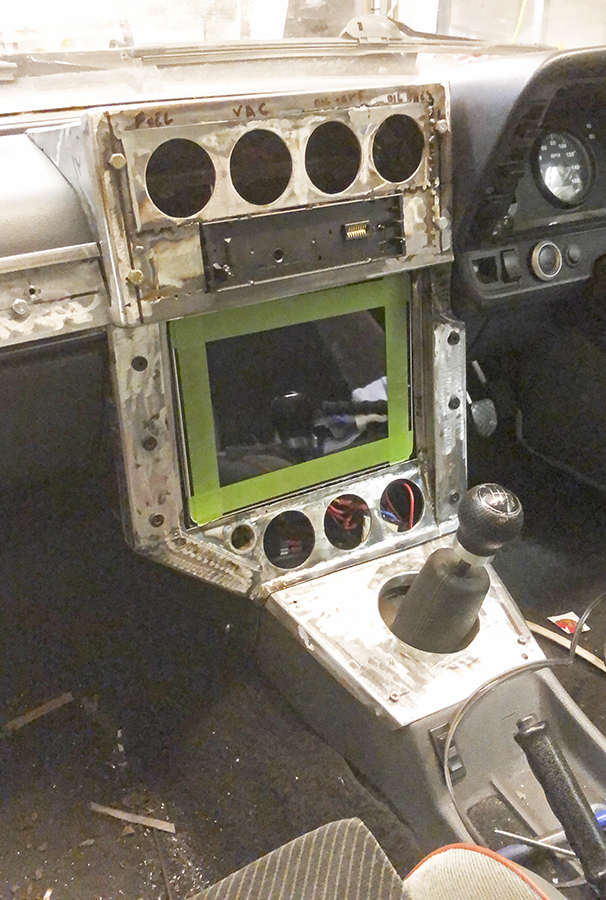 |
| |
Bib
|
|
|
|
|
|
|
|
Love the rationale for redoing the most of your dash....( big paraphrase here) well, the shifter boot was torn, and I could not find a replacement...
thats awesome. sounds like something I would talk myself into doing.
well done, the changes look great.
JP
|
| |
I know its spelled Norman Luxury Yacht, but its pronounced Throat Wobbler Mangrove!
|
|
|
|
|
Apr 17, 2019 19:44:38 GMT
|
|
|
| |
Bib
|
|
|
|
|
Apr 24, 2019 19:18:59 GMT
|
|
|
| |
Bib
|
|
|
|
|
Apr 24, 2019 19:27:33 GMT
|
|
|
| |
Bib
|
|
|
|
|
Apr 24, 2019 19:39:50 GMT
|
So yesterday I managed to paint everything, firstly a coat of piano black basecoat. 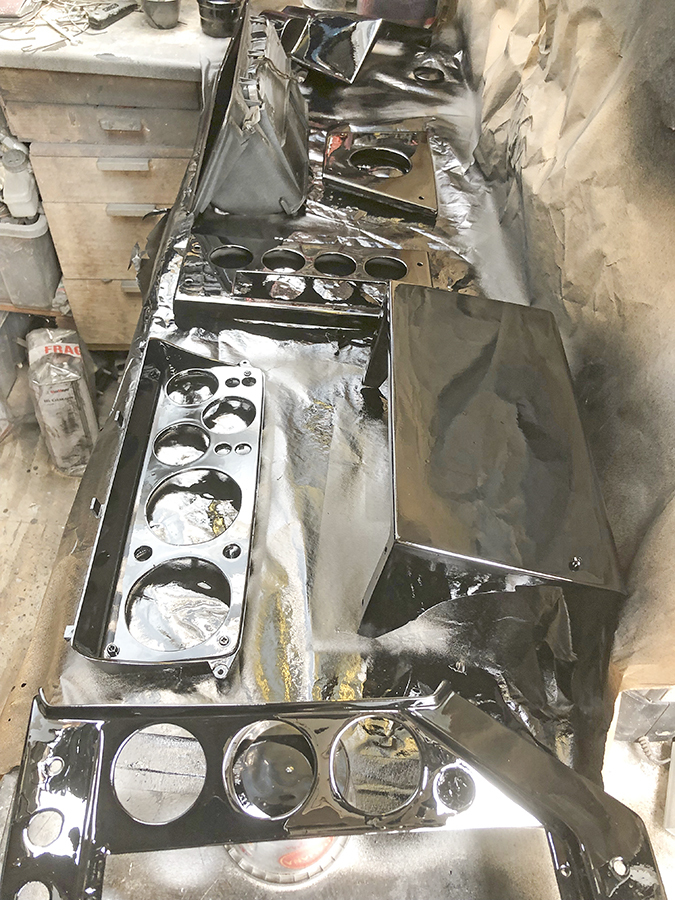 Then with a coating of red metal flake, and four coats of lacquer to finish. 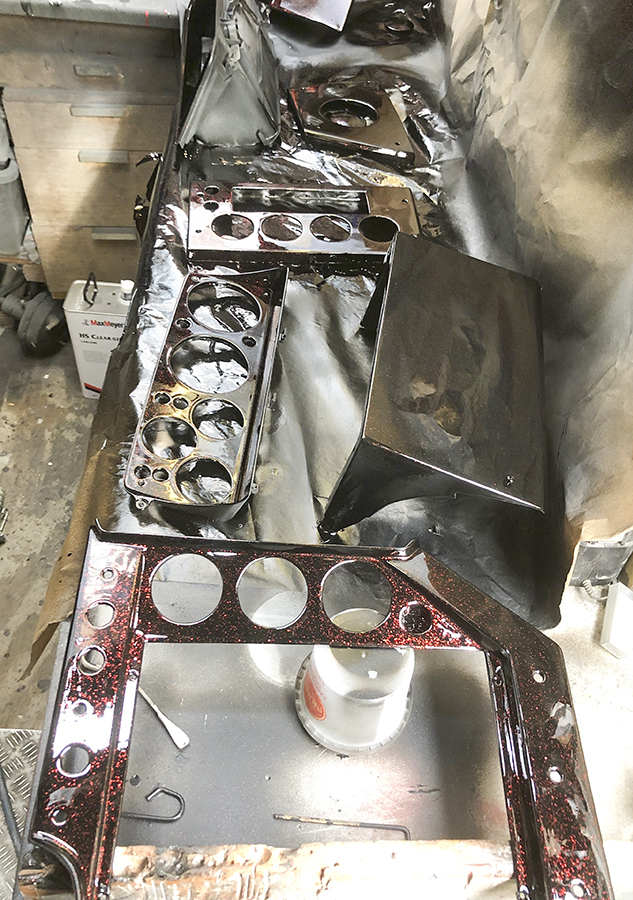 Today I've spent all day colour sanding, hopefully tomorrow I'll be able to start reinstalling everything. |
| |
Bib
|
|
|
|
|
May 10, 2019 19:21:59 GMT
|
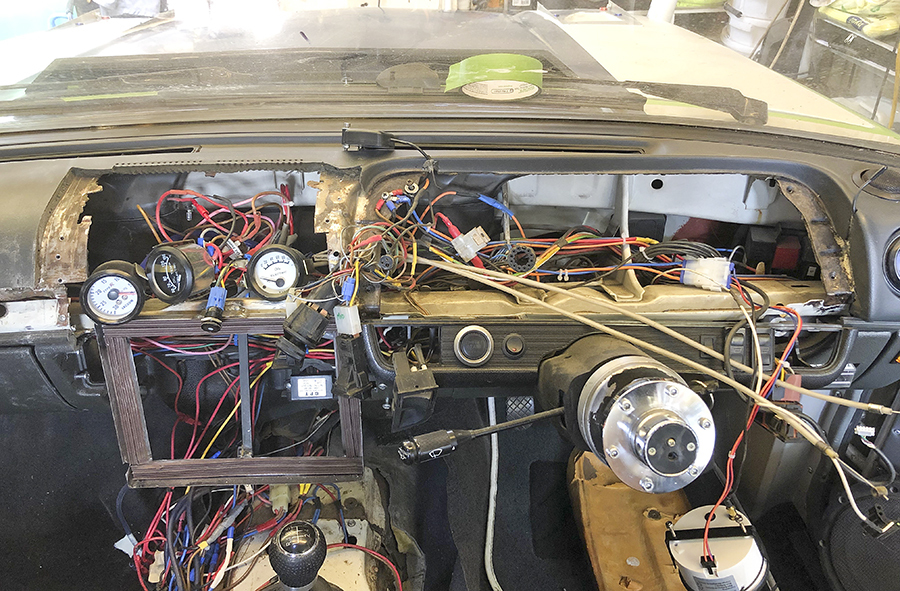
Its surprising how long it takes putting everything back together so I've got the main center done with the wiring all neat and tidy. 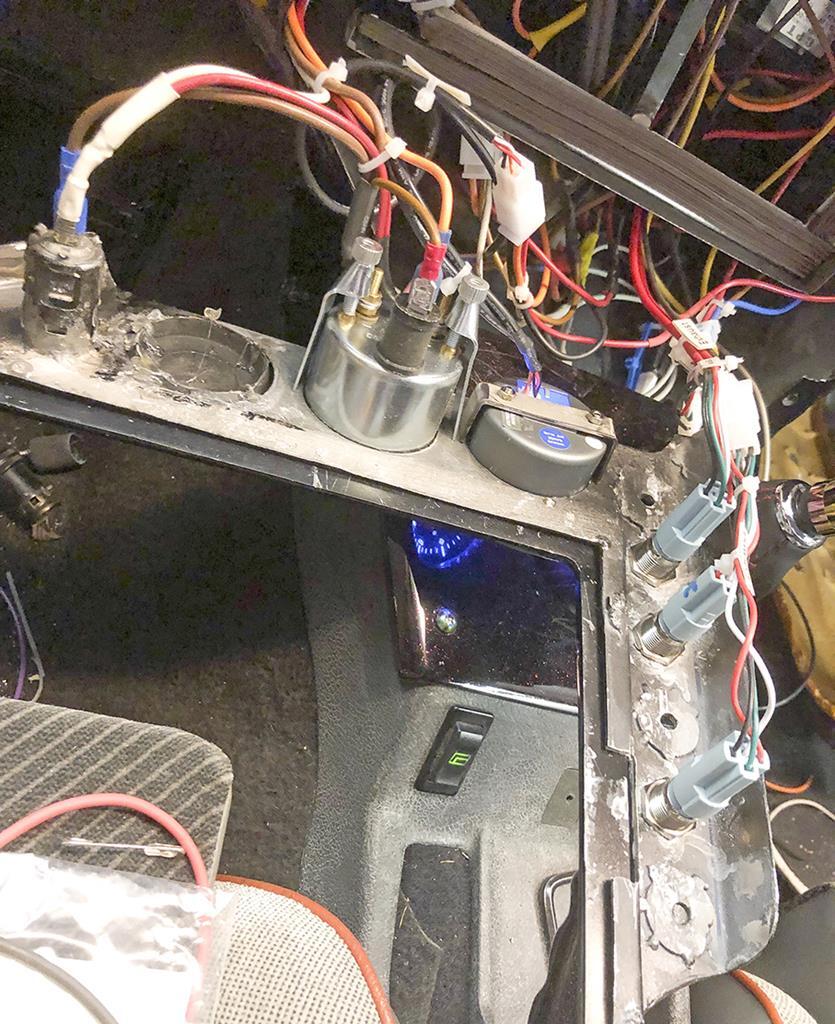 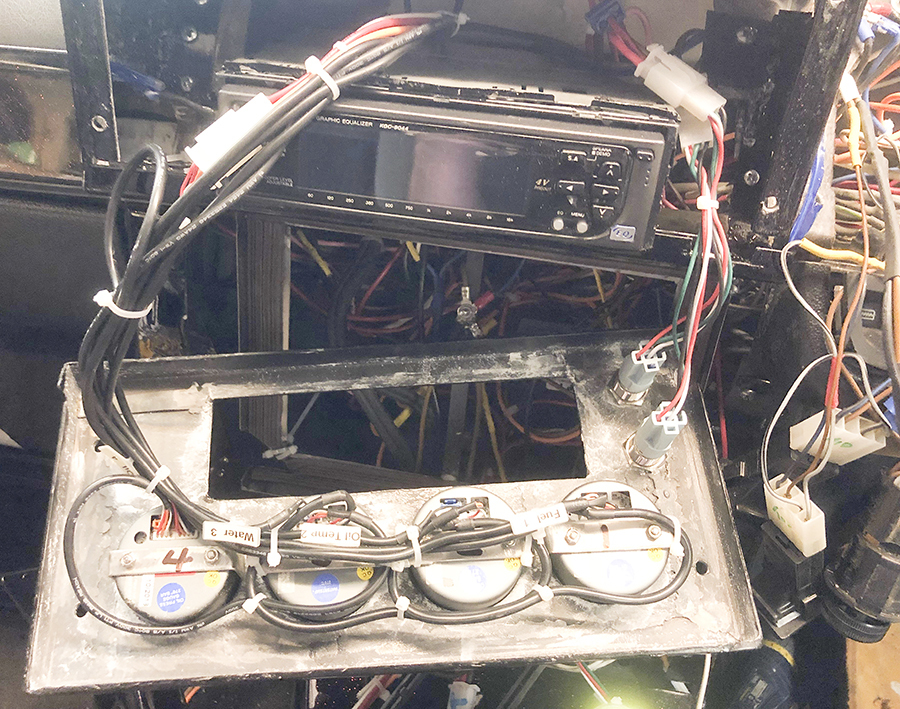 The main dash is taking even longer to sort out! 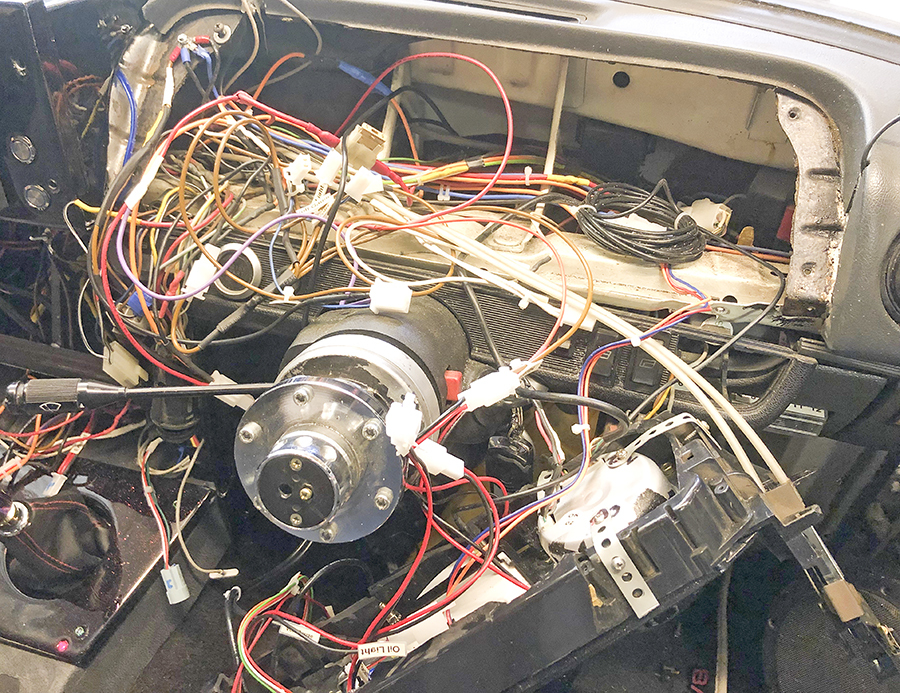 will have it all done by the weekend. |
| |
Bib
|
|
|
|
|
May 15, 2019 19:17:46 GMT
|
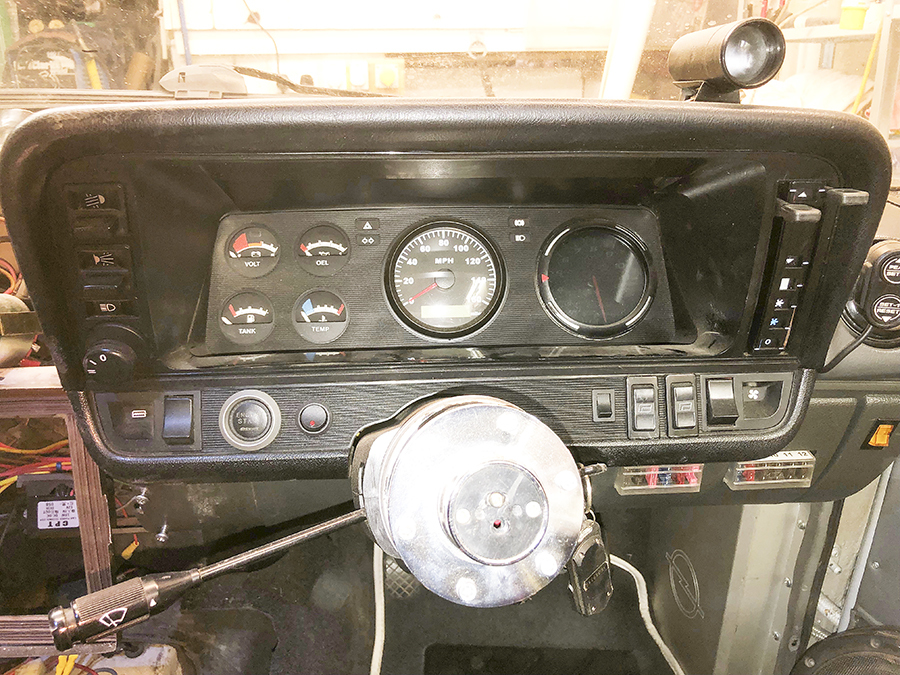
Finally got everything back together, so this first image is what it used to look like. 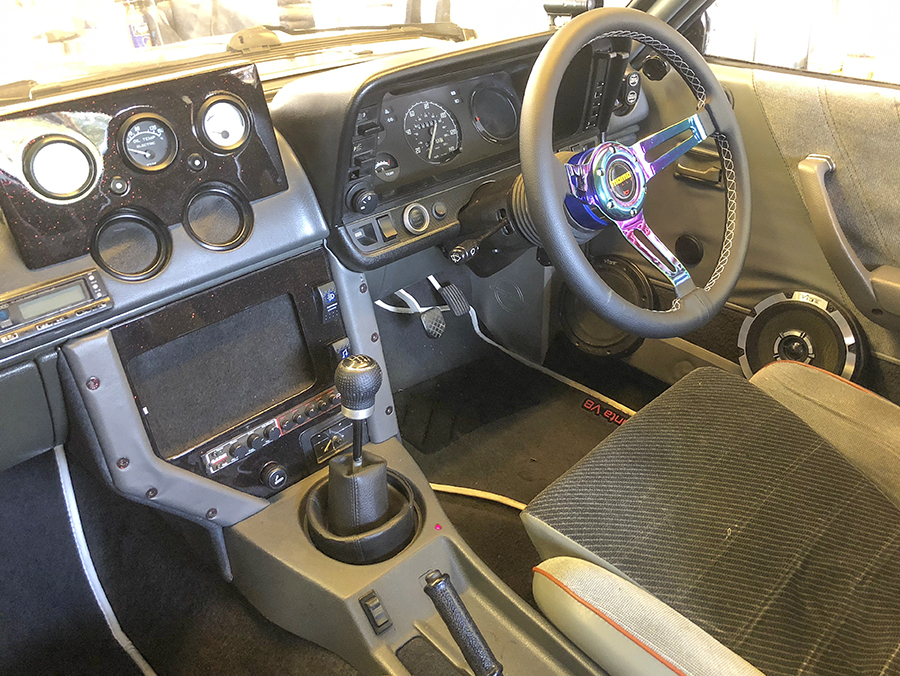 And the finished article! 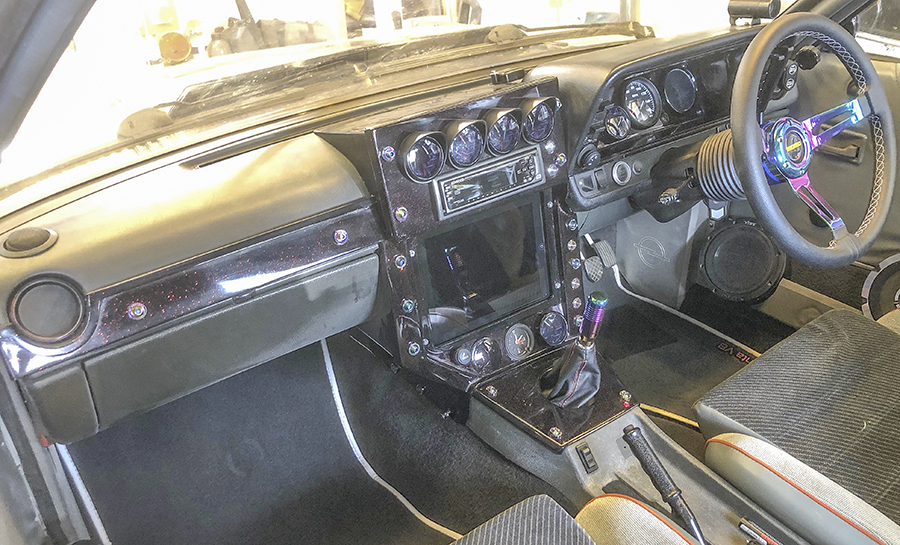 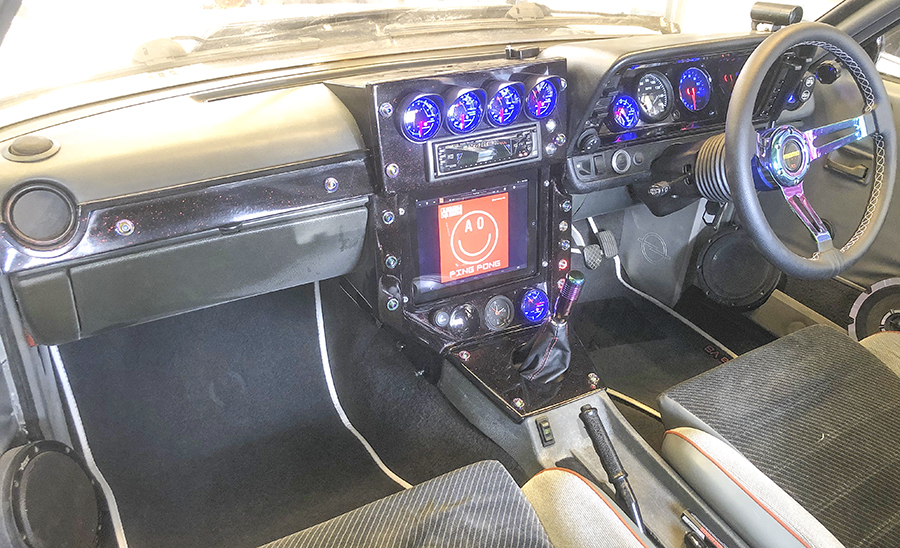 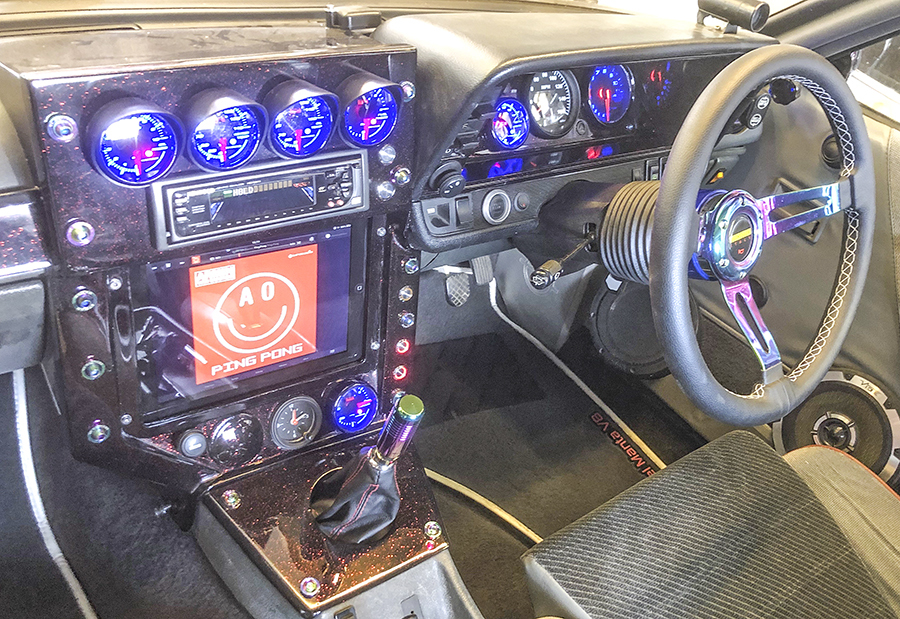 The next job is to sort out why the clutch isn't working. |
| |
Bib
|
|
|
|


