sowen
Club Retro Rides Member
Posts: 2,245
Club RR Member Number: 24
|
|
Oct 18, 2019 17:18:38 GMT
|
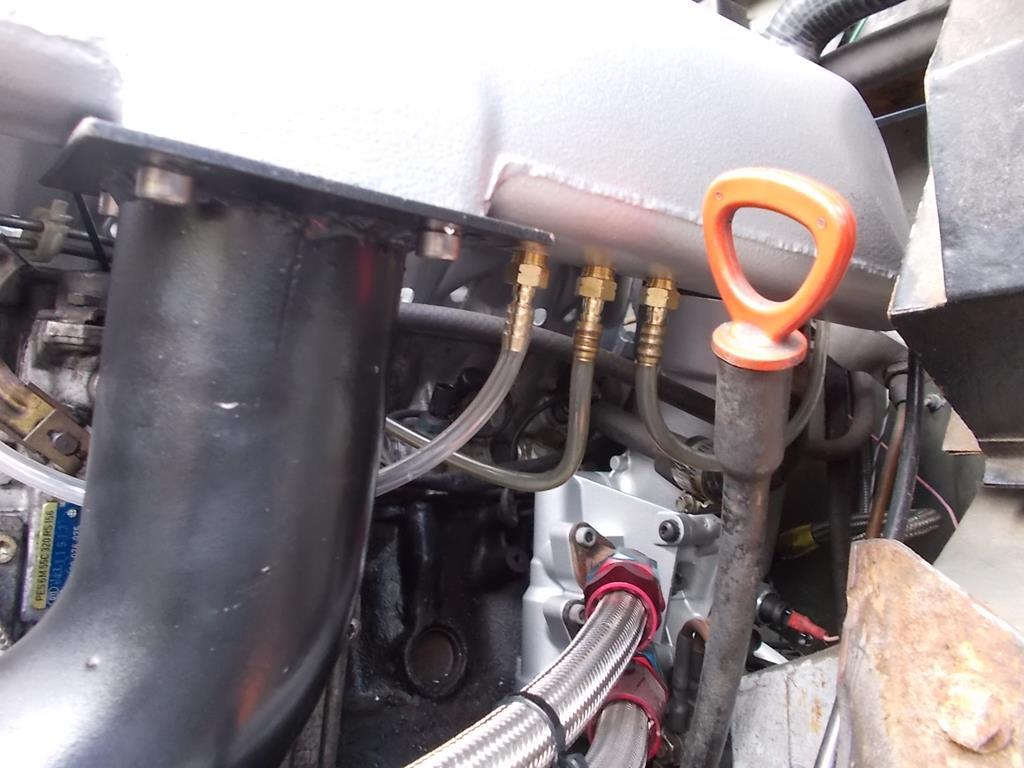
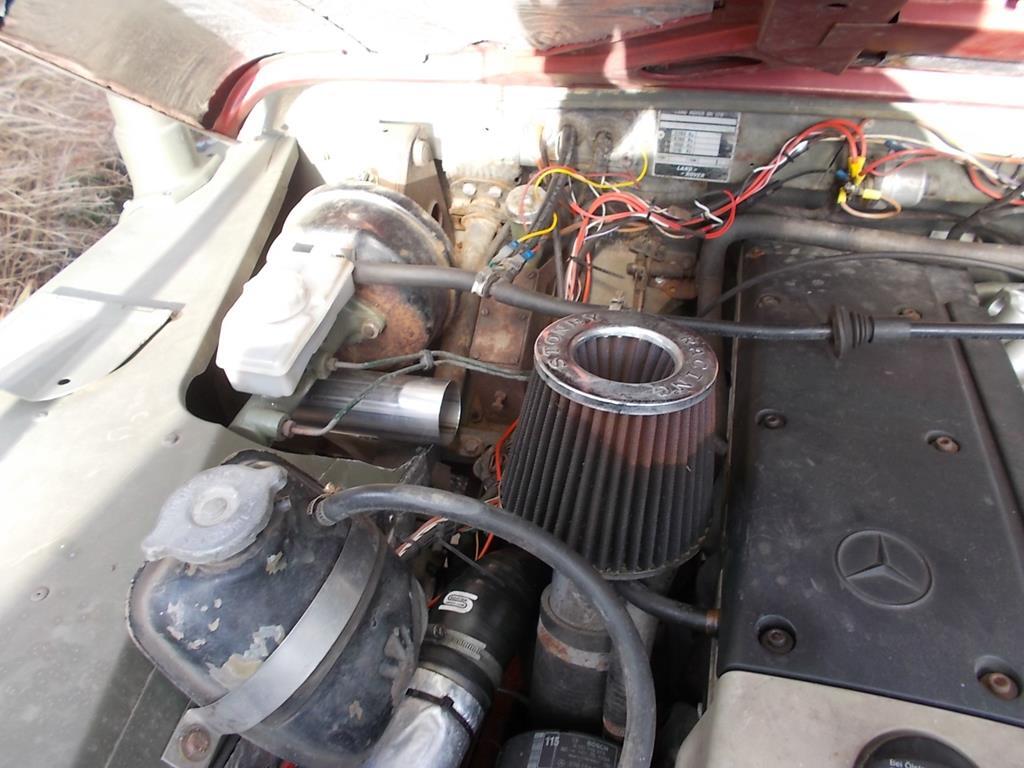
I enjoy this thread and admire both the competence and confidence you demonstrate. Question about that intake manifold: when viewed from underneath, it appears to have two intake runners for each cylinder. Is that right? Thanks, John Each valve has it's own 'port' where the manifold bolts down to, so I have 12 ports along the head. They diverge very close to the head in the inlet manifold. Most engines with 4 valves per cylinder I've seen have oval ports, the Mercedes just seems to have taken this to another level! Damn that's cool  I was thinking about potentially using an OM605 with a Landy LT77/R380 in a future project (Baja MGB), but was wondering about towing with a clutch that can take the torque. Nice to see a high-rated single-plate clutch. Have you towed with yours before? Haven't gone back far enough through the thread yet! You can buy a bolt on adapter kit for the OM605/6 to R380 from a guy called Ollie North, he's on FB and is on the MercRover's group. Or go diy and fabricate everything yourself like I've done (there were no kits available when I started). Clutchfix do a higher rated pressure plate than will fit the Land Rover tdi flywheel (and rwd Rover V8) to match the 600lb/ft friction plate, rated to somewhere around 470lb/ft I think over the 414lb/ft HD pressure plate they normally supply (which I have for my other Rover). I've not towed with it, though you're more likely to have cooling issues under prolonged load. A V8 spec radiator on mine has so far been perfect throughout the summer, but with a few tons dragged behind, I'd be wanting something more than what I already have, maybe a 4 core rad? |
| |
|
|
|
|
|
|
|
Oct 18, 2019 17:31:15 GMT
|
|
merc sprinter clutch and solid flywheel is commonly used on om605's as an upgrade
|
| |
|
|
sowen
Club Retro Rides Member
Posts: 2,245
Club RR Member Number: 24
|
|
Dec 23, 2019 10:31:55 GMT
|
|
|
| |
|
|
sowen
Club Retro Rides Member
Posts: 2,245
Club RR Member Number: 24
|
|
Dec 23, 2019 10:39:13 GMT
|
|
|
| |
|
|
|
|
|
Dec 23, 2019 14:45:24 GMT
|
|
Very interesting thread. I have followed the journey, on and off; please forgive me if I have missed this issue. Re the improved snorkel design, have you by any chance also addressed the potential issue of water ingess into the axles, gearbox, transfer box, etc..., when playing in floods; ie. by fitting a suitable wading kit to these areas, thus then having raised breathers all round?
If you have, sorry for the interuption. Keep up the good work.
|
| |
|
|
|
|
|
Dec 23, 2019 14:46:36 GMT
|
|
It looks much better with the new top.
|
| |
|
|
sowen
Club Retro Rides Member
Posts: 2,245
Club RR Member Number: 24
|
|
Dec 23, 2019 17:05:38 GMT
|
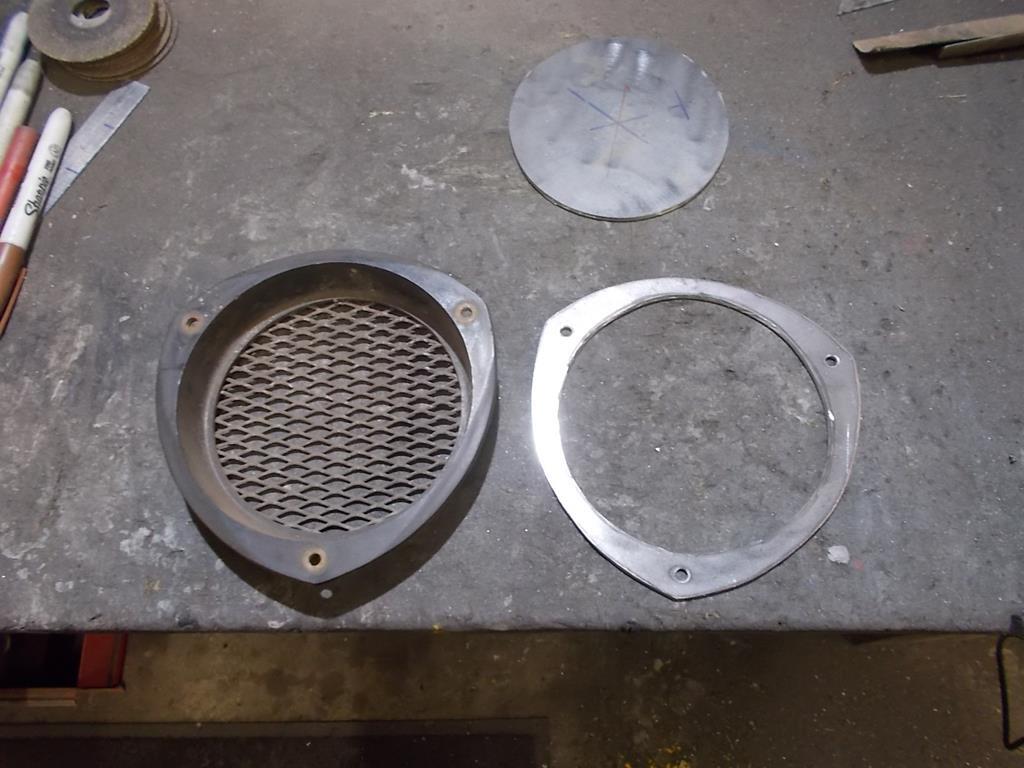
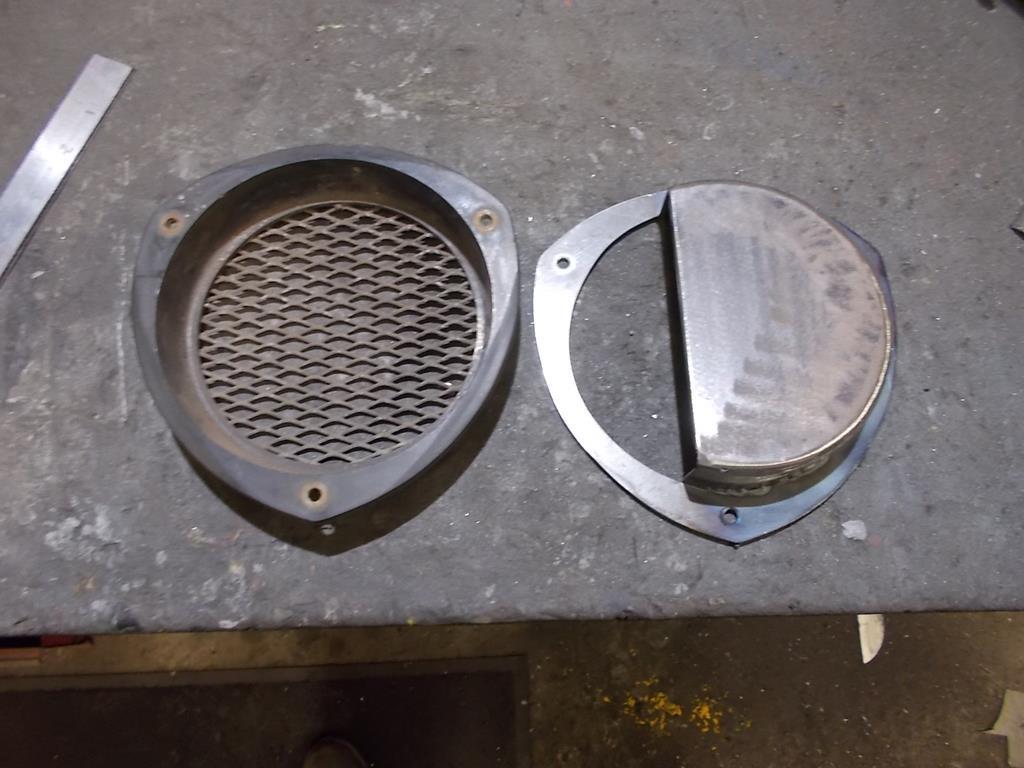
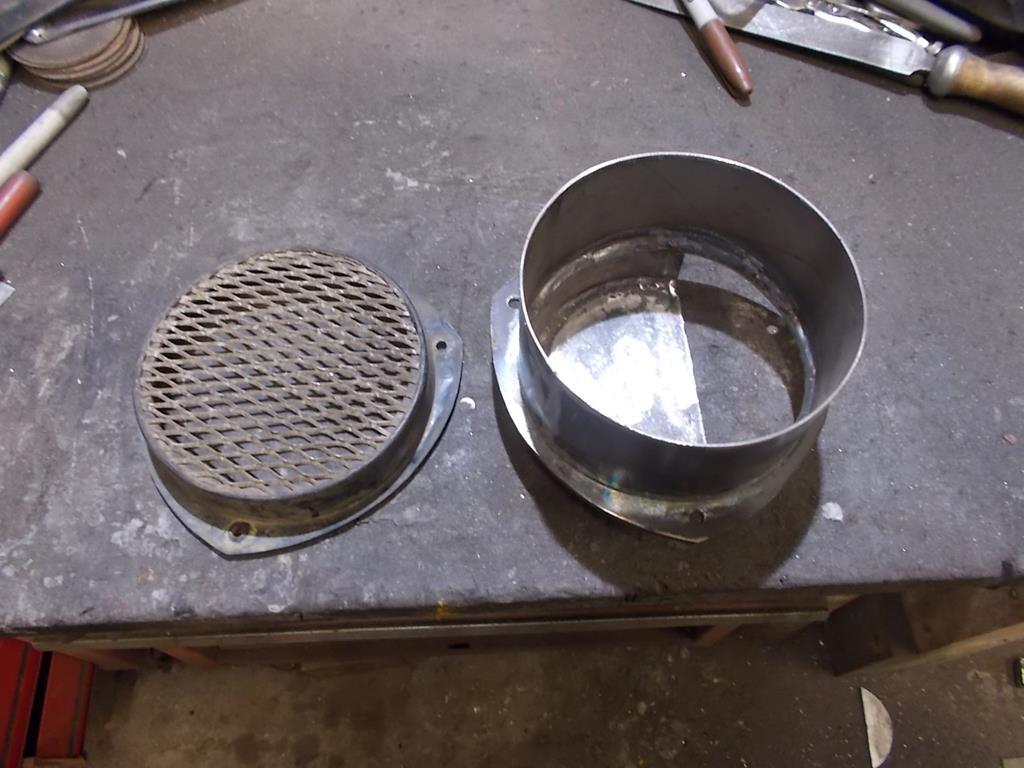
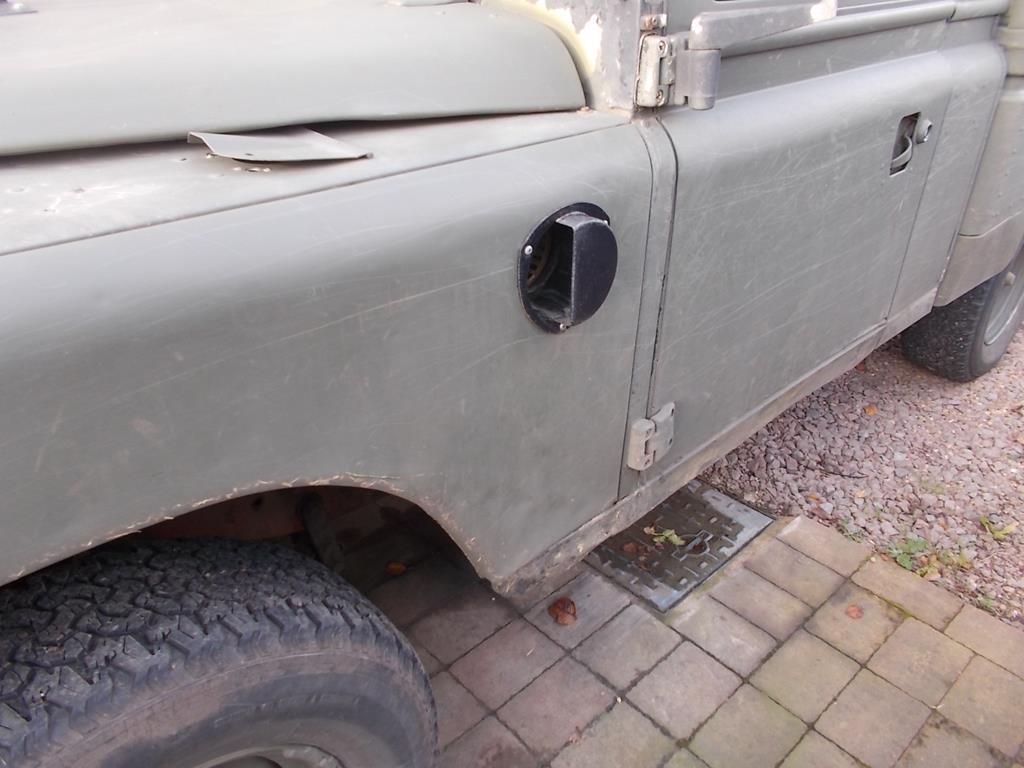
Very interesting thread. I have followed the journey, on and off; please forgive me if I have missed this issue. Re the improved snorkel design, have you by any chance also addressed the potential issue of water ingess into the axles, gearbox, transfer box, etc..., when playing in floods; ie. by fitting a suitable wading kit to these areas, thus then having raised breathers all round? If you have, sorry for the interuption. Keep up the good work. It still has the original fit military wading kit for both axles. Rear is piped into the chassis and the front curls up round the bulkhead near the heater. Eventually they'll be re-routed further up with new breathers fitted to the transmission It looks much better with the new top. I broke the plastic top first time out playing, a branch took it clean off! Also having it pointed inwards should avoid it filling with water/spray and dirt. Being an old Land Rover with upright screen water loves to be splashed up at the screen so there's a real risk of even a moderate deep puddle being splashed up to the roof. Where I work it floods bad and I can easily have water thrown over the cab into the bed if I'm over-enthusiastic! |
| |
|
|
sowen
Club Retro Rides Member
Posts: 2,245
Club RR Member Number: 24
|
|
Dec 27, 2019 14:19:03 GMT
|
|
|
| |
|
|
|
|
|
Dec 27, 2019 15:23:31 GMT
|
|
Great work.
What plans do you have to water proof the Heater blower intake as I would think not being without a heater would as important as the engine water proofing?
|
| |
|
|
sowen
Club Retro Rides Member
Posts: 2,245
Club RR Member Number: 24
|
|
Dec 27, 2019 17:27:03 GMT
|
Great work. What plans do you have to water proof the Heater blower intake as I would think not being without a heater would as important as the engine water proofing? If I ever drove into water deep enough to go into the heater intake I'd be at least ankle deep in water inside! You can't stop the water getting in but you can help it get out again.... |
| |
|
|
|
|
glenanderson
Club Retro Rides Member
Posts: 4,357
Club RR Member Number: 64
|
|
Dec 27, 2019 17:35:20 GMT
|
Great work. What plans do you have to water proof the Heater blower intake as I would think not being without a heater would as important as the engine water proofing? If I ever drove into water deep enough to go into the heater intake I'd be at least ankle deep in water inside! You can't stop the water getting in but you can help it get out again.... I think you might run into issues with rainwater ingress. Some form of gutter/drain to allow rain to find its way out before getting into the heater box and blower motor might be worth considering. Oh, and I don’t know about wet feet, I’ve had cassette tapes float out of the window before. 🤣🤣 |
| |
My worst worry about dying is my wife selling my stuff for what I told her it cost...
|
|
sowen
Club Retro Rides Member
Posts: 2,245
Club RR Member Number: 24
|
|
Dec 27, 2019 17:46:58 GMT
|
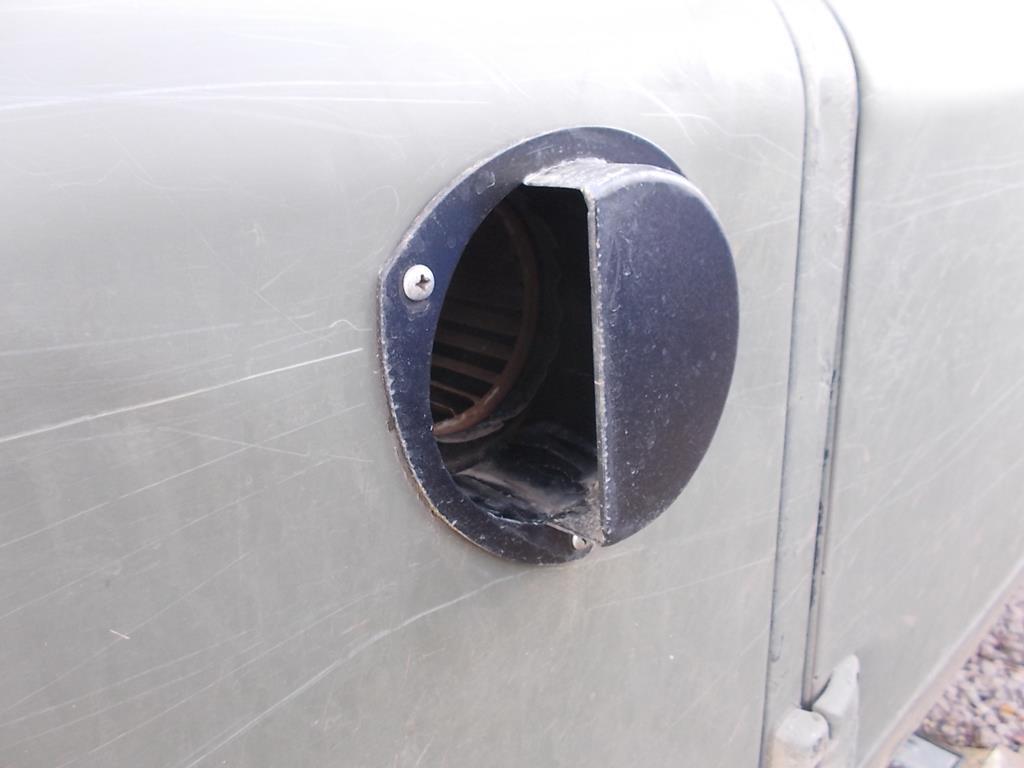
If I ever drove into water deep enough to go into the heater intake I'd be at least ankle deep in water inside! You can't stop the water getting in but you can help it get out again.... I think you might run into issues with rainwater ingress. Some form of gutter/drain to allow rain to find its way out before getting into the heater box and blower motor might be worth considering. Oh, and I don’t know about wet feet, I’ve had cassette tapes float out of the window before. 🤣🤣 The scoop inside the wing is larger diameter than the intake for the blower motor and presently unsealed. Most water will probably run down the inside and miss the blower. If it becomes a problem sucking water I can change the design, it didn't cost anything to make and wouldn't be hard to change. I still have the muddy tide line inside my other Land Rover a few inches up the door where I drove it through the bottom of a quarry and had the bonnet submerged  |
| |
|
|
|
|
|
|
|
In case you are interested, Bryan at Design & Development Engineering has now released the parts needed to upgrade your Series front axle to Stage 1 V8. ie uprated 24 spline halfshafts and related bits to convert to CVs: www.designdevelopmenteng.co.uk/store/Land-Rover-Stage-One-V8-c24646570Give him a ring to discuss what's involved. That cuts out all the guesswork. |
| |
|
|
sowen
Club Retro Rides Member
Posts: 2,245
Club RR Member Number: 24
|
|
May 15, 2020 17:00:08 GMT
|
In case you are interested, Bryan at Design & Development Engineering has now released the parts needed to upgrade your Series front axle to Stage 1 V8. ie uprated 24 spline halfshafts and related bits to convert to CVs: www.designdevelopmenteng.co.uk/store/Land-Rover-Stage-One-V8-c24646570Give him a ring to discuss what's involved. That cuts out all the guesswork. You mean these shafts  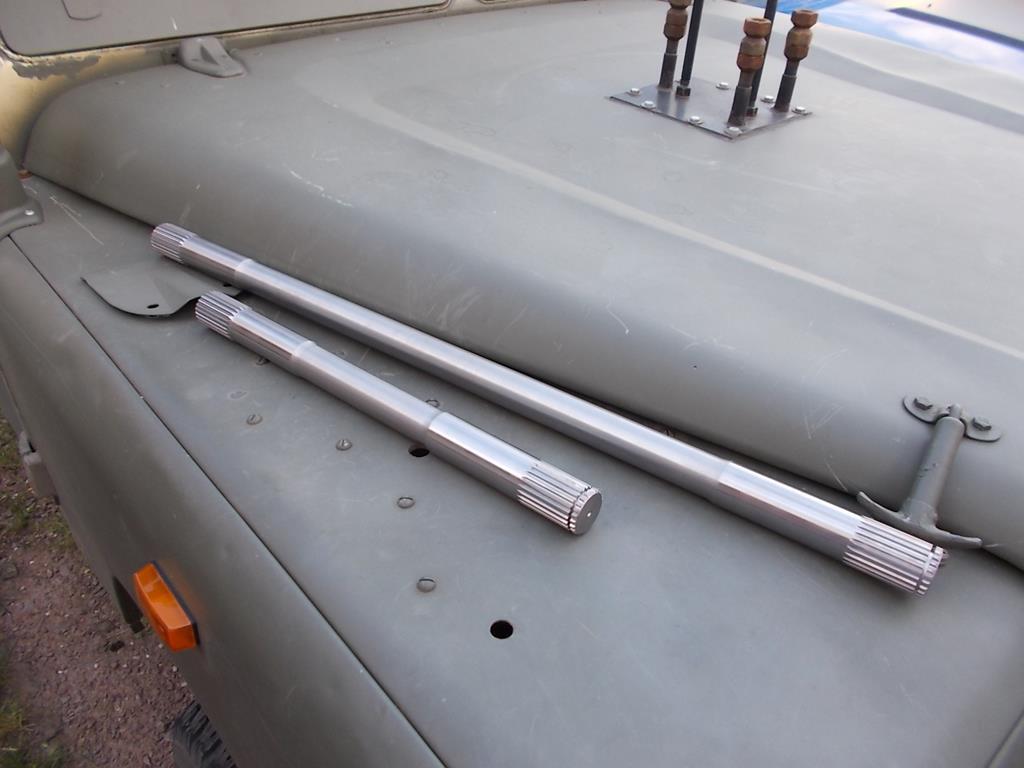 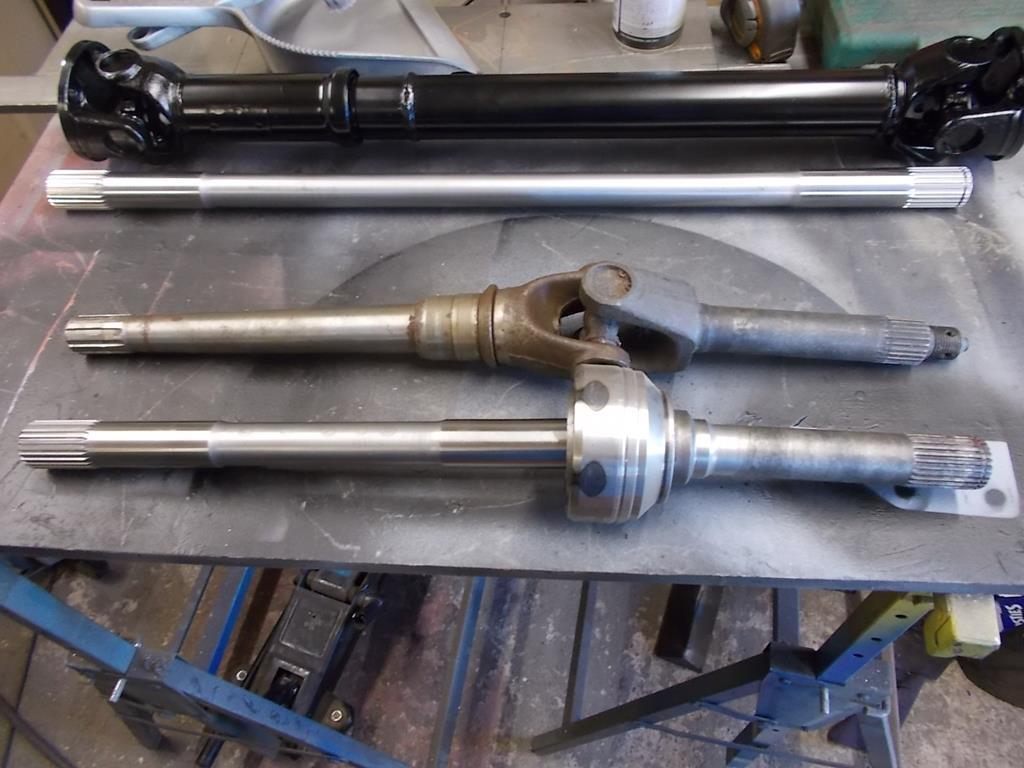 What he hasn't completed yet are the stub axles. Those are the critical part that set the CV joint in the correct position so the shaft can float in the axle spinning true. I'm hoping he'll have the first batch ready within a few weeks with a new batch of top pins so I can make a start stripping my front axle down to build it back up with the front Truetrac locker and 110 CV joints |
| |
|
|
|
|
|
May 16, 2020 13:26:10 GMT
|
|
Well - all I can say is you have good taste sir.
Yes, I too am waiting for the stub axles although would prefer them in the early imperial bearing dimensions. Keep a beady eye on that Facebook page 😚
|
| |
|
|
sowen
Club Retro Rides Member
Posts: 2,245
Club RR Member Number: 24
|
|
May 16, 2020 19:58:06 GMT
|
Well - all I can say is you have good taste sir. Yes, I too am waiting for the stub axles although would prefer them in the early imperial bearing dimensions. Keep a beady eye on that Facebook page 😚 I'm hoping he'll give me a shout when all the bits I need are ready and I can spend even more money! Suprised there's still one pair of 23/24 spline shafts available. If they're still there on payday I might buy those for my other Landy too..... |
| |
|
|
|
|
|
Jul 31, 2020 16:56:37 GMT
|
|
|
| |
|
|
sowen
Club Retro Rides Member
Posts: 2,245
Club RR Member Number: 24
|
|
|
|
Yep ordered a pair. Not quite enough spare money this month to order two pairs for each of my Land Rover's! I now have everything once this pair arrives to build up one axle with a 24 spline diff, and have a spare set of shafts ready for once I've saved up and bought the second set to build up another axle. As the priorities are going my swb V8 will be built up first, hopefully before the end of the month.... |
| |
|
|
sowen
Club Retro Rides Member
Posts: 2,245
Club RR Member Number: 24
|
|
Mar 23, 2021 11:20:12 GMT
|
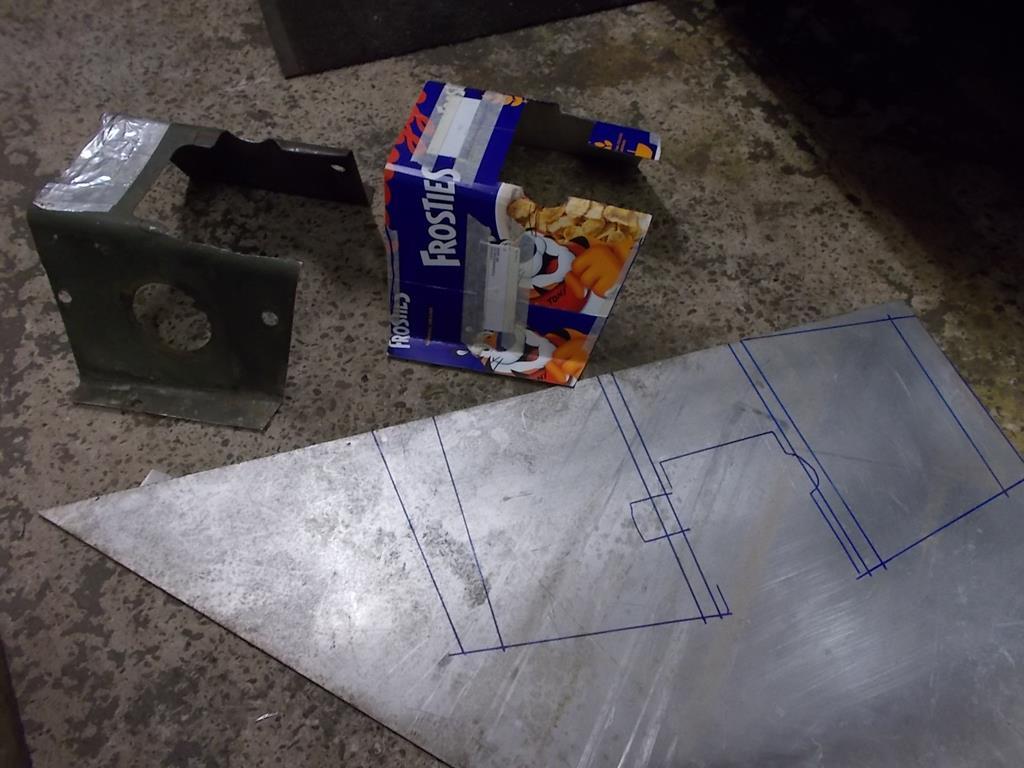
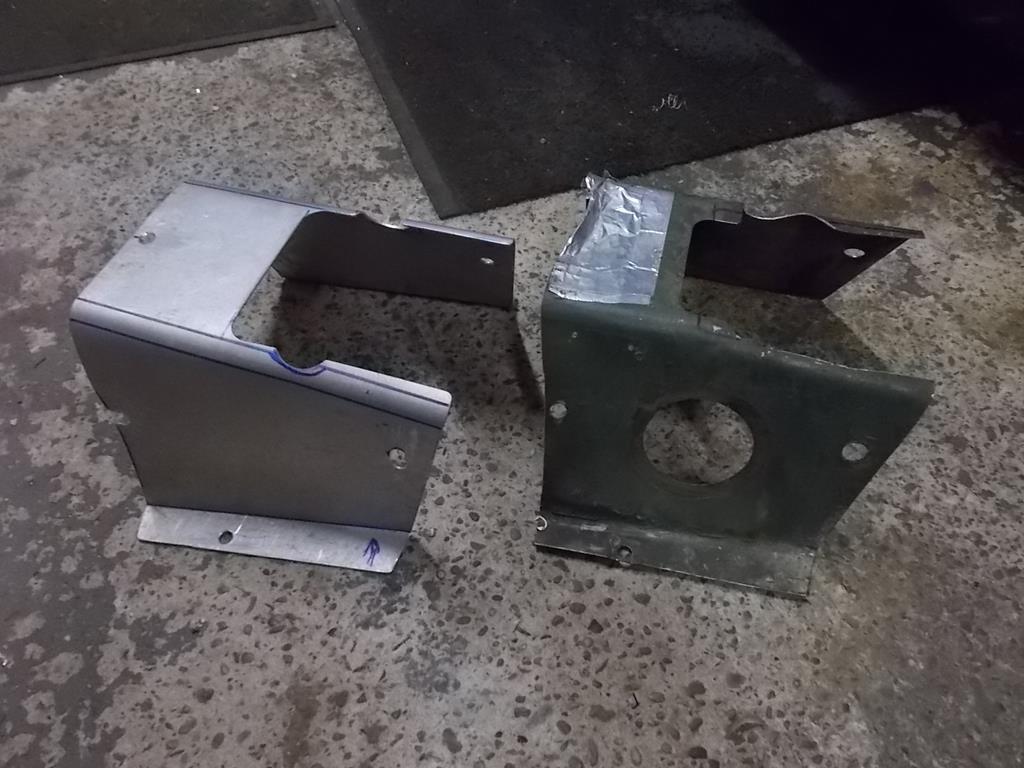
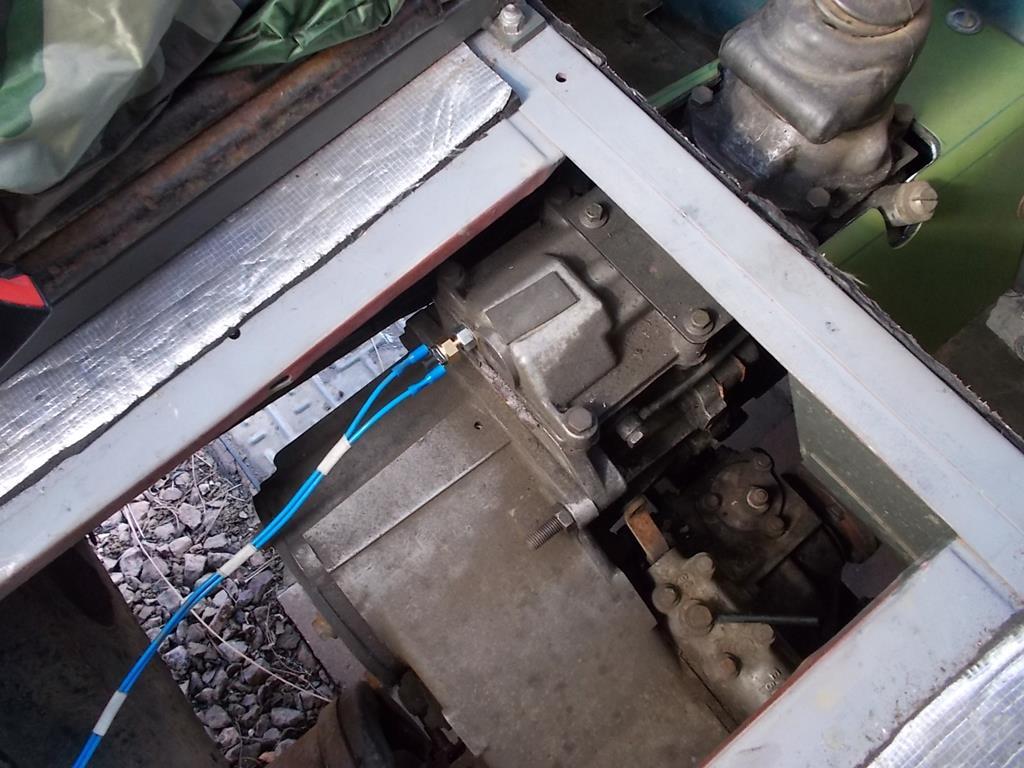
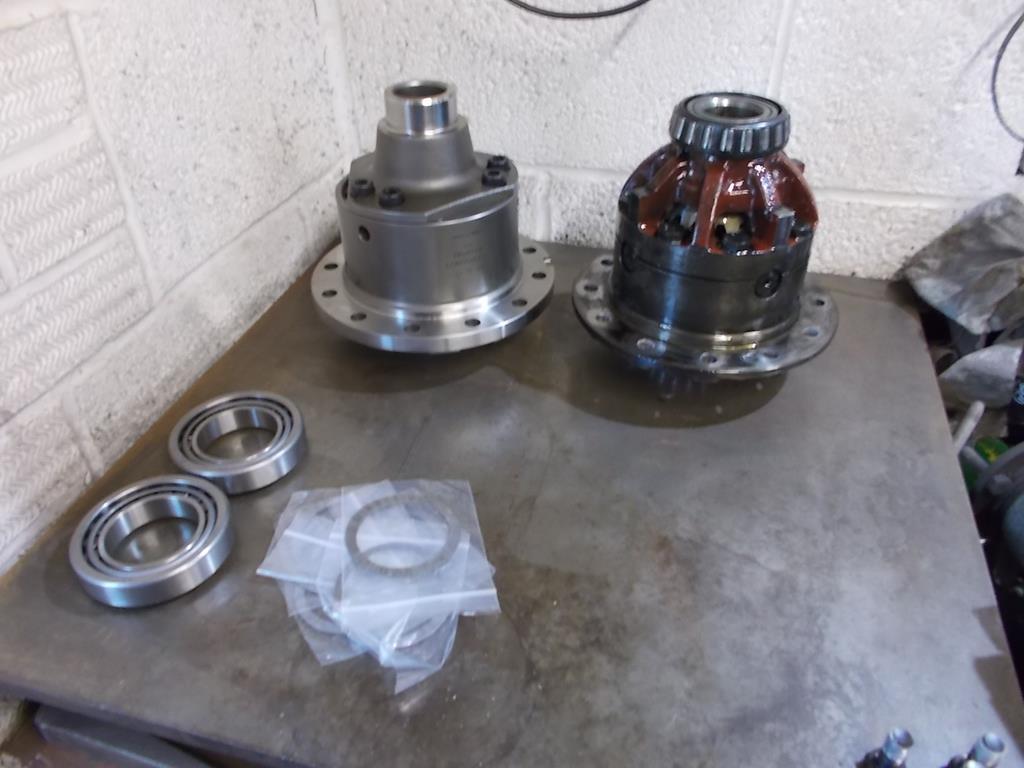
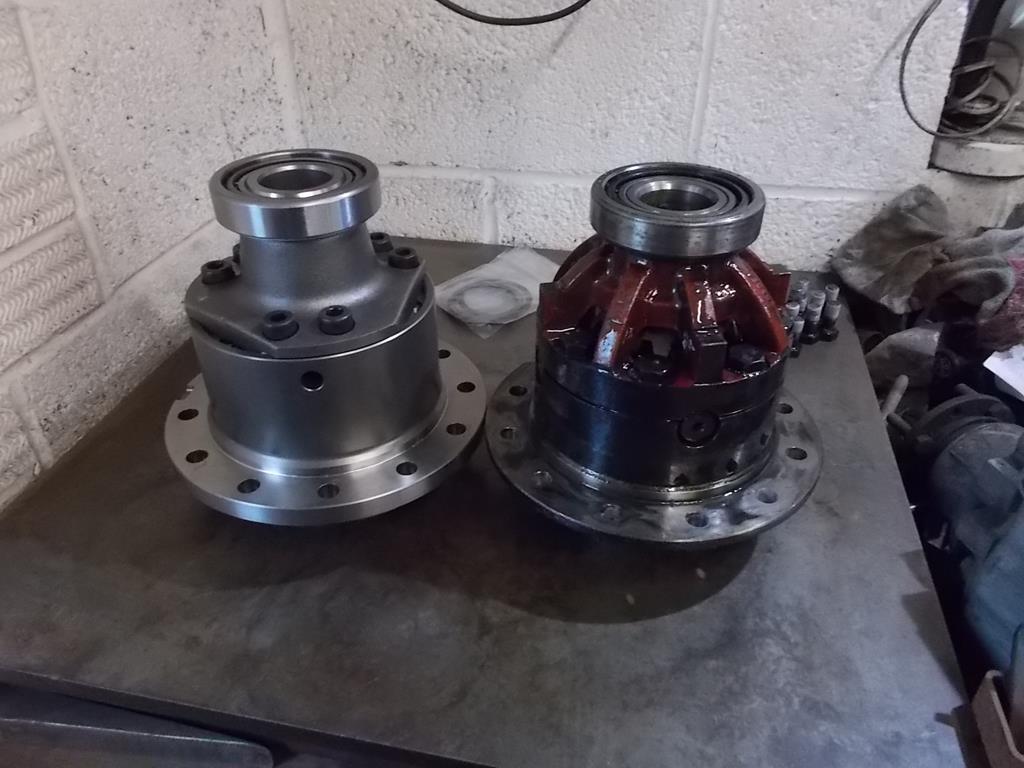
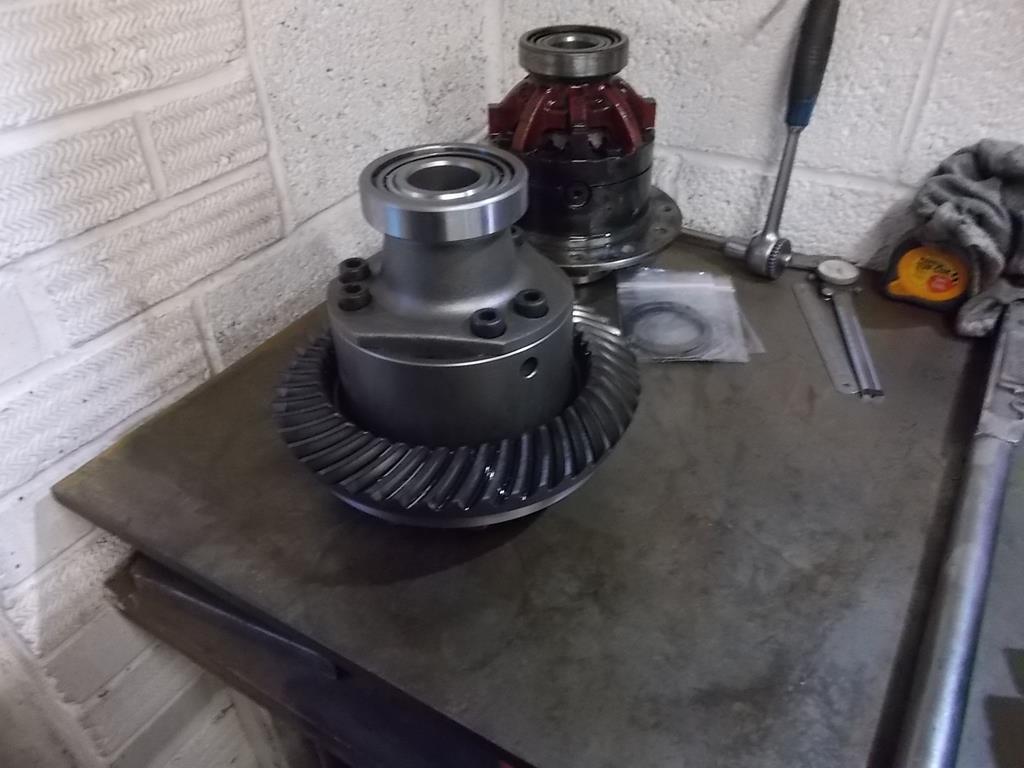
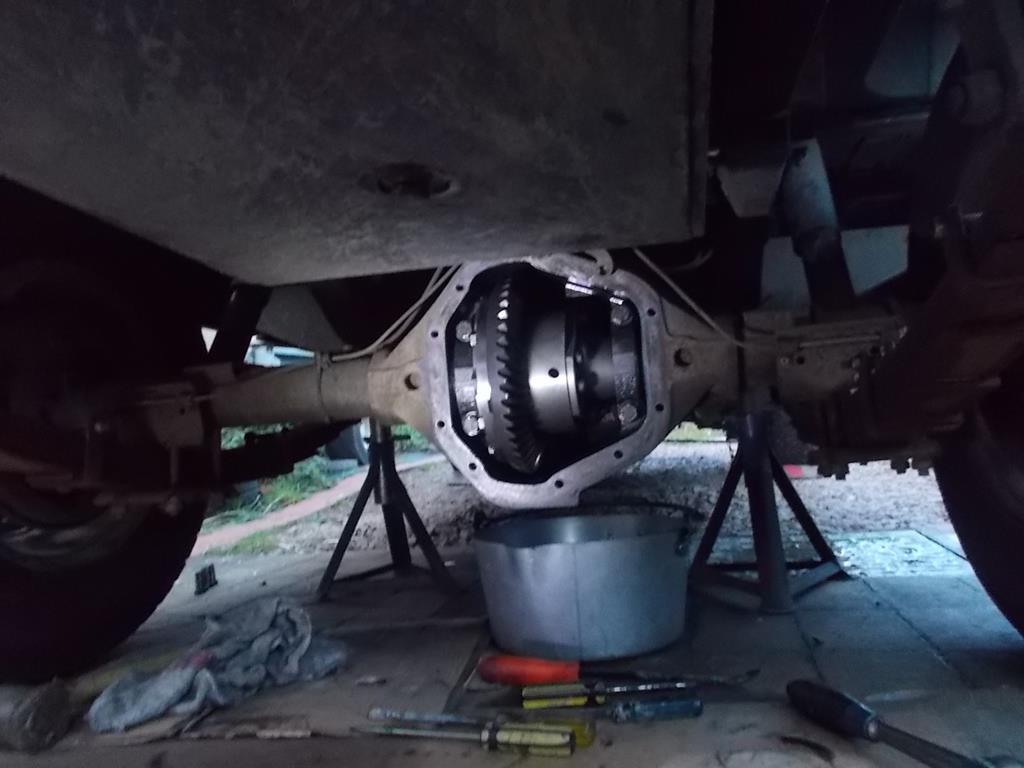
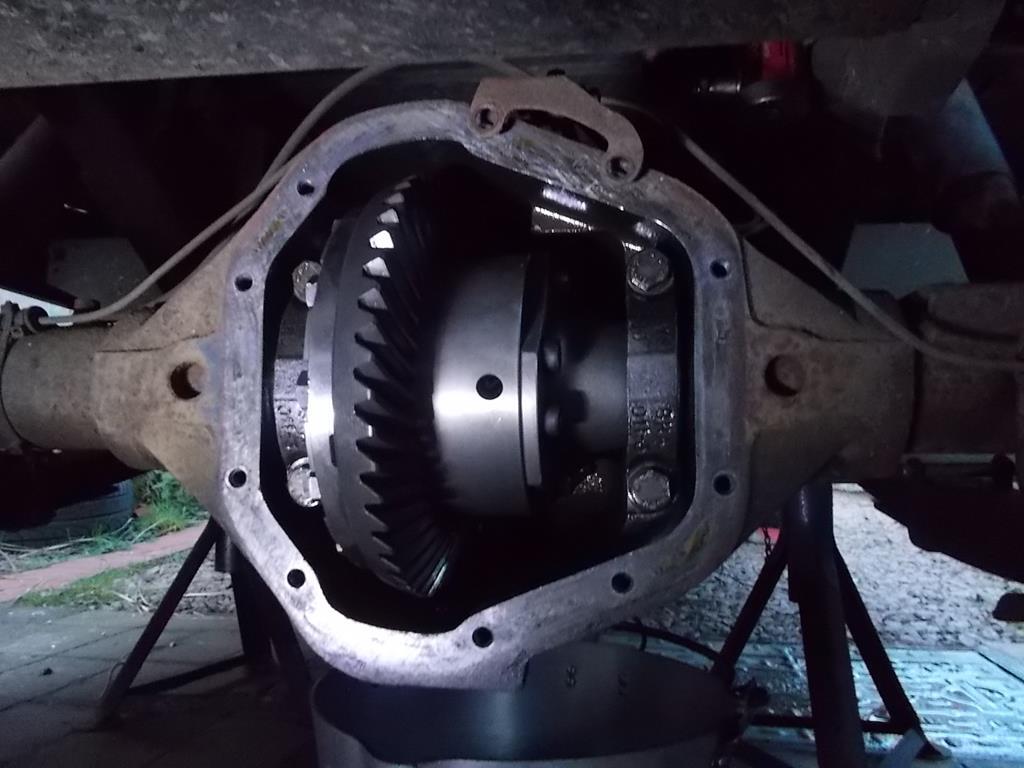
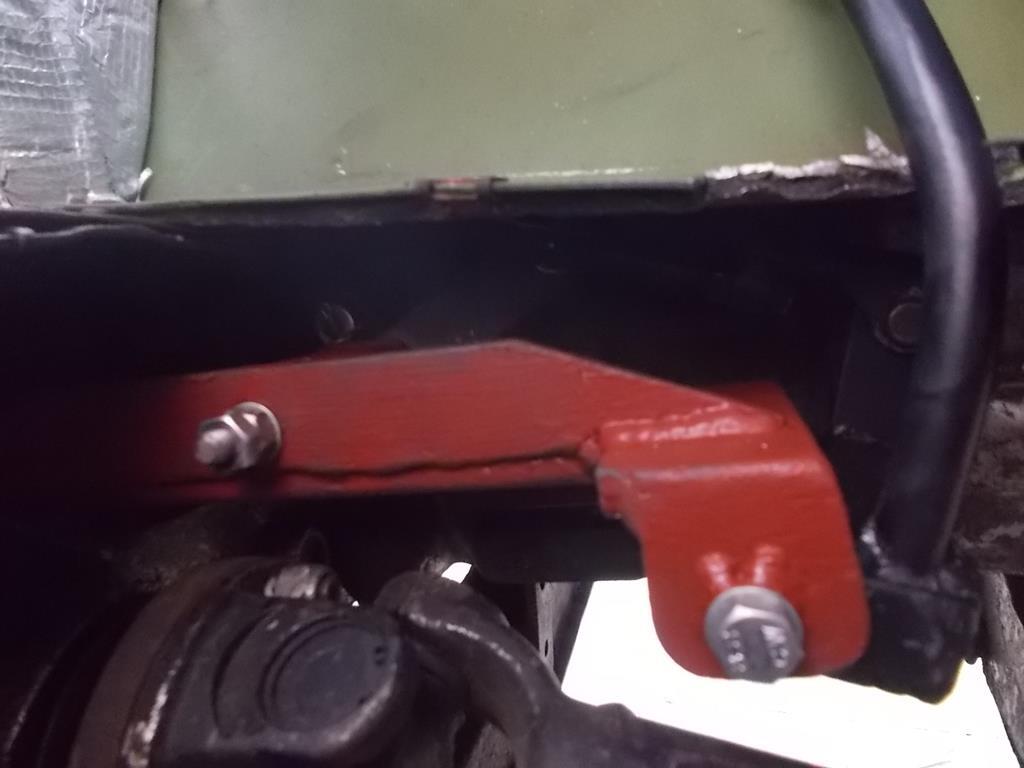
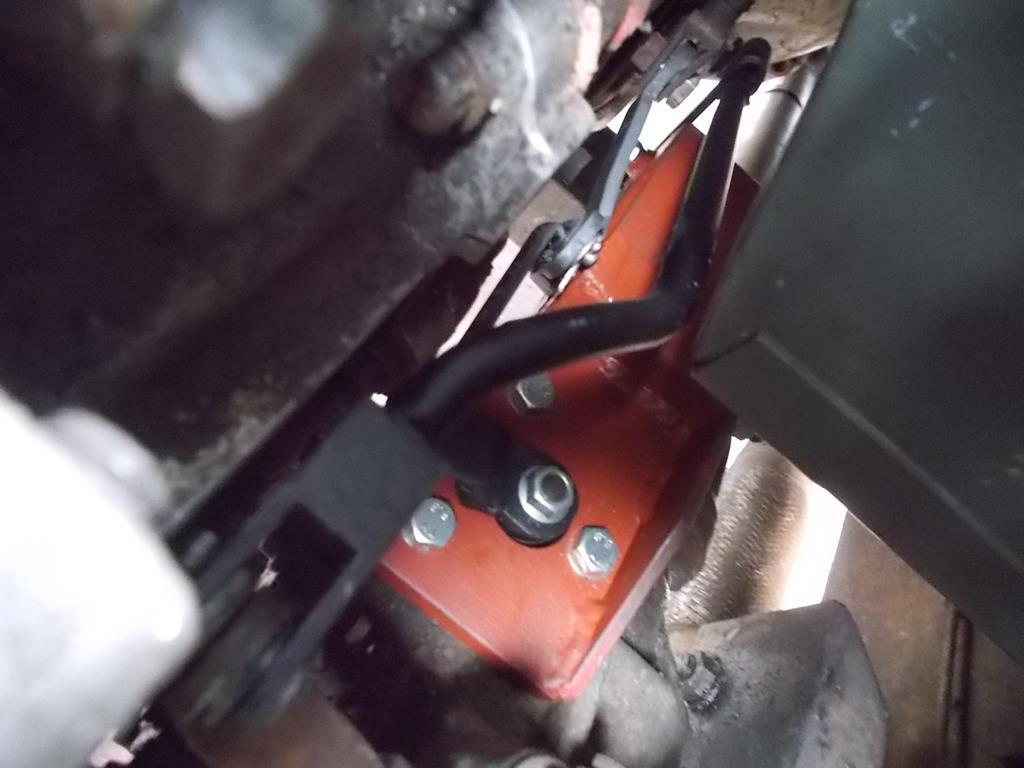
It's been a busy few months trying to sort out my garage, go to work and some household diy going on. But with the improving weather I've been able to tick a few more jobs off my list on the 109 First off was fitting a new transmission mount to replace the bodged up solid mounts. The rubber mount and brackets came from a 200ti Discovery and should work fine with the 300tdi Discovery engine mounts already fitted 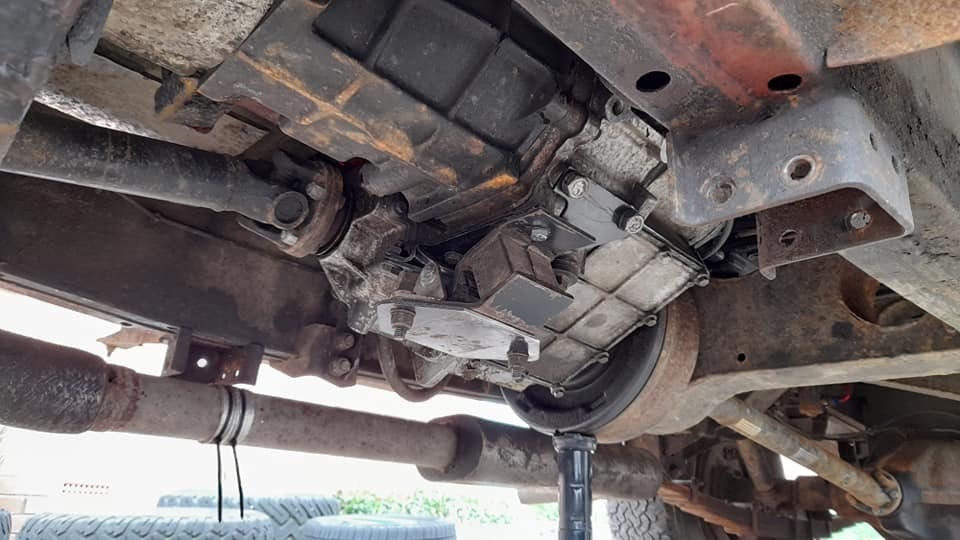 With some measurements I cut up some 30mm box steel and marked it up to cut and weld it to drop down and back from the original chassis mounts to the central transmission mount 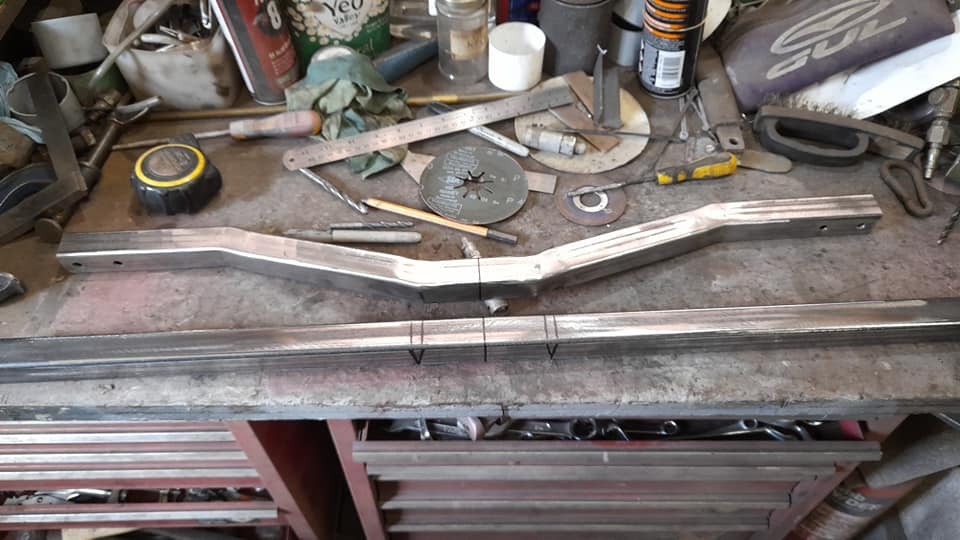 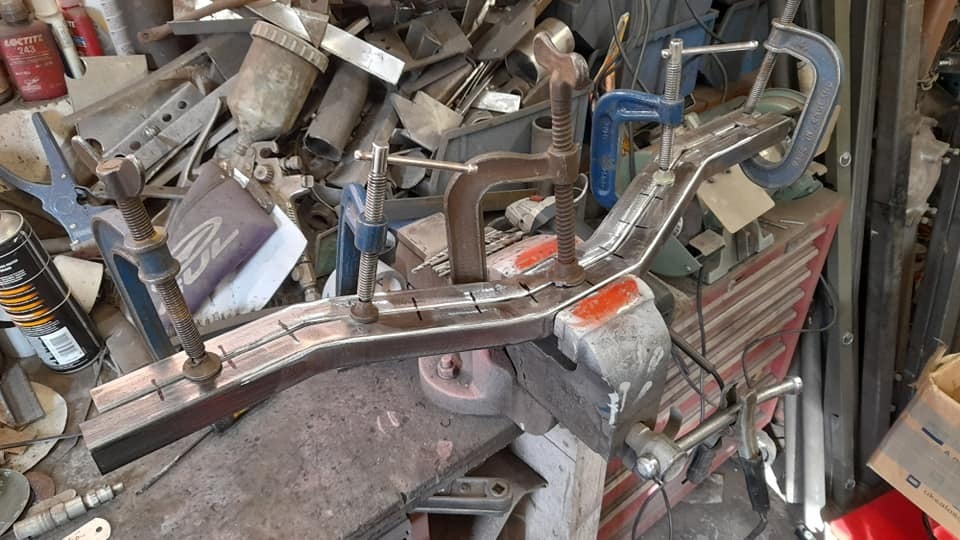 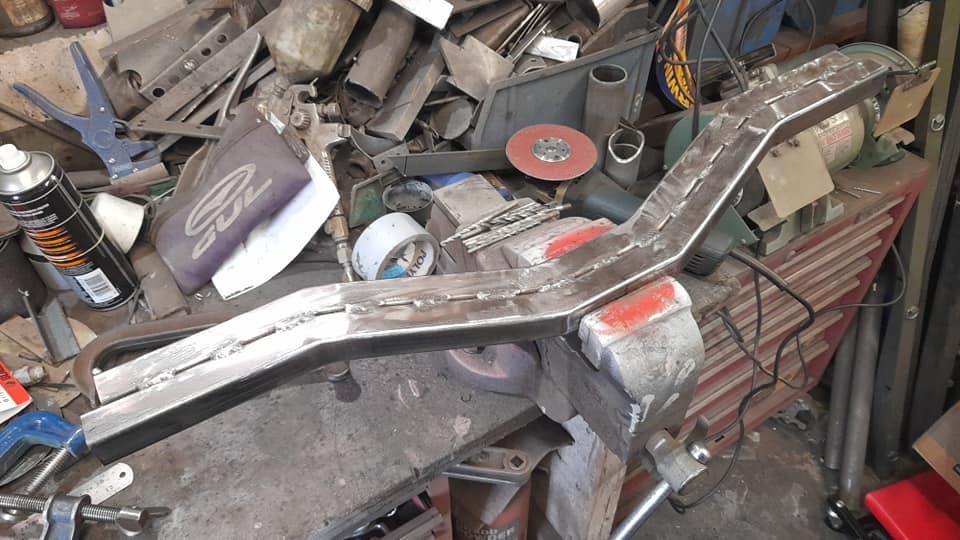 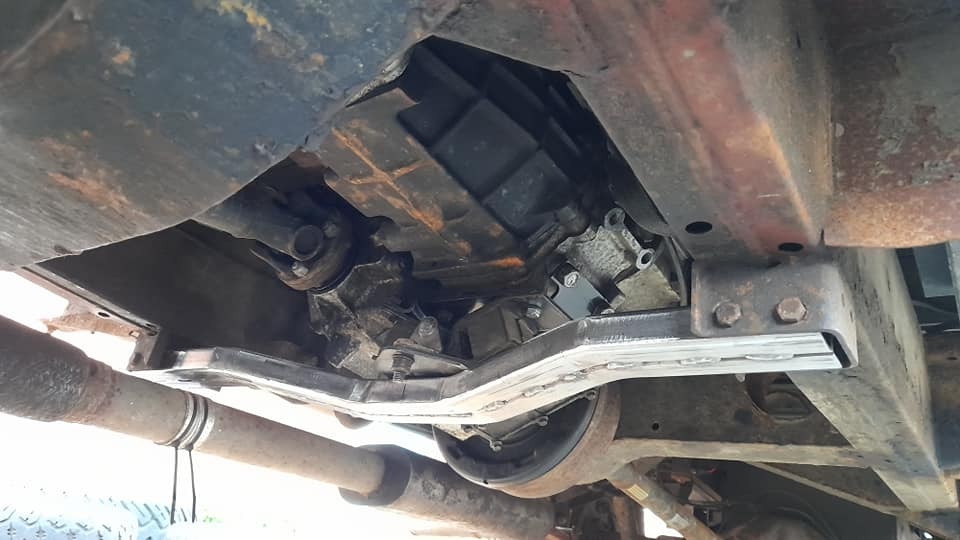 The original mounting plate was welded onto my new crossmember the it was painted and fitted 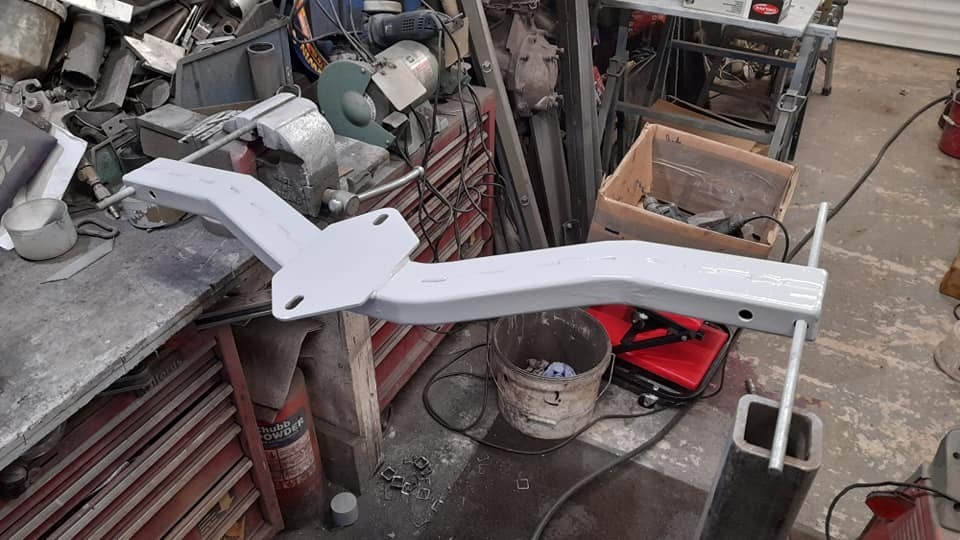 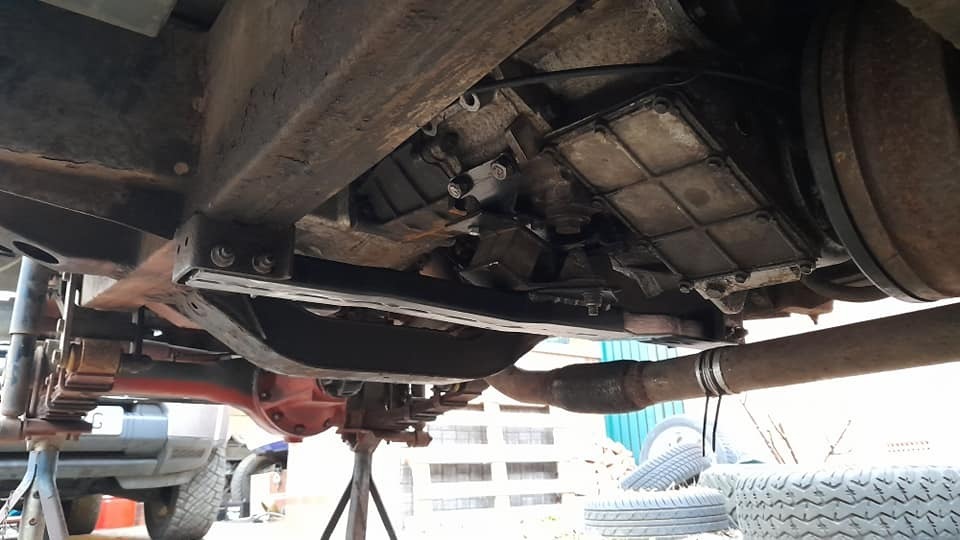 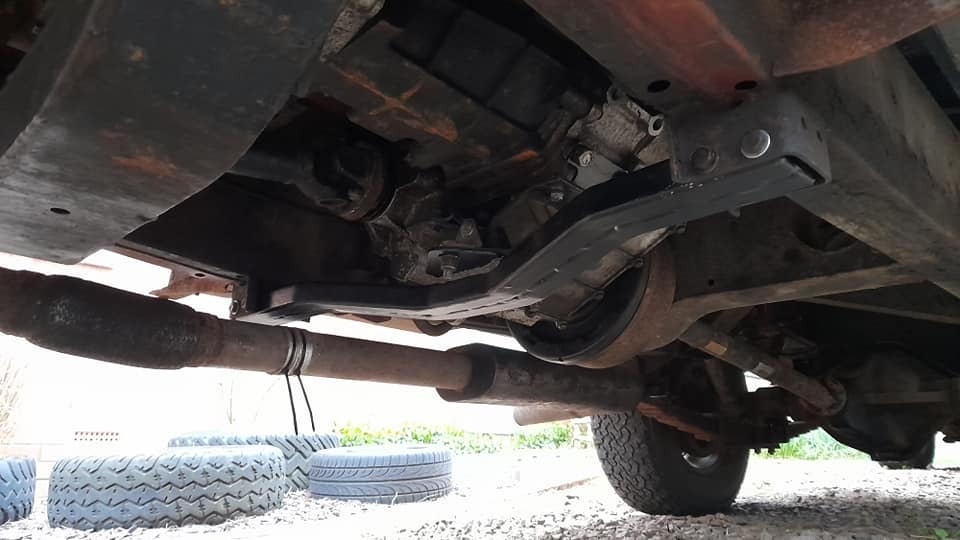 Vibrations and rattles at idle almost entirely eliminated now! Next up was tearing down the front axle to fit the Detroit Truetrac and upgraded driveshafts and cv joints 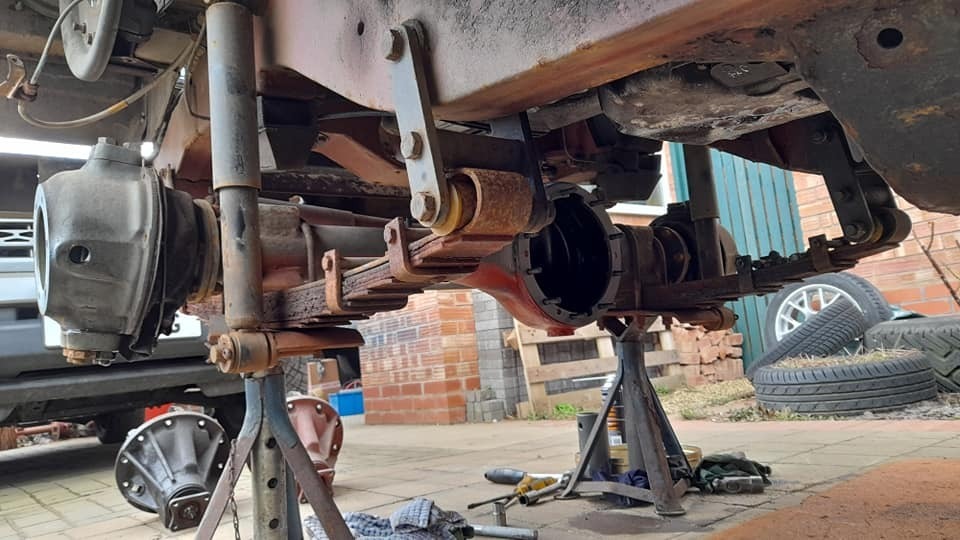 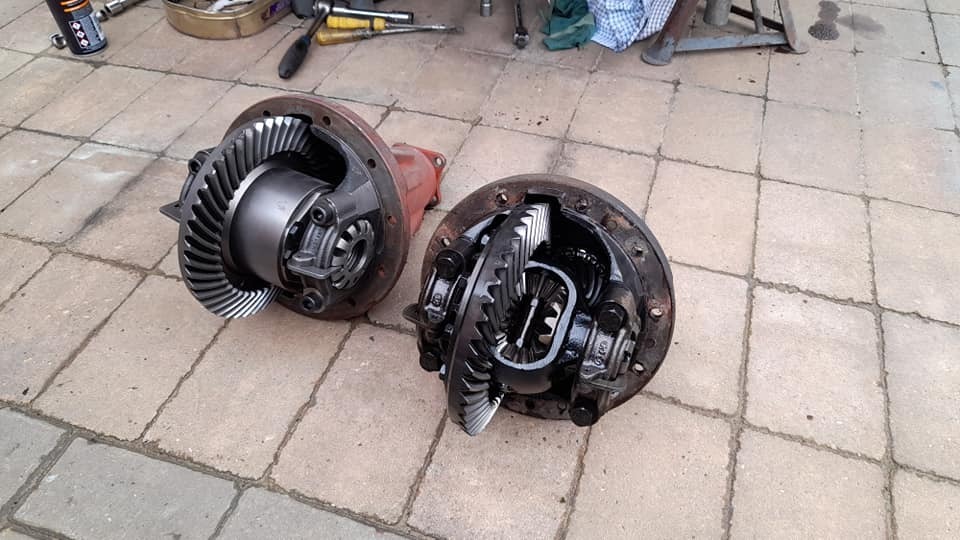 One of the front shafts is just starting to show signs of twisting in the splines 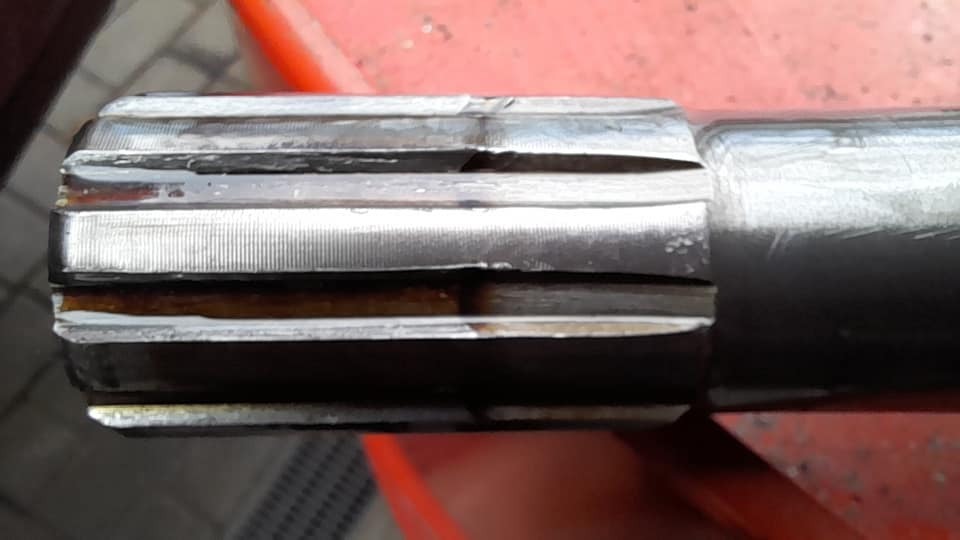 The diff has been holding up fine, nothing visibly wrong with it which I am suprised at considering how much abuse I've given! |
| |
|
|
sowen
Club Retro Rides Member
Posts: 2,245
Club RR Member Number: 24
|
|
Mar 23, 2021 11:47:40 GMT
|
And with the front axle gutted, it was time to do the mods to the swivel balls to let the 110 cv joints fit inside 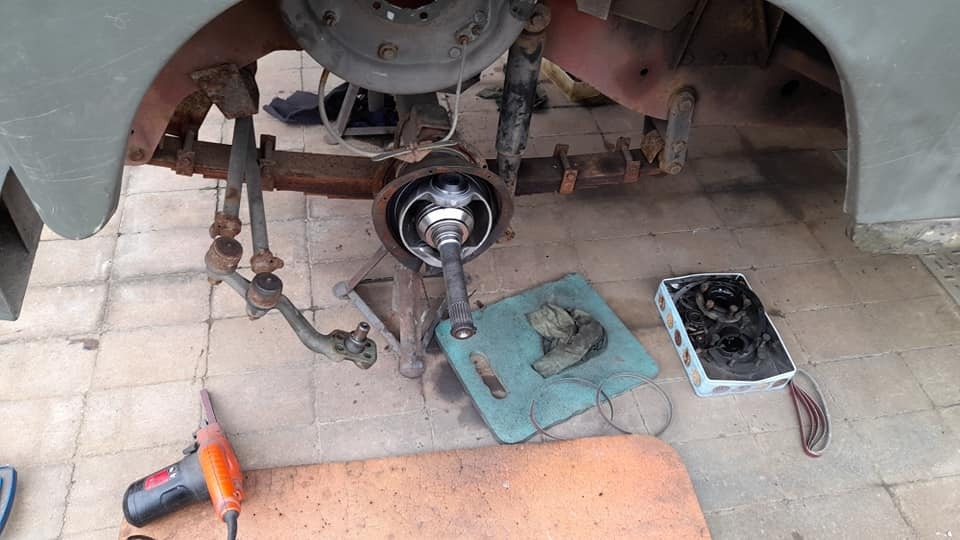 New railco top bushes were fitted with a shim underneath to give clearance on the top against the cv joint 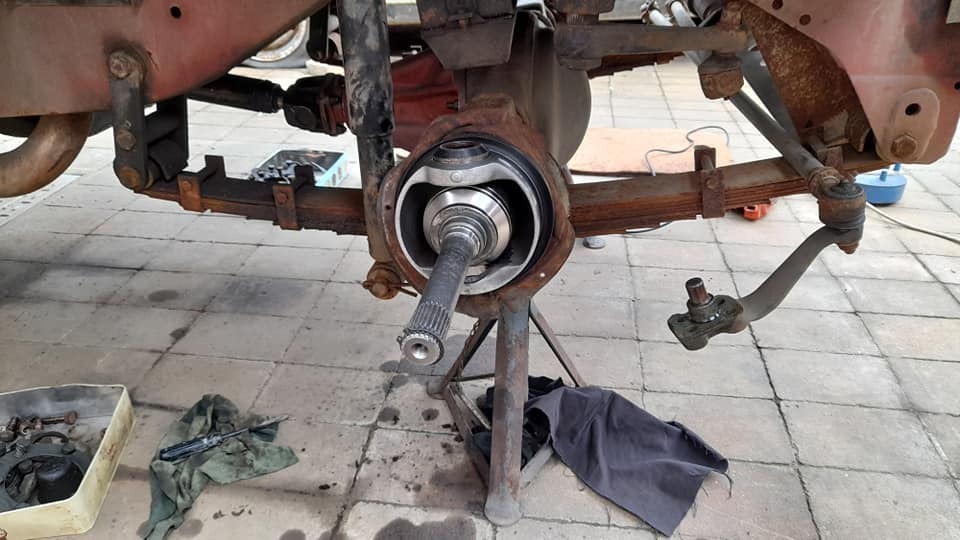 Then the hub carrier could go back on and be re-shimmed 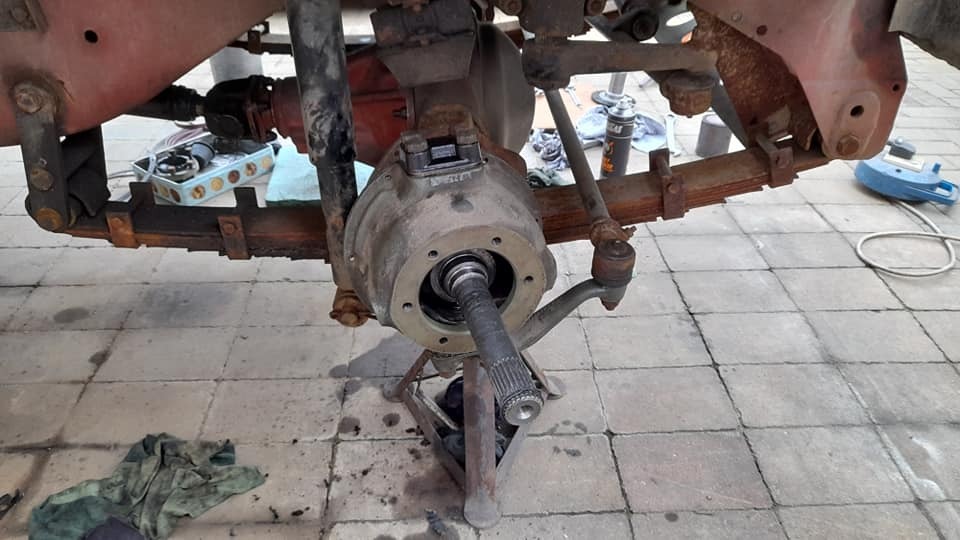 New stub axles and the brake backplates went on 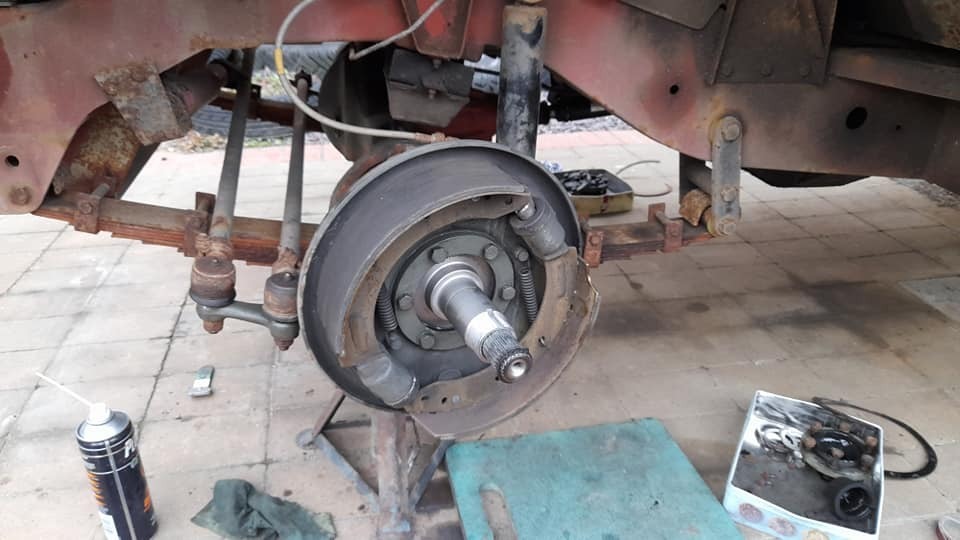 Whilst having the hubs off I pressed out the wheelstuds to fit longer Wolf studs. The standard studs are always a bit short when fitting aftermarket wheels.... 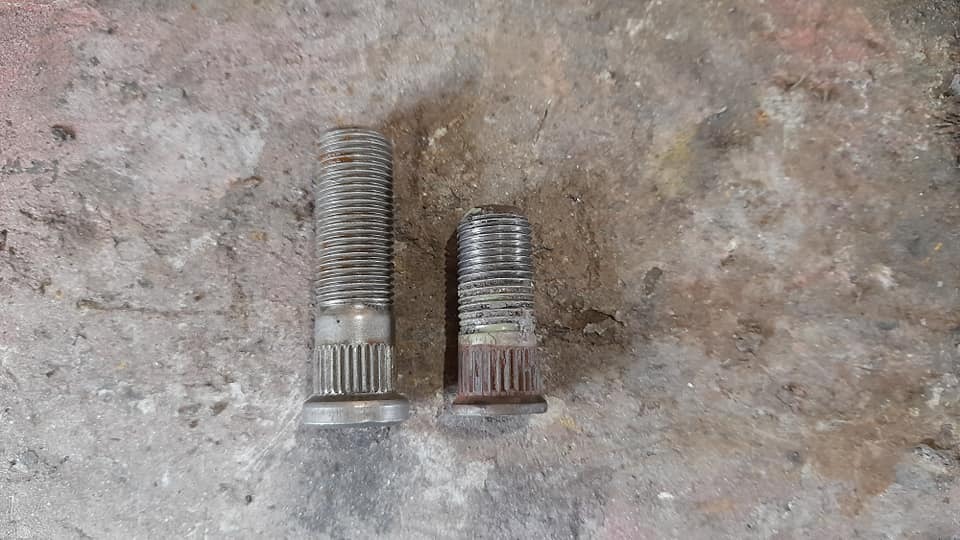 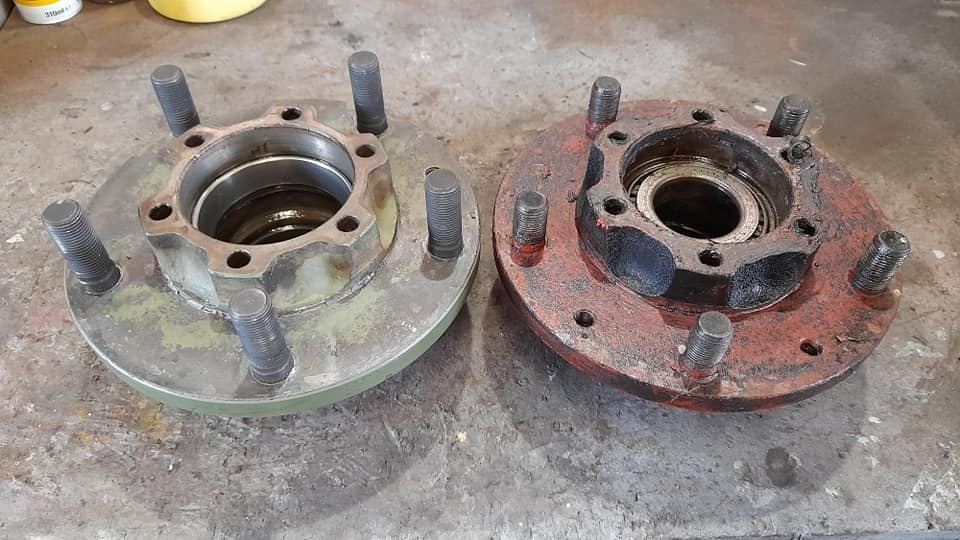 Much better, if not slightly on the long side for using longer aftermarket covered nuts! 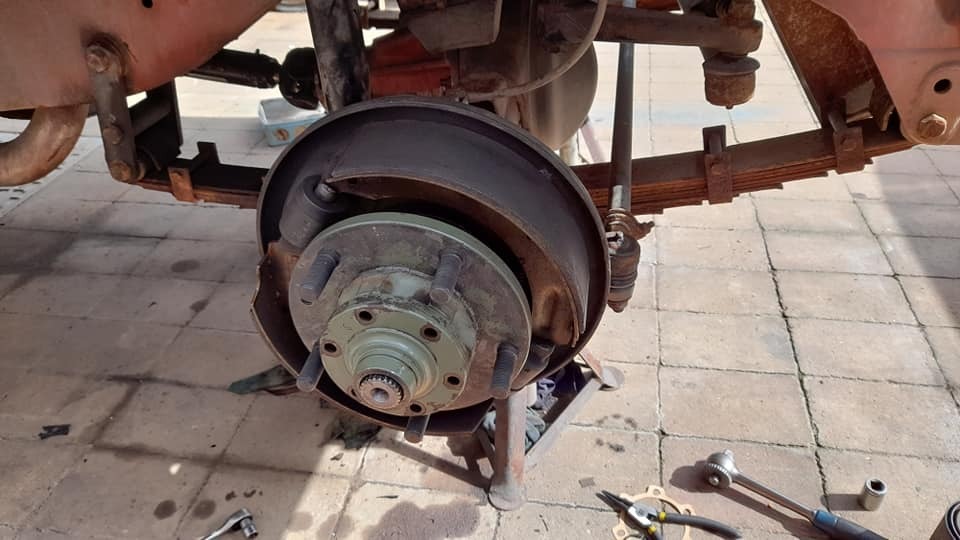 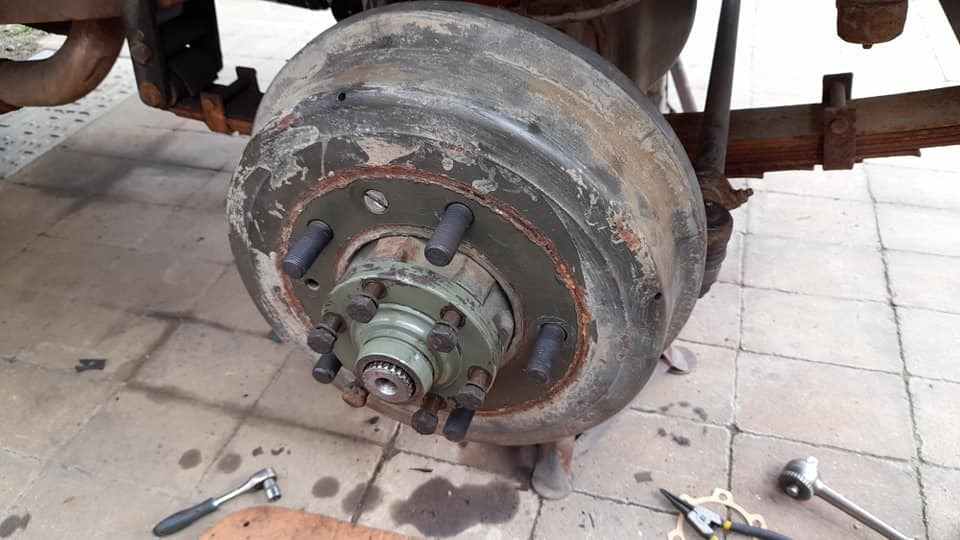 That just leaves skimming down the drive flanges to fit the cv retaining circlips and filling it all up with oil, and possibly carving up some old drums to make a set of shims so the wheelnuts don't bottom out on the studs.... |
| |
|
|
|
|


