XL391
Part of things
 
Posts: 160
|
|
Mar 14, 2020 21:32:08 GMT
|
|
|
| |
|
|
|
|
|
|
|
Mar 15, 2020 10:54:48 GMT
|
|
Just read this thread from the start and can't think why I've missed it until now,
Absolutely brilliant work in the fabrication and welding,
Looking forward to reading future updates now,
Nigel
|
| |
BMW E39 525i Sport
BMW E46 320d Sport Touring (now sold on.)
BMW E30 325 Touring (now sold on.)
BMW E30 320 Cabriolet (Project car - currently for sale.)
|
|
XL391
Part of things
 
Posts: 160
|
|
Apr 24, 2020 20:56:06 GMT
|
|
|
| |
|
|
|
|
|
Apr 24, 2020 21:25:49 GMT
|
|
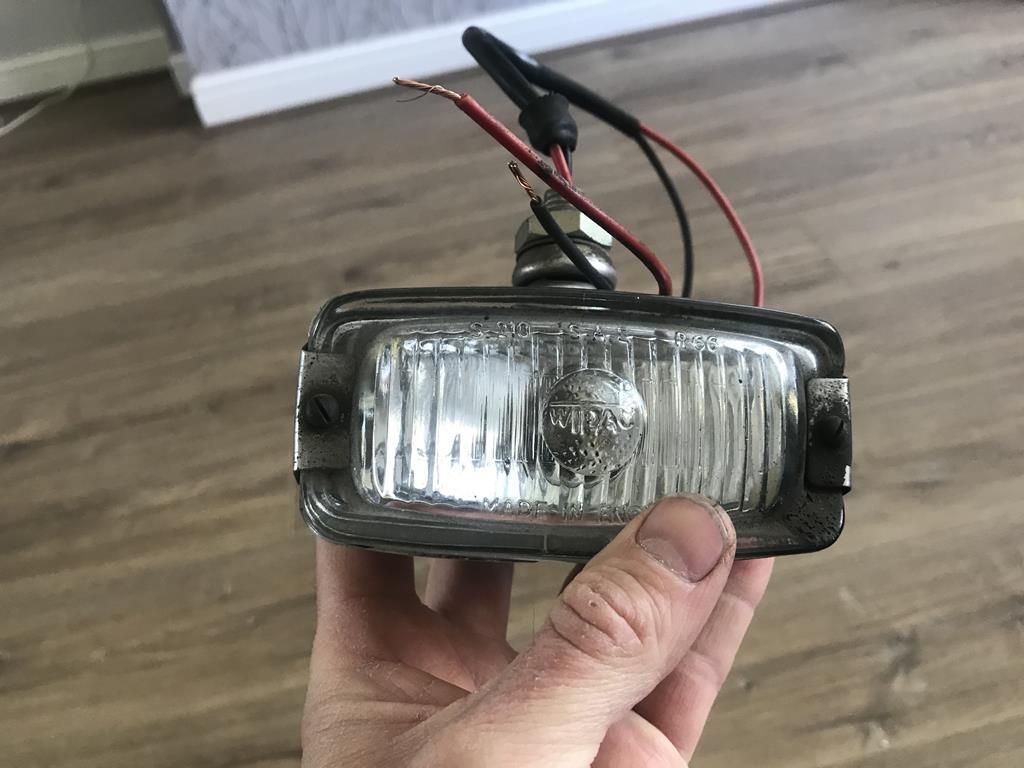
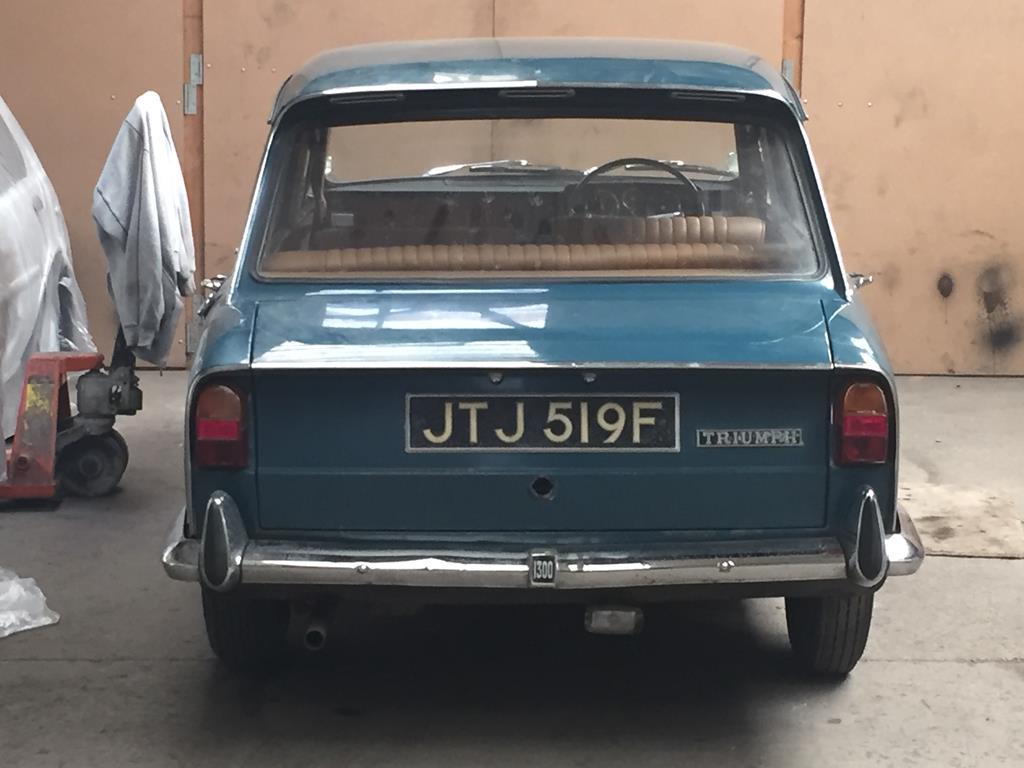
Fantastic work, these are such neat cars. I'd leave the light off, too close to the centre and the lack of symmetry would drive me crazy!
|
| |
|
|
|
|
|
Apr 24, 2020 21:48:03 GMT
|
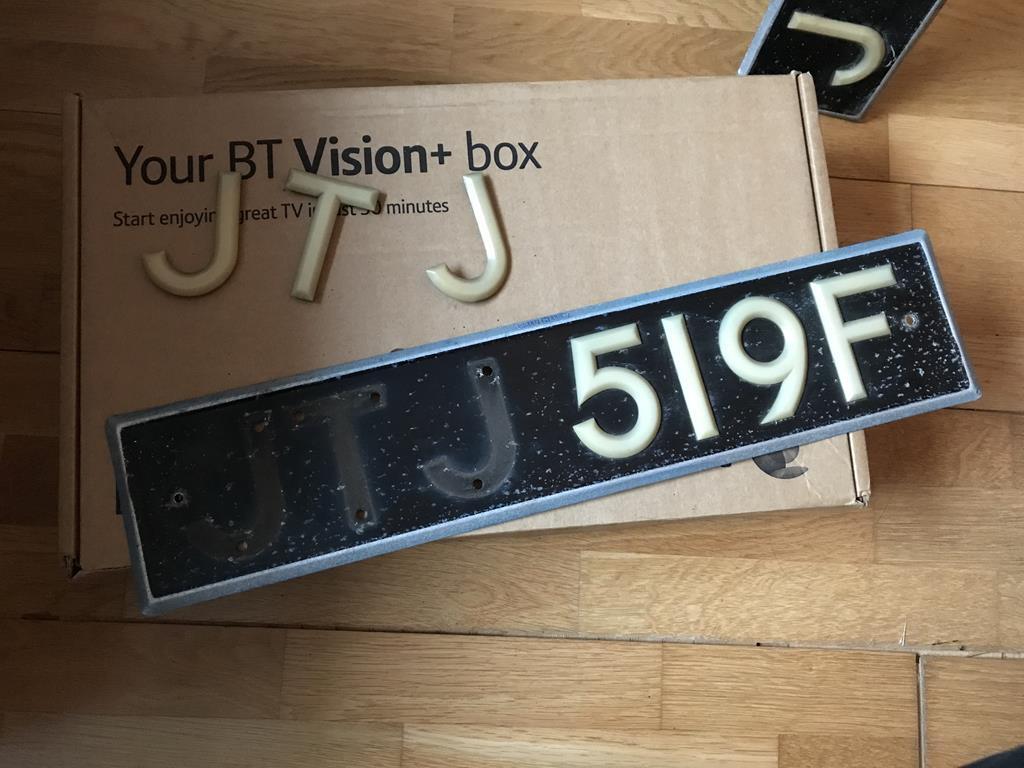
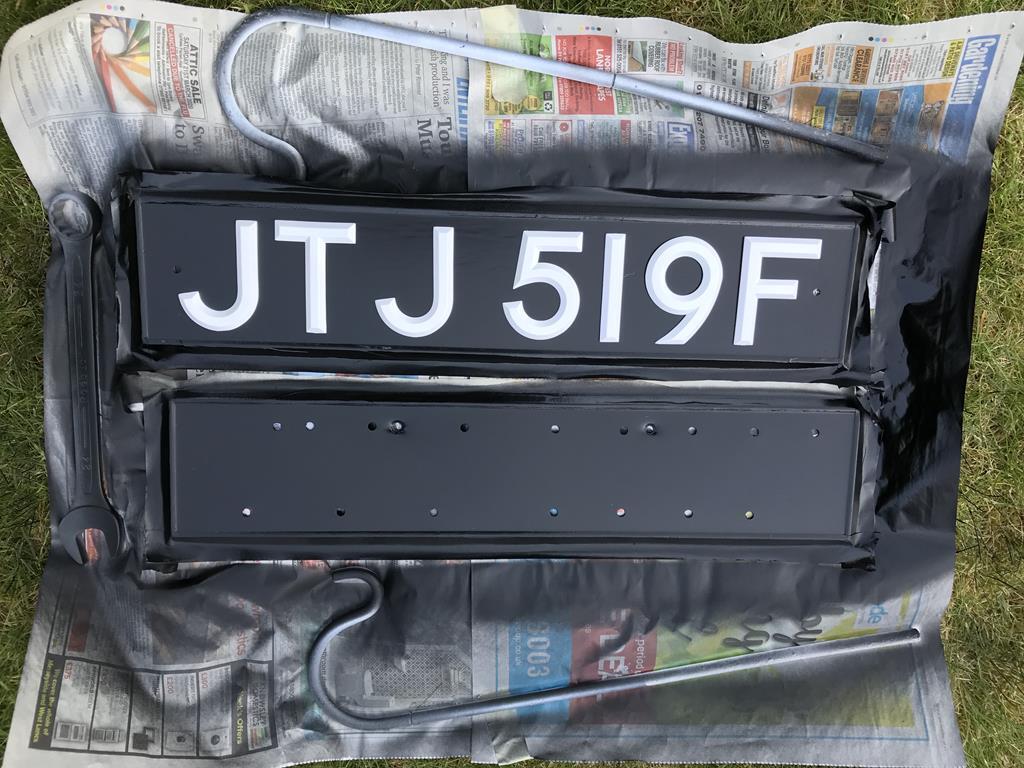
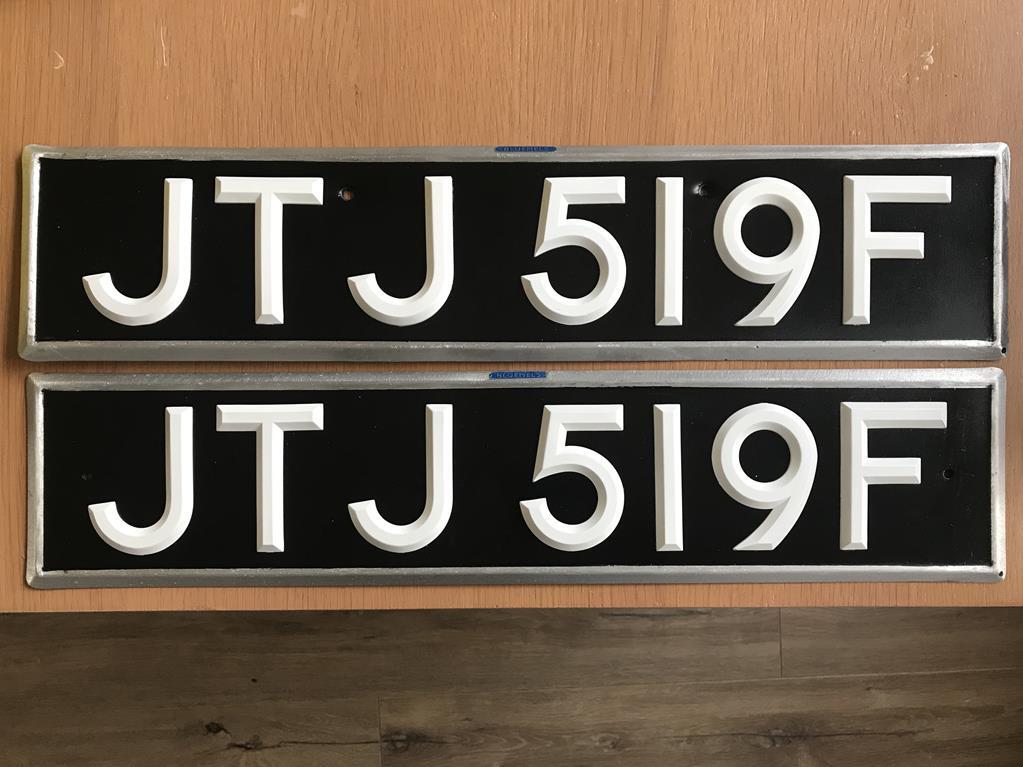
Great stuff, love the work on the numberplates, I prefer that style over the pressed type. The light, yes, infact id suggest getting another one and have one each side, but further outwards, the current location is a bit meh... EDIT~I did a little photoplop of the reverse lights underneath the bumper bolts, or if you remove the overriders, get a couple of bolt on wipac units to go under the rear light units. 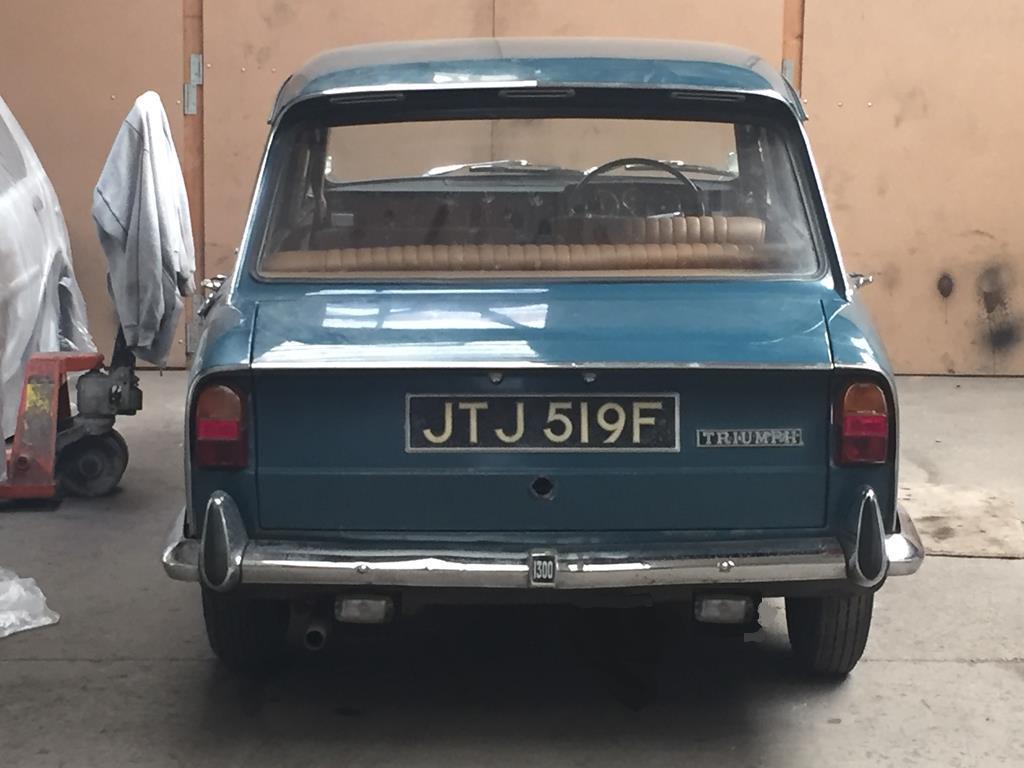 |
| |
Last Edit: Apr 25, 2020 11:52:57 GMT by bmcnut
|
|
|
|
|
Apr 24, 2020 22:10:14 GMT
|
|
They really are lovely little cars. I was bought one for getting through school exams when I was 11 (19 years ago), really wish we didn't end up breaking it as it wasn't really, really bad, but the way things were then, and I was also more into my late 80s / early 80s cars then (still am!).
|
| |
|
|
goldnrust
West Midlands
Minimalist
Posts: 1,887
|
|
Apr 24, 2020 22:10:25 GMT
|
Love the feeling of seeing light at the end of the metalwork tunnel. You’re doing a good job of putting all the metal back properly. The hard work should pay off with a solid driving car at the end of it  The reversing light question, for me, would come down to how often you have to reverse at night in unlit areas. For example my driveway is unlit. Backing on to it with just the taillight red glow in the dark is very tricky. |
| |
|
|
|
|
1968 Triumph 1300 FWDfr€$h&m1nt¥
@freshandminty
Club Retro Rides Member 99
|
|
|
|
Great work on this, it always impresses me when people can make intricate curved pieces like you are out of sheet metal.
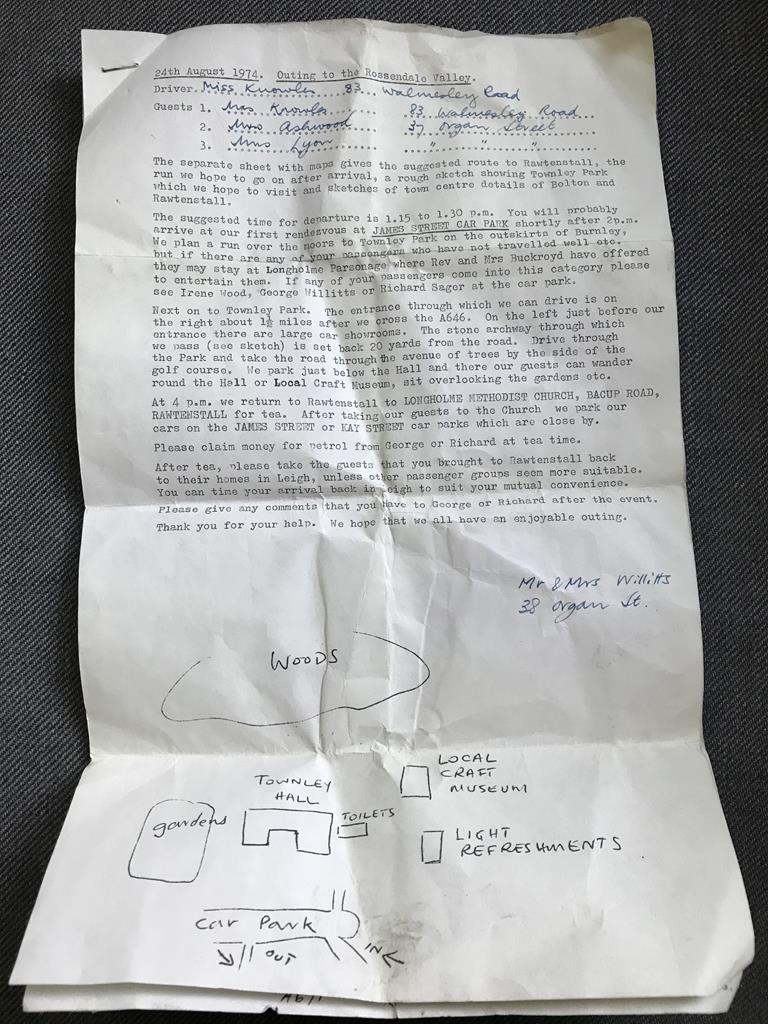
Love that letter too, it sounds so formal, it’s like the start of an Agatha Christie albeit 30 years too late.
Intriguing that they could claim back their fuel expenses from what sounded like an arranged day trip.
Did you use some kind of peroxide solution to reverse the ageing on the reg letters?
As for reverse lamp i would leave it off if there are reverse lamps in the clusters or if that’s the only reverse lamp could it be moved centrally to below the 1300 badge on the bumper?
|
| |
|
|
|
|
|
Apr 25, 2020 16:39:08 GMT
|
|
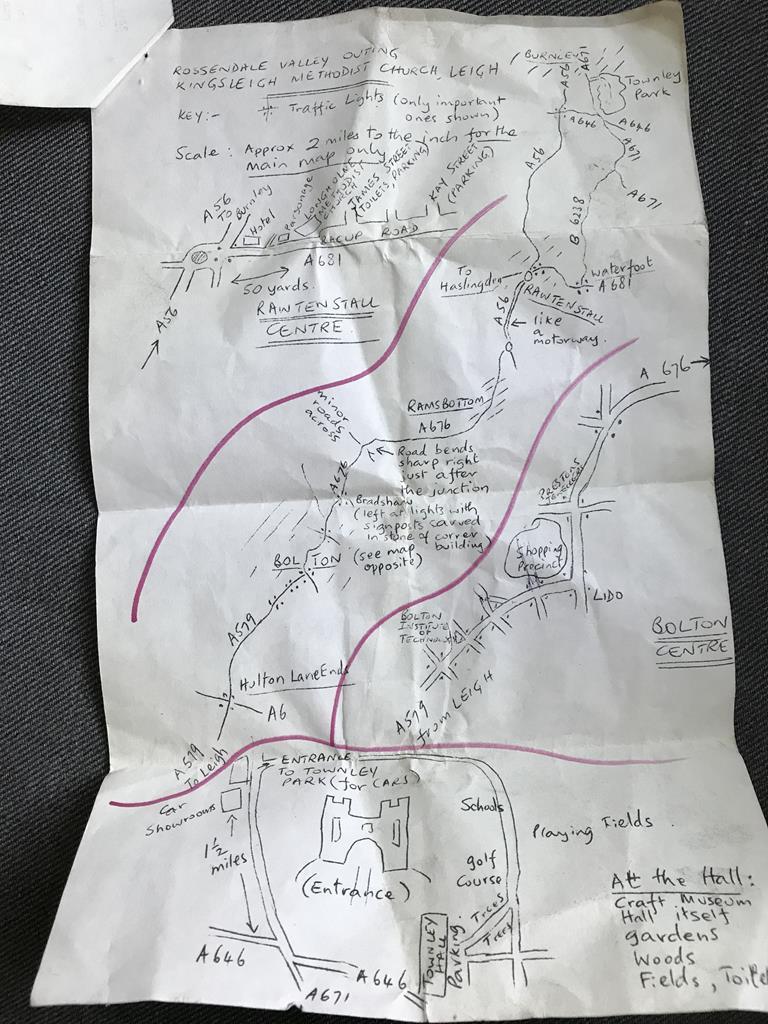
That map is brilliant
|
| |
|
|
XL391
Part of things
 
Posts: 160
|
|
|
|
EDIT~I did a little photoplop of the reverse lights underneath the bumper bolts, or if you remove the overriders, get a couple of bolt on wipac units to go under the rear light units.  Thanks very much for doing this. If you get a chance can you please move the single light directly under the 1300 bumper badge for me? |
| |
|
|
|
|
XL391
Part of things
 
Posts: 160
|
|
|
|
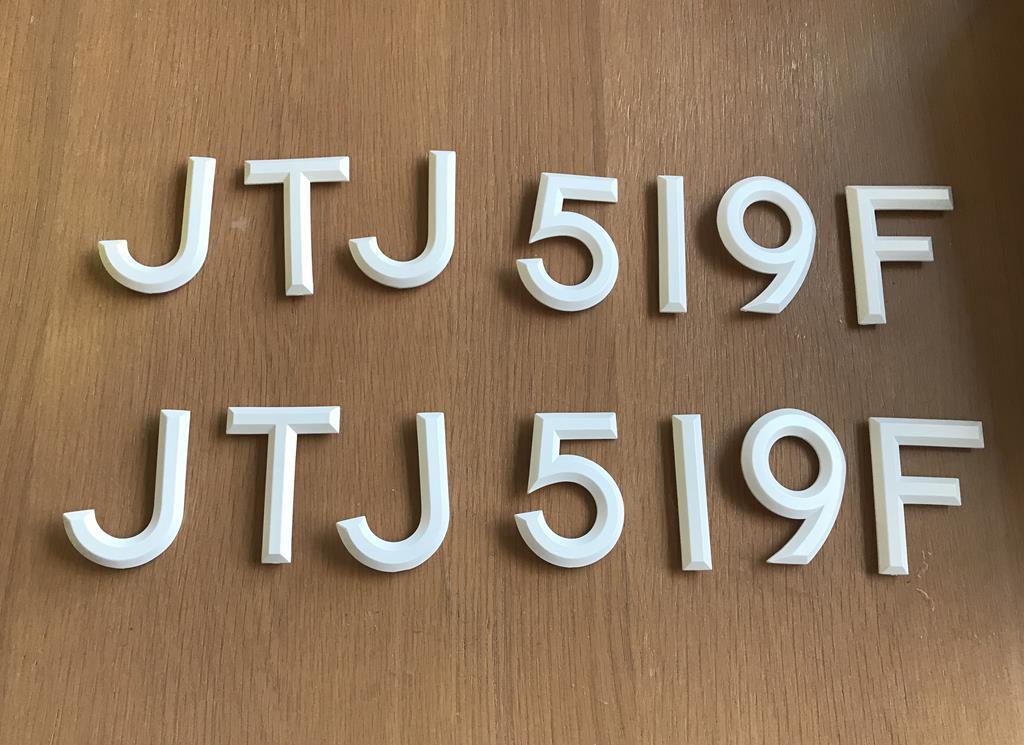
Did you use some kind of peroxide solution to reverse the ageing on the reg letters? All I did was wash them, then use a fine scotch pad to key them up before putting 4x coats of satin white over the top. 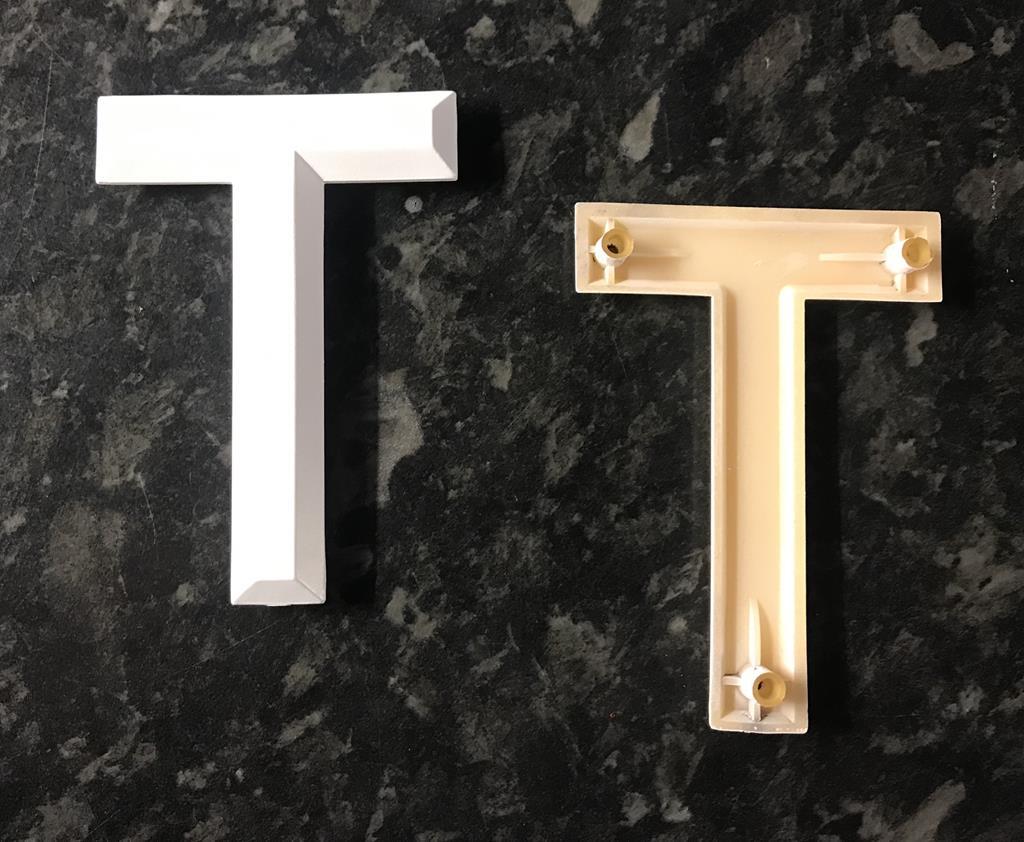 |
| |
|
|
XL391
Part of things
 
Posts: 160
|
|
|
|
|
|
| |
|
|
|
|
|
Apr 26, 2020 10:09:13 GMT
|
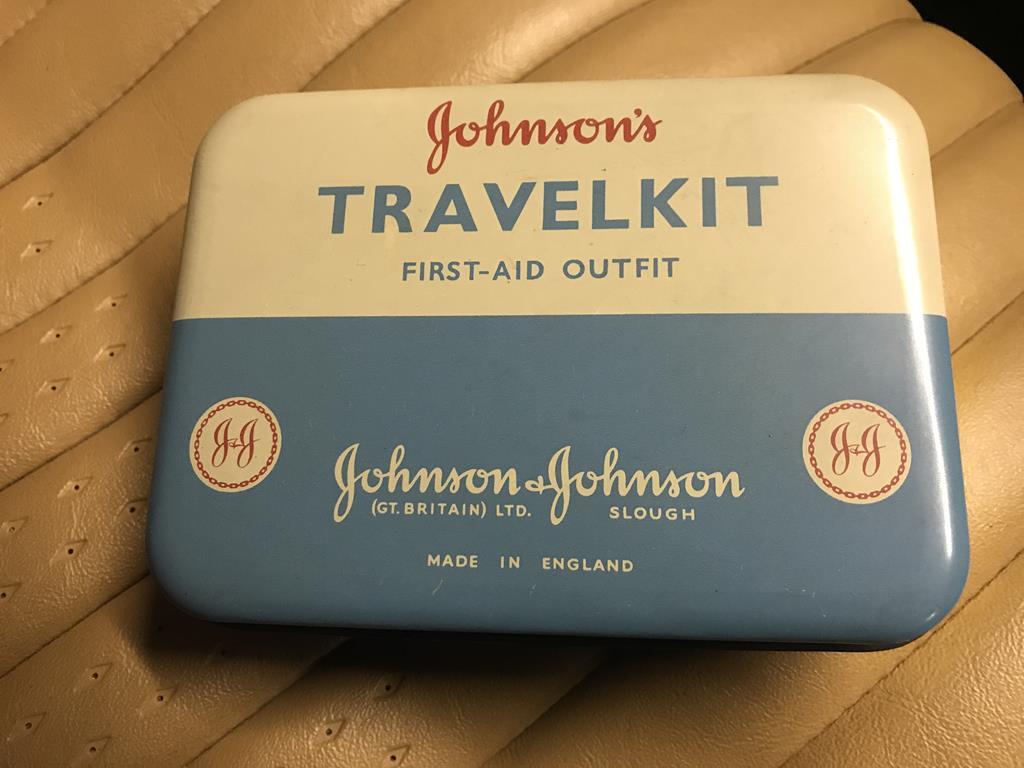
I can imagine the disappointment when you realised there were no chocolates  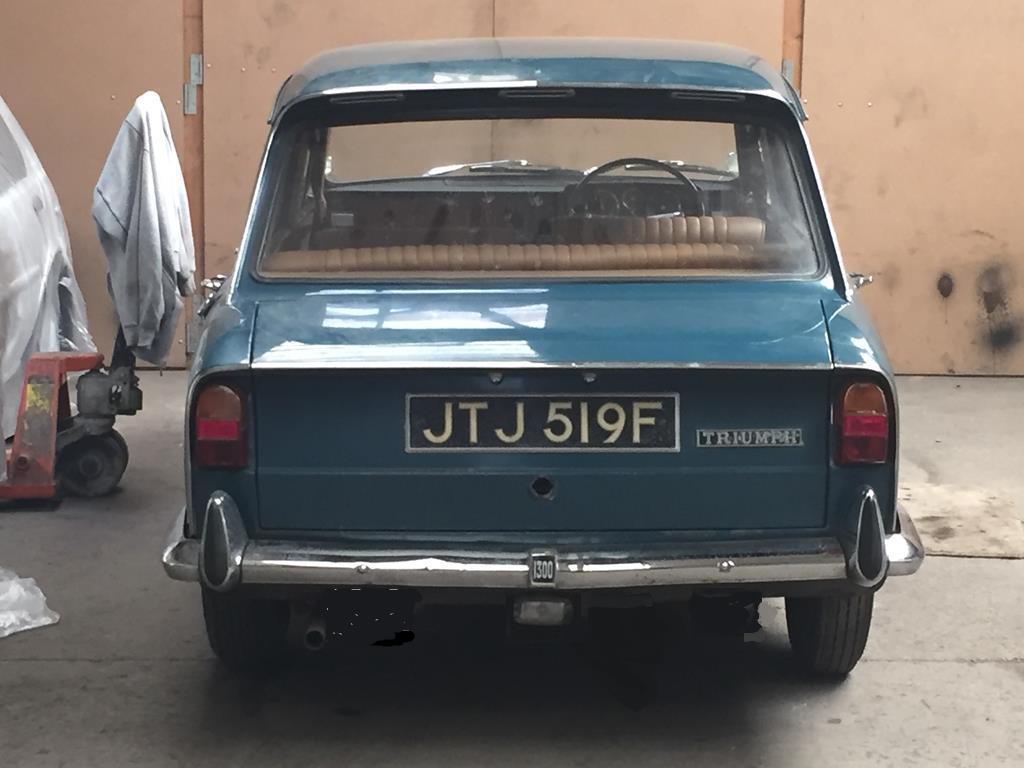 I think the single one looks loads better central like that, but if it was my choice id go for the twins, I think it looks more factory and you get more light. I'm sure you can get some high output led bulbs to make them more like search lights.  |
| |
|
|
|
|
|
Apr 26, 2020 10:40:21 GMT
|
|
It’s great this car with all its hidden retro secrets is getting repaired. Enjoying this thread. Found a rather sorry looking blue base spec dolomite on a farm near me on Friday. Tempting!
|
| |
|
|
logicaluk
Posted a lot
   Every days a school day round here
Posts: 1,373
|
|
Apr 26, 2020 13:21:11 GMT
|
|
Nice work, if it was mine id try to find another reversing light and fit them just inboard of the overriders, but out of the 2 options so far id say single in the middle.
Dan
|
| |
|
|
|
|
|
Apr 26, 2020 14:02:07 GMT
|
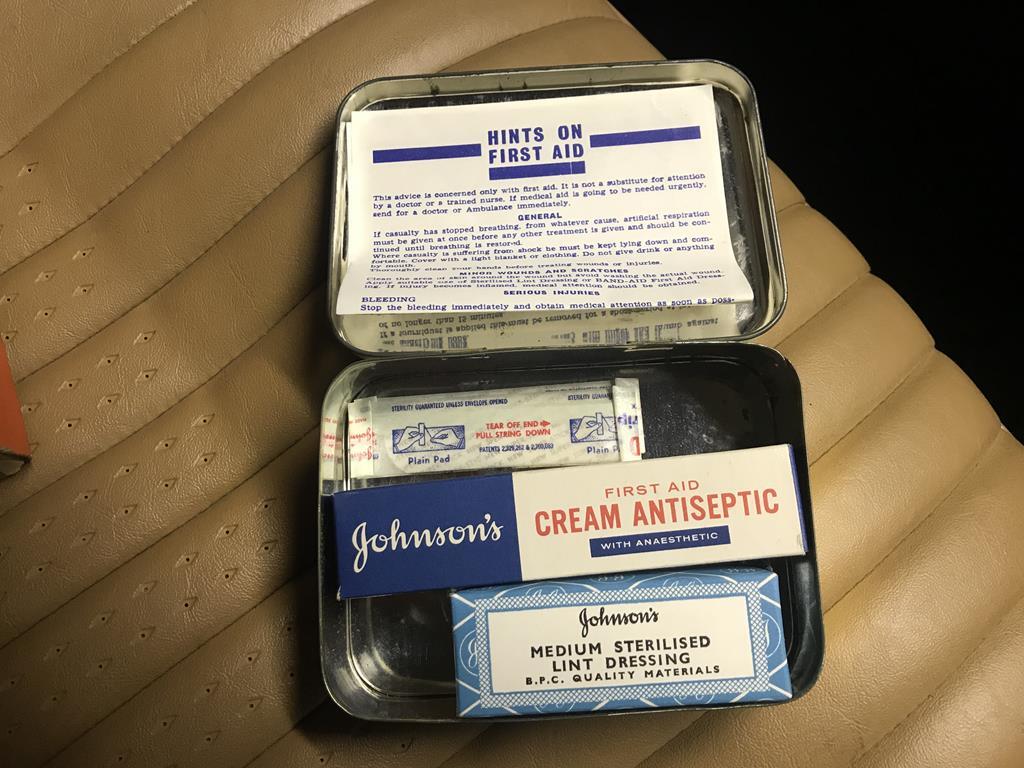
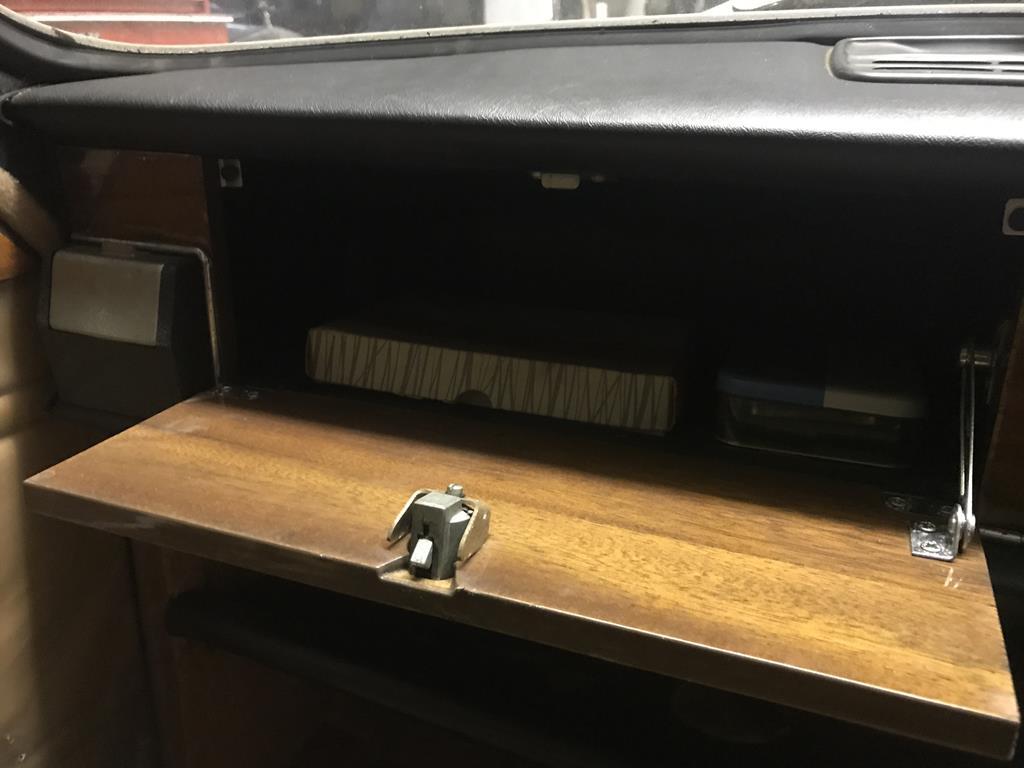
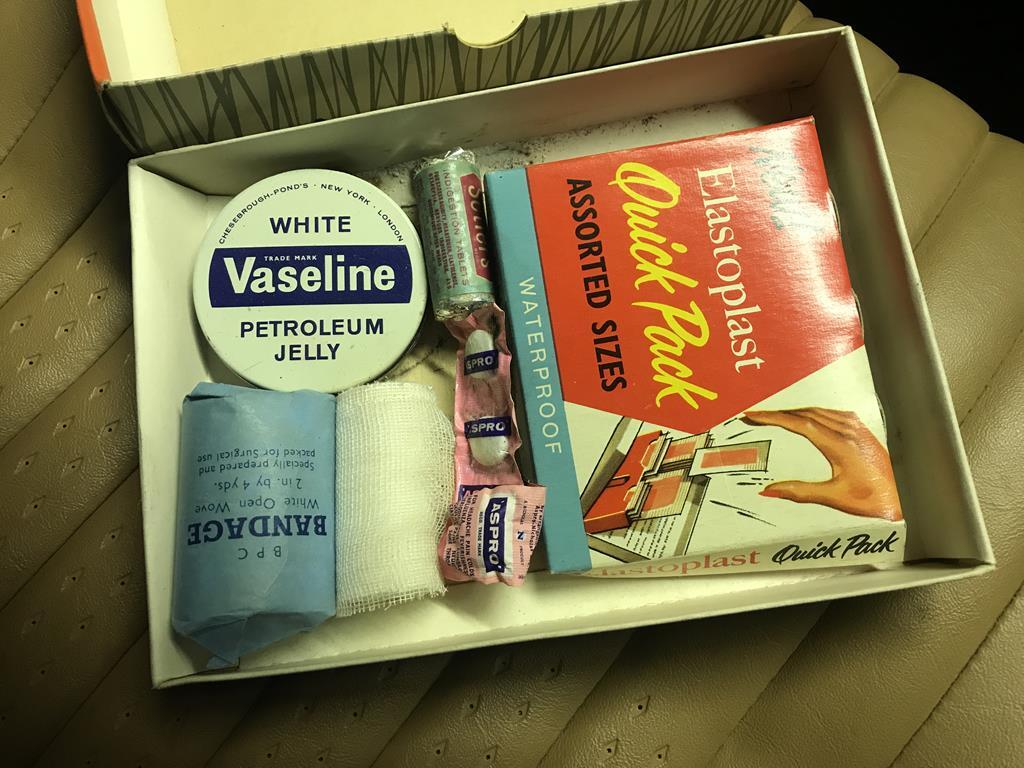
Nice work, if it was mine id try to find another reversing light and fit them just inboard of the overriders, Dan 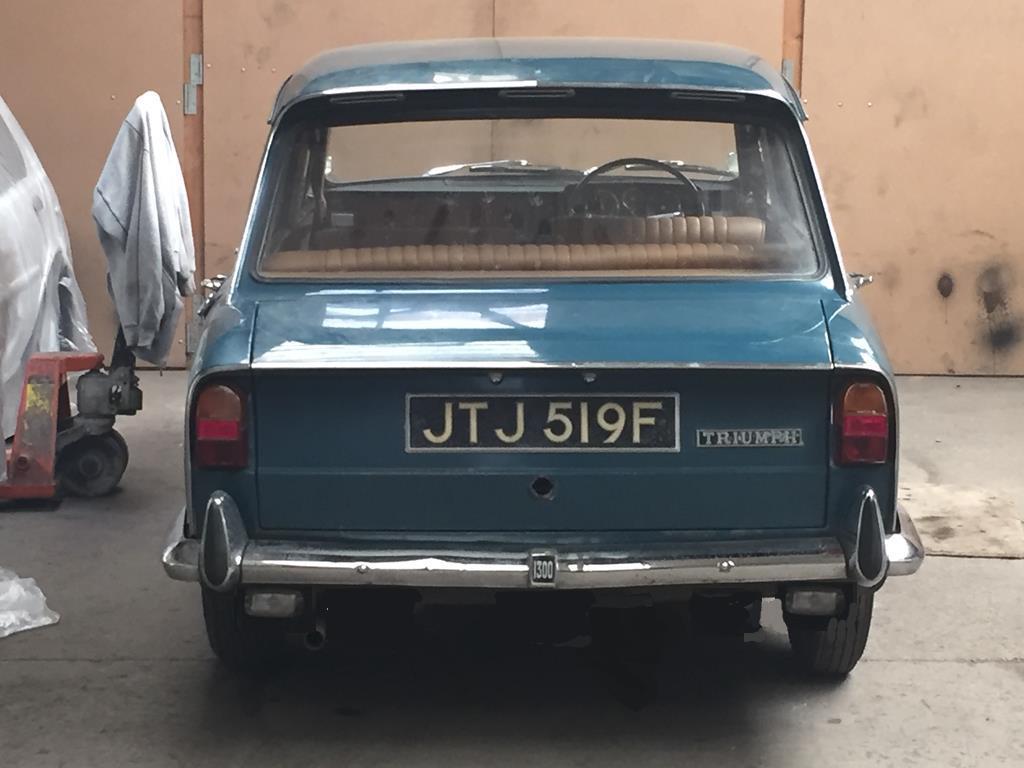 And the Johnson&Johnson travel kit should stay in the car. Real genuine period charm. . |
| |
Last Edit: Apr 26, 2020 14:06:36 GMT by bmcnut
|
|
logicaluk
Posted a lot
   Every days a school day round here
Posts: 1,373
|
|
Apr 27, 2020 11:17:26 GMT
|
Nice work, if it was mine id try to find another reversing light and fit them just inboard of the overriders, Dan  And the Johnson&Johnson travel kit should stay in the car. Real genuine period charm. . To my eye that looks better. The J&j kit may be worth quite a bit seeing the condition is mint and complete. Dan |
| |
|
|
|
|
|
Apr 27, 2020 11:59:46 GMT
|
|
This brings back memories, my dad had one of these in 1300TC form, same colour.
Great work looking forward to see it up and road going.
Reverse light is proper period and part of the car's history, keep it.
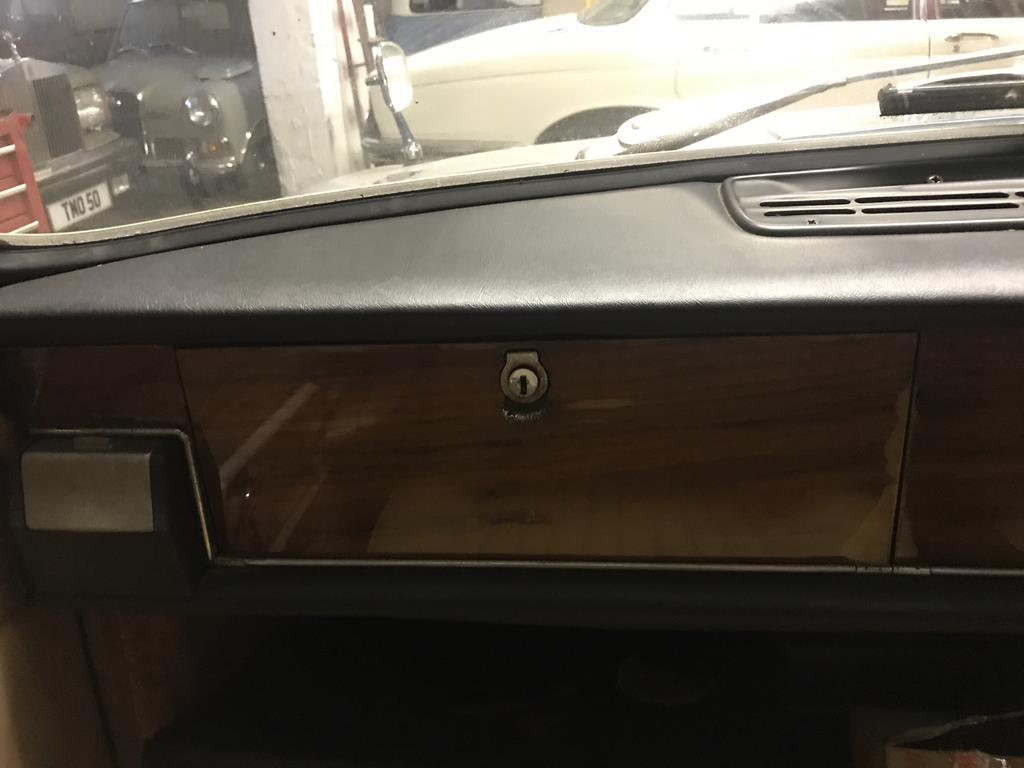
Surprised you didn't find a tin of 'travel sweets' in the glove box as well.
|
| |
Needs a bigger hammer mate.......
|
|
MiataMark
Club Retro Rides Member
Posts: 2,971
Club RR Member Number: 29
|
1968 Triumph 1300 FWDMiataMark
@garra
Club Retro Rides Member 29
|
Apr 28, 2020 11:45:18 GMT
|
This brings back memories, my dad had one of these in 1300TC form, same colour. Ha I was just going to post that my Dad had a 1300TC (same colour as well, must have been popular, Valencia Blue? I had 13/60 convertible that colour) Personally I'd stick with a single reversing lamp halfway between the centre and the right hand light cluster, I think that's more period. Great job on the number plates. |
| |
1990 Mazda MX-52012 BMW 118i (170bhp) - white appliance 2011 Land Rover Freelander 2 TD4 2003 Land Rover Discovery II TD52007 Alfa Romeo 159 Sportwagon JTDm
|
|
XL391
Part of things
 
Posts: 160
|
|
|
|
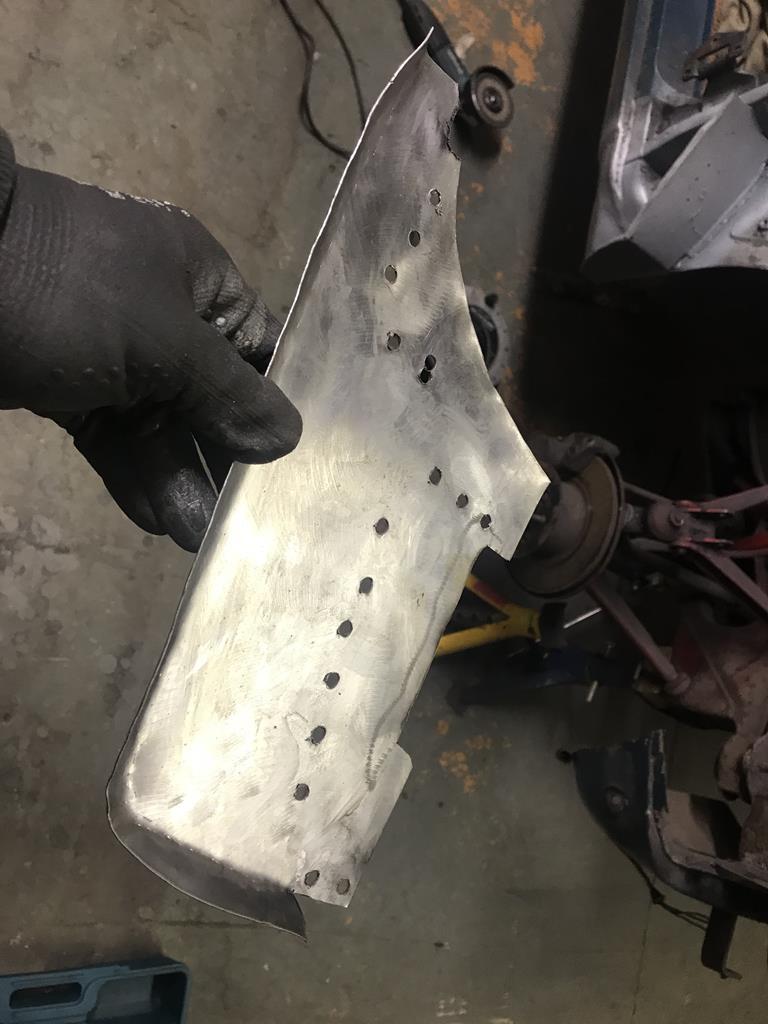
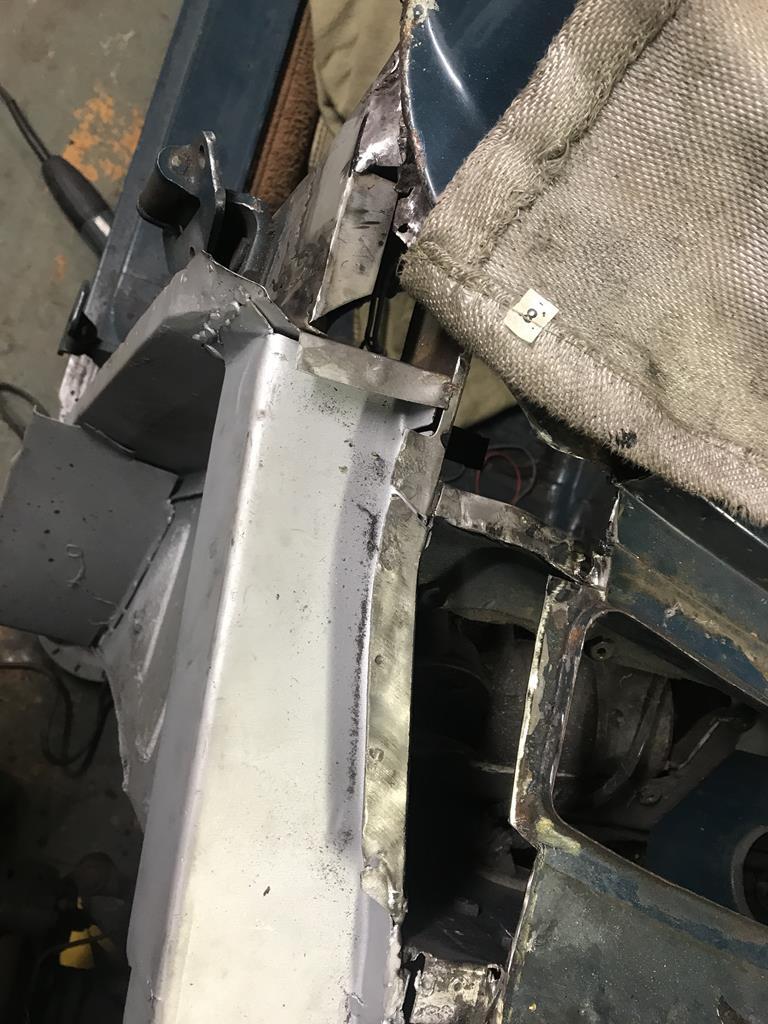
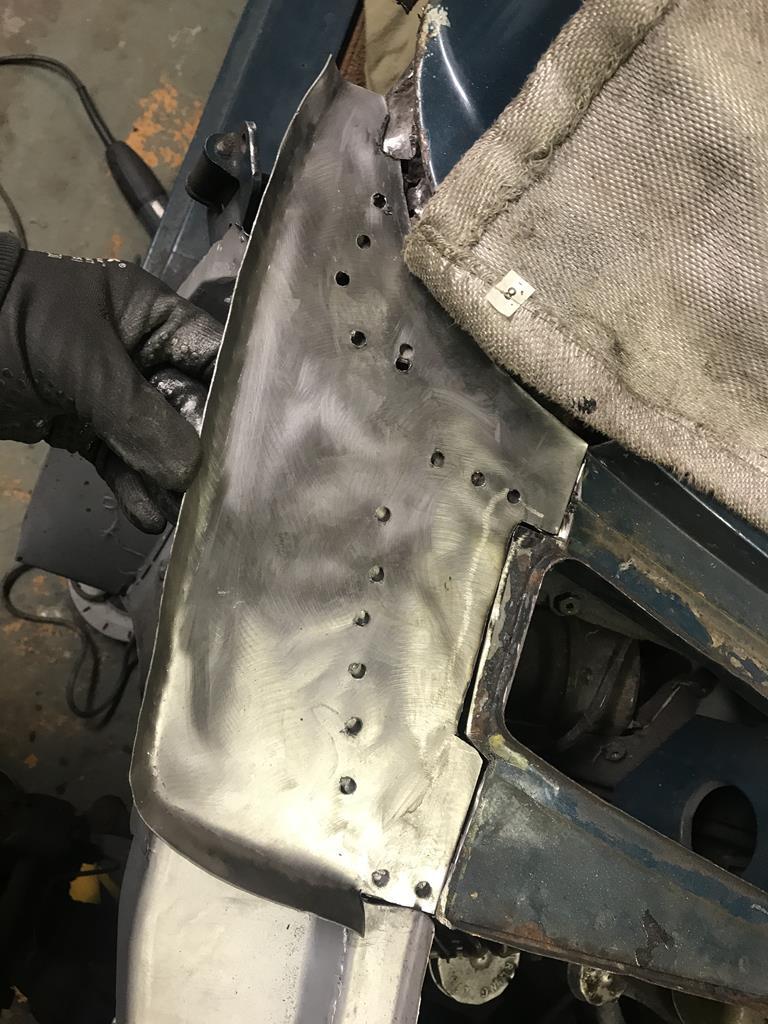
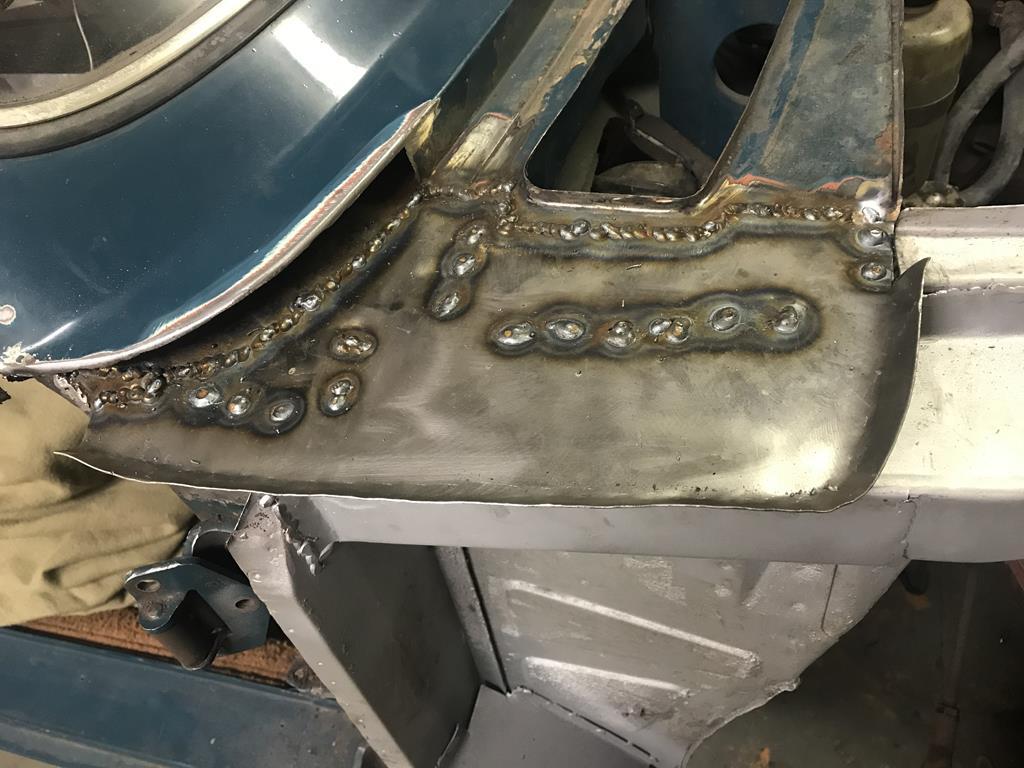
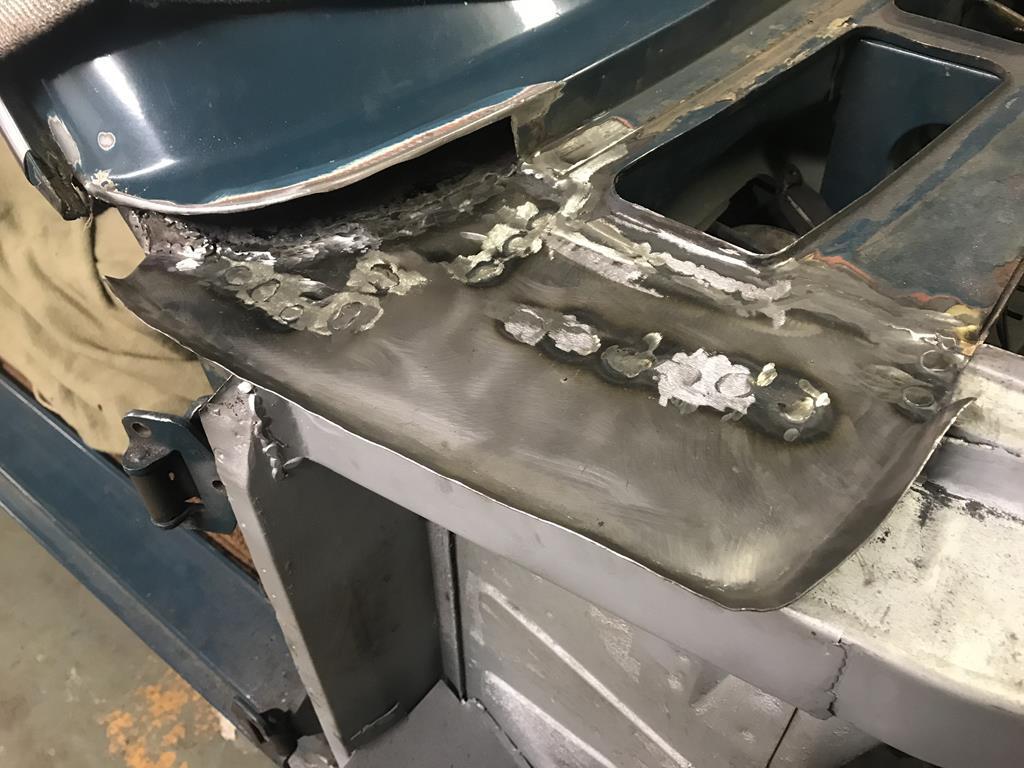
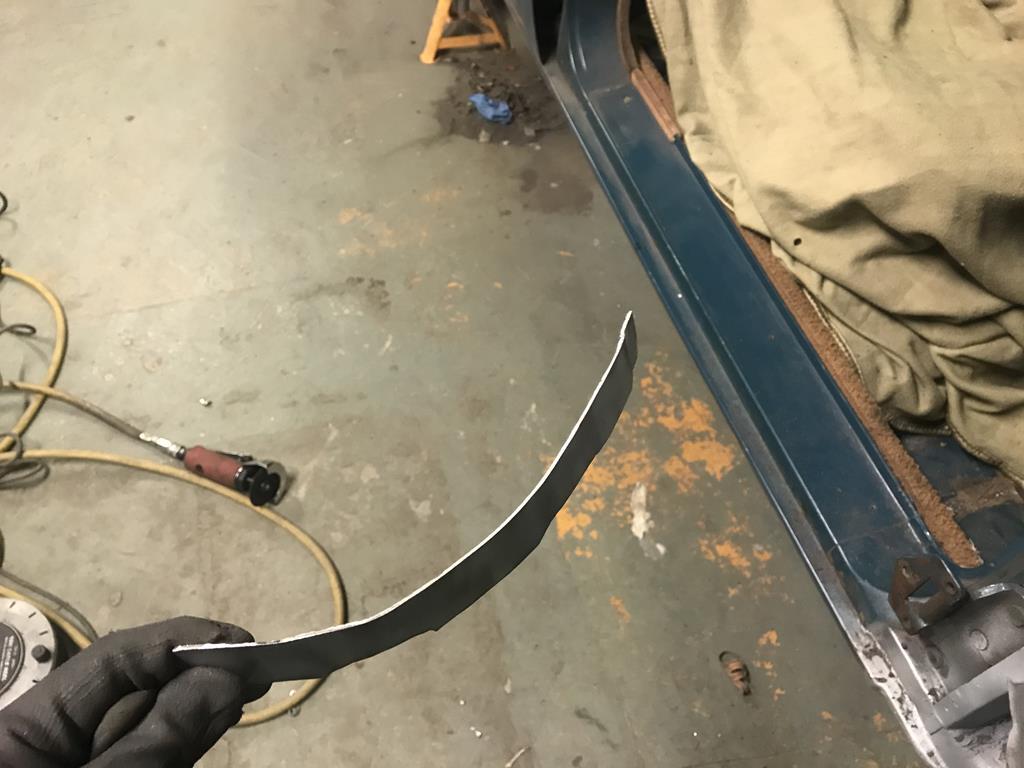
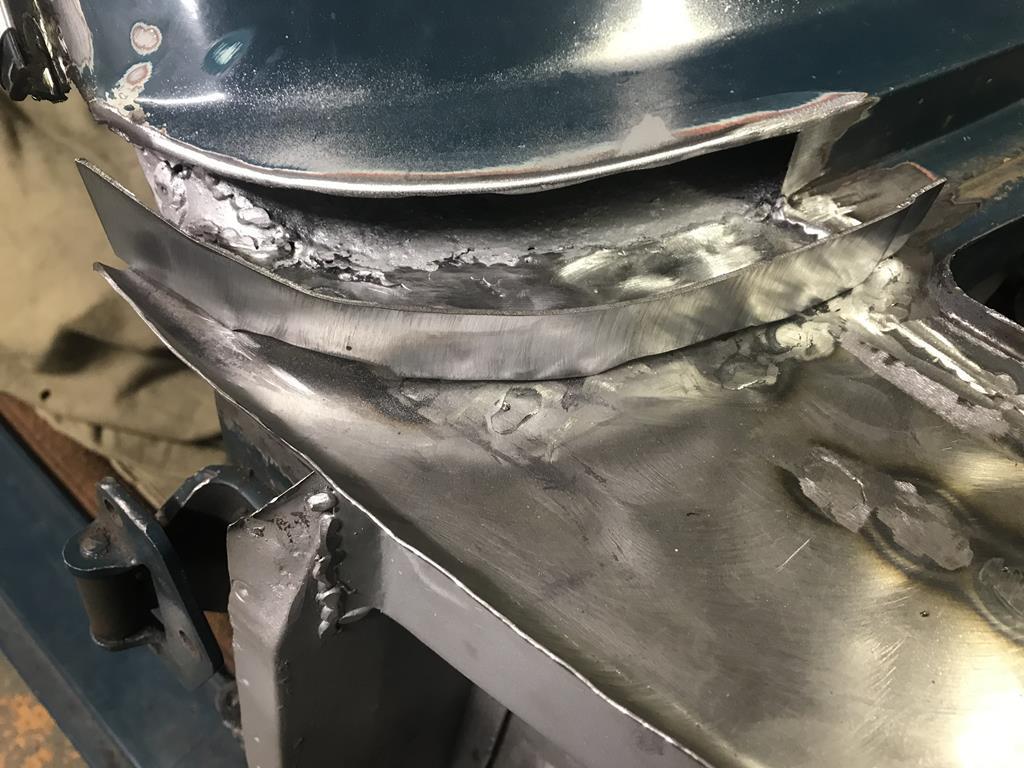
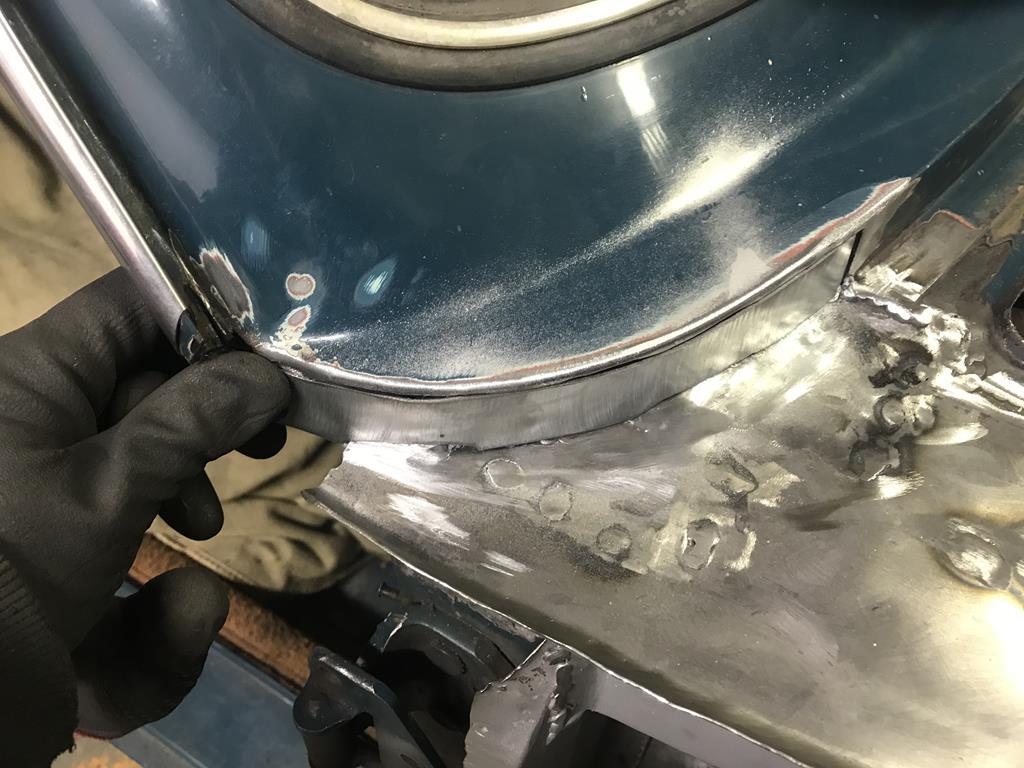
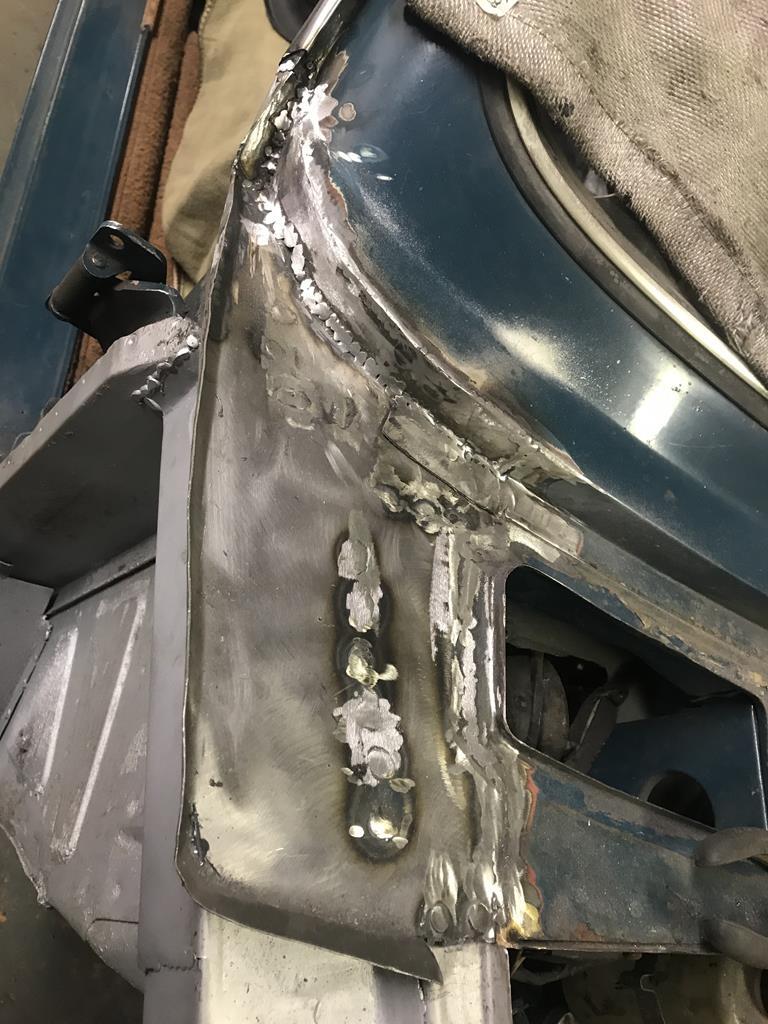
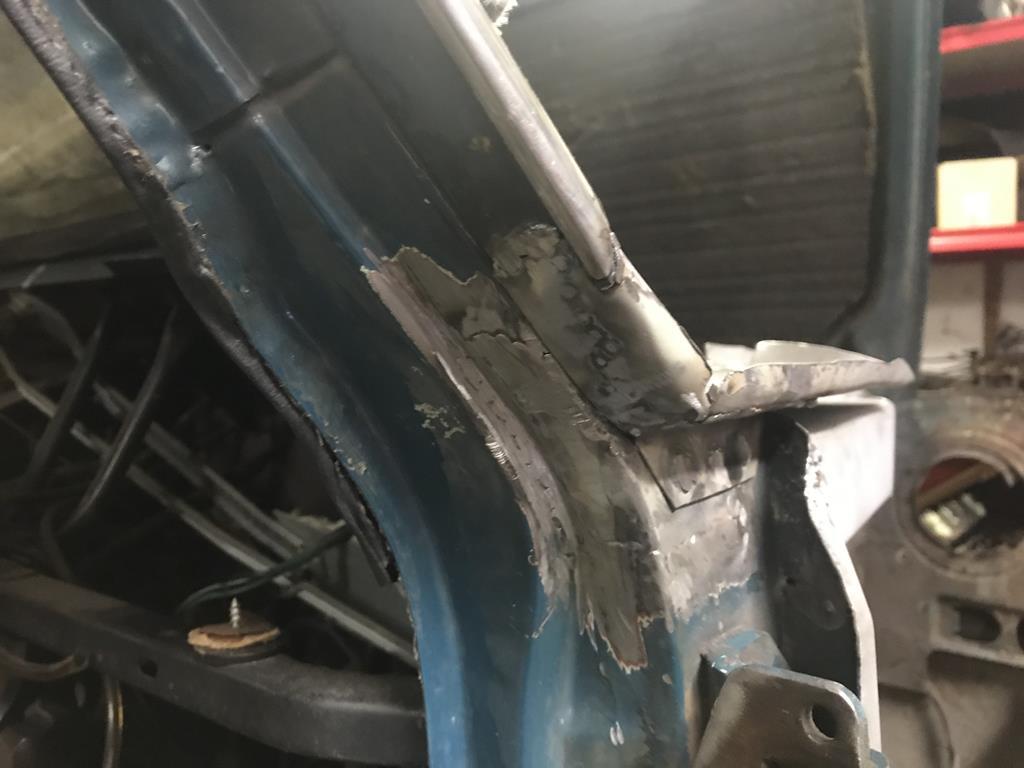
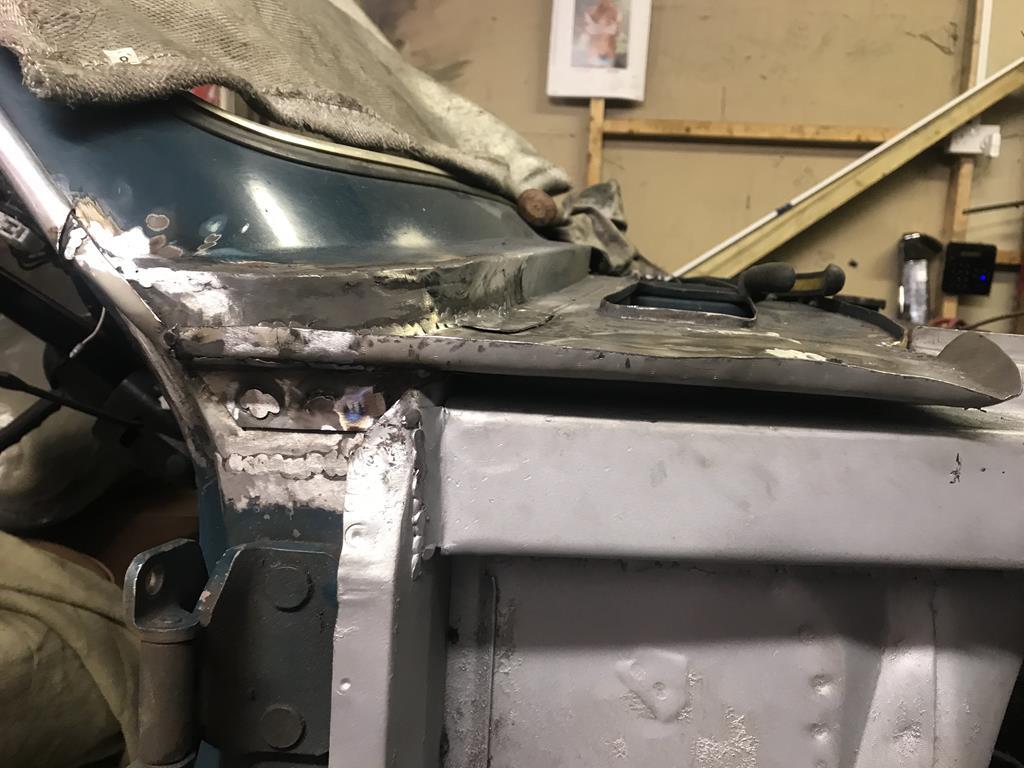
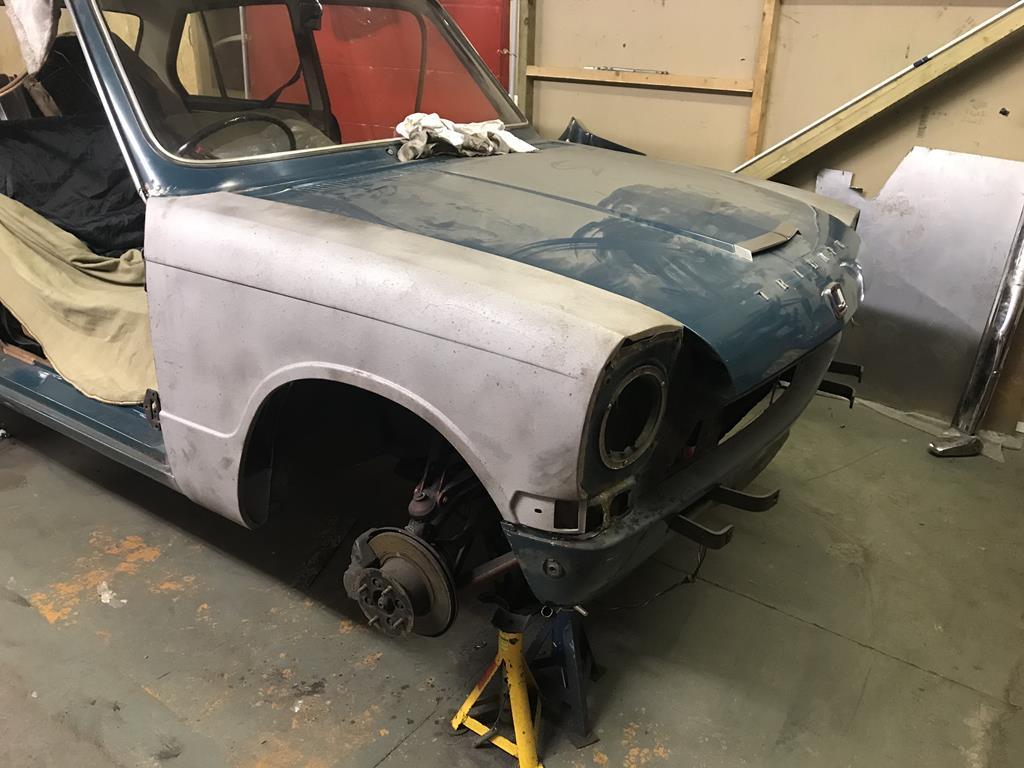
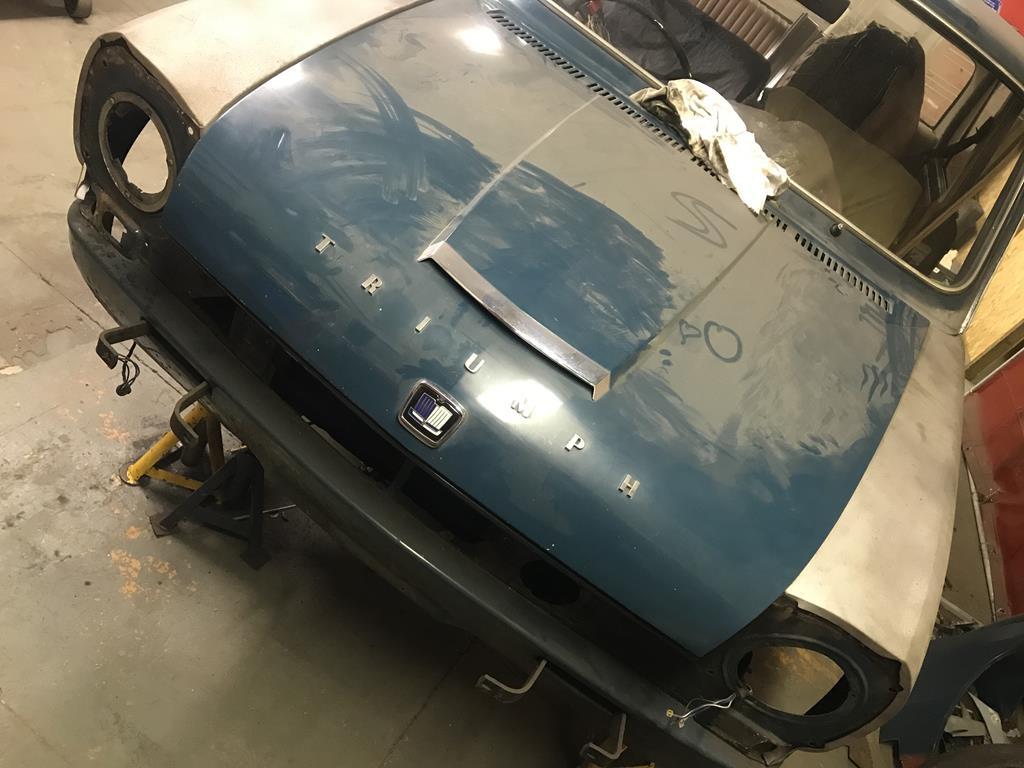
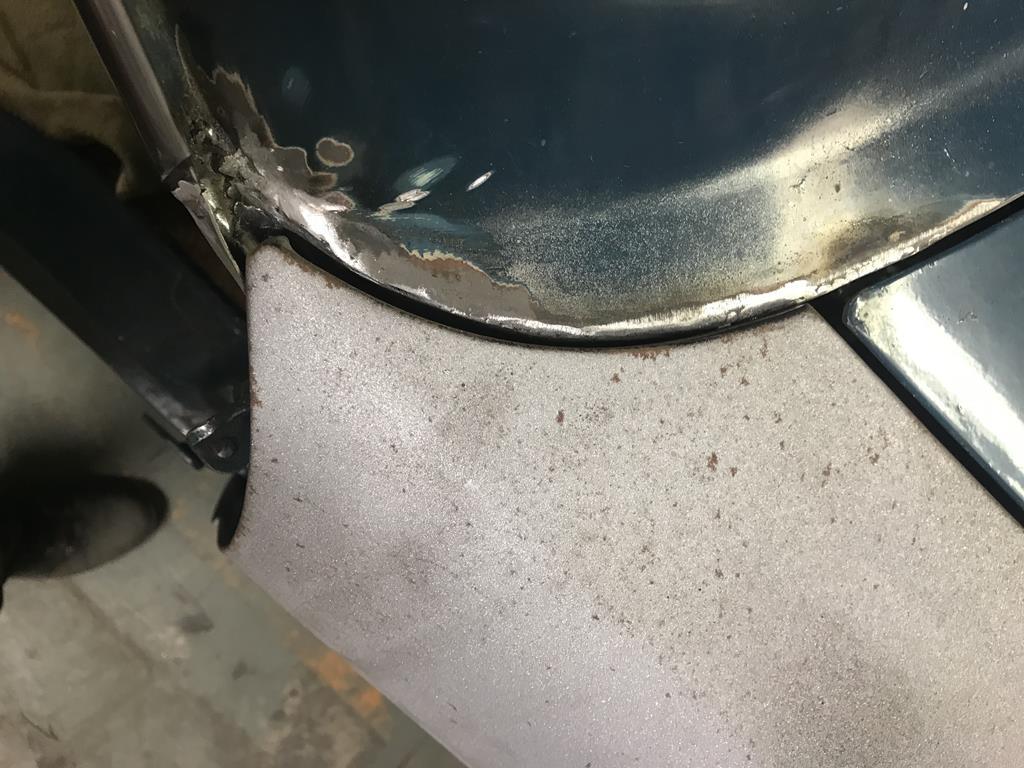
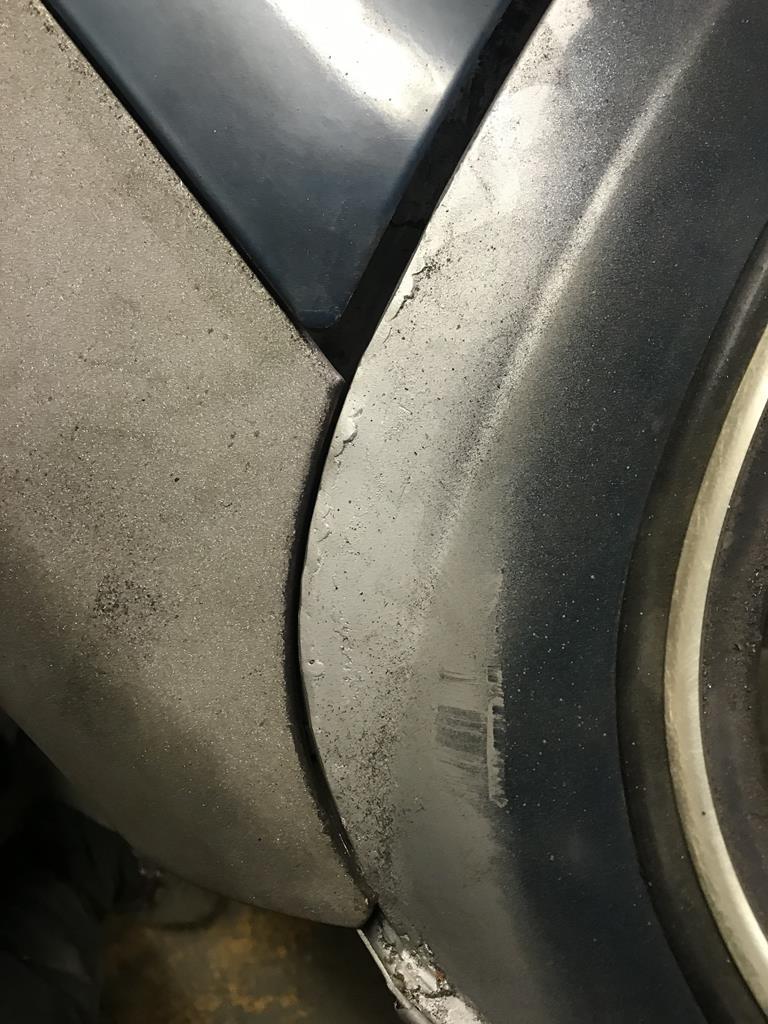
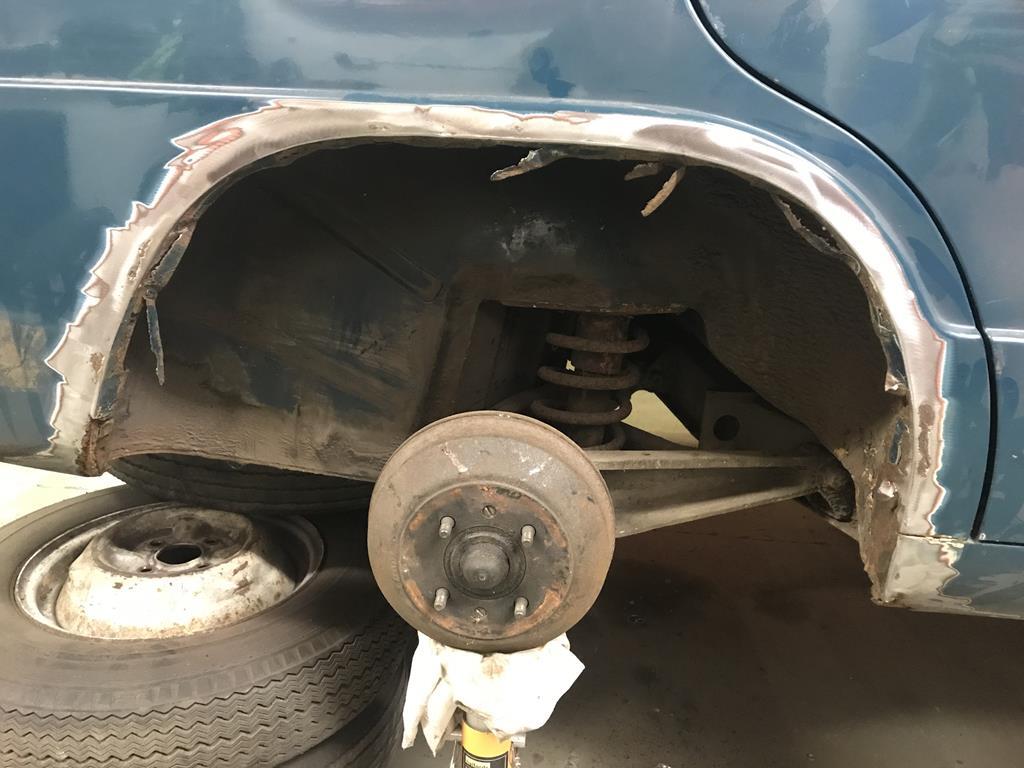
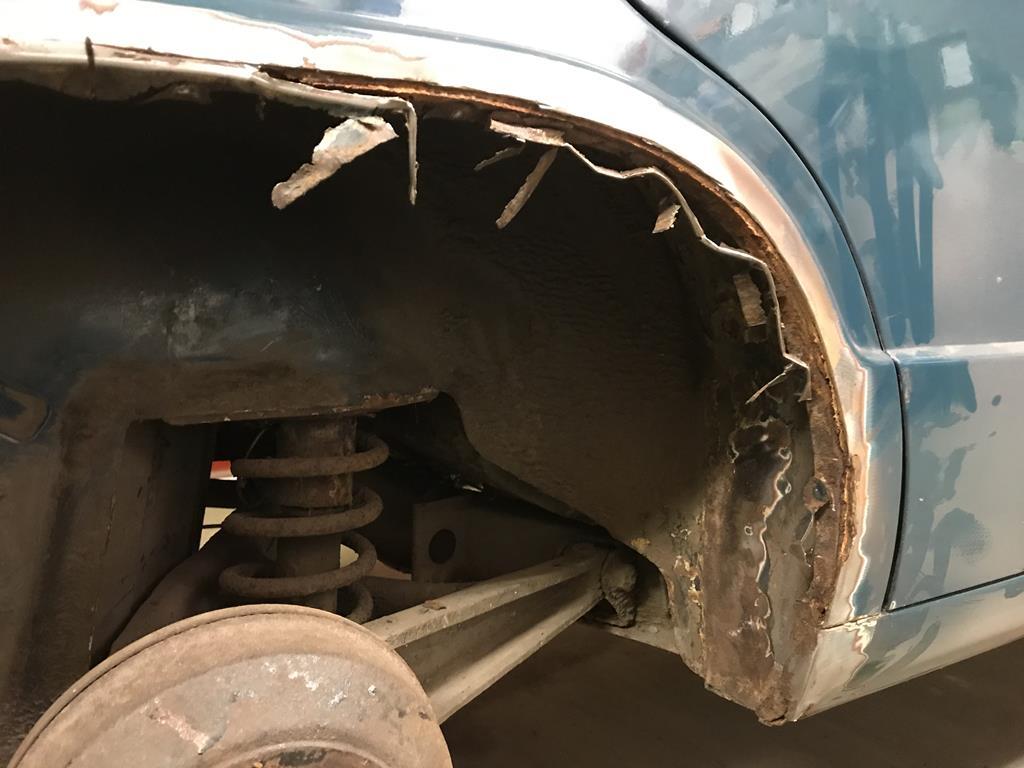
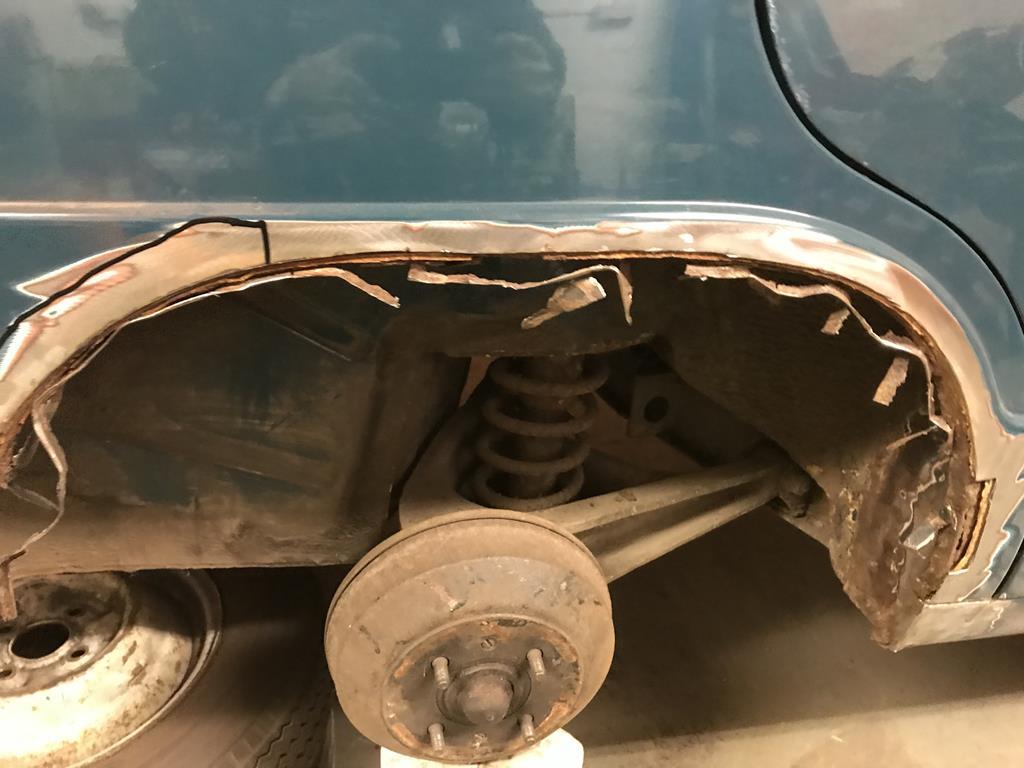
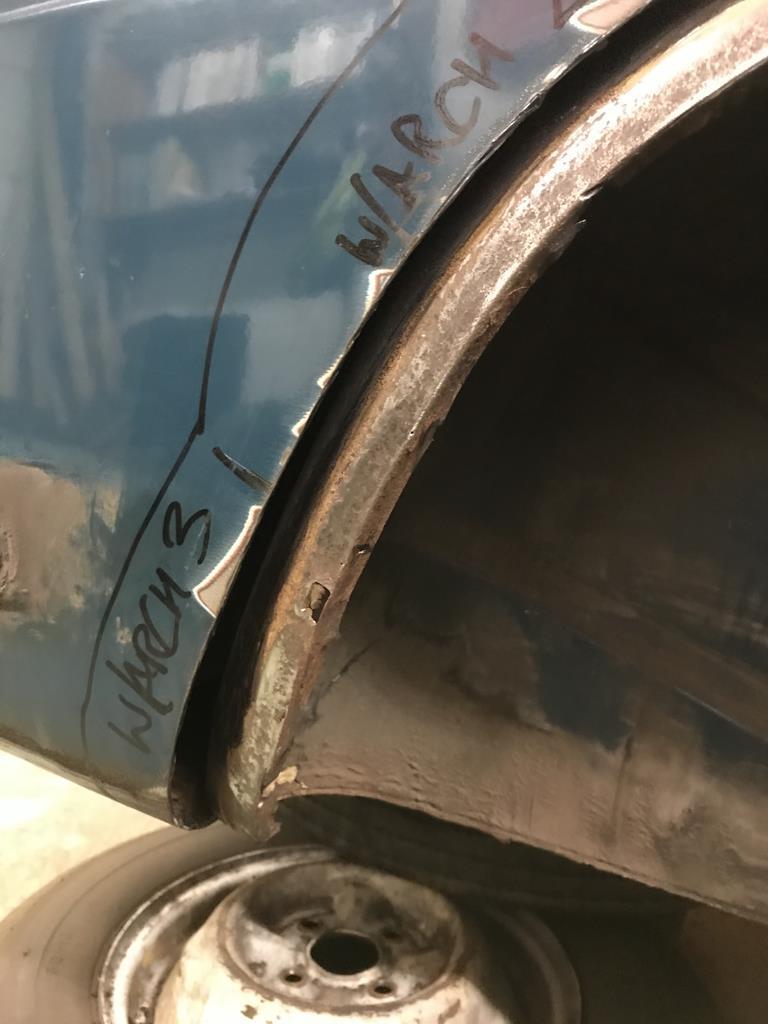
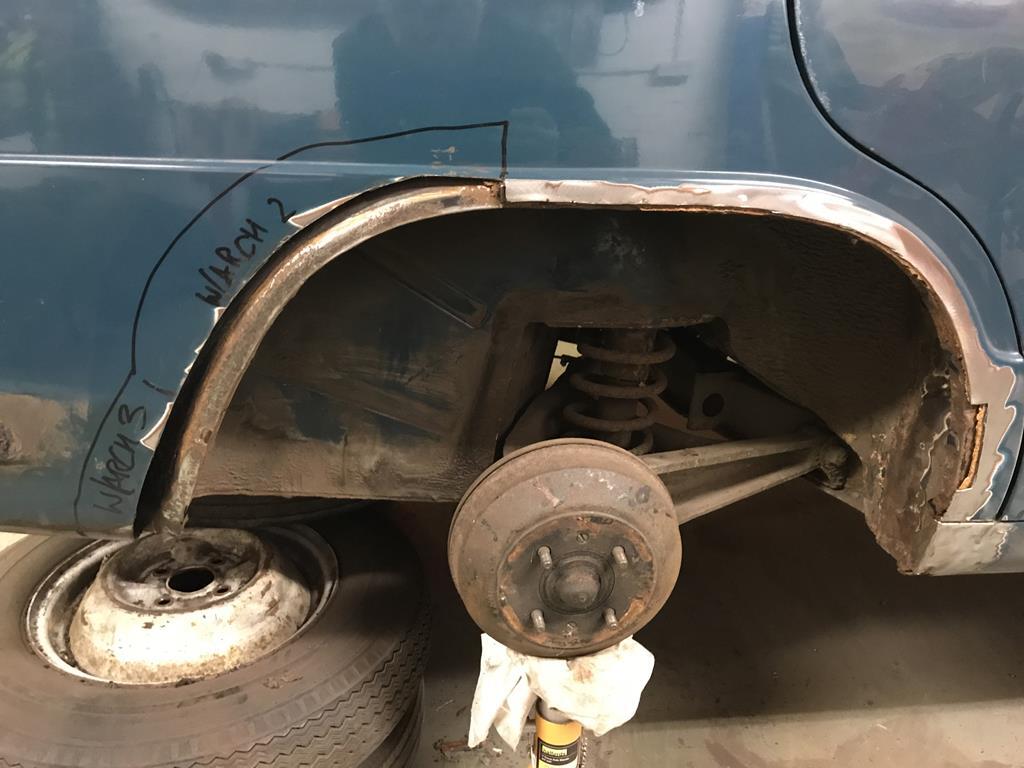
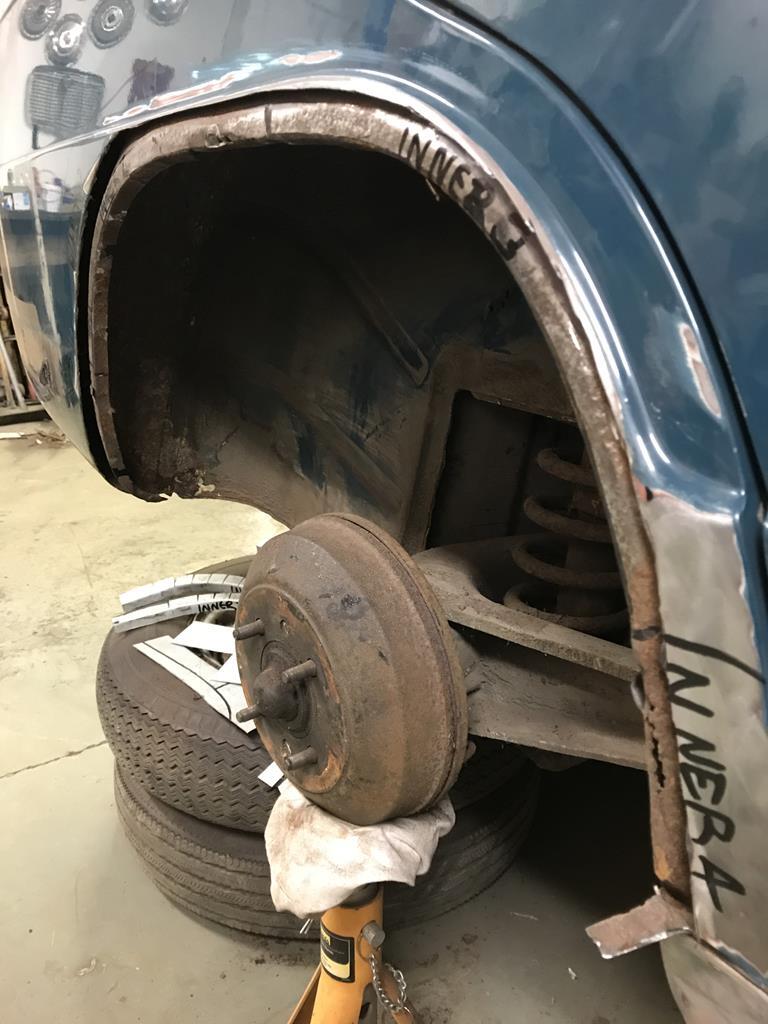
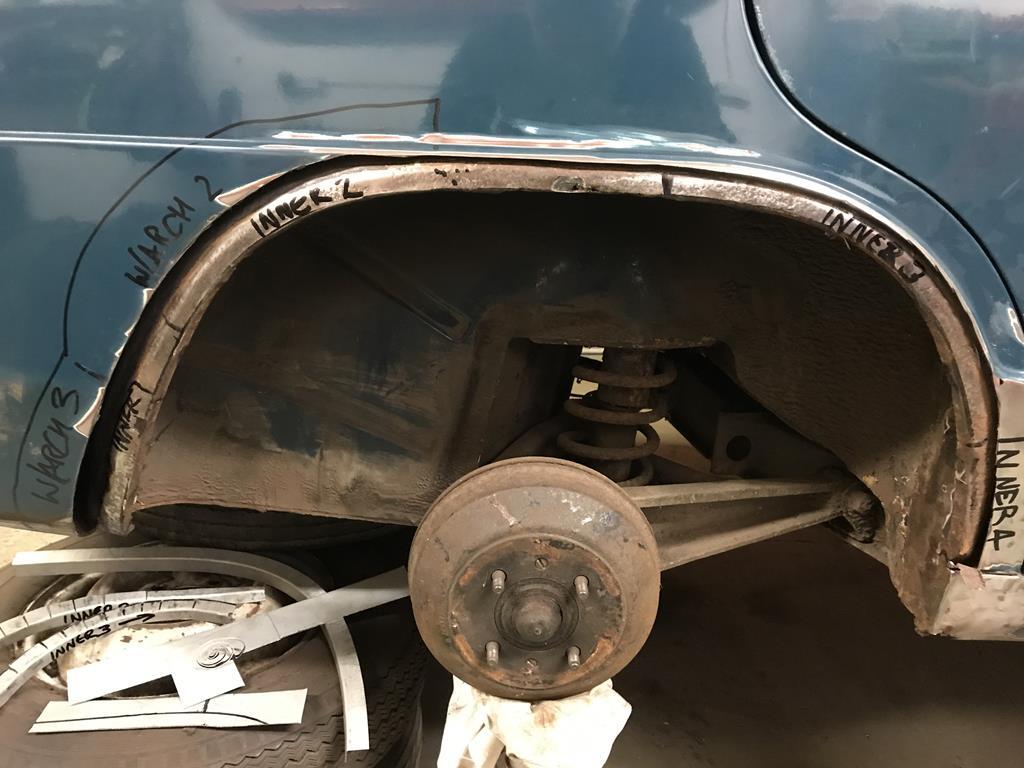
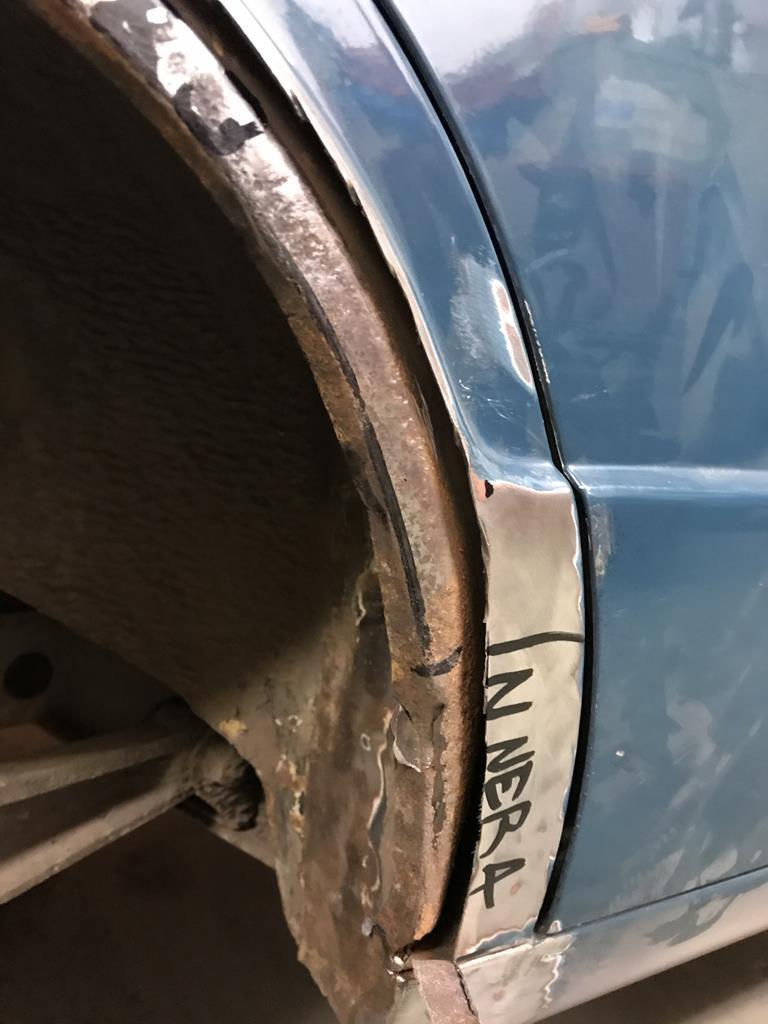
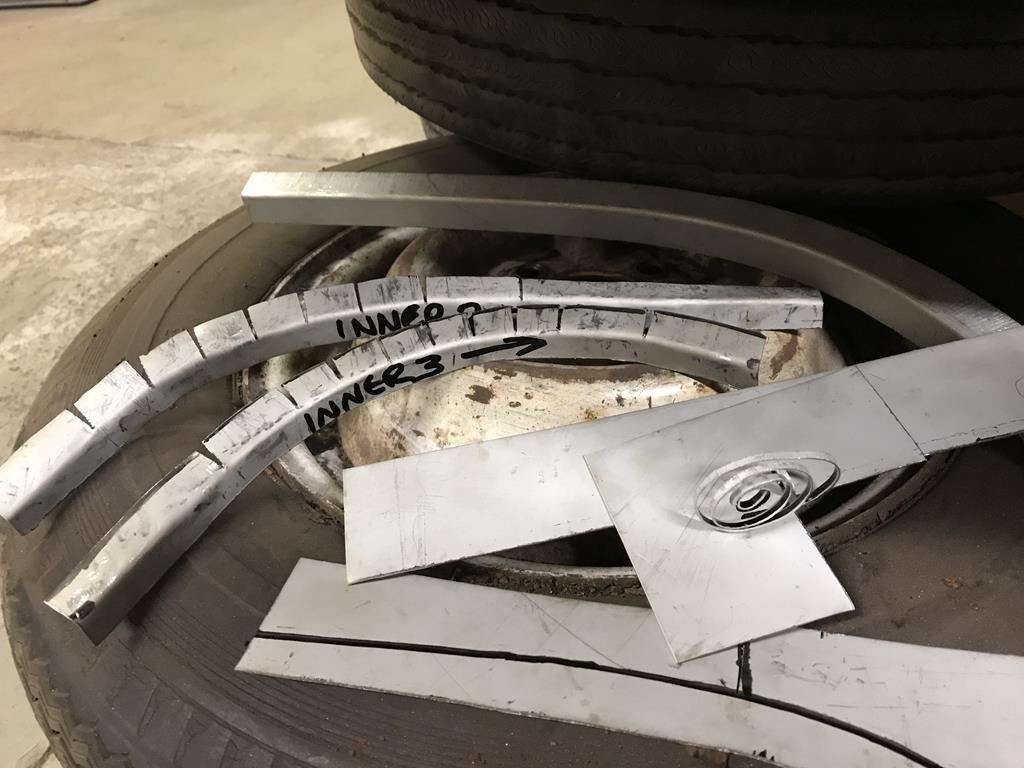
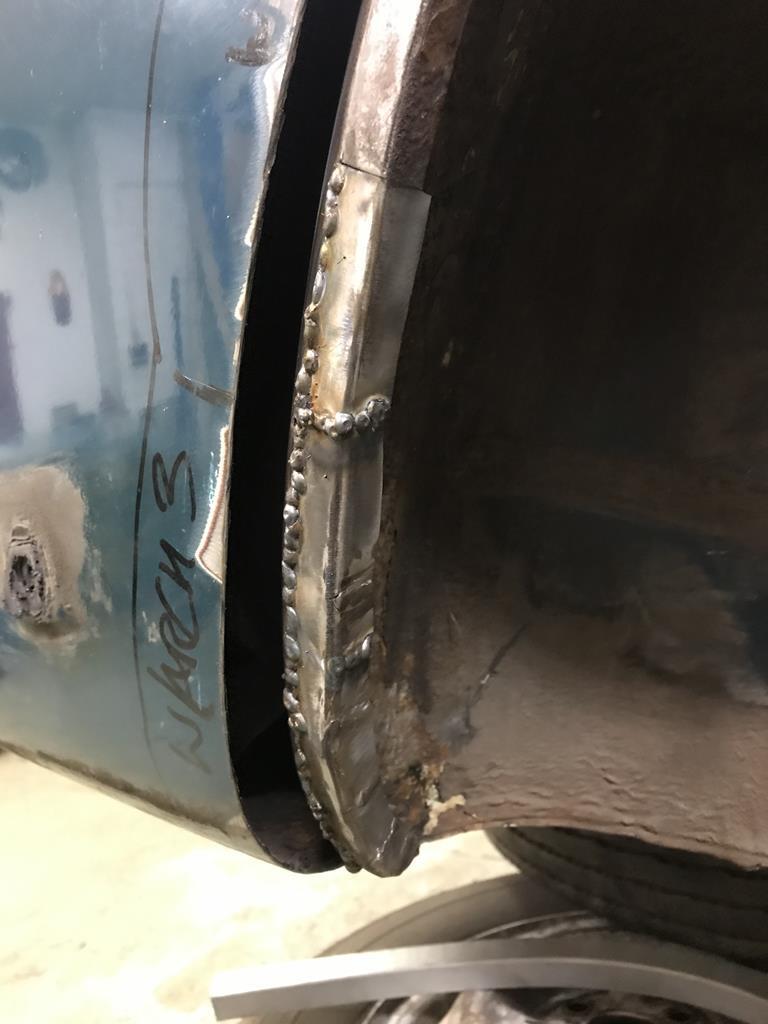
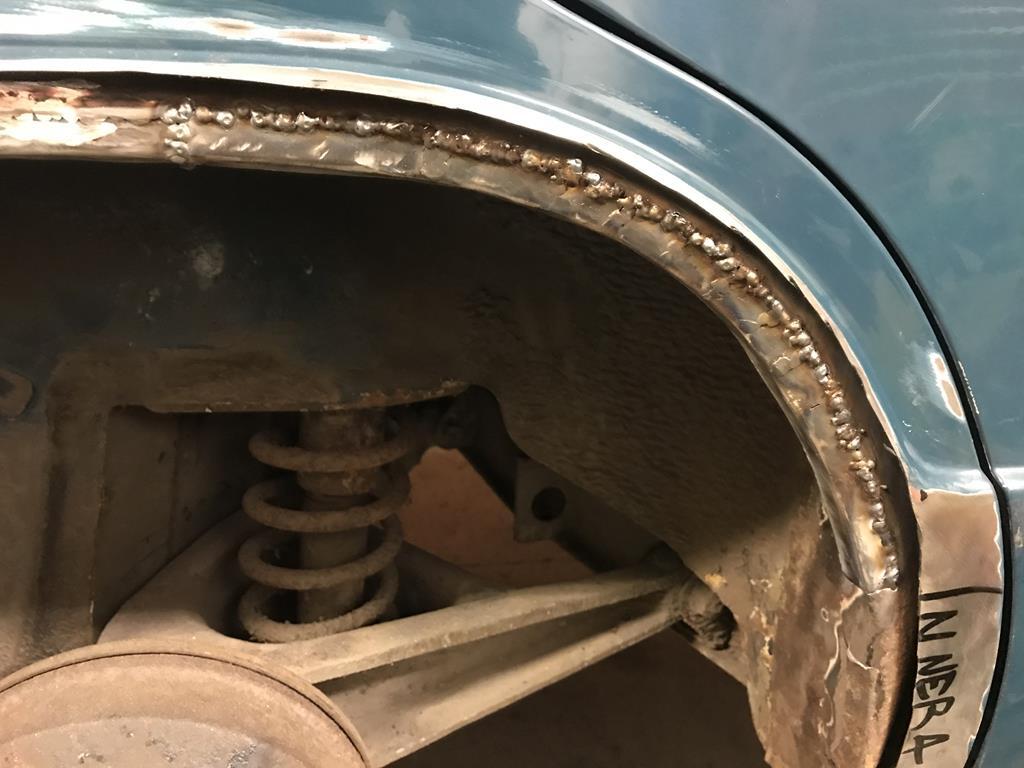
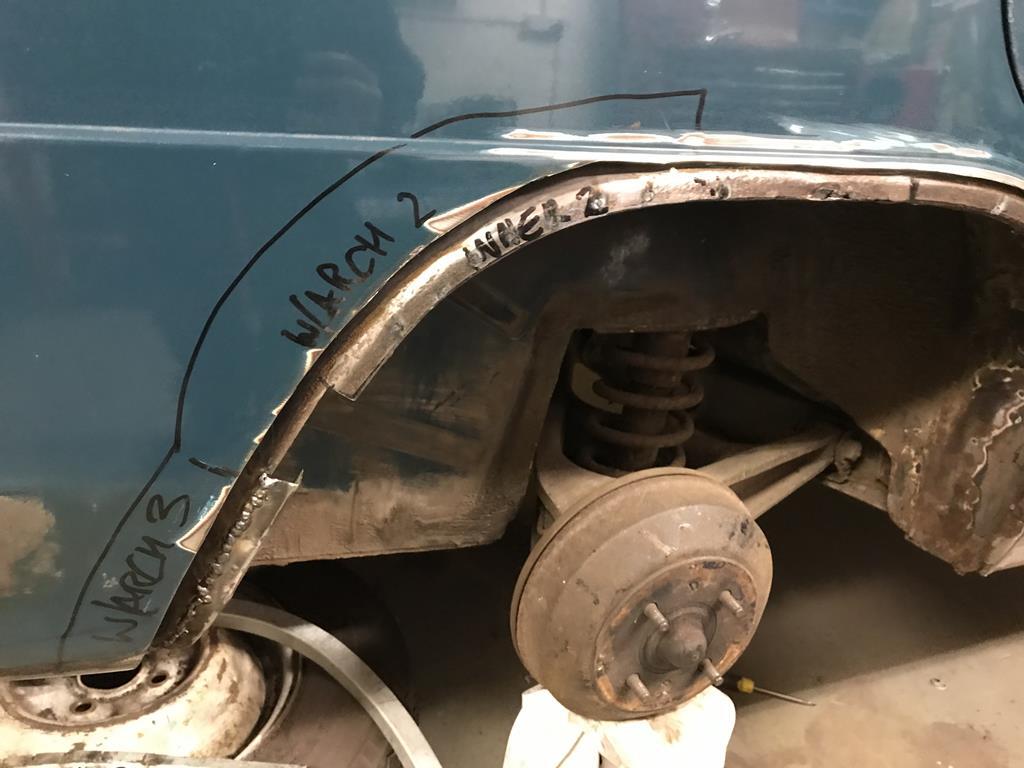
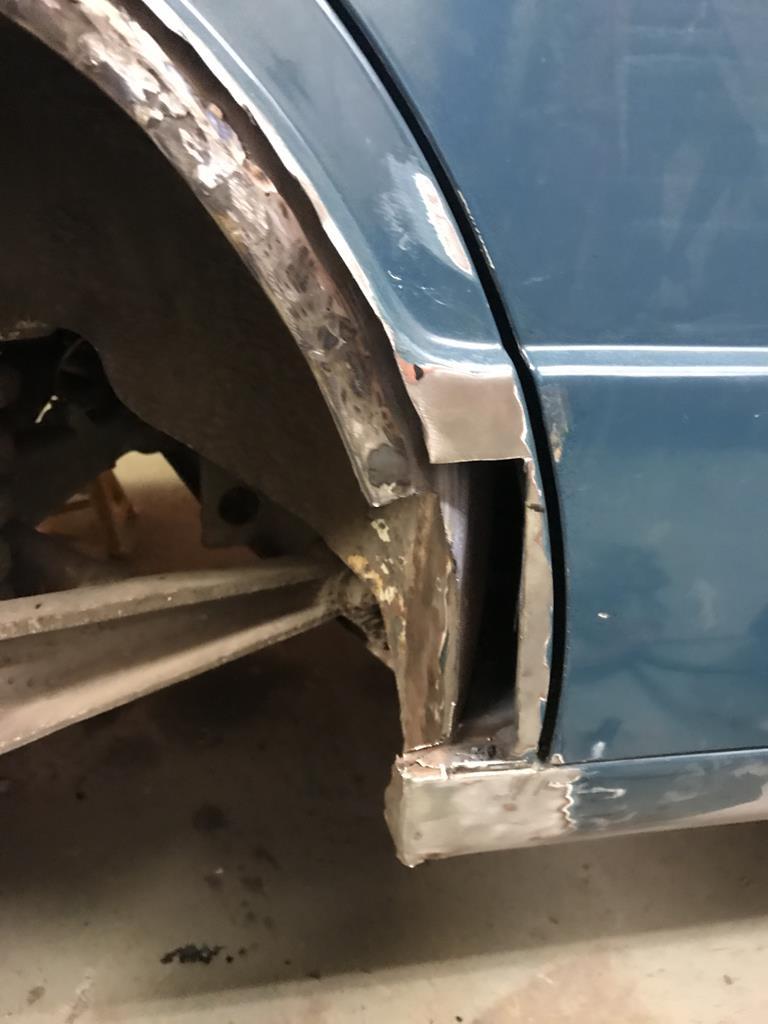
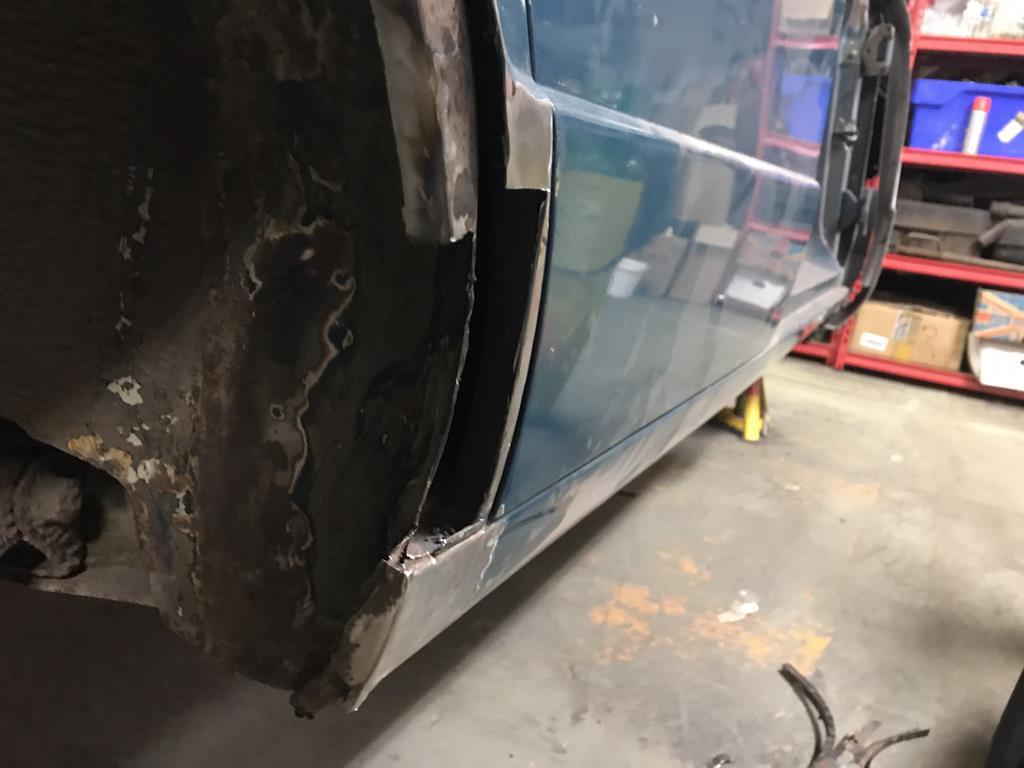
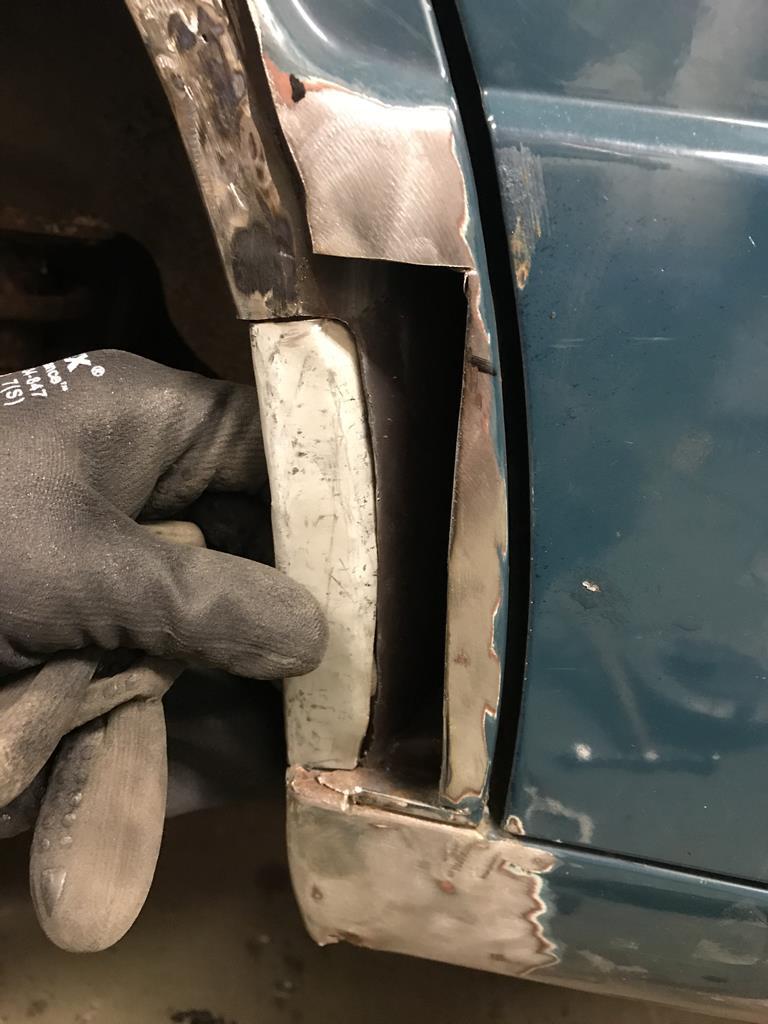
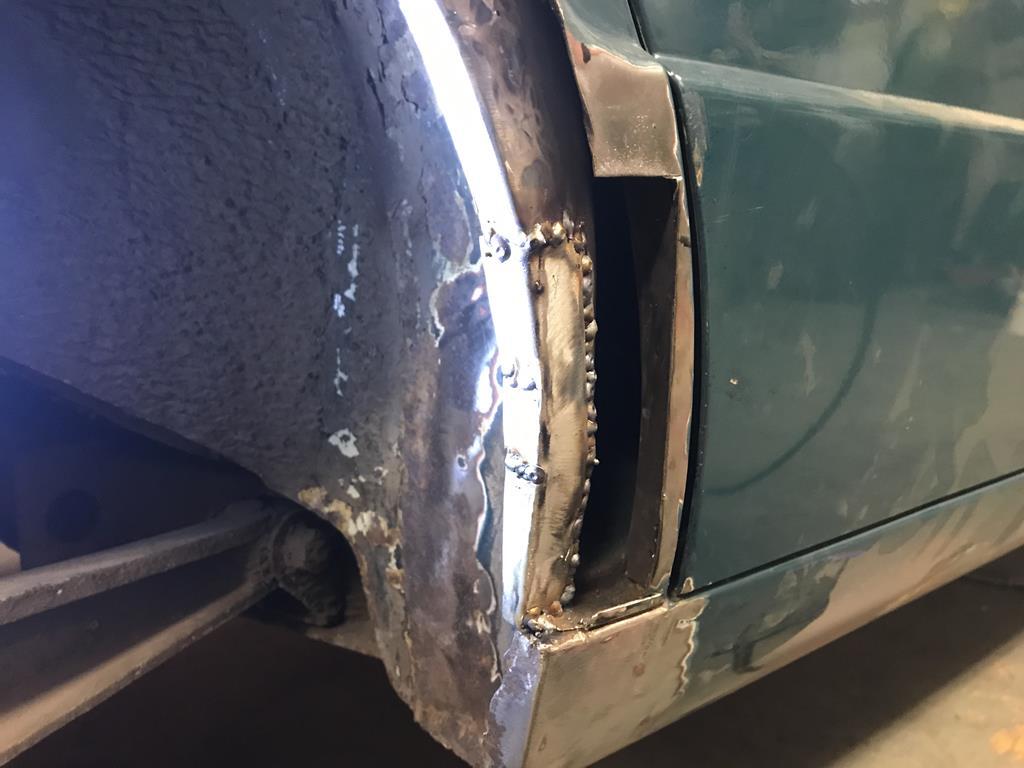
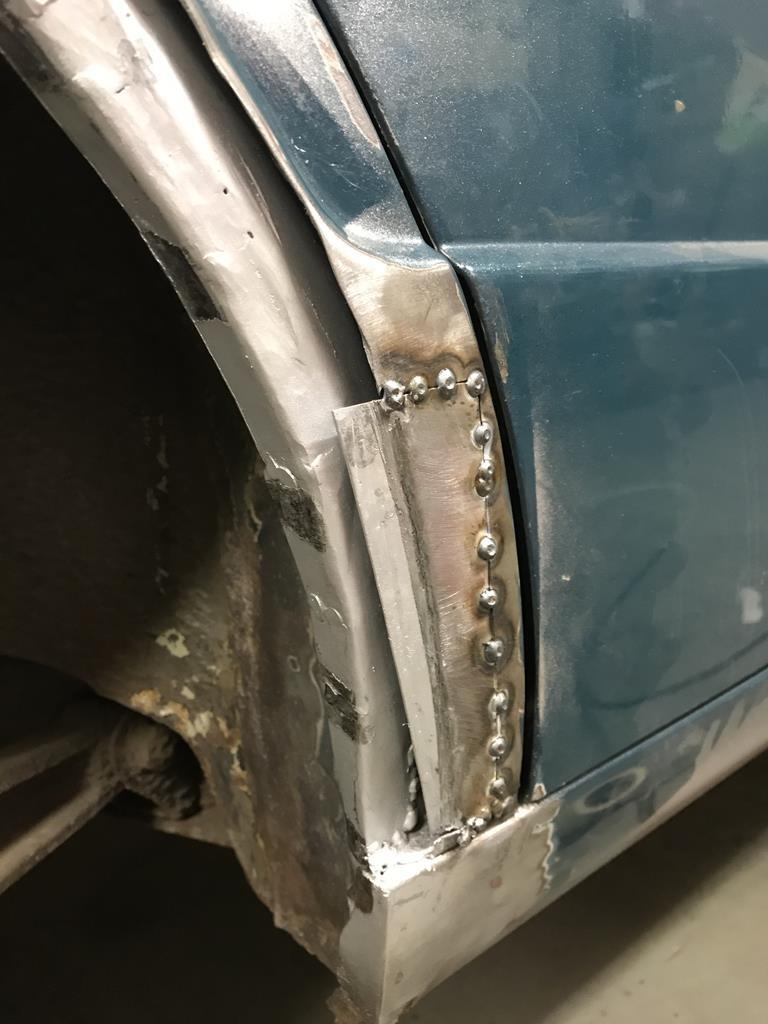
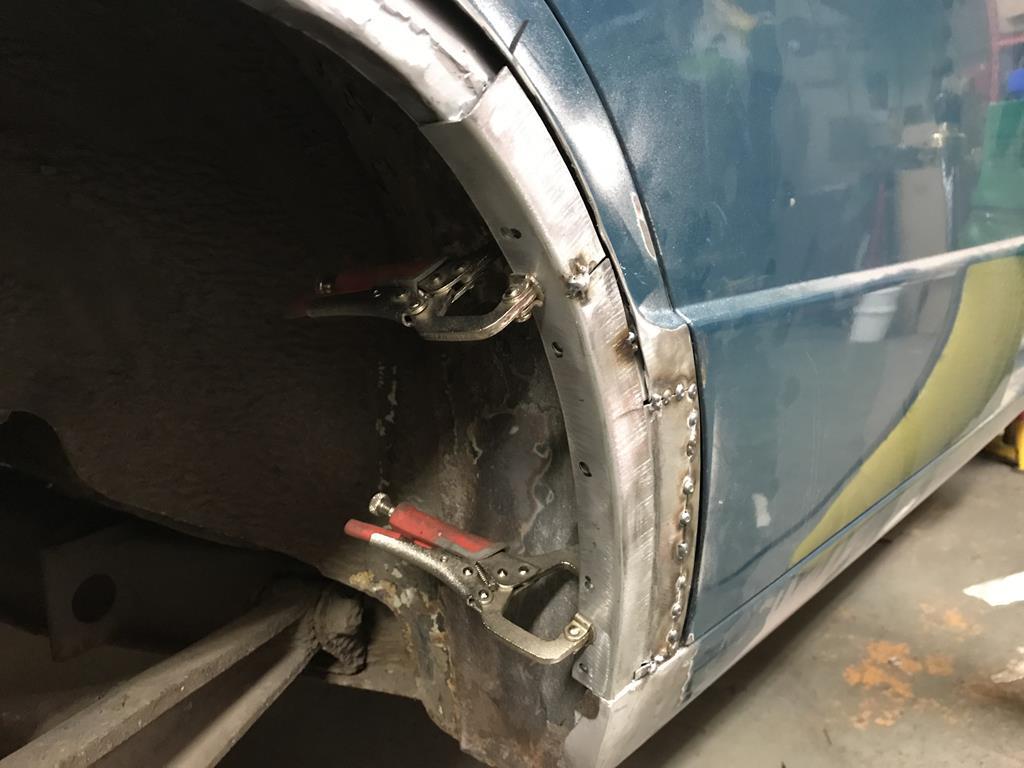
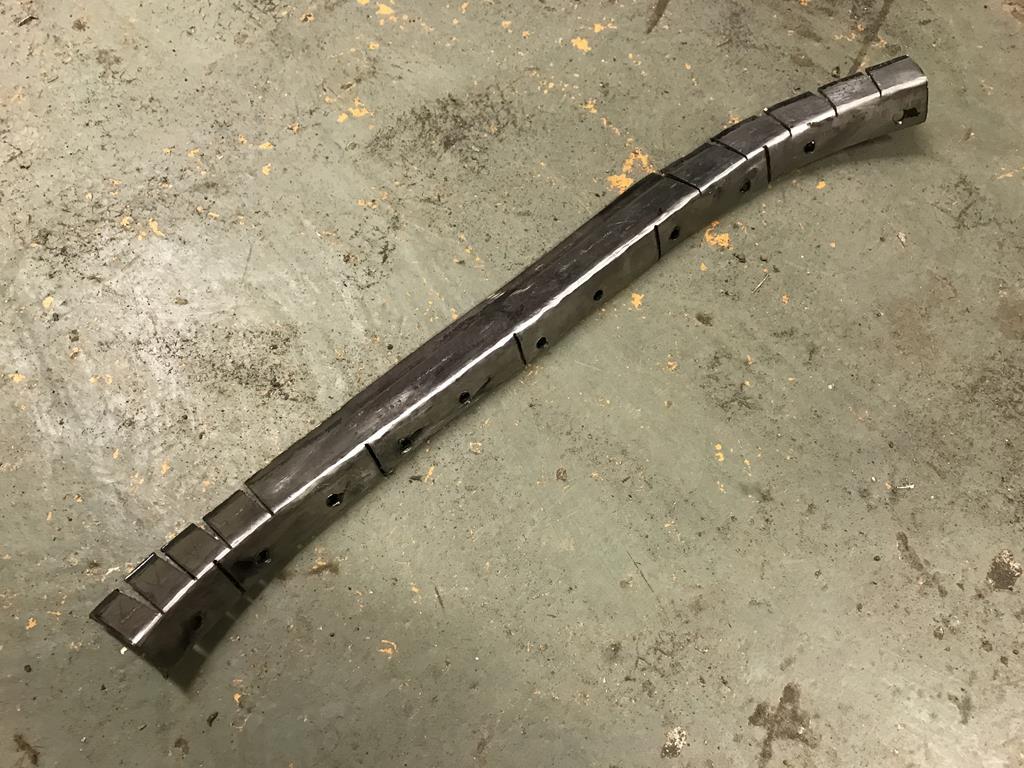
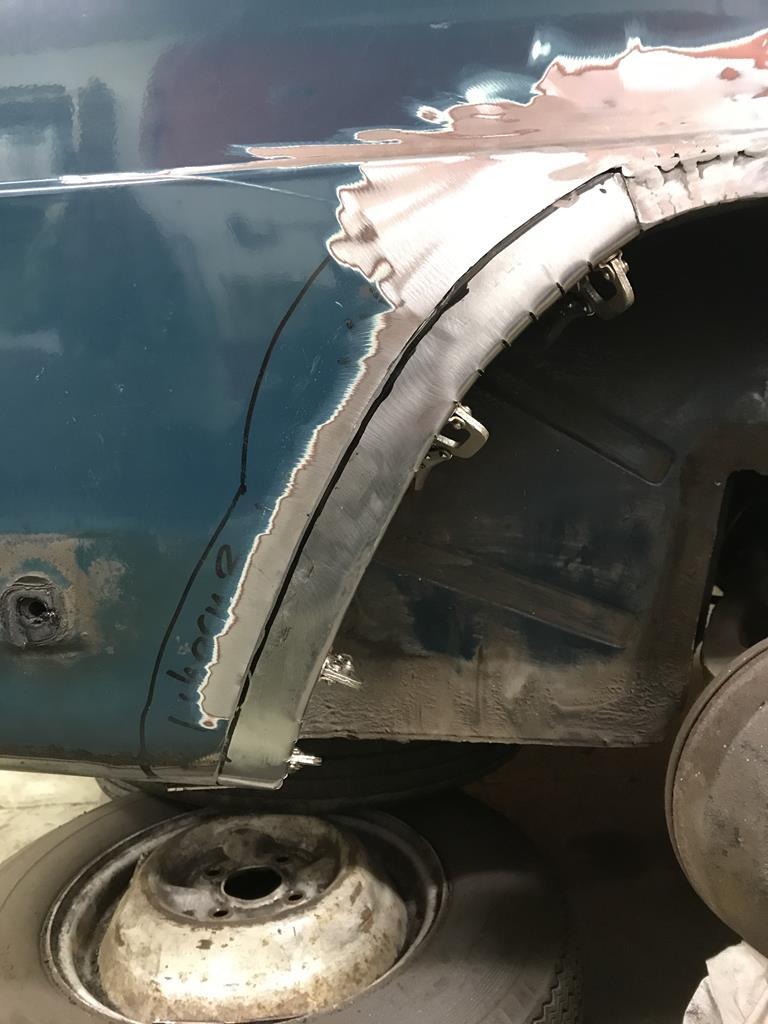
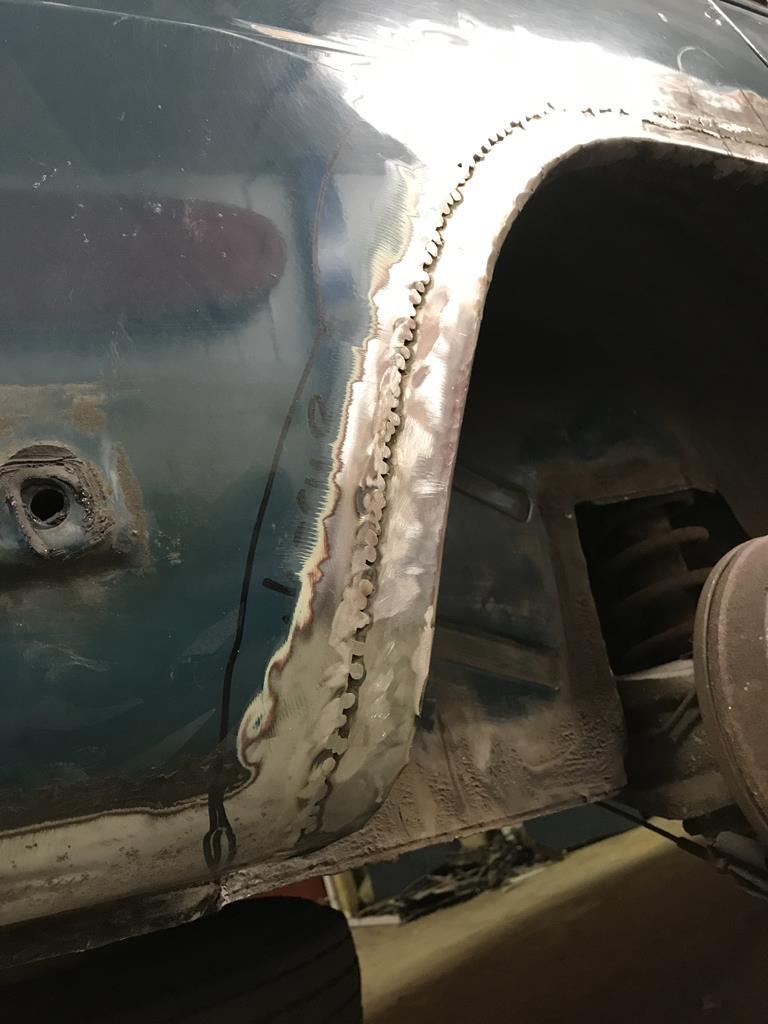
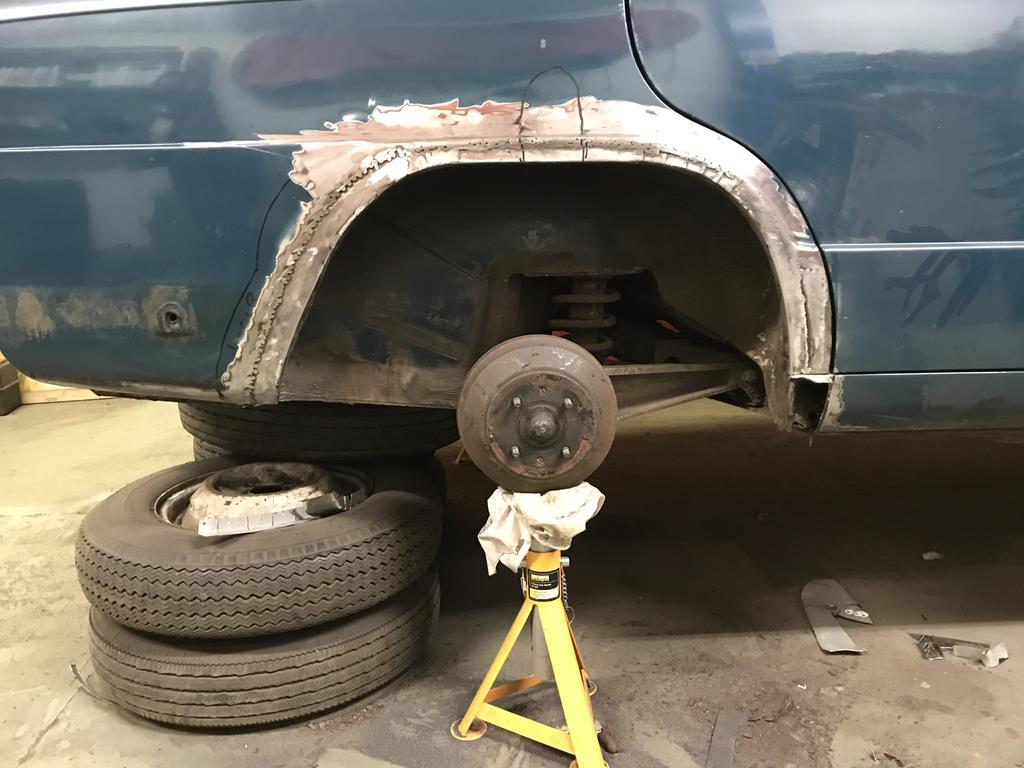
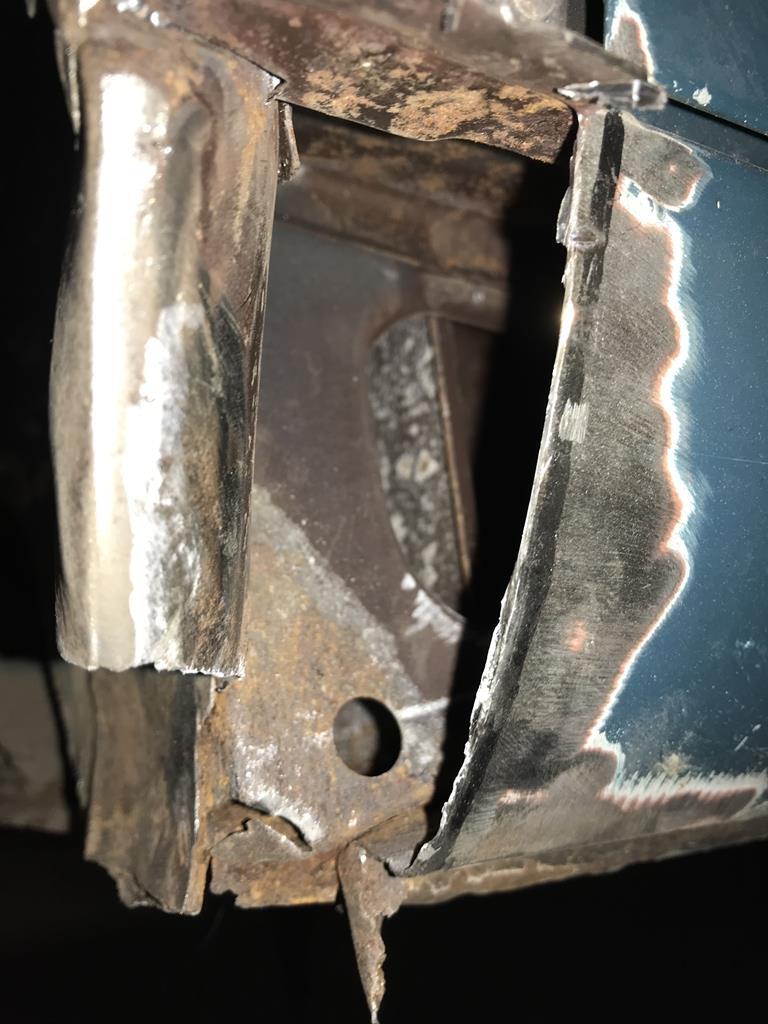
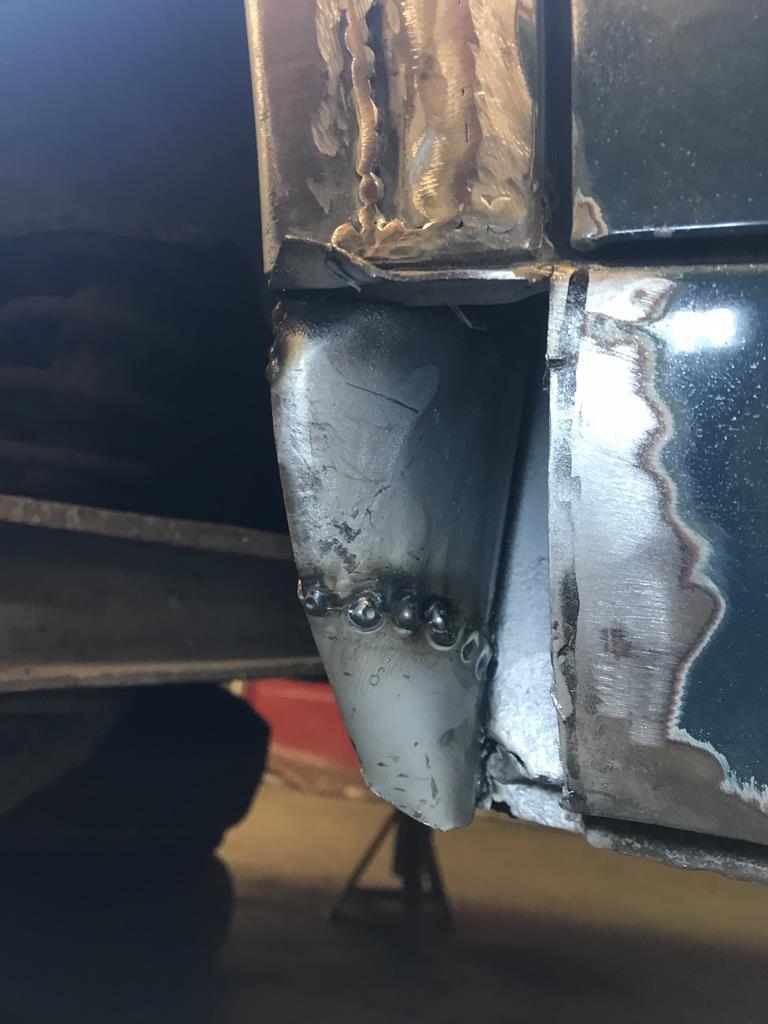
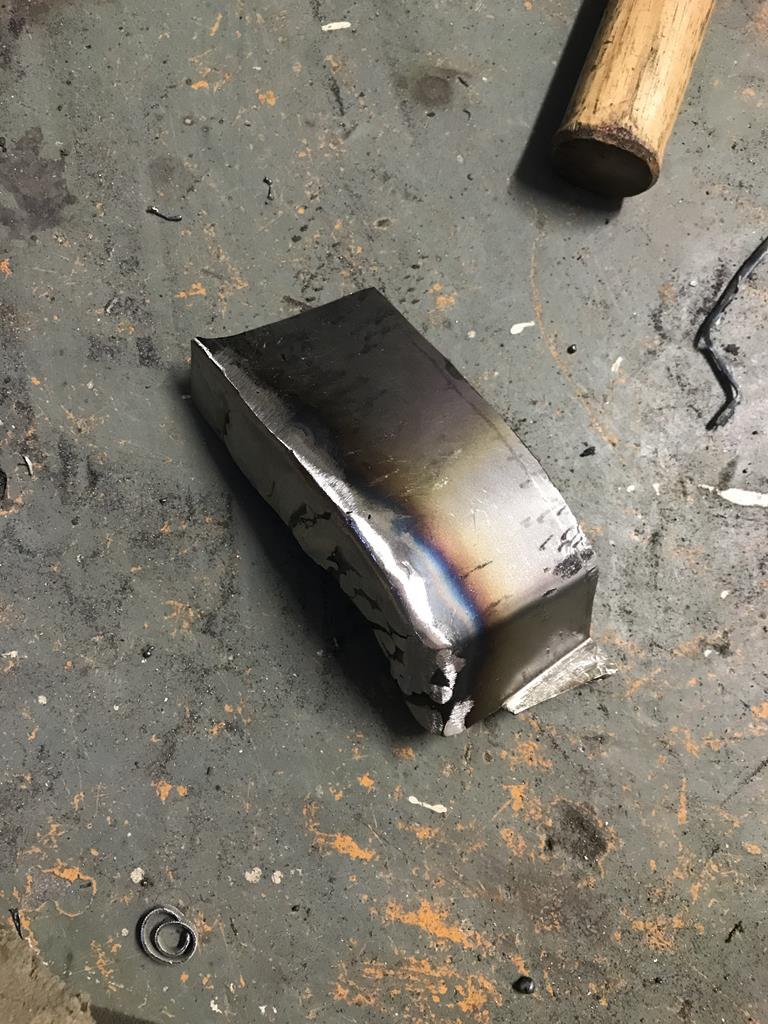
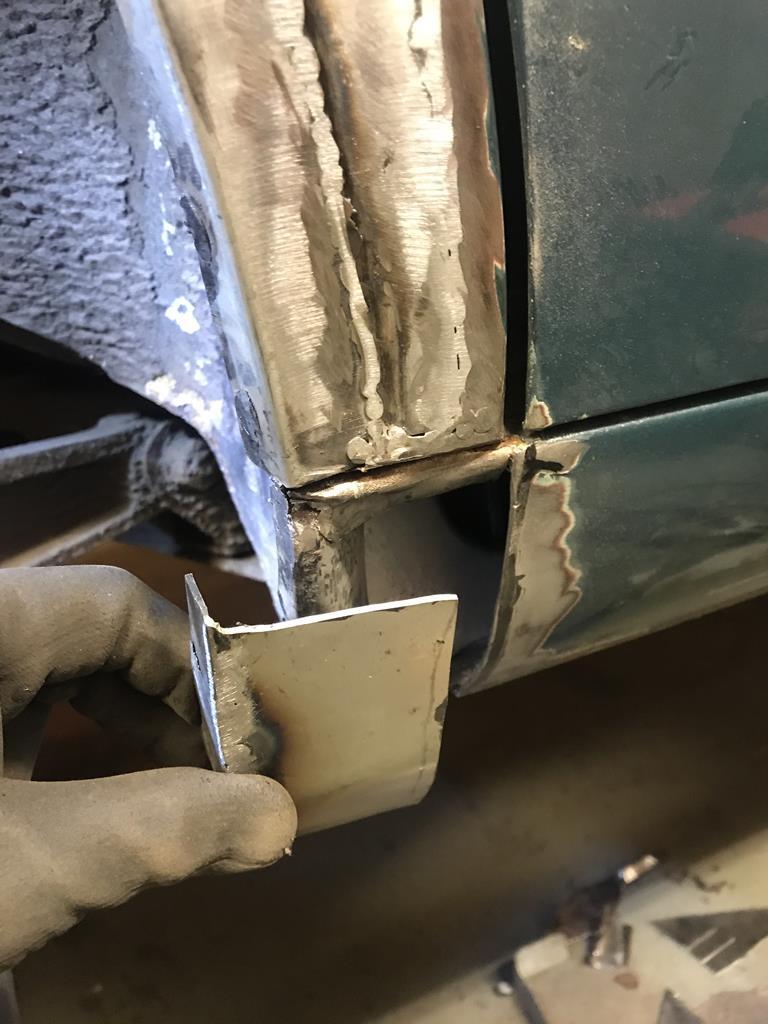
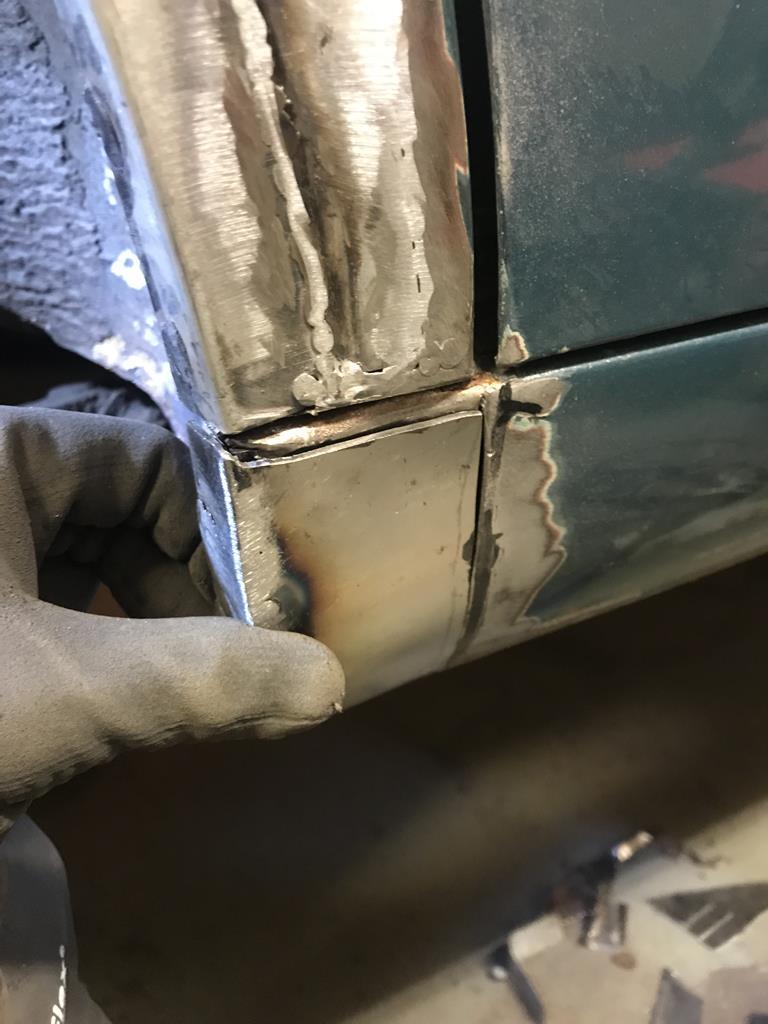
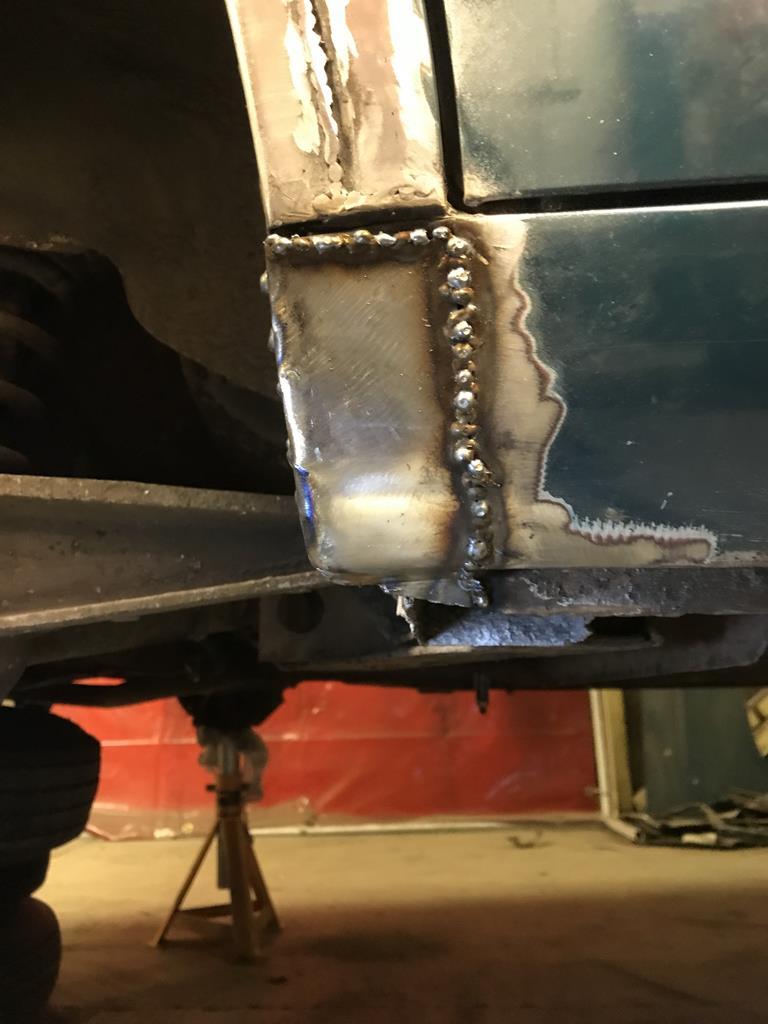
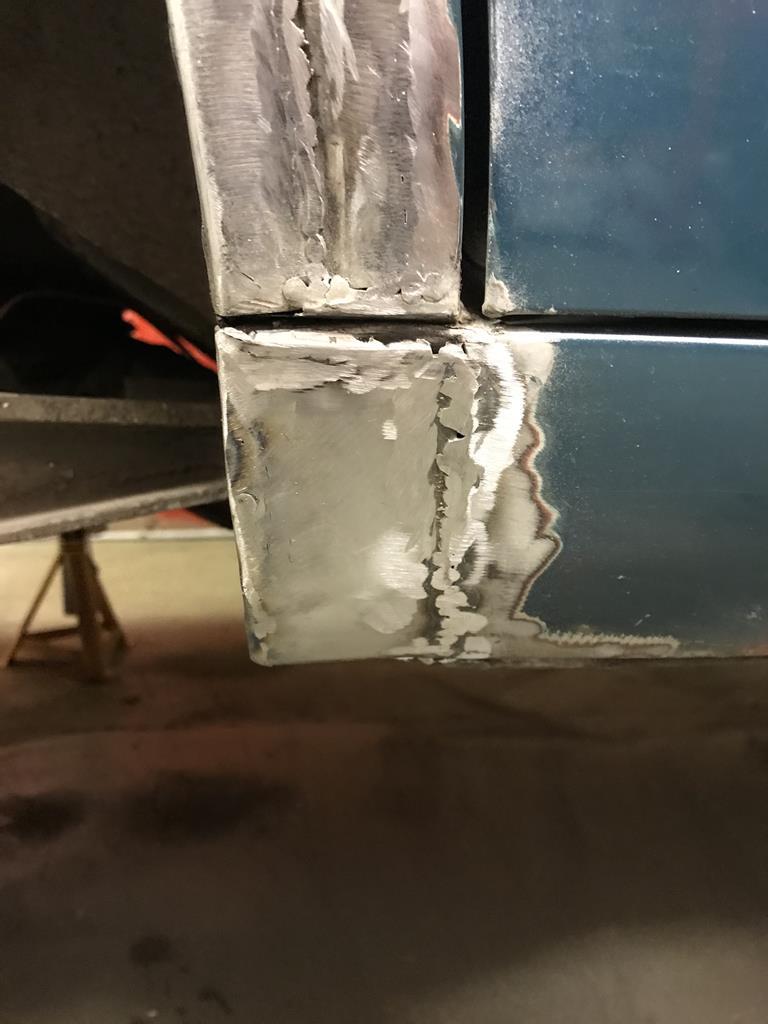
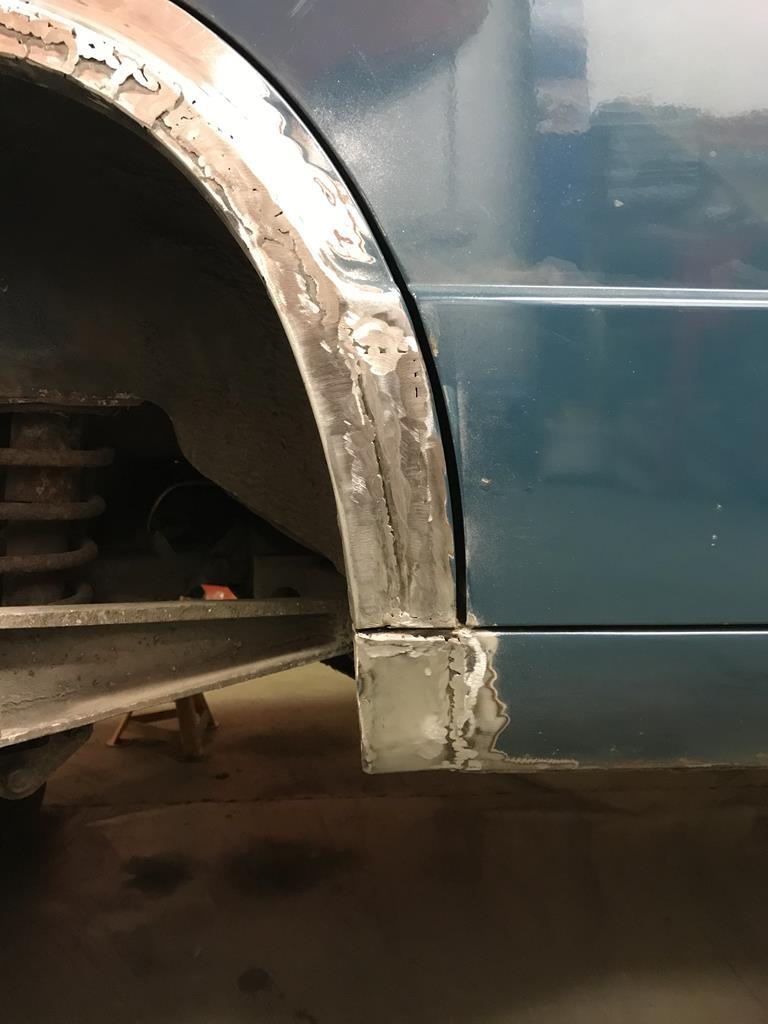
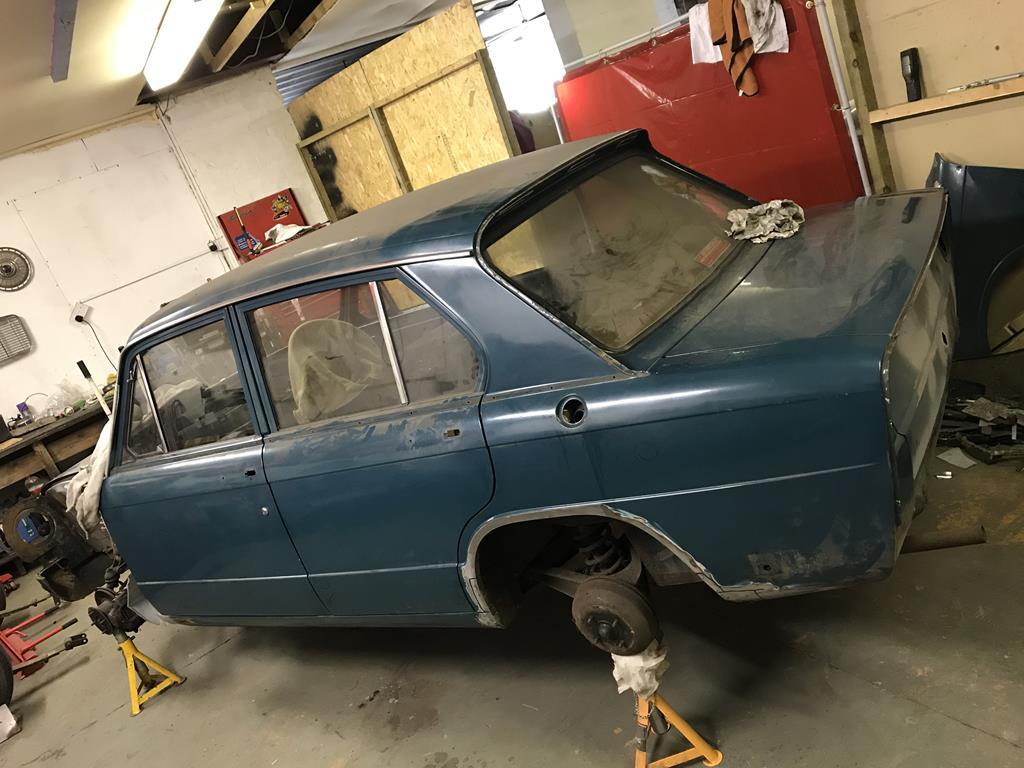
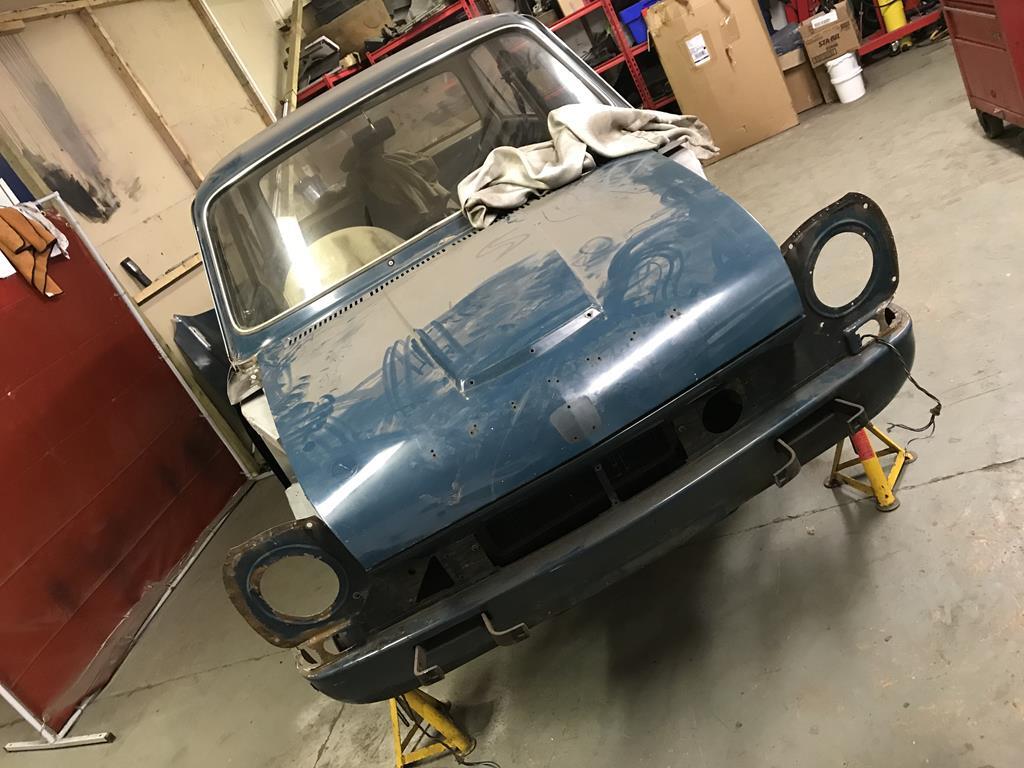
So, the month of May. 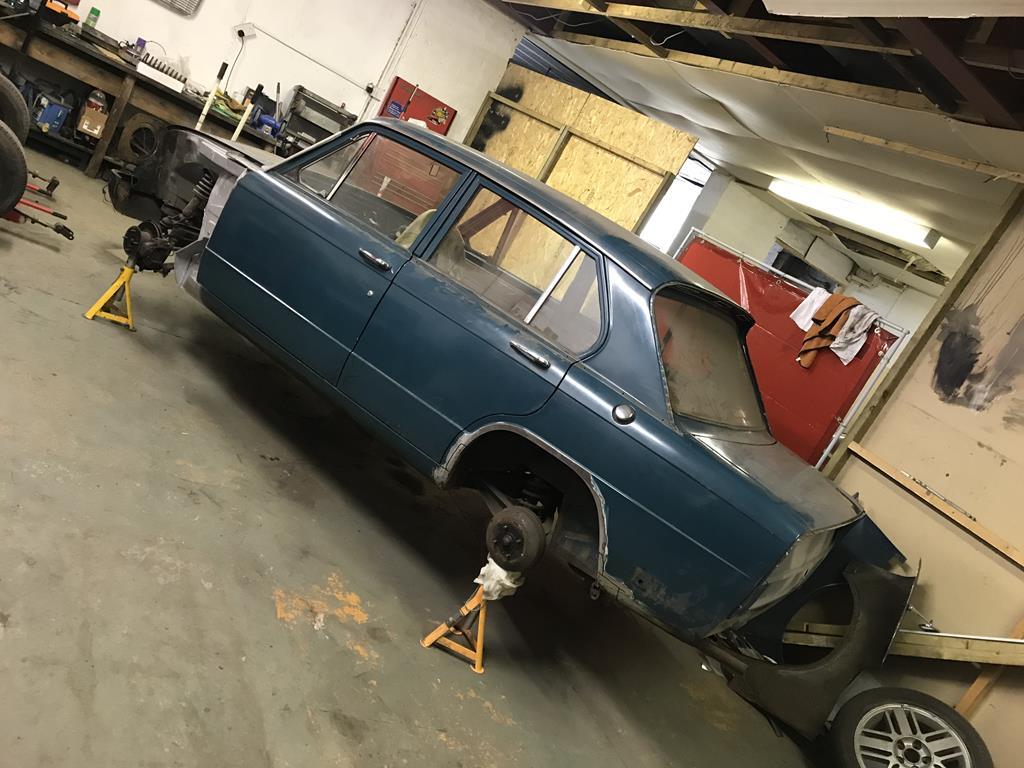 The left hand rear wheel arch was next for the attentions of the welding torch. Starting by having a poke around with a screwdriver then marking what was coming out and making a template. 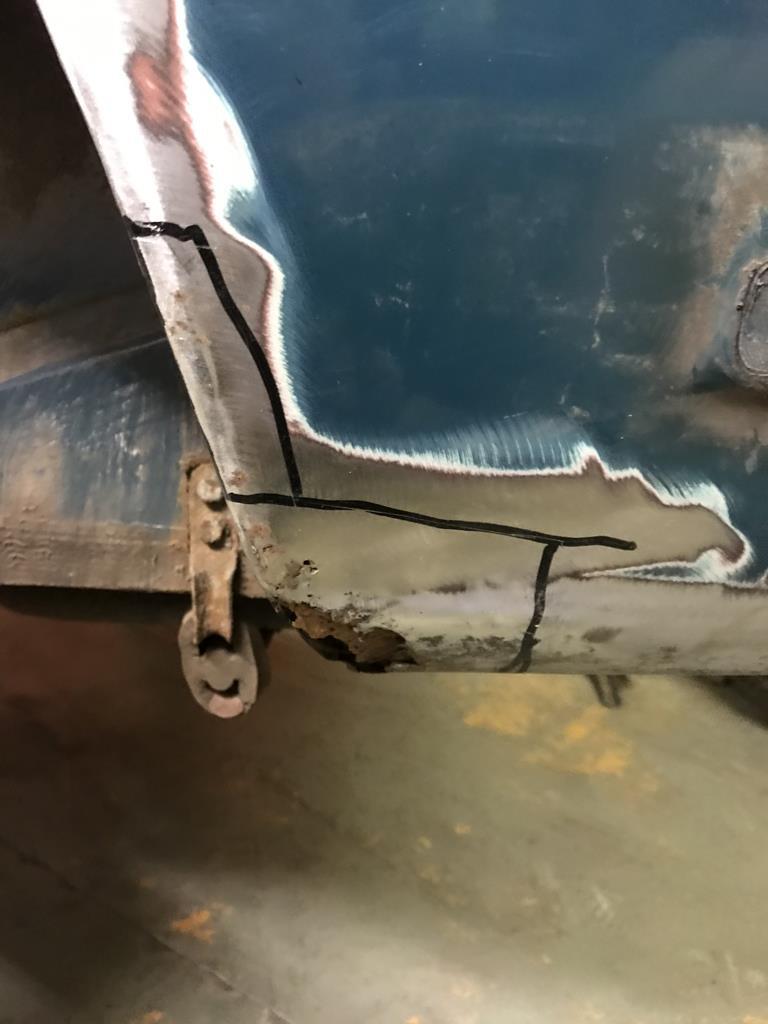 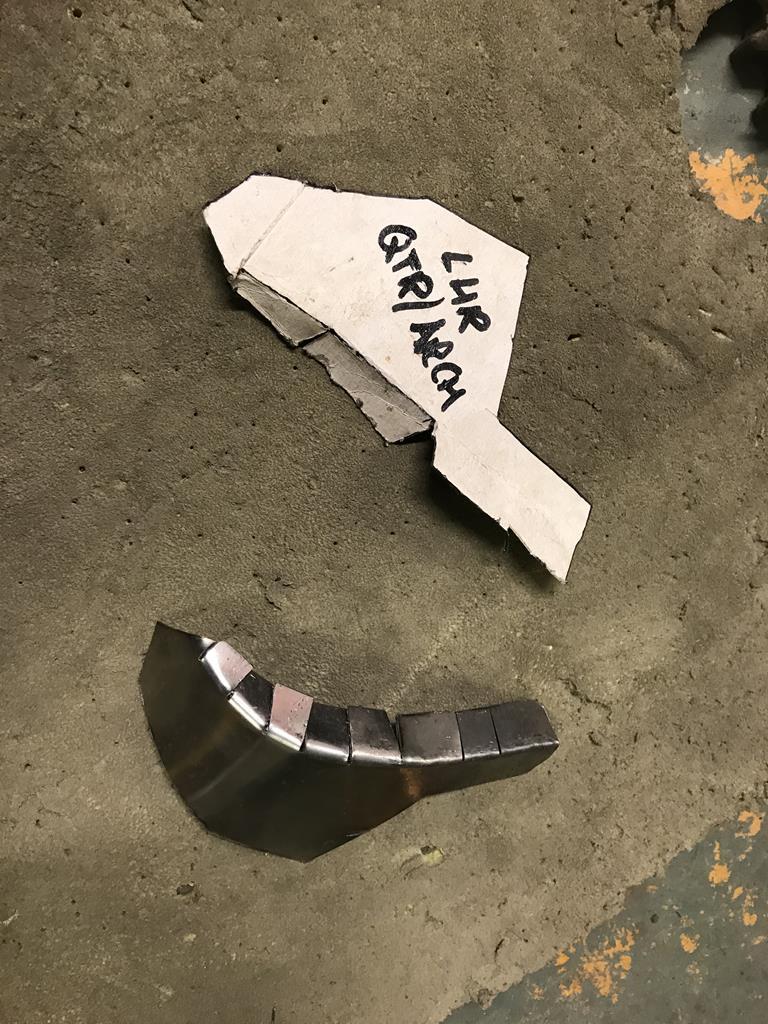 After making the replacement I cut it out. The inner arch was also rotten at the bottom, thankfully not all the way around like the RH side. This was also cut out after making the replacement. 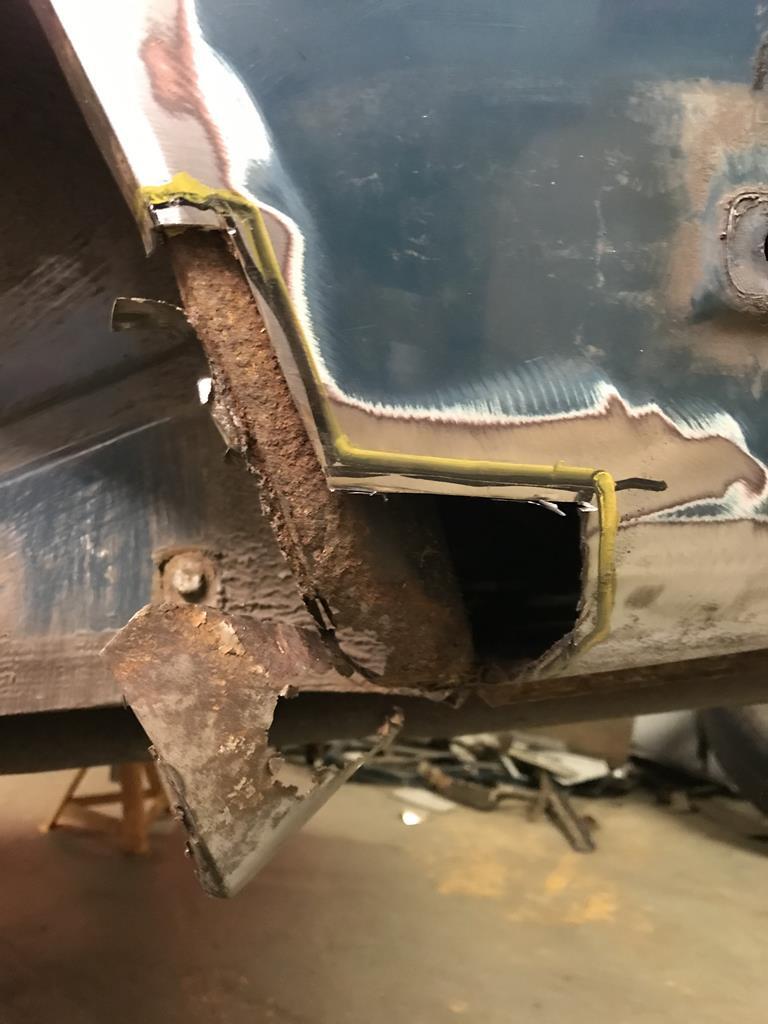 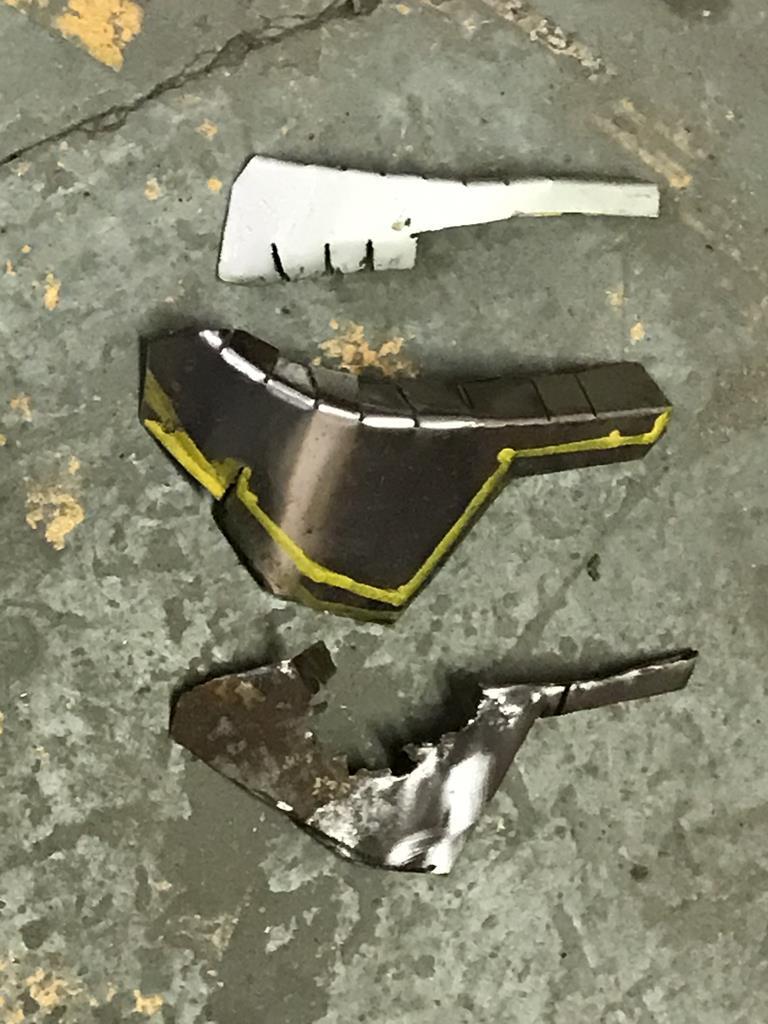 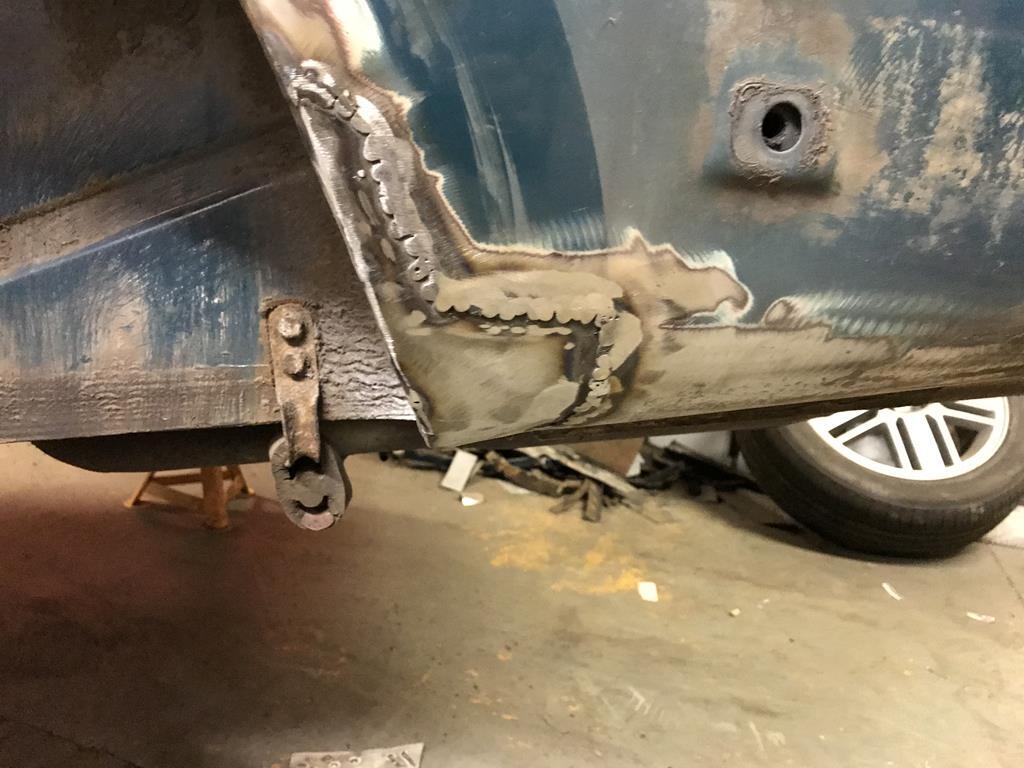 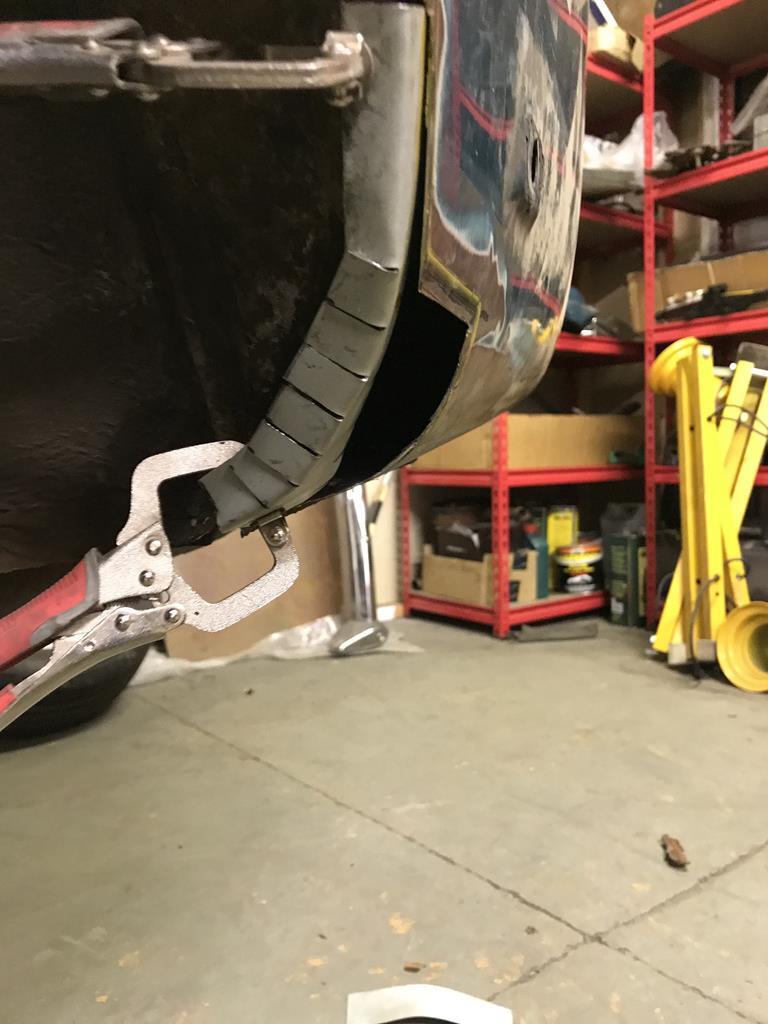 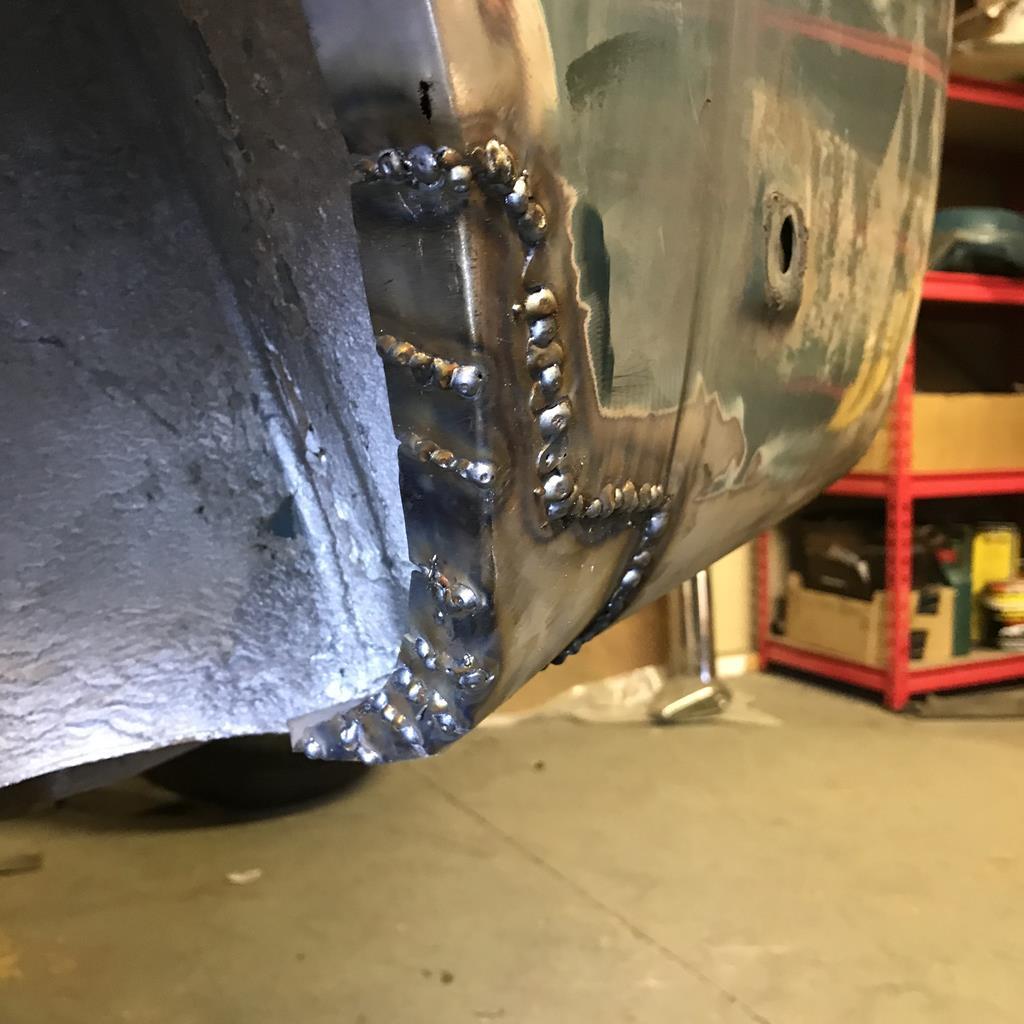 Once that was done it was onto the front edge. Again, outer and inner replaced, the rest was ok. 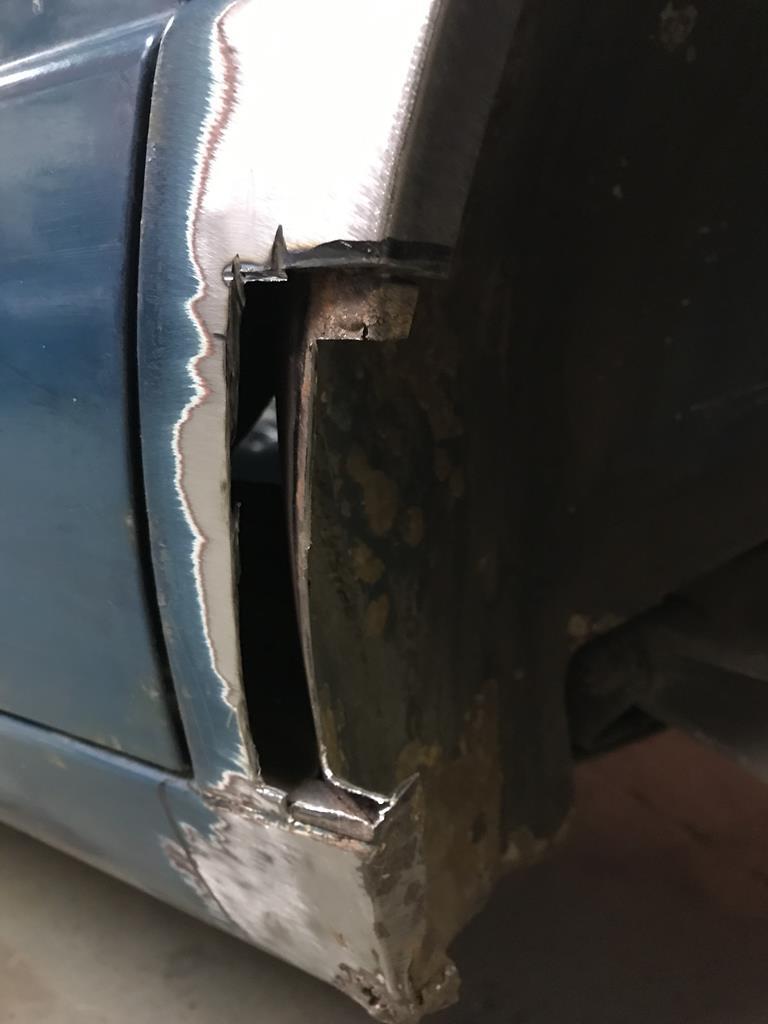 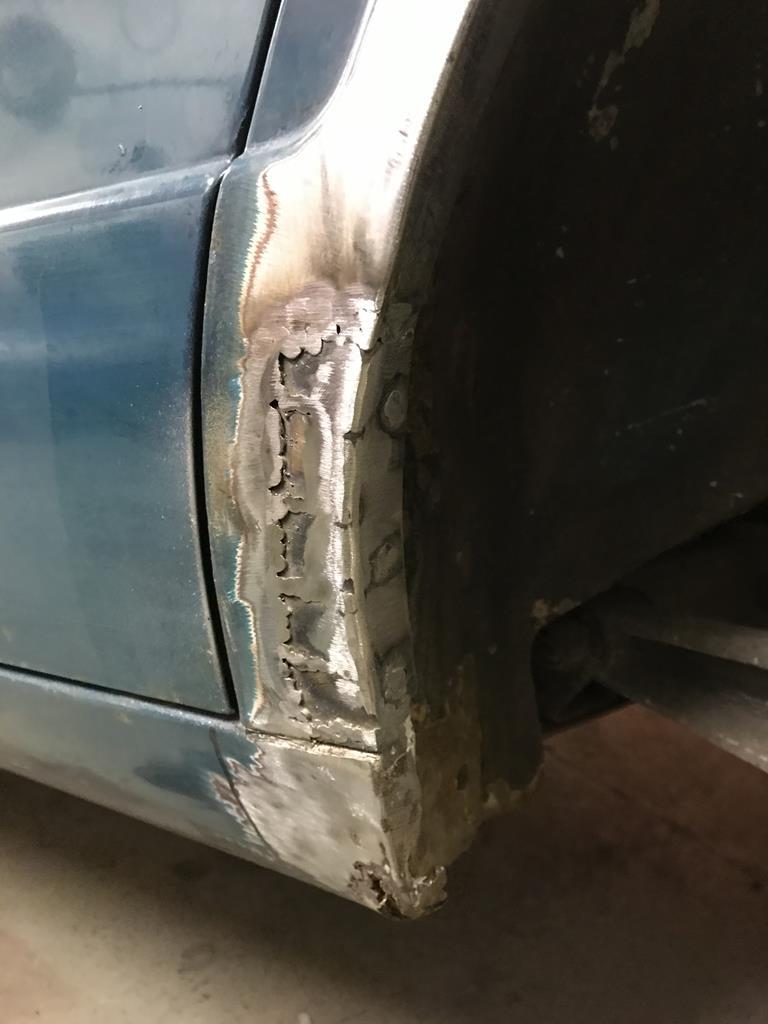 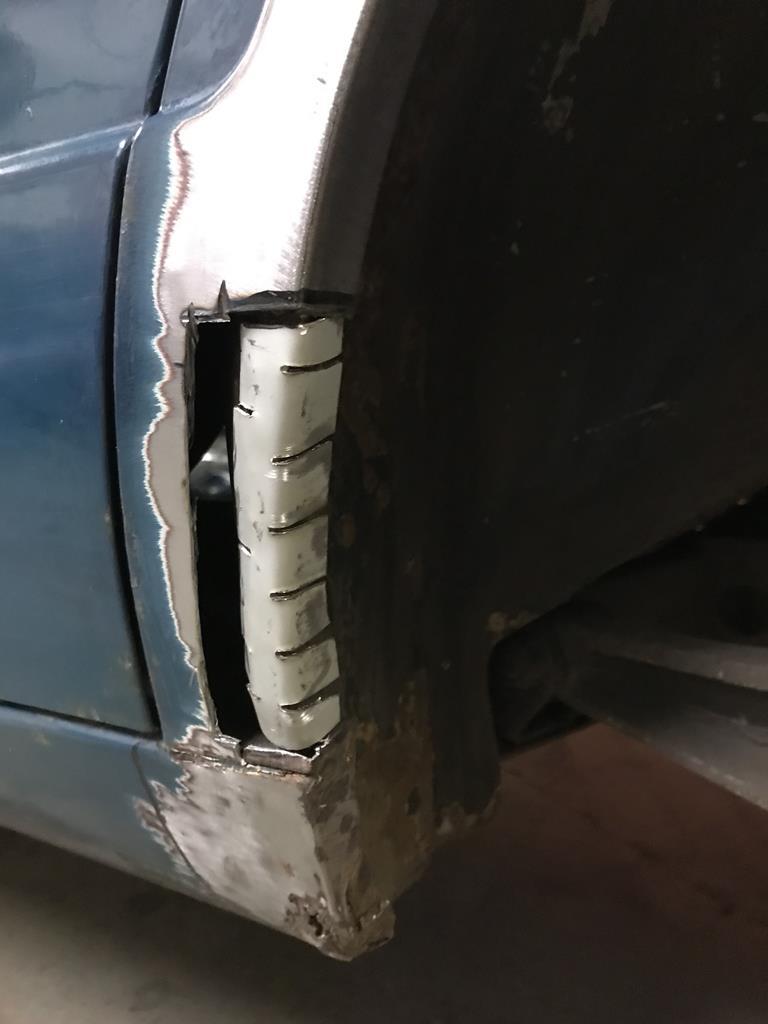 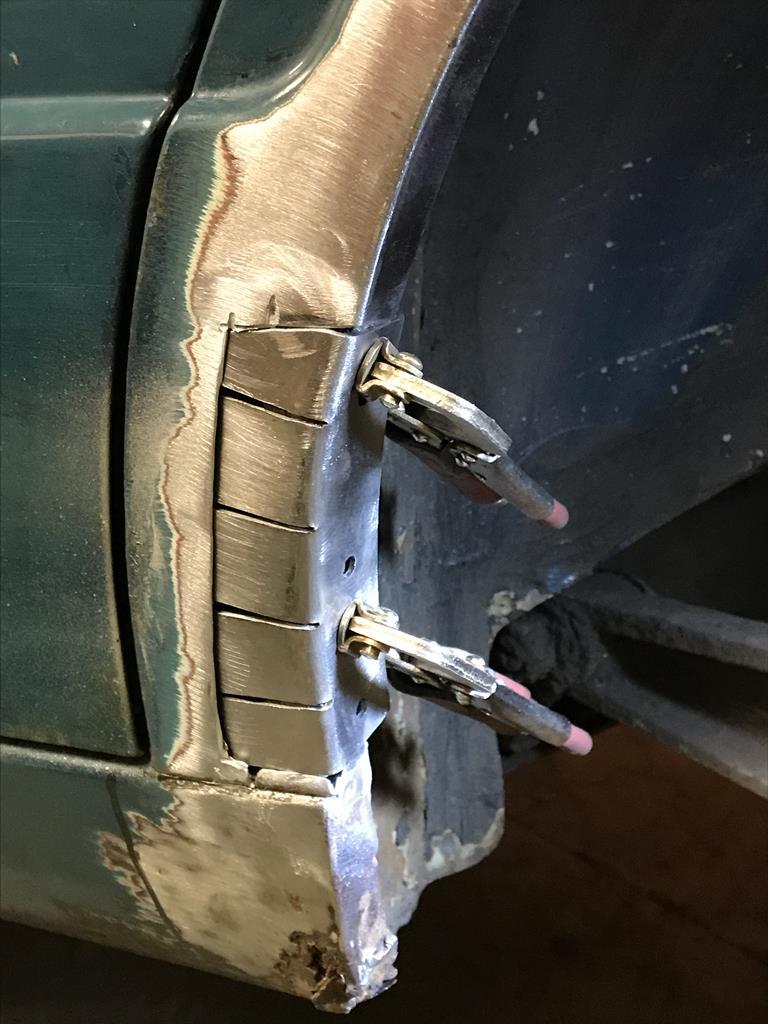 We then moved under the wheelarch to the back of the sill. Again, inner and outer parts replaced. The interior of the sill was superb like the RH side so it was etch primed before sealing it up. 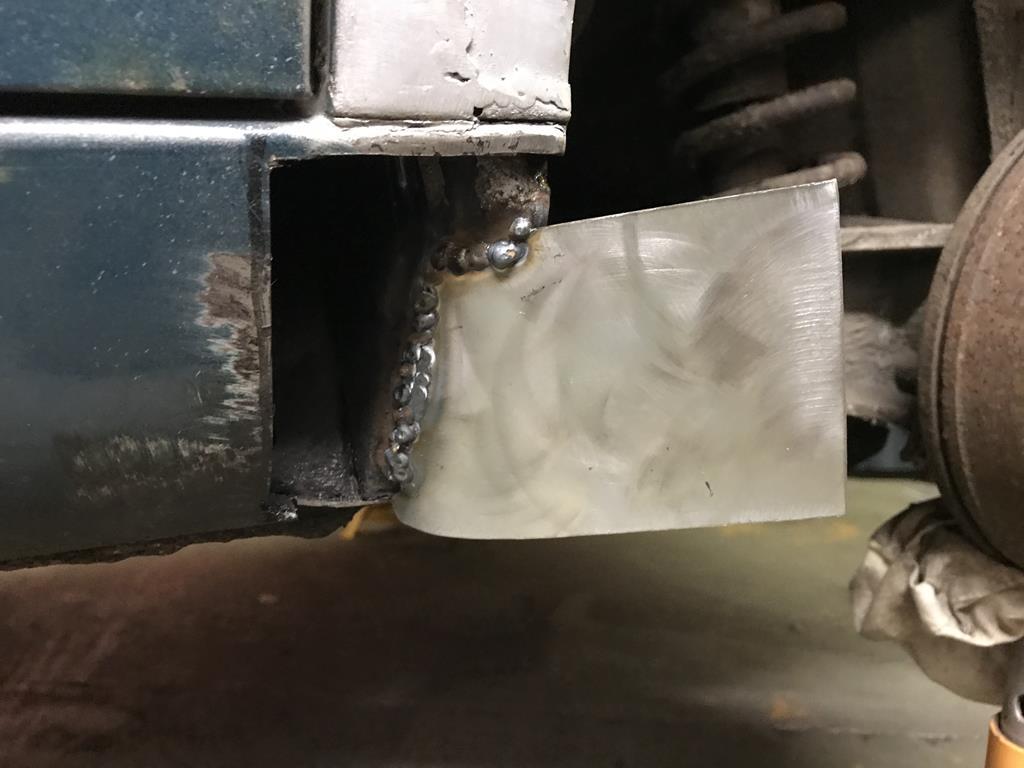 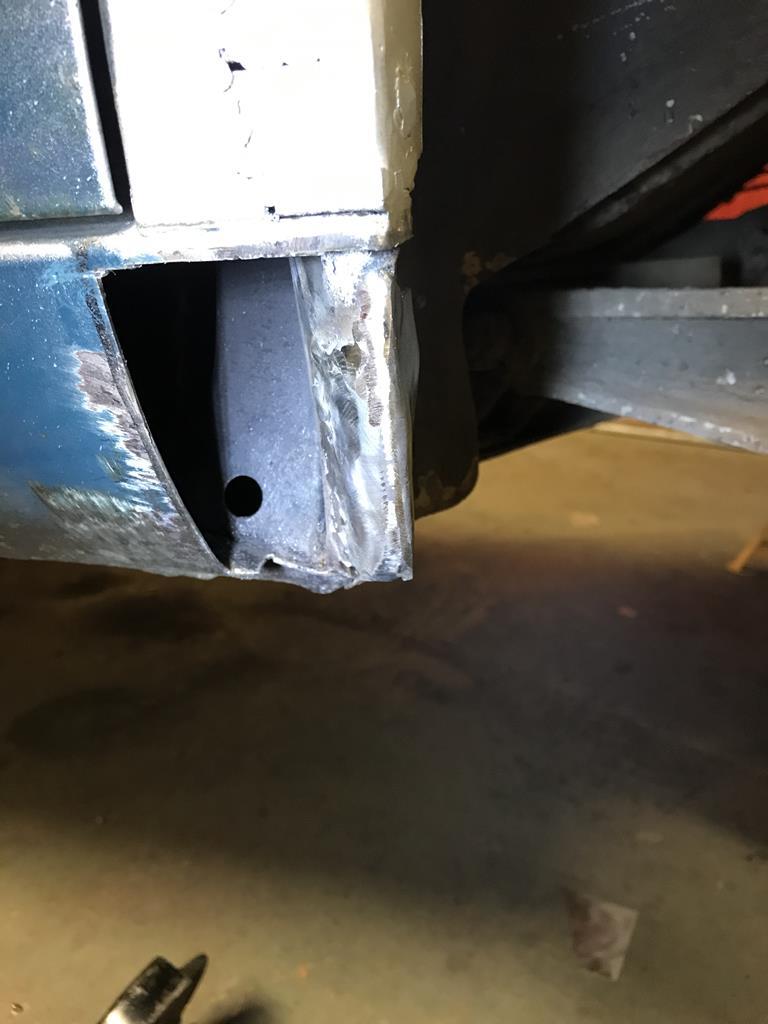 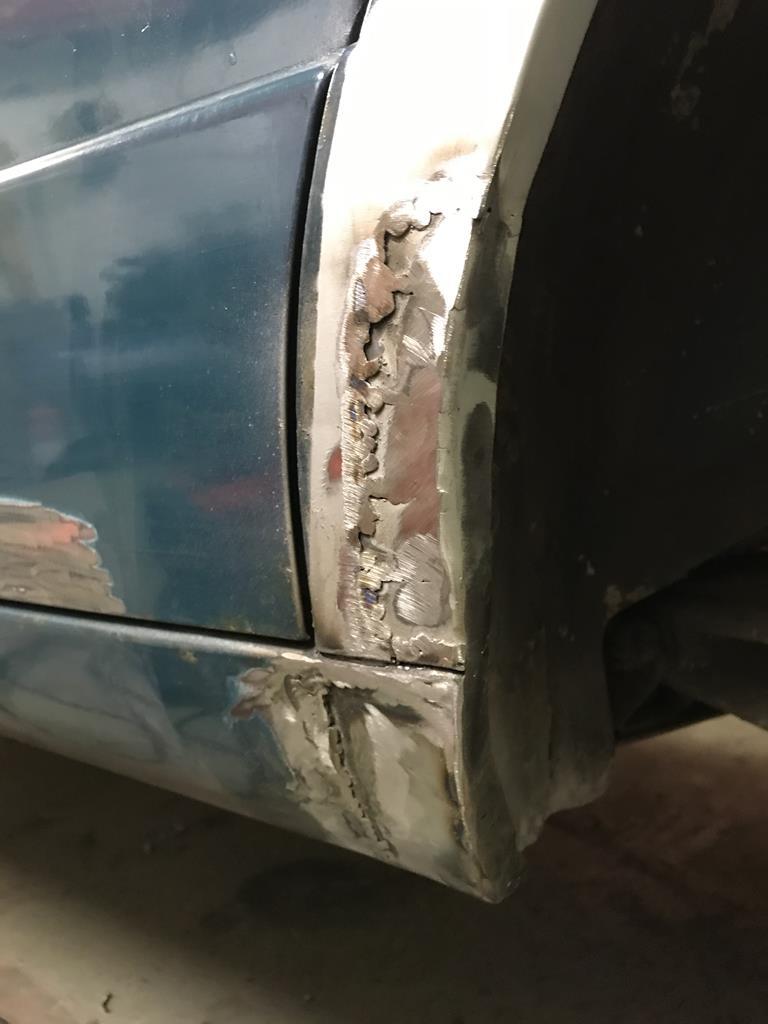 After the back end was complete, it was time for a break from metalwork. So, it was onto the mechanical side. 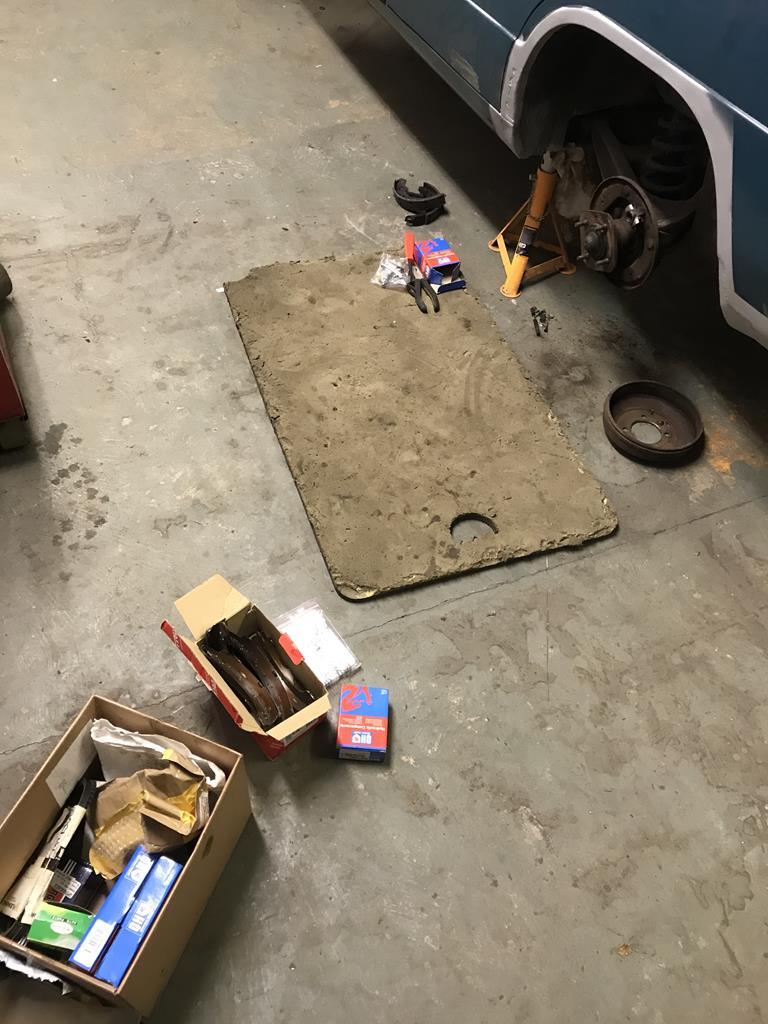 Starting with the rear brakes, I replaced the rear shoes, cylinders, springs, clips, flexi hoses and brake pipes. 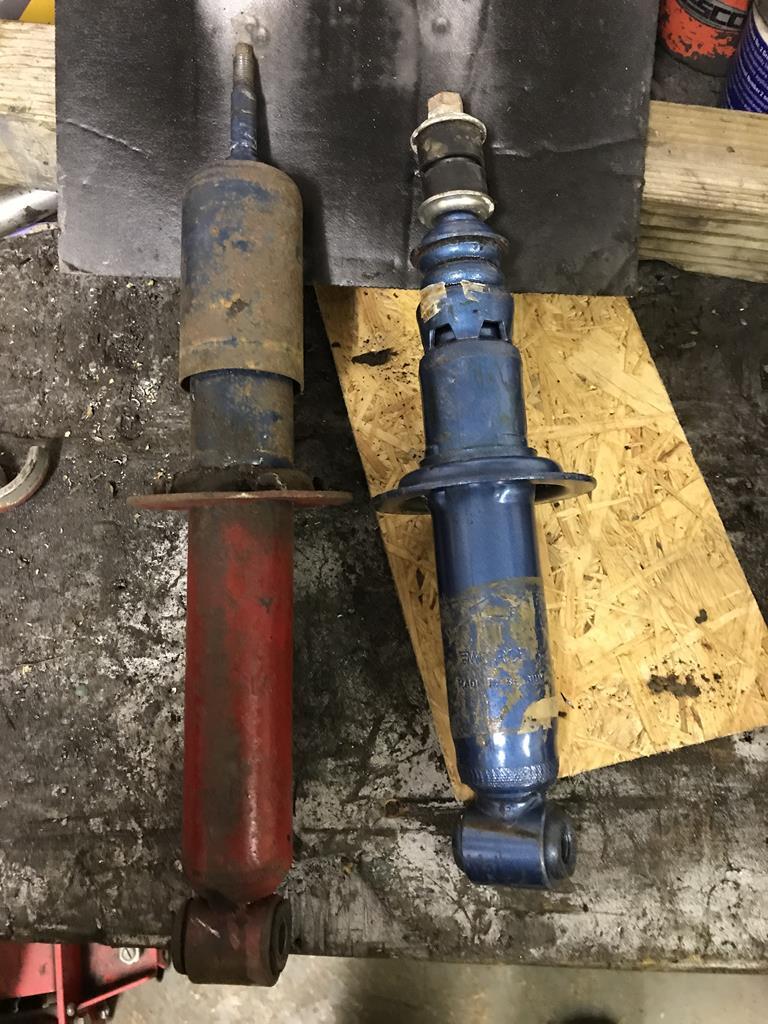 I then replaced the shocks and springs on all four corners before dismantling the front suspension. A mere sentence doesn’t seem enough to cover the replacement of all the bushes for Superflex polys, seeing as they were absolute b******s to change. 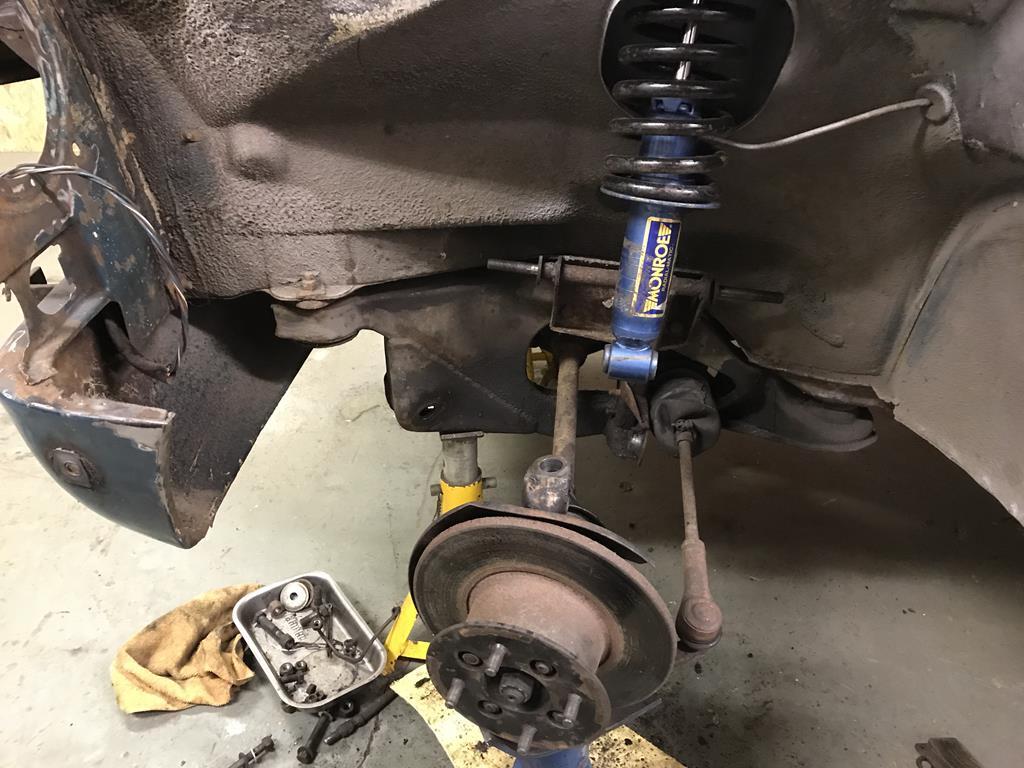 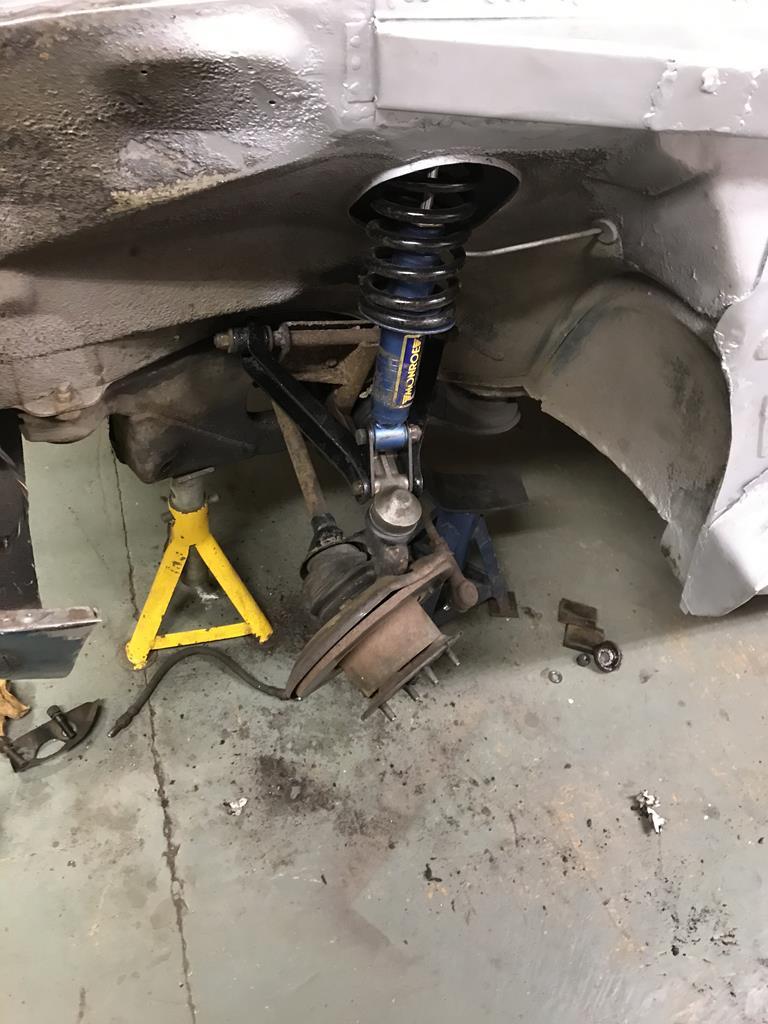 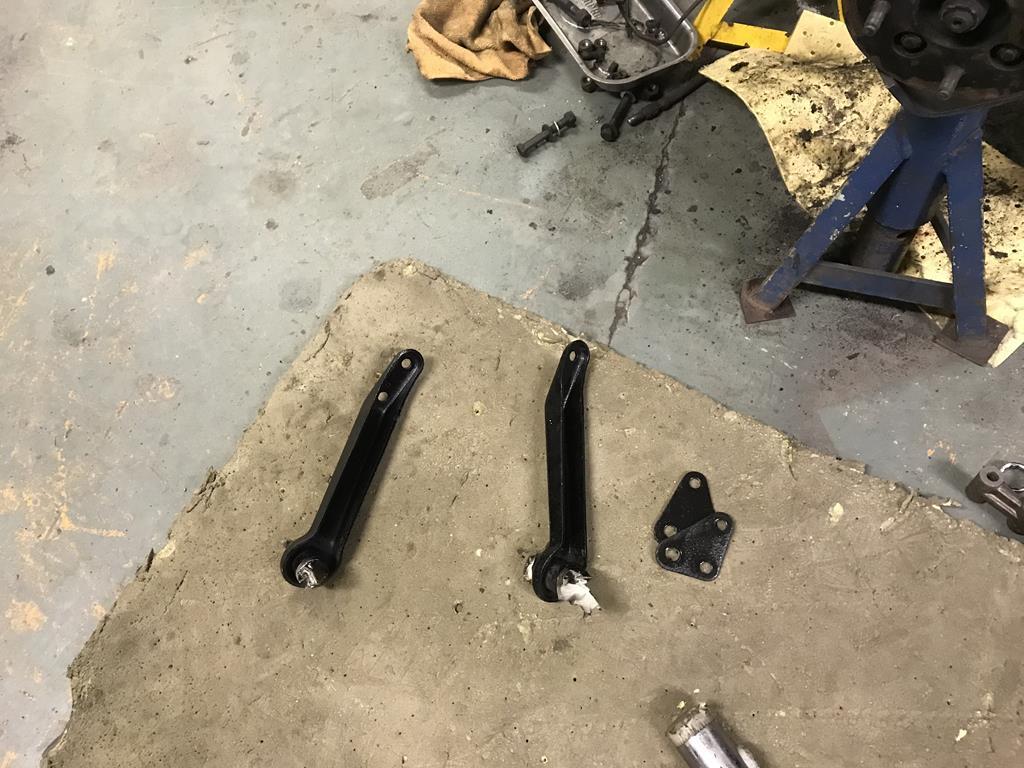 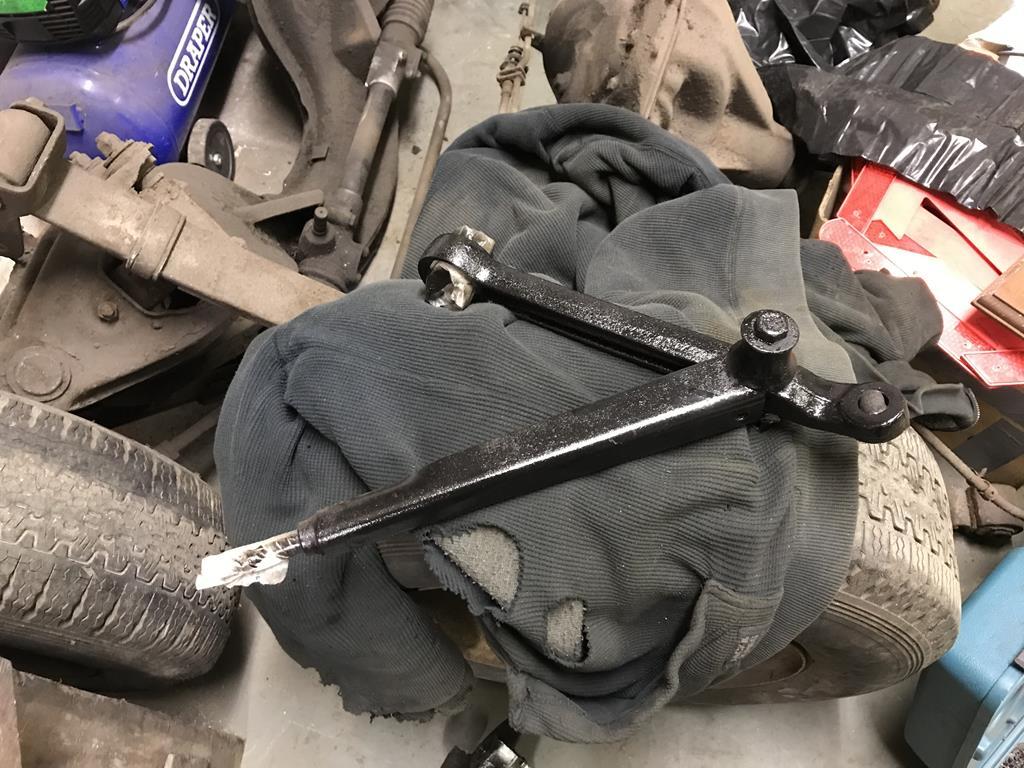 After getting the suspension back together, I was about to strip the calipers to rebuild them. However, £45 exchange per Caliper from the Triumph Dolomite Club meant I went this route instead. The first pair arrived which turned out to be two right handers. These were sent back and my old rebuilt ones were not returned to me. A nice trade off for the messing about. 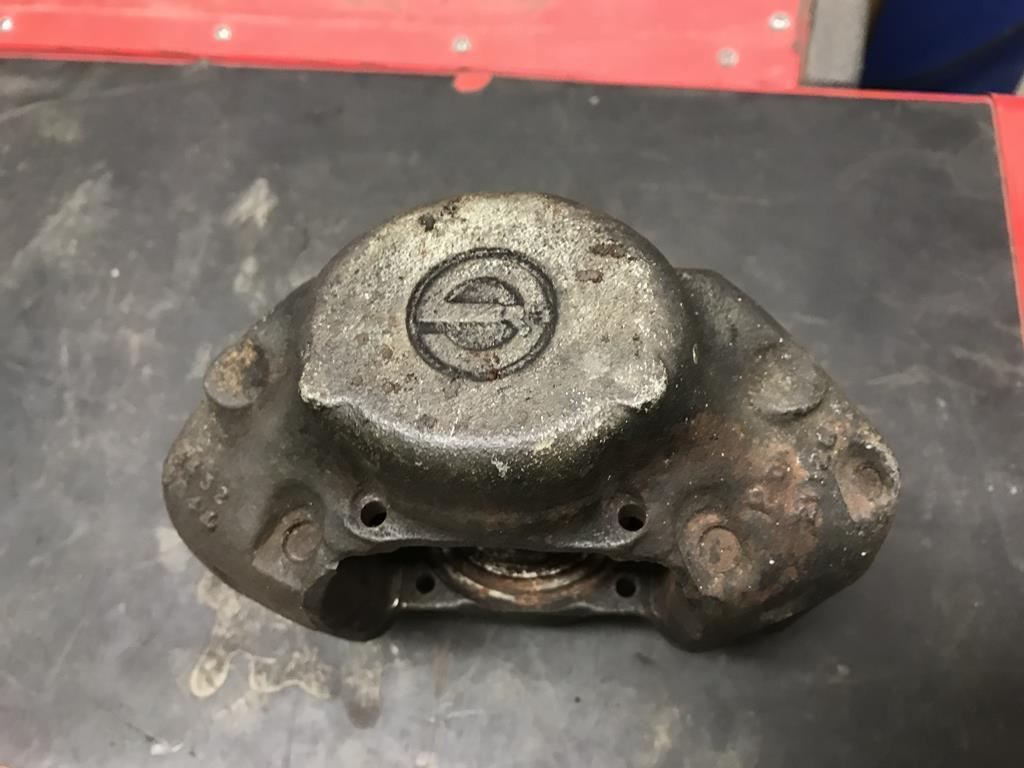 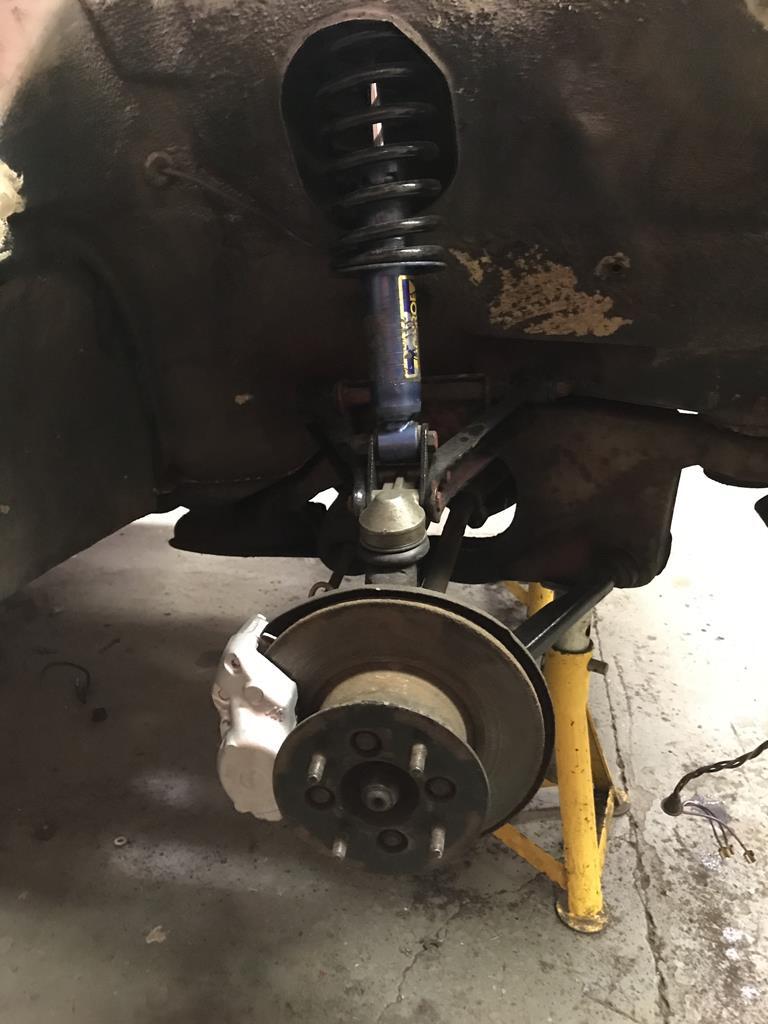 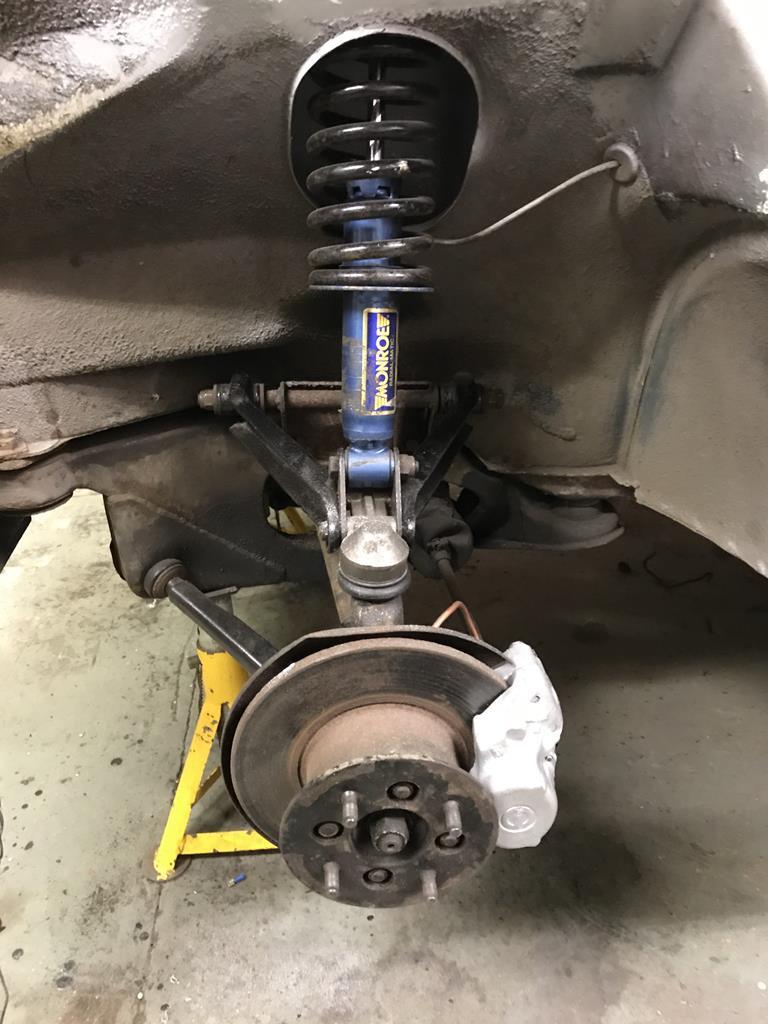 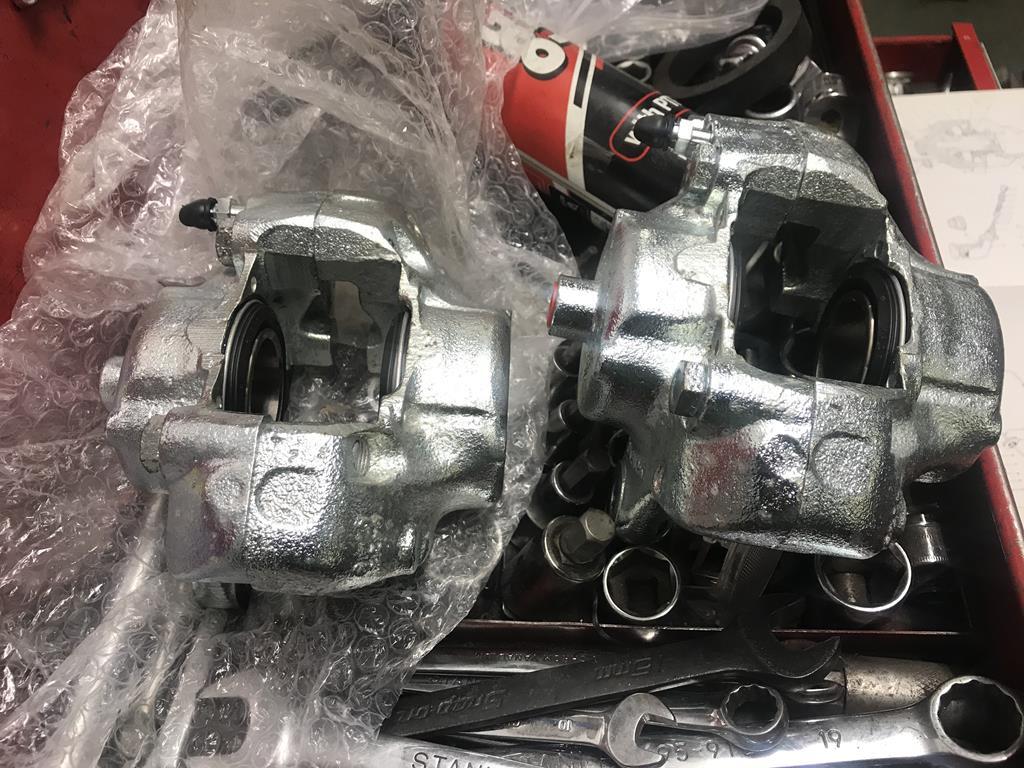 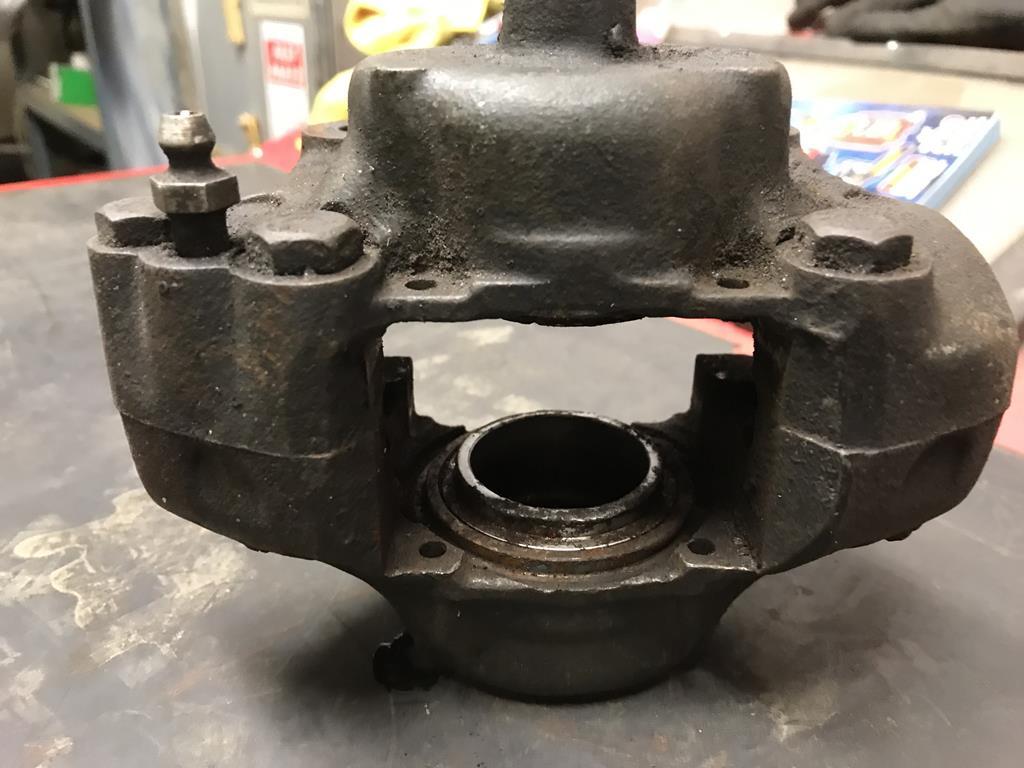 The car has to be driven to the paint shop so it meant making it roadworthy. That meant the 50 year old hardened cross ply death traps would have to come off before it’s trip. I went for some 165/80/13 from Black Circles which were fitted after the wheels were blasted and painted. I went for silver instead of the original white. 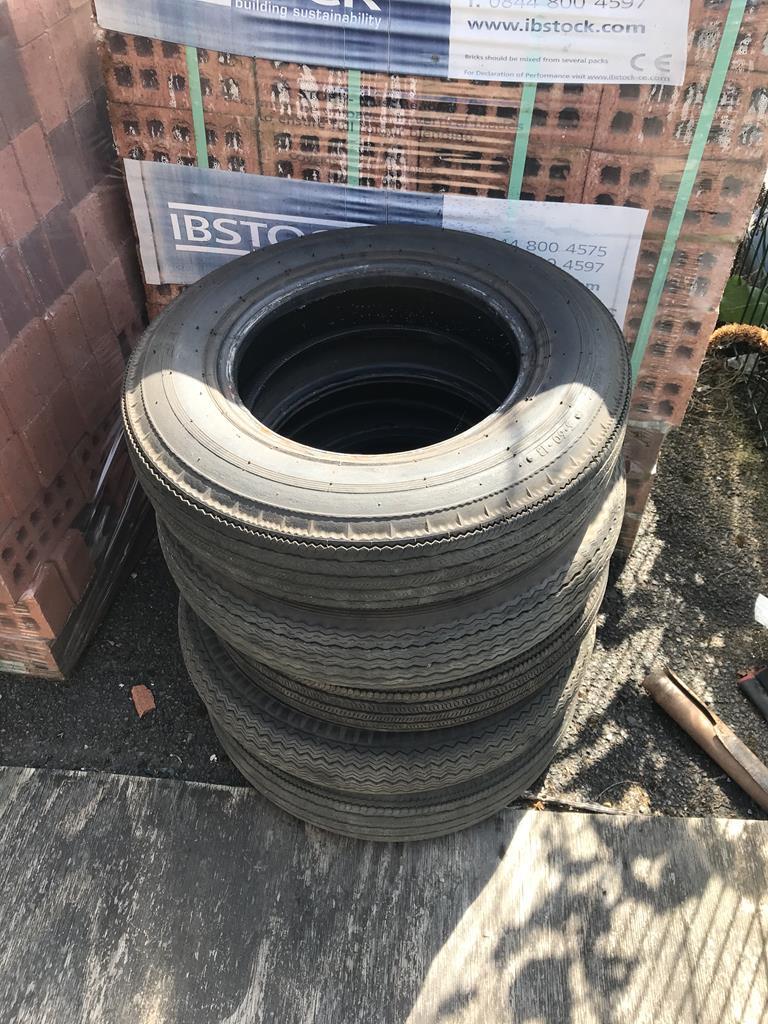 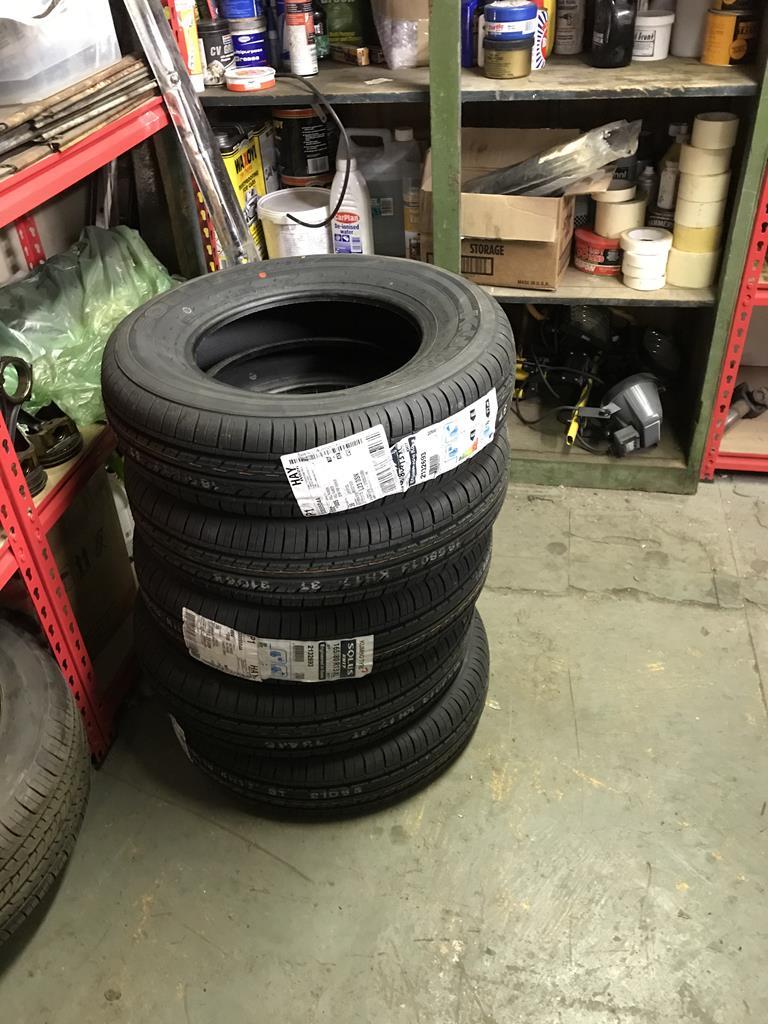 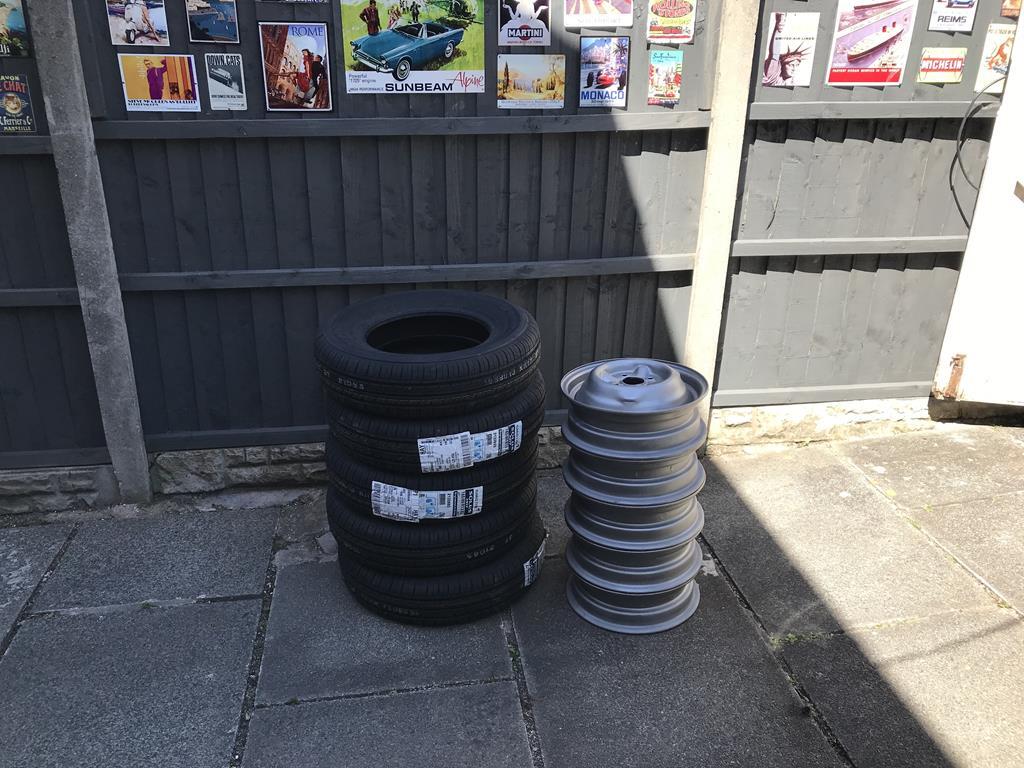 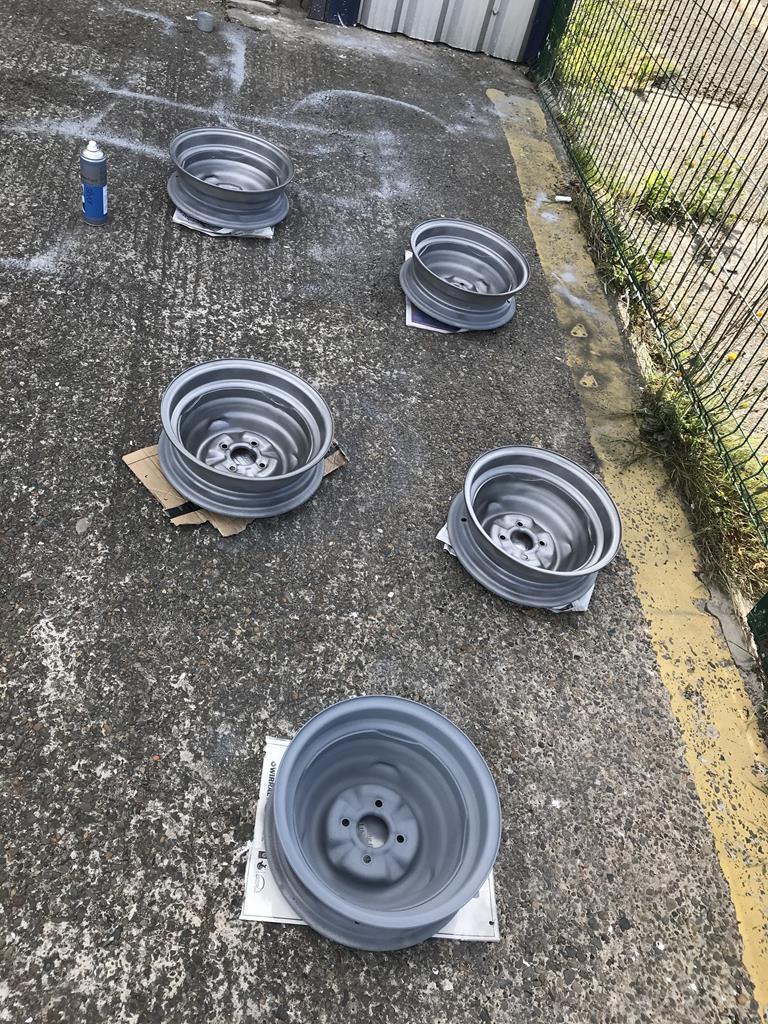 The gear change could at best be described as ‘vague’, or like stirring a bucket of vomit if you were being less kind. As you can see, the bush that was there had completely disappeared. Luckily the metal Bush sleeves from the front suspension were a perfect fit around the bolts. The change is far more positive now. 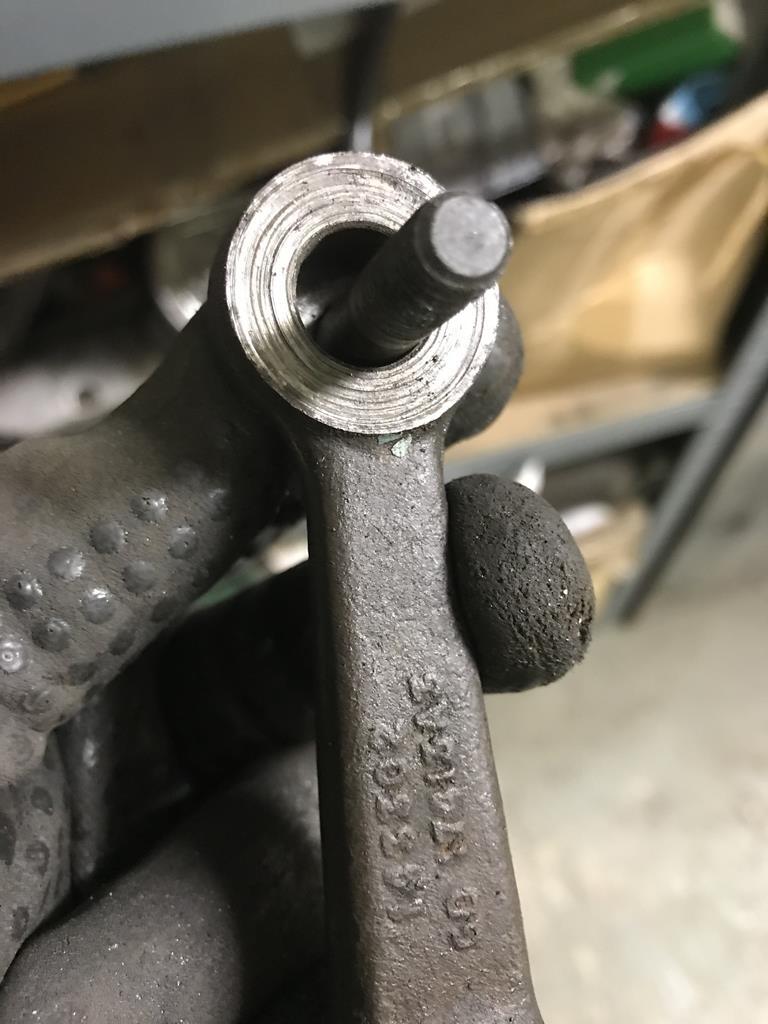 It was then onto the wings. Before starting I seam sealed and painted the areas that wouldn’t be seen once they were fitted. 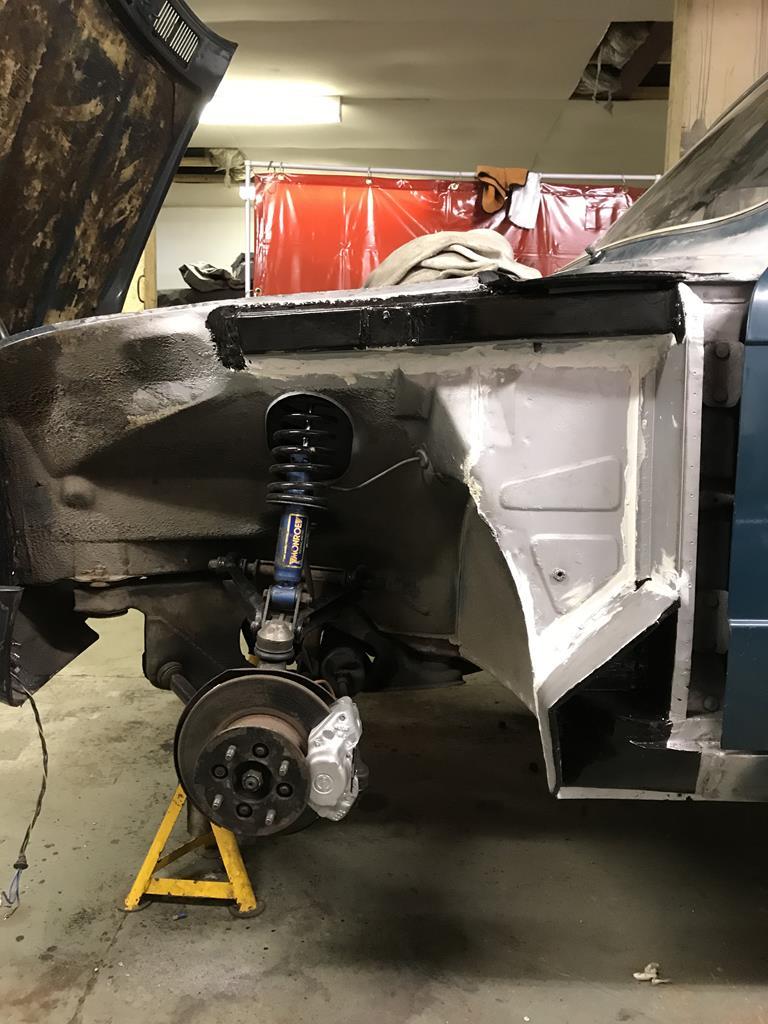 The wings weren’t the best fit (when were they ever), but after a day of adjustments they were welded on before seam sealing the remaining areas inside the wings. 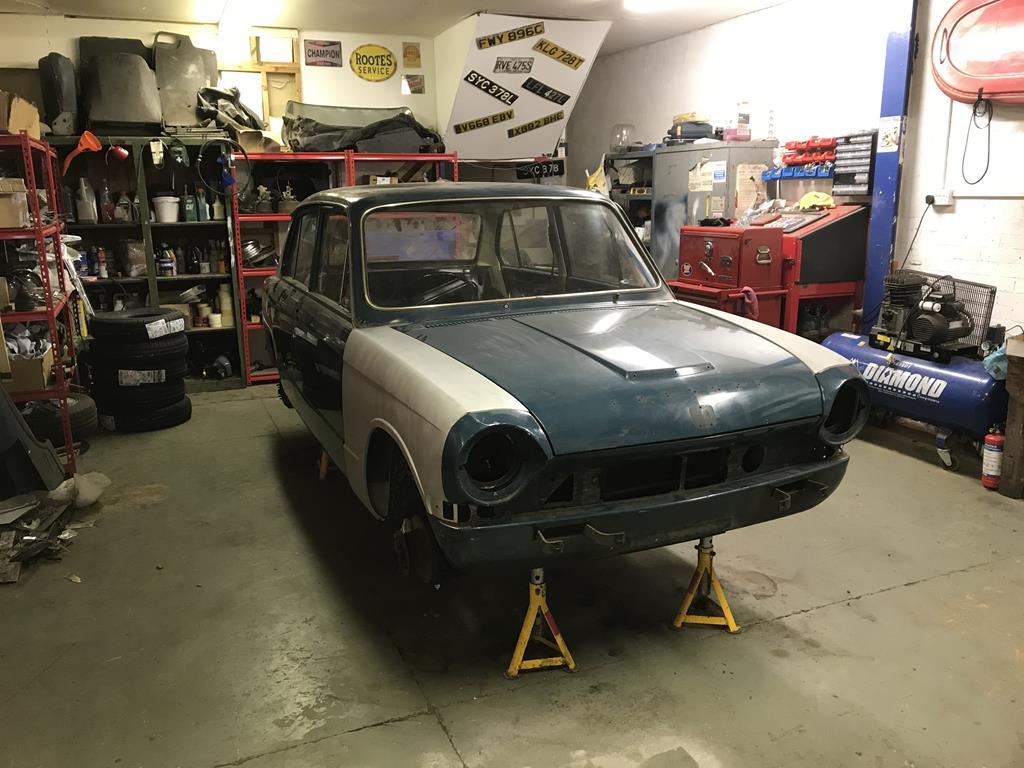 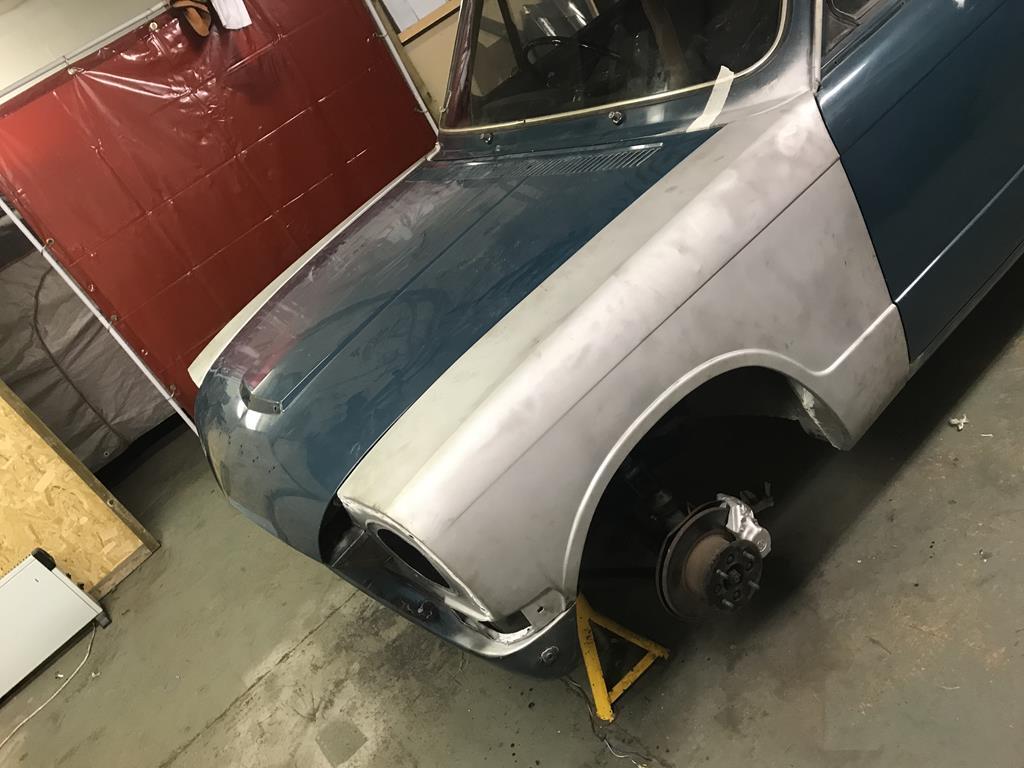 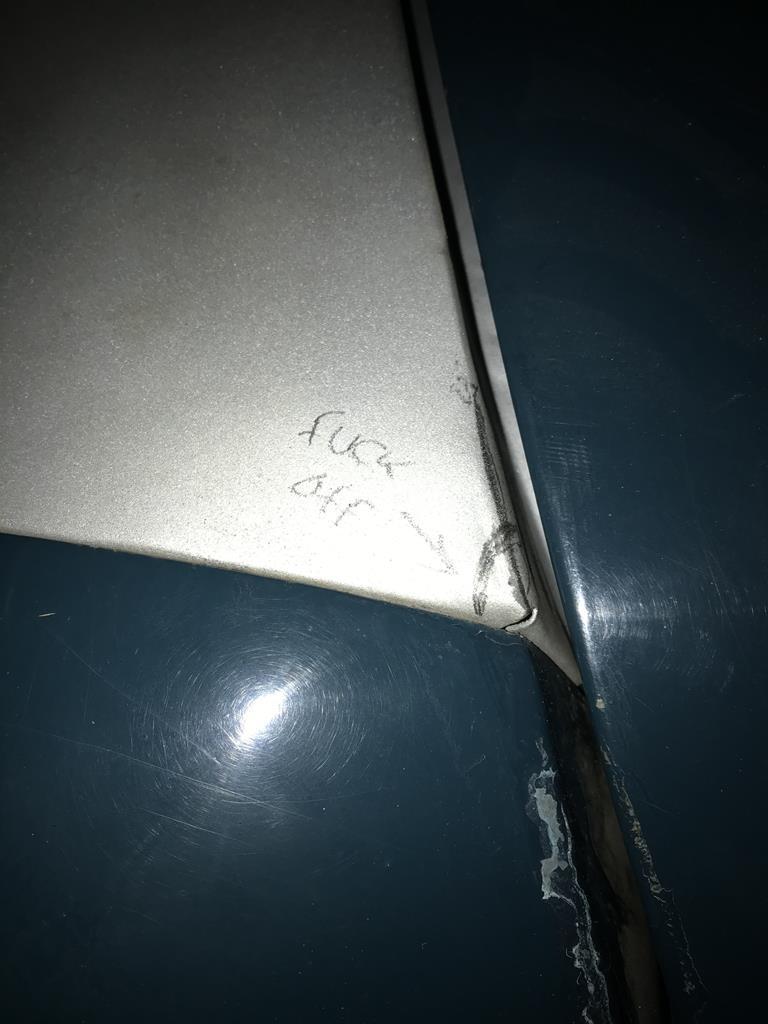 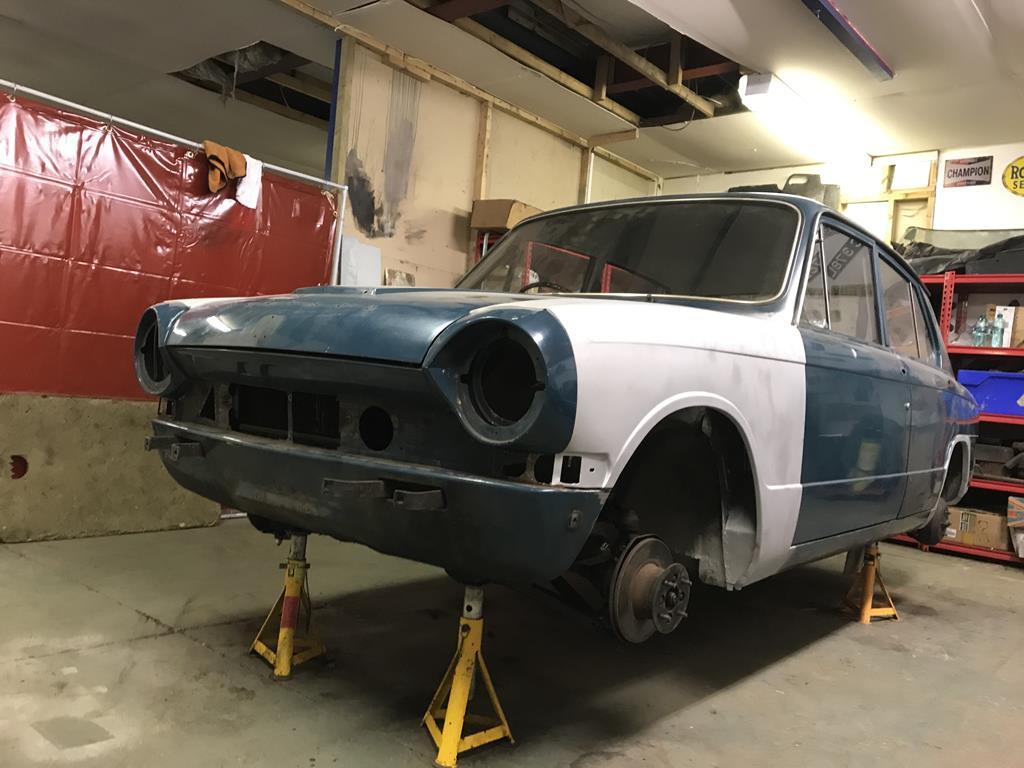 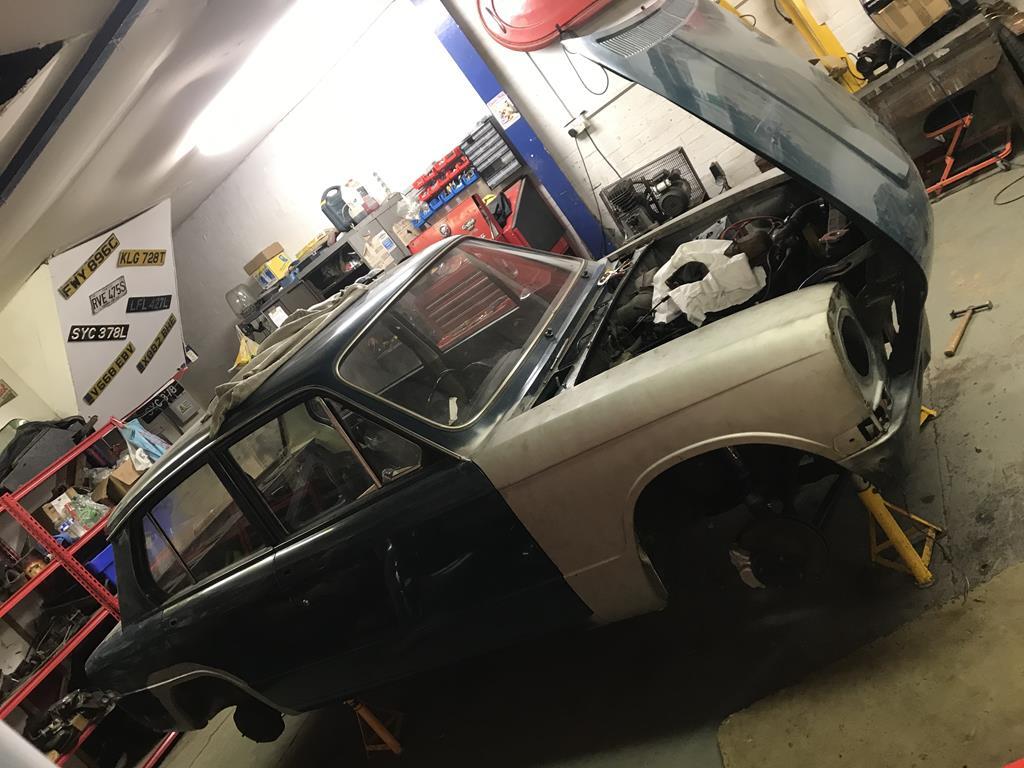 The dash also had to go back in temporarily. The wood panels I’ll be refurbishing so these were left out but I did fit LEDs to the warning light cluster, the dash lights, the tail lights and the sidelights. I also re-silvered the tail lights with tin foil. 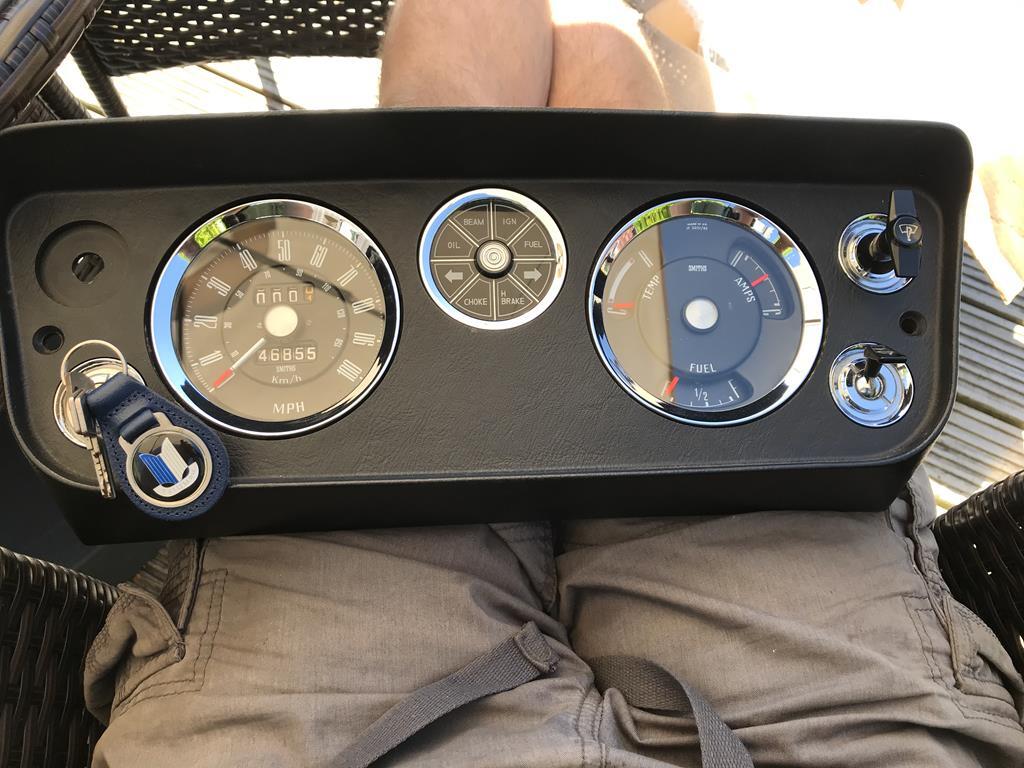 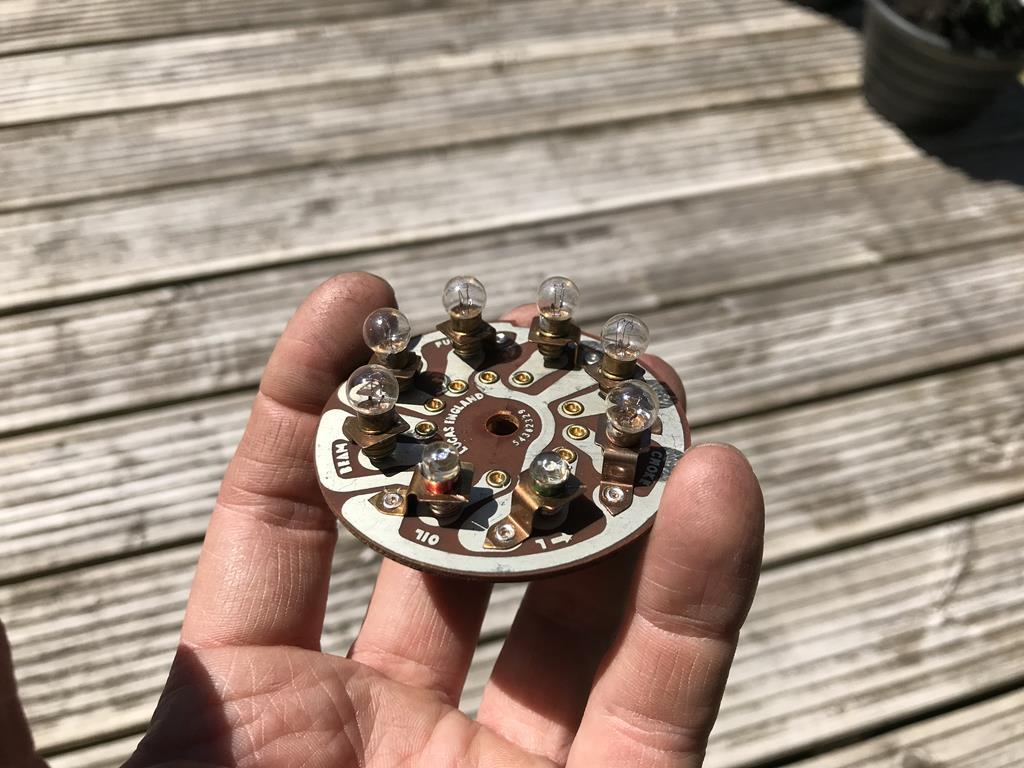 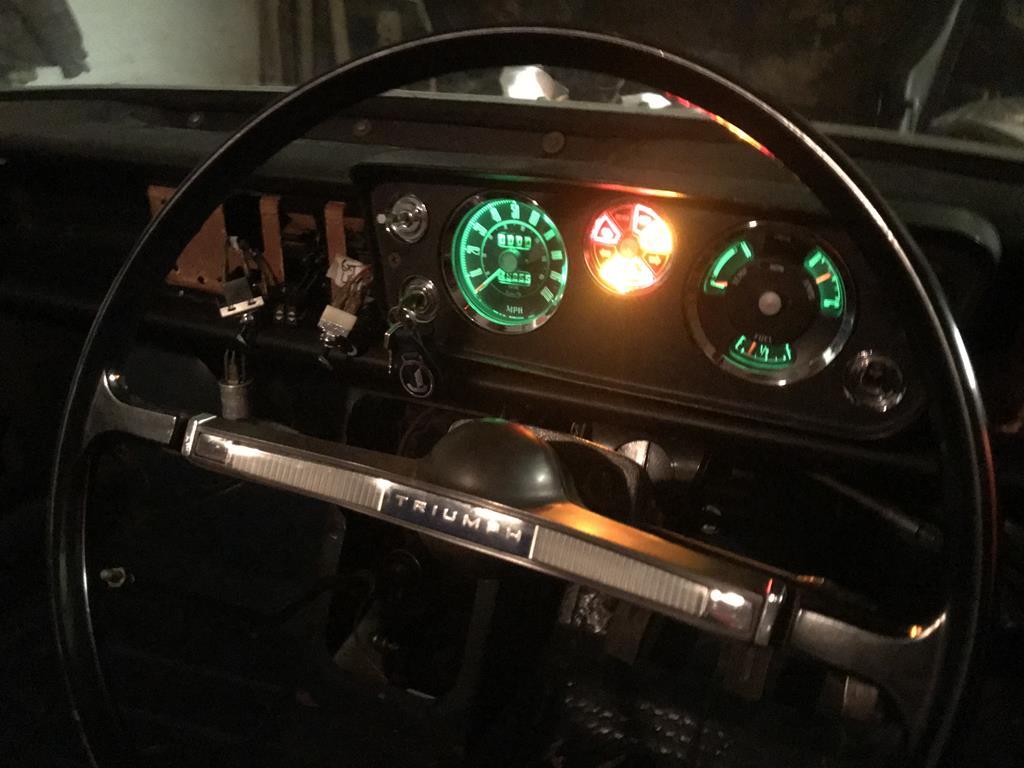 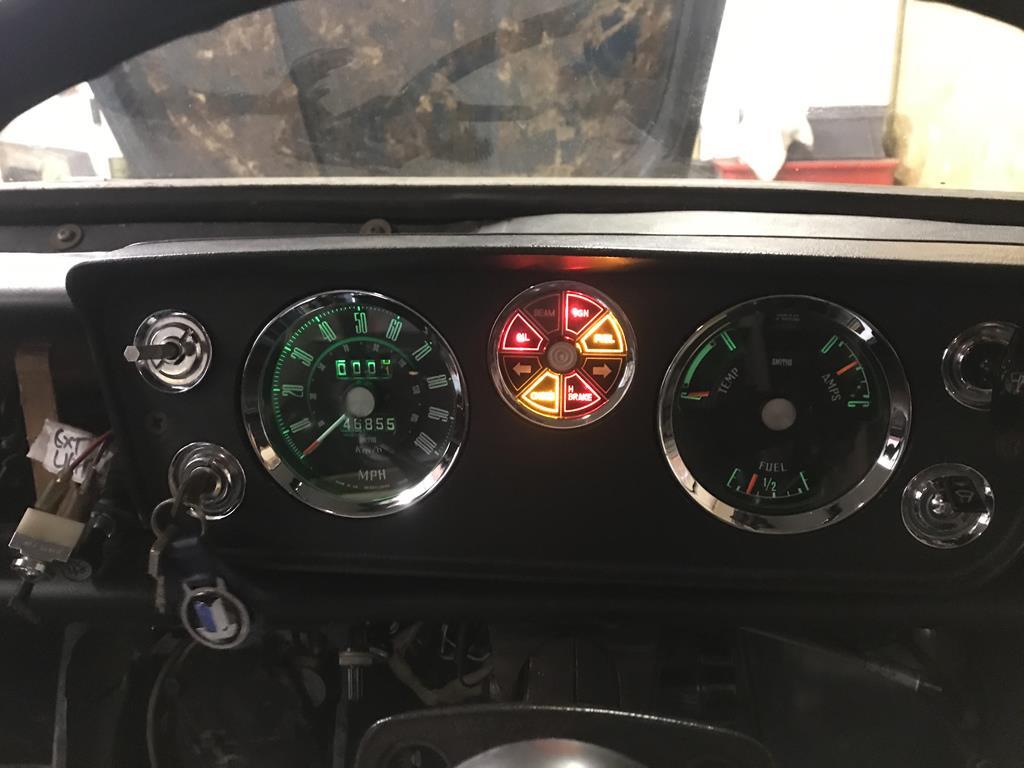 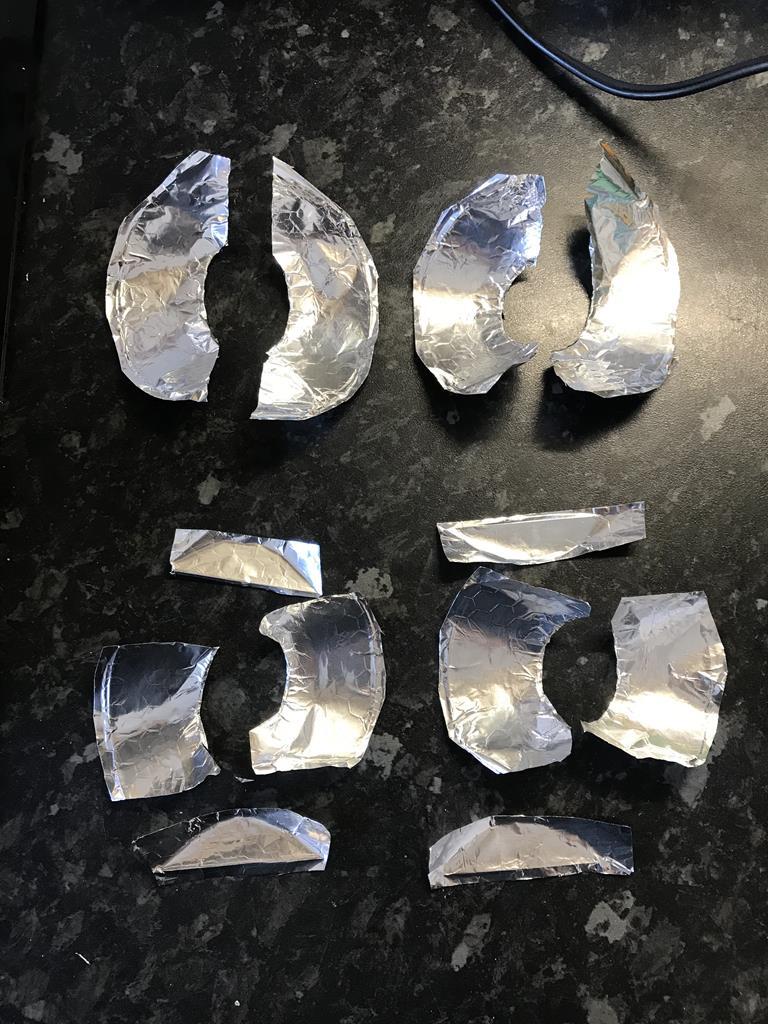 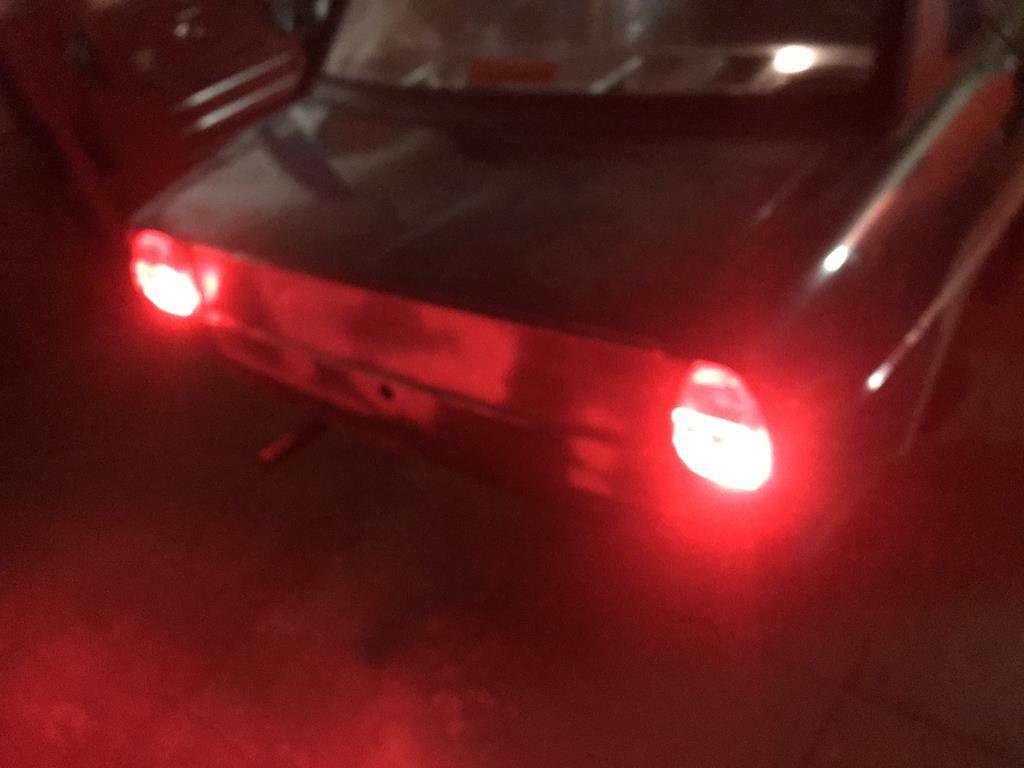 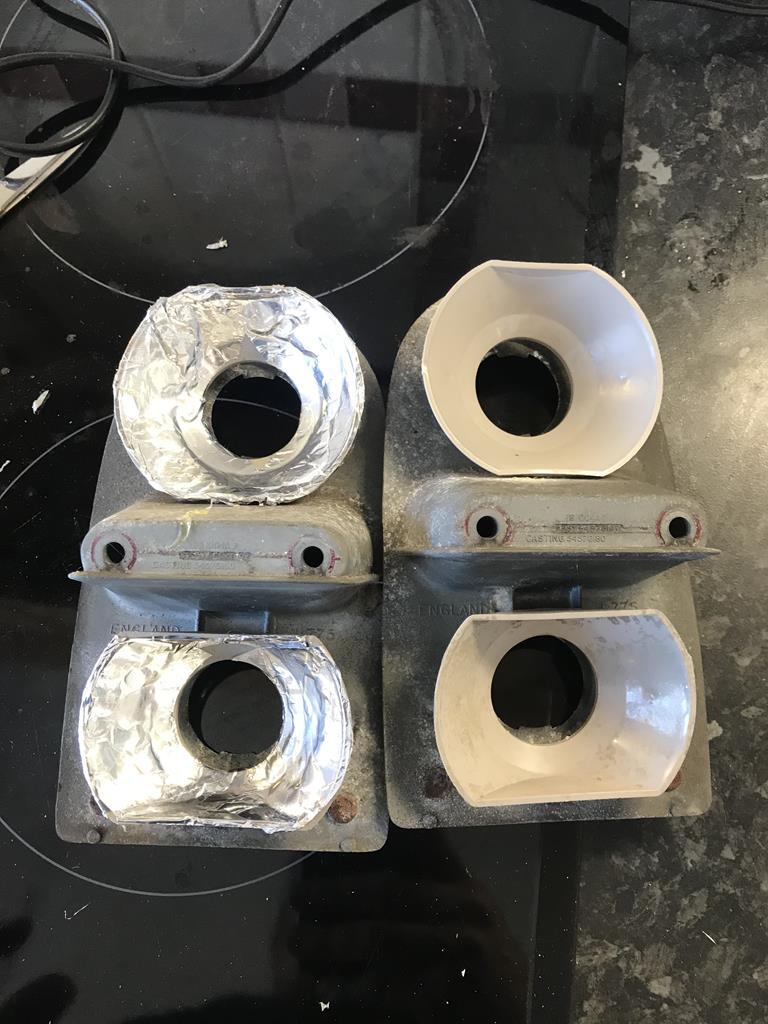 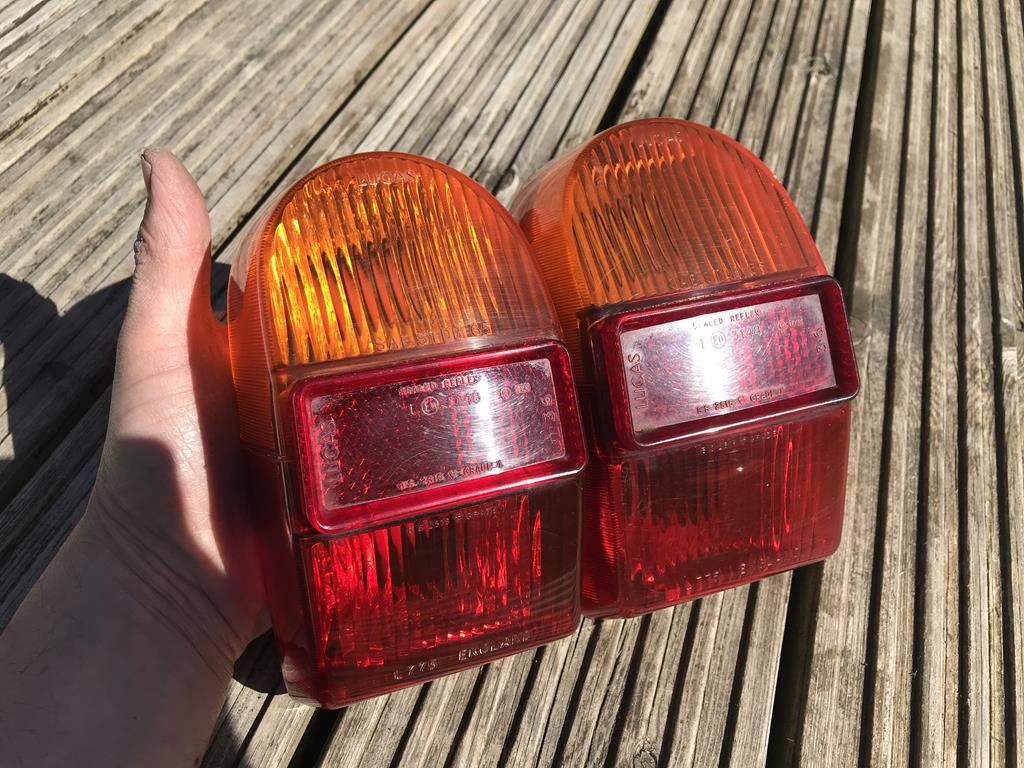 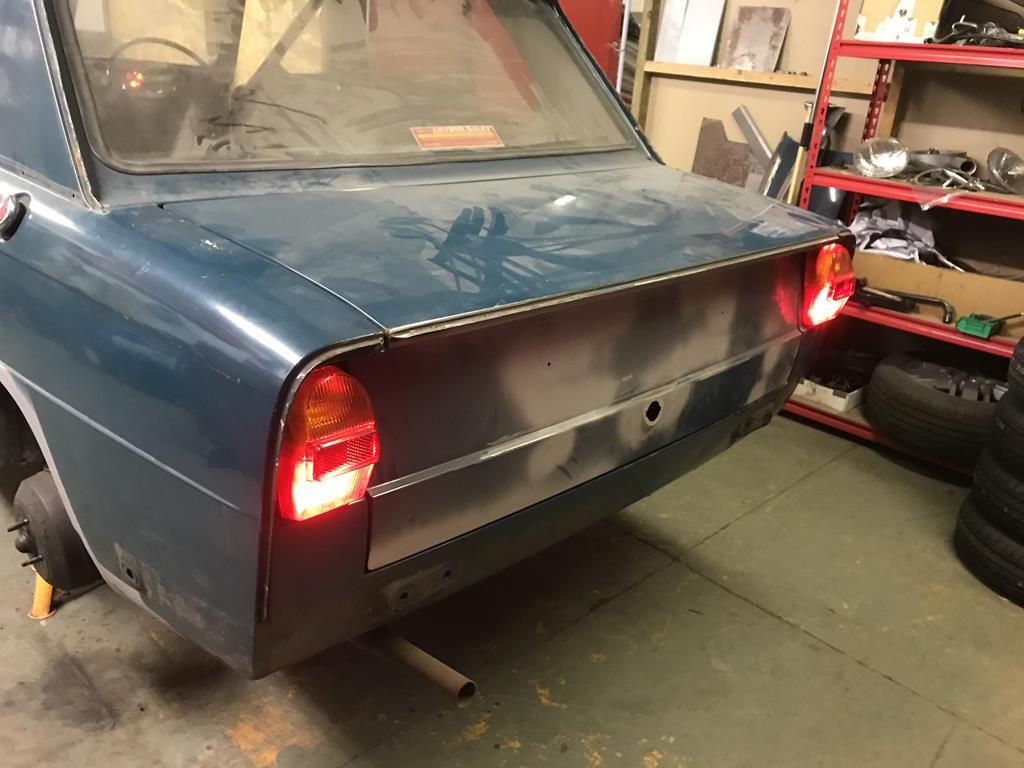 Once the dash was in I moved onto refitting the front end and preparing to start up, which it did straight away after 3 years of inactivity. 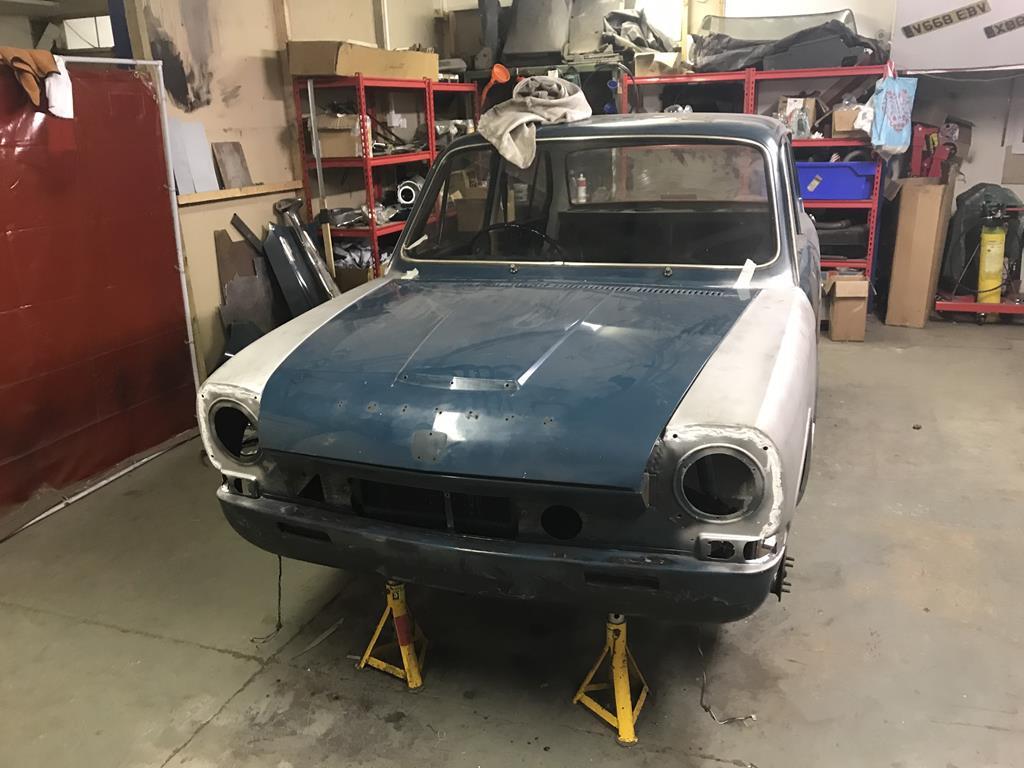 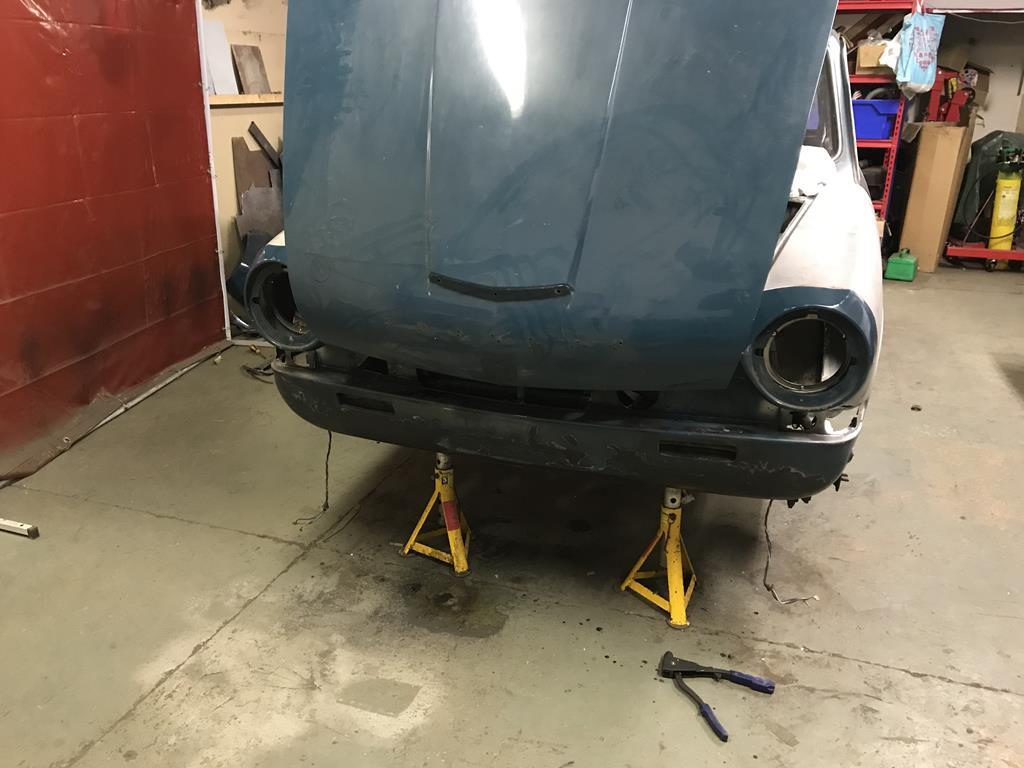 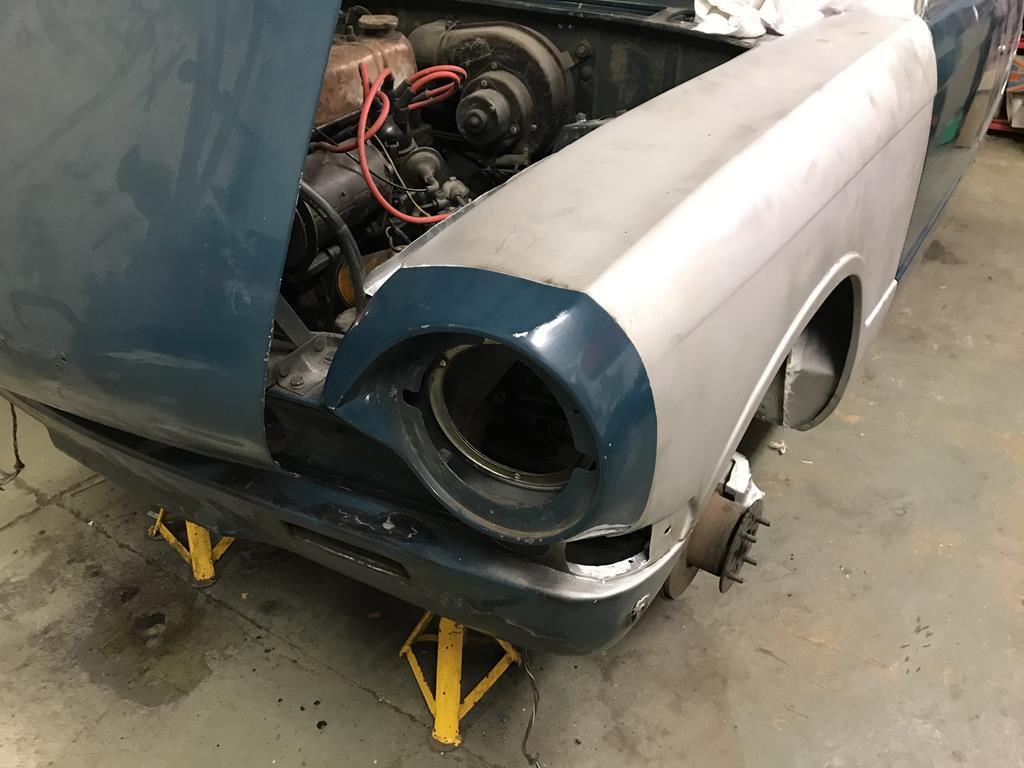 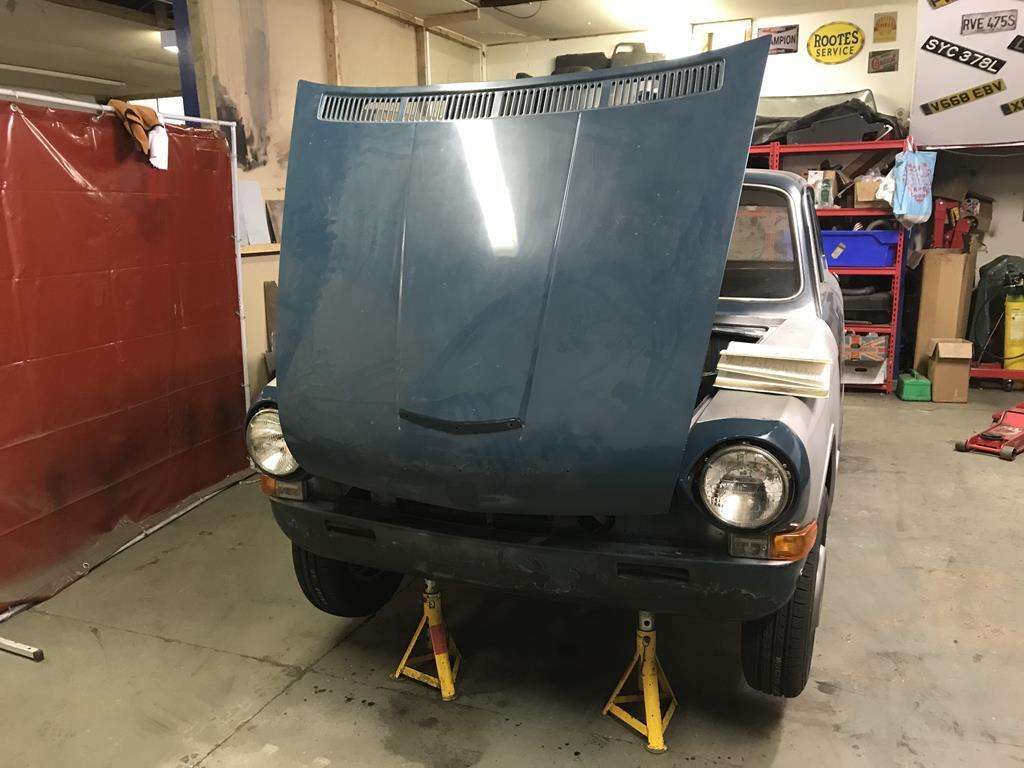 So, after hoping she was off to the paint shop this weekend, a charging fault has put paid to that. Done all the usual checks and swapped the Dynamo for a known good unit, fault still there. Onto the control box next... 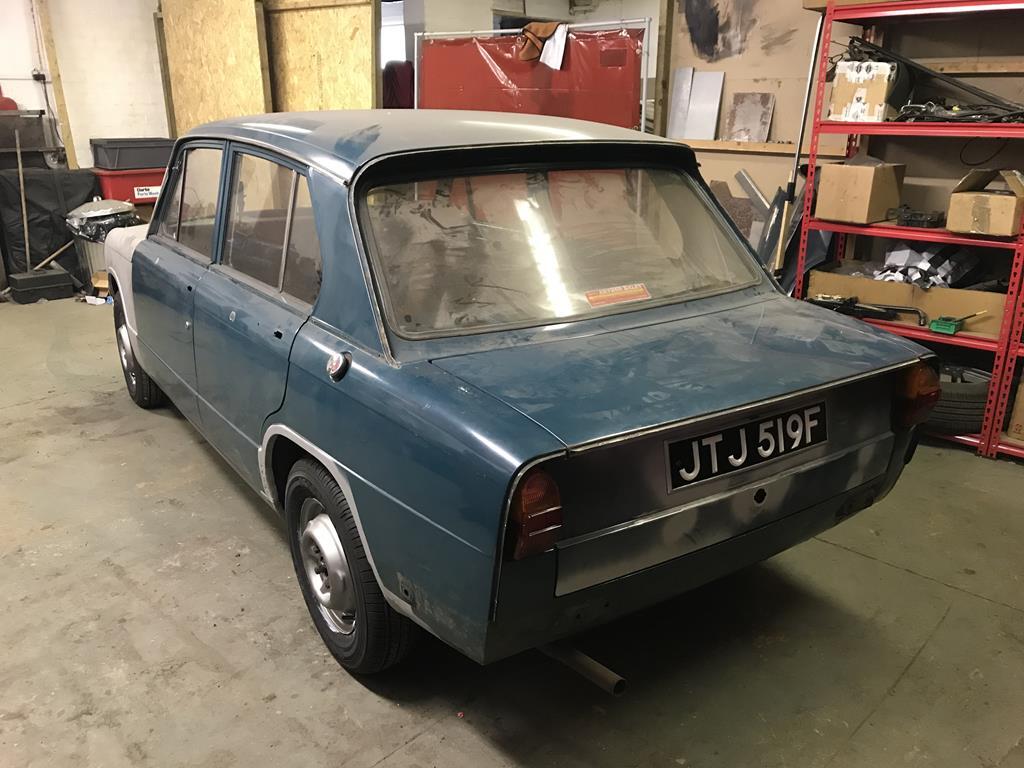 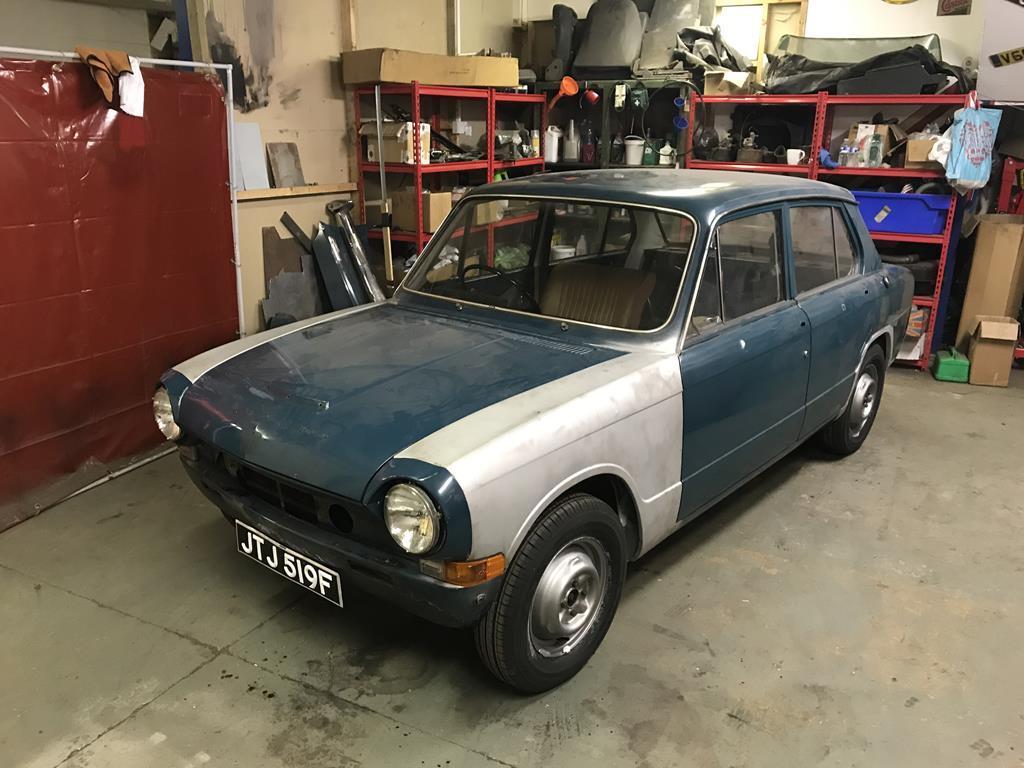 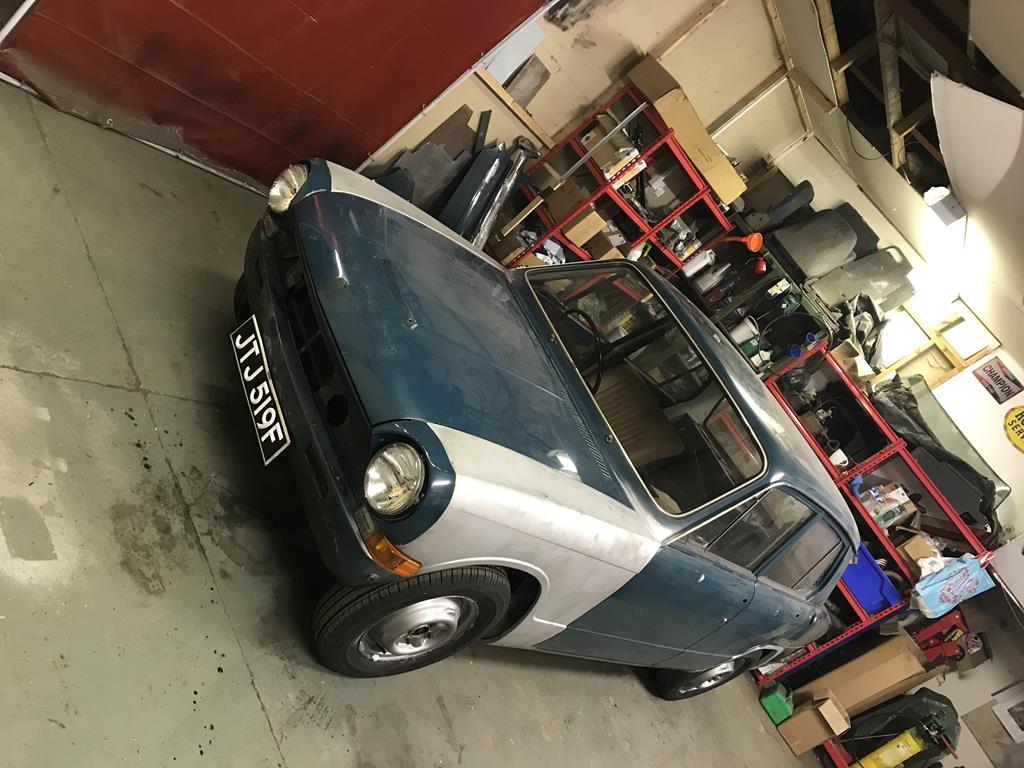 |
| |
|
|
|
|
