|
|
|
|
|
Not much time for cars at the moment, due to laying paving and building a new chimney on the garage, that was untilmy ancient mixer packed up, the main drive shaft bearing is a little worn! 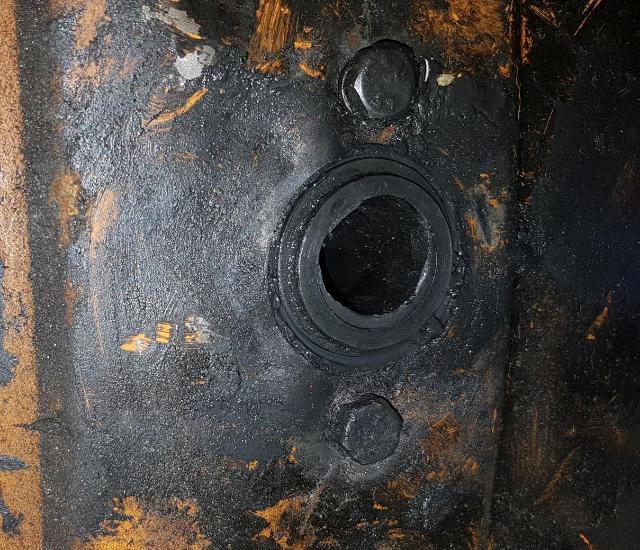 It white metal plan is to see if I can melt it out and turn up something in bronze to replace it with. In between the building jobs I have though managed to finish the minor bumpers off. 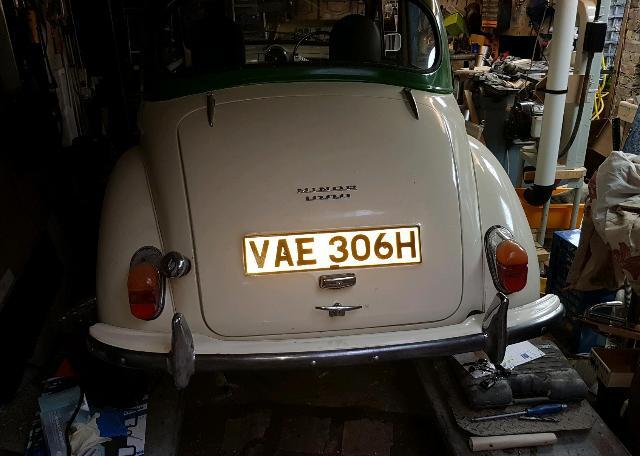 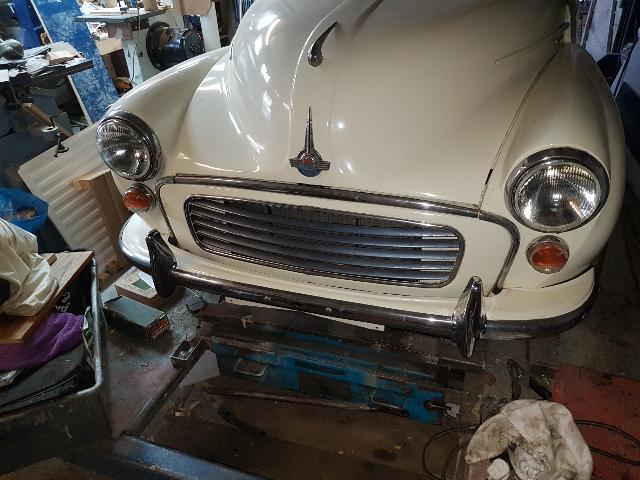 I'm also repainting the front number plate , once thats back on I might even use it for a few days. |
| |
|
|
|
|
|
|
|
|
|
Frustrating couple of days little time on the cars due to domestic issues, on friday lunchtime the heating started leaking from several places, turned out the tap on the fill loop was leaking and pressurizing it to the 3 bar relief pressure rather than the usual 1.5 bar, this had been enough to make one on the control valves, the bypass valve and 2 isolator valves leak, so that was £100 in parts and 3 hours gone. Mixing mortar by hand is also loosing its appeal, so I dug further into the mixer, after cleaning it up I was able to drive the remains of the bushes out, not sure what they are made of seems a soft silver metal which is magnetic, they will be replaced with off the shelf bronze bushes and the shaft turned down and sleeved with thinwall tube. It currently has about 5mm of play! , 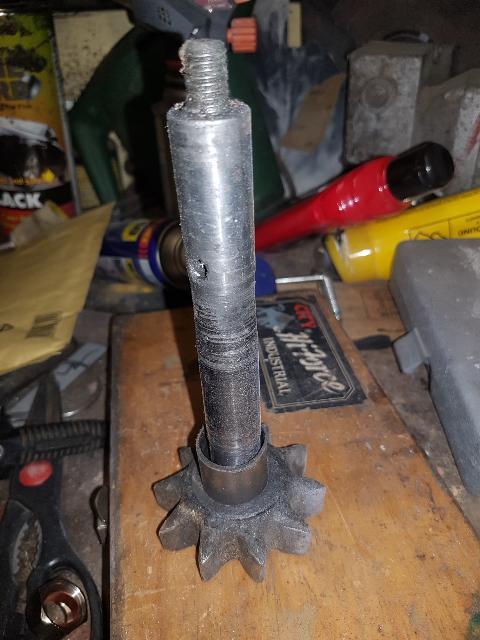 The one thing I did manage was to strip, prime, paint and re-assemble the minor front number plate, total cost £1 for the white paint from poundland. 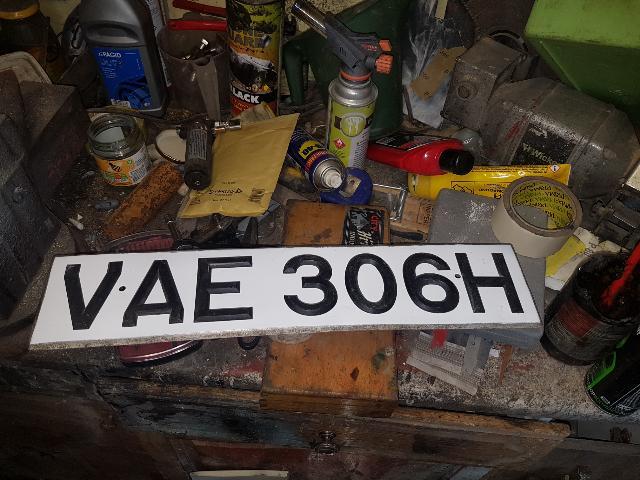 |
| |
|
|
|
|
|
Jul 14, 2019 21:46:59 GMT
|
The mazda is due fot its MOT, and my usual tester has retired, so this weekend I gave it a once over, only thing I could find is one of the anti roll bar link bushes is cracked and 2 balljoint gaiters have surface cracks but no play or leaks so I think it will be OK. The other thing is the after market exhaust is noisy, so I made this 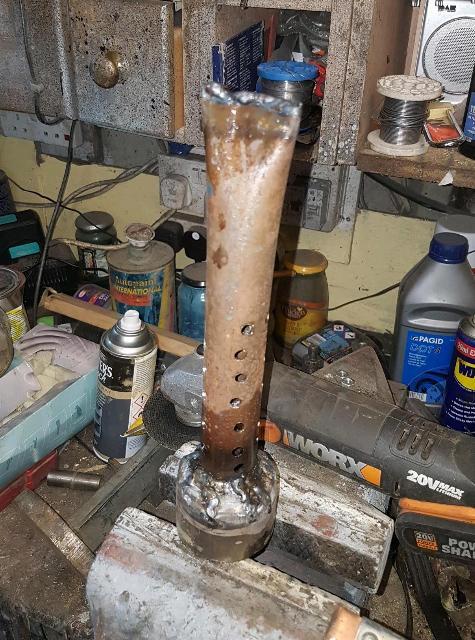 And bolted it in the tailpipe. 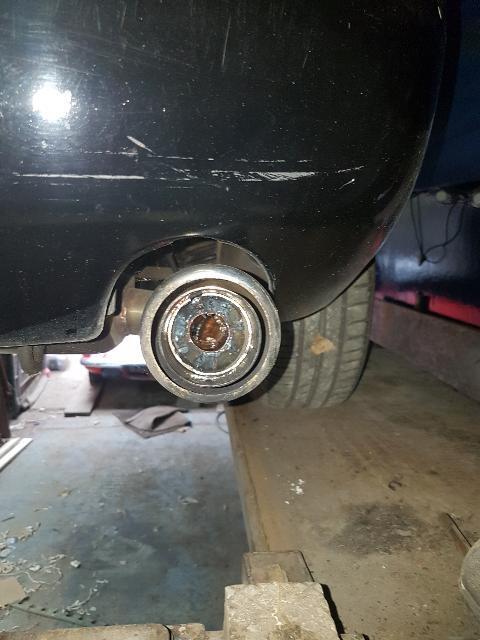 Its now much quieter and actually more pleasant to drive, performance doesent seem any different in normal driving either. Took it for a 150 mile drive today to clean out the catalyst (it only does a mile or so a day normally) so lets see whst happens on tuesday. Also meant we had to get the minor out, fixed the screeching fan belt and all seems well, hopefully I will use it a bit more now and see if anything else goes wrong. |
| |
|
|
|
|
|
Jul 16, 2019 15:08:58 GMT
|
|
Mazda passed MOT, only advisory was the fog light is getting a bit orange (its a red bulb in the Right hand reverse light) so to be 100% I have ordered a new one.
I've also been using the minor for a few days now, generally I am pretty pleased with it, the only real problem is the gearshift, it's got loads of slop and is very difficult to get in 1st or reverse, hopefully its the stick or the plastic bush at the base of it, other problems are the 90A alternator slips and screeches, it think I might need to add a idler to get some more wrap on the pulley, and brakes wise I find the efforts OK but my Wife says it needs the servo so I guess I will be fitting that.
next up jobs gearshift on minor, front roll bar bushes and top mount bearings n the KA (still trying to find the clonk), new front subframe on Mazda and get on with building the BBQ when the parts for the mixer eventually turn up (just waiting for the tube to sleeve the shaft now).
|
| |
|
|
|
|
|
Jul 16, 2019 16:48:50 GMT
|
I think I have found the problem with the minor, there are 2 gearsticks, one for the 1098 and one for earlier cars. 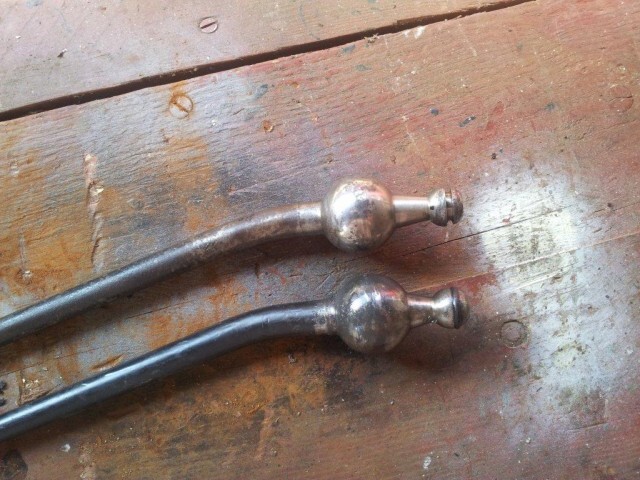 The 1098 is supposed to be the one with z greater distance between the balls, but we have this. 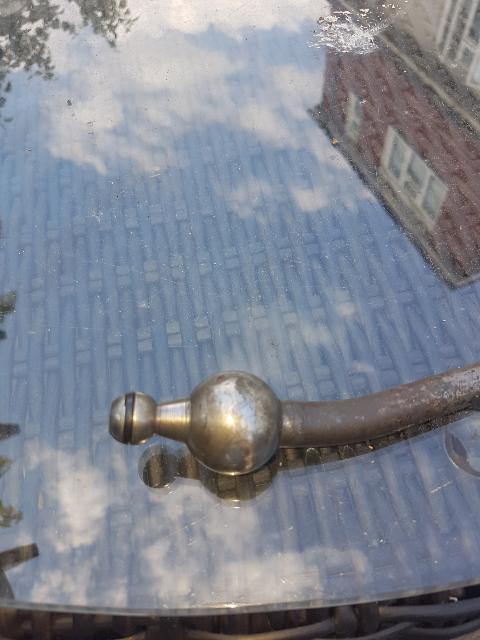 that will certainly screw things up, i'm suprised it worked at all, new one ordered. |
| |
|
|
|
|
|
Jul 20, 2019 19:14:37 GMT
|
Been a very successful weekend, After a year of trying I have finally fixed the knock on the KA, so far I have replaced the top mounts, control arms rear beam bushes and exhast mountings all of which were past their best but it still knocked. So today I replaced the front anit roll bar bushes and drop links none of which looked too bad, it was the arb bushes, 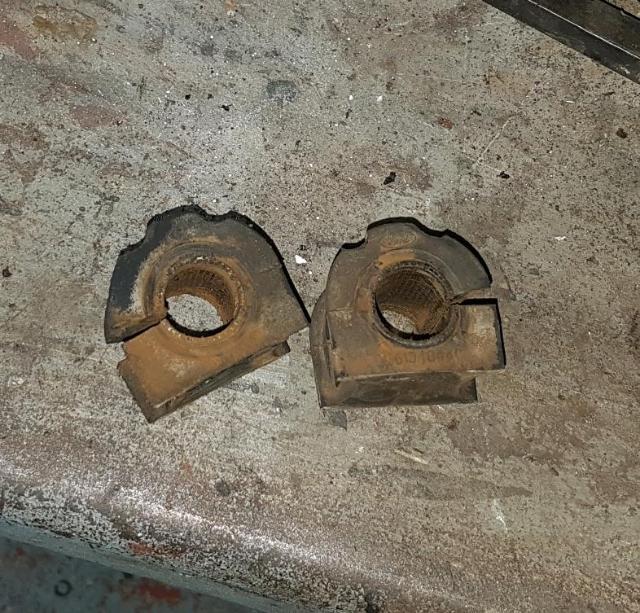 what I didn't realise is there is a collar about 10mm bigger diameter than the bar on the inside of the bush, this is only about 3mm clear of the subframe so even a small amount of wear allows it to knock on the subframe. I fitted new ford parts and as I had them new drop links as well. 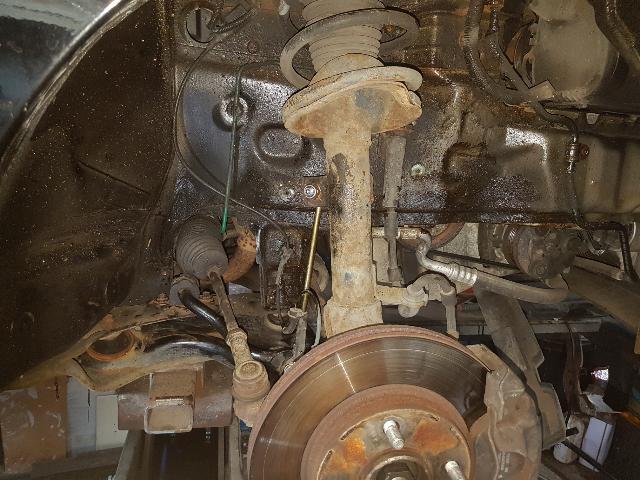 Also fitted the correct gearstick to the minor, which has transformed the shift to a precise fairly short throw. |
| |
Last Edit: Jul 20, 2019 20:00:43 GMT by kevins
|
|
|
|
|
Aug 11, 2019 21:21:56 GMT
|
|
Been busy on house jobs for the last few weeks, insulating and dry lining my sons bedroom and building a 3 flue chimney on the garage for the garage log burner, a log burner on the patio and a flue over the bbq which I have also built in brick. Got some time on the cars today though.
I painted the door bottoms on the Ka and checked the gearbox oil level which was fine, all seems well for its trip to yorkshire next week.
On the TR I fitted the new speedo cable, and cleaned up and waxed the underside of the car, only significant issue was a small hole on the rh front inner arch adjacent to the wing flange where water had got under the sealer, not structural so it will be something to fix over the winter, fortunately it's the wing thats badly crazed and needs painting anyway.
|
| |
Last Edit: Aug 11, 2019 21:24:56 GMT by kevins
|
|
|
|
|
Aug 24, 2019 17:15:35 GMT
|
|
Been on holiday in the Yorkshire dales, lovely part of the country, it was a family holiday with our octagenerean parents and our grown up kids, we took the modern but my daughter took the street ka which performed faultlessly, it's amazing how good a £900 car can be!
Off for a few more days and the plan is to change the subframe on the mx5 Tuesday, it id bent, the rack mount sits 5mm higher one side than the other, I am also suspicious that the chassis leg may be bent up by a couple of mm, if so I will probably shim it rather than trying to pull it straight and risking even more damage.
|
| |
|
|
|
|
|
Aug 27, 2019 21:00:49 GMT
|
Changed the front subframe on the mx5 today, given Ive been waxoilying it every year I got absolutely filthy and in the 30 degree plus heat absolutely knackered. But its all done now, left all steering and suspesion on the car and pulled it out the middle. 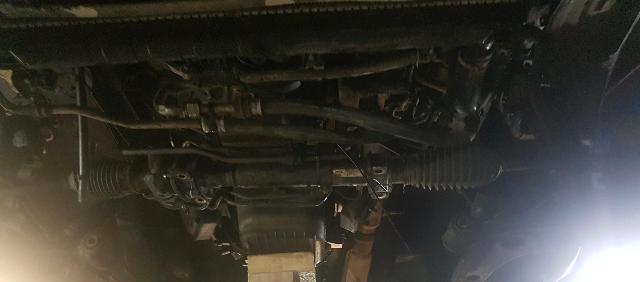 New ones in, steering rack is now in the right place, and the bump steer / wandering has gone, still pulls slightly to the left but need to spend some time setting the geometry up better than the quick go I had today and the tyres are quite unevenly worn so hopefully that will disapear as well. I also tested the metro electonic distributor on the minor nice big spark, so just need to fit it now. |
| |
Last Edit: Aug 27, 2019 21:03:37 GMT by kevins
|
|
|
|
|
Aug 29, 2019 20:56:47 GMT
|
Set up the mx5 geometry this evening, too tight to pay for it so went DIY. Firstly made a mdf camber gauge which is held to the wheel with a bungee strap, the vertical line is parallel to the two points of contact with the rim, the markings are every degree, which is 5mm appart on a 300mm radius. 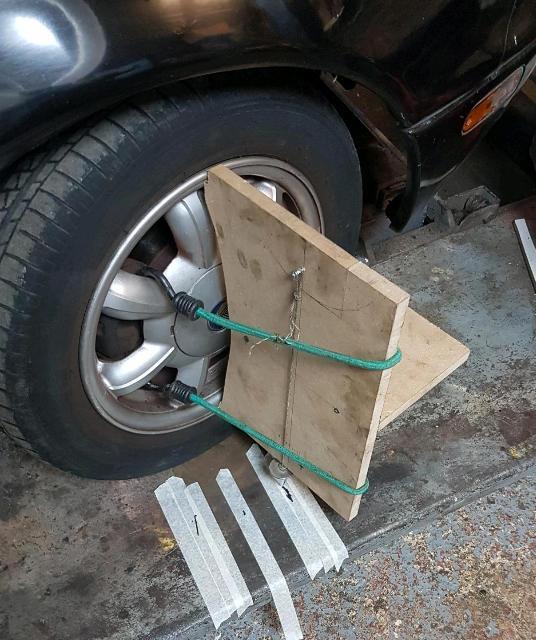 Initially set it to 1 degree negative on each side, then I moved to caster. This is measured by measuring the change in camber with the road wheel steered 20 degrees in each direction, Caster = 180 /(pi x (T1 - T2) ) x camber change, which for 20 degrees is 1.43 x the camber change. To measure the 20 degrees I measured the distance from the centre of the tyre to my plumb line, this distance x sin(10degrees) x 2 gives you the straight line distance the bob needs to move through as the steering is turned. 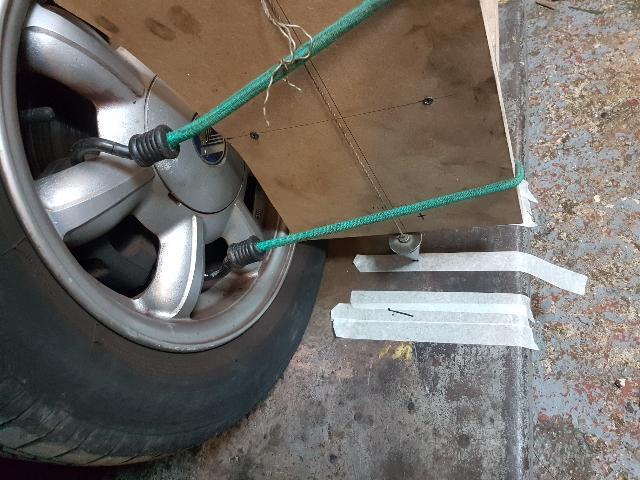 After some fiddling around I ended up with approx 5 degrees caster and 0.5 degree negative camber each side. Finally set the tracking with a simple gauge I made many years ago. 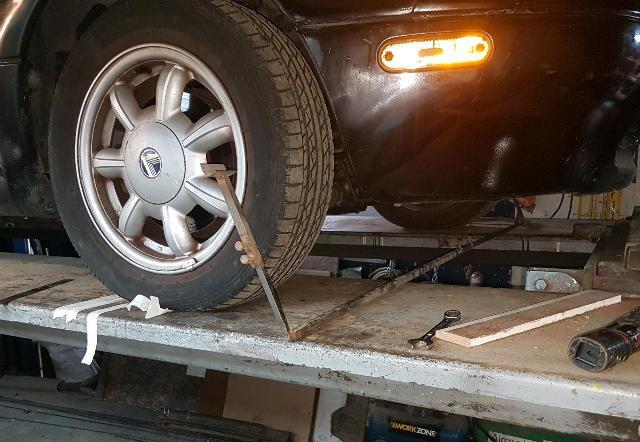 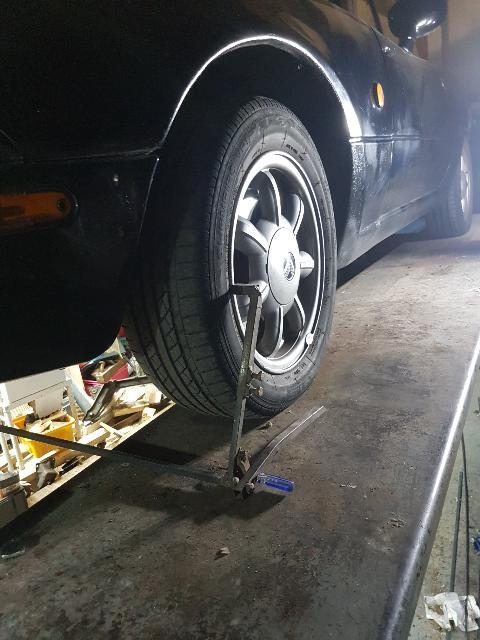 Drives better than it ever has now, no bump steer, nice weight to the steering, not sure if it still pulls slightly to one side suprising how difficult it is to find a dead straight road to be sure if it is I might have a look at the rear, it does seem to steer slightly on power on / off (mind you my elan has done this for 20 years and I don't even notice it now). |
| |
Last Edit: Aug 29, 2019 21:07:02 GMT by kevins
|
|
|
|
|
Aug 30, 2019 22:31:20 GMT
|
Had a few hours to myself this evening so decided to do some jobs on the minor, first up was fitting the metro electronic distributor which was supposed to be a quick job but went horribly wrong. Firstly it didn't fit because the adaptor sleeve was a bit long, it was easy enough to trim this back, then it still wouldn't fit because there is a step in the sleeve which also needed extending. It now fitted so I put the drive gear in it popped in easily enough but I caught the bolt used to install it on the flange as I pulled it out and clunk the drive gear dropped into the sump!!!@@***. So I now had to remove the sump as well, at least it's pretty easy on one of these I suppose. The rest of the dustributor install went easily enough, the clamp was very dufficult to get to so I may have to re-do this at some point, but it is all in. Of couse I can't test it or set the timing because I need a sump gasket before I can put it back on! Of course none of the other things I intended to do even got started either. 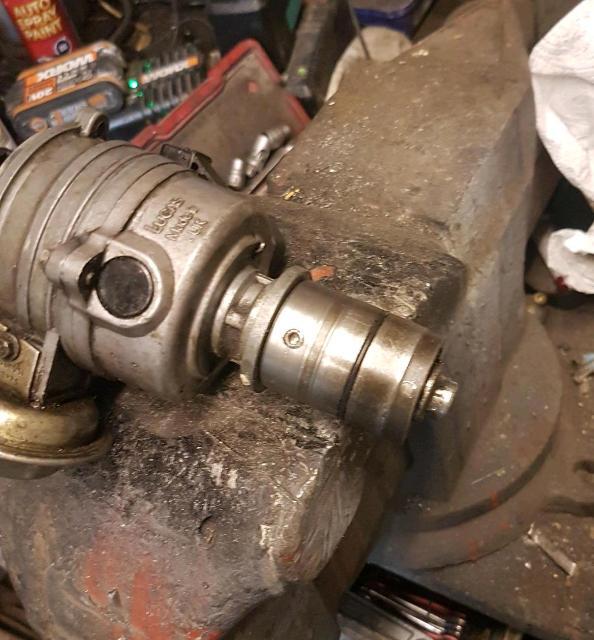 |
| |
|
|
|
|
|
Sept 1, 2019 19:54:48 GMT
|
Finished the minor today, made a clamp for the new dizzy by filing out the original one and drilling it to match the hole in the block. 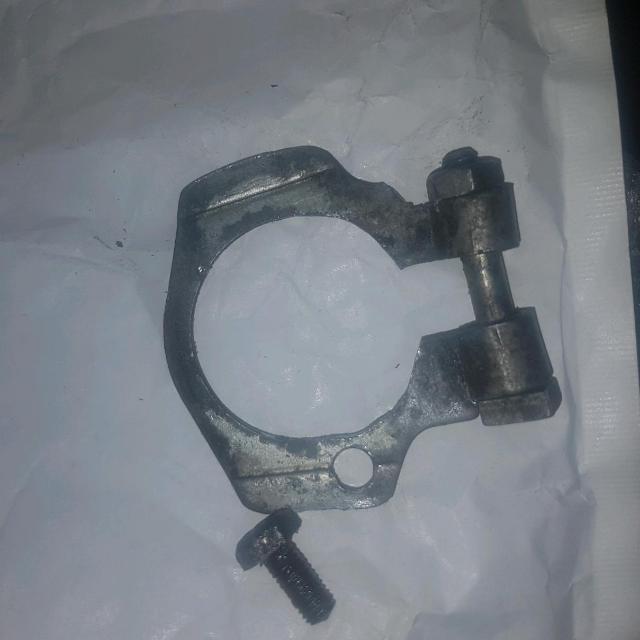 Fortunately I had a sump gasket set in stock so this got fitted. 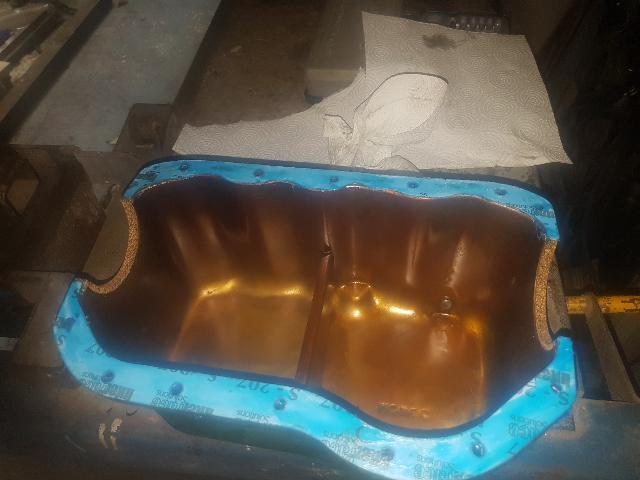 Sump back on 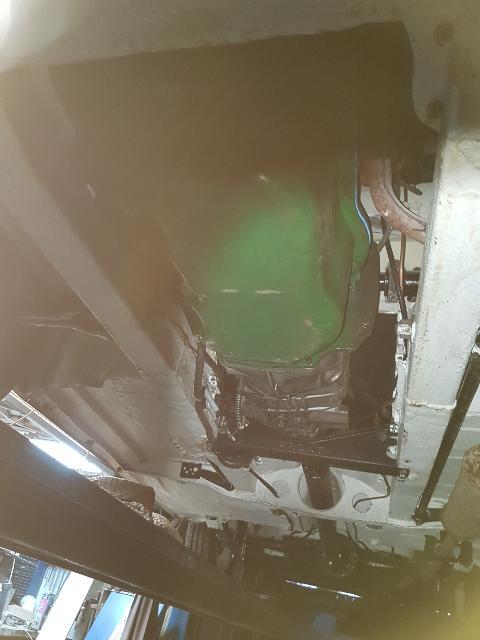 It looked like the old ond was leaking around the cork seals so it needed doing anyway. Fitted the timing light, turned the dizzy body in the opposite direction to the rotor arm rotation until I got a spark turned the key and it fired straight up, set timing and all done, Ive also ordered the correct metro ignition coil as the one on it is getting a bit hot. Also messed around with the ka indicator switch which occasionally didn't work, I had bought a secondhand one but it turned out this wouldnt cancel when turning left so will need to go back, I the end I managed to get the original one out and clean the contacts where someone had put grease all over it to stop the horn contacts squeaking, hopefully it will work ok now. |
| |
|
|
|
|
|
Sept 6, 2019 13:55:45 GMT
|
|
fitted the correct coil to the minor, nice fat spark and starts instantly, just need to drive it and fine tune the timing by ear now, also fitted the passenger side mirror and lined the glovebox with some grey vinyl I had lying around, this list to complete it is getting very short now, only major thing left is fitting a servo
Street Ka passed it's MOT clean pass no minors, engine must be in pretty good condition, emissions were 0.00% co and 10ppm HC (limit 200ppm) obviously the run to Yorkshire did it some good, just needs a oil change and a bit more wax spraying around the rear before the winter now.
Been using the TR every day and it might look a bit tatty but it drives really well, did think about sorting some of the cracked paint out but I'm quite getting to like the used look, might even use it for most of the winter.
|
| |
|
|
|
|
|
Sept 11, 2019 20:52:33 GMT
|
The mrs has benn persuaded by a freind to go to the local WI, this means I get an evening down the workshop. So tonight the mx5 got new boots fitted to both front top ball joints, an oil change and the undertray re- fitted. Then I covered the glovebox liner I had made from a plastic box file for the minor in some vinyl I had lying around to give this. 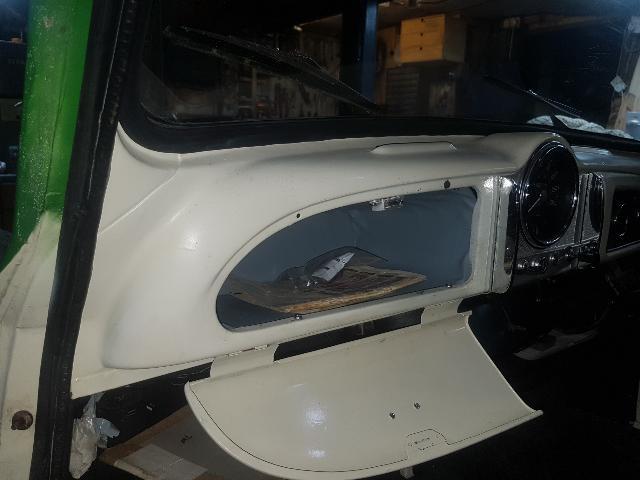 Finaly I fitted the othet beetle mirror to the minor and took it for a drive, with the electronic distributor it seems to pull much better and be smoother. 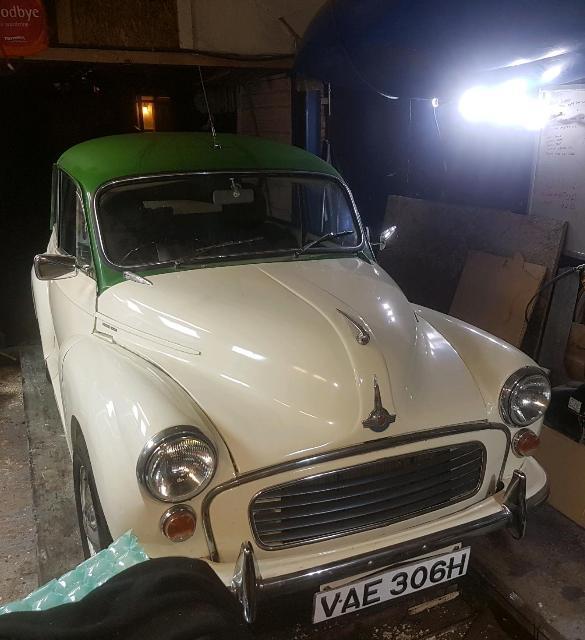 The minor tr and lotus have been entered for a show next week, so this weekend will involve a fair bit of washing and polishing. |
| |
Last Edit: Sept 11, 2019 20:55:01 GMT by kevins
|
|
|
|
|
Sept 17, 2019 19:43:53 GMT
|
I entered the tr, lotus and minor in a show so decided to clean them up, the lotus has only had the odd wash in the last few years so I bought some of the coloured polish and gave it a going over, I was suprisingly pleased with the results. 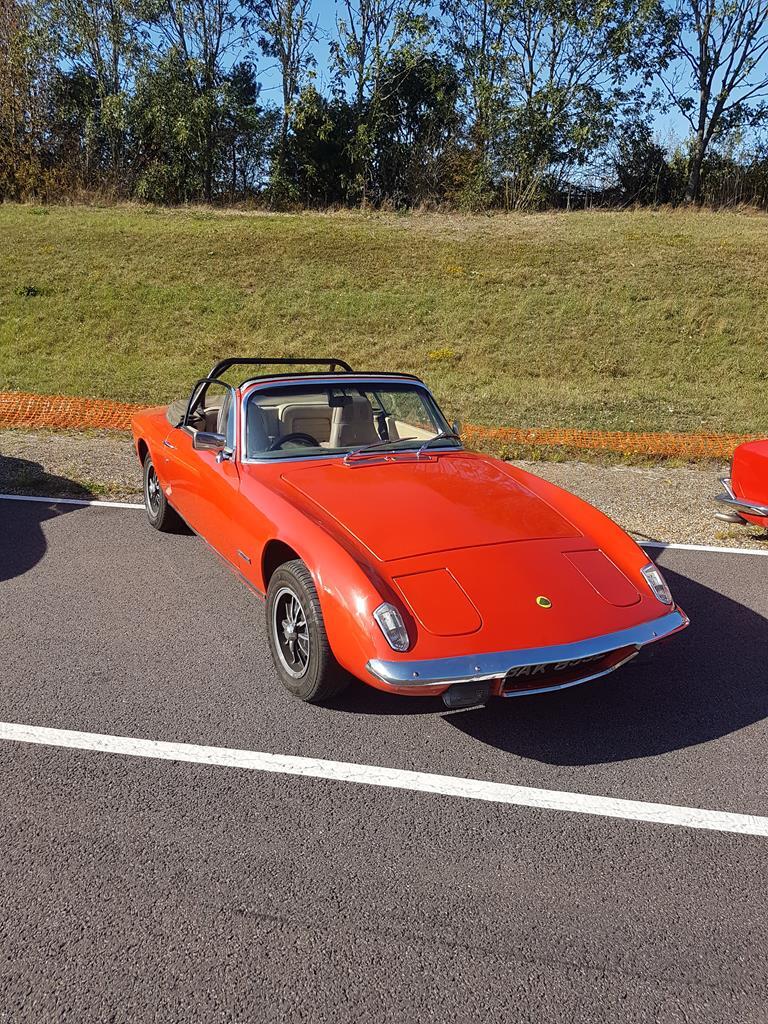 The minor just needed a quick wash and the TR also got a wash but given the paint is crazed in quite a few places it's never going to look fantastic. I also proofed the hood on the lotus which has been getting damp inside for a long time and started making an extra stick to support it better over the front seats. 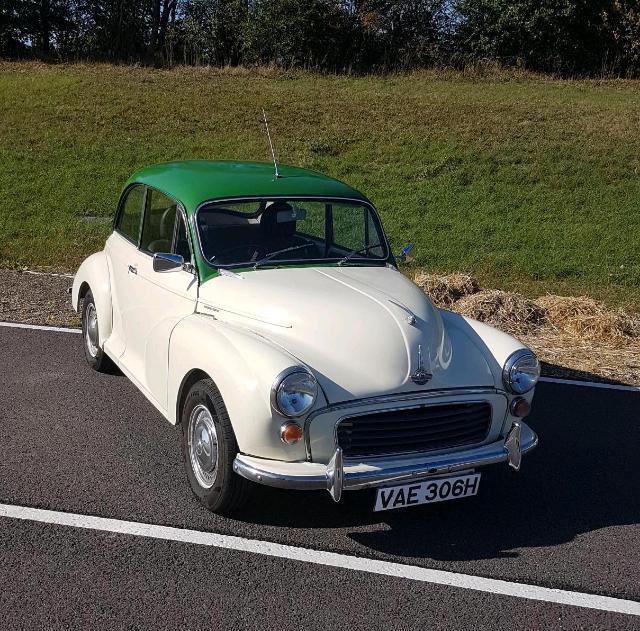 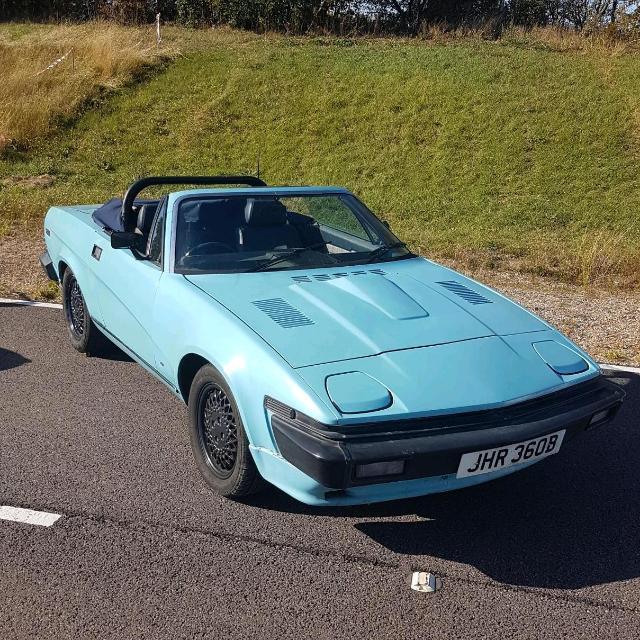 |
| |
|
|
|
|
|
Oct 12, 2019 21:30:24 GMT
|
Been a while, I have been laid up with a bad back, a couple of discs have apparantly gone, I can move around now as long as I am carefull so spent this afternoon repairing the Range Rover bonnet. When I restored it the rear edge of the bonnet was rusty, I was worried about distortion so I glued a repair section in, it didn't work and was starting to crack and rust. Figuring I had nothing to lose I decided to try welding it up. So went for a seies of tacks cooling them down with an airline after every 3 welds until they all joined up to give a continuous weld not pretty but to my suprise I ended up with virtually no distortion. The trick I found is to only do 3 or 4 tacks then cool it down until it is room temperature, then do it again and again. This is it welded up. 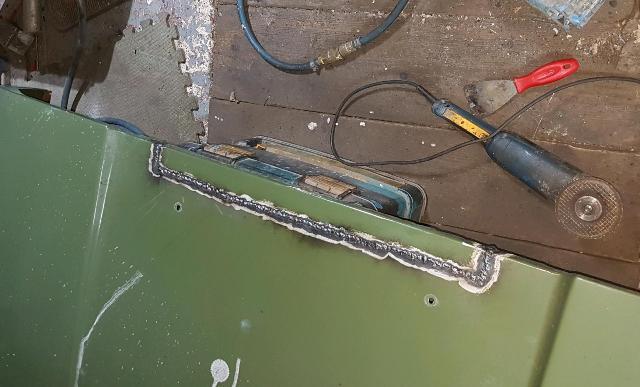 Theñ the weld cleaned up. 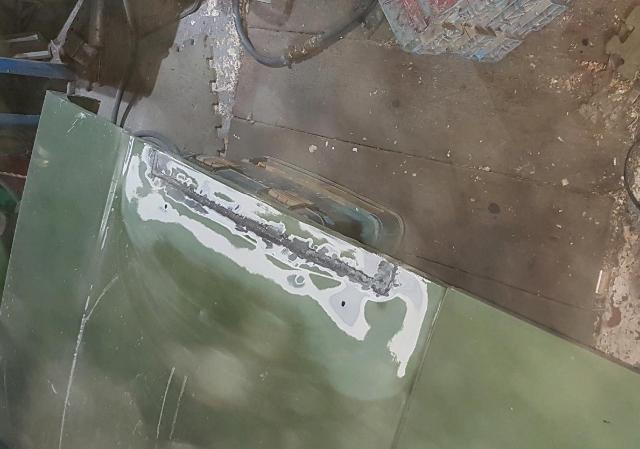 Filled an sanded back. 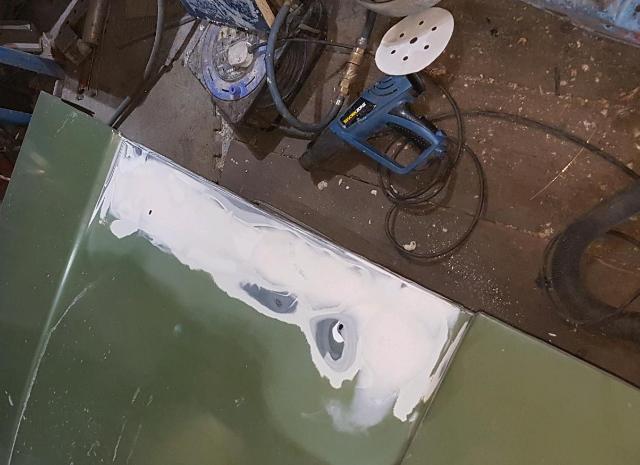 I borrowed this from my son, makes easy work of it. 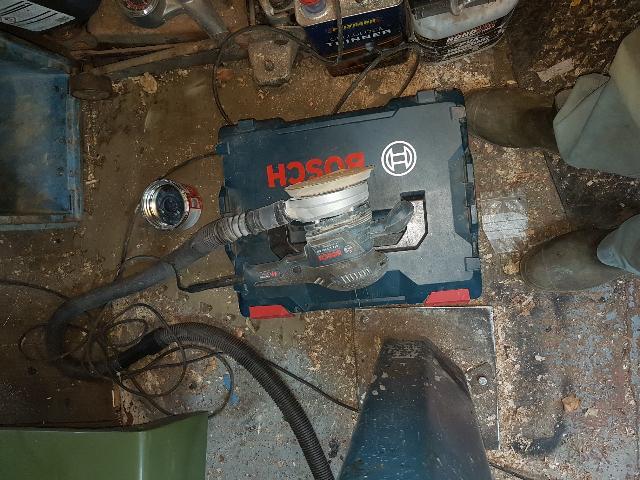 Hopefully tomorrow i will get a coat of epoxy on it. |
| |
Last Edit: Oct 12, 2019 21:31:55 GMT by kevins
|
|
|
|
|
Oct 13, 2019 18:06:11 GMT
|
Gave it a coat of glaze, cut it back to get this: 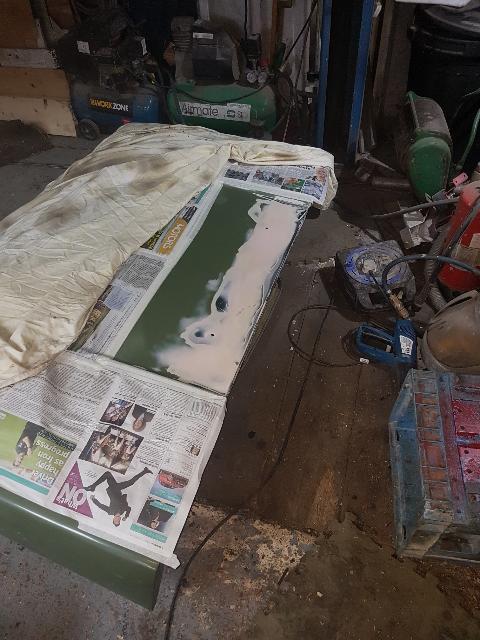 Then I gave it a good coat of epoxy primer, unfortunatelly some drips came out the gun as well all I can think is its due to the paint being past its best, it took quite a bit of stiring to get it sprayable. I don't think it will be a problem though as they should come out when I DA it before the top coats, will be couple of days before that though as its my daughters graduation tomorrow. 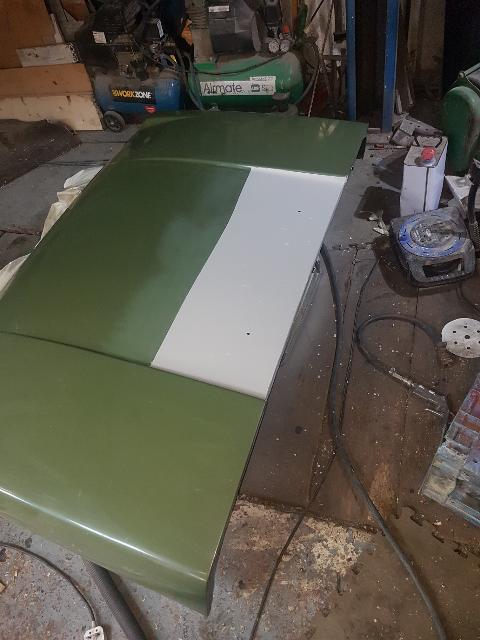 |
| |
Last Edit: Oct 13, 2019 18:07:39 GMT by kevins
|
|
|
|
|
Oct 15, 2019 20:07:14 GMT
|
A further update in how not to do body repairs, Sanded the epoxy back with 500 grit, it is amazing how a good quality DA sander with a vacuum extract makes easy work of this. 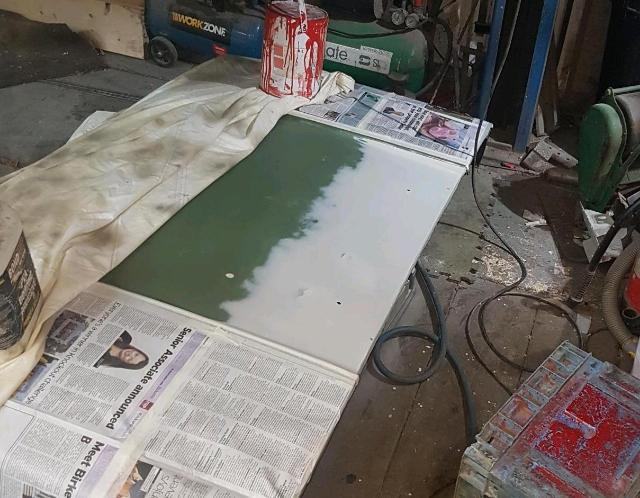 Masked the edges off with masking tape turned backwards to give a soft edge mixed up some paint and gave it 6 or 7 coats of topcoat. 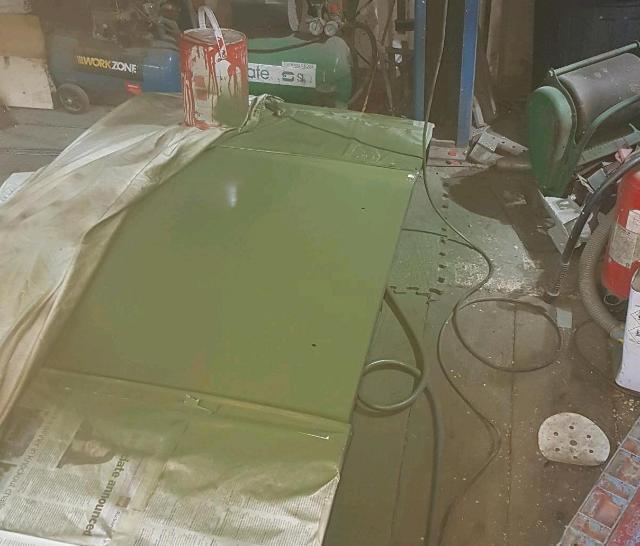 Left it for a while and pulled the masking off, will need some work to blend it in accross the front, if it doesent go so well I can easily go over the whole panel next year when I have more time and the weather is better, at least it will not go rusty now over the winter. 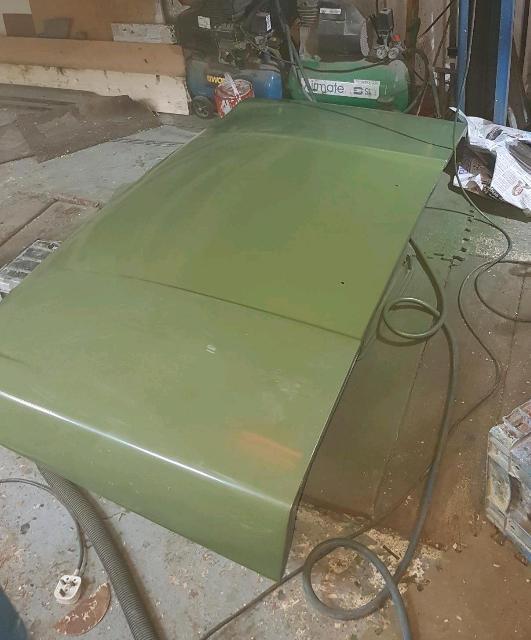 In the pictures it looks quite patchy but this something to do with the camera in the flesh it is a even colour . Once its back on the car I will use a brush to sort the inside out and give it a good waxing. |
| |
Last Edit: Oct 15, 2019 20:10:12 GMT by kevins
|
|
|
|
|
|
|
Been on holiday for a week, a bit of winter sun in portugul, plenty of old cars still in use, renault 4's, citroen bx's and quite a few virtually rust free smiley face transits. Also my birthday yesterday, wife and kids bought me this. 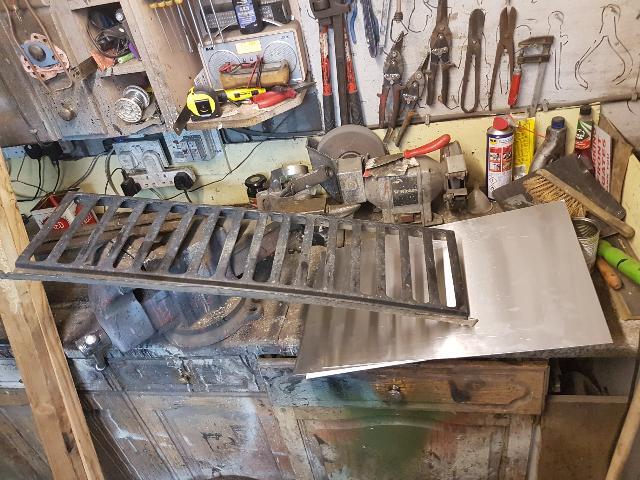 Today my wife was back at work so a day of car work was on the cards. Firstly fitted the correct number plate plinth to the minor which I had finally managed to find. 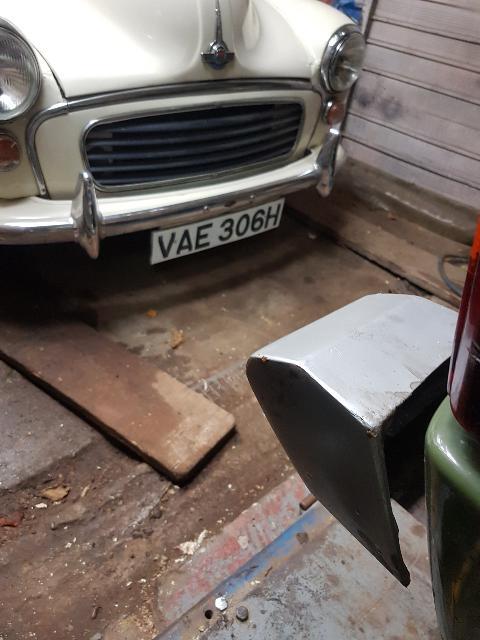 Then got the mx5 out and cleaned all the tree debris off it, hoovering the inside out I noticed a lump in the floor, prodding around determined a large dent and one of the floor bungs out. 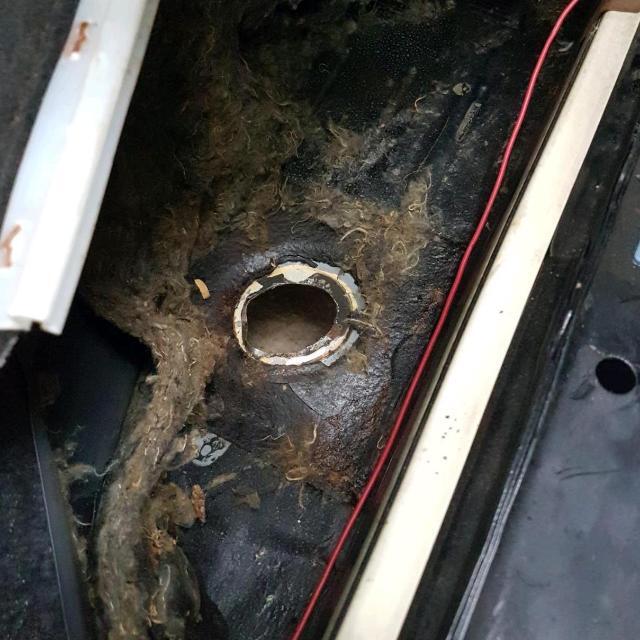 Holding a block of wood under it with a jack enabled be to straighten it all out. 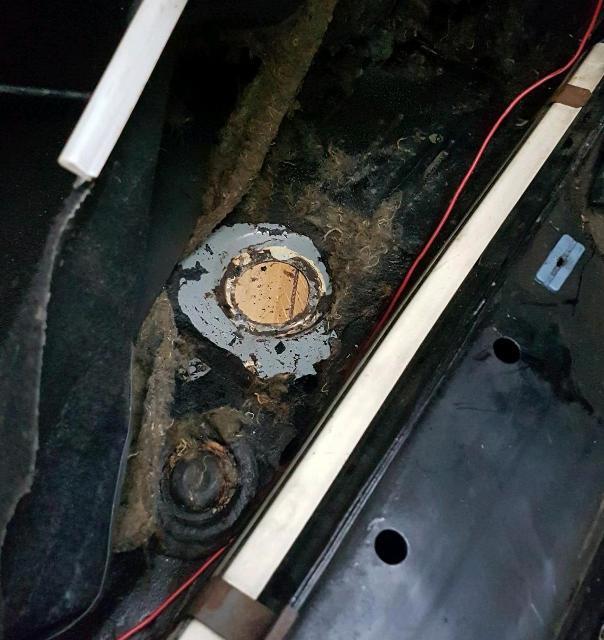 Fortunately it was all rust free and just tge grey ecoat, so I was able to glue the bung back in with pu and when it had skinned over waxed both inside and out. 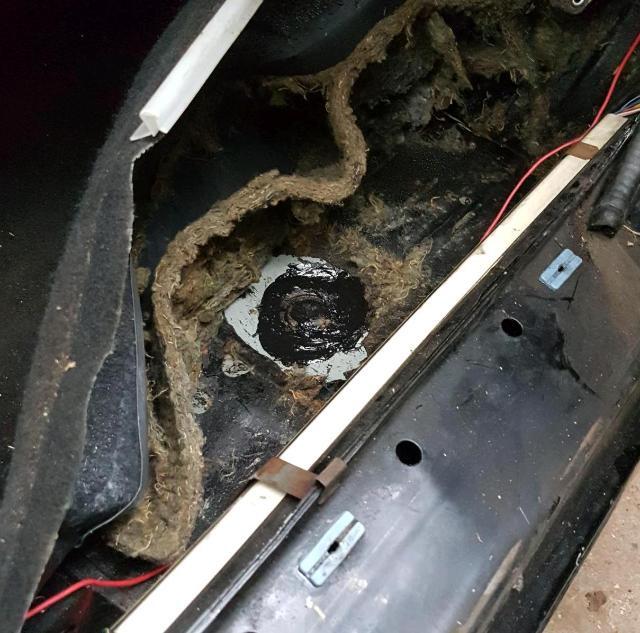 Then I was able to start on the range rover rear inner wheelarch for some reason all the paint was flaking off and it was going rusty, strangely the other 3 look fine. So I spent ages with needle de-scaler, die grinder, and various impliments on the angle grinder to get it to this. 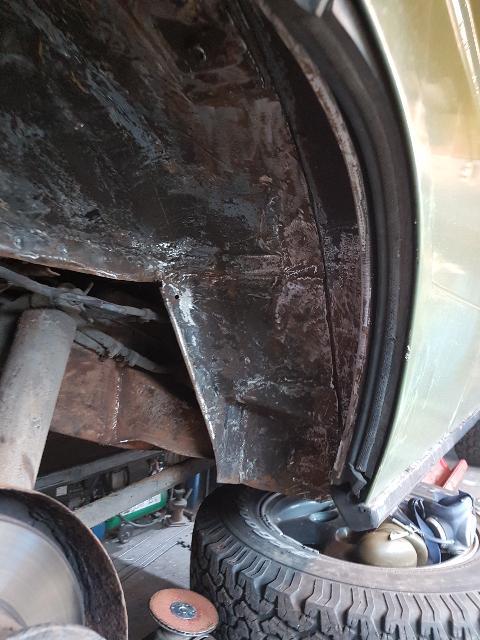 Did find a couple of pin holes at the rear which I have cleaned up to bright steel and will seal up, but I also found this in the chassis. 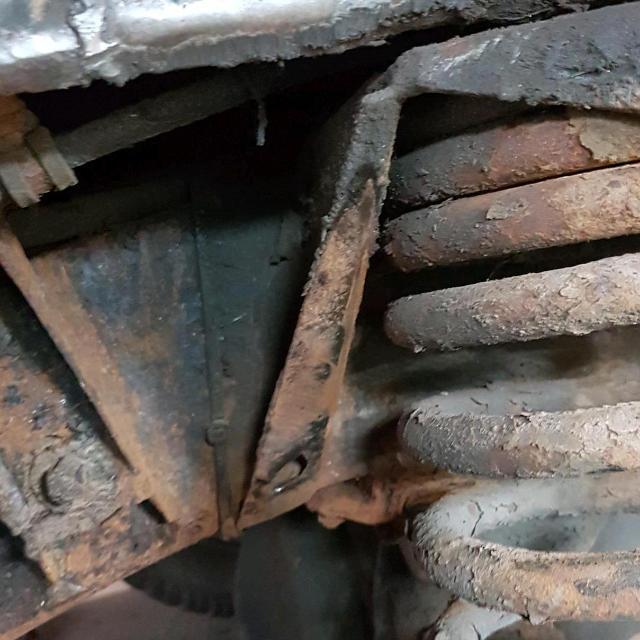 As well as the obvious hole there was one in the side, fortunately the chassis rail was still solid. So I cut it out and welded new metal in in 2 pieces, one for the side and one for the front to give access. 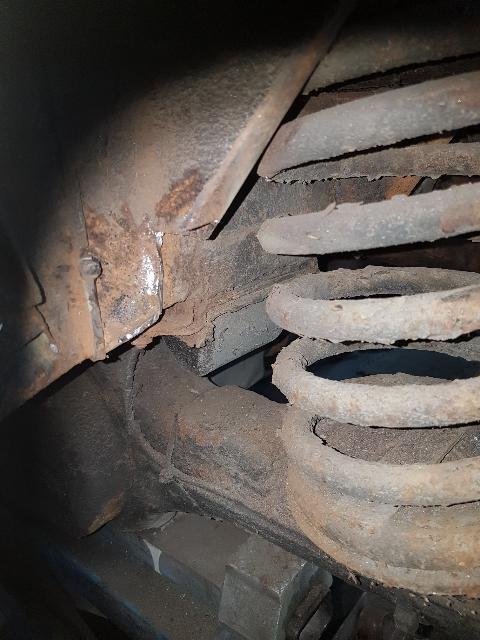 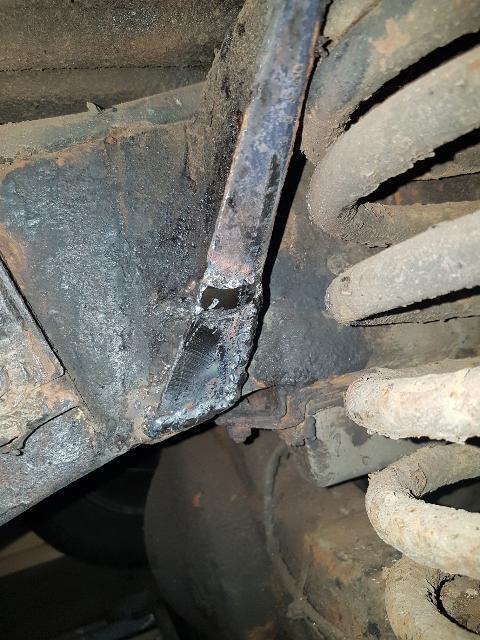 Then gave it all a coat of rust converter. 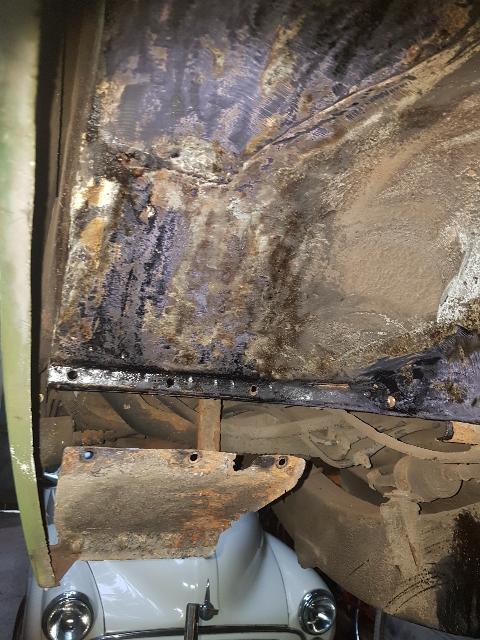 When thsts dried it will get a coat of epoxy primer. After all that I couldn't resist starting on the grille. 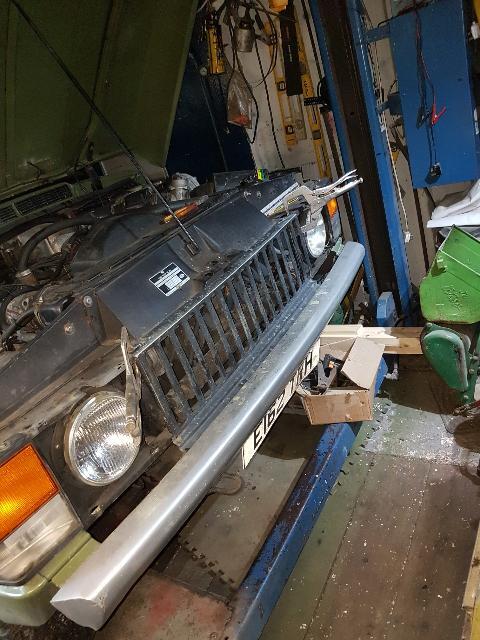 Needed a few bits trimming out of the top flange, a piece cutting out to clear the pas cooler pipes and the original tabs cutting off but all in all went on easily enough. I also started making some tooling to make the headlamp panels using mdf and my sons wood lathe. |
| |
|
|
|
|
|
|
|
Painted the wheelarch today. 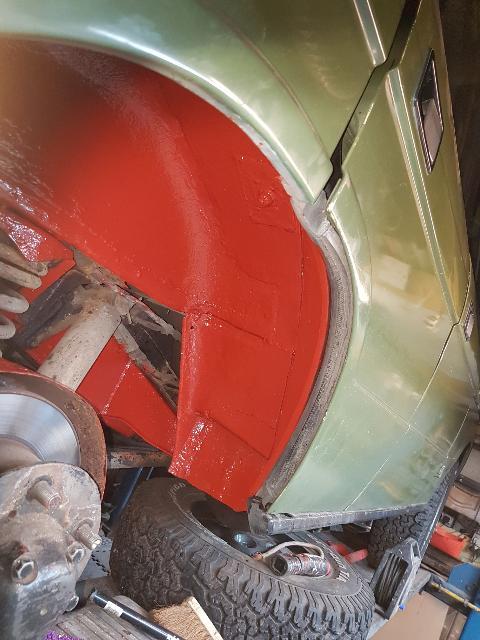 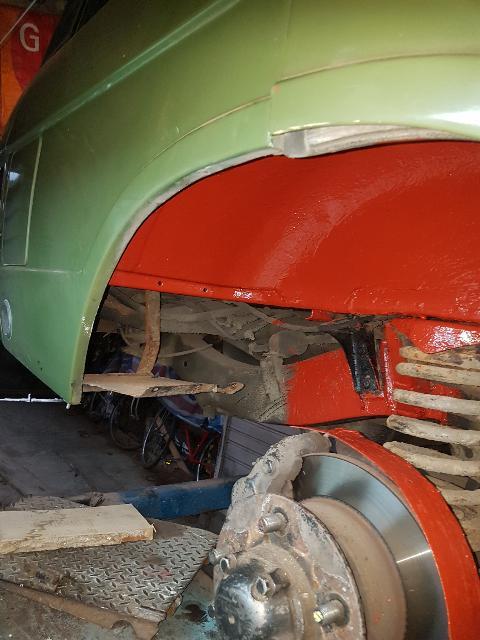 Sealer tomorrow then stone chip, also need to sort out something for the splash guard and mud flap. While it's in the air (it only goes up about 3 feet due to it's height but better than nothing) I also plan to scrape the loose paint etc off the chassis and give it a quick blast with waxoil/oil mix). After the above I started on the headlamp panels task for today was to make the flanged holes for the headlamps. I cut these formers out of mdf. 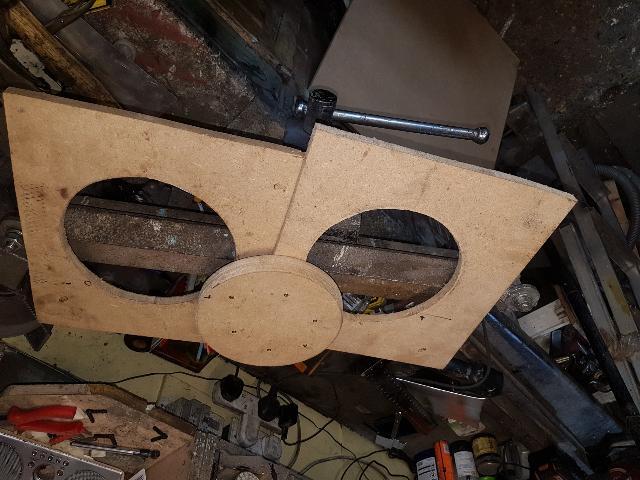 Then a hole in the 1mm alloy sheet which left 10mm for the flange. 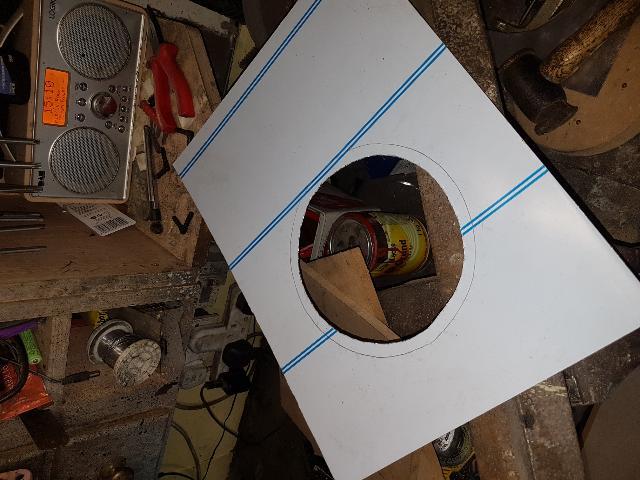 Next up assemled it all the press. 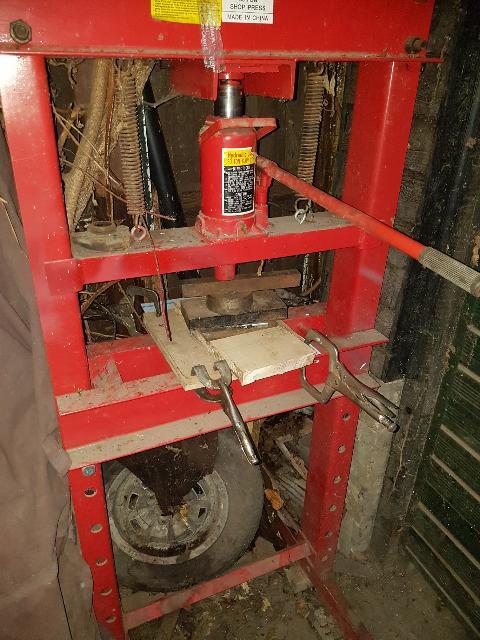 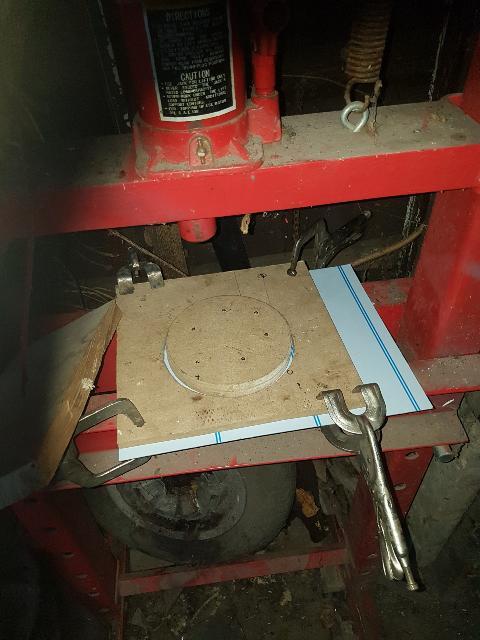 With a little bit of hand finishing I ended up with 2 of these. 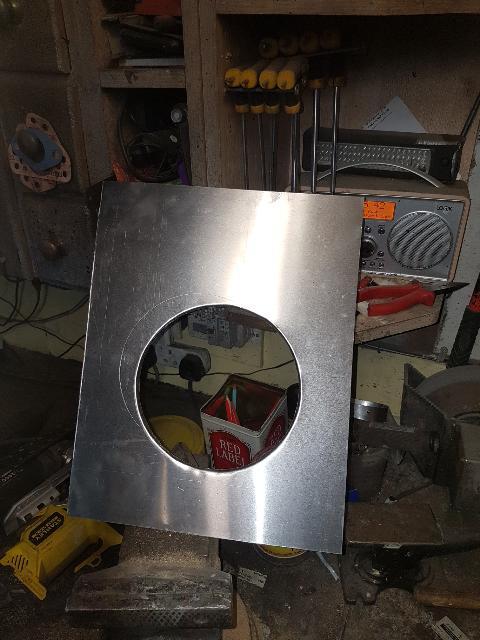 It has a few small tears but there is enough flange to rivet a strip to now which will both stregthen it and add the depth requied on the inside edge. Just folding the edges and bottom lip to do now. |
| |
|
|


