|
|
|
Jan 21, 2014 17:35:21 GMT
|
I found a nice E91 at a very fair price and got the idea of building a matching trailer for the car after doing some research and finding out several things. BMW made a trailer back in the 80s or 90s, but they are very scarce here in the states and even more rare in the eastern states where I'm from....So I started looking at small cargo trailers and was not impressed with the boxy "U-Haul" type trailer, and found any decent open trailer to be expensive beyond reason and .....well, open...which I did not want.... So after finding a few home spun examples by searching for "matching car trailers" I decided to try to look for the back end of a wrecked E91 but could not afford one. So I did the next best thing and stuck with the make and started shopping around for a wrecked Bimmer. I tried to find and old 2002, nope....but did find several E20 series to E60 series cars. I had one kid ready to cut his solid E40 series car apart when he heard about my project, but I just could not bring myself to cutting up a nice solid car like that. I ended up finding this E36 sedan after striking out on coupes and verts. It had no motor or tranny, and was missing most of the interior and instrumentation. But the back end was all there...Perfect!...and the guy wanted scrap yard prices for the car....so for 200.00 I got the shell and 4 aftermarket wheels with very used tires. 3 of the wheels were usable...just what I needed!  BMW hulk BMW hulk by jpgraphics2012, on Flickr I know it looks pretty good in the picture...but its not! |
| |
I know its spelled Norman Luxury Yacht, but its pronounced Throat Wobbler Mangrove!
|
|
|
|
|
|
|
Jan 21, 2014 17:46:55 GMT
|
I had worked out most of my ideas on paper, so took some measurements and marked off the area I wanted to keep as a trailer..... 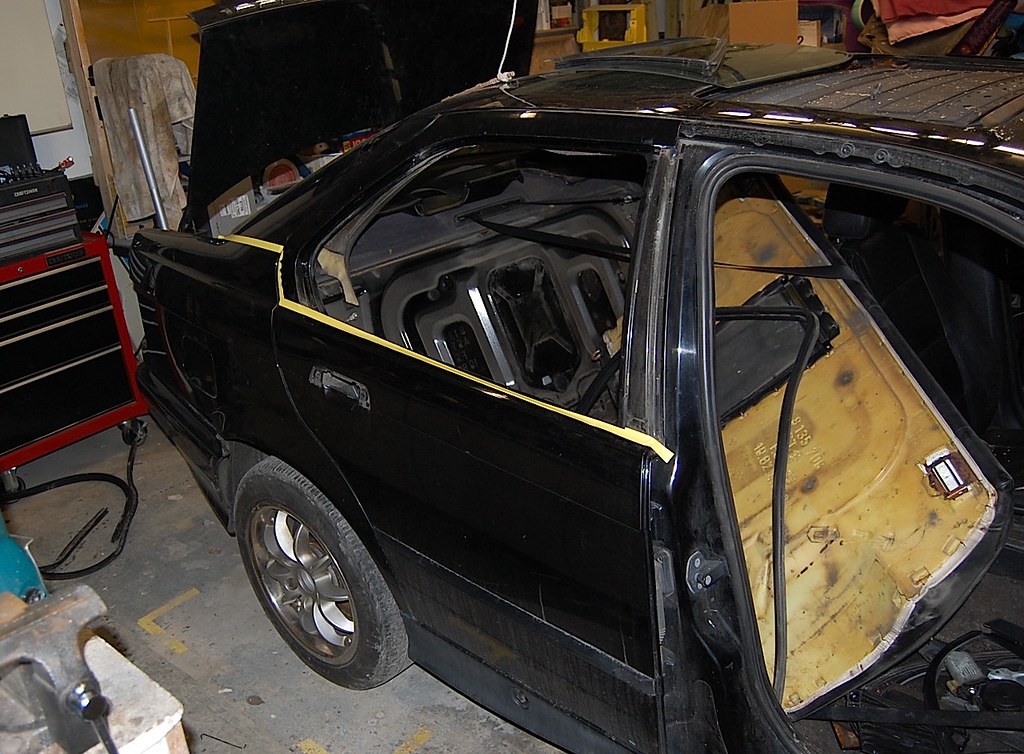 trailer progress 1 trailer progress 1 by
jpgraphics2012, on Flickr then, took several deep breaths and made my cuts! 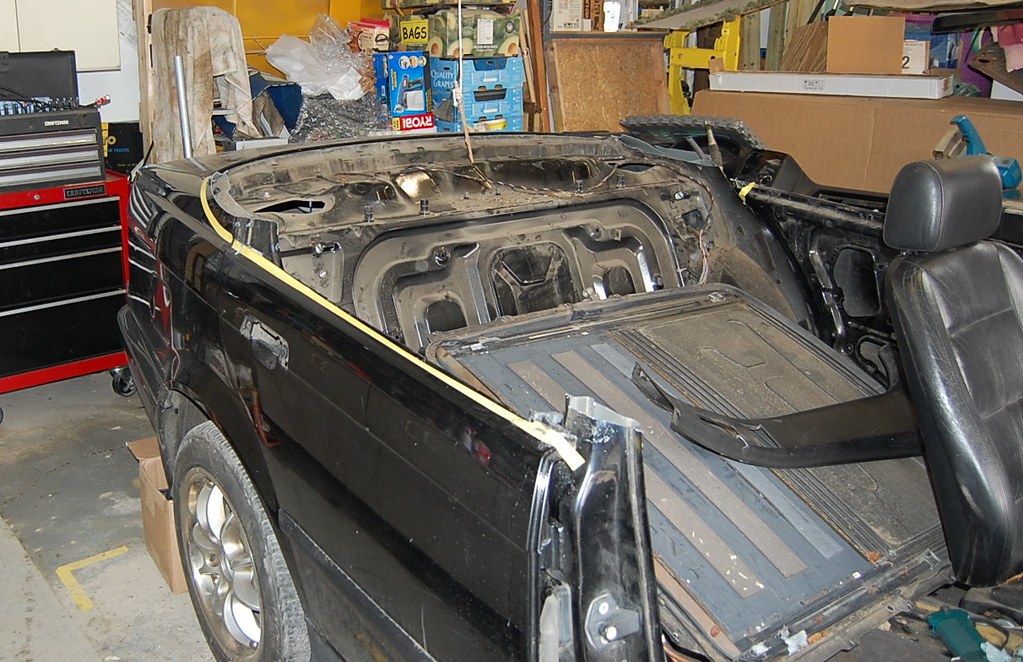 trailer progress 8 trailer progress 8 by
jpgraphics2012, on Flickr 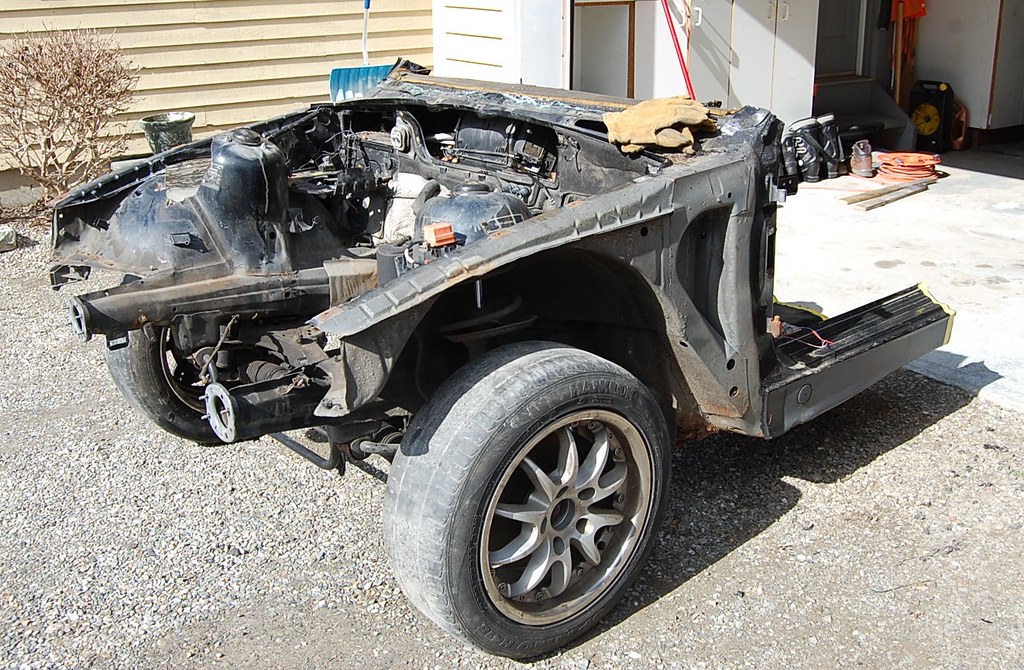 trailer progress 10 trailer progress 10 by
jpgraphics2012, on Flickr Then, as with any project, I began to find the "cons" of an inexpensive donor car....RUST...well, I did want to learn how to weld and fix body panels the right way! 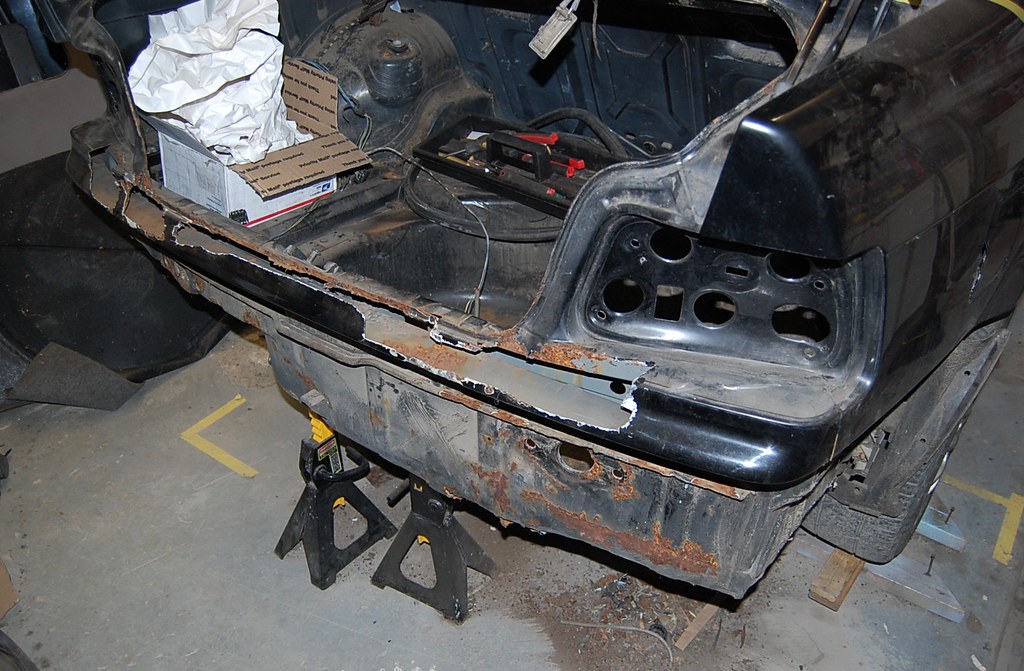 trailer progress 13 trailer progress 13 by jpgraphics2012, on Flickr There was no right side frame support behind the bumper and clear evidence of accident damage....the battery tray was shot and spare tire well had several holes in it too.... 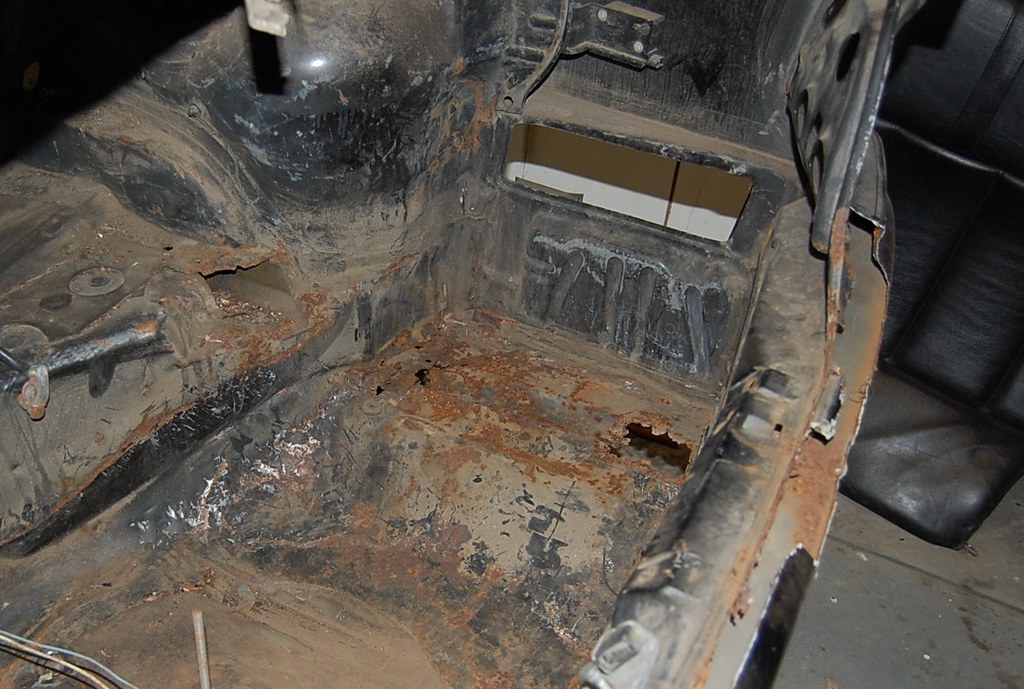 trailer progress 14 trailer progress 14 by
jpgraphics2012, on Flickr But...I was in too deep to get scared away by a little rust..... so I started mapping out some body panels and parcel shelf designs... 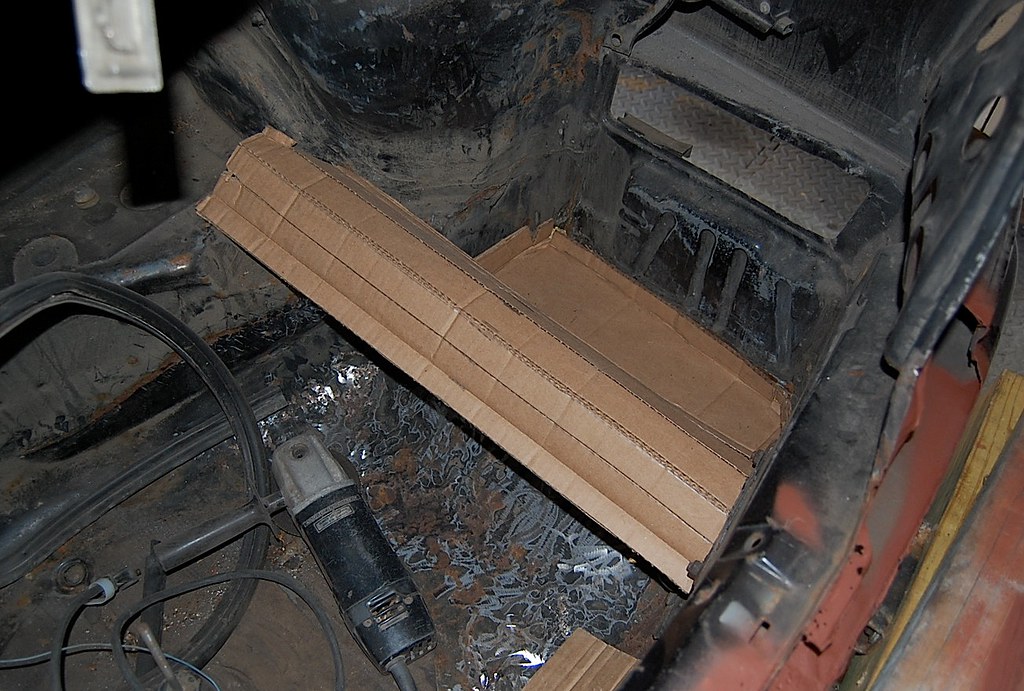 trailer progress 18 trailer progress 18 by
jpgraphics2012, on Flickr 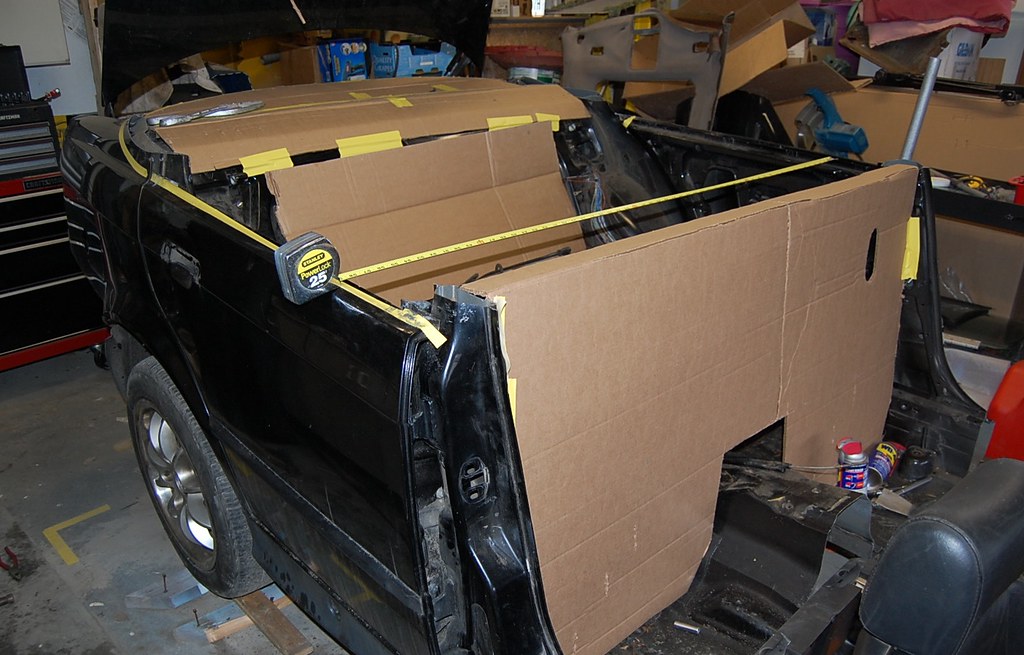 trailer progress 15 trailer progress 15 by
jpgraphics2012, on Flickr |
| |
I know its spelled Norman Luxury Yacht, but its pronounced Throat Wobbler Mangrove!
|
|
|
|
|
Jan 21, 2014 17:56:17 GMT
|
I made a battery tray panel and several trunk floor panels...(which I would have done differently now!....cutting out one larger section...but I was and still am a newbie) 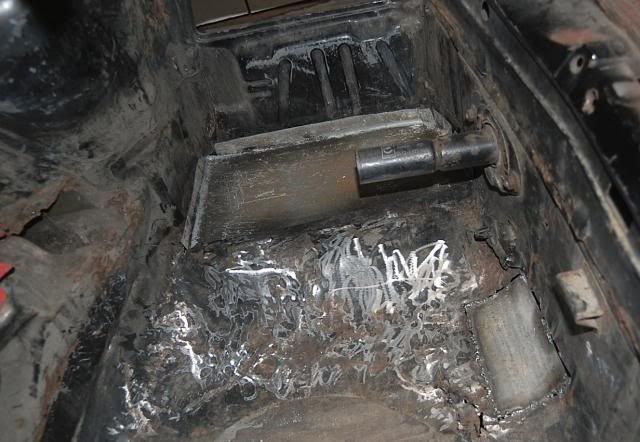 I wanted to get the rust work out of the way before I began building the trailer panels, so I rigged up this frame began work on the bottom.... 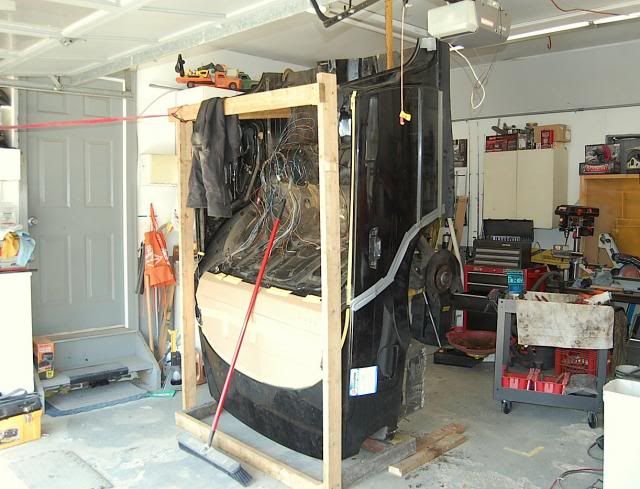 I removed the rear diff and anything else I could for weight savings but kept the independent rear suspension as I wanted the trailer to handle well...you know, like a Bimmer should... 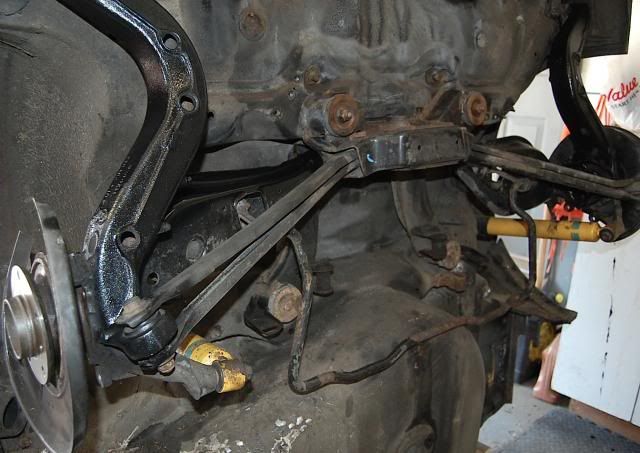 Got the driveshafts out leaving the hub, spline and bearing nut intact, 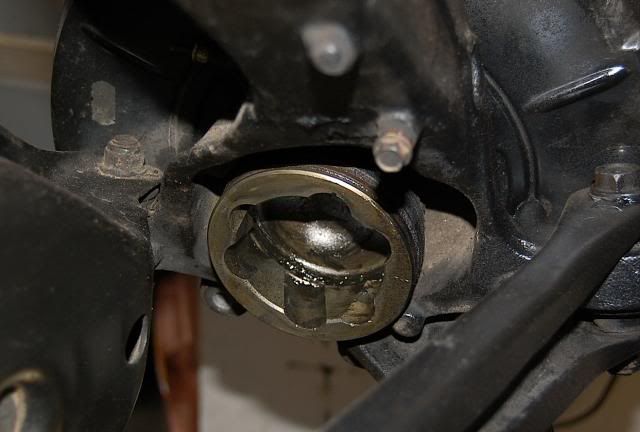 got the battery tray panel ready for welding: 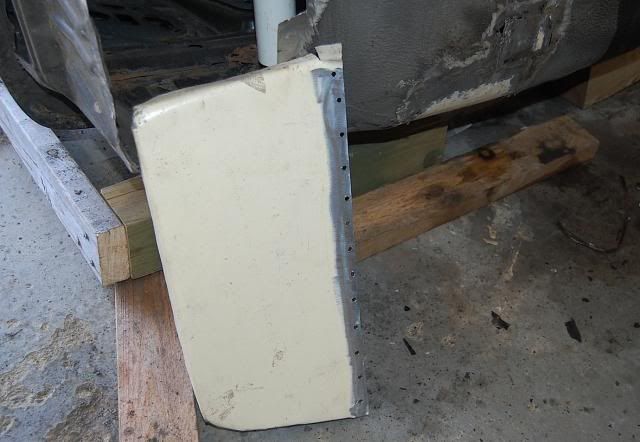 and began figuring out what I needed to do in order to put a stout trailer tongue under the "car" 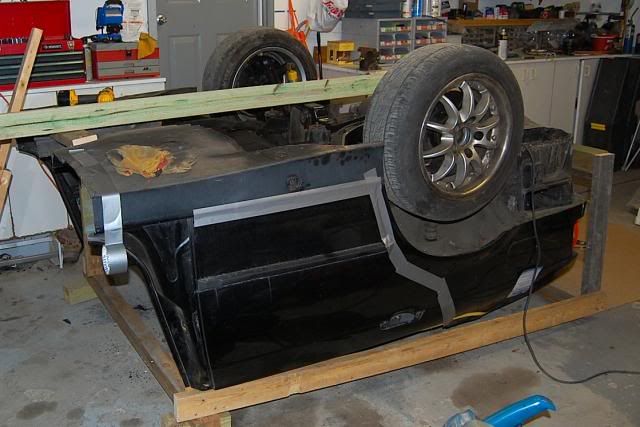 |
| |
I know its spelled Norman Luxury Yacht, but its pronounced Throat Wobbler Mangrove!
|
|
|
|
|
Jan 21, 2014 18:03:23 GMT
|
This took a bit of research so I called a local metal supply house and they advised me on what type of metal tubing to use, ect....I ended up using 3/16" rectangular tubing for the main beam and 1/8" for the side supports; 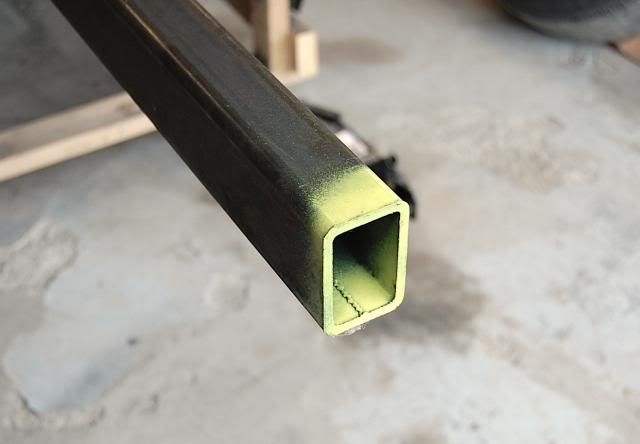 In the meantime, I decided to patch in the replacement panels I had made for the rusty bits. Here is the battery tray area 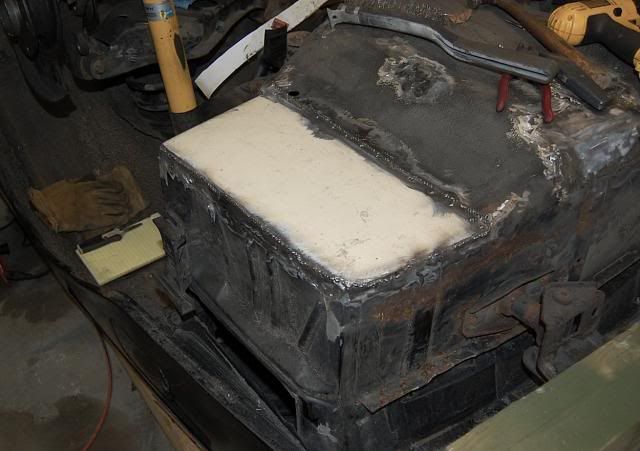 and the abused jacking point: 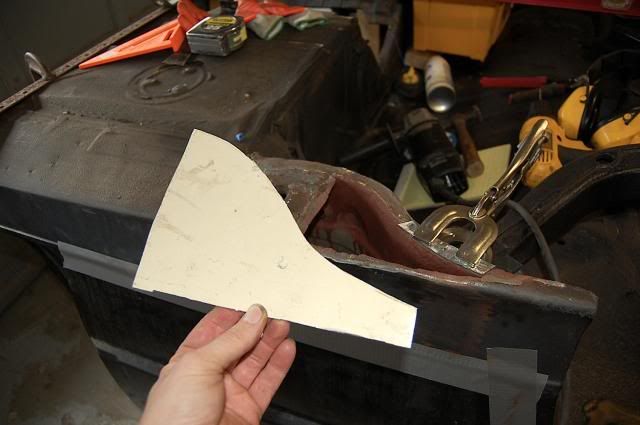 Ill post more soon....just wanted to say thanks for looking and comments are always welcome....This is a great site and I'm glad I found it! JP |
| |
I know its spelled Norman Luxury Yacht, but its pronounced Throat Wobbler Mangrove!
|
|
Dan P
Part of things
 
Posts: 169 
|
|
Jan 21, 2014 18:06:41 GMT
|
|
like this alot! looking forward to any updates! this will look ace when connected up to your newer shape bmw
|
| |
|
|
|
|
|
Jan 21, 2014 19:31:18 GMT
|
|
thanks, Dan!
JP
|
| |
I know its spelled Norman Luxury Yacht, but its pronounced Throat Wobbler Mangrove!
|
|
|
|
|
Jan 21, 2014 19:38:28 GMT
|
|
Awesome, should be able to beat most trailers on cornering! have to ask - will it have a big 12v fridge in the back that you can fill up with beers & take to shows?
|
| |
|
|
|
|
|
Jan 21, 2014 19:48:58 GMT
|
The jacking points starting to take shape: 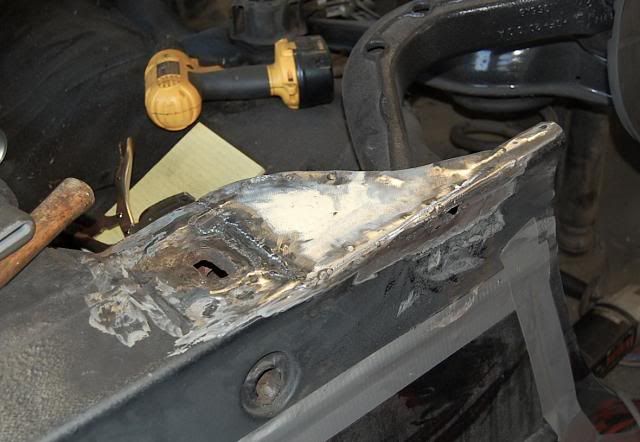 chased some rust on the side of the rocker, and ended up cutting out a small patch piece to minimize future rust there due to too much welding wire!. 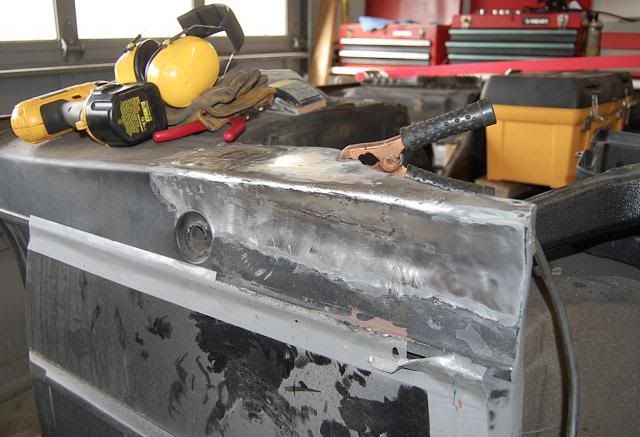 I gusseted and overlayed the metal to create strength...then realized, hey, its only 1/4 of the whole car's original weight so buttoned things up and moved on! patched a small rusty panel just above where the muffler was on the drivers side: 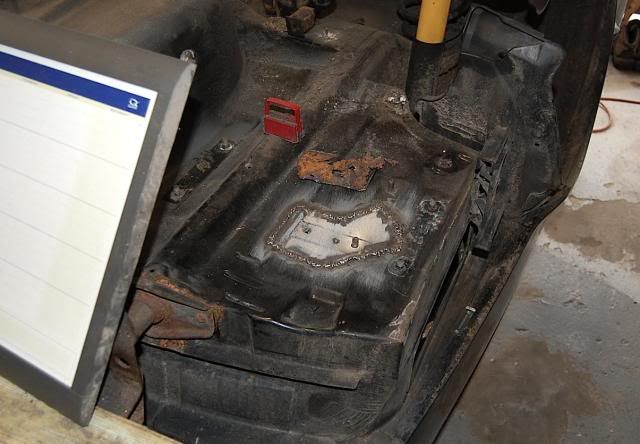 Tied in the transmission tunnel: 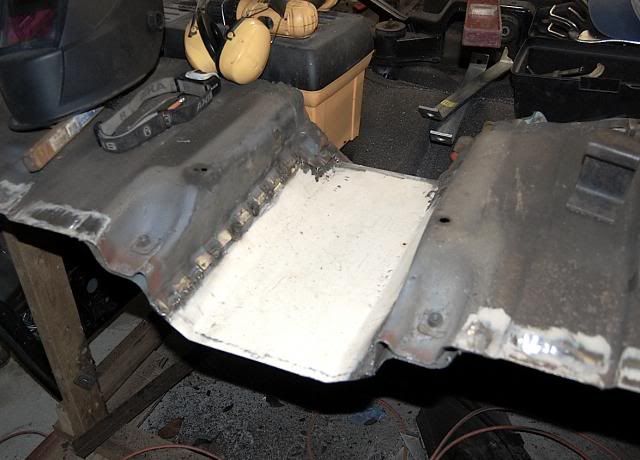 rocker panel end plates: 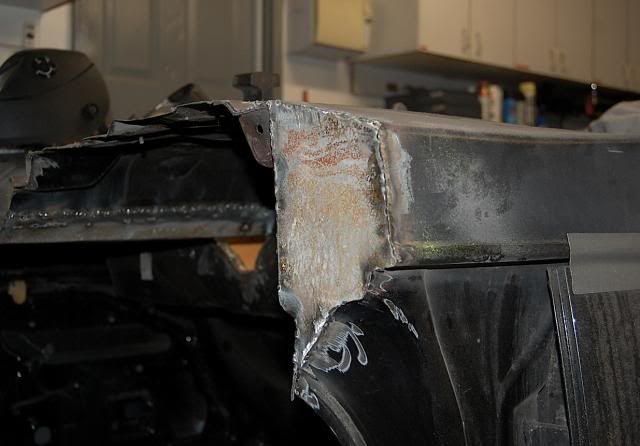 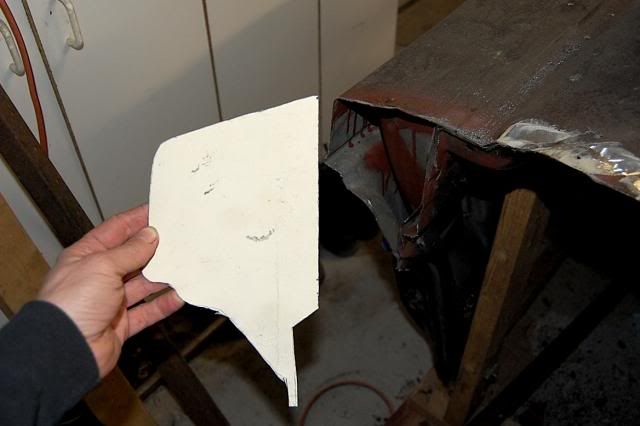 some angle iron to stiffen up the bottom leading edge; 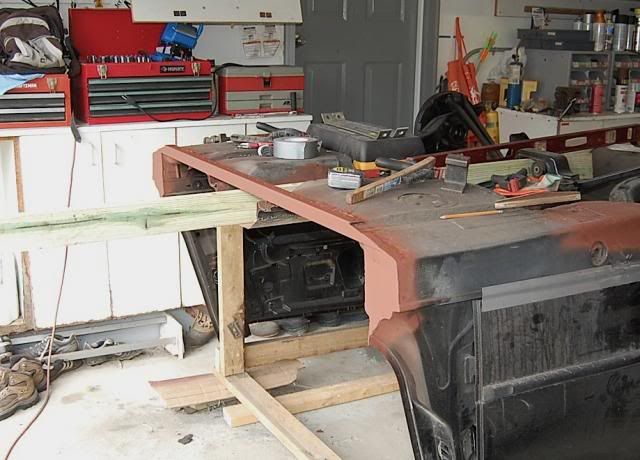 and got to work on shaping the front panel..... This was a great first project for me and allowed me to learn welding and other fabrication skills because even if I really messed things up, I could always go back a rework them! ....thanks for looking! JP |
| |
I know its spelled Norman Luxury Yacht, but its pronounced Throat Wobbler Mangrove!
|
|
|
|
|
Jan 21, 2014 20:57:28 GMT
|
Awesome, should be able to beat most trailers on cornering! have to ask - will it have a big 12v fridge in the back that you can fill up with beers & take to shows? Ha!...yes, actually, I'm planning on using the spare tire well. If I fit a drain plug from a real cooler there, it should work great. JP |
| |
I know its spelled Norman Luxury Yacht, but its pronounced Throat Wobbler Mangrove!
|
|
|
|
|
Jan 22, 2014 16:56:16 GMT
|
added some more bracing underneath, welded the tongue to the bracing, and got the front end pretty well buttoned up... 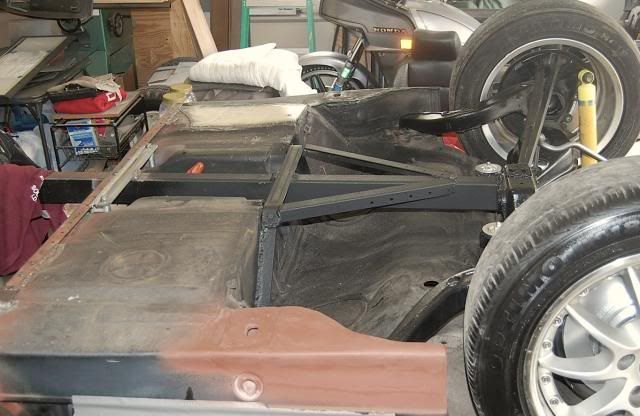 Cleaned the rims, cleaned primed and painted the discs...as the wheels would not fit properly without them...and I like the way they look too....(Ill be adding some faux calipers in back there too eventually) 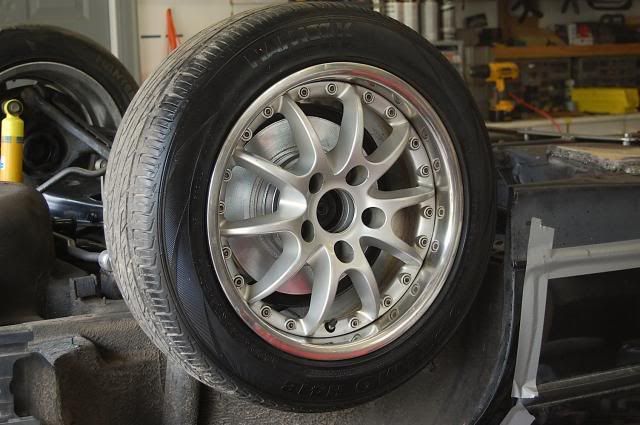 Seam sealed the battery tray area.... 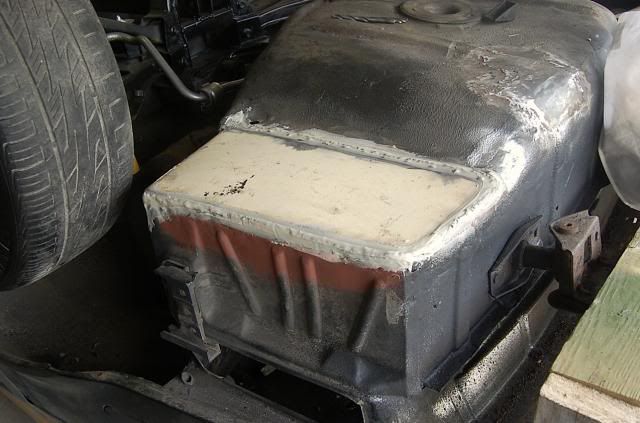 and finally got this bad boy flipped back over as all the underside work was now done..... 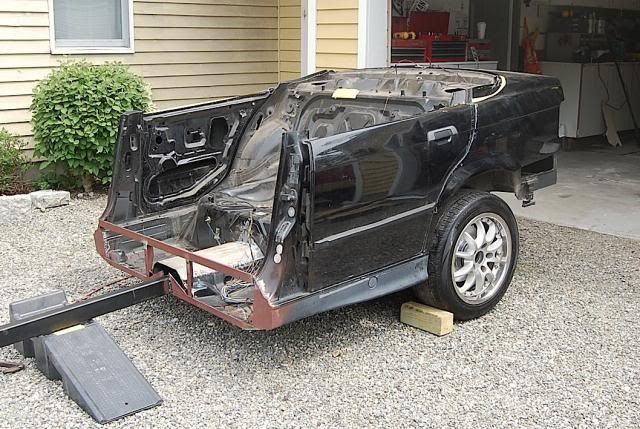 Decided to shape the front panel to match the door pillars...that way it would not be too boring or slab sided...I have seen front panels as bad as plywood...and as nice as shaped fiberglass...I decided to end up somewhere in the middle with a nice piece of lightweight aluminum. 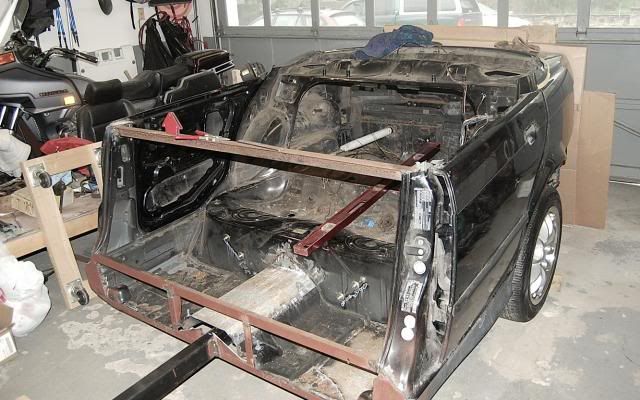 To add structure back into the rear panel, I used a nice solid round bar...actually,its a table leg...but was sturdy enough for the job....  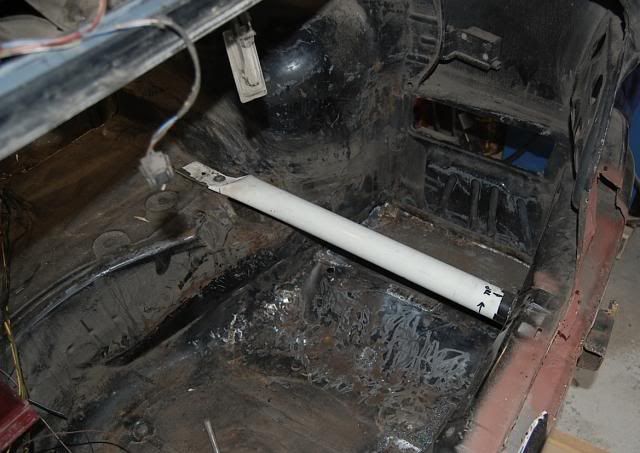 I was actually going to weld the doors shut...but on further thought for practicality, decided to leave them in for easier access to the storage area. Frenched over the door handles, though...This really cleaned up the lines.... 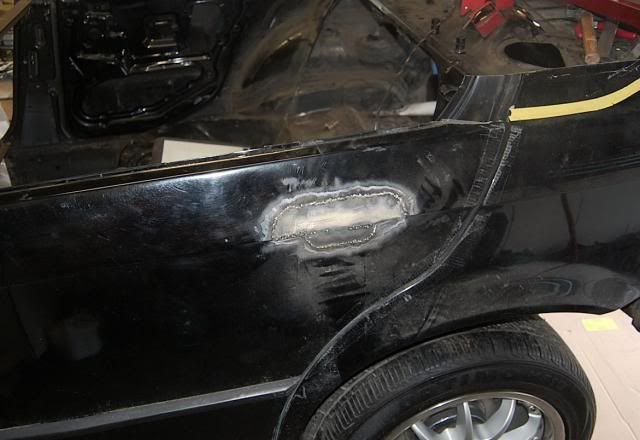 Next up was an area that I learned the most on...welding new metal into the area just below the trunk opening...because of the accident, rust had gotten in and did a pretty good number on this area. I could have found a replacement panel, but I wanted to learn how to patch in and shape pieces of metal....it took a long time!....but I got better at it as I went along...not too many pics of the process, but here are some results.... 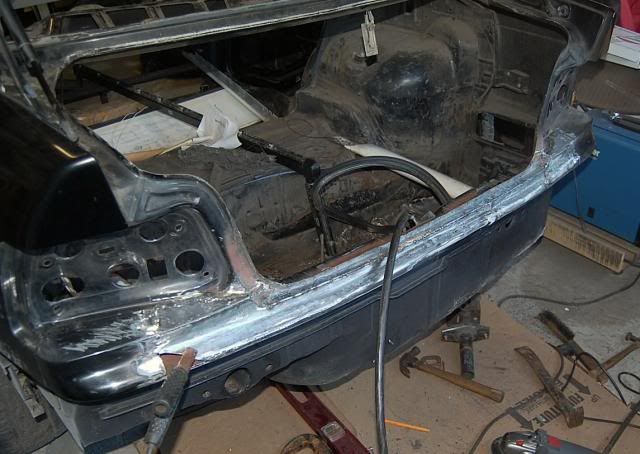 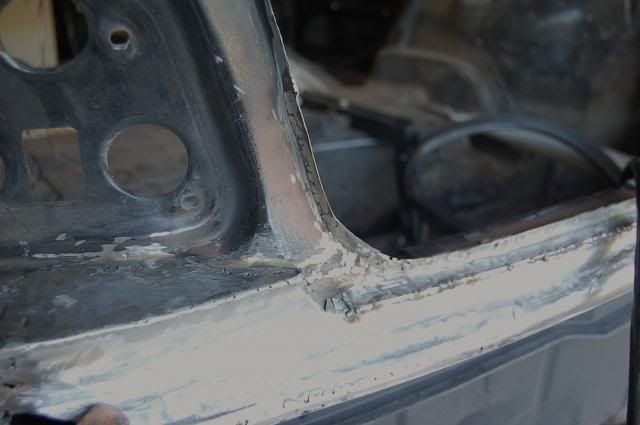 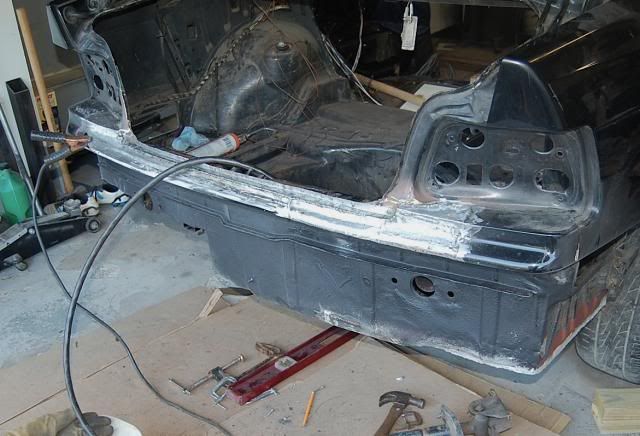 more later...thanks for looking! JP PS..comments welcome, guys! |
| |
I know its spelled Norman Luxury Yacht, but its pronounced Throat Wobbler Mangrove!
|
|
|
|
|
|
|
Jan 22, 2014 18:16:26 GMT
|
|
Excellent work there! Look great behind your Beemer.
|
| |
|
|
|
|
|
Jan 22, 2014 19:30:26 GMT
|
Thanks, Mercman Yeah, I still need to do some tweaking with ride height, but all in all it looks great...though I still have to paint it to match the car.... I decided to make the trailer water tight...in theory at least..and this took the most planning and design. I needed to channel rain water away from the inside of the trailer both when sitting still and driving in a rainstorm. Think, think, think, think.....Felt like Whinny the Pooh contemplating a jar of honey.... anyway...the doors got rain gutters, 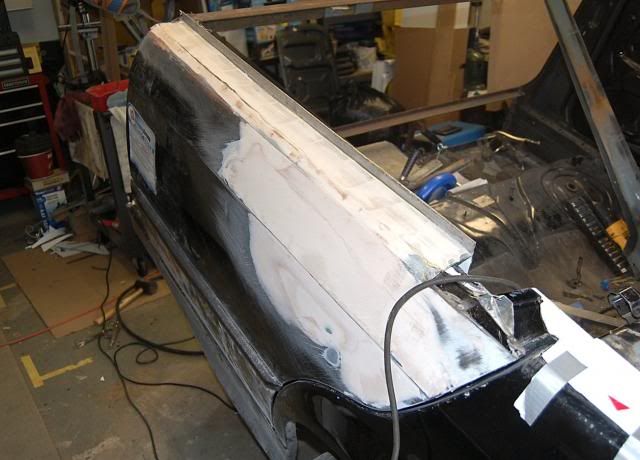 as did the front panel and parcel shelf. the front panel needed a barrier for driving rain, so I used a piece of square tubing bonded and bolted in place with small winglets to channel the rain around the outside of the leading edge of the door gutters. The parcel shelf got its own gutters, which I made from the window channels inside the rear doors. Those were welded in place over the old roof sections from the donor car which now made up the parcel shelf. (I like to recycle....can you tell?) 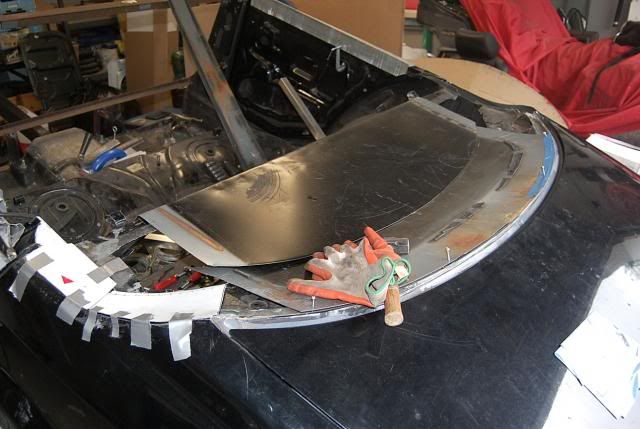 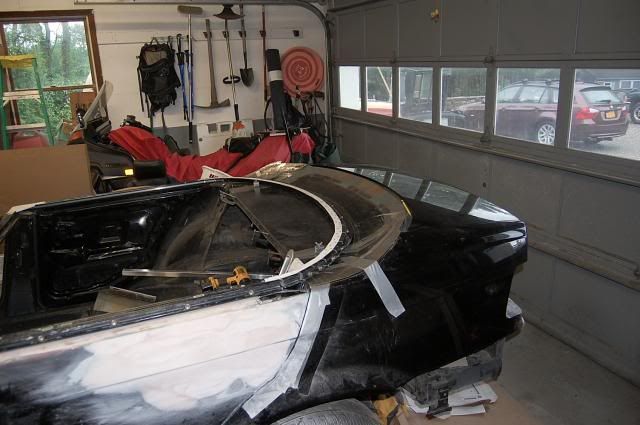 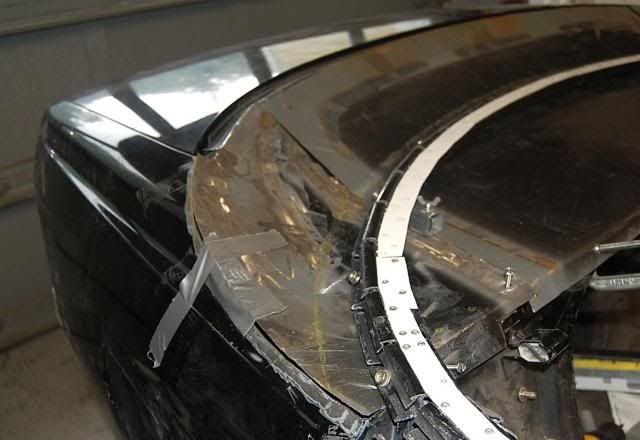 So what are you going to use for the top of the trailer, JP?, I hear you ask.... Well, I had kept my old soft top tonneau cover from the old pick up and decided to use that. It needed a little modification here and there..... 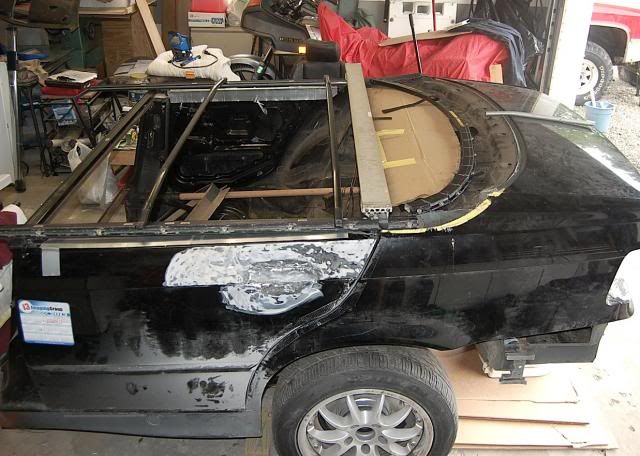 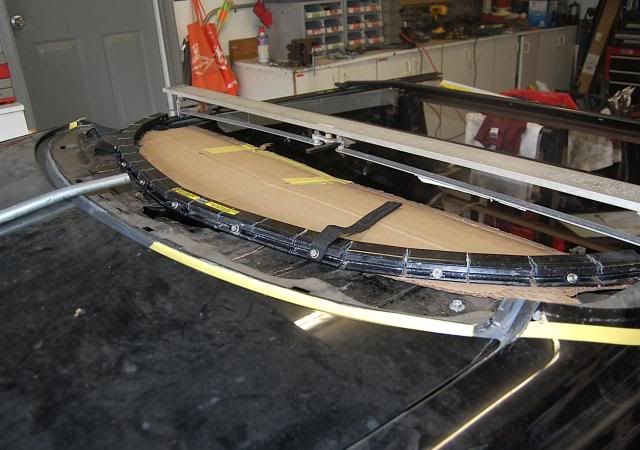 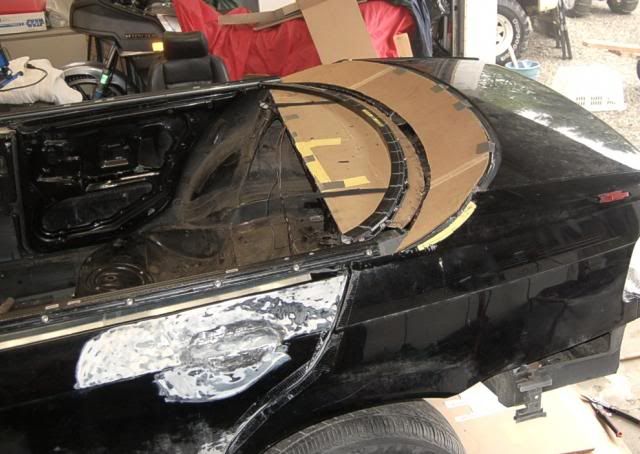 Its starting to take shape.....after that I started buttoning up the details and getting it ready for the road....(did I mention that I had a deadline before we left for camp? I had just 3 weeks left to get it on the road!) JP |
| |
I know its spelled Norman Luxury Yacht, but its pronounced Throat Wobbler Mangrove!
|
|
|
|
|
Jan 24, 2014 19:33:46 GMT
|
front bracing welded in: 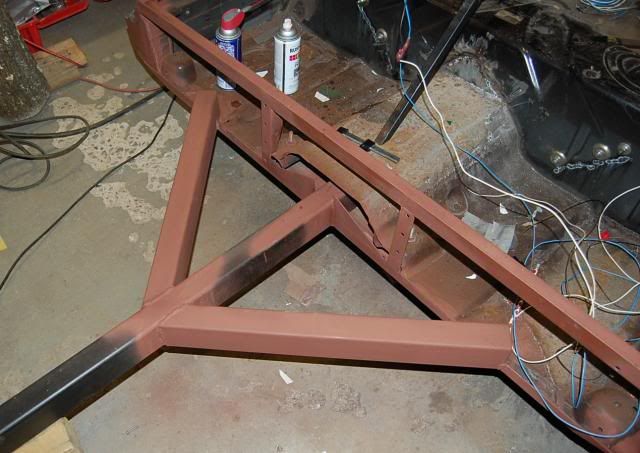 buttoning up the parcel shelf welding: 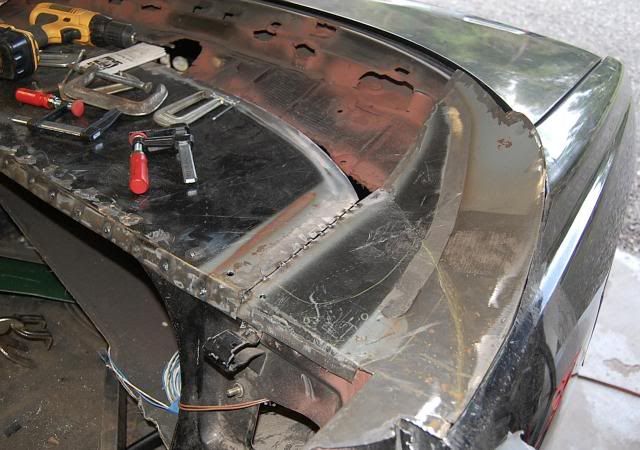 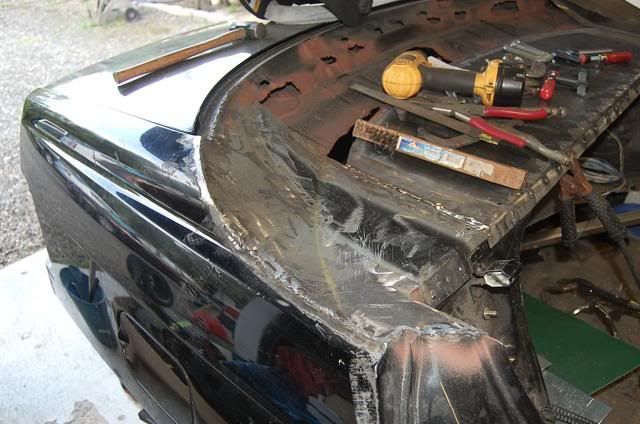 and finally got it roadworthy...much left to do here, but it passed inspection, got registered, worked out the electronics, figured out the hitch height and trailer hook ups.. 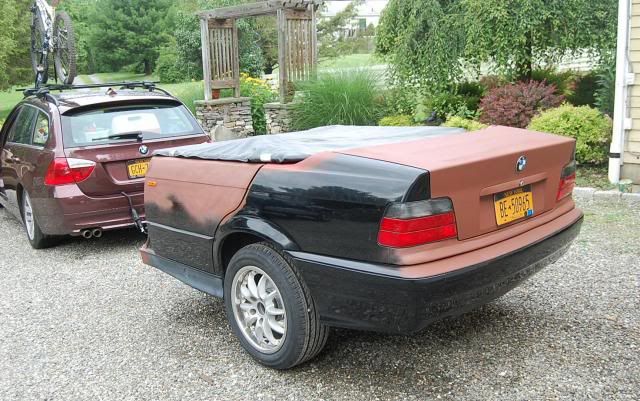 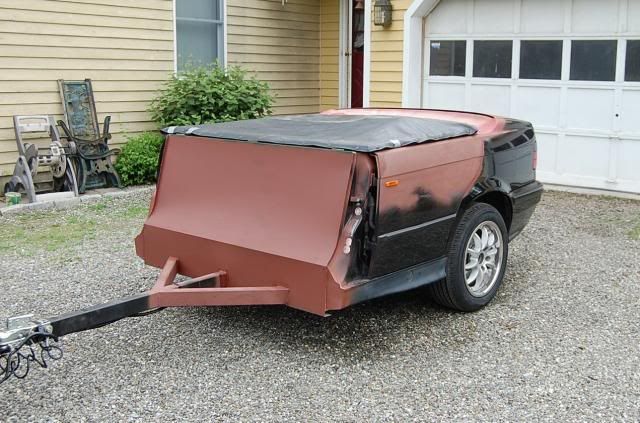 and drove it 200 miles to our summer gig in NH....that little trailer handles better than anything Ive ever pulled!...almost better than the car!.....must be the sway bar  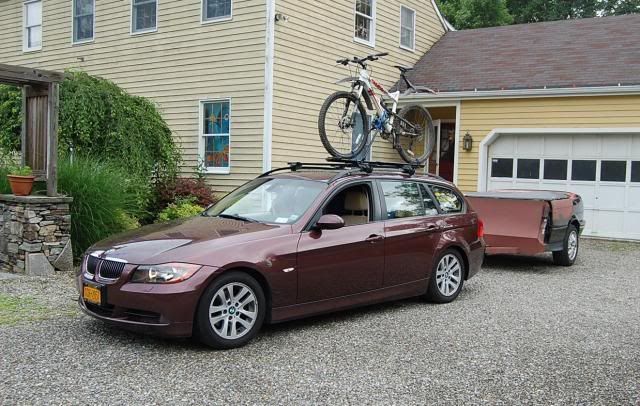 I had to reinforce the top here and there as the wind caught it one day when I had it open and flipped it over backwards breaking the two wires I had to help prevent this! 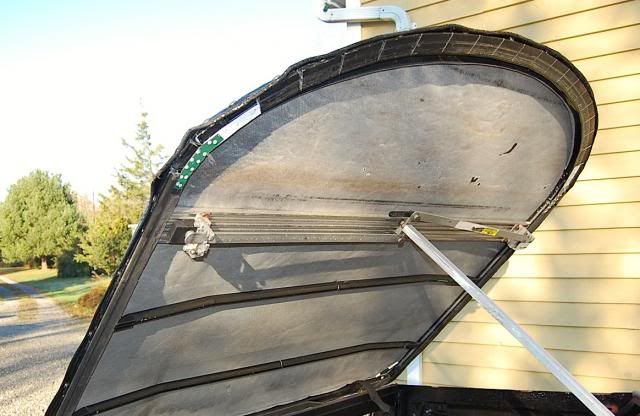 had to do a little trimming on the door gutters so the top would fit flush 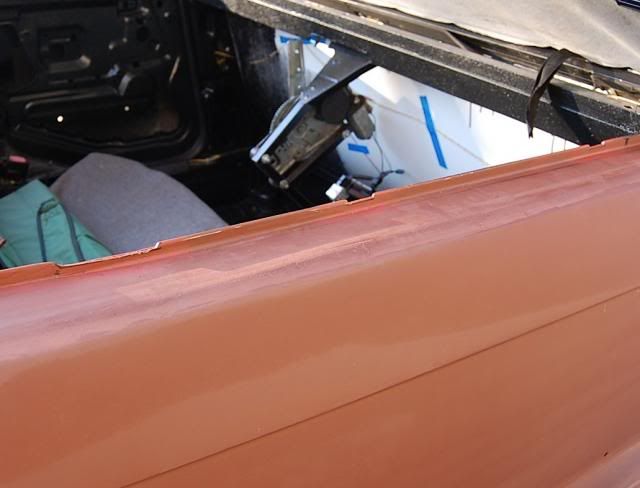 heres a shot of the interior. I cut the seat back support out to get more storage in there. You can just see the window motor visible on the right that I welded to a bracket to lift the top by remote switch. I put the switch in the gas filler recess...and used the sunroof switch and wiring to make it work.... 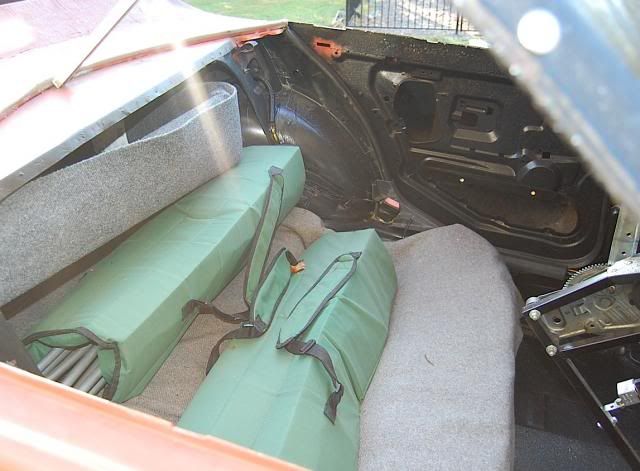 interior light from a CK Chevy Blazer from the 80's..... 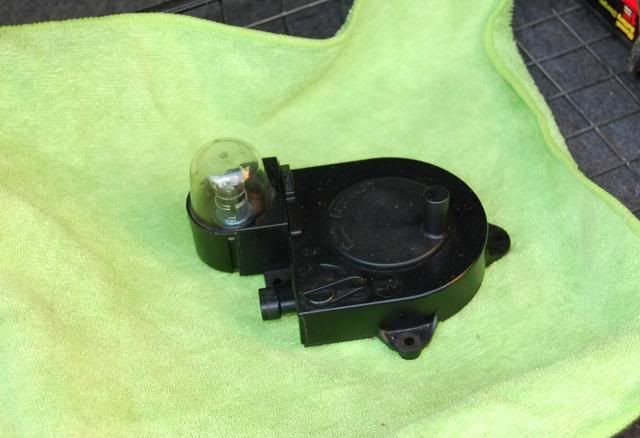 its kinda neat...it pulls out and has a 6 foot cord.... 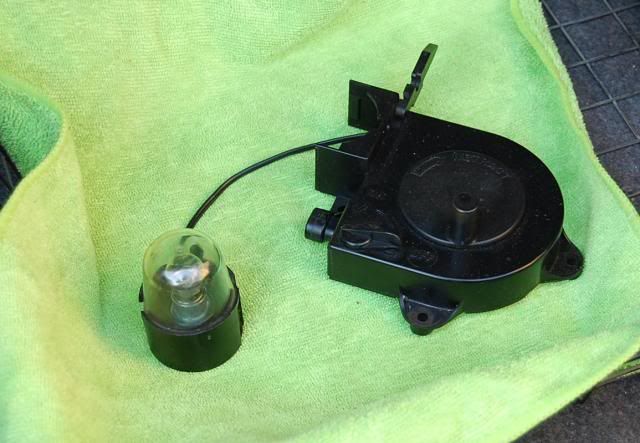 finished up the car wiring by building a receptacle box from a sheet of aluminum... 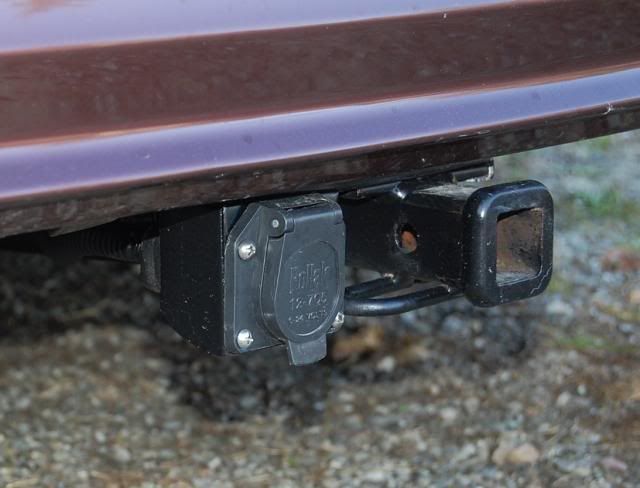 and have been enjoying it and tinkering with it since then... 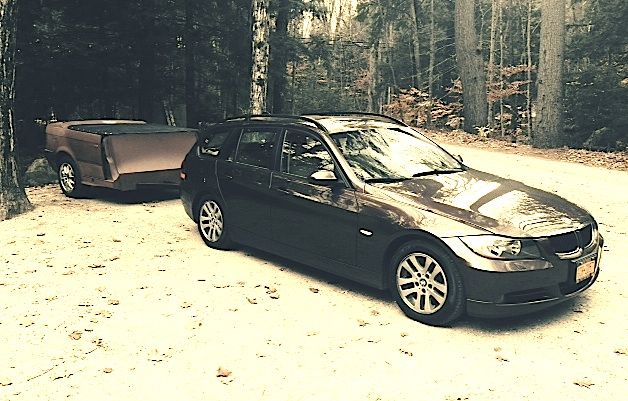 Here I'm beginning to finish off the front corners wich will be molded with either metal if I want a real challenge, or fiberglass...not sure yet. 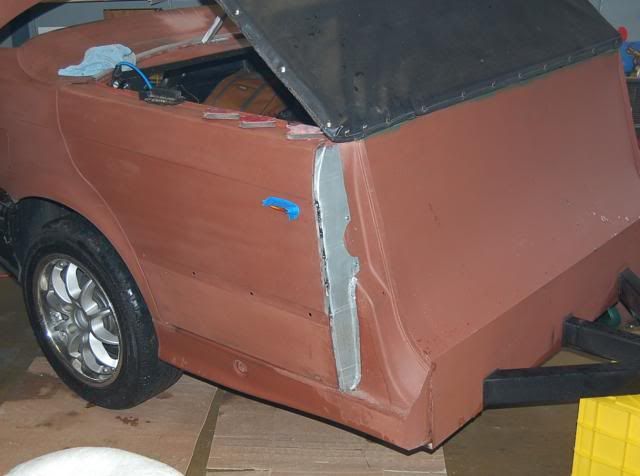 So that is where it stands now...winter is a tough time to work on it as we are in another cold spell at the moment.... JP |
| |
I know its spelled Norman Luxury Yacht, but its pronounced Throat Wobbler Mangrove!
|
|
|
|
|
|
|
|
too cold to work on it this weekend.....maybe when it warms up!
JP
|
| |
I know its spelled Norman Luxury Yacht, but its pronounced Throat Wobbler Mangrove!
|
|
|
|
|
|
|
|
Well JP, having built two large capacity (think 2 BMW GS motorbikes) before, I know the basics of building a box trailer as both were convertible between being box and bike trailers. And I have to say, looking at your build, Oldbus' and som other build, that you guys really are very good.
Box trailers are straight forward but converting takes skill and vision.
Really impressed.
|
| |
|
|
|
|
|
|
|
Well JP, having built two large capacity (think 2 BMW GS motorbikes) before, I know the basics of building a box trailer as both were convertible between being box and bike trailers. And I have to say, looking at your build, Oldbus' and som other build, that you guys really are very good. Box trailers are straight forward but converting takes skill and vision. Really impressed. Greatly appreciate that, Grizz!...thanks. JP |
| |
I know its spelled Norman Luxury Yacht, but its pronounced Throat Wobbler Mangrove!
|
|
|
|
|
|
|
A man and a plan ! I like that! Bookmarked! You´ve mentioned that BMW trailer, which is very rare even here in germany! Well engineered as it can be used multipurposedly, but too expensive.  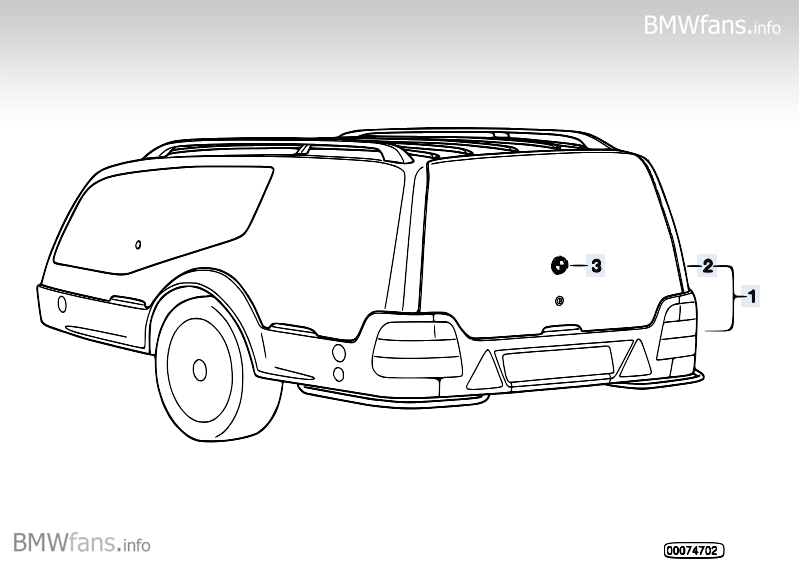 That´s why a few custommade bimmer trailers can be found on the net:    Thanks for the comments and pics...I had not seen these 3 before...very nice examples.... I love that 3.0CS trailer....very classy....I hope I can get mine painted before next summer when I have to travel with it again! JP |
| |
I know its spelled Norman Luxury Yacht, but its pronounced Throat Wobbler Mangrove!
|
|
Dan P
Part of things
 
Posts: 169 
|
|
|
|
Love this trailer! Should spray it the same colour as your car and that would finish it off perfectly! Love the craftsmenship and skill that went in to this. Top job!  |
| |
|
|
|
|
|
Jan 28, 2014 17:26:24 GMT
|
|
Hi JP,
regarding your front corners mate, do you still have the front doors off the spare?
I´d be tempted to cut off the last 6 inches off the doors and weld them into the corners, the shape is right and all the swage lines would match up too.
Keep up the good work,
Dave
|
| |
|
|
|
|
|
Jan 28, 2014 18:11:22 GMT
|
|
Superb, well thought out and well executed too! Brilliant...
|
| |
***GARAGE CURRENTLY EMPTY***
|
|
|
|


