|
|
|
|
|
Don't we all make it up as we go along lol! Your bracket does look like it overhangs the fixings a little and i'd say you'll need support nearer the pulley end. The only planning l've done for the future super charger is leaving a space for it! Keep up the evolution  |
| |
|
|
|
|
|
|
|
|
|
Yeah I want to place the sump posts directly under the sc really the one I'm using now is just a prop to see how it works.  Ill look at them properly when I twist the engine around into its correct angle. |
| |
|
|
|
|
|
Nov 20, 2013 20:35:02 GMT
|
quick night tonight, was determined to finish the sc posts 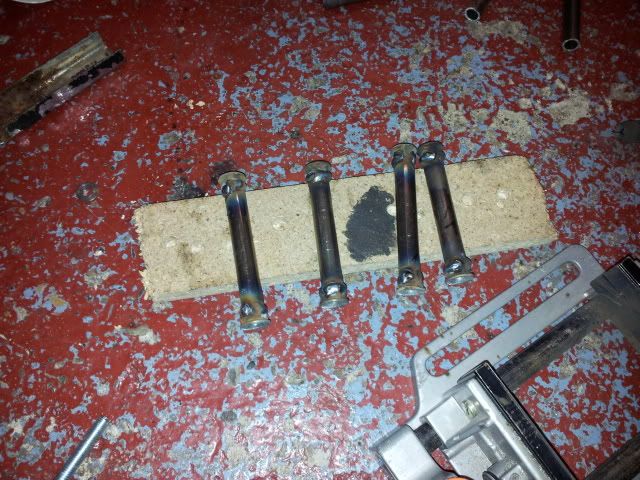 then another test fit at the angle itll be run at in the car, you can see Ive kept it above the sump depth  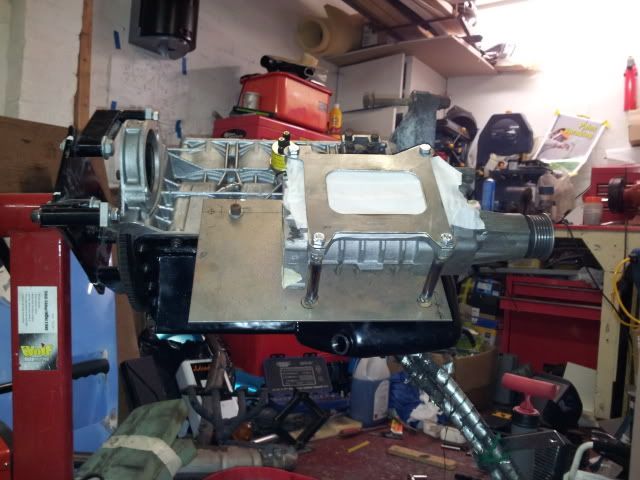 Ill decide on sump posts tomorrow, looks like one near where Ive had it before and one just under the rear inlet flange. Weekend Ill cut out the 3mm plate parts I need again. |
| |
|
|
|
|
|
Nov 21, 2013 22:58:24 GMT
|
well i decided and ive done! Mounted! Would have liked to get the bottom posts vertical to the sc but that would have meant not removable and fully welded. Should be fine. Think I need a new welding mask mines not working quite right. Ready to clean up the welds then paint everything. 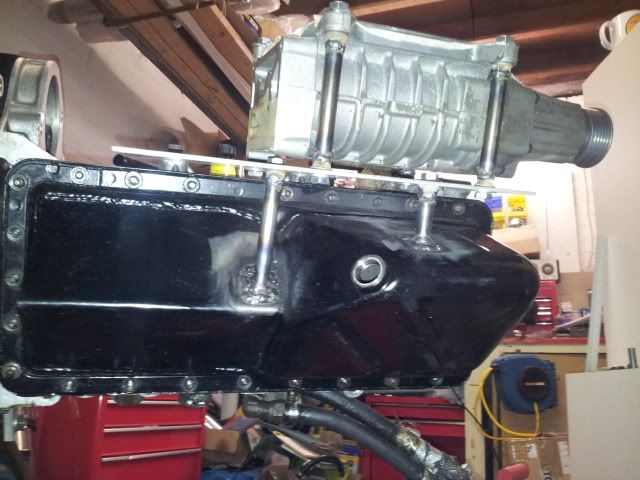 plus this turned up, bloody big one! well longer than I thought it was going to be!! 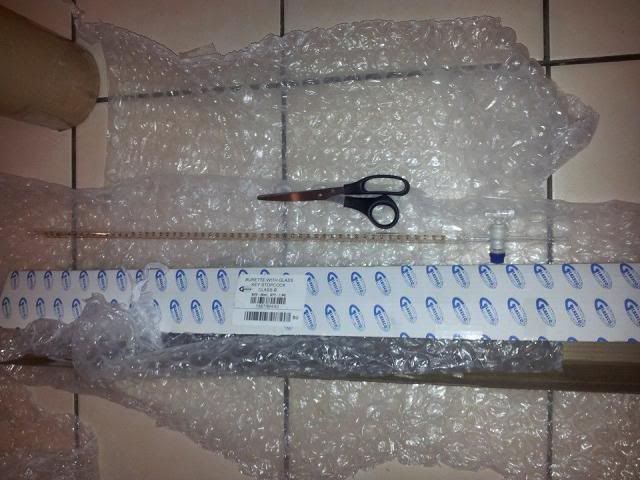 |
| |
|
|
|
|
|
Nov 21, 2013 23:45:39 GMT
|
Think I need a new welding mask mines not working quite right. With those welds under that big piece of steel, make sure it's not just that the UV sensor on the mask doesn't have line of sight to the arc  My mask didn't go dark a few times, this was the reason. Work looks good, and I'm loving the idea of a supercharger. |
| |
|
|
|
|
|
Nov 21, 2013 23:50:50 GMT
|
|
Cheers for the tip. I did wonder if it was the lighting too. Next time I weld ill do it in day light too see if that makes any difference. It was a cheap ebay one thats done me proud for a few years!
|
| |
|
|
|
|
|
Nov 22, 2013 22:48:23 GMT
|
|
Well Ive ordered a belt now so wait and see how I can incorporate a tensioner somehow!! This weekend I think some compression ratio measurement is needed!
|
| |
|
|
|
|
|
|
|
Well the belt turned up the other day and I did my usual of ordering one well to small, so ordered another one which will do the job, looks like I'm between sizes lol. So I chucked the belt on and quickly noticed that when pinching the belt to tension it the plate the charger is sitting on was able to flex towards the block taking up the belt tension so I had to come up with a method of stopping the flex, which I did tonight in a very short amount of time available. Belt on 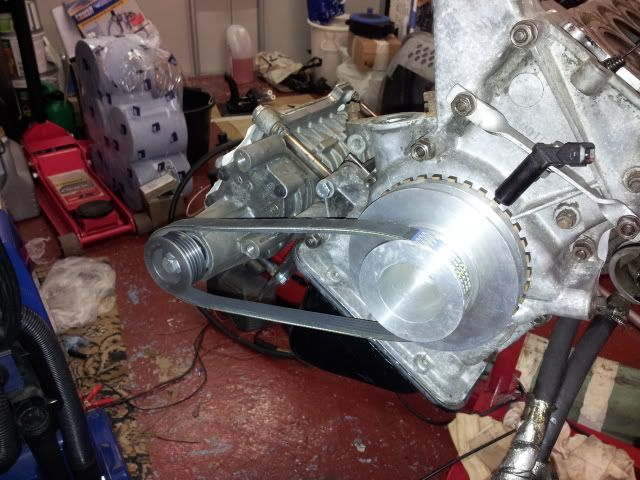 Little plate made and welded on, this stops the front of the plate which was unsupported flexing into the engine, had to relieve a little section to miss a bump on the block as you can see so the plate sits on the front cover flat as well as a bolt through  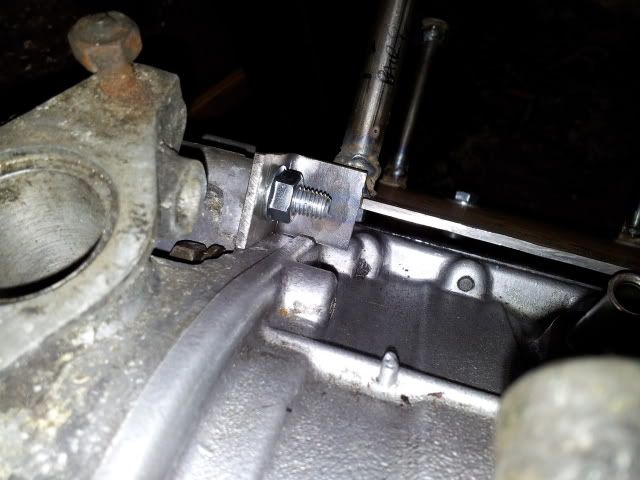 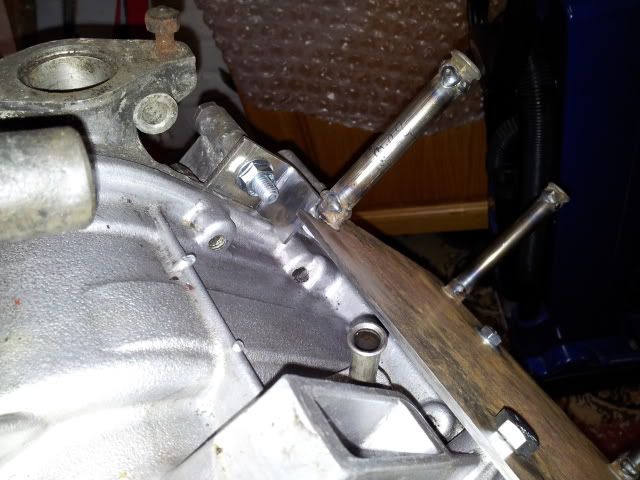 Will shape the tab up when I do the rest of everything. Lastly tonight I finished up by looking at how I want to reduce the monting plate size...... I cant decide between curved details or straight with small radius's between flats. What do you think? I'm swaying towards flats currently, just looks 'right' in my mind?! (was just a quick scribble) 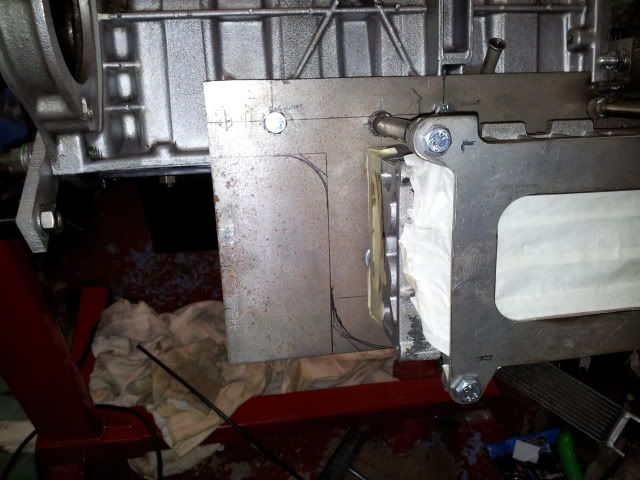 |
| |
|
|
|
|
|
|
|
Picked up my tensioner pulley from the sorting office today and had a look at it all tonight, I ended up pulling apart the now not suitable std tensioner from the charger due to orientation and found a handy post inside to bolt my pulley too!! Hopefully this should work, if it turns out to be not strong enough then Ill machine one out of a block of alloy, worked a treat though, nice quick solution! 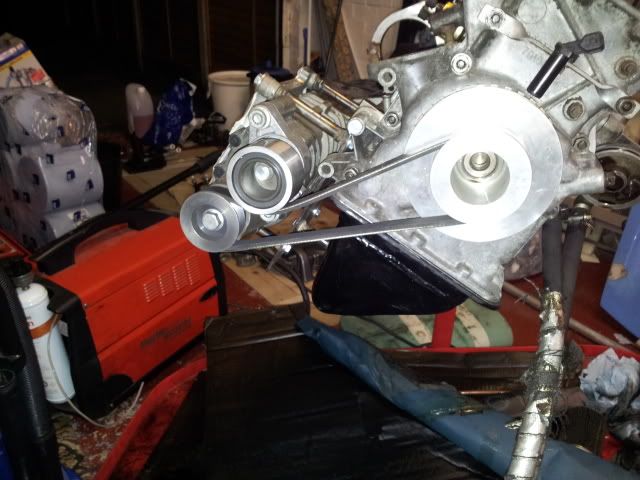 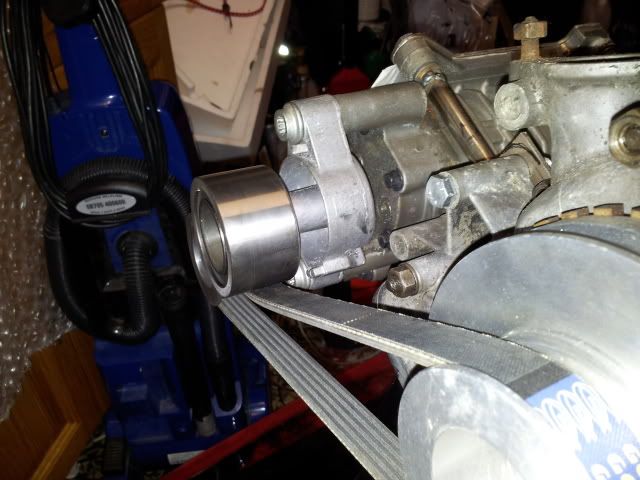 Then I placed the alternator on top of it all to see where it could fit in, I think I should be able to make a pivot point bottom mount with a sliding top mount somehow which will have a few degrees of travel for belt tensioning 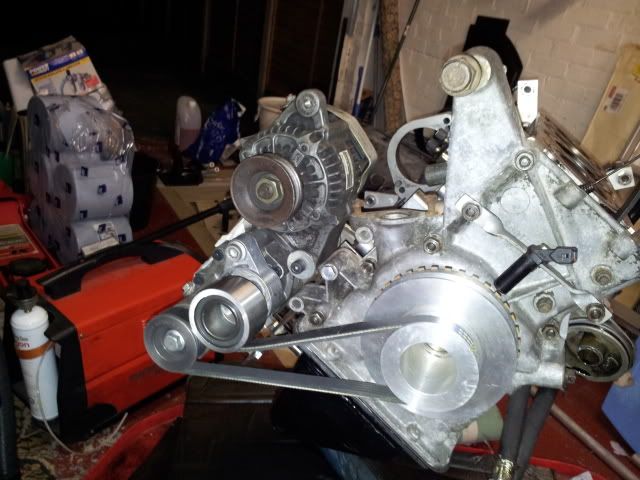 |
| |
|
|
|
|
|
|
|
Right had ago of measuring CC's tonight. Head combustion chamber = 25cc TDC piston space = 7.5cc Used head gasket = 7.5 I struggled with this so instead I took the measured Dia and depth, Pi rad squaredxH = 5cc so have used that. seems to be a few variations of equations out there but I ended up with a figure of 7.18:1 I always quoted a figure of 7.5:1 so the equation Ive used is probably not the most accurate one but gives me a good indication! If I take a sport head I think is 20cc (mines being fixed at the moment) and use the same method 8.14:1 so probably around 8.5:1 So Ill probably use the sport head which should help the supercharger out a little. This is the equation I used head cc + TDC bore cc + head gasket cc = total cc at squish then exact size of engine (928cc) / 4 = 232cc + total squish cc = answer / squish cc's = compression :1 Other measurements I have.. Stroke std 875 = 60.37mm Bore = 70mm Gasket thickness on the ring 1.2mm used, 1.4mm new Gasket ring Dia 72.7mm used, 73mm new heres a parting photo.... 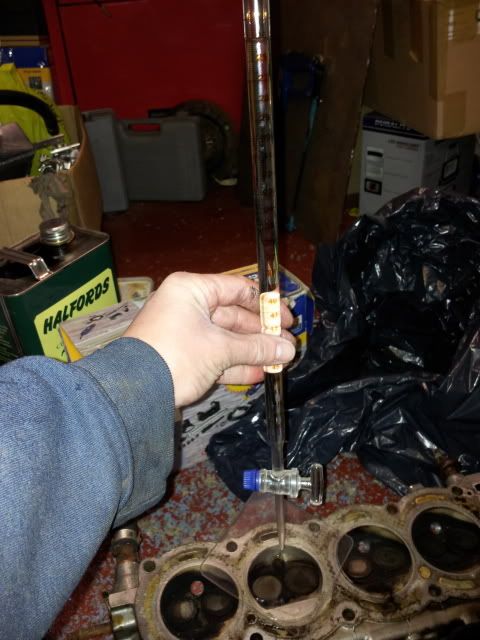 Chris |
| |
|
|
|
|
|
|
|
|
|
|
love these cars, always wanted one to hillclimb some day, they're so nimble on the track.
from experiences putting an m45 on a 1.8 16v, i found the eaton gave far more torque at lower revs than an equivalent turbo setup on other cars. But it lacked top end (blower being highly overdriven and heating the charge too much).
Depending on what gearing you set the blower for - it's going to shift! Great project & good luck with it
|
| |
|
|
|
|
|
Dec 11, 2013 23:05:34 GMT
|
No new photos as they would look the same as above but the oil pump is re fitted with new gasket and wellseal for good measure, the sump is now painted and fully fitted along with the baffle plate two gaskets and RTV gunk and the repaired front cover is also obviously fitted fully. Also as I know I'm not going to get chance once again this weekend to whip out the angle grinder so I used a hacksaw and a variety of files on the charger mounting plate, shaped and nearly ready for painting now, takes me back to my apprentice days this kind of work, probably why I enjoy it all  |
| |
|
|
|
|
|
Dec 12, 2013 11:31:00 GMT
|
Also as I know I'm not going to get chance once again this weekend to whip out the angle grinder so I used a hacksaw and a variety of files on the charger mounting plate, shaped and nearly ready for painting now, takes me back to my apprentice days this kind of work, probably why I enjoy it all  So, did we go square, or curved? |
| |
|
|
|
|
|
Dec 12, 2013 13:02:07 GMT
|
Rounded in the end just looked smoother  Once finished tonight ill pop some photos up |
| |
|
|
|
|
|
Dec 12, 2013 23:22:57 GMT
|
Good night tonight. This was a curse word to shape by hand (to noisy to use the grinder) but mounting plate done now. 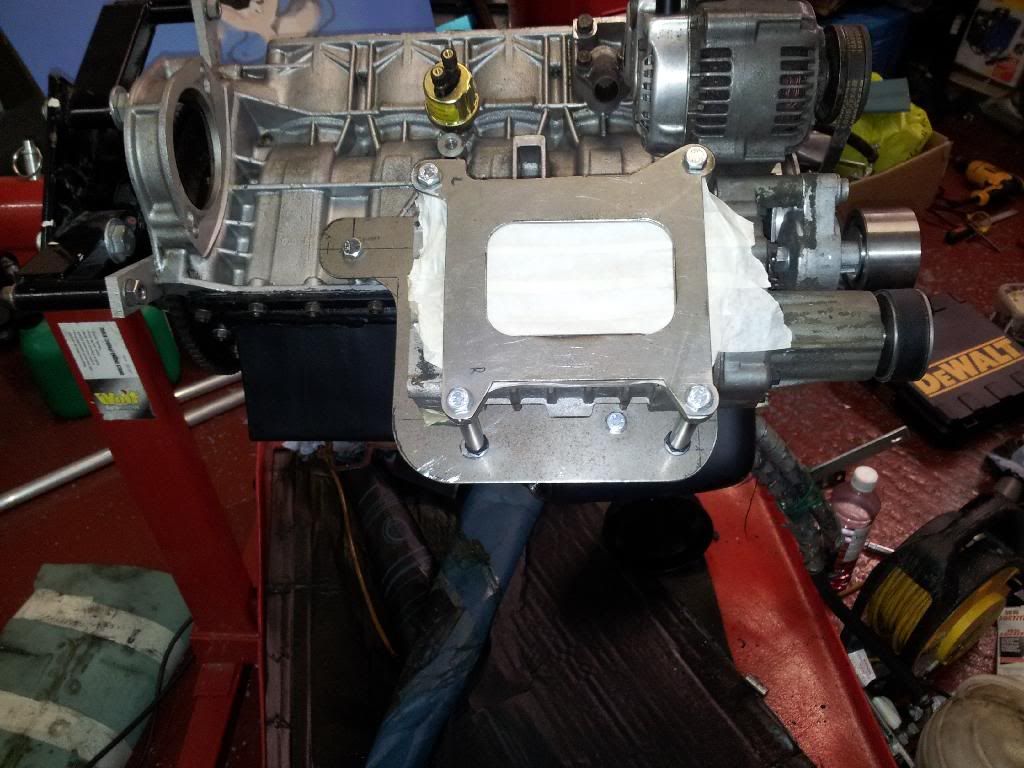 ] then I was lucky to find out my original Alternator mount that was fitted under the Alt originally fits on top, so I had to just make a triangular mount below, the slider mount will be remade in the future, It snapped on the way up to national but held all the way there and back (then two more shows lol) so has been welded to 'use'. Will just need a slightly shorter belt 8) 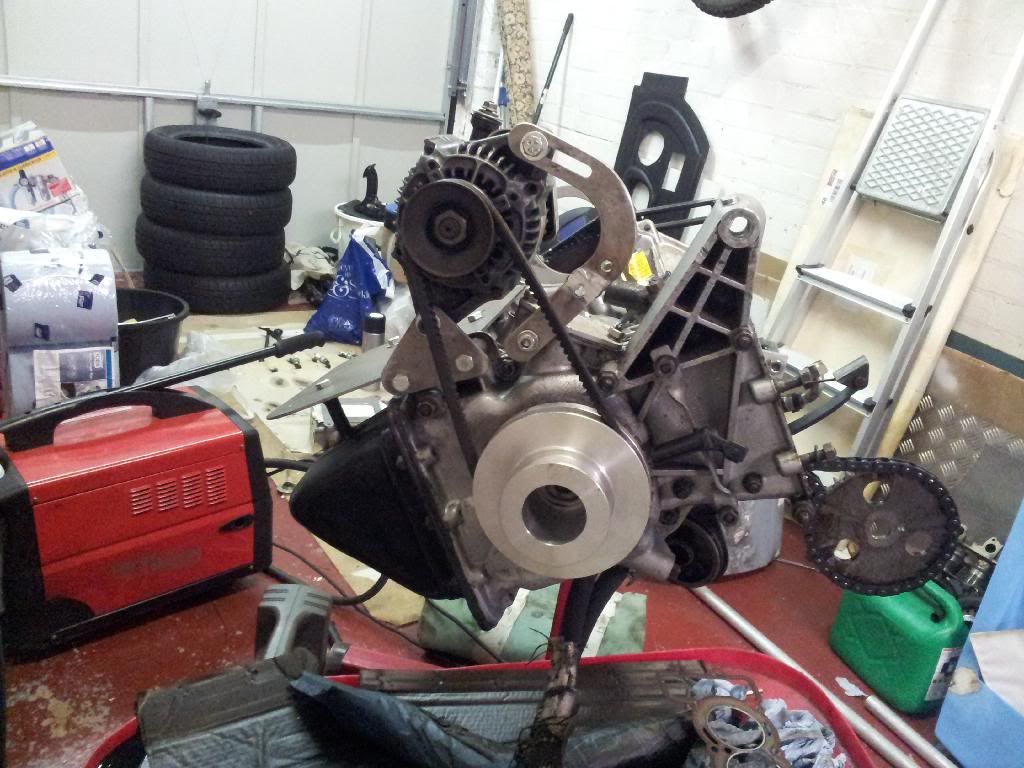 Looking more complete now 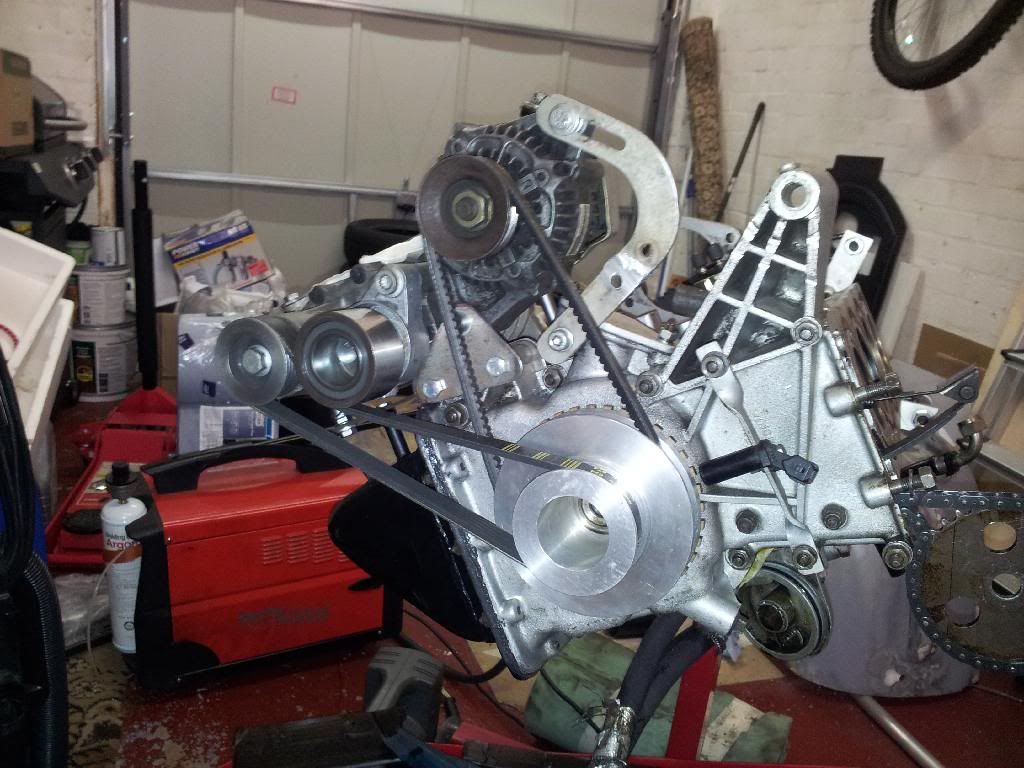 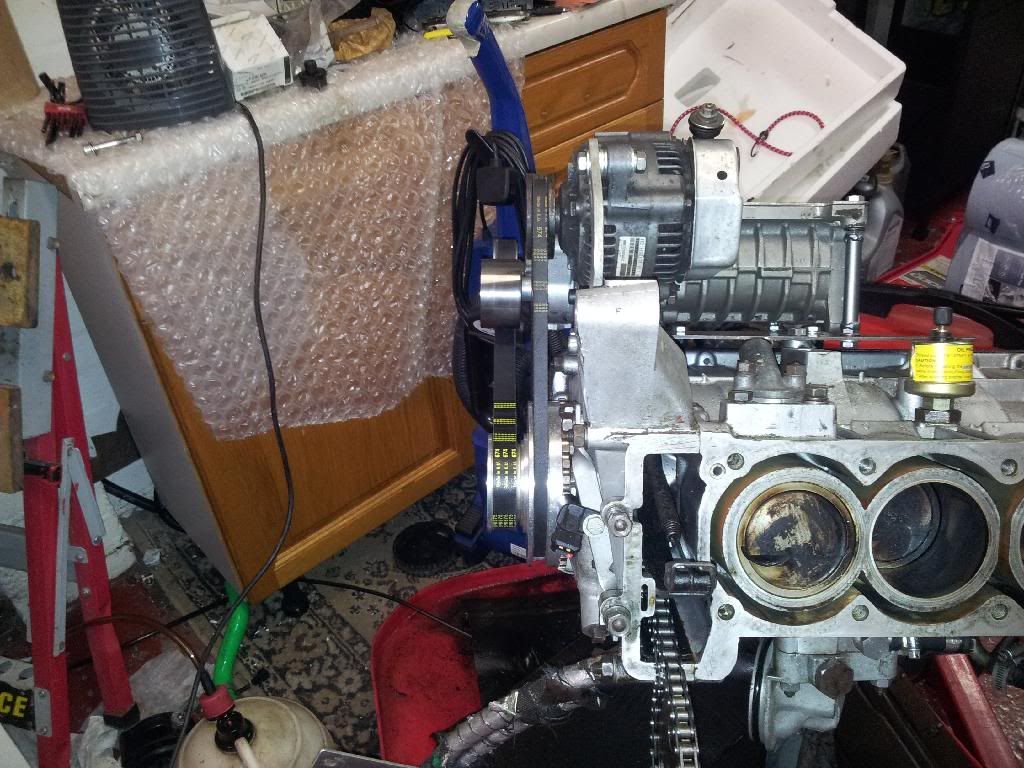 Fits perfectly between the engine and charger 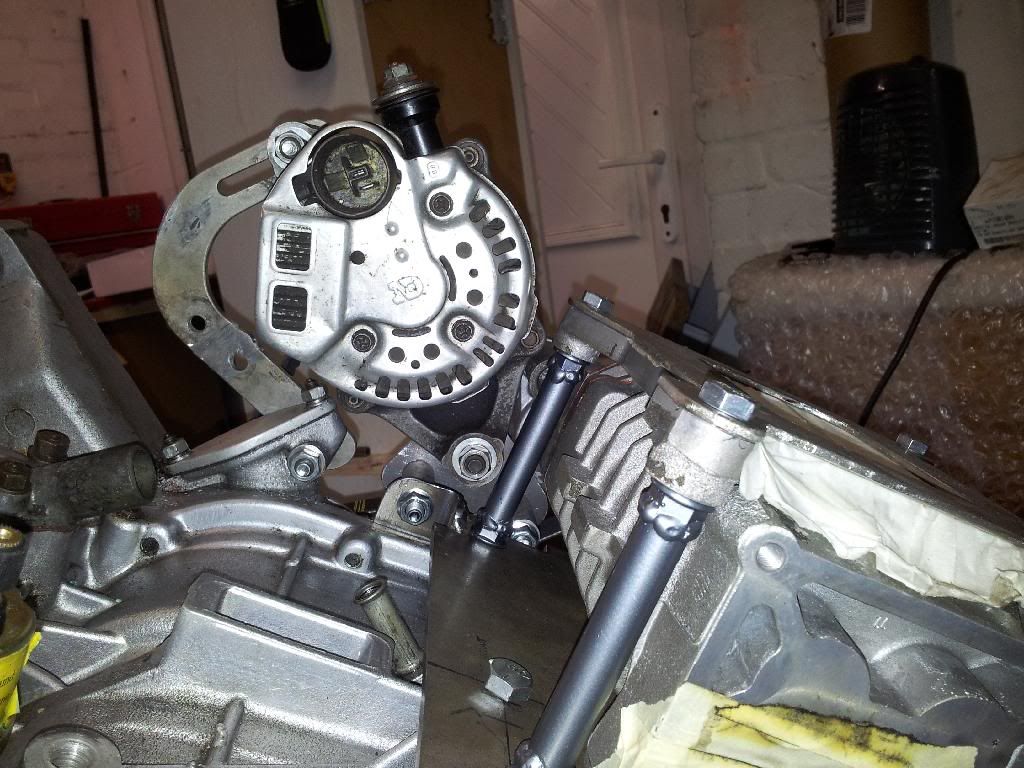 Just need to now add additional mounting to the rear of the alternator somehow as I think vibration killed the mount and front cover last time and I don't want that again now Ive just rebuilt the engine with new gaskets and gunks! Pulled the charger apart about three times tonight cutting, changing and playing with the alt! Finished by running out of paint and making the plate look pants :roll: will need to pick some more up tomorrow so I can finish up at the weekend. |
| |
|
|
|
|
|
Dec 16, 2013 23:06:16 GMT
|
Well thats the engine fully built back up, its got all new seals, gaskets chain and tensioner, been cleaned externally quickly and a new clutch for good measure, Ill grab the car at the weekend, and the re-install can begin mid week with hopefully a start up the weekend after with the charger blowing to atmos just to check engine build up and charger belt system. Then I can crack on witth making all the pipe work, inlets and outlets with bypass valve! Still a long way to go but cant wait to hear that initial start up!! 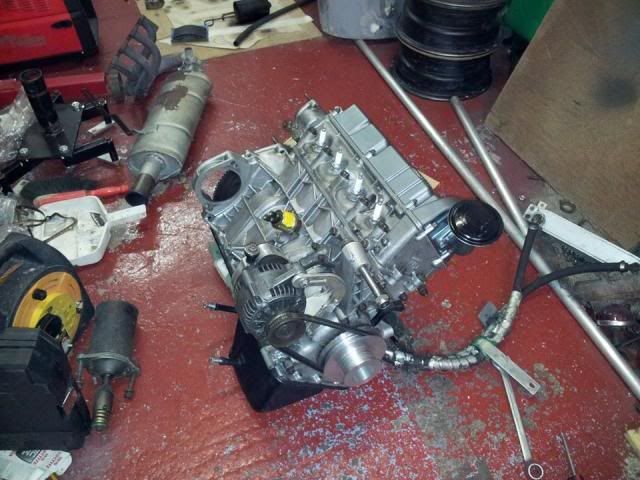 Chris |
| |
Last Edit: Dec 16, 2013 23:06:50 GMT by deadlikeme
|
|
|
|
|
|
|
|
Nice job.I really like your car, it's prompted me to have a Ginetta search on my e-bay!
I think you are going to have to gusset those posts on the supercharger mounting platform. Also, does the engine run clockwise when viewed from the pulley end, if so I personally think it would be better practice to have the tensioner on the other side of the belt run, although I do realise it's locked solid. More please!
|
| |
|
|
|
|
|
|
|
Hi. Yep your right on all cases! The plate may need additional strengthening, at the moment with the additional tab and the posts being where they are it feels very tight and secure but time will tell if it starts bowing. Issue is I don't want to add too much weight initially. Which may end up being machined from alloy in the end. The tensioner is as you say on the wrong side, this was done mearly as a look see and quick solution as it all just fell into place. If slip and premature wear happens on the belt then ill machine up a longer mount that allows the pulley to attack from underneath lol. Really time will tell with all the set up I'm fully expecting this to be version 1 of many. The turbo imp I use to run was on about version 8 then 3 attempts in one year on the Ginetta ha ha. There's also the fact that I don't actually know if it's going to even work very well, imp engines like turbos but ive never actually seen a supercharger one running in full boost anger or any performance spec's graphs etc so it is all the unknown really Oh and your also right to be searching to buy one lol  Cheers  |
| |
|
|
|
|
|
Dec 17, 2013 11:46:07 GMT
|
|
It's going to need some triangulation or it'll flex and you'll have belt problems, it'll either jump off or shred itself in short time. Sorry to bat on about it but I don't want you to be disappointed the first time you fire it up!
|
| |
|
|
|
|
|
Dec 17, 2013 12:01:32 GMT
|
|
All input is great id rather have a good start than a bad one.
So lets debate! Triangulation, looking at the angles when its in position where would you add triangular support? When I looked at adding additional angles I couldnt see the angles which would work best considering the posts under the plate aren't vertical to the charger they're vertical to the plate to allow removal.
Only 'easy' additional bracing I could see to add where some more posts at 45 degree on to the sides of the current ones onto the sump.
|
| |
|
|
|
|


