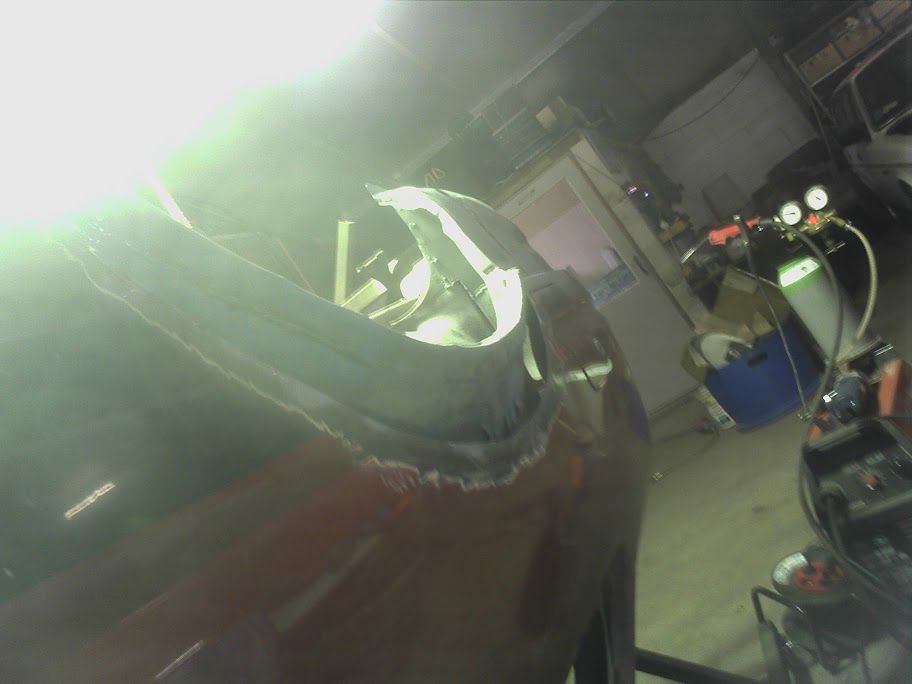
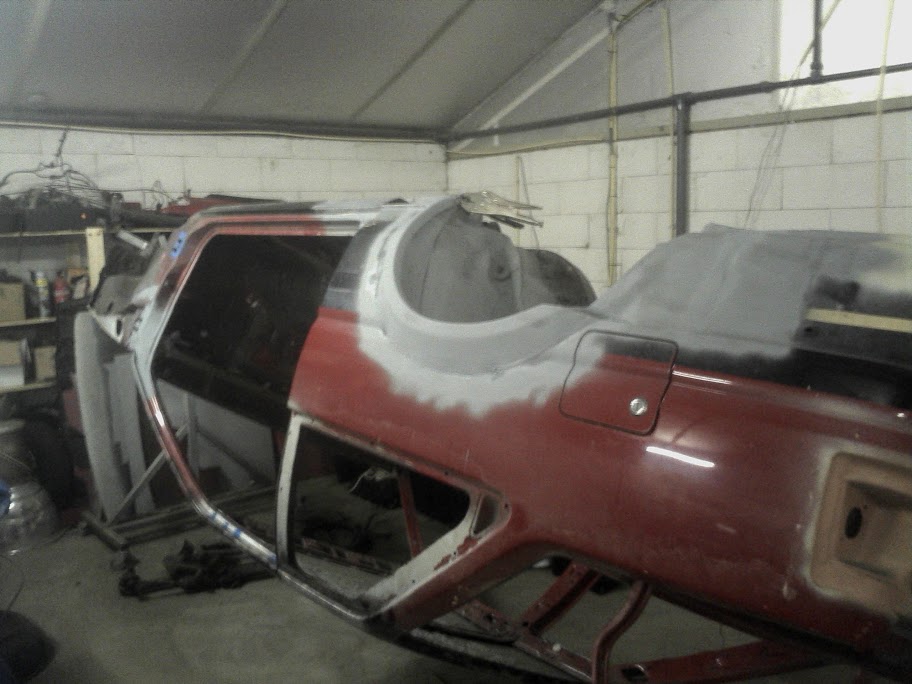
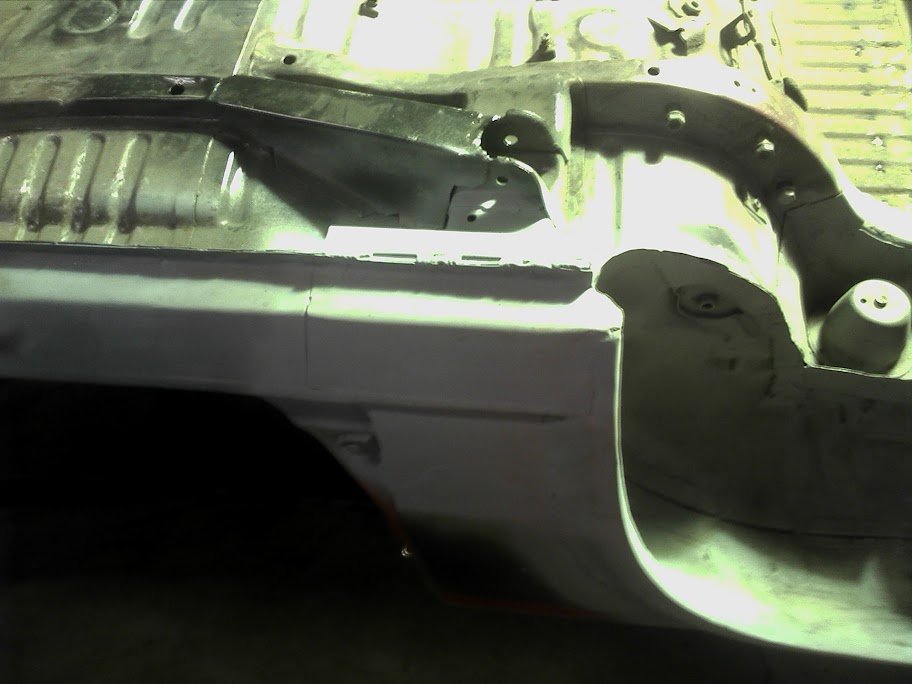
Just to keep this thread up to date, I'll blatantly copy paste my progress of the last few months in here. Enjoy

Another step closer to the end of all this welding nonsense:
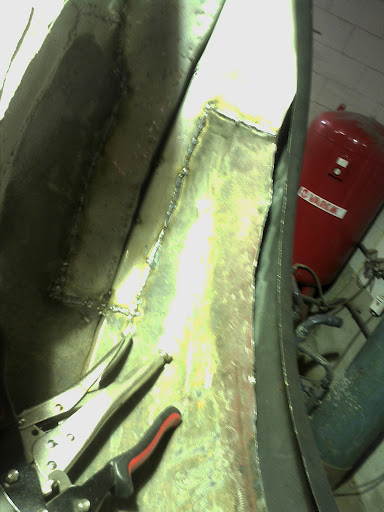
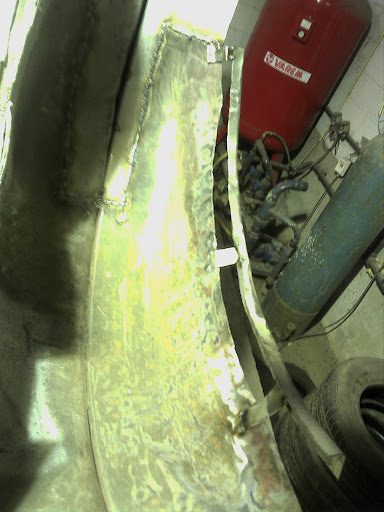
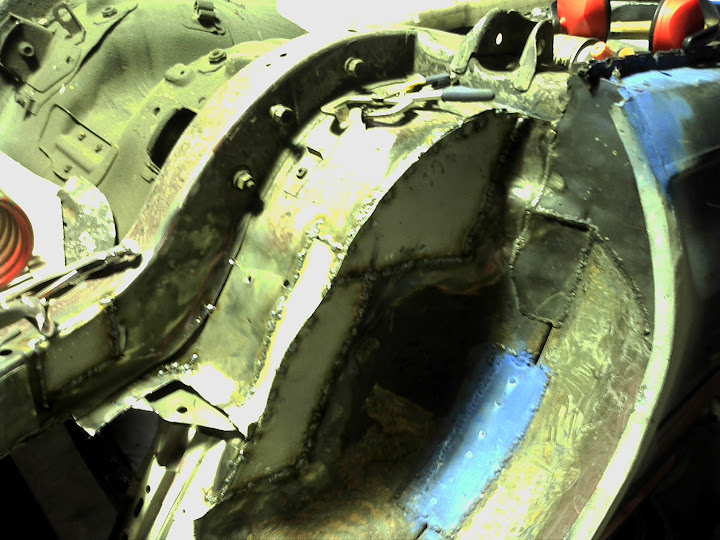
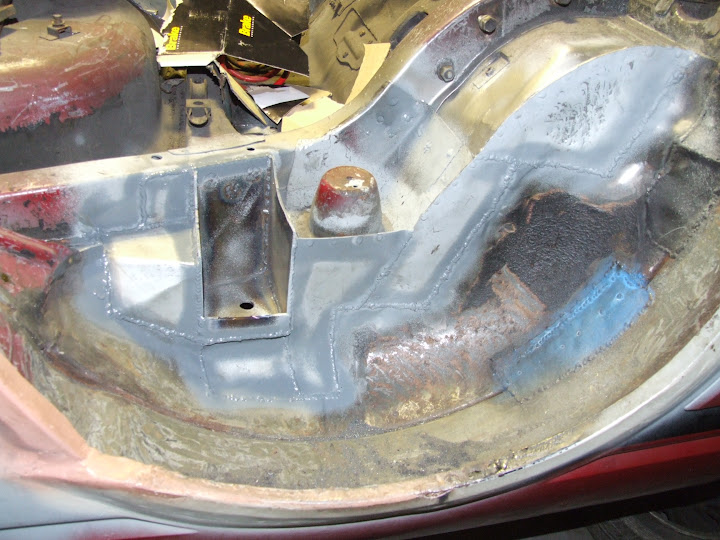
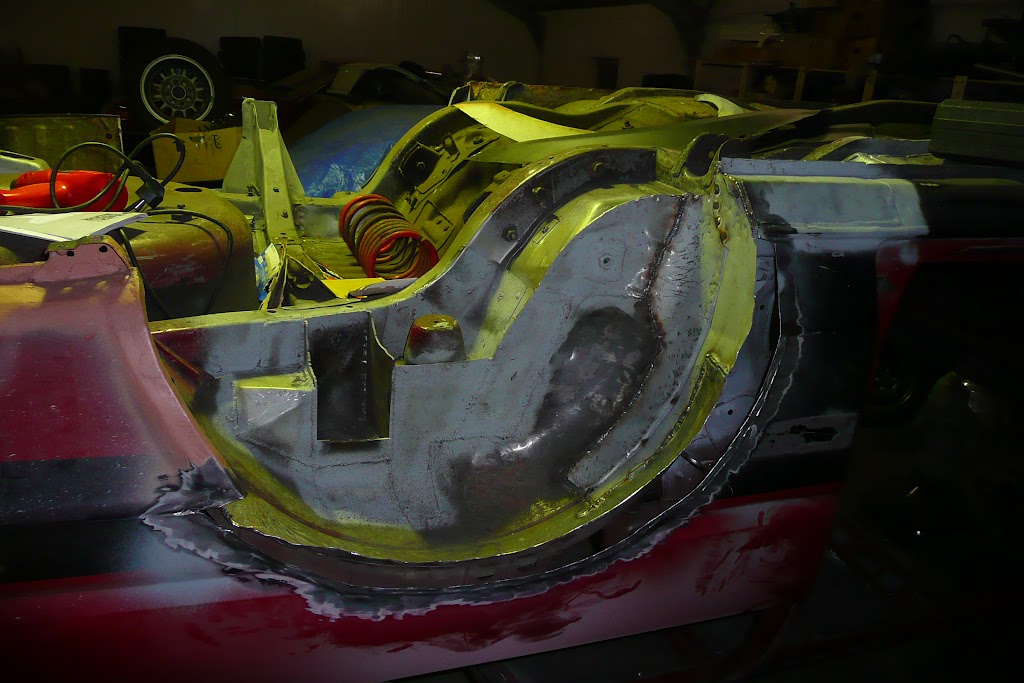
Finished the top seam of the right rear wheel well, was something I was putting off for a long time because it seemed a difficult repair. Wasn't so bad to fix as I thought luckily.
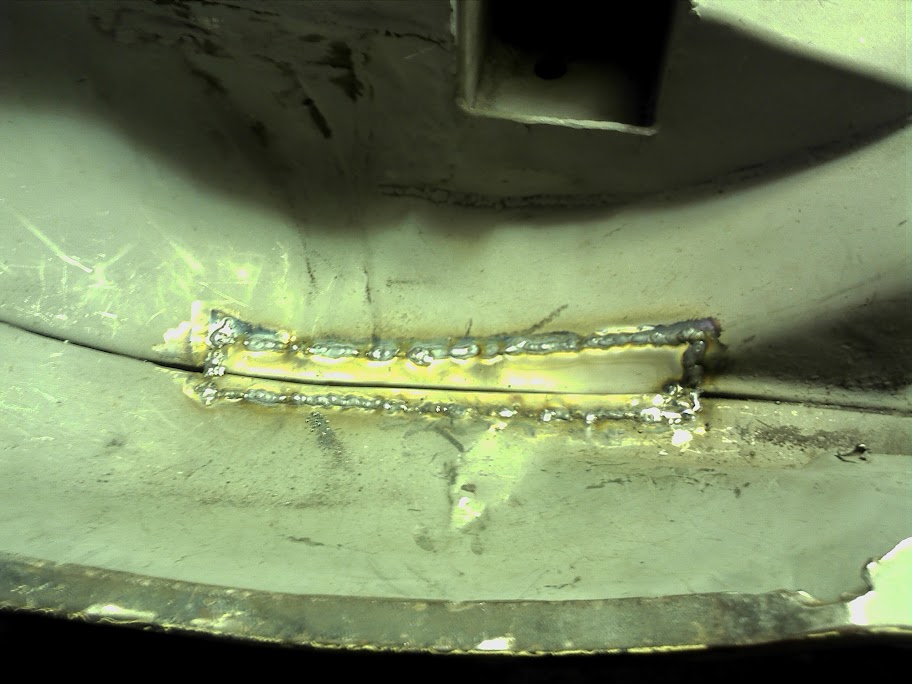


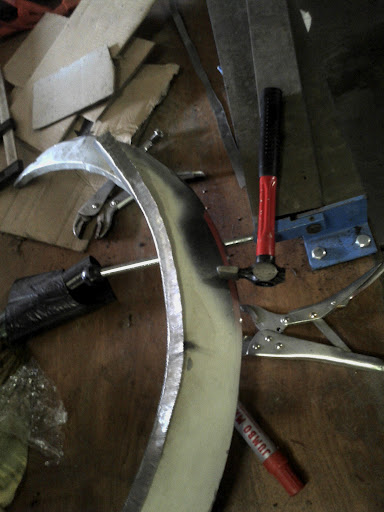
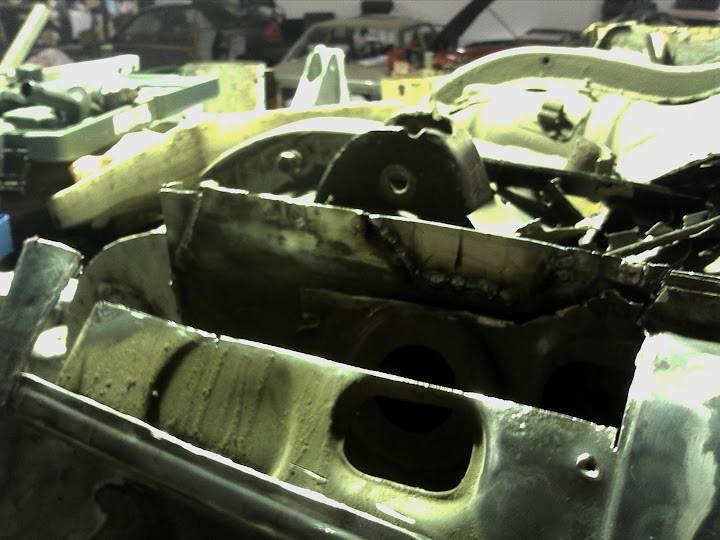
Built myself a bit of reinforcement structure between my DIY turrets.
Was a curse word of a job because I ran out of clean zincor plate to use. Had to resort to using a bit of cut up volvo 245 roof (plenty of metal there) which resulted in much time lost cleaning.
First test fit, looks like it will work:


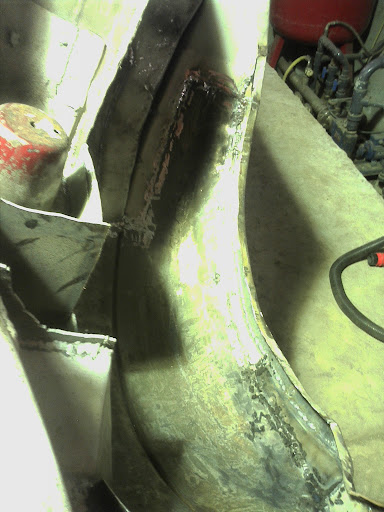
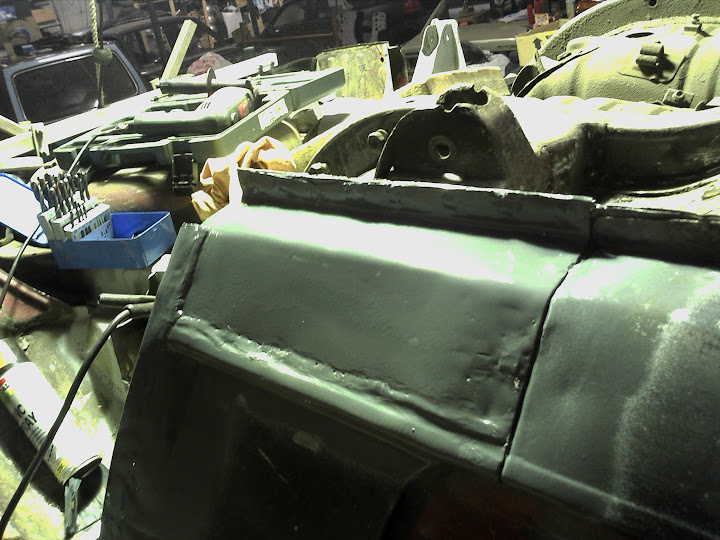
Welded up:

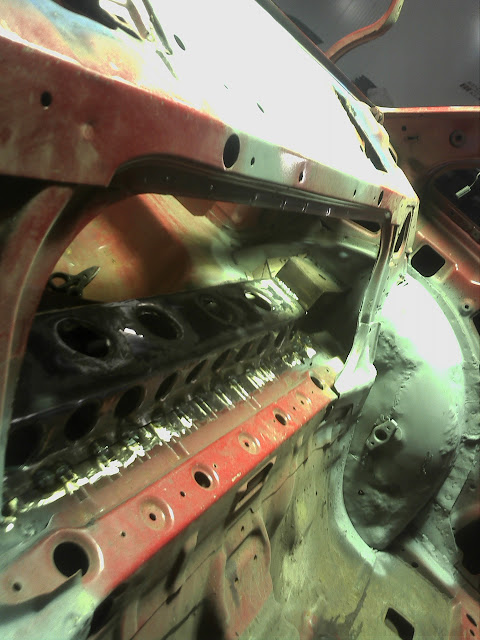
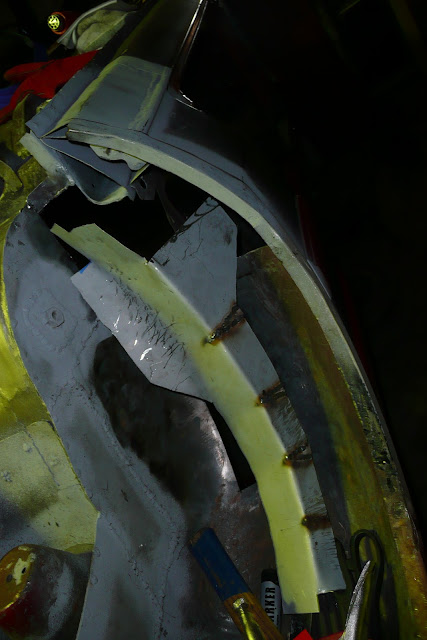
You can spot some bits of cardboard in the last pics where I will make some more gusseting to hide the ugly corners from sight a bit more. Had hoped to do those yesterday but I ended up spending the best part of 7 hours working on that single damn bit of plate. A hydraulic hole punch would be a blessing for making those flared holes.
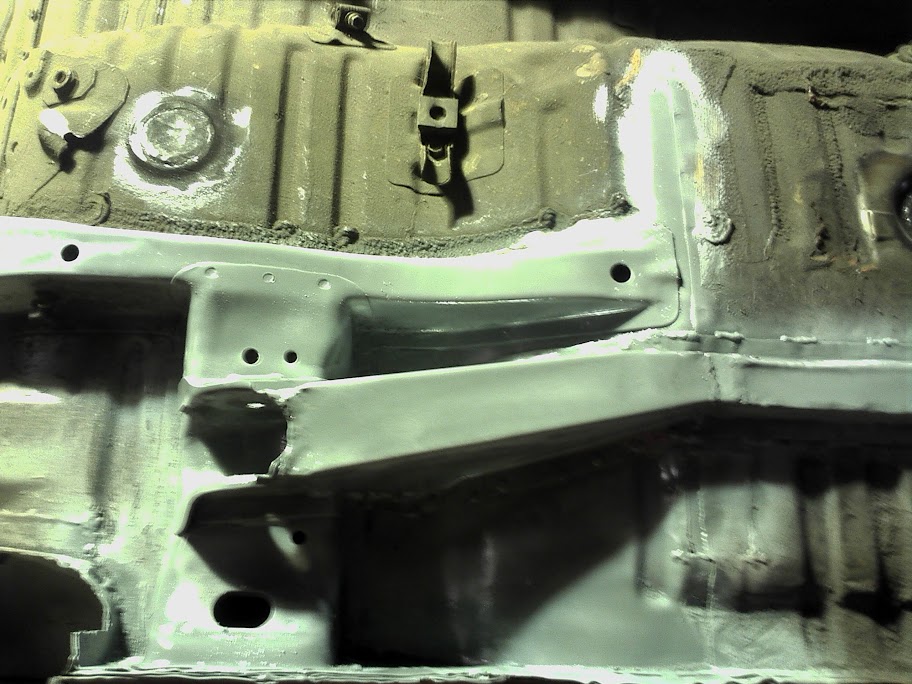
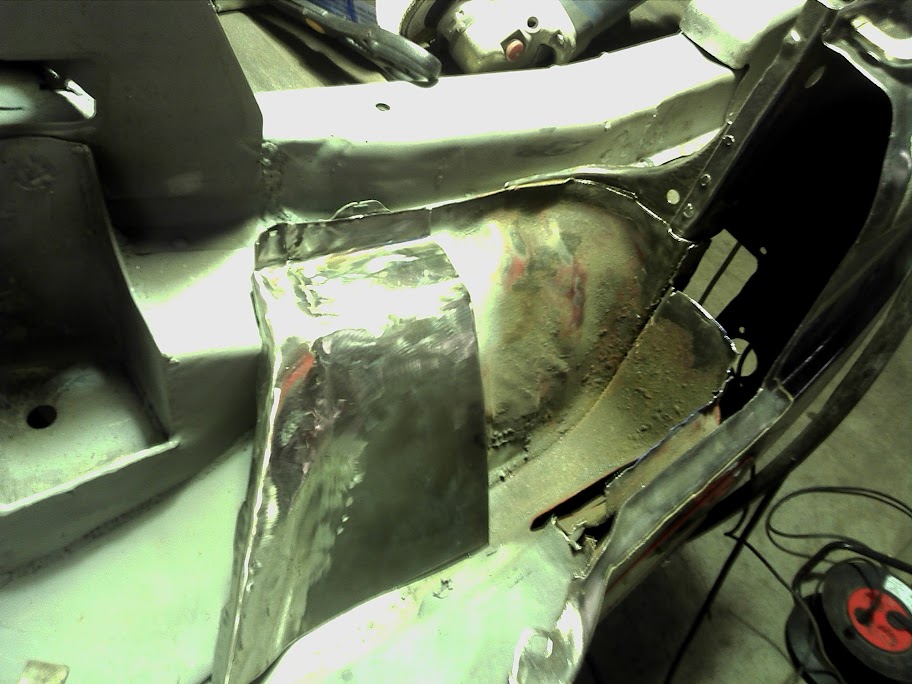
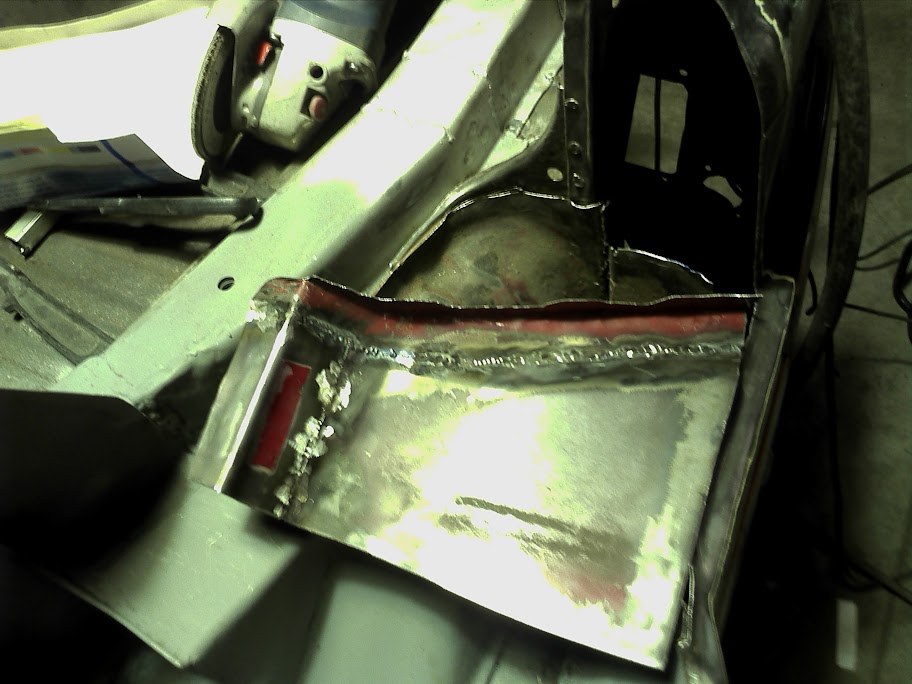
Welded some gussets to the rear reinforcement, then fixed the A-beam @ the front right of the car (typical ae86 rust area this). Took some curse word pictures to prove it.


Welding in the boot area with the car in a rotisserie is a curse word, its the only thing that's easier with the car on the floor. Hence the ugly welding.. But that will be worked over and covered up anyway.
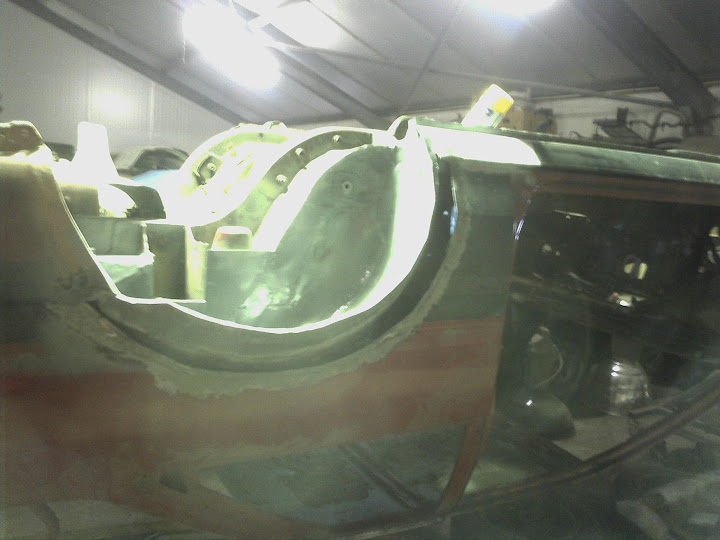
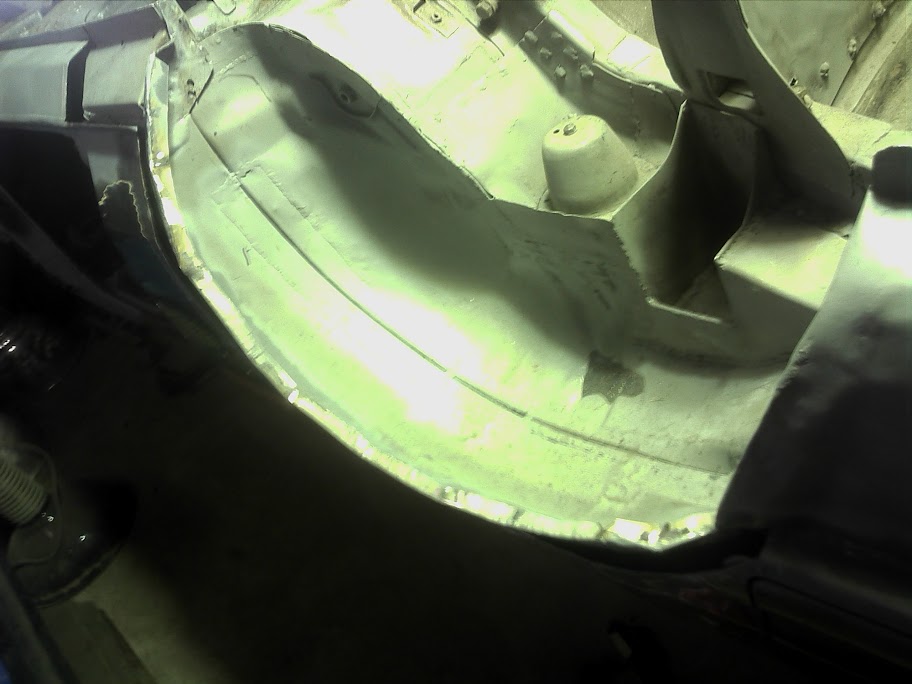
-Cut out the right rear wheelarch. It looked fine, but had to go in favor of escort arch to match the other side of the car. In the end I'm glad I cut it off because it was going to rust through within 3 years for sure.


-Rebuilt an inner pocket from scratch since there was nearly nothing left of the original.

The outer skin looked prettyer before welding, the ae86 steel I used to fabricate repairs did not respond as well to clamping as the usual 1mm zincor plate I use.
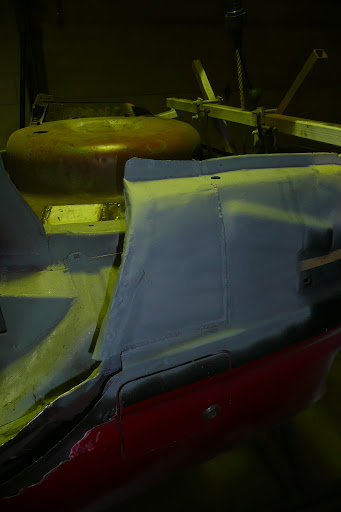
Needs some grinding, a few spotwelds on top and removal of the excess lip I left on top.
The sill on this end had been welded before (by old welding demon Bert). I thought it looked curse word and found out there was plenty of filler applied so I decided to clean it up and redo it. The Doctor said I could write my name in that layer of filler so I did:

I cleaned all the filler off after that (and ended up looking like there had been an explosion in a flour factory).
Here's the sill with the patches cut out. There where 2 of 'em.

Surprise! True to Bert's style he had left 2cm's of overlap on mildly rusted material, which has developed into a lot of really rusty material.
Admittedly, the last storage facility the car was in was very damp, so it wont have been that bad when he did this repair, but the overlap and the fact that the inner sill reinforcements where rusted away completely are unforgivable IMHO.


Cut out the cancer:
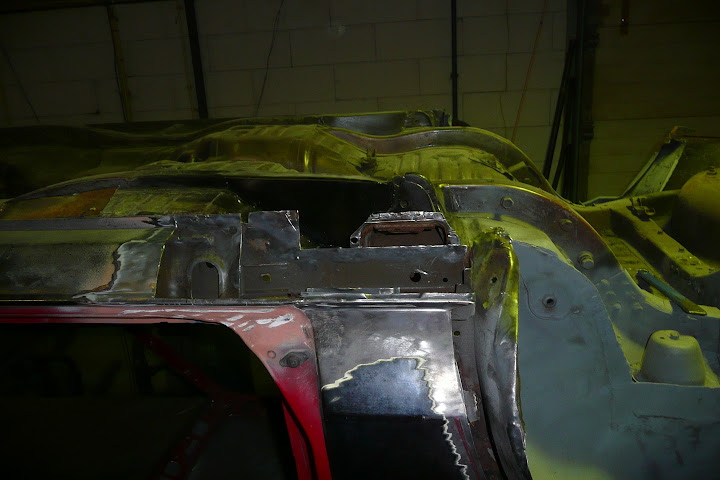

I spy with my little eye: a new arrival on my shitlist:

Ye olde fashioned restoration business:


Then I was back to 3 layers of sill on the seam (there should be 4 including the outer skin).

After that I got a little pedantic about the sill repair and decided to redo it like it came from the factory: with an overlap seam at the end where it joins the bottom of the quarter panel. This might be more rust sensitive and I'll probably filler over it anyway, but it's just the neater way to do things.

I bashed the little step in the skin a bit crooked so had to redo half of it, but this should look nice with just a slight skim of filler.
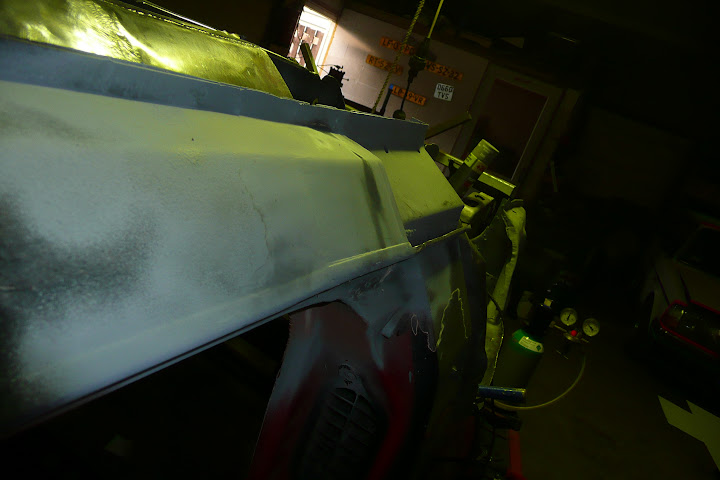
Then I spotted another bit of misery out of the corner of my eye!

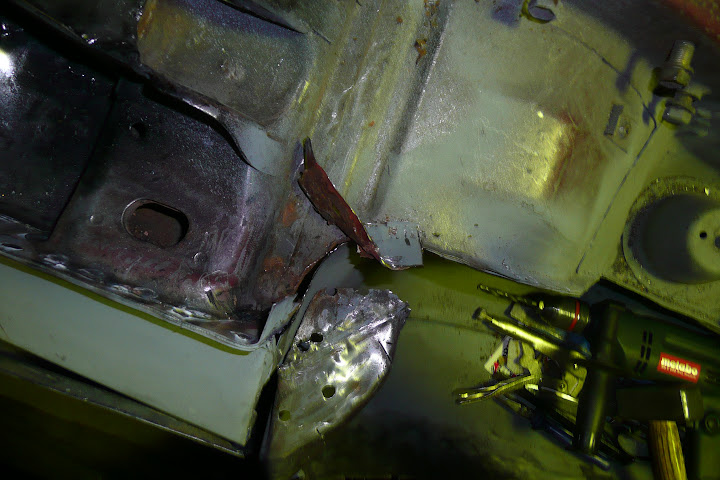
Fixed it up quick so it wont bother me when I'm back from vacation:


Next time I'm cutting out the old repairs to the front of this wheel well which looked fine to me up till yesterday. Turns out the rust from the inside lip was not removed neatly or completely, creating a nasty source of rust where I really don't want it. After that I need to make an inner lip to match the escort arch and weld everything back together. The last bit of sill will follow when the arch is in.
This all proves to me the age old saying:
Want something done right: do it yourself.
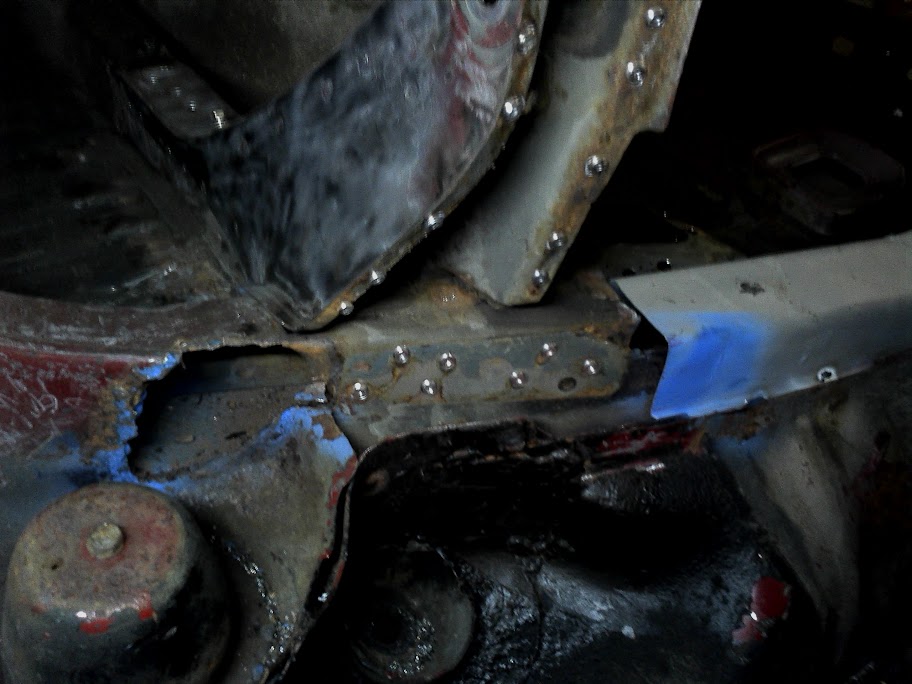
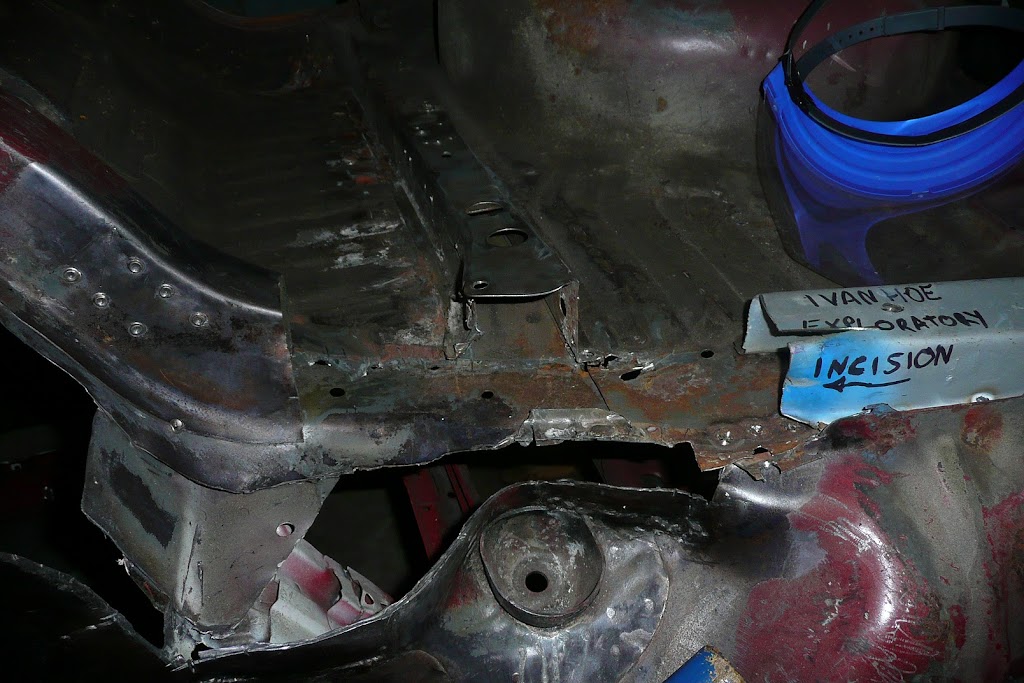
Took care of some hidden rust I found lurking underneath one of Bert's earler repairs today.
Made a little hole:
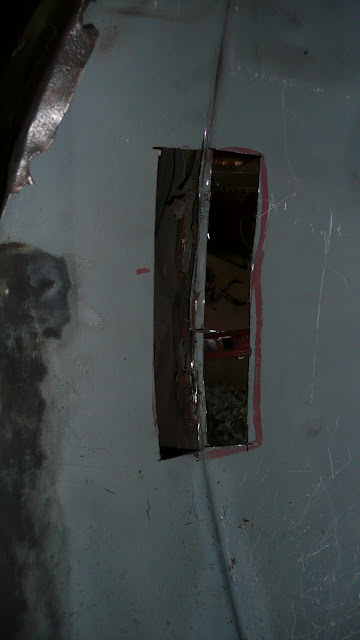
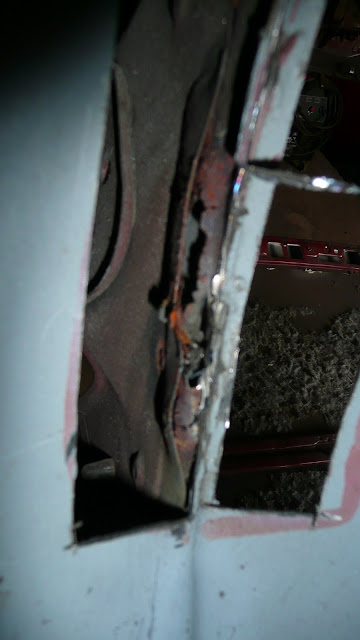
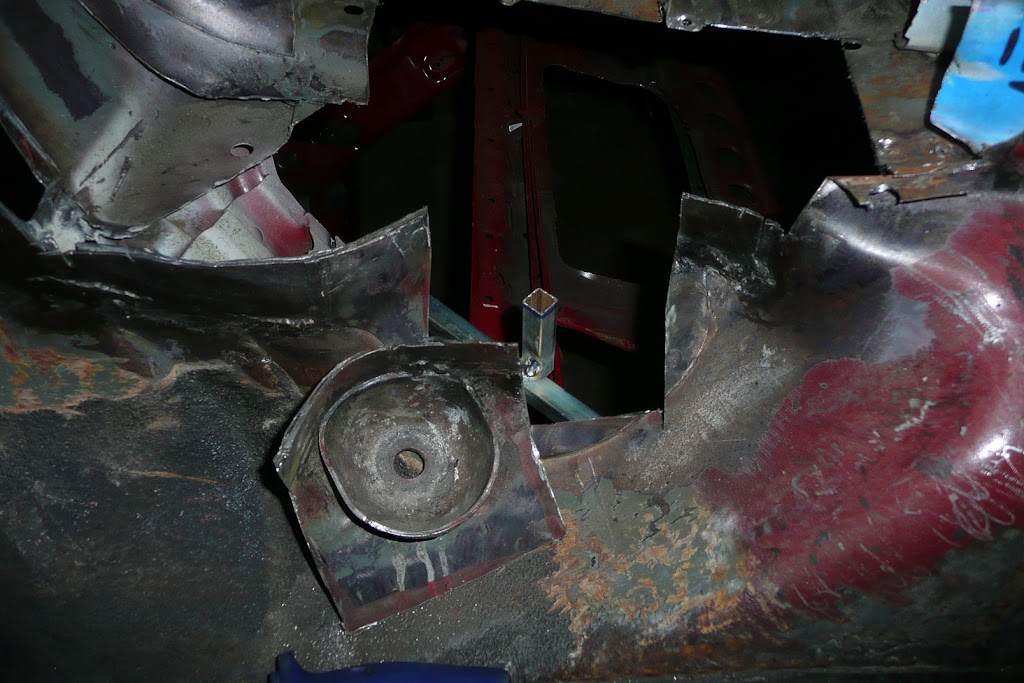
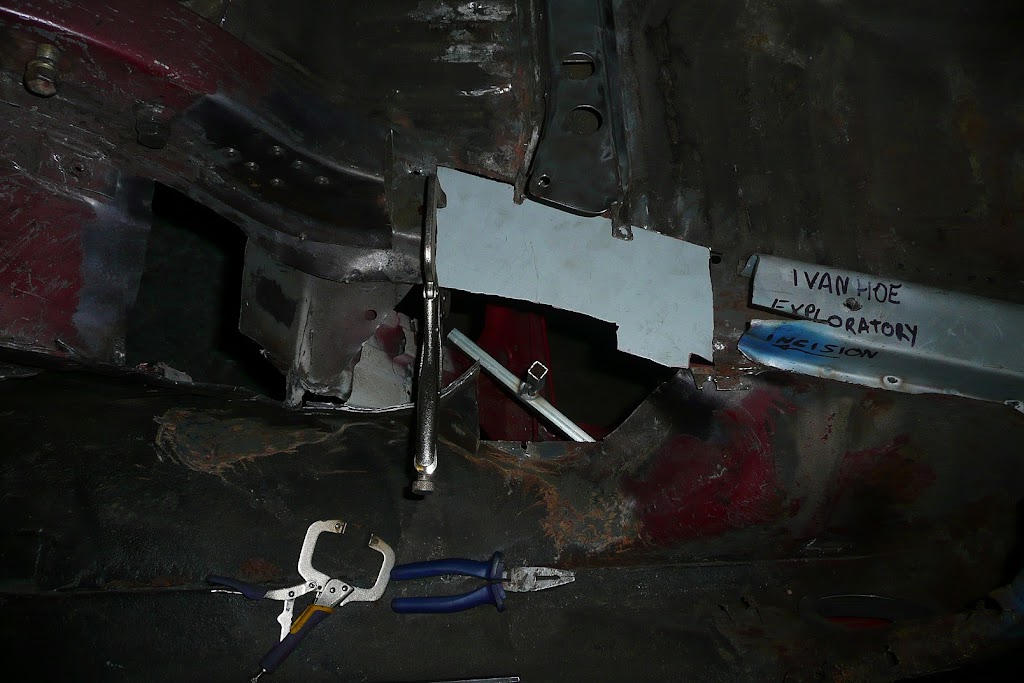
Made it a little bigger after seeing the state of the center seam of the wheelwell.
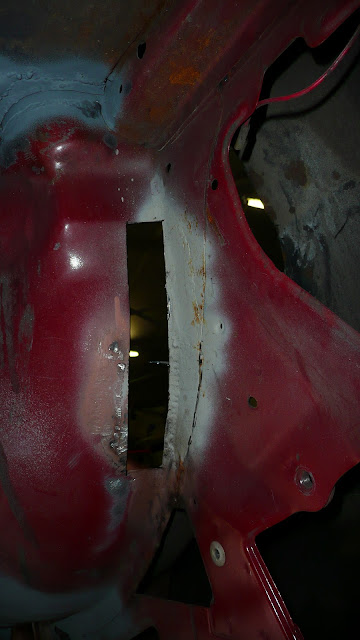

First repair ( folded and then curved manually with a stretching hammer):


Second part, same story:


Bit of zinkspray on it to keep rust at bay for the time being:


Last bits of rust to tackle:
-A weird spot behind the pedals.. must have something to do with something Bert did there, since it's right behind the reinforcement gussets he welded in.

-Right rear chassis beam is bulging a bit from rust that cannot be seen. Will fix that once the car comes out of the rotisserie.
Getting there...


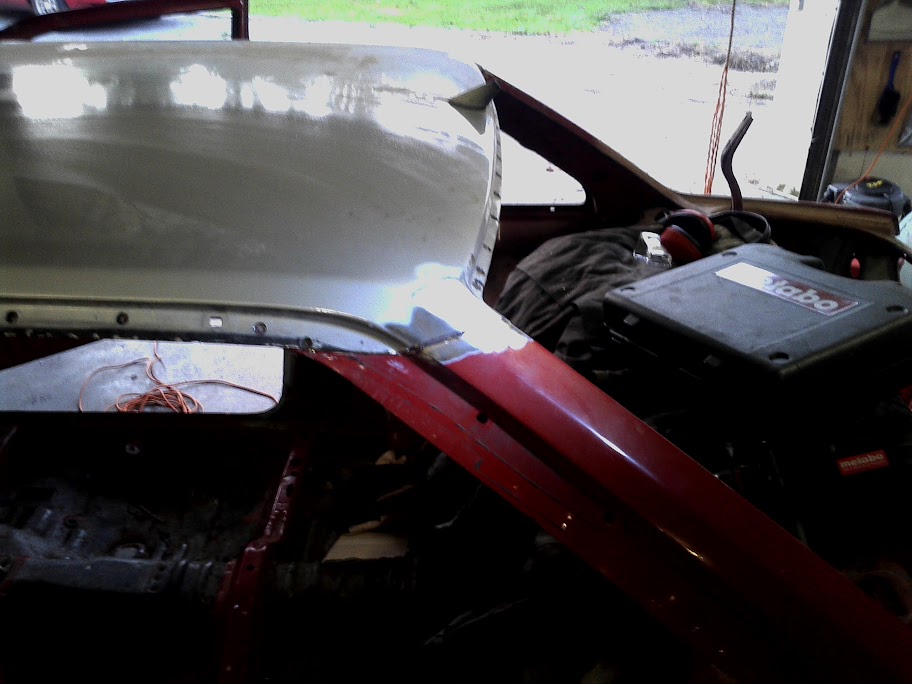


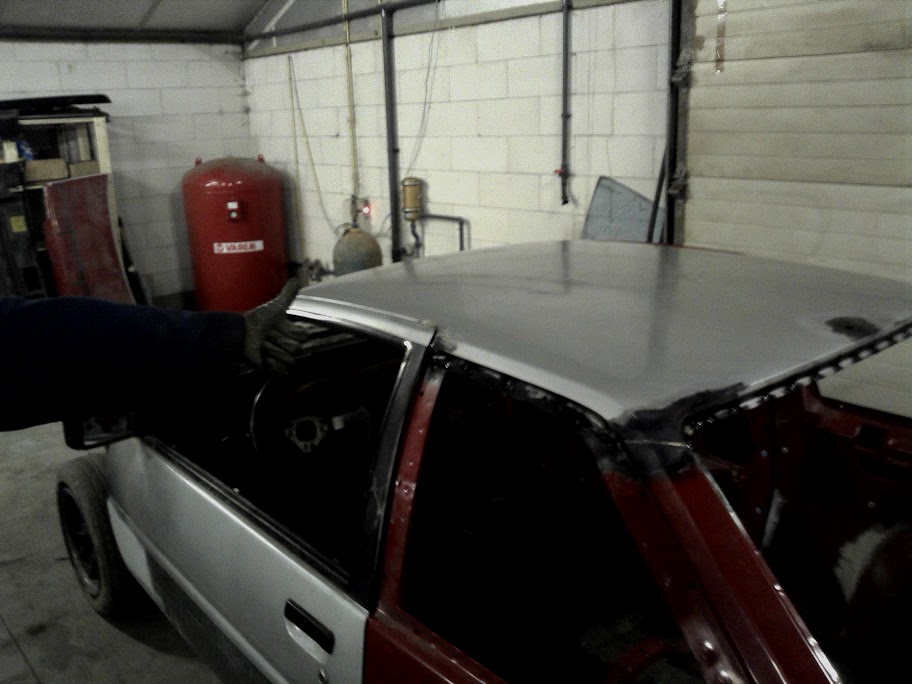


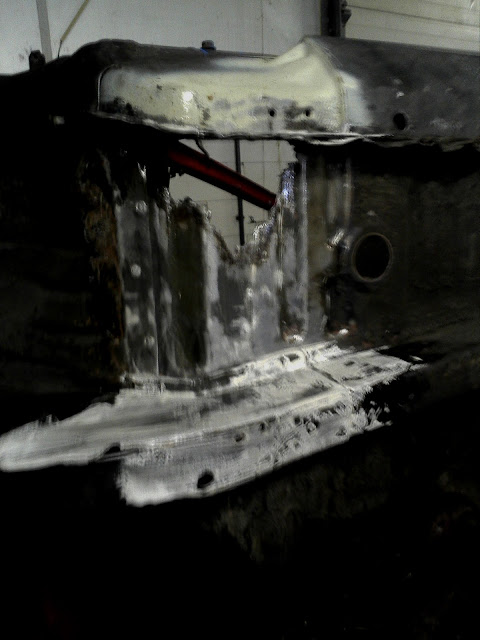


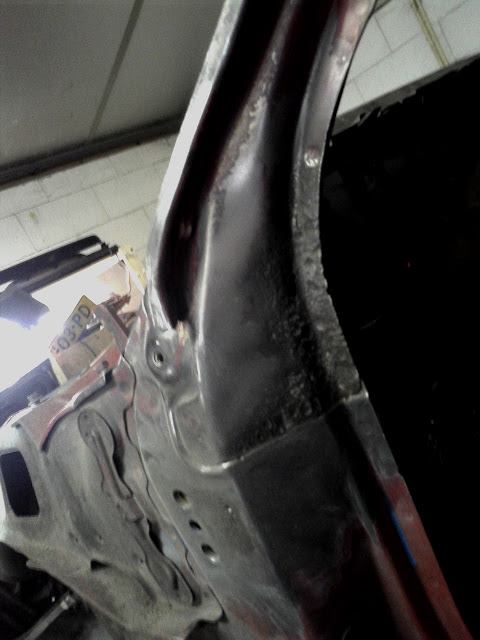



















 but its my J rust dammit!
