|
|
|
Oct 14, 2012 20:16:15 GMT
|
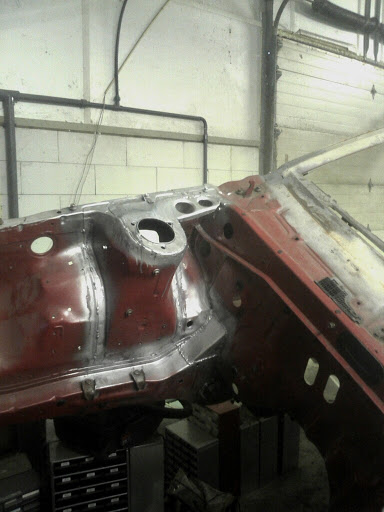
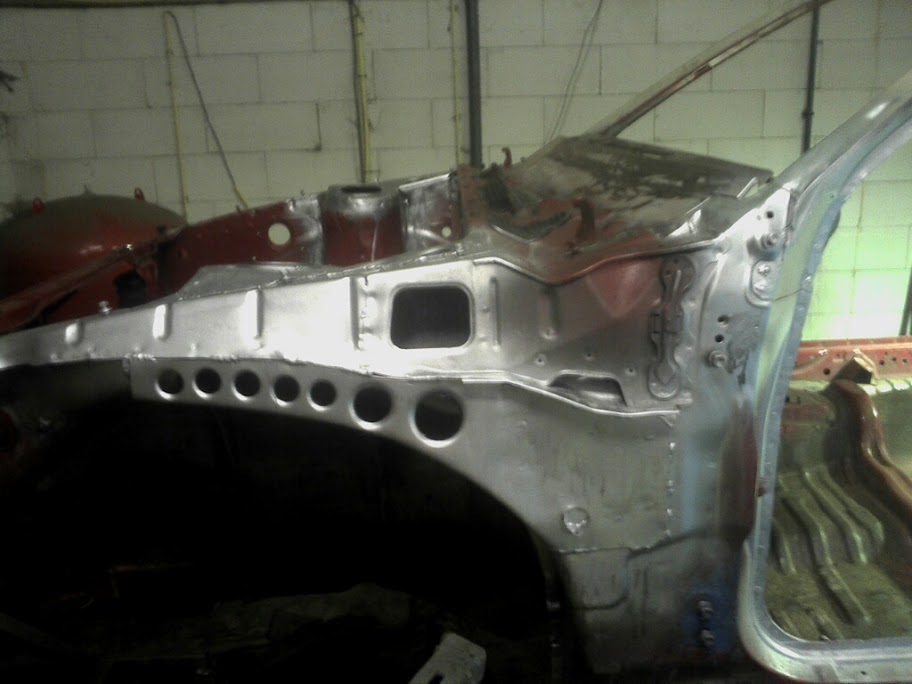
Time for the latest episode in my painstakingly slow resto: Bashed the front sill seams back in shape and removed the factory jack reinforcement brackets. Turns out there was rust lingering beneath those on both sides, so I patched that up.  Penetration (yes yes):  Made me some sturdy platforms and welded them in:   All in all an easy job to weld, but about 3 hours just to clean those 2 bits of the floorpan (very irregular shapes make for difficult scraping). Just realised I will need to modify the on-board jack, or the jacking points to work with eachother. Otherwise I'm fooked in case of a roadside problem. Thought this little spot could be patched up in an hour:  I was wrong. Rust had gotten into the seems apparently, and my old welding geezer had not done a neat job of fixing it up before he welded gussets in. Was a b*tch to get the gussets out, and I ended up with a big old exploratory incision. 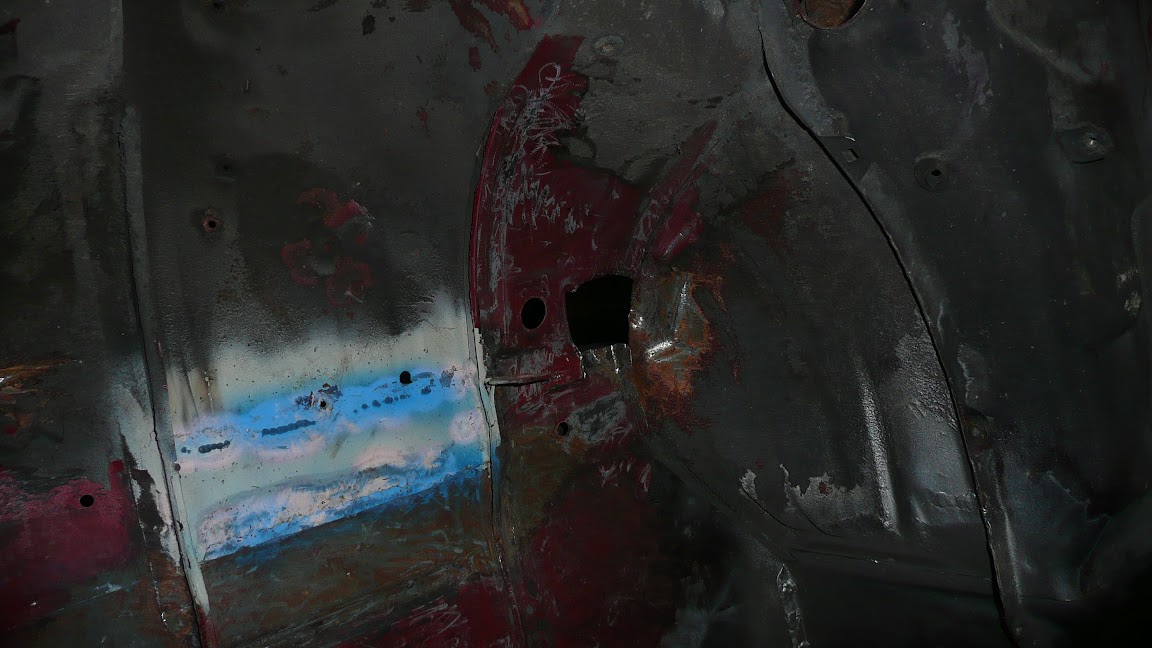 Where I would least want it with the car in the rotisserie:  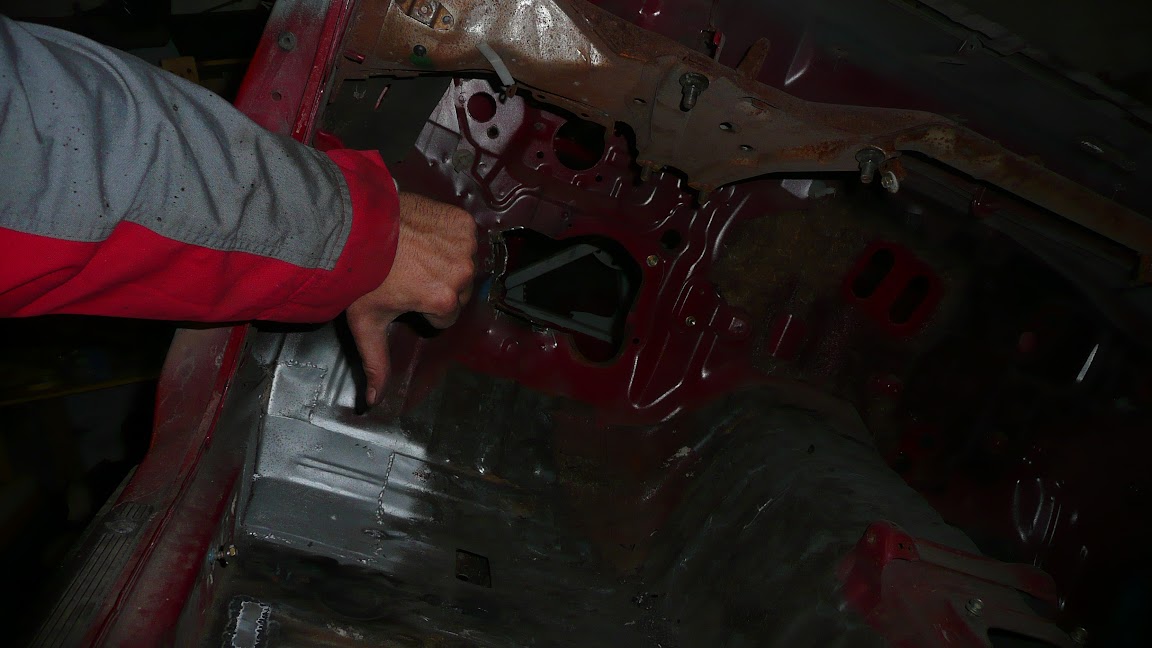 It'll be patched up in the next garage session I'm sure. |
| |
|
|
|
|
|
|
|
Oct 20, 2012 19:32:17 GMT
|
|
|
| |
|
|
The Doctor
Club Retro Rides Member
Posts: 3,449
Club RR Member Number: 48
|
|
Oct 20, 2012 22:12:59 GMT
|
i had a quick looksie when i was in the barn this evening, but it looks very good again Ivan!  |
| |
|
|
|
|
|
Mar 23, 2013 22:20:46 GMT
|
|
|
| |
|
|
79cord
Posted a lot
  
Posts: 2,617
|
|
Mar 24, 2013 12:00:40 GMT
|
|
Very interesting to see such reinforcements to the structure and how it was put together.
|
| |
|
|
|
|
|
Mar 24, 2013 12:34:49 GMT
|
|
Mostly just taking a page from Keichi Tsuchiya's 'book' of modifications.
The supports under the seat area fill in an area where the chassis beams are very shallow, so should offer
some improvement.
The front chassis leg supports I made yesterday should hopefully add some stiffness to the front, yet stay
relatively lightweight.
The rear has all kinds of funky stuff going on, none of which the ae86's maker ever intended, that's mostly due
to 1/3 off the rear having been rusted through and me replacing it with whatever my imagination had on offer.
The gist of it is that '86 chassis are floppy things, especially after so many years. I hope to get it nice and firm without having too much visible reinforcement beams everywhere. It's getting back a full interior when it's done.
|
| |
|
|
pabblo
Part of things
 
Posts: 435
|
|
Mar 24, 2013 14:48:17 GMT
|
|
Excellent work on this and nice one for having the bottle to get stuck in yourself. Wish I had a bit more courage to have a go at more car repairs like this. Good idea on the strengthend jacking points always have to go round and touch up the paintwork whenever my cars go in the garage as they always scratch the paint even with the rubber feet on the them.
|
| |
|
|
|
|
|
|
|
|
Got a lot of time for this! Really would like to own one but they're so so expensive
|
| |
|
|
|
|
|
|
|
|
Bang up job! Awesome, and I can appreciate the effort and willpower it takes to tackle every small bit of rust you see properly!
|
| |
|
|
|
|
|
|
|
Great effort! Keep at it  |
| |
|
|
|
|
|
|
|
Mar 27, 2013 10:14:40 GMT
|
|
Thanks! My motivation is slowly but surely picking up again (it was in the gutter earlier this year due to me moving house).
Been staring at some Opera Performance chassis builds and have a head full of great ideas for adding chassis rigidity beyond the good, but not entirely new, tsuchiya mod's.
|
| |
|
|
|
|
|
Mar 30, 2013 21:45:20 GMT
|
Keeping at it: Thought I would get a lot more done today than I did last time, but I was mistaken. Oh well. Spent the better part of 2 hours cleaning up the wheel well before I could start welding. The ruddy brown undercoating Toyota applied inside the wheel wells is very hard to get rid off. Found a severely surface-rusted bit of steel lurking beneath a crunchy bit of undercoating, so I cut it out and patched that up first (no pics because boring) After that, I made a start with the right front reinforcement, this time added an inner one to start with:  After that, I built the outer using the template I made for the other side. Off course I forgot I added a lip to the other one (not on the template), so I ended up having to weld one to it afterward.  I also took the time to make 2 internal gussets to really stiffen things up. As you can see they are U-shaped, this is a must because the wiring loom still has to fit through there.  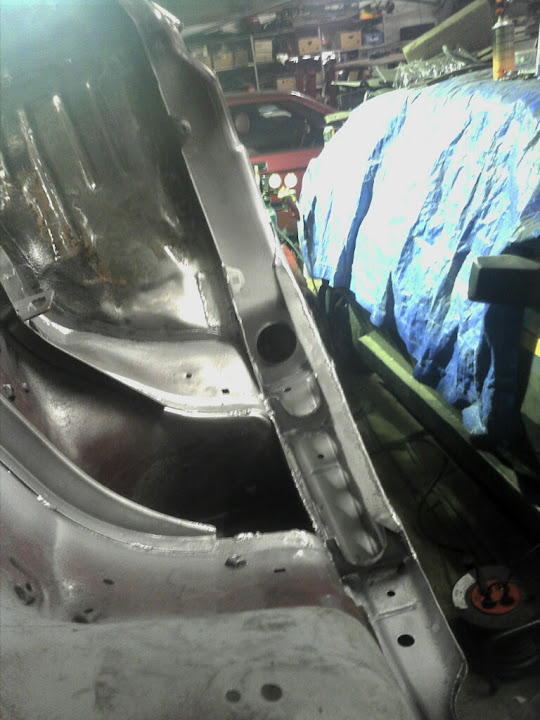 By this time I was ready to go home, after a failed attempt at making a stiffening piece for the roof to B-pillar section, but I pushed myself to at least do the spot-welding to the door seams.  Next time I'll be trying to retrofit the new gussets to the front reinforcement I built last week, doing some spot-welding around the rear window, left rear side window, and probably a whole lot of cleaning up again, in preparation for it's eventual sandblasting. I'm a bit plagued by the idea of making some additional plating around the roof to A & B pillar sections of the car, after seeing it done on some Opera Performance chassis' (my shining example), but it's really hard to create the complex shapes needed from a single piece of steel. I'll probably just have to weld it together from easier smaller sections. |
| |
|
|
|
|
|
|
|
Another boring update (for those rare types who dig this kind of work). Retrofitted the left front reinforcement with an inner plate and 2 bulkheads to make the reinforcement actually stiff (why not..).  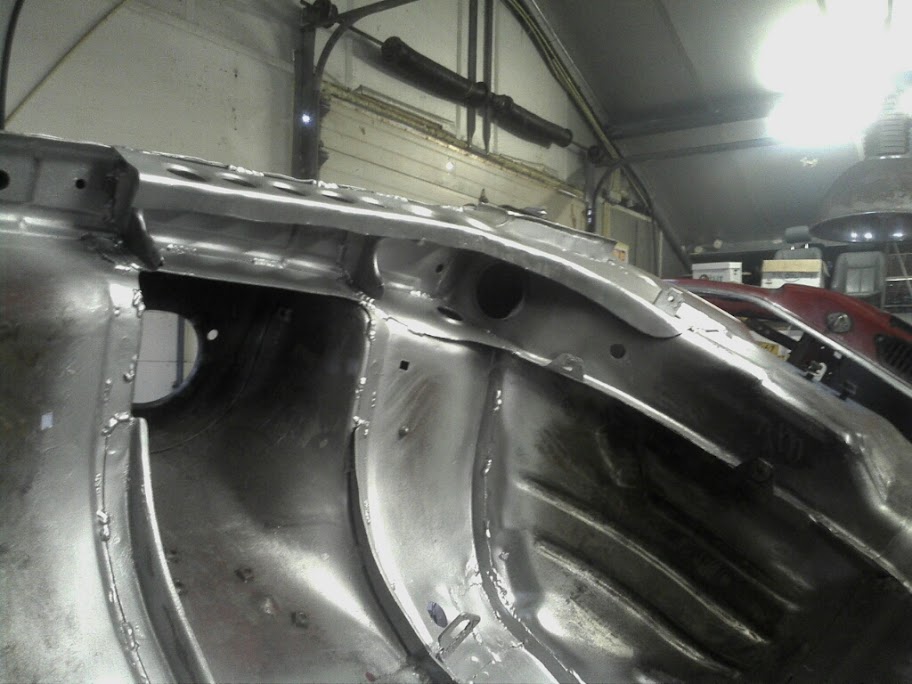 Close-up of the doubled-over lip of the bulkheads where the wiring loom fits through. Wouldn't want my precious wires getting damaged now would I.  Got to work on a blue-painted patch on the bottom door hinge area. Blue paint is what I used to mark problem areas 1,5 years ago when I started this crazy build. It's a well known rust area to many of us 86 owners, lucky for me the rust was only superficial pitting, 3 pits went all the way through, no rust on the inside yet. The first one I didnt get the shape quite right, but I cant be bothered:   T'other side was a lot better shape wise, only forgot to take a picture after grinding and painting.  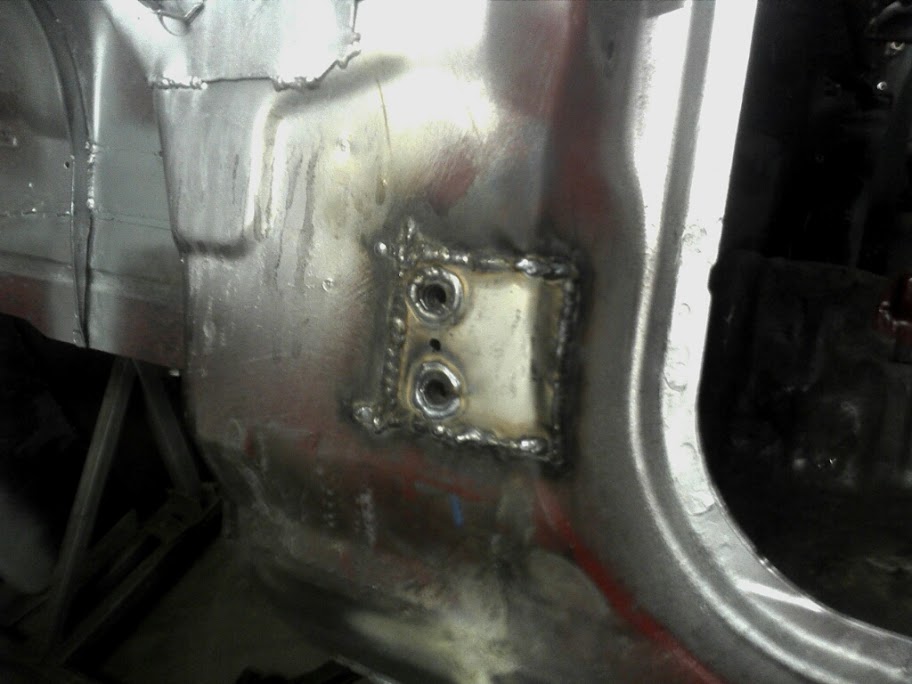 Managed to plate over the top of the B pillar to roof area in search for more rigidity. Overkill? Maybe, but I figured what the hell, in for a penny, in for a pound.  |
| |
Last Edit: Apr 6, 2013 19:21:31 GMT by ivan141
|
|
thesam
Part of things
 
Posts: 111
|
|
|
|
an incredible amount of work you are putting in  Do you have a target date for completion? What do your further plans include? respray? engine build? |
| |
|
|
|
|
|
|
|
|
A target date is a hell of a thing to set for a project that has dragged on for so long (I took this off the road in 2007, but only started really working on it about 1,5-2 years ago).
I do have some targets for it this year though.
-Blasting, zinc coating and epoxy primer before summer vacation.
-Bodywork during summer (pending SportKlassiek lockups resident bodywork guy Dennis' availability).
-If everything works out, it might see paint this year. OEM red-black two tone (angry panda), but using a nicer shade of red.
No big plans engine wise so far. I'm thinking of either slapping together my old bluetop 4age with cheap
ebay parts (already have them). This is not the nicest option, includes US 9.4 compression pistons, as opposed to the euro 10.1 items it came with from the factory (broken ringlands ended that engine).
I can also try to get my hands on some 10.3 smallport pistons and see if they will fit my last running 4age, which is of the 7-rob bigport variety which should feature the bigger wristpins needed for those pistons.
I'm not investing lots of money in engine parts anytime soon.
Do plan a full interior, mostly black, but will see how far I get budget wise.
If it's painted this year, I might be tempted to slap it together with stock parts and see if I can make RR2014 with it.
|
| |
|
|
|
|
|
Apr 14, 2013 17:00:22 GMT
|
Okay, short update. Was at the lockup yesterday, slapping together a turbo engine for my volvo for a change, when I decided a day in the garage is not complete without some welding and grinding. As always, the 86 delivers. If you look carefully at the top door hinge location in this old picture, you'll see a pinhole where the metal is rusted through:  That was enough to annoy me, so I decided to grind that little bit out, and I did. As so many times before, the state of the metal on the inside shocked me, the whole back side was thoroughly pitted by rust, and the little bit I'd taken off wasnt the end of it. So I cut out some more untill I got the worst of it:   Going further than this was near impossible without removing other bits, but the rust wasn't bad enough beyond this point to warrant such a setback. Cleaned up and zinc sprayed:   All patched up. The ugly holes are an eyesore, but It really is difficult to drill neat holes this big in thin sheet metal (here's me remembering I have a step drill (christmas tree) for just that purpose... doh..). There's going to be a door hinge over those holes anyway, so I don't care to much.  |
| |
|
|
|
|
|
Feb 24, 2021 21:19:48 GMT
|
Yikes... last post 2012. Still not nearly finished. Try not to cry...cry a LOT. Much has happened, life changes, but I'm not giving up anytime soon. Here's where this is at as of today (copy paste off other forum): After complaining about the cold weather since basically christmas we finally got some warmer temperatures (only about a 30 deg.C rise in a week). I decided to take the day off and make the pilgrimage to the shed to get some shipoopie done. The raptor liner hadnt quite warmed up as much as the weather had, so I chucked the bottles in hot water to get the stuff a bit less gooey. 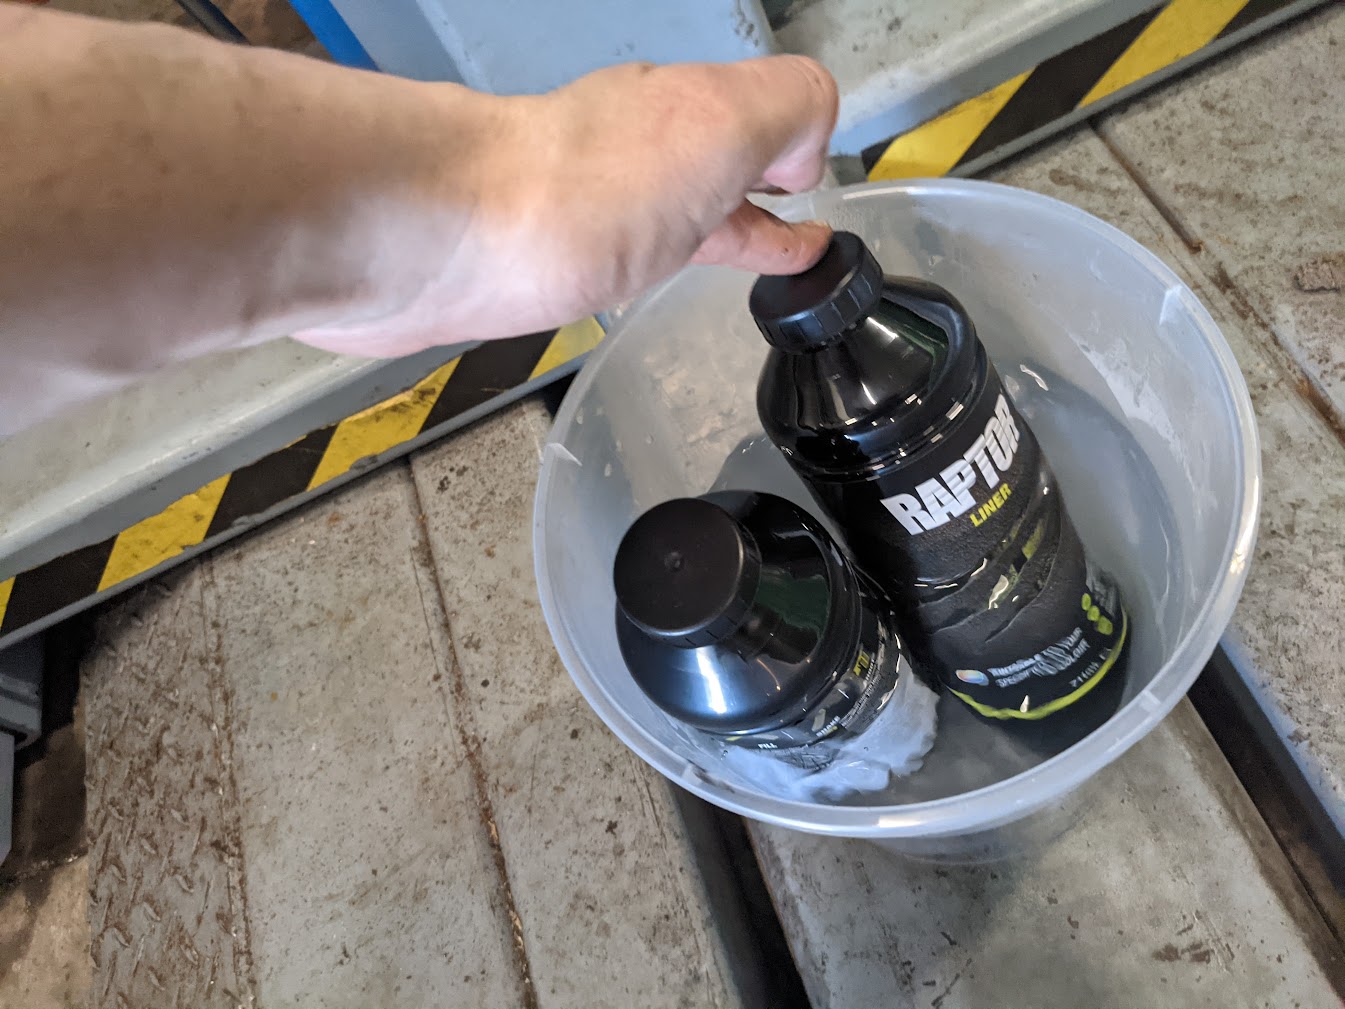 Health and safety advice kids: 2k products with isocyanate hardeners are potentially lethal, so protect yourself. I built this little contraption to supply me with breathable outside air. Basically a 1700W vacuum cleaner pump strapped to a HEPA filter, connected to a modified snorkelmask with a 3d printed adapter. This thing chooches away outside, far away from me and the polluted air.  First 3 bottles went on the underbody through a 'schultz' gun (silly americanized name that sounds like a crappy translation of the german schutz). This gives it some texture, which I don't mind as it camouflages my patchwork body a bit.     I like this shot a lot: (note the new LED tube lighting I installed last saturday.. SUCH an improvement, can recommend the upgrade if you still have TL).  Hit the back panel as well since it sits out of sight and likes to rust.  The engine bay was shot with an HVLP primer gun (2mm) to get as flat of a surface finish as possible. I intentionally masked off the top part, it will be shot with regular paint to avoid my chassis nr from filling in by accident. 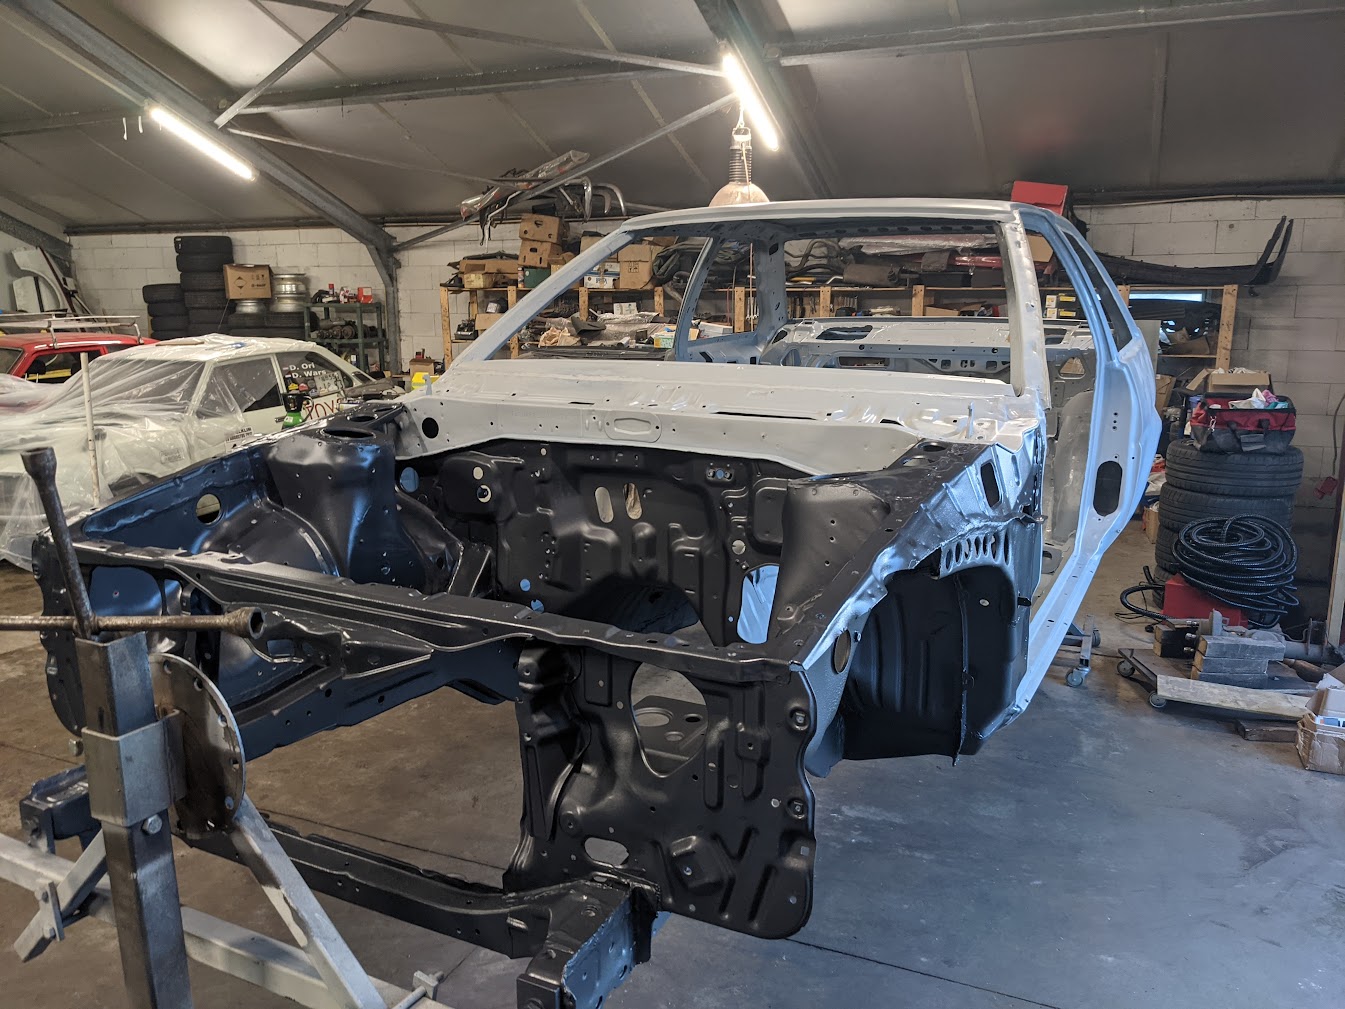  I think I'm going to order up another batch of Raptor liner to do the inside with.. I like the finish with the HVLP gun and it will also act like sound deadening. Weight saving is not a priority. Will need a new HVLP gun though, wrecked my brand new one while taking it apart for cleaning...FML. Lucky it was not an expensive one. |
| |
|
|
75swb
Beta Tester
Posts: 1,052
Club RR Member Number: 181
|
|
Feb 24, 2021 22:40:48 GMT
|
|
Holy thread resurrection batman! Great to see this back. I read it as a lurker the first time round (when I should probably have been working) and great to reread. The amount of work you've done is immense, and it'll be one cool car when you're done!
|
| |
|
|
|
|
|
|
|
Shot the interior yesterday:    I used 2 bottles of Raptor, tinted, thinned and applied with a new 2.5mm spraygun. |
| |
|
|
ChrisT
Club Retro Rides Member
Posts: 1,670
Club RR Member Number: 225
|
|
|
|
|
Glad to see work has progressed on this. Very nice project, great work.
|
| |
|
|
|
|


