820
South East
Posts: 793
|
|
|
|
|
|
| |
Last Edit: Jun 2, 2022 20:27:24 GMT by 820
|
|
|
|
|
|
|
|
|
|
|
|
one thing i have noticed (here we go again) on the cast manifolds are slots to the bolt holes, presumably to relive a bit of stress as it shuffles round from uber EGT and expansion ?
|
| |
|
|
820
South East
Posts: 793
|
|
|
|
|
Thanks Jim, always enjoy catching up on your SD1 restoration.
I always assumed those slots were something to do with expansion Darren but when you think about it how effective can they be, so wonder if they are for another reason. By the way I had a quick scan over your GTE thread, I need to go back and read from the start, nice project.
|
| |
|
|
820
South East
Posts: 793
|
|
Jan 18, 2018 16:01:52 GMT
|
Finally got my downpipe, what was meant to be a 3 week wait turned into a 2 month wait.   But it has to go back, wrong flange has been used, bolt holes line up but aperture is not big enough.  Paper template shows how far out it is.  I was able to try it in the car with turbo fitted and with a bit of work to the front crossmember it will work its way past the ancillaries and under the sump, so it does solve the clearance issues, so some positive news. I cant finish the manifold till the downpipe is done so been looking at making it into an equal length driveshaft set up like the early 827 Vitesse but it turns out the 2.7 V6 is positioned differently to the 2.0 4 cylinder so that idea is on hold. 827 Intermediate shaft  Cleaned and painted and now back on the shelf.  |
| |
Last Edit: Jun 2, 2022 20:28:35 GMT by 820
|
|
820
South East
Posts: 793
|
|
Jan 18, 2018 16:45:15 GMT
|
When I first fitted the bigger turbo to the standard manifold 0ver 10 years ago I had to modify the front engine mount. A standard mount on the left, big chunk removed from the one the right to accommodate the bigger turbo.  Every mm counted so this lug was removed from the engine backplate  Welded back together  Painted and fitted with just enough room for the turbo  Now I need to move the turbo even further in the same direction to make a bit more clearance for the downpipe on the opposite side. Mk1 modified mount now 10 years old.  A bit more removed  New sections welded on.   and finally lashings of paint.  Very slow progress and very frustrating but while waiting for the downpipe fix, I can at least get on with the front crossmember mods. |
| |
Last Edit: Jun 2, 2022 20:29:47 GMT by 820
|
|
820
South East
Posts: 793
|
|
Mar 10, 2018 22:38:37 GMT
|
Some progress and some setbacks. The downpipe being quite a bit bigger and different shape requires modification to the front subframe. This section needs removing  Removed from the car with engine support attached ready for chopping.  Section removed  Steel plates to fill the hole  Welded, (arc welded just to save a bit of tig gas and it wont be seen once everything is back together)  Painted ready to go back on the car  |
| |
Last Edit: Jun 2, 2022 20:31:03 GMT by 820
|
|
820
South East
Posts: 793
|
|
Mar 10, 2018 22:59:36 GMT
|
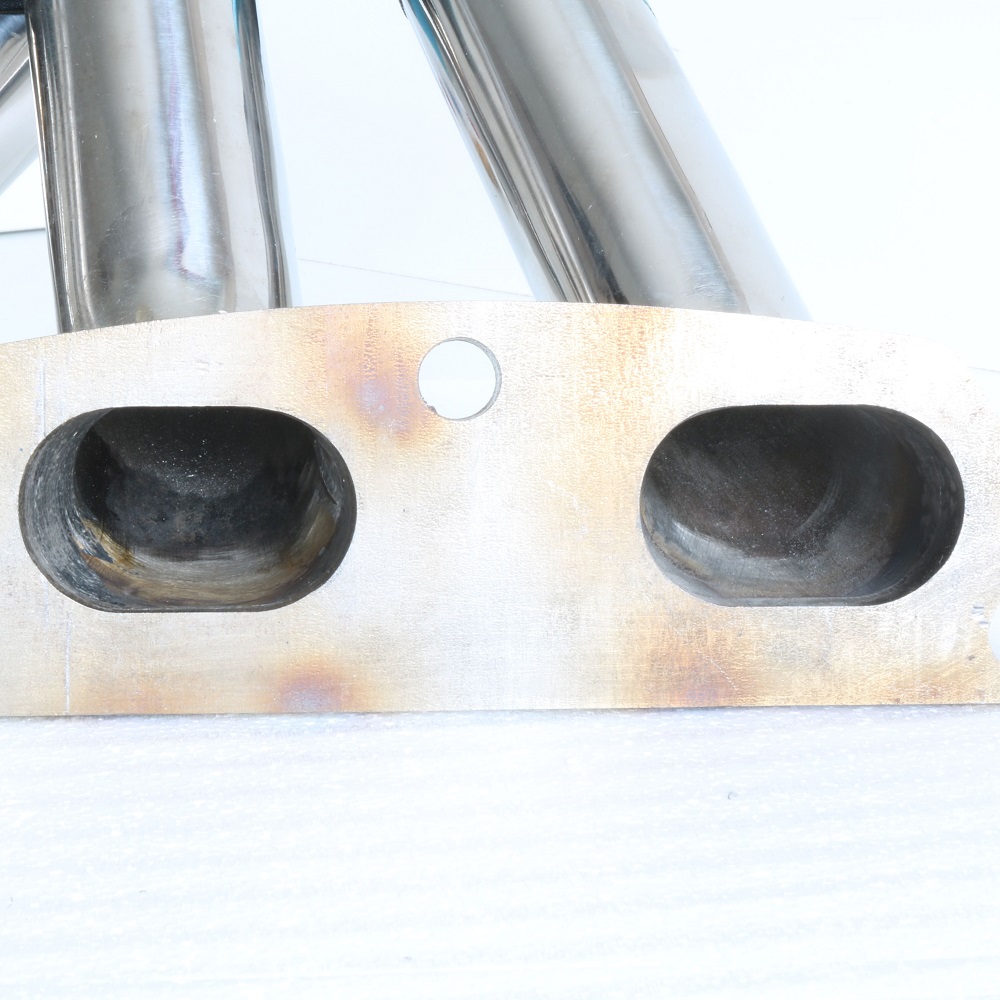
Got the downpipe back with new flange fitted, the correct size and shape this time.  Needs just little bit of tidying up but much better.  Looks great  But its not flat, seems even the professionals can get to much heat into the work, it really is that bad.   Pretty sure this will not fit a skimming machine and I am not sending it back again. So going to try and skim it flat by hand with a heavy steel bar and emery cloth. High areas marked   I spent 3 hours on it this afternoon, it is nearly there but tricky to keep the bar flat, back on it tomorrow hopefully get it finished. Any handy hints or tips welcome! |
| |
Last Edit: Jun 2, 2022 20:32:22 GMT by 820
|
|
820
South East
Posts: 793
|
|
Mar 11, 2018 18:35:06 GMT
|
Few more hours spent on this and a huge improvement, but cannot get it absolutely perfect, when I shine a light from behind I still see the faintest of gaps, probable only a couple of thou, I suspect this is due to working by hand and by nature no matter how careful and slow you go there will always be a kind of arching movement with more pressure front and rear. If I can find or make a gasket I hope that will make a good enough seal.  Also ground back the oxygen sensor boss, before  After, boss and blank flatted and some inner edges cleaned up.  Now to find a gasket and get back to the manifold |
| |
Last Edit: Jun 2, 2022 20:33:39 GMT by 820
|
|
|
|
|
Mar 28, 2018 14:29:46 GMT
|
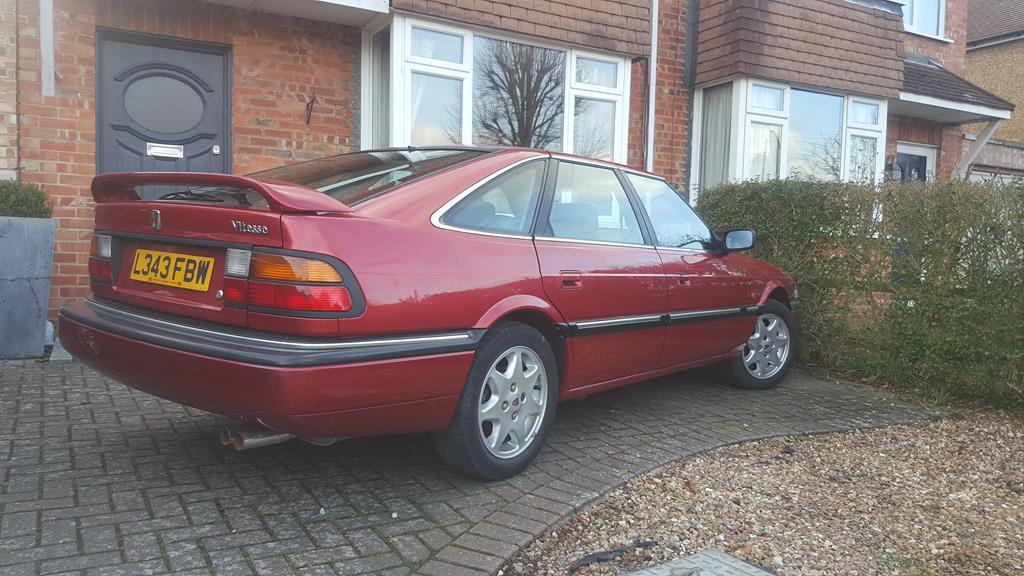
I absolutely love your car! its my all time favourite Rover 800 and has inspired me to start improving my 820 Vitesse (below)  |
| |
Last Edit: Mar 28, 2018 14:41:11 GMT by 820vitesse
|
|
|
|
|
|
|
Mar 28, 2018 14:31:33 GMT
|
|
I'm based in Cobham, Surrey perhaps we can have a 2 car "mini" meet at Epsom Races sometime? I'd also like to have a look at your car and ask you some questions about it?! Cheers. Ben
|
| |
Last Edit: Mar 28, 2018 15:05:33 GMT by 820vitesse
|
|
|
|
|
Mar 28, 2018 18:22:09 GMT
|
I absolutely love your car! its my all time favourite Rover 800 and has inspired me to start improving my 820 Vitesse (below)  I’ve seen this on the Rover 800 group on Facebook? |
| |
|
|
|
|
|
|
|
|
Yes I'm on there! the car is currently getting some bodywork done and i'm trying to find a garage in surrey to fit my lowering suspension.
|
| |
|
|
|
|
|
|
|
|
Not a member on there,just pop in for a looksee occasionally.
Would love to have one as a project, but i don't have room.
So i just dream ......lol
|
| |
|
|
820
South East
Posts: 793
|
|
Mar 31, 2018 22:39:59 GMT
|
Thanks Vitesse820 and welcome to RR. On the rare occasions the Rover leaves the garage you are welcome to have a nose around. Nothing interesting to update with other than the subframe is refitted, with painted mounts and bolts, tidied up some of the wiring at the front and still working on the manifold and downpipe. Couple of other little jobs on the go are Improved the tray for the lightweight battery to fit in the standard battery tray, I can still use a heavy fullsize battery when its not on track day duty. In case anyone wondered It is not just the two M4 screws holding the front in place, there is a row of rivets all the way accross on the other side out of view, if that makes sense, the red and blue M4's are to mark the terminals  Fitted to the standard tray. The clamp will be changed.  Keep finding other jobs while it is in bits. This rusty coolant pipe is currently rubbed down, rust treated and ready for new paint.   Finding a turbo outlet gasket the right size and shape is not so simple, the official UK Garrett turbos distributor sent the wrong gasket, even with pictures and dimensions to check against. Was hoping to have this back together weeks ago and apply for a spot at Goodwood but maybe next year. |
| |
Last Edit: Jun 2, 2022 20:34:43 GMT by 820
|
|
Rich
Club Retro Rides Member
Posts: 6,338  Club RR Member Number: 160
|
1994 Rover 820Rich
@foxmcintyre
Club Retro Rides Member 160
|
|
|
|
|
| |
Last Edit: Apr 1, 2018 8:19:41 GMT by Rich
|
|
820
South East
Posts: 793
|
|
|
|
Thanks Rich, brilliant link, just what I needed to know. I am going to have a go at that. Steering feels to vague now everything else is tightened up so looking to replace the 20+ year old rubber bushes and fix the rack more firmly. Of course the bushes are no longer available for the 800 or the Legend and none of the poly bush companies list anything for the 800. Remembered the camera after I started to take it apart  Well over due for replacement. I contacted all the polybush companies and Superflex are being really helpful checking current products against the Rover dimensions, this is still going on, no luck yet. I am going to name and shame once done because some didnt even bother to reply.  PAS pipe and cover needs some attention before going back on  Finally, treated the old Rover to one of these when it passes its next MOT, flat dish, suede and 30mm smaller than the standard wheel.  Now to read the rest of blownimps thread |
| |
Last Edit: Jun 2, 2022 20:35:48 GMT by 820
|
|
|
|
|
|
|
|
Any updates on this? Great car.
|
| |
|
|
820
South East
Posts: 793
|
|
Jul 13, 2018 21:51:37 GMT
|
Unfortunately not been able to devote much time to the car in recent months so nothing very exciting, just in the middle of lots of jobs and hunting parts. Steering rack bushes for the 800's and early Honda Legends are NLA. After much measuring and messing about the only bush I could closely match to anything else was one side of a Nissan Skyline, this will require a 1mm sleeve fitted to the Rover rack. The other side matches nothing else, all I could find worldwide were 2 standard 1986 Acura Legend bushes in America so ordered one of those, see below. Acura Legend bush bottom left, Skyline bush bottom right.  Next on the steering is to make a wider bracket to reduce the amount of movement once all bolted up, will sort pictures once done. |
| |
Last Edit: Jun 2, 2022 20:36:12 GMT by 820
|
|
820
South East
Posts: 793
|
|
Jul 13, 2018 21:59:43 GMT
|
Using an old bed frame, some scrap metal and exhaust brackets made a jig just rigid enough to mount the manifold for a skim  Now perfectly true I can carry on  |
| |
Last Edit: Jun 2, 2022 20:36:40 GMT by 820
|
|
|
|


