ChrisT
Club Retro Rides Member
Posts: 1,638
Club RR Member Number: 225
Member is Online
|
|
May 27, 2013 20:31:25 GMT
|
you need to sit quite far forward on these things to get your feet on the pegs comfortably, seems to be plenty of  room. I tried belt driven with a tensioner too (as the mower used this second method to propel itself) and it burned through the belt and filled the garage with smoke the first time I tried to pull away just my thoughts, but I'd stick with something motorbike/scooter related That would be my worry of using a belt drive system. There's plenty of Kart clutches available only I've messed up slightly with the axle sprocket/chain that I've bought as they're a different pitch to the clutches I was looking at - might not be able to get the gearing I was hoping for now........ |
| |
|
|
|
|
ChrisT
Club Retro Rides Member
Posts: 1,638
Club RR Member Number: 225
Member is Online
|
|
May 26, 2013 17:30:00 GMT
|
|
It's not a bad idea, something I had been thinking about - having the tensioner on a lever to engage/disengage the drive belt, I can see the benefits of having a manual clutch rather than an auto but I'm sticking with the chain drive for the time being............
|
| |
|
|
ChrisT
Club Retro Rides Member
Posts: 1,638
Club RR Member Number: 225
Member is Online
|
|
May 25, 2013 23:29:47 GMT
|
darrenh - just noticed your post edit, seem to recall as a kid our lawnmower having the same sort of set-up to stop it - this motor uses the same principal but with a proper switch (or it would do if it wasn't missing) Been looking at exploded view drawings of the motor and decided as it's got a crank which splits apart I could easily get it in the lathe and turn the output shaft down to 19mm for the clutch, didn't take too long to get the bottom end stripped.... 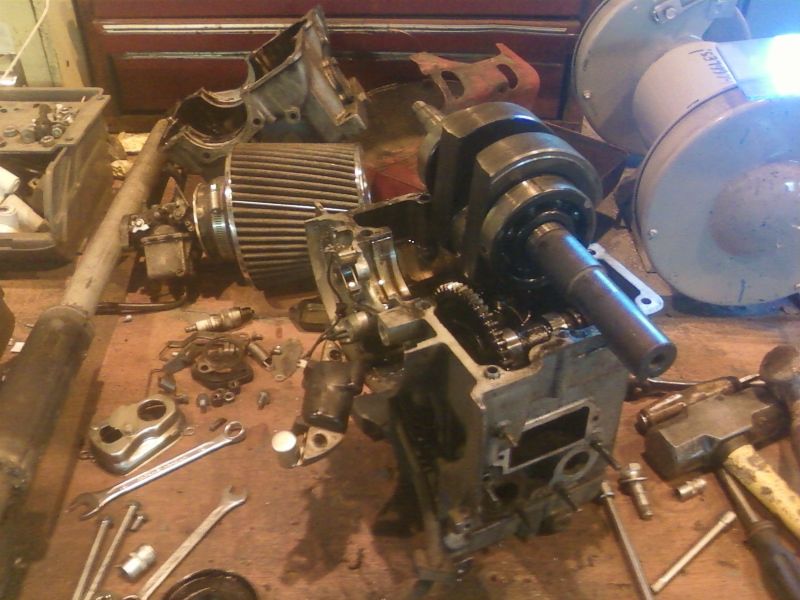 Crank doesn't come apart very easily though, especially as I'm trying to do it without pulling the piston from the bore, may have to rebuild it and go with plan B.... Must get some new oil for it though........  |
| |
|
|
ChrisT
Club Retro Rides Member
Posts: 1,638
Club RR Member Number: 225
Member is Online
|
|
May 25, 2013 19:00:36 GMT
|
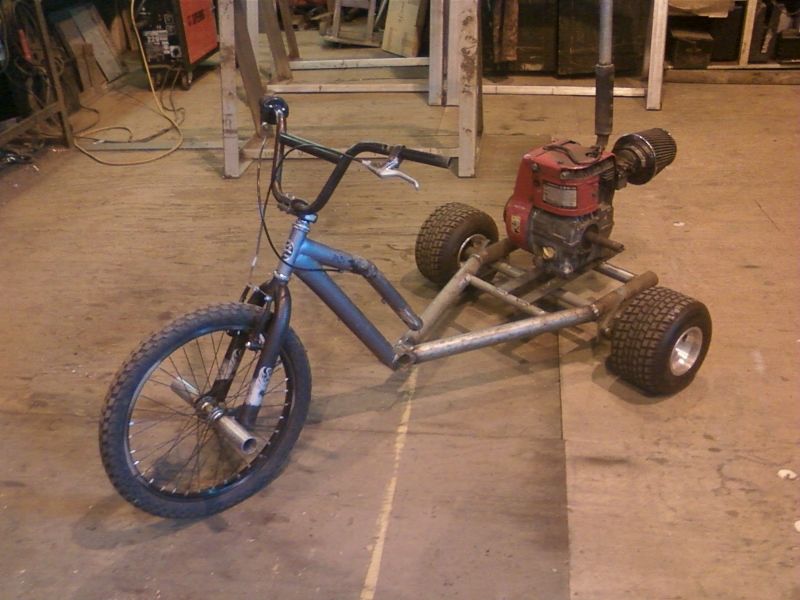
Thanks and yeah the engine has got a spoon (of sorts) on the conrod - did wonder what it was when I first saw it on there.... Selection of different toothed sprockets, so I can mess about with the gearing, from the good old bay of E......  Made up a carrier for them that fits to the axle...... 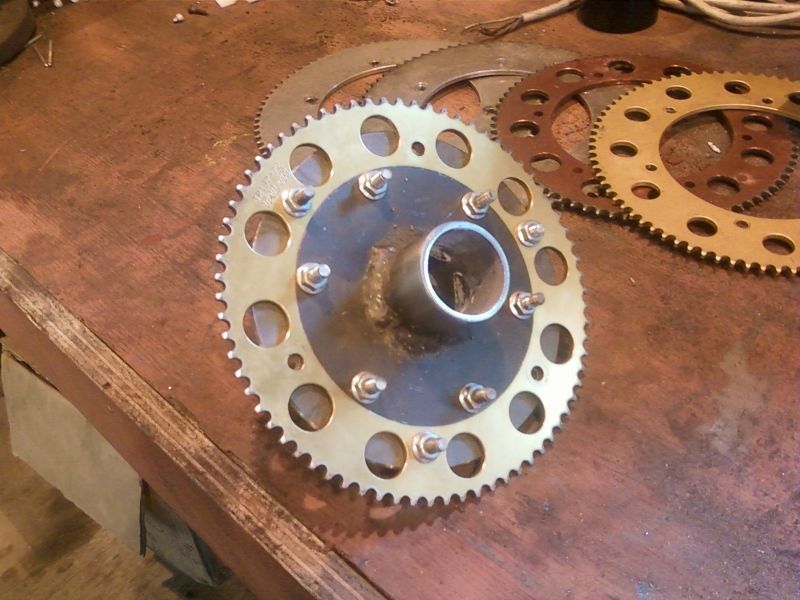 Which will fit somewhere around here..... 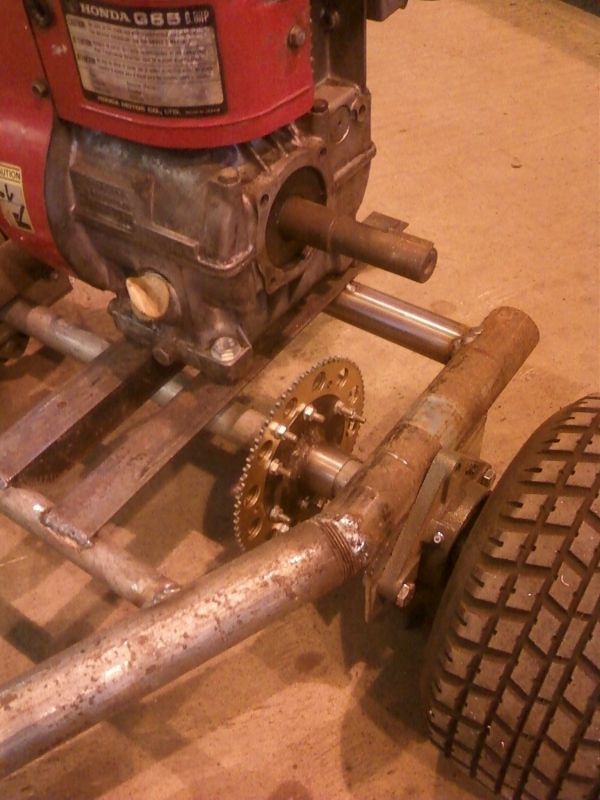 Also finished off connecting the frame... 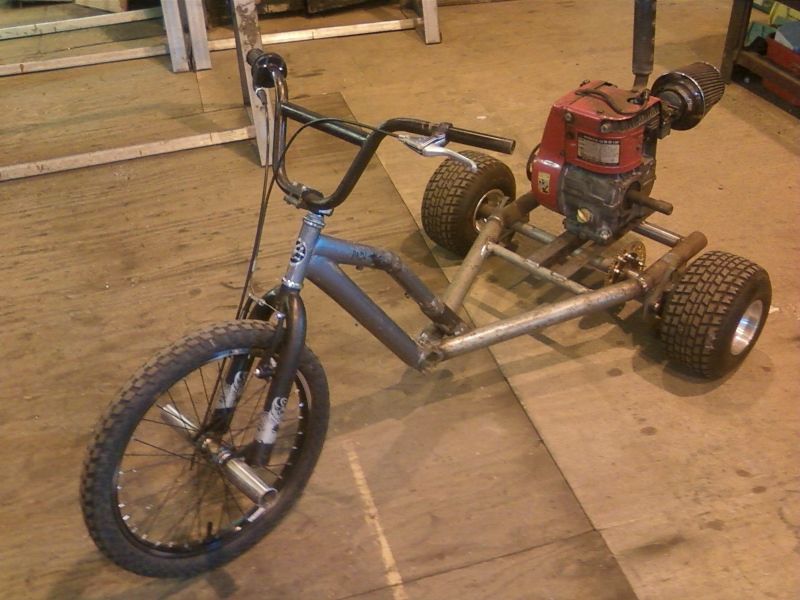 |
| |
|
|
ChrisT
Club Retro Rides Member
Posts: 1,638
Club RR Member Number: 225
Member is Online
|
|
|
|
|
yeah, just a centrifugal clutch for a kart is the plan - only problem being the output shaft on the motor is 1" and most clutches are 19mm so I've got to make something up in the lathe to convert it........
Or strip the bottom end of the engine, get the crank in the lathe and turn the shaft down.....
|
| |
Last Edit: May 25, 2013 8:02:47 GMT by ChrisT
|
|
ChrisT
Club Retro Rides Member
Posts: 1,638
Club RR Member Number: 225
Member is Online
|
|
May 24, 2013 19:45:55 GMT
|
That's the idea  |
| |
|
|
ChrisT
Club Retro Rides Member
Posts: 1,638
Club RR Member Number: 225
Member is Online
|
|
May 24, 2013 19:05:38 GMT
|
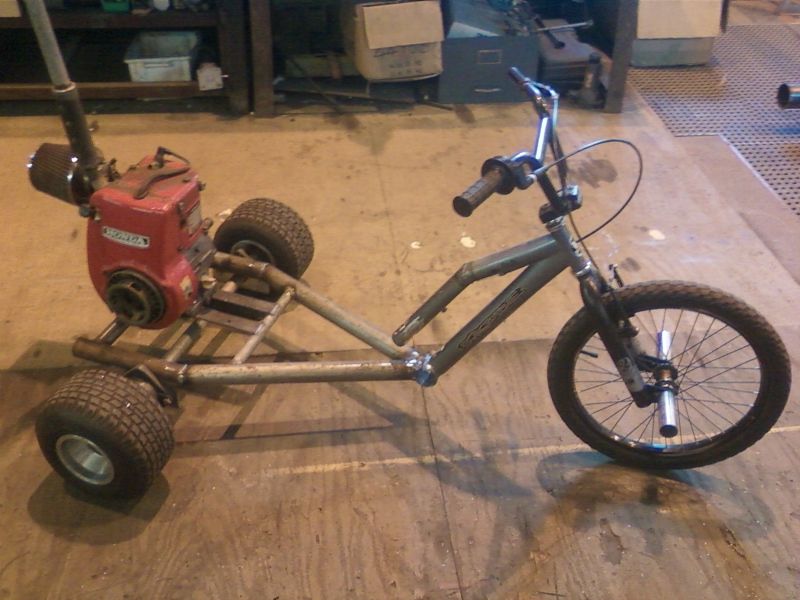  Motor just temporarily fitted, will be on adjustable bracket to allow chain tensioning. Top of bike frame will be continued down to tie in to the rest of the frame. Got a selection of different toothed axle sprockets from ebay, need to make a carrier to attach them to the axle. |
| |
Last Edit: May 24, 2013 19:07:13 GMT by ChrisT
|
|
ChrisT
Club Retro Rides Member
Posts: 1,638
Club RR Member Number: 225
Member is Online
|
|
May 23, 2013 21:14:24 GMT
|
We'll just have to wait and see on that one....... Rolling chassis stage..... 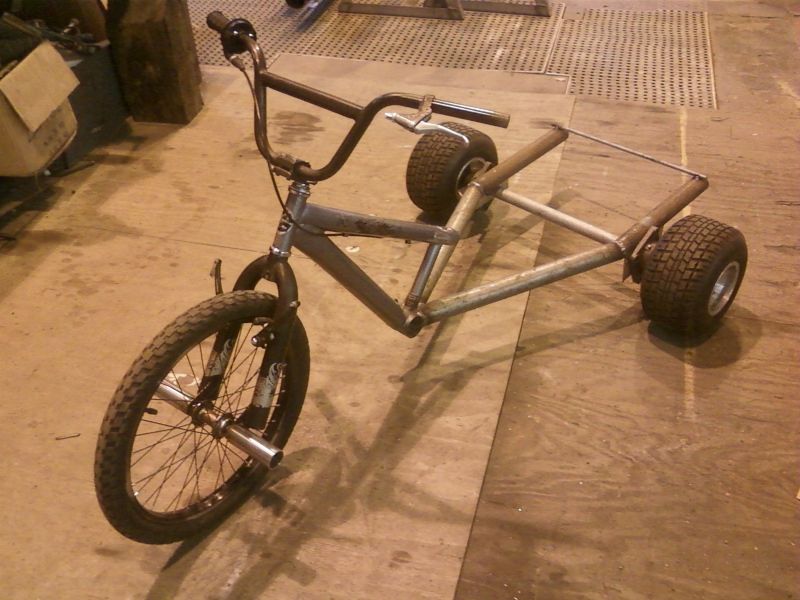 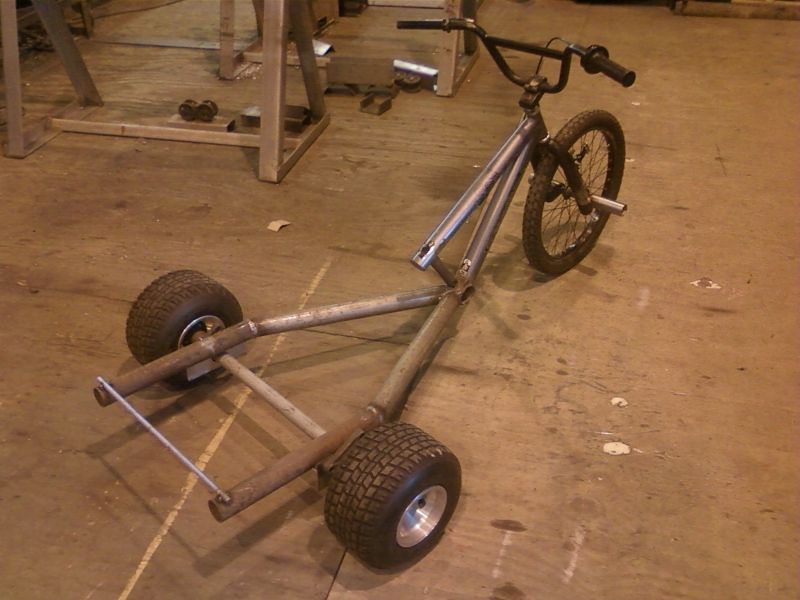 Rear end left over long until I know where the engine is going to sit. |
| |
|
|
ChrisT
Club Retro Rides Member
Posts: 1,638
Club RR Member Number: 225
Member is Online
|
|
May 22, 2013 21:28:41 GMT
|
Hopefully they won't be a problem, we're tucked out the way, there's gates at the top of the road and another set to the waste land....... Engine has obviously been sat with the tank empty for a while as there's rust inside it, the petcock tap seal is shot and there should be a filter underneath it but that's been blanked off - so it's been running filter-less for however long. Will be making a new tank for it now, with new petcock and an inline filter. Carb float bowl was half full of crud so guessing the carb will need stripping and cleaning out - can see one of the jet heads is rounded off from someone elses attempts to remove it. Anyway, made an adaptor to fit the air filter and an exhaust - some 2" tube with perforated steel baffles welded in to act as a silencer..... 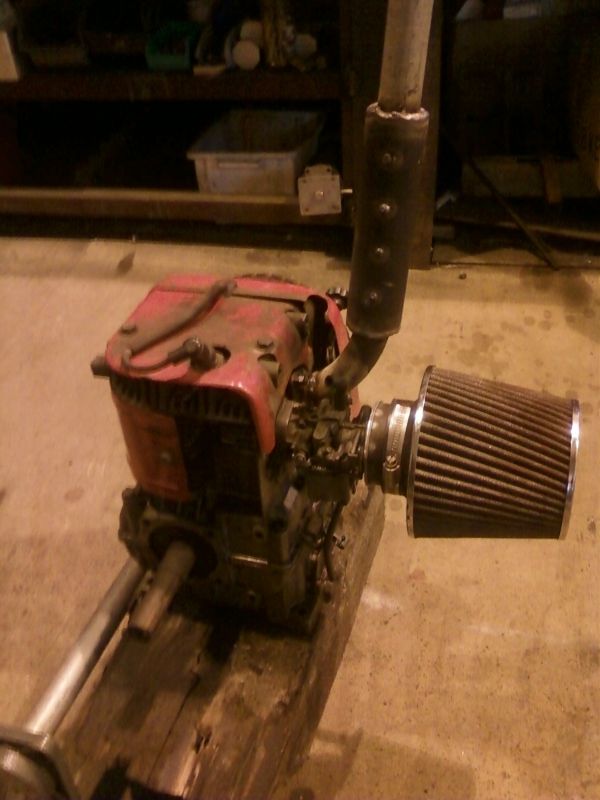 Thought I'd best see how it runs/sounds..... Runs ok but the choke has to be mid-position otherwise it stalls - not getting enough fuel??? Would tie in with having crud in the system blocking a jet. Mocked up how things are going to sit..... 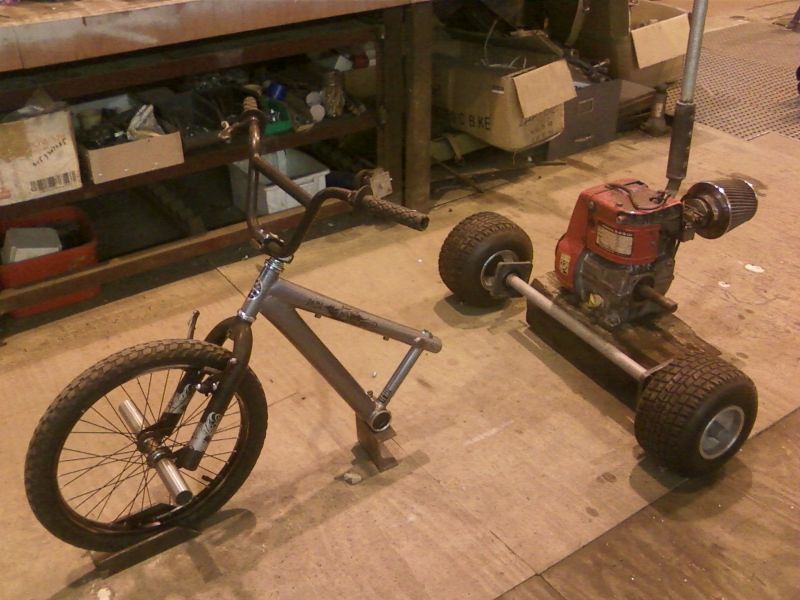 It's taking shape...... |
| |
|
|
ChrisT
Club Retro Rides Member
Posts: 1,638
Club RR Member Number: 225
Member is Online
|
|
May 20, 2013 22:12:43 GMT
|
I seem to have accumulated the makings of a project so I thought I throw up a few pics and ideas, see how it goes. For those unfamiliar with drift trikes have a look here - I don't have a huge expanse of tarmac to use but there is some waste land near the workshop so I'm hoping I might be able to make a kind of dirt track drift trike - it might not work in which case I just put pvc pipe over the tyres and use it on the bit of private road out front of it. First off I got some kart rear wheels, wets so they're slightly more suited to off road use than slicks. 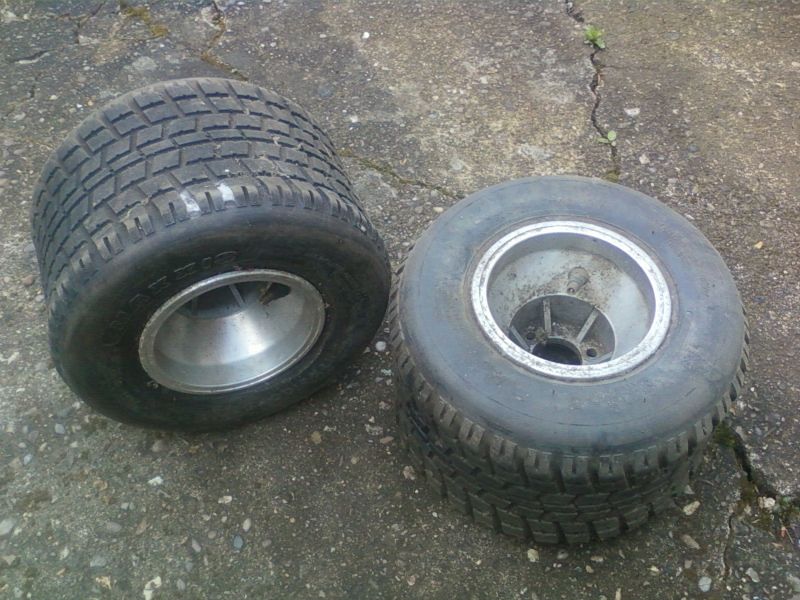 Made up some hubs from some tube, turned the end down to fit inside the wheels and welded a disc and some bolts to it.... 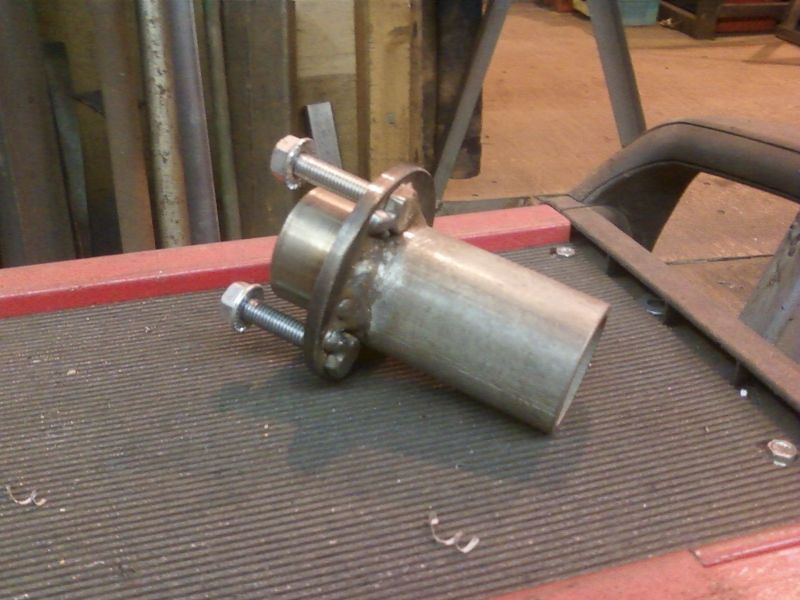 These will be welded to the axle (more tube from the workshop), which will have a sleeved join in the middle so it can be removed. Found some bearings, might change them to the 2 hole type as the smaller housing will make mounting easier. 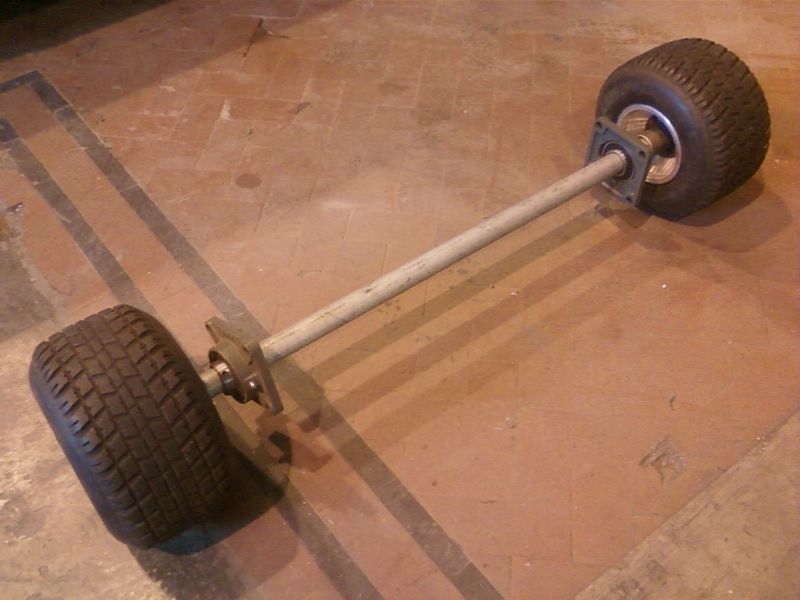 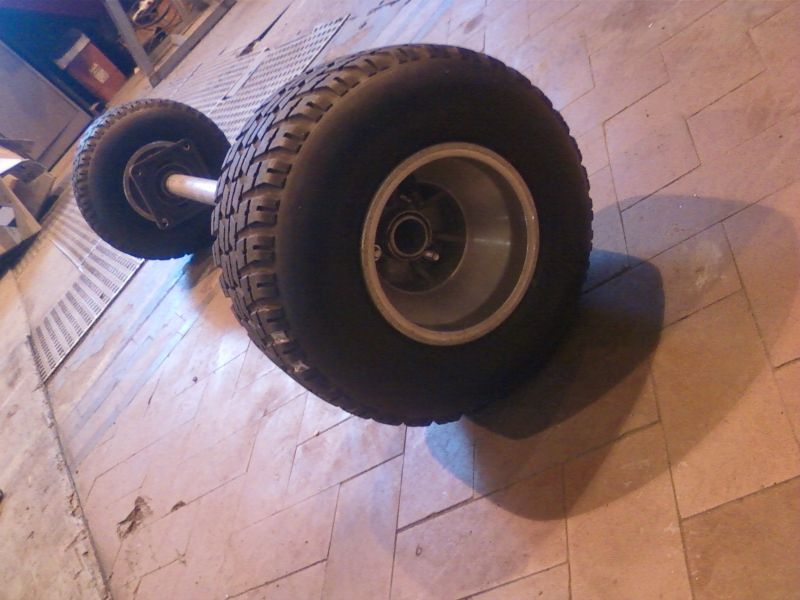 Got this cheap on the weekend which will donate it's front end and some of the frame..... 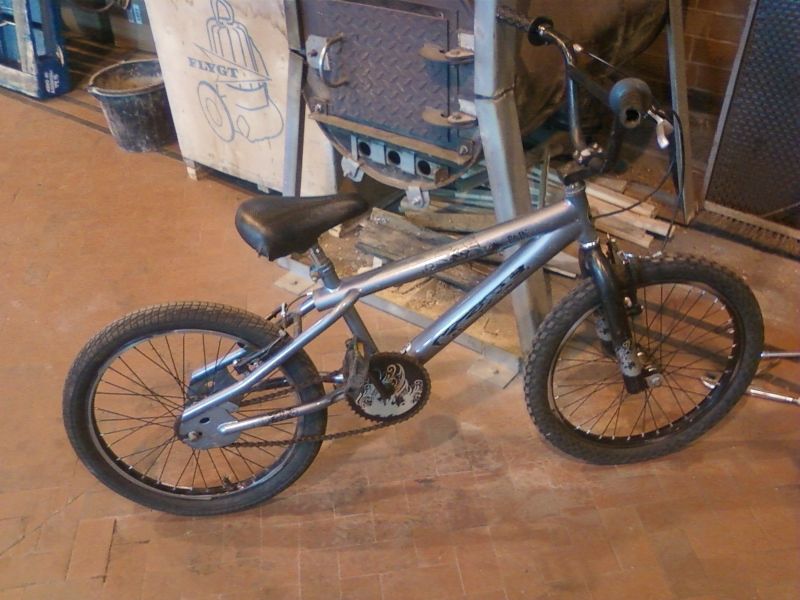 and made these foot pegs for it out of some stainless tubing I'd had in the shed for years - knew it would come in useful eventually.... 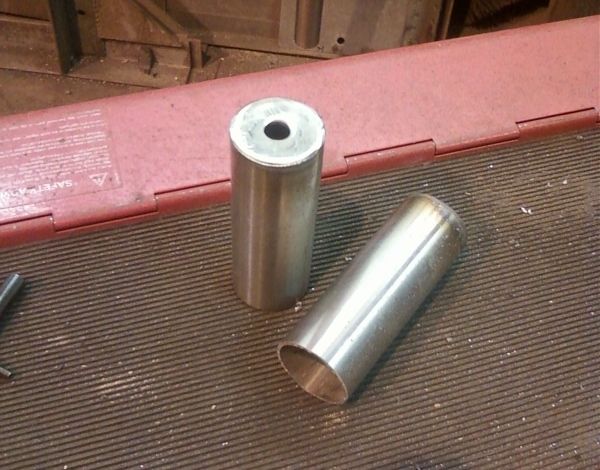 They fit to the front forks using the wheel nuts. This evening I picked this up..... 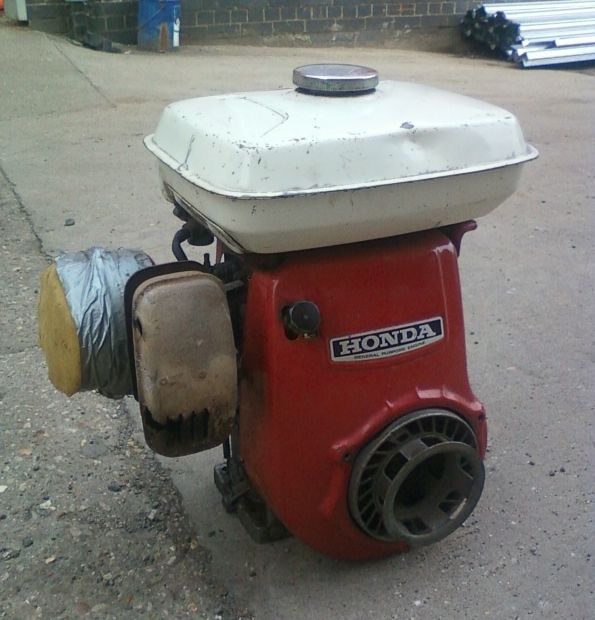 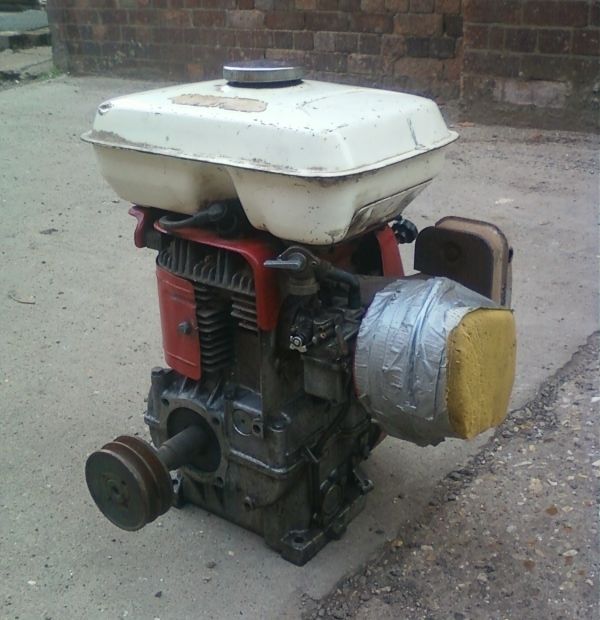 It's a Honda G65, 6.8hp - a bit old but it starts first pull and seems to run ok. Float bowl needs a new gasket, obviously the 'filter' will be replaced (have a cheap K&N style one) and the exhaust is rusting away but I wanted to make a new one anyway. Will probably replace the tank with a custom made one at some point. So that's it so far, a throttle twist grip is on it's way, just need to get a clutch, axle sprocket and chain.............. |
| |
Last Edit: Dec 22, 2014 19:41:30 GMT by ChrisT
|
|
|
|
ChrisT
Club Retro Rides Member
Posts: 1,638
Club RR Member Number: 225
Member is Online
|
|
|
|
Nice job. Spent 5mins looking at drift trike videos on youtube and decided I had to build one. I made the mistake of looking at one the other day and had the same reaction except there's not many useful hills round here so I'm planning on using an engine........ |
| |
|
|
ChrisT
Club Retro Rides Member
Posts: 1,638
Club RR Member Number: 225
Member is Online
|
|
Feb 16, 2013 18:06:25 GMT
|
|
I used some of that vinyl pin stripe tape from a local motor factors to do mine, wasn't an exact match but did the trick, comes in various thicknesses, one of them is spot on so no need to remove the trim from bumpers to fit it.
|
| |
|
|
ChrisT
Club Retro Rides Member
Posts: 1,638
Club RR Member Number: 225
Member is Online
|
|
Feb 10, 2013 18:13:01 GMT
|
|
|
| |
|
|
ChrisT
Club Retro Rides Member
Posts: 1,638
Club RR Member Number: 225
Member is Online
|
Engine bays...Show them!ChrisT
@christ
Club Retro Rides Member 225
|
Feb 10, 2013 11:05:19 GMT
|
|
|
| |
|
|
ChrisT
Club Retro Rides Member
Posts: 1,638
Club RR Member Number: 225
Member is Online
|
Balljoint spinning....ChrisT
@christ
Club Retro Rides Member 225
|
|
|
|
The best method I've found to this problem is jack it up from underneath, this should open up a bit of a gap under the nut/washer.
Find an open ended spanner just slightly thicker than the gap, hammer it in there - which pulls the ball joint in place and then tighten the nut up fully.
Back it off slightly to remove the spanner and re-tighten.
|
| |
|
|
ChrisT
Club Retro Rides Member
Posts: 1,638
Club RR Member Number: 225
Member is Online
|
|
Jan 12, 2013 13:52:19 GMT
|
I LOVE your car Chris! Probably my fave Manta. It looks even better/madder/more menacing in the flesh. Thanks It's been sat in the garage for the last year, kind of lost interest in it. It'll be back at some point....... |
| |
|
|
ChrisT
Club Retro Rides Member
Posts: 1,638
Club RR Member Number: 225
Member is Online
|
|
Jan 11, 2013 19:39:35 GMT
|
have another manta.....  |
| |
|
|
ChrisT
Club Retro Rides Member
Posts: 1,638
Club RR Member Number: 225
Member is Online
|
|
|
|
heres a couple of ebay "specials" I've modded  just a bit of fun, although I never seem to have any spare strings when I've finished them! Brilliant, a Jay Pepper inspired guitar - was only yesterday thinking about doing a Pepsi Tate style bass |
| |
|
|
ChrisT
Club Retro Rides Member
Posts: 1,638
Club RR Member Number: 225
Member is Online
|
Coin ringsChrisT
@christ
Club Retro Rides Member 225
|
Dec 26, 2012 13:51:32 GMT
|
|
Second attempt was much better, still not perfect so opted for a hammered finish.
Can't seem to get a decent picture of it though.
g/f seems to like it which is a bonus.
|
| |
|
|
ChrisT
Club Retro Rides Member
Posts: 1,638
Club RR Member Number: 225
Member is Online
|
welding!!ChrisT
@christ
Club Retro Rides Member 225
|
Dec 26, 2012 13:48:57 GMT
|
|
^^^I think if he could take the sump plug out he wouldn't be needing to weld a nut on.
You'll need to hold the nut with something like a pair of mole grips, I'd put the clamp on them.
|
| |
|
|


 I tried belt driven with a tensioner too (as the mower used this second method to propel itself) and it burned through the belt and filled the garage with smoke the first time I tried to pull away