|
|
|
Sept 11, 2018 20:16:55 GMT
|
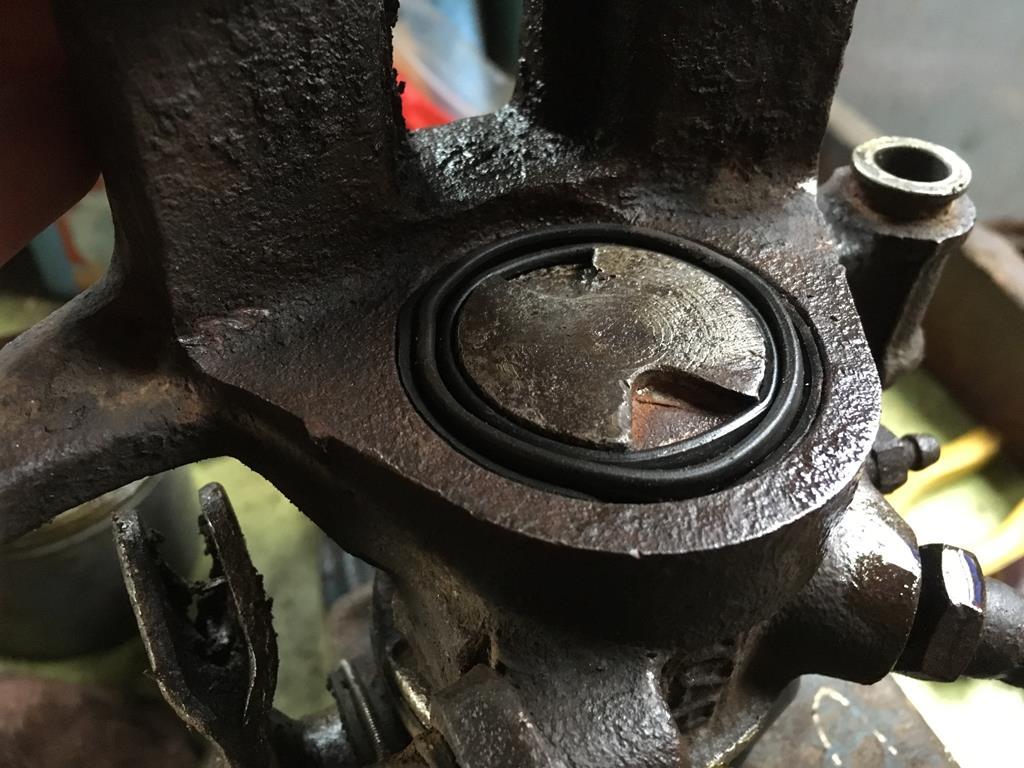
In contrast to the Starion, the E21 has been a peach! Well, it did need a new battery, but the one on it was 4 years old and had been sat for most of that time... The sum total of prep work for the gather was really just give it a clean and change the oil. The o-ring split on the sump plug, thats about the most interesting thing to happen on this car recently! I think i'll change it for a different type next oil change as i expect it will happen every time its removed. 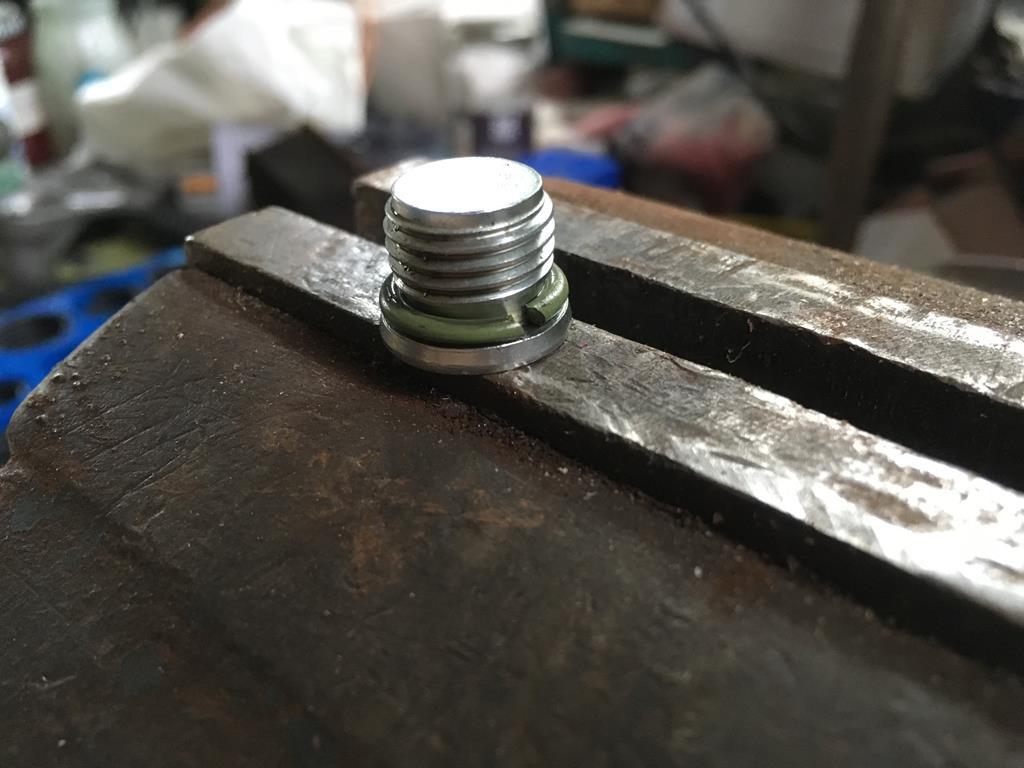 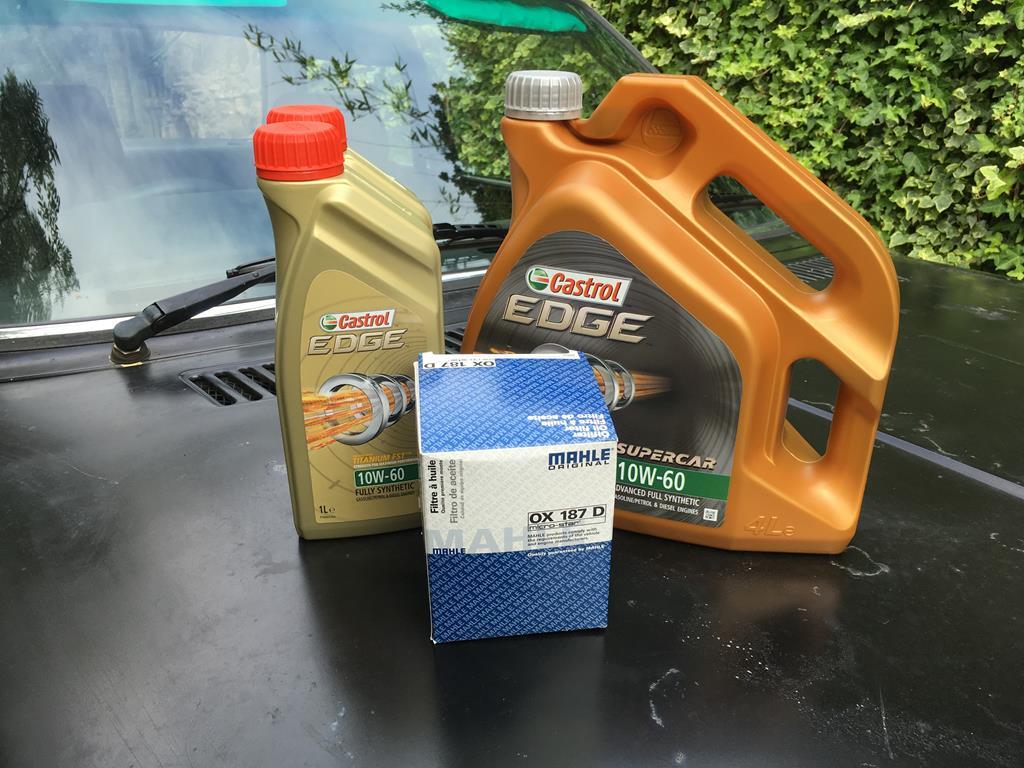 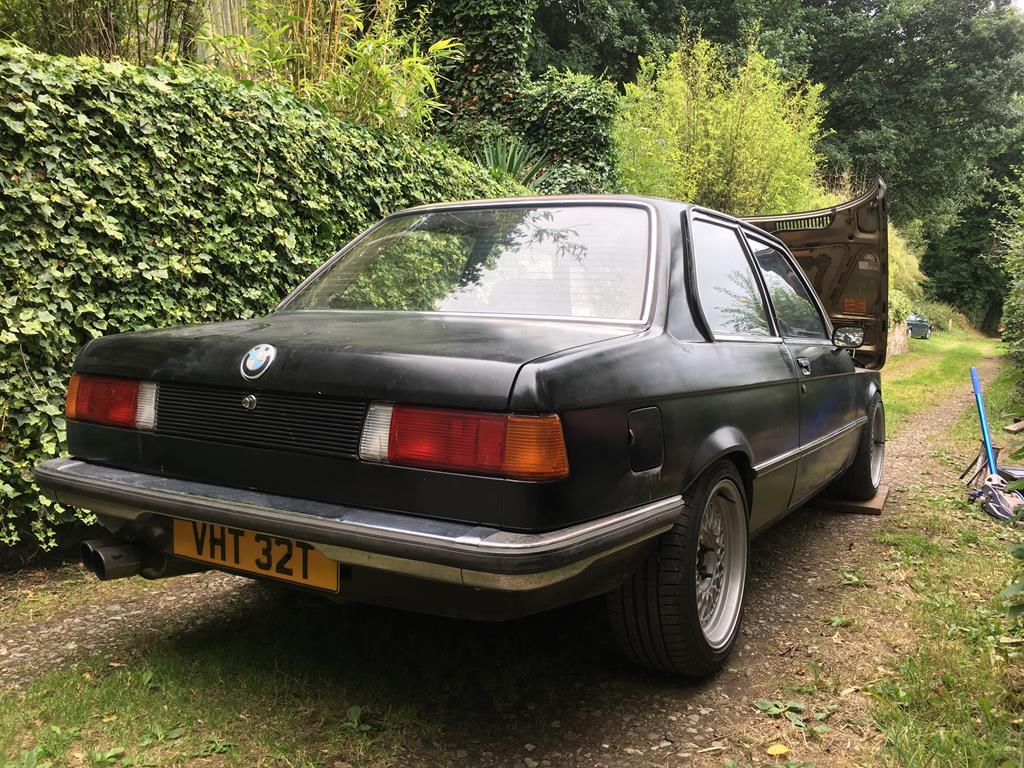 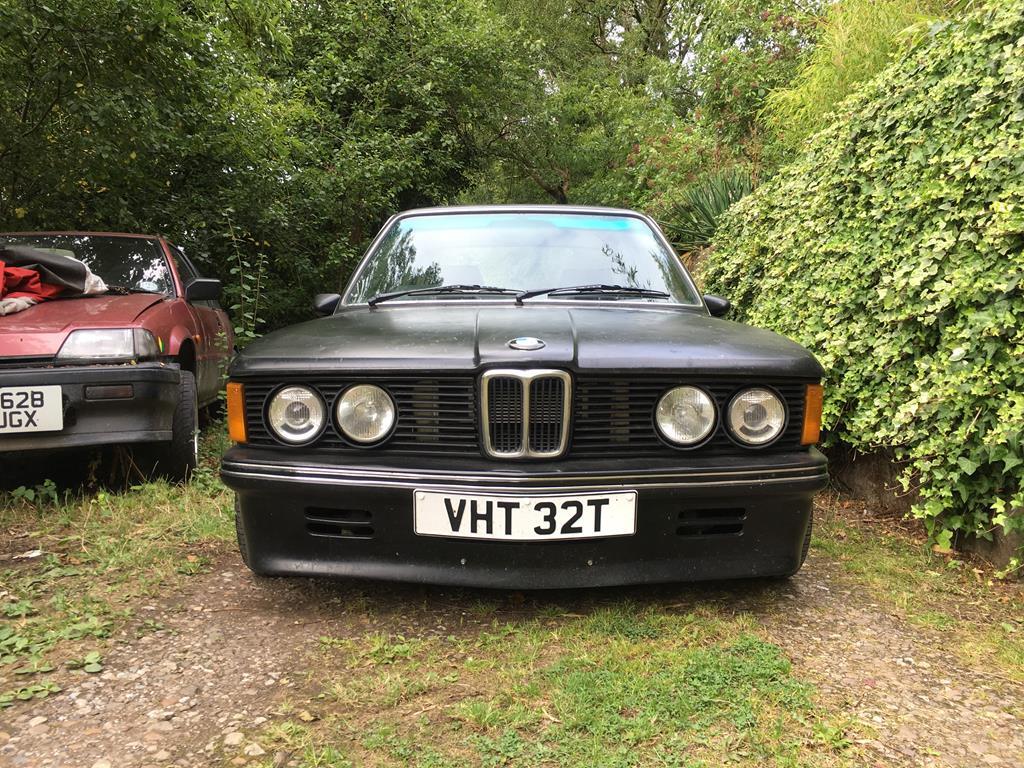 Then a nice cross country drive to the show with my dad following in the Starion. I didn't manage to get any pics myself, but here are a couple from facebook. 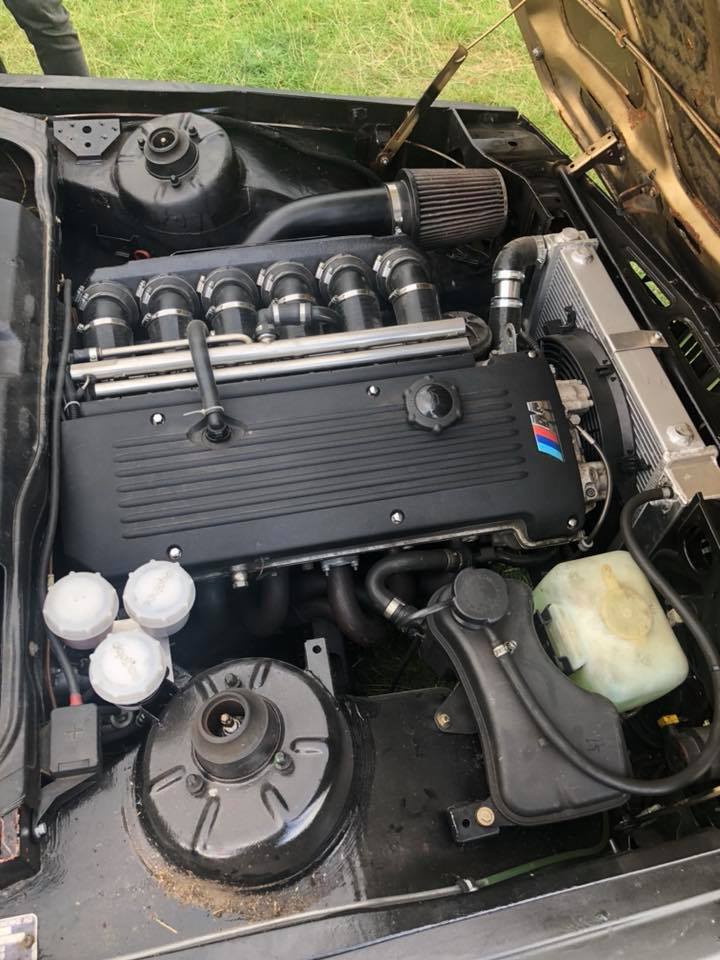 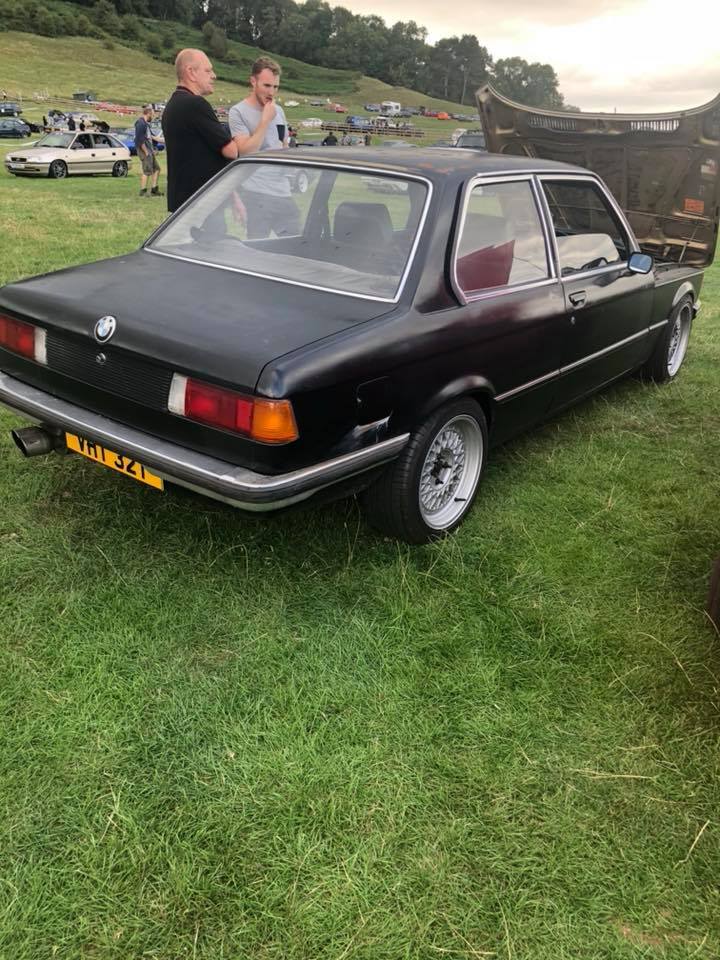 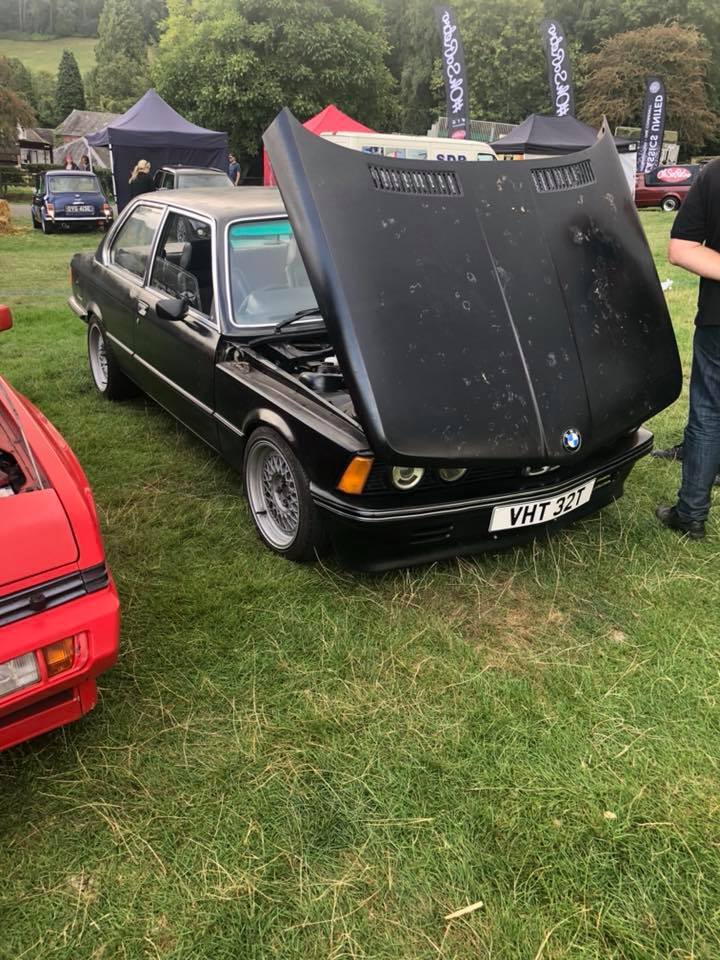 I will say the E21 didn't get anywhere near as much attention as the Starion. I guess if you're not into your BMWs it's just another old Beemer, whereas "when was the last time you saw a starion!". Aaaaand since then the E21's just been sat, which makes me sad... I had intended to swap between the Starion and E21 at weekends, but then the Starion disgraced itself and is now stranded in my other parking space at home, so i've not been able to swap it for the E21 (which is parked at my parents). I will try and get the starion running and swap them over this weekend - the E21 deserves to be driven, the Starion can sit and think about how it's behaved a little longer... |
| |
|
|
|
|
|
|
|
Sept 11, 2018 20:01:43 GMT
|
Has it really been 3 weeks since the gathering? Anyway, those who were there might have seen that I did, in fact, succeed in getting the starion to the show! I didn't really have much of a chance to chat to anyone as my mate was running in the hill climb, so spent most of my time around there, but it was good to see there were always a few people checking out my cars  Following on from the last update, i got up super early and undersealed the welded areas before dropping it off for an MOT. 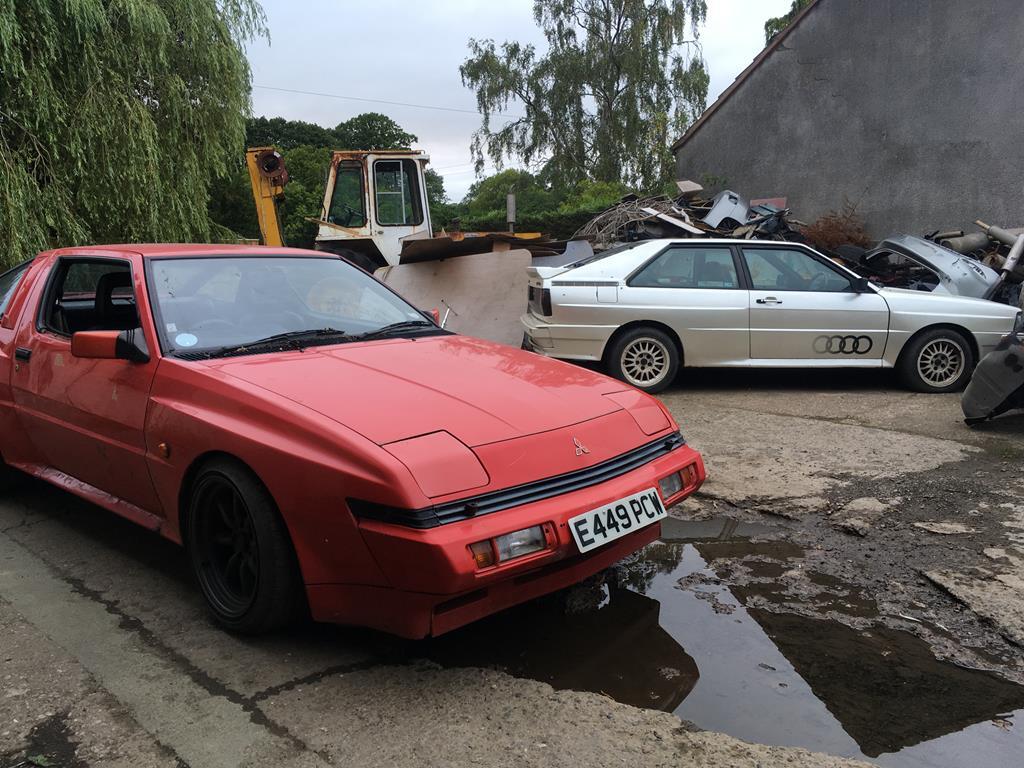 Annoyingly the MOT didnt get done until 7PM!! but it did at least pass with only a couple of minor advisories. With the car back home i didn't have much time to get the new door swapped on, but i managed it with a little help from my sister and girlfriend in the rapidly fading light 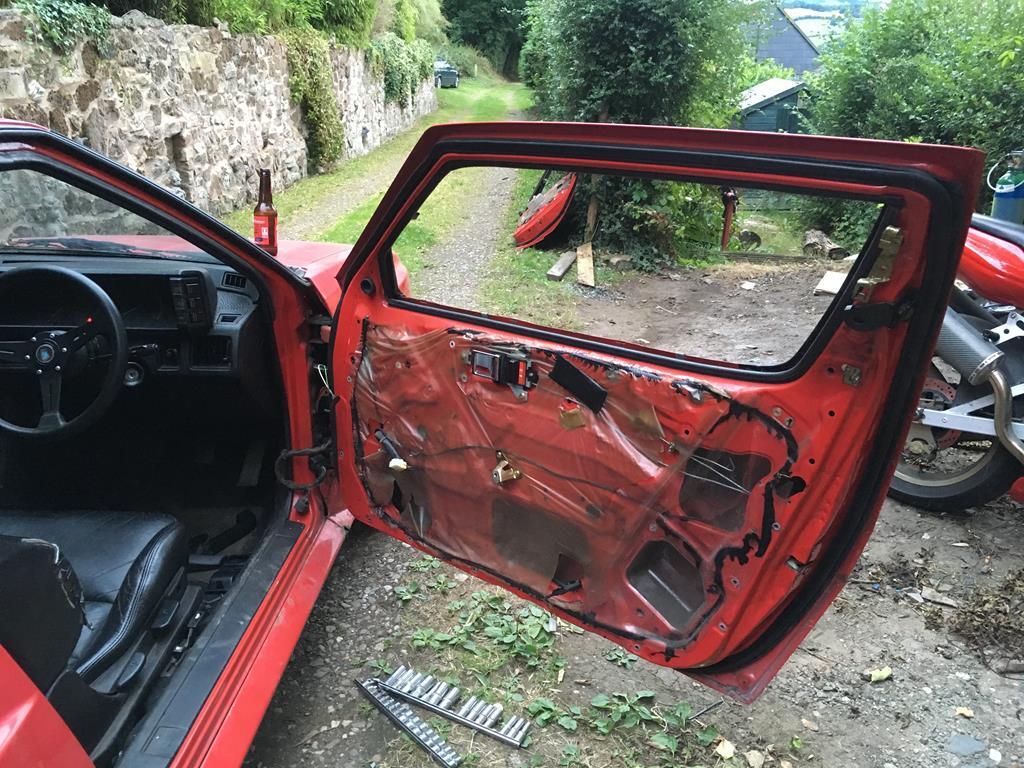 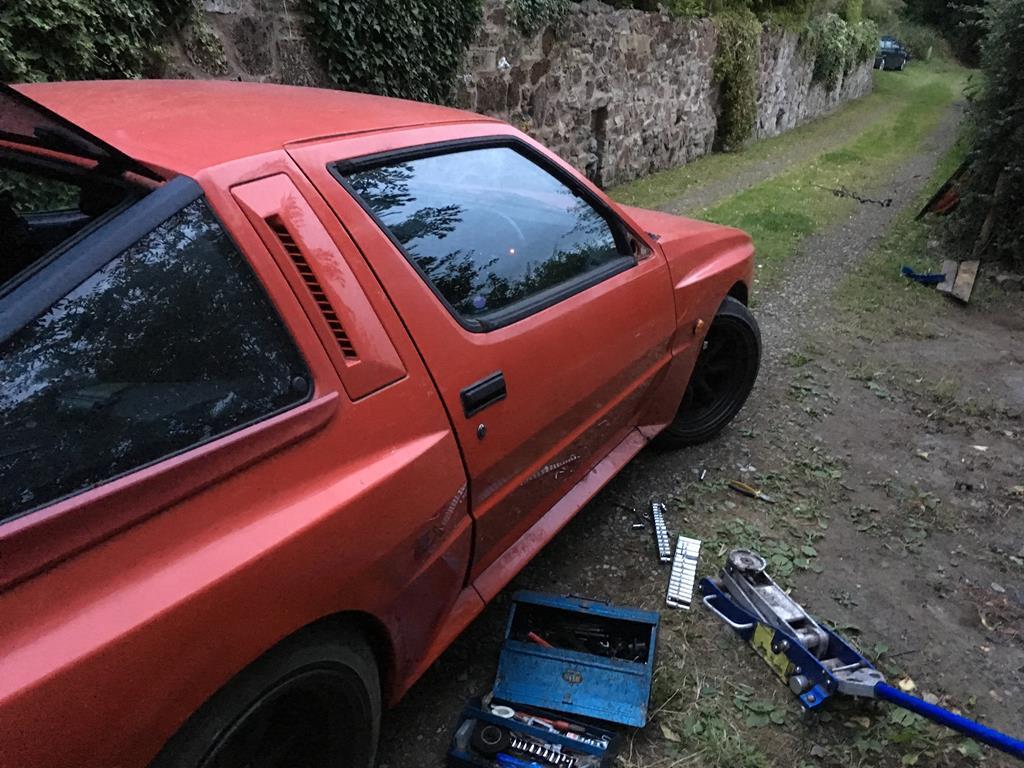 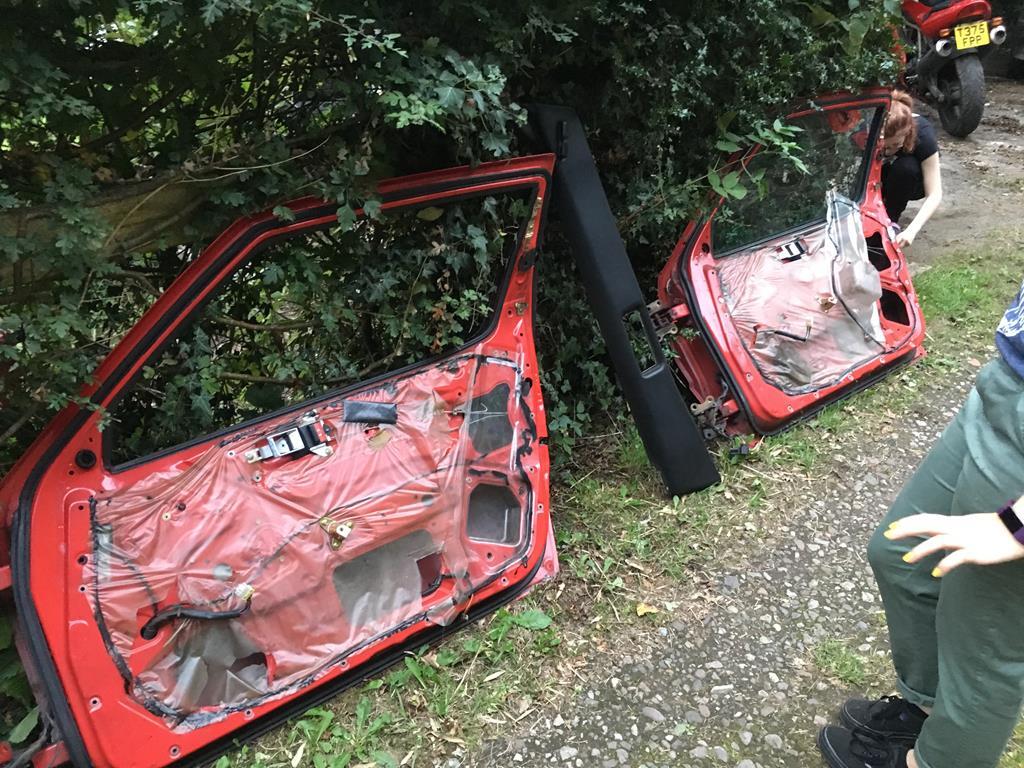 Then up early the next day for Retro Rides! Sadly we didn't get there until nearly lunch time, and completely forgot to take any pictures of my own cars... must try harder next year! But here are a few from the facebook group 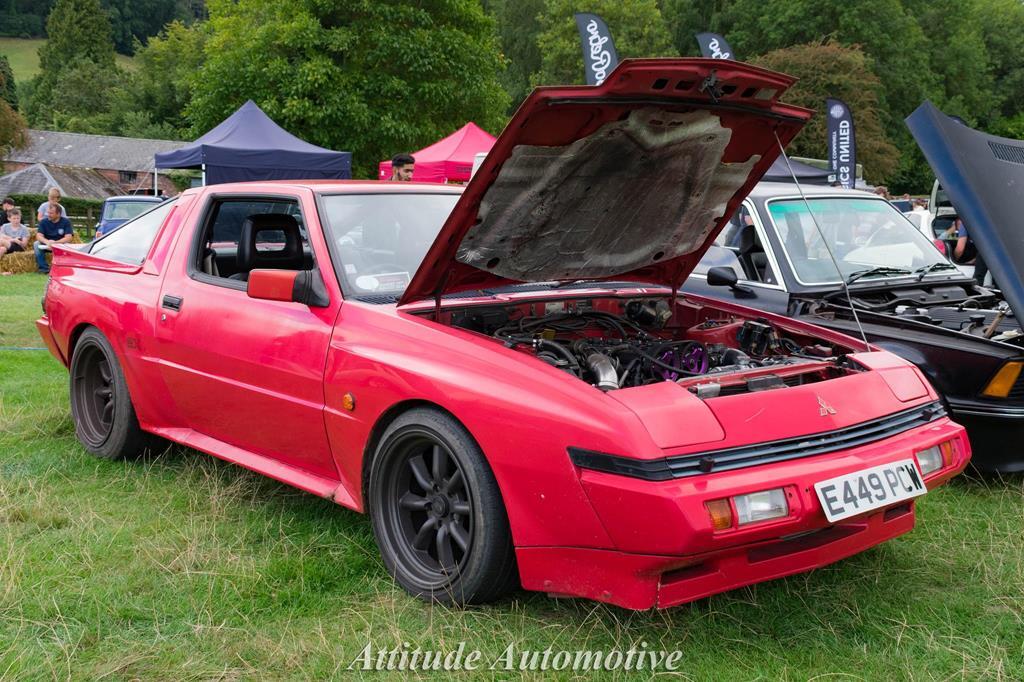 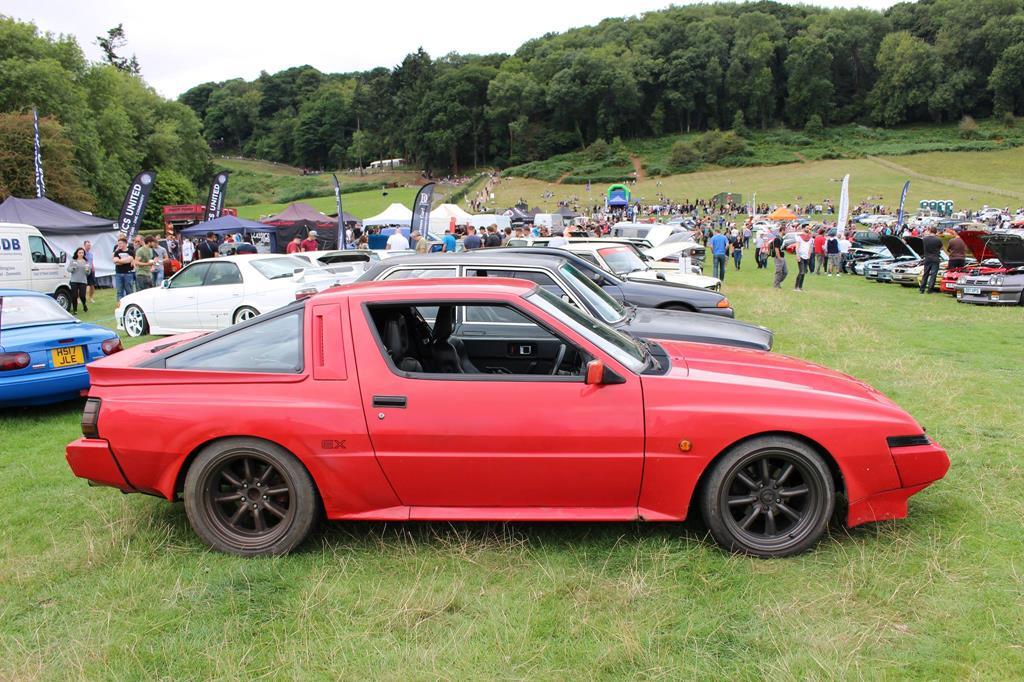 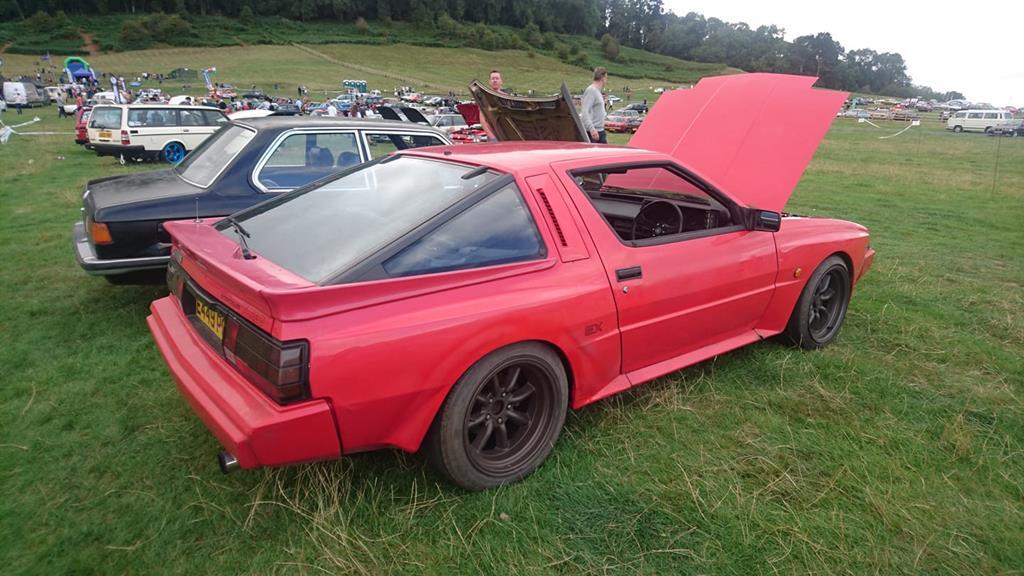 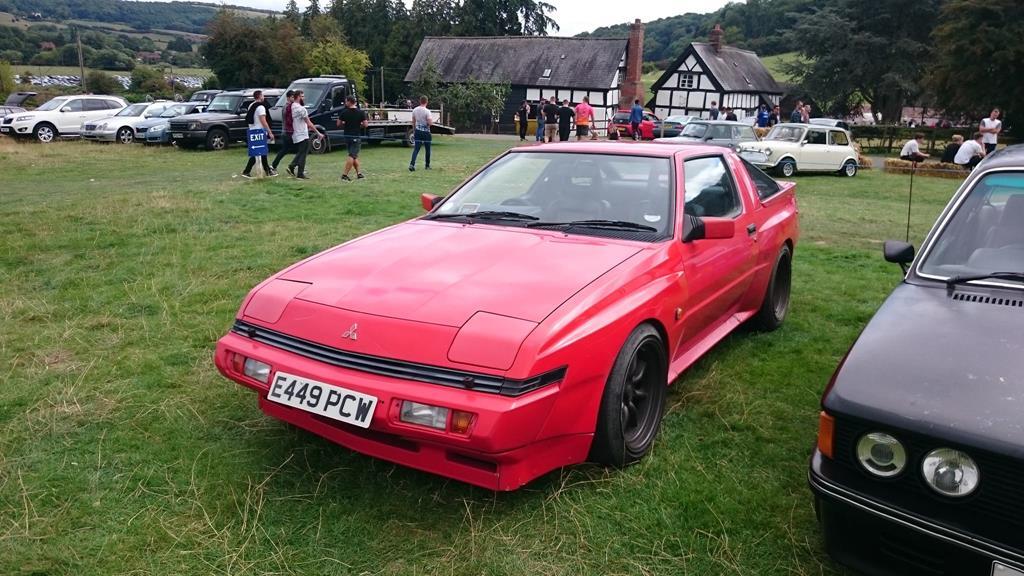 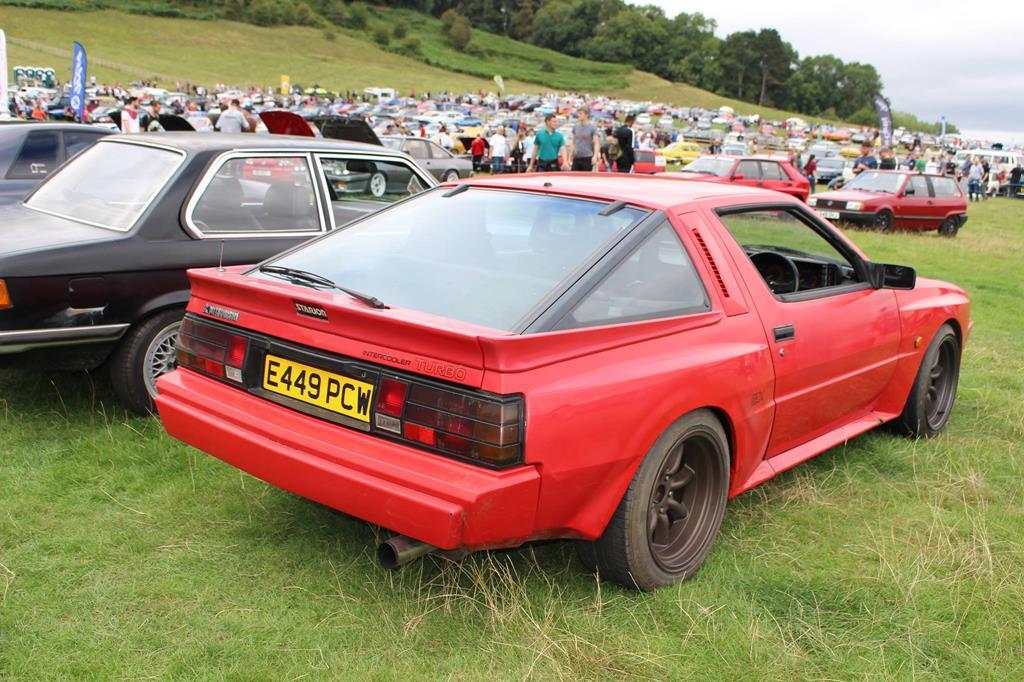 So yeah, after the show i thought i'd celebrate the starion being back on the road by driving it to work monday morning. Sadly, the car had other ideas, and the turbo drain cracked leaving me stranded on the A50 on a bank holiday monday... The oil pressure started flickering and the voltage shot up to 16V, so the voltage reg has been taken out as well... After getting towed home by the AA man (it wouldn't go on his trailer thingy) I stripped it down the following weekend. 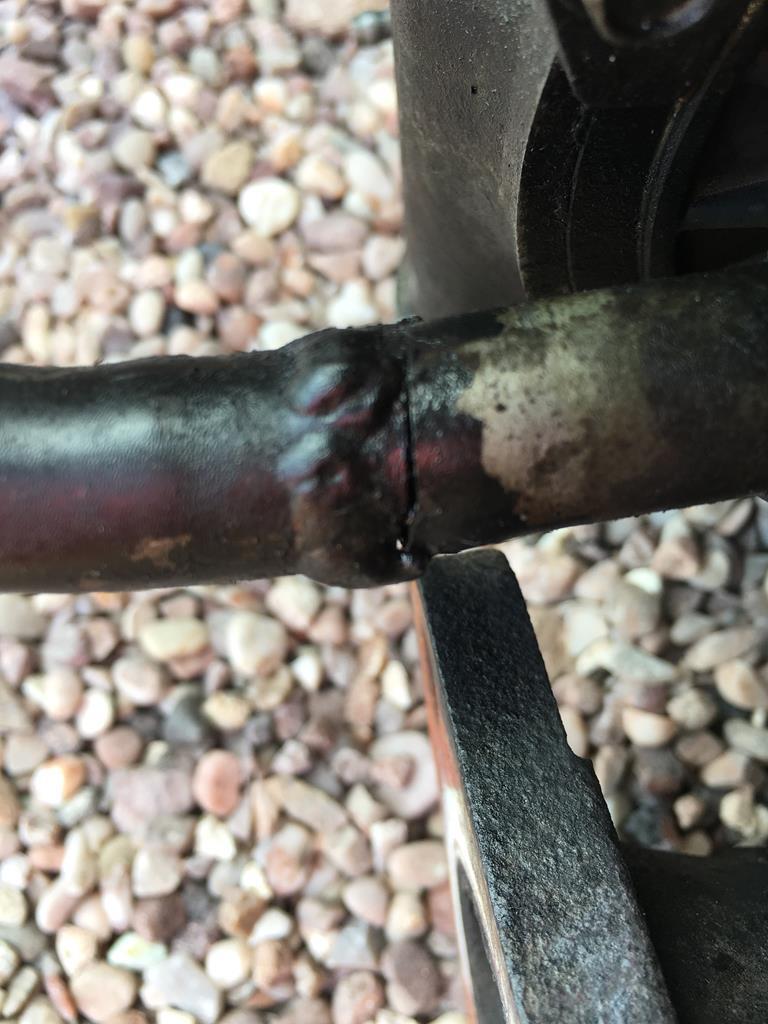  As suspected, the drain has cracked almost all the way around, pouring oil all over the exhaust and alternator (and well everything really!). So there we are! after 2 weeks worth of welding, a mad rush to find a new door and several late nights working on it I managed to drive it a grand total of about 50 miles! I didn't even drive it to the show as I was in the E21!! Ahh well, it will be fixed! |
| |
|
|
|
|
|
Aug 18, 2018 11:23:40 GMT
|
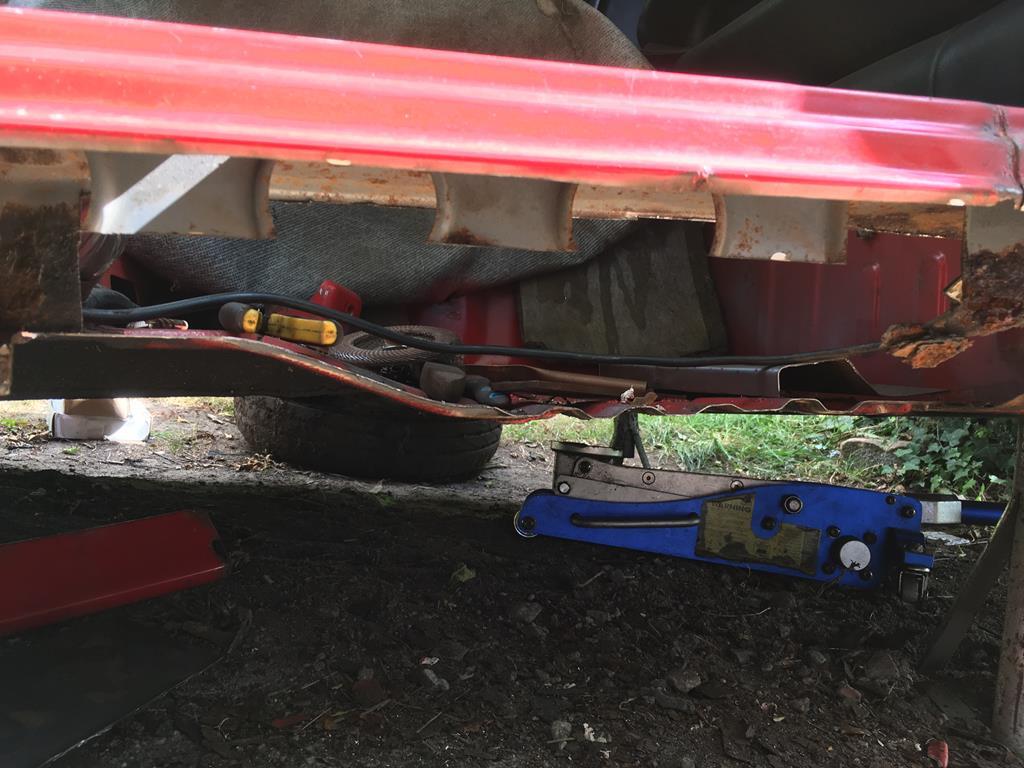
Had a bit of a late evening yesterday, but managed to get the drivers arch welded and bled the brakes 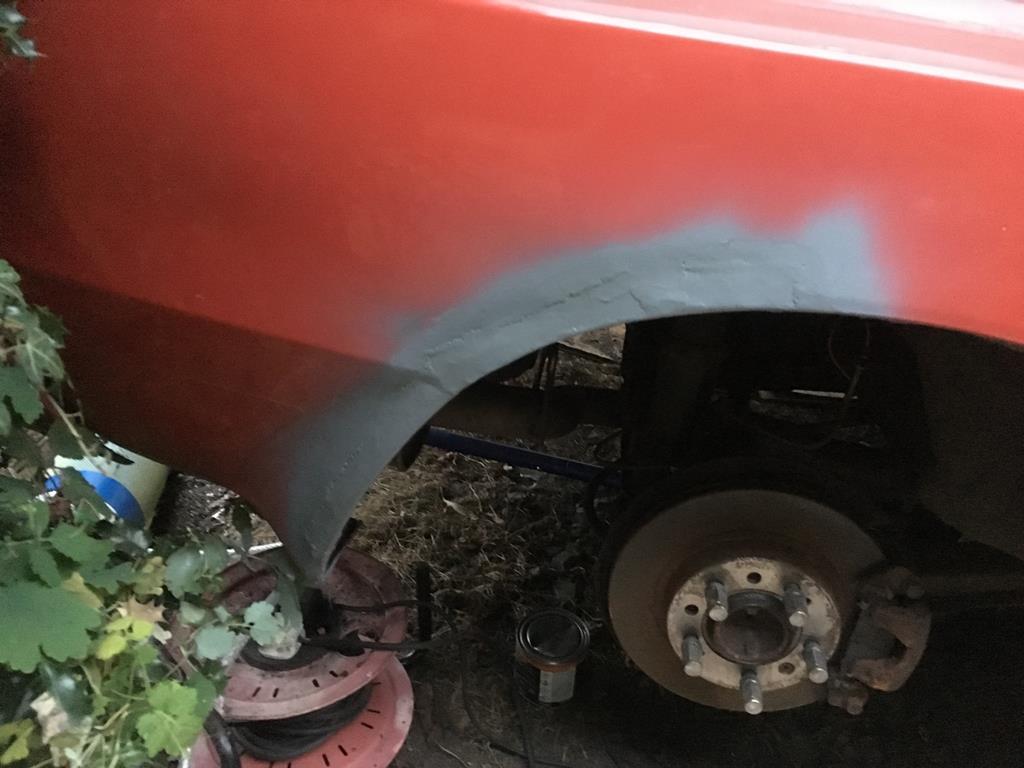 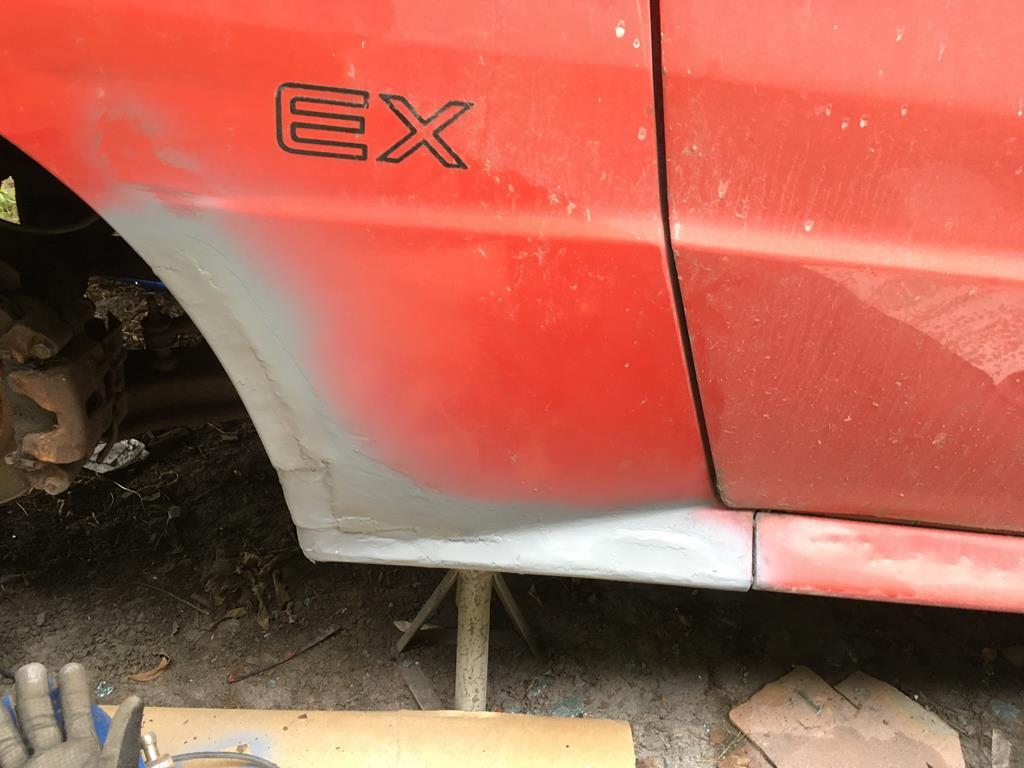 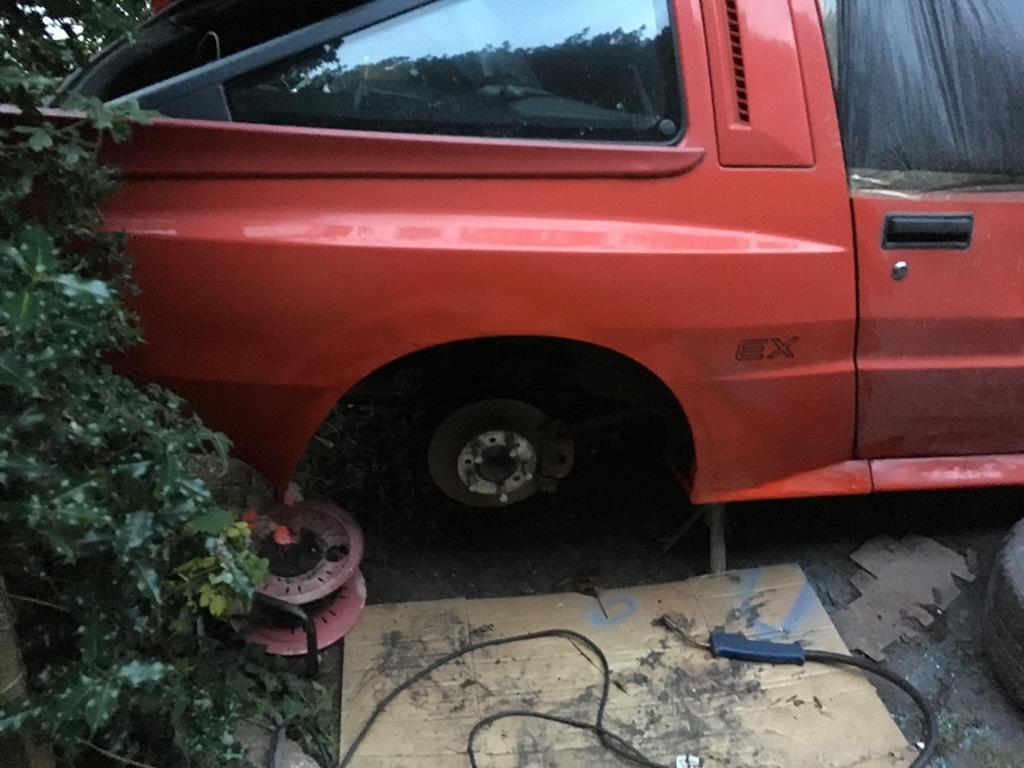 I also found a tow strap inside the drivers rear quarter, god knows how long thats been there - definitely before i owned the car! 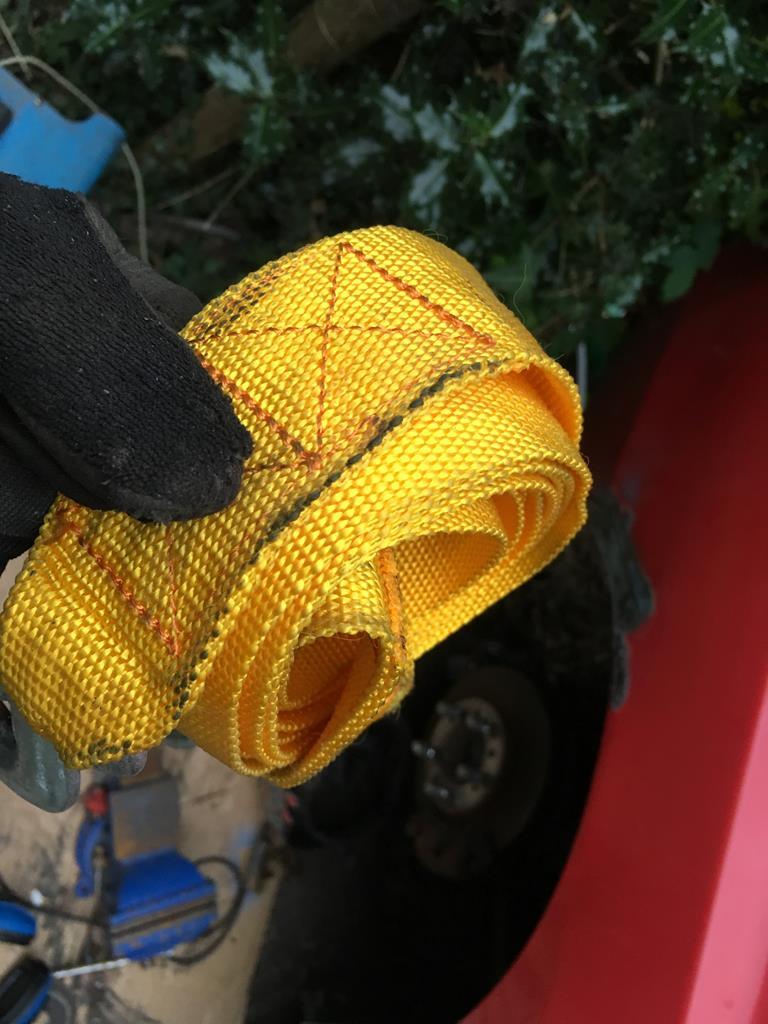 Then a bit of finishing off this morning before dropping it for an MOT. Once thats done i'll get one with servicing it and fitting the new door and we should be good to go! |
| |
|
|
|
|
|
|
|
|
I wonder if the DVLA know how many people are frantically putting cars together and need to buy tax this weekend....
|
| |
|
|
|
|
|
Aug 16, 2018 22:22:49 GMT
|
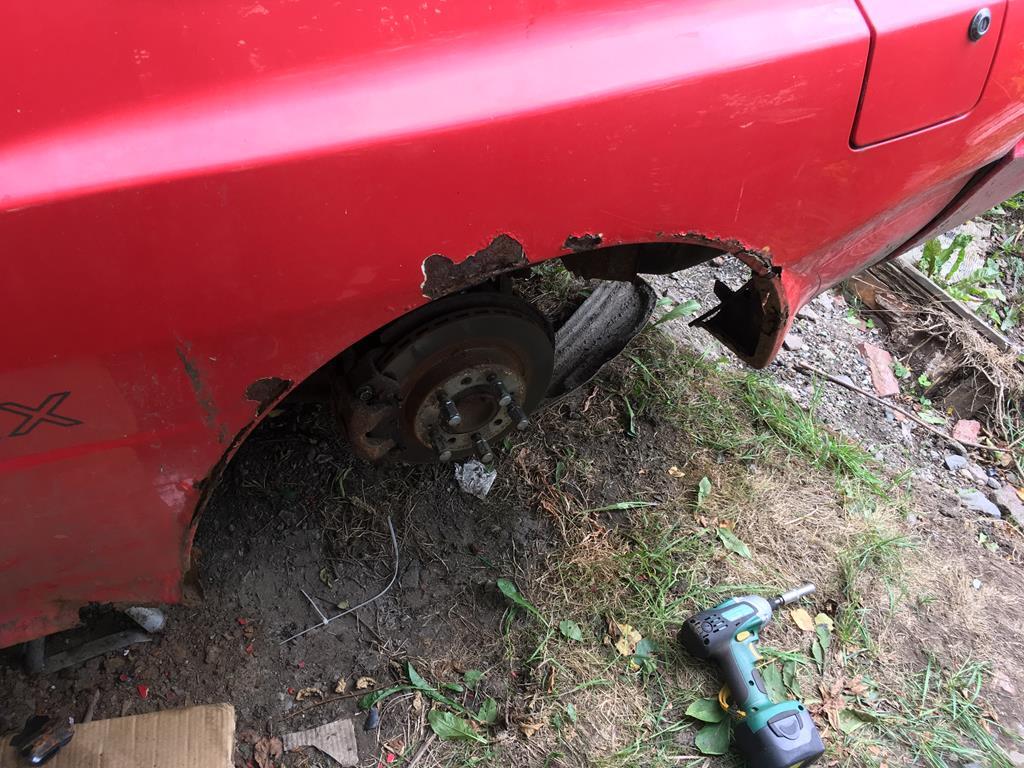
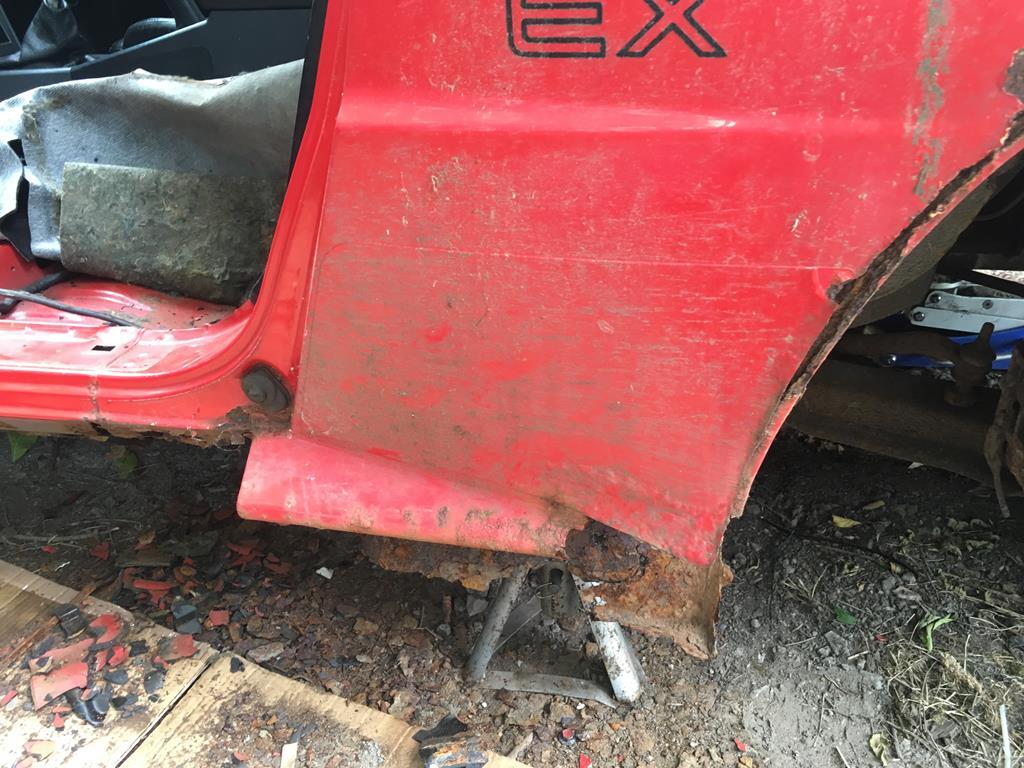
A belated update, but i did put another day in on this on sunday, finishing off the passengers side welding. First off, finishing touches to the floor repairs - replaced the sound deadening and applied seam sealer. Using unibond black PU stuff as halfords had no grey stripe stuff. It's made for bonding windows so should do the trick! 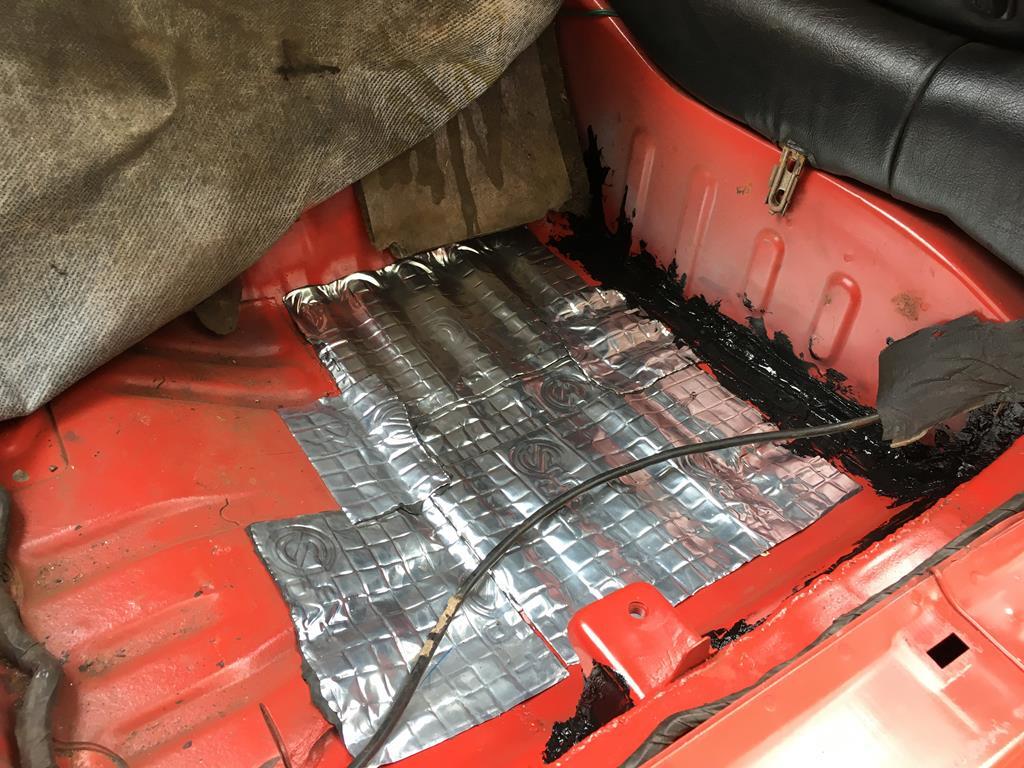 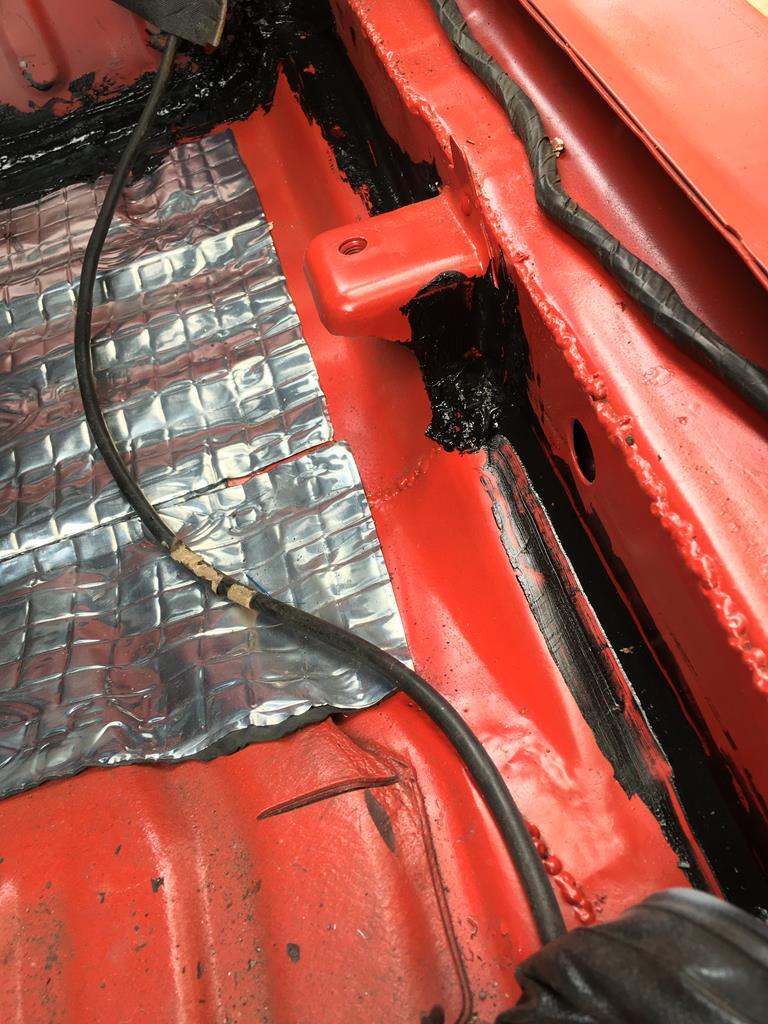 Then refit the carped, trims and passengers seat. looking like a car again now! 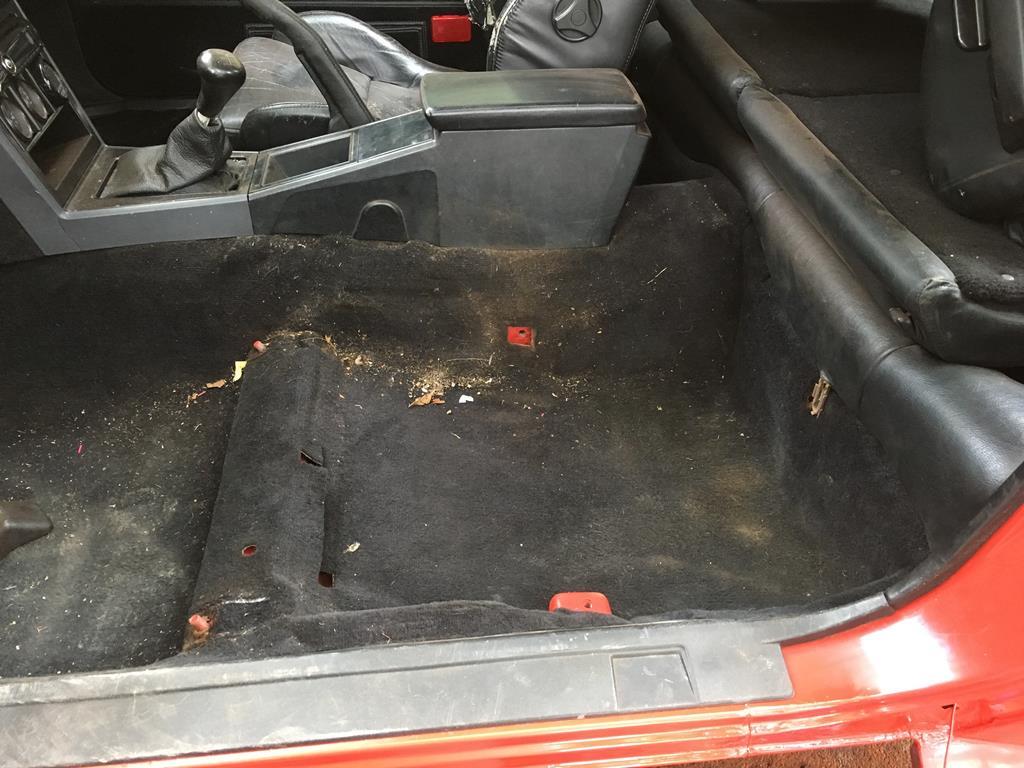 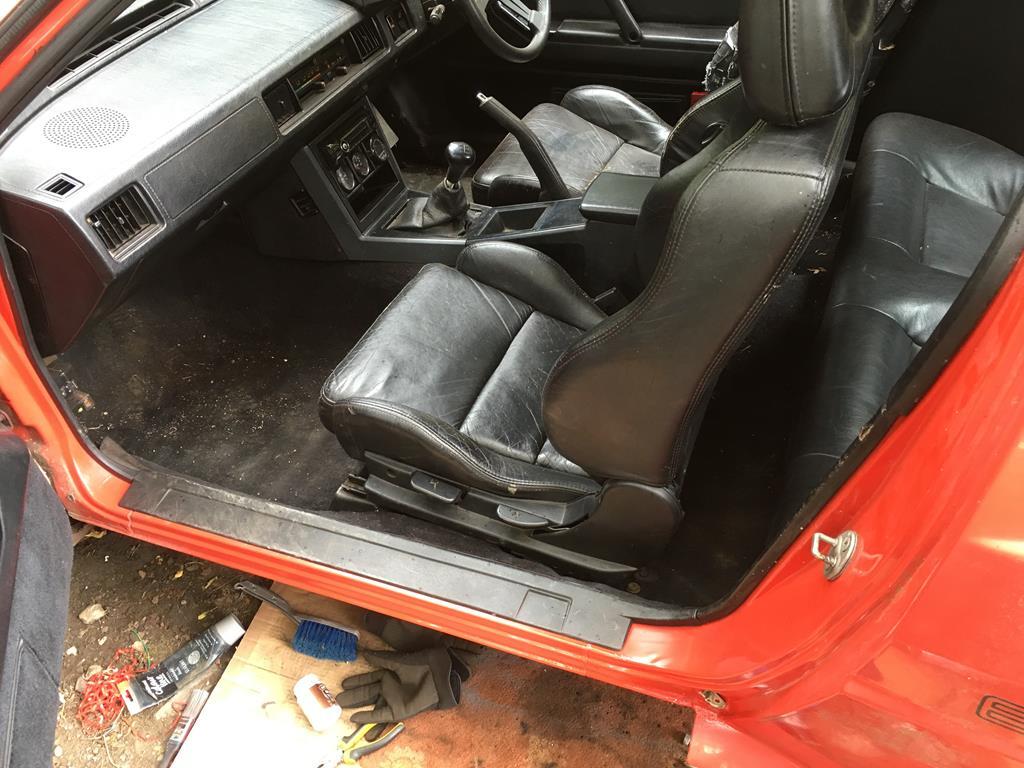 With that ticked off, time to get back to welding. Starting with the final patch on the sill end/quarter panel:  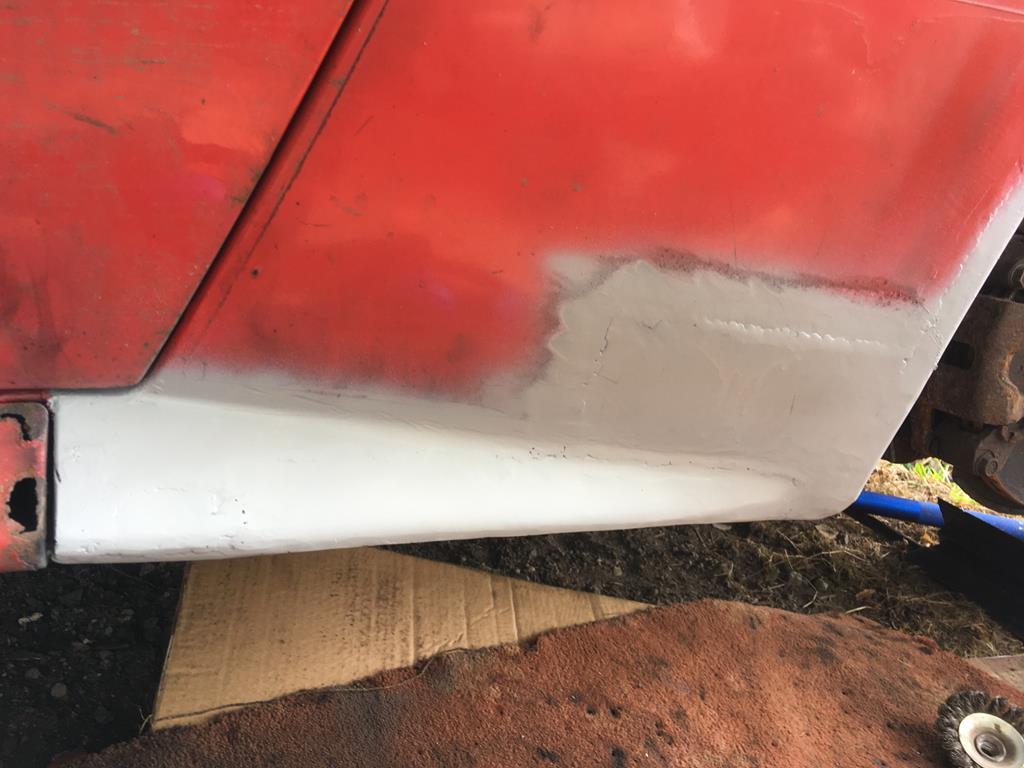 Moving on to the arch repairs. I thought I'd created some gnarly warps in the quarter panel doing these repairs, but then I remembered the panel was already dented before hand  on top of that half of it has around 4mm of filler on it, so getting it looking nice again after all the welding will be fun! 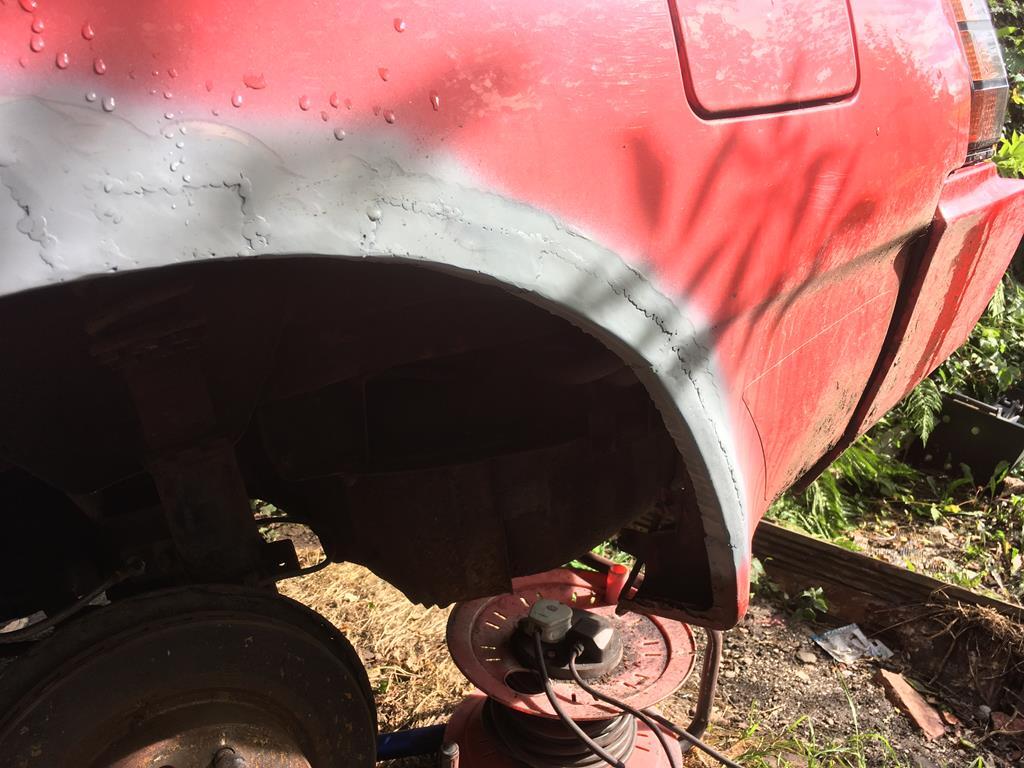 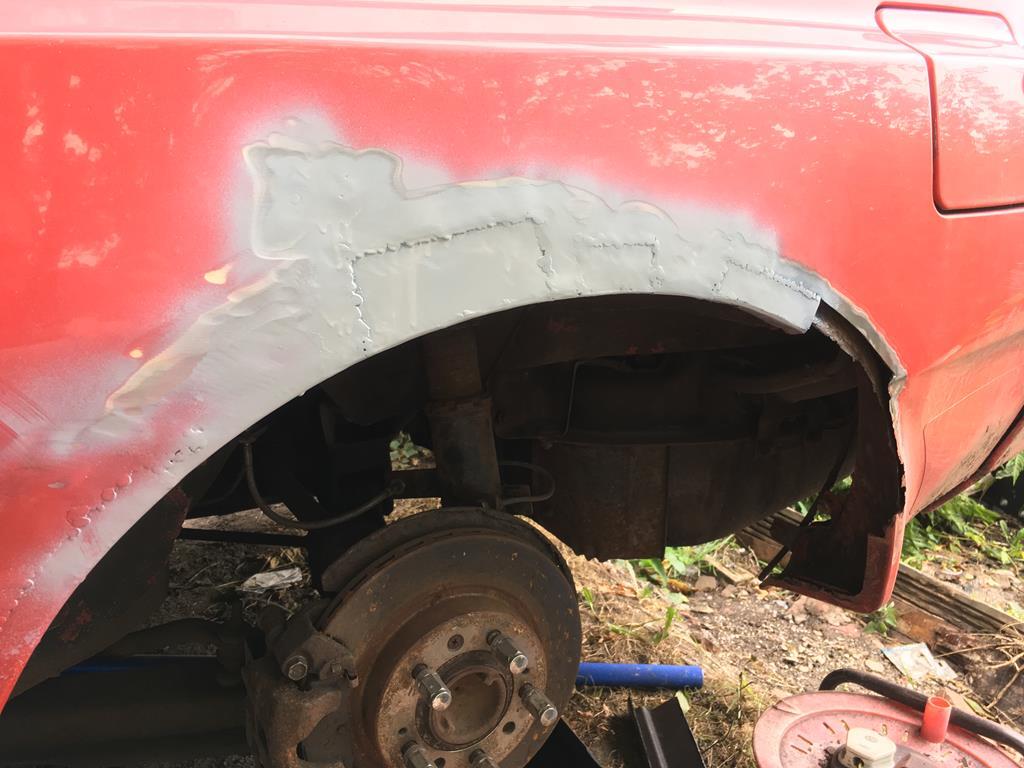 Since I don't have time for filler right now (and probably won't for a while) i've just painted it red to stop it rusting. I also drowned the inner sill and anywhere else i could reach in waxoyl now the welding is finished on this side. 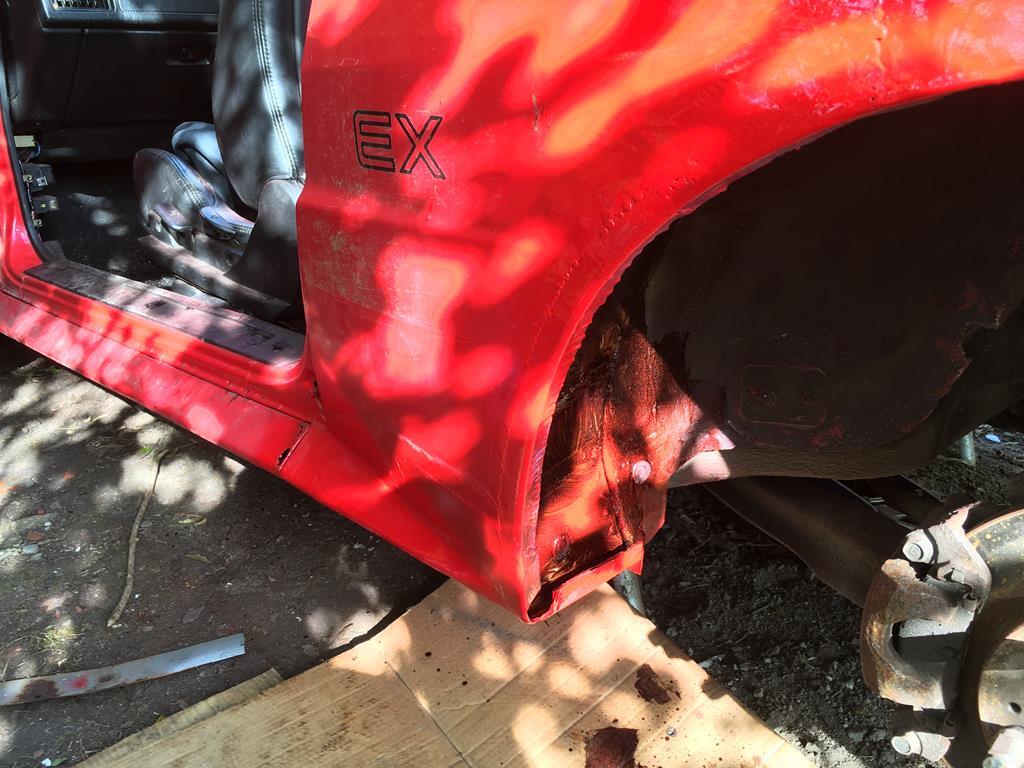 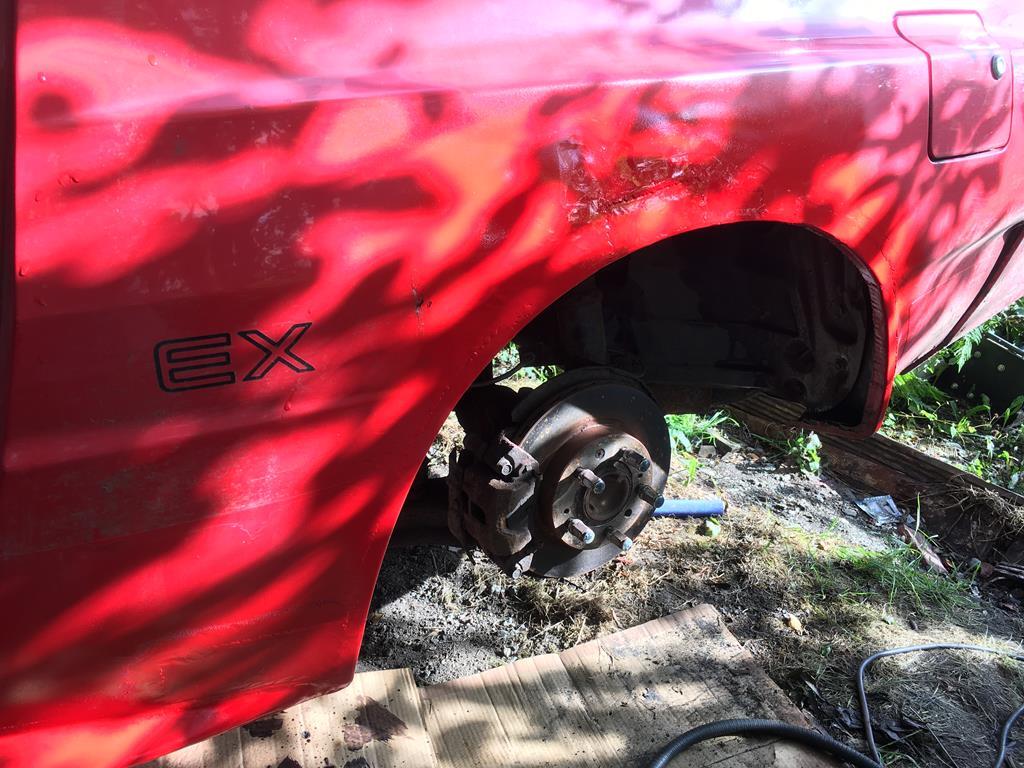 Then. Disaster struck! I started moving stuff round to make a start on the driver side but it started curse word it down. No matter, I thought, i'll just dump stuff on the drivers seat to keep it out of the wet. As I was rushing around getting things out of the rain the driver door slammed shut in the wind and the window connected with the corner of the welder, shattering it everywhere  I was not best pleased, as you can imagine, and very nearly just gave up went to the pub. But I figured i should at least cover the hole where the window used to be and clean up the glass... 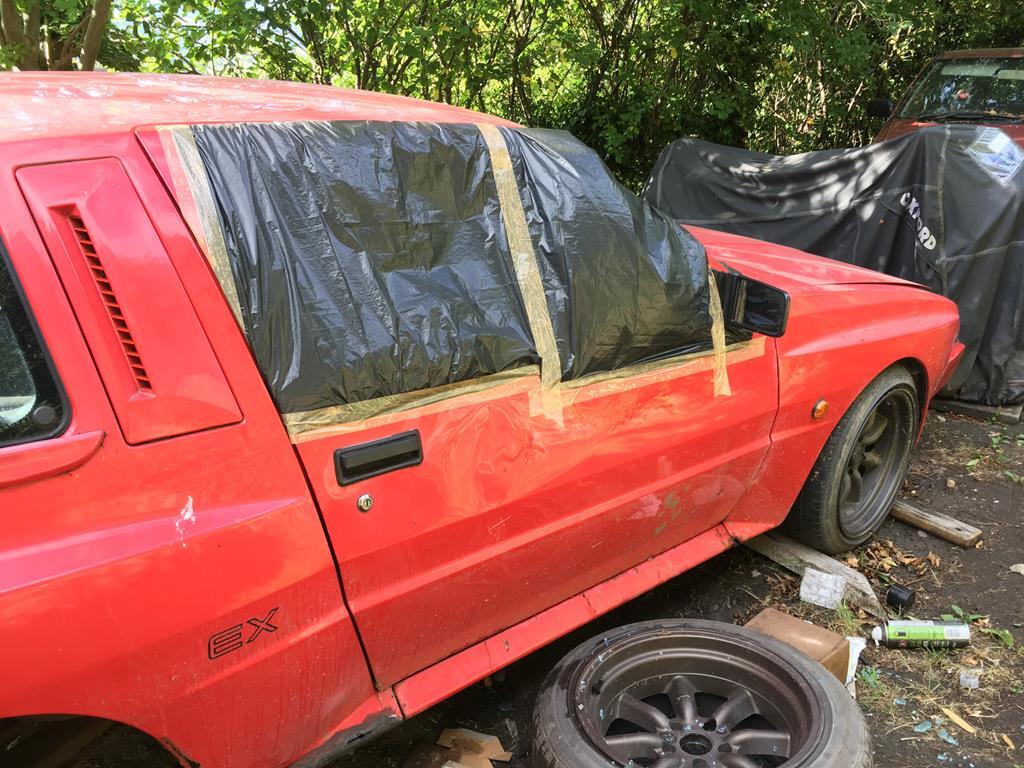 After a bit of sulking, I figured i'd put a lot of effort in thus far, and that I should at least try and find a new window for it and get it to the gathering. After all, i'd managed to find a whole front end with help from some people in the owners club, so gotta be worth a shot right? and indeed it was! After a plea for help on the facebook group, someone offered a whole new door in red from a very rotten parts car, and best of all it was only 20 mins from work! so last night I took a little detour on my way home and ended up with this in the back of my car! 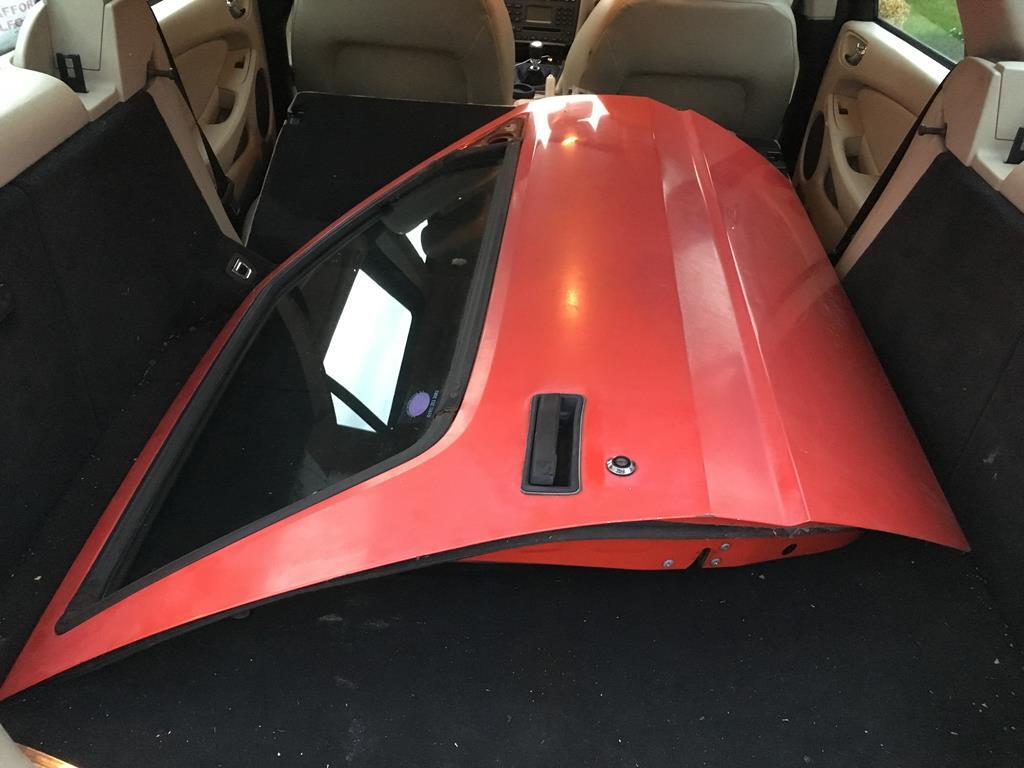 This does still leave me with some welding on the drivers arch, and now I need to change a door as well, but at least i have the parts! I figure i'll concentrate on the welding and it can be MOTd with no window if it comes to it! The welding in question: 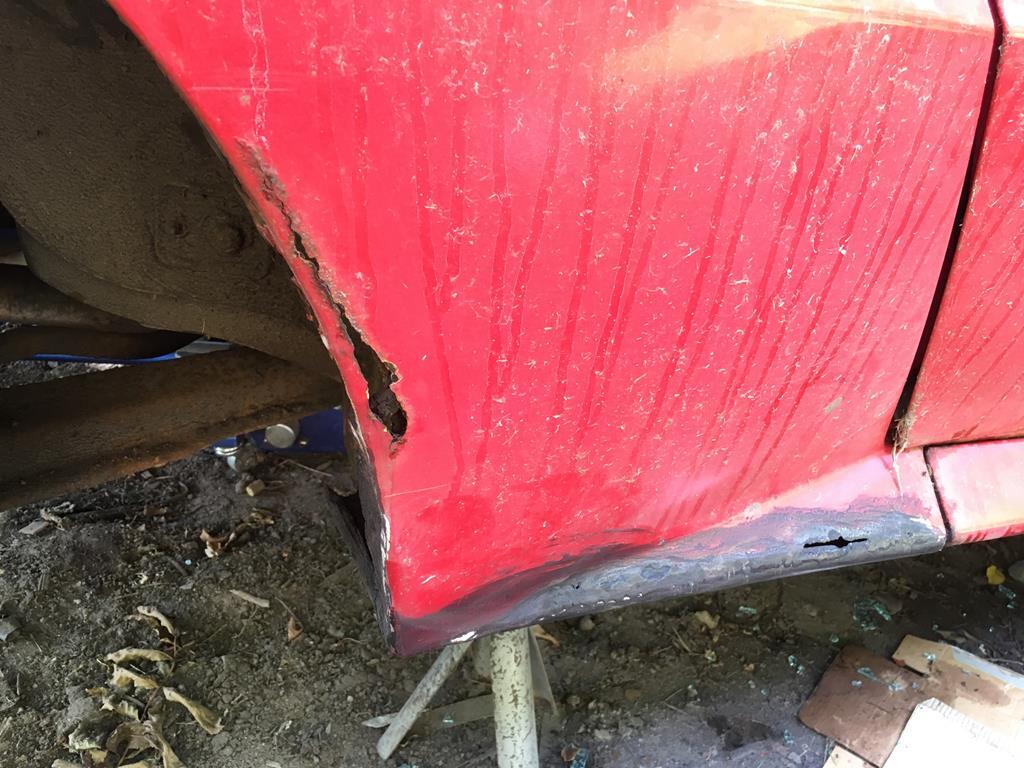  Once again, wish me luck! I feel I may really actually need it this time |
| |
|
|
|
|
|
Aug 15, 2018 15:59:05 GMT
|
|
Good to see the 850 will be there! The starions getting a bit touch and go... MOT on Sat :s
|
| |
|
|
|
|
|
|
|
Wow youve really cracked on with this. Nice going. Just out of curiosity after welding the inner sill areas. How would you stop it again from rusting? Shultzing the inside? Etching primer then, red oxide side then a colour of your choice? I only ask as I'll be doing the same to my polo. Umm all of the above really! The more you can do to stop rust on the inside the better. Usually I paint the inside of panels with red oxide epoxy primer, then try and spray some primer on the back of the welds if possible. In this instance I wasn’t that prepared and don’t have any epoxy primer, so I’m going with regular primer and paint over the top (as normal primer will rust on its own). Then when it’s all finished spray the cavities with waxoil or similar. There should be factory holes to access the inside of sections, so make sure you replicate these holes on any patch panels you make! |
| |
|
|
|
|
|
|
|
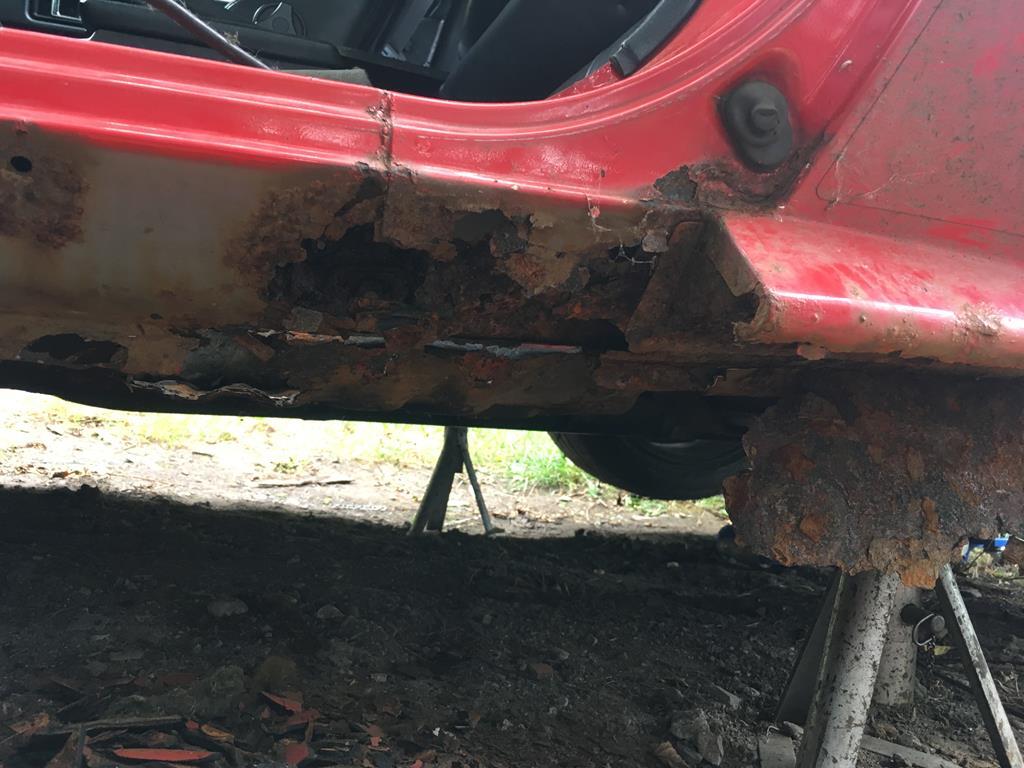
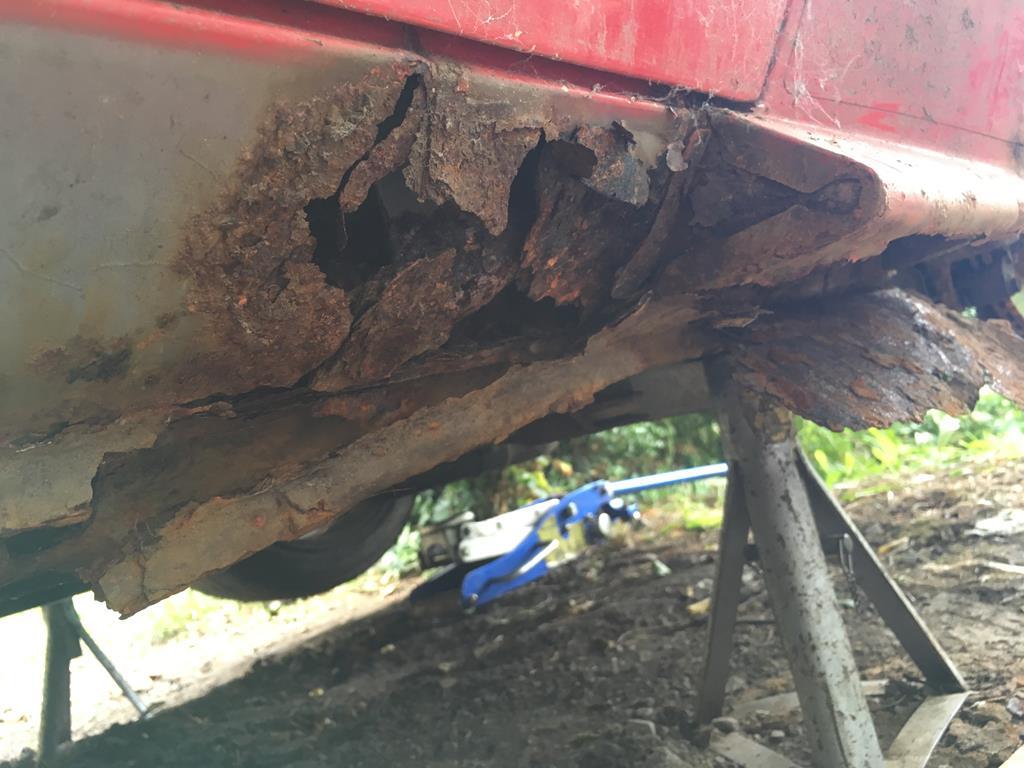
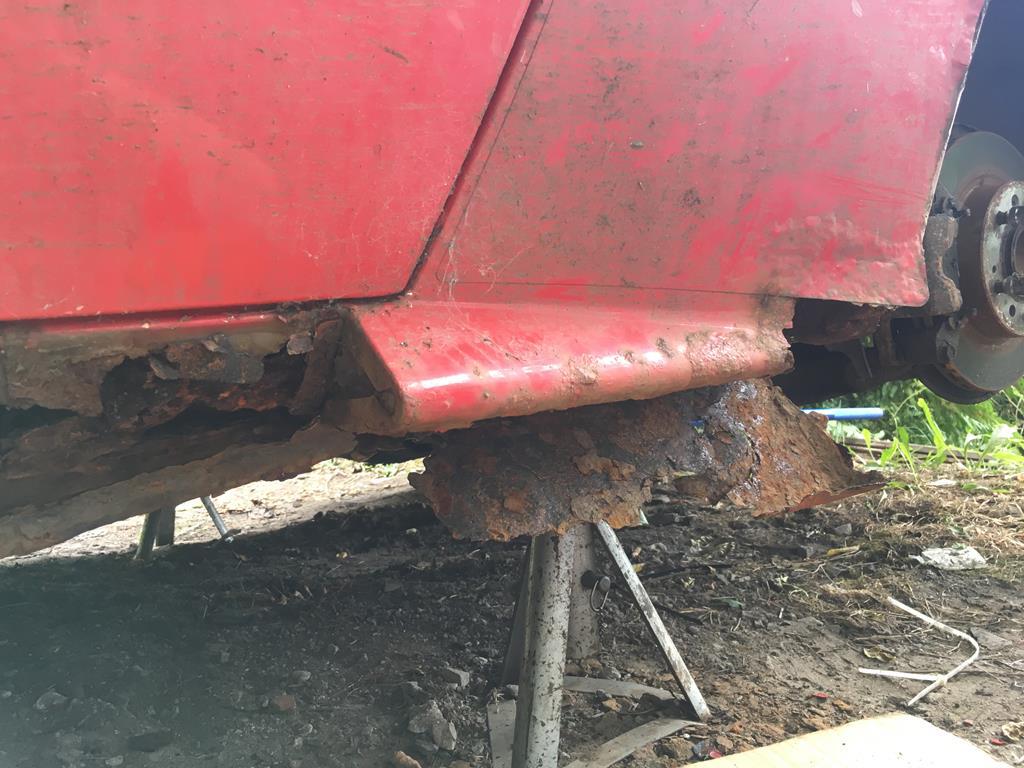
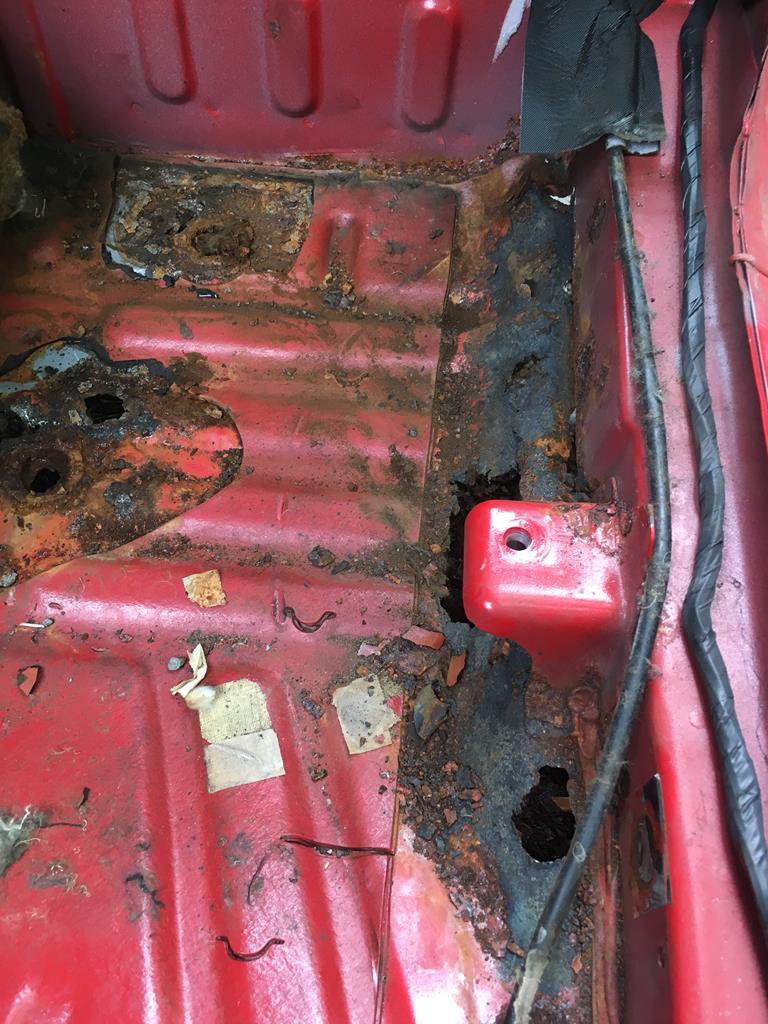
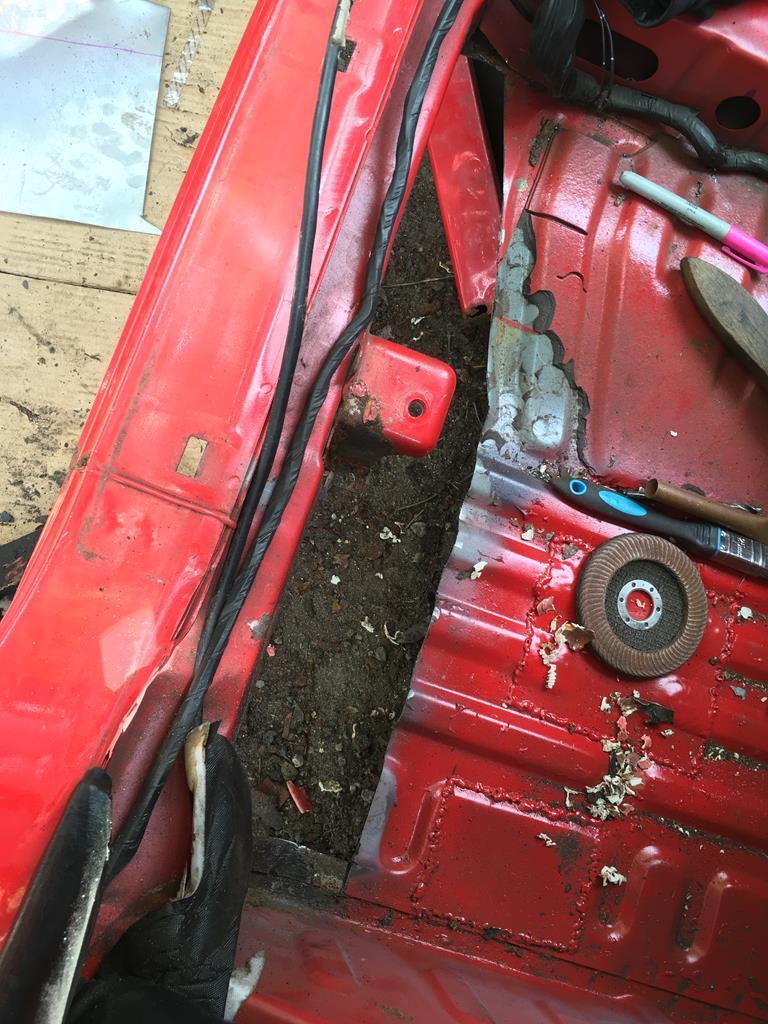
Jesus curse word. How have you even got time to look at other things on the forum. GET BACK TO THE IMP! ^ WHS PS - good luck with the welding and hitting the deadline Splitty456 Thanks... i feel like i could use it!  I've made some pretty good progress, but theres still a few bits to do and i've really only got tomorrow left to work on it. Also it's forecast rain all day  Anyway, I basically started at the front and have been working my way back, passenger floor and inner sill/seat mount first. This is made slightly awkward as the inner sill panel folds under join up with the floor from above, rather than all being joined with spot welds in one seam underneath (as you would expect). It probably helps with rigidity, but really just adds another water trap in the sill section... 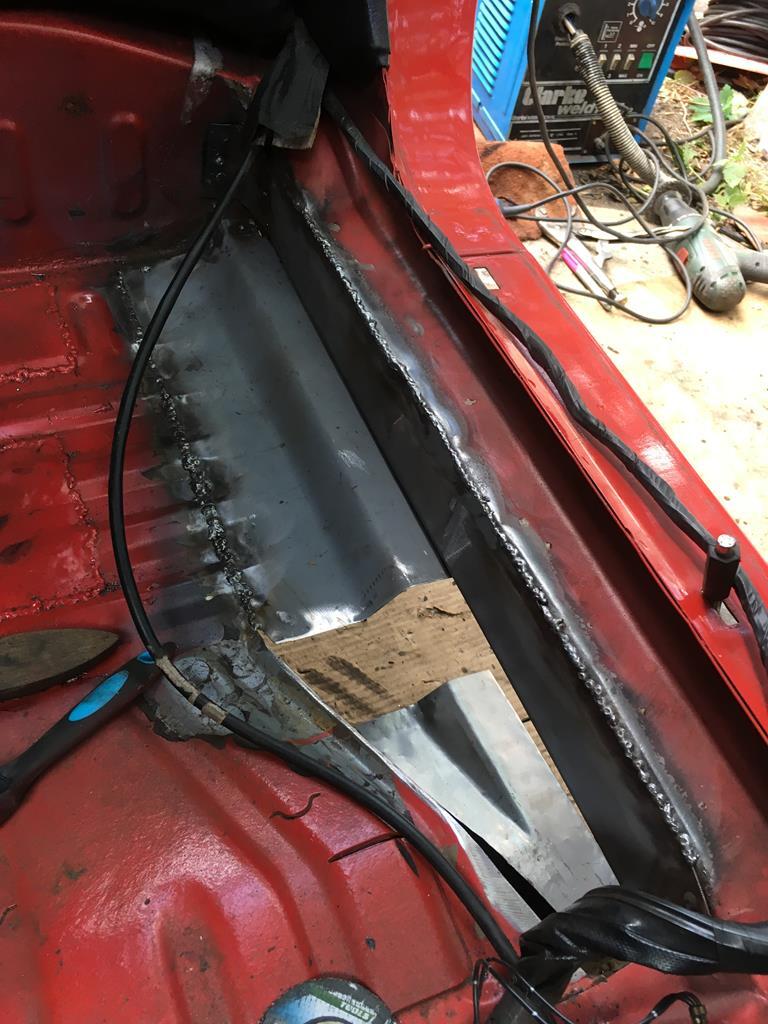 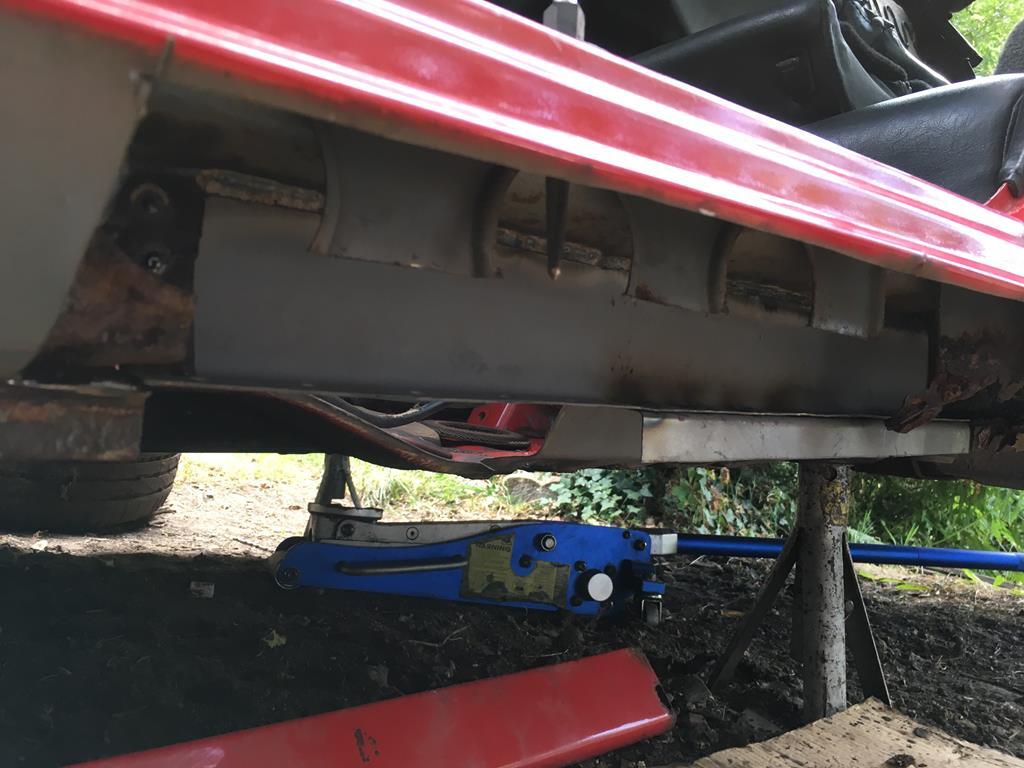 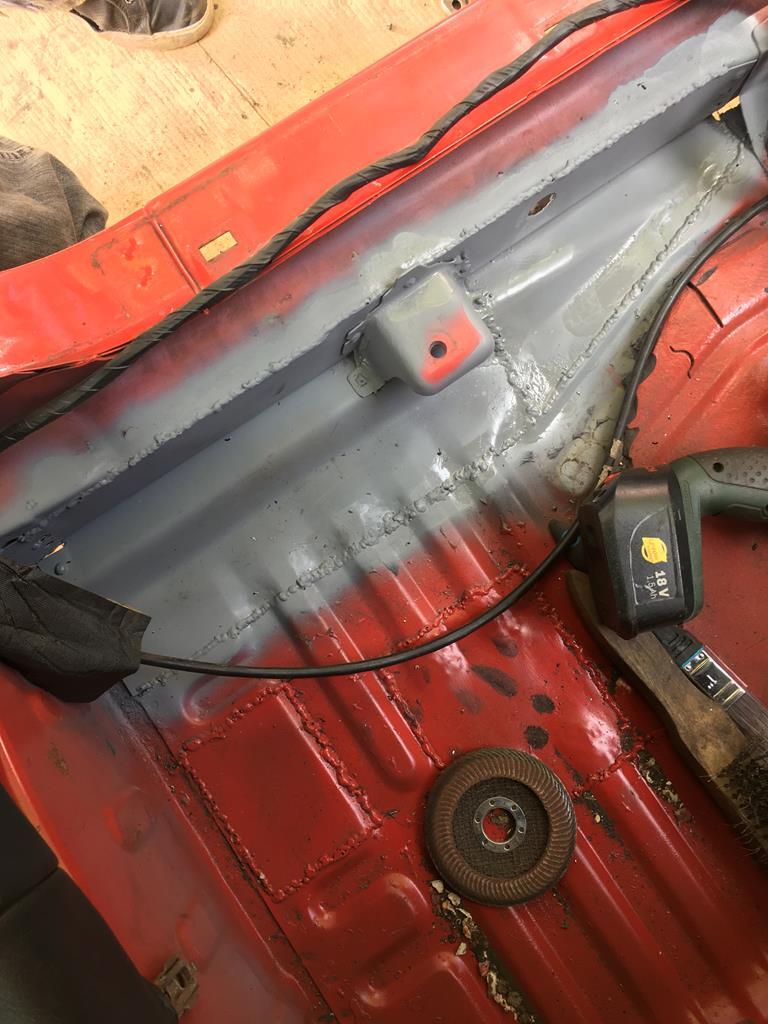 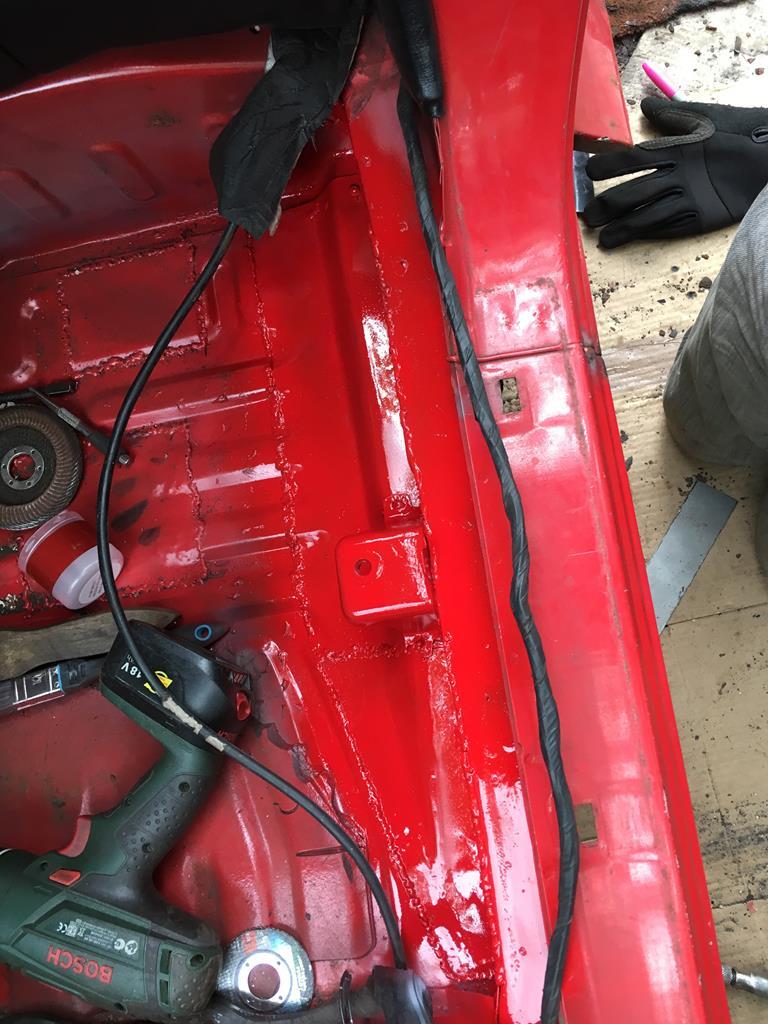 With that done i realised i needed to cut out more structural inner sill in order to repair the stiffening panel that sits inside. Since theres so much rust in the arch i felt that might make the quarter panel move around too much, so i decided to repair the leading edge of the arch while it it still in it's original position 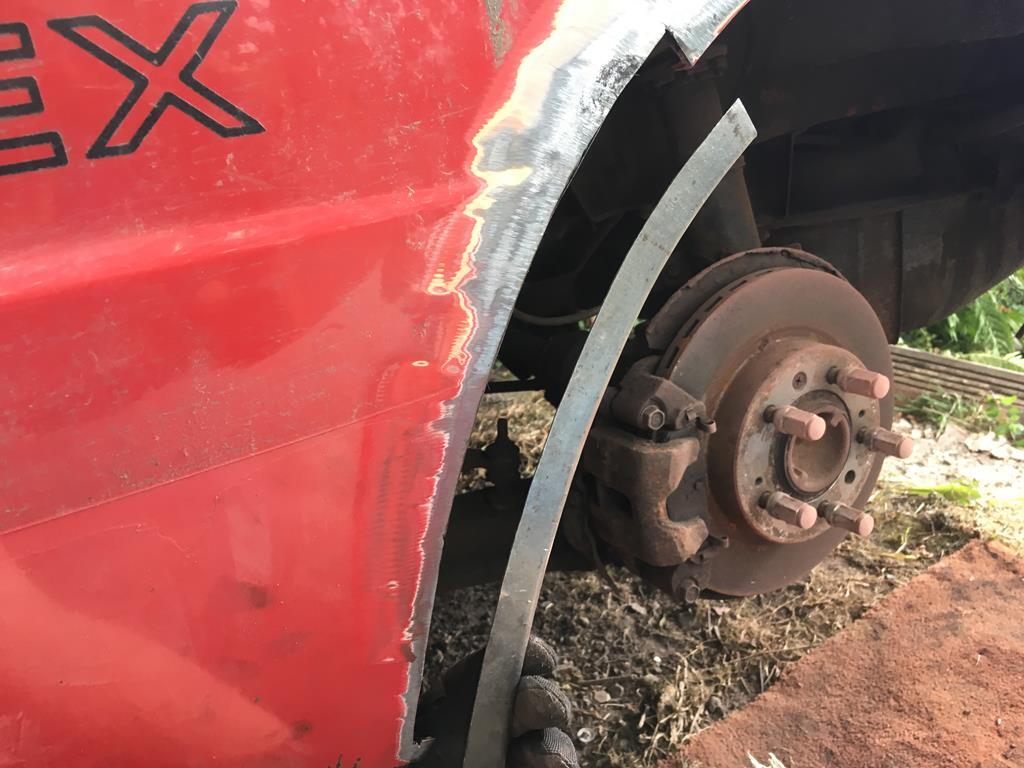 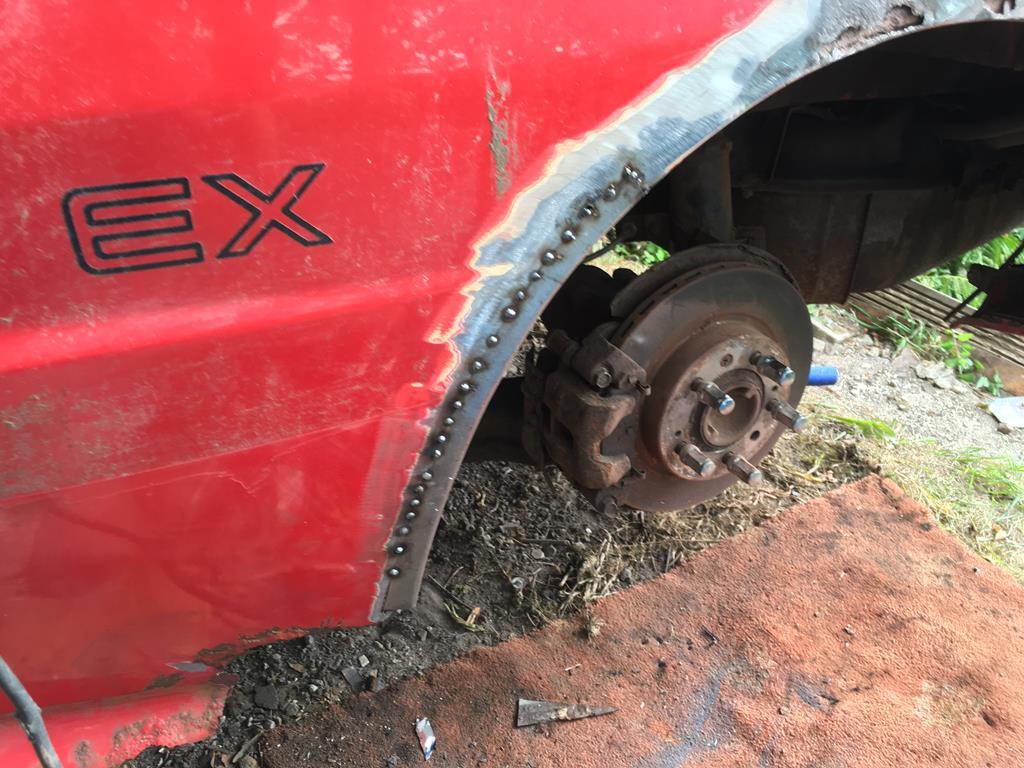 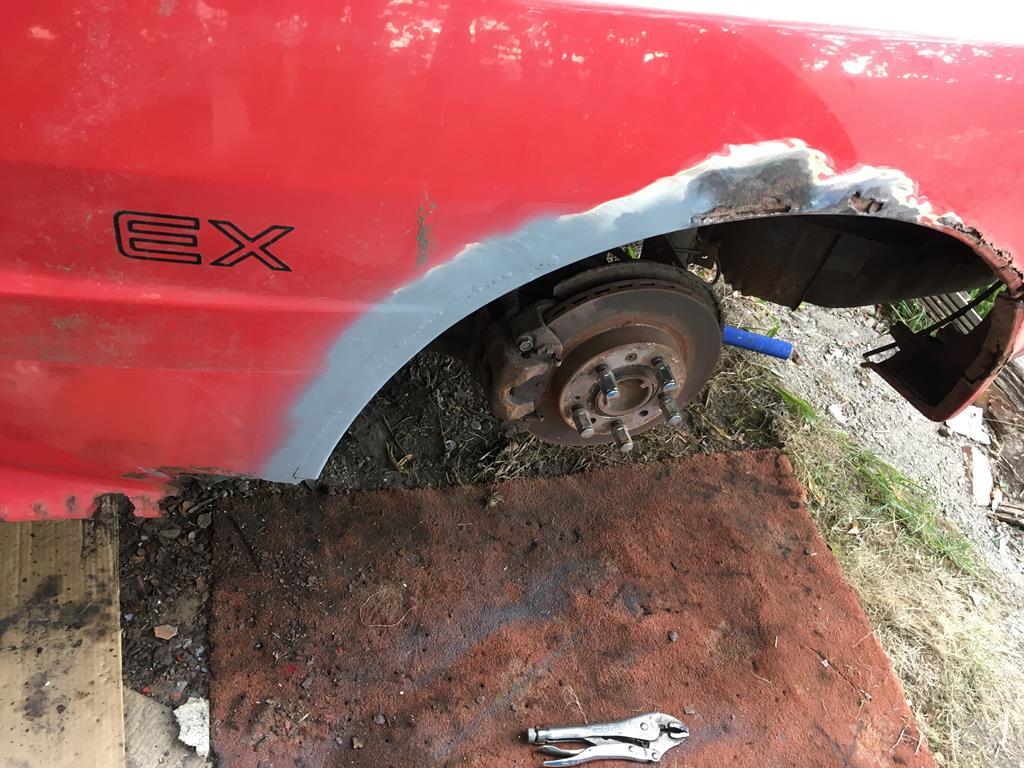 You can see just how much I ended up cutting out of the quarter panel here 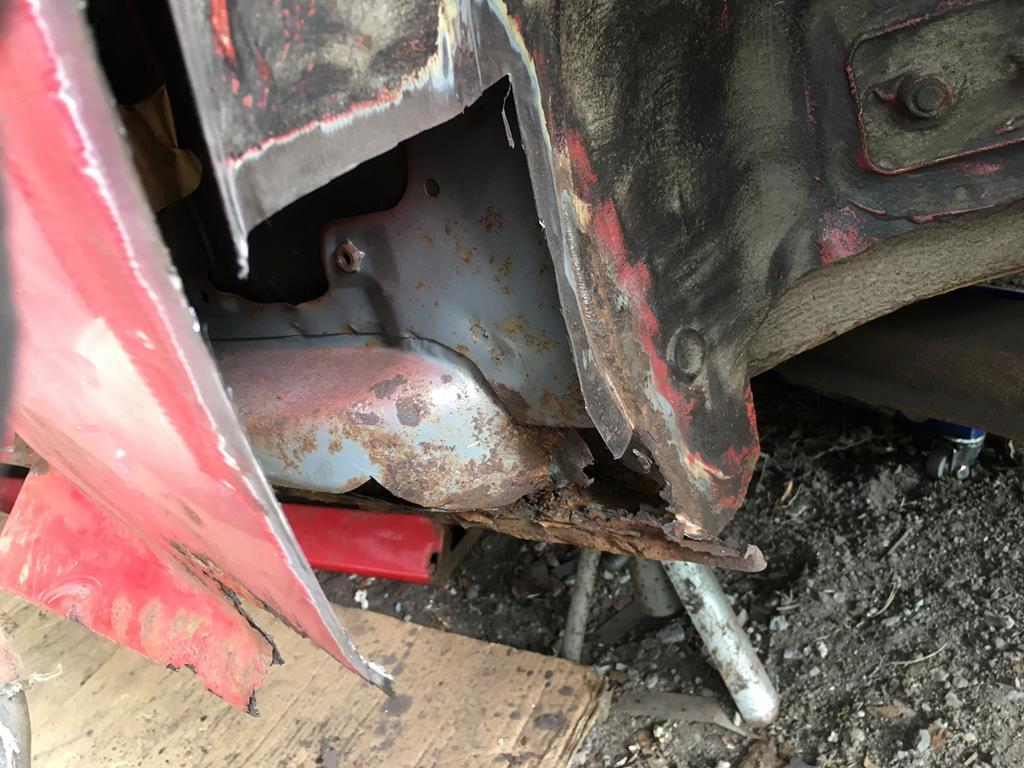 With some stiffness added back into the wheel arch i felt more comfortable cutting more structure away 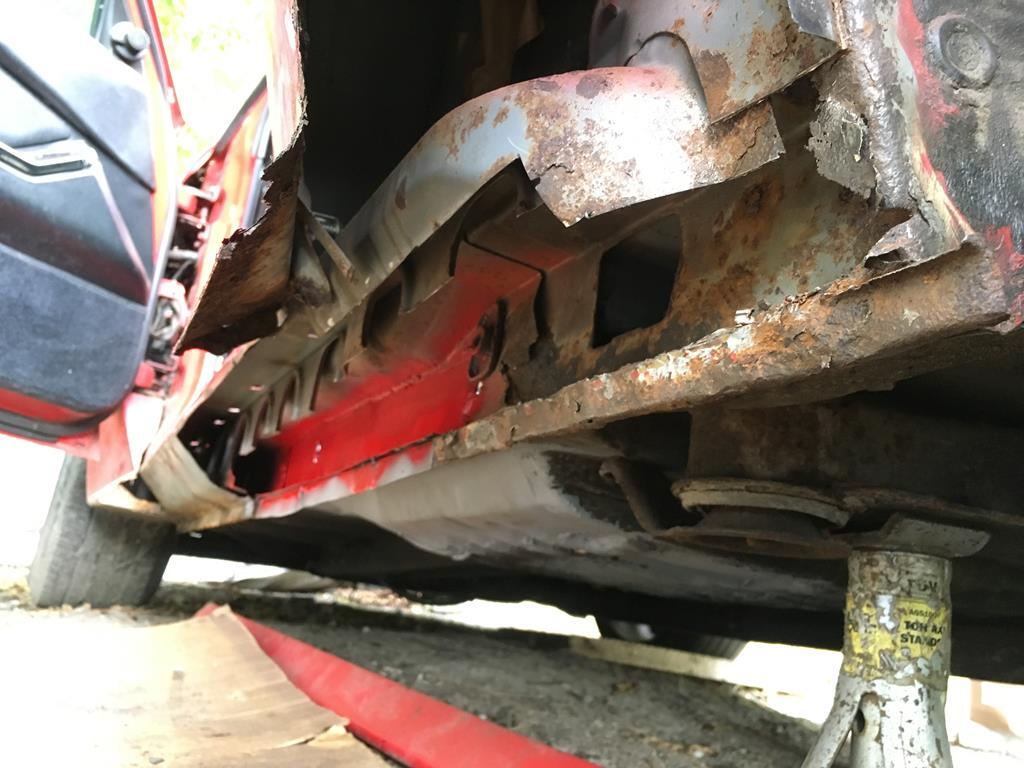 Which gave me enough access to repair this stiffening panel, the repair panel made in 2 parts for ease. 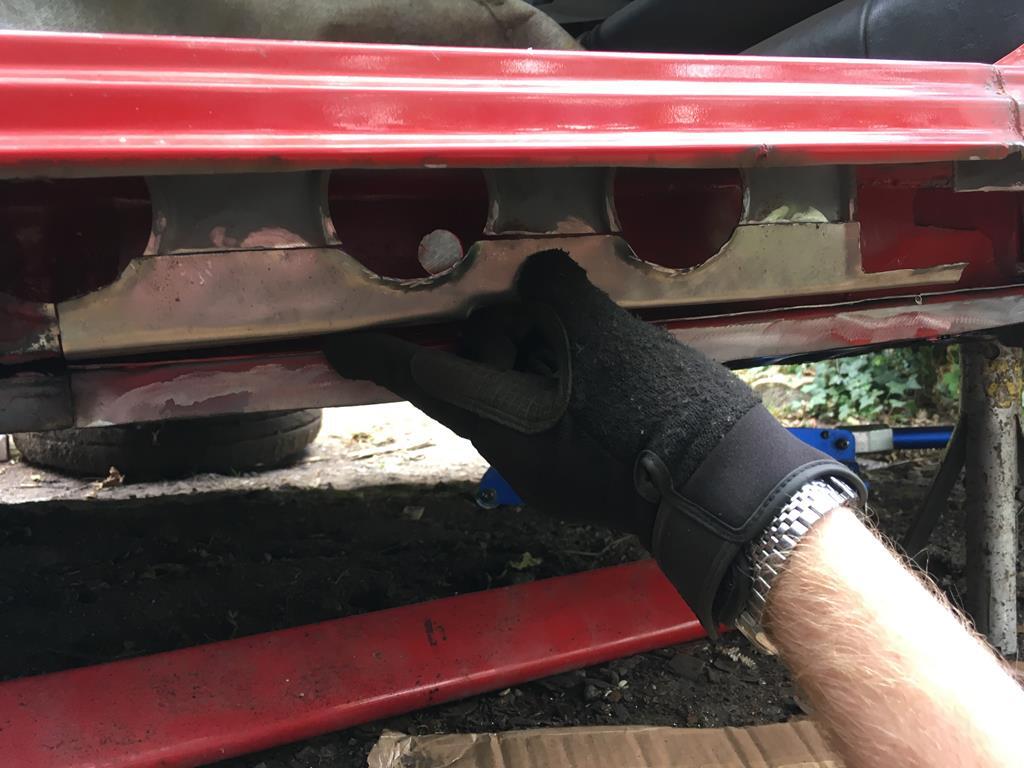 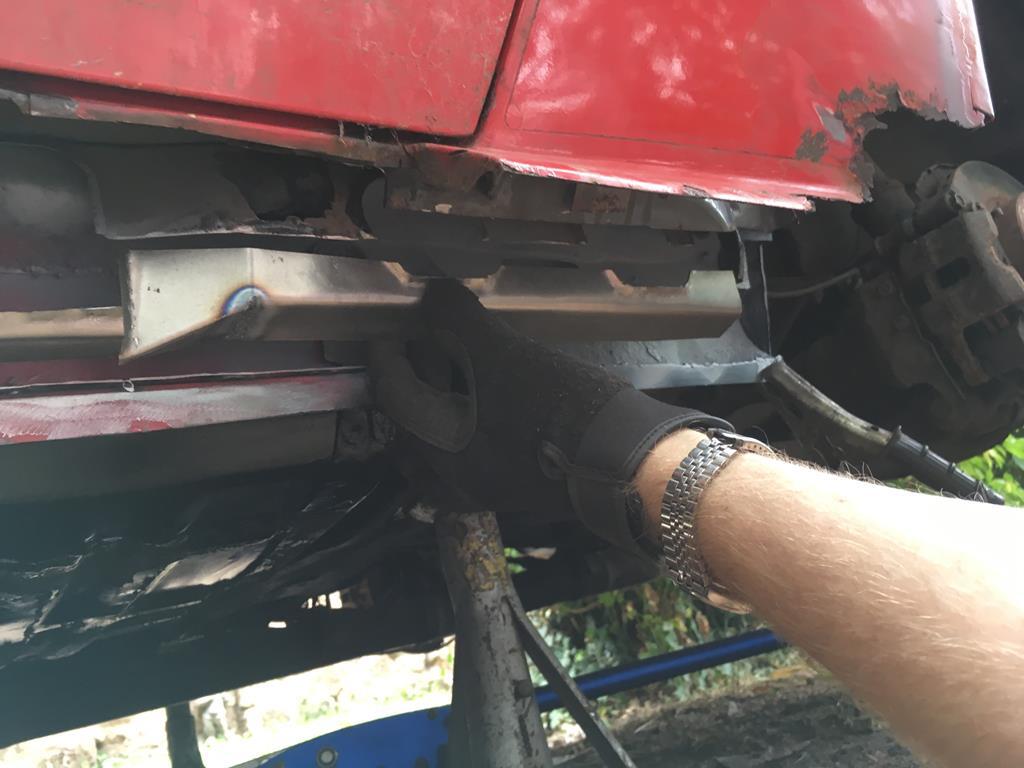 Then onto the outer sill sections. I repurposed a BMW E21 sill repair panel for these as the profile was close enough, again starting at the front 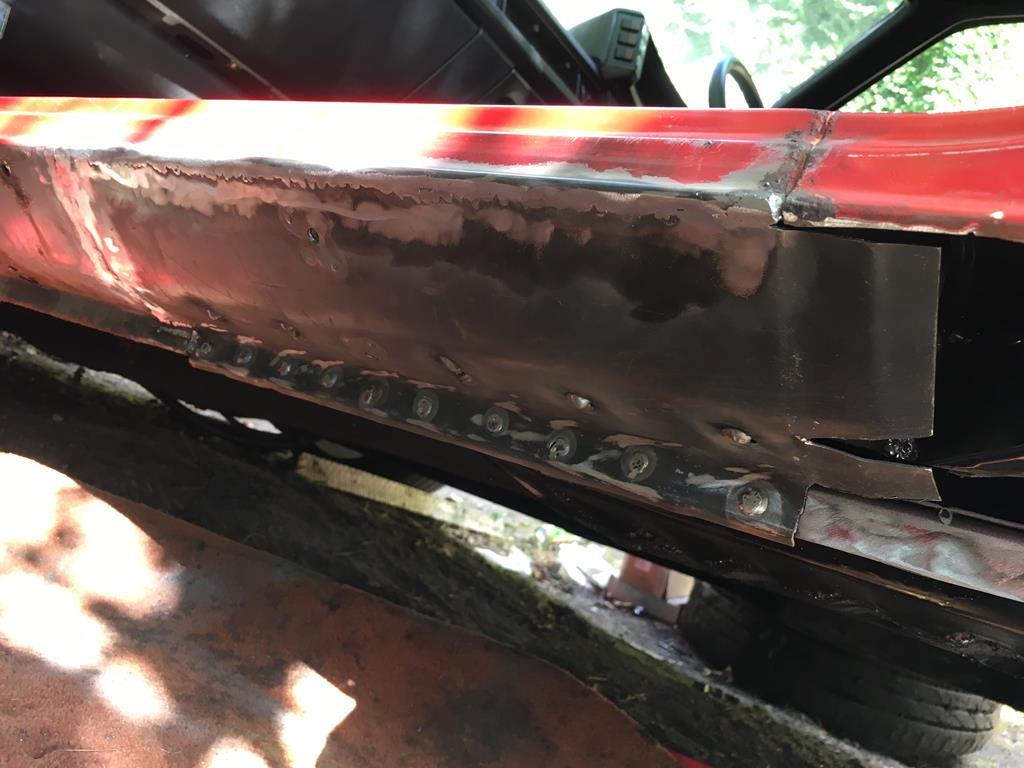 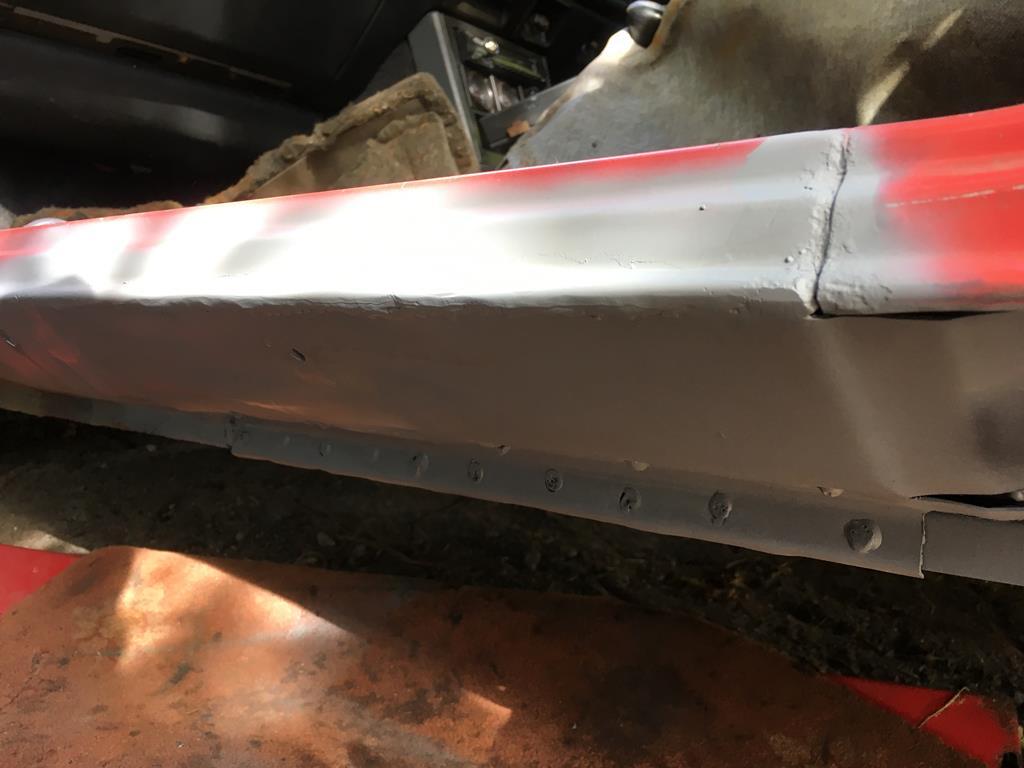 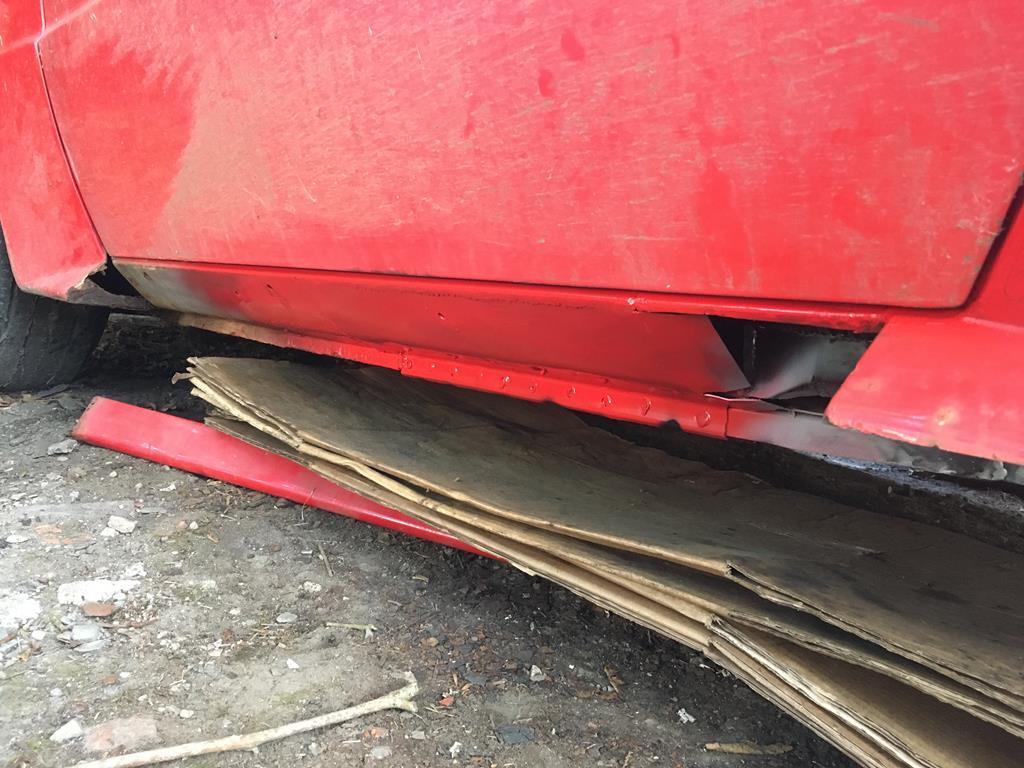 And working backwards 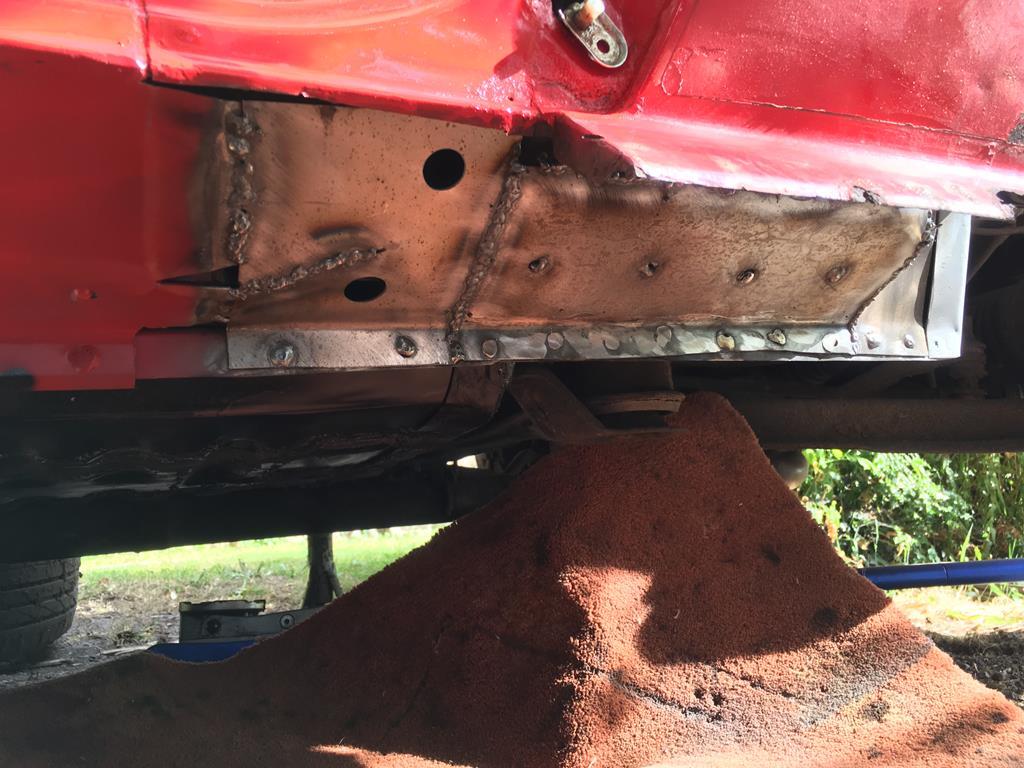 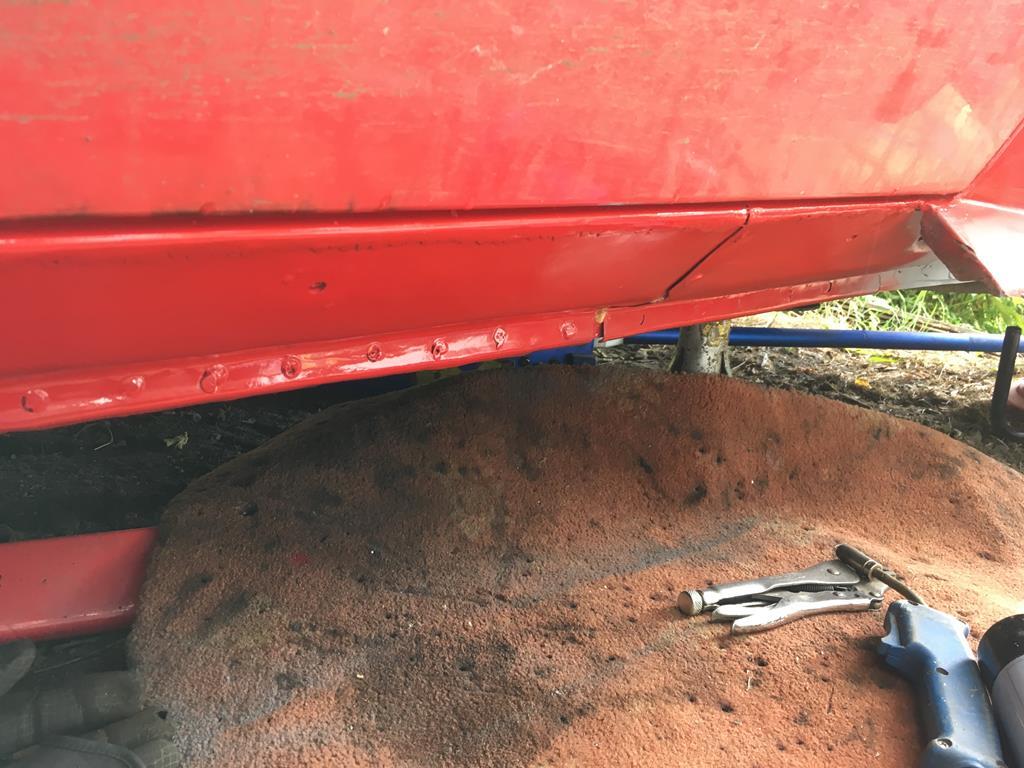 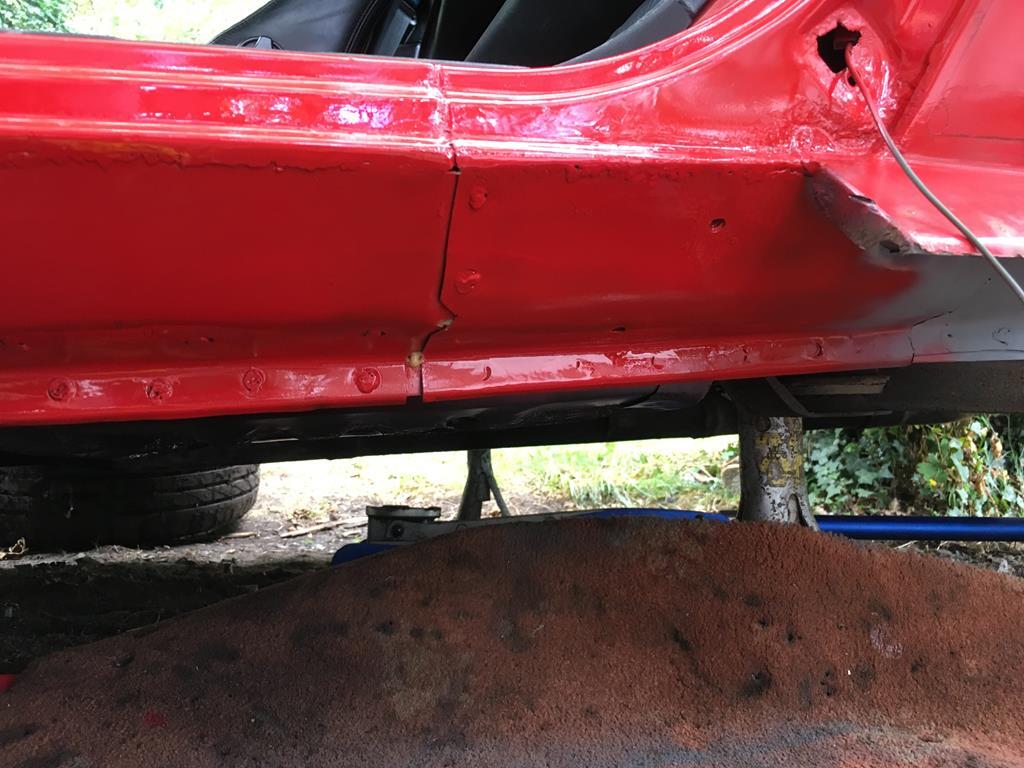 And then onto the quarter panel, getting close now! 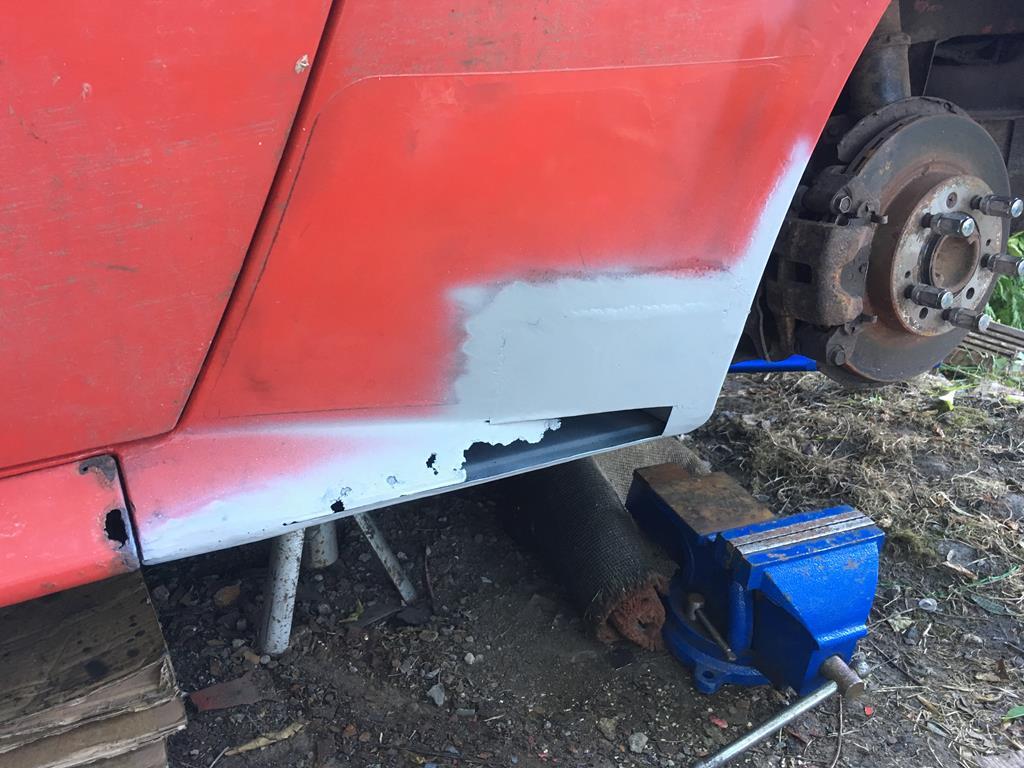 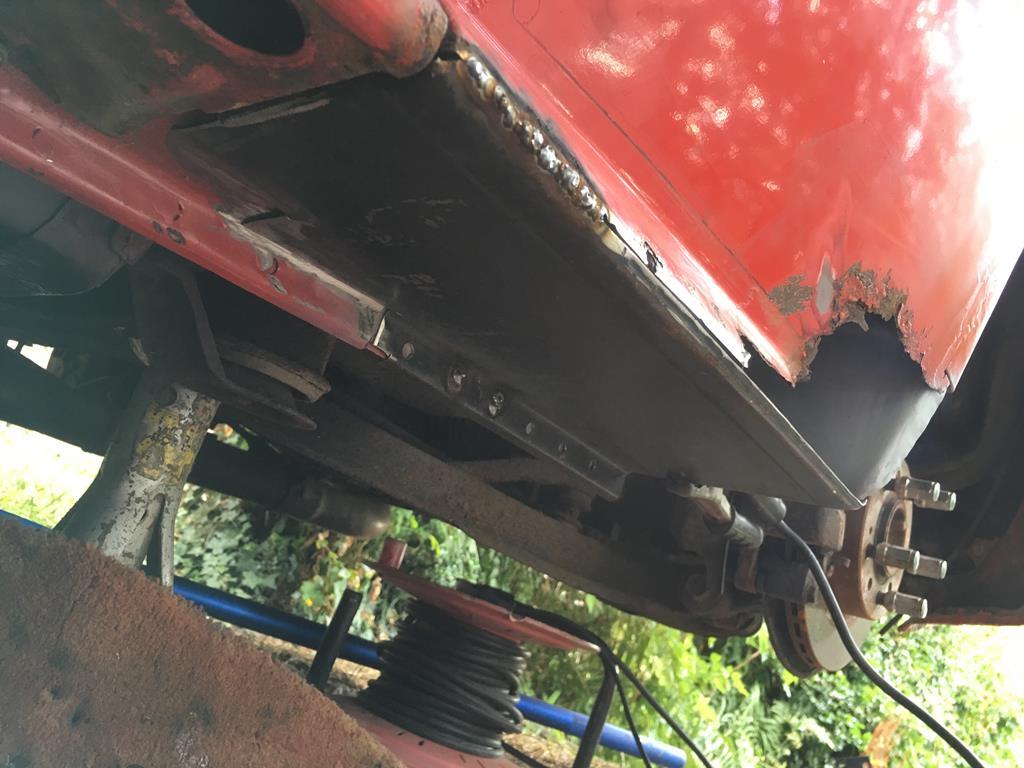 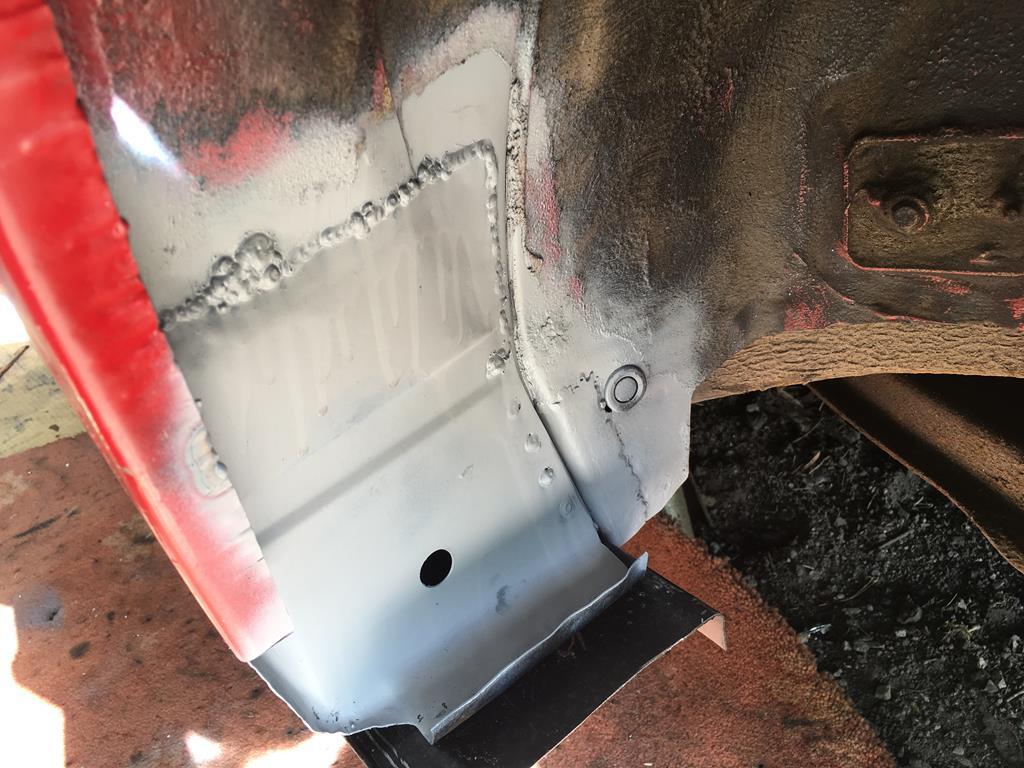 So yeah, just another patch on the quarter panel then the bits at the rear of the arches to sort and she'll be close enough! All in a days work, right? Right?? |
| |
|
|
|
|
|
|
|
Get it finished so you can help with with the Imp.  Jesus curse word. How have you even got time to look at other things on the forum. GET BACK TO THE IMP! Well, nearly spat coffee everywhere, thanks |
| |
|
|
|
|
|
|
|
|
|
|
|
I feel like i should update this thread, but nothing much has happened to be honest! Did a bit of finishing off to get it ready for an MOT, had another play with the handbrake shoes to get them to actually work. I ended up welding a bunch of pads to the backing plates to give the shoes something to sit against, and made some holders for the E46 retaining springs. This meant stripping the rear hubs down again, but it did make the handbrake actually work well enough to pass an MOT at least. 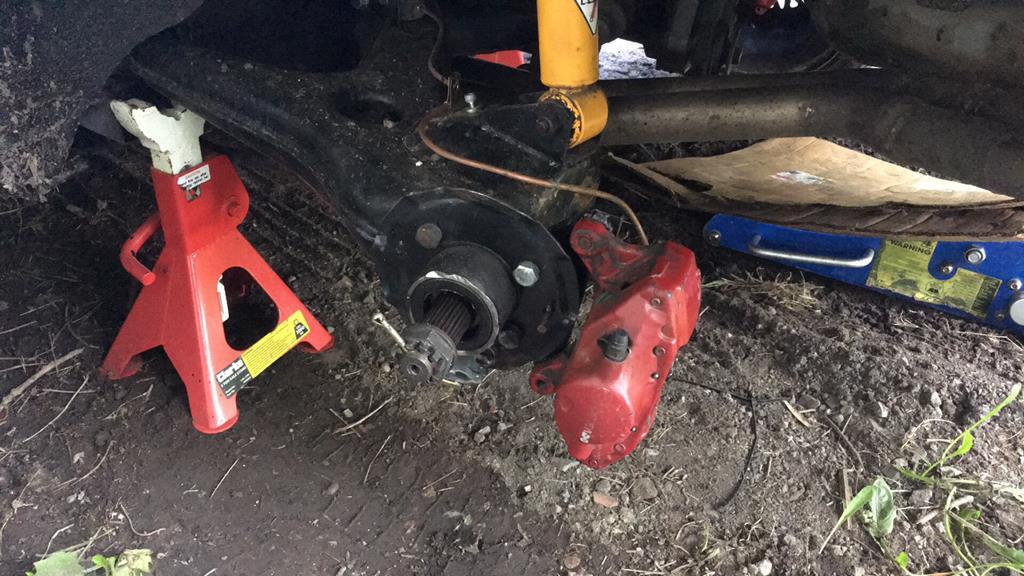 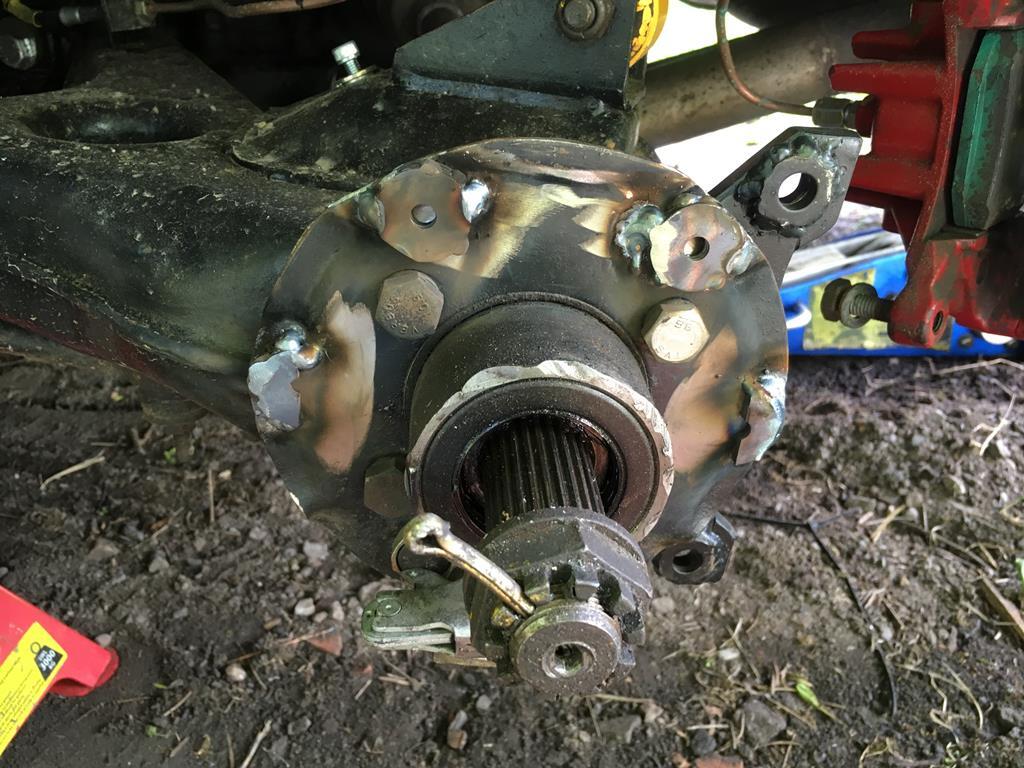 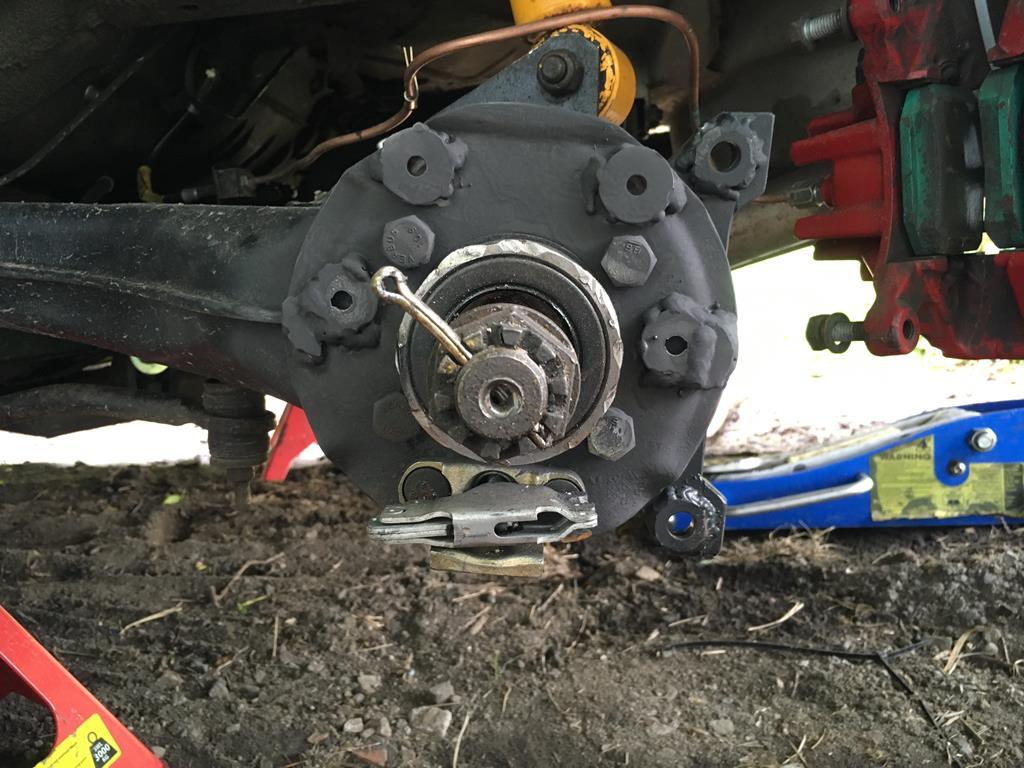 Next I mounted the ECU and made up a kickplate to stop it being trodden on. 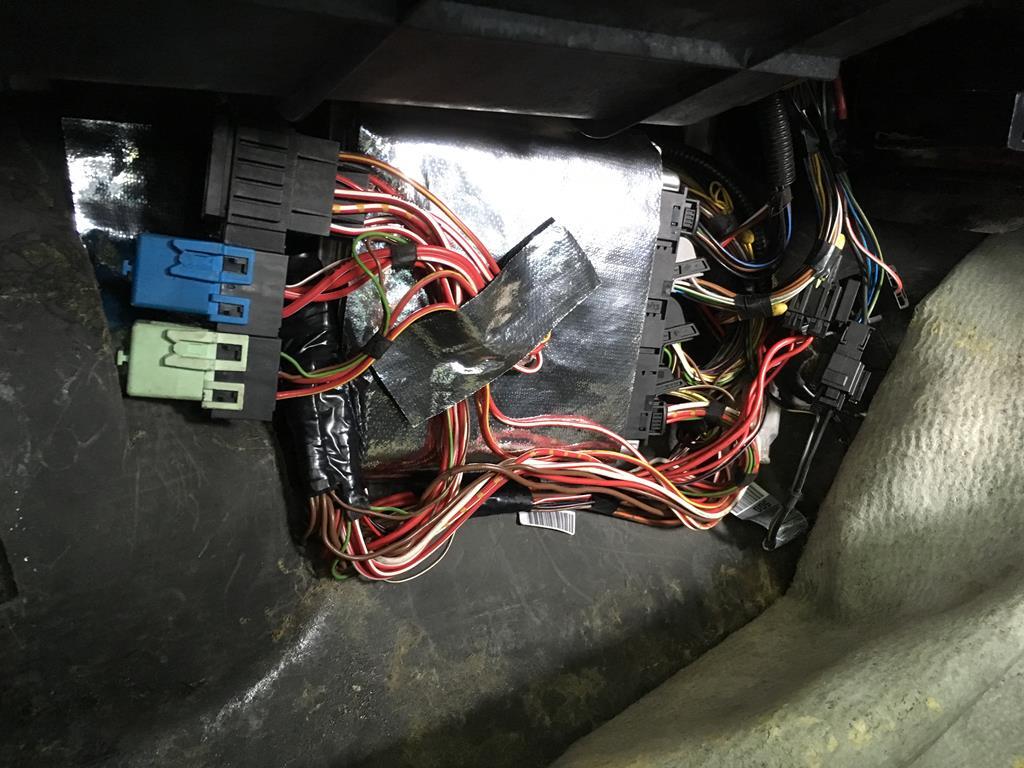  Then took it for an MOT, passed no problem! and one of the mechanics tried to buy it off me Umm then i've just sort of driven it! Took the GF to wales as a maiden voyage, then off to see YamaChamois to help out with his imp project. 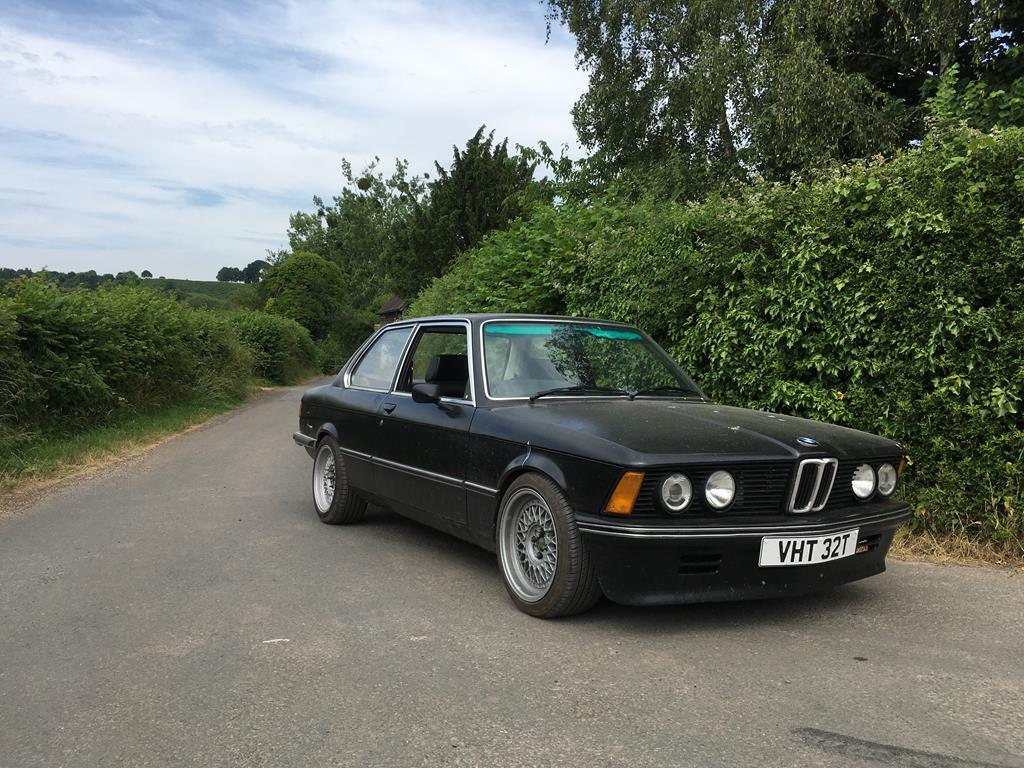 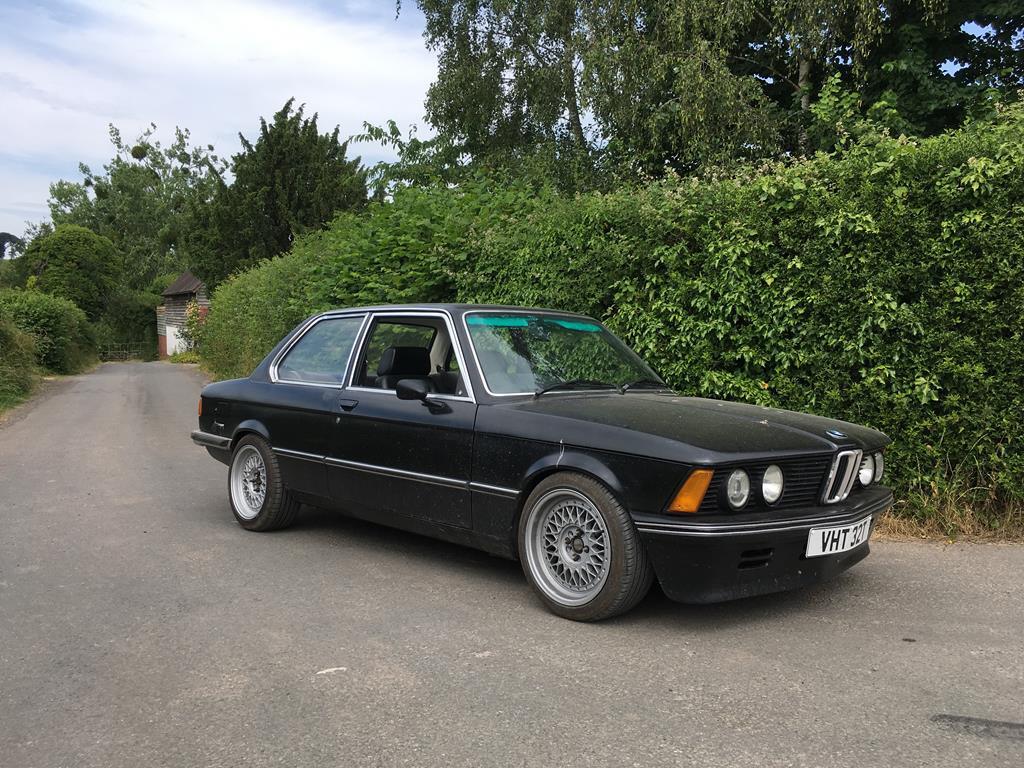 Then I got a new job, and it just happened the work car show was in my first week so I took the E21 along. Much to my surprise it won coolest in show! certainly a good way to start a new job! 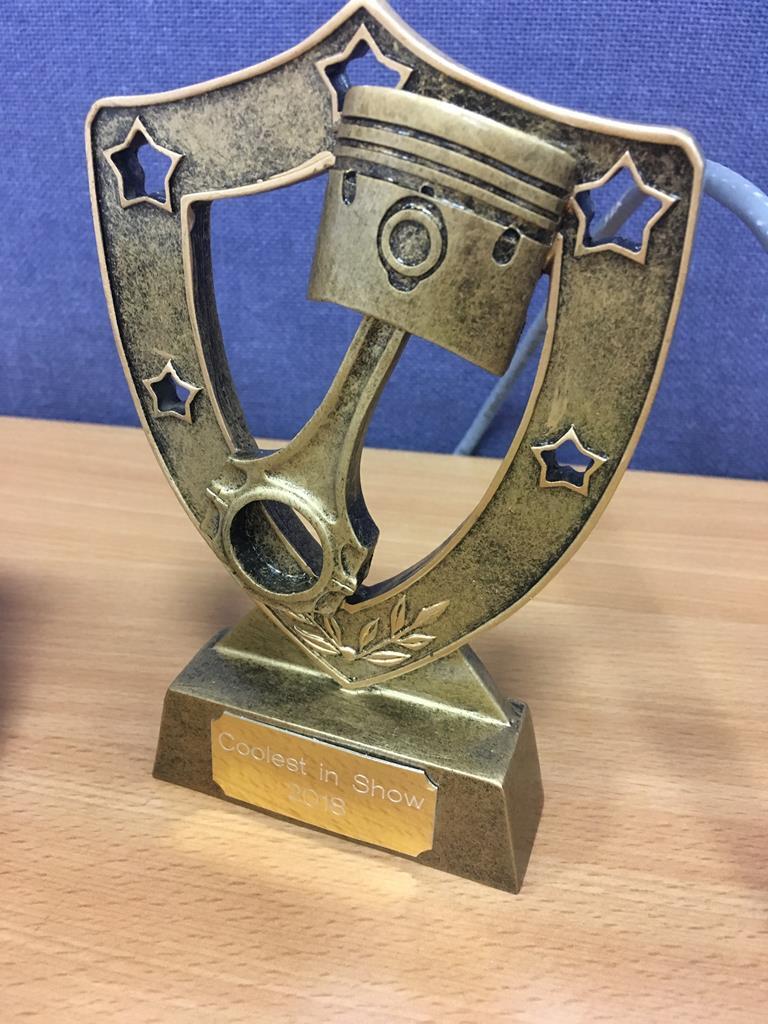 Then my daily let me down, so I ended up using the E21 for my 80 mile commute for 2 weeks. Not really what I had planned, but it took it all in its stride (although not the most relaxing thing to drive). So all in all i've done about 1500 trouble free miles in it already, well overdue its running in service I think... So next up change oil, give it a clean and see you all at the gathering! |
| |
|
|
|
|
|
|
|
|
|
|
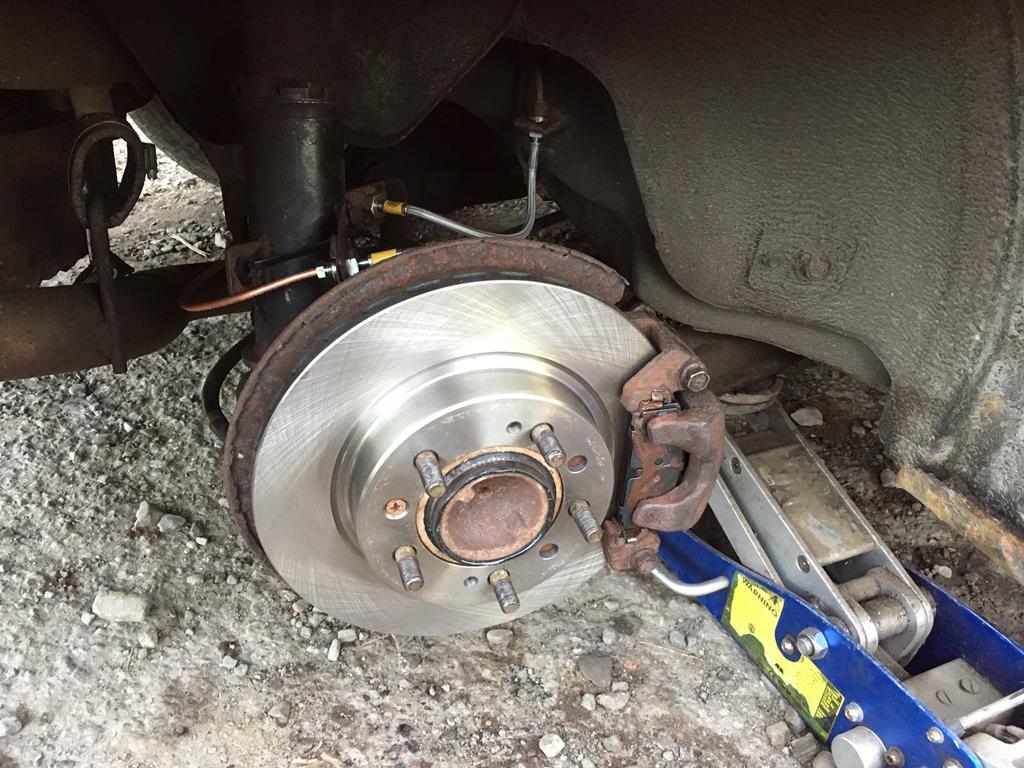
I would say yes, they are supposed to centre on the hub... has someone fitted different brakes in the past?
Measure the diameters and see if you can get some spigot rings to centre them? Or grind any lip off the discs so they don't rub any more?
Or if you're certain its not rubbing on the calliper carrier or something, just leave it to wear itself in? it's only going to be off centre by however much slop there is in the bolt holes, so probably less than 2mm
|
| |
|
|
|
|
|
|
|
|
|
|
A reliable 200bhp isn't that much of a challenge, any factory turbo engine of 1.8l or more will make that all day. NA is slightly more challenging, but really any decent 4 valve 2.0 should manage without too much trouble. Yes you can wind 200bhp out of a 1.6 NA, but at the end of the day a 2.0 of the same power will be a much nicer engine.
I'd probably be looking at turbo engines to be honest because choo choo noises
4G63 - they run about 240bhp at 10psi and are properly hench from factory (well early ones at least). Should reliably take double that boost for around 350bhp depending on turbo. Can have issues with balance shafts, but they can be removed. Plenty of parts around if you want more, but this gets expensive quickly.
SR20 - as above really, but in nissan flavour.
C20LET - again, plenty strong enough for 200bhp.
EJ20/22/25? - possibly not the 4cyl you were thinking of...
3SGTE - great engines, only really go wrong when abused
VAG 20vt - 220bhp out of the box and 5 valves!!
honestly the list goes on...
What car is it going in?
|
| |
|
|
|
|
|
|
|
1998 Mercedes CLK 320 Elegance for sale in dark blue with optional staggered AMG 5 hole wheels. The car is in good condition for its age and milage, with only a few minor blemishes to the exterior. The interior is almost immaculate in dark grey over grey with only some slight wear to the steering wheel and door handle. everything works as it should with the exception of the drivers mirror which no longer adjusts up/down. Probably a simple fix but i've just lived with it. It's been in our family for the past 5 years and has been well looked after in that time, although service history and condition would say the car has been cared for its whole life. In the time we have owned it the car has needed no major work doing, only routine servicing and new tyres. It was last serviced in Jan along with the MOT and I have been using it daily since then. It is still in use so the milage may increase slightly. Although it is in very good condition, being 20 years old there are a few bad points: - It will need new brake pads and discs in the near future - The brake lining wear warning has just started coming on but the pads still have around 3mm all round. - There is a squeak/rattle coming from the exhaust. This is the foremost mounting bracket from the exhaust to the gearbox that has rusted. The exhaust itself is in good condition with no leaks, just the bracket that is rusty. - As mentioned already, the drivers mirror does not adjust up/down - There are signs of a previous parking scratch repair/respray on the rear bumper where the paint is cracking and coming off. - There are a couple of small rust bubbles starting along the bottom of the doors and underneath the front grille but there are no signs of any structural rust underneath the car. - The air con could do with re-gassing - it still works fine but does not blow as ice cold as it did 5 years ago.[/li] Other than that it's a good example! It goes well, stops well and handles surprisingly well considering it's weight, although it's more suited to motorway cruising than switchback roads - like all Mercedes' it is incredibly comfortable. I will be sad to see it go but with 3 other cars theres really no reason to keep it anymore. It's not a car I would have ever considered buying myself, but i've actually really enjoyed driving it and i hope whoever buys it will too! 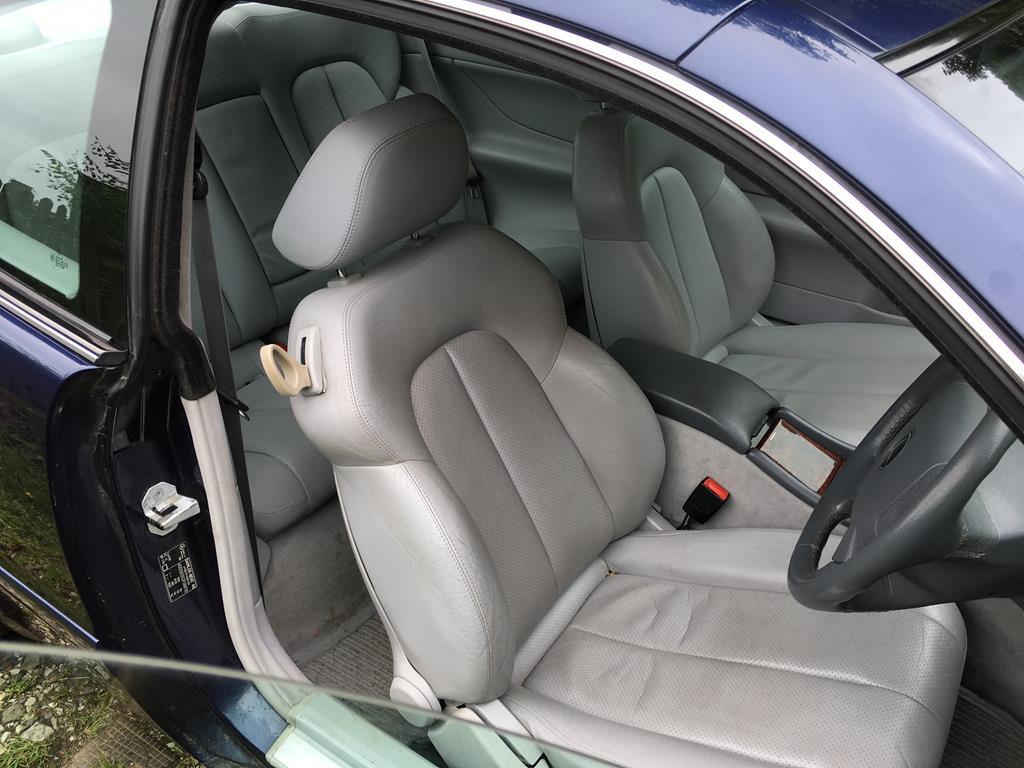 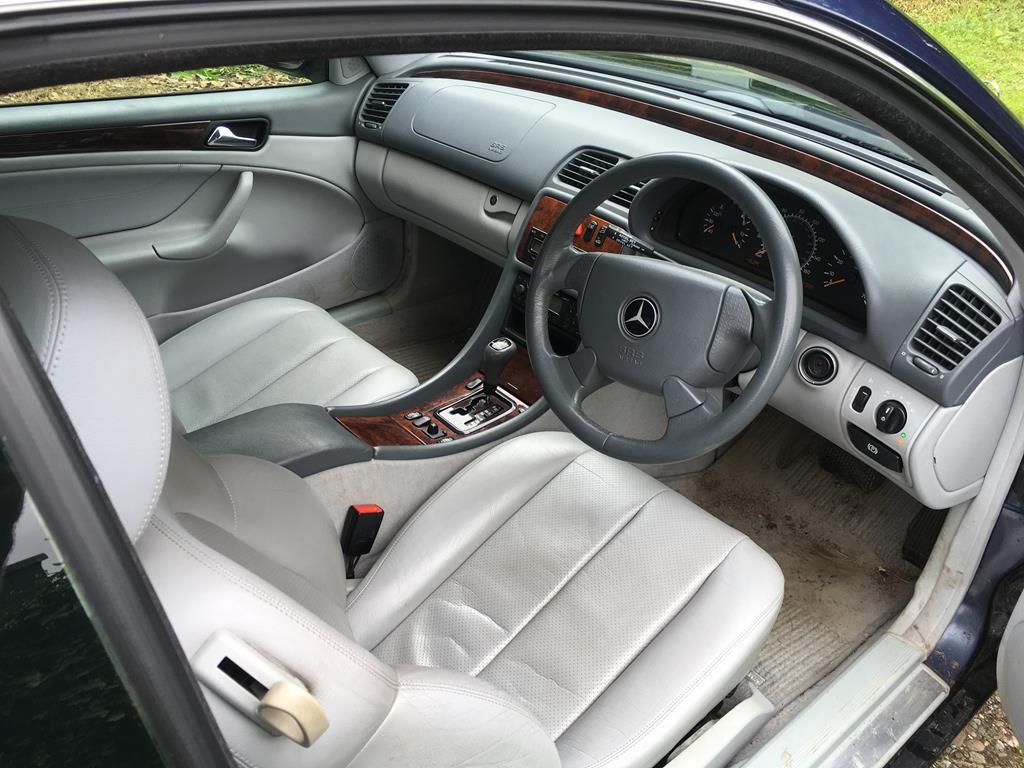 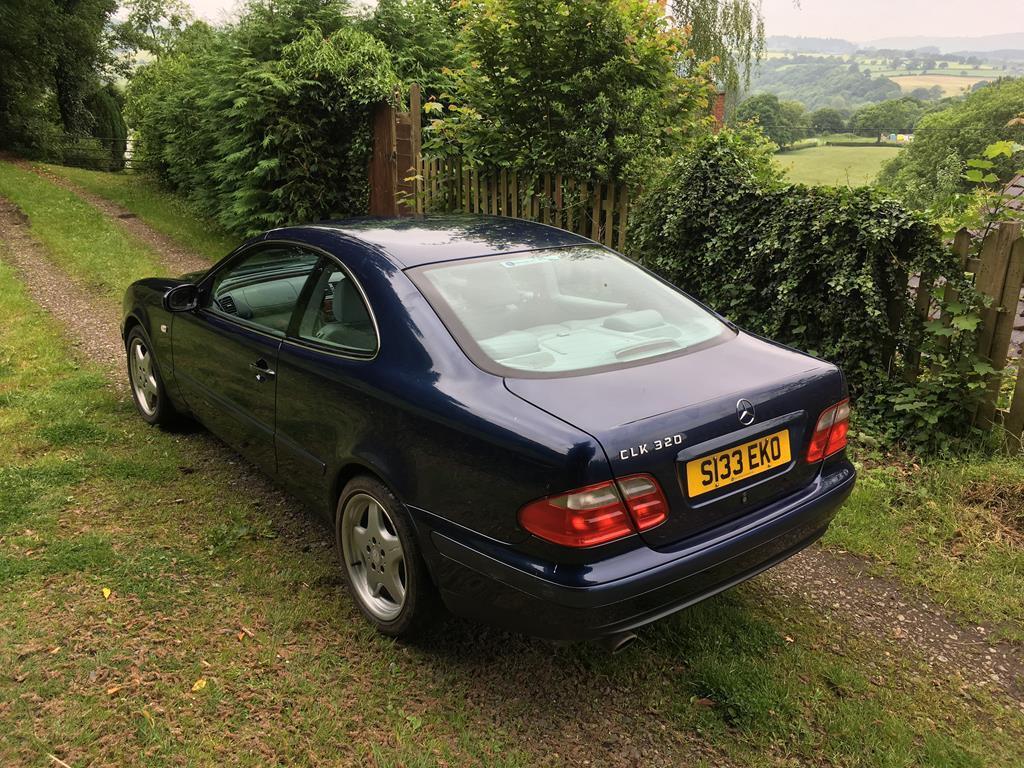 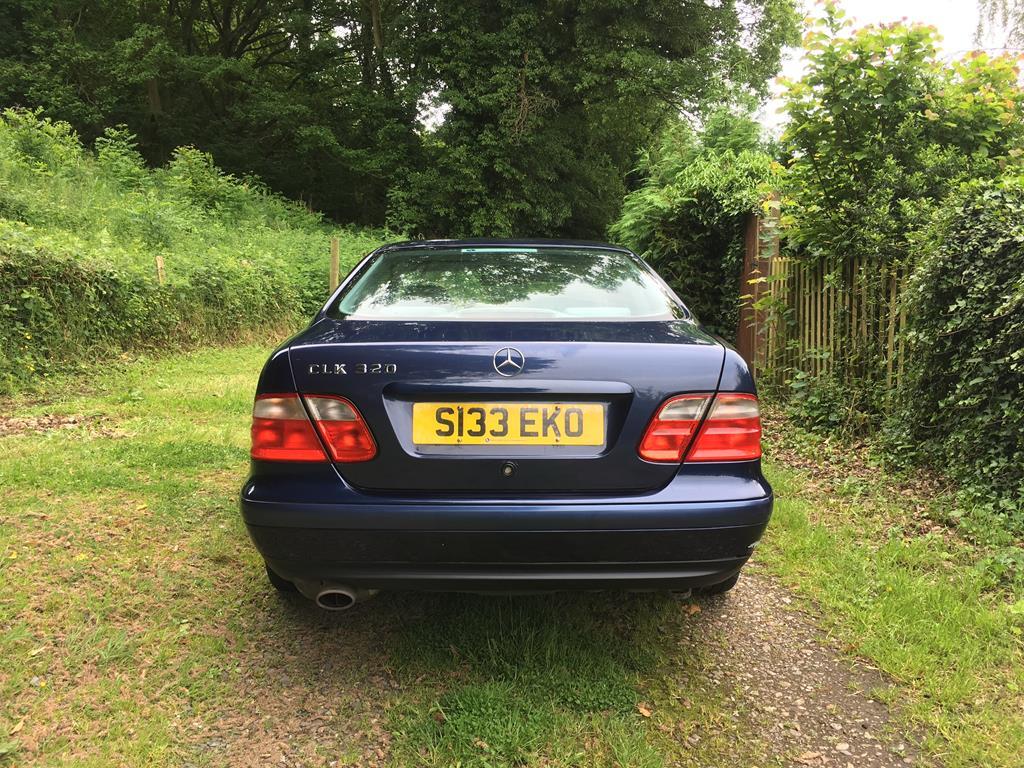  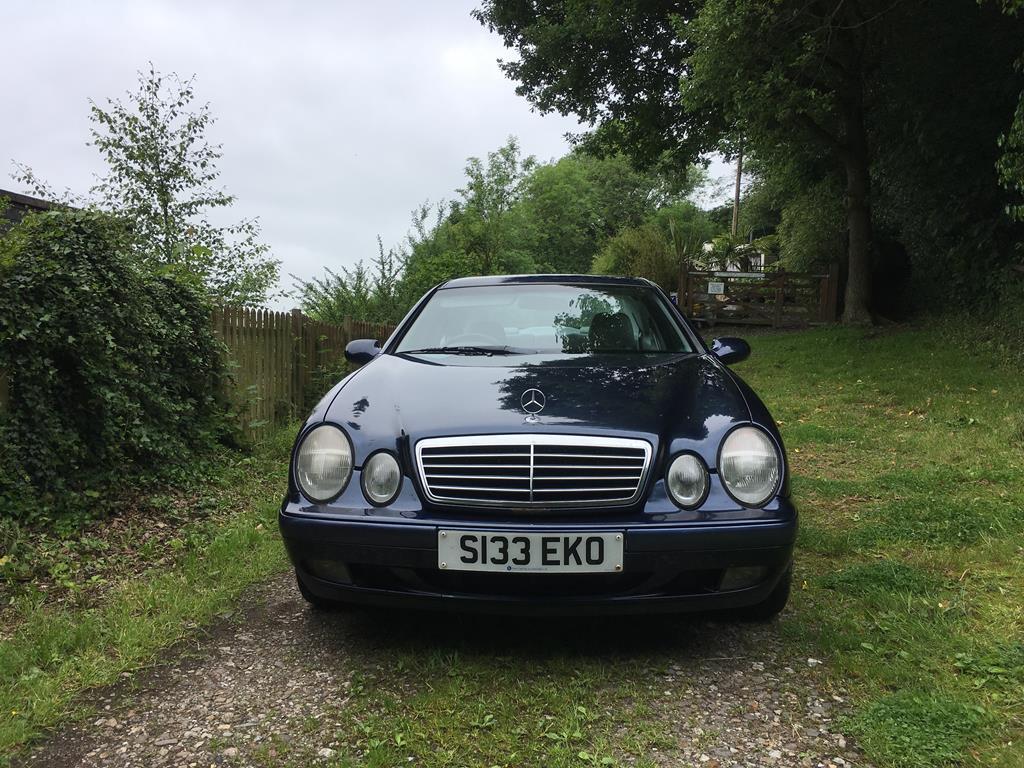 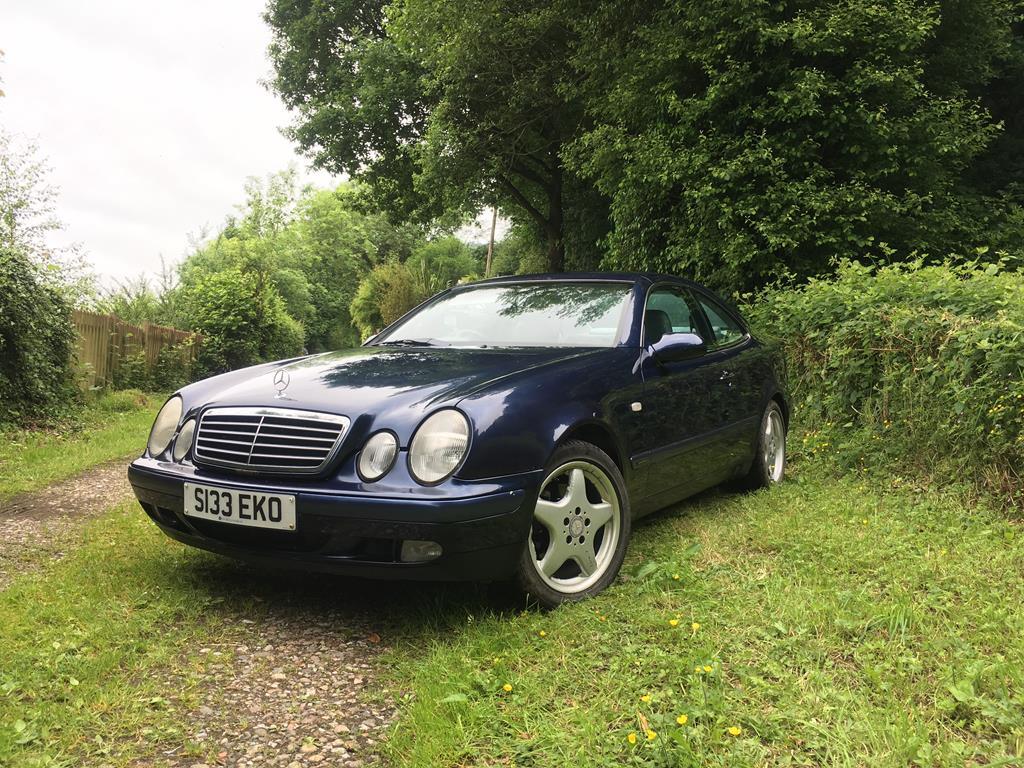 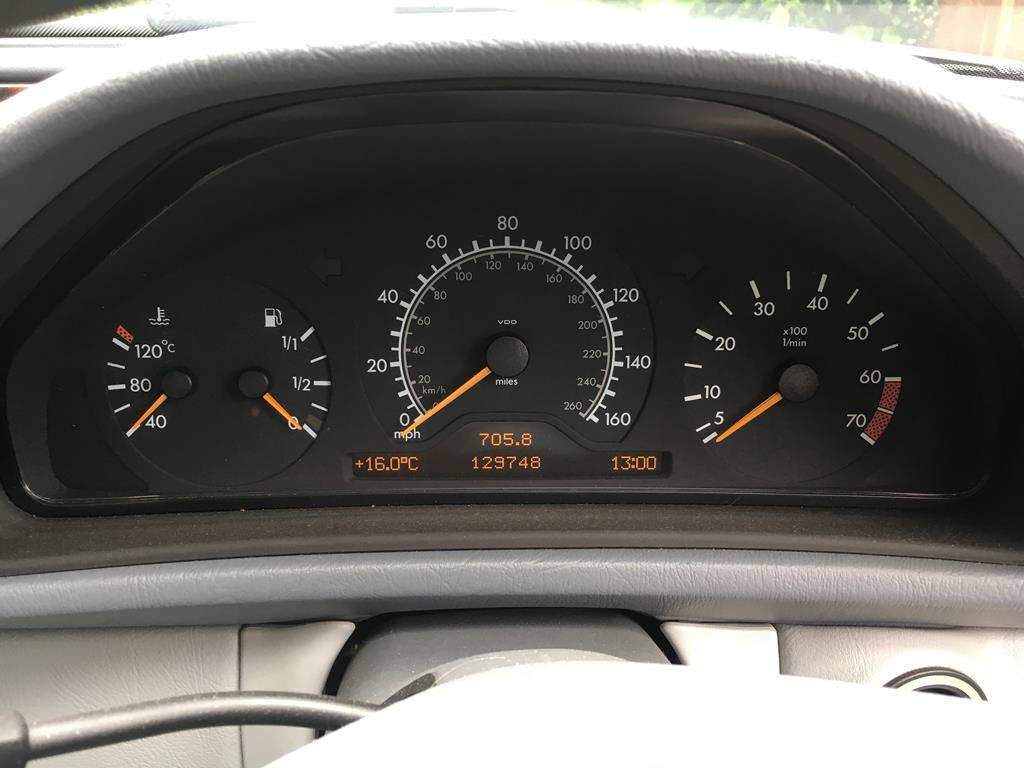 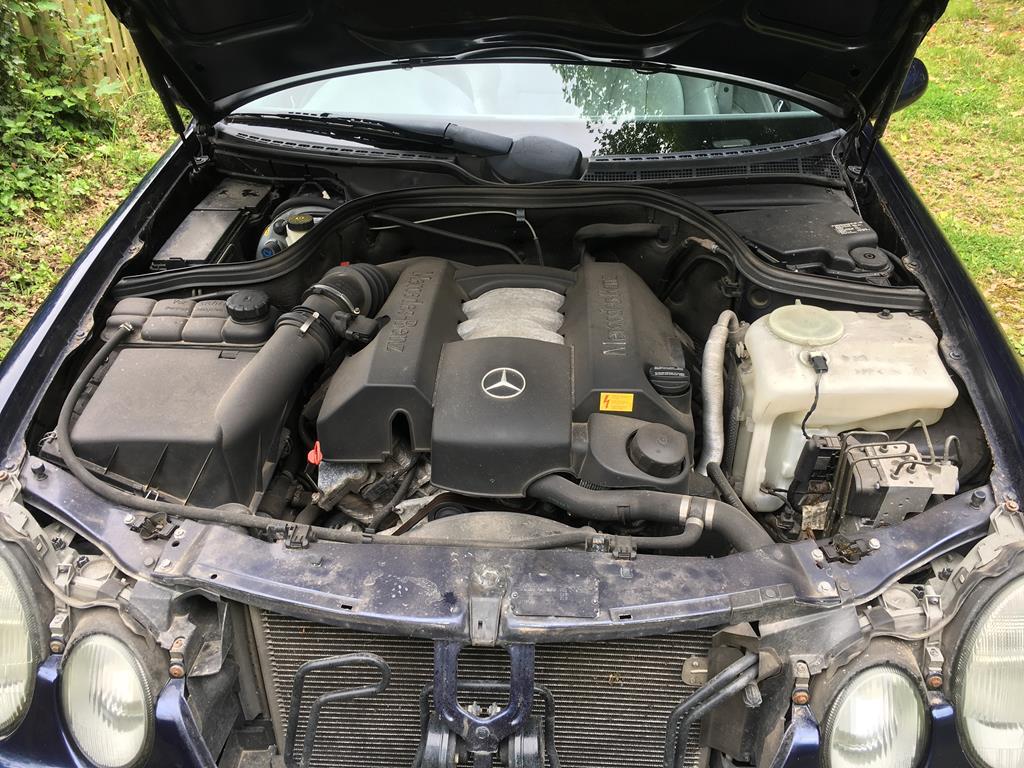 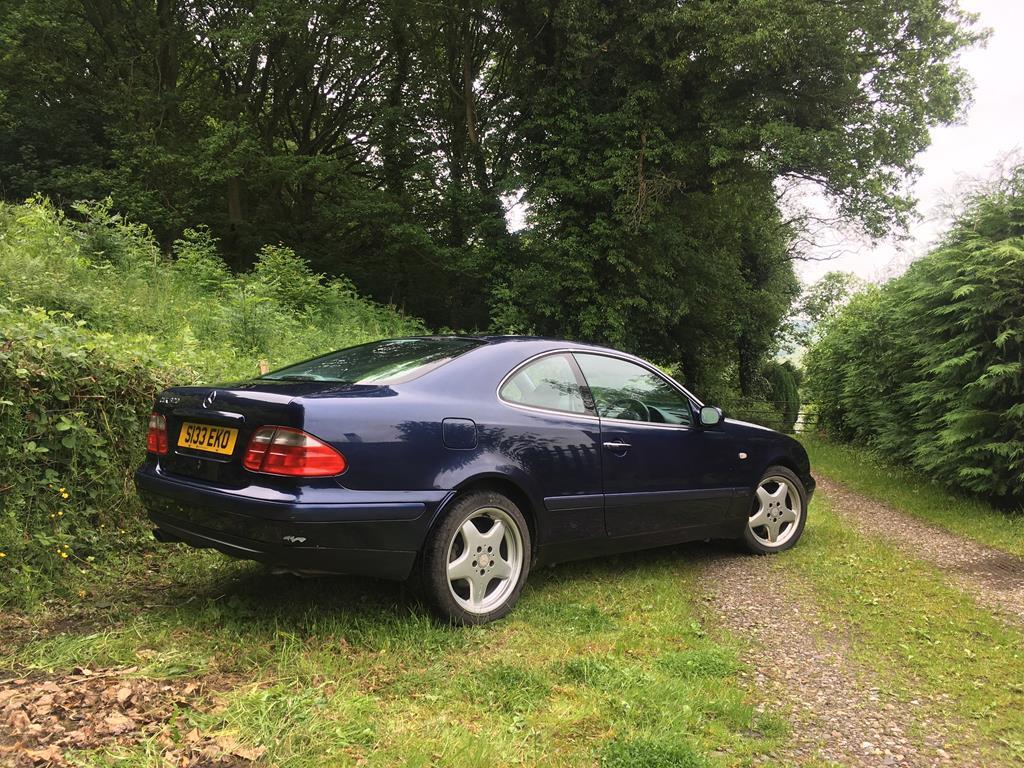 |
| |
|
|
|
|
|
|
|
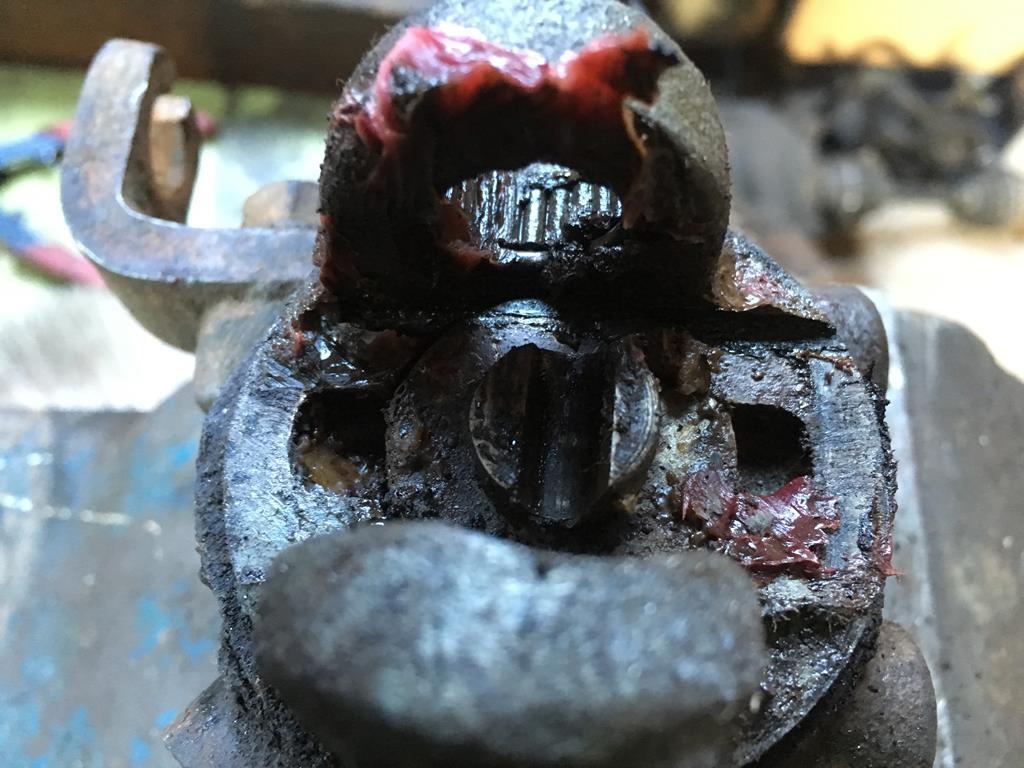
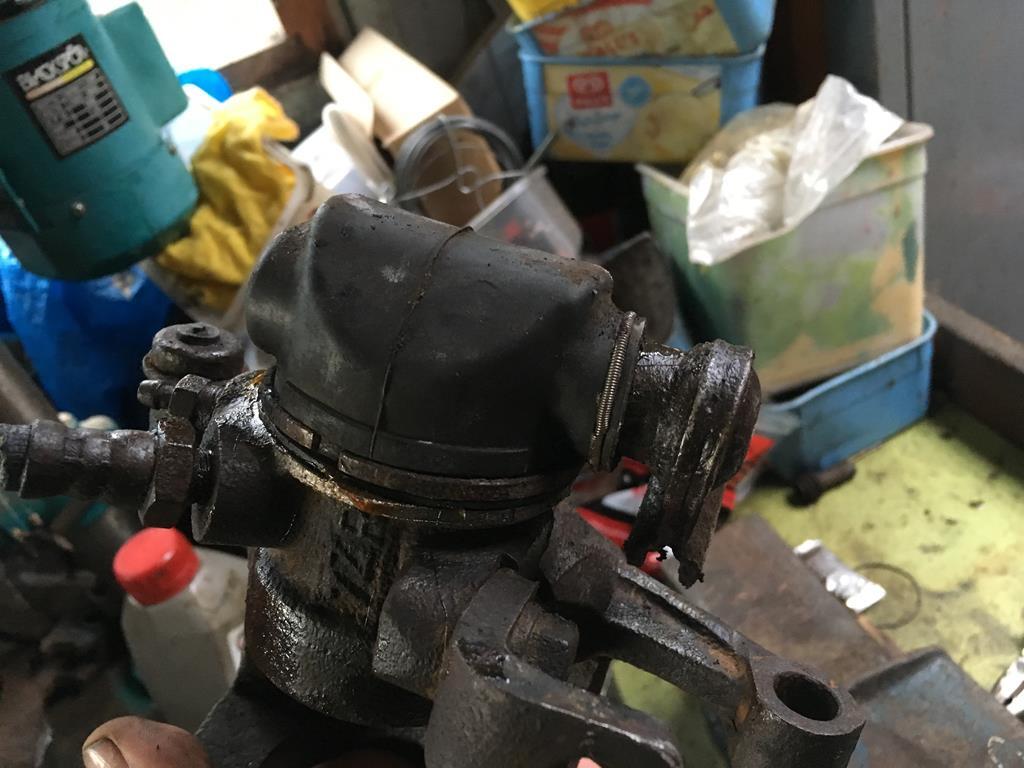
Well it's been a bit of a busy couple of weeks, but the E21 is now fully up and running! (although not MOT'd just yet) The last major hurdle was the exhaust, which I'd been putting off because I'm only working on axel stands in the dirt, and I was struggling to find decent twin inlet/outlet silencers that weren't silly money. A lot of people go with the 323i style twin backboxes on these, but i've always preferred the single backbox with twin tips (a la E36 M3). Eventually I bought an E46 330i stainless exhaust and a few bends to make up a centre section to join it to the manifolds. The manifolds are the standard M3 items but the front one needed modifying to fit past the steering column. I also replaced the standard flanges with V-band clamps to make life easier while fabbing. The exhaust then snakes under the rear beam and fuel tank to leave room for future diff upgrades. 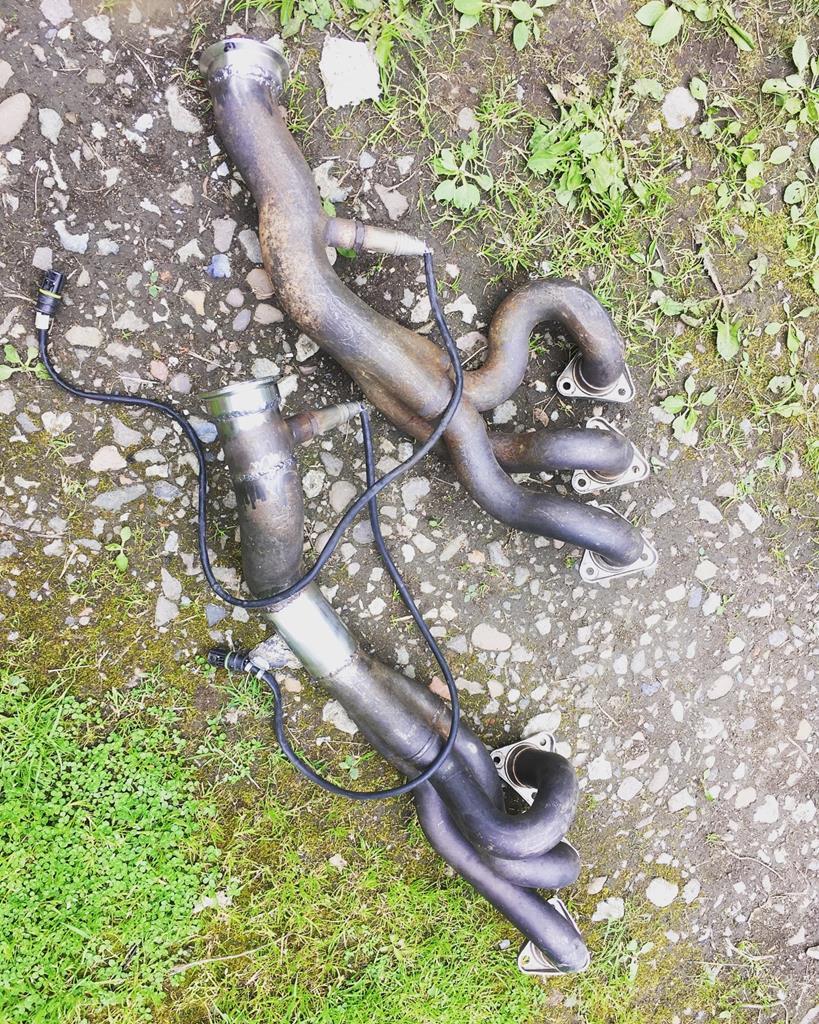 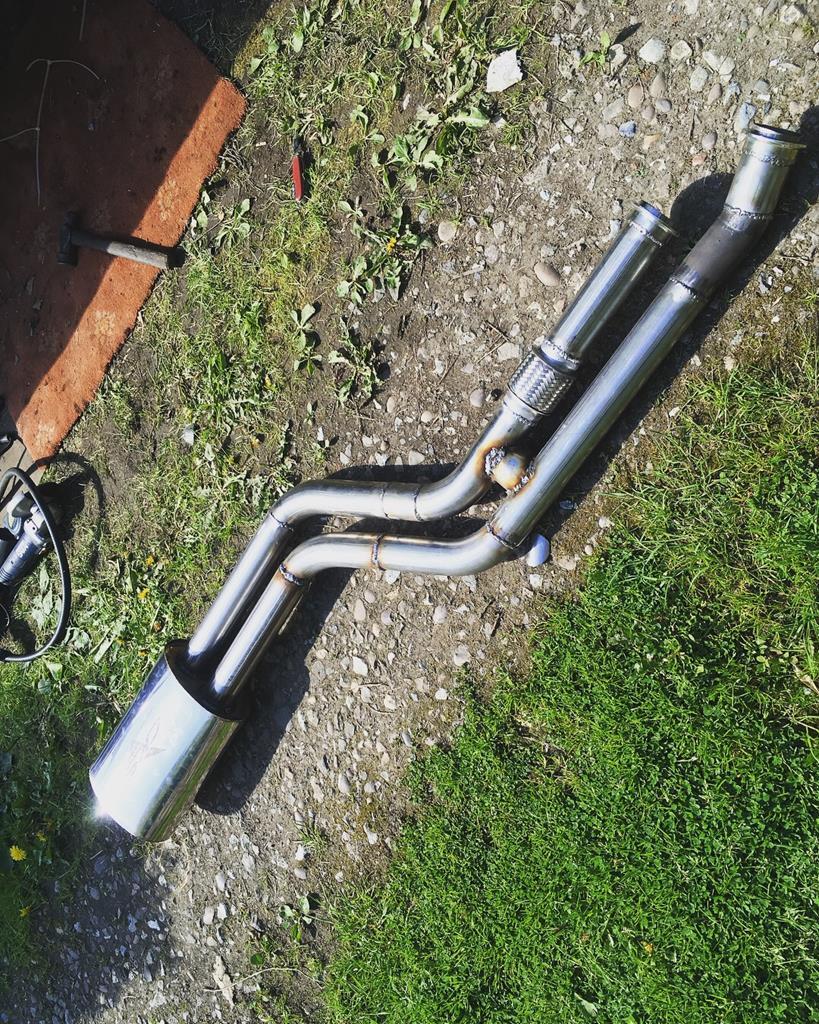 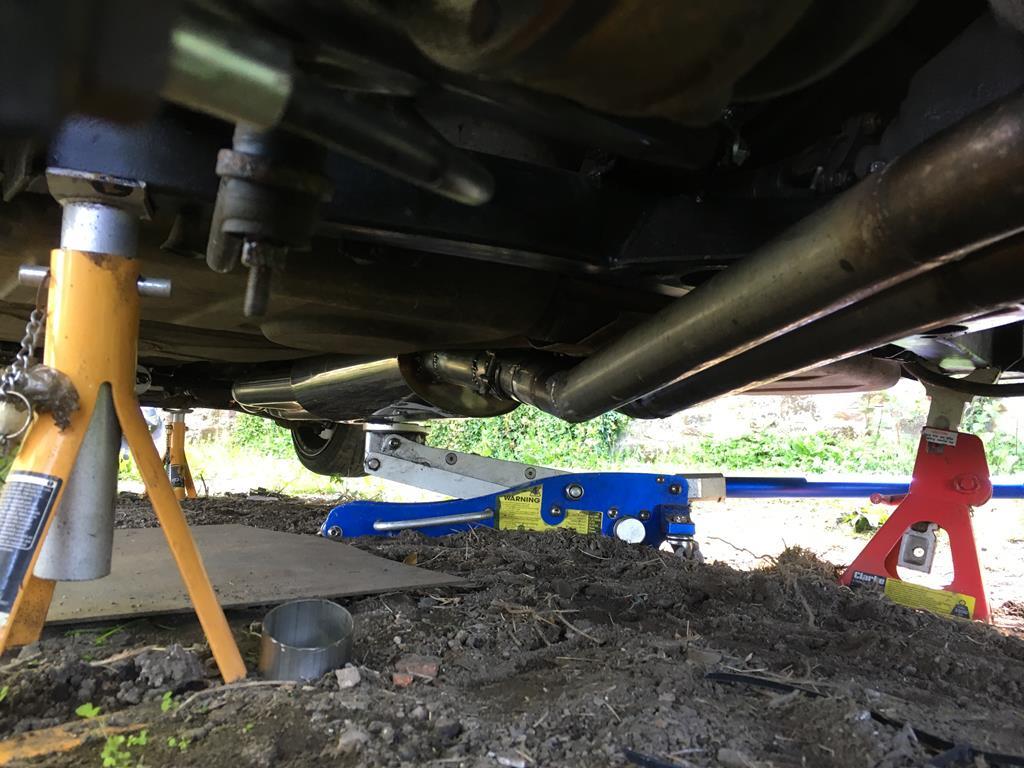 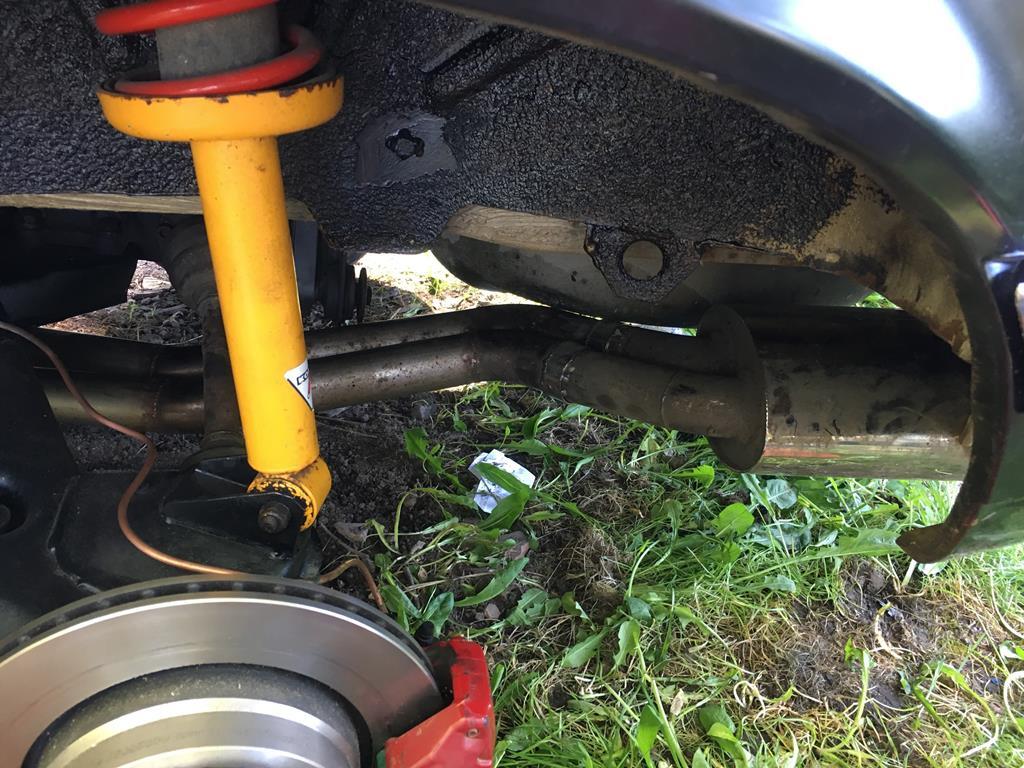 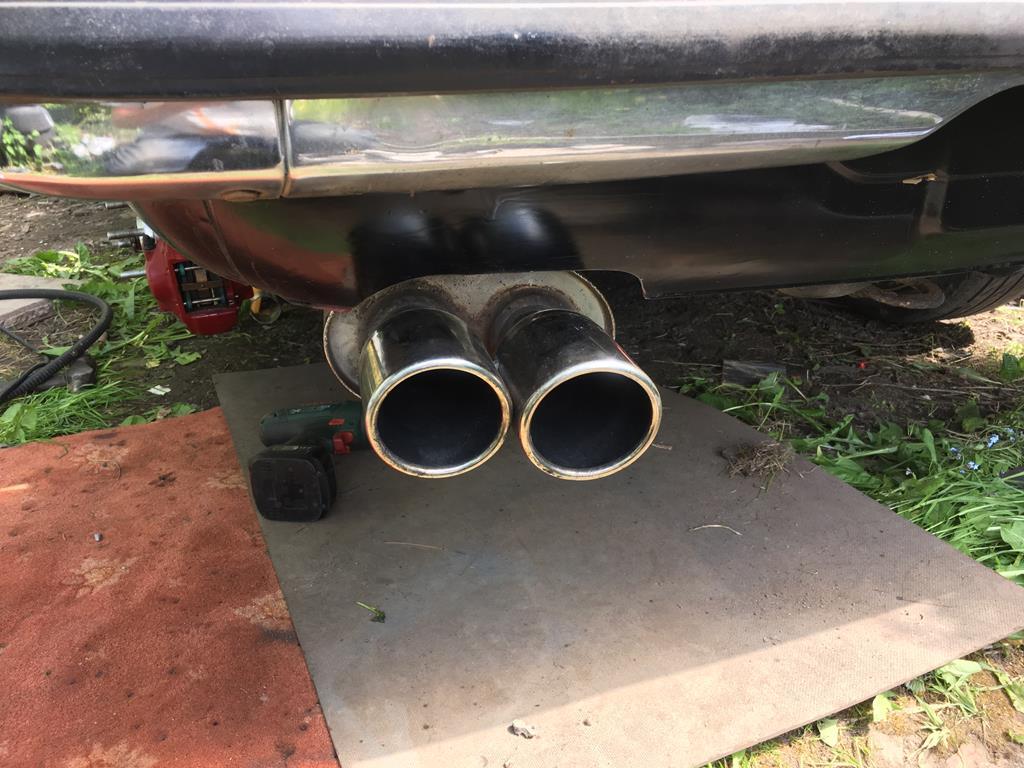 With all that done it was time for a sound test! http://instagr.am/p/Biz19jEFWNB Next up was finishing up the engine bay, which meant properly mounting the radiator and fan, the expansion tank and also the washer tank. Radiator wasn't too much trouble; a couple of stays at the bottom and then a removable strap for the top. 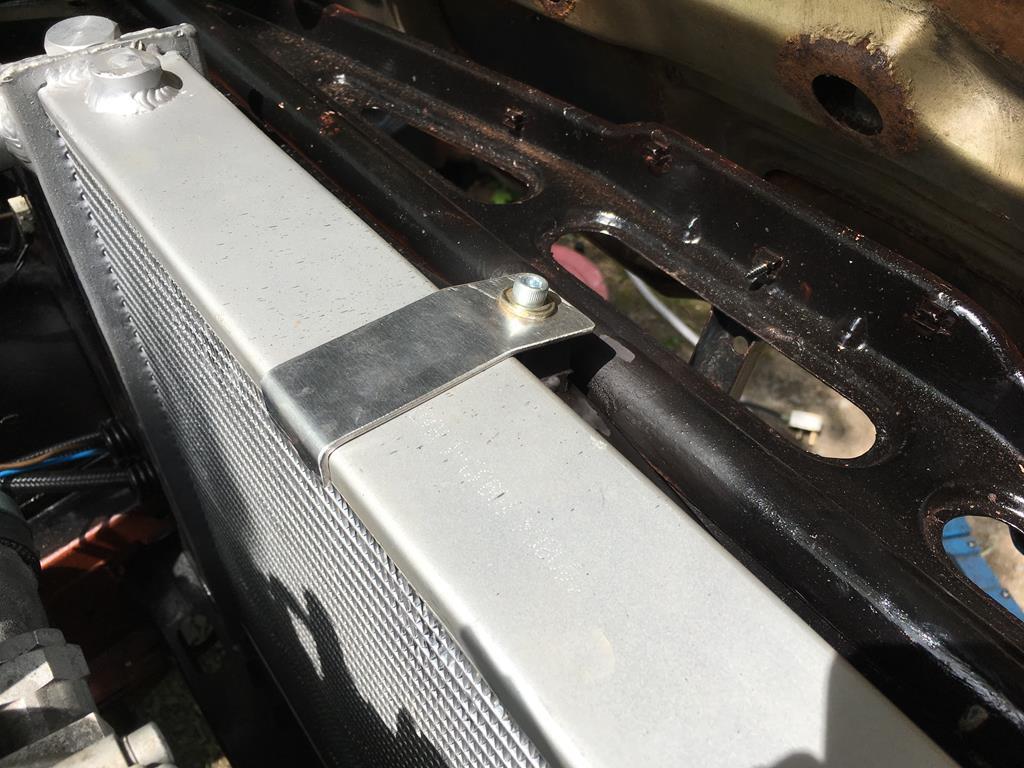 The expansion tank/washer bottle required this complicated and ugly bracket making to hold them both, but it does the job and can't be seen once fitted. 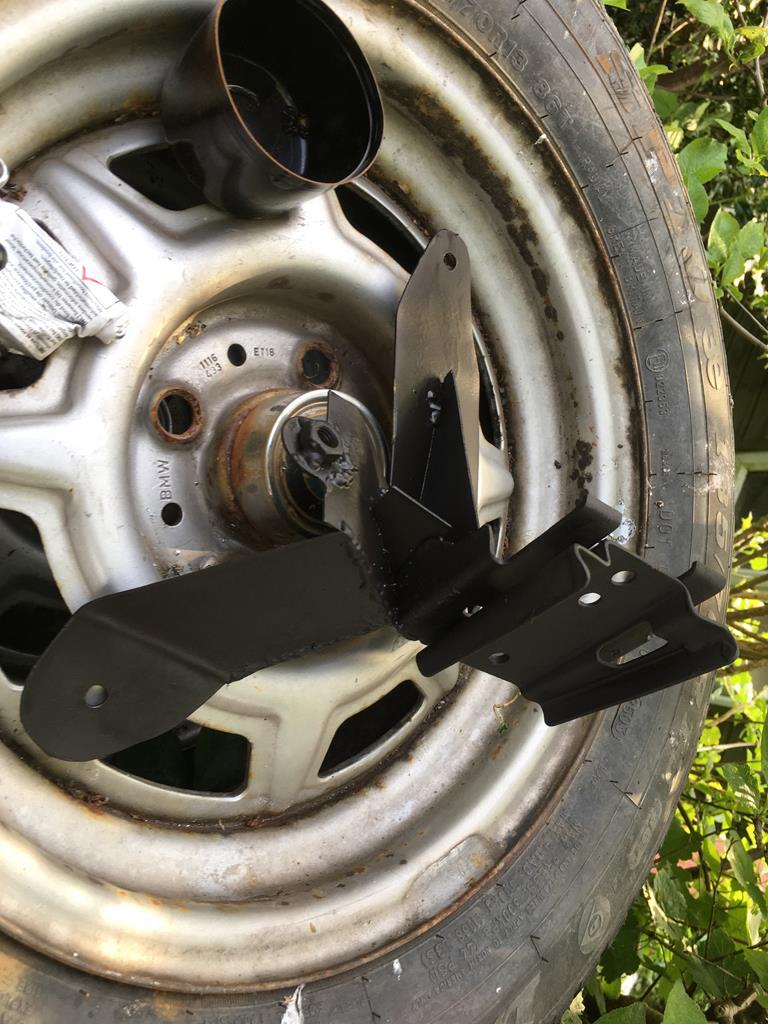 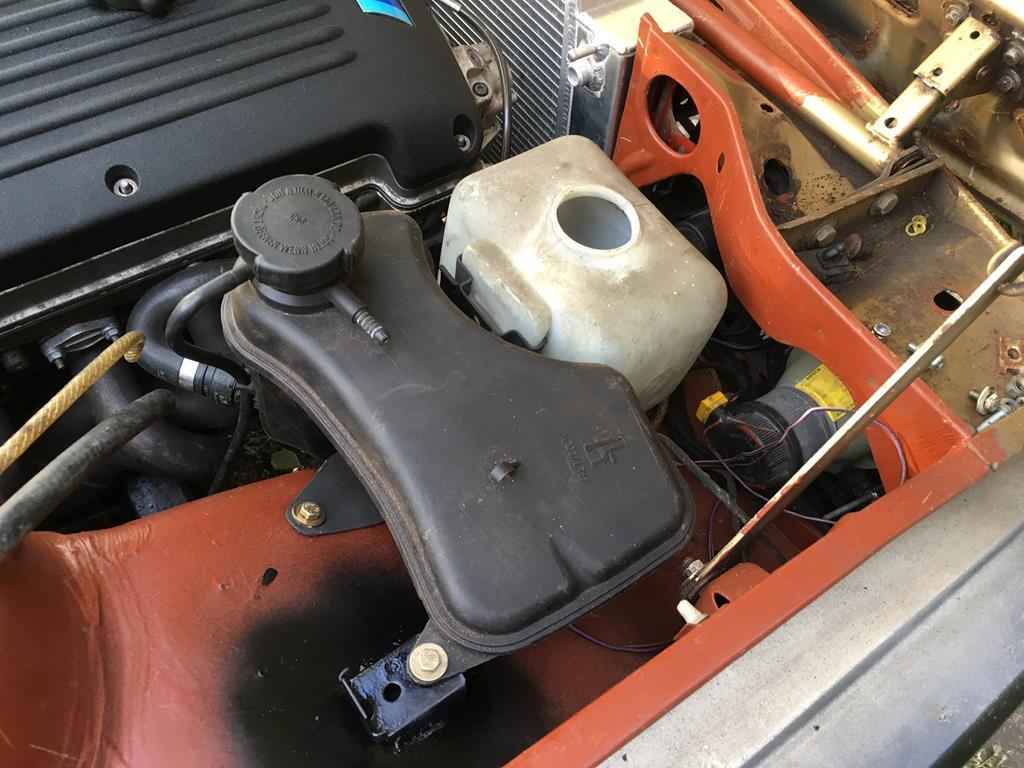 I also decided to paint the engine bay black before everything got fully fitted up. Again, it's just a shoddy rattle can job, but it does make the car seem more complete. 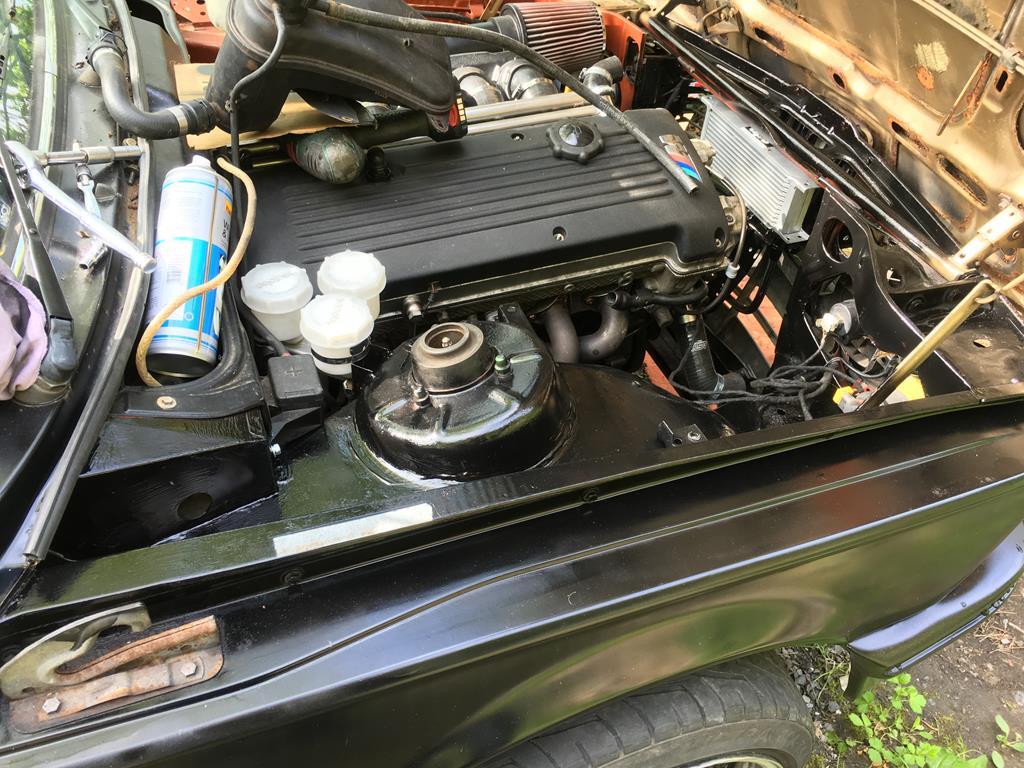 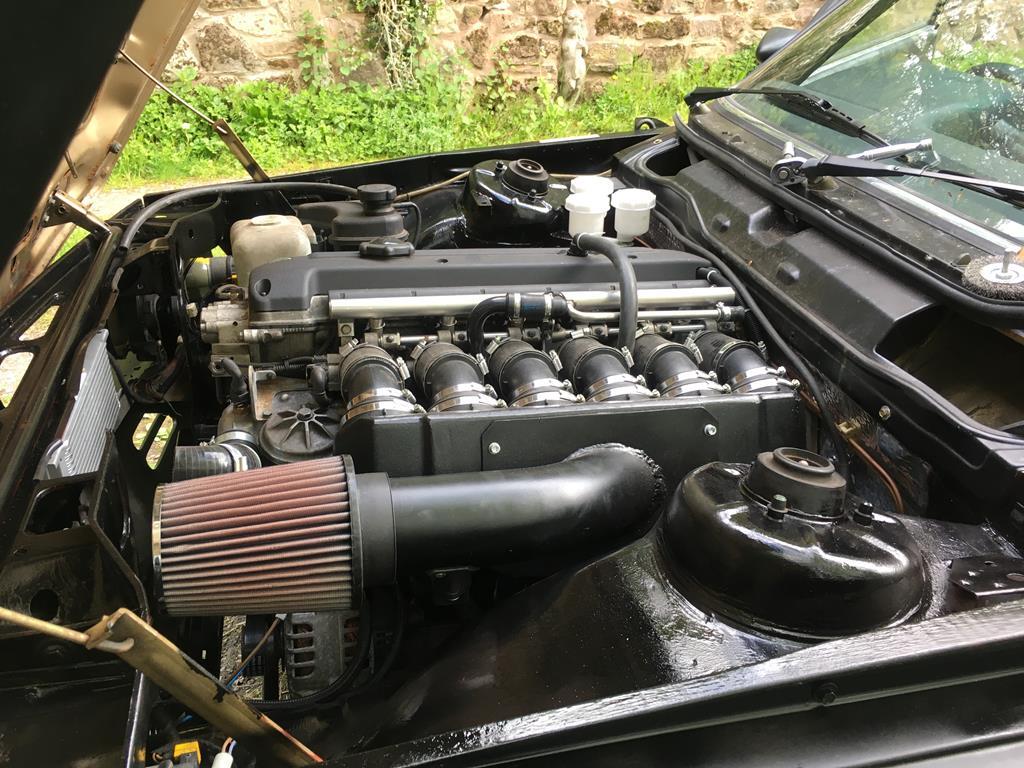 With the coolant system all buttoned up I ran the engine up to temperature to check for leaks and make sure the fan works as it should etc. All was going well when I gave it a few blips which resulted in the engine idling like a bag of spanners and misfiring up to about 3k RPM. I checked all the obvious things like coils, fuel and air leaks but couldn't find anything wrong. Since my mate was coming up with his arch roller at the weekend, i asked him to bring a code reader and we got the codes read. Clearing the codes made no difference and rescanning came back with 7 new codes: exhaust camshaft over advanced/system performance and then misfires cyl 1-6. This seemed to point to a vanos issue, but considering I'd rebuilt the mechanical side of the vanos, we started looking down the electrical side of things. A quick search on the internet suggested either replacement of the solenoid pack or cleaning of the solenoid valve body, so we figured we'd try cleaning the valve body first as it costs nothing. 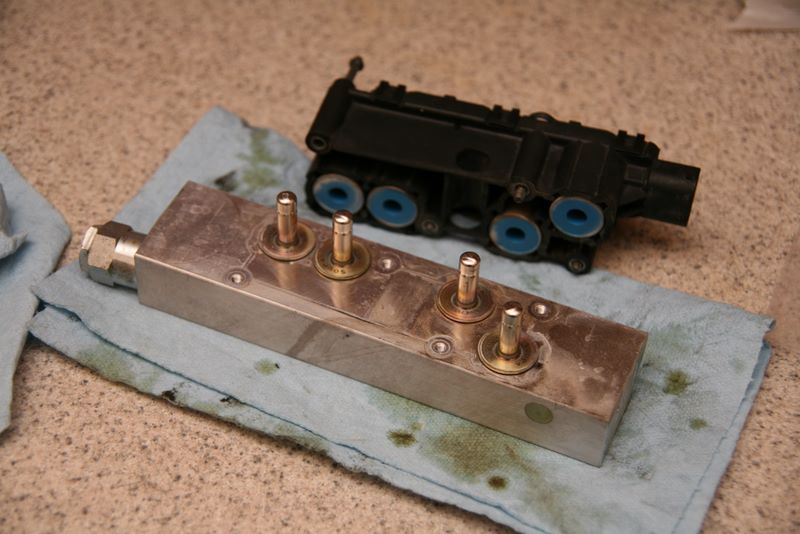 I have no pictures of my own, but essentially you just spray carb cleaner into the valves while operating them with a (very strong) magnet. The valve body is the silver part in the pic above, the 4 pins are the solenoid valves that are opened via the solenoid coils (electro magnets essentially) that are the blue things in the black plastic housing. Anyway, after an initial cleaning, we applied the magnet to the valves. 3 of them gave faint clicks when the magnet was near, one did nothing. This certainly seemed like it was the cause of our cam timing issue!! After a good clean all 4 valves gave a nice solid click when the magnet was near them so we threw it back together and fired it up. It was still lumpy at first but after a few seconds the vanos pulled the cam back into timing and it settled into a lovely smooth idle! Success!! For anyone looking for some proper nerdy stuff on vanos failures, head over to this site: www.beisansystems.com/procedures/s54_vanos_solenoid_procedure.htmAaaaaanyway, with the engine running nicely we got on with arch rolling and fitted the wheels ready for a test drive! 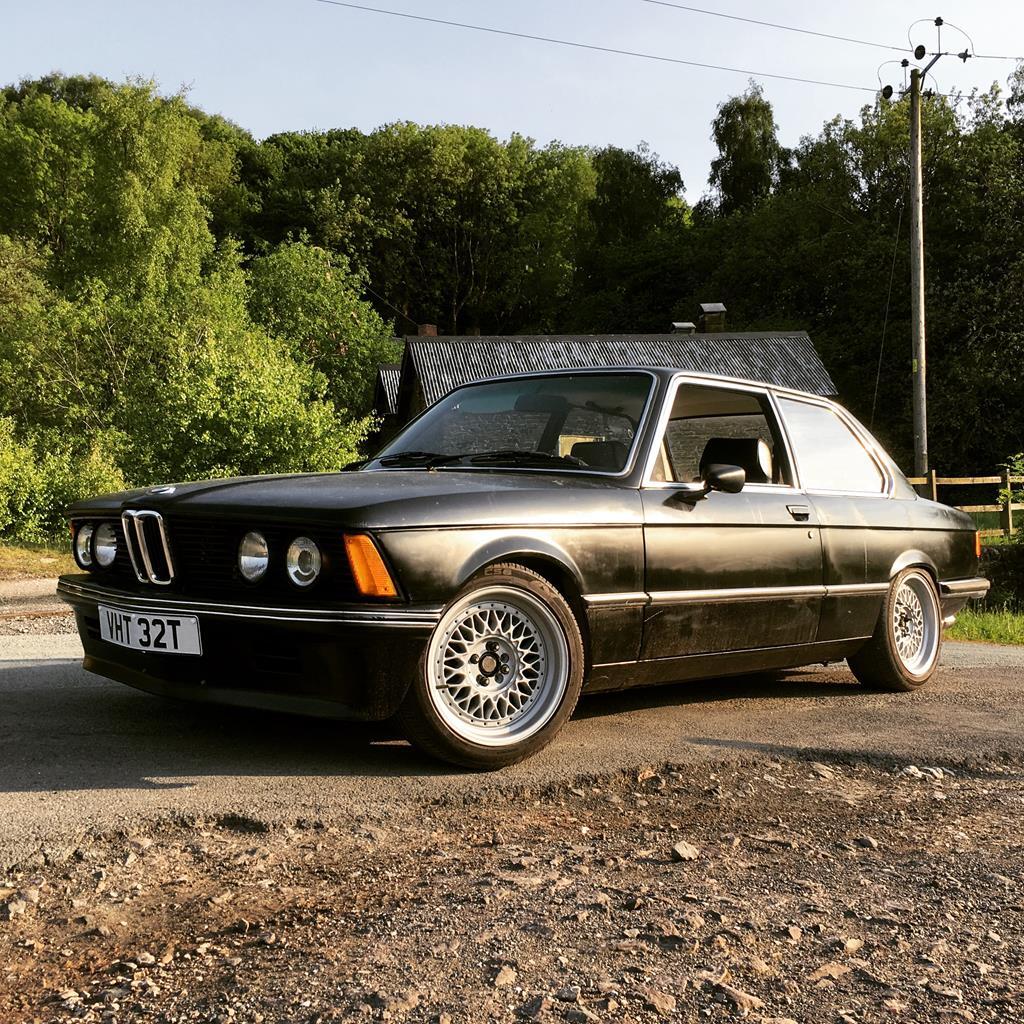 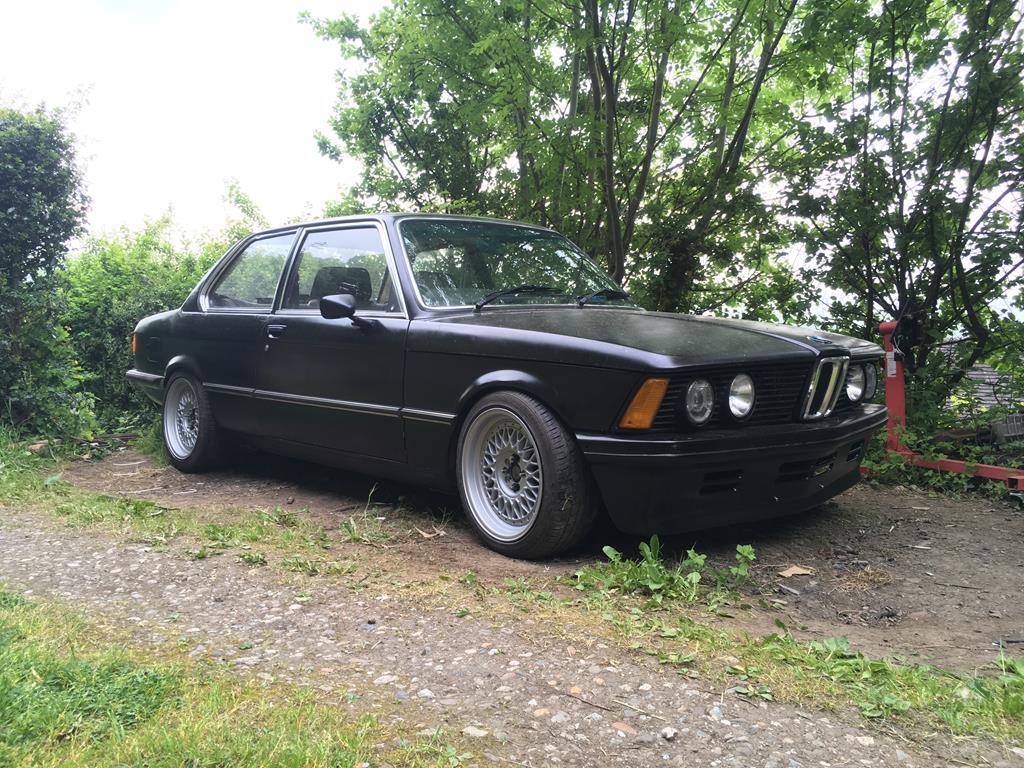 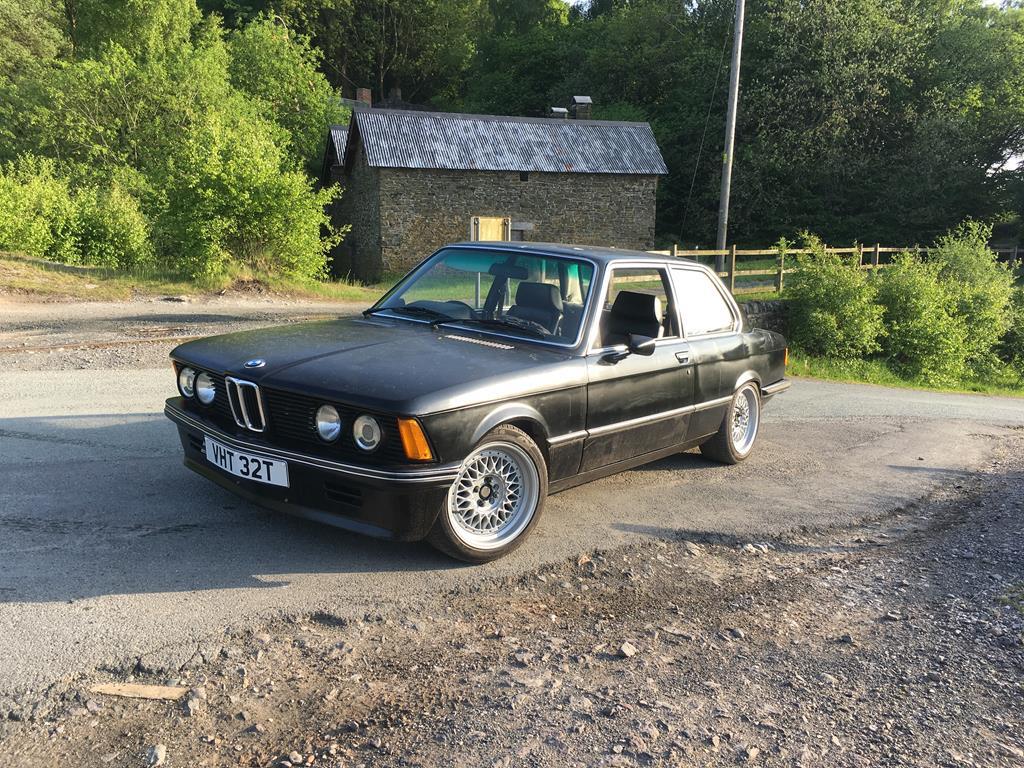 We only went about 5 miles, but man, it's so good to be able to drive it finally! For a bit of context, i've owned this car for nearly 4 years now, and before this weekend the only time its wheels have turned have been getting it on/off trailers! As my mate said as we were cruising down the road with the windows down "This is what you live for, this is the moment that makes all the hard work and effort worth it" http://instagr.am/p/BjViz0Sl5N5 |
| |
|
|
|
|
|
Apr 27, 2018 11:15:30 GMT
|
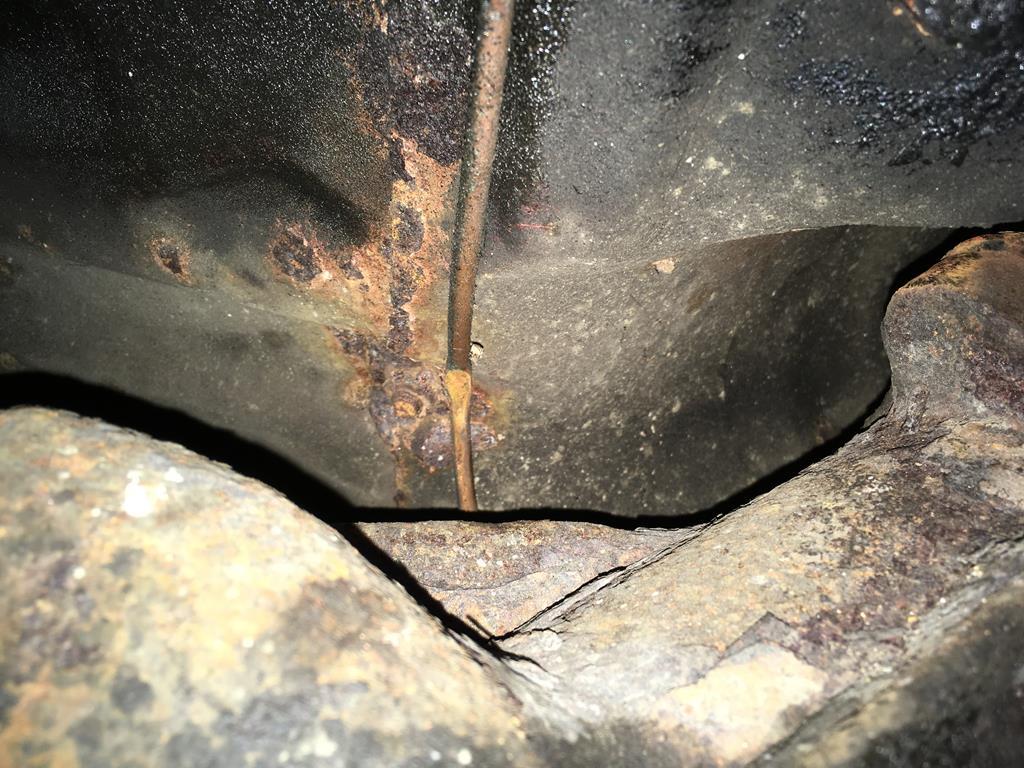
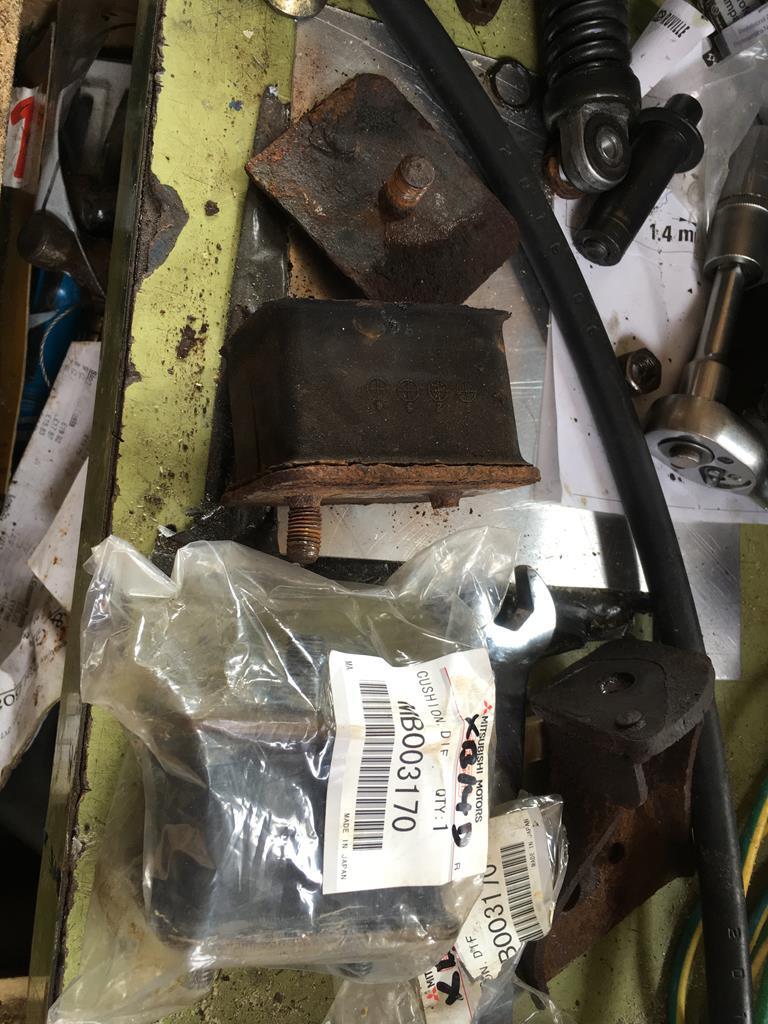
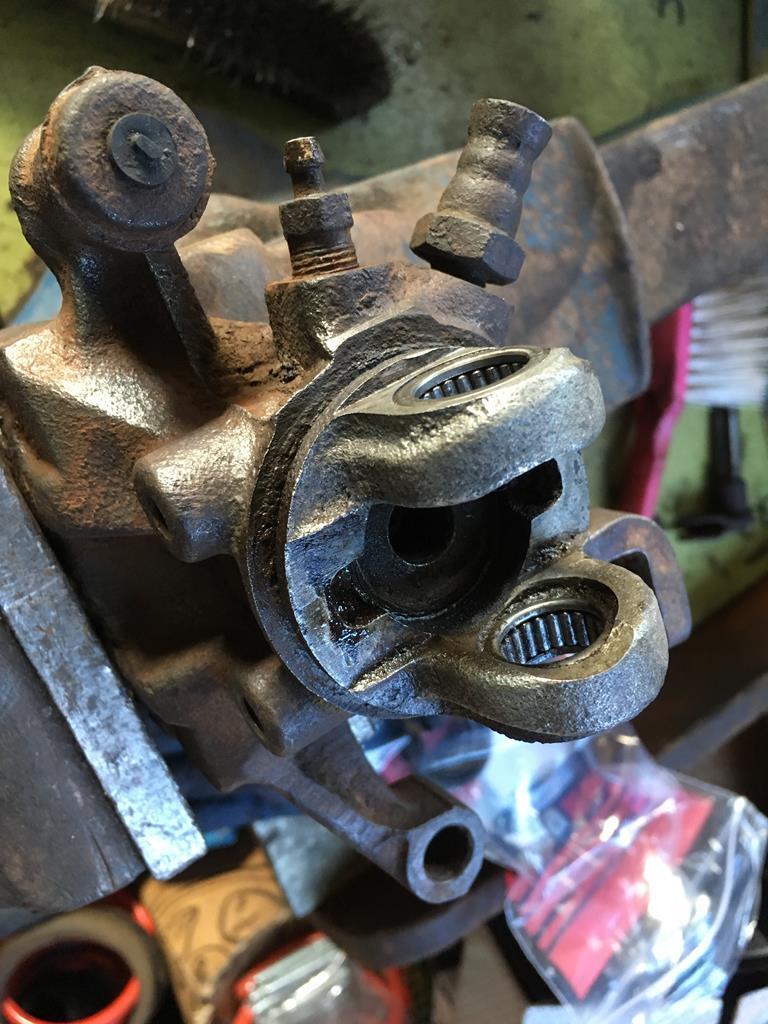
Okay, so a bit of a random update, but i had some bits of welding/undersealing to finish off while the rear beam was off and just sort of carried on from there... The main bit was this patch behind the fuel filler pipe, along with undersealing and waxing the sill ends behind the beam mounts. Then stone chipping both wheel arches, almost all of which I didnt get pictures of  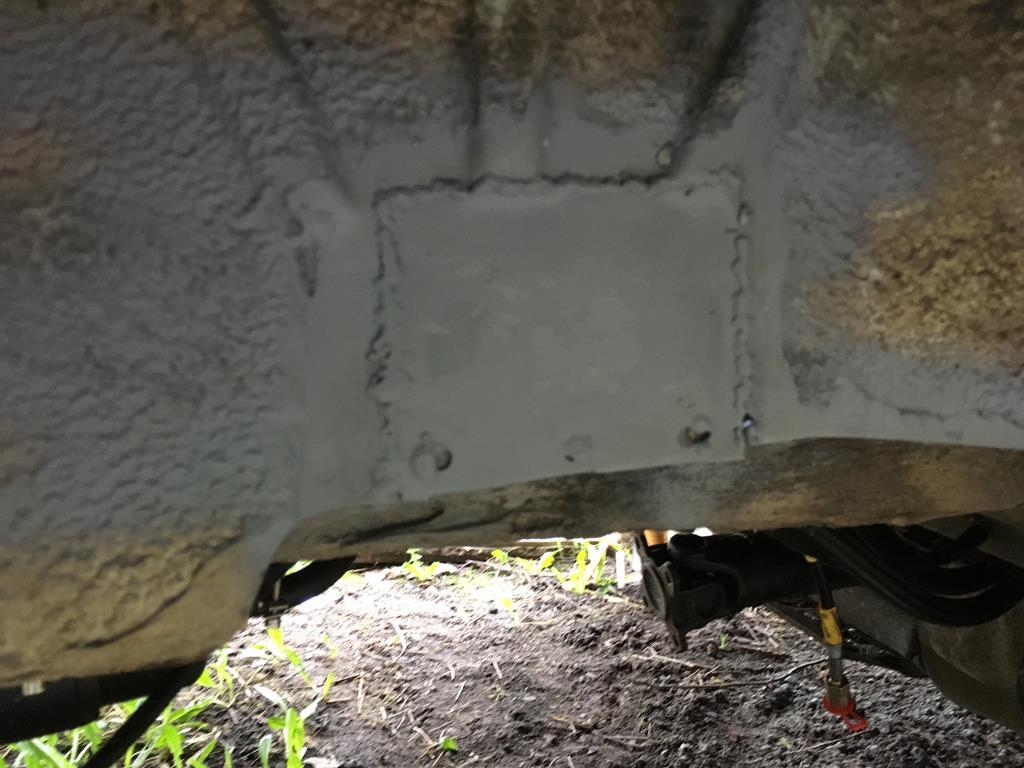 While I was at it I made up a decent battery mount and ground post in the boot. This used to be the E21 battery tray, just with the ends cut off to fit an E46 battery. 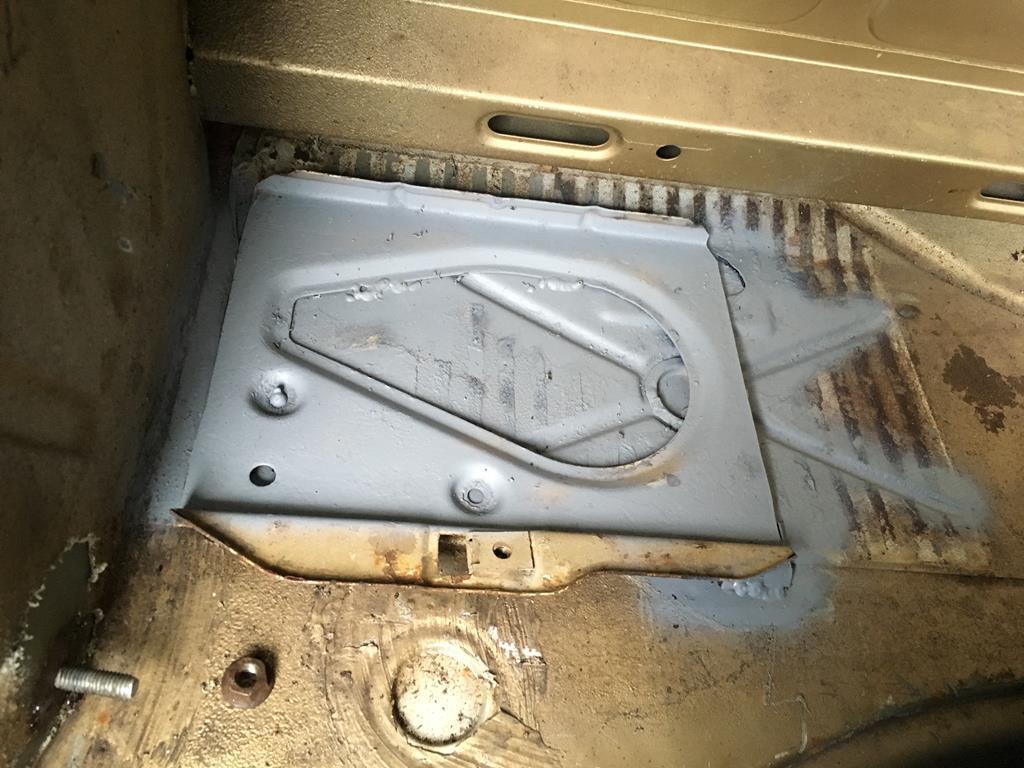 Then I went on to weld up the remaining holes in the boot, the worst of which was around the drivers rear light. But also the badge holes in the bootlid, the hole for the aftermarket aerial and a small patch behind the bumper end. Again, very few pictures... 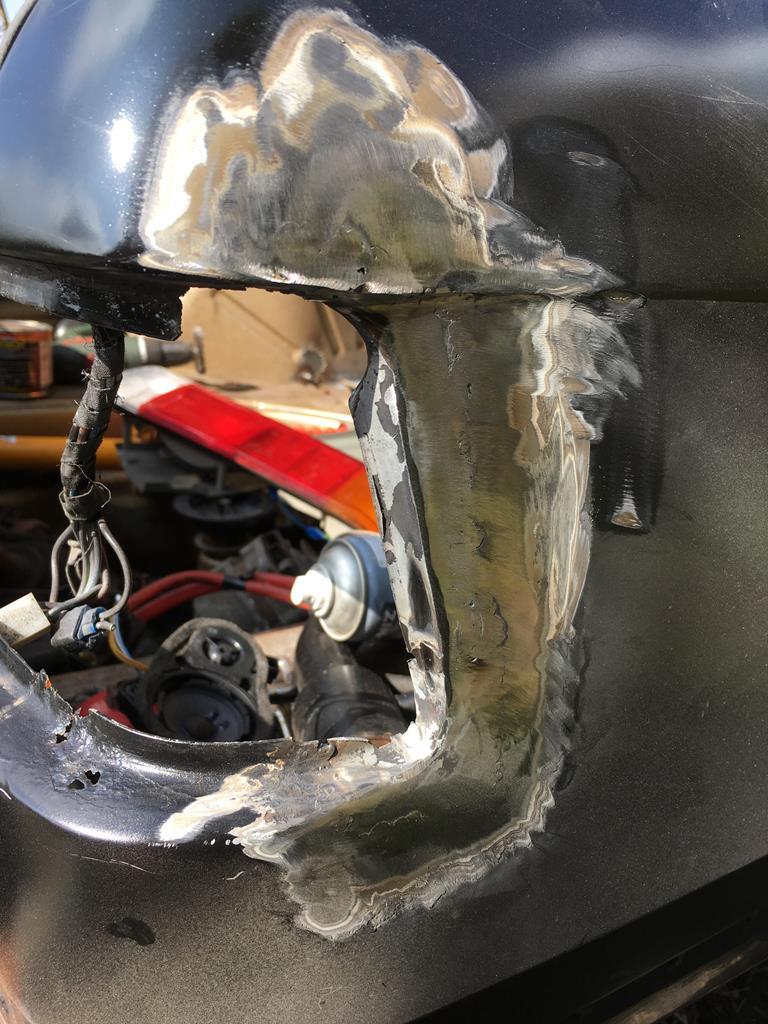 Then from there i cracked out the filler and paint and actually finished these repairs to an alright standard! I mean, it's not perfect, but the rest of the bodywork isn't exactly show standard... 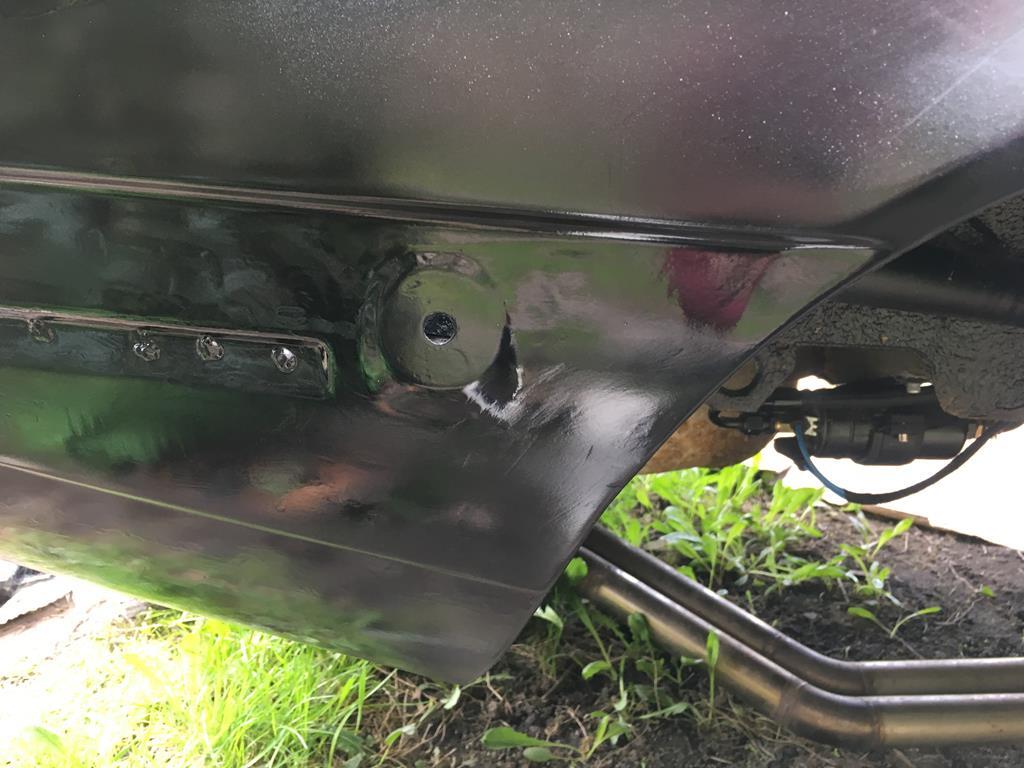 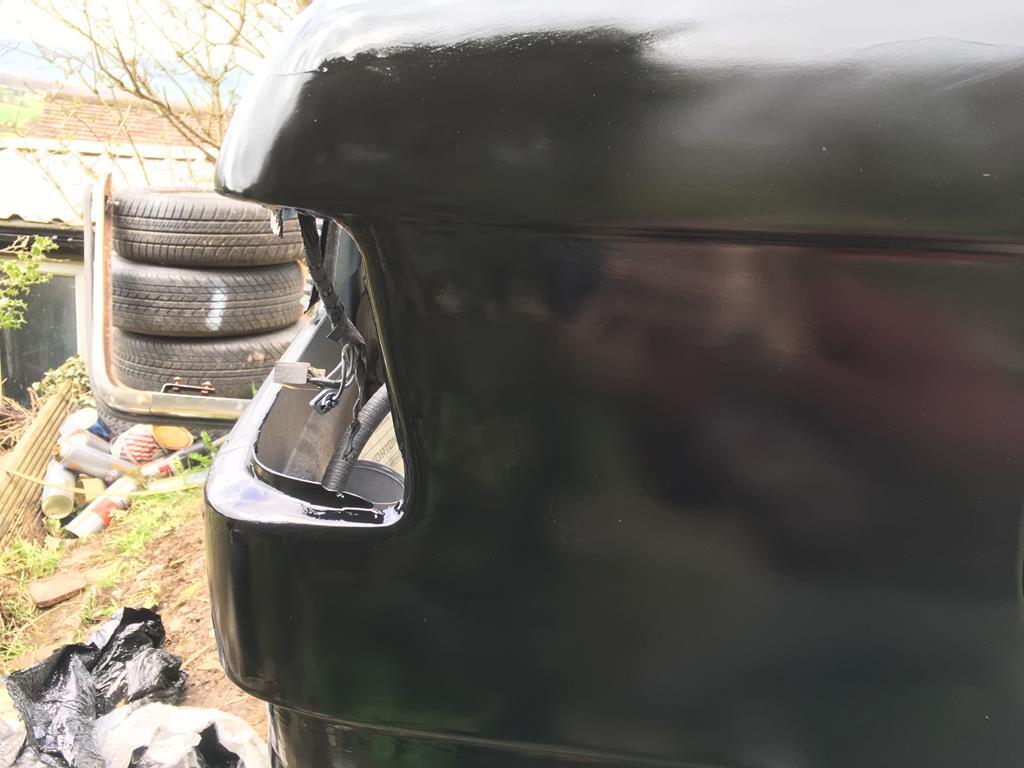 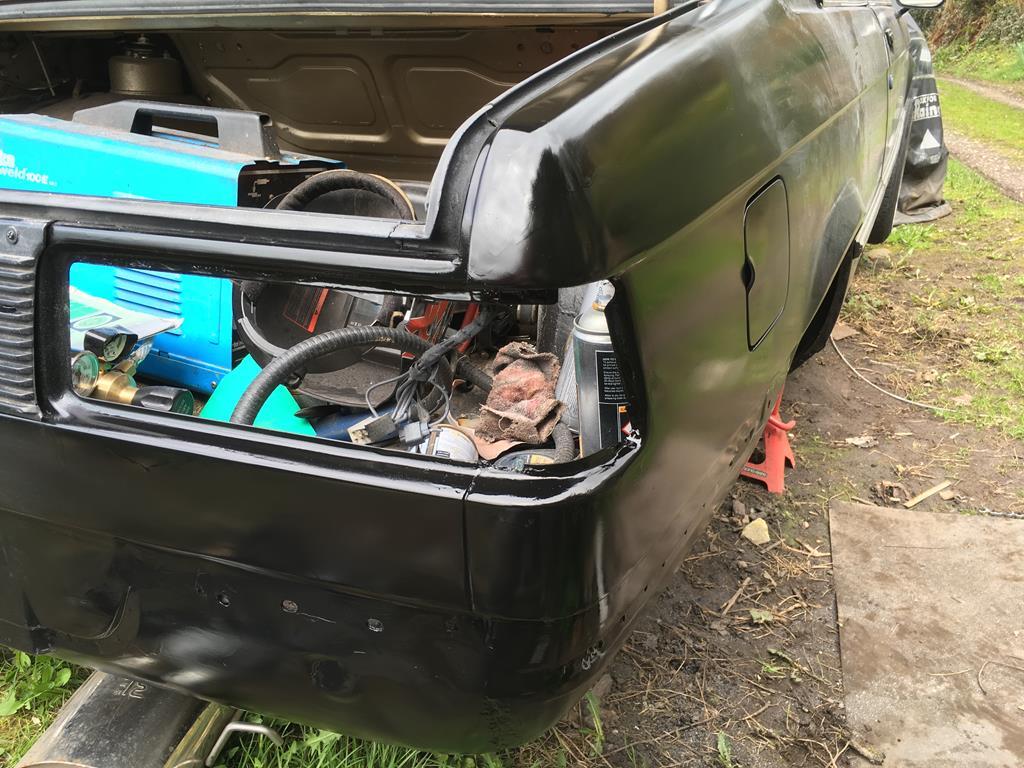 Which meant i could fit up the rear light and bumper and actually make the boot watertight at last!  While I had filler and paint out I finished off rough sanding the front bumper and primed it, which of course showed up all the surface imperfections so i've since given it a good coat of filler primer to try and get a better surface for paint. Still not bad for a £30 motorsports bumper 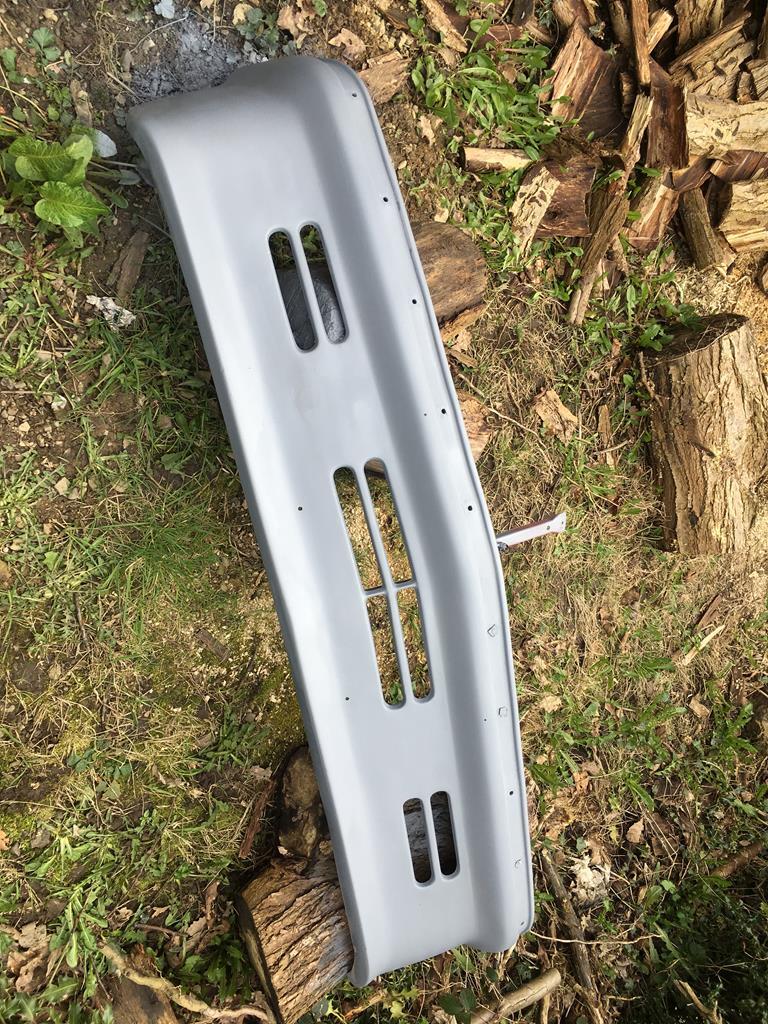 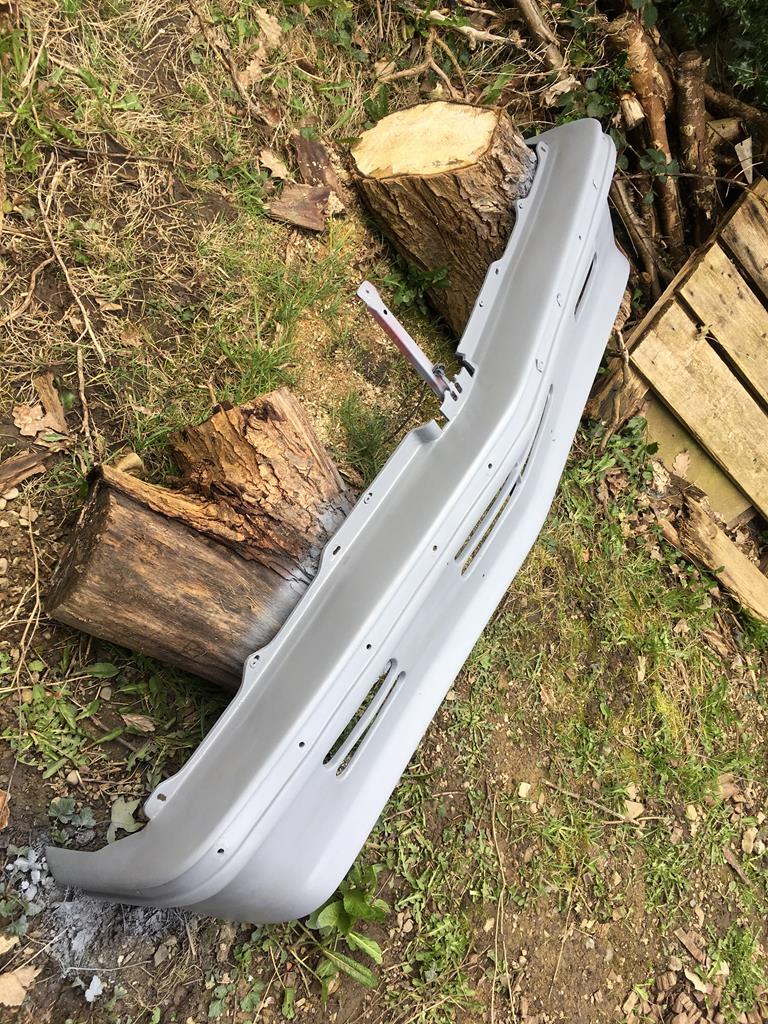 With that I got bored of bodywork and went back to doing important things, like fitting up the rear beam, diff and trailing arms. It's so nice working with clean, painted and brand new parts!  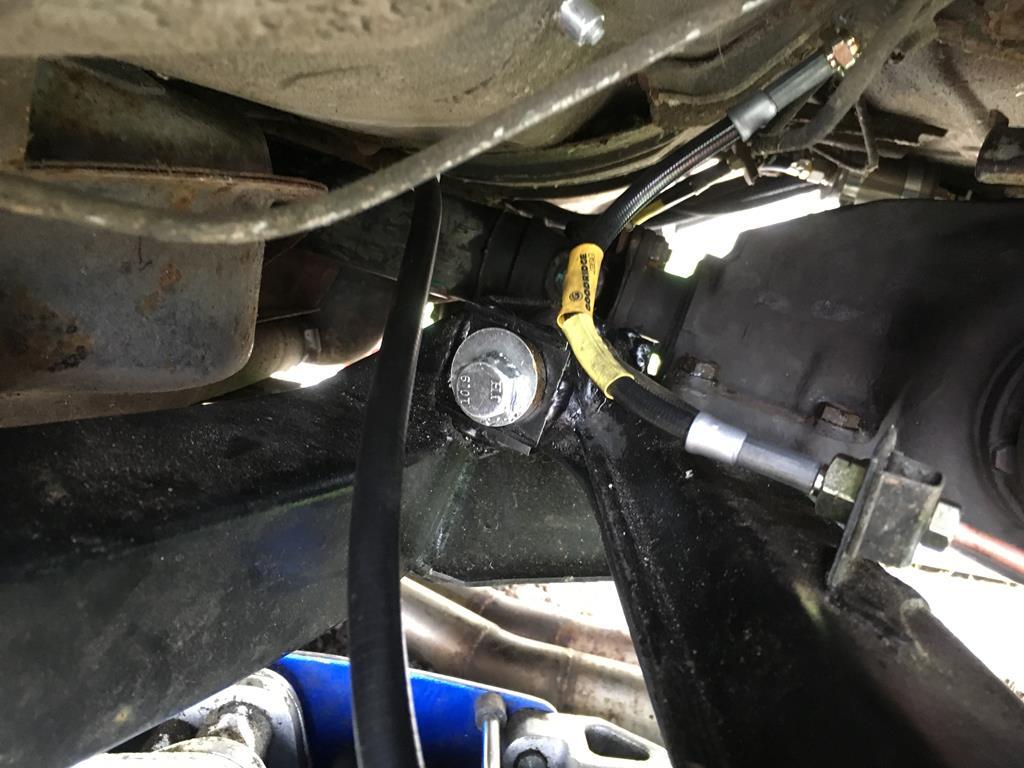 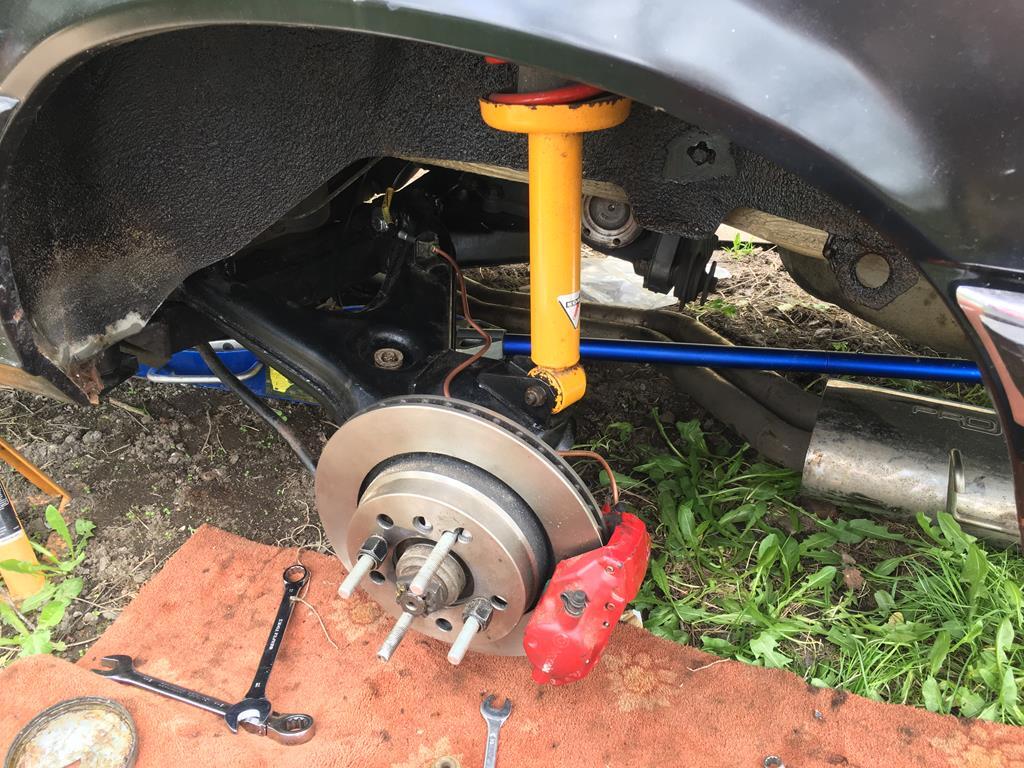 Then I set about finishing up the front end, the radiator is mostly mounted and the hoses made up, just need to mount the expansion tank and washer bottle and the engine bay is pretty much done! 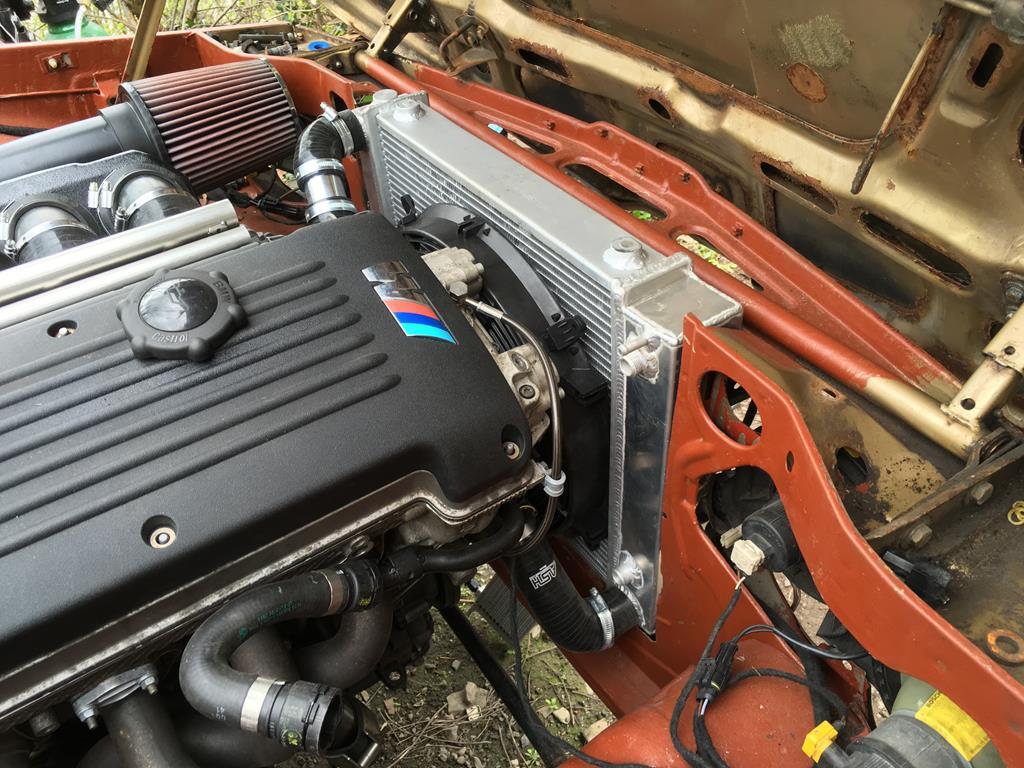 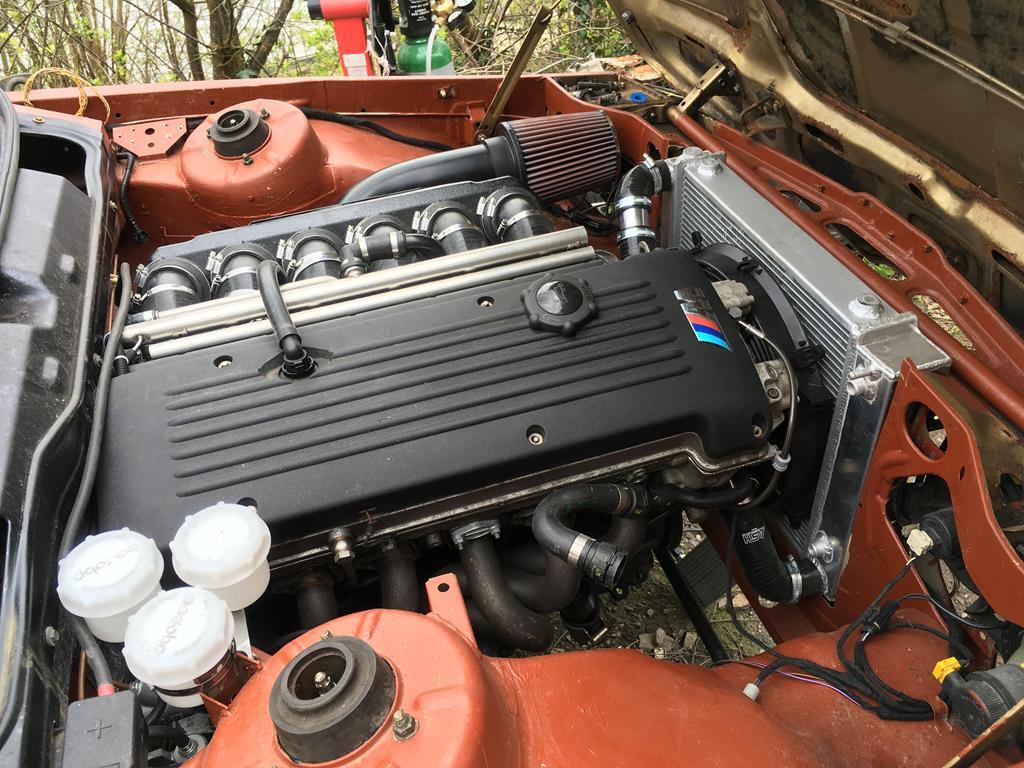 Next up is the exhaust i think! |
| |
|
|
|
|
|
|
|
|
|
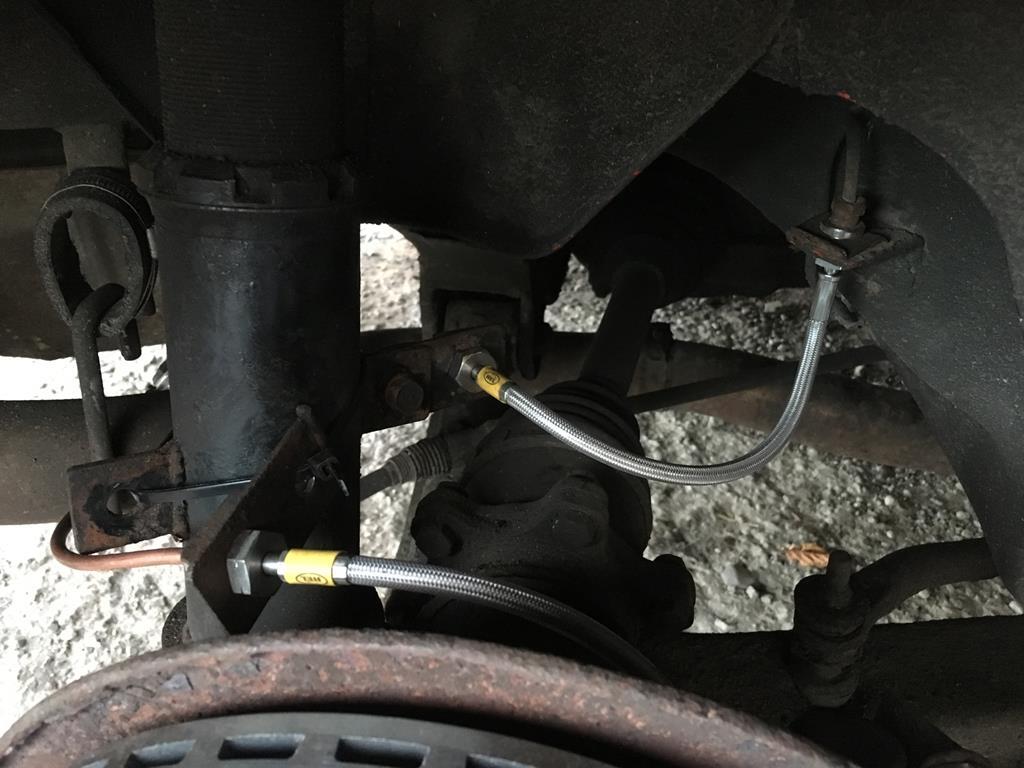
Nice work, I spent a while chasing those handbrake springs across the garage recently, fiddly job. brake setup looks more than capable on the flyweight E21, it's going to be great yes, the brakes are probably overkill to be honest, but as i've deleted the brake booster i'm hoping the massive brakes will help keep the pedal pressure reasonable. Interestingly the new brakes aren't that much heavier than the old setup, the front brembo callipers are actually lighter than the cast iron E21 items! |
| |
|
|
|
|


 on top of that half of it has around 4mm of filler on it, so getting it looking nice again after all the welding will be fun!
 I was not best pleased, as you can imagine, and very nearly just gave up went to the pub. But I figured i should at least cover the hole where the window used to be and clean up the glass...