|
|
|
Dec 19, 2018 15:26:54 GMT
|
That looks very nice! for me this is the most rewarding stage of a restoration. Don t you need a bit more clamps for the brake pipes? Keeo up the good work and do not forget to enjoy! Peter Ask and you shall receive. Tossed in a radiator for good measure. The billet holddowns are kind of a fun thing to make as you work on a beer. Simple drill and polish exercise that eats up an hour or so when you are procrastinating about doing something else that needs doing. Like the electrical.... Must face the fact that wiring is the bottleneck at this point. The plan is to use the Miata harness with any unneeded wired removed and any extras added. While in theory it is the original harness going back into the car it remains to be seen how the components lay out and what the longer overall vehicle envelope does for the task.  |
| |
Last Edit: Dec 19, 2018 15:39:27 GMT by bjornagn
|
|
|
|
|
|
|
Dec 19, 2018 12:45:55 GMT
|
|
Nothing that would make me panic and a fair bit that I see as solid.
Pete
|
| |
|
|
|
|
|
Dec 17, 2018 13:46:01 GMT
|
|
Yeah...we can get the Vinylkote here and it is on the list of things to try. Thank you for the endorsement since I have little to no experience in this area.
|
| |
|
|
|
|
|
Dec 17, 2018 11:53:13 GMT
|
|
Hood ornament is brilliant. Eye pooping if I may say so.
|
| |
|
|
|
|
|
Dec 16, 2018 23:56:22 GMT
|
That looks very nice! for me this is the most rewarding stage of a restoration. Don t you need a bit more clamps for the brake pipes? Keeo up the good work and do not forget to enjoy! Peter Re brake line clamps: Not decided if I wan another between the master and the one in place, but there will be another on the horizontal surface once I figure out where it can go, Today was a good day. Got the lump back in place and started on both the FITECH and the interior install. For now I will let the pics do the talking    The challenge is going to be reconcilling all the colors. The plan is to treat the seats ( with new covers) as the fixed variable and make the rest conform somehow. |
| |
Last Edit: Dec 16, 2018 23:59:24 GMT by bjornagn
|
|
|
|
|
|
|
Glorious ! I am so eager to see this come together 😊 Well then, this should make you happy. As per everything in this project, it will be one step forward and half a step back, but it IS going together. The immediate task is to sort through all the trim and trim hardware and see what is there and what goes where. Remember, I did not take this apart! Thank god for forums and helpful posters. I like what I see; color and chrome play well together.  The brakes are back and working. And staying that way...So it feels like it is coming alive. Much happier with this brake line arrangement. The crinkly line is gone, got rid of an awkward line crossover , the lines are parallel and spaced evenly and the one clip in the middle both works and looks right.  The brake-line clip was just something to kill a beer and use a piece of alloy scrap that was laying around. took way too long and could have been bought for a few dollars, but this was more fun.  Once I get all the trim inventory sorted and how it mounts figured out, it will come off piece-by-piece to visit the buffing wheel. Then it will go on to stay. |
| |
|
|
|
|
|
Dec 14, 2018 17:27:50 GMT
|
|
What..No Smoky burnout video!
|
| |
|
|
|
|
|
Dec 13, 2018 12:43:23 GMT
|
|
Takes a brave and skilled panel beater to weld up a huge low-CROWN panel like the sun-roof.
|
| |
|
|
|
|
|
Dec 10, 2018 19:50:26 GMT
|
Busy week-end chez Bjorn. The challenge Volvo 760 was kicked out of the shop having overstayed its welcome. The original goal was that it would be taxed and plated by now, but off to the farm it went on the hook. Good thing I have a good connection in the towing industry the way the fleet has been shuffled lately The challenge Volvo runs and could have made the 15 mile journey no issue, but still needs a safety, insurance and plates. She will be back in the summer as I plan on having two running Volvo 302 V8 conversions at the big Volvo Family day event! Besides the eviction, had to nip across into enemy territory to collect a bunch of parts for the Molvo and the FRS needed 4 wheel brakes. So there went a bunch of time.  That means that the Molvo is now front and center on the "TO DO" list. Welcome home!  And just 'cause, I had to toss a bit of bling in the tub to see how it would set off the paint. Ignoring the fact that the car is filthy from being pulled home in the snow, I think this is going to look just fine.   |
| |
|
|
|
|
|
|
|
|
Not sure what the white paint is? Weld thru primer?
When I see black soot, I worry that the fumes will get into the shielding mix and contaminate the weld. I like to have the surface ground clean and wiped with acetone at least one inch either side of the seam, both front and back, when welding.
|
| |
|
|
|
|
|
|
|
|
|
 Two things I would do. 1-Sit back and have a bunch of cold beverages until an answer came up that required no body mods 2-Failing that or running out of beer, I would pull the hood forward ( With the grill attached) and weld in what was needed to the firewall end of the hood. That may or may not leave the lower half of the grill hung out in an ugly location. If need be you could extend the front fenders on the flat topside to match the forward move of the hood. But this is all a lot of tin fabrication with finicky welding. |
| |
|
|
|
|
|
|
|
|
Its not so much a welding or grinding issue. Its physics that you are up against.
As long as molten steel contracts in size as it cools you wont be able to get a perfect surface when welding.
Picture two sheets of paper put edge to edge. Now, span the edges with your fingers and draw your fingers together, pulling on the paper as you do so. Notice how the paper crinkles up? The weld bead is doing the same thing to the metal as it cools down. It does not matter what heat you used or if you let it cool between tacks or if you jumped around all over between tacks. Metal gonna shrink as it cools.
The solution is to align your panels. Make a tack-weld. Grind down the majority of the proud bit. Then with a dolly behind the tack, hammer on the front of the tack. This will spread out the surface area and return the metal to its original state. Repeat for every tack.
It is time consuming.
I try not to worry about it too much. Live in fear of really low CROWN panels and try to weld on the top of CROWNs or near body creases when figuring where to cut in a new panel
There is a tool that puts a slight edge to a panel so that when you weld the weld ends up in the trough of a V and the proposition is that the forces pulling on the sides of the V wont distort the panels as much. Also that the V means that there is less proud weld to deal with when grinding. I have not tried one of these tools yet but would love to hear from any who have.
Link to video
Pete
|
| |
Last Edit: Dec 6, 2018 19:28:46 GMT by bjornagn
|
|
|
|
|
|
|
where da picture go?!  |
| |
Last Edit: Dec 6, 2018 18:44:36 GMT by bjornagn
|
|
|
|
|
|
|
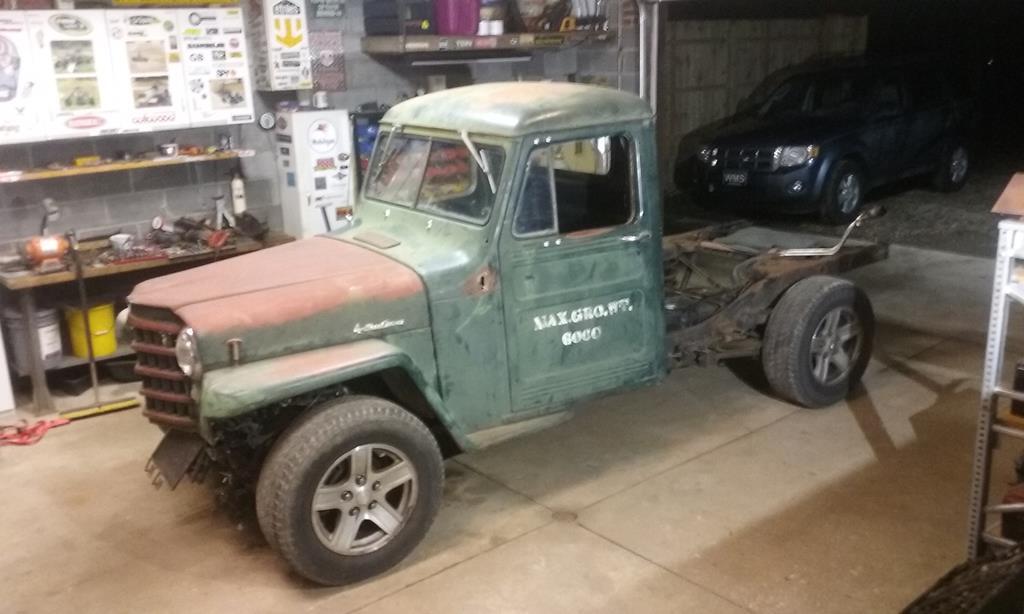
Going to need a radiator kinda like this ![]() |
| |
|
|
|
|
|
|
|
|
Thanks for the compliments bmcnut. I am pretty happy and looking forward to the assembly.
jp...looking forward to the next visit. Wont have the Molvo in the main shop for a week or two since I am trying to finish off the challenge car.
|
| |
|
|
|
|
|
|
|
|
Been down this road and pretty much know what you are about to face. The good news is that parts are available and none of it is terribly difficult. But it is a lot of time.
The reason it all went wrong in the areas that were fixed is down to the case where the backside of the welding was not, or could not, be addressed. Molten steel combines with oxygen to form a surface layer of rust. On the front side, we grind the weld down or wire wheel the rust off and topcoat. On the backside, the seam tends to go un-attended and forms the foundation for future rust damage.
As an aficionado of rustorations, Looking forward to more of this project.
|
| |
|
|
|
|
|
|
|
|
I really want to know what is up with the welded rocker adjusters? Someone put hydraulic lifters in there?
|
| |
|
|
|
|
|
Nov 26, 2018 12:41:01 GMT
|
|
I hear you on finishing other peoples projects; it sucks. Between dealing with the builders screw-ups and the curse word non- fitting parts that the resto vendors sell, it will drive you nuts. How do you bill for a door assembly that took 12 hours because every single rubber bit and most of the hardware that was supplied was not quite right, and the guy who did the tinwork never test fit anything with seals in place!? AND you have an owner who thinks pebble beach should be his next stop after collecting the riddler?
Pete
|
| |
|
|
|
|
|
|
|
Proof that the car is not black!  |
| |
|
|
|
|
|
Nov 17, 2018 20:51:59 GMT
|
Looks very smart, althought I was expecting it to be metallic blue? - seem to recall you saying that was the colour somewhere. Is it black or a very dark blue? It is blue, but you almost have to park next to a black car to see it. Sun would help and I cant recall what that looks like! I did go for darker than I had originally planned. And it was always going to be a solid color. 1980 Mercedes Dark Blue. Solids are much easier to fix or touch if you have to. |
| |
|
|


