|
|
|
|
|
|
I'll take some more pics of the pages so you can see the state of the market back then.
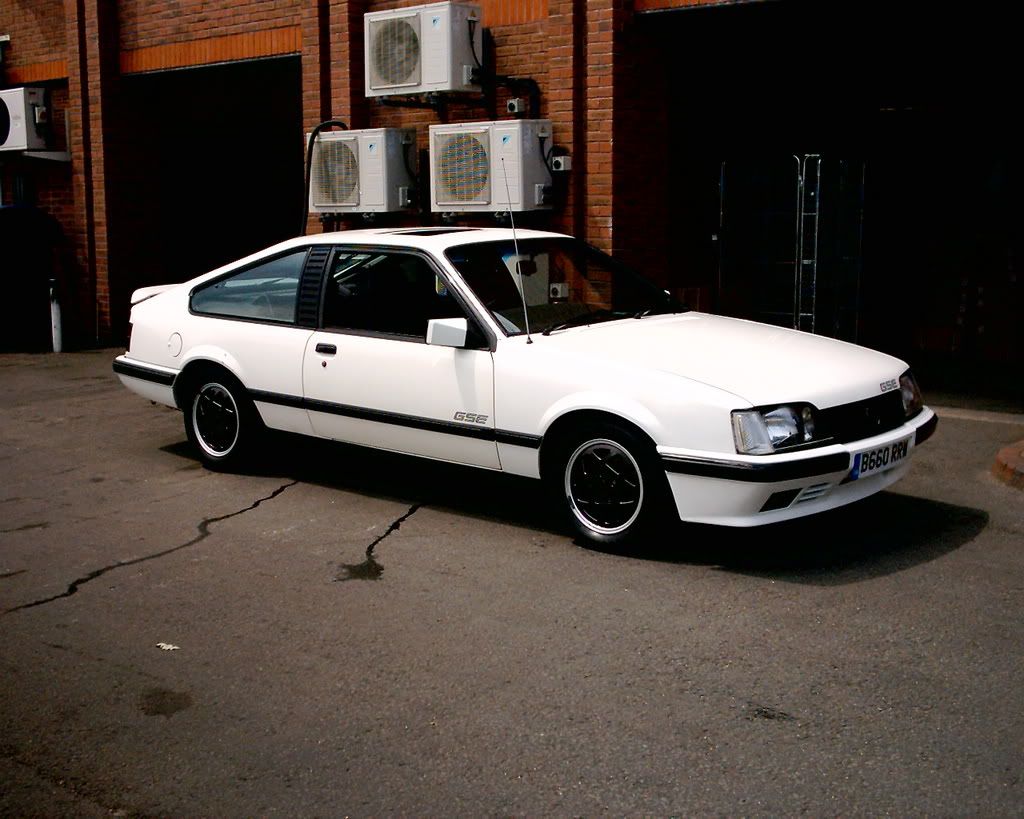
I can only assume either road tax hikes had made them a bad choice, or there had been a recent increase in fuel prices. Although the 6 cylinder zephyrs were still expensive, they were newer though.
|
| |
|
|
|
|
|
|
|
|
|
|
The classifieds in this mag are interesting. All the big luxury saloons are very cheap. Cheapest cars available, where as saloons of the same age are 2 to 3 times the price!
|
| |
|
|
|
|
|
Jul 31, 2021 21:00:49 GMT
|
Seems no one wanted big saloons in 1962!  |
| |
|
|
|
|
|
|
|
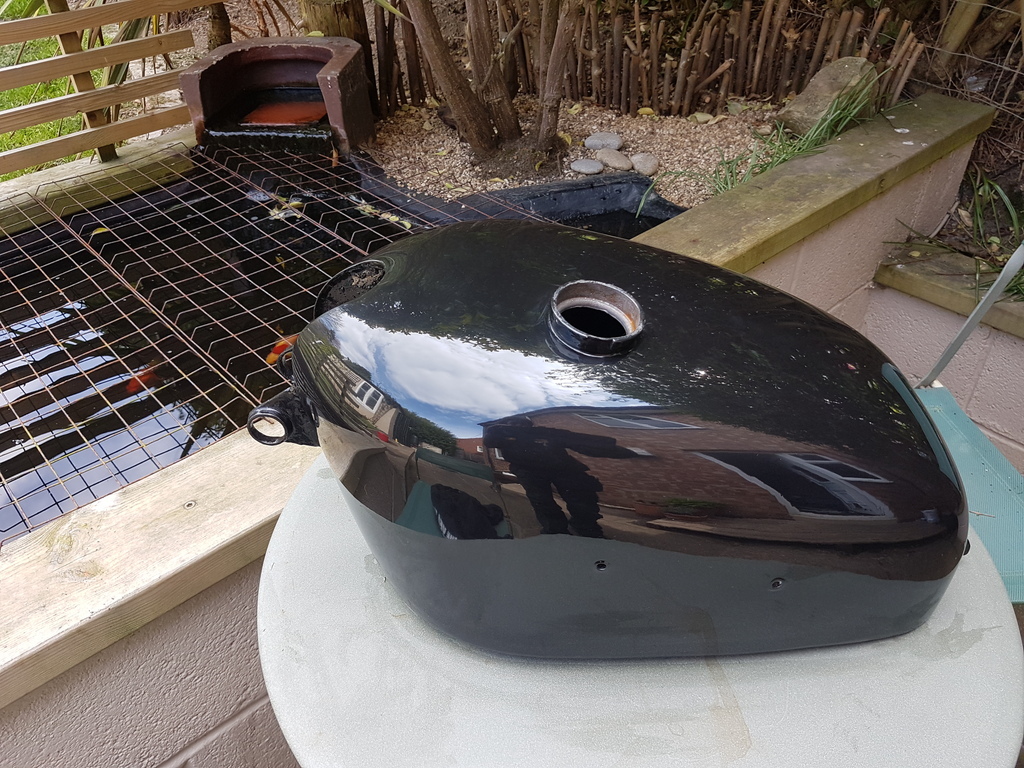
There is no need to be afraid of coach painting , I am 75 and done it fit years , I am talking the best coach enamel was Polygloose ,I have literally done hundreds of buses for loads of companies , obviously the prep is very essential, the dust aftertaken out of every nook and cranny, masking up is essential to give you a clear run on the panels , primer undercoats have got better over the years , when applying at this stage thin the paint get the paint into a foam roller , brush the panel in as quickly as you can , then use the roller to liighly apply a stipple to the panel, leave it dry for 24 hours , flat off with wet and dry next day wash all the panels and dry all areas, use a. Tack rag to make sure there are no bits left on the panels , spray some water around the vehicle on the floor , make sure you have paper overalls on and if you have long hair cover it. Split the paint up into two pots ,thin the paint a little and try it on a small area to see if it suite you , with the one pot of paint go around all your shuts making sure to wipe excess pant off the panels it is. Better to leave the shuts dry over night ,next. Day start with the other pot of paint doing the roof first then the bonett and the boot lid follow through with the rest of the panels leave to dry and flat off and apply a second coat a day later , now as a coach painter whe I started there was no such thing as foam rollers and it was frowned upon to use them bat as time went on new comers to the trade quickly found it gave a better finish quicker than jusy using a mop, the true is paint your vehicle on a day we’re you need not heat you garage anything blowing heat around also blows dust , take it. From me you will be pleased with the finish ,do not hurry the job , I now paint rally cars for people who are crashing them all the time , Hollyboy sixty years in the trade It took some learning, but I brushed it, and it came out well. Thinning didn't work at all. Adding oil based brushing additive helped alot though. Temperatures are important! Main issue, as you say, is dust. Mainly as it stays tacky for so long. It doesn't polish up as well as the initial shine is either so best to avoid the need for a final flat and polish. The result 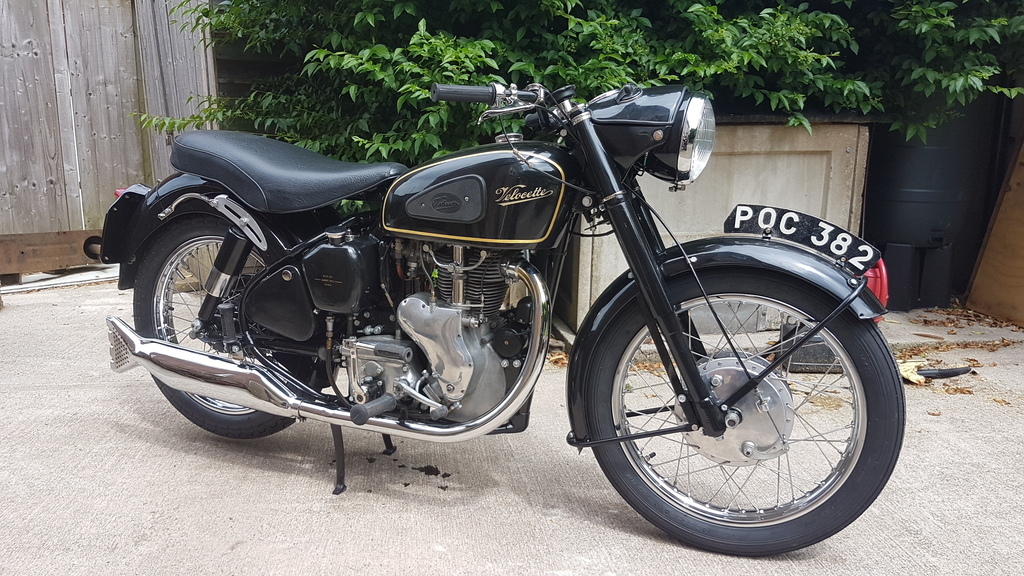 |
| |
|
|
|
|
|
|
|
|
I use foxwood diesels in chesterfield, or sheffield engine services in Hillsborough.
|
| |
|
|
|
|
|
Jun 28, 2021 19:29:13 GMT
|
|
Long distance, but straight up the M1. Can meet somewhere up this way.
I need a wooden board game bringing up (3 foot square).
No timeframe, it's from a family member, but will be a few months before we can sort it out ourselves so thought I'd ask.
Thanks.
|
| |
|
|
|
|
|
Jun 22, 2021 12:24:49 GMT
|
|
|
| |
|
|
|
|
|
Jun 22, 2021 12:24:30 GMT
|
|
CROWN
|
| |
|
|
|
|
|
Jun 18, 2021 19:03:14 GMT
|
Surely you are joking? I would be just about the last person anyone should ask for advice on English wheel techniques! I am just as baffled by the bloody thing as anyone. They are as John says , a black art. Lots and lots of practice is all I can advise. Then one day, hopefully, it may all fall into place and you can achieve same result two times in a row. At least I’m hoping that’s the case. Unfortunately it is the case that none of the wizards on YouTube are very good teachers. They may be very good if you take one of their classes but it doesn’t come across on YouTube. I’ve not seen one where they explain sufficiently what pressure they have on the wheel, whether they’re pulling down or not, etc. They mention these aspects from time to time, but this is what is critical to achieving what you want. You need to know exactly what is happening ALL the time. Besides, I last used mine several months ago. When I use it next time I’ll have to start all over again as I’ve already forgotten the few things I learned! Beautifully summed up and got it in one. How many times when wheeling have I got really close to the shape only to lose it almost irrevocably for no apparent reason. It is so frustrating. There seem to be two schools of thought on using the wheel. The first being to wheel up the panel from scratch without any hammering or blocking which I believe is the way Aton Martin apprentices were taught and certainly the way Geoff Moss forms his panels. This series of videos shows Geoff making part of a front wing for a Lotus 11 and I don't think he ever takes his fag out of his mouth the whole time. Very entertaining. Bill Longyard who made the video was on one of his classes I believe and he asks a lot of questions to clarify point for others who might watch the video and it is obvious that some of them just irritate Geoff. Not one to suffer fools gladly! Here's the first in the series of 4 In the States I think the general practice seems to be to put in the basic shape with a blocking hammer and use the wheel to either just smooth or continue to shape . Ron Fournier certainly did it that way and Wray Shelin does a lot of blocking as well. Gazzam is right on the money that we don't spend enough time often enough to build up experience of wheeling and importantly what to do when the shape starts to go away from us. For me that is very true and the same can be said for my new best friend the tig welder. Just skimmed through those vids, very interesting. Never tried any wheeling but like most folk, always been curious. Seems like fundamentally it's no different to shaping with a hammer (not that I'm much good at that either!). It seems the metal behaves in the same way, but rather than individual blows it's like one constant, controlled blow. Just stretching the metal over the lower former. More wheel pressure is just like a harder hammer blow. I'm sure in reality it's nowhere near that simple though! |
| |
|
|
|
|
|
|
|
Carb has been rebuilt from a service kit. The need was bent so that fixed that. It starts and mows the lawn now. Although it’s very fast. Even with the throttle low I’m almost jogging behind it. Mine is the same, I think it's just how atcos are! Can you disengage the roller and just push it? |
| |
|
|
|
|
|
|
|
|
|
|
|
|
|
I bought an air-driven 3" polisher which takes (not surprisingly) 75mm foam pads, but I found that my compressor isn't up to running it with a firm foam on it, only medium and soft. I could probably get a photo of it, it just came from a stand at an autojumble (ah, I remember them) a few years back. You can get 75mm backing pads for standard-sized polishers, but they were really expensive when I looked, so I bought a standard-sized one and cut it down. Not sure whether the body of the polisher might get in the way for your use - I'm doing fiddly bits on a car. Yeah, my polisher is too big, and heavy. It's old, Makita I think, about the size of a 9" grinder! It's very good, for cars. I'm looking at doing between ribs on mudguards, headlight brackets, things like that. So the body needs to be small too. I may buy an air one, they are cheap. Hopefully my compressor will run it with 1" and 2" pads. If not, at least I'll have the pads. My compressor is rubbish, although I did manage to paint my van with it. It was running constantly though 😂 It's probably cheaper to buy an air polisher and another compressor than a decent electric one! |
| |
Last Edit: Jun 5, 2021 17:47:41 GMT by VW
|
|
|
|
|
|
|
Snap-on do a small surface finishing tool that is exactly what you are describing and only £1billion. Aldidl have had a similar thing but sadly I think it is lucky dip as to when it comes back into stock and I just can't remember what they called it. I'll keep my eyes peeled at Aldi. I'm surprised there isn't a slightly shonky cheap one available at machine mart etc. I found some more than I'd seen previously, but they are £400! Only want to polish a couple of square feet of paint, just on lots of awkward small parts. Might see about buying some small pads and either making something to put them on or bodving them onto something I already have. I guess worst case scenario I could put them in my cordless drill. |
| |
|
|
|
|
|
|
|
|
We put some continentals on my caddy, while trying to work out how to use my mates new tyre machine.
I noticed at the time the sidewalls were very thin, they were rippling up while fitting. Seemed we could have very easily damaged then (we had no clue what we were doing 😂)
They seem good though.
|
| |
|
|
|
|
|
|
|
|
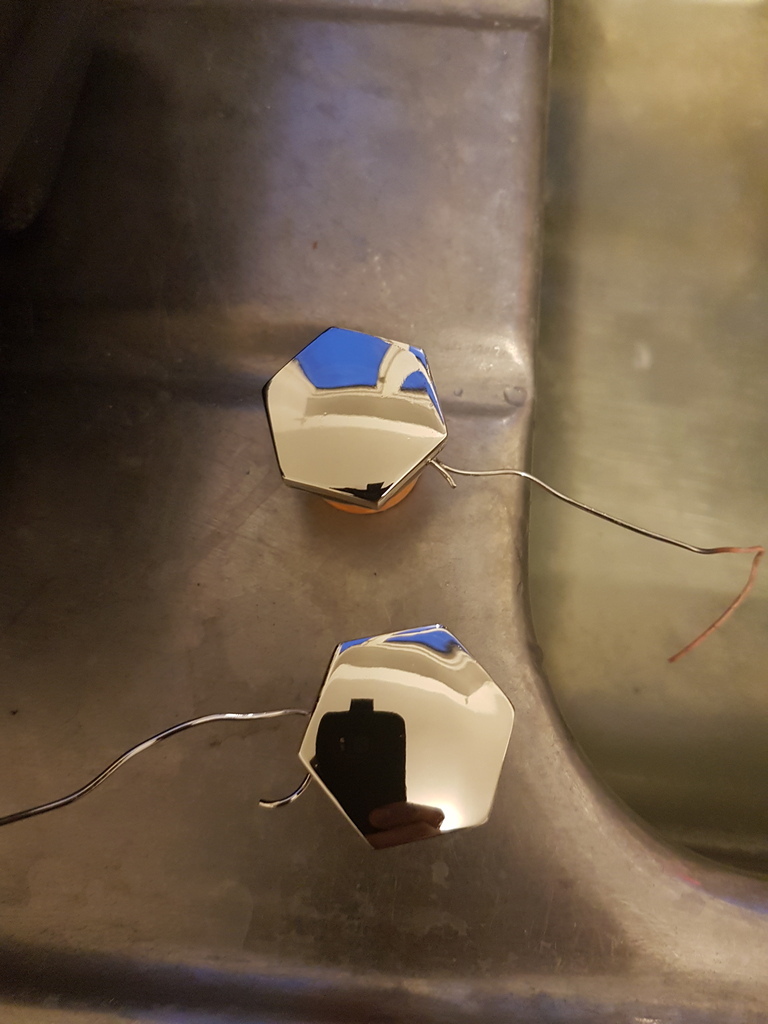
I have a normal car polishing mop but I need something smaller for my motorcycle.
I'd like something I can hold with one hand and with 2" mop heads, maybe 1" too.
The paint on the bike doesn't really respond to hand polishing but machine polishes lovely. I just need something I can use on small parts/areas.
Needs to be electric, my compressor is small, noisy and on its way out.
I can find stuff that seems to fit the bill, but they are all £100-£200! That's more than I was hoping to spend. I had assumed there would be some cheap thing available for maybe £30-£50 that will do for the small amount of use it will get.
Is anyone aware of anything that might work?
I have cordless drills, dremels etc, but I'd like something with a 90° head like a normal polished if possible.
Thanks.
|
| |
|
|
|
|
|
|
|
Worst places to be stuck, in worse cars. Should be a nice place for some sliced mystery meat  |
| |
|
|
|
|
|
|
|
|
|
|
I would too.
I think the colour it came to you in is nice, would probably look great with a black roof.
I've always wanted to play with candies over base colours too. Straight black with a couple of light coats of purple candy over the top, just so it glints a bit purple in the light. With a subtle pale metalic purple bottom half 😎
|
| |
|
|
|
|
|
|
|
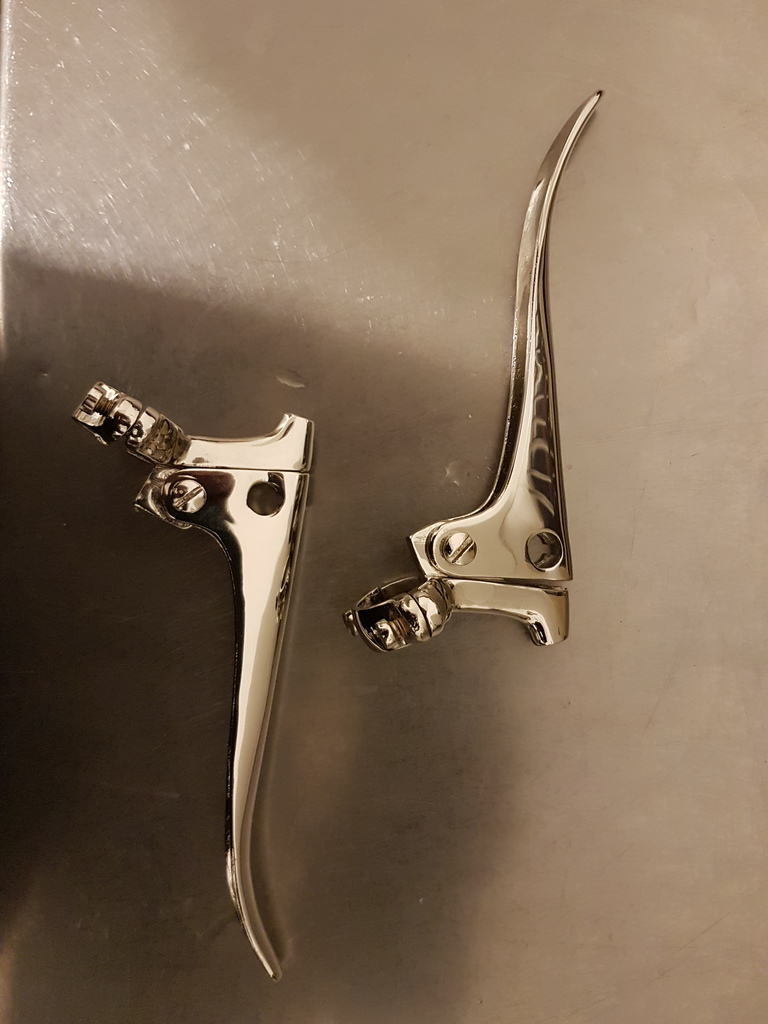
Well I wasn't very good at keeping this updated was I! How it sits now... 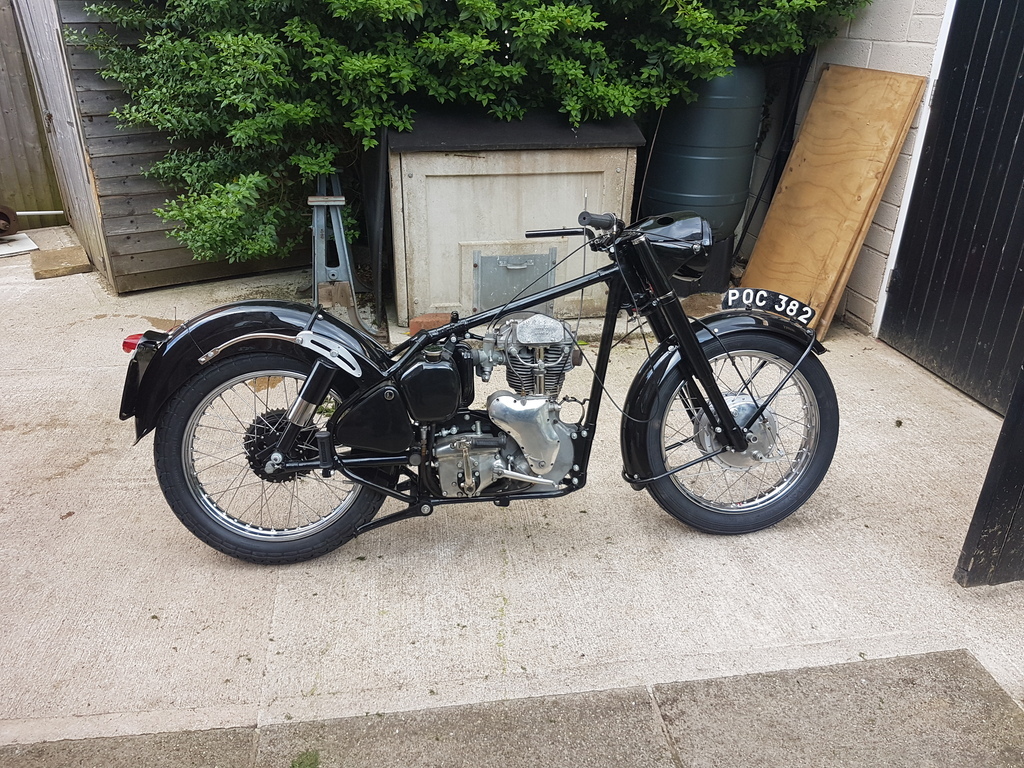 Just fitted the exhaust today. Seat refurb kit is on its way, hopefully I'll get a chain and a battery at the weekend. Few bits of wiring to do and it will be done! Carb was alot of work, boring it out and making a new slide. Built the wheels myself, was alot easier than folk make out. Rebuilt the chronometric speedo too. All chromework is original parts, replated by me in the kitchen. Although it has been alot of fun, I think in future, brush painting and diy electroplating probably aren't worth the grief 😂 |
| |
|
|
|
|