|
|
|
Feb 16, 2015 18:20:04 GMT
|
|
Should just slot into place as the cam is tightened down, Just make sure you keep an eye on it and watch its not binding anywhere. If it is, stop and start again.
Better safe than sorry, especially with a freshly skimmed head!
|
| |
Too many projects, not enough time.
|
|
|
|
|
|
|
Feb 16, 2015 17:57:21 GMT
|
Tonight's progress isn't massive but its a step in the right direction! I started by shopping the abomination out of the car: 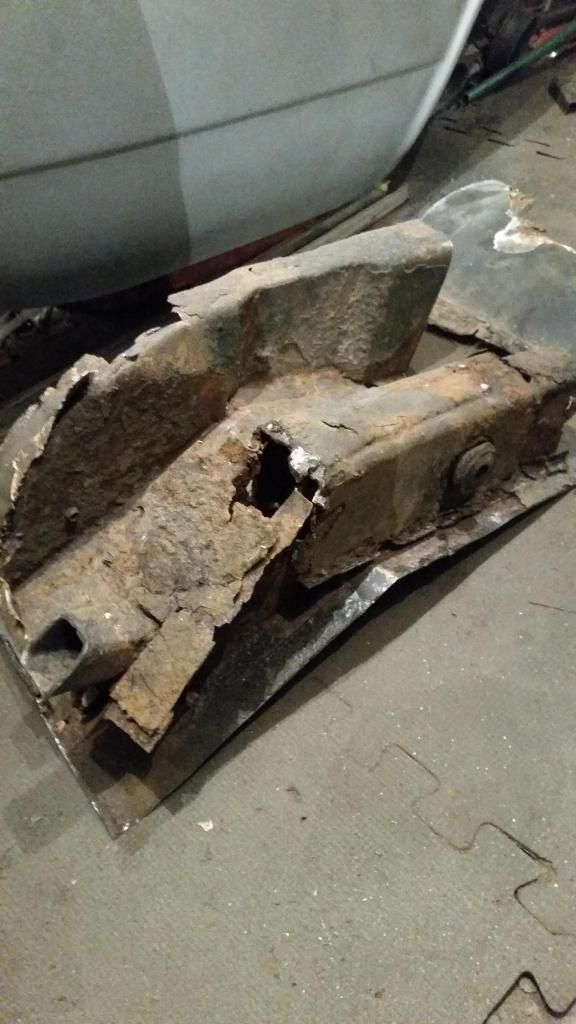 Yeah.... that was the old spring mount. I'm amazed the spring hadn't fallen off! So i put this in its place: 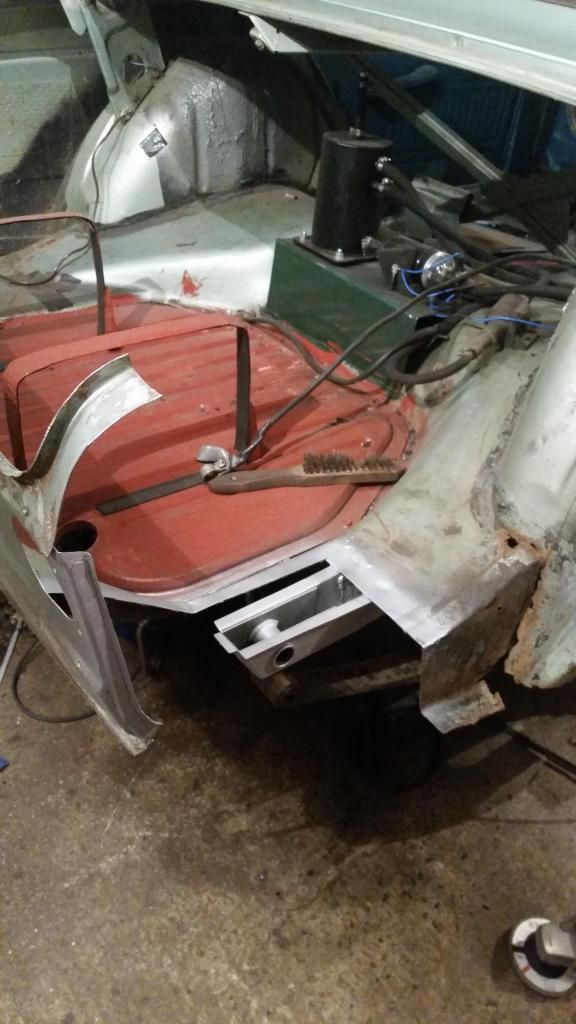 And neatened up the arch ready for the wing, along with the top of the sill: 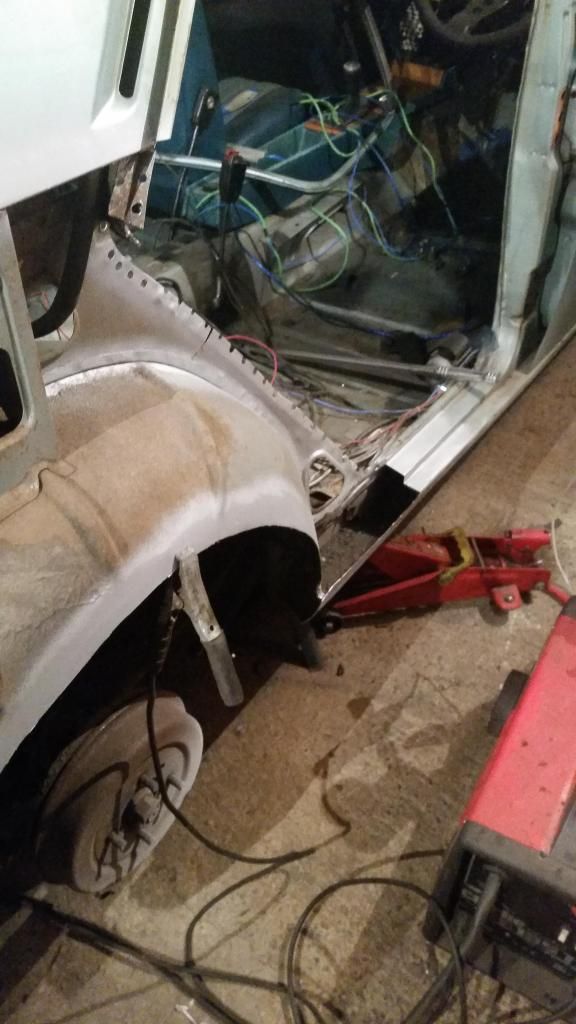 And then i stopped. All i can taste/ smell is the body filler i have ground off. The Weld through primer i have used is brilliant. If anything its made the welds nicer! The stuff i used is: U-POL Weld #2James |
| |
Too many projects, not enough time.
|
|
|
|
|
Feb 14, 2015 17:17:15 GMT
|
sweet! But does the bonnet close  |
| |
Too many projects, not enough time.
|
|
|
|
|
Feb 14, 2015 16:48:01 GMT
|
Now you know why i'm in no rush to come get that dash off you Nomad! My Idiot grin was at 100% in the snow  |
| |
Too many projects, not enough time.
|
|
|
|
|
Feb 14, 2015 16:08:02 GMT
|
Managed to get the old wing off today. It didn't take too long as it was mostly off anyway, just needed the remaining spot welds drilled out then a good pull. 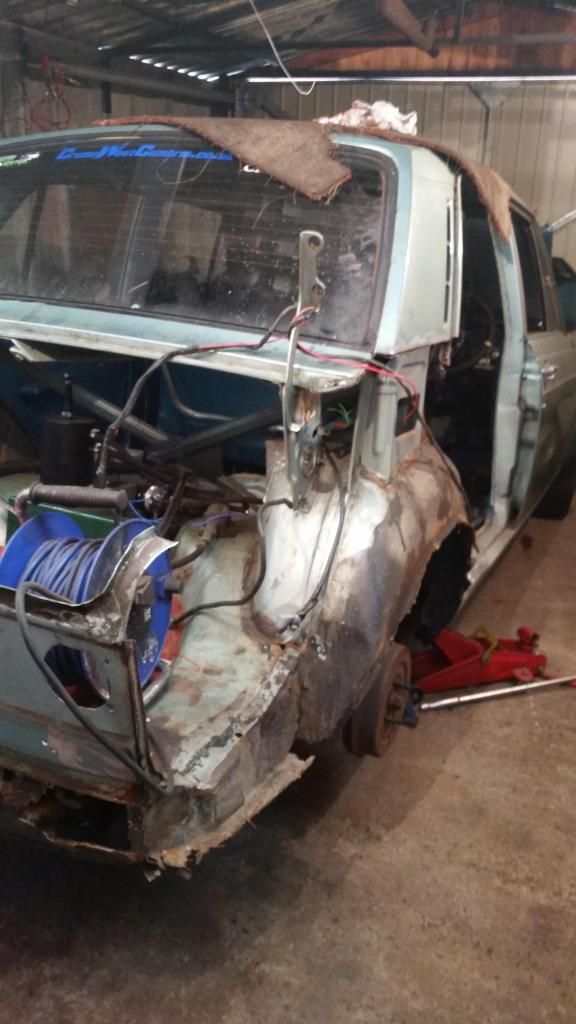 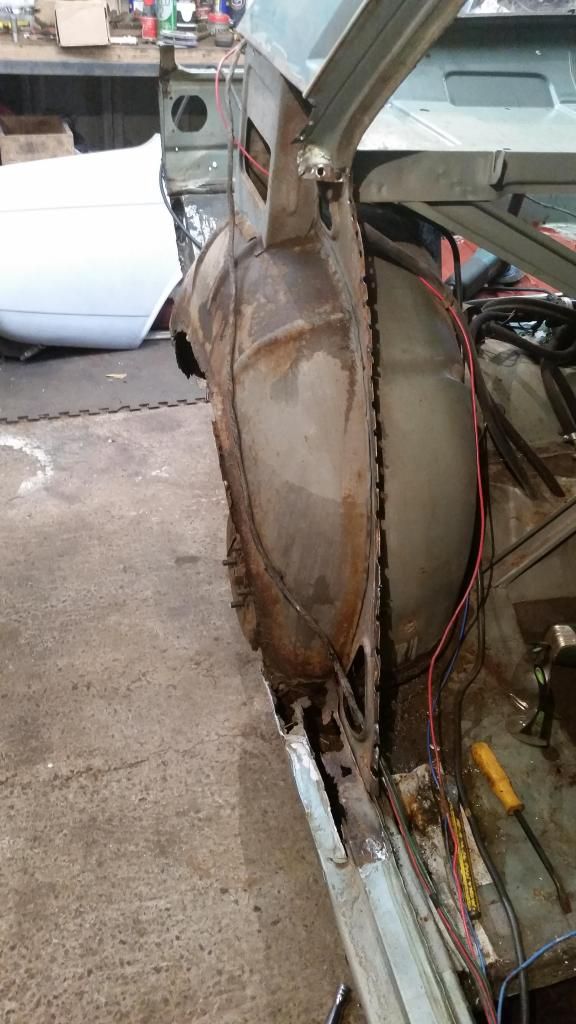 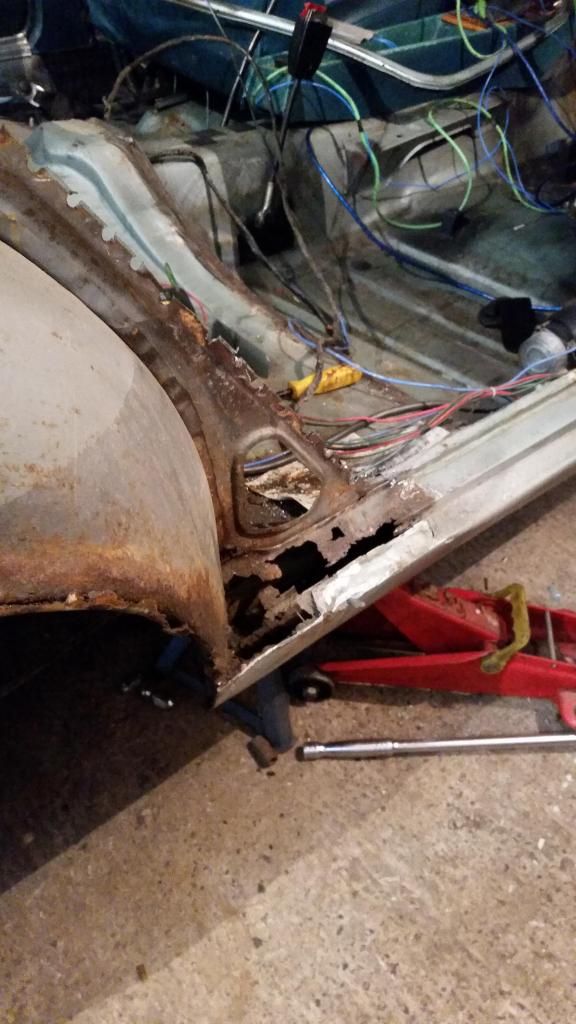 Once it was removed, I could see where I needed to patch up the rust and also what extra damage there was. There wasn't very much really, just bits missing that had rusted away, so I gave it all a clean up and started straightening it out. I got the rear valance pretty straight which went OK. 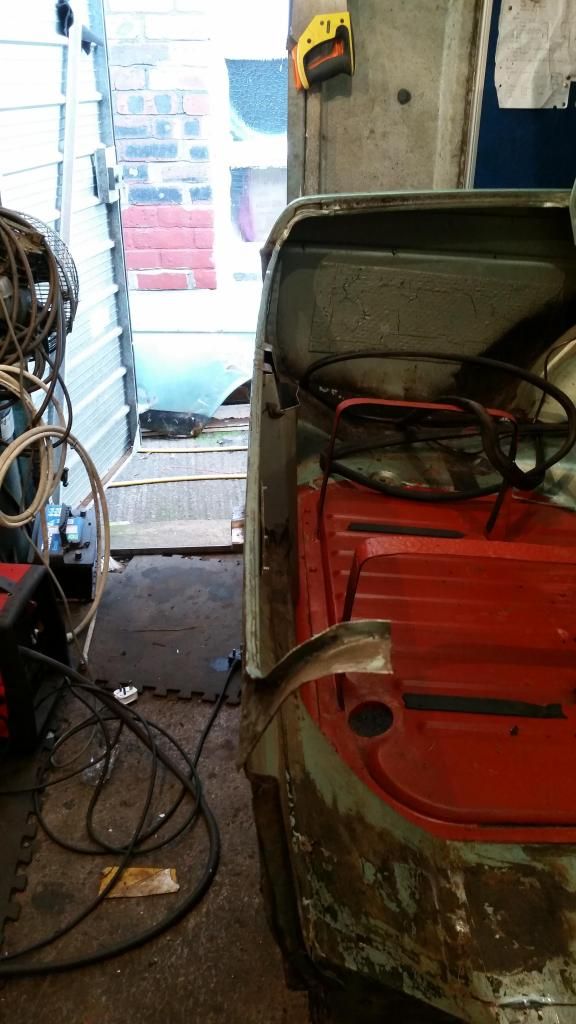 At this point I ran out of cutting disks for the grinder so I have called it a day as everywhere I can get them from is shut! More updates will come when get some work done. James |
| |
Too many projects, not enough time.
|
|
|
|
|
Feb 13, 2015 12:41:33 GMT
|
|
Yeah, they seem to be becoming worth something now as I can only think of about 6 that are on the road!
|
| |
Too many projects, not enough time.
|
|
|
|
|
Feb 13, 2015 10:56:39 GMT
|
Whoops. The Hillman was going nice and strong, doing the run to work and back every day, blasting through the snow as if it wasn't even there due to the permanent 2wd from the welded diff. It was great fun sliding it around, big sweeping drifts on the snow covered roads  That was until i came over a crest, sideways and found a foot deep ridge of snow going halfway along the road which cough the front of the car, spinning me round, leaving me sliding downhill, backwards and into a hedge slightly faster than walking pace. Doh! Luckily the guy following me stopped to give me a tow out (always carry a tow rope, they come in handy all the time!) Real nice fella he was, even said he was enjoying the show up until then! When i got home, scraped all the snow out from under the arches and emptied it all out of the boot i could inspect the damage: 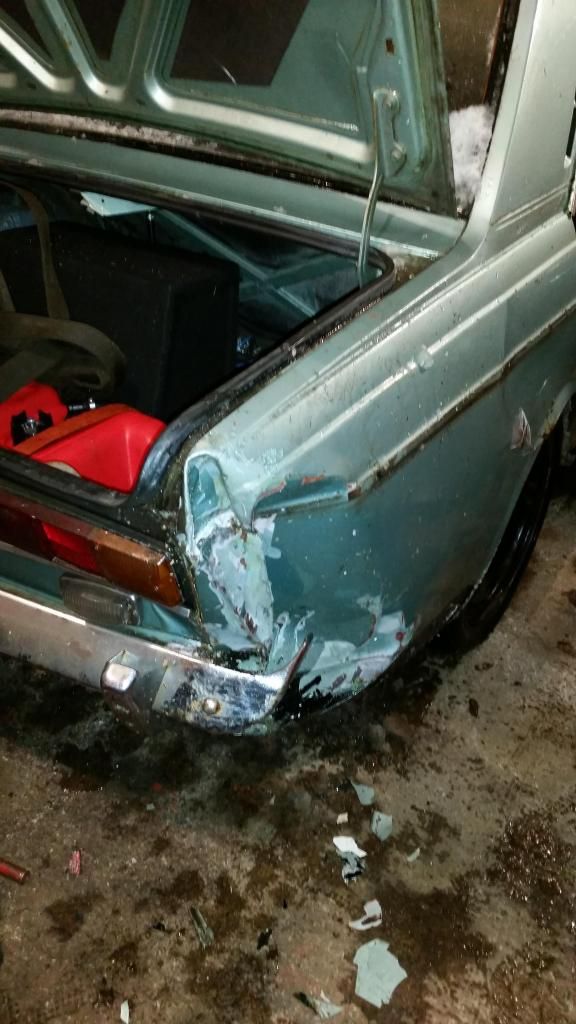 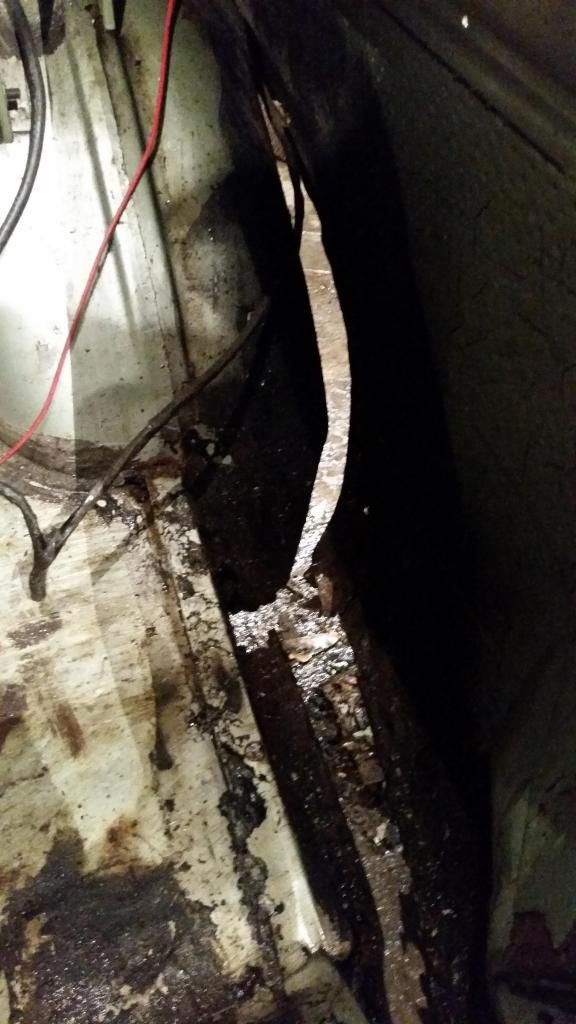 It was quite a bit worse than i expected, due to the rust, but also not as bad in some areas which was also due to the rust. The whole seal along the bottom of the quarter had rusted away, basicly leaving the bottom attached solely by paint, filler and silicone (no wonder everything kept getting damp in the boot) When i've hit the hedge, there was only either end of the wing holding it to the car so its crumpled up rather nicely, leaving a big old dent and a knackered bumper. The good thing though is that none of the force from the crash seems to have affected any of the rest of the car. The spring mounts are in the same place, all the door jams are the same, the car drove perfectly straight and even the boot still shut! phew! I was now carless seeing as i decided it was best not to keep driving it around, so i bought a Van for £600 (that's the Capri fund back to zero) and started taking bits off the Hillman, leaving me with more work to do: As well as the bottom of the wing being all rusty, the bumper mounting point was also none existent when i dug into it. I initially though that the bracket for the bumper had bent, but upon closer inspection the bracket had just pushed back into the car, taking the mounting point with it. The mount was just a sheet of metal, with a nut on the back and held in with filler to a big rusty hole where the original mount once was :@ 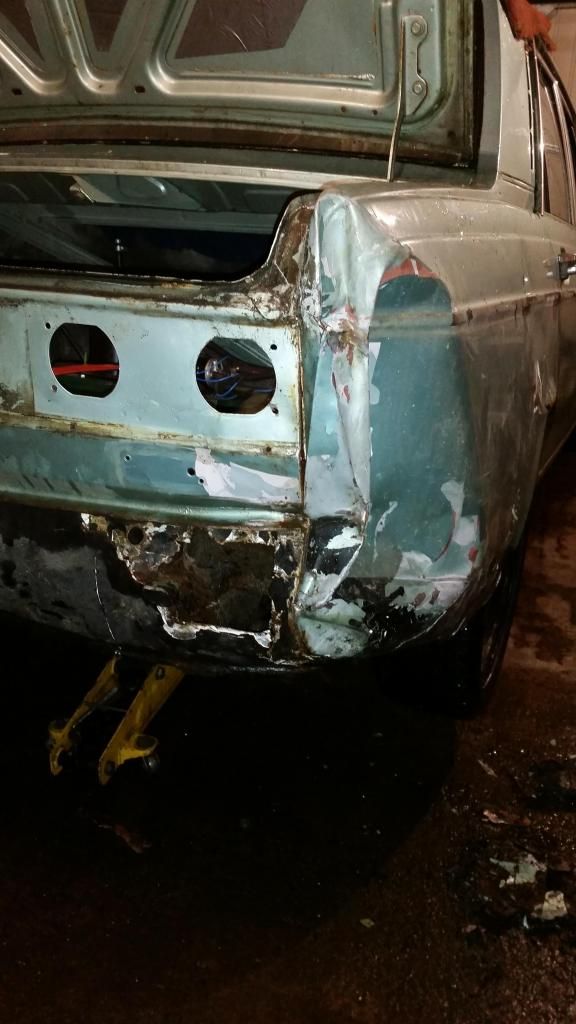 A few days later i was searching eBay and other sources for a rear quarter and one had just been listed, I messaged the guy, made him an offer, and then picked it up  It was a bit worse for wear, but being just surface rust and a NOS panel, i had to get it. It will also replace the base of the door where one of my previous repairs is, so it'll be nice to have it all as one panel and not a patch work. 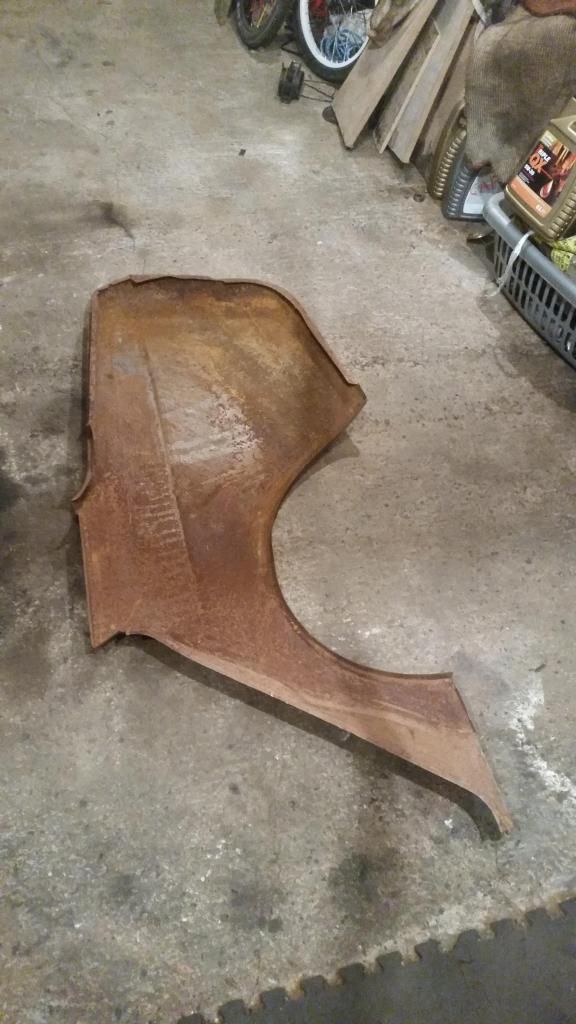 Came out pretty nice after a lot of wire brushing, knot wheeling and sanding (once the dust had settled leaving everything brown). I Covered it in a layer of weld through primer to stop it rusting again aswell:  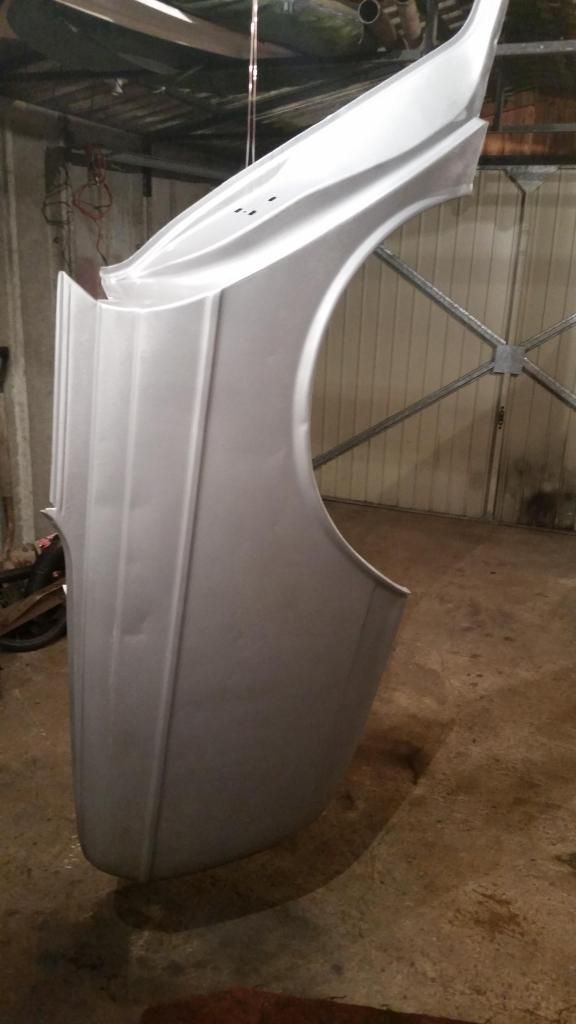 That's all for now folks. I should be moving house at the end of the month, which also means ill be garage-less (until i can afford to build one at the new spot) So updates may be even slower than they currently are! James |
| |
Too many projects, not enough time.
|
|
|
|
|
|
|
All the wiring info is also HERE |
| |
Too many projects, not enough time.
|
|
|
|
|
|
|
That would work Sowen, but it might make it confusing when you come to tune it in the future and forget that it is retarded by X ammount from what it actually is! The only part you need to add to the basic MS2 is HERE this will give you enough for 2 spark outputs (to run a 4cylinder wasted spark). If your replacing EDIS 6 then just get 2 of these, or for a V8, get 3 of these. Considering they are only about £5 each and can be added to the board when its being built, its a very good addition to the kit. Buying the bits to modify mine and also the postage from the states worked out cheaper than the EDIS8 unit which is pretty rare over here! James |
| |
Too many projects, not enough time.
|
|
|
|
|
|
|
|
Bear in mind that with the edis you can only run a minimum of 10 degrees advance. I switched away from edis on my turbo setup as you cannot have a spark cut limiter or less than 10 degrees advance. When the spark signal is cut to the edis unit assumes there is a fault and just defaults to 10 degrees advance as a limp home mode.
I use ms2 on a v3.0 board and have added in the extra coil drivers. This let's me bypass the edis unit and run the ford coil directly from the megasquirt(still wasted spark) . I bought the gear to do this from diyautotune as it's alot cheaper than buying it in this country!
|
| |
Too many projects, not enough time.
|
|
|
|
|
|
|
|
|
|
Its almost worth buying for the panels alone as replacements are pretty scarce! I just drove a 400 mile round trip to pick up a rear quarter after some snow skidding injuries to mine!
James
|
| |
Too many projects, not enough time.
|
|
|
|
|
Jan 26, 2015 15:23:12 GMT
|
I'll take it Nomad! Pm Sent |
| |
Too many projects, not enough time.
|
|
|
|
|
Jan 25, 2015 10:23:40 GMT
|
|
Would you be able to post the leaf springs off the escort axle or will you be heading up north any time soon?
James
|
| |
Too many projects, not enough time.
|
|
|
|
|
Jan 24, 2015 18:30:57 GMT
|
Just over a month since the last update and the car is still going strong Theres been a bit of work done though, Starting off with a new fuel tank! The original one has given up and decided to turn to dust, i found this out when i jumped in the car after college and found i had no fuel in it! When it was parked up however, it have just over half a tank so i drove it home with what was left in the swirl pot and found lots of little holes in the bottom of the tank once i had scraped off the paint. The knock with the lump of wood i mentioned last time must have dislodged some of the rust and sped it up a bit. So the search for a new tank was started and i ended up with one out of a speed boat! 6 gallon plastic jobbie so that shouldn't rust any time soon I fit in in the boot holding it down with pair of metal straps like some of the ford tanks are held up by, and chopped the bottom off the old fuel tank to make a bit more space underneath the car. There was also a bit of snow the last few days, so as you do you go out drifting. The car was spot on, welded diff worked wonders, never letting me get stuck and keeping it nice and controllable for some good long drifts (bleedin' hooligan) 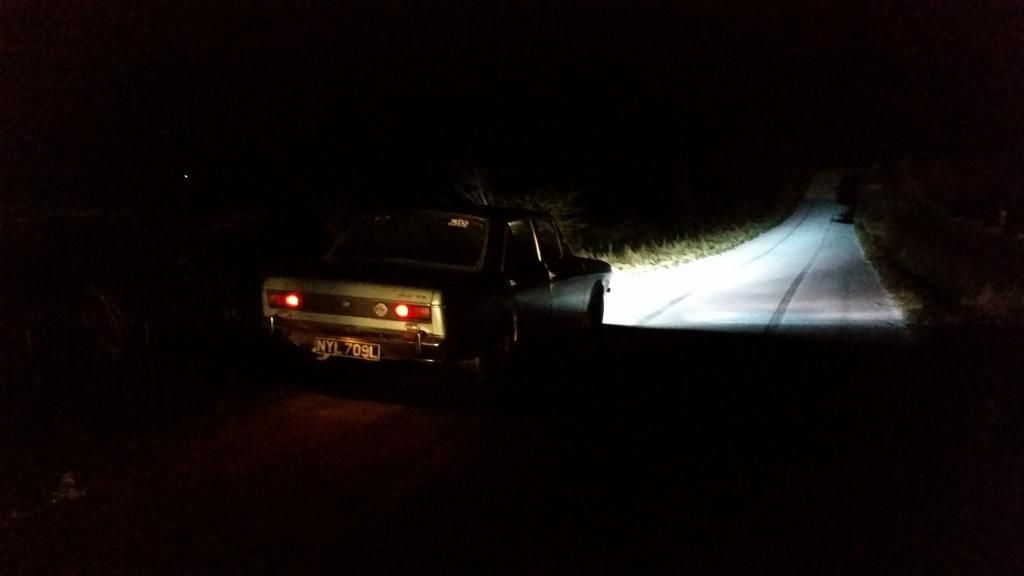 There was one little mishap when i stuck the back end into a dyke and couldn't get out  , I wasn't stuck for long though as my mate in his miata pulled me out in about 5 mins with my stretch tank tow rope. No damage to the car as well so i was happy. A few days after, i noticed a blow coming from the exhaust, turned out to be a cracked weld which was an easy fix, but i also found today's job whilst i was under there having a look. 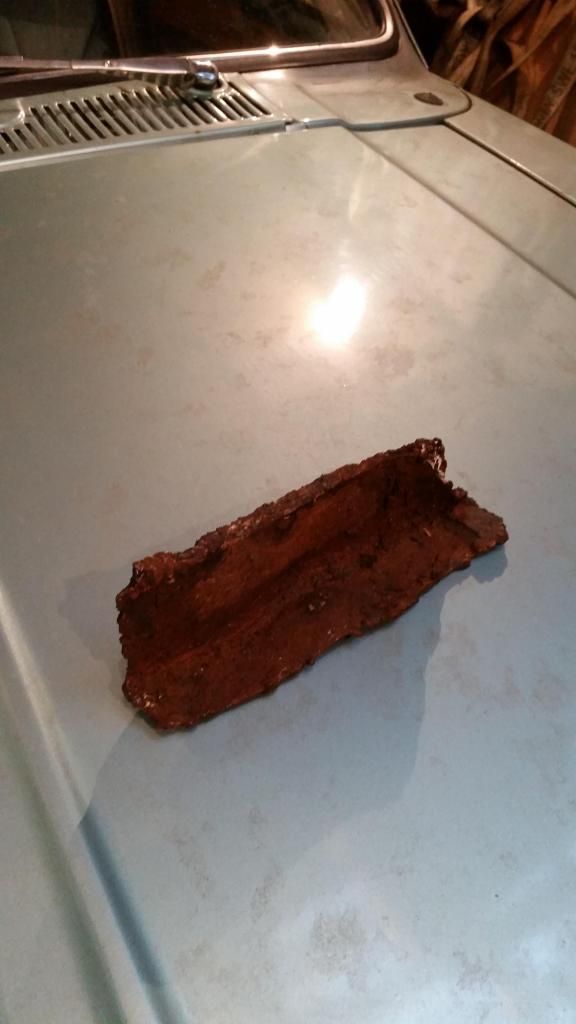 Nice. Thats meant to be one of the frame rails! During a curious moment of "the paint has cracked around that weld and it looks a bit damp lets poke it with a screw driver moment i founf that a previous repair wasn't particularly substantial. Substandard more like. The peice pictured above was welded around the edge (by Stevie wonder as it wasn't to the rest of the car) and then held on with body filler and undersealed over. After chopping all the curse word out i ended up with a decent sized hole (fnarfnar) and some solid steel to weld onto 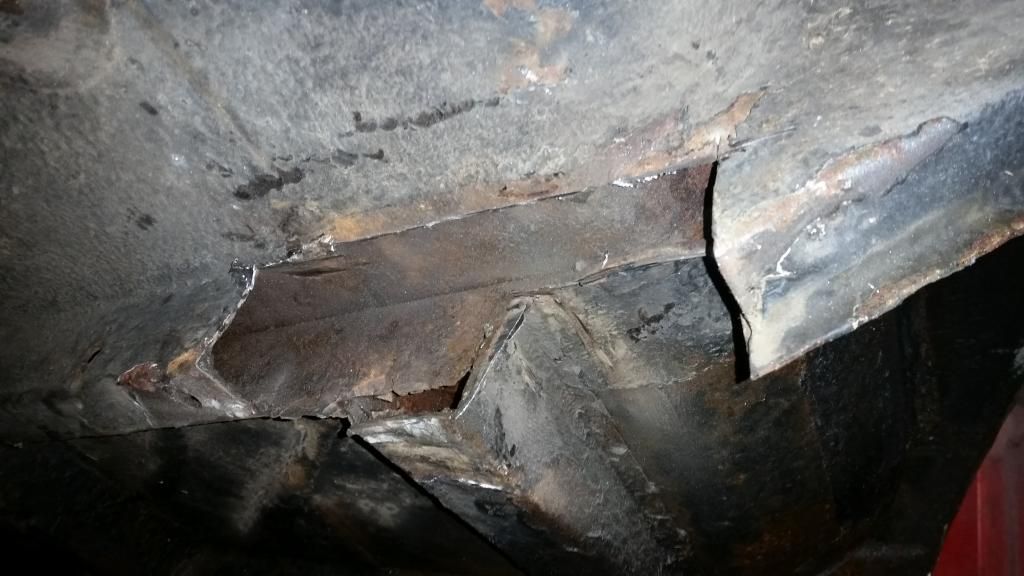 Following a bot of CAD i made up a repair piece and stuck that in: 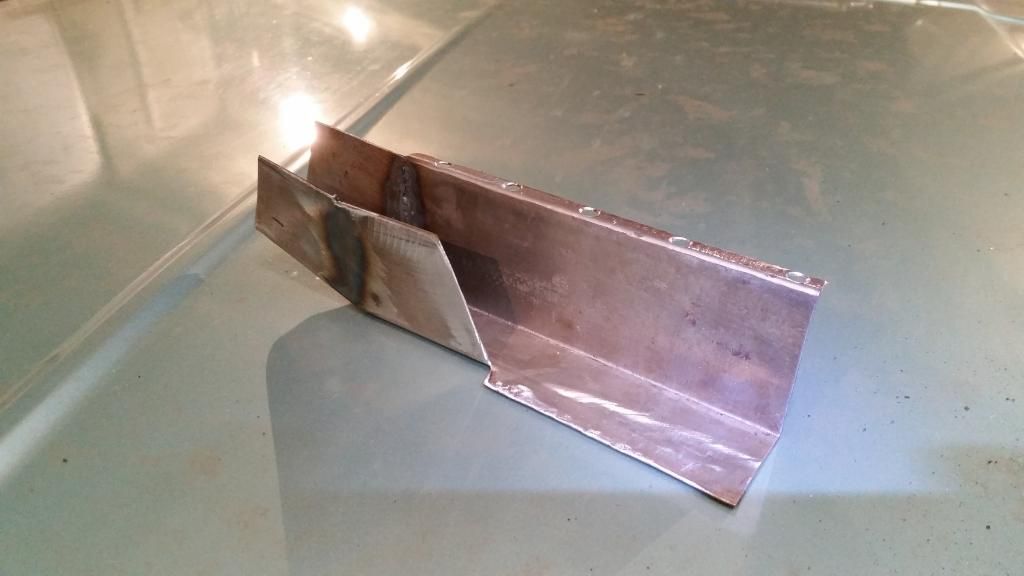 Now that that was stuck in i can seam seal over all the joins and then under seal it. Oh, wait, the seam sealer has frozen in the tube as its so cold in the garage. 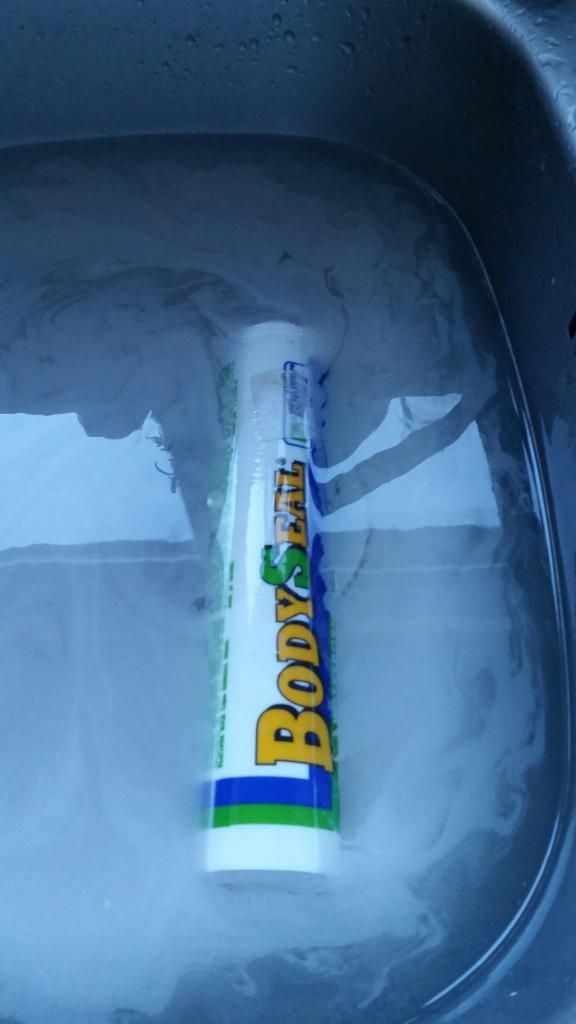 Best stick it in the sink to warm up ( along with my hands for a while too ) Once it was then seam sealed and painted i stuck plenty under-seal on and let it dry with the help of the fan heater, I found out when i was sticking the petrol tank in that the garage is too cold to allow paint to dry! sorted (prior to undersealing) 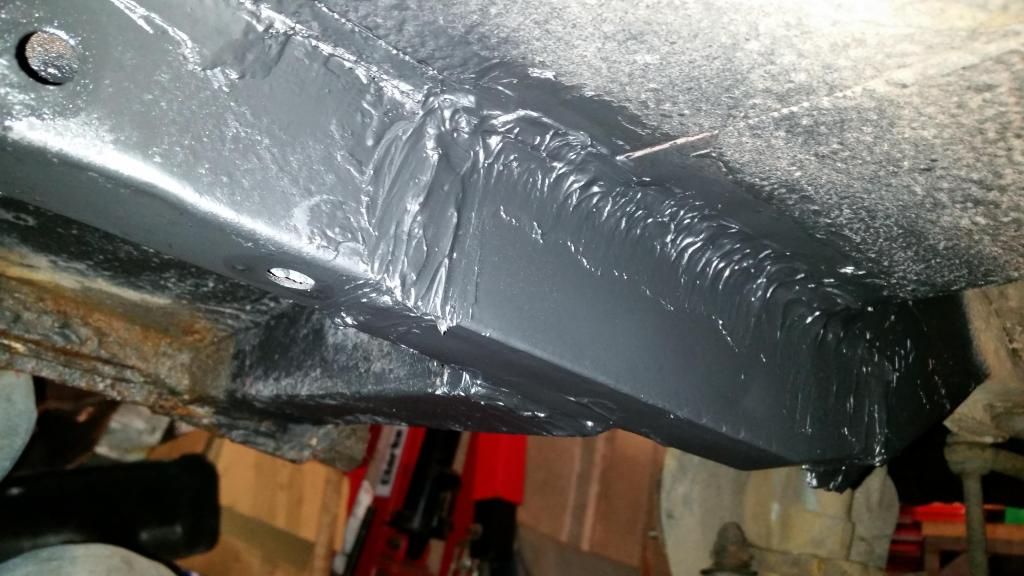 Sweet, the car should be a bit less death-trappy now James. |
| |
Too many projects, not enough time.
|
|
|
|
|
Jan 20, 2015 13:30:09 GMT
|
Cheers everyone, I'll look into getting some better units, if the wiring doesn't sort it out |
| |
Too many projects, not enough time.
|
|
|
|
|
Jan 19, 2015 11:20:08 GMT
|
It's fair to say that the wiring on my hillman is garbage and with the dark. Nights I want the lights as bright as possible. The thing I'm unsure about is the way that H4 bulbs should be switched. When I am on low beam, only the low goes to +12v, but when I go to high beam, the high goes to +12v and the low goes to 0v. Should the low and the high both be +12v when I am on high beam? I want to figure this out for when I re do the wiring Thanks in advance James |
| |
Too many projects, not enough time.
|
|
|
|
|
Jan 12, 2015 19:50:33 GMT
|
Chasing number is brilliant fun, especially when you are doing it with limited resources..... until you find your limit and put a rod through the side of your block and don't have a spare! (Like i did) Stick the supercharger on it and enjoy it only look for more when you get bored of the power you have and remember that there is such a thing as too much power! James |
| |
Too many projects, not enough time.
|
|
|
|
|
Jan 10, 2015 22:03:20 GMT
|
|
Looking good man, Keep up the good work!
Ill probably have to go this far to repair the rust on my hillman haha
James
|
| |
Too many projects, not enough time.
|
|
|
|
|
Dec 21, 2014 12:15:47 GMT
|
|
I'm glad I didn't go to too much effort with it.
On the way back from my parents last night i had a nice big lump of fire wood fall off the back s trailer in front of me and rattle along under the car. There's a nice big dent in the fuel tank now!
James
|
| |
Too many projects, not enough time.
|
|
|
|
|
Dec 18, 2014 21:10:57 GMT
|
Once again its time for an update and this time its after two showers! The second being in the house, but the first was lying under the fuel tank. Doh. A previous repair to the tank had given way, making the paint on the tank come away and the tank look damp. It also explains why I only got 30 mpg on my last run, whilst I last got 37 mpg with the turbo on the same run! After taking the scraper to the flakey paint I ended up with a nice little trickle down my arms and a puddle under my back. Lovely. Anyway, Here is the offending hole: 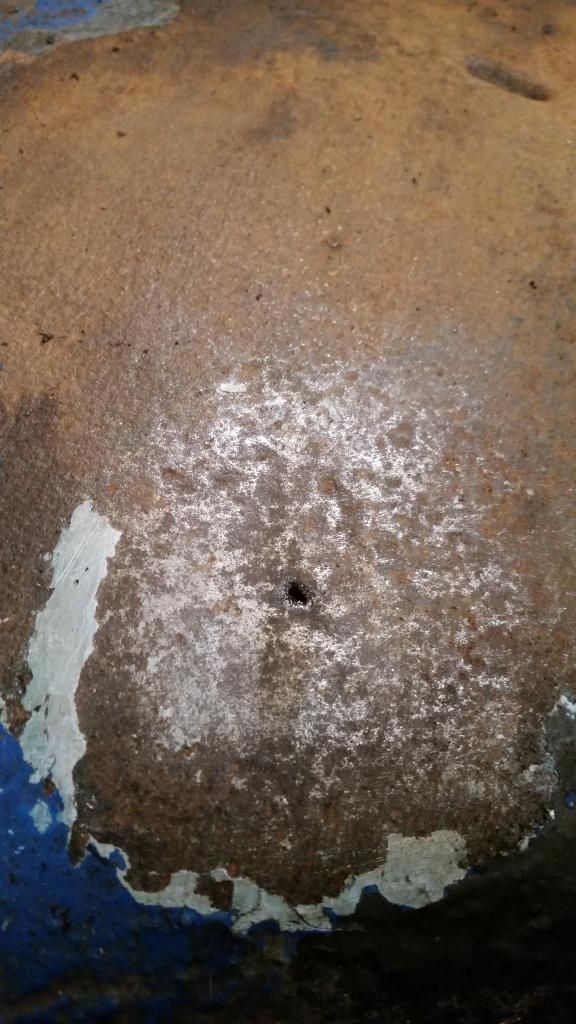 To sort it out i drained the tank into period correct fuel tanks: 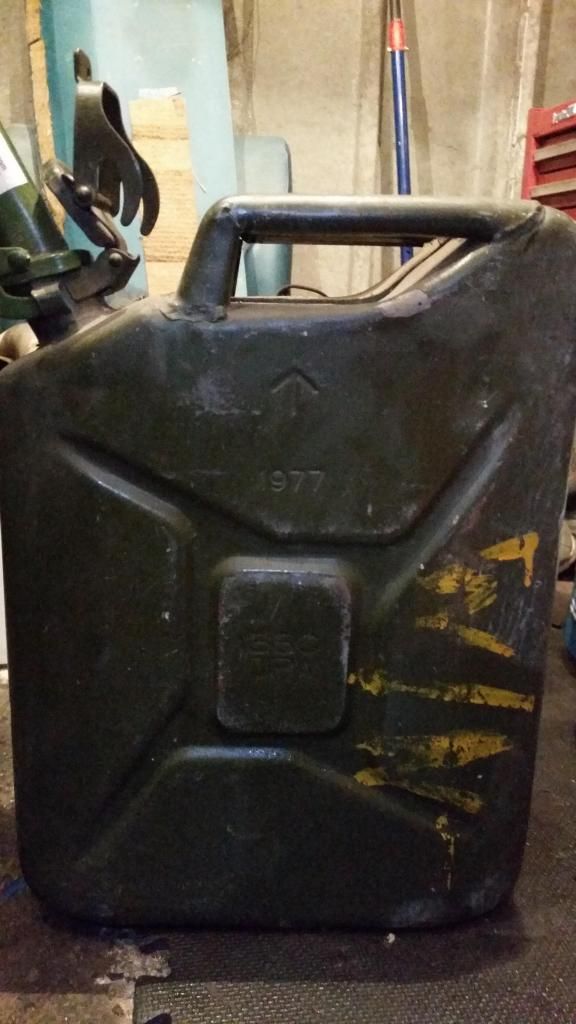 Removed the tank, filled with water then welded the hole up on the lowest setting I had. It was still a pain to weld and lit the garage up with a nice WHOOOOMF as soon as it arked up, but it was only little so I carried on After a quick spray I ended up with this: 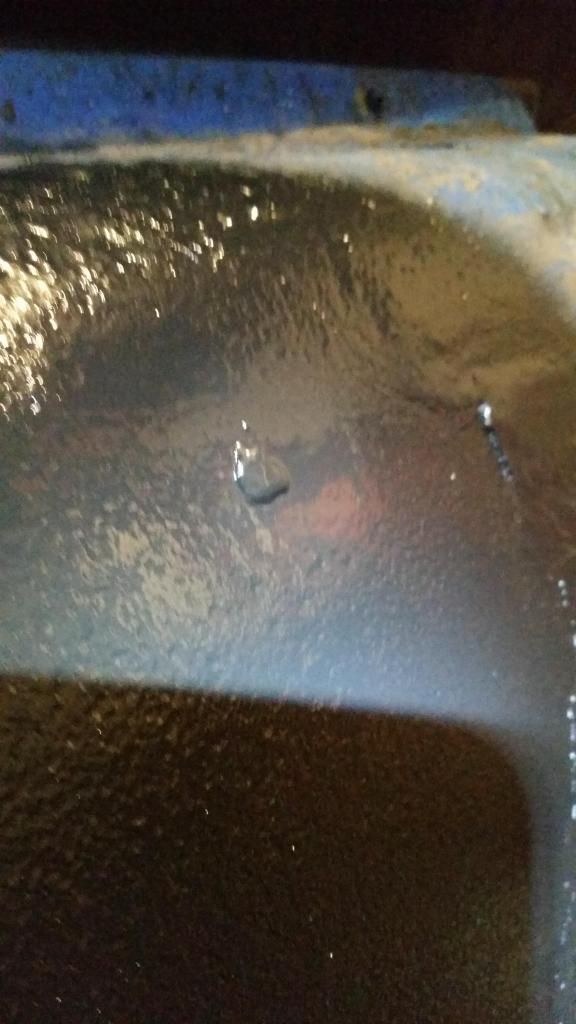 Hopefully after Christmas, buying the new house, buying myself an Xbox and building a garage at the new house i will be able to afford an Alloy fuel cell to replace this tank. I might even have a working fuel gauge James. |
| |
Too many projects, not enough time.
|
|
|
|


 It was a bit worse for wear, but being just surface rust and a NOS panel, i had to get it. It will also replace the base of the door where one of my previous repairs is, so it'll be nice to have it all as one panel and not a patch work.
  , I wasn't stuck for long though as my mate in his miata pulled me out in about 5 mins with my stretch tank tow rope.