|
|
|
|
|
A good way forwards buddy. What is the issue with spigot rings? You can get them super thin? Lotus wheels appear to have wildly different center bores from one year to the next it seems. I thought they would be the same as the old Lotus wheels (WHICH CAME FROM THE SAME MODEL!), they are not. So they are fouling on the spigot rings (probably wrong term, but its the raised bit on the hub, at the moment the spacers fit over/round it). On the front it is a VERY thin difference, I could probably run a flap wheel around the inside of the bore on the wheel and get the room I need (wouldn't be pretty but it would work). The rears need more proper work to fit, but I can make that happen at a local fabricator/engineers, although now I fear the arch fouling from the new tyres, but I can deal with that when I get to it (probably with a big damn hammer). v8ian I'm glad I'm not the only one having this nonsense to deal with, the fun of messing with cars I guess. |
| |
|
|
|
|
|
|
|
|
|
Looking back in the thread for a picture of what is fouling to illustrate the previous post for Blown_Imp I found this, so I thought I'd cross out what has been done and re do the list : Being a programmer who lives off lists of things to do I have a list!  ... This is the current list (groups marked with a * can go to someone else to be done) : Job Group 1 Speedo Issue Horn doesn't workNumerous gearbox to engine bolts missing Sort out cam cover leakJob Group 2 Sort out numerous coolant leaksReplace rear springs, far too soft Job Group 3 Add Thermostat for cooling fan Thinner Limbick(?) fan to enable coolant hose to be a different angleRe-make coolant hose take off so cam angle sensor can be used with coverFabricate boost pipe work so it looks tidy Job Group 4* Change manifold so exhaust doesn't angle down so much and remake exhaust Exhaust rubs on fuel tank Job Group 5 Replace steering wheel Cigarette lighter doesn't work (no power in car) Job Group 6* Fabricate Sump guard Job Group 7 Seat/Pedal arrangement made for little people, am not little person Replace clutch cylinder so it’s the correct size (will make clutch a lot lighter) Job Group 8* Fabricate Anti Roll Bar maybe? So now jobs look like this : Job Group 1 Get Thermostat wired up (have purchased) Cigarette lighter doesn't work (no power in car for USB) Speedo Issue Job Group 2 Numerous gearbox to engine bolts missing Replace rear springs, far too soft Job Group 3 Change manifold so exhaust doesn't angle down so much and remake exhaust Exhaust rubs on fuel tank - stop that Job Group 4 Replace steering wheel Fix up Dashboard so it is nicer New Seats Re-carpet interior Job Group 5 Seat/Pedal arrangement made for little people, am not little person Replace clutch cylinder so it’s the correct size (will make clutch a lot lighter) Job Group 6 Body Work repairs, door bottoms, wings, boot etc. Maybe re-spray. With Job Group 1 and two done the car is basically where I would have wanted it when I got it back originally. Job Group 3 with the exhaust is annoying but understandable to a certain degree. So I'm not too far from all this, once I've got this wheel nonsense sorted I'll go for MOT and see where we are. |
| |
|
|
bstardchild
Club Retro Rides Member
Posts: 14,971
Club RR Member Number: 71
|
|
Jul 17, 2017 22:29:41 GMT
|
OKAY! so I went out to the garage and did a bit of fiddling to work out a way forwards. I raised the suspension half an inch or so to see what that would get me space wise at the top and if it would help with the turning. It didn't help much in either direction, but it did get me to re-examine my choices for tyres. I wanted to the Toyo Proxes T1Rs as they are apparently a great middle point between their R888 track day tyre and their normal road tyre, seeing as I'll only really be using this thing irregularly and hopefully at speed on tracks and things it made for a reasonable choice. In 15" the smallest tyre they do is 185/55, which is what is on there. So I headed to www.willtheyfit.com to see what difference in size I had on my hands between these and the 165/50. This raised an interesting question which I didn't immediately have the answer for, what was the width and offset of the new wheel. I thought I'd gone for 7", but checking back through my emails and doing a bit of in garage comparison it turns out I'd gone for 6.5" which is what the existing wheels are, the difference between the 2 being new wheels are +6 offset vs. +25 on the old wheels. This explains how the new wheels don't rub on the steering arm/balljoint thing where the old ones do. It also explains why the new wheels + larger tyres are causing so much of a problem  Don't take offence as potentially I may be teaching you to suck eggs Tyre size is made up of 3 measurements 185/50 15 185 is the width in mm 50 is percentage aspect ratio (ie the height of the tyre from the rim expressed as a percentage of the width) so 50 % of 185 is a height of tyre I'm using 50 because it makes the maths easy Width-----Aspect %------Tyre Height 165-------50------------82.5 175-------50------------87.5 185-------50------------92.5 195-------50------------97.5 205-------50------------102.5 So there you go with the same aspect % and 5 different withs from 165 to 205 you've increased the tyre height from 82.5 to 102.5mm And lastly 15 is the diameter of the rim fitment It's really important to understand the aspect ratio number Normally for same diameter the rule of thumb is if you go up two sises on the width ie 165 to 185 mm you need to go down one size in the aspect ratio - ie from 50 to 45  go up two more sizes on the width from 185 to 205 you need to go down one more size in the aspect ratio ie from 45 down to 40  This is why sites like www.tyresave.co.uk/tyre-size-calculator/Are so useful This is a comparision of old and new tyres  And this is what would have been a much more suitable choice (provided you can get the tyres in that size)  Playing with options and sizes 195/40 or 195/45 both would have been closer than what you have - both would have been OK on a 6 1/2 inch rim Apologies if you knew this stuff..... |
| |
|
|
|
|
|
|
|
Yeah I knew this stuff when I built a precursor to willtheyfit for the RR website based on an old excel sheet that did a similar thing about 10 years ago. I'm sure someone will find your post useful though  |
| |
|
|
|
|
|
Jul 28, 2017 17:53:53 GMT
|
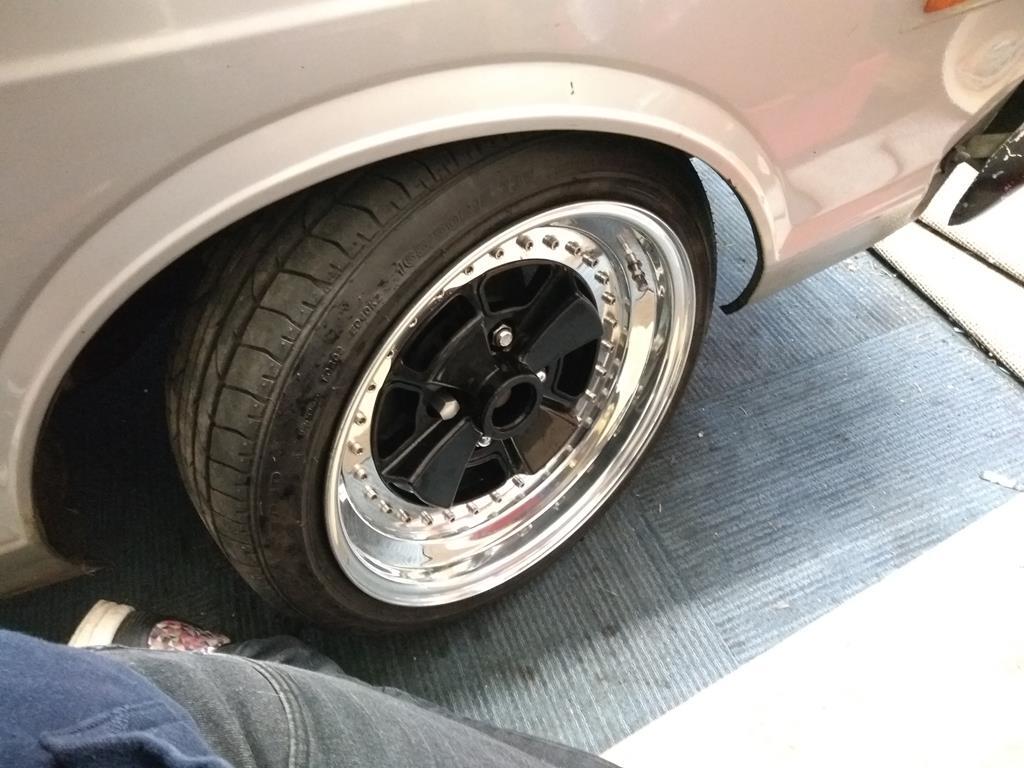 Weeeeeeeeeeeeeeeeeeeeeeeeee ... gets driven out of the garage tomorrow/Sunday, then I can find the next thing that is wrong with it. |
| |
Last Edit: Jul 28, 2017 17:54:48 GMT by HoTWire
|
|
bstardchild
Club Retro Rides Member
Posts: 14,971
Club RR Member Number: 71
|
|
|
|
Yeah I knew this stuff when I built a precursor to willtheyfit for the RR website based on an old excel sheet that did a similar thing about 10 years ago. I'm sure someone will find your post useful though  Then I don't understand why you bought new tyres that were massively different profile to the originals?? |
| |
|
|
|
|
|
|
|
Then I don't understand why you bought new tyres that were massively different profile to the originals?? Because the old (now current) tyres are silly and stretchy and ultimately that is not what this car is about. I was looking at why it didn't all fit again the other day based on what I'd calculated and I realised I'd taken into account the profile of the arch, but not the inner curve of it. Which is a foolish mistake as I'd already been scuppered on wheels because of that before. |
| |
|
|
|
|
|
Jul 30, 2017 15:52:51 GMT
|
And then this happened. 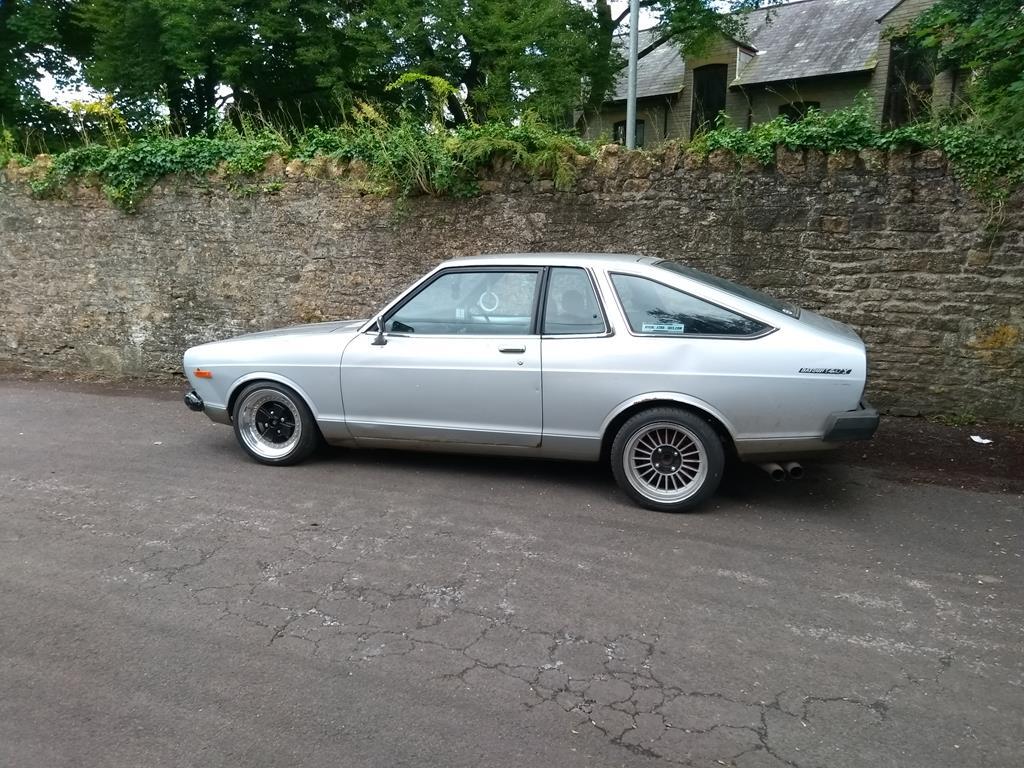 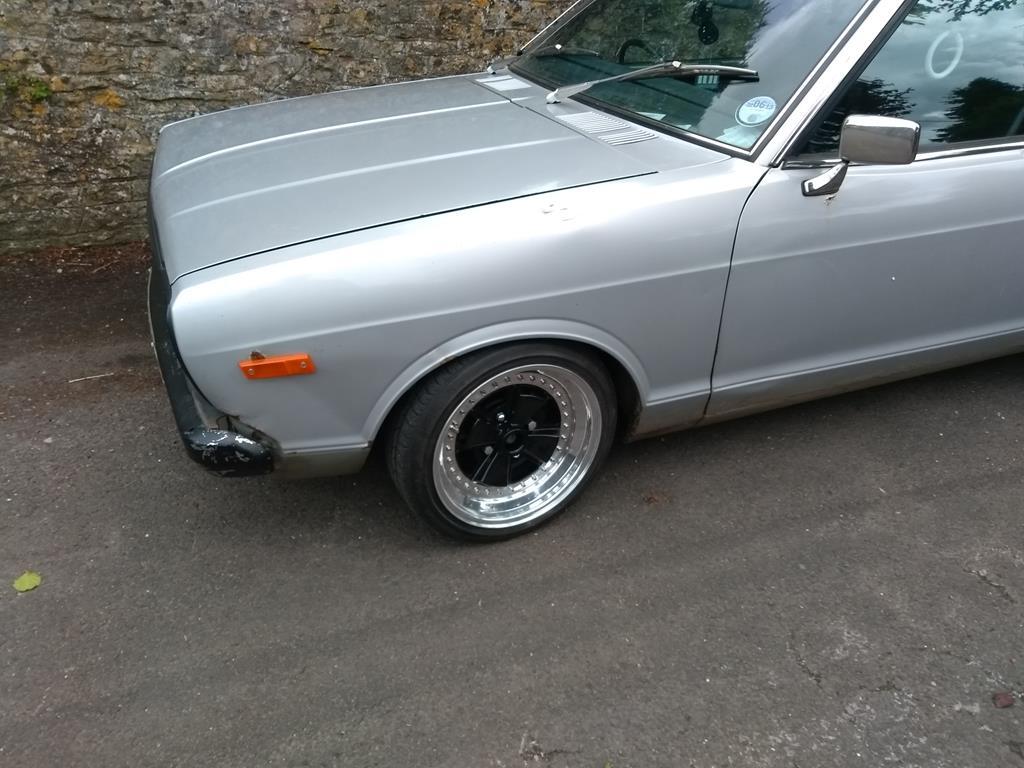 Next up ... Everything else. |
| |
|
|
|
|
|
|
|
Today this 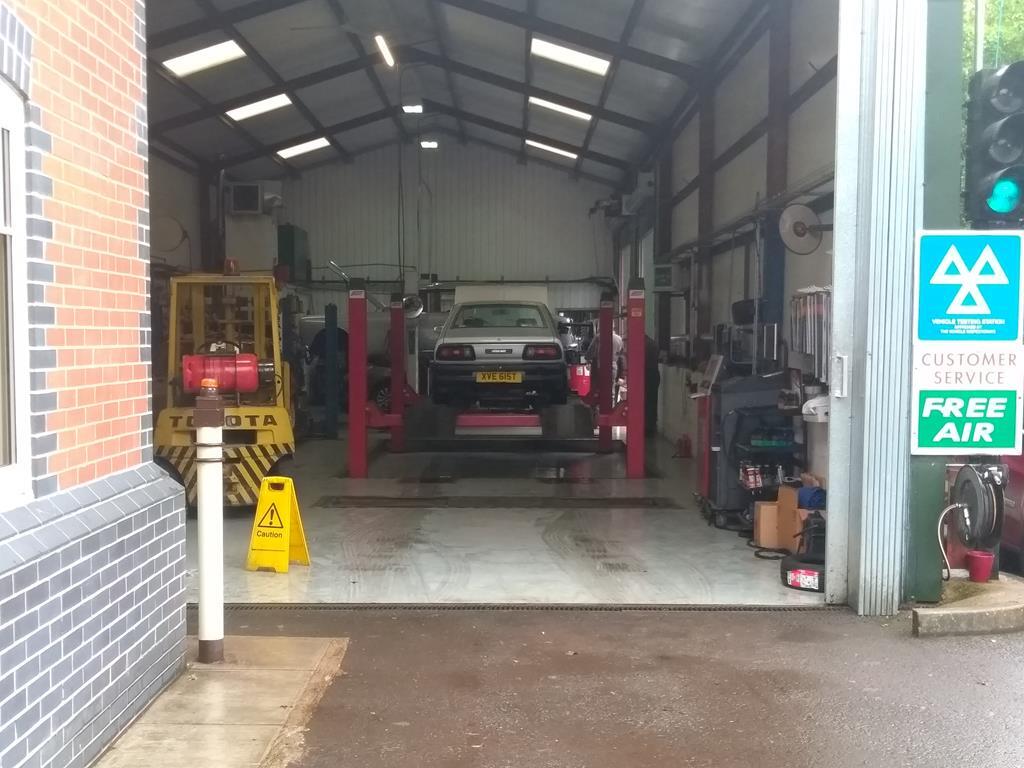 Which resulted in this 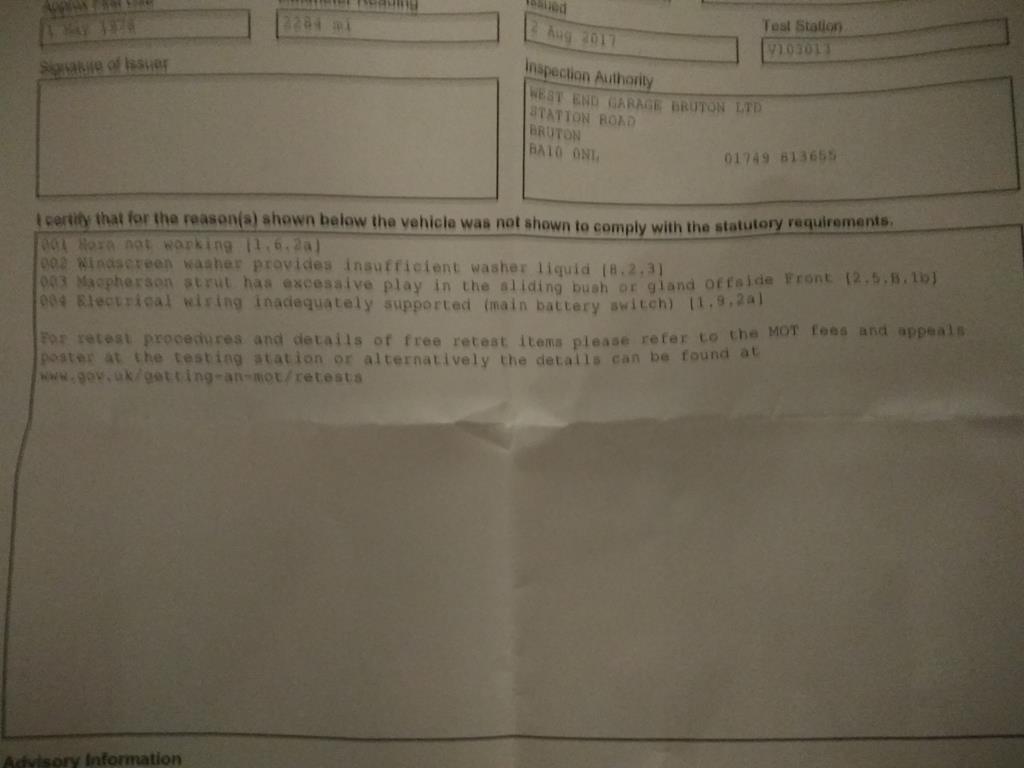 Which I guess means bushes. Dunno what the battery cable thing is about? |
| |
|
|
melle
South West
It'll come out in the wash.
Posts: 2,010
|
|
|
|
You could have asked?  "Free air" – Decent of them to let you continue breathing whilst you're there! |
| |
www.saabv4.com'70 Saab 96 V4 "The Devil's Own V4" '77 Saab 95 V4 van conversion project '88 Saab 900i 8V
|
|
|
|
|
|
|
|
|
You could have asked?  Dude that did it had left. Will call them tomorrow. |
| |
|
|
Colonelk
Posted a lot
  
Posts: 3,742
Club RR Member Number: 83
|
|
|
|
That is a happy fail sheet  Mostly easy fixes and no bloody welding. |
| |
|
|
|
|
|
|
|
That is a happy fail sheet  Mostly easy fixes and no bloody welding. yeah I think the hardest is actually going to be the washer as I don't think the pump is engaging due to electrical nonsense. I hate electrical nonsense :/ |
| |
|
|
|
|
|
|
|
Lols! you are soooooo close dude  Washer pump will be easy fix, just get your multi meter and work your way along. Measure each connector to ground to find the point as which there is no longer 12v, and here be your issue  What is the mac strut thing about? Is there where your inserts are not quite the right size? Or is it literally the gland nut holding them in not tight enough? J |
| |
|
|
bstardchild
Club Retro Rides Member
Posts: 14,971
Club RR Member Number: 71
|
|
|
|
Lols! you are soooooo close dude  Washer pump will be easy fix, just get your multi meter and work your way along. Measure each connector to ground to find the point as which there is no longer 12v, and here be your issue  Easier than that it was insufficient - bottle of viakal - flush out the screen wash leave it to fizz then marvel in the new found pressure and volume |
| |
|
|
Colonelk
Posted a lot
  
Posts: 3,742
Club RR Member Number: 83
|
|
|
|
Also.... wooo outside on some new wheels  When do the rear ones go on?  EDIT: Just looked up some tyres as I find that stuff interesting. You can get road legal track tyres in 165/50 but I guess thats a bit more extreme than you were hoping to go. I think I'd be finding a dead 195/45 somewhere to test sizing with as although there aren't any track tyres in that size, there are plenty of decent sporty tyres around and they are over an inch smaller in diameter than the 185/55s Hoping you get this on the road soon, sort some of the minor niggles then get to actually enjoy it for a bit  |
| |
Last Edit: Aug 4, 2017 7:53:12 GMT by Colonelk
|
|
|
|
|
|
|
When do the rear ones go on?  When the centers are bored out a bit more, stupid Lotus (and stupid me for not measuring twice!) The best news of the day was other than the noisey suspension (thanks to the aforeobserved bushes perishing) it didn't clunk or bottom out once on the way to the MOT station, it used to always give a clunk on the rough road on the high street (not bad, but it was a sign something needed sorting). So really pleased with that. Doubt it'll be at The Gathering at the moment as I don't think I've got time to get the bushes to me, get them sorted and get it back on the road, although I may do all the other bits this weekend and then get the garage to do the bushes and MOT so it is on the road... wont be on the new wheels at the rear though. Also bonus news it didn't overheat in the testing station this time. hahahaha |
| |
|
|
|
|
|
|
|
|
Do apparently that strut play stuff isn't the bushing, it is the top of the strut having some play in it, I suspect because the nut(?) at the top of the tube isn't on well enough, or the spacer that is in there isn't seated properly. I'll have a look tomorrow.
Also I need to actually secure the battery cable (not just hide it under a seat) so I'll look at the best way of doing that (hopefully there will be something handy to cable tie it to... any suggestions welcome.
|
| |
|
|
|
|
|
|
|
|
P clips, rivets or SS screws and undersealed?
|
| |
1988 DUTTON LEGERRA MK1 - SPARES DONOR
1989 DUTTON LEGERRA MK2 - CURRENT PROJECT
1990 DUTTON LEGERRA ZS MK2
1990 DUTTON LEGERRA ZS MK2
DUTTON PHAETON S2 - Resting
DUTTON PHAETON S4 - Resting
DUTTON PHAETON S4 - PROJECT X
DUTTON SIERRA S2 - Resting
|
|
|
|
|
|
|
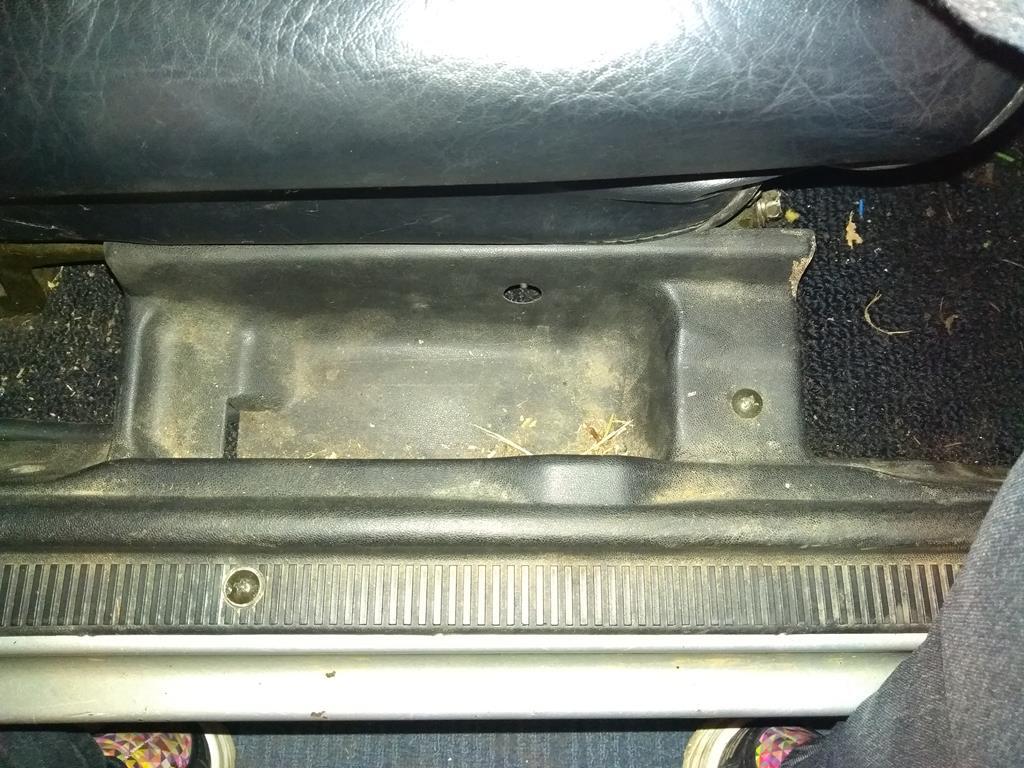 Apply drill and file and you end up with 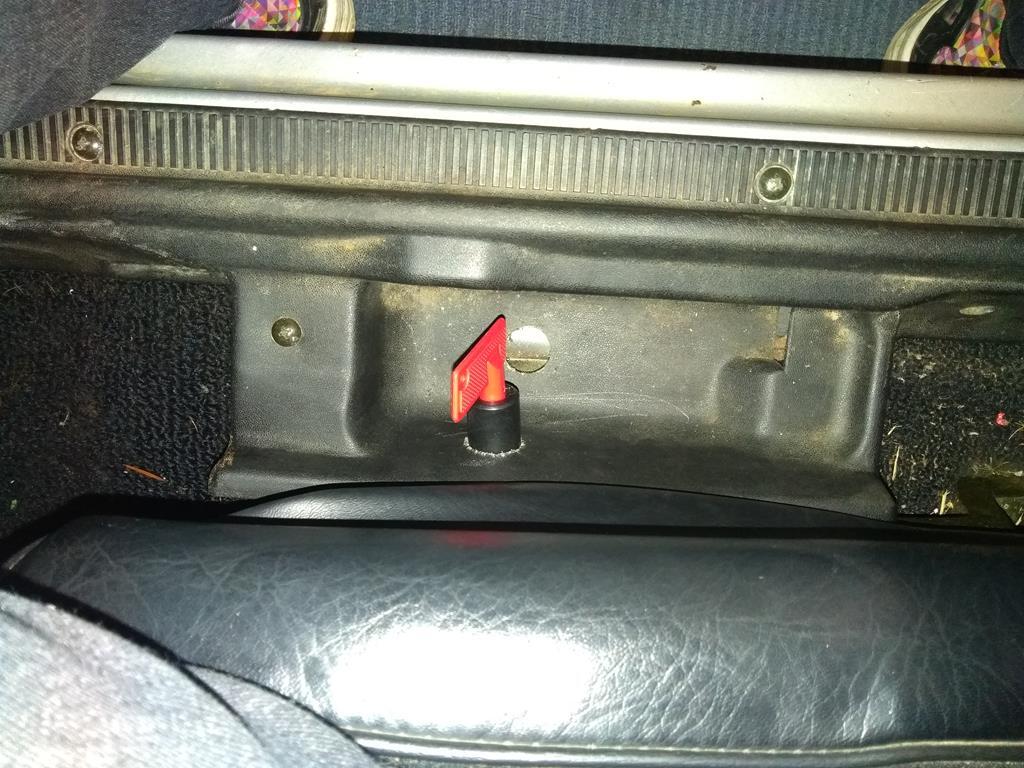 I did the suspension yesterday, apparently it was the nut that holds the insert in at the top of the strut that was loose. I actually resolved this by moving the spacer in the strut to be underneath the insert again, this raises the ride height a bit but the top nut was able to tighten up more and it all felt very secure. Took an age to get it all back through the top mount on the drivers side (forgot my technique for doing it). Passenger side has the whole thing stripped down, sorted.and back together in 20 minutes. Typical. Also swapped round the wheels,in my haste to put them on I'd ignored the rotation direction on the tyres. So only thing left is the washer, which is a failed pump. I swapped the fuse with something that was definitely working and it still didn't work. Followed the wiring and found no breaks or faults. Swapped the connector to the pump to be on the switch that the fan is on, nothing. So I believe the little pump has failed. Looking around I appear to be able to get a universal replacement for about a tenner, anyone used one of those before? If I can get next day delivery I'll book retest for Wednesday.... |
| |
|
|
|
|


 ... This is the current list (groups marked with a * can go to someone else to be done) :


 [*]
[*] [*]
[*]


