I knocked up a coke beer can stove while camping at RR07. Just to see if I could. Here's how...
Disclaimers
I don't claim to have invented this. The link at the bottom has several variations.
Beer, flammable materials and sharp metal are a dangerous combination. If you cut and/or burn and/or maim yourself I won't be responsible for your friends laughing at your dancing and putting the video on youtube.
Do this at your own risk.
Right, serious bit over.
Here's how to make a reliable pocket-sized meths burning camping stove with no moving parts.
Tools
Stanley knife
er.. that's it
Materials
Two beer cans
optionally
fibreglass wool (E.g. roof insulation or exhaust pipe muffling)
aluminium fireproof tape (sometimes used for sealing firewalls.)
The hardest part of this exercise, particularly at RR08 will be finding empty beer cans. But sometimes you just have to put yourself out and quit with the bitchin
It was made doubly hard at RR07 as we needed two! My thanks to DennisMo and Bernd for endeavouring to find two choice specimens
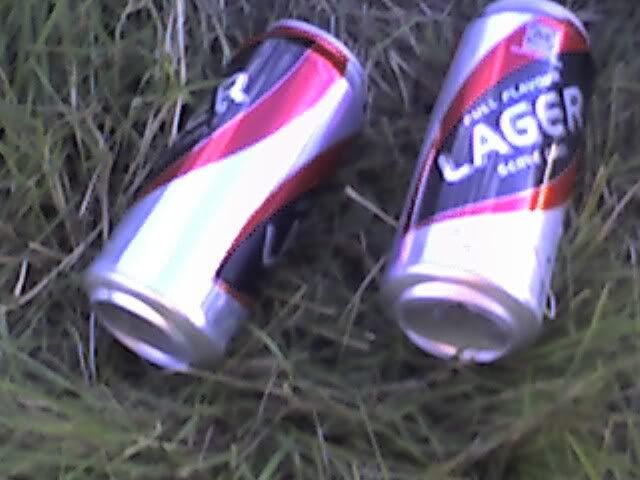
Okay, we need the bottom 1" (25mm) of each can cut accurately. One way to do this back in civilization is to place the can on a flat table with a 1" thick piece of wood next to it and a stanley blade on the block of wood pointed at the can. You then twist the can round so the blade makes a mark in the can and keep spinning the can until the blade breaks through.
The wilderness alternative was to use the handle of the stanley knife as a block of wood and Tomas's dinner tray on the floor as a table (Cheers Tomas).
Unfortunately I don't have a photo of this step - think of the stanley blade as a lathe cutter. The can spins round and the blade gradually makes the cut thicker until the can gives at a point. Aluminium cans are so thin that you can usually then push around the score line with your thumb until the bottom inch of can is completely separated.
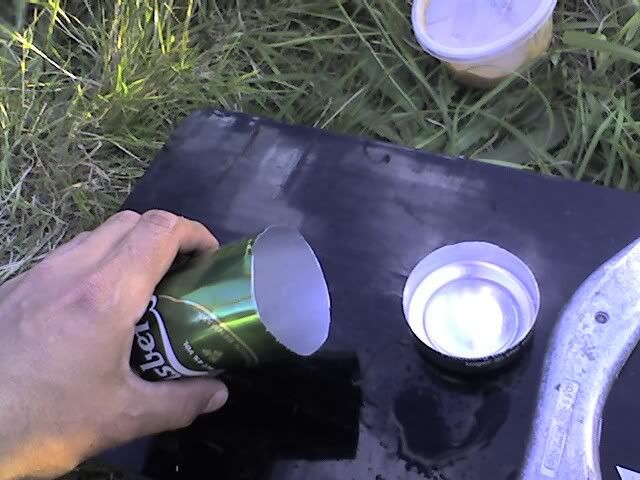
The more accurately you can score the can the easier it will be to get apart neatly. Careful of the sharp edges, beer cans are almost paper thin.
You will need another bottom from another can but before you cut it, you need to make the flame slits.
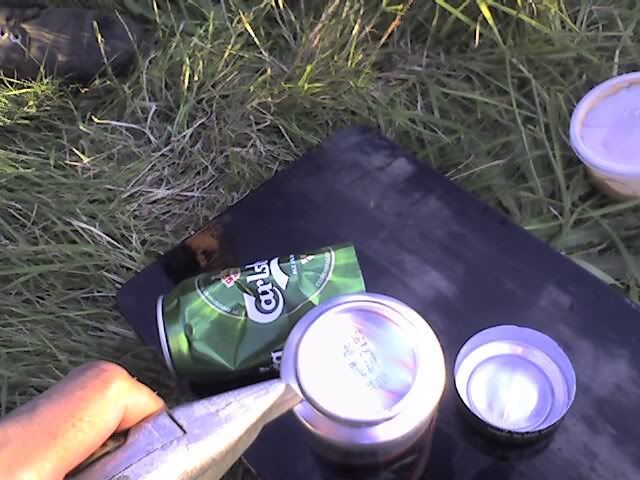
Putting the stanley blade back in its handle, carefully us it to push slits around the edge at 90 degree intervals. I.e. at 12 O'Clock, 6 O'Clock, 3 O'Clock and 9' O'clock.
Then put slits between these slits. Then a final set of slits between the first two so you have 16 slits around the outside like so:
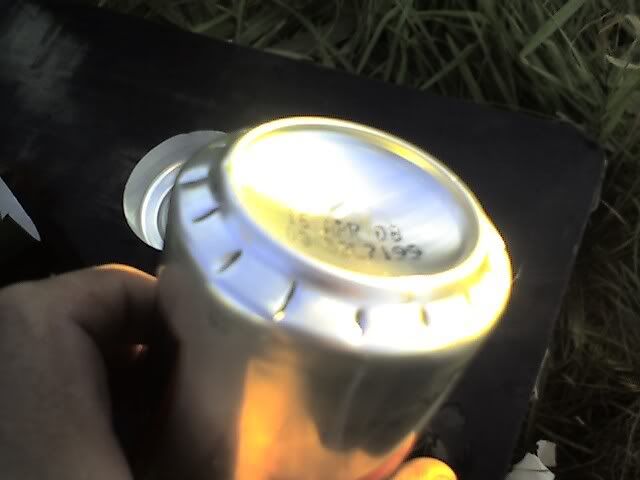
If making in the workshop, use a small drill and make holes rather than slits. See how it's starting to look like a gas stove?...
Make two final slits in the centre of the can and push through with a screwdriver or tent peg (I lied you do need more tools than a stanley knife
 ) or whatever comes to hand.
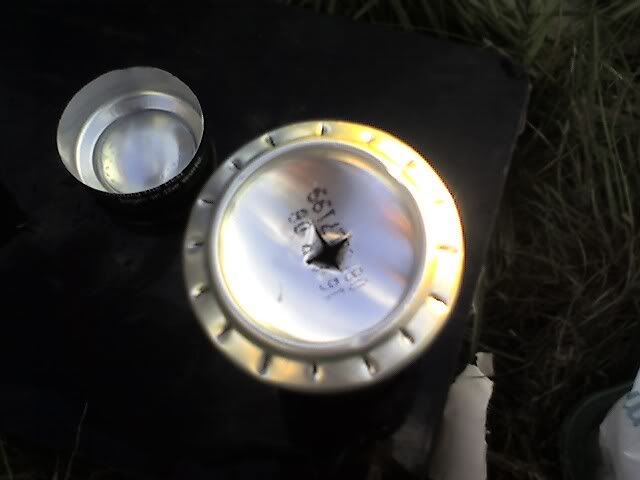
This centre cross will be the where you pour the meths.
Now cut this can-bottom as per the first.
It's not a bad idea to put the two long can ends together as per the cans in the background just in case there are stray beer monsters in the area.
Okay, our barbecue tongs were not long enough to get any fibreglass wool out of unsuspecting exhausts nearby so we did without. The stove still works but if you put fibreglass wool in between the two can halves it stops the meths spilling out again or burning off too quickly.
Cut 1/4" (5mm) approx slices vertically into edge of the first can bottom (the one that doesn't have the vents)
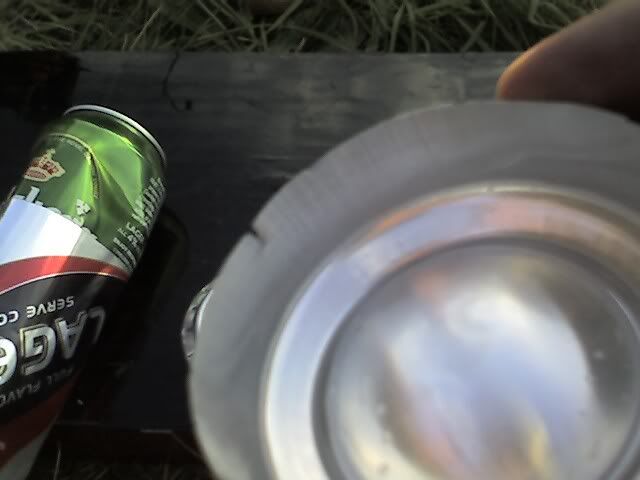
Do this all the way around the edge
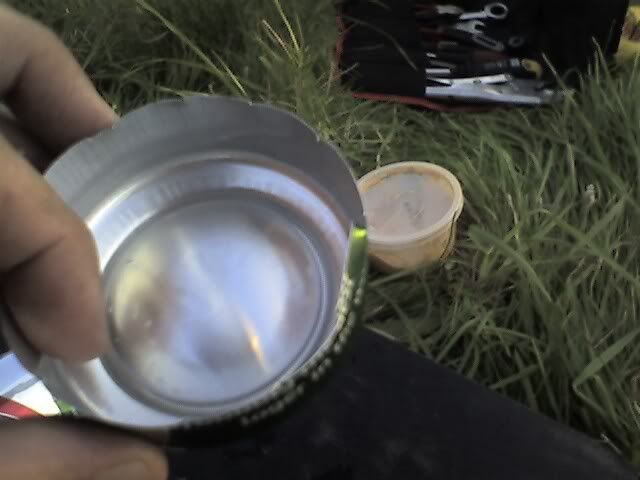
and then gently bend the edge of the can inwards all around. Try not to let the can go out of round as it will be eased into the other can shortly.
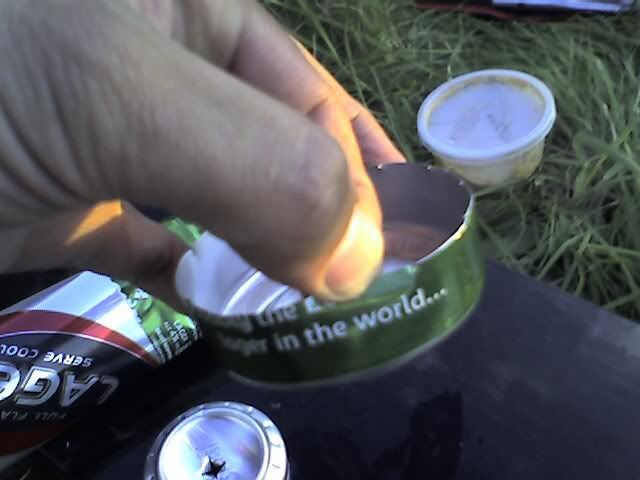
You should end up with something looking like this:
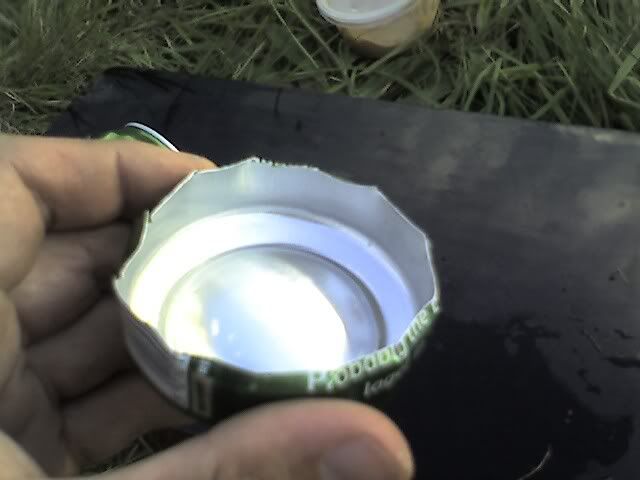
Now the tricky bit, gently ease the two bottoms together.
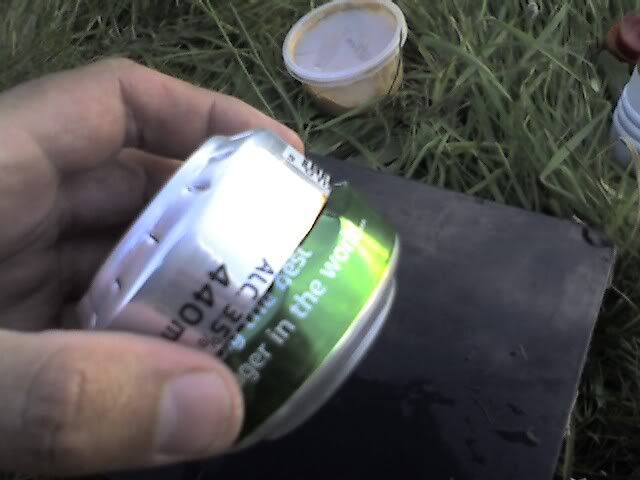
If you had fibreglass you would put it in one of the ends first.
If you get it right, one can will fit inside the other and make something looking like a little stove
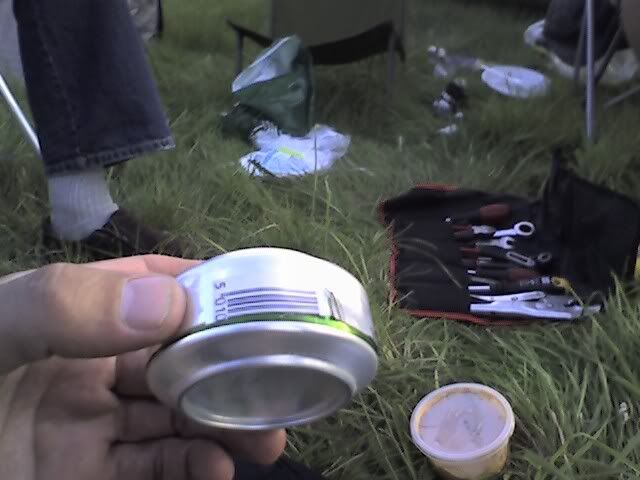
If you can find it, aluminium fireproof tape cut to the right size and wrapped around the edge makes a better seal and makes the job look more professional. I've made these with cans without writing in the past and the tape completely disguises the origins and makes the stove look like something manufactured.
However the stuff I borrowed from under here:
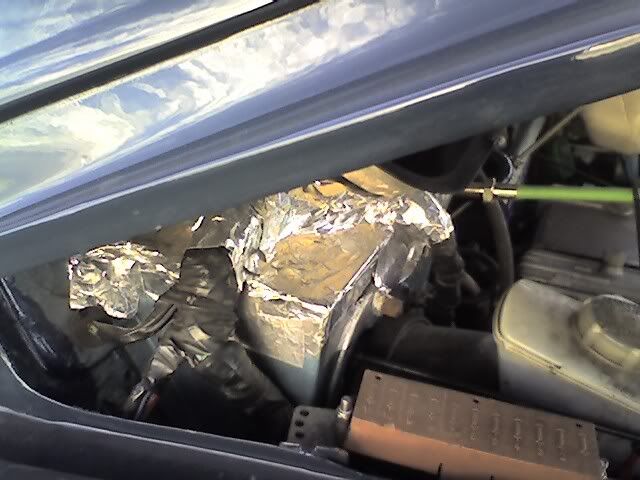
was a bit scabby already. Still beggers can't be choosers. Some stoves use something like JB weld to seal the two halves I prefer the tape as it looks neater.
Once the stove is taped up, that's all the hard work done.
Measure out some meths into the stove. You don't really have to measure but if you do you will be able to determine how long it burns for next time. Eg two capfuls lasts 7 minutes, so if 7 minutes doesn't boil the water use a bit more next time. Trial and error.
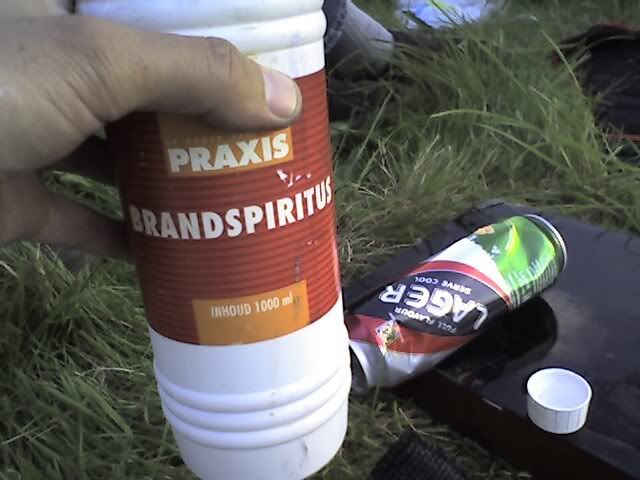
Here is the Swedish equivalent of Meths. I think it's called Absolut

Once the meths is in drop a 2p on the main hole. The 2p acts as a pressure release valve. If too much pressure builds up the 2p lifts.
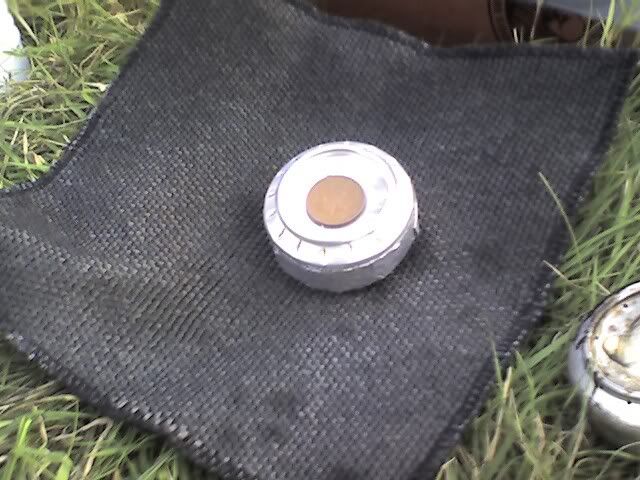
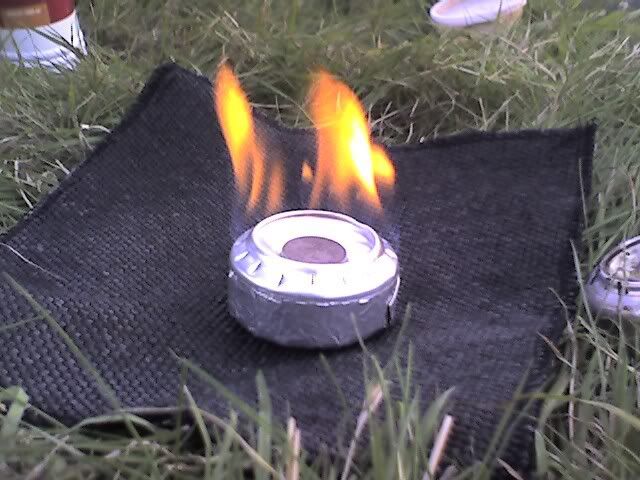
Pour some more meths on the 2p and light. The meths on the top pre-heats the stuff inside the stove. The stove can be difficult to light in cold weather. I use a plumbers fireproof cloth as a base both to stop the grass from catching fire and as a pre-heater. A tiny bit of meths under the stove on such a cloth (about £2 from any DIY store) should get the stove hot enough to burn. It's the meths vapour rather than the liquid that's burning so the aluminium can has to be hot enough to ignite the vapour. Another way to make this work in cold weather is to put the stove in a shoe polish lid and pour a little meths in there. Or, if you use a baked bean tin hearth (next year I'll make one maybe) a little meths in the bottom of that will pre-heat the stove and focus the flames and it acts as a pot stand too.
Be careful that meths has a near invisible flame. The swedish ethylene based stuff in the photo burns yellow for demonstration purposes but meths will burn pale blue.
Ta da! ;D
*Baked bean tin hearth. Get a used, clean baked bean tin and whack some holes in the sides however you please. coke can burner drops in the bottom, pot sits on top, wind proof cooking for free.
If you need to put a coke can stove out, cover it with tin foil or another coke can bottom. Don't try to blow it out, you won't. Let it cool before touching.
Excellent source of this kind of thing. Scroll down on the left menu to Stoves
www.backpacking.net/makegear.html
Disclaimers
I don't claim to have invented this. The link at the bottom has several variations.
Beer, flammable materials and sharp metal are a dangerous combination. If you cut and/or burn and/or maim yourself I won't be responsible for your friends laughing at your dancing and putting the video on youtube.
Do this at your own risk.
Right, serious bit over.
Here's how to make a reliable pocket-sized meths burning camping stove with no moving parts.
Tools
Stanley knife
er.. that's it
Materials
Two beer cans
optionally
fibreglass wool (E.g. roof insulation or exhaust pipe muffling)
aluminium fireproof tape (sometimes used for sealing firewalls.)
The hardest part of this exercise, particularly at RR08 will be finding empty beer cans. But sometimes you just have to put yourself out and quit with the bitchin

It was made doubly hard at RR07 as we needed two! My thanks to DennisMo and Bernd for endeavouring to find two choice specimens

Okay, we need the bottom 1" (25mm) of each can cut accurately. One way to do this back in civilization is to place the can on a flat table with a 1" thick piece of wood next to it and a stanley blade on the block of wood pointed at the can. You then twist the can round so the blade makes a mark in the can and keep spinning the can until the blade breaks through.
The wilderness alternative was to use the handle of the stanley knife as a block of wood and Tomas's dinner tray on the floor as a table (Cheers Tomas).
Unfortunately I don't have a photo of this step - think of the stanley blade as a lathe cutter. The can spins round and the blade gradually makes the cut thicker until the can gives at a point. Aluminium cans are so thin that you can usually then push around the score line with your thumb until the bottom inch of can is completely separated.

The more accurately you can score the can the easier it will be to get apart neatly. Careful of the sharp edges, beer cans are almost paper thin.
You will need another bottom from another can but before you cut it, you need to make the flame slits.

Putting the stanley blade back in its handle, carefully us it to push slits around the edge at 90 degree intervals. I.e. at 12 O'Clock, 6 O'Clock, 3 O'Clock and 9' O'clock.
Then put slits between these slits. Then a final set of slits between the first two so you have 16 slits around the outside like so:

If making in the workshop, use a small drill and make holes rather than slits. See how it's starting to look like a gas stove?...
Make two final slits in the centre of the can and push through with a screwdriver or tent peg (I lied you do need more tools than a stanley knife

 ) or whatever comes to hand.
This centre cross will be the where you pour the meths.
Now cut this can-bottom as per the first.
It's not a bad idea to put the two long can ends together as per the cans in the background just in case there are stray beer monsters in the area.

Okay, our barbecue tongs were not long enough to get any fibreglass wool out of unsuspecting exhausts nearby so we did without. The stove still works but if you put fibreglass wool in between the two can halves it stops the meths spilling out again or burning off too quickly.
Cut 1/4" (5mm) approx slices vertically into edge of the first can bottom (the one that doesn't have the vents)

Do this all the way around the edge

and then gently bend the edge of the can inwards all around. Try not to let the can go out of round as it will be eased into the other can shortly.

You should end up with something looking like this:

Now the tricky bit, gently ease the two bottoms together.

If you had fibreglass you would put it in one of the ends first.
If you get it right, one can will fit inside the other and make something looking like a little stove

If you can find it, aluminium fireproof tape cut to the right size and wrapped around the edge makes a better seal and makes the job look more professional. I've made these with cans without writing in the past and the tape completely disguises the origins and makes the stove look like something manufactured.
However the stuff I borrowed from under here:

was a bit scabby already. Still beggers can't be choosers. Some stoves use something like JB weld to seal the two halves I prefer the tape as it looks neater.
Once the stove is taped up, that's all the hard work done.
Measure out some meths into the stove. You don't really have to measure but if you do you will be able to determine how long it burns for next time. Eg two capfuls lasts 7 minutes, so if 7 minutes doesn't boil the water use a bit more next time. Trial and error.
Here is the Swedish equivalent of Meths. I think it's called Absolut

Once the meths is in drop a 2p on the main hole. The 2p acts as a pressure release valve. If too much pressure builds up the 2p lifts.

Pour some more meths on the 2p and light. The meths on the top pre-heats the stuff inside the stove. The stove can be difficult to light in cold weather. I use a plumbers fireproof cloth as a base both to stop the grass from catching fire and as a pre-heater. A tiny bit of meths under the stove on such a cloth (about £2 from any DIY store) should get the stove hot enough to burn. It's the meths vapour rather than the liquid that's burning so the aluminium can has to be hot enough to ignite the vapour. Another way to make this work in cold weather is to put the stove in a shoe polish lid and pour a little meths in there. Or, if you use a baked bean tin hearth (next year I'll make one maybe) a little meths in the bottom of that will pre-heat the stove and focus the flames and it acts as a pot stand too.
Be careful that meths has a near invisible flame. The swedish ethylene based stuff in the photo burns yellow for demonstration purposes but meths will burn pale blue.
Ta da! ;D

*Baked bean tin hearth. Get a used, clean baked bean tin and whack some holes in the sides however you please. coke can burner drops in the bottom, pot sits on top, wind proof cooking for free.
If you need to put a coke can stove out, cover it with tin foil or another coke can bottom. Don't try to blow it out, you won't. Let it cool before touching.
Excellent source of this kind of thing. Scroll down on the left menu to Stoves
www.backpacking.net/makegear.html


