|
|
|
May 31, 2010 19:11:18 GMT
|
|
Thanks mate.
It is held on pritty well, but I do wonder if the holes will stretch over time if it is left jacked up! It will be under tention unit next weekend when the engine goes in, so my thinking is if it holds up that long all should be good.
One slight issue is that I only seam to be getting gears 2, 4 and reverse, there is no 1, 3 & 5!
I hope it is just linkage adjustment issues as the box seamed to select gears on the bench. I don't know the full history of this box so I really hope it is ok, and I havn't bought a dud!
|
| |
|
|
|
|
|
|
|
|
|
|
don't forget to put a spigot bearing in the crank. You 'never find those missing gears if you don't. And set the value clearances to 0.020" inlet and 0.022" exhaust. All the best with next weekend.
|
| |
|
|
|
|
|
|
|
|
Thanks for the tips Skodfather.
Once the sump is one, I can pull the engine off my stand and fit the spigot bearing, fly and clutch etc.
Also thanks for reminding me about the valve clearances. Those are cold clearances I take it (I must confess to have never set the valvue clearances on any engine ever!)
|
| |
|
|
|
|
|
|
|
Cutting a wedge out works well, I did an Imp inlet manifold like this, (45degree tapering bends). A couple of tips, a jubilee clip can pull thin walled tube back together well and it stays fairly round, plus if you put a socket inside the tube when you pull it together it helps keep it's shape even better. A friend also did something similar, but went to the bother of making a Jig, basically a piece of angle iron with the desired wedge chopped along the ridge, clamp it to the tube (jubilee again) then use a thin cutting disk in a grinder or hacksaw the wedge out. Anyway have a few pics:      |
| |
|
|
|
|
|
|
|
That looks really smart! There is an engineering workshop at work and the guy who runs it said he would knock me up some flanges (snigger) and do the cutting on the tube using all the kit there, so result really. Here is the progress this evening (so far). Sump gasket arrived 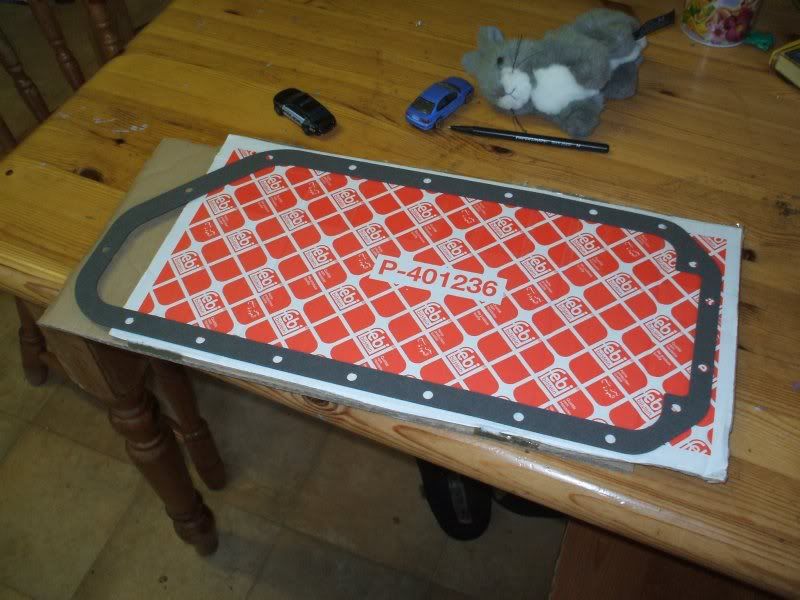 Super fast service from Jorily as always. I am again mixing and matching parts for various reasons, so am using the fwd sump of my old favorit engine. It is better for oil feed, but causes issues with the dipstick. That needed a bloody good clean 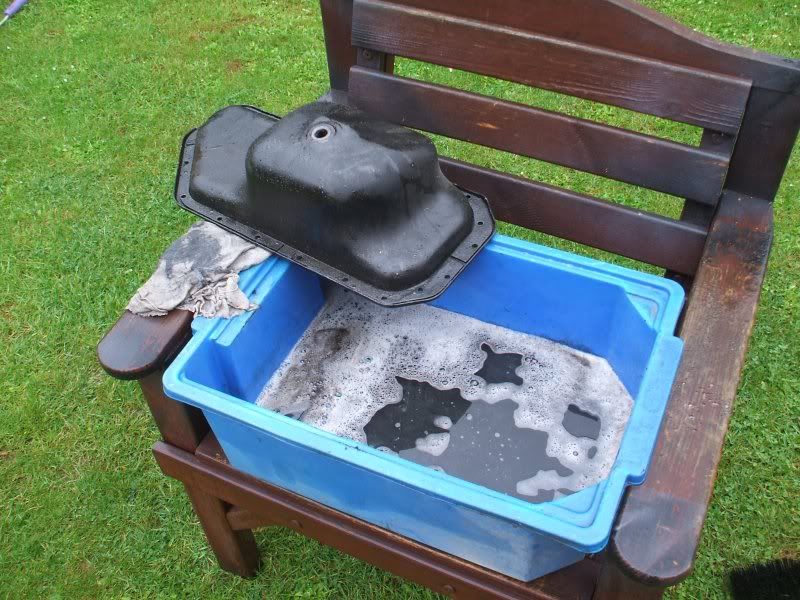 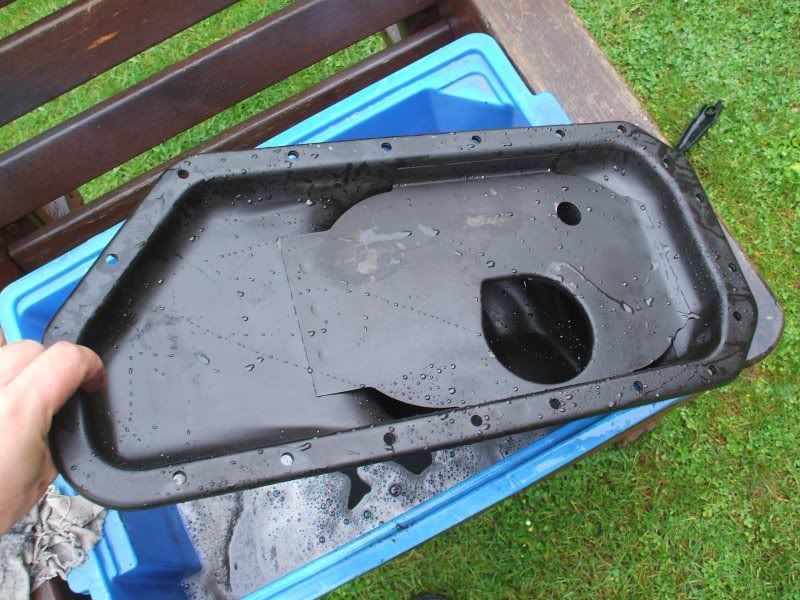 So I then popped that on. So the engine is now ready to come off the stand, get the flywheel and spigot bearing fitted and then put in the car at the weekend..... Calling all hands!! Lewis |
| |
|
|
Colonelk
Posted a lot
  
Posts: 3,742
Club RR Member Number: 83
|
|
|
|
yup will be able to donate some time one day this weekend chap  |
| |
|
|
|
|
|
|
|
|
Cool Thanks mate.
Mike can spare a few hours too.
TBH, the main plan is just to get the engine in. It is too heavy for me to do on my own, but should only take and hour to get bolted in!
We could also finish brakes and clutch, but only if time allows. Engine is priority!
Lewis
|
| |
|
|
Kieran
Posted a lot
  
Posts: 1,092
|
|
|
|
It is too heavy for me to do on my own No its not..... Wimp!!! ;D |
| |
The Ashby Jackson fleet:-
1979 Mini Clubman 1.8 K series
1978 Skoda 110r Project 130RS K-oupe
1978 Austin Allegro 1500 SDL Estate
1984 BMW K100 Sidecar outfit
1999 Yamaha FZS 1000 Fazer
1991 Kawasaki ZXR400 race bike
2002 Kawasaki ZX9r race bike
|
|
Rob
Posted a lot
   You know, for kids!
Posts: 2,515
|
|
|
|
Awesome... really enjoying this!  |
| |
|
|
|
|
|
Jun 11, 2010 19:00:33 GMT
|
|
Right, Just a little update (some pics to follow)
After a false start last week getting the engine in, I think it will definately happen this weekend.
Mike and I went to start getting the engine in. We needed to pull a spigot bearing out of the crank shaft (supports the input shaft of the gearbox) but the bloody thing wouldn't budge. Without that there is no further progress to make.
I was concerned that I wouldn't be able to find a new bearing, but some digging showed up that it was a standard unit, a 6202 zz bearing, £4 later I am sorted! Woop!
i also got the flanges back from my mate at work. He has done a grand job on them. All I need to do is clean the edges a little, and enlarge the bolt holes (bolt hole centres out by a fraction of a mil).
Pics to follow
Lewis
|
| |
|
|
|
|
|
|
|
Jun 11, 2010 21:11:08 GMT
|
|
Those 125 gearboxes were weaker than the 4speed for some reason....it could be an inherent flaw
|
| |
|
|
|
|
|
Jun 13, 2010 18:23:53 GMT
|
Well this weeks update... FLANGE! 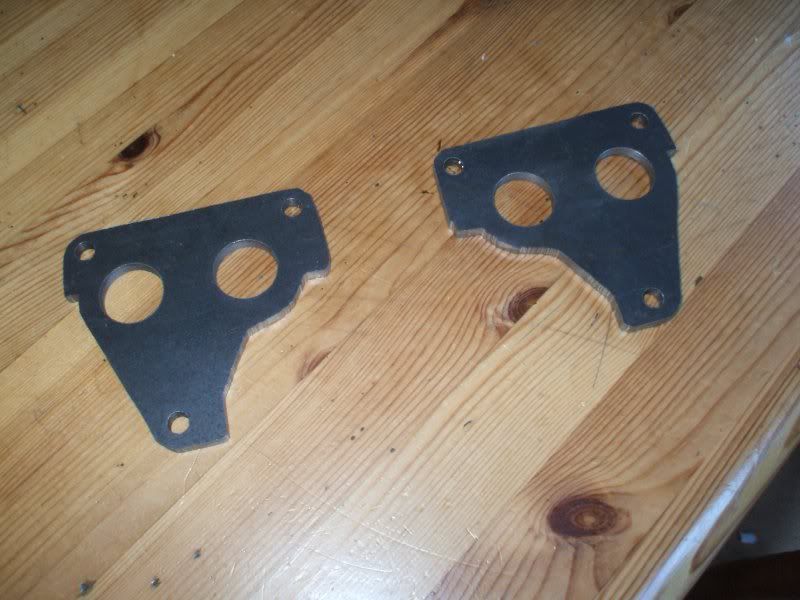 Sweet! Just needs to feltting and the manifold pipes slit and welded. 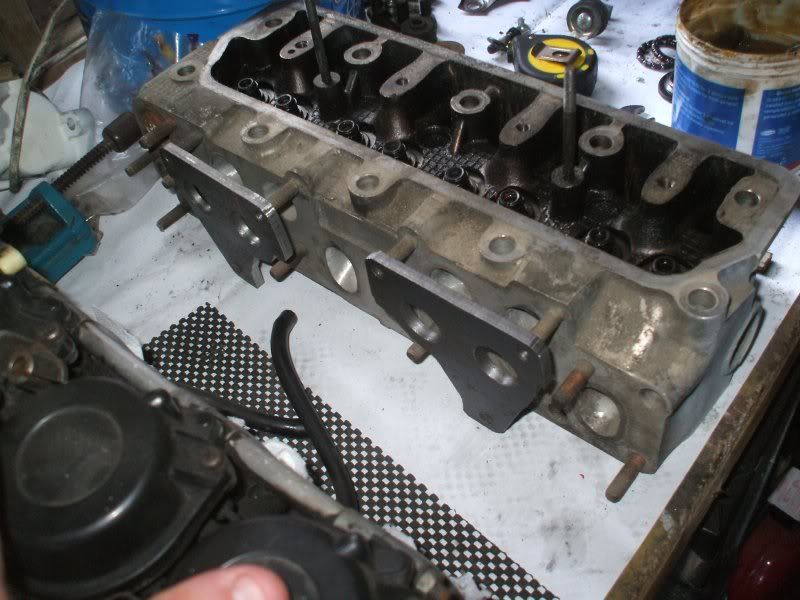 Mocked up on my spare head 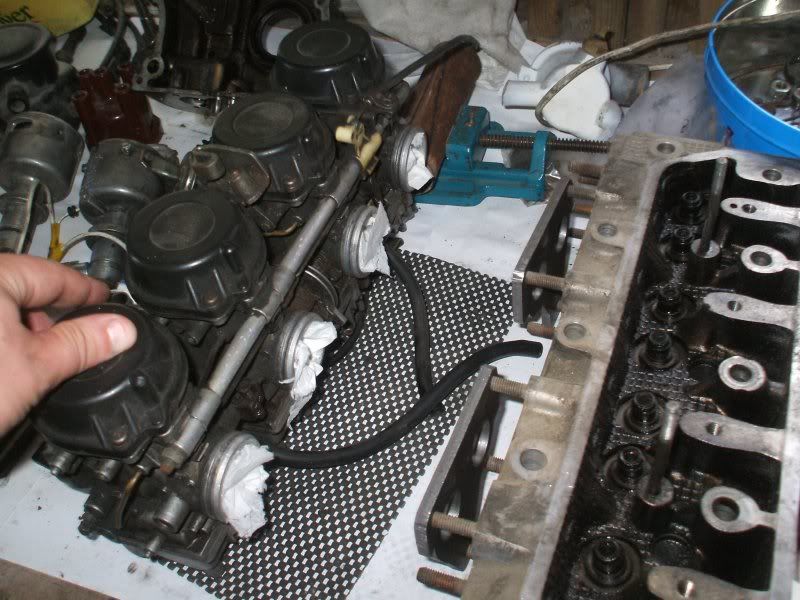 So onto the greasy work. I got the bearing (1 piece FAG apparently!) 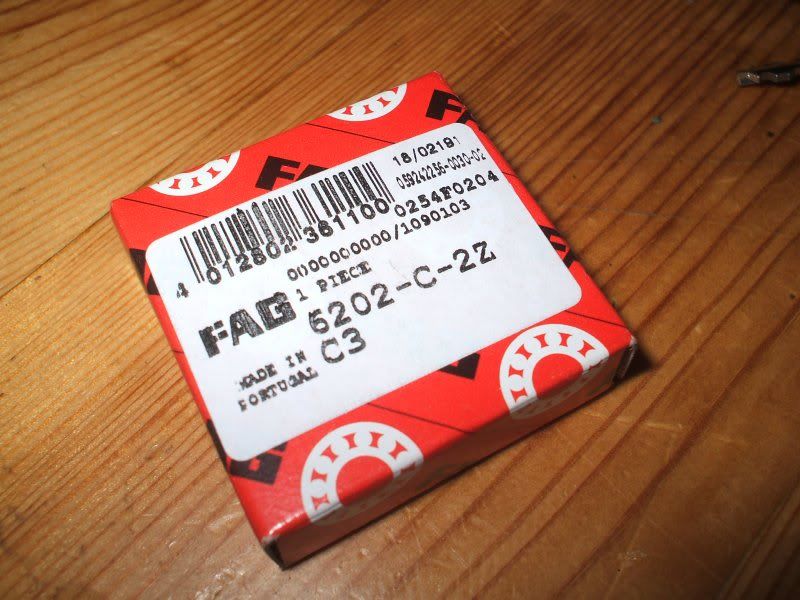 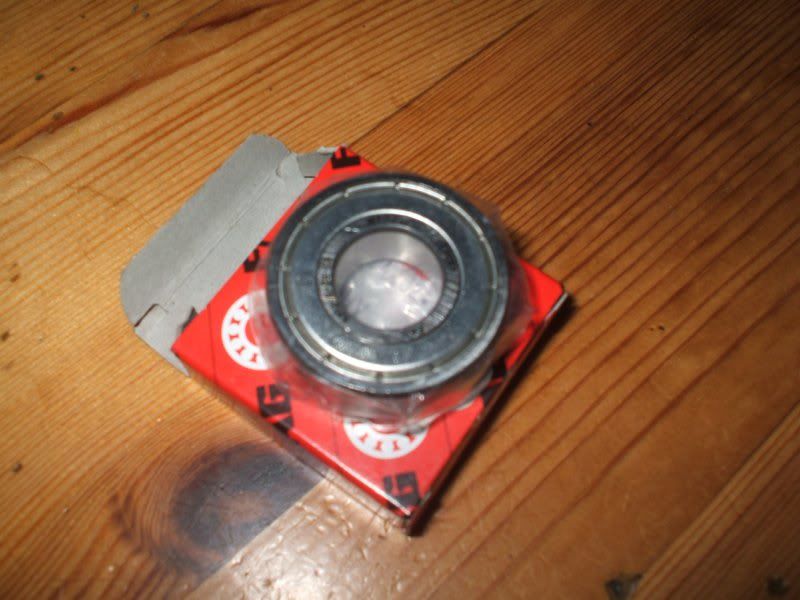 Checking that it fitted onto the gearbox input shaft 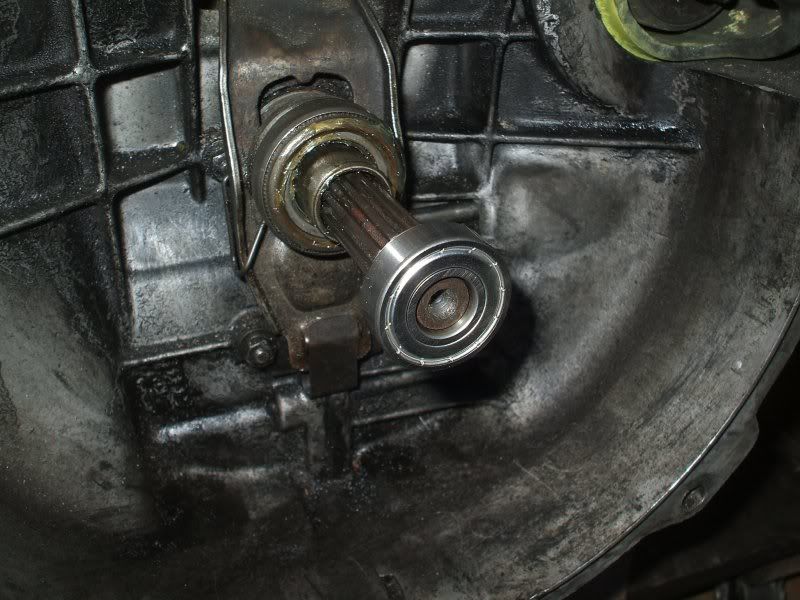 It fits... SWEET So I pressed the new bearing into the new engine (by press I mean hammer) 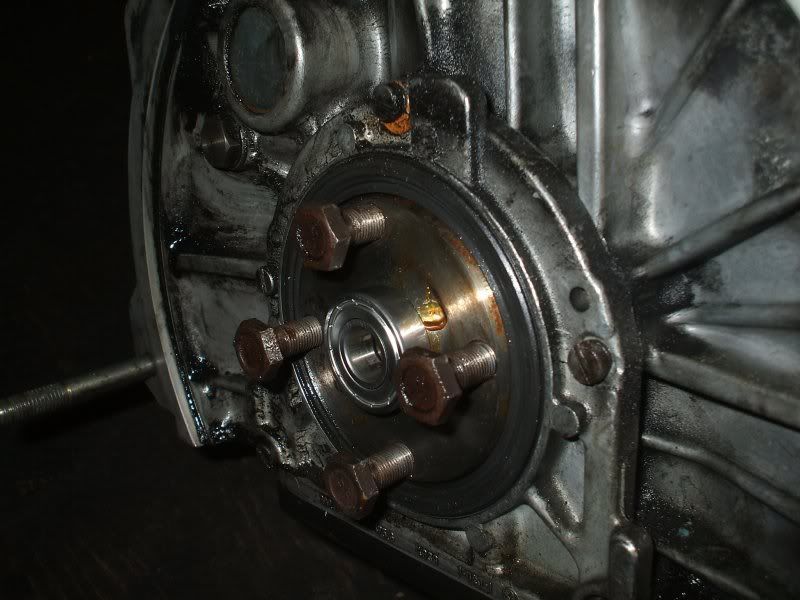 I was going great.... THEN.... I went to bolt the flywheel on.... curse word - doesn't fit! The PCD of the flywheel from the 120 engine didn't match that of the 136 engine. So I fished out the flywheel from my old 135 favorit engine which fitted. BUT the pitch of the teath on the ring gear are incorrect to mesh with the rwd starter. curse word! SO out with the high tech ring gear removal equipment. Blowtorch, wood, hammer, metal bar - Check! 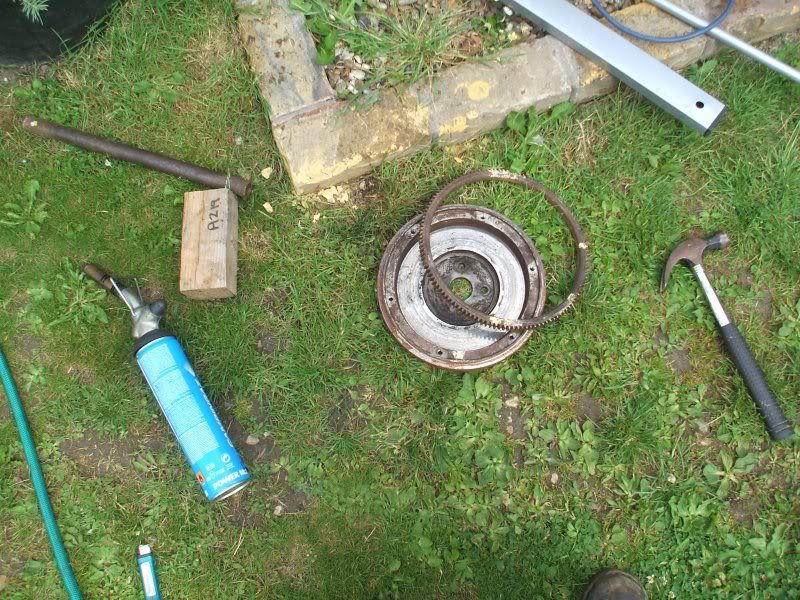 Off with the old. I also had to take the ring gear of the 120 flywheel. That then got baked in the oven at 220*C for 20 mintues, or until golden brown 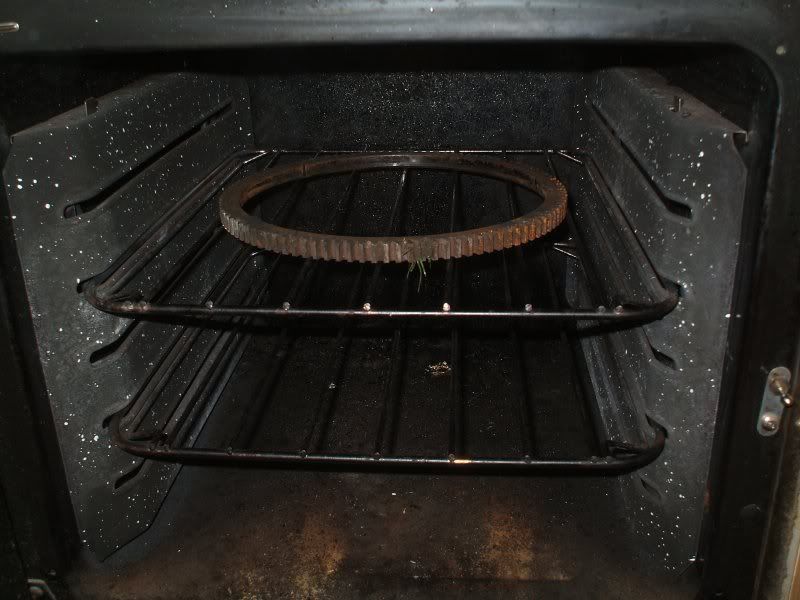 Fitted and cooled 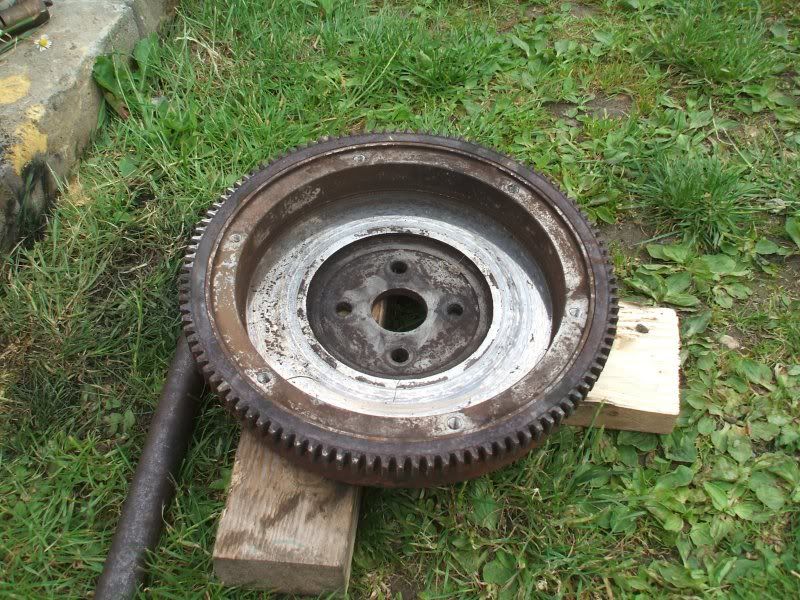 On with the flywheel 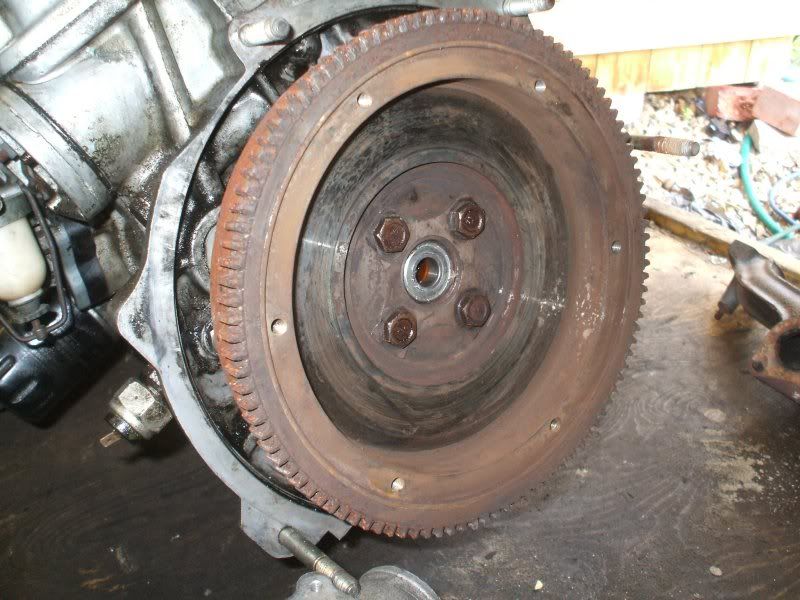 And then the pressure plate and friction plate. I had my helper with me today, so got caught on camera 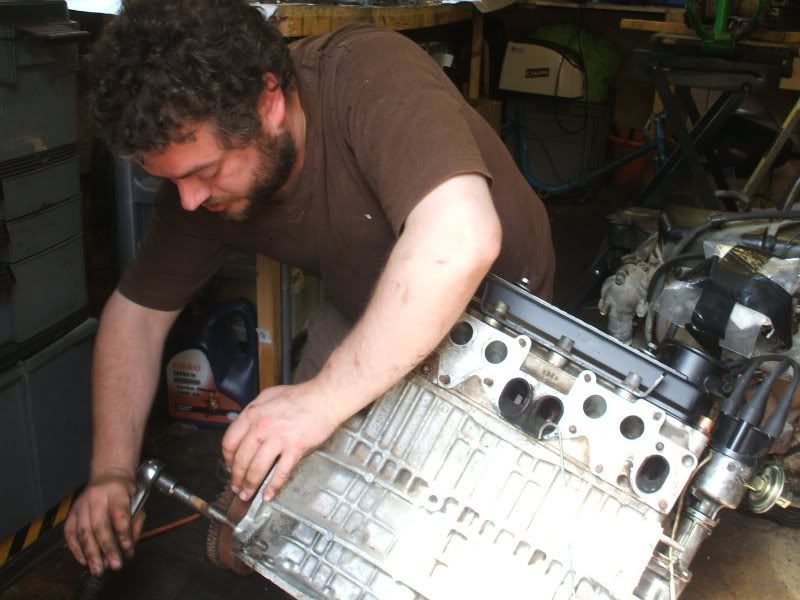 Here she is... 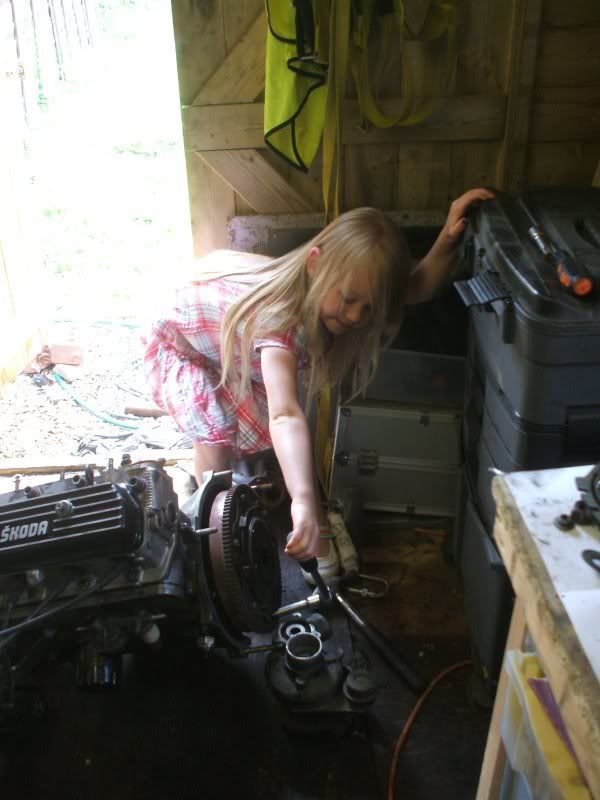 My little trooper - recently had her leg in plaster for two months  Ready at last 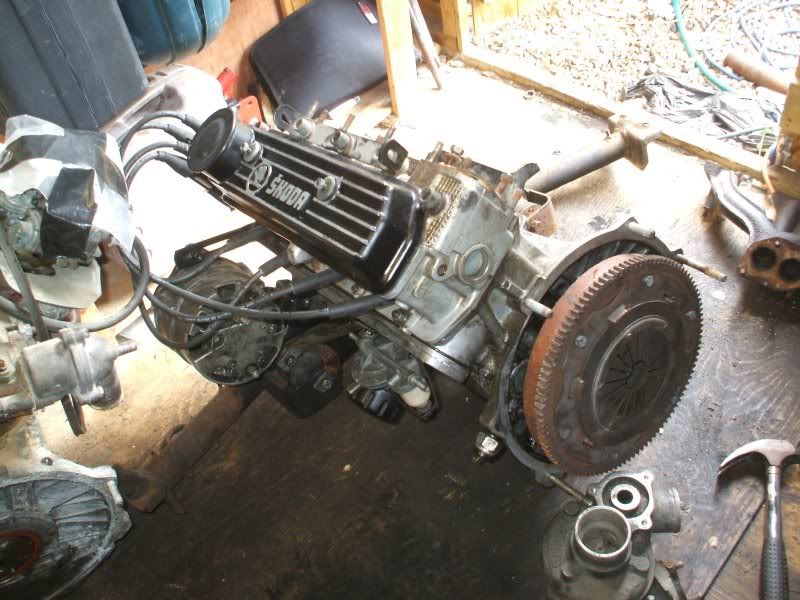 I was working on my own this weekend, so fished out an old climbing harness and hooked myself to te engine and drag it out of the shed. 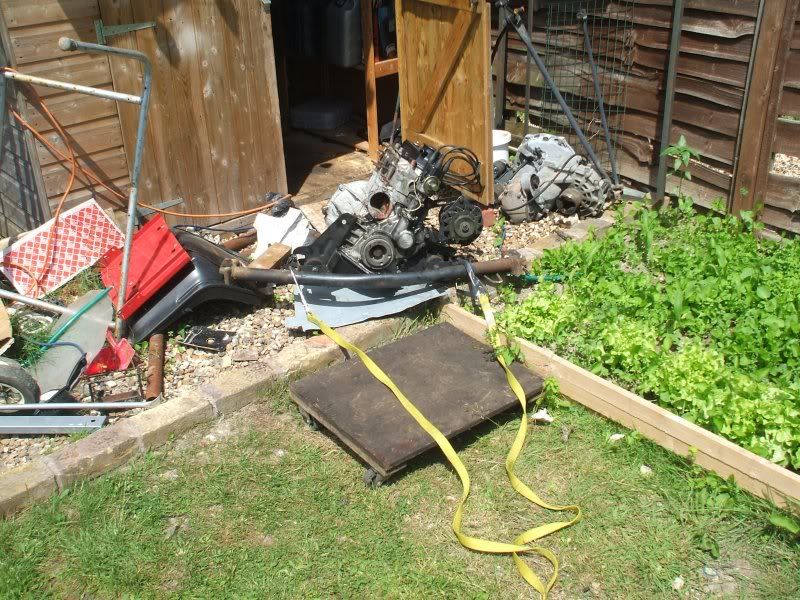 Getting closer to the car 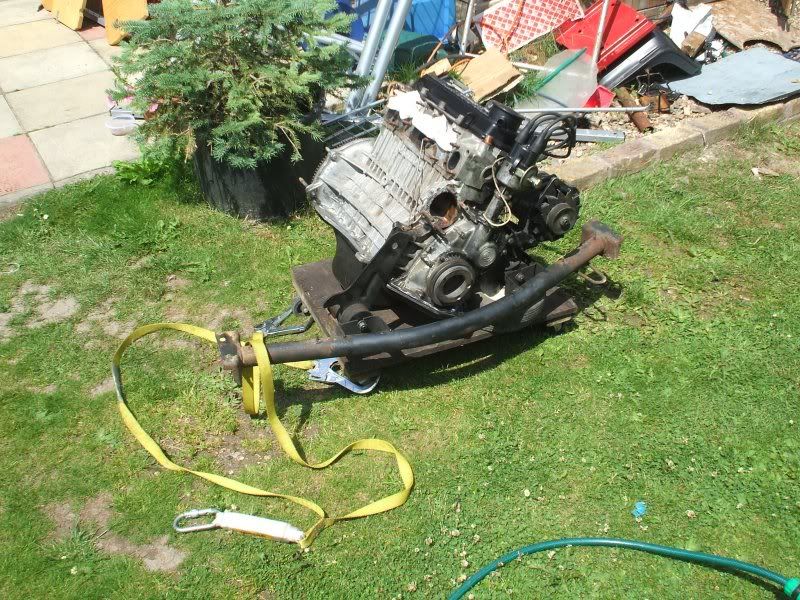 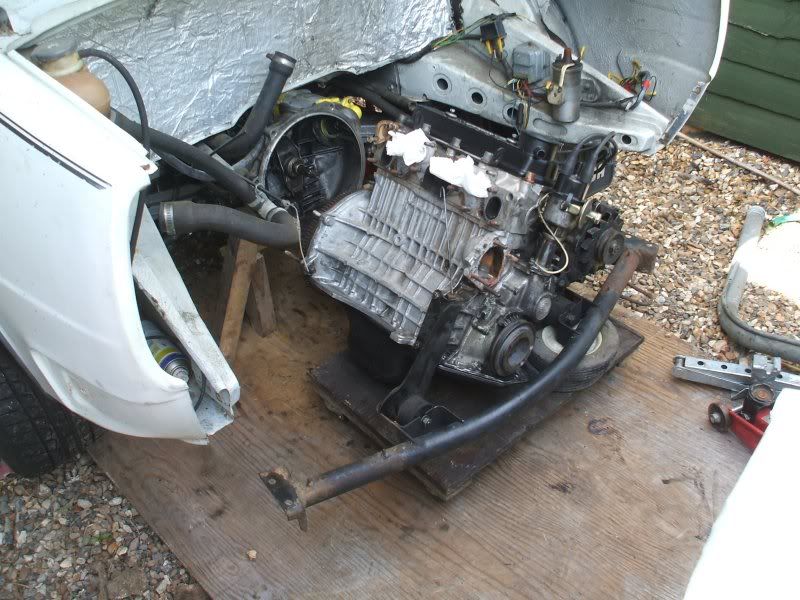 Getting closer 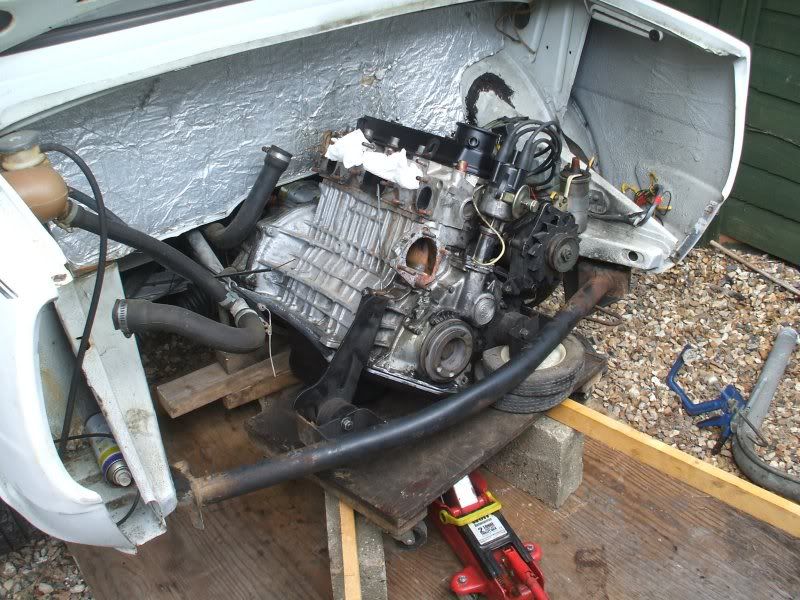 In and hooked up 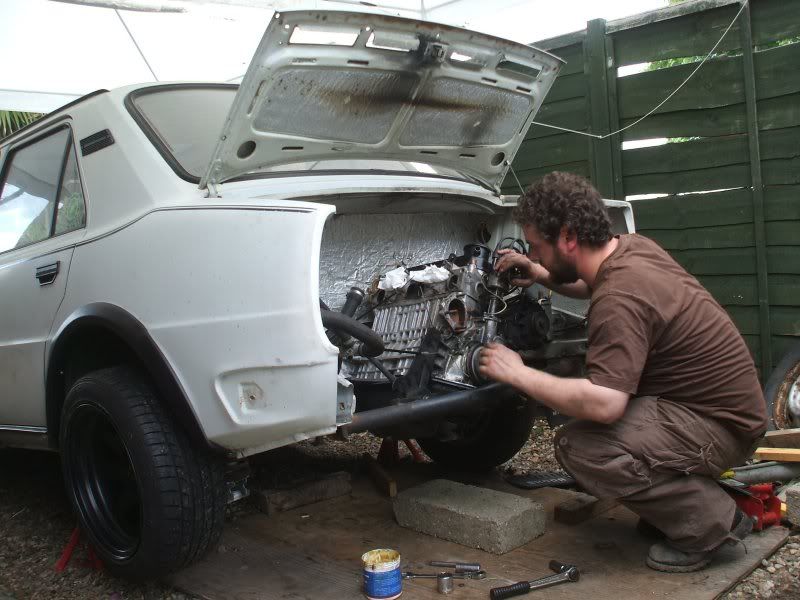 Caught again my by helper! I dropped the car back down to see if it was now too low 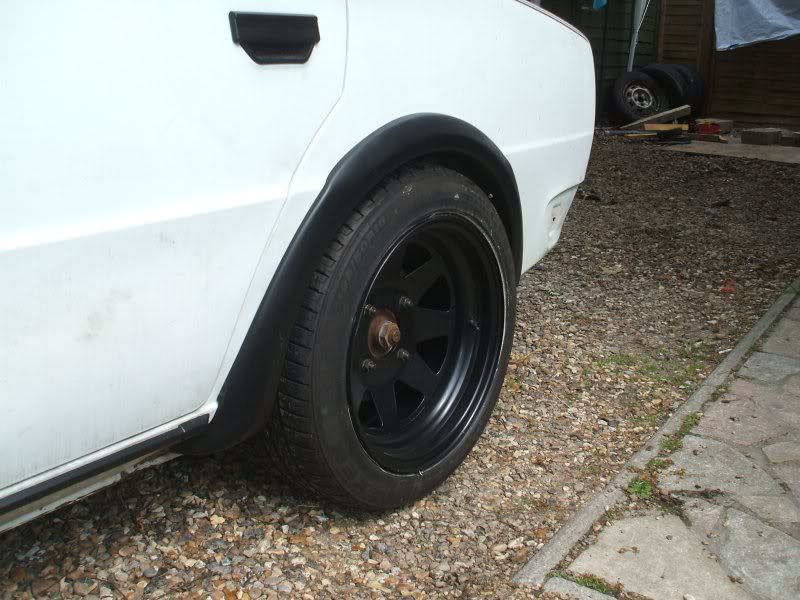 Perfect... Got camber?? 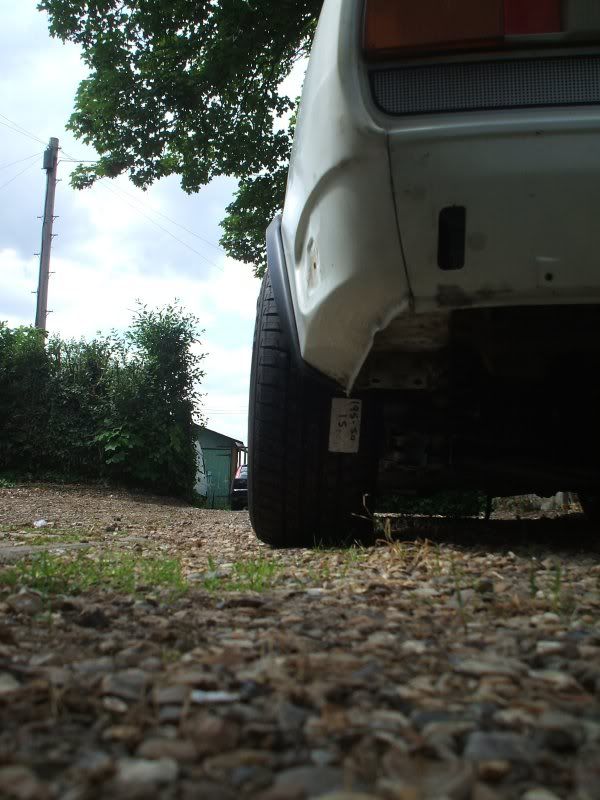 Nice and low at the back now.. makes the front look high! 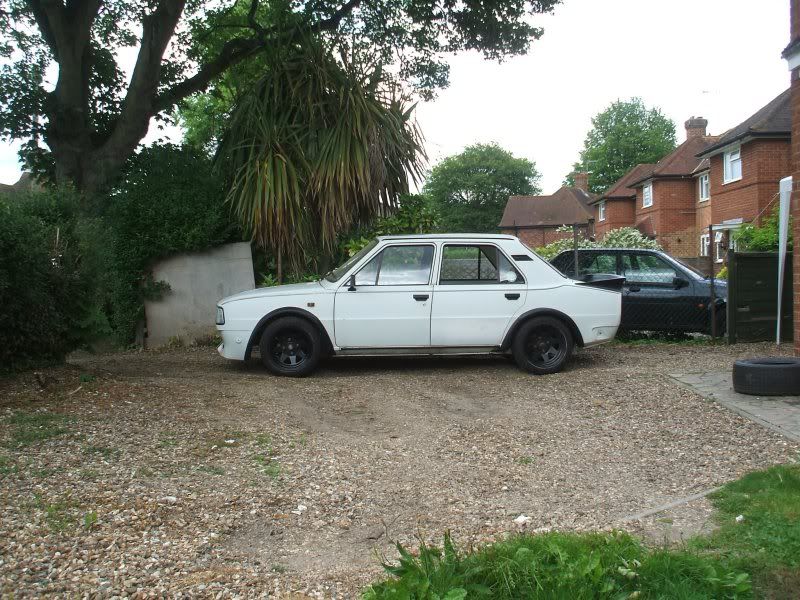 I tried the rear bumper on (to placate the haters) 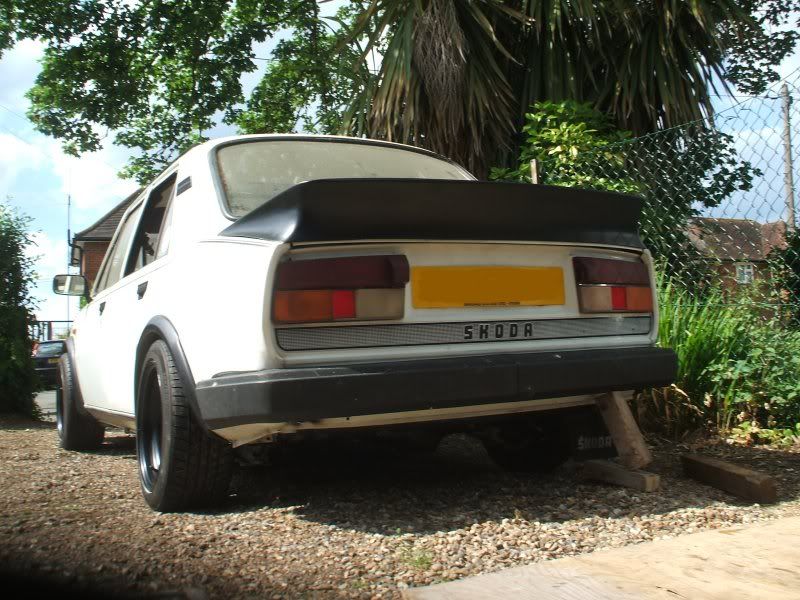 Still don't like it 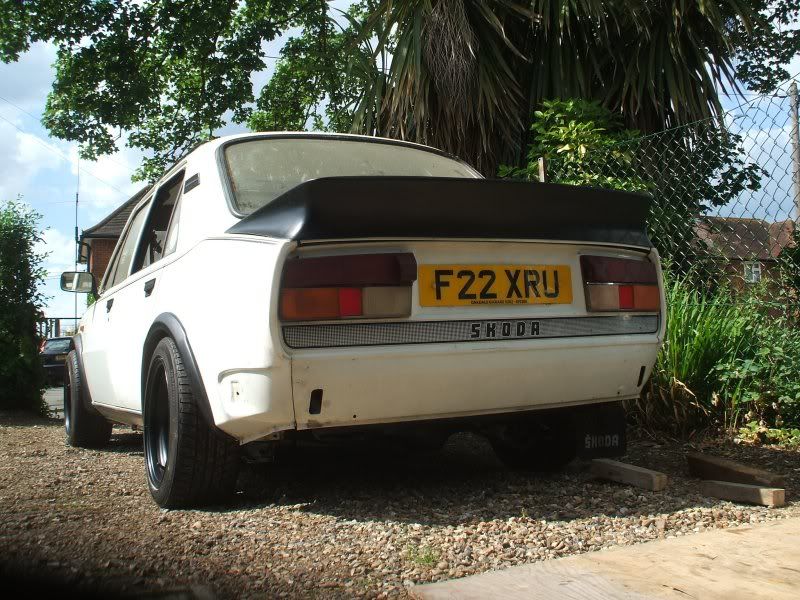 So there we go! A major task now complete. Onward and upwards Lewis |
| |
|
|
|
|
|
Jun 13, 2010 19:00:06 GMT
|
|
I need another Estelle in my life, even though i have a 1971 S100 and a 1986 Rapid sat in the garage
|
| |
Current Fleet
2006 Skoda Roomster 1.4 16v (Daily)
1990 Autozam Revue 1.5 Auto Canvas Top (Project)
1993 VW Transporter LWB 2.4D (Camper Project)
1994 Skoda Favorit Foreman II Pick Up (Project)
1979 Skoda Estelle 120LS. (Project)
1982 Kip Kompakt 300 Caravan (Project)
|
|
|
|
|
Jun 13, 2010 20:28:42 GMT
|
|
Great car. Love the look of it.
|
| |
|
|
Colonelk
Posted a lot
  
Posts: 3,742
Club RR Member Number: 83
|
|
Jun 14, 2010 17:17:23 GMT
|
|
looks good man! sorry i missed your call at the weekend, been all over the shop!
|
| |
|
|
|
|
|
Jun 14, 2010 18:14:58 GMT
|
Thanks all! No worries Mark, I was in desparate need of a spare trolly jack for about 20 minutes until I used some wood and brute force to make it happed! I won't be doing much on it this weekend as I will be devoting a few weeks to getting the chopper finished for the gathering. There is no way the Skoda will be ready I am afraid  too little cash, too little time! Lewis |
| |
|
|
|
|
|
Jun 14, 2010 18:20:23 GMT
|
I need another Estelle in my life, even though I have a 1971 S100 and a 1986 Rapid sat in the garage Sat being the word though Kenniboy!!!!! |
| |
|
|
Colonelk
Posted a lot
  
Posts: 3,742
Club RR Member Number: 83
|
|
Jun 14, 2010 19:26:04 GMT
|
There is no way the Skoda will be ready I am afraid  too little cash, too little time! Lewis    ah well. |
| |
|
|
|
|
|
Jun 14, 2010 19:51:32 GMT
|
Yay, good work. the bumpers suit the arches and spoiler mind  |
| |
|
|
|
|
|
Jun 14, 2010 21:58:32 GMT
|
Liking this build and I'm pro-bumperless! Had a bit of a fiddle on Photoshop since the pictures inspired me and there were one or two little additions/removals that I think would smooth out the look. Getting rid of the bumper holes and the lumps for the bumper supports on the sides would help no end to making the bumperless nose and tail that much smarter.  There needs to be a few more black details to tie the whole thing together a bit better too, imho.  Rear plate around the lights and the sills ought to be black to match up the other details. Optionally, tint the rear light clusters to make them less obtrusive and add some black to the front wing detail. Oh, and losing that orange side repeater (or replacing it with a clear one) would really help too. The only other thing I can think of that I didn't do was to add a white line to the edge of the wheel spokes to make them stand out without compromising the aggressive black and white scheme. Of course, this is just my opinion, and just fettling with what is an already really sound design, but hopefully it at least offers a few alternatives for you. |
| |
|
|
|
|


