jonomisfit
Club Retro Rides Member
Posts: 1,794
Club RR Member Number: 49
|
|
Jun 14, 2021 20:11:15 GMT
|
Rather than continue to span my own threads with pics of me changin up the garage I thought i'd put them in here. Start up with I decided i "have" to reconfigure the workshop to see if it makes the space more useable.... Cut out the old shelving above the vice bench.... it was full of woodwormthen  P1050341 P1050341 by jono_misfit, on Flickr then bench out and tidy up.... it was thick in dirt and detritus under there  P1050342 P1050342 by jono_misfit, on Flickr emptied the shelves  P1050343 P1050343 by jono_misfit, on Flickr whcih it turned out had a lot of stuff on it 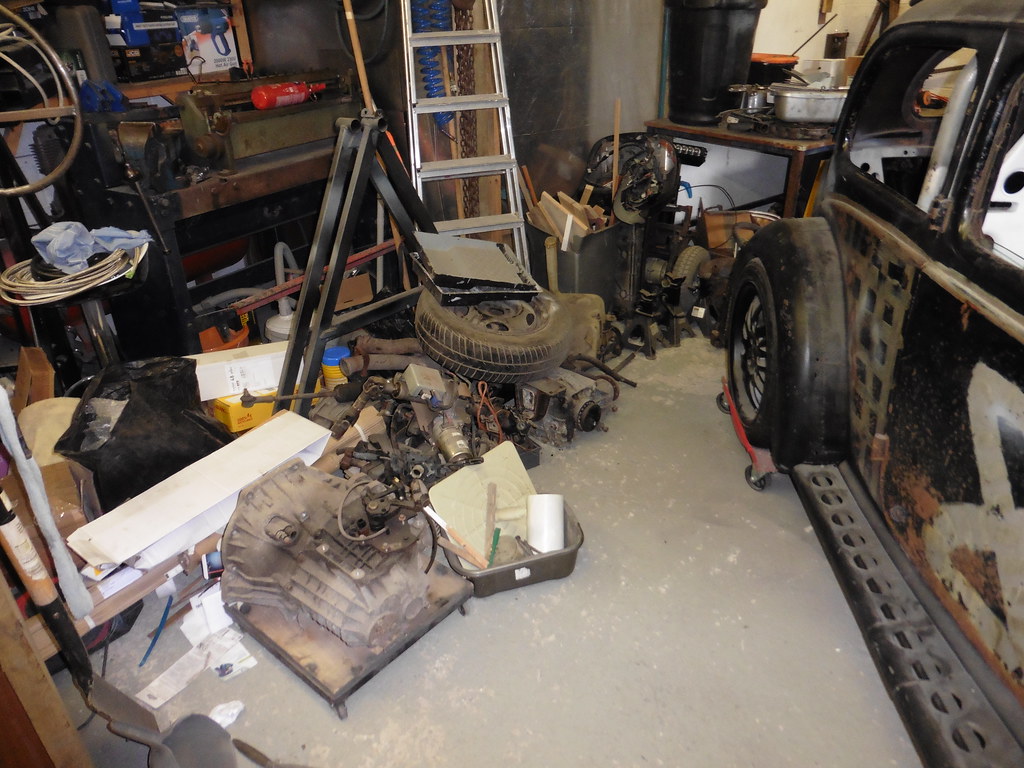 P1050344 P1050344 by jono_misfit, on Flickr a LOT of stuff....  P1050345 P1050345 by jono_misfit, on Flickr moved it round and lowered the top shelf by 6 holes, and fixed to the wall  P1050346 P1050346 by jono_misfit, on Flickr started re-packing and found this, which i've been hunting for for ages! it was hidden in a plastic bag, in a box, in another box, and covered with junk. 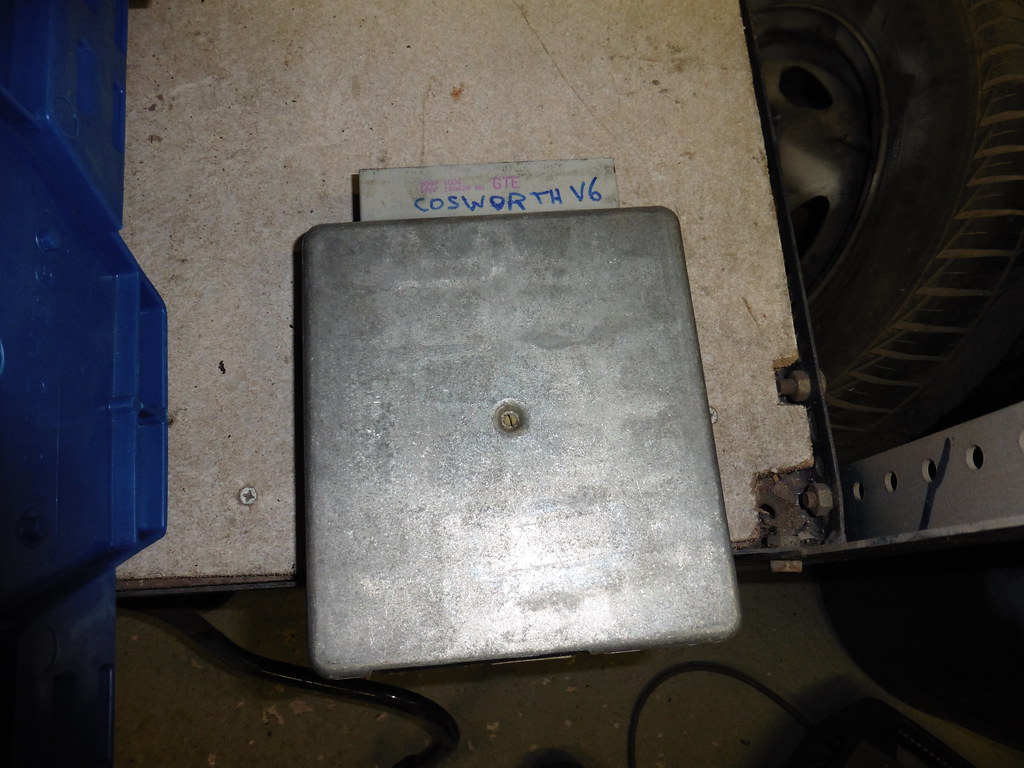 P1050347 P1050347 by jono_misfit, on Flickr then remembered I needed to get the floor clear again so I can get the car back in.... so packed the shelves again.  P1050348 P1050348 by jono_misfit, on Flickr it looks a mess, but once I have a tidy through some of the bits it should get better. I have a LOT of brake calipers.... 3 full car sets (2 escort and 1 MX5). None of which I will be using so i think they may go for sale. slowly getting there  P1050349 P1050349 by jono_misfit, on Flickr  P1050350 P1050350 by jono_misfit, on Flickr there is a fair bit of stuff for the metal recycling point of the tip escort back in, and space is no worse, mig will go back in its space once I get rid of the junk  P1050351 P1050351 by jono_misfit, on Flickr and started emptying back these shelves as well.  P1050352 P1050352 by jono_misfit, on Flickr |
| |
Last Edit: Jul 24, 2024 20:00:50 GMT by jonomisfit
|
|
|
|
jonomisfit
Club Retro Rides Member
Posts: 1,794
Club RR Member Number: 49
|
|
Jun 14, 2021 20:11:58 GMT
|
operation tidy up / re-configure continues I removed the old home made draws and bought a cheap storage cabinet to go in the space.  P1050353 P1050353 by jono_misfit, on Flickr Theres actually enought space to put two in there side by side. I'm tempted to buy a second and do this. Rather than rip out the old shelves in this corner (at least at this point, i may do it later) I set about making them a useable size and fitting a shonky cupboard door to it all.  P1050354 P1050354 by jono_misfit, on Flickr shelves are now double the height they were, so can take actual stuff in them  P1050355 P1050355 by jono_misfit, on Flickr I filled the cupboard but forgot to take another pic then spent ages boxing things up and putting them on the mezanine, and then re-packed the shelves above the bench in a more useable way  P1050356 P1050356 by jono_misfit, on Flickr I also wrote on the wood what things were if it wasnt imediately obvious. fitted an additional light into this corner so its now possible to see things... And started building up another pile of things to go to the recycling centre (having been there friday afternoon with a full van of things)  P1050357 P1050357 by jono_misfit, on Flickr slowly getting there, you can at least see the floor again now.  P1050358 P1050358 by jono_misfit, on Flickr and almost there on the bench.  P1050369 P1050369 by jono_misfit, on Flickr I'll need to see what I do next. Back to the escort, or buy in some steel and make the new metalwork bench. There's still some more changes to make on layout 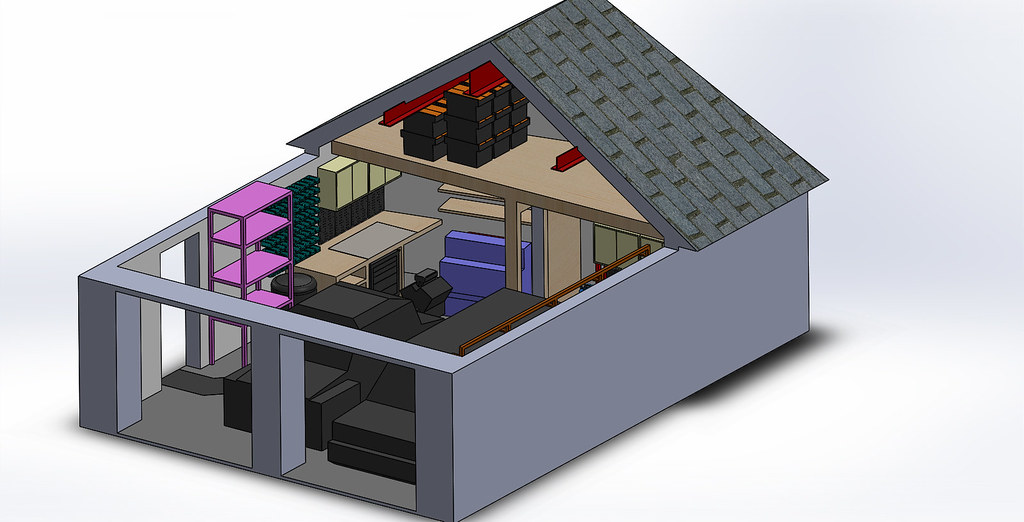 Garage Layout - 2 - 6 Garage Layout - 2 - 6 by jono_misfit, on Flickr  Garage Layout - 2 - 7 Garage Layout - 2 - 7 by jono_misfit, on Flickr New workbench i'm intending to make  Workbench_Assy Workbench_Assy by jono_misfit, on Flickr I'm also giving consideration to buying a two post ramp, so may well model that up and see how it all works space wise. Objective has been achieved so far, as it does feel like theres more useable space... at least there will be when I've exited the new recycling pile.... |
| |
|
|
jonomisfit
Club Retro Rides Member
Posts: 1,794
Club RR Member Number: 49
|
|
Jun 14, 2021 20:12:50 GMT
|
As part of the clear out I sold a few things I didnt need that were just taking up space. And converted them into something else that will take up space 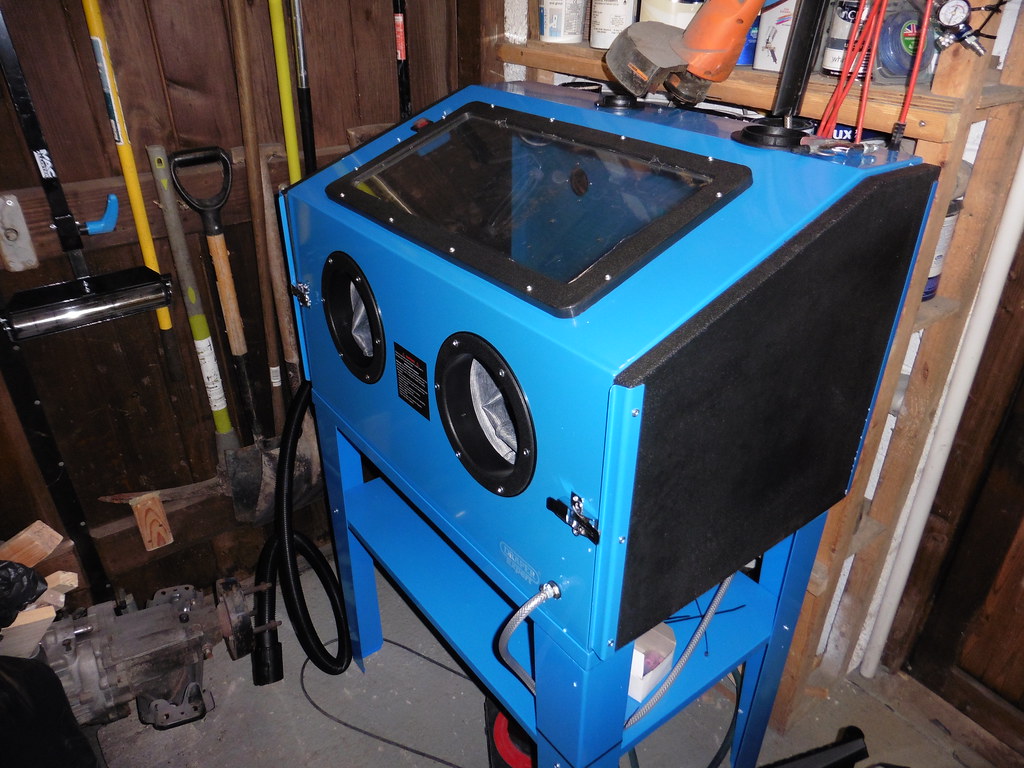 P1050384 P1050384 by jono_misfit, on Flickr Which came as a box of bits and I spent ages putting it together, then even longer trying to get it all running well. One of the big isues is dust affecting visibility and as such an extractor system was needed. If you just connect a vacuume to the exhaust port you fill the the bag very quickly. So I got a cheap cyclone seperator, and plumbed it in. Size wise I couldnt find any tube that was the right size, so the closest was some 50mm drain pipe which then got modified a bit to make an exhaust. I then taped all the joints to try and keep the vacuum sealed as I could.  P1050385 P1050385 by jono_misfit, on Flickr unlike the really cheap ones from ebay (this is still cheap just not as cheap) it didnt need mods to the pickup pipes, and the seals were fairly decent. Does it work? A beam clamp before  P1050386 P1050386 by jono_misfit, on Flickr  P1050387 P1050387 by jono_misfit, on Flickr scabby as anything. After  P1050388 P1050388 by jono_misfit, on Flickr  P1050389 P1050389 by jono_misfit, on Flickr  P1050390 P1050390 by jono_misfit, on Flickr I was still getting a technique to do it, as i've never don't any real blasting before. This was with aluminium oxide media, I'll try getting some glass at another point as see what thats like. Works quite well, and I was a bit worried my compressor tank is too small, but once up to pressure it keep running well enought to hold about 80psi with continuous blasting. |
| |
|
|
jonomisfit
Club Retro Rides Member
Posts: 1,794
Club RR Member Number: 49
|
|
Jun 14, 2021 20:20:04 GMT
|
A load of steel turned up  P1050410 P1050410 by jono_misfit, on Flickr the metal cutting blade gave out after 6 cuts.... The rest was done by hand  P1050414 P1050414 by jono_misfit, on Flickr which gives me all the bottom pieces for the bench 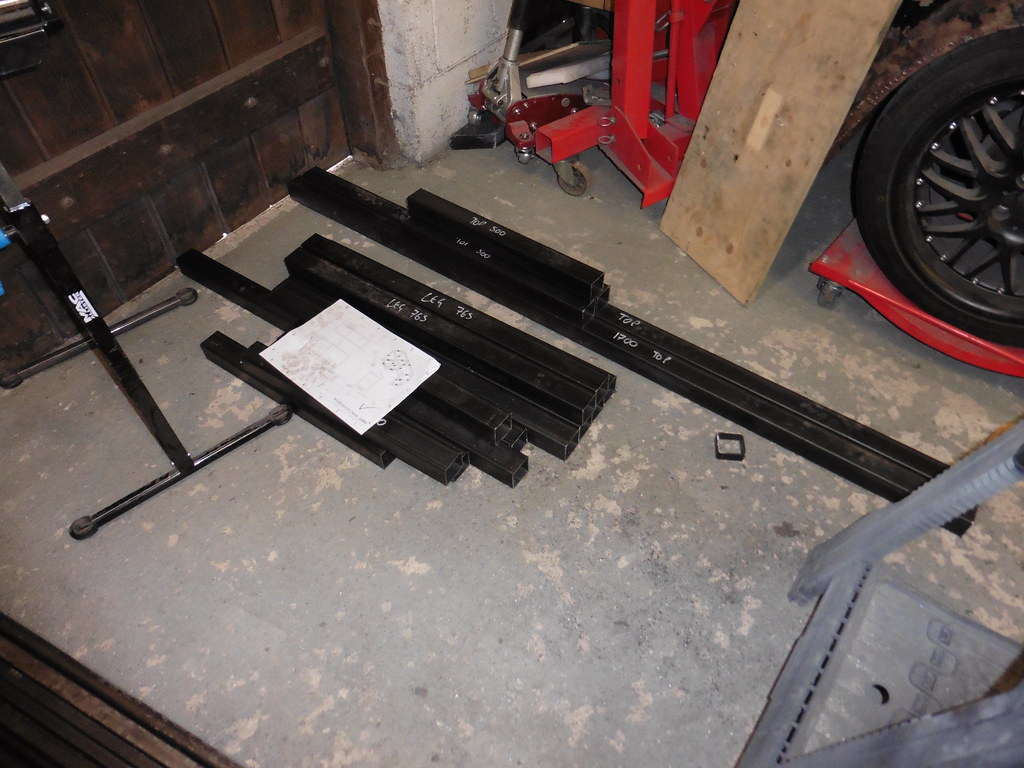 P1050415 P1050415 by jono_misfit, on Flickr and this pile gives me all the bits for the top of the bench  P1050416 P1050416 by jono_misfit, on Flickr and the bits I need to make the extension  P1050417 P1050417 by jono_misfit, on Flickr which freed the floor space back up again  P1050418 P1050418 by jono_misfit, on Flickr and stacked the spare bits out the way 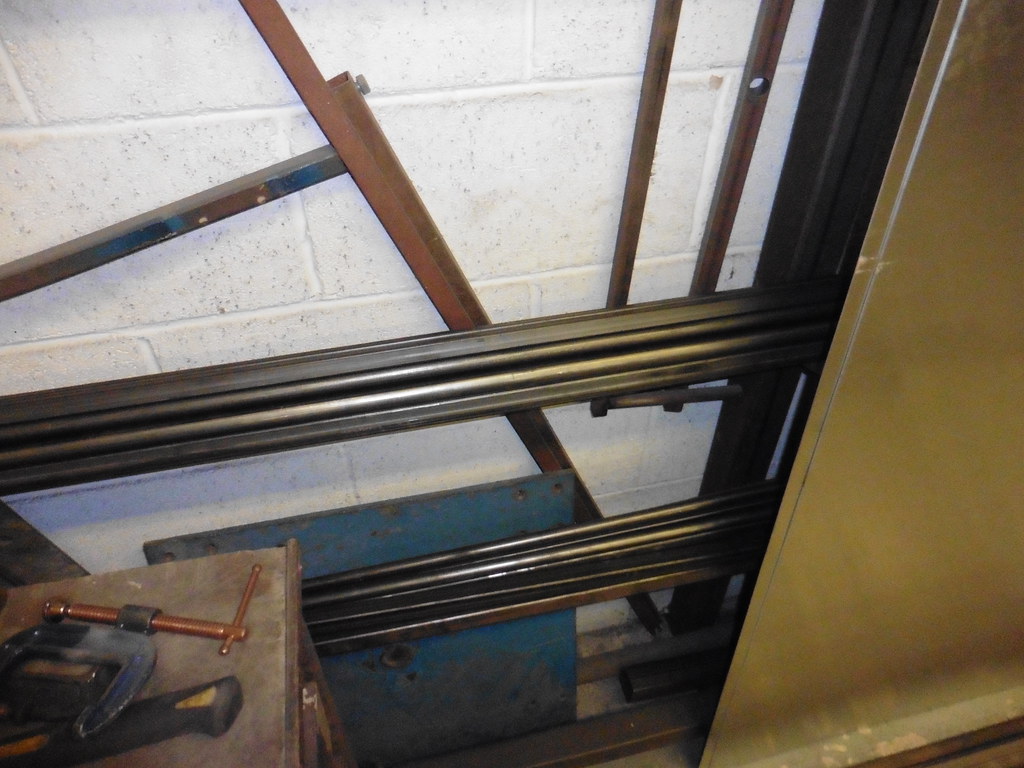 P1050419 P1050419 by jono_misfit, on Flickr I'm off this week, so hopefully I'll get chance to at least tack the bench together. Although..... due to space constraints I will likely need to get rid of the existing bench to make space to put the new bench together, so I need to buy a worktop for it ASAP. |
| |
|
|
|
|
|
|
|
|
A good sort out and move around is good, I'm sure it makes you a more productive person too. I find if i'm working in a mess, I lack enthusiasm to do things. A good tidy up, sort out and convert old stuff into new stuff is good for the soul.
|
| |
|
|
jonomisfit
Club Retro Rides Member
Posts: 1,794
Club RR Member Number: 49
|
|
|
|
|
Absolutely. I can't think straight when the bench is a tip. Saying that, I need to head out there tonight for a tidy up again as it's a mess again.
|
| |
|
|
|
|
|
Jun 16, 2021 15:56:56 GMT
|
Although it's a dirty horrible job it's extremely satisfying to reorganise the garage. I found that when I moved my big red cupboard I was able to put in new shelving and made a whole load more space. I like to be able to give everything an easily accessible place if I can. Yours is looking really good already.  |
| |
|
|
glenanderson
Club Retro Rides Member
Posts: 4,368
Club RR Member Number: 64
|
|
|
|
|
Scrap metal is paying over £100 a ton now, so it's worth putting it aside and weighing in properly rather than giving it to the tip.
Looking good though. My workshop is an exasperatingly slow "work in progress"...
|
| |
My worst worry about dying is my wife selling my stuff for what I told her it cost...
|
|
Pugly
Part of things
 
Posts: 11 
|
|
|
|
|
That's a great looking space and similar to what I am hoping to build. Can I ask what size the overall space is?
I have tried DIY blasting before and struggled - is your blasting cabinet on a siphon gun set up? What size compressor are you using?
Cheers and happy tinkering.
|
| |
Last Edit: Jul 4, 2021 11:25:11 GMT by Pugly
|
|
jonomisfit
Club Retro Rides Member
Posts: 1,794
Club RR Member Number: 49
|
|
|
|
That's a great looking space and similar to what I am hoping to build. Can I ask what size the overall space is? I have tried DIY blasting before and struggled - is your blasting cabinet on a siphon gun set up? What size compressor are you using? Cheers and happy tinkering. Garage is about 9m on longest side and 7.5 on shortest, by 8m wide. It's 2.4m to top of block and circa 5m to the ridge line. It is a syphon gun but unlike the cheap cheap ones it's got all the "mods" people do on them from the start. I'd need to check but I think I've got a 220 or 270ltr tank. As long as I keep the pressure over 70psi it works fine. Once I really get into using it I'll see if I move to a direct feed gun. |
| |
|
|
|
|
jonomisfit
Club Retro Rides Member
Posts: 1,794
Club RR Member Number: 49
|
|
|
|
As the compressor going kaputt messed up my weekend work, and as I had to move loads of bits to get it out, it reminded me I need to improve the storage. Workshop is full  P1060342 P1060342 by jono_misfit, on Flickr But as the roof is beams rather than trusses, there is a lot of free volume. I made the mezanine at the back which got me some space but the front end is fairly free, other than a place i hang some bikes from. I took some measurements, knocked up a design in CAD, did a bit of stress analysis to check it would be strong enough. Then spent today making this. 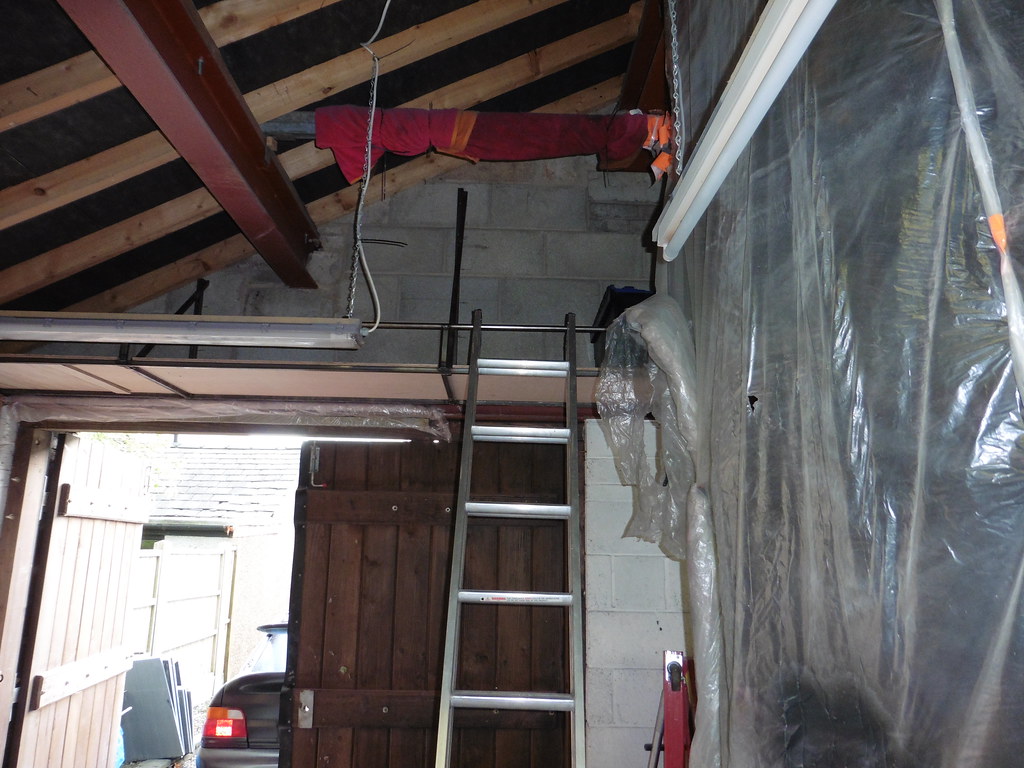 P1060343 P1060343 by jono_misfit, on Flickr 600mm wide, made from spare box section and sheeted with plywood  P1060344 P1060344 by jono_misfit, on Flickr it has a front rail to keep thing in place 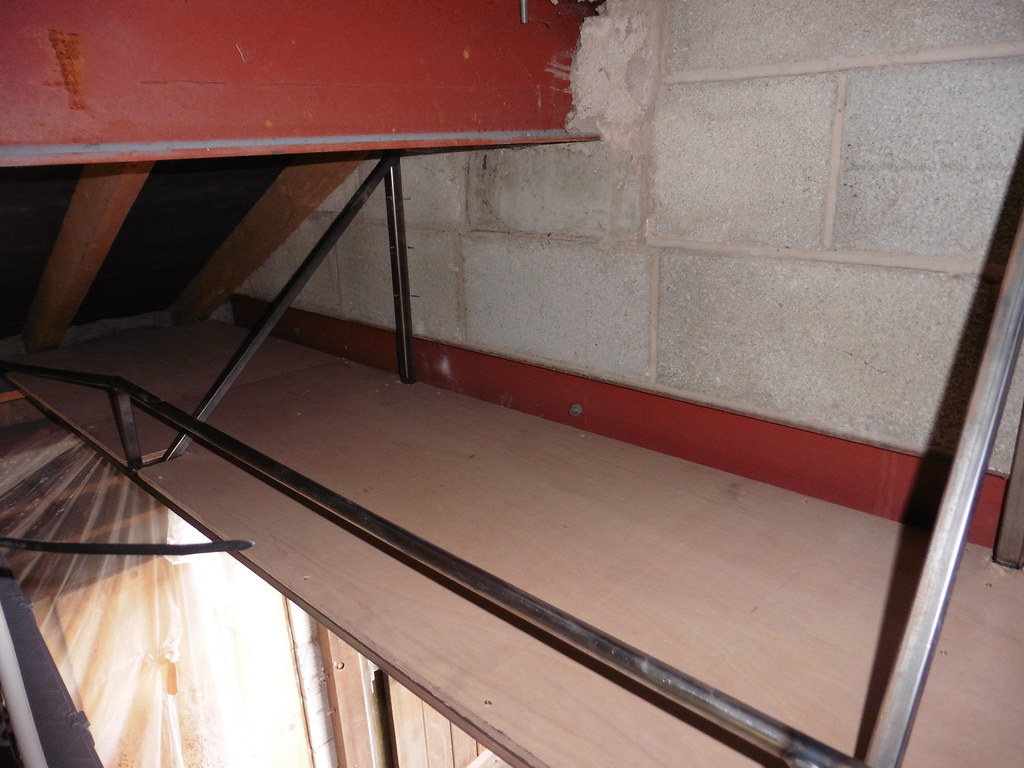 P1060345 P1060345 by jono_misfit, on Flickr and sized so that my stackable storage crates fit in well  P1060346 P1060346 by jono_misfit, on Flickr there's enough room to store circa 9 to 10 of them  P1060347 P1060347 by jono_misfit, on Flickr I'm just waiting for some beam clamps for threaded rod to add a support hanger to the front of it, then can paint and load it up. turn out screwfix don't sell them, so I need to wait for the ordered ones to arrive. Whilst I was in Screwfix I saw these were on 50% off, and looked quite handy, so bought a couple.  P1060348 P1060348 by jono_misfit, on Flickr i've transfered all my screws into them, and cut off the size tags from the boxes so I know whats what.  P1060349 P1060349 by jono_misfit, on Flickr  P1060350 P1060350 by jono_misfit, on Flickr should make things easier when I need to lug screws around. I may buy a couple more as they are quite handy. They also clip together so can store quite nicely. |
| |
|
|
jonomisfit
Club Retro Rides Member
Posts: 1,794
Club RR Member Number: 49
|
|
|
|
Today was a lot of fill in jobs whilst I await the new compressor, so I can finish the painting of the postman pat van... so I can get back on with my car projects.... after only 9 months off them. Note to self, have less grandiose ideas. I loaded the storage crates from the shelves and mezanine up onto my need storage crate shelves (after adding in some 12mm threaded rod beam hangers to tie the outer edge to the beams to share the load). Which left space on the mezzanine. I stripped down the body spit I used on the escort (i've only been tripping over it for a year.....) and lugged it up to the mezanine 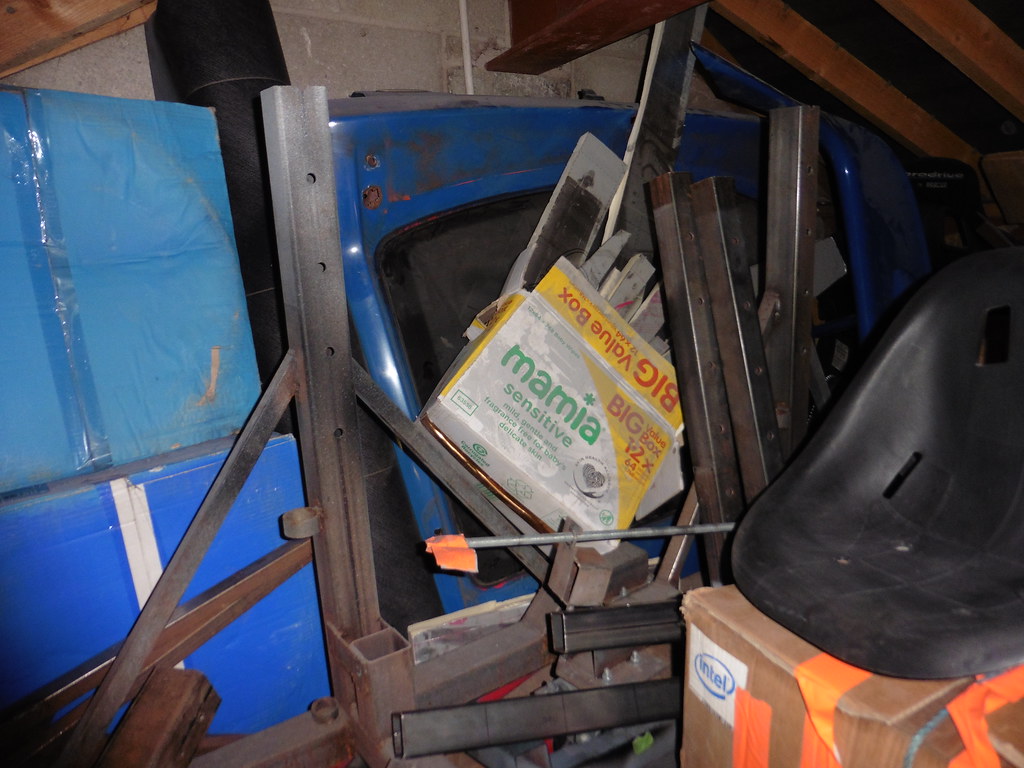 P1060366 P1060366 by jono_misfit, on Flickr then tried out a revised layout for the guillotine. It seems to work better, although I'll need to move it whilst I get the new compressor into its space.  P1060367 P1060367 by jono_misfit, on Flickr then had half an hour left so dug out these bits  P1060368 P1060368 by jono_misfit, on Flickr which go with these  P1060369 P1060369 by jono_misfit, on Flickr used a countersunk bolt to centre the nuts (and an extra nut to protect the threads)  P1060370 P1060370 by jono_misfit, on Flickr and welded on  P1060371 P1060371 by jono_misfit, on Flickr then got out the bench legs I cut about 12 months ago.... and introduced them  P1060372 P1060372 by jono_misfit, on Flickr  P1060373 P1060373 by jono_misfit, on Flickr did all the legs  P1060374 P1060374 by jono_misfit, on Flickr feet fit in like so 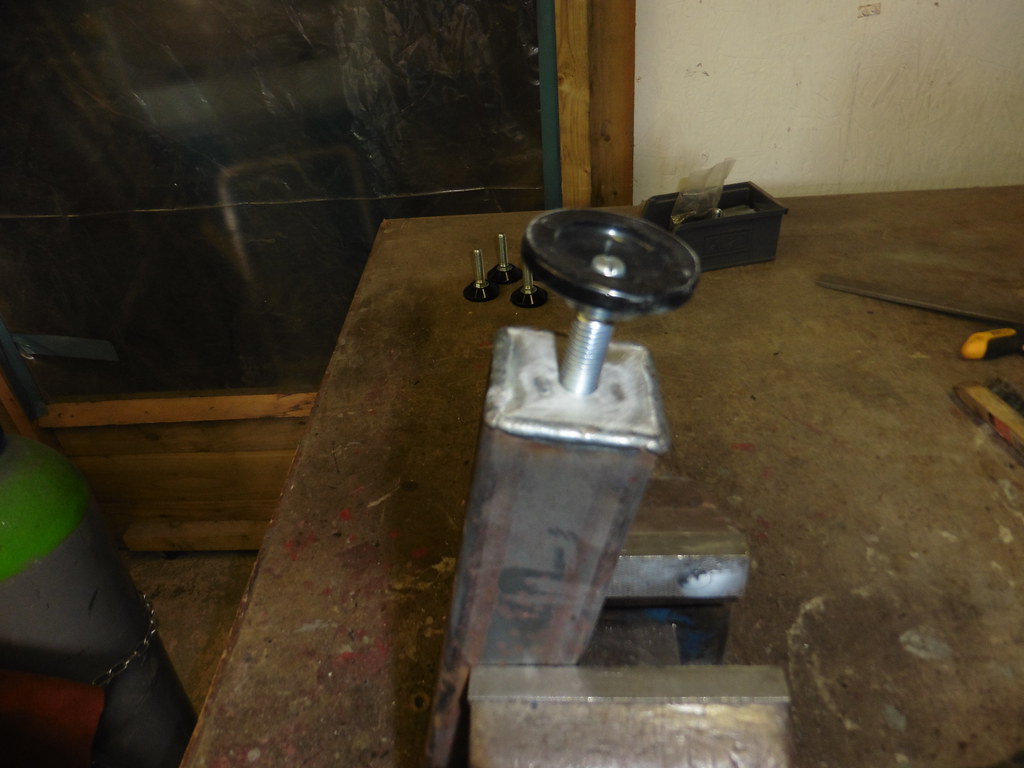 P1060375 P1060375 by jono_misfit, on Flickr a quick tidy up of cut ends  P1060376 P1060376 by jono_misfit, on Flickr The other thing I find is the often gets in the way for something, so have decided I need a way of moving it I bought some of these click down casters  P1060377 P1060377 by jono_misfit, on Flickr will go on the legs like so  P1060378 P1060378 by jono_misfit, on Flickr So when i want to move the bench I click them down, and can wheel it away. |
| |
|
|
jonomisfit
Club Retro Rides Member
Posts: 1,794
Club RR Member Number: 49
|
|
May 21, 2022 20:19:59 GMT
|
With me waiting for the paint to harden on the postman pat van i made a start on the new bench. The steels only been cut for about a year.... setting up for welding  P1060398 P1060398 by jono_misfit, on Flickr  P1060399 P1060399 by jono_misfit, on Flickr started tacking the frame together  P1060400 P1060400 by jono_misfit, on Flickr adding in the cross bars  P1060401 P1060401 by jono_misfit, on Flickr  P1060402 P1060402 by jono_misfit, on Flickr starting on side two  P1060403 P1060403 by jono_misfit, on Flickr starting to assemble into a bench  P1060404 P1060404 by jono_misfit, on Flickr tacked together  P1060405 P1060405 by jono_misfit, on Flickr checking the cabinet will fit  P1060406 P1060406 by jono_misfit, on Flickr frame fully welded  P1060407 P1060407 by jono_misfit, on Flickr feet fitted  P1060408 P1060408 by jono_misfit, on Flickr click down casters added  P1060409 P1060409 by jono_misfit, on Flickr Drilled and tapped the uprights to fit them and when up they sit out the way under the side bars  P1060410 P1060410 by jono_misfit, on Flickr  P1060411 P1060411 by jono_misfit, on Flickr  P1060412 P1060412 by jono_misfit, on Flickr started fitting the cabinet, drilled some mounting holes and tapped into the legs directly  P1060413 P1060413 by jono_misfit, on Flickr  P1060414 P1060414 by jono_misfit, on Flickr I'll be making some additional mounts for the cabinet to support it better from underneath as well. I've then got some 18mm ply to double sheet for the top...... And all the other bits of steel to make the top half of the bench. |
| |
|
|
jonomisfit
Club Retro Rides Member
Posts: 1,794
Club RR Member Number: 49
|
|
May 28, 2022 19:47:47 GMT
|
I stripped the old bench down and lugged it outside.  P1060432 P1060432 by jono_misfit, on Flickr  P1060433 P1060433 by jono_misfit, on Flickr  P1060434 P1060434 by jono_misfit, on Flickr I've stuck it on marketplace for someone to take it, otherwise it'll get cut up for scrap. I then did the manky job of stripping down the metal storage racks, cleaning it up, resetting the supports to new positions and reloading the rack. Everything was coating in a couple of years of dust and rust. Lovelly. It took ages. Then wanged the new bench into its new home location  P1060435 P1060435 by jono_misfit, on Flickr then set about the sheet of 18mm ply I have and cut to size  P1060436 P1060436 by jono_misfit, on Flickr I'm using two sheets of ply to give a decent heavy duty worktop. drilled all the pilot holes for the fixing inserts, coated the mating surfaces with wood glue, clamped using a selection of the various clamps I have, and then screwed the two sheets together in strategic places to ensure it cant peel.  P1060437 P1060437 by jono_misfit, on Flickr I should get it mounted next weekend. I also made a couple of mounts for under the cabinet to hold it, but appear to have forgotten to photograph. |
| |
Last Edit: May 28, 2022 19:50:22 GMT by jonomisfit
|
|
jonomisfit
Club Retro Rides Member
Posts: 1,794
Club RR Member Number: 49
|
|
|
|
I gave the glue a couple fo days to cure then took off the clamps. I drilled the mounting holes a bit deeper.  P1060441 P1060441 by jono_misfit, on Flickr then started fitting the mounting nuts  P1060442 P1060442 by jono_misfit, on Flickr The cut their own screw into the wood and seem pretty decent anchors. I have fitted a lot of them to make sure the bench top clamps out nice and evenly  P1060443 P1060443 by jono_misfit, on Flickr  P1060444 P1060444 by jono_misfit, on Flickr work top bolted down solid  P1060445 P1060445 by jono_misfit, on Flickr I gave it a sand, ran the round over bit round the edge with the router, and then sanded the curve  P1060446 P1060446 by jono_misfit, on Flickr  P1060447 P1060447 by jono_misfit, on Flickr Its only a slight radius, but should hopefulyl stop the edges peeling  P1060449 P1060449 by jono_misfit, on Flickr I dug out the vice, cleaned it a bit, then bolted it down. One bolt is through the frame and the rest through the wood  P1060450 P1060450 by jono_misfit, on Flickr The new bench feels rock solid. Its got good stiffness to the frame, and the ~40mm thick worktop makes a real difference as well. it sounds solid when you hit it. I could do with stripping it all down, paint it, and reassemble. I also need to make the upper frame and the bolt on extension strip. |
| |
|
|
jonomisfit
Club Retro Rides Member
Posts: 1,794
Club RR Member Number: 49
|
|
Jun 25, 2022 20:35:08 GMT
|
I was getting fed up tripping over the pile of other pieces of steel i'd cut for the bench. laying out on the bench  P1060531 P1060531 by jono_misfit, on Flickr tacked 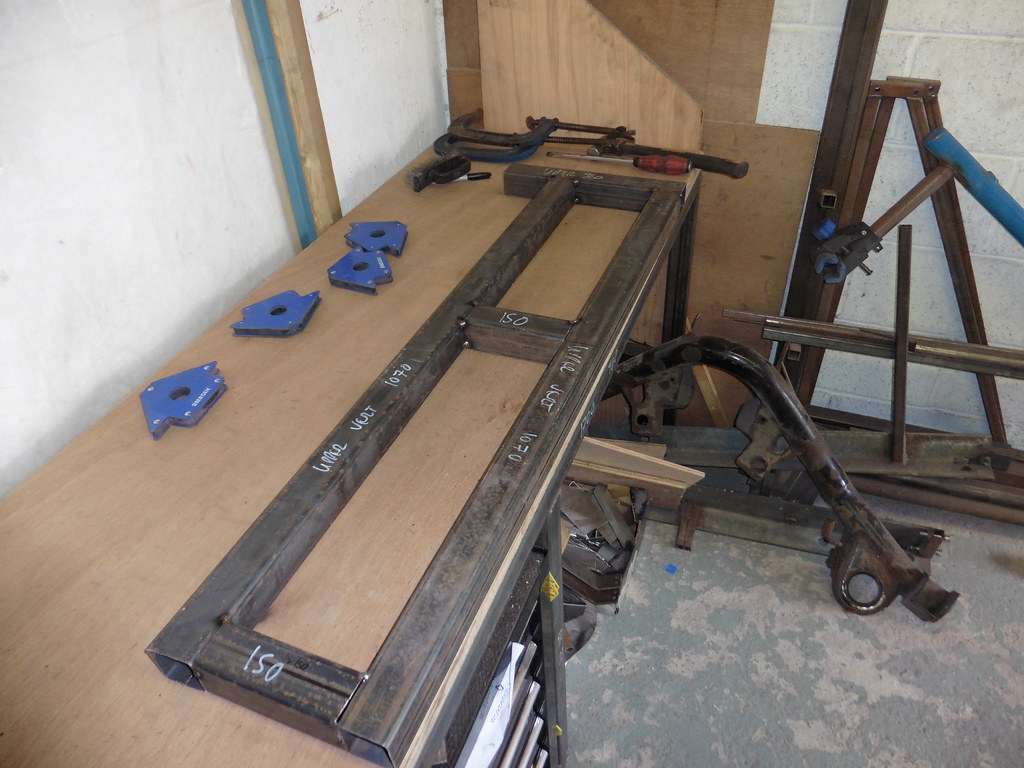 P1060532 P1060532 by jono_misfit, on Flickr will sit like so  P1060533 P1060533 by jono_misfit, on Flickr  P1060534 P1060534 by jono_misfit, on Flickr off the bench for welding  P1060535 P1060535 by jono_misfit, on Flickr welded and back on  P1060536 P1060536 by jono_misfit, on Flickr bolts through the top and clamps solid  P1060537 P1060537 by jono_misfit, on Flickr  P1060538 P1060538 by jono_misfit, on Flickr  P1060539 P1060539 by jono_misfit, on Flickr started adding in a back board to prevent things going down the back and also space for a shadow board  P1060540 P1060540 by jono_misfit, on Flickr The cross bar is to support the underside of a couple of cabinets i'm intending to buy for it, and it'll bolt through onto to the rear bars. It made some space at least |
| |
|
|
|
|
|
Jun 26, 2022 11:29:50 GMT
|
|
Excellent work there, the bench has turned out brilliantly,
I particularly like the way it "stands" on it's feet in normal use but the wheels can be deployed as required,
Nigel
|
| |
BMW E39 525i Sport
BMW E46 320d Sport Touring (now sold on.)
BMW E30 325 Touring (now sold on.)
BMW E30 320 Cabriolet (Project car - currently for sale.)
|
|
jonomisfit
Club Retro Rides Member
Posts: 1,794
Club RR Member Number: 49
|
|
Jun 26, 2022 12:24:57 GMT
|
|
Its come out not bad. The main thing I like is its SOLID. You bang it with a hammer and it thuds and doesn't move.
The old one used to vibrate and move all over the place.
The wheels feature should be useful for those times I need it out the way. Like when I paint the floor in a couple of months.
|
| |
|
|
16grit
Part of things
 
Posts: 215
|
|
Jun 26, 2022 12:42:16 GMT
|
|
Fair bit of effort gone into that, looks very substantial and well worth the investment in time and materials.
|
| |
|
|
jonomisfit
Club Retro Rides Member
Posts: 1,794
Club RR Member Number: 49
|
|
Jun 26, 2022 12:54:15 GMT
|
Fair bit of effort gone into that, looks very substantial and well worth the investment in time and materials. Definitely. Wish I'd done it years ago. Total cost is about £100 materials (excluding the cabinet) and about 16hrs of effort. |
| |
Last Edit: Jun 26, 2022 12:55:10 GMT by jonomisfit
|
|
|
|
 P1050341 by jono_misfit, on Flickr
 P1050342 by jono_misfit, on Flickr
 P1050343 by jono_misfit, on Flickr
 P1050344 by jono_misfit, on Flickr
 P1050345 by jono_misfit, on Flickr
 P1050346 by jono_misfit, on Flickr
 P1050347 by jono_misfit, on Flickr
 P1050348 by jono_misfit, on Flickr
 P1050349 by jono_misfit, on Flickr
 P1050350 by jono_misfit, on Flickr
 P1050351 by jono_misfit, on Flickr
 P1050352 by jono_misfit, on Flickr
 P1050341 by jono_misfit, on Flickr
 P1050342 by jono_misfit, on Flickr
 P1050343 by jono_misfit, on Flickr
 P1050344 by jono_misfit, on Flickr
 P1050345 by jono_misfit, on Flickr
 P1050346 by jono_misfit, on Flickr
 P1050347 by jono_misfit, on Flickr
 P1050348 by jono_misfit, on Flickr
 P1050349 by jono_misfit, on Flickr
 P1050350 by jono_misfit, on Flickr
 P1050351 by jono_misfit, on Flickr
 P1050352 by jono_misfit, on Flickr


